The post No Bake Chocolate Espresso Pie appeared first on A Classic Twist.
]]>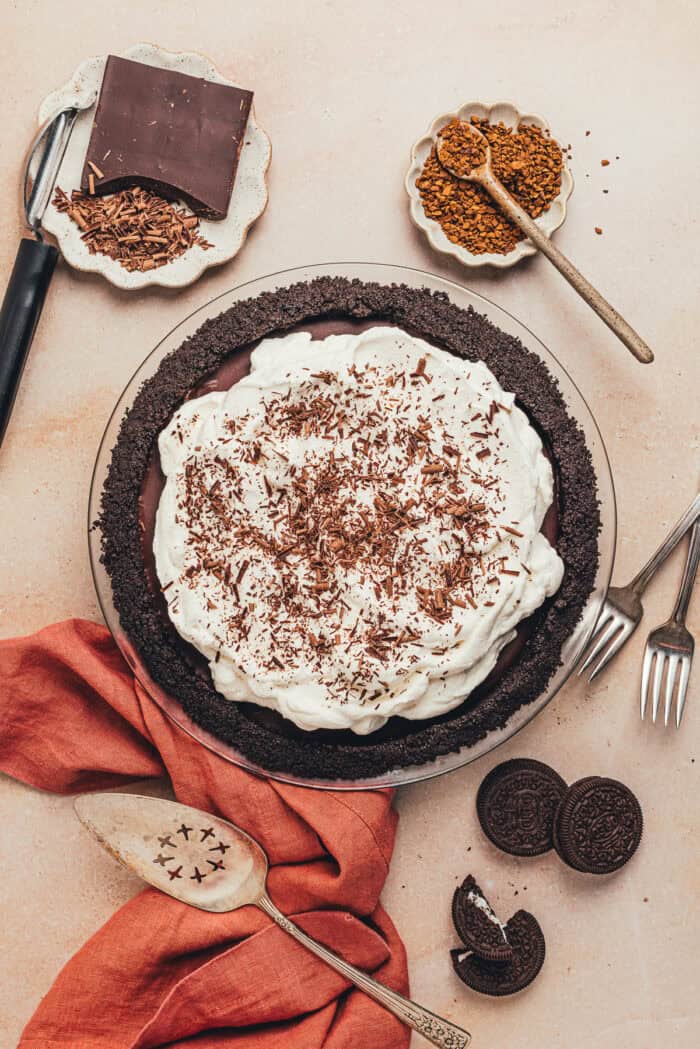
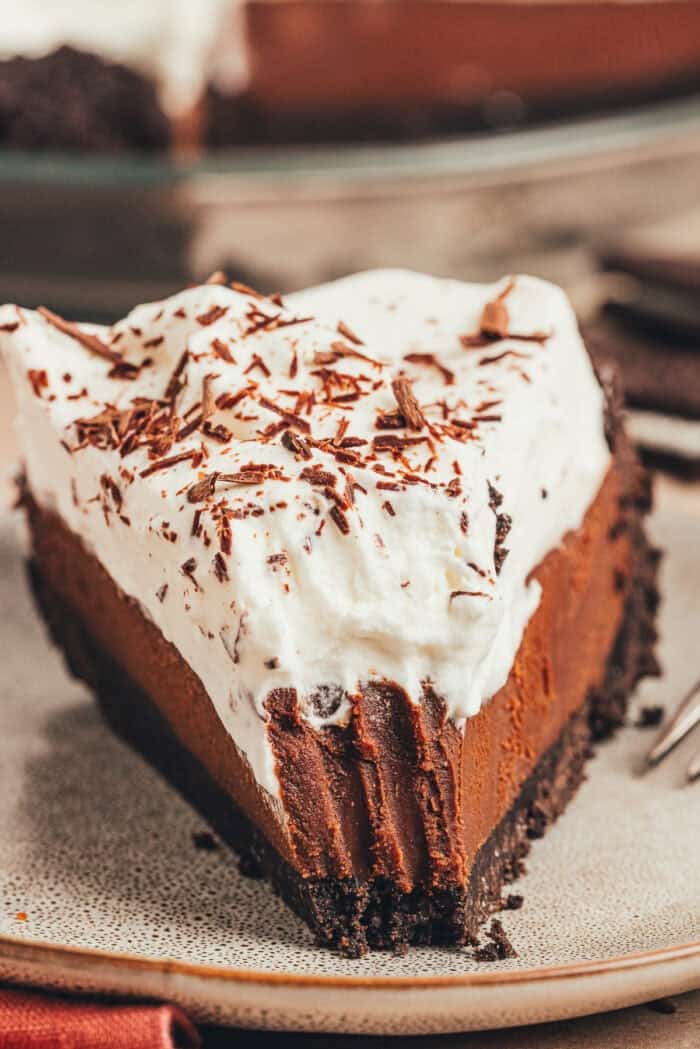
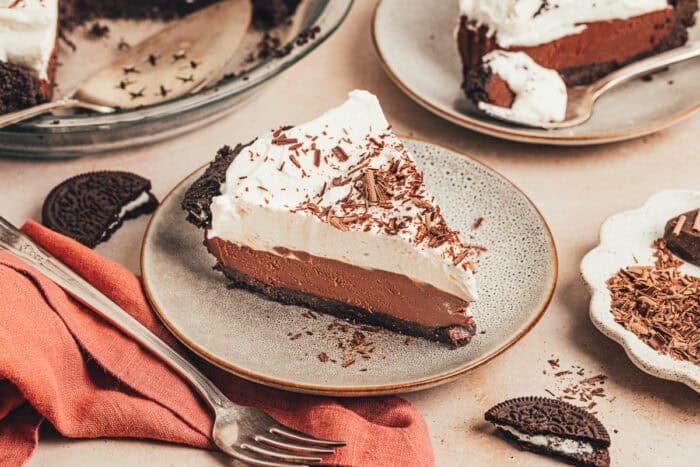
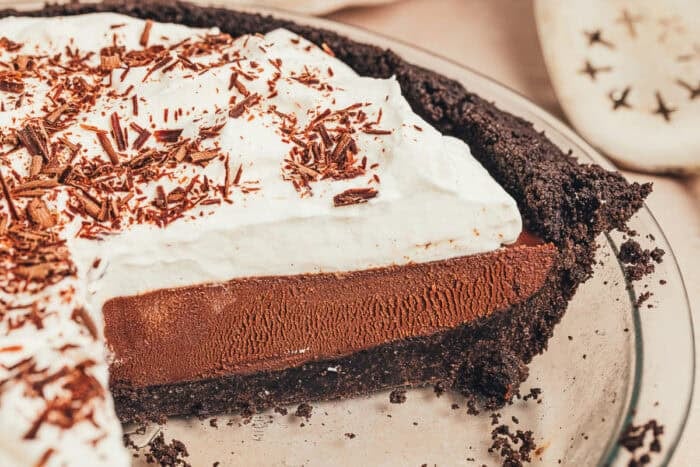
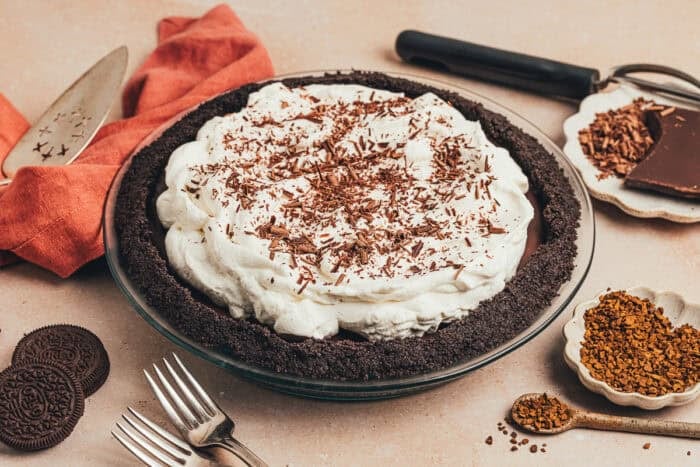
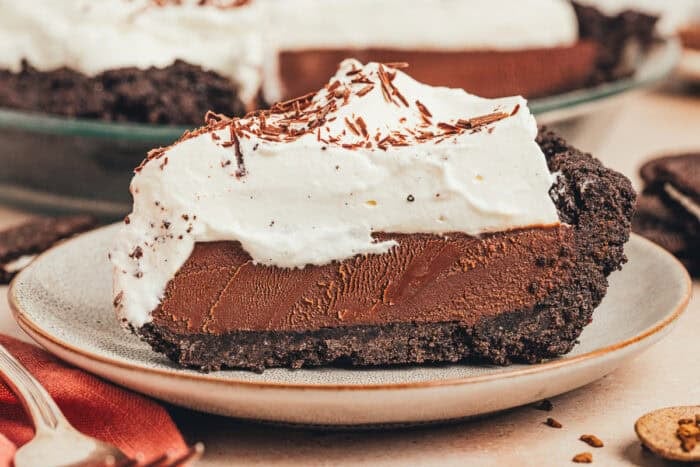
This no-bake chocolate espresso pie is an easy, make-ahead dessert featuring an Oreo cookie crust and a rich chocolate-espresso ganache filling. Packed with deep chocolate flavor and topped with a cloud of whipped cream, this no-bake pie is perfect for gatherings, special occasions, or anytime you’re craving something chocolatey. This decadent dessert is simple to prepare, requires no oven, and will impress any chocolate lover!
Hey there, and welcome back, friends.
You are in for a treat!
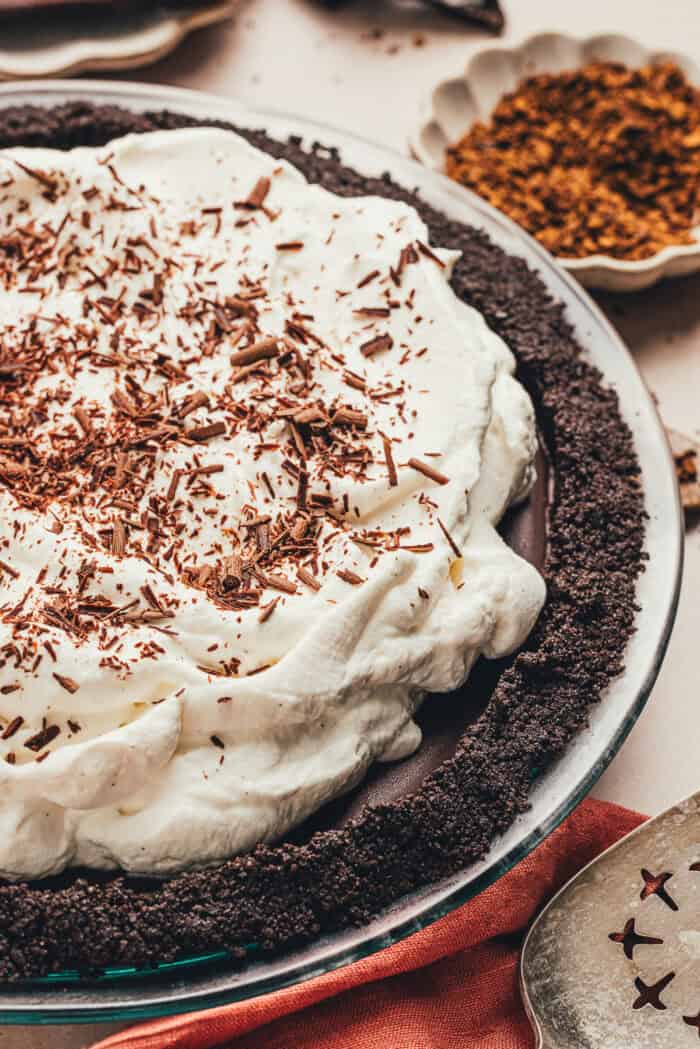
You know how much I love a no-bake dessert!!! I have a ton of no bake desserts on the blog like this No Bake Chocolate Tart, No Bake Oreo Cheesecake, and No Bake Strawberry Cheesecake. This no bake chocolate espresso pie dessert is a chocolate lover’s dream! It’s creamy, rich, and deeply chocolatey.
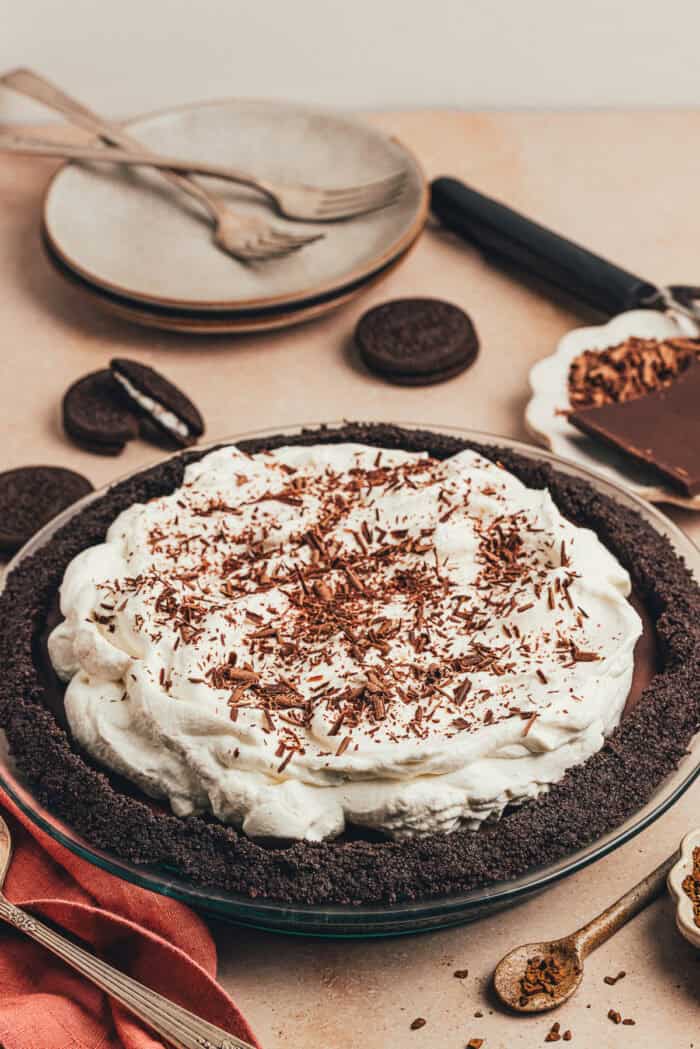
I know summer is coming to an end, but no bake desserts are great to make all year-round and make for any celebration, especially Valentine’s Day.
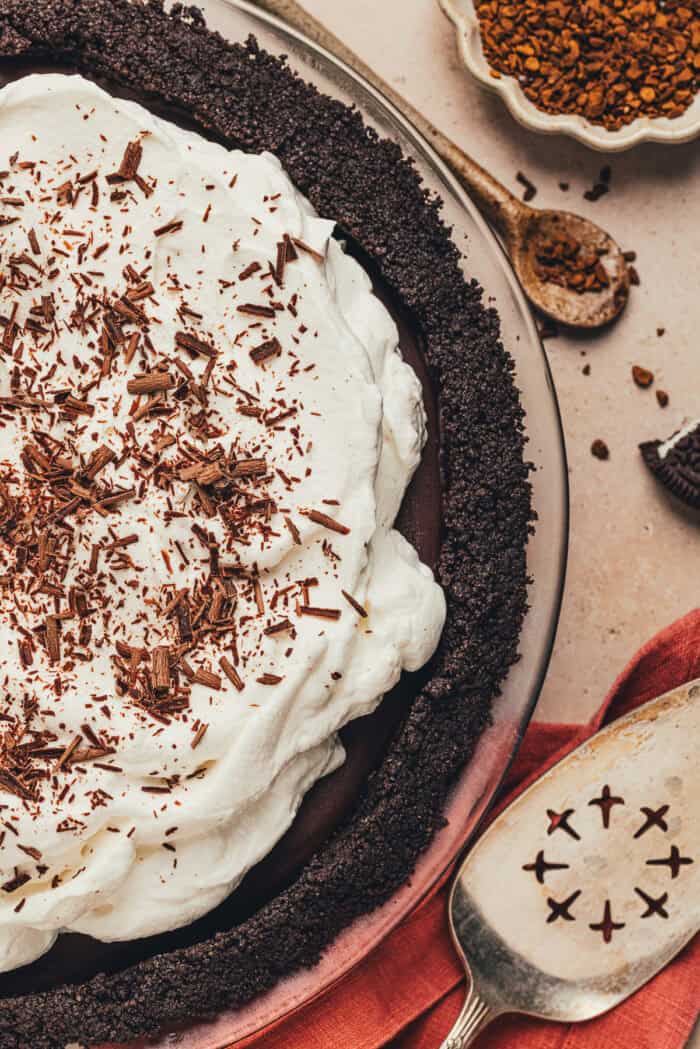
This pie starts with the classic no-bake crust consisting of Oreo cookies. It pairs perfectly with chocolate and always holds its shape.
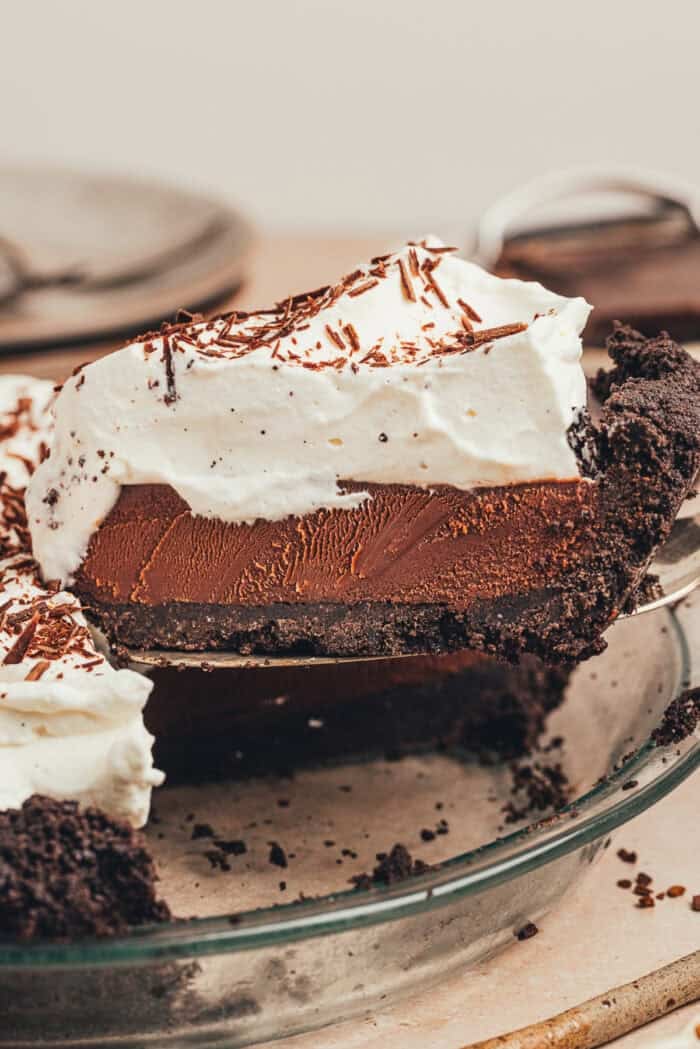
The filling is a silky chocolate ganache that’s smooth and fudgy! I added a touch of espresso to make the chocolate taste even more decadent! If you prefer an even more intense chocolate flavor, you can use a dark chocolate bar in place of a semi-sweet chocolate bar. Just keep in mind that the finished ganache will be less sweet.
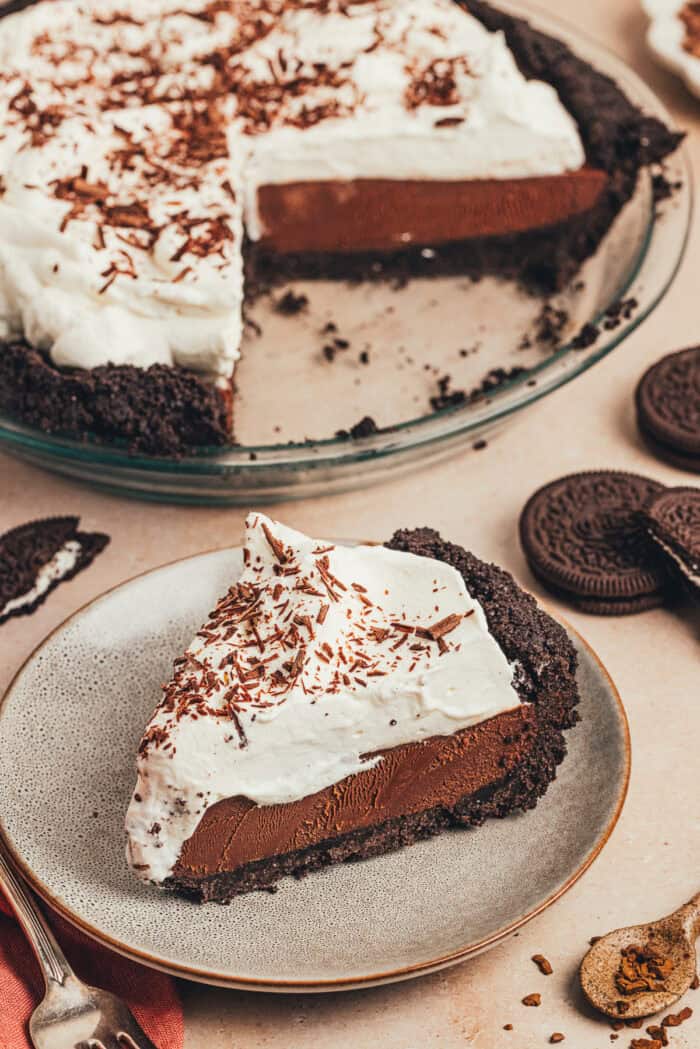
I know it might be tempting to use chocolate chips to make the ganache instead of a chocolate bar, but it will affect the ganache’s texture. Chocolate chips contain stabilizers that help them hold their shape, so they don’t always melt as easily or smoothly as a chocolate bar.
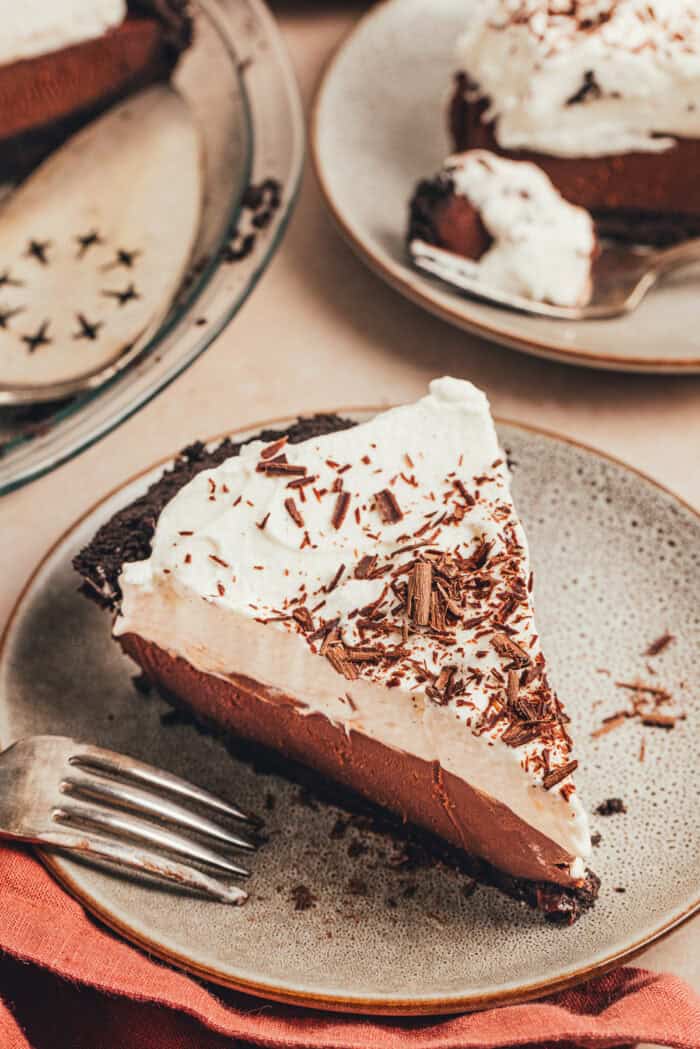
The best part about no-bake desserts, besides not having to bake them, is that you can easily make them ahead. They’re perfect for preparing for a party or taking to an event.
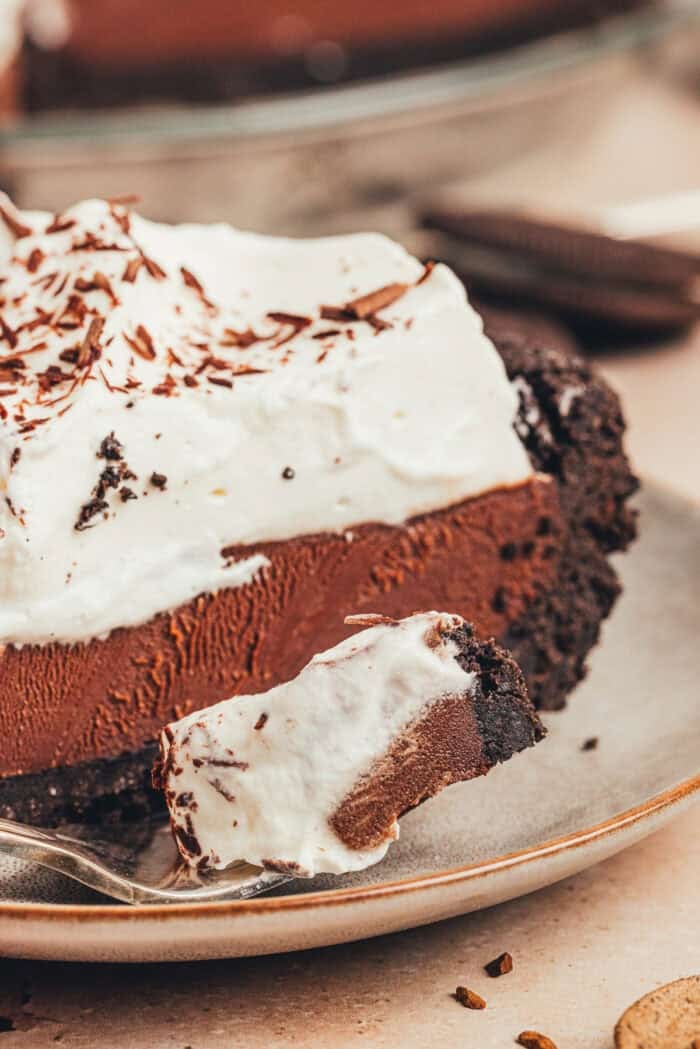
When it’s time to serve, top this no-bake chocolate pie with a big dollop of freshly whipped cream! The whipped cream contrasts perfectly with the rich chocolate.
Ingredients
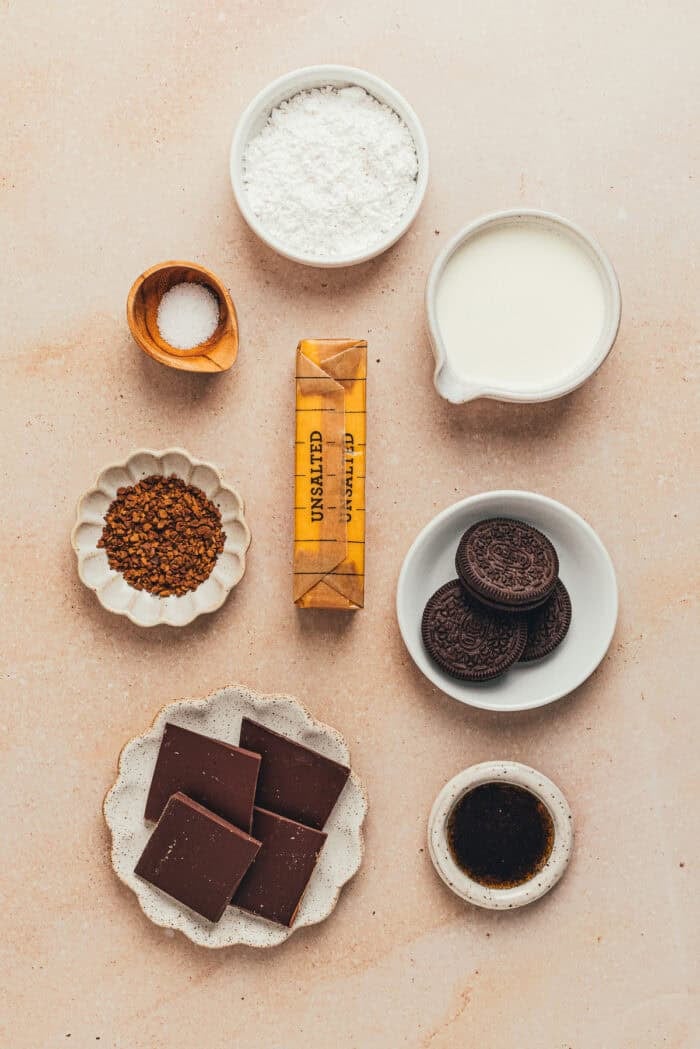
- Oreos cookies
- unsalted butter
- sea salt
- semi-sweet chocolate
- heavy cream
- espresso powder or instant espresso granules
- vanilla bean paste
- powdered sugar
- vanilla bean paste
- chocolate shavings, optional for decorating
How to Make No-Bake Chocolate Espresso Pie
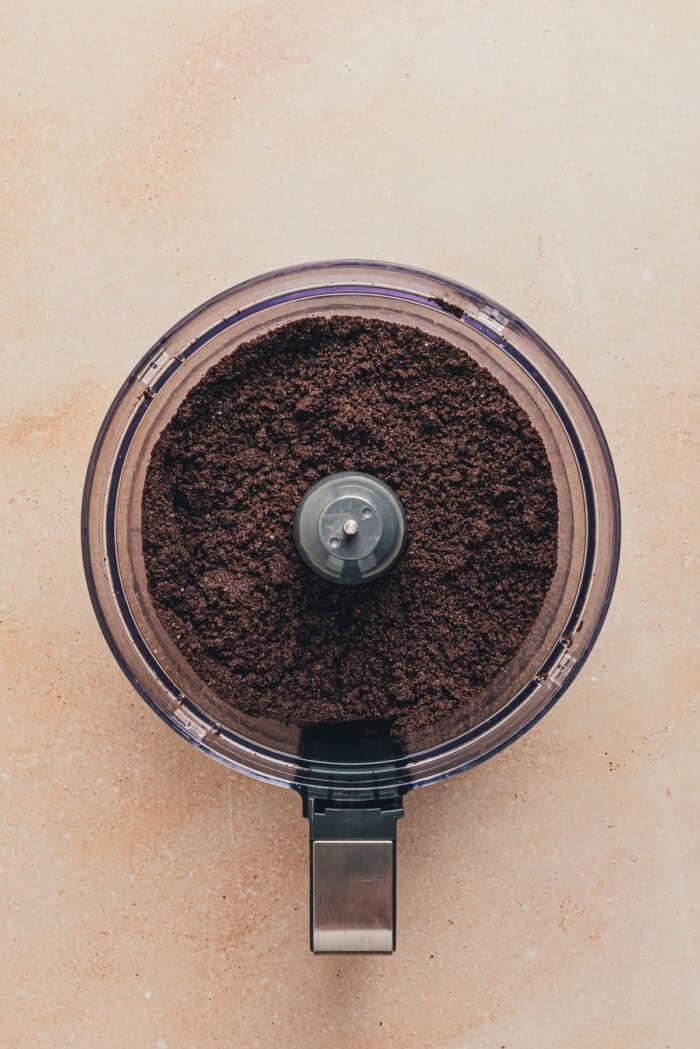
Put all of the Oreos into a food processor whole (both the cookies and the cream filling). Process until they are fine crumbs. Dump the Oreo crumbs into a bowl and add the melted butter and a pinch of salt.
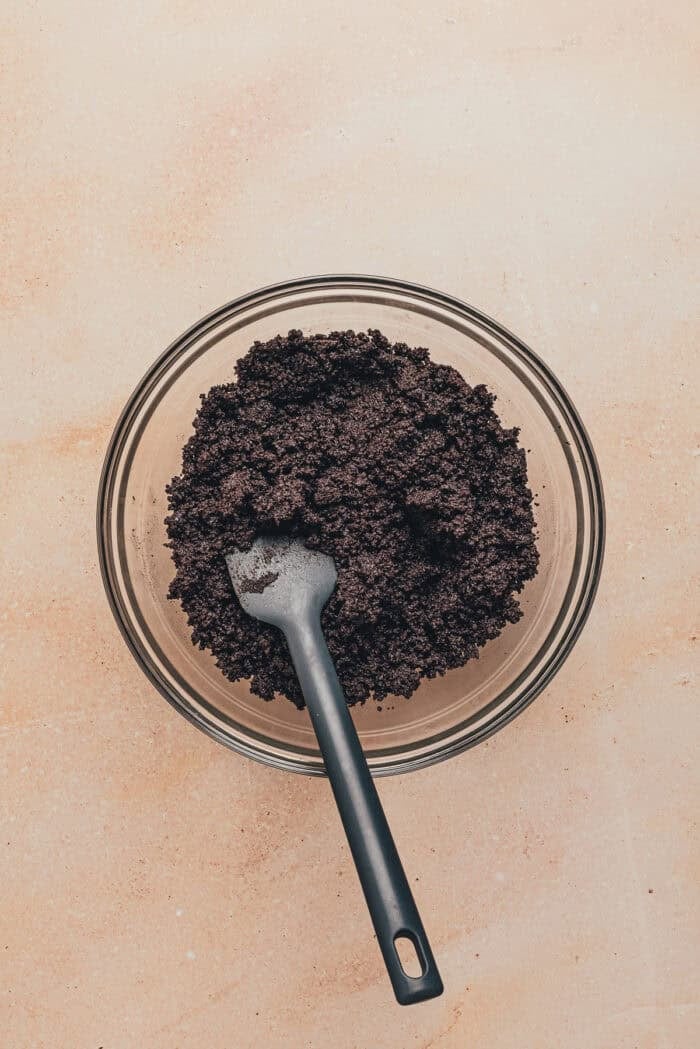
Mix until evenly moistened.
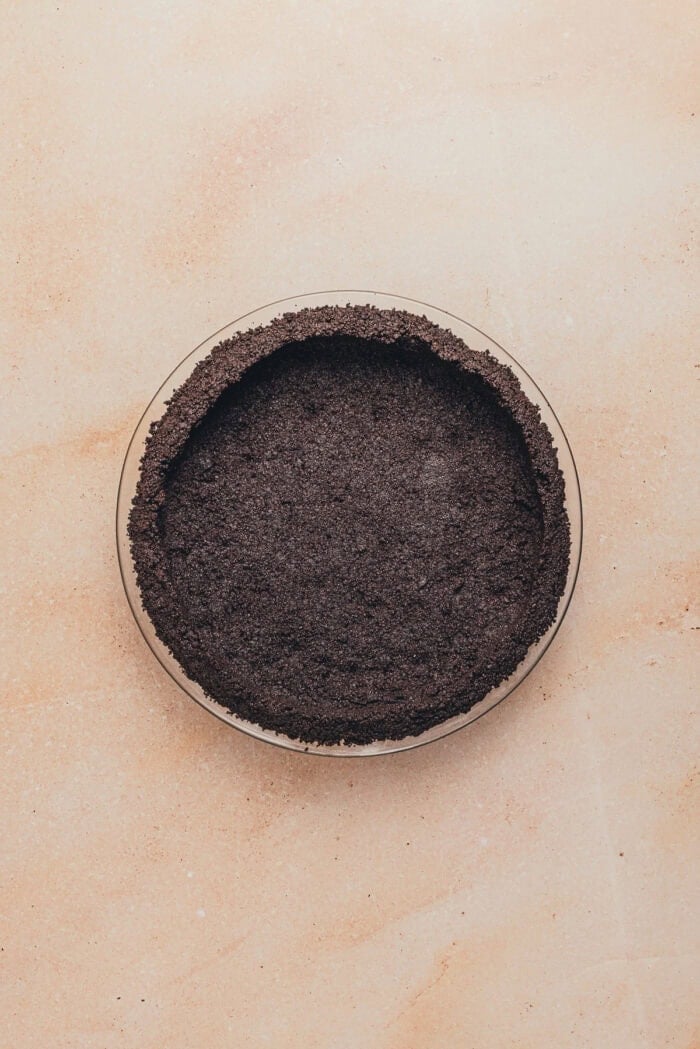
Next, press the crumbs into a standard 9-inch pie plate. There’s no need to grease the bottom. Press the crumbs evenly in the center and up the sides of the pie plate.
Cover loosely with plastic wrap, then place in the freezer to set for at least 20 minutes.
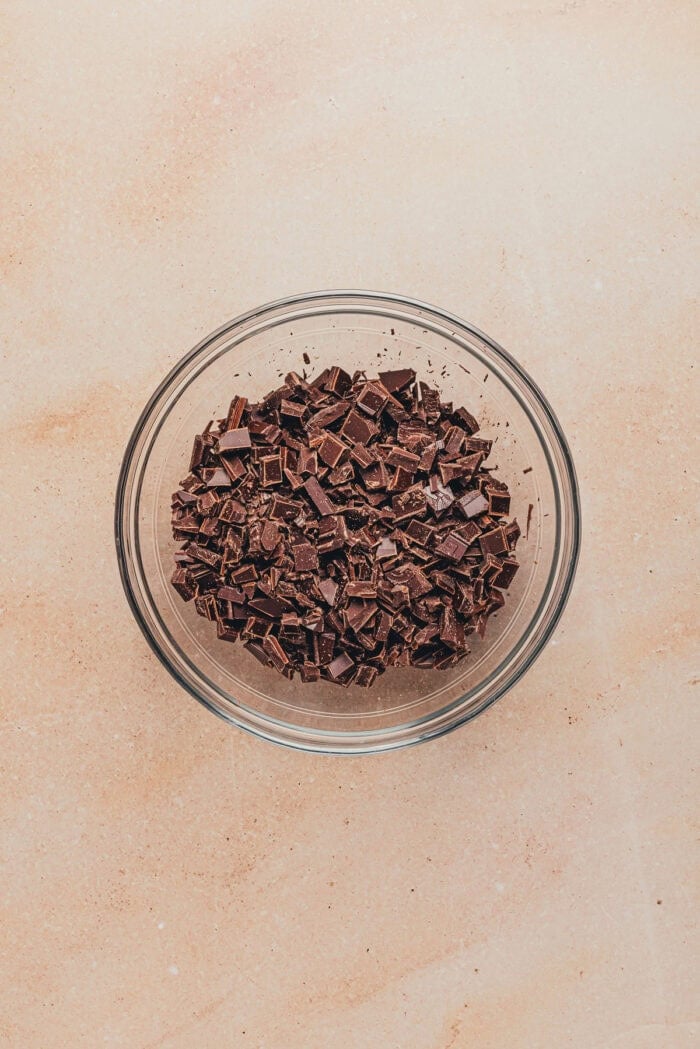
Add the chopped chocolate to a large heat-safe bowl.
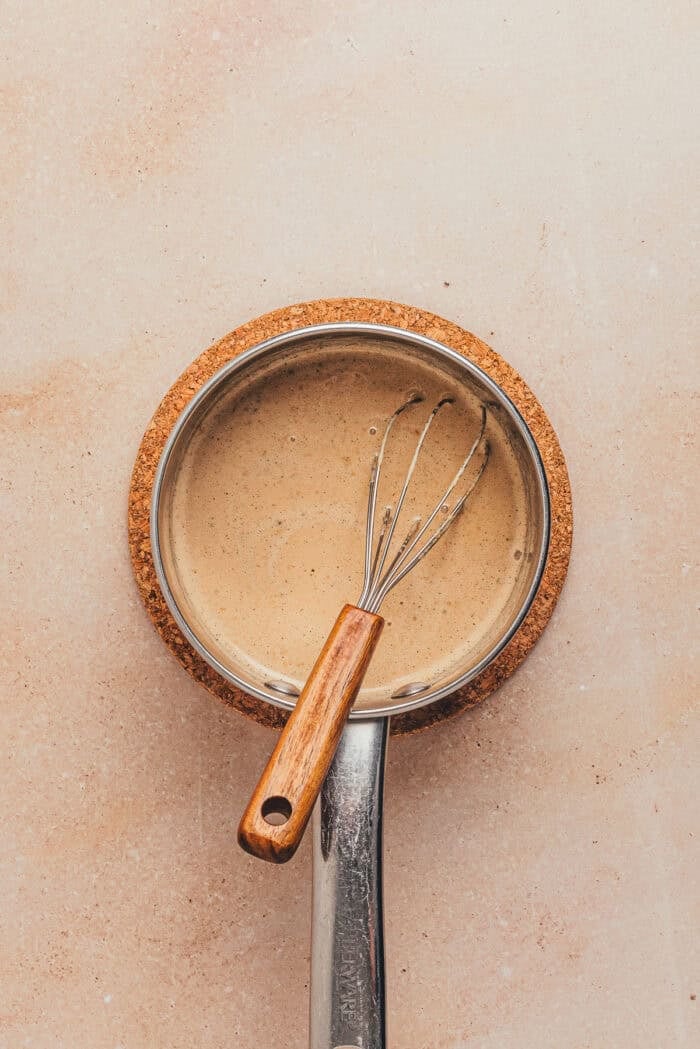
Add the cream to a small pot set over medium heat. Bring the cream to a very low simmer, then remove it from the heat and whisk in the espresso powder and vanilla.
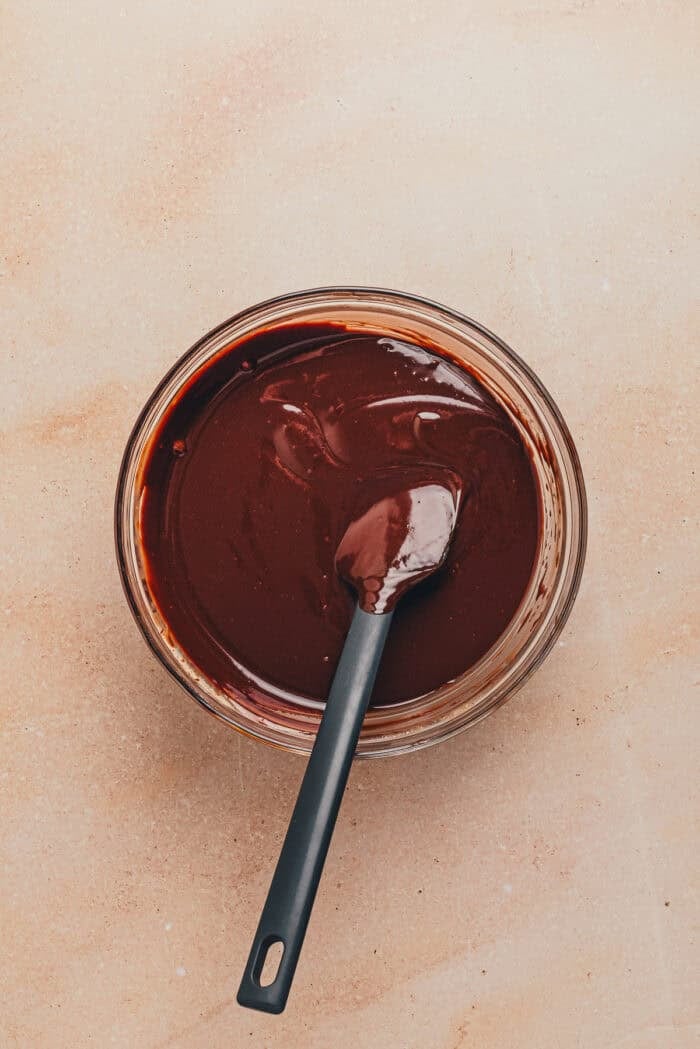
Once the espresso is fully dissolved, pour the hot cream over the chocolate. Mix the chocolate and cream until the chocolate is fully melted.
Add the softened butter and sea salt to the chocolate-and-cream mixture, then mix until the butter is fully melted and the mixture is smooth and glossy.
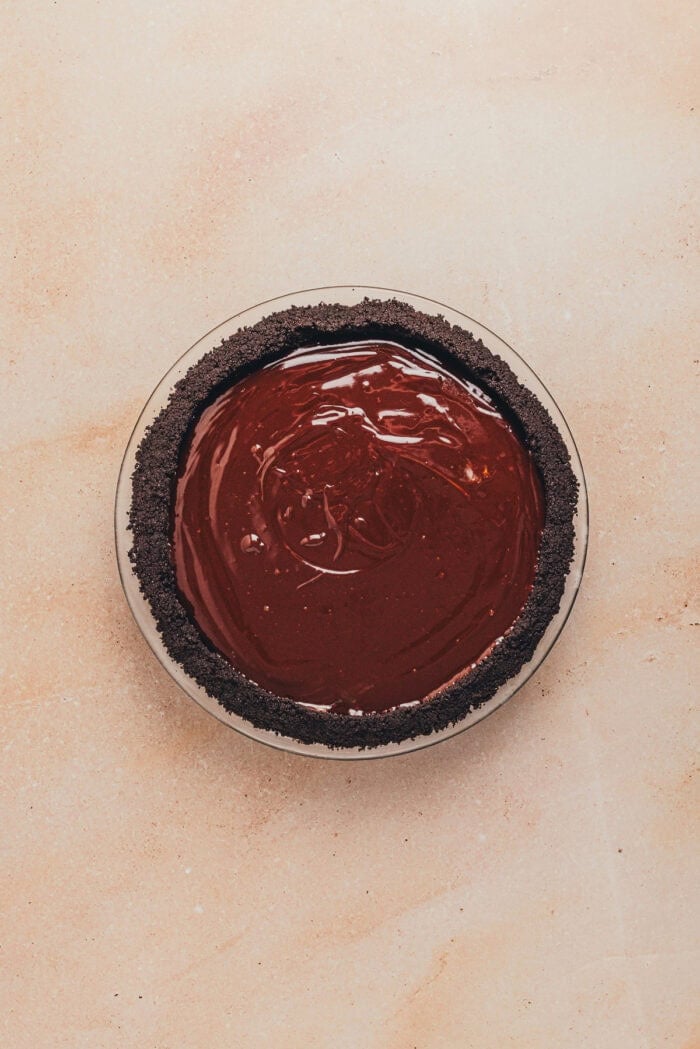
Remove the crust from the freezer. Pour the ganache filling carefully into the crust, then refrigerate the pie for at least 3 hours to set.
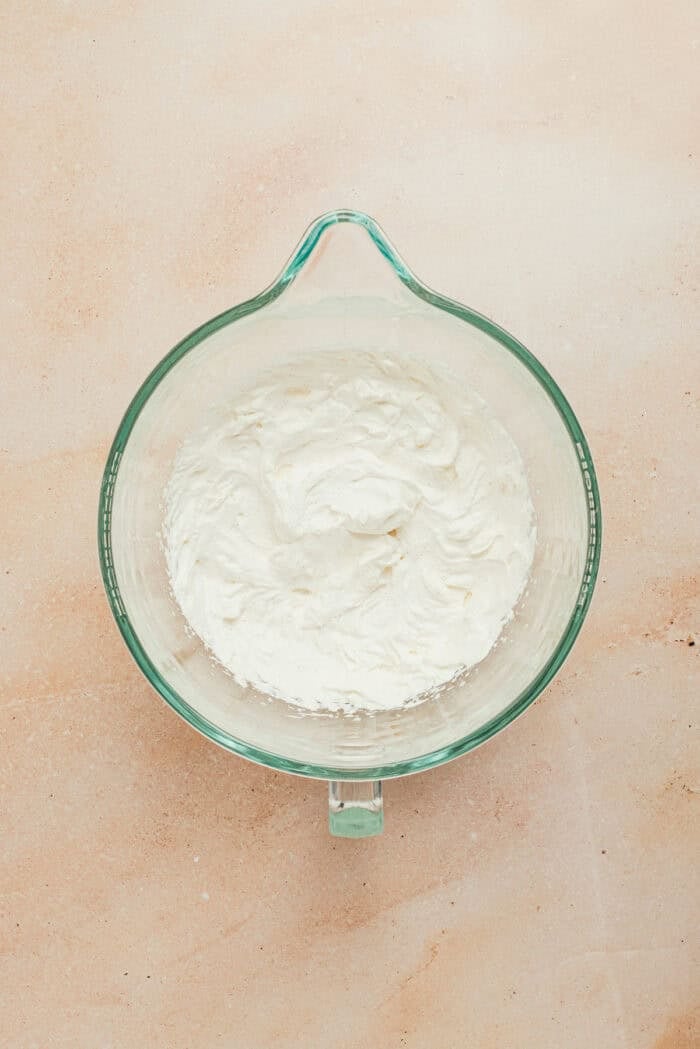
When you’re ready to serve the pie, add the cold heavy cream, powdered sugar, and vanilla to the bowl of a stand mixer.
Beat with the whisk attachment, starting on low, working up to high as the cream gains volume. Beat to stiff peaks.
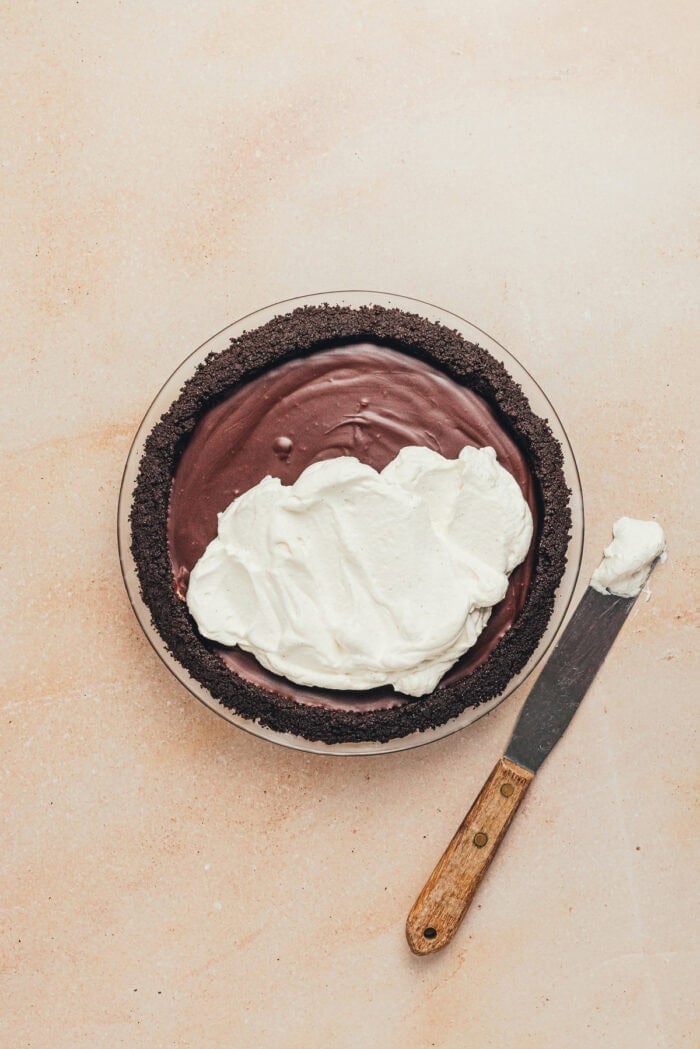
Spoon the whipped cream onto the top of the pie, then spread it out to the edges in an even layer. Top with chocolate shavings if desired, then serve!
How to Store
Store leftovers in the fridge as the ganache will soften at room temperature.
More No Bake Pie Recipes
- No Bake Key Lime Pie
- No Bake Peanut Butter S’mores Pie
- No Bake Oreo Layer Dessert
- No Bake Caramel Pie
- No Bake Peanut Butter Chocolate Pie
What do you think of this amazing no-bake chocolate pie recipe? What would you serve with a slice of this? Let me know in the comment section below.
If you share across social media, make sure to tag #aclassictwist, so I can see your beautiful creation come to life!
Happy baking, friends!
No Bake Chocolate Espresso Pie Recipe
No Bake Chocolate Espresso Pie
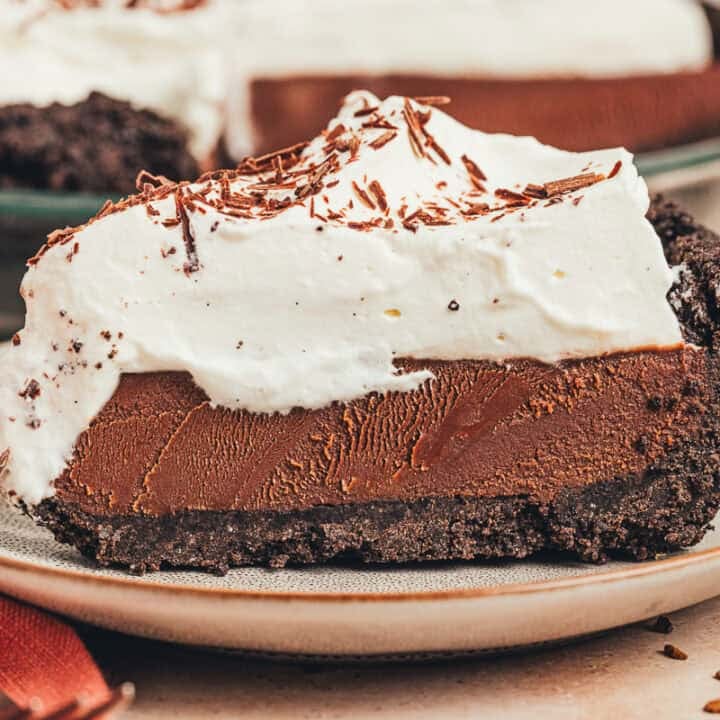
This no bake chocolate espresso pie is an easy, make-ahead-friendly dessert featuring an Oreo cookie crust and rich chocolate espresso ganache filling.
Ingredients
For the crust:
- One 13.29-ounce package Oreos (about 33 Oreos)
- 6 tablespoons unsalted butter, melted
- 1 pinch sea salt
For the ganache filling:
- 12 ounces semi-sweet chocolate, chopped
- 1 ¼ cups heavy cream
- 1 heaped tablespoon espresso powder, or instant espresso granules
- 2 teaspoons vanilla bean paste
- 3 tablespoons unsalted butter, softened to room temperature
- 1 pinch sea salt
For assembly:
- 1 ½ cups heavy cream, cold
- ¼ cup powdered sugar, sifted
- 1 teaspoon vanilla bean paste
- Chocolate shavings, optional for decorating
Instructions
- Put all of the Oreos into a food processor whole (both the cookies and the cream filling). Process until they are fine crumbs. Dump the Oreo crumbs into a bowl and add the melted butter and a pinch of salt. Mix until evenly moistened, then press into a standard 9-inch pie plate. There’s no need to grease the bottom. Press the crumbs evenly in the center and up the sides of the pie plate. Cover loosely with plastic wrap, then place in the freezer to set for at least 20 minutes.
- Add the chopped chocolate to a large heat-safe bowl. Add the cream to a small pot set over medium heat. Bring the cream to a very low simmer, then remove it from the heat and whisk in the espresso powder and vanilla. Once the espresso is fully dissolved, pour the hot cream over the chocolate. Mix the chocolate and cream together until the chocolate is fully melted.
- Add the softened butter and sea salt to the chocolate and cream mixture and mix until the butter is fully melted and the mixture looks smooth and glossy.
- Remove the crust from the freezer. Pour the ganache filling carefully into the crust, then place the pie in the fridge to set for a minimum of 3 hours.
- When you’re ready to serve the pie, add the cold heavy cream, powdered sugar, and vanilla to the bowl of a stand mixer. Beat with the whisk attachment, starting on low, working up to high as the cream gains volume. Beat to stiff peaks.
- Spoon the whipped cream onto the top of the pie, then spread it out to the edges in an even layer. Top with chocolate shavings if desired, then serve!
Notes
- Store leftovers in the fridge as the ganache will soften at room temperature.
- This pie is quite rich so keep that in mind when slicing it! I tend to go for 10 smaller slices rather than the standard 8.
- It’s easier to cut neat slices while the pie is cold straight from the fridge, as it prevents the crust from crumbling as much. The longer it’s at room temperature, the more crumbly the crust will become.
- This recipe is formulated to work in a standard 9-inch pie plate (metal, glass, or ceramic). It is also formulated to use the entire package of Oreos for the crust to keep things easy. If you are using a deep-dish pie plate, you will need to make slightly more of the ganache filling. During testing, 16 ounces of semi-sweet chocolate, 1 ⅔ cups of heavy cream, and 4 tablespoons of butter yielded enough for a deep-dish pie plate. The amounts for the crust can remain the same, as you’ll just have a slightly thinner crust with a deep-dish pie plate.
- In order to make sure the crust is evenly distributed, I like to loosely spread it across the bottom of the pie plate then up the sides before I press it in. The easiest way to press it into the sides is to use one hand flat on the rim of the plate to keep the crust from spilling up and over while you use your other hand to press it against the sides. You can also use the bottom and sides of a measuring cup to help press the crust in.
- Since there is butter in the crust, there is no need to grease the pie plate as the pie is being chilled rather than baked. During testing, greasing the pie plate actually made it slightly more difficult to remove slices when the pie was sliced straight out of the fridge.
- In order for the ganache to mix together easily once the hot cream is added, make sure to chop the chocolate into smaller pieces. I recommend mixing the heavy cream into the chocolate with a spoon or spoonula rather than a whisk as the goal is not to incorporate any air into the mixture.
- Make sure to use room temperature butter in the ganache filling as it will melt and incorporate much easier.
- If you use salted butter, you can omit the pinch of sea salt in the crust and in the filling.
- For a more stabilized whipped cream option that also saves some prep time, use a tub of your favorite whipped topping.
- In order to make the chocolate shavings, use a vegetable peeler and run it along the edge of a chocolate bar.
- If you’d like a more pronounced espresso flavor, use 2 tablespoons of espresso powder or granules. You can also add ½ to 1 tablespoon to the cream before you whip it.
Recipe Tips and Testing Notes
FAQs
Can I use bars of dark chocolate instead of semi-sweet chocolate? Yes, you can use dark chocolate if you want a richer chocolate flavor. The ganache will be less sweet than with semi-sweet chocolate.
Can I use chocolate chips instead of a chocolate bar? No, I do not recommend using chocolate chips instead of a bar as they will not melt as easily for the ganache filling.
Can I use a pre-made Oreo crust? Yes, you can use a pre-made Oreo crust to save some steps and prep time. Pre-made crusts are typically a bit smaller than a standard 9-inch pie plate, so you might have a little extra ganache that does not fit in the crust. You can pour any extra into a small ramekin and chill it. Serve it with whipped cream for a crustless version of the pie!
Recommended Products
As an Amazon Associate and member of other affiliate programs, I earn from qualifying purchases.

Nutrition Information:
Yield:
10Serving Size:
1Amount Per Serving: Calories: 327Total Fat: 23gSaturated Fat: 14gUnsaturated Fat: 8gCholesterol: 42mgSodium: 147mgCarbohydrates: 27gFiber: 1gSugar: 24gProtein: 3g
The post No Bake Chocolate Espresso Pie appeared first on A Classic Twist.
]]>The post Iced Cinnamon Apple Oatmeal Cookies appeared first on A Classic Twist.
]]>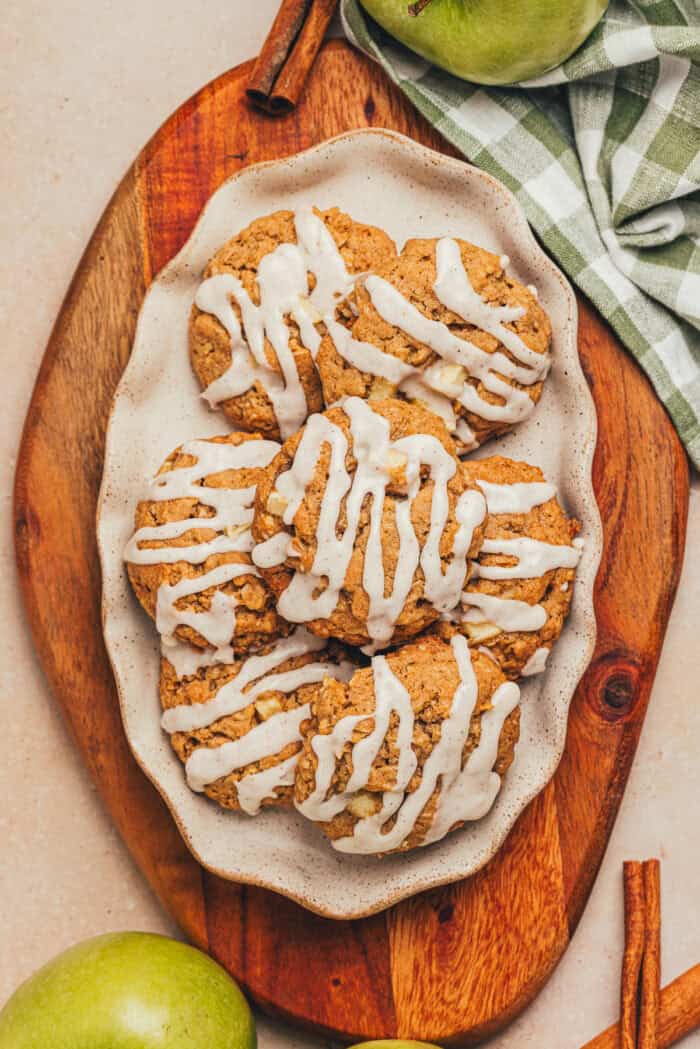
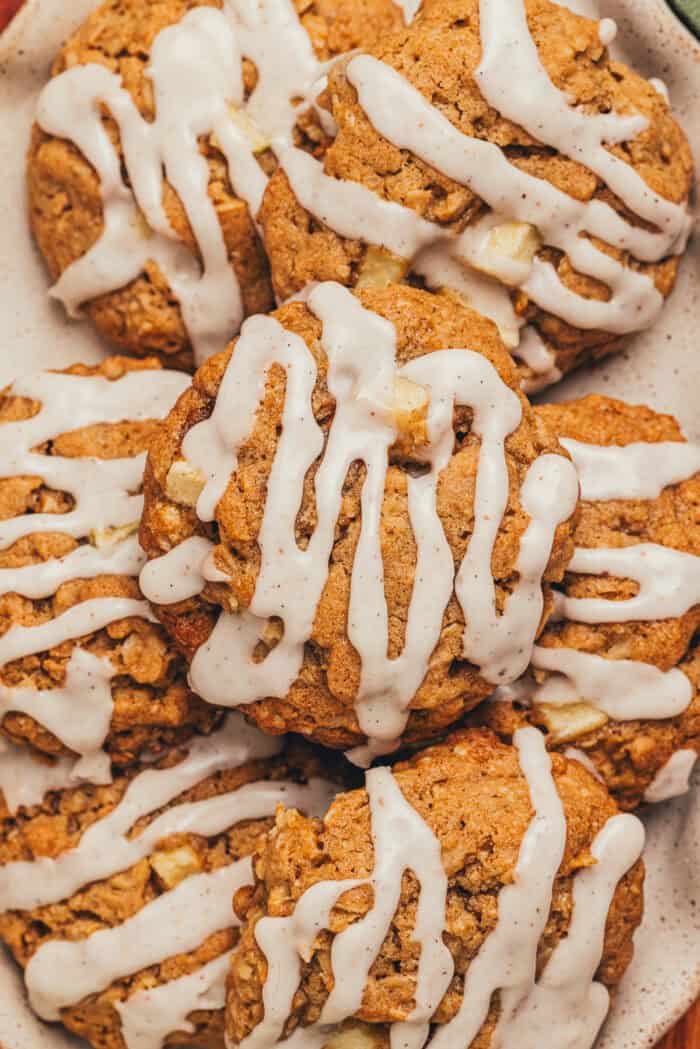
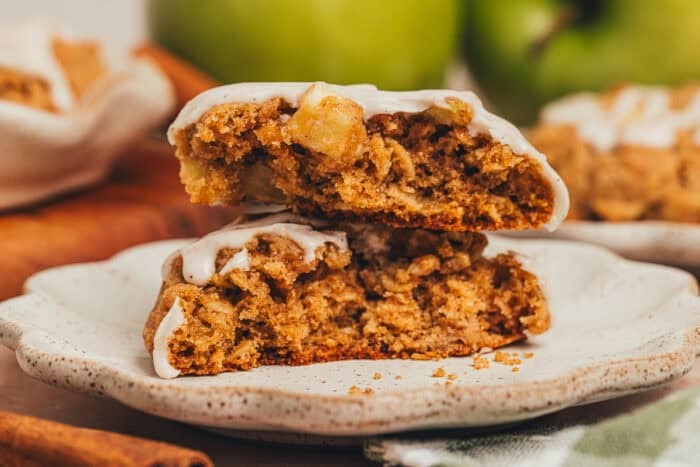
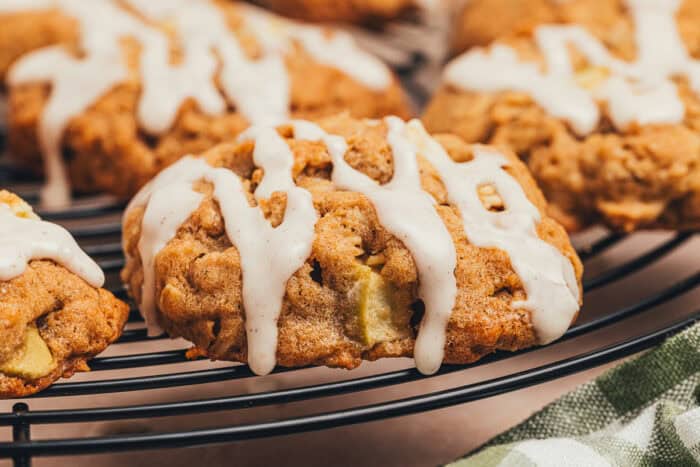
Perfect for enjoying after a day of apple picking, these soft and chewy iced cinnamon apple oatmeal cookies are packed with cozy Fall flavors. With just 10 minutes of prep and no chilling required, these apple cookies come together easily. Topped with simple icing flavored with a dash of nutmeg and vanilla, and packed with tender apple pieces, these Fall cookies are a must-bake this season!
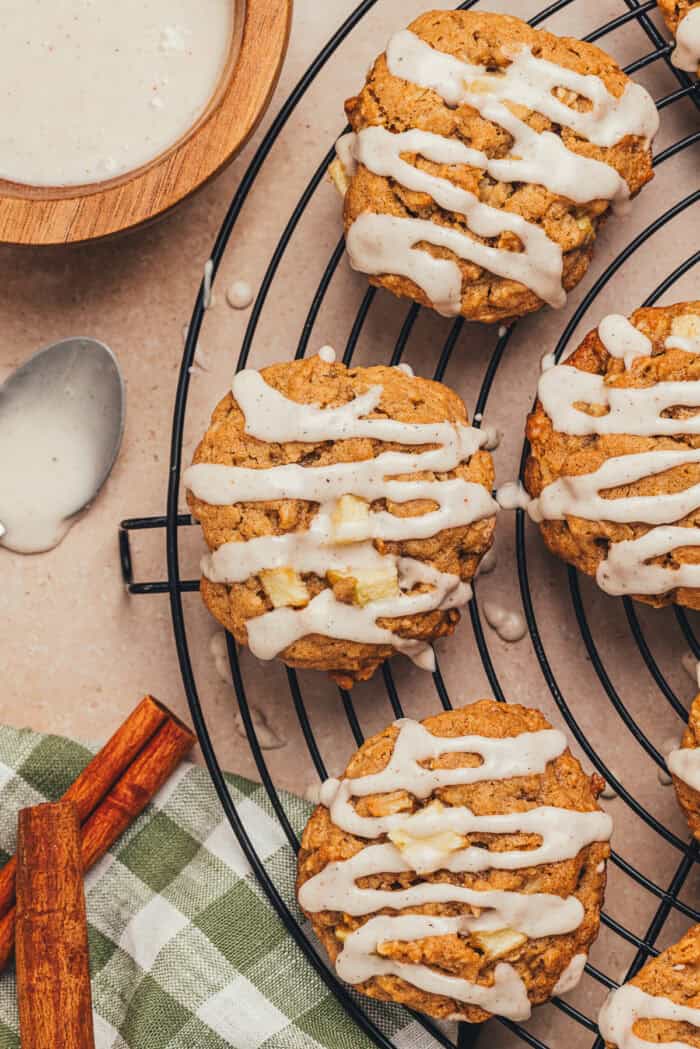
After a day of apple picking, you need a quick treat. With just 10 minutes of prep time, these cinnamon apple oatmeal cookies are the perfect treat!

The oatmeal gives these cookies a heartiness that is perfect this time of year. And with little pieces of apple throughout the cookie, every bite is a treat.
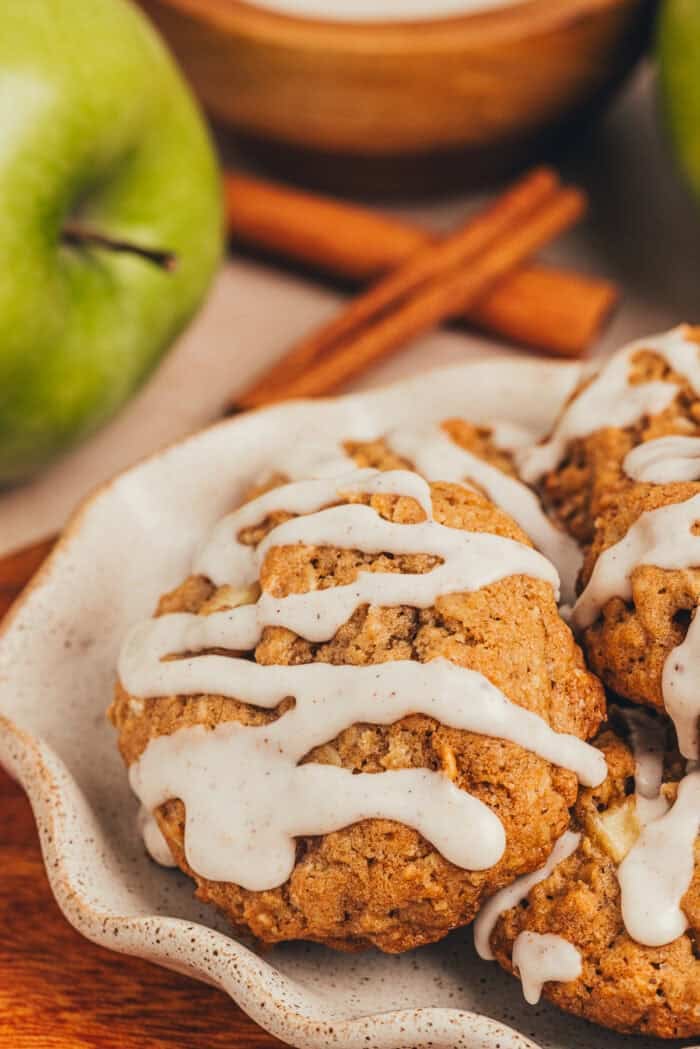
I used the icing to add a little bit more flavor to these cookies. Just like cinnamon apple donuts have nutmeg, I added a dash of nutmeg to the icing. It gives it a warm, spiced flavor that reminds me of Fall!
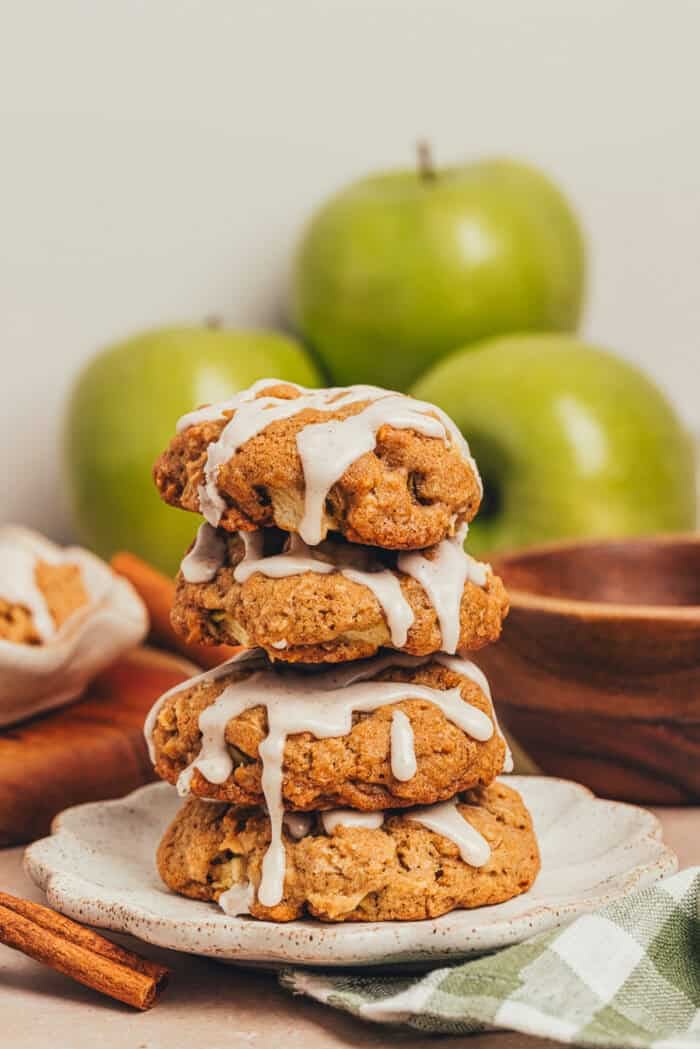
I’m a big fan of using vanilla bean paste in recipes, but if you don’t have any on hand, you can absolutely use vanilla extract instead, in both the cookies and the icing. The flavor will be slightly different. Vanilla bean paste has a deeper, more intense vanilla flavor.
Now that we’ve covered the vanilla bean paste, we need to talk about storage. Most cookies can be frozen without any issues. But because these cookies are made with fresh apple pieces, I don’t recommend freezing the baked cookies. The moisture from the apples can cause the cookies to soften quite a bit as they thaw, changing that lovely soft and chewy texture.
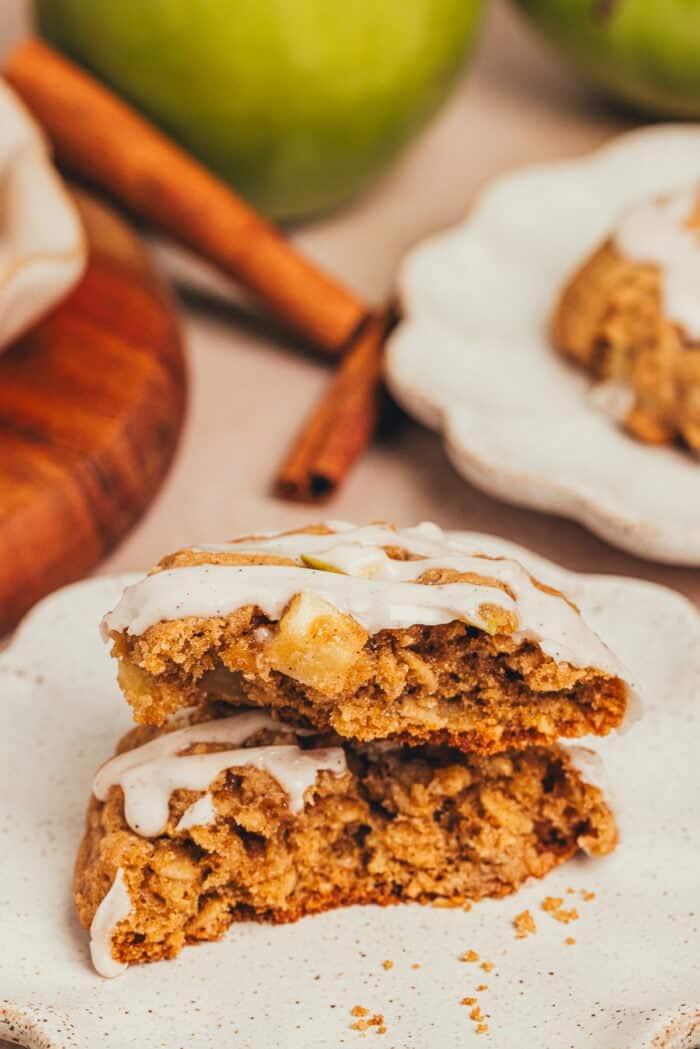
However, the good news is that you can easily freeze the unbaked cookie dough instead. Scoop the dough into portions, freeze the dough balls on a parchment-lined plate or tray, and then transfer them to freezer bags once they’re completely frozen. When the cookie craving strikes, you can bake them straight from the freezer. Just place the frozen dough on a parchment-lined baking sheet and add about 1 to 2 minutes to the baking time.
Ingredients
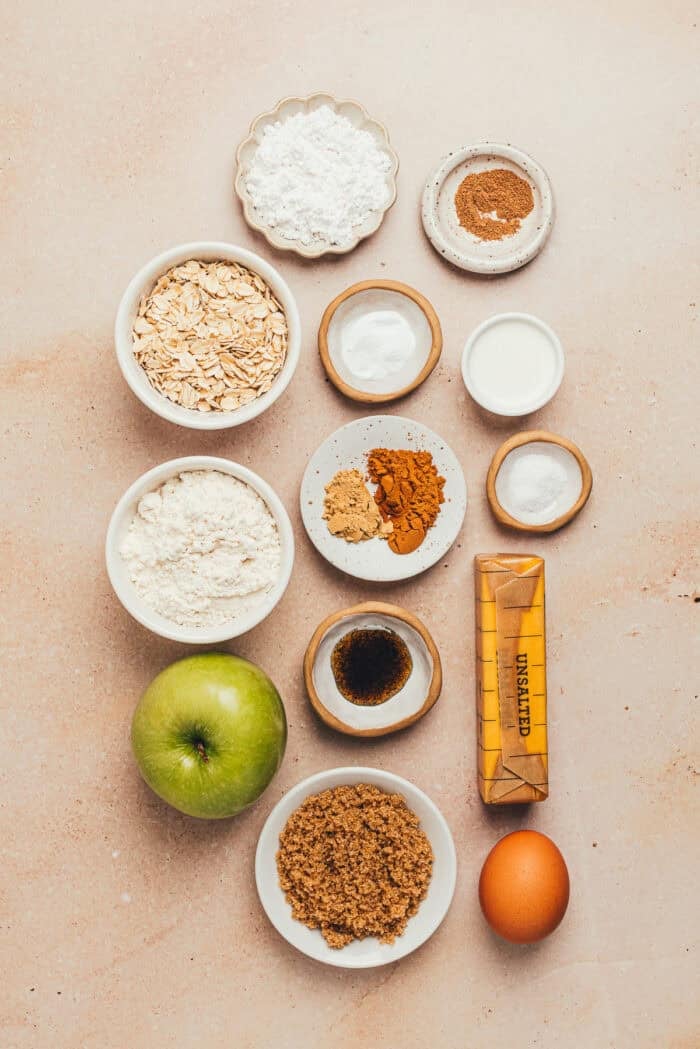
- all-purpose flour
- old-fashioned rolled oats, not quick-cooking oats
- ground cinnamon
- ground ginger
- ground nutmeg
- baking soda
- sea salt
- unsalted butter
- brown sugar
- a few large eggs
- vanilla bean paste, or vanilla extract
- a Granny Smith apple
- powdered sugar
- milk
How to Make Iced Cinnamon Apple Oatmeal Cookies
Preheat the oven to 350 degrees and line two or three large baking sheets with parchment paper.
Whisk together the flour, oats, cinnamon, ginger, baking soda, and salt until well combined.
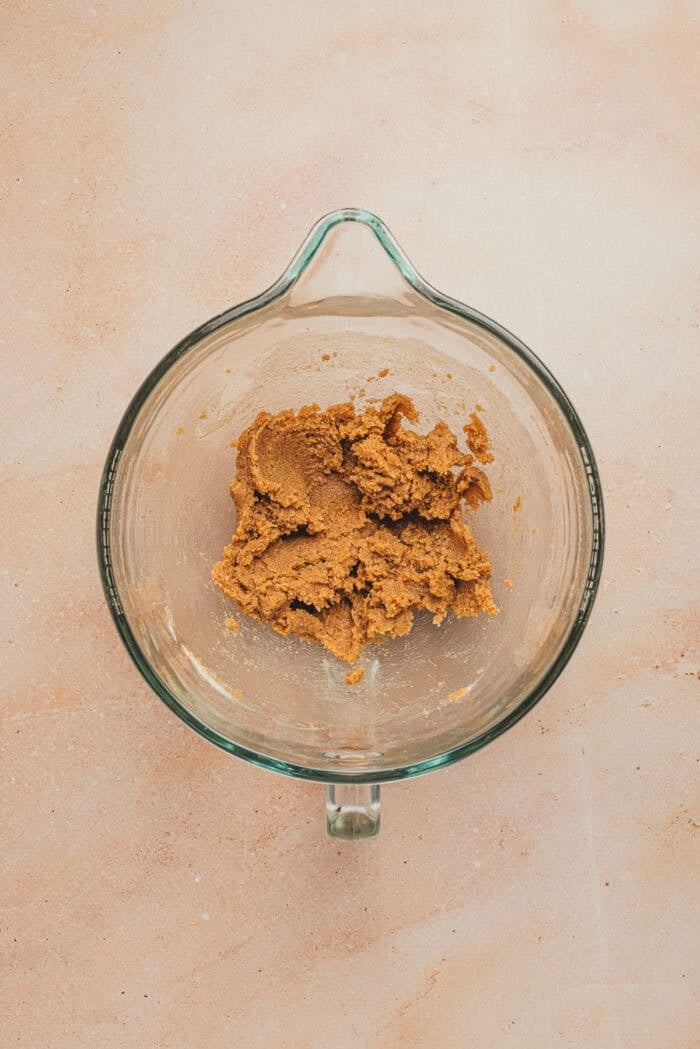
Add the butter and brown sugar to the bowl of a stand mixer. Beat with the paddle attachment on medium speed until creamy, about 3–4 minutes.
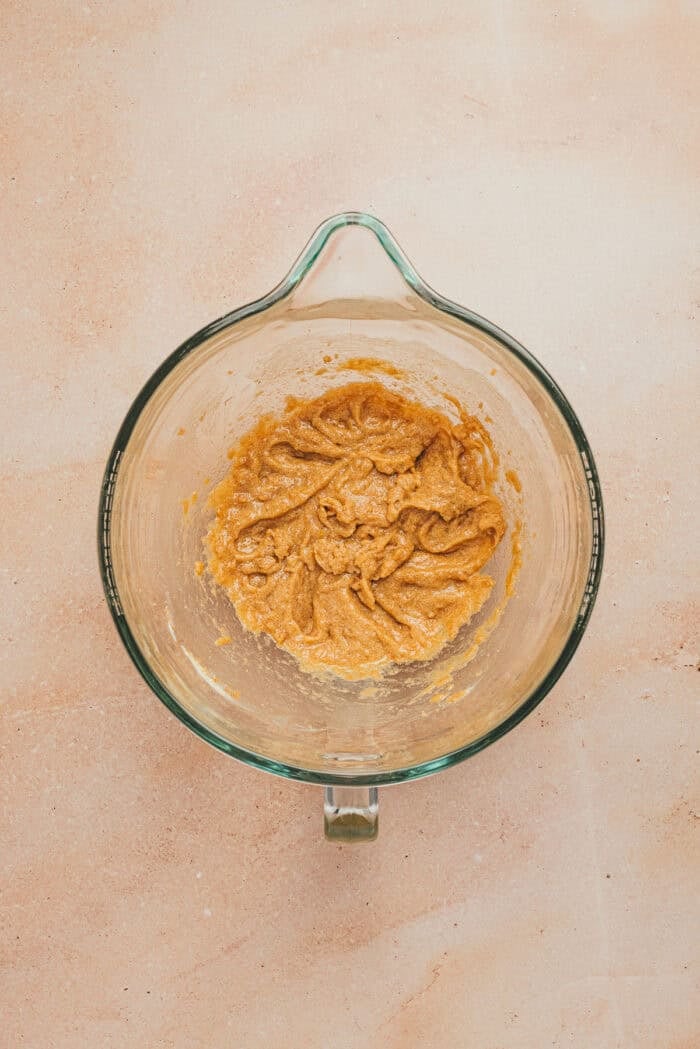
Scrape down the sides and bottom of the bowl, add the egg, egg yolk, and vanilla, and beat on medium-low until combined, about 1 minute.
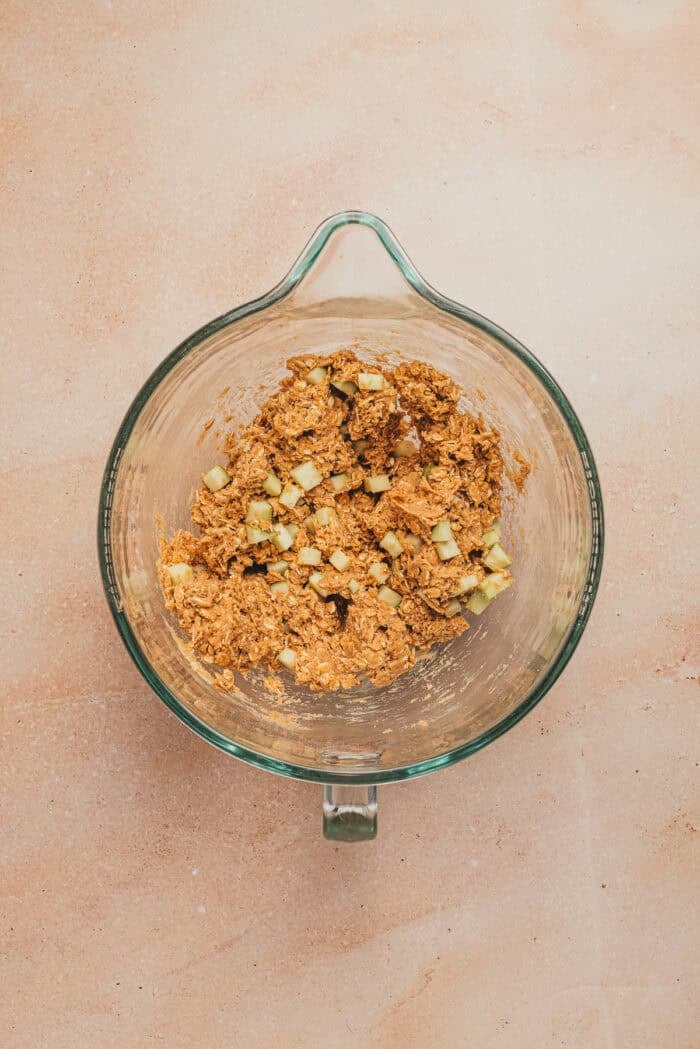
Scrape down the sides and bottom of the bowl, then add the dry ingredients. Mix on low speed until mostly combined, leaving small pockets of dry ingredients, then add the chopped apple. Mix until the apple is evenly incorporated throughout the cookie dough.
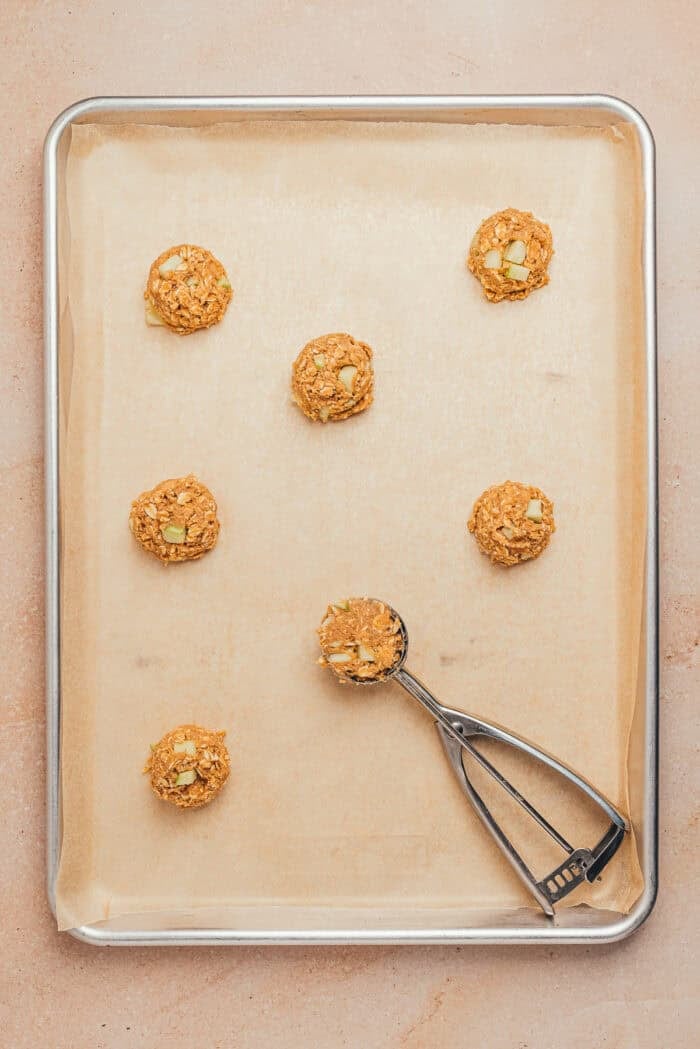
Using a 1-ounce (2 tablespoons) cookie scoop, scoop up level portions of the dough.
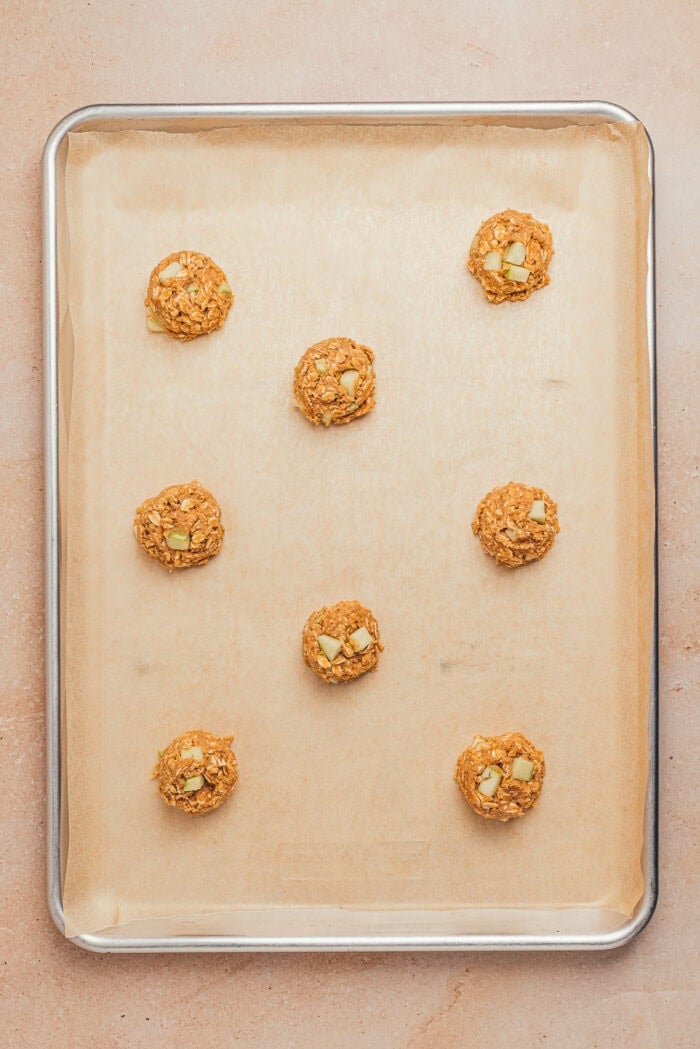
Place them at least 2 inches apart on the lined baking sheets.
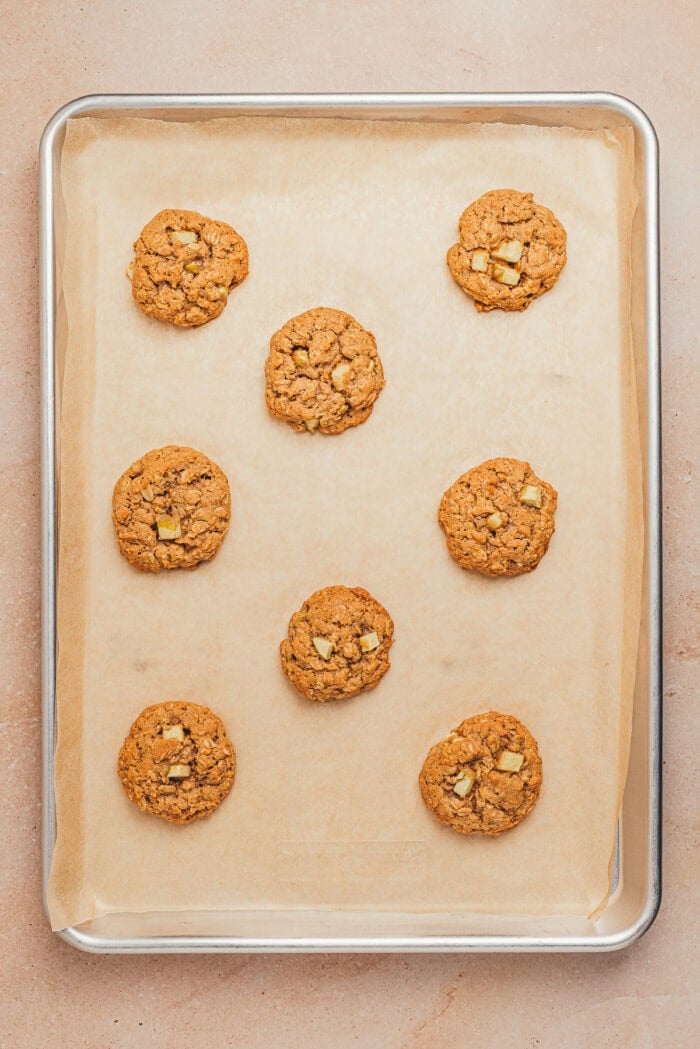
Bake the cookies for 14-16 minutes, until golden around the edges and just set.
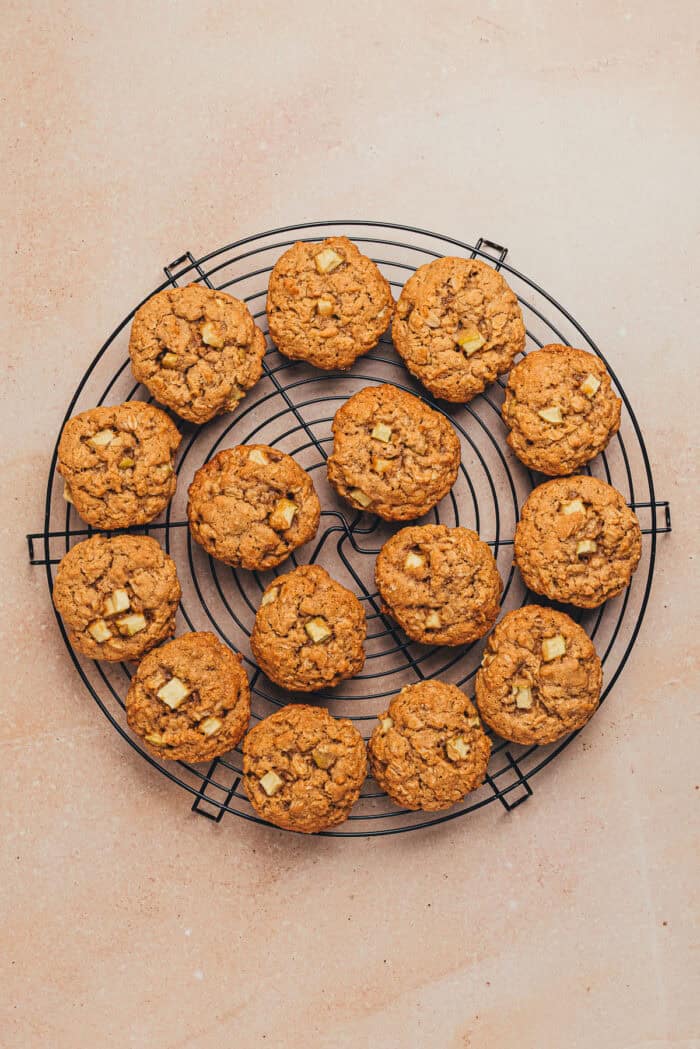
Allow the cookies to cool for 15 minutes on the baking sheet before moving them to a wire rack to cool completely.
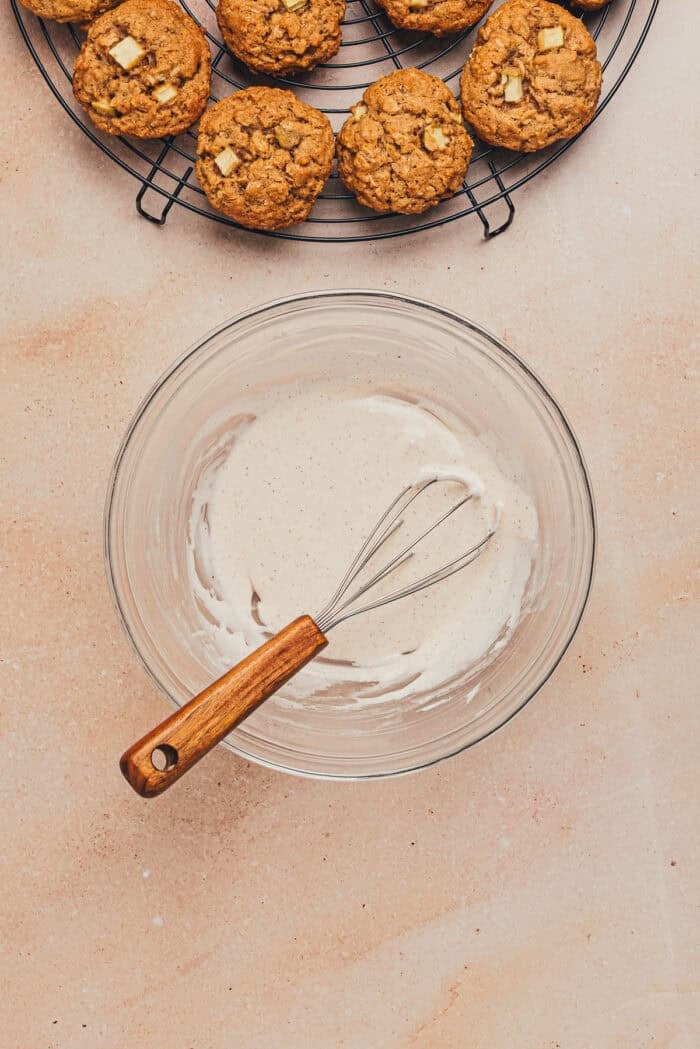
Once the cookies are completely cool, combine the powdered sugar, salt, nutmeg, vanilla, and 1 tablespoon of milk in a small bowl and whisk vigorously until smooth. If the icing is too thick, add more milk, a splash at a time, until it reaches a drizzleable consistency.
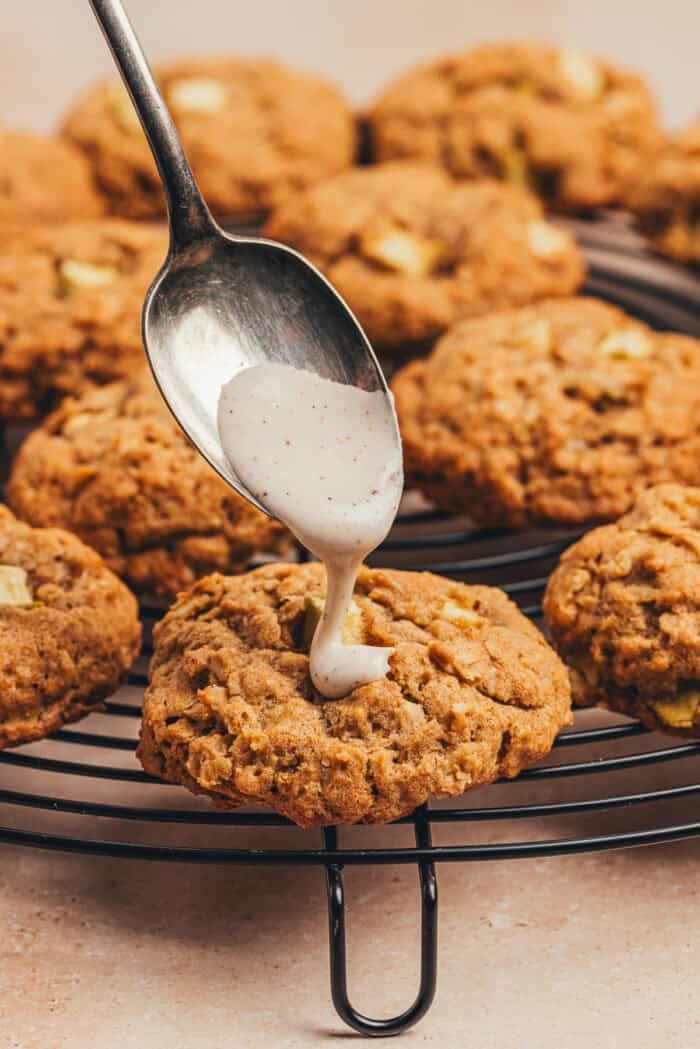
It should be thin enough to drizzle but thick enough to hold its shape on top of the cookies.
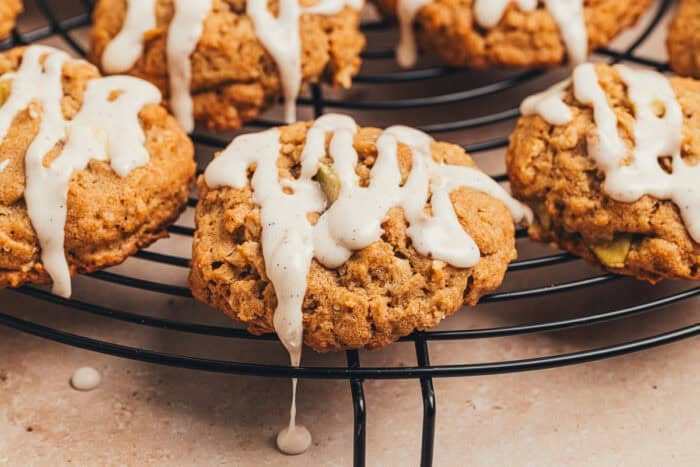
Drizzle the icing over the cookies with a spoon. Enjoy immediately, or allow the glaze to set for about 30–45 minutes.
How to Store
Leftovers can be stored at room temperature in an airtight container for up to 2 days, or in the refrigerator for up to 1 week.
More Fall Cookie Recipes
- Pumpkin Whoopie Pies with Cinnamon Cream Cheese Filling
- Pumpkin Spice Latte Cookies
- Pumpkin Snickerdoodles
- Pumpkin Oatmeal Cookies
- Pumpkin Chocolate Peanut Butter Cookies
What do you think of this amazing Fall cookie recipe? What would you serve with these cookies? Let me know in the comment section below.
If you share across social media, make sure to tag #aclassictwist, so I can see your beautiful creation come to life!
Happy Fall baking, friends!
Iced Cinnamon Apple Oatmeal Cookie Recipe

Iced Cinnamon Apple Oatmeal Cookies
Perfect for enjoying after a day of apple picking, these soft and chewy iced cinnamon apple oatmeal cookies are packed with cozy fall flavors.
Ingredients
For the cookies
- 1 ½ cups all-purpose flour
- 1 ½ cups old-fashioned rolled oats, not quick-cooking oats
- 1 ½ teaspoons ground cinnamon
- ½ teaspoon ground ginger
- ½ teaspoon baking soda
- ½ teaspoon sea salt
- ½ cup unsalted butter, softened to room temperature
- 1 cup brown sugar, packed
- 1 large egg + 1 egg yolk, at room temperature
- 1 teaspoon vanilla bean paste, or vanilla extract
- 1 cup finely chopped Granny Smith apple, or other firm apple variety
For the icing
- 1 cup powdered sugar, sifted
- 1 pinch sea salt
- ⅛ teaspoon ground nutmeg
- ¼ teaspoon vanilla bean paste, or vanilla extract
- 1-2 tablespoons milk
Instructions
- Preheat the oven to 350 degrees and line two or three large baking sheets with parchment paper.
- Whisk together the flour, oats, cinnamon, ginger, baking soda, and salt until well combined.
- Add the butter and brown sugar to the bowl of a stand mixer. Beat with the paddle attachment on medium speed until creamy, about 3–4 minutes. Scrape down the sides and bottom of the bowl, add the egg, egg yolk, and vanilla, and beat on medium-low until combined, about 1 minute.
- Scrape down the sides and bottom of the bowl, then add the dry ingredients. Mix on low speed until mostly combined, leaving small pockets of dry ingredients, then add the chopped apple. Mix until the apple is evenly incorporated throughout the cookie dough.
- Using a 1-ounce (2 tablespoon) cookie scoop, scoop up level portions of the dough. Place them at least 2 inches apart on the lined baking sheets. Bake the cookies for 14-16 minutes until golden around the edges and the edges are just set. Allow the cookies to cool for 15 minutes on the baking sheet before moving them to a wire rack to cool completely.
- Once the cookies are completely cool, combine the powdered sugar, salt, nutmeg, vanilla, and 1 tablespoon of milk in a small bowl and whisk vigorously until smooth. If the icing is too thick, add more milk a splash at a time until reaching a drizzleable consistency. It should be thin enough to drizzle but thick enough to hold its shape on top of the cookies. Drizzle the icing over the cookies with a spoon. Enjoy immediately, or allow the glaze to set for about 30–45 minutes.
- Leftovers can be stored at room temperature in an airtight container for up to 2 days, or in the refrigerator for up to 1 week.
Notes
Recipe Notes
- Any firm apple can be used in place of the Granny Smith such as Pink Lady, Honeycrisp, or Cosmic Crisp. You’ll need 1 medium apple in order to yield 1 cup of finely chopped apple.
- Be sure to use old-fashioned rolled oats instead of quick-cooking oats. Quick-cooking oats absorb more moisture during baking, resulting in a softer texture rather than a chewy one.
- I personally love the tartness of a Granny Smith apple in these cookies because it pairs well with the sweetness of the cookies and the icing. Feel free to use any firm apple variety here that will hold its shape during baking.
- The nutmeg in the icing adds extra depth to the warm spice of the cinnamon. Freshly grated nutmeg offers the best flavor, but you can swap in additional cinnamon if you do not have nutmeg on hand.
- These cookies have the best texture on the day they’re made since the pieces of apple and the icing will release moisture into the cookies over time. Their texture becomes softer and less chewy, but they’re still delicious!
- The chewy texture of these cookies relies on the combination of the old fashioned oats, the extra egg yolk, the brown sugar, and baking them until they are just set.
Recipe Tips and Testing Notes
FAQs
Can I use vanilla extract instead of vanilla bean paste? Yes, you can swap vanilla extract for the vanilla bean paste in the cookies and the icing. The cookies' flavor will vary slightly, as vanilla bean paste has a deeper, more intense flavor.
Can I freeze these cookies? Freezing the baked cookies is not recommended, as their texture softens significantly as they thaw due to the apple pieces. However, you can easily freeze balls of unbaked dough and bake them straight from the freezer. Use a scoop to portion the dough, freeze the portions on a parchment-lined plate or tray, and then transfer them to freezer bags once fully frozen. When you are ready to bake, place the frozen dough balls onto a parchment-lined sheet and bake according to the recipe instructions, adding 1–2 minutes to the total baking time.
Recommended Products
As an Amazon Associate and member of other affiliate programs, I earn from qualifying purchases.

Nutrition Information:
Yield:
15Serving Size:
1Amount Per Serving: Calories: 247Total Fat: 7gSaturated Fat: 4gUnsaturated Fat: 3gCholesterol: 30mgSodium: 176mgCarbohydrates: 44gFiber: 1gSugar: 34gProtein: 2g
The post Iced Cinnamon Apple Oatmeal Cookies appeared first on A Classic Twist.
]]>The post Brown Butter Chai Snickerdoodles appeared first on A Classic Twist.
]]>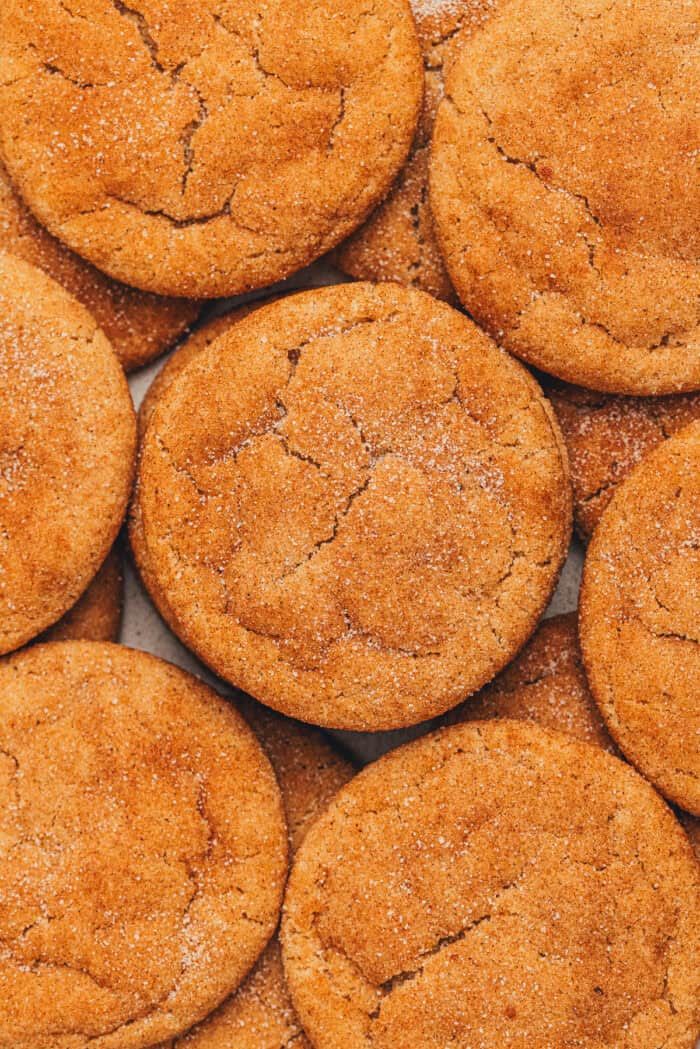
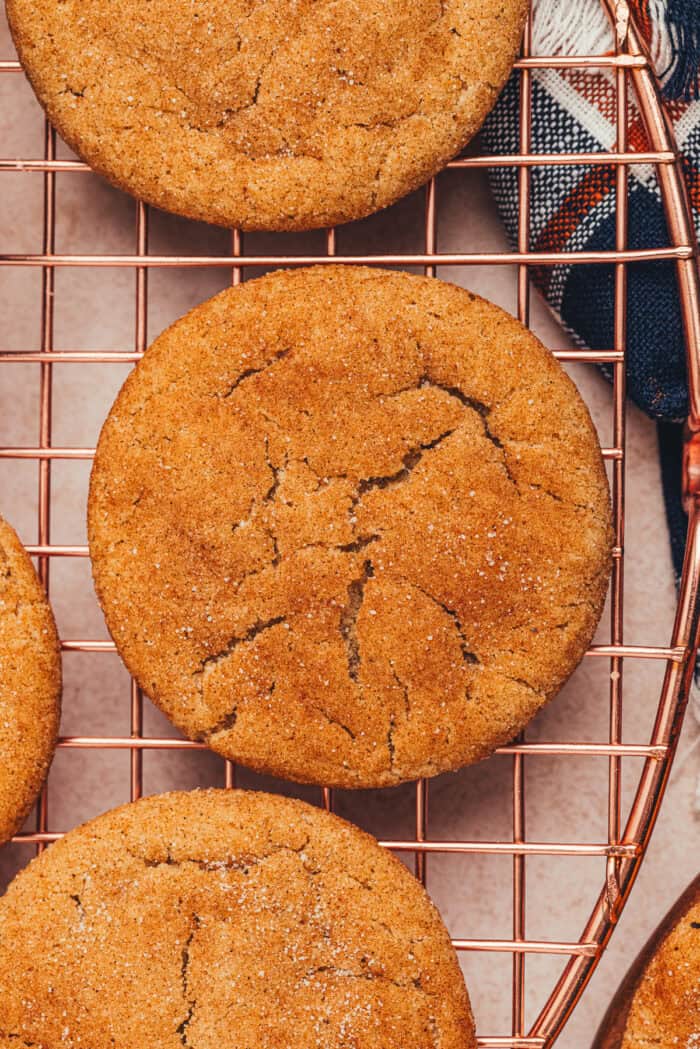
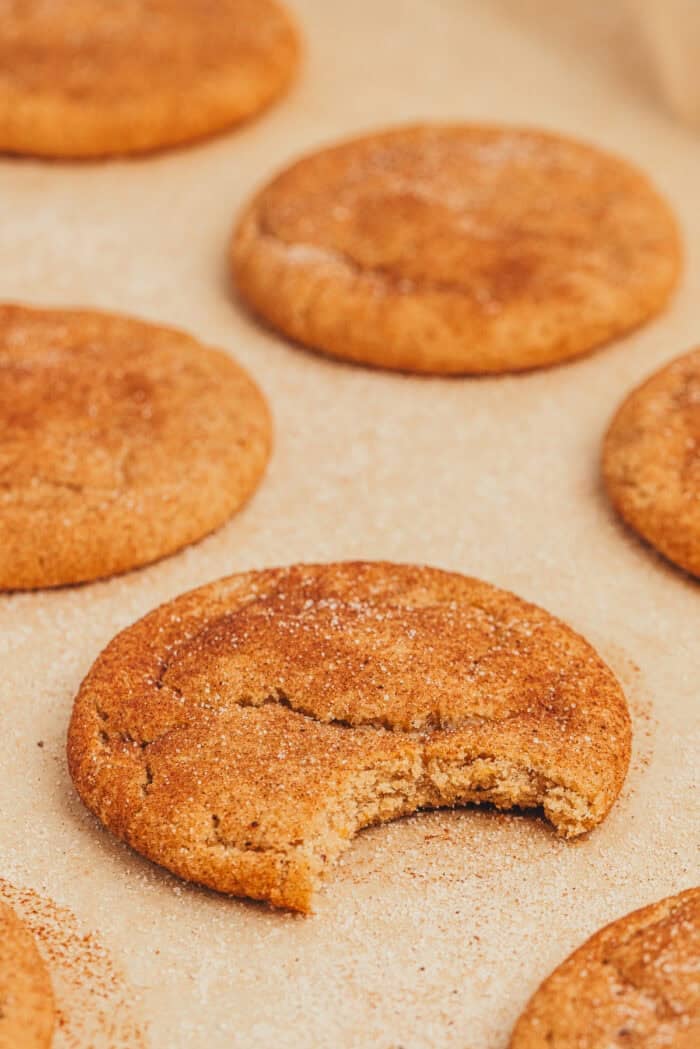
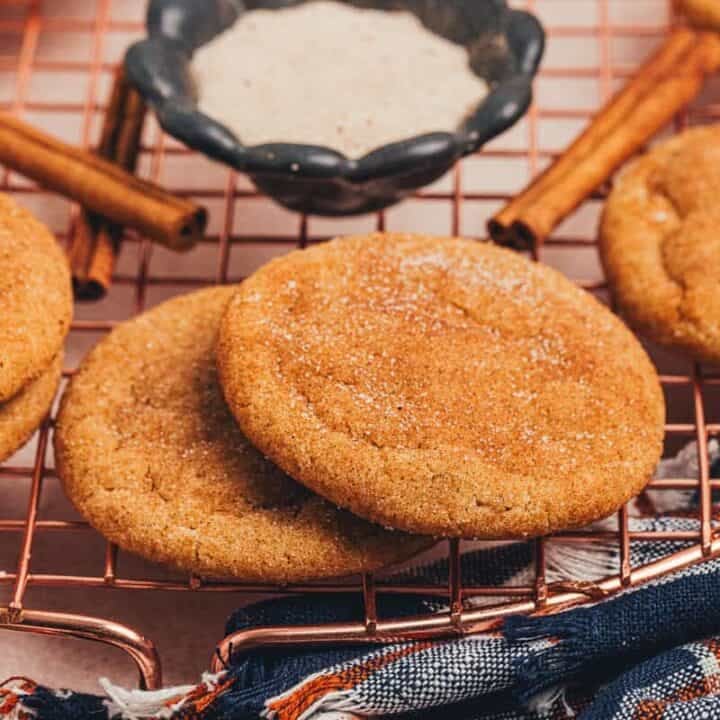
These brown butter chai snickerdoodles take the classic, nostalgic cookie and give it a cozy, warmly spiced twist. Nutty brown butter and fragrant chai spices come together in a cookie with crackly sugar-coated edges and a soft, chewy center. They’re rich, buttery, and incredibly comforting, and the dough doesn’t require any chilling or resting before baking.
There’s nothing quite like the smell of brown butter and warm spices filling up the kitchen. It’s cozy, it’s nostalgic, and it makes the whole house smell like fall (even if it’s the middle of July).
If you’ve been craving a snickerdoodle with a little something extra, this recipe is for you.
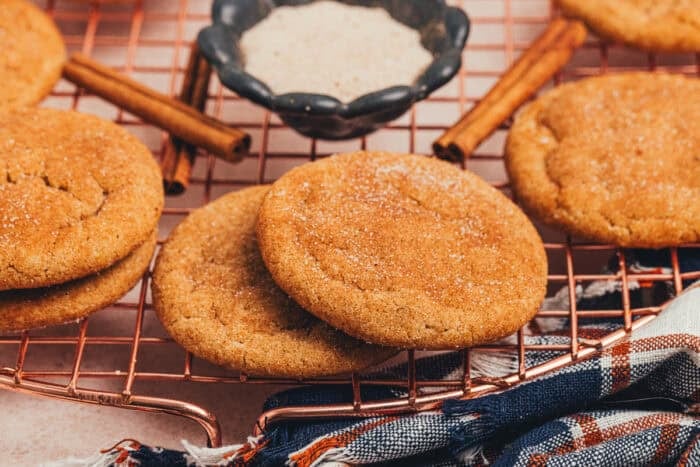
These brown butter chai snickerdoodles combine everything you love about the classic bakery-style snickerdoodle — that crackly, sugar-coated exterior and soft, chewy center — with nutty brown butter and a warming blend of cinnamon, cardamom, ginger, cloves, nutmeg, and black pepper.
I love how simple these cookies are to put together. There’s no chilling, no resting, and no fancy equipment required — just a skillet for the brown butter and a stand mixer (or hand mixer) for the dough. You’ll have warm cookies in under an hour.
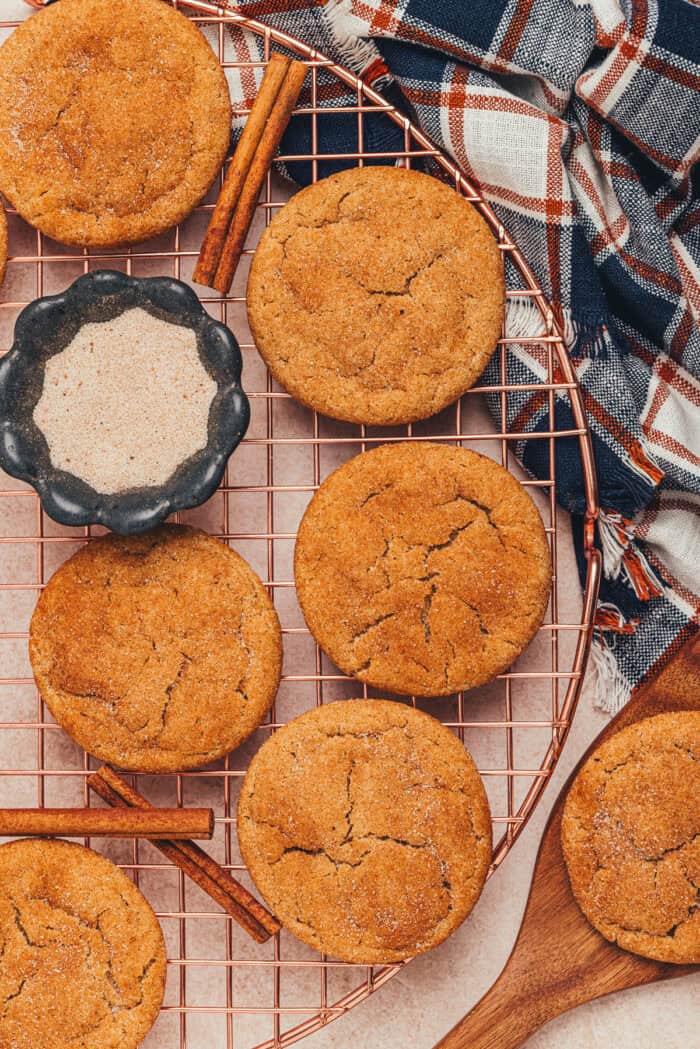
Now, let’s talk about a few tips to make sure these cookies turn out perfectly. First, make sure your brown butter has cooled completely and re-solidified before you use it. If it’s still warm or liquid, it will make the dough too soft, and the cookies will spread too thin.
I also recommend using room-temperature eggs. Cold eggs can cause the brown butter to seize up, making the dough clumpy rather than smooth. I like to set my eggs out as soon as the brown butter comes off the stove, so they have plenty of time to reach room temperature.
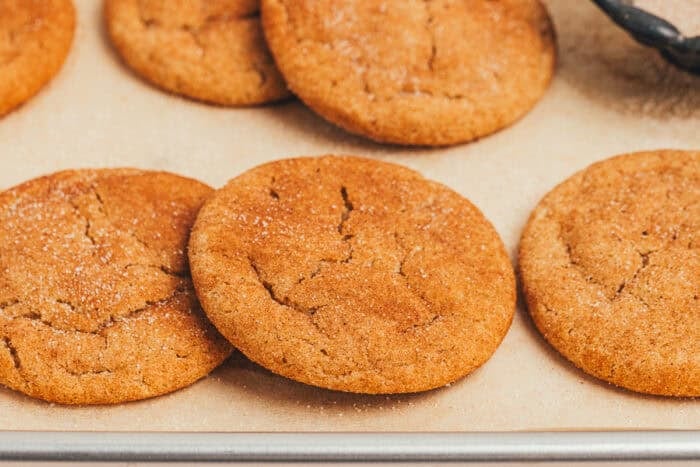
Don’t skip mixing the chai spices into both the sugar and the dough. I tested a batch using the chai sugar only as a coating, and the spice flavor was much more muted throughout the cookie. Using it in both places really packs in that cozy chai flavor.
These brown butter chai snickerdoodles are everything you love about a classic snickerdoodle, dressed up with warm spice and nutty depth. They’re soft, chewy, and packed with cozy flavor that will have everyone reaching for seconds.
Ingredients
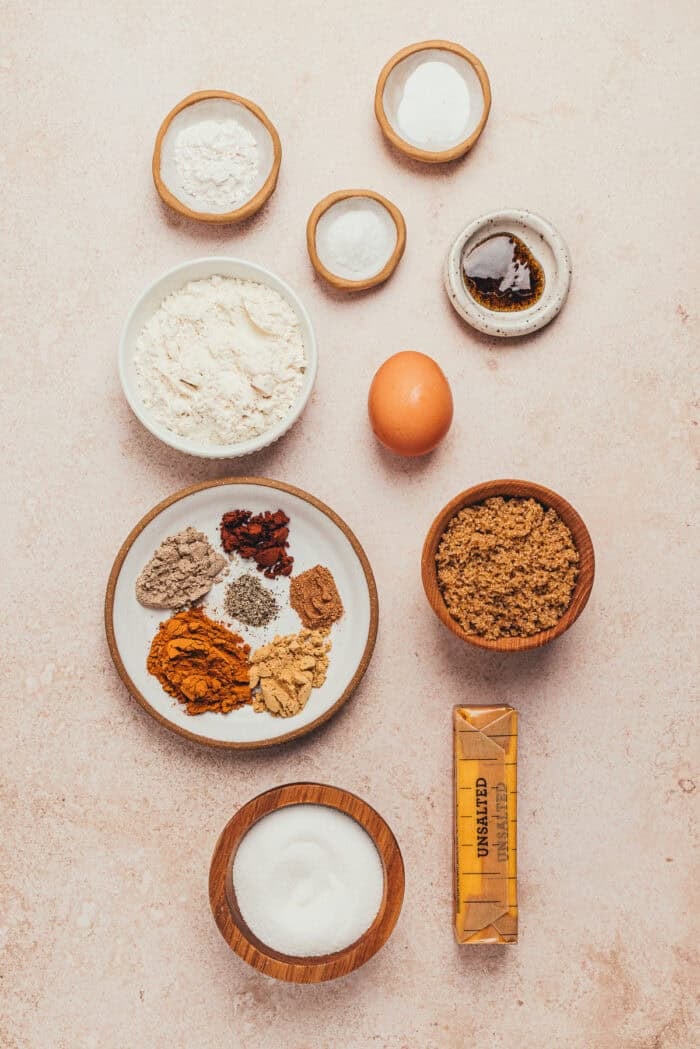
- unsalted butter
- granulated sugar
- ground cinnamon
- ground cardamom
- ground ginger
- ground cloves
- ground nutmeg
- black pepper
- all-purpose flour
- baking soda
- cream of tartar
- sea salt
- brown sugar
- a large egg + an egg yolk
- vanilla bean paste
How to Make Brown Butter Chai Snickerdoodles

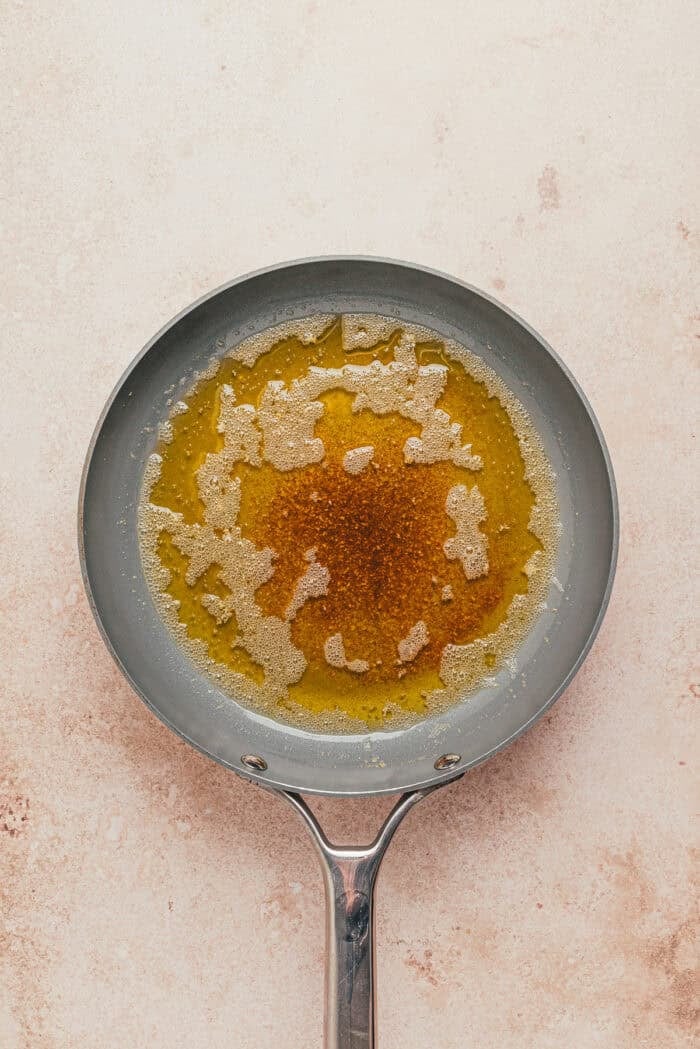
Add the butter to a large skillet or frying pan and set it over medium heat. Once melted, keep an eye on it — when it starts to bubble and pop, stir regularly, scraping up the browned bits from the bottom of the pan. Once the bubbling slows and the bits have turned golden brown, remove the pan from the heat and let the brown butter cool completely to room temperature until it re-solidifies.
Preheat the oven to 350 degrees and line two large baking sheets with parchment paper. Mix together the granulated sugar, cinnamon, cardamom, ginger, cloves, nutmeg, and black pepper in a small bowl until the spices are evenly distributed. Set the chai-spiced sugar aside.
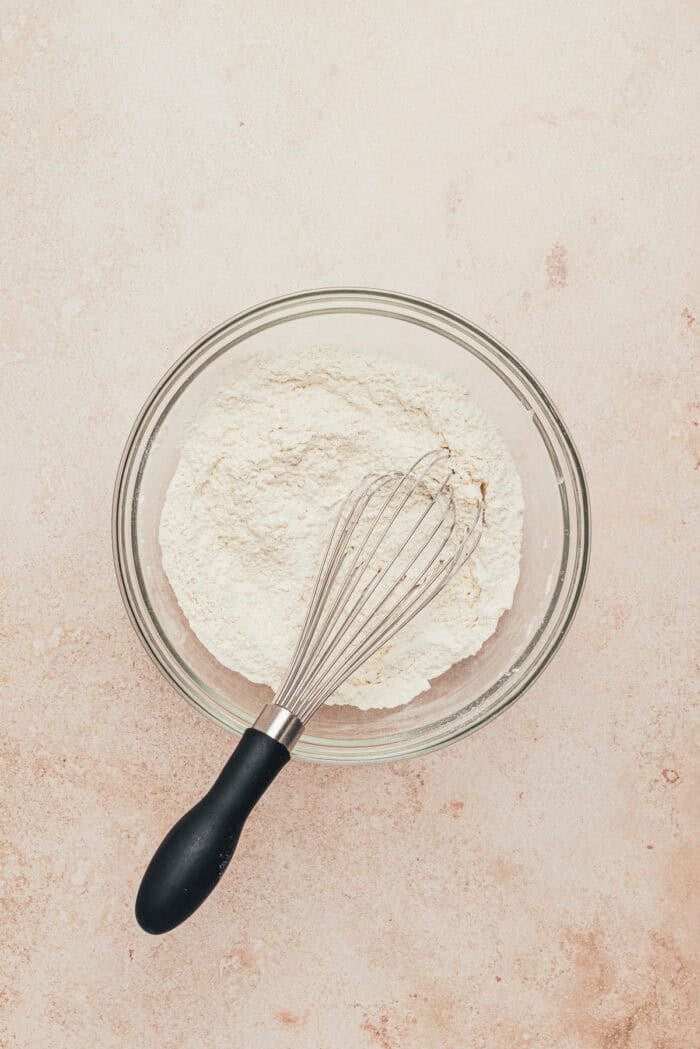
Whisk together the flour, baking soda, cream of tartar, and salt in a medium bowl, then set aside.
Add the cooled brown butter to the bowl of a stand mixer fitted with the whisk attachment, along with ½ cup of the chai-spiced sugar and the brown sugar. Beat with the paddle attachment on low until creamy, about 2-3 minutes. Add the egg, egg yolk, and vanilla, then beat on medium-low until smooth and well combined, about 1-2 minutes.
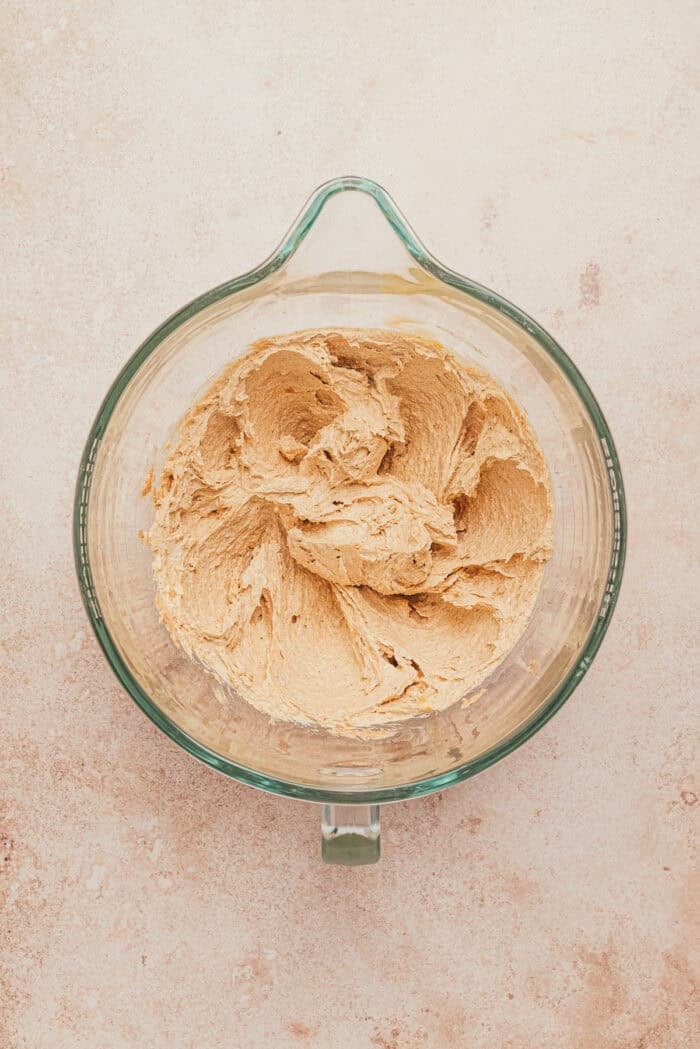
With the mixer running on low, gradually add the dry ingredients until just combined. The dough will be fairly stiff and will start to ball up on the paddle when it’s ready.
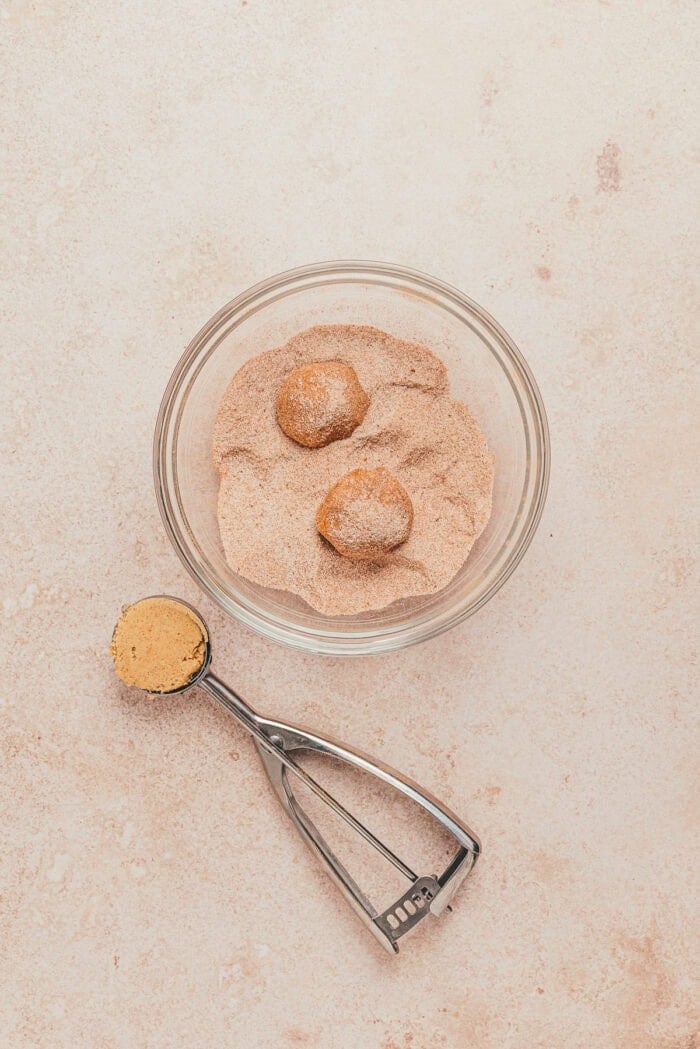
Use a 1-ounce scoop to portion the dough, roll into balls, then roll each ball in the remaining chai sugar to coat. Place on the lined baking sheets, spacing the dough about 2 inches apart.
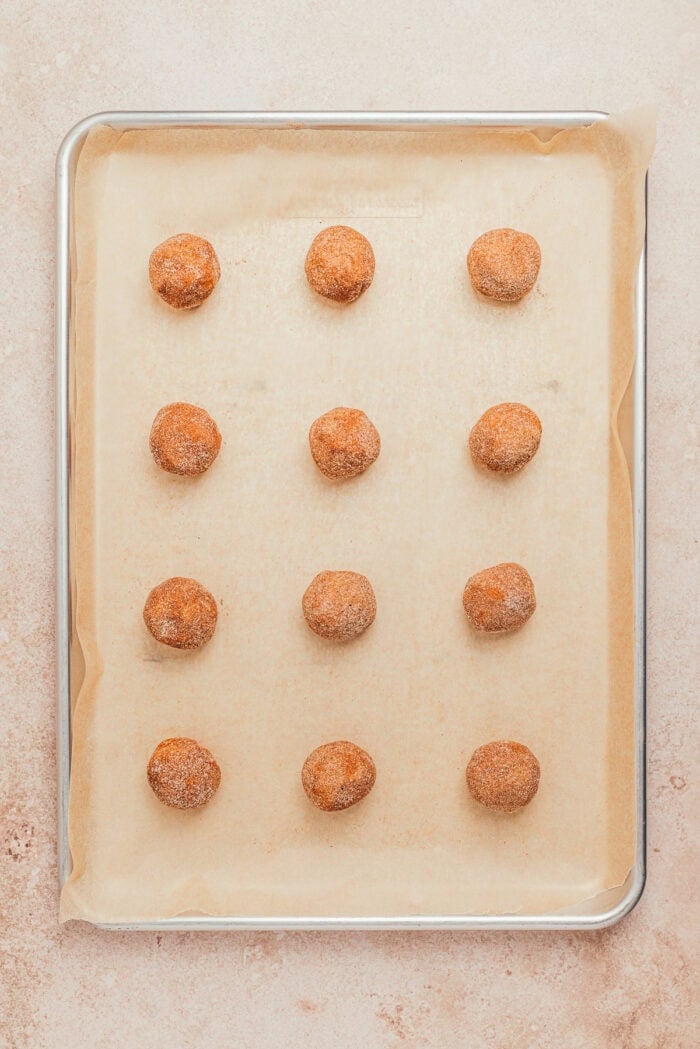
Bake for 10-12 minutes, until the edges are set but the centers still look slightly underdone. Allow the cookies to cool completely on the baking sheets before enjoying — they’ll continue to set as they cool.
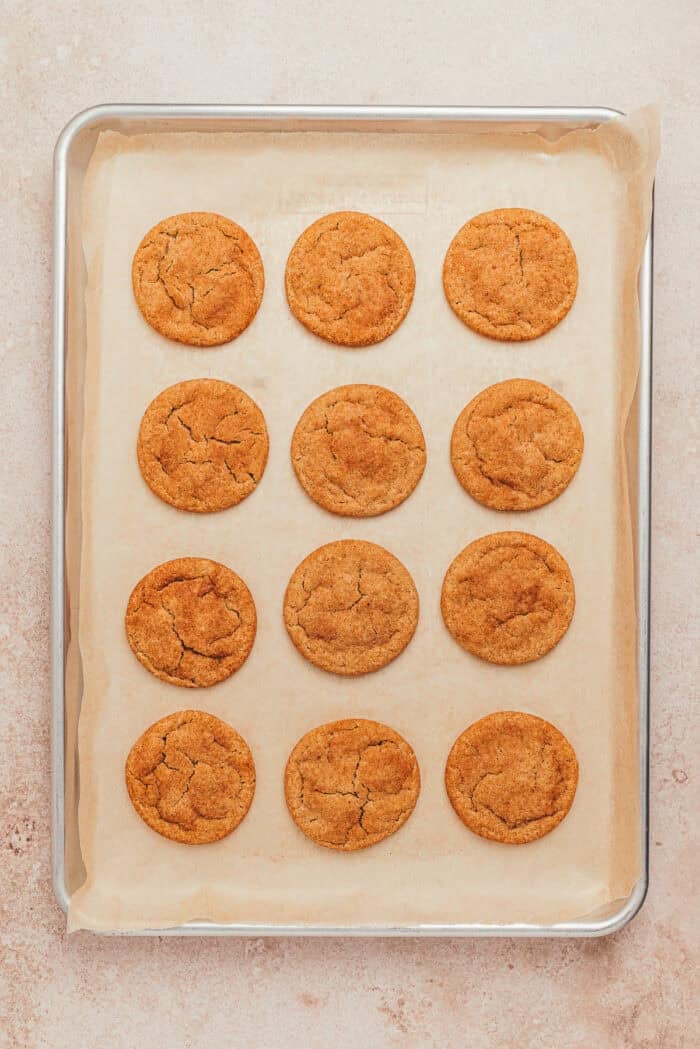
How to Store
Store baked and cooled cookies in an airtight container on the counter for 4-5 days.
To freeze: Place a small piece of parchment paper between each cookie, then transfer to a freezer bag or airtight container, removing as much air as possible. Freeze for up to 3 months. Thaw on the counter for 20-30 minutes before enjoying.
More Cozy Cookie Recipes
- Brown Butter Sugar Cookies
- Gingerbread Chai Cookies
- Pumpkin Snickerdoodles
- Pumpkin Spice Latte Cookies
- Classic Snickerdoodle Cookies
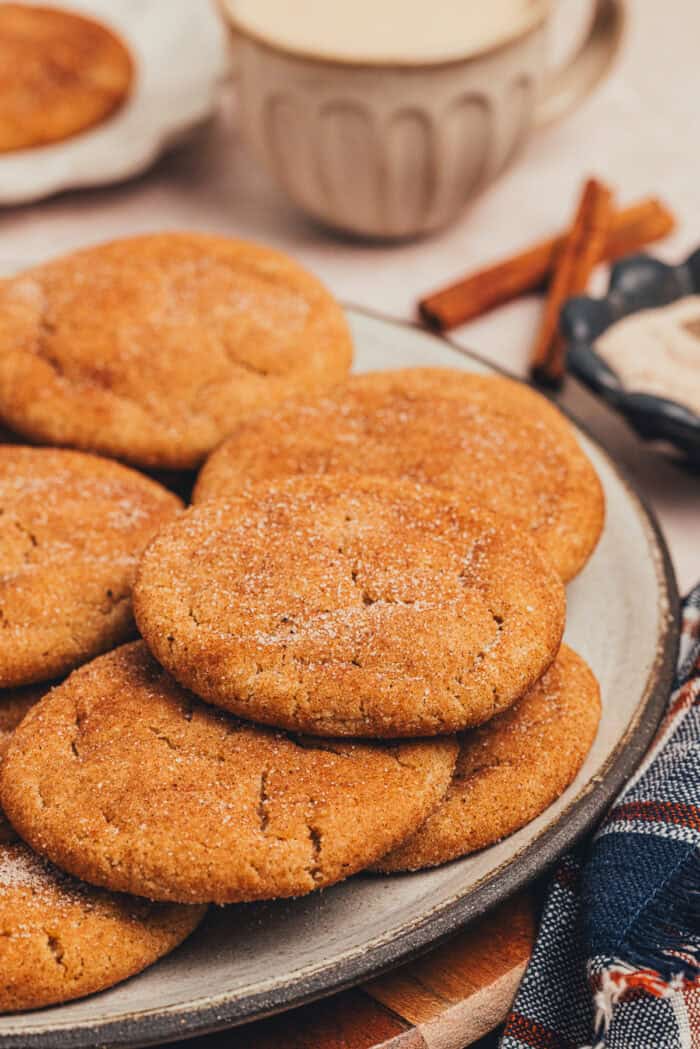
What do you think of these brown butter chai snickerdoodles? Do you have a favorite chai-spiced treat? Let me know in the comments below!
If you make these, share a photo on social media and tag me so I can see your beautiful cookies come to life.
Happy baking, friends!
FAQs
Do I need to chill the dough? No, you do not need to chill the dough for this recipe. Chilling the dough prevents the cookies from spreading as much during baking, resulting in a softer texture rather than a chewy one.
Can I freeze leftover cookies? Yes, these cookies freeze beautifully. Place a small piece of parchment paper in between each leftover cookie, then place the cookies in a freezer bag or airtight container. Try to remove as much air as possible. Freeze for up to 3 months. Whenever you’re ready to eat a cookie, remove it from the freezer and let it thaw on the counter for about 20-30 minutes.
Can I use a store-bought chai spice blend instead of individual spices? Yes — substitute 2 tablespoons of a pre-made chai spice blend for the cinnamon, cardamom, ginger, cloves, nutmeg, and black pepper.
Brown Butter Chai Snickerdoodles
These brown butter chai snickerdoodles take the classic, nostalgic cookie and give it a cozy, warmly spiced twist.
Ingredients
- 1 cup unsalted butter
- 1 cup granulated sugar
- 1 tablespoon ground cinnamon
- 1 teaspoon ground cardamom
- 1 teaspoon ground ginger
- ½ teaspoon ground cloves
- ¼ teaspoon ground nutmeg
- ¼ teaspoon black pepper
- 2 ½ cups all-purpose flour
- 1 teaspoon baking soda
- 2 teaspoons cream of tartar
- ¾ teaspoon sea salt
- ½ cup brown sugar, packed
- 1 large egg + 1 egg yolk, at room temperature
- 1 teaspoon vanilla bean paste, or vanilla extract
Instructions
- Add the butter to a large skillet or frying pan, then set it over medium heat. Once the butter has fully melted, keep an eye on it. When it starts to bubble and pop, stir it regularly, making sure to scrape up the bits on the bottom of the pan. Once the bubbling slows and the bits on the bottom of the pan have turned golden brown, remove the pan from the heat. Allow the brown butter to cool completely to room temperature. It’s ready once it has re-solidified (see photos).
- Preheat the oven to 350 degrees and line two large baking sheets with parchment paper.
- Mix together the granulated sugar, cinnamon, cardamom, ginger, cloves, nutmeg, and black pepper in a small bowl. Mix well so that the spices are evenly distributed throughout the sugar. Set aside the chai-spiced sugar.
- Whisk together the flour, baking soda, cream of tartar, and salt in a medium bowl. Set aside.
- Add the cooled brown butter to the bowl of a stand mixer along with ½ cup of the chai-spiced sugar and the brown sugar. Beat with the paddle attachment on low until creamy (about 2-3 minutes), then add the egg, egg yolk, and vanilla. Beat on medium low until smooth and well combined, about 1-2 minutes.
- With the mixer running on low, gradually add the dry ingredients until just combined. The cookie dough will be fairly stiff and will start to ball up on the paddle when it’s ready.
- Use a 1-ounce scoop to scoop up portions of the dough. Roll the dough into a ball, then roll in the remaining chai sugar to coat. Place the dough on the lined baking sheet. Continue with the remaining dough, spacing the balls of cookie dough about 2 inches apart.
- Bake the cookies in the preheated oven for 10-12 minutes until the edges are set but the centers are still underdone. Allow the cookies to cool completely on the baking sheets before enjoying.
- Baked and cooled cookies can be kept on the counter in an airtight container for 4-5 days.
Notes
- The cookies will continue to finish baking once you remove them from the oven, so make sure to allow them to cool fully on the baking sheets.
- You’ll have leftover chai-spiced sugar. You can use it in coffee, tea, or combine it in a 1 to 1 ratio with water to make a chai simple syrup.
Recipe Tips and Testing Notes
- During testing, I tried the cookies with 2 whole eggs and with 1 egg and an egg yolk. I ended up preferring the texture of the batch made with 1 egg and an egg yolk because they had a chewier texture. If you prefer a slightly more cakey and softer snickerdoodle, you can use 2 whole room-temperature eggs.
- In order to really pack in the chai spices, the chai sugar is used in the cookie dough as well as the balls of dough being coated in it. I tried a batch without the chai sugar in the cookie dough and the flavor was very muted.
- If you happen to have a chai spice blend on hand, you can use 2 tablespoons of it in the recipe in place of all of the spices listed.
- Make sure that your egg and egg yolk are at room temperature. This will allow them to incorporate into the dough more easily and prevent the brown butter from seizing up. I like to set my eggs out once the brown butter is finished to allow plenty of time to take the chill off.
- If you prefer, you can make the brown butter several days ahead of time and keep it in a bowl in the fridge. Allow it to come to room temperature before using it to make the cookies.
Recommended Products
As an Amazon Associate and member of other affiliate programs, I earn from qualifying purchases.


The post Brown Butter Chai Snickerdoodles appeared first on A Classic Twist.
]]>The post Dark Chocolate S’mores Blondies appeared first on A Classic Twist.
]]>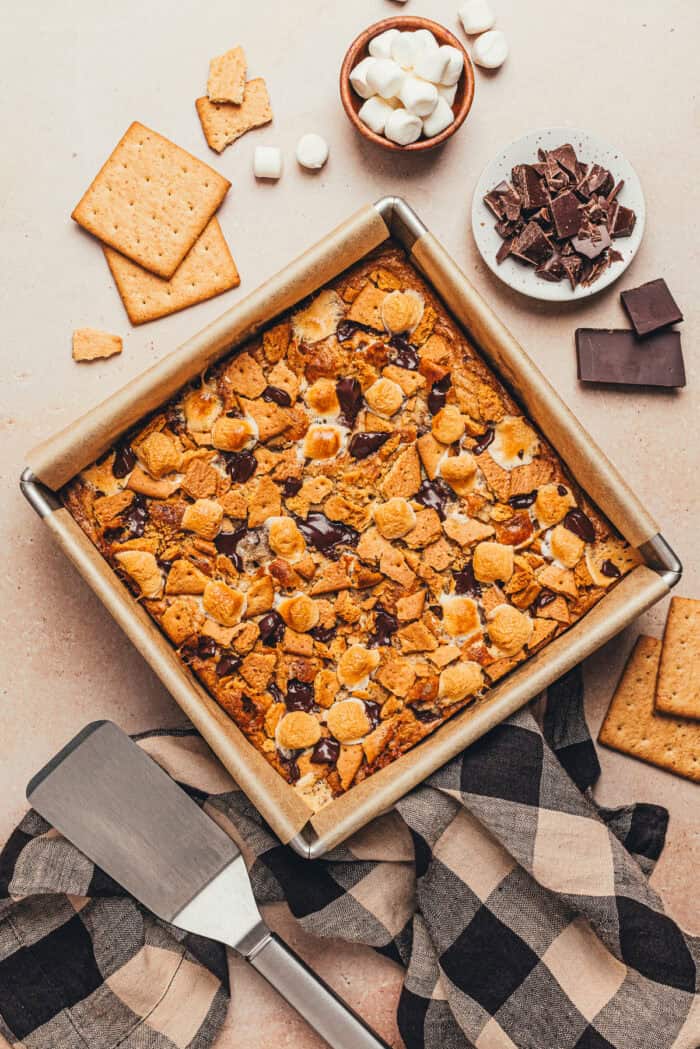
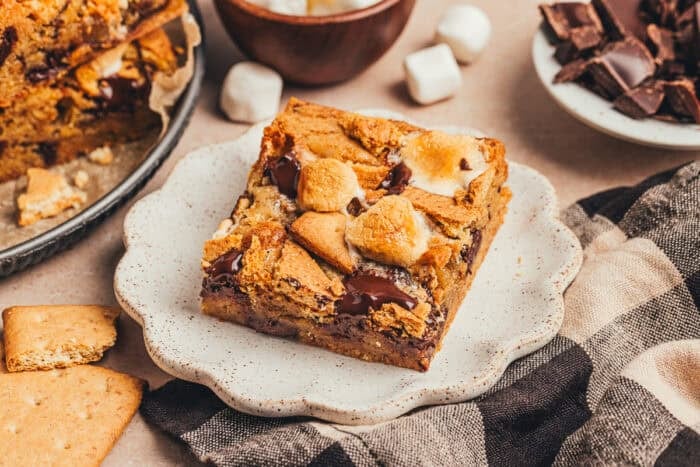
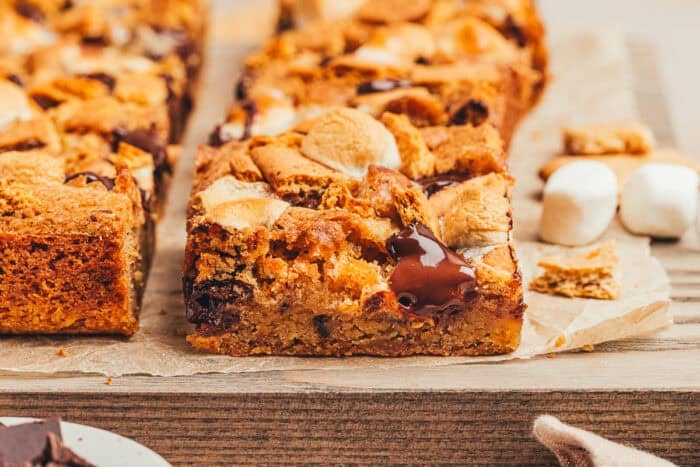
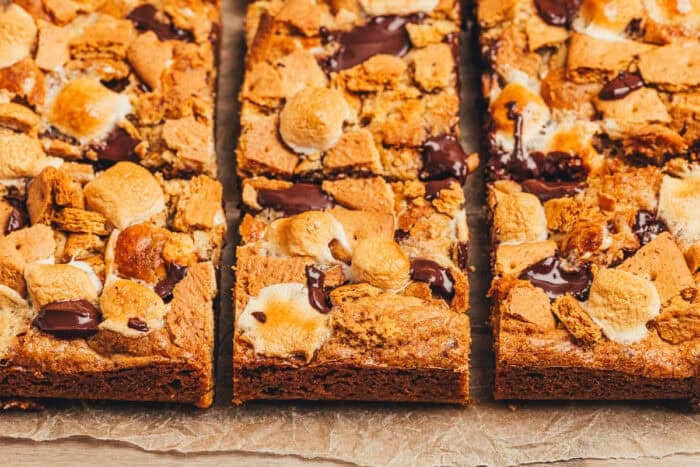
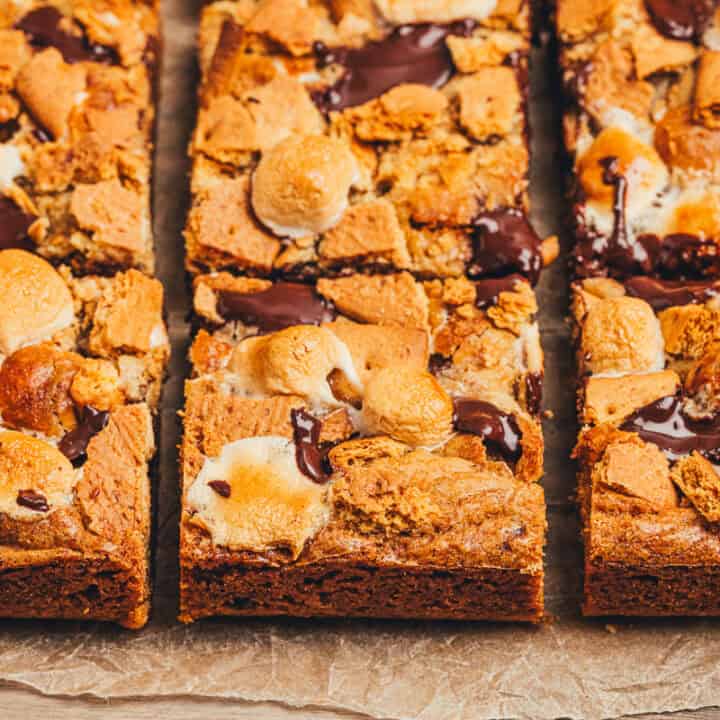
These dark chocolate S’mores blondies are a fun and decadent twist on the classic campfire treat. Dark chocolate chunks and mini marshmallows are folded into a rich, buttery blondie batter, then topped with crunchy graham cracker pieces. Baked until golden around the edges, the center stays perfectly soft and chewy. Each bite is packed with the nostalgic flavor of traditional S’mores without the need for a campfire. These easy S’mores bars are perfect for summer gatherings, after-school snacks, or anytime you’re craving those nostalgic flavors!
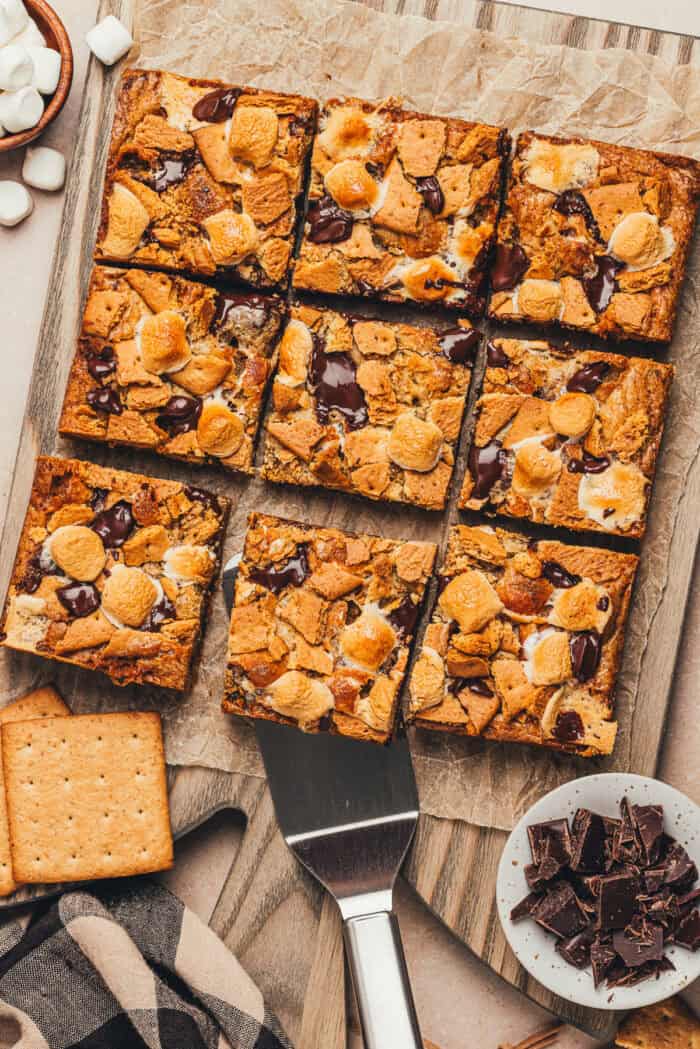
A warm, gooey S’more always brings back cozy memories. There is nothing better than sitting around the fire on a Saturday night and eating a melty, toasted S’more!
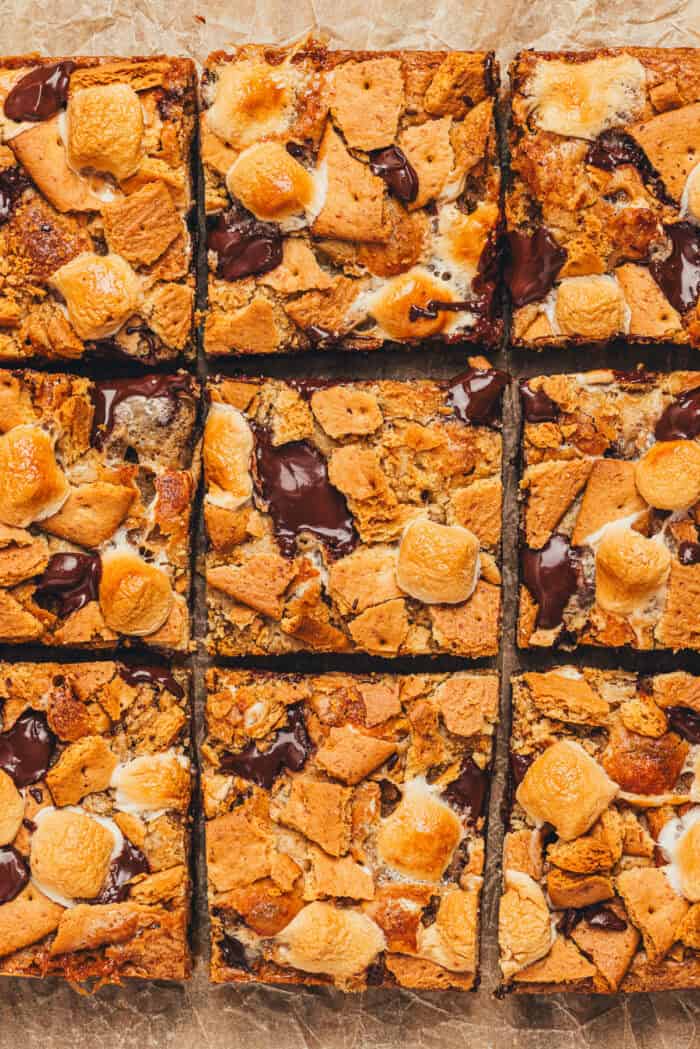
If you’ve been craving s’mores, this recipe is for you!
These dark chocolate S’mores blondies capture all of those comforting memories in one easy bar.
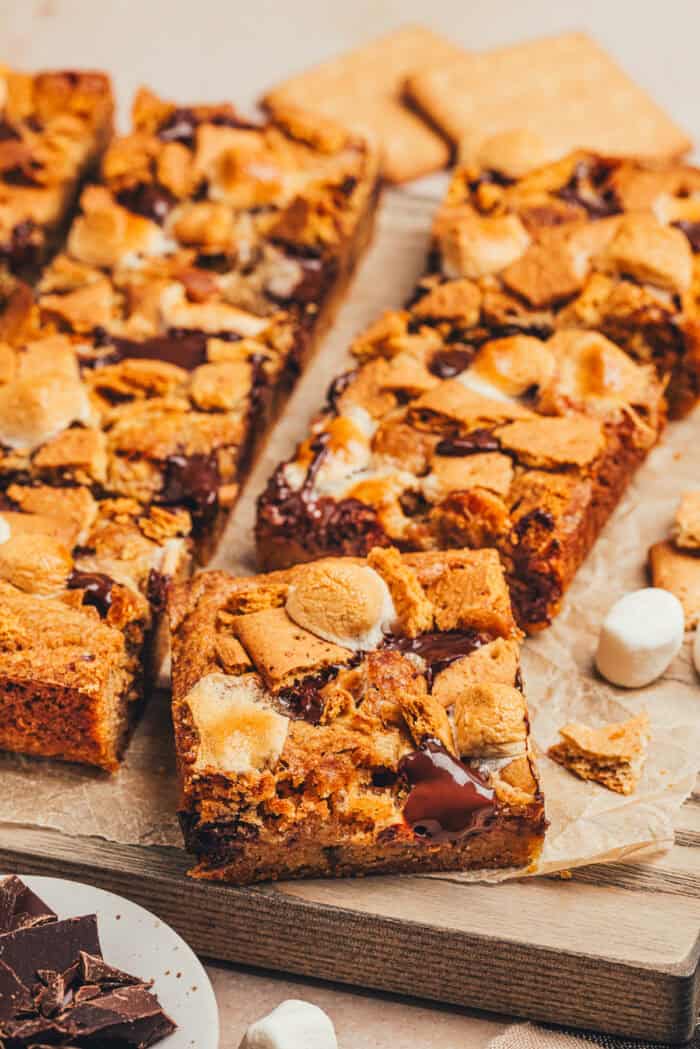
These blondies combine the classic chewy blondie and everything you love about S’mores: the toasted marshmallows, the crunchy bits of graham crackers, and that perfect melty dark chocolate.
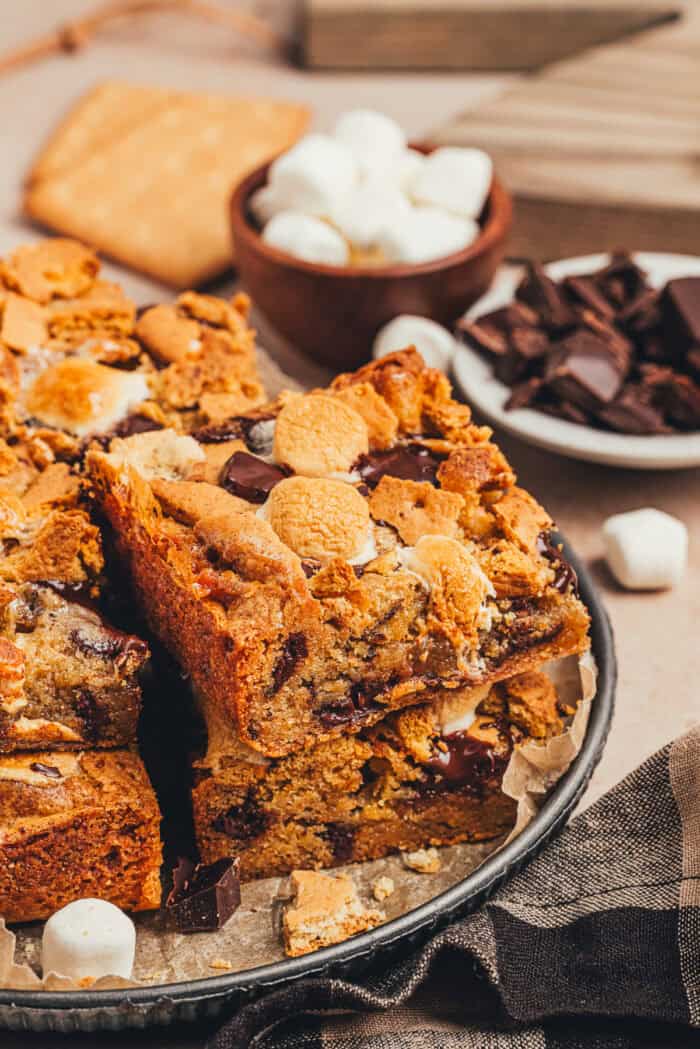
I love how easy these S’mores blondies are to make. Plus, you can make them anytime of the year, and no need to build a fire! Everything comes together in one pan with simple ingredients.
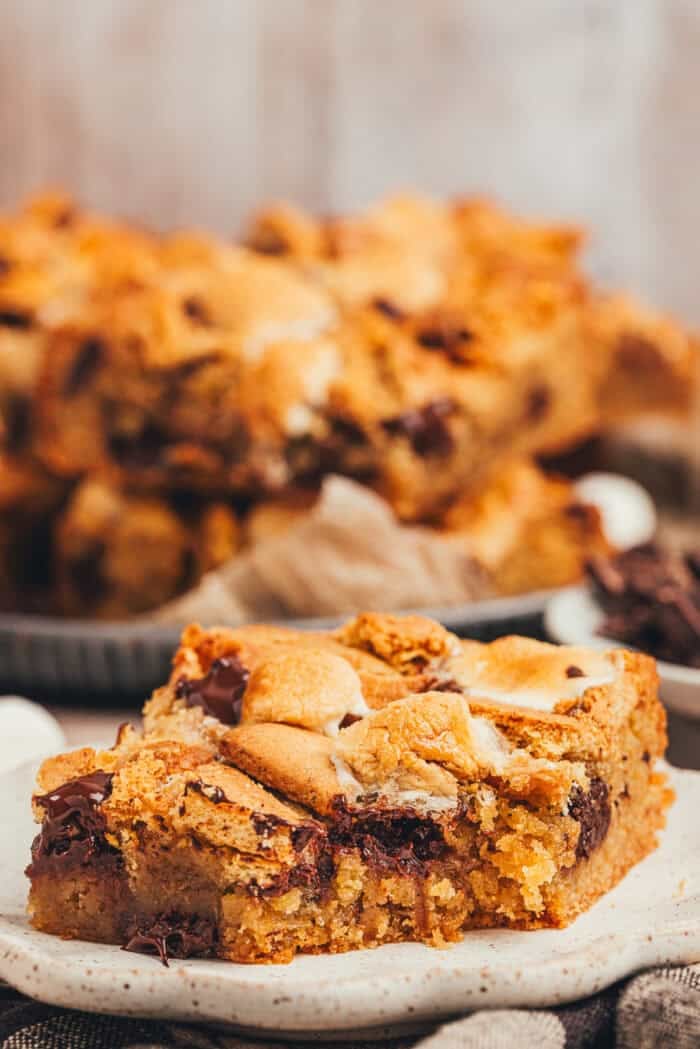
Now, let’s talk about some tips so these bars turn out delicious. First, I recommend using an 8-inch square baking pan. Using a larger pan will spread the batter too thin, and you’ll lose that thick, soft, chewy center that makes these bars so delicious. If you’d like to make a larger batch, simply double the recipe and bake it in a 9×13-inch pan.
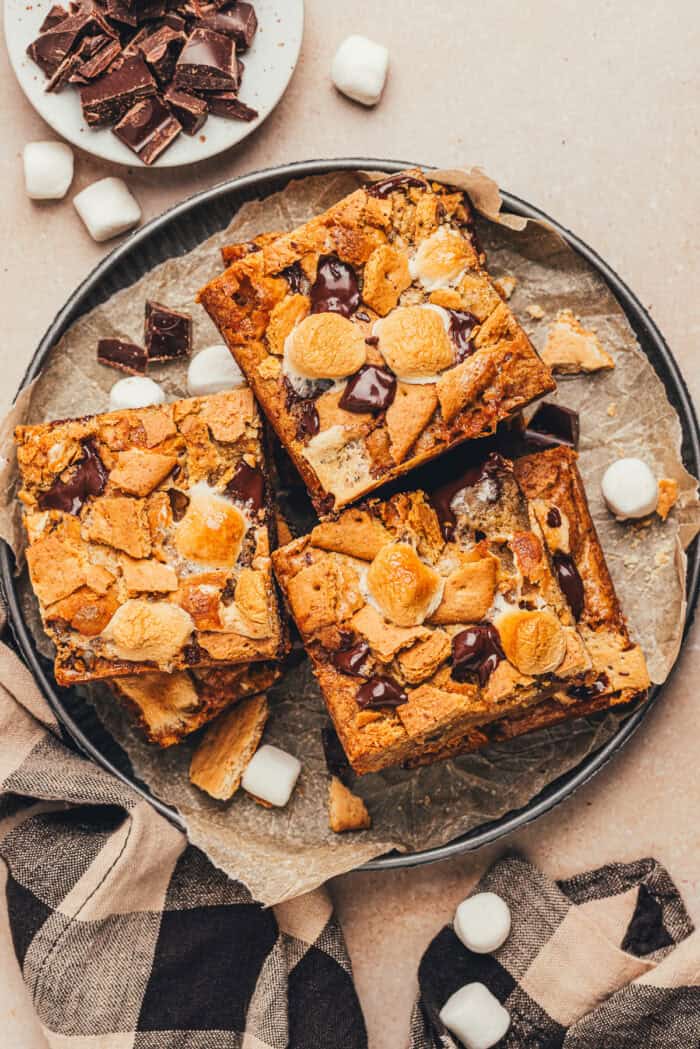
If you don’t have a dark chocolate bar on hand, you can substitute dark chocolate chunks. Use ⅔ cups to equal a chocolate bar.
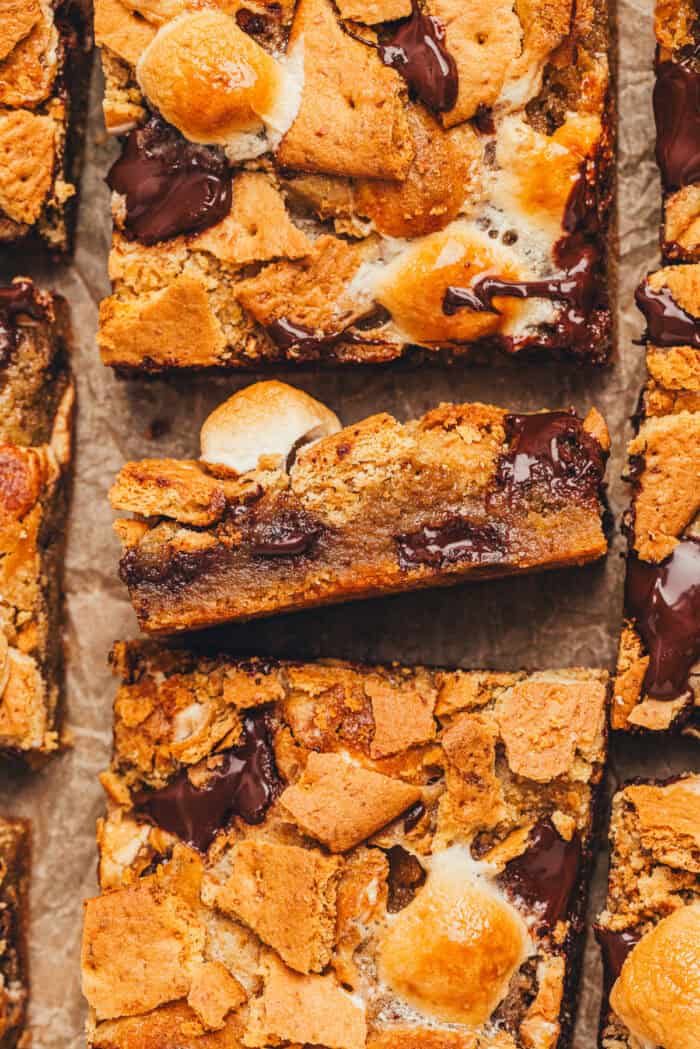
I do not recommend substituting the graham crackers for graham cracker crumbs. These bars won’t be the same without broken graham cracker pieces; they add that signature crunch and texture that make a S’more.
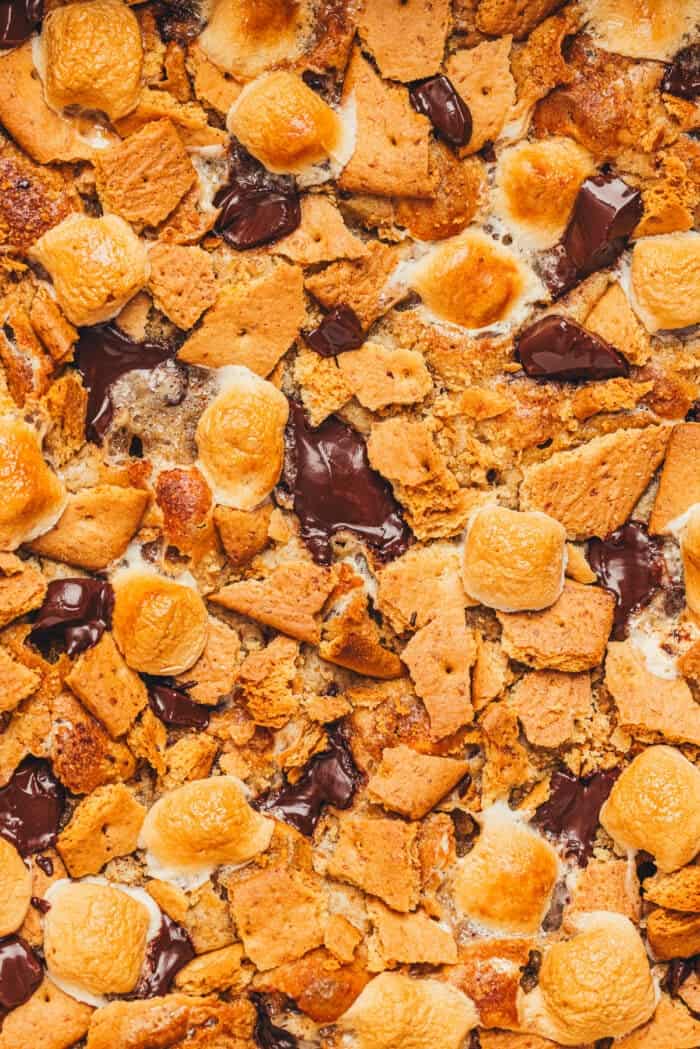
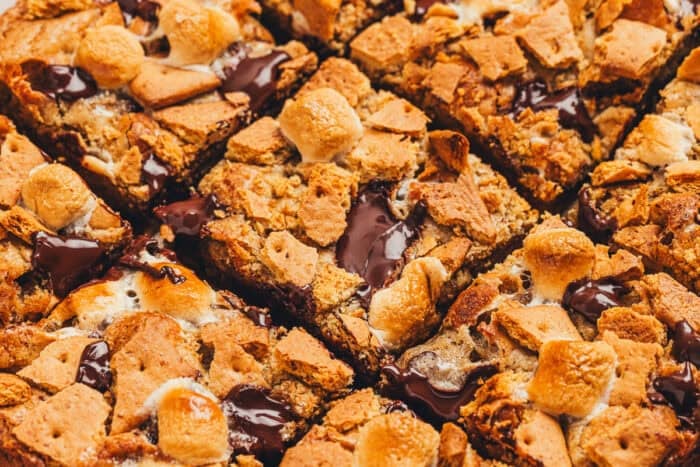
These dark chocolate S’mores blondies are everything you love about the classic campfire dessert combined in an easy-to-make bar. They’re rich, buttery, gooey, chocolatey, and packed with nostalgic flavor that will have everyone reaching for seconds.
Ingredients
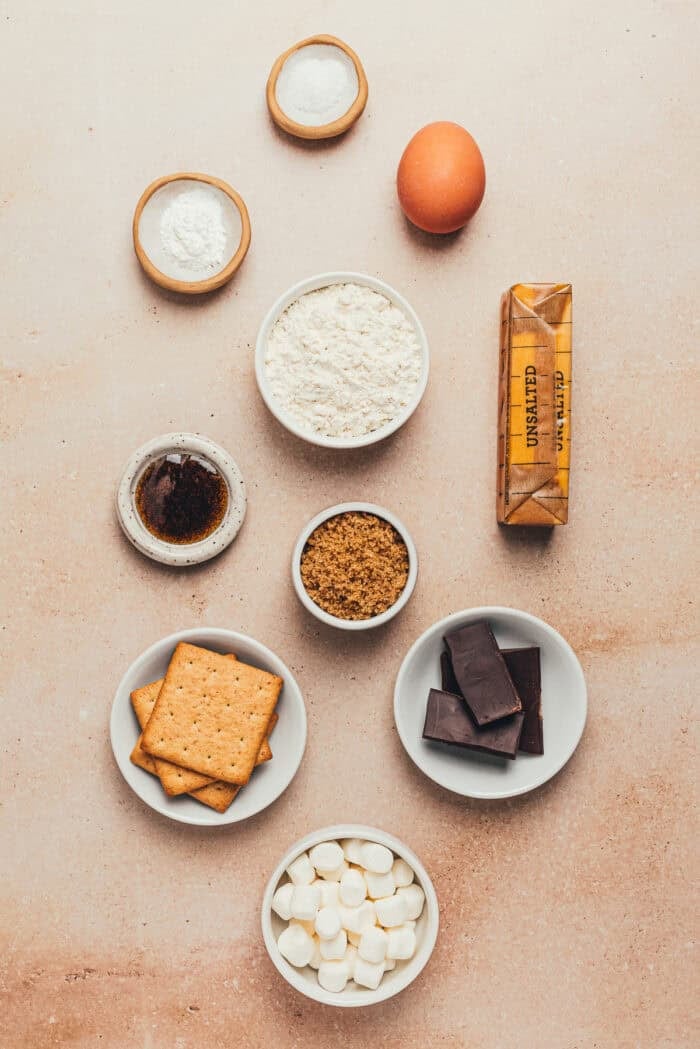
- all-purpose flour
- baking powder
- sea salt
- unsalted butter
- brown sugar
- a few eggs
- vanilla bean paste
- bar dark chocolate
- mini marshmallows
- graham cracker
How to Make S’mores Blondies
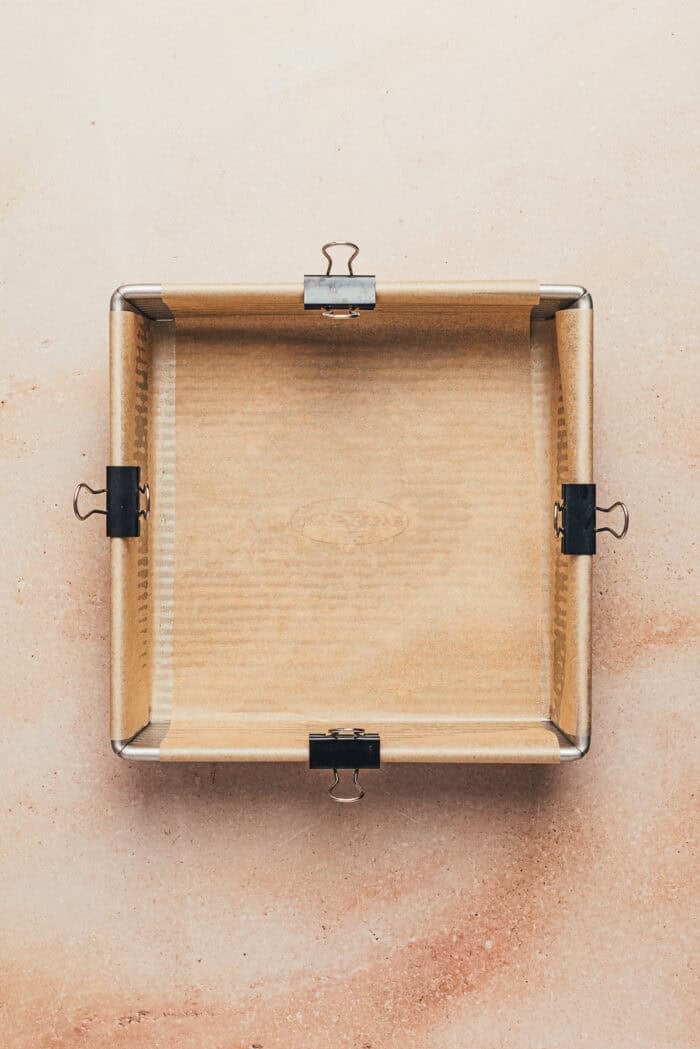
Preheat the oven to 350 degrees. Lightly grease an 8-inch square baking pan, then line it with parchment on all sides, leaving an overhang.
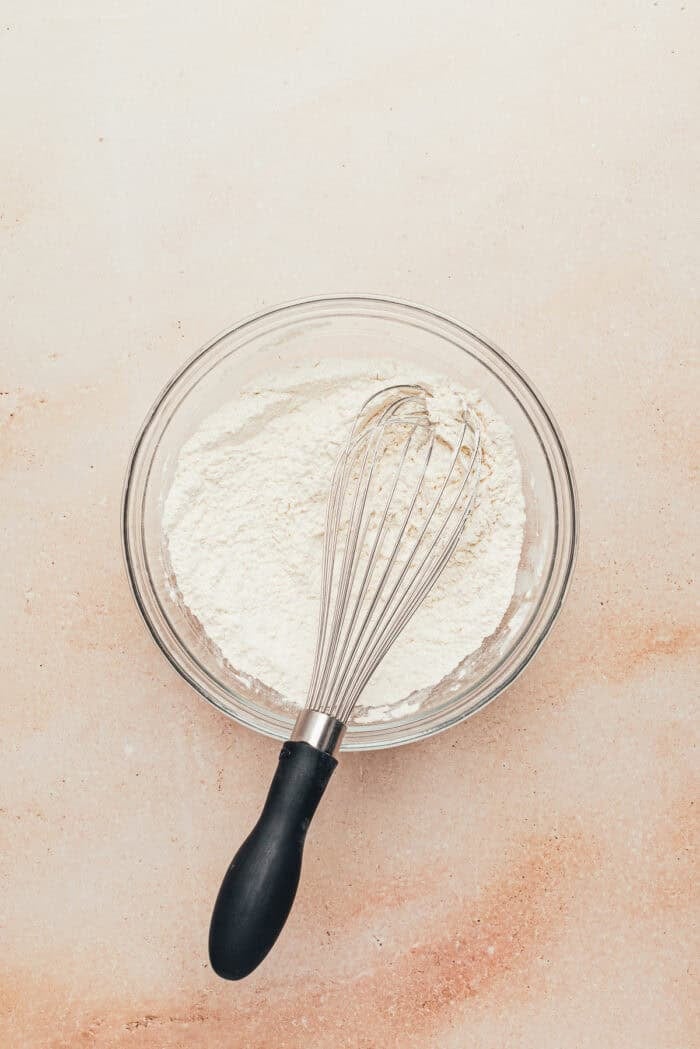
Whisk together the flour, baking powder, and sea salt, then set aside.
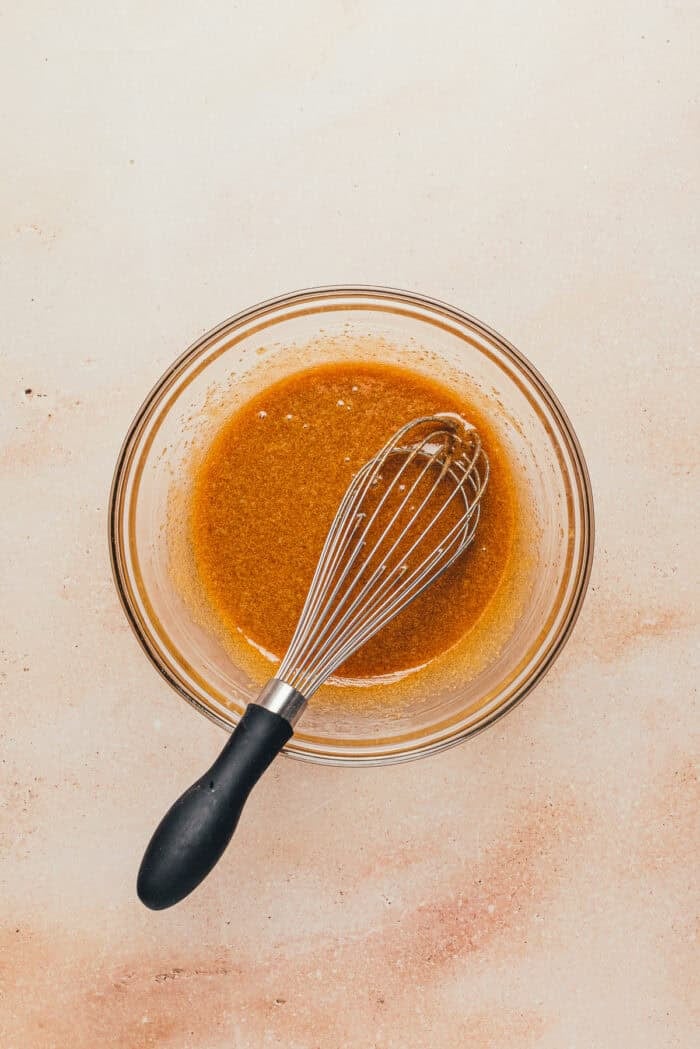
In a separate larger bowl, whisk together the melted butter, brown sugar, egg, egg yolk, and vanilla until smooth.

Add the dry ingredients to the wet ingredients. Mix until mostly combined. The batter will be thick.
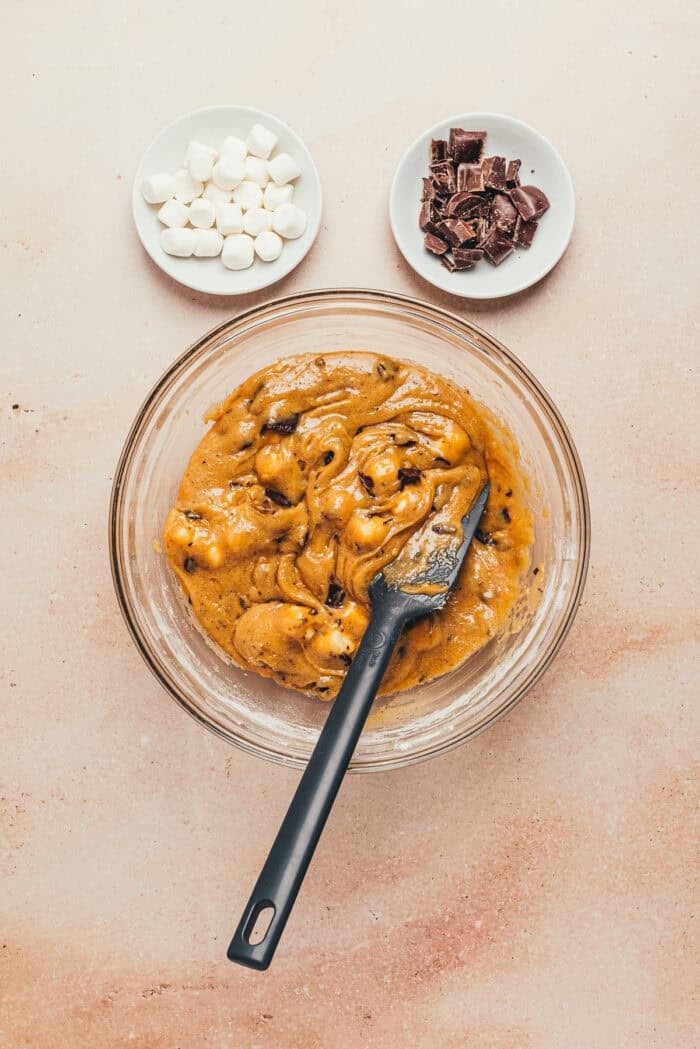
Set aside a small handful of the chopped dark chocolate and mini marshmallows. Fold the rest into the batter until evenly distributed.
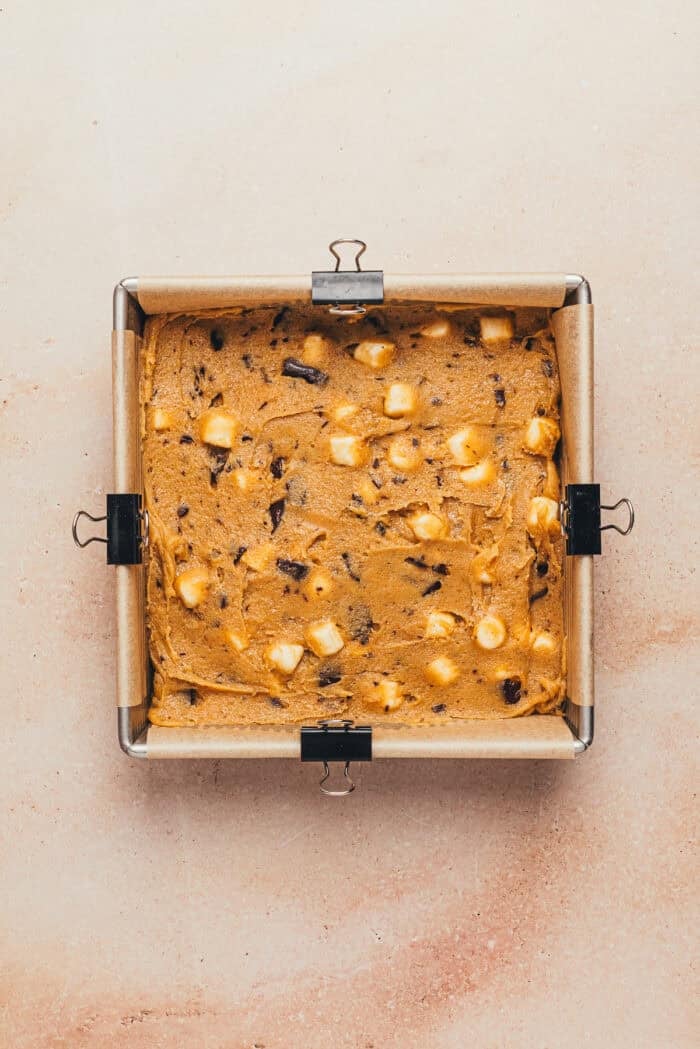
Spread the batter into an even layer in the lined pan.
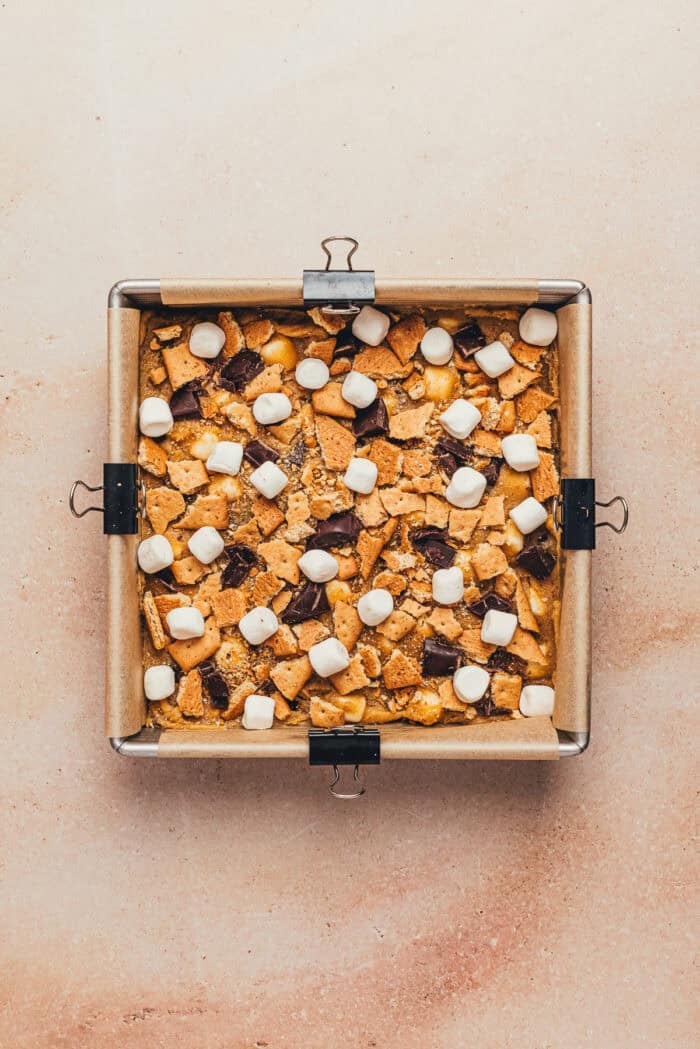
Then scatter the broken graham crackers over the top and lightly press them in. Scatter the remaining chocolate and marshmallows over the top.
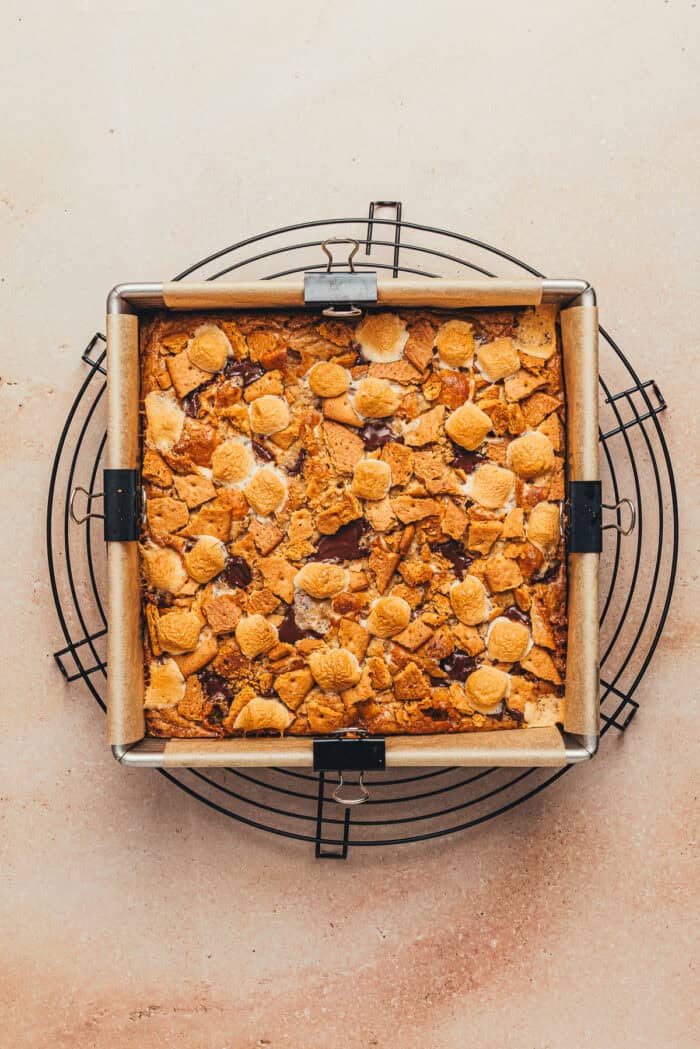
Bake the blondies for 32-38 minutes until a tester comes out clean. Cool blondies in the pan on a wire rack for 1-2 hours before slicing and serving.
How to Store
Store leftovers in an airtight container at room temperature and enjoy within 3 days for the best texture. The blondies will have the best texture on the day they are made.
More S’mores Recipes
- S’mores Chocolate Chip Cookies
- Skillet S’mores Cookie
- S’mores Cookie Bars
- S’mores Cupcakes
- S’mores Bundt Cake
What do you think of this amazing S’mores bar recipe? What would you serve with these bars? Let me know in the comment section below.
If you share across social media, make sure to tag #aclassictwist, so I can see your beautiful creation come to life!
Happy summer baking, friends!
S’mores Blondies Recipe
Dark Chocolate S’mores Blondies
These dark chocolate s’mores blondies are a fun and decadent twist on the classic campfire treat. Dark chocolate chunks and mini marshmallows are folded into a rich, buttery blondie batter, then topped with crunchy graham cracker pieces.
Ingredients
- 1 ½ cups all-purpose flour
- 1 teaspoon baking powder
- ½ teaspoon sea salt
- 10 tablespoons unsalted butter, melted and cooled slightly
- 1 cup brown sugar, packed
- 1 large egg + 1 egg yolk, at room temperature
- 1 ½ teaspoons vanilla bean paste
- 1 3-ounce bar dark chocolate, roughly chopped
- 1 cup mini marshmallows
- ½ cup broken graham cracker pieces
Instructions
- Preheat the oven to 350 degrees. Lightly grease an 8-inch square baking pan, then line it on all sides with parchment, leaving an overhang.
- Whisk together the flour, baking powder, and sea salt, then set aside.
- In a separate larger bowl, whisk together the melted butter, brown sugar, egg, egg yolk, and vanilla until smooth.
- Add the dry ingredients to the wet ingredients. Mix until mostly combined. The batter will be thick.
- Set aside a small handful of the chopped dark chocolate and mini marshmallows. Fold the rest into the batter until evenly distributed.
- Spread the batter into an even layer in the lined pan, then scatter the broken graham crackers over the top and lightly press them in. Scatter the remaining chocolate and marshmallows over the top.
- Bake the blondies for 32-38 minutes until a tester comes out clean. Cool blondies in the pan on a wire rack for 1-2 hours before slicing and serving.
- Store leftovers in an airtight container at room temperature and enjoy within 3 days for the best texture. The blondies will have the best texture on the day they are made.
Notes
Recipe Tips and Testing Notes
- While it’s tempting to slice these right out of the oven, allowing them to cool and rest for a minimum of 1 hour ensures the perfect soft and chewy texture.
- Don’t forget to use room-temperature eggs! This helps them incorporate into the wet ingredients much more easily and prevents the melted butter from seizing up or forming clumps. If you forget to set them out ahead of time, you can quickly bring them to room temperature by placing them in a bowl of warm (not hot) water for about 10 minutes.
- The dark chocolate helps balance the sweetness of the marshmallows, but if you’re making these for younger palates, feel free to use an equal amount of milk chocolate.
- I tested these with all brown sugar and half brown sugar, half granulated sugar. I preferred the taste and texture of the batch with all brown sugar as it yielded a chewier, softer texture and richer flavor.
- A roughly chopped 3-ounce bar of dark chocolate is equivalent to about ⅔ cup. If you prefer, you can use ⅔ cup dark chocolate chunks instead.
- Do not skip the cooling time – this allows the blondies to fully set.
FAQs
Can I bake these in a bigger pan? I recommend using an 8-inch square baking pan for this blondie recipe, as a larger pan will yield much thinner blondies. You can double the recipe if you prefer and bake it in a 9x13-inch pan.
Can I use dark chocolate chunks instead of a dark chocolate bar? Yes, you can use dark chocolate chunks instead of a dark chocolate bar. You’ll need ⅔ cup total.
Can I use graham cracker crumbs instead of broken graham crackers? No, I do not recommend using graham cracker crumbs because they won’t have the same texture as pieces of broken graham crackers and will dry out the blondies.
Nutrition Information:
Yield:
9Serving Size:
1Amount Per Serving: Calories: 444Total Fat: 16gSaturated Fat: 9gUnsaturated Fat: 7gCholesterol: 55mgSodium: 296mgCarbohydrates: 73gFiber: 1gSugar: 48gProtein: 4g
The post Dark Chocolate S’mores Blondies appeared first on A Classic Twist.
]]>The post Fresh Peach Snacking Cake Recipe appeared first on A Classic Twist.
]]>
This fresh peach snacking cake is soft, moist, and topped with a layer of tender, juicy peaches. A simple vanilla cake batter flavored with lemon zest is topped with thinly sliced peaches, then baked until golden brown. This peach cake is easy and unfussy, making it perfect for brunch or a simple summer dessert. Serve it as-is or dust it with powdered sugar right before serving!

Hey there, and welcome back, friends.
Sometimes you just need a simple, rustic cake made with seasonal fruit. This peach snack cake is the perfect example of that! With summer being so busy and hot, we need something easy to make for dessert.

This cake recipe is versatile too! You could use any seasonal fruit, not just ripe, juicy peaches. I’m thinking plums, apples, pears, etc., would be great options. I know you’ll find yourself baking this cake again and again!

It’s not just a snack cake for enjoying with tea or coffee, but it’s also an easy weeknight dessert recipe. It’s a light dessert that is great for any occasion.

Let’s chat a little about the ingredients. I used lemon zest to brighten the peach flavor. I chose fresh peaches as the main ingredient.

Frozen peaches aren’t the best choice since they’re usually cut into larger slices or chunks that don’t arrange as nicely over the batter. They also release extra moisture as they bake, which can affect the finished texture of the cake.

With all of the activities over the summer and with the kids home, we need unfussy cakes! Save the fancy cake decorating for over the winter. There are no fancy decorating techniques needed for this snack cake. The peach slices are beautiful on their own. A light dusting of powdered sugar is all that is needed to make this cake elegant.

The next time you see fresh peaches at your grocery store or farmer’s market, grab some and make this cake! You won’t regret it and your family will love it!

Ingredients

- a few fresh peaches
- brown sugar
- all-purpose flour
- sea salt
- baking powder
- baking soda
- granulated sugar
- vegetable oil
- sour cream
- a few large eggs
- vanilla bean paste, or vanilla extract
- lemon zest
- powdered sugar, optional for serving
How to Make a Peach Snacking Cake

Preheat the oven to 350°F. Grease a 9-inch springform pan and line the bottom with a round of parchment paper.

Toss the peaches with the brown sugar in a small bowl and set aside.

Whisk together the flour, salt, baking powder, and baking soda in a large bowl.

In a separate smaller bowl, whisk together the sugar, vegetable oil, sour cream, eggs, vanilla bean paste, and lemon zest until smooth.

Add the wet ingredients to the bowl with the dry ingredients and whisk until just combined. The batter will be creamy and thick.

Pour the batter into the prepared pan and spread it into an even layer.

Arrange the peach slices on top by hand, rather than dumping them all at once. Leave any accumulated juices in the bowl.

Bake the cake on the middle rack of the preheated oven for 40-50 minutes, or until a toothpick inserted into the center comes out clean and the sides of the cake are beginning to pull away from the pan.
Cool the cake in the pan on a wire rack for at least 30 minutes. Slide a palette knife around the edge of the cake to help loosen it before removing the ring.

Dust the cake with powdered sugar if you like before slicing and serving.
How to Store
Store homemade peach snack cake at room temperature in an airtight container for up to two days or store in the fridge for up to five days.

More Peach Dessert Recipes
- Upside-Down Peach Cake
- Fresh Peach Pie
- Bourbon Peach Cobbler
- Peach Crumble Recipe
- Blueberry Peach Crumble

What do you think of this homemade peach cake recipe? What would you serve with a slice of this? Let me know in the comment section below.
If you share across social media, make sure to tag #aclassictwist, so I can see your beautiful creation come to life!
Happy baking, friends!

Peach Cake Recipe

Fresh Peach Snacking Cake
This fresh peach snacking cake is soft, moist, and topped with a layer of tender, juicy peaches. A simple vanilla cake batter flavored with lemon zest is topped with thinly sliced peaches, then baked until golden brown.
Ingredients
- 1 ½ cups thinly sliced fresh peaches, about 3 small or 2 medium peaches
- 1 tablespoon brown sugar, packed
- 1 ½ cups all-purpose flour
- ½ teaspoons sea salt
- 1 teaspoon baking powder
- ¼ teaspoon baking soda
- ⅔ cup granulated sugar
- ½ cup vegetable oil
- ⅔ cup sour cream, at room temperature
- 2 large eggs, at room temperature
- 2 teaspoons vanilla bean paste, or vanilla extract
- 2 teaspoons lemon zest, from about 1 medium lemon
- Powdered sugar, optional for serving
Instructions
- Preheat the oven to 350°F. Grease a 9-inch springform pan and line the bottom with a round of parchment paper.
- Toss the peaches with the brown sugar in a small bowl and set aside.
- Whisk together the flour, salt, baking powder, and baking soda in a large bowl.
- In a separate smaller bowl, whisk together the sugar, vegetable oil, sour cream, eggs, vanilla bean paste, and lemon zest until smooth.
- Add the wet ingredients to the bowl with the dry ingredients and whisk until just combined. The batter will be creamy and thick. Pour the batter into the prepared pan and spread it into an even layer. Arrange the peach slices on top by hand, rather than dumping them all at once. Leave any accumulated juices in the bowl.
- Bake the cake on the middle rack of the preheated oven for 40-50 minutes, or until a toothpick inserted into the center comes out clean and the sides of the cake are beginning to pull away from the pan.
- Cool the cake in the pan on a wire rack for at least 30 minutes. Slide a palette knife around the edge of the cake to help loosen it before removing the ring.
- Dust the cake with powdered sugar if you like before slicing and serving.
Notes
The cake needs to cool for at least 30 minutes before slicing and serving but you can let it cool completely if you prefer.
Recipe Tips and Testing Notes
- Slice the peaches to a thickness of approximately ⅛-inch.
- Ripe peaches that are still on the firm side work best. Peaches that are too ripe tend to fall apart when tossed with the brown sugar.
- Do not dump the peaches on top of the cake. Instead, arrange them evenly over the surface. There’s no need to press them into the batter.
- In testing, both sour cream and whole milk Greek yogurt worked in the cake. I prefer the richness and flavor of the cake made with sour cream.
- The combination of vegetable oil and sour cream ensures the cake remains soft and moist. I do not recommend substituting melted butter for vegetable oil, as it may result in a drier, crumbly texture.
- You can also make this cake with an equal amount of sliced apricots, plums, or nectarines.
Do I need to use a springform pan? A 9-inch springform pan is the best option since it is deep enough to allow plenty of room for the cake to rise during baking. If you don’t have a springform pan, you can use a 9-inch cake pan that is at least 2 inches deep.
Can I use frozen peaches? No, I do not recommend using frozen peaches for this recipe. They are typically pre-cut into large slices or diced, which does not work well for this specific cake.
Recommended Products
As an Amazon Associate and member of other affiliate programs, I earn from qualifying purchases.


Nutrition Information:
Yield:
12Serving Size:
1Amount Per Serving: Calories: 236Total Fat: 14gSaturated Fat: 2gUnsaturated Fat: 12gCholesterol: 39mgSodium: 192mgCarbohydrates: 25gFiber: 1gSugar: 17gProtein: 3g
The post Fresh Peach Snacking Cake Recipe appeared first on A Classic Twist.
]]>The post No-Churn Strawberry Cookies & Cream Ice Cream appeared first on A Classic Twist.
]]>
This no-churn strawberry cookies and cream ice cream comes together without the use of an ice cream maker! Strawberries are briefly cooked to intensify their flavor before being folded into soft-whipped cream and sweetened condensed milk. Vanilla sandwich cookies lend another layer of flavor and texture that pairs well with the sweet strawberries. Once this no-churn ice cream is frozen for 6 hours, it’s ready to scoop and enjoy!

Every bite of this strawberry ice cream tastes like summer! It’s packed with lightly cooked strawberries and chunks of vanilla sandwich cookies. It’s sure to become a favorite recipe. How could you resist a scoop of this ice cream?

Homemade ice cream is surprisingly easy to make. You only need to whip heavy whipping cream, fold in some condensed milk and your ice cream flavors, and then freeze! That’s literally all there is to it.

The heavy whipping cream keeps the ice cream scoopable because of all the air it incorporates. There is no need to use an ice cream maker when using whipped cream.

Since I used fresh strawberries in this recipe, I brought out their flavor by lightly cooking them. It makes them a little jam-like.

My favorite part, besides the strawberries, is the cookies! Store-bought vanilla sandwich cookies work perfectly to add a little crunch and sweetness to the ice cream. It adds a little fun to a classic strawberry ice cream recipe.

If fresh strawberries aren’t in season, don’t worry. Frozen strawberries work wonderfully here, too. There’s no need to thaw them beforehand. Simply add them directly to the saucepan and cook them down, gently mashing them as they soften to help them break into smaller pieces.
Keep in mind that frozen berries usually release a bit more moisture, so they’ll need a little extra cooking time before they thicken and jam up.

While I love the flavor of vanilla sandwich cookies in this recipe, you can easily switch things up by using chocolate sandwich cookies instead. The chocolate adds another layer of richness that pairs beautifully with the strawberries and gives the ice cream a fun cookies-and-cream twist.

Ingredients

- strawberries
- granulated sugar
- lemon juice
- sweetened condensed milk
- sea salt
- heavy whipping cream
- vanilla bean paste, or vanilla extract
- a few vanilla sandwich cookies
How to Make No-Churn Strawberry Cookies & Cream Ice Cream

Add the strawberries, sugar, and lemon juice to a large skillet or saucepan over medium heat. Once the strawberries release their juices and start to simmer, stir regularly and begin to mash the strawberries to encourage them to break down.

Once the juices start to thicken and are deeper in color, after about 5-8 minutes, remove the pan from the heat. Allow the strawberries to cool to room temperature before proceeding with the recipe.

Add the cooled strawberries to a large mixing bowl along with the sweetened condensed milk and the salt. Whisk to combine, then set aside.

Add the cold heavy whipping cream to the bowl of a stand mixer along with the vanilla bean paste.
Using the whisk attachment, beat on low, gradually working up to medium-high as the mixture thickens and gains volume. Beat until soft peaks form.

Add the whipped cream to the bowl with the sweetened condensed milk and fold it in until well combined.

Fold in the chopped cookies, saving a handful for the top of the ice cream.

Pour the ice cream base into a large loaf pan or other similarly-sized container, then top with the remaining handful of cookies.
Cover the top with plastic wrap, then freeze the ice cream base for a minimum of 6 hours.

When you’re ready to serve the ice cream, remove it from the freezer and let it sit for 5-10 minutes before scooping.
How to Store
Keep homemade ice cream stored in the freezer. Always allow the ice cream to sit for about 15 minutes before scooping, since homemade ice cream is not scoopable straight out of the freezer.

More Homemade Ice Cream Recipes
- No-Churn Pistachio Ice Cream
- Chocolate Peanut Butter Ice Cream
- Blackberry Coconut Ice Cream
- Strawberry Cheesecake Ice Cream
- Coconut Basil Ice Cream

What do you think of this creamy homemade strawberry ice cream recipe? What would you serve with a scoop of this? Let me know in the comment section below.
If you share across social media, make sure to tag #aclassictwist, so I can see your beautiful creation come to life!
Happy summer, friends!

No Churn Strawberry Cookies and Cream Ice Cream Recipe

No-Churn Strawberry Cookies and Cream Ice Cream
This no-churn strawberry cookies and cream ice cream comes together without the use of an ice cream maker! Strawberries are briefly cooked to intensify their flavor before being folded into soft-whipped cream and sweetened condensed milk.
Ingredients
- 1 pound strawberries, hulled and diced
- 2 tablespoons granulated sugar
- 1 teaspoon lemon juice
- 1 14-ounce can sweetened condensed milk
- 1 pinch sea salt
- 1 ½ cups heavy whipping cream, cold
- 1 tablespoon vanilla bean paste, or vanilla extract
- 15 vanilla sandwich cookies, roughly chopped
Instructions
- Add the strawberries, sugar, and lemon juice to a large skillet or saucepan over medium heat. Once the strawberries release their juices and start to simmer, stir regularly and begin to mash the strawberries to encourage them to break down. Once the juices start to thicken and are deeper in color, after about 5-8 minutes, remove the pan from the heat. Allow the strawberries to cool to room temperature before proceeding with the recipe.
- Add the cooled strawberries to a large mixing bowl along with the sweetened condensed milk and the salt. Whisk to combine, then set aside.
- Add the cold heavy whipping cream to the bowl of a stand mixer along with the vanilla bean paste. Using the whisk attachment, beat on low, gradually working up to medium-high as the mixture thickens and gains volume. Beat until soft peaks form.
- Add the whipped cream to the bowl with the sweetened condensed milk and fold it in until well combined. Fold in the chopped cookies, saving a handful for the top of the ice cream.
- Pour the ice cream base into a large loaf pan or other similarly-sized container, then top with the remaining handful of cookies. Cover the top with plastic wrap, then freeze the ice cream base for a minimum of 6 hours.
- When you’re ready to serve the ice cream, remove it from the freezer and let it sit for 5-10 minutes before scooping.
Notes
- Keep leftovers covered with plastic wrap in the freezer and enjoy within a week for the best flavor and texture.
- Cooking the strawberries first helps to intensify the flavor and eliminates icy chunks of fruit in the final ice cream.
- You’ll know the strawberries are ready when the juices look thicker and more syrupy rather than watery.
- Make sure to fold the whipped cream into the sweetened condensed milk rather than whisking or mixing so that you don’t knock all of the air out of it. This helps ensure a creamy ice cream texture rather than an icy one.
- I used a pullman loaf pan (10x4x4) to freeze and store the ice cream and there was plenty of room. If you only have a standard 9x5 loaf pan, you’ll most likely need an additional smaller container for the remainder of the ice cream.
- Though the ice cream can be eaten straight out of the freezer, I found that letting it sit at room temperature for about 5-10 minutes made scooping much easier.
FAQs
Can I use frozen strawberries instead of fresh? Yes, you can use 1 pound of frozen strawberries in place of the fresh strawberries. There’s no need to thaw them first. Make sure to mash them as they start to soften to encourage them to break down into smaller pieces. Note that frozen strawberries will most likely take longer to cook down than fresh ones.
Can I use chocolate sandwich cookies instead of vanilla sandwich cookies? Yes! You can use chocolate sandwich cookies instead for a different flavor.
Do I have to freeze the ice cream in a loaf pan? No, you do not need to freeze the ice cream base in a loaf pan. Any similarly sized container will work just fine.
Recommended Products
As an Amazon Associate and member of other affiliate programs, I earn from qualifying purchases.


Nutrition Information:
Yield:
8Serving Size:
1Amount Per Serving: Calories: 155Total Fat: 6gSaturated Fat: 2gUnsaturated Fat: 4gCholesterol: 6mgSodium: 145mgCarbohydrates: 24gFiber: 1gSugar: 17gProtein: 2g
The post No-Churn Strawberry Cookies & Cream Ice Cream appeared first on A Classic Twist.
]]>