The post Shamrock Ponytail | St. Patrick’s Day Hairstyle appeared first on Babes In Hairland.
]]>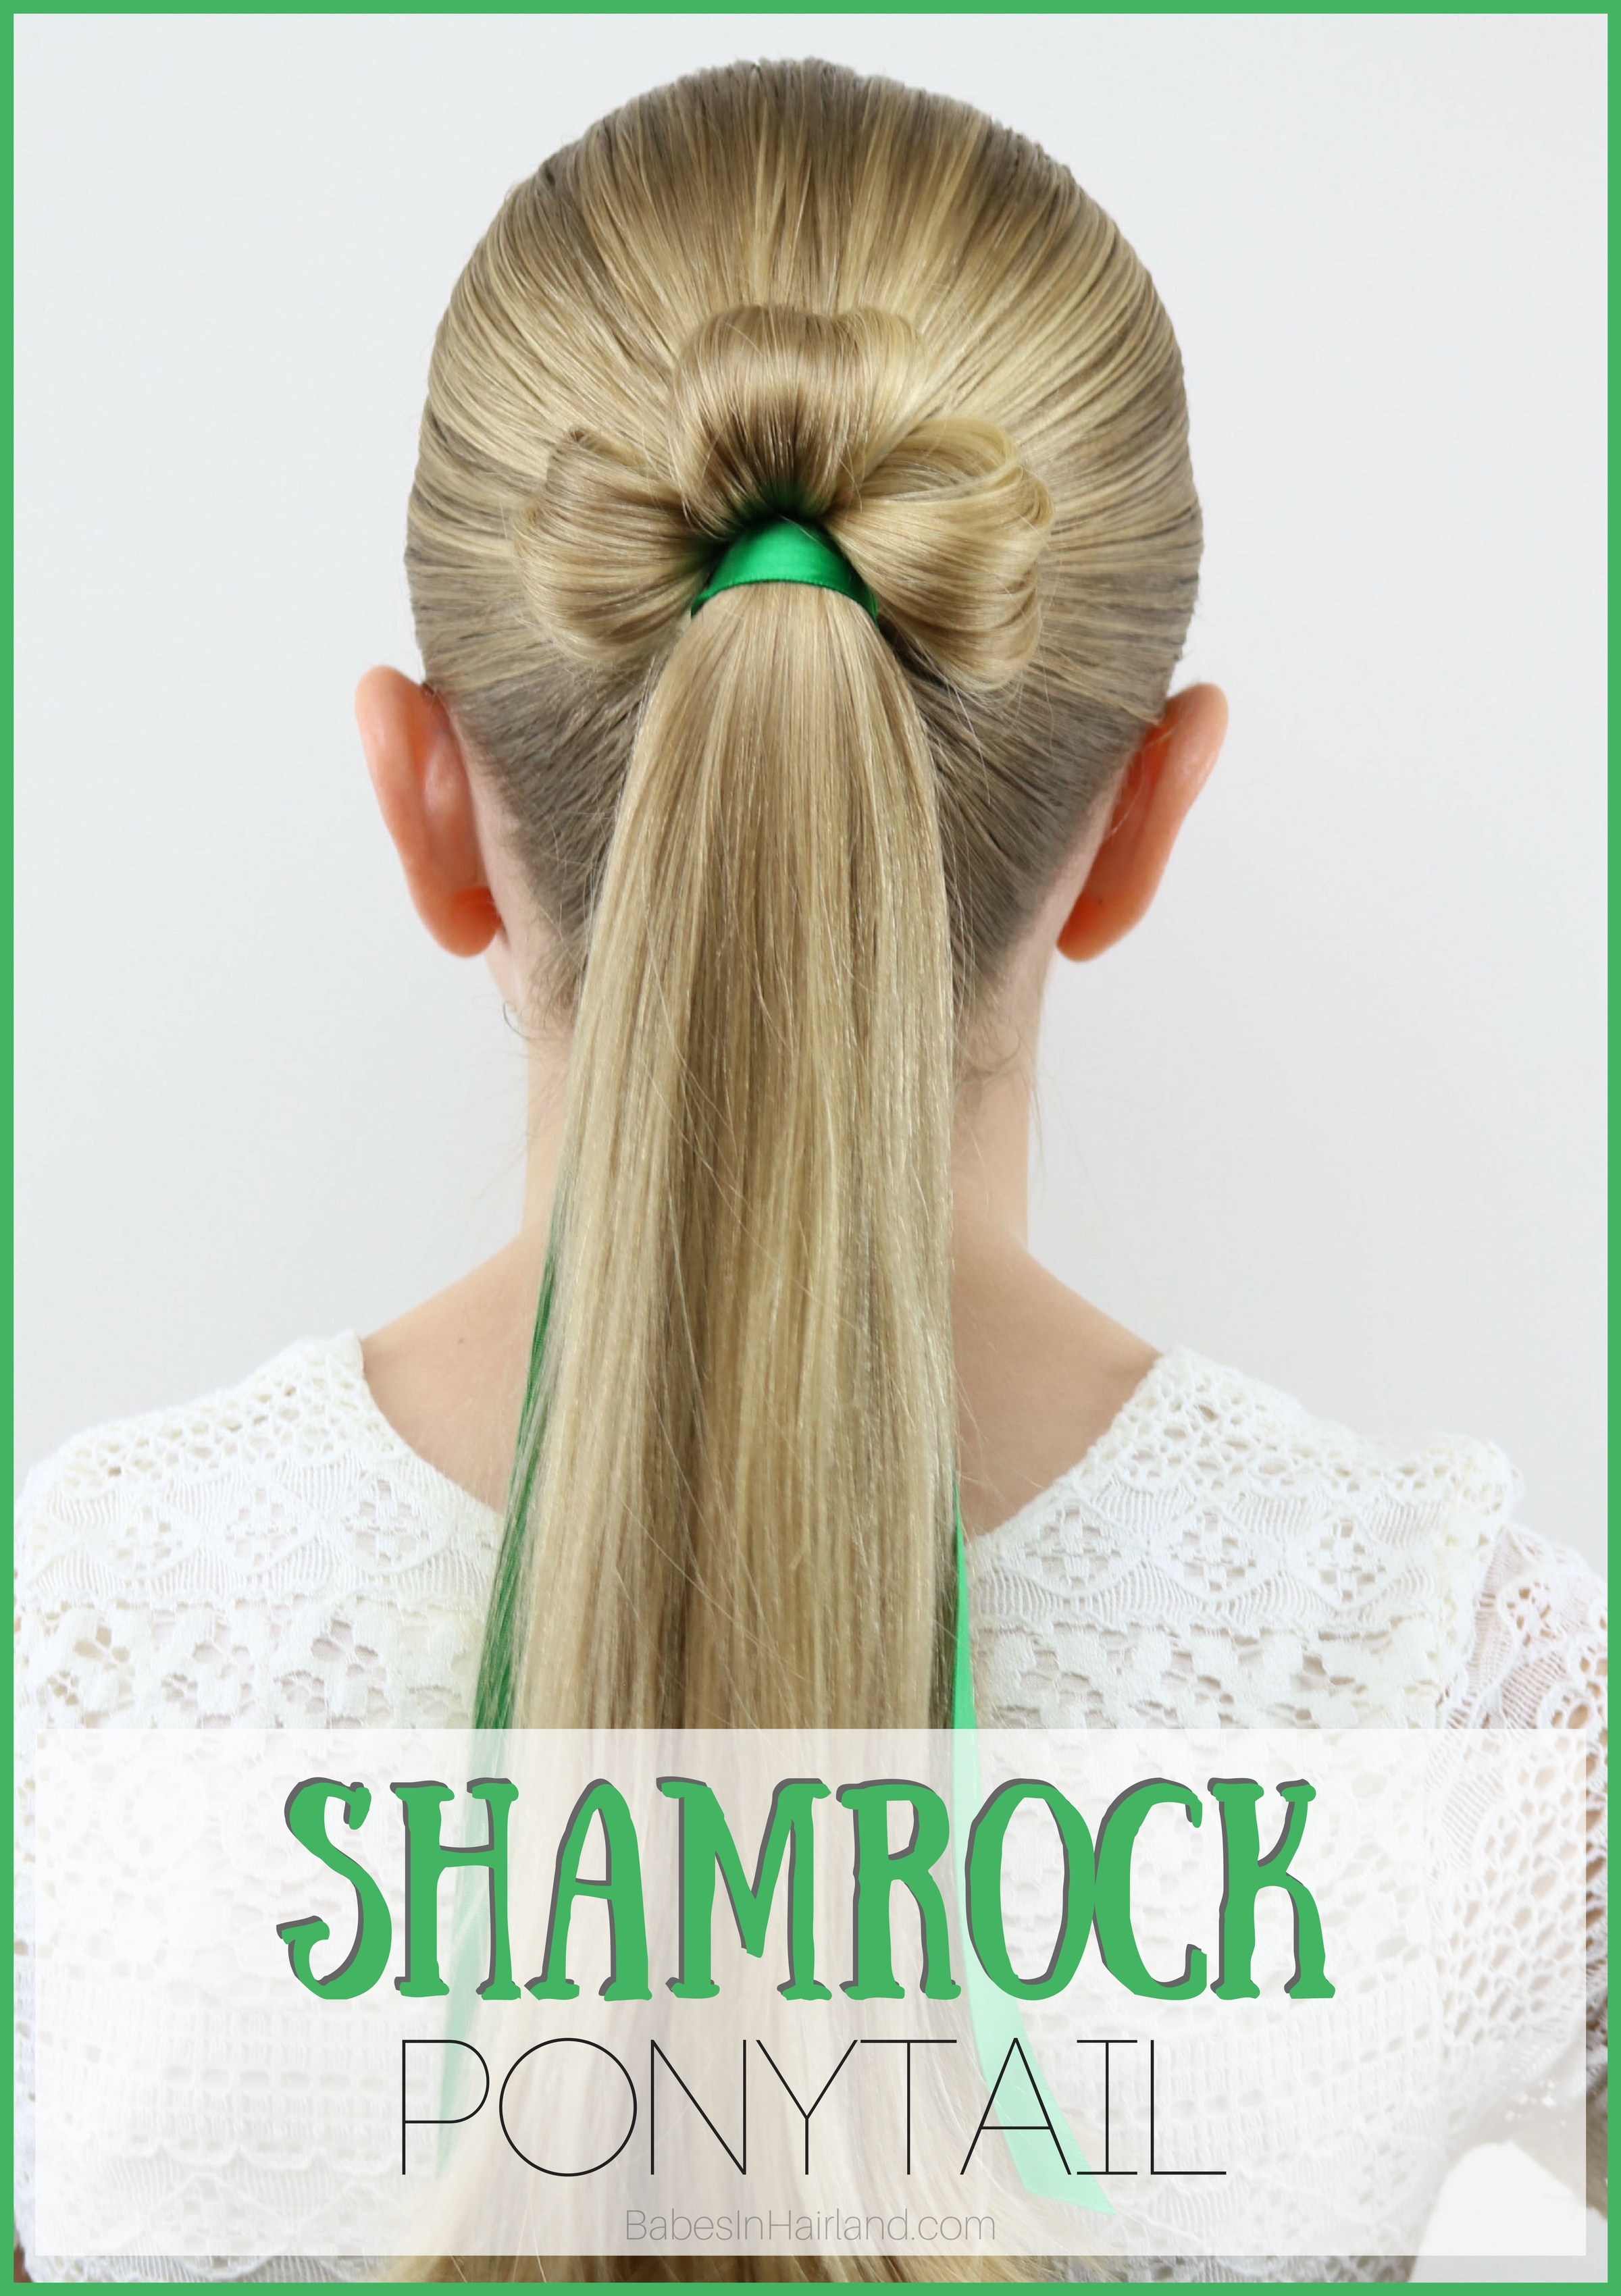
You will need a Topsy Tail and some green ribbon to create this cute Shamrock Ponytail hairstyle for St. Patrick’s Day. If you still don’t have a Topsy Tail, buy one HERE today!
Here’s our quick video and below are more pictures and step-by-step instructions. If you have trouble viewing the video, go HERE to our YouTube channel to watch it.
1- Gather all the hair into a ponytail and secure with a ponytail holder or elastic.
2- Divide out a small section of hair from the top center of the ponytail.
3- Insert your pointed end of the Topsy Tail behind the center of the elastic. Draw the hair from Step 2 through the hole of the Topsy Tail. Pull the hair down and through, leaving a loop.
4- Make the loop of hair as big or little as you desire. This loop will be the center leaf of your shamrock.
5- Repeat Steps 2 & 3 on the right and left sides of the ponytail to create the other 2 shamrock leaves. Be sure to stick the Topsy Tail through on an angle rather than exactly to the left or right.
6- Wrap a clear elastic around the entire ponytail and cinch up below the shamrock. This will hold all the loose tails you pulled through together.
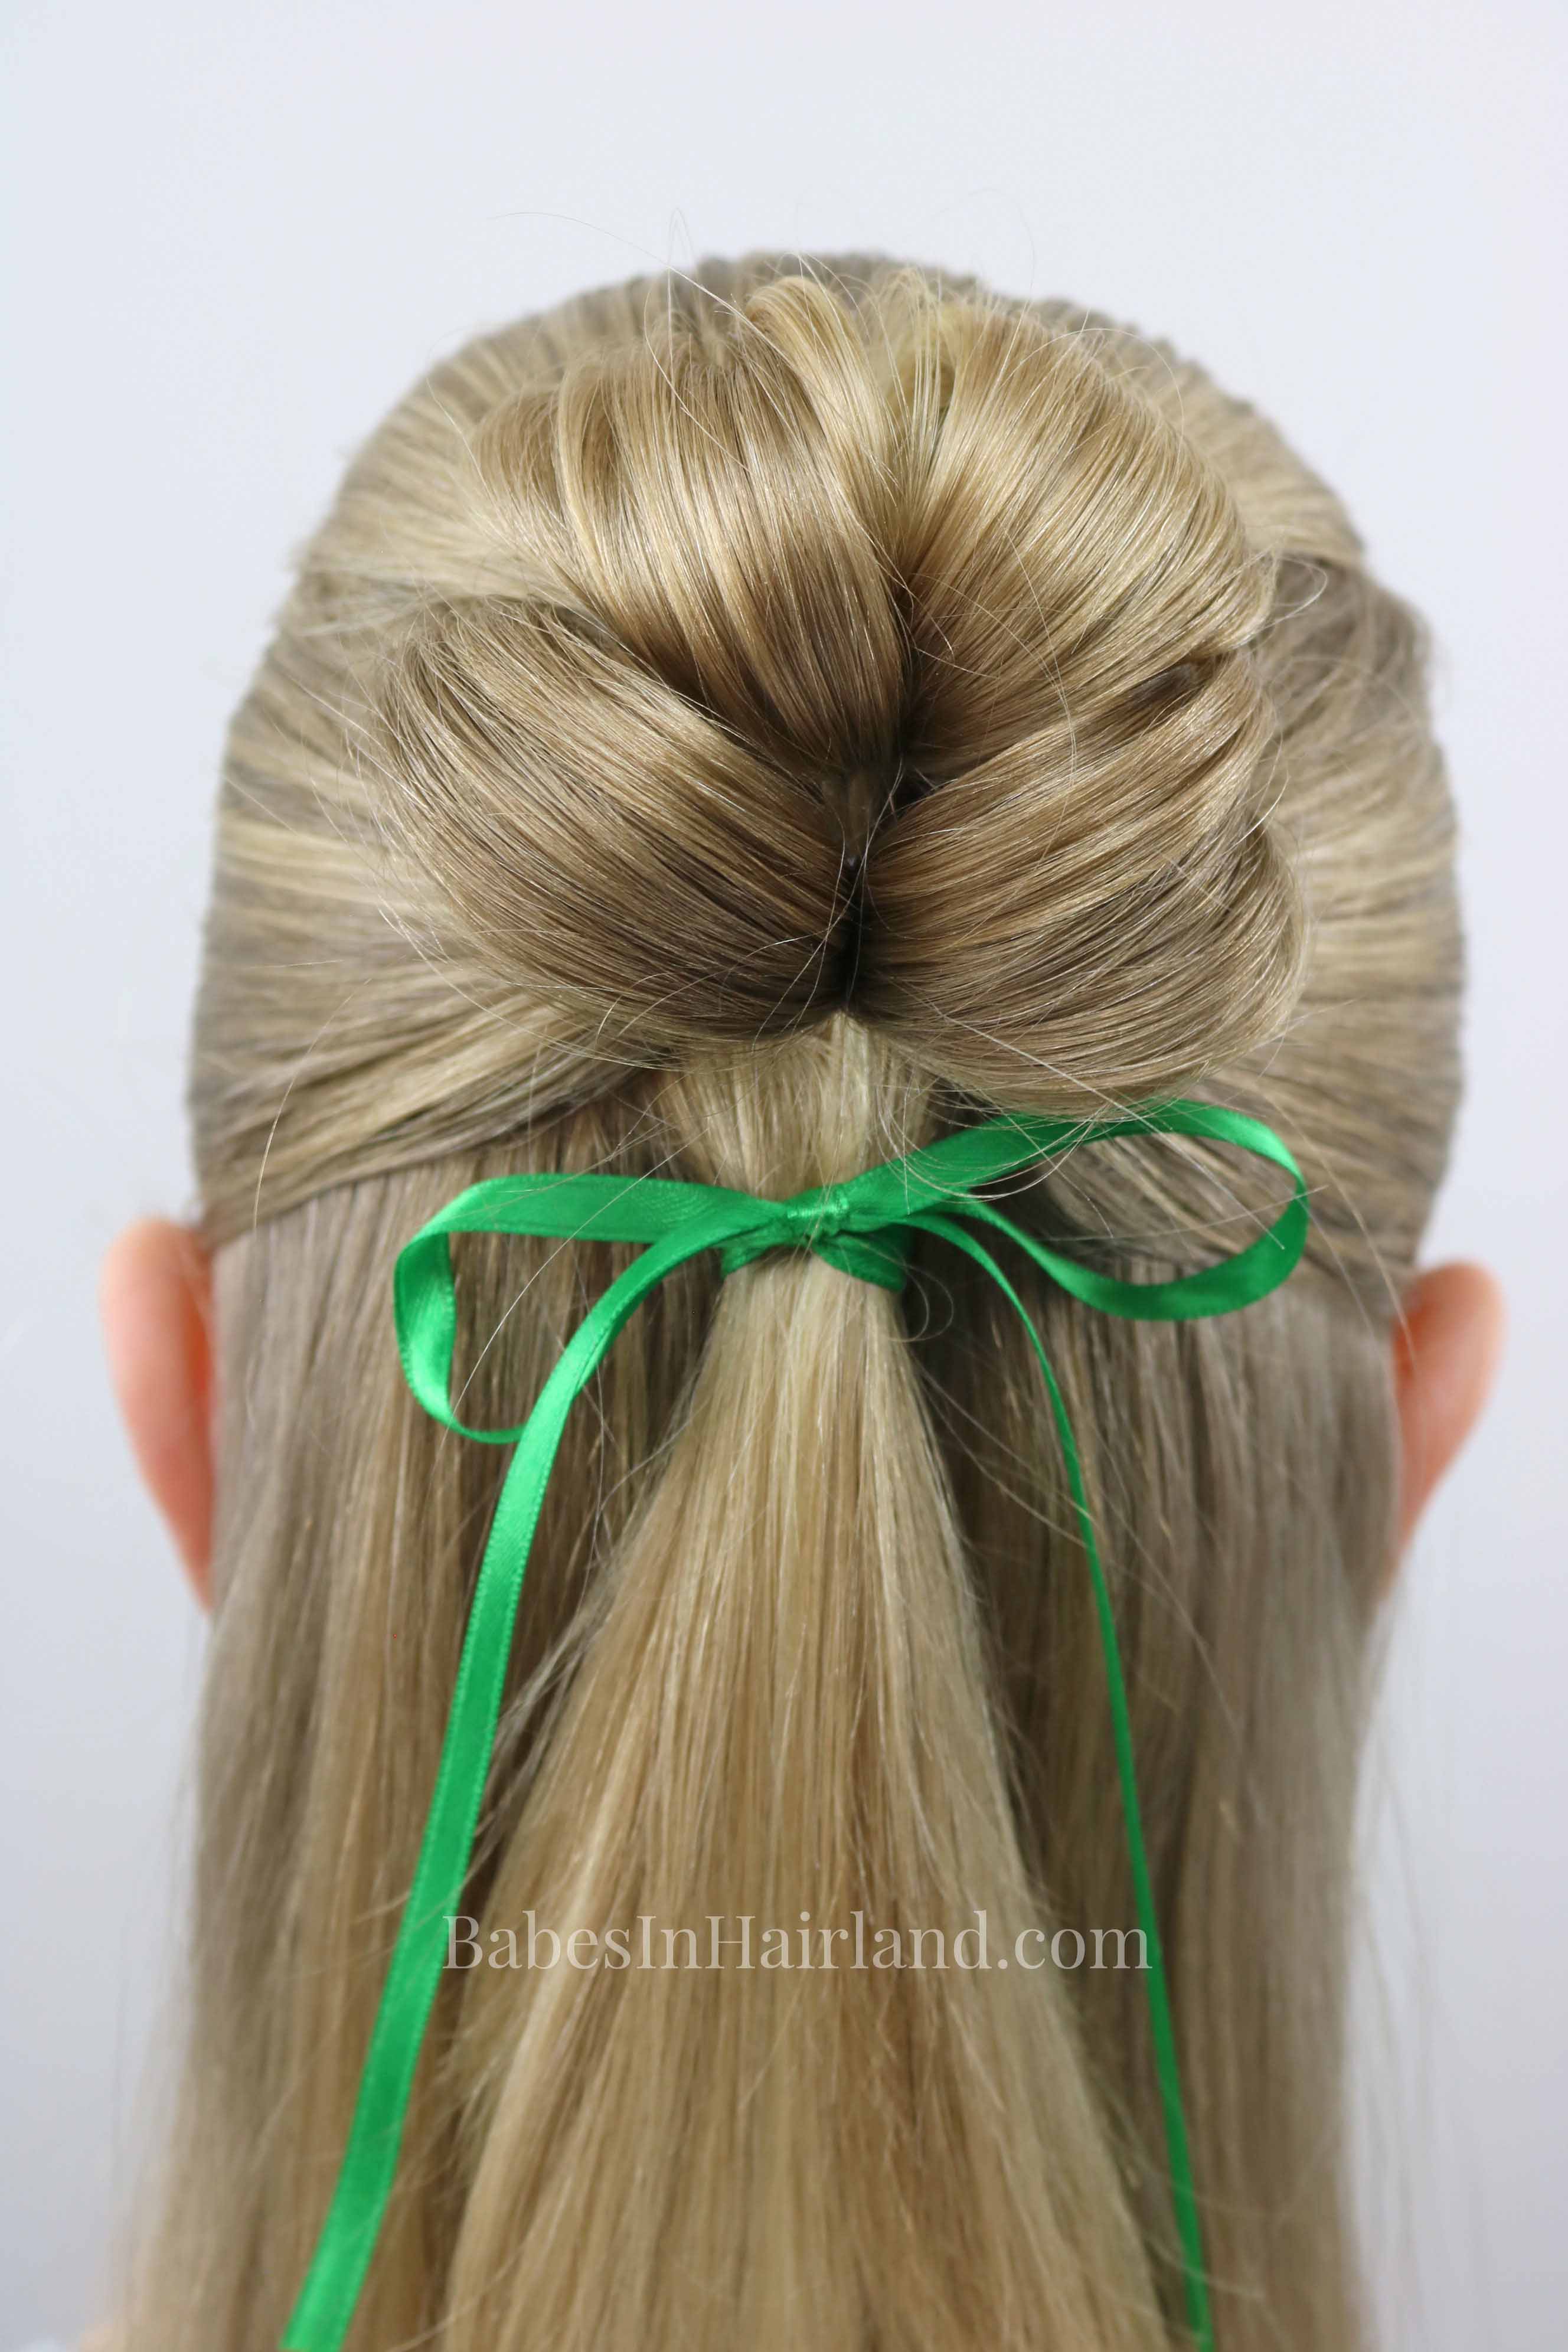
7- Add a green ribbon at the base of the shamrock for a pop of color.
FINISHED SHAMROCK PONYTAIL!
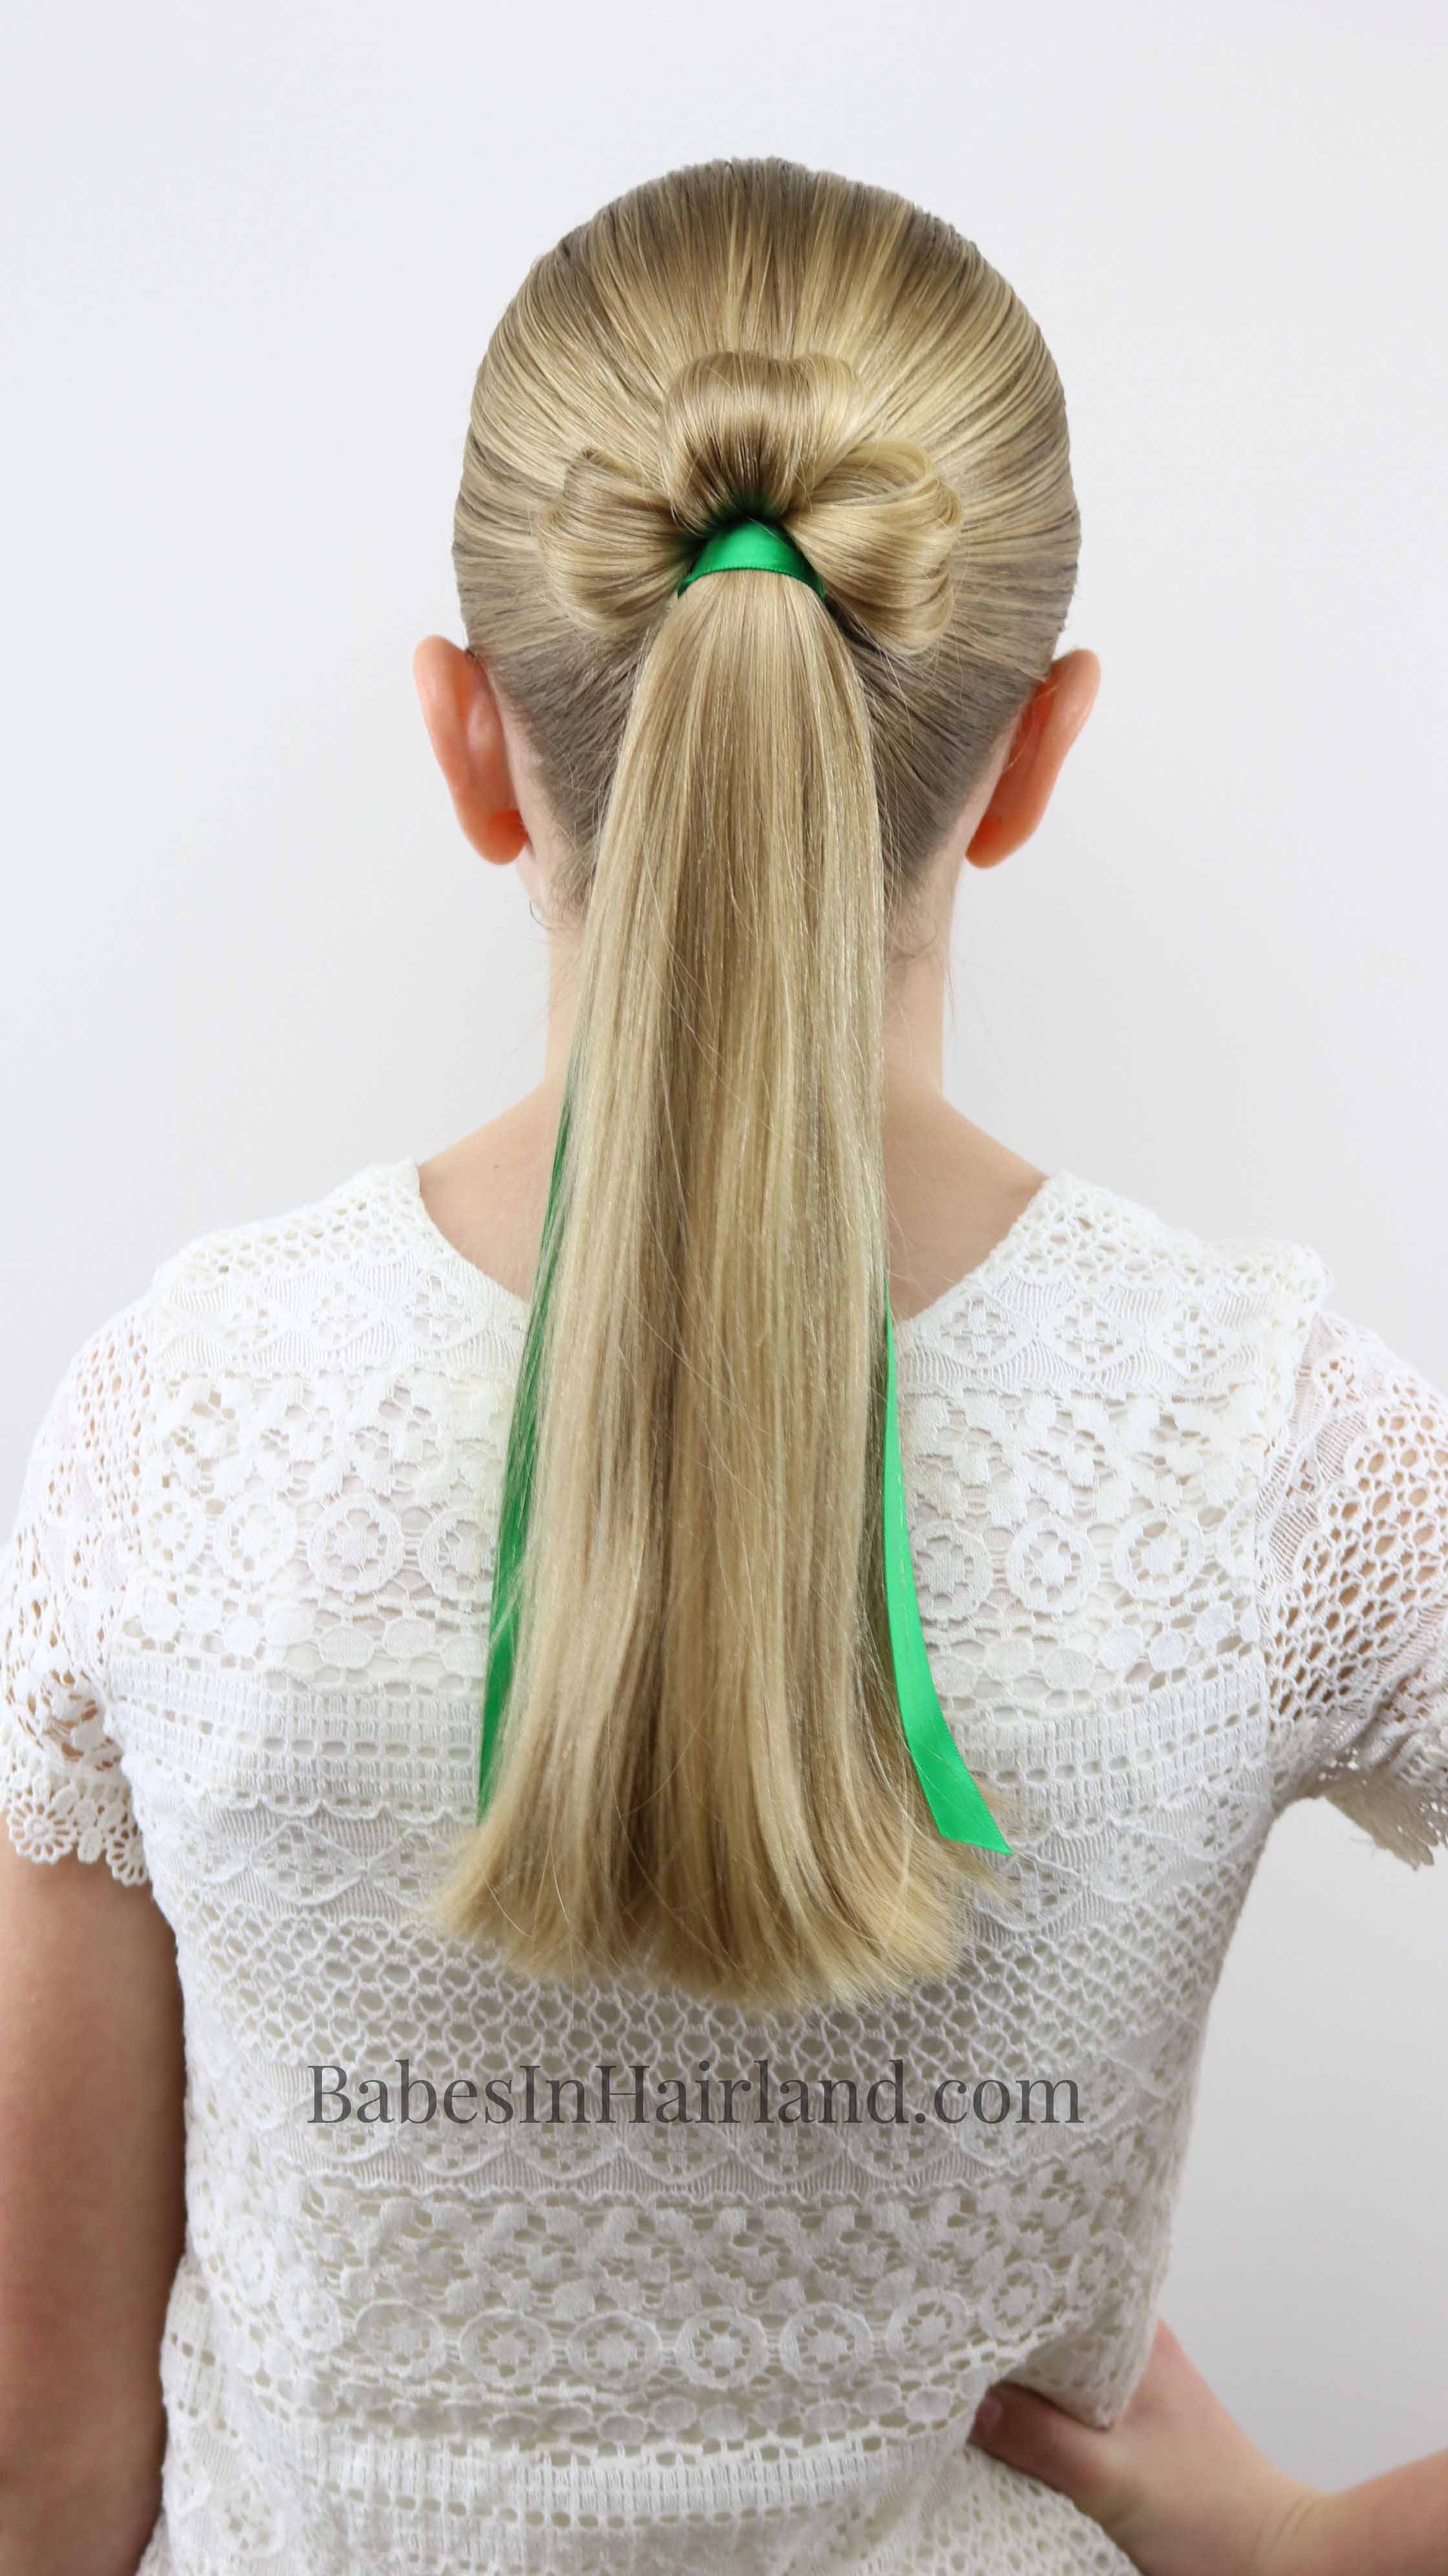
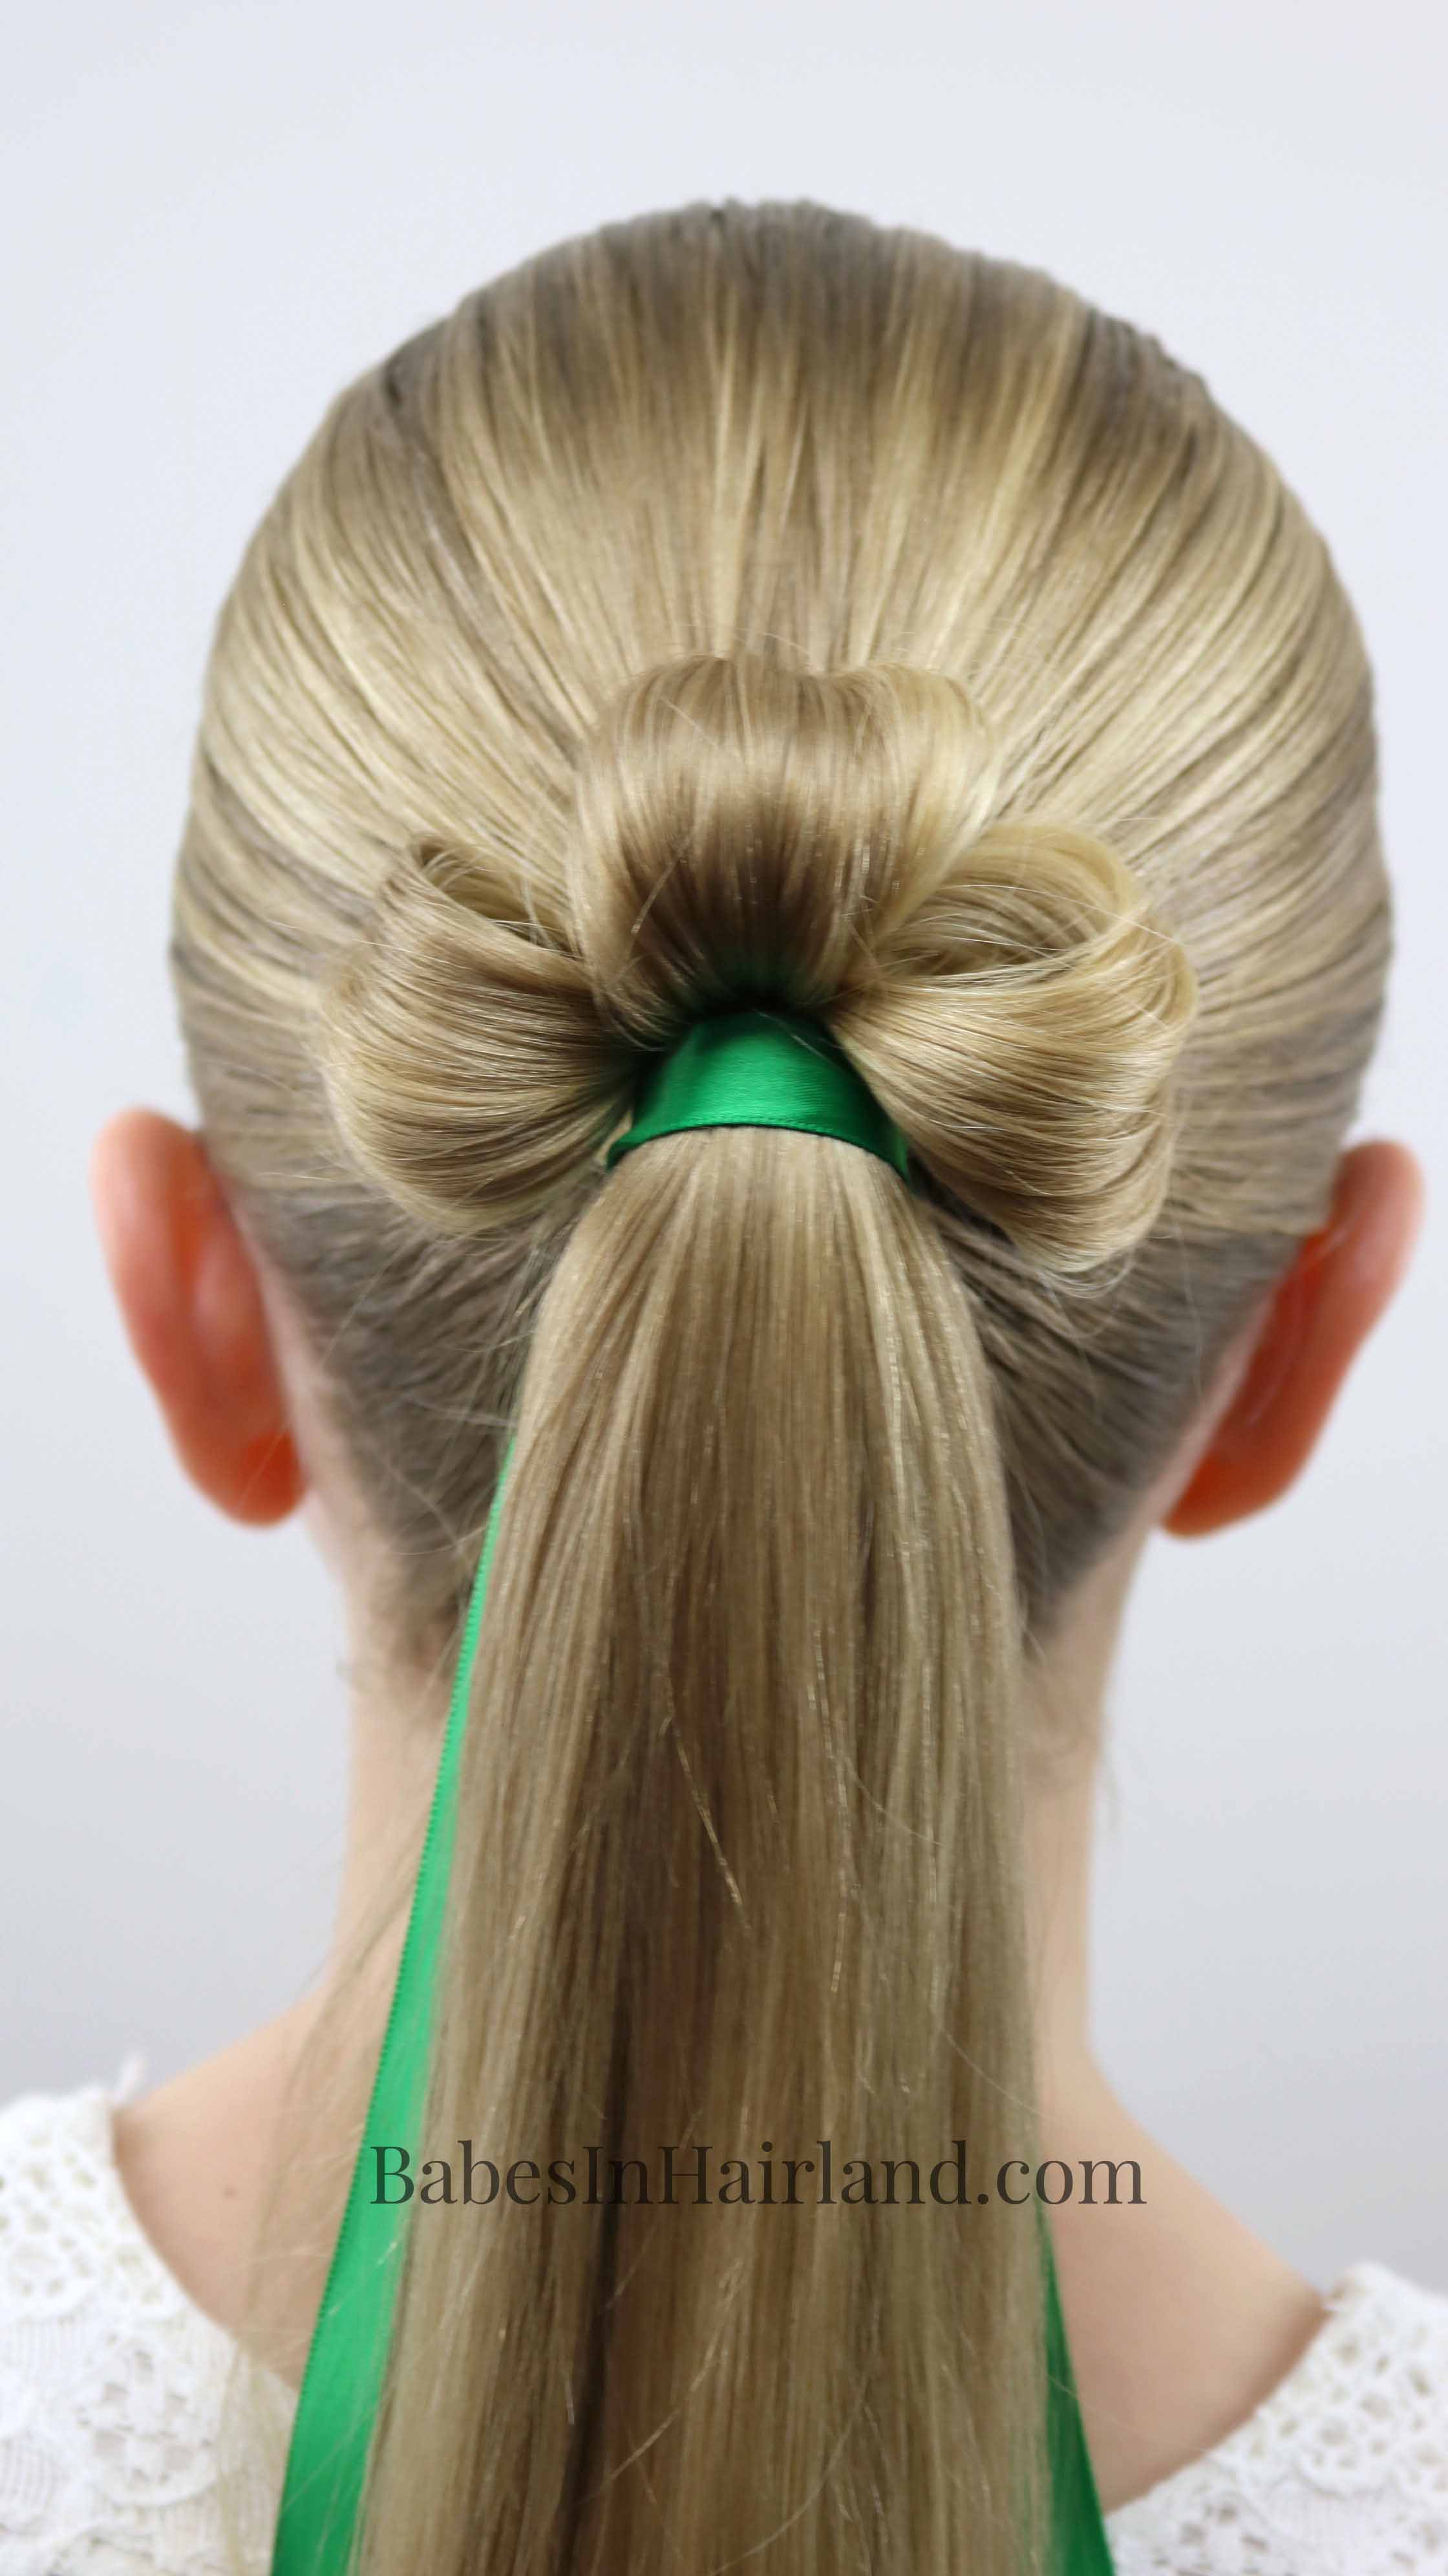

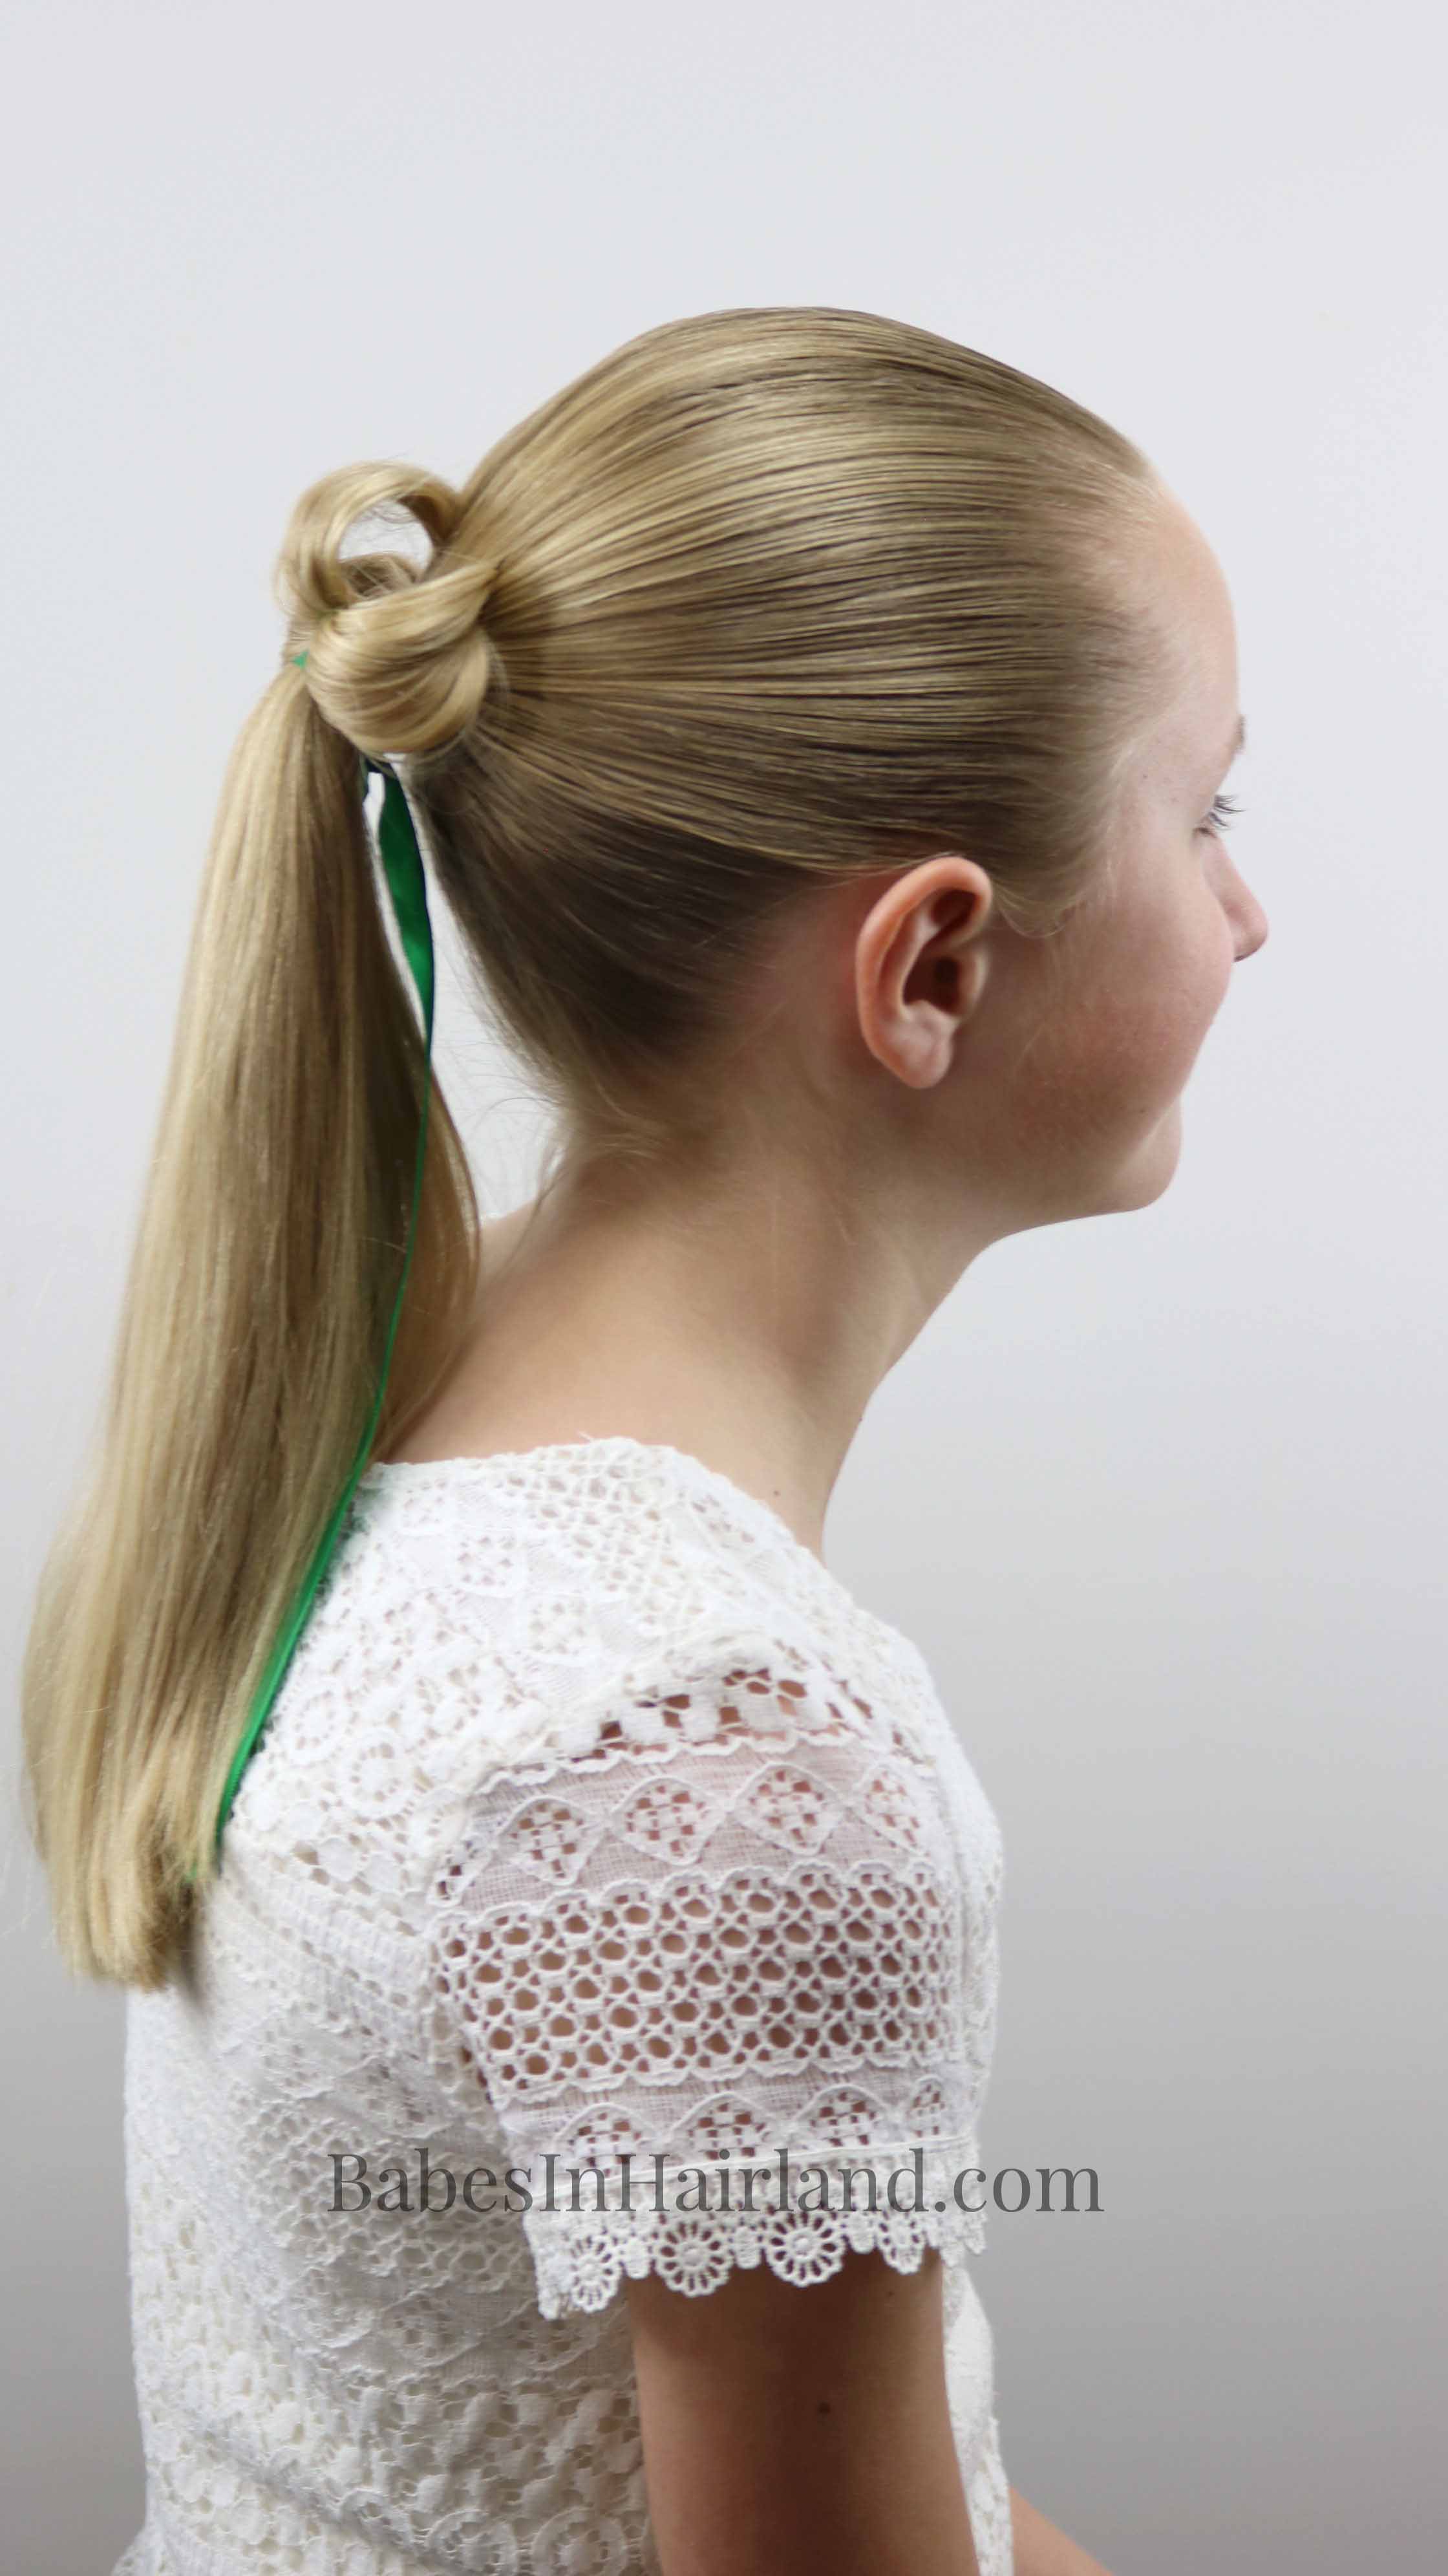
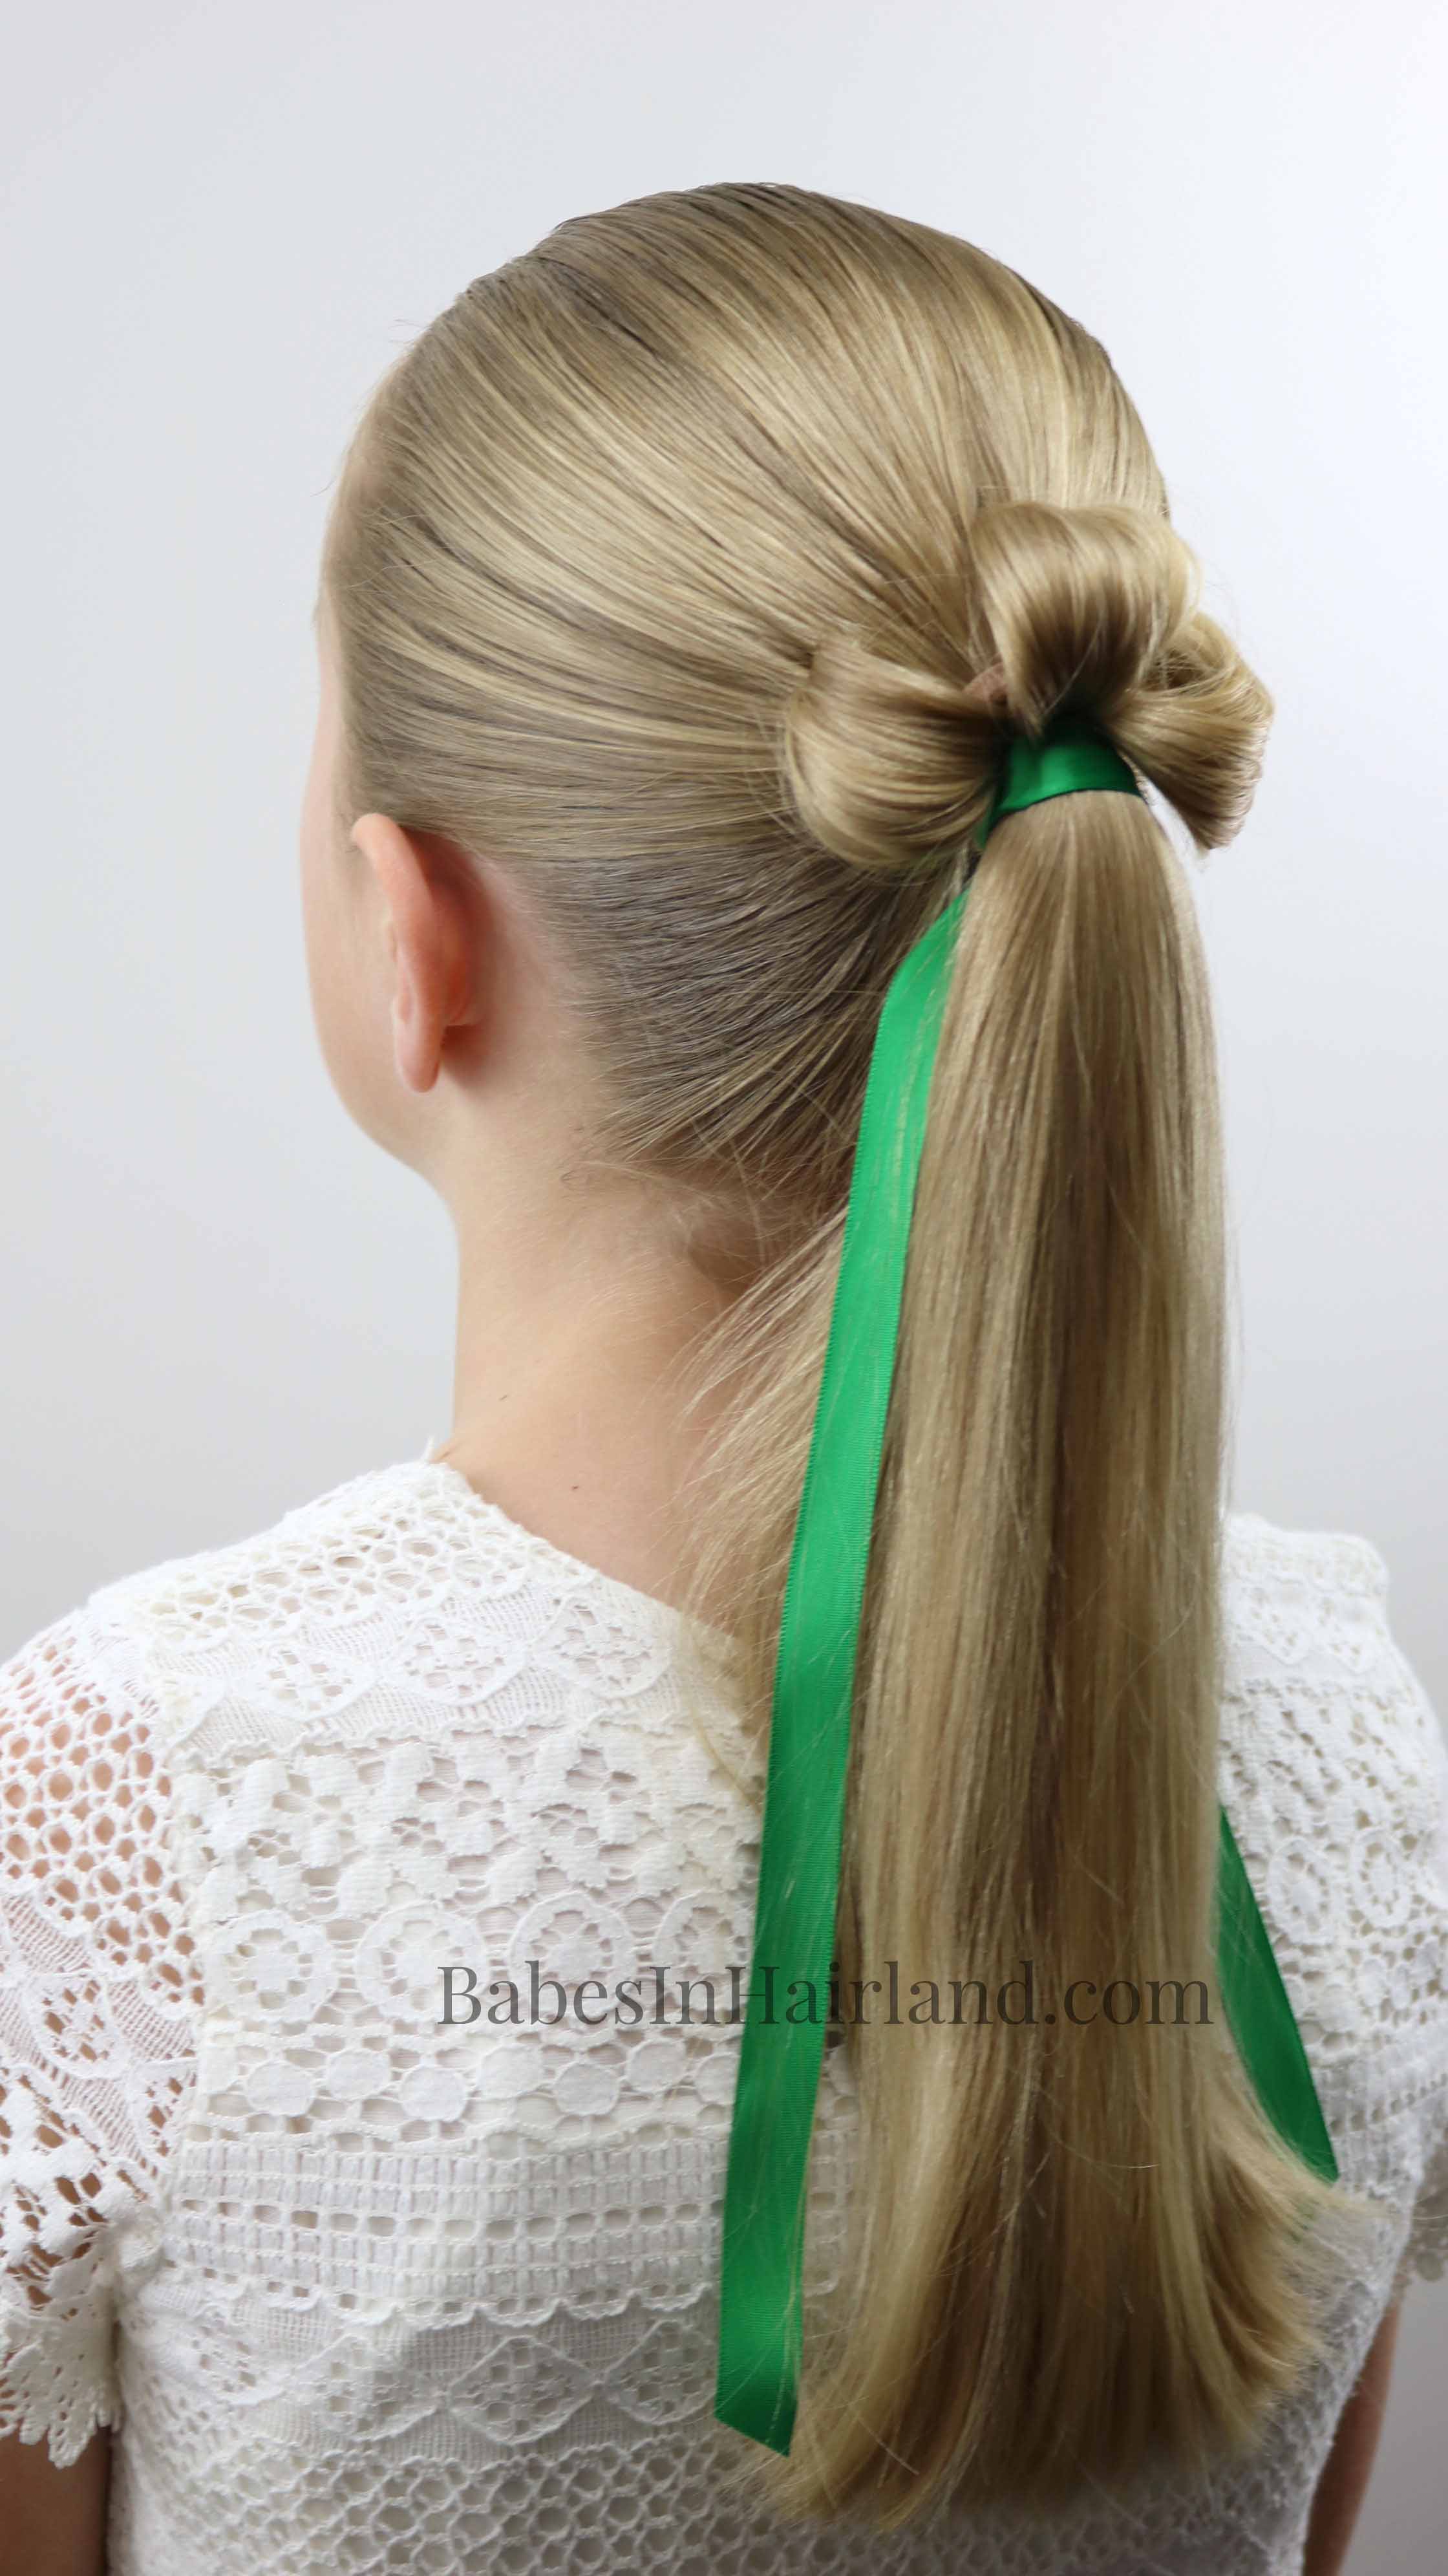
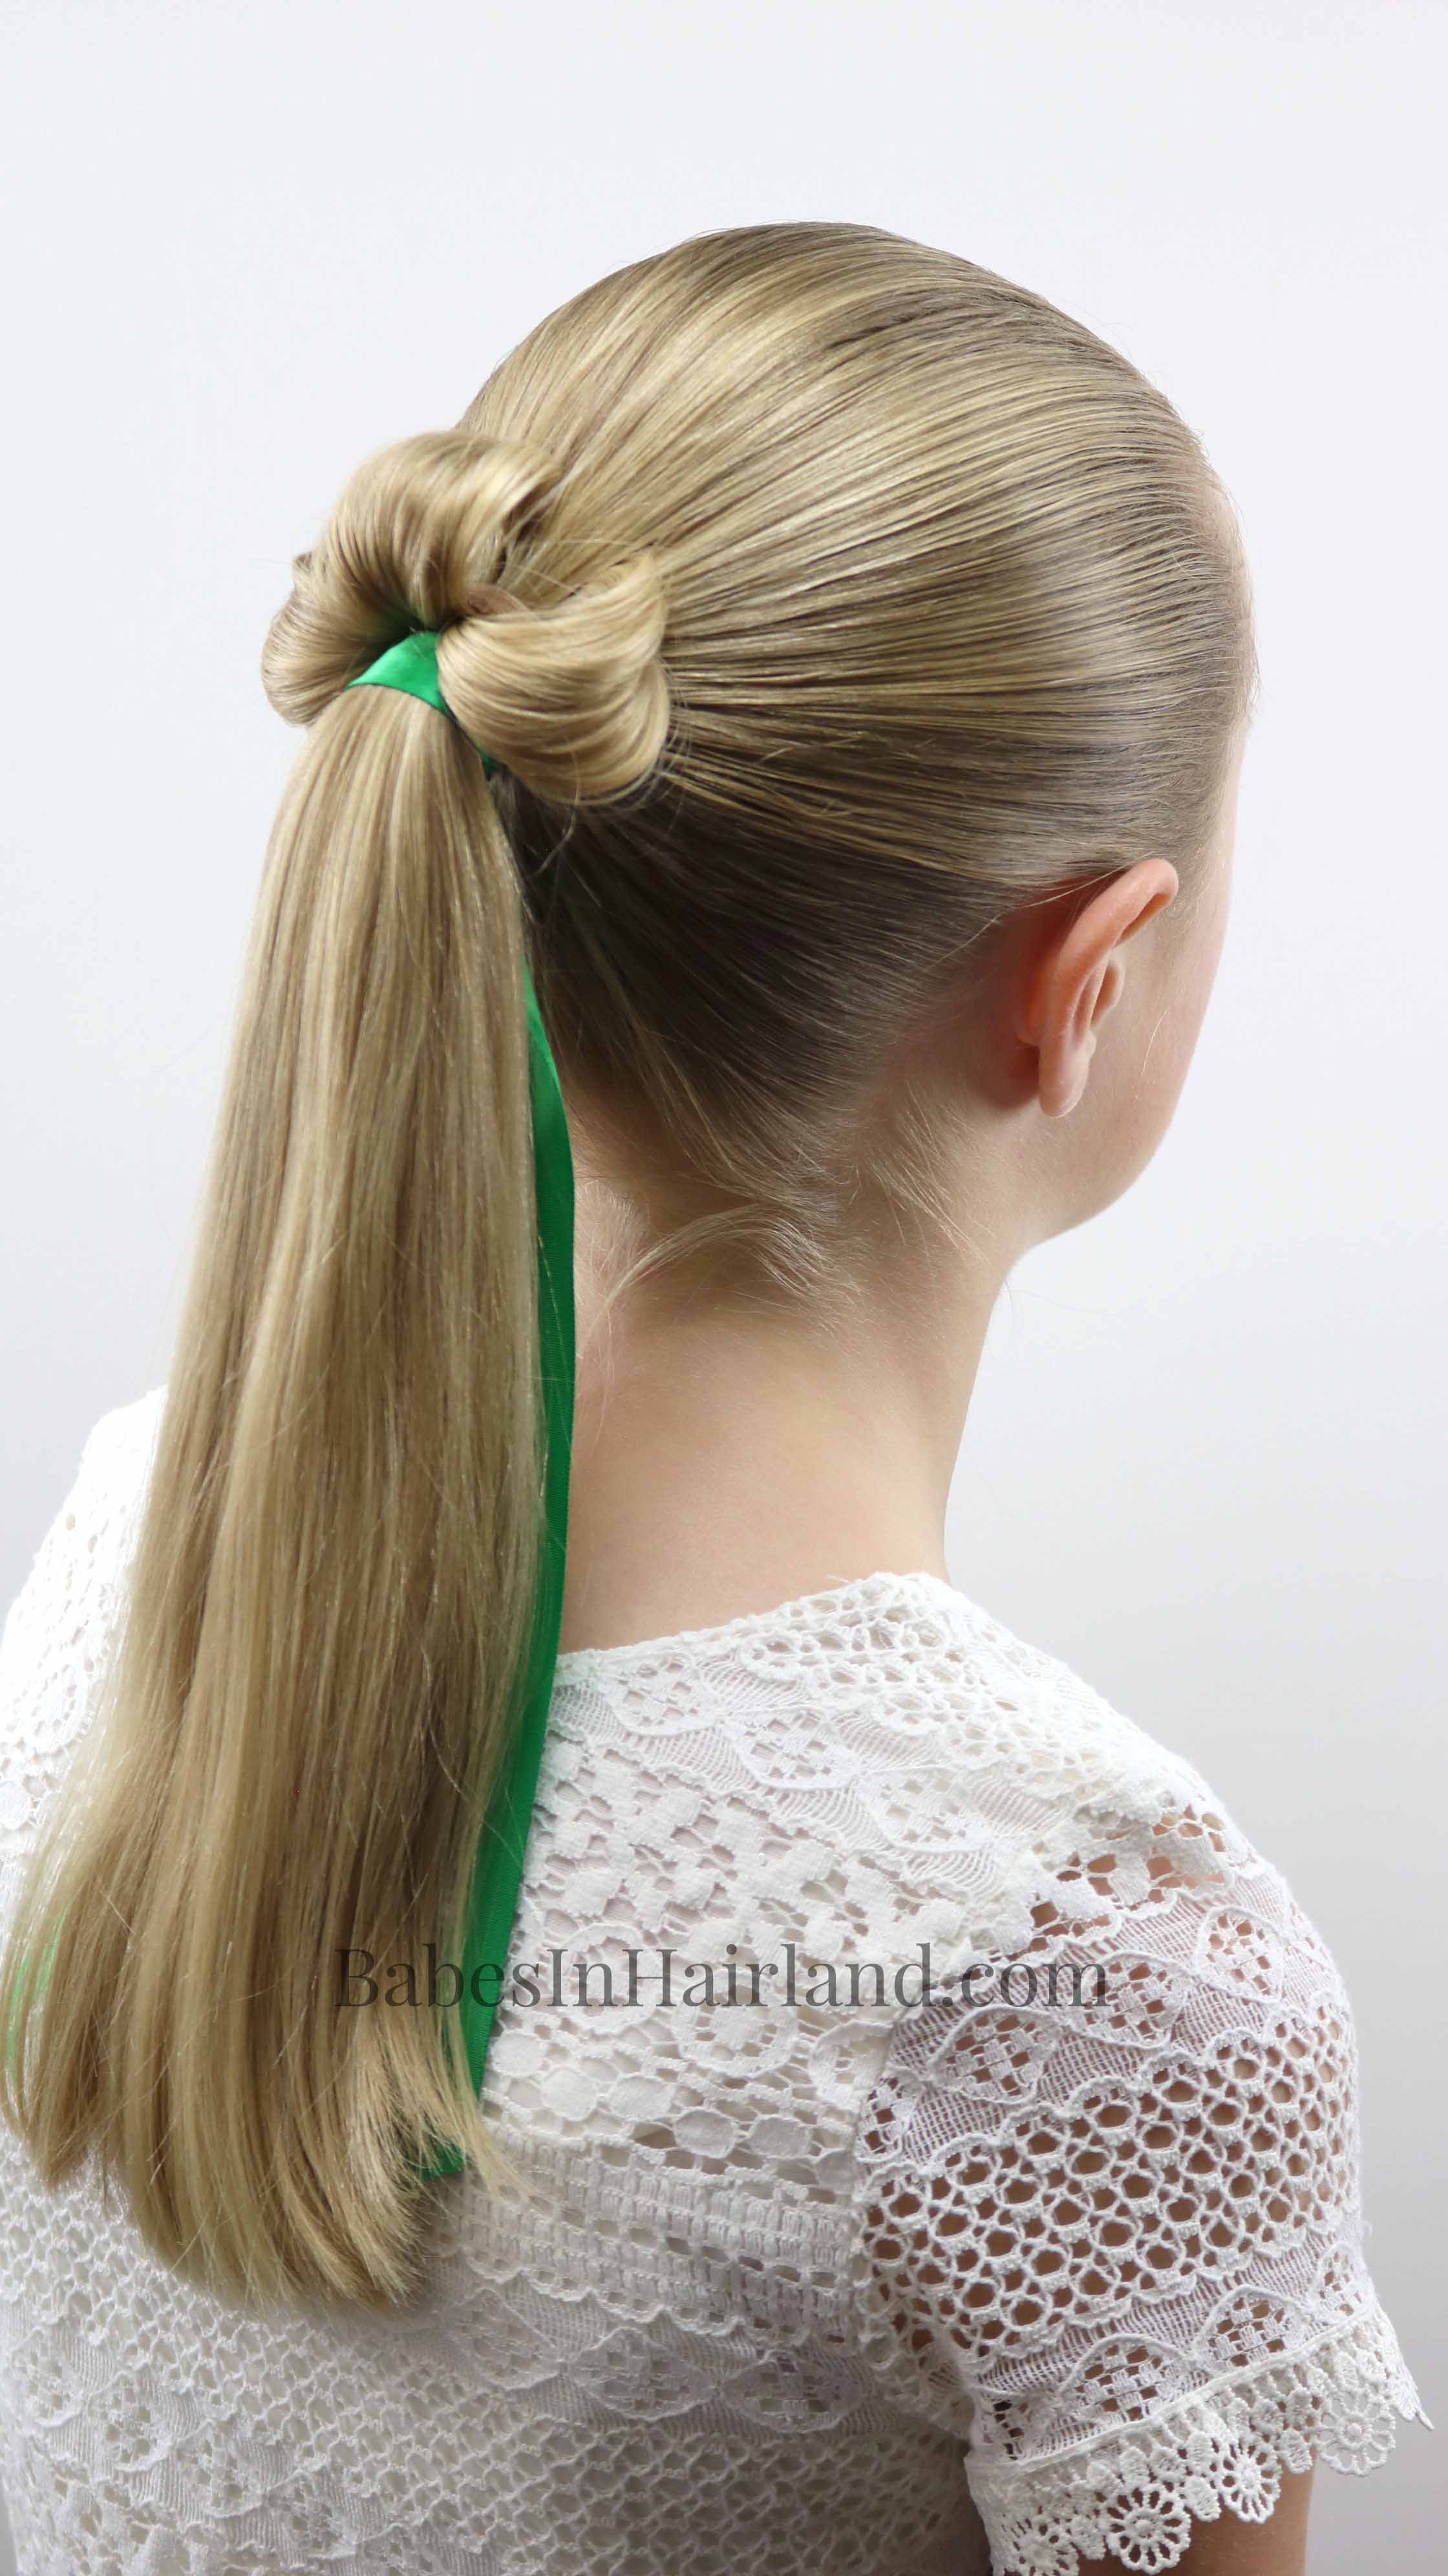
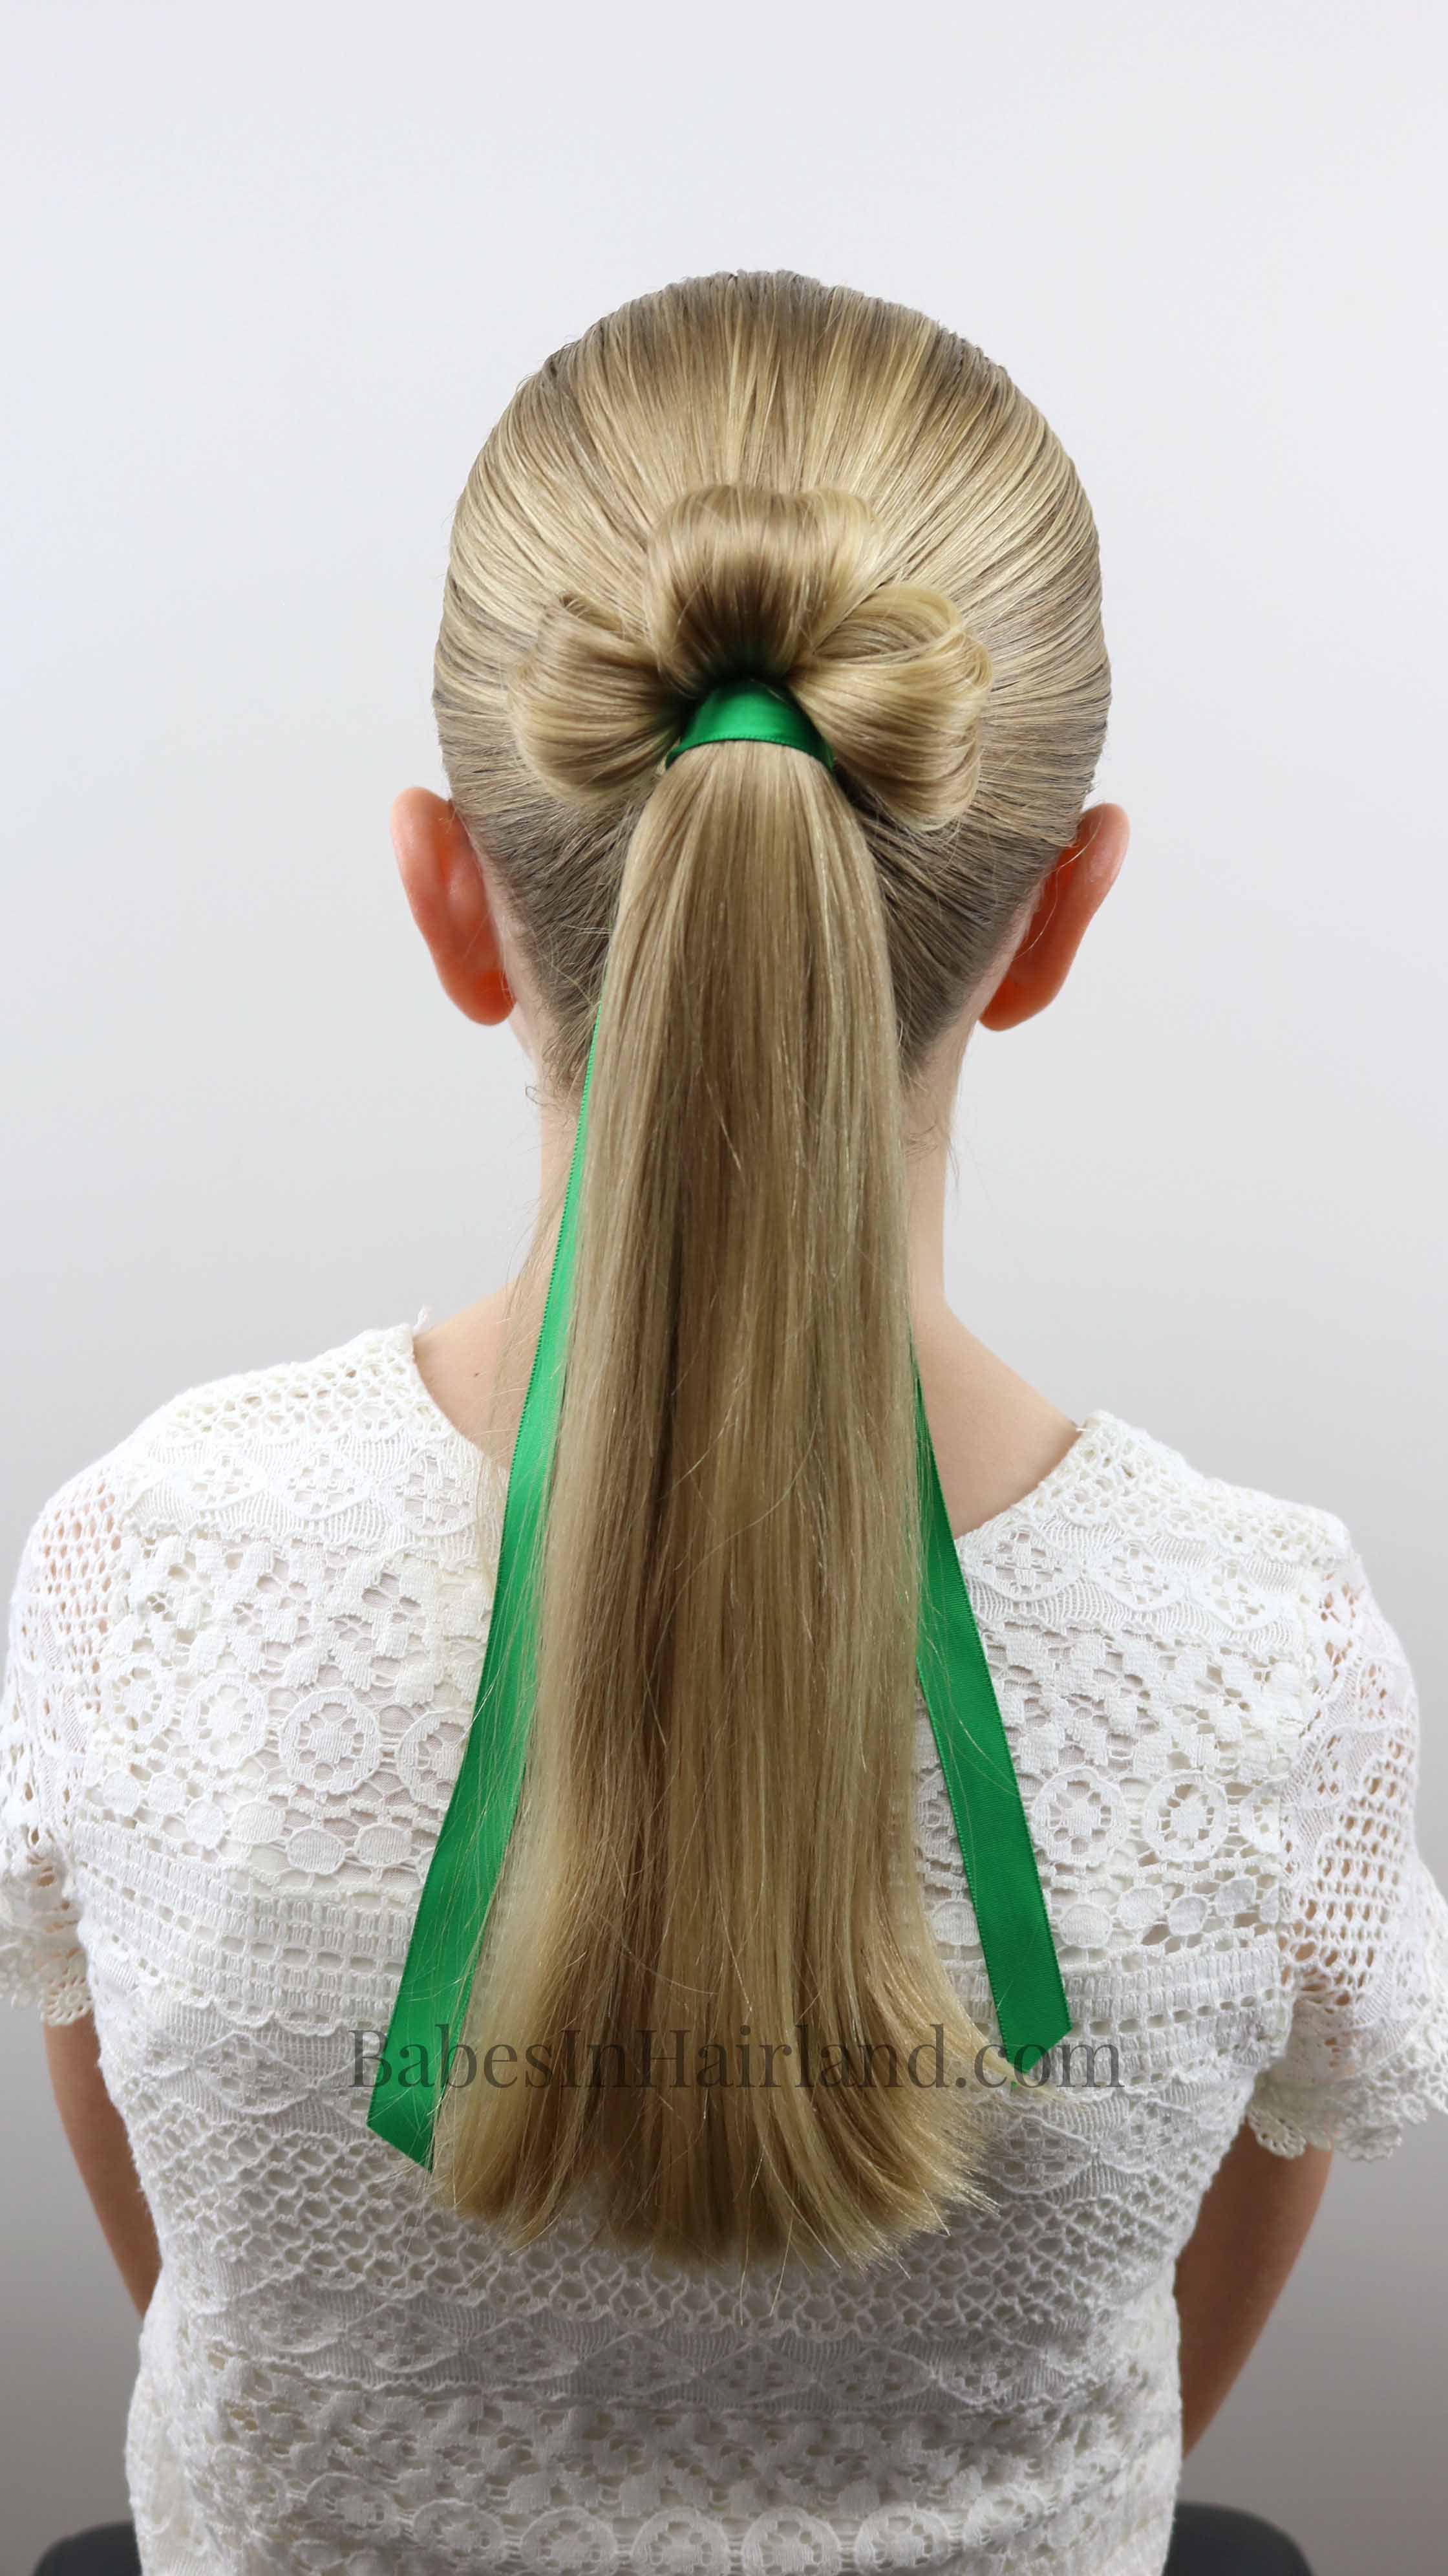
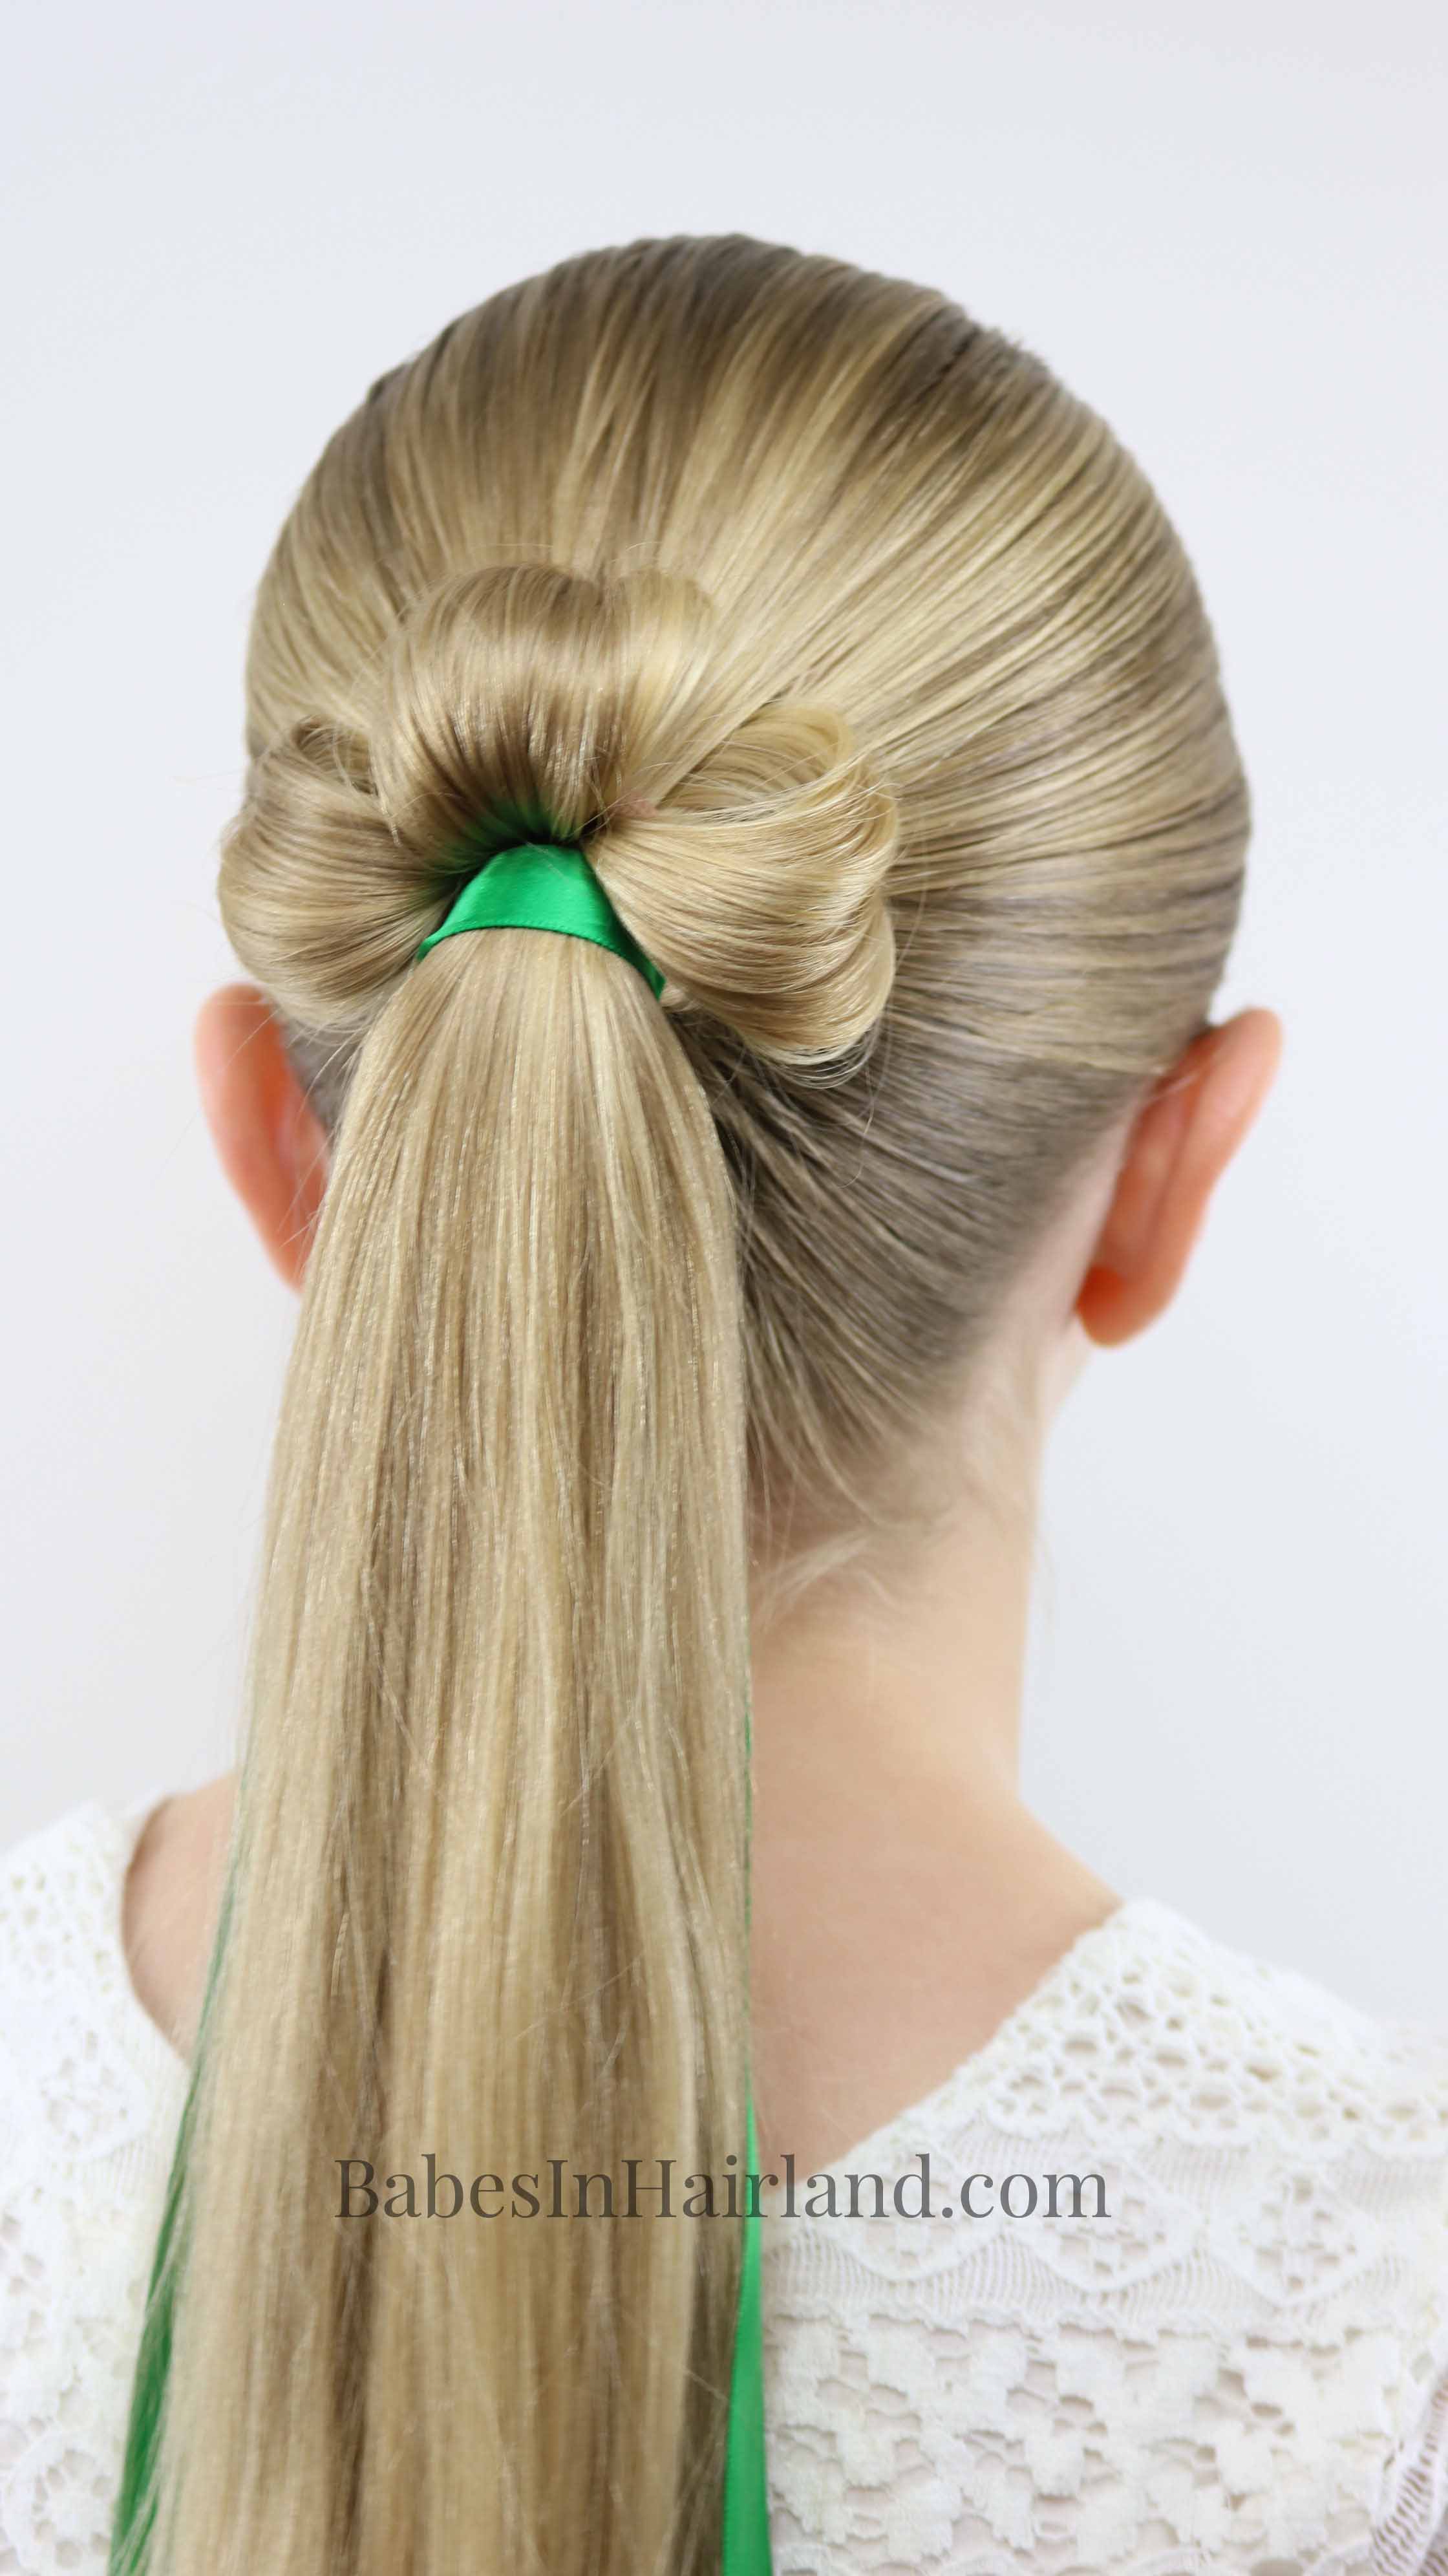
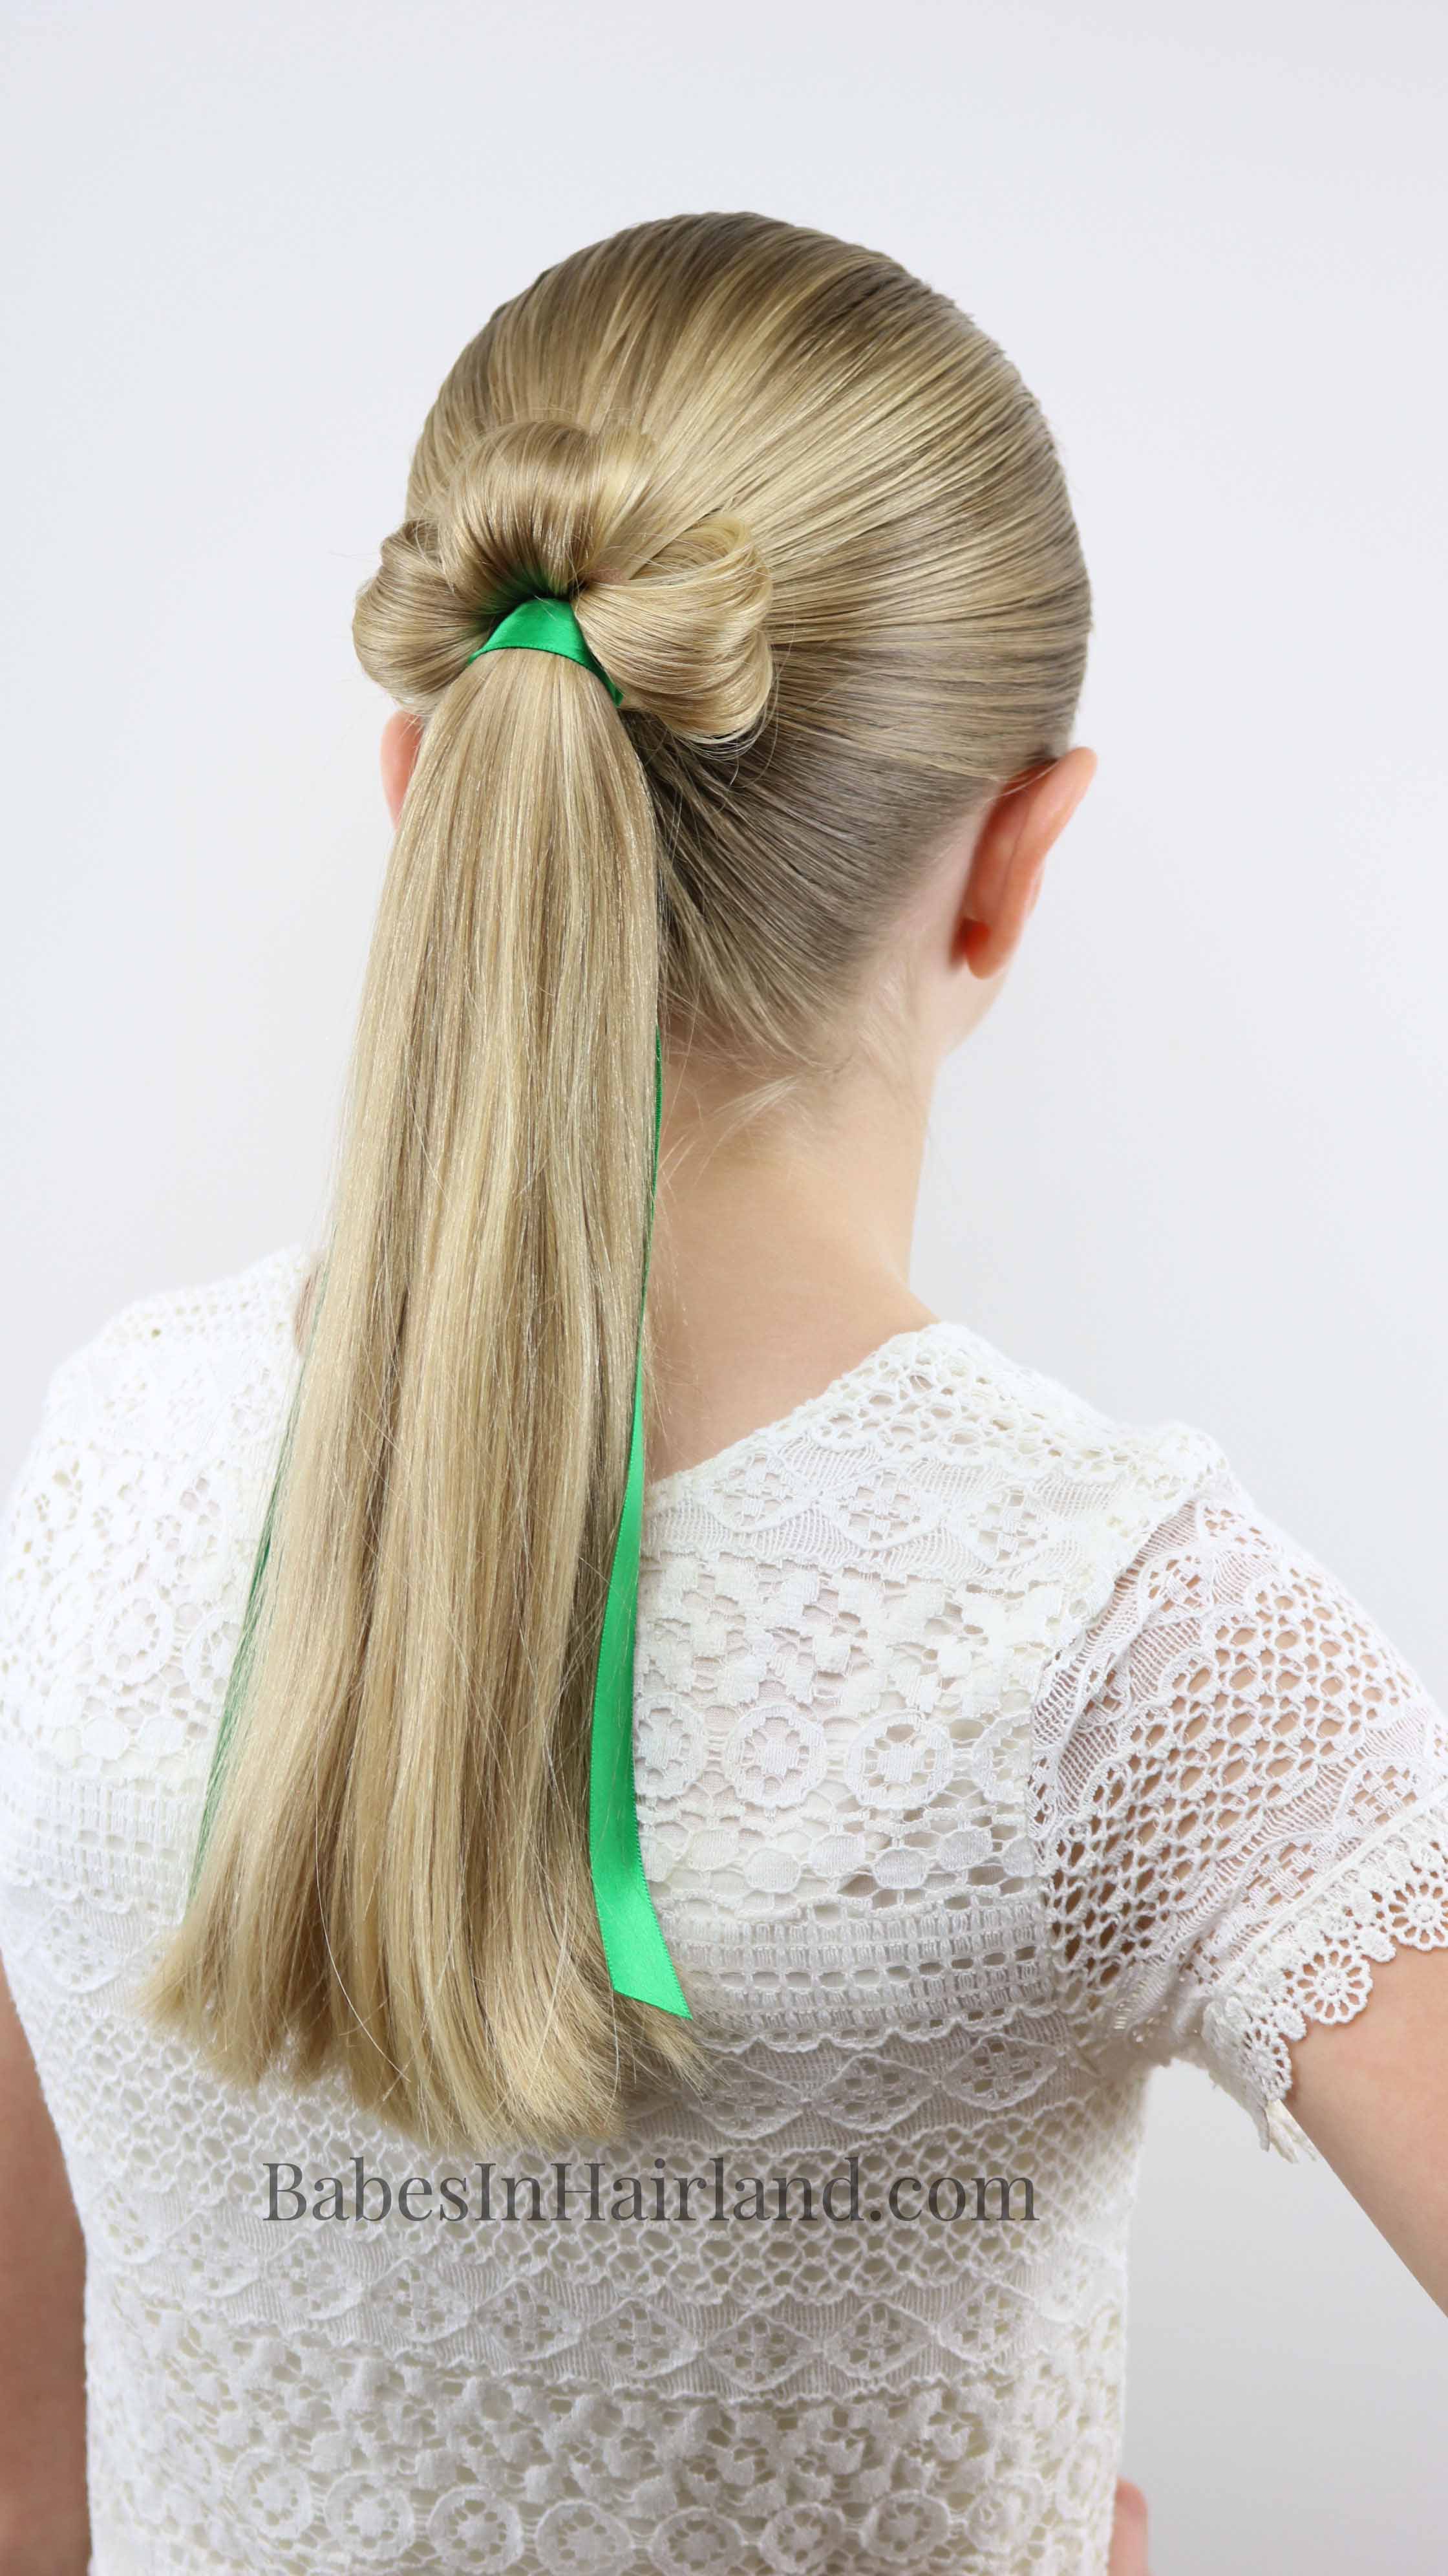
That’s all there is to this cute and easy Shamrock Ponytail for St. Patrick’s Day! Be sure to check out our other St. Patrick’s Day hairstyles HERE!
Thanks for stopping by & we hope these cute Shamrock hairstyles will help you have the luck of the Irish with you this weekend!
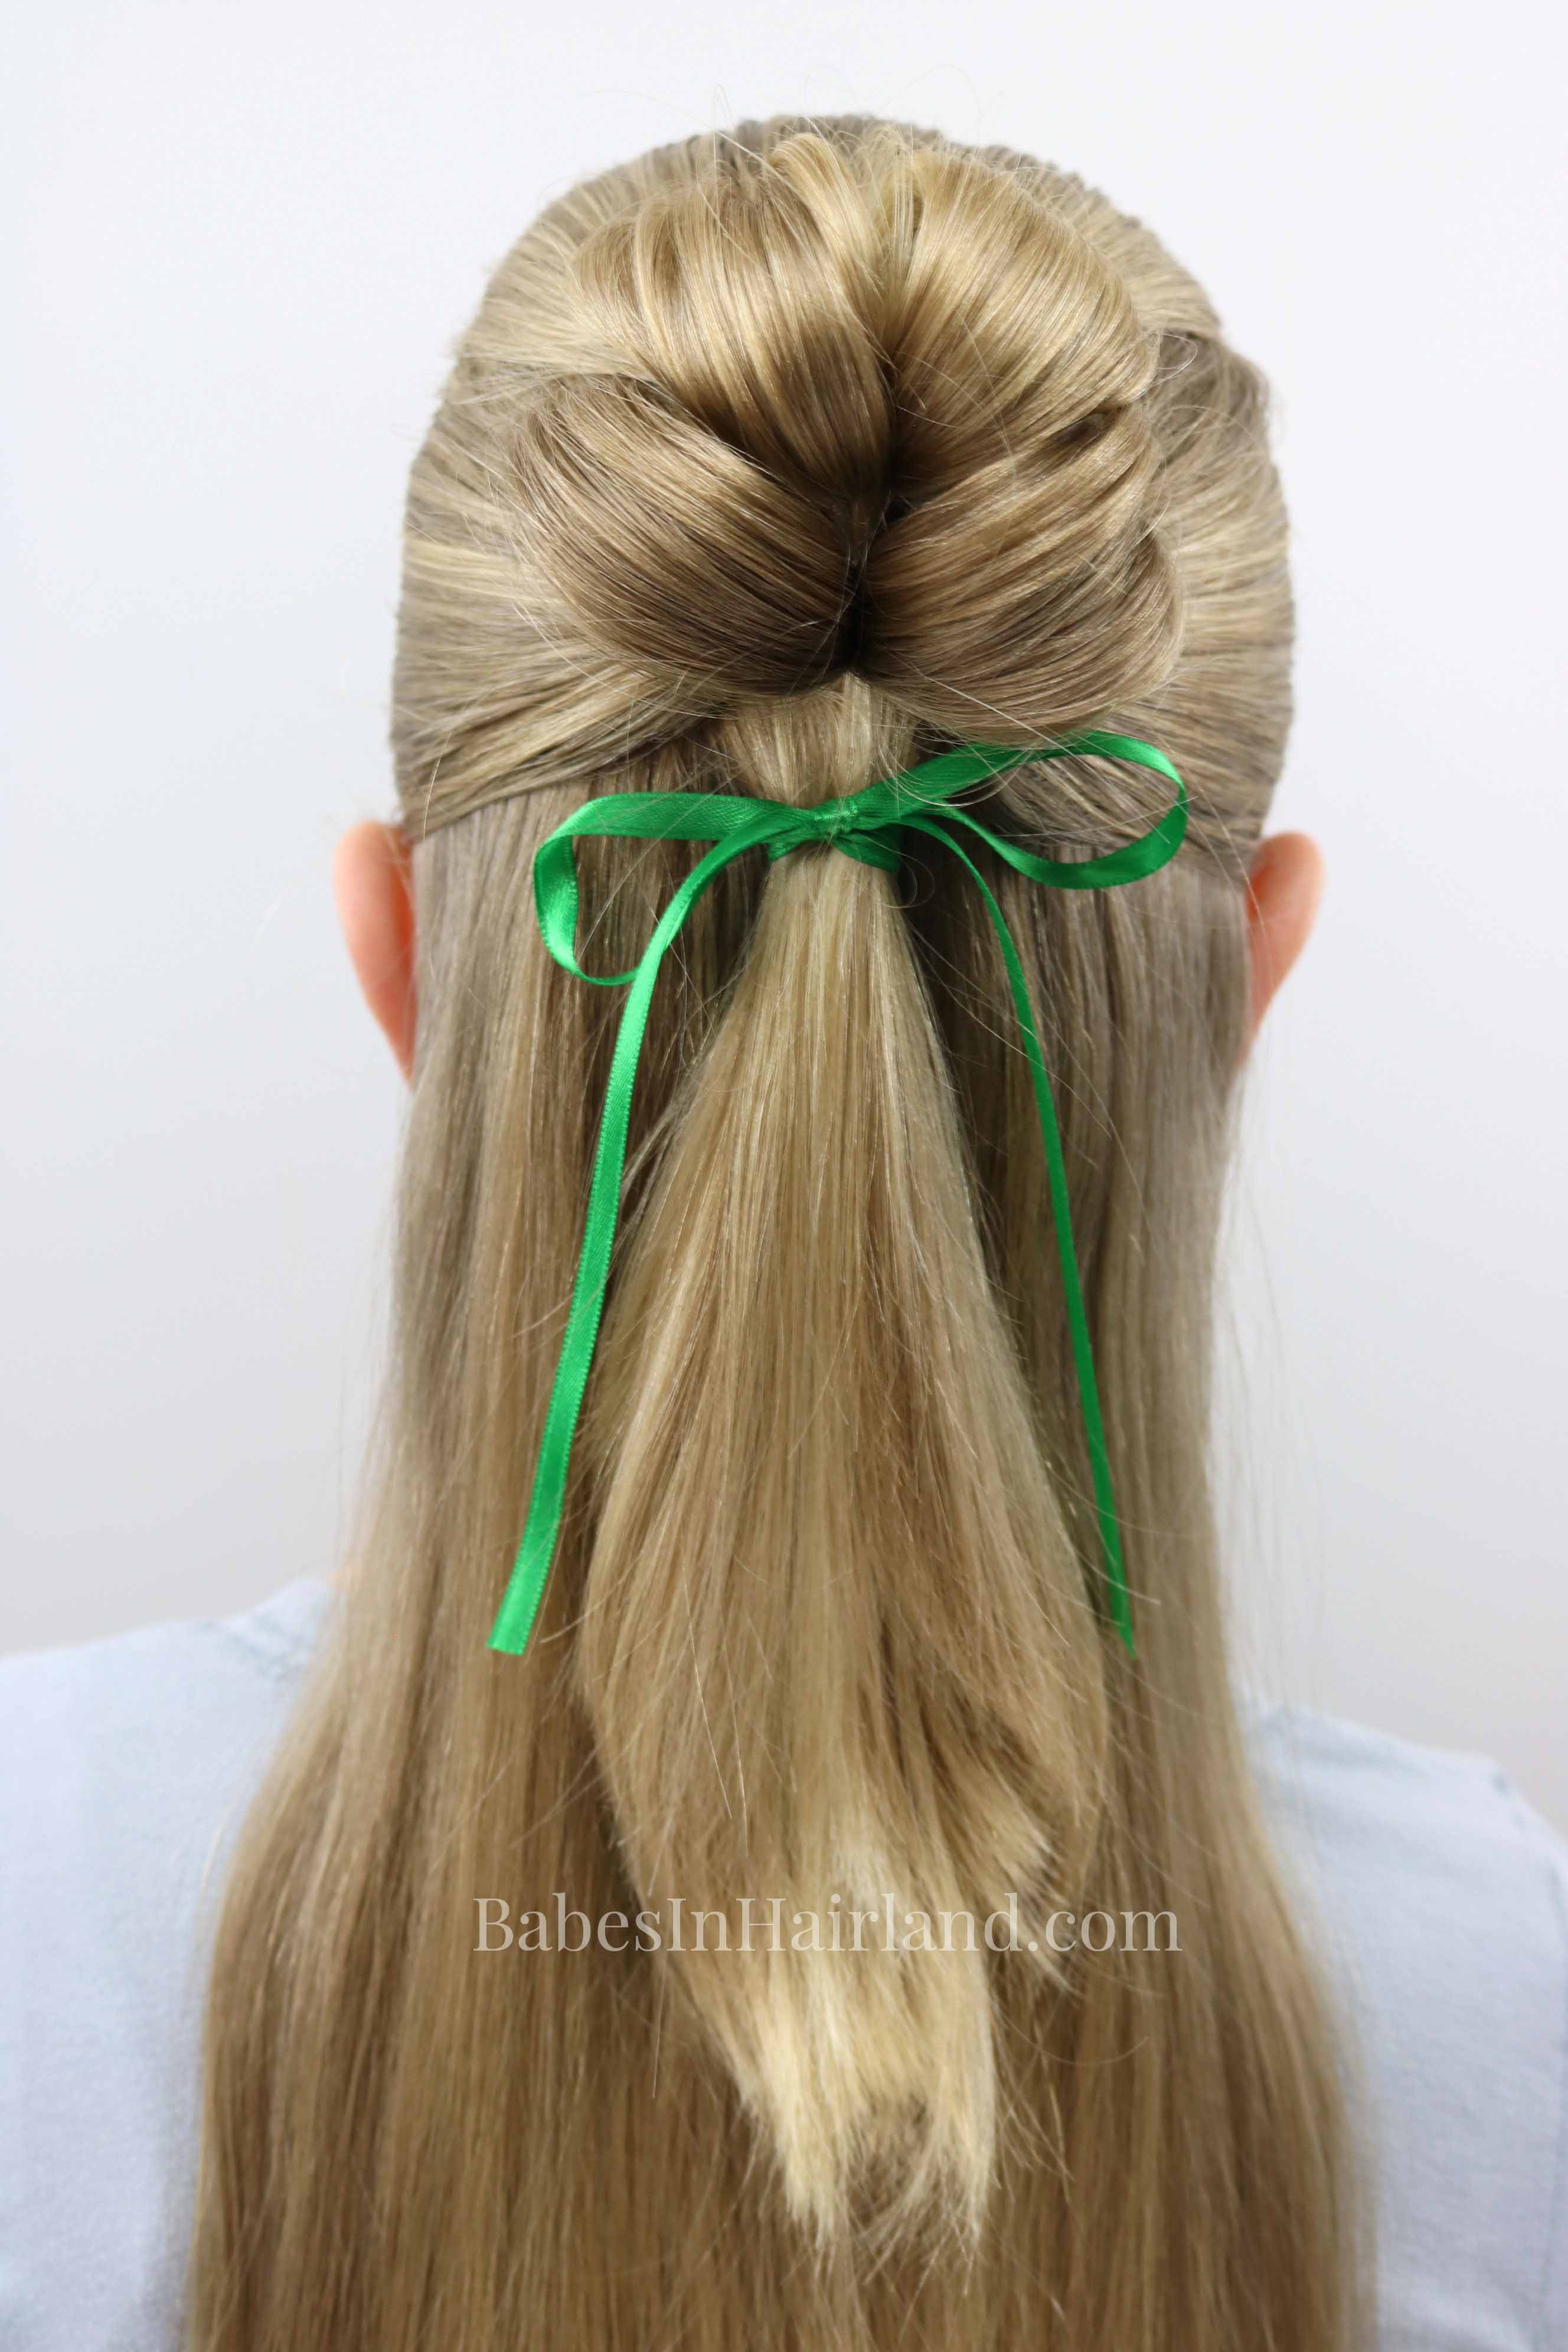
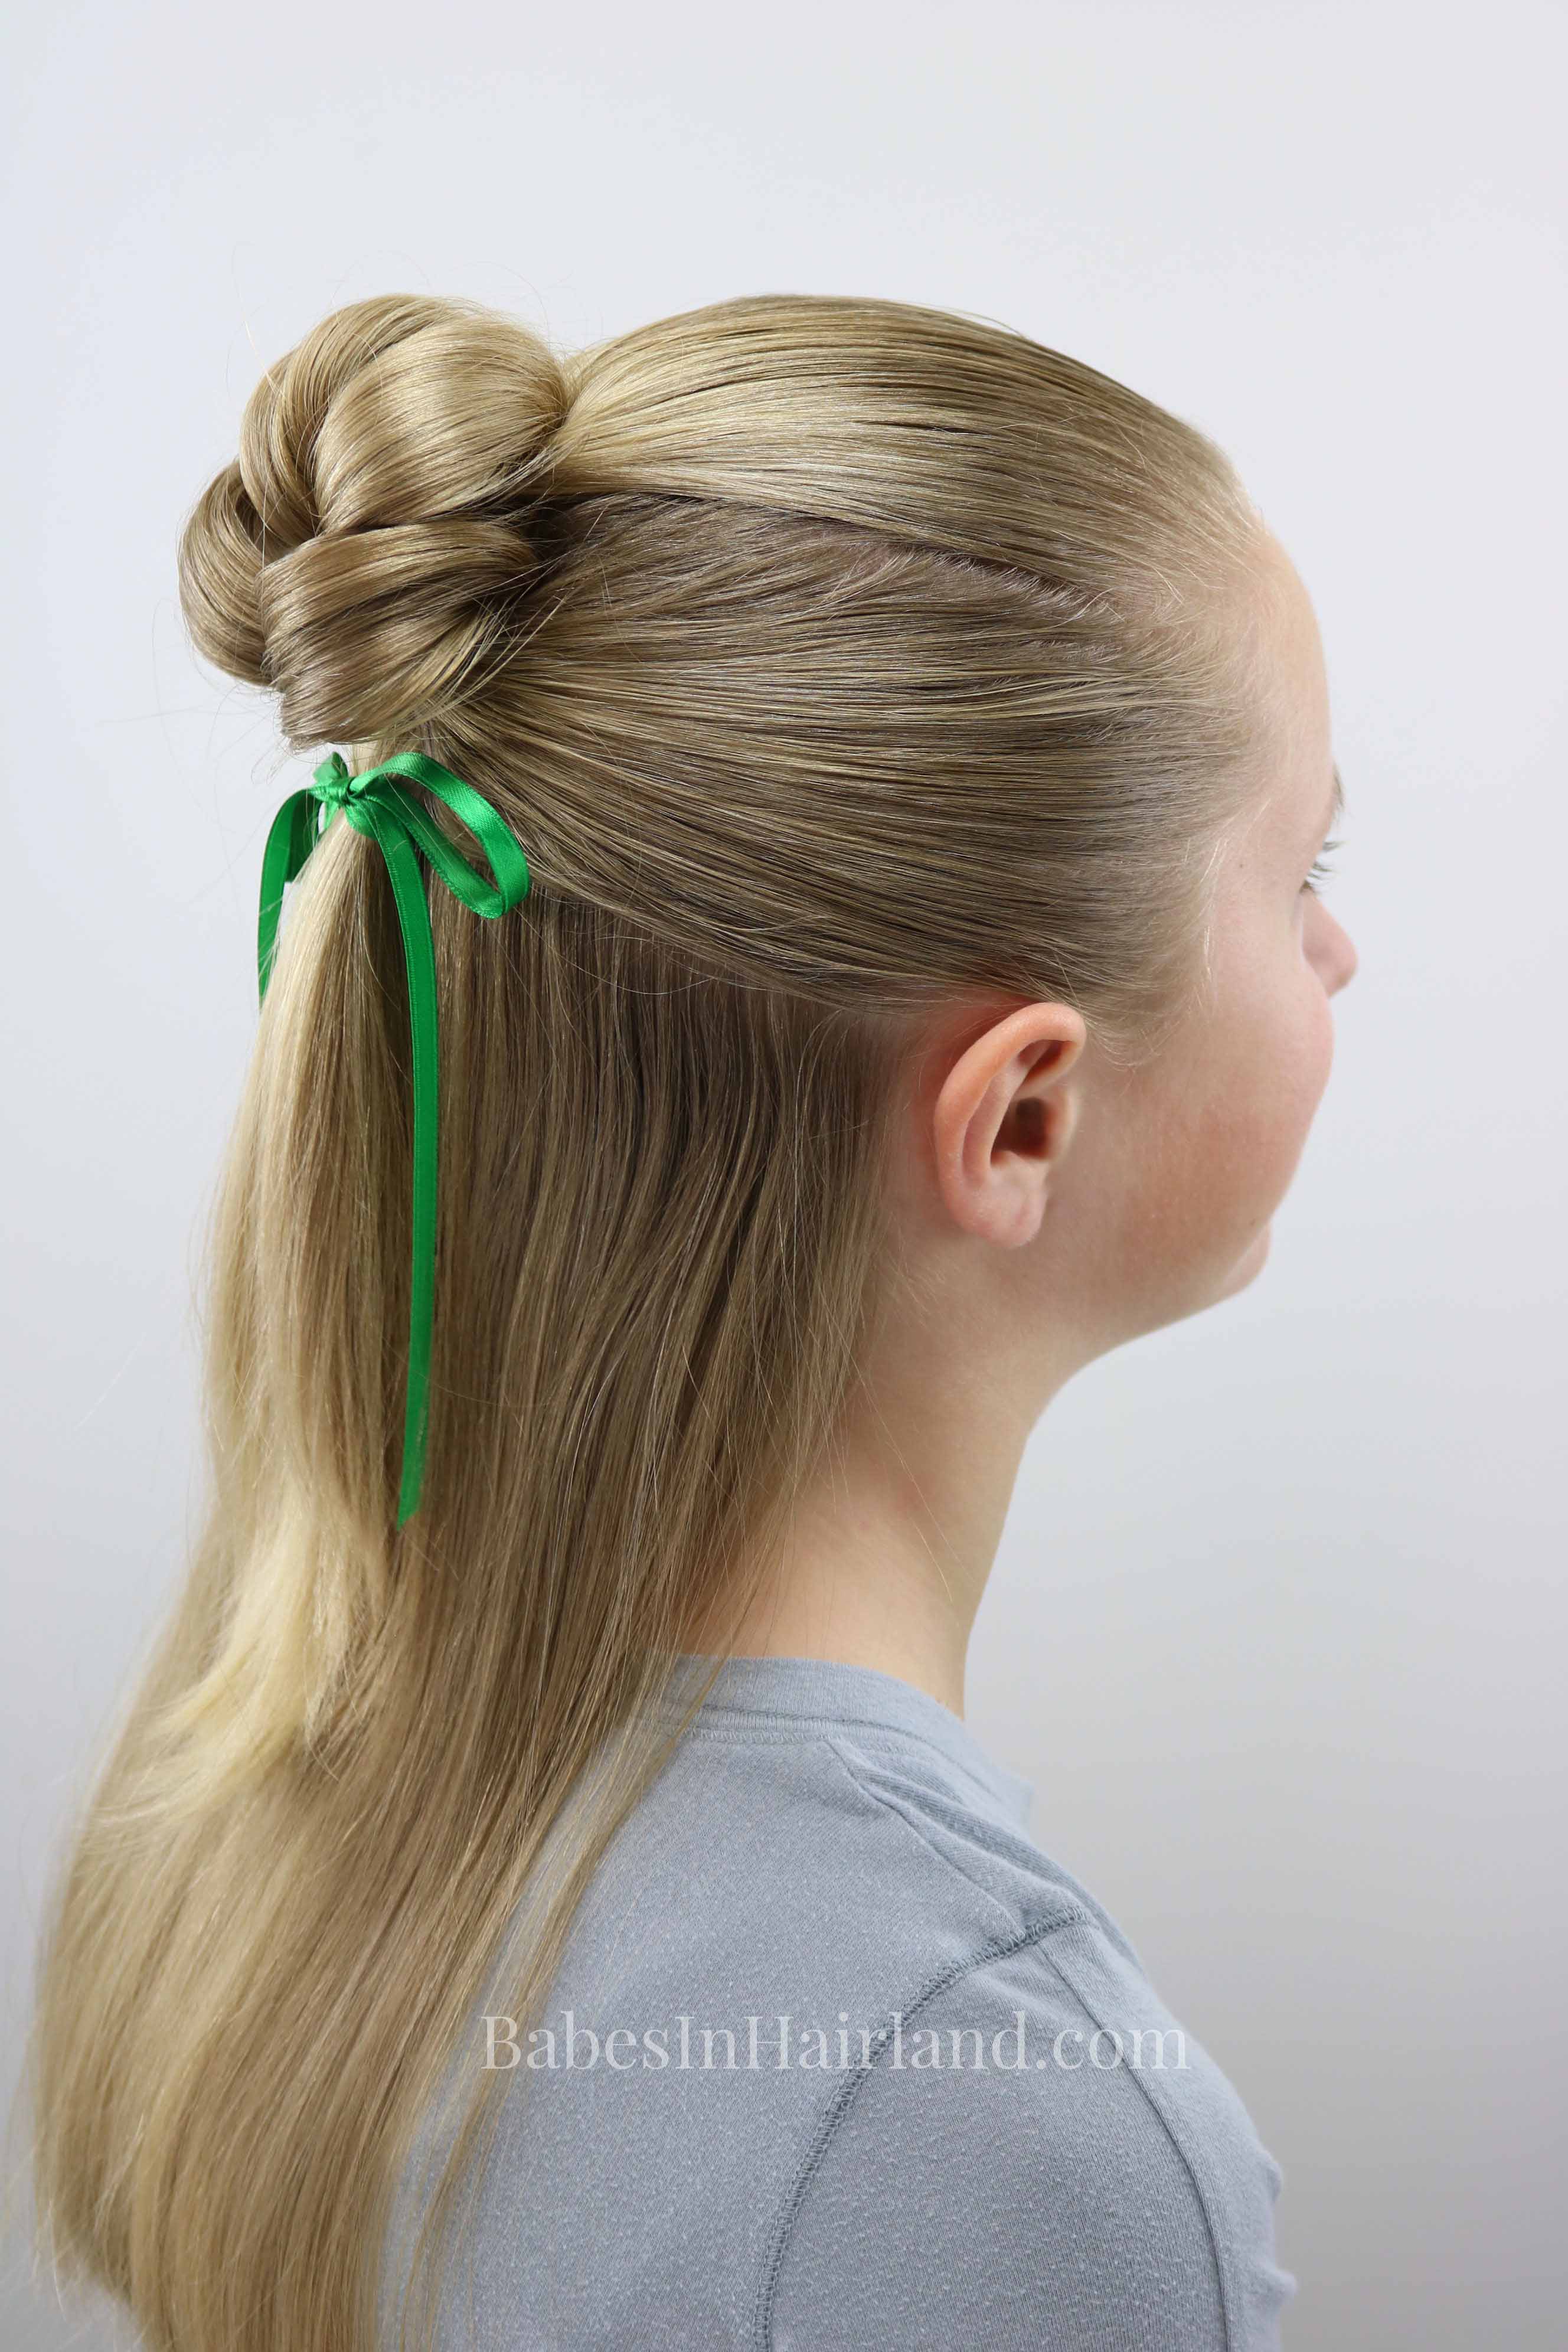
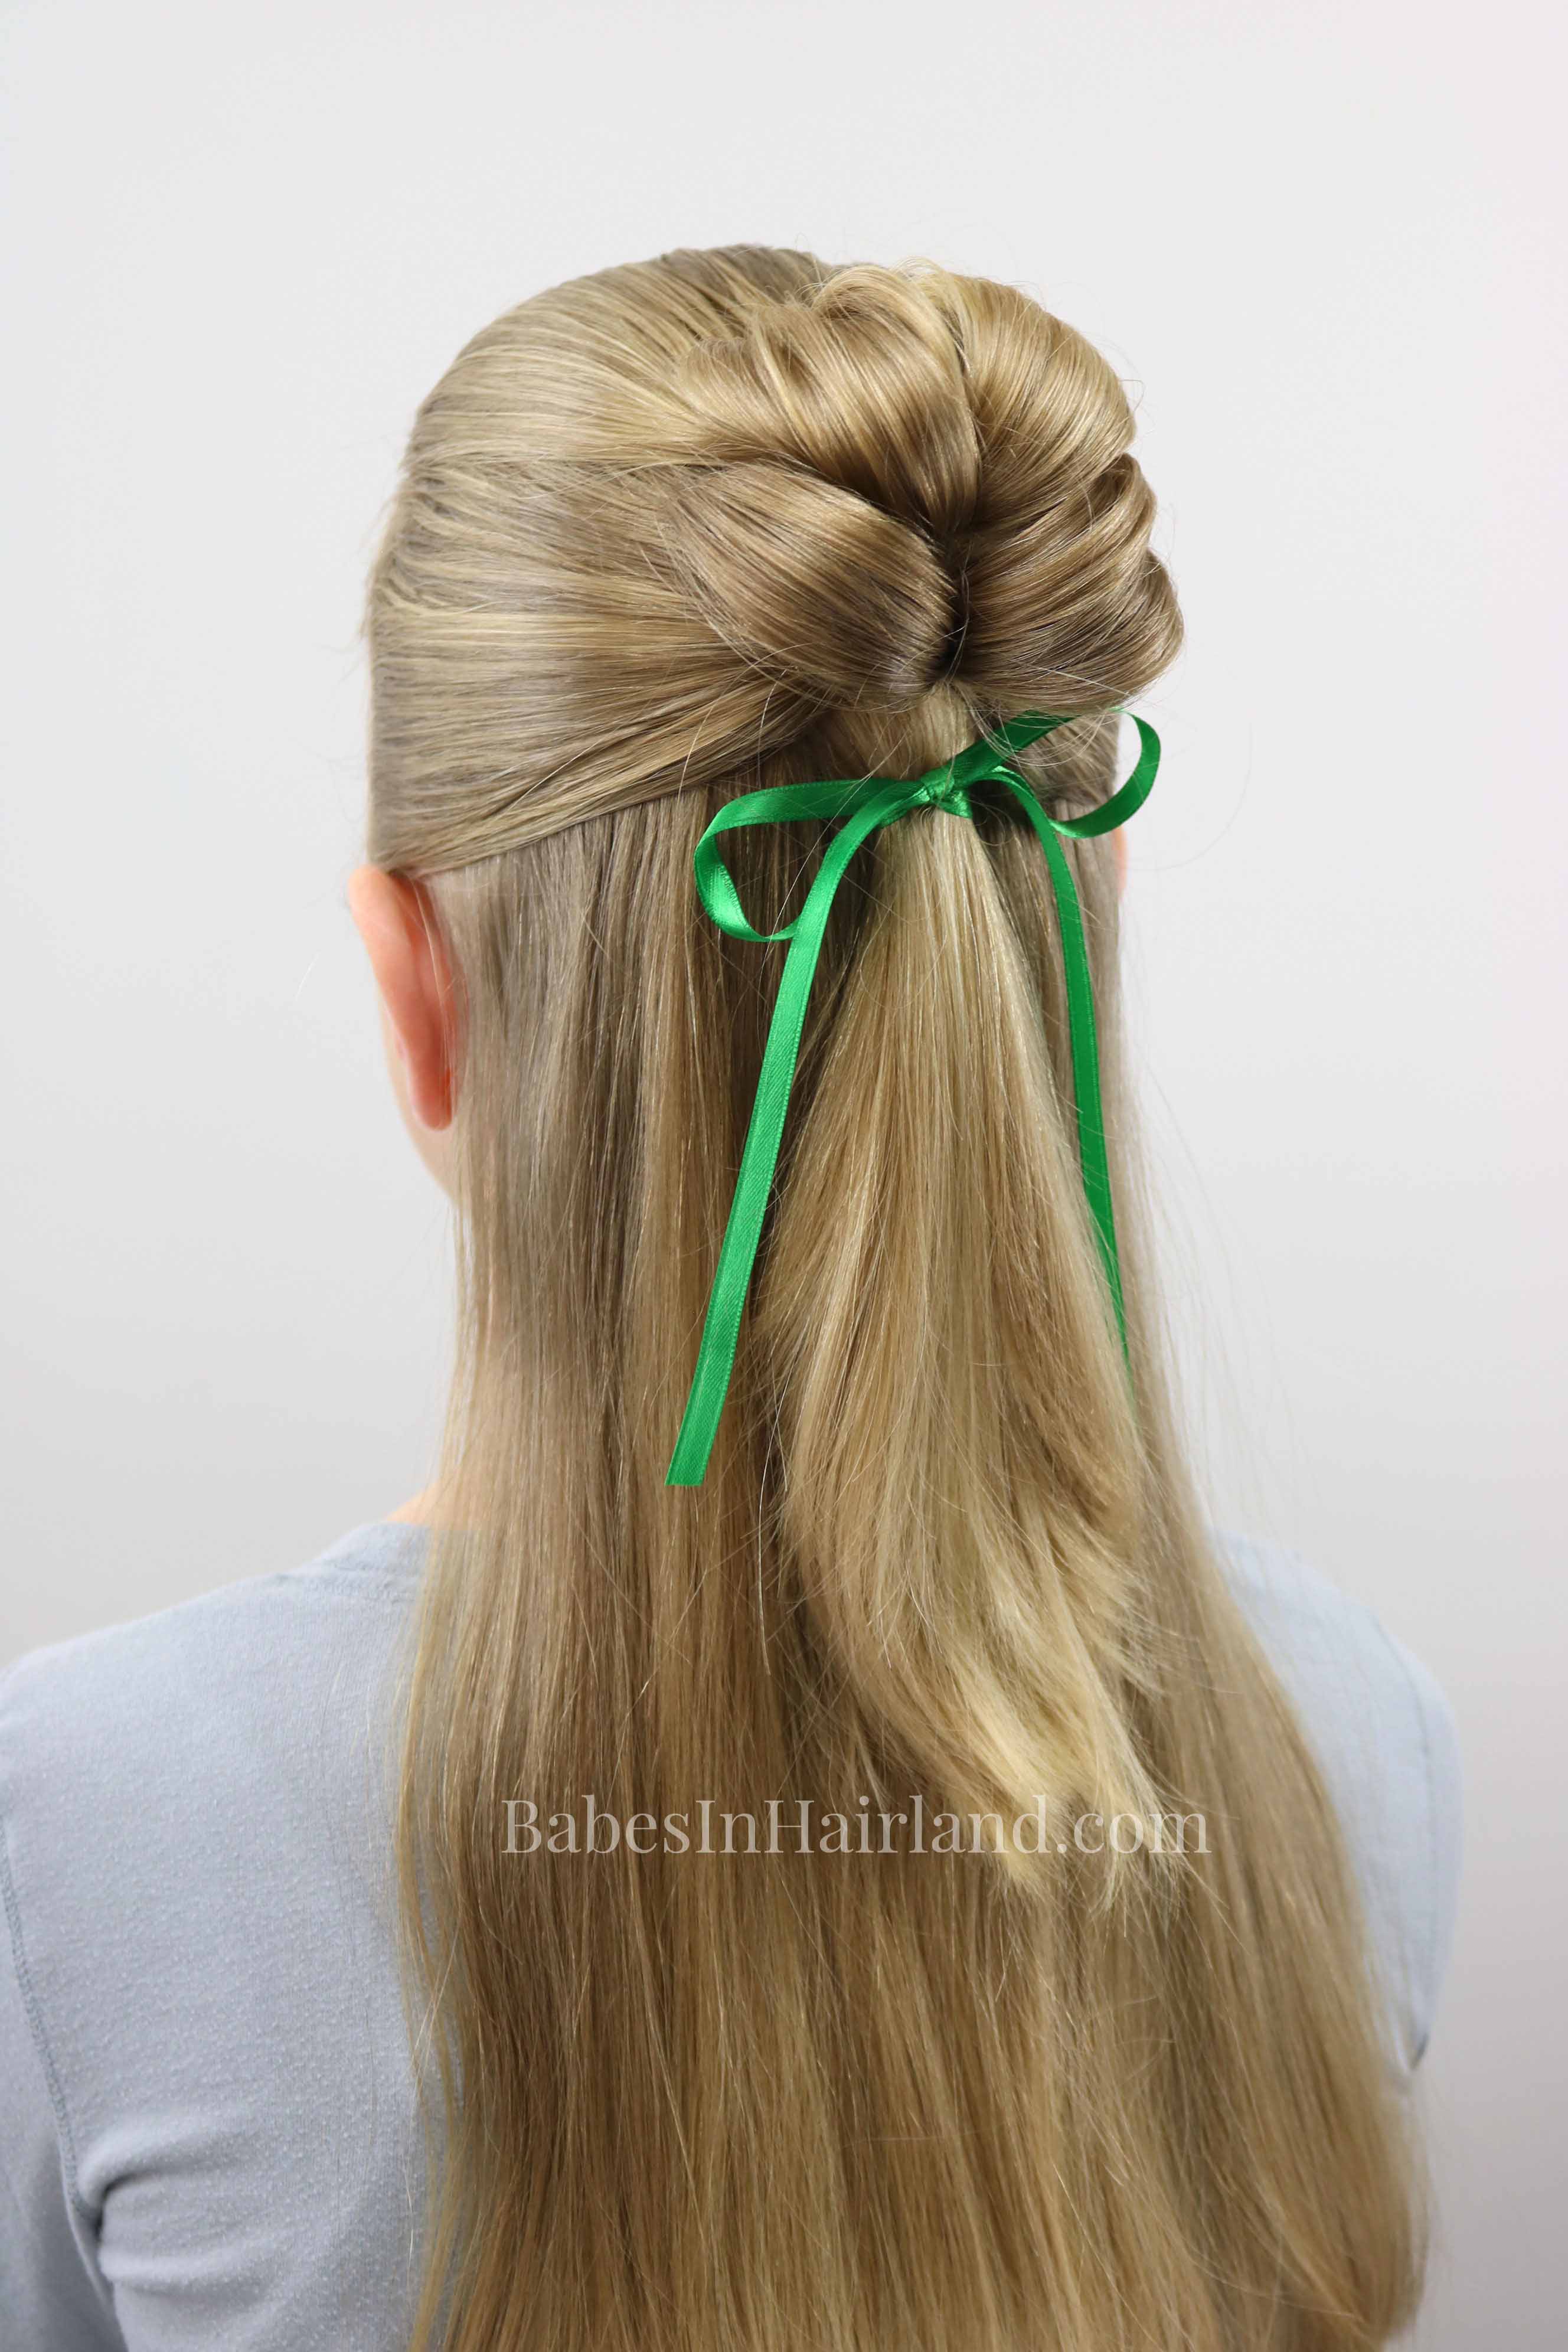
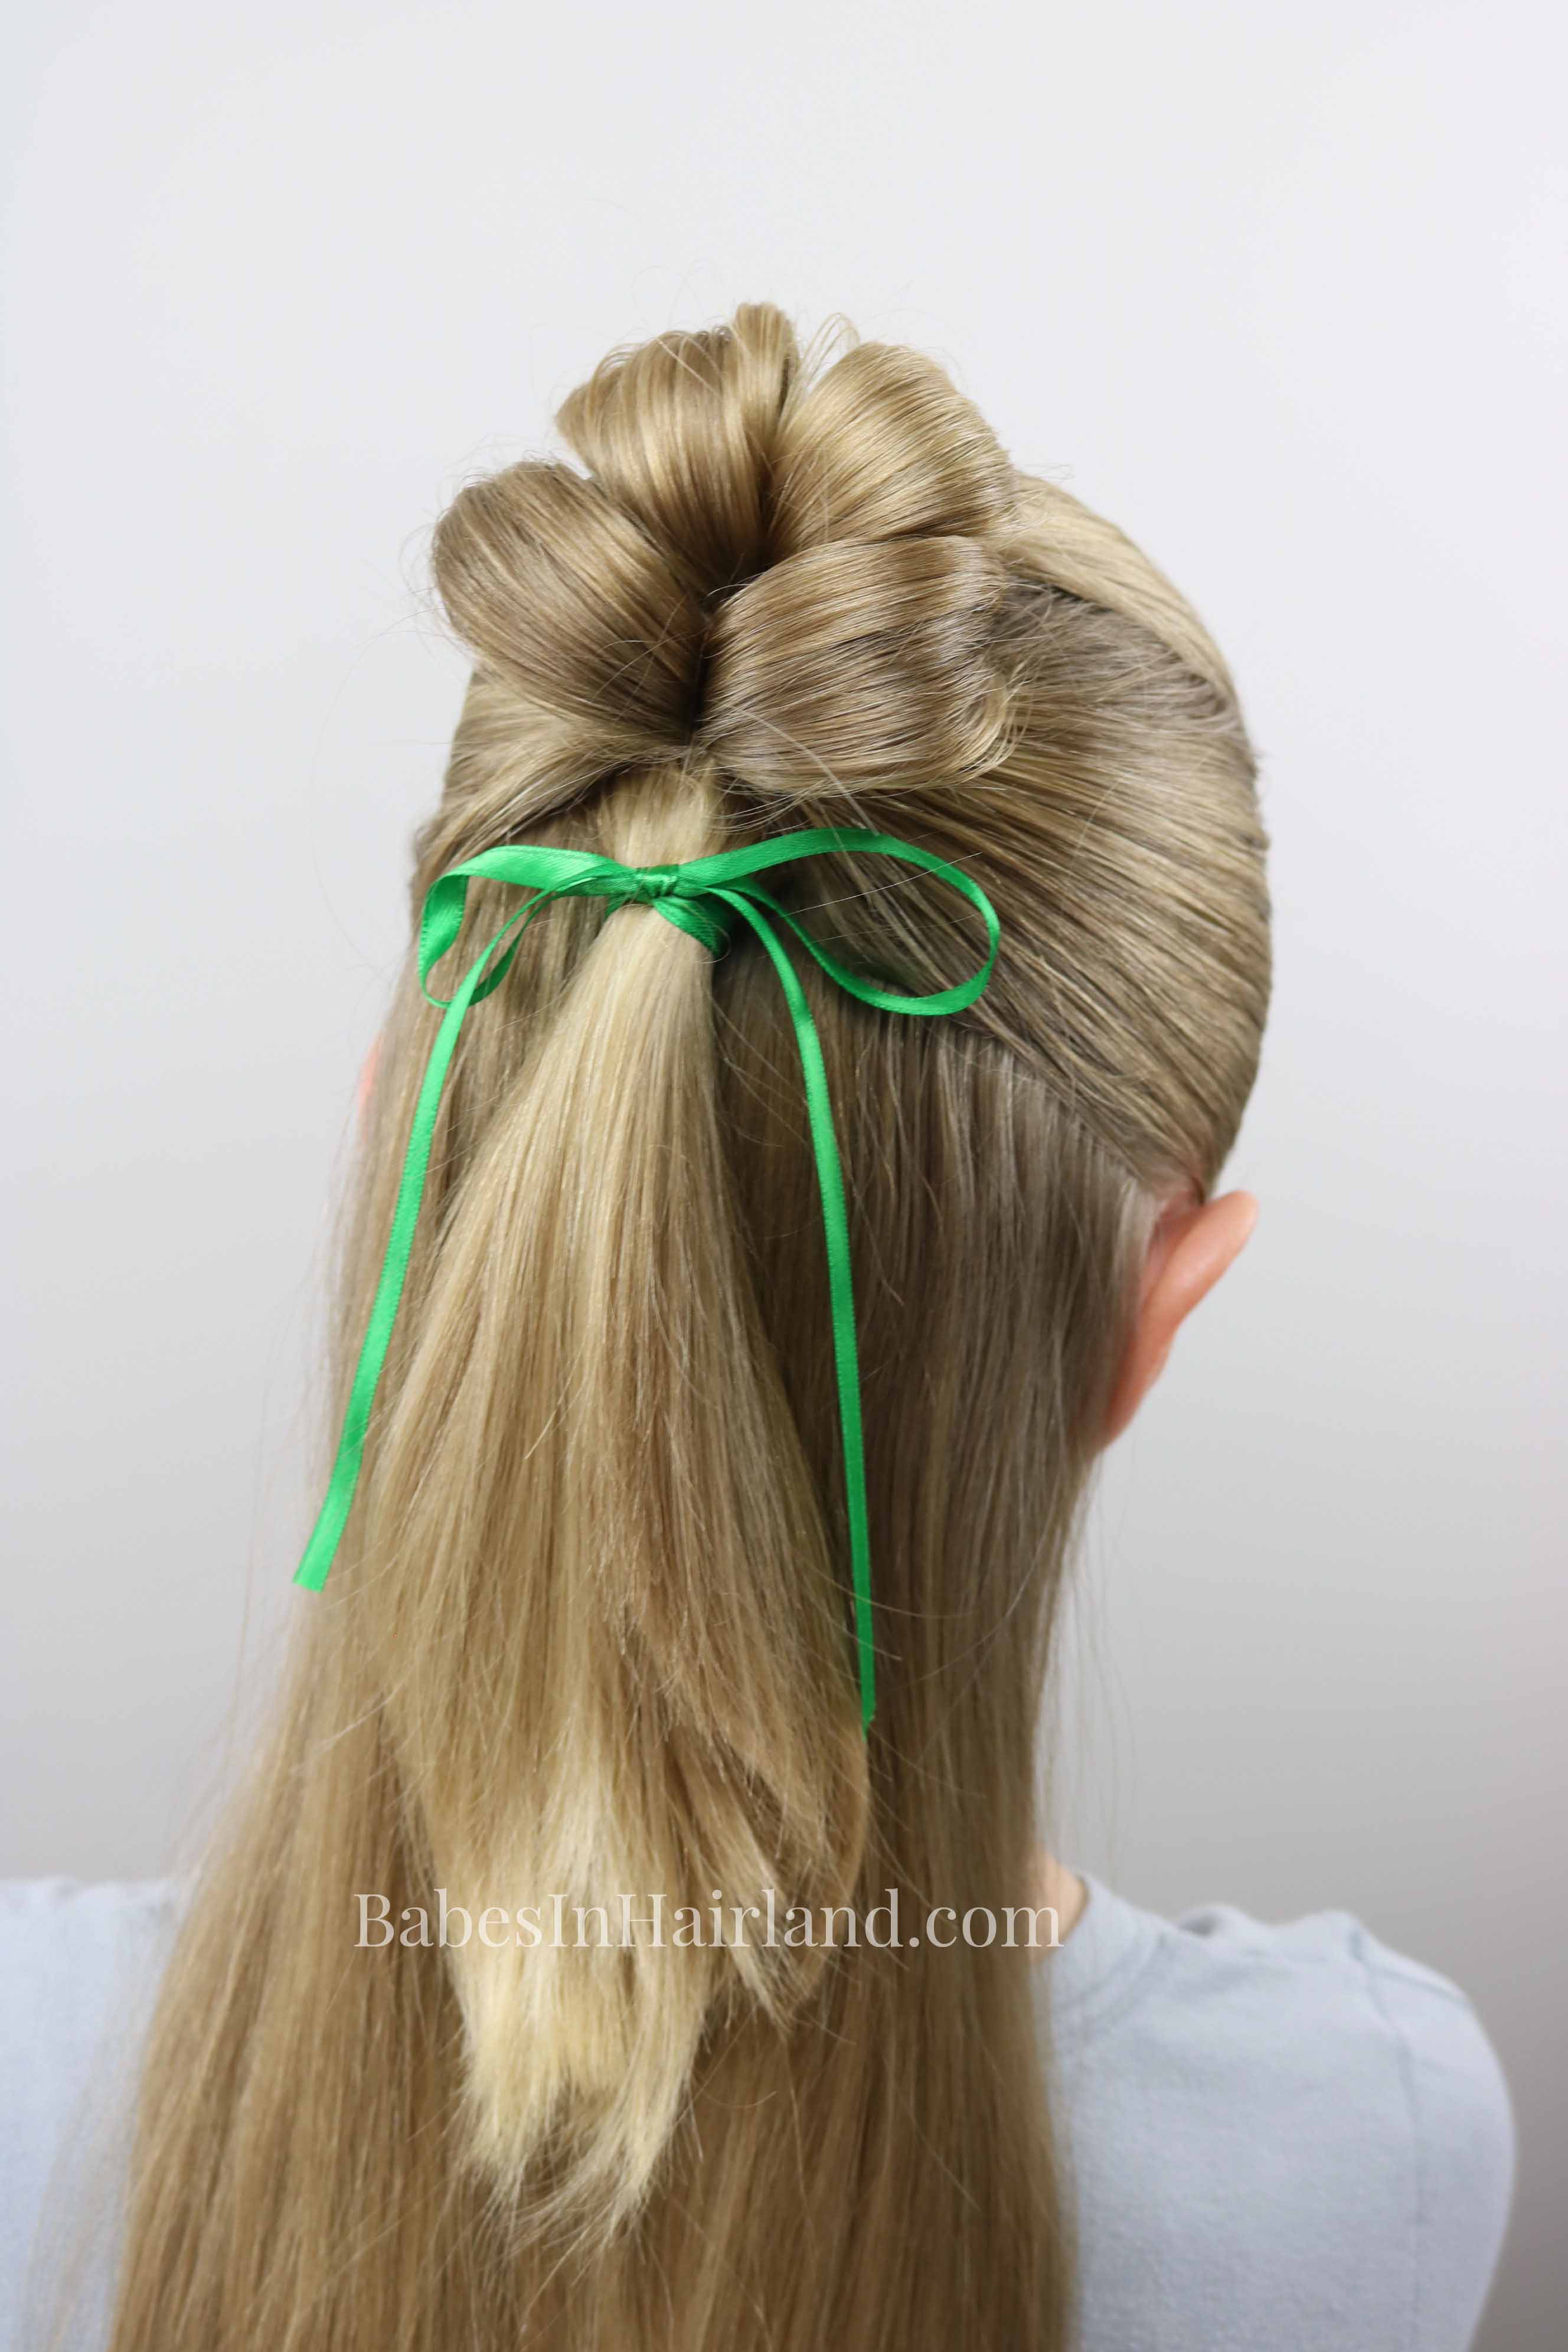
Want to try our 4 Leaf Clover St. Patrick’s Day Hairstyle? Turn your Shamrock ponytail into one with 4 leaves like below!
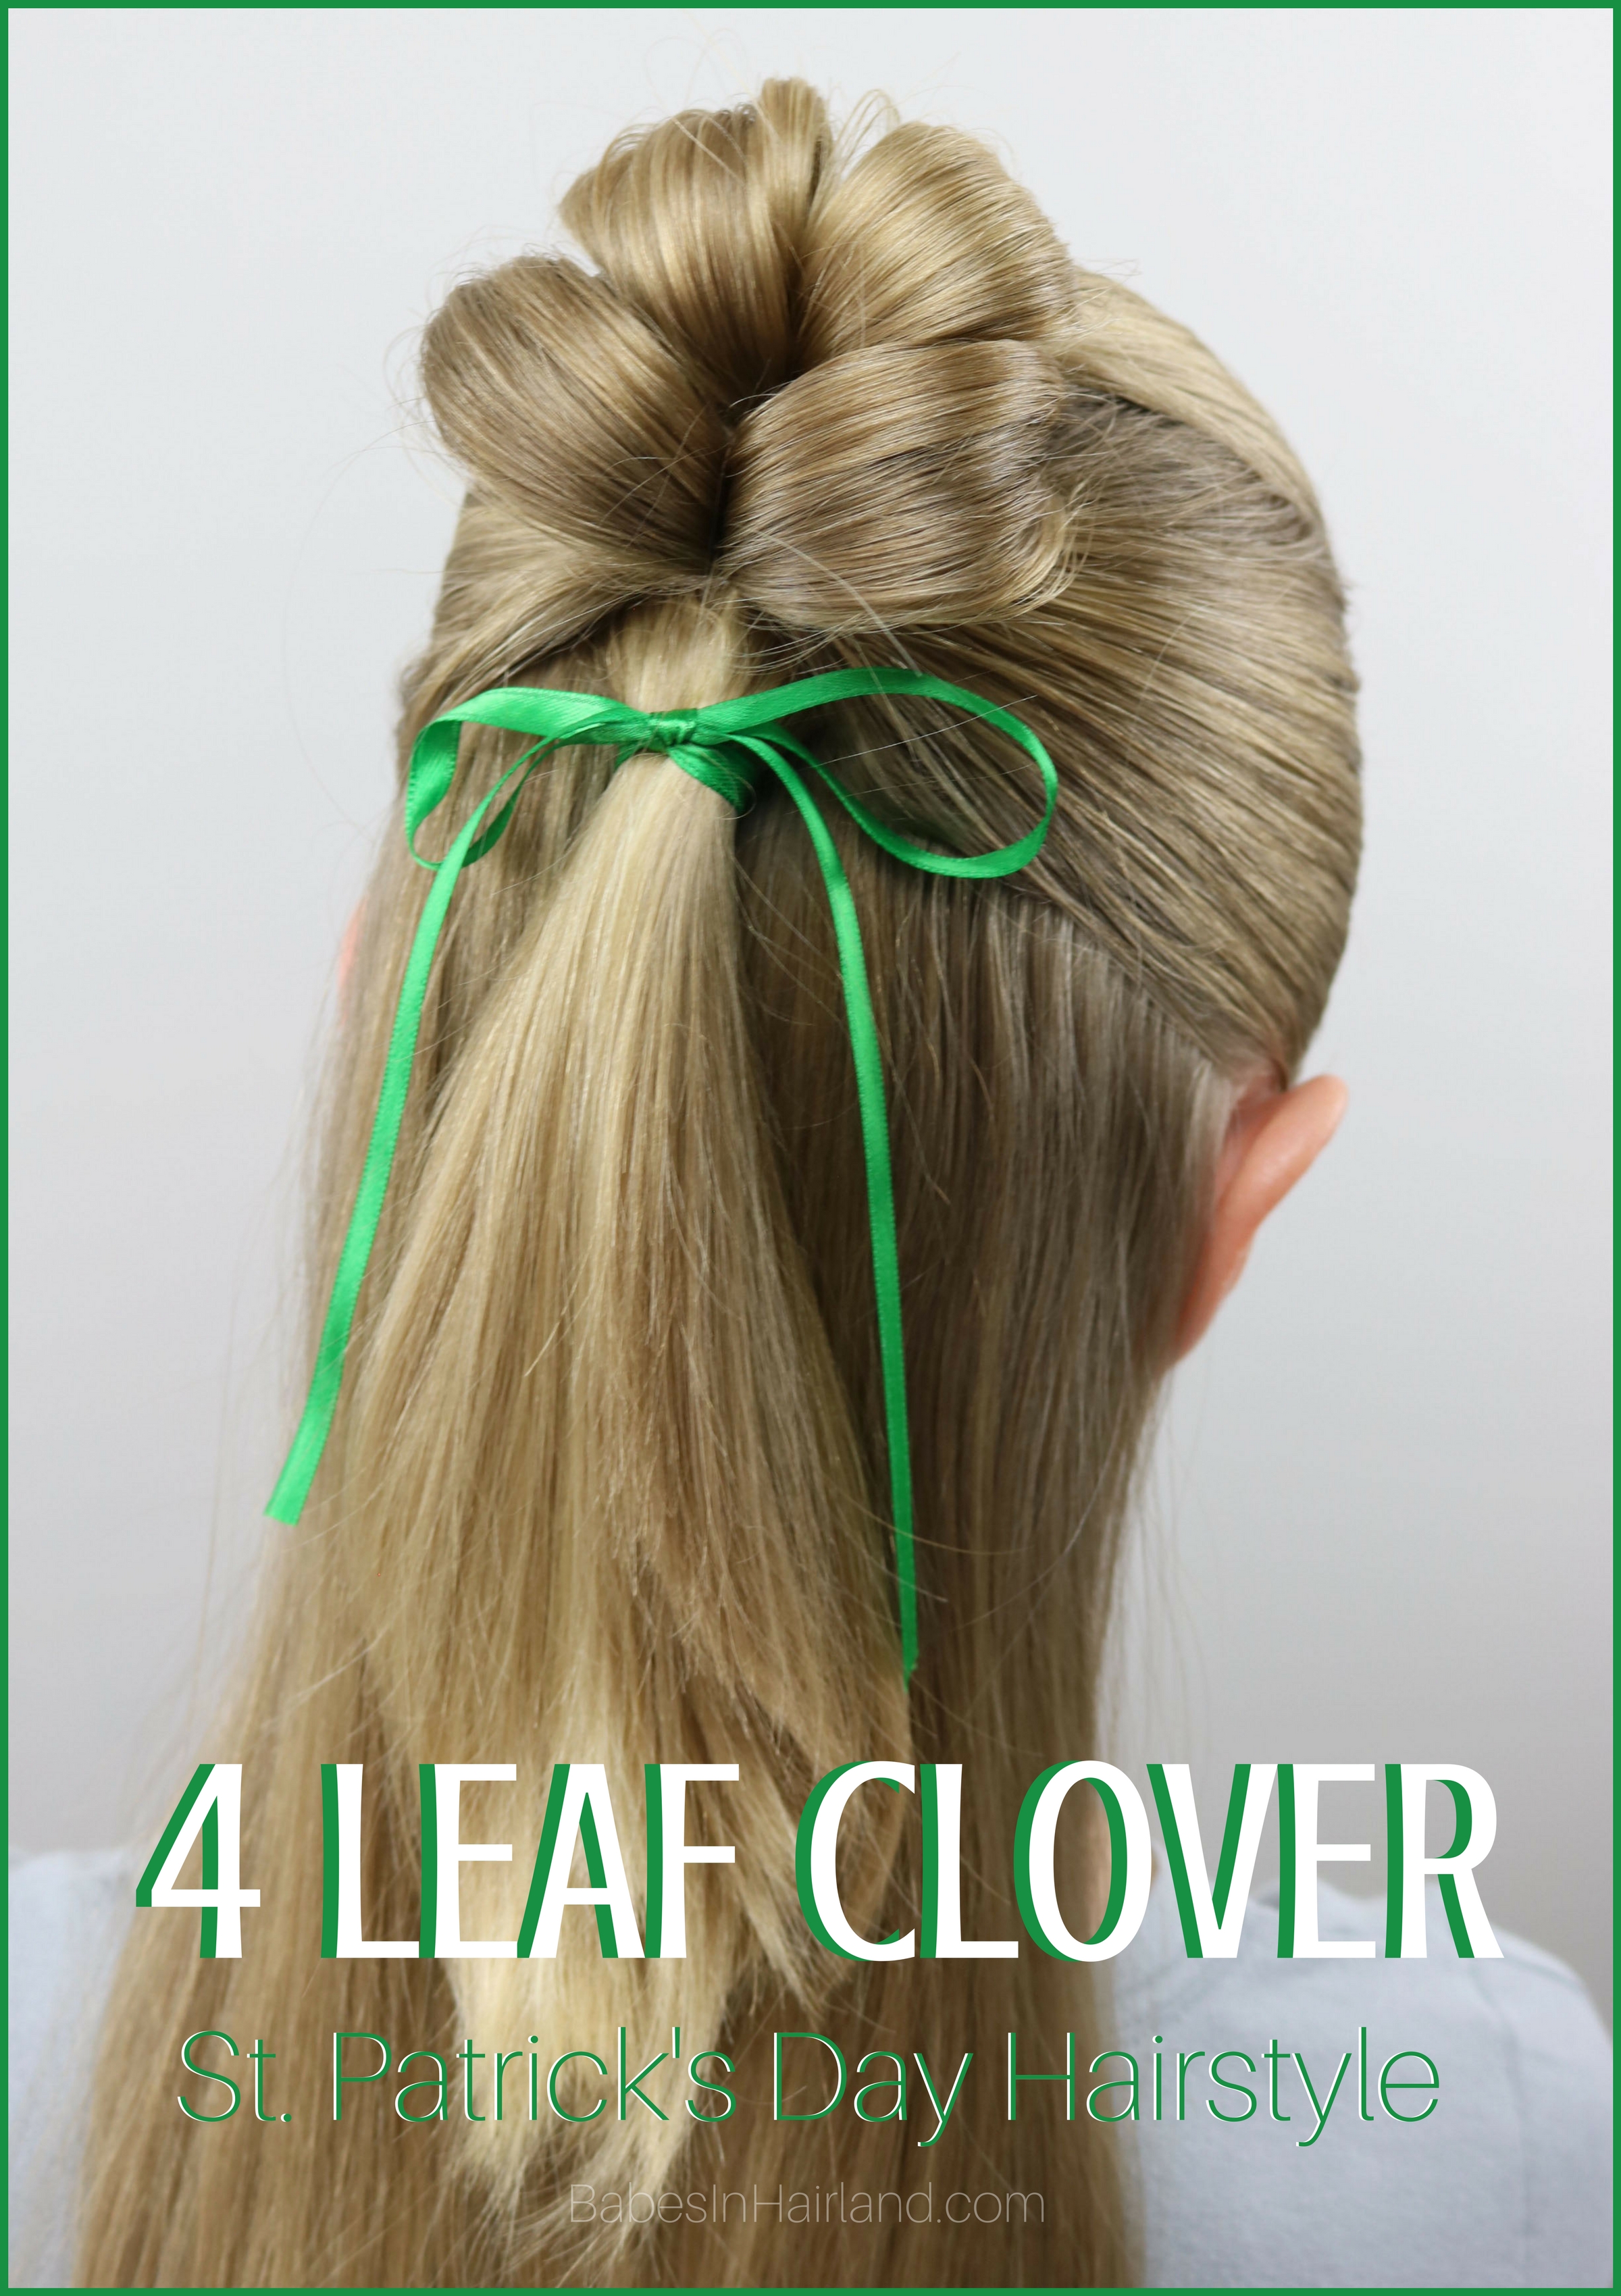
Happy St. Patrick’s Day!
The post Shamrock Ponytail | St. Patrick’s Day Hairstyle appeared first on Babes In Hairland.
]]>The post 4 Leaf Clover Hairstyle | St. Patrick’s Day appeared first on Babes In Hairland.
]]>
This is our 1st tutorial we’ve done on Bee since she cut her hair. So if you missed that post and are wondering where her hair went, be sure to check out her haircut video here. If you can’t view the video here on our blog, head to our YouTube channel and watch it HERE.
You will need a Topsy Tail for this hairstyle. Don’t have one? Buy a Topsy Tail kit HERE. This is the one we purchased, and while the picture doesn’t show it, it does come with a big and small Topsy Tail.
1- Part out a section of hair from the temples back to the crown. Secure it with a clear elastic into a ponytail in the center of the crown.
2- Divide this ponytail in a left and a right section.
3- Place the pointed end of your topsy tail just above the elastic, off to the left side. Draw the left section of the ponytail up through the Topsy Tail and pull it down and through. Don’t pull the hair all way way through. Leave the hair so it creates a loop. This creates the 1st “leaf” for your clover.
4- Next move to the right section of hair from the ponytail. Place the pointed end of the Topsy Tail above the elastic and off to the right side. Don’t pull this through the same spot you did in Step 3. Pull the hair through as in Step 3, creating a 2nd “leaf” or loop.
5- You can leave the loops small right now, you will go back and adjust them later.
6- Now part the hair from ear to ear to create a second ponytail. Draw all the hair into a ponytail that is just below the first elastic and loops you’ve created.
7- Divide this ponytail into a left and right section.
8 – Place the pointed end of the Topsy Tail into the hair just to the right and below the loop on the right side. This will make the loops on the sides sit more diagonally if you don’t go right next to this ponytail.
It’s important to place things fairly close together or you will end out with big gaps in your 4 leaf clover. And obviously if there are big gaps, it doesn’t look much like a 4 leaf clover when you’re through!
9 – As before,pull the hair through with the Topsy Tail but don’t pull it through completely. This creates a 3rd loop, or your 3rd leaf to the clover.
10 – Repeat on the left side to create the 4th loop or “leaf” of the clover. Be sure to insert the Topsy Tail just down and to the left of the top left clover loop.
11- Combine all the hair from the ponytails and loops together and wrap a green ribbon around it to secure everything in place.
FINISHED 4 LEAF CLOVER HAIRSTYLE!
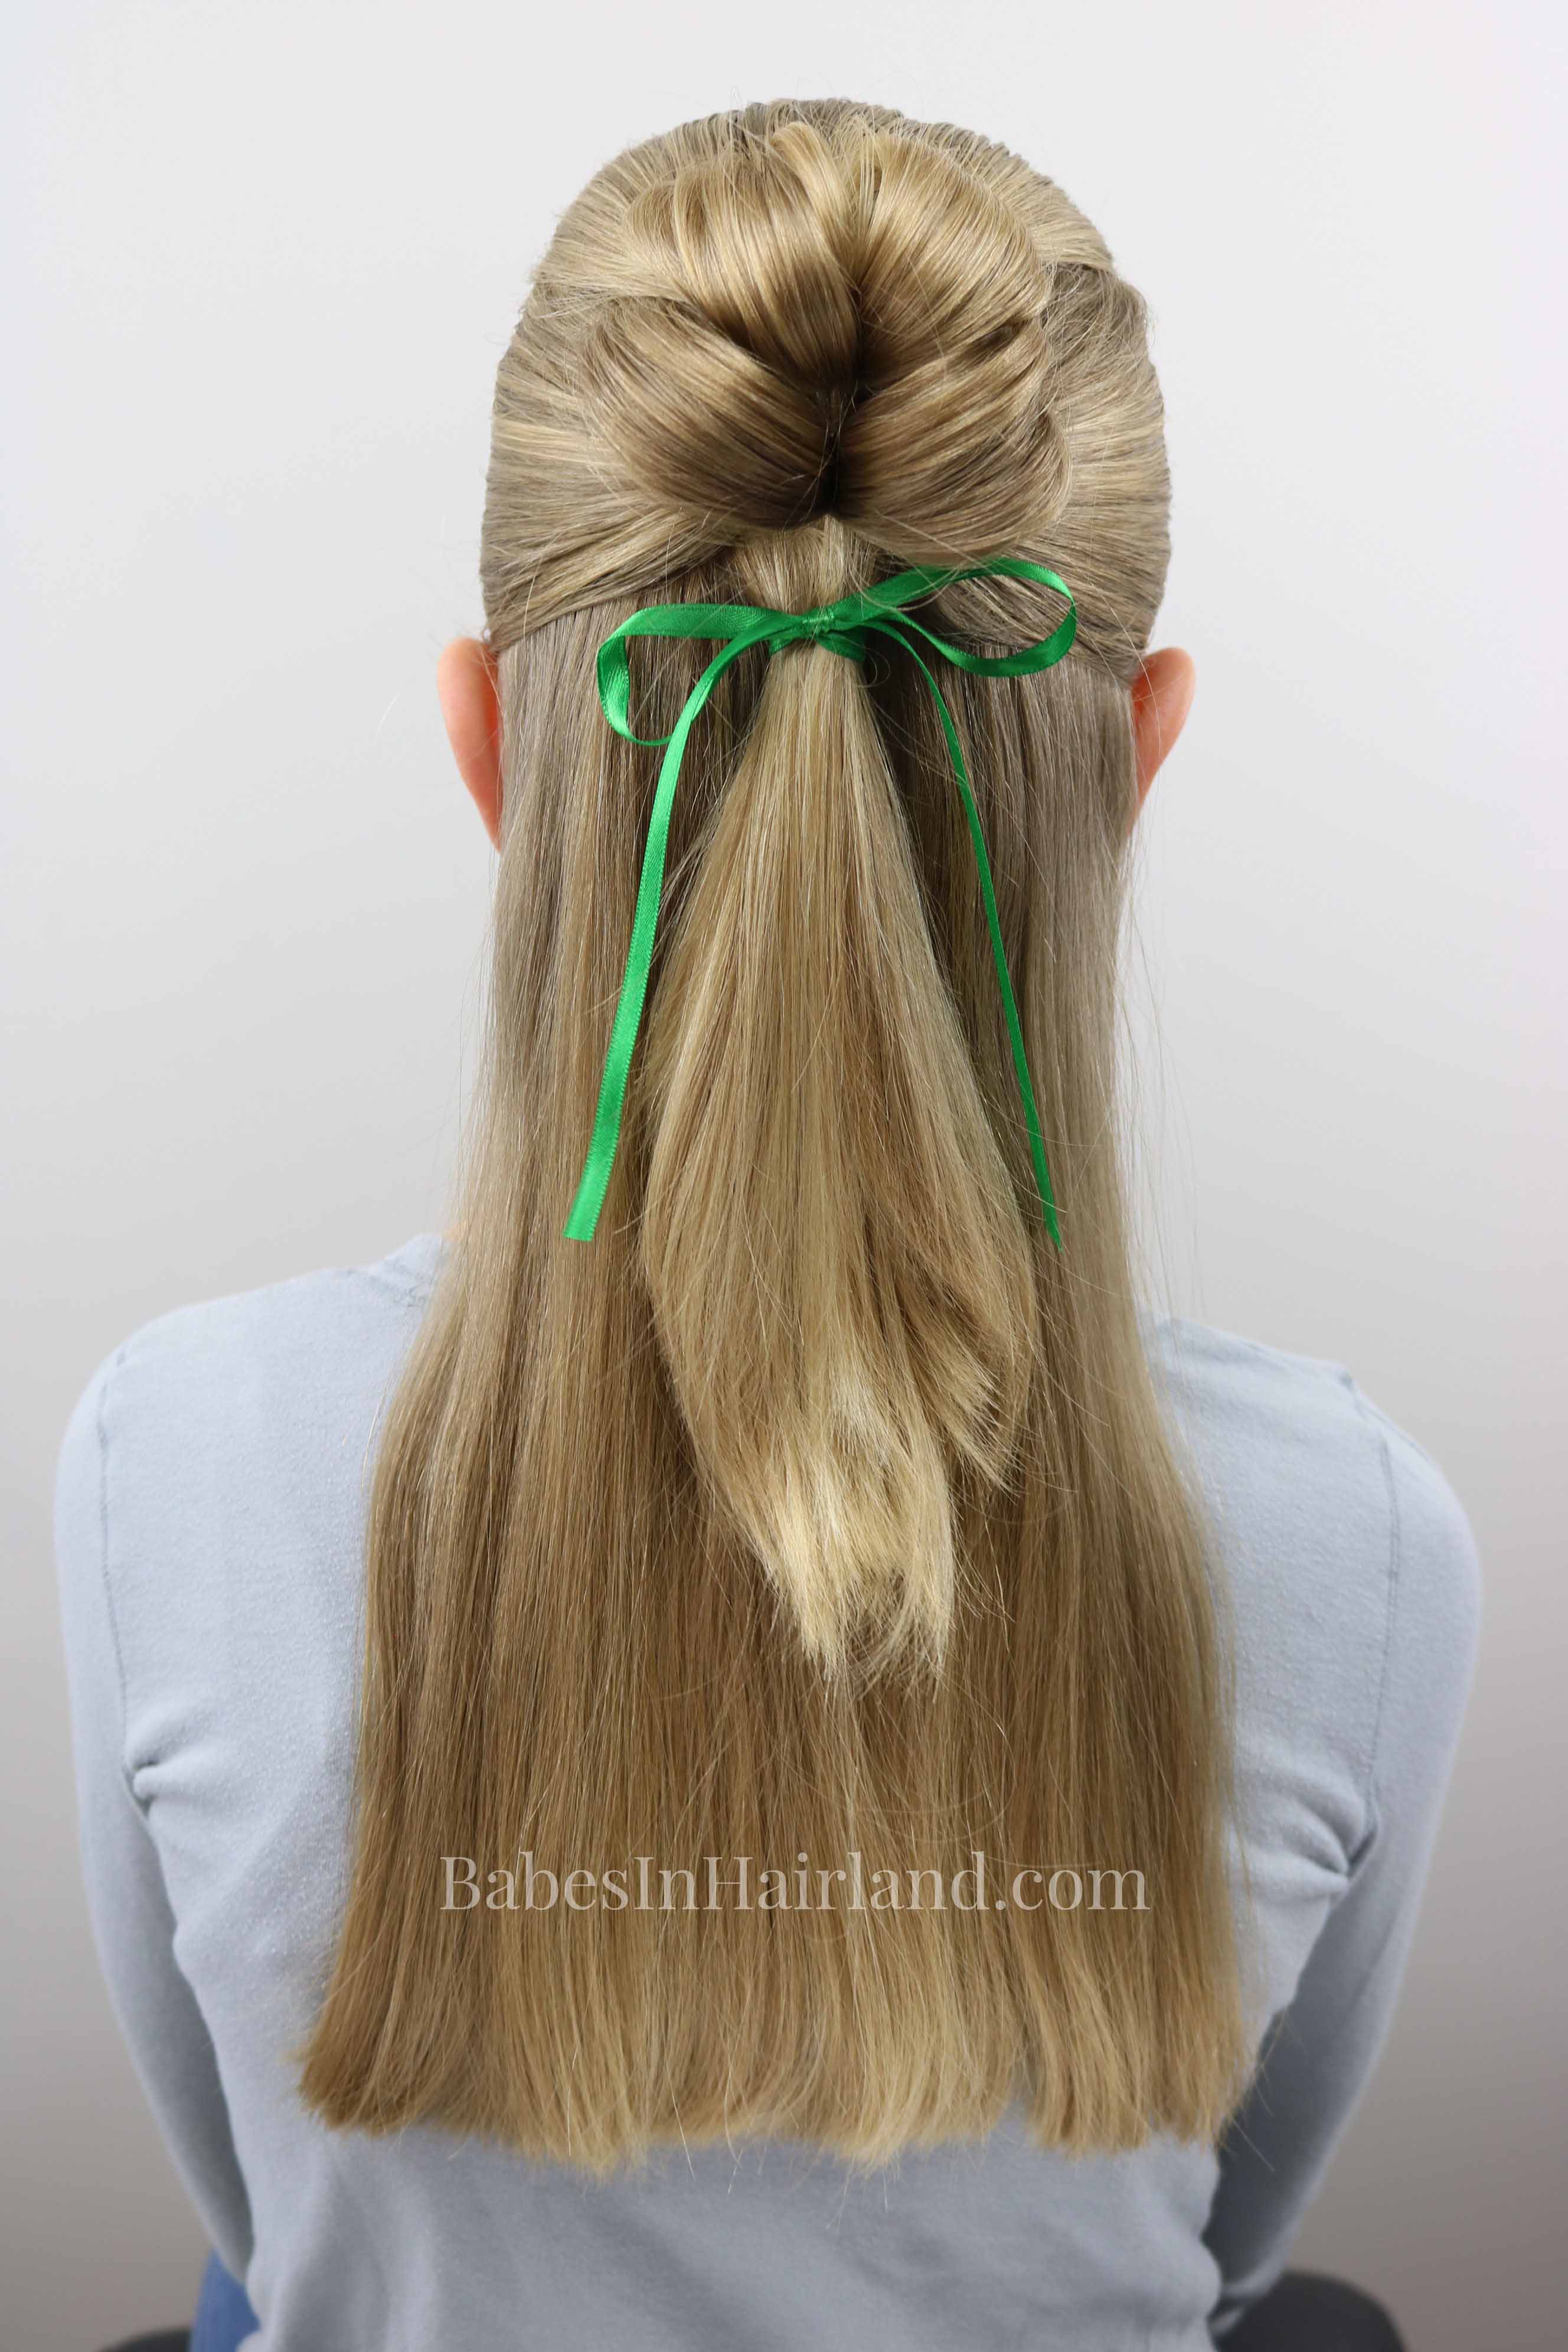
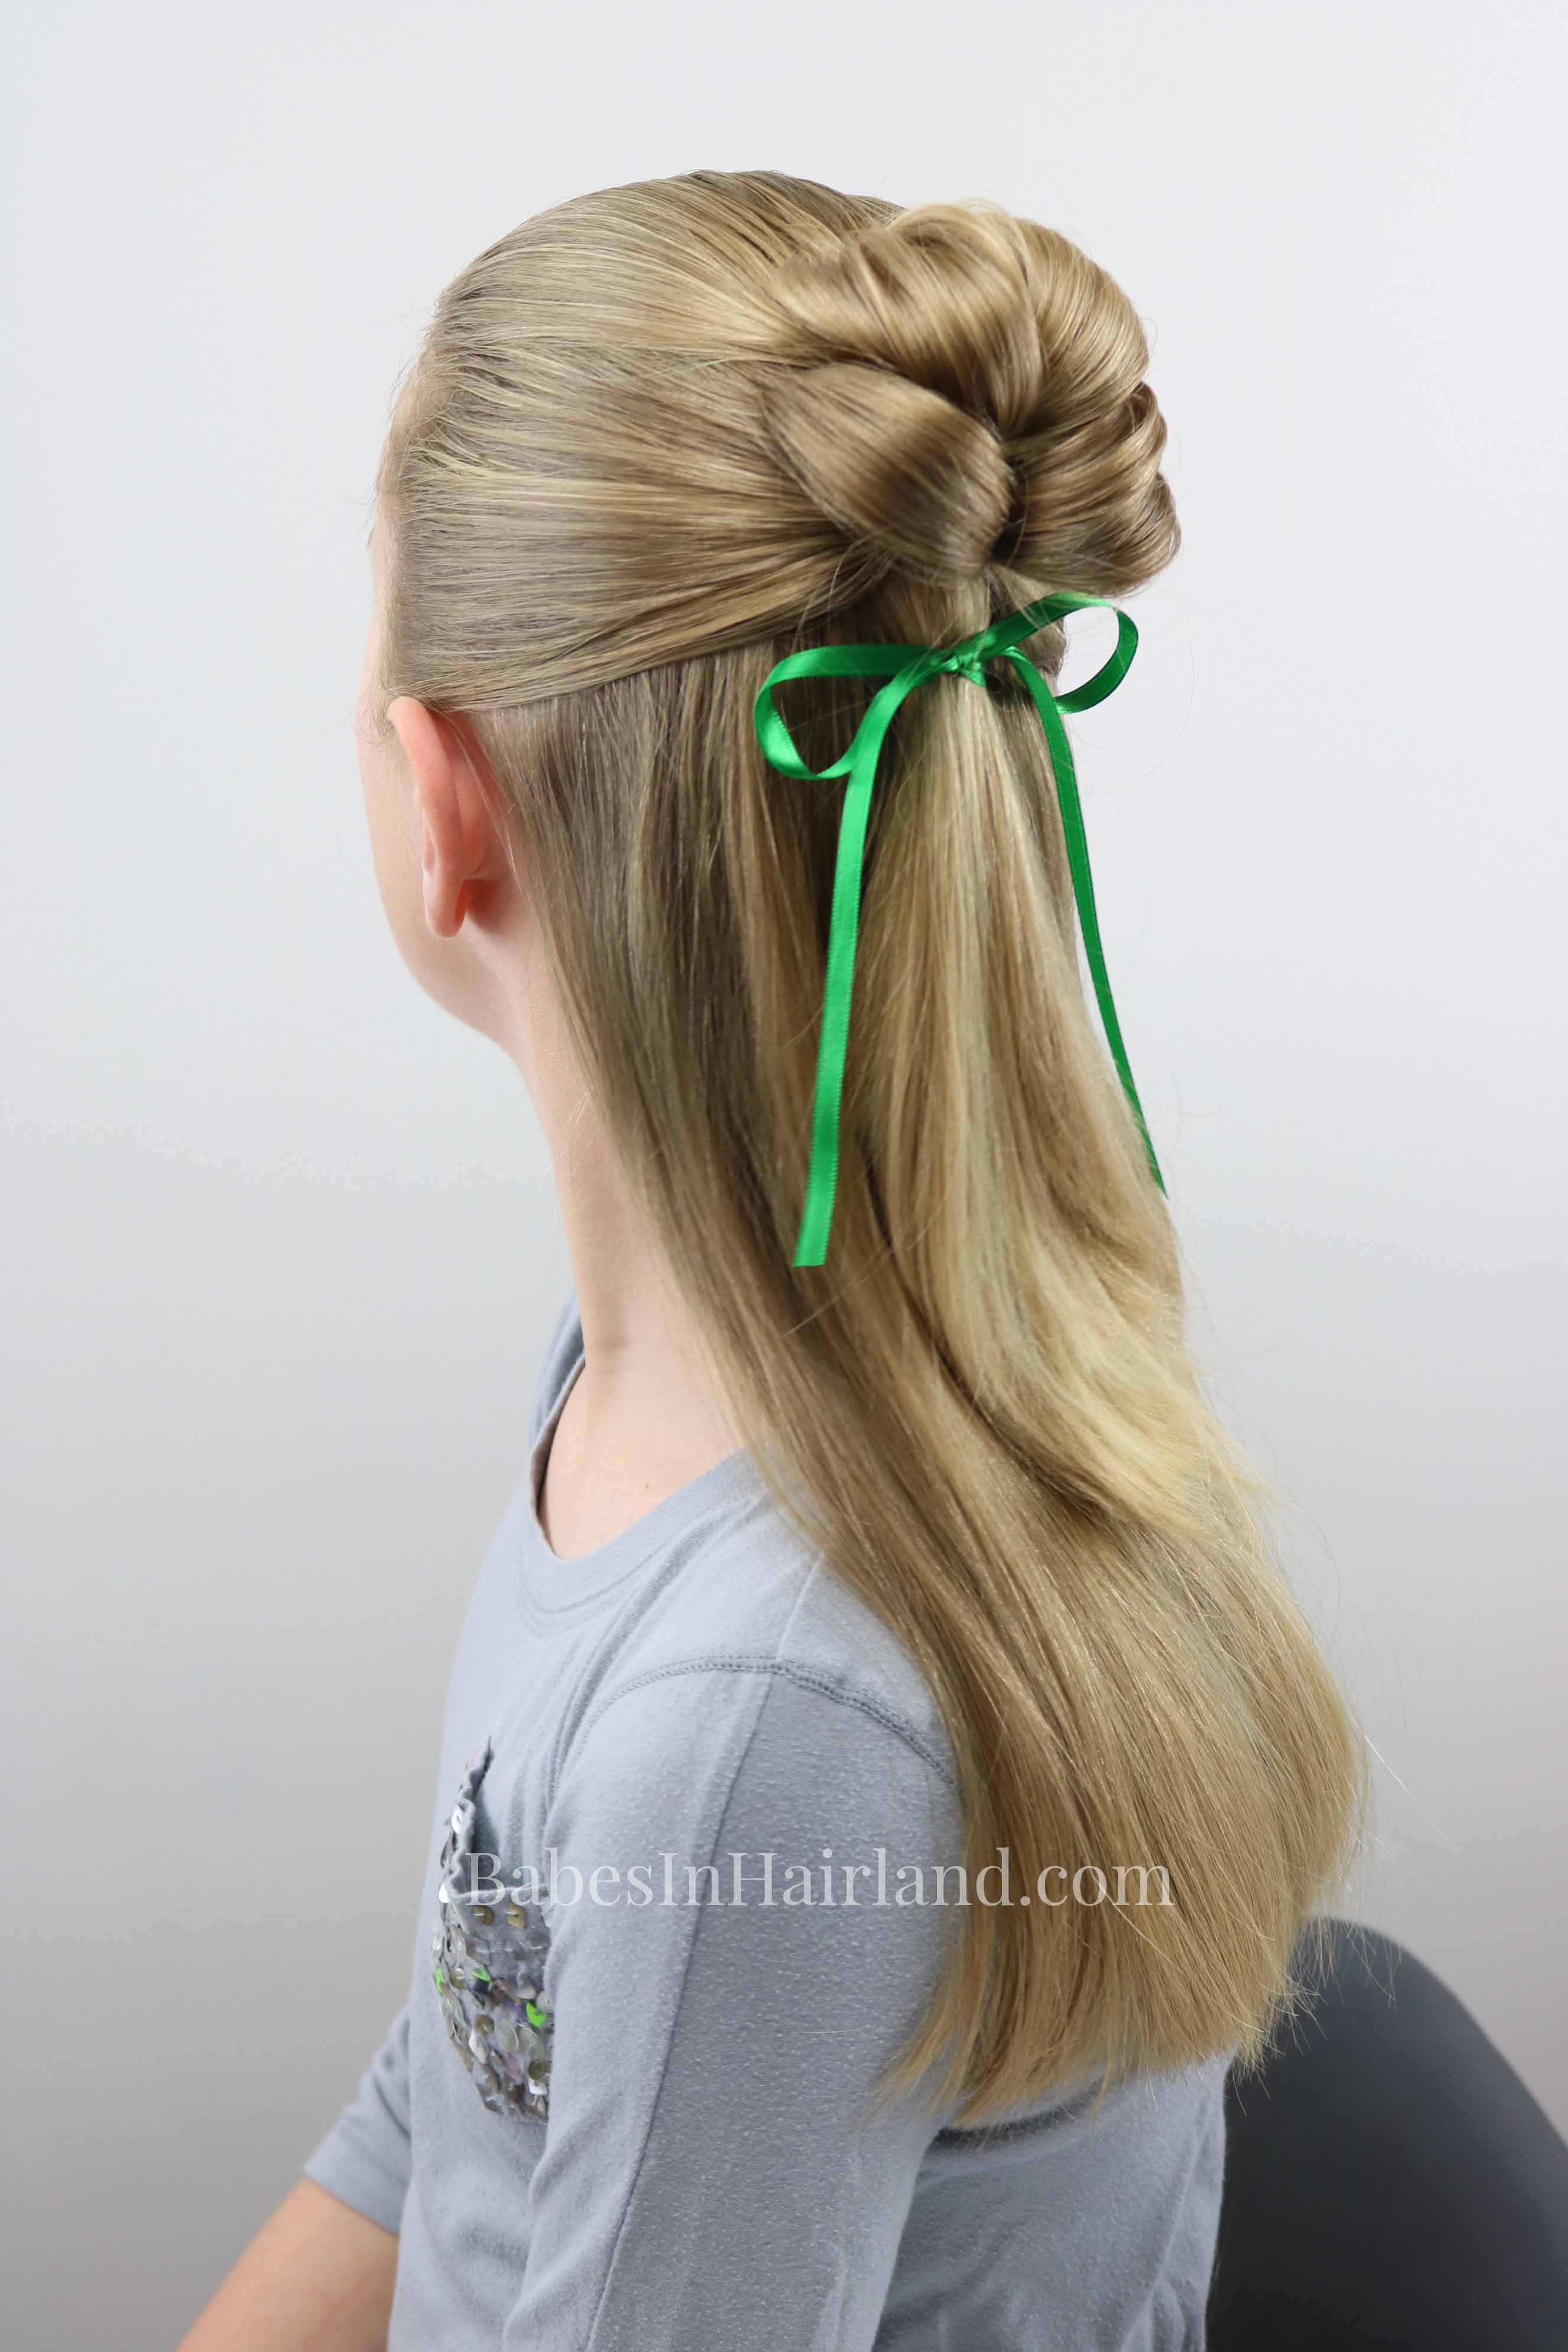


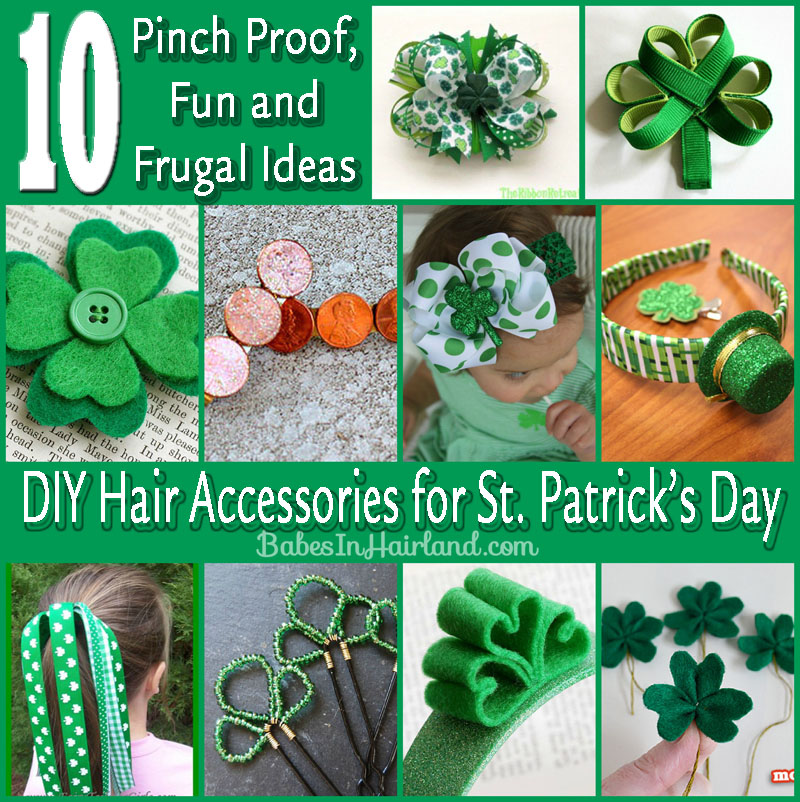
Also, don’t forget our roundup of “Pinch Proof” St. Patrick’s Day accessories we’ve shared:
Comment and let us know which one you like best —
last year’s 3 leaf clover, or this year’s lucky 4 leaf clover.
Quick & Easy 3 Leaf Clover
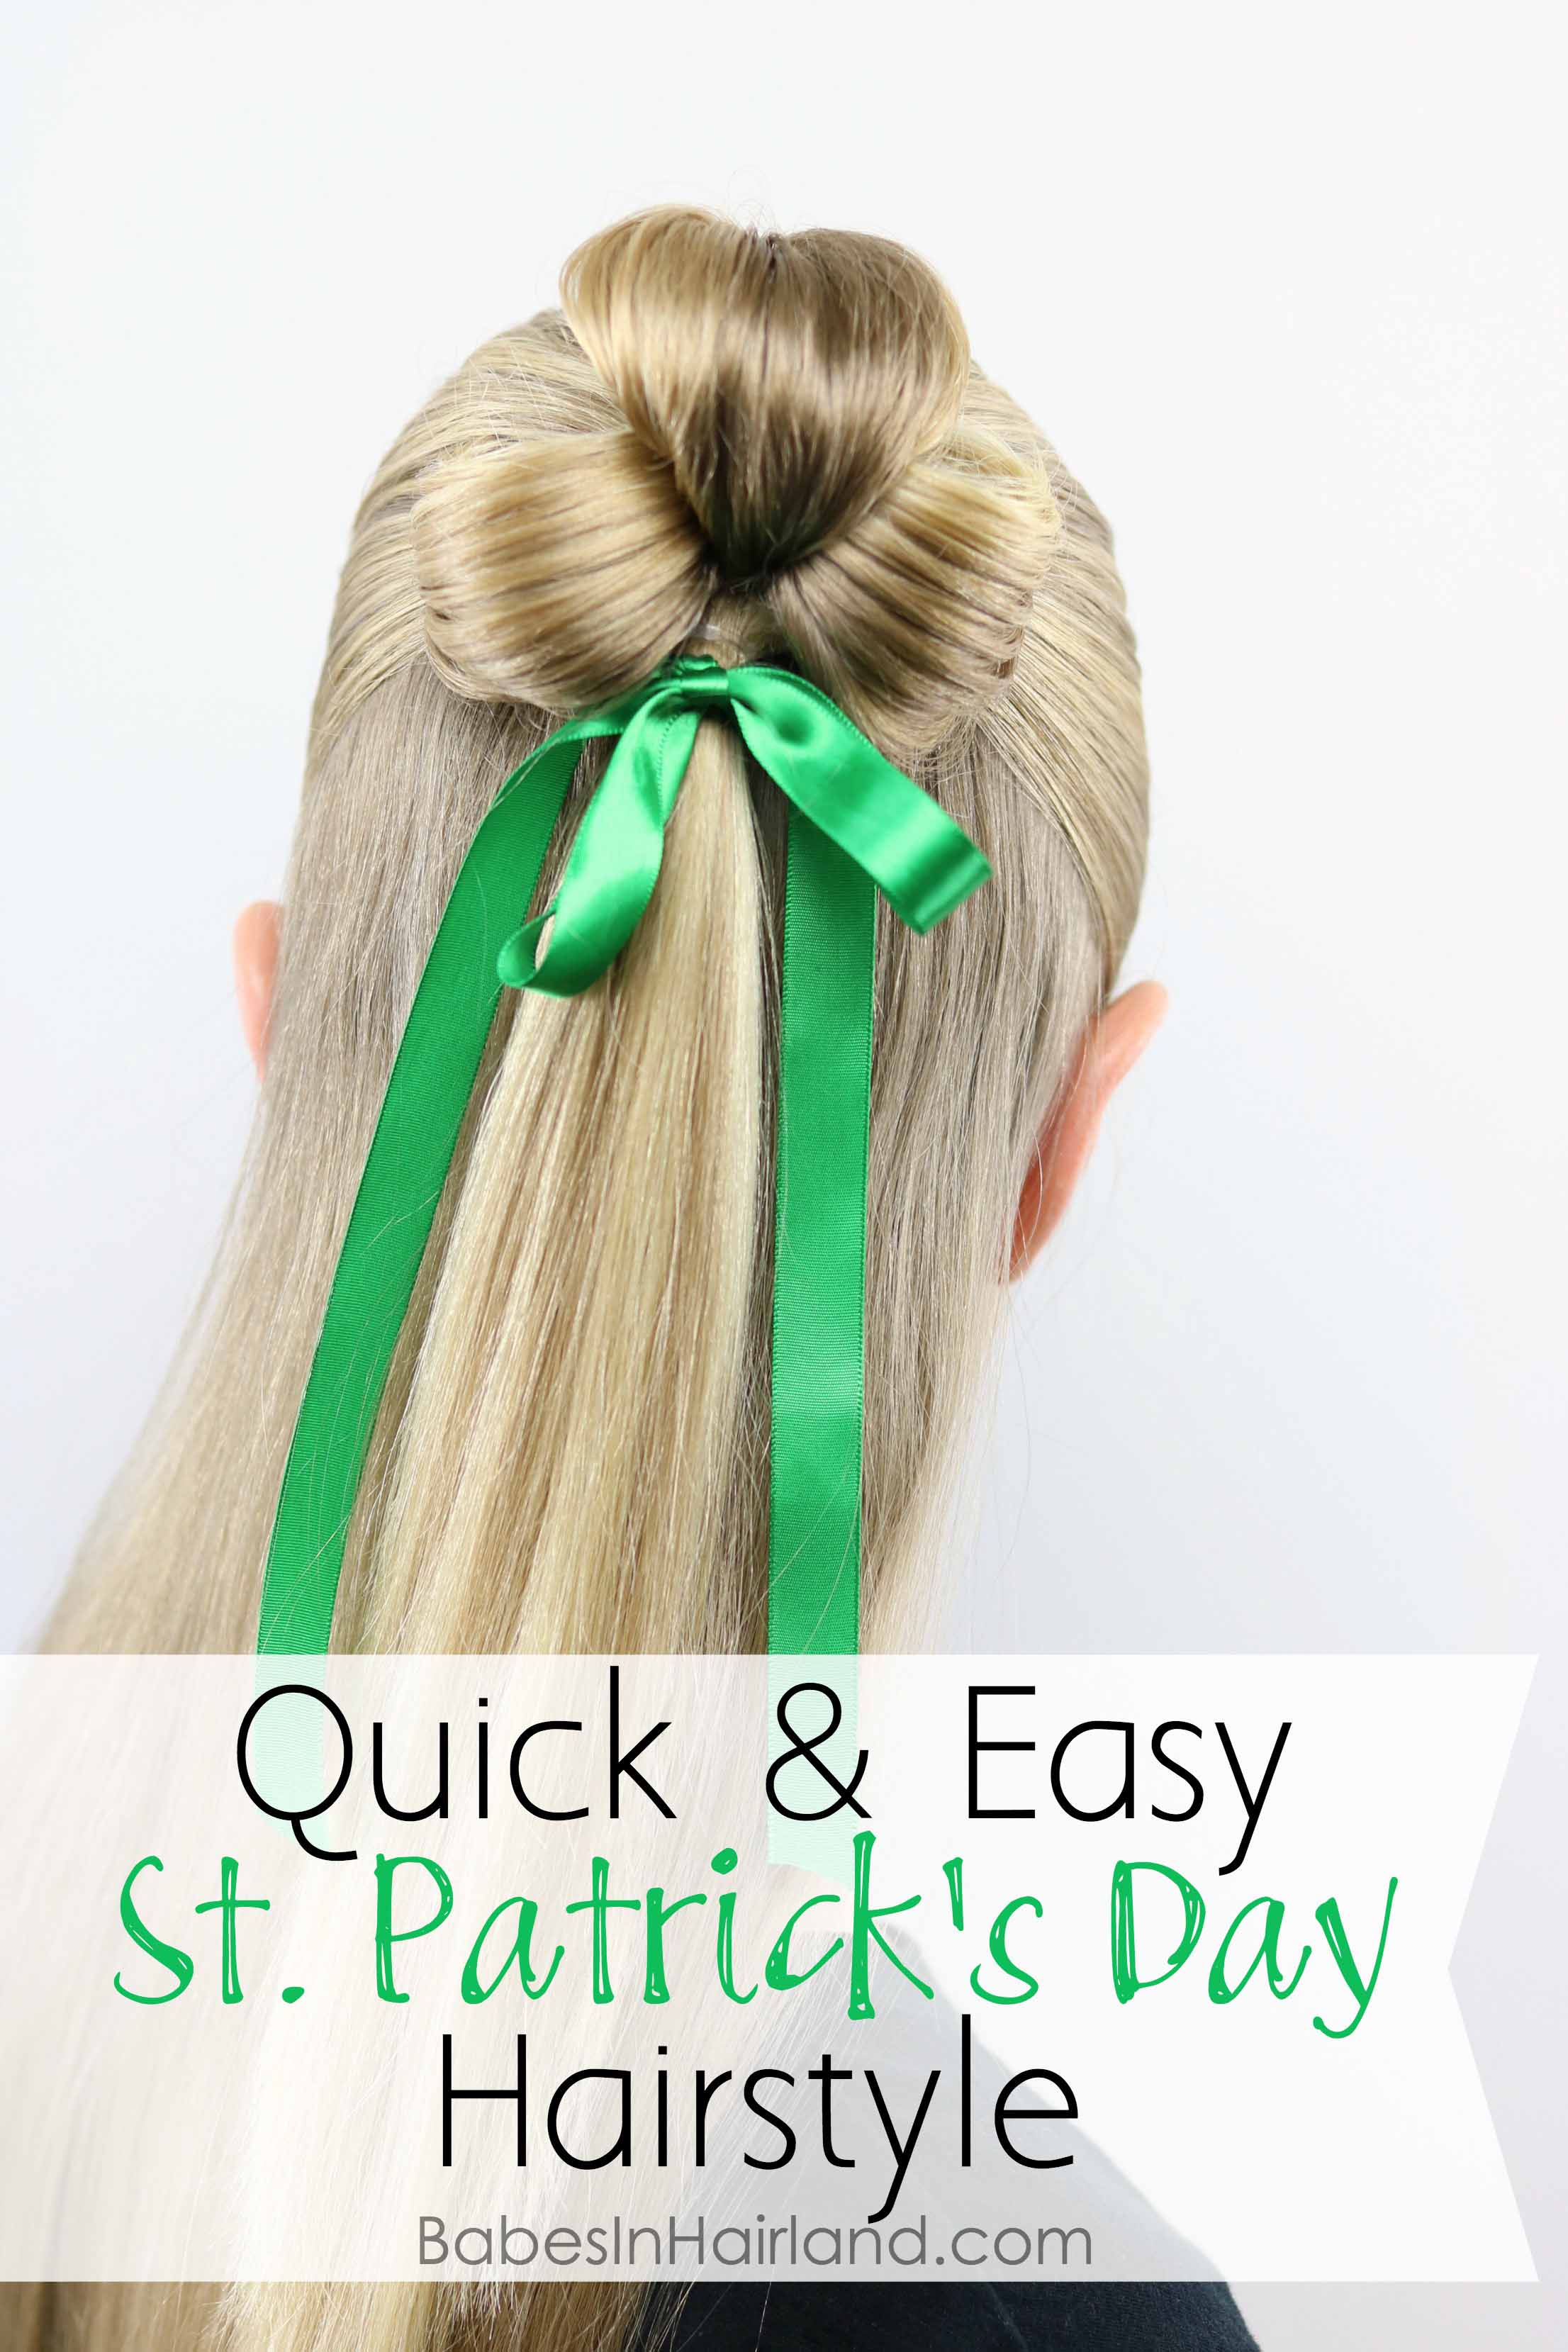
Or this year’s lucky 4 Leaf Clover hairstyle:
Be sure to PIN & SHARE these to ensure you have good luck this year!  Thanks for stopping by & we’ll see you with another St. Patrick’s Day tutorial next week!
The post 4 Leaf Clover Hairstyle | St. Patrick’s Day appeared first on Babes In Hairland.
]]>The post Half-Up Daisy Chains Hairstyle appeared first on Babes In Hairland.
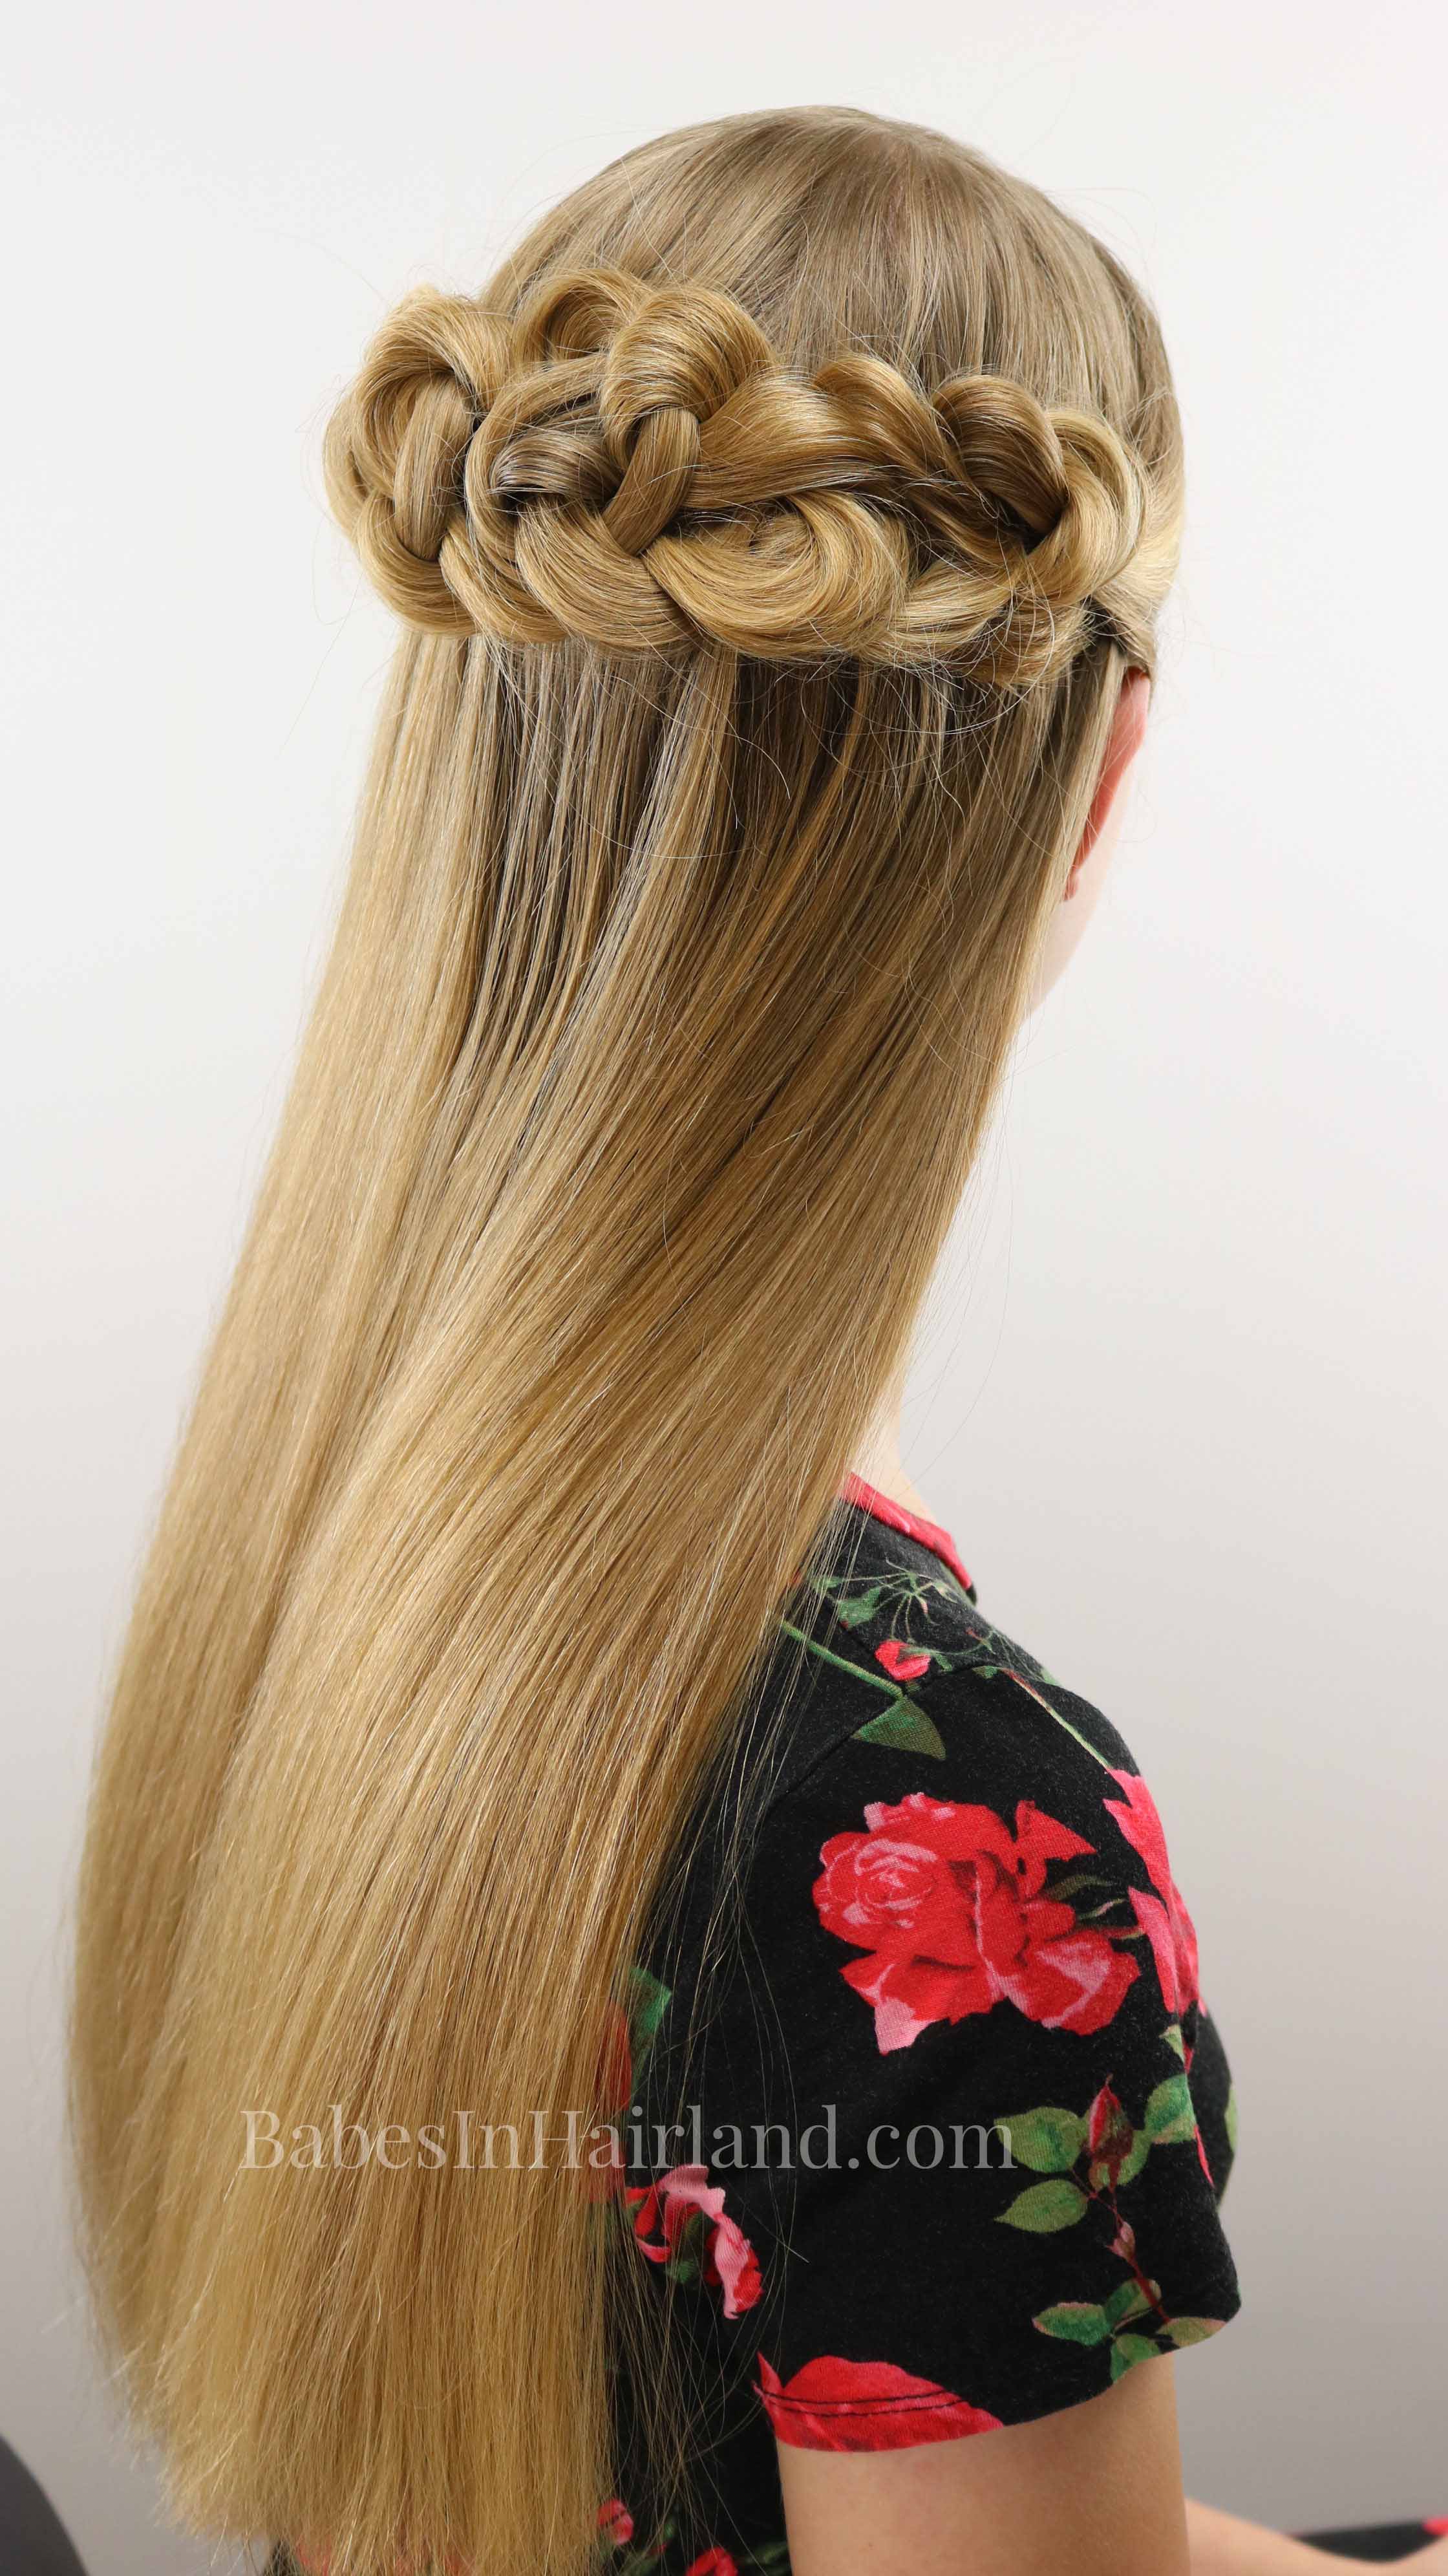
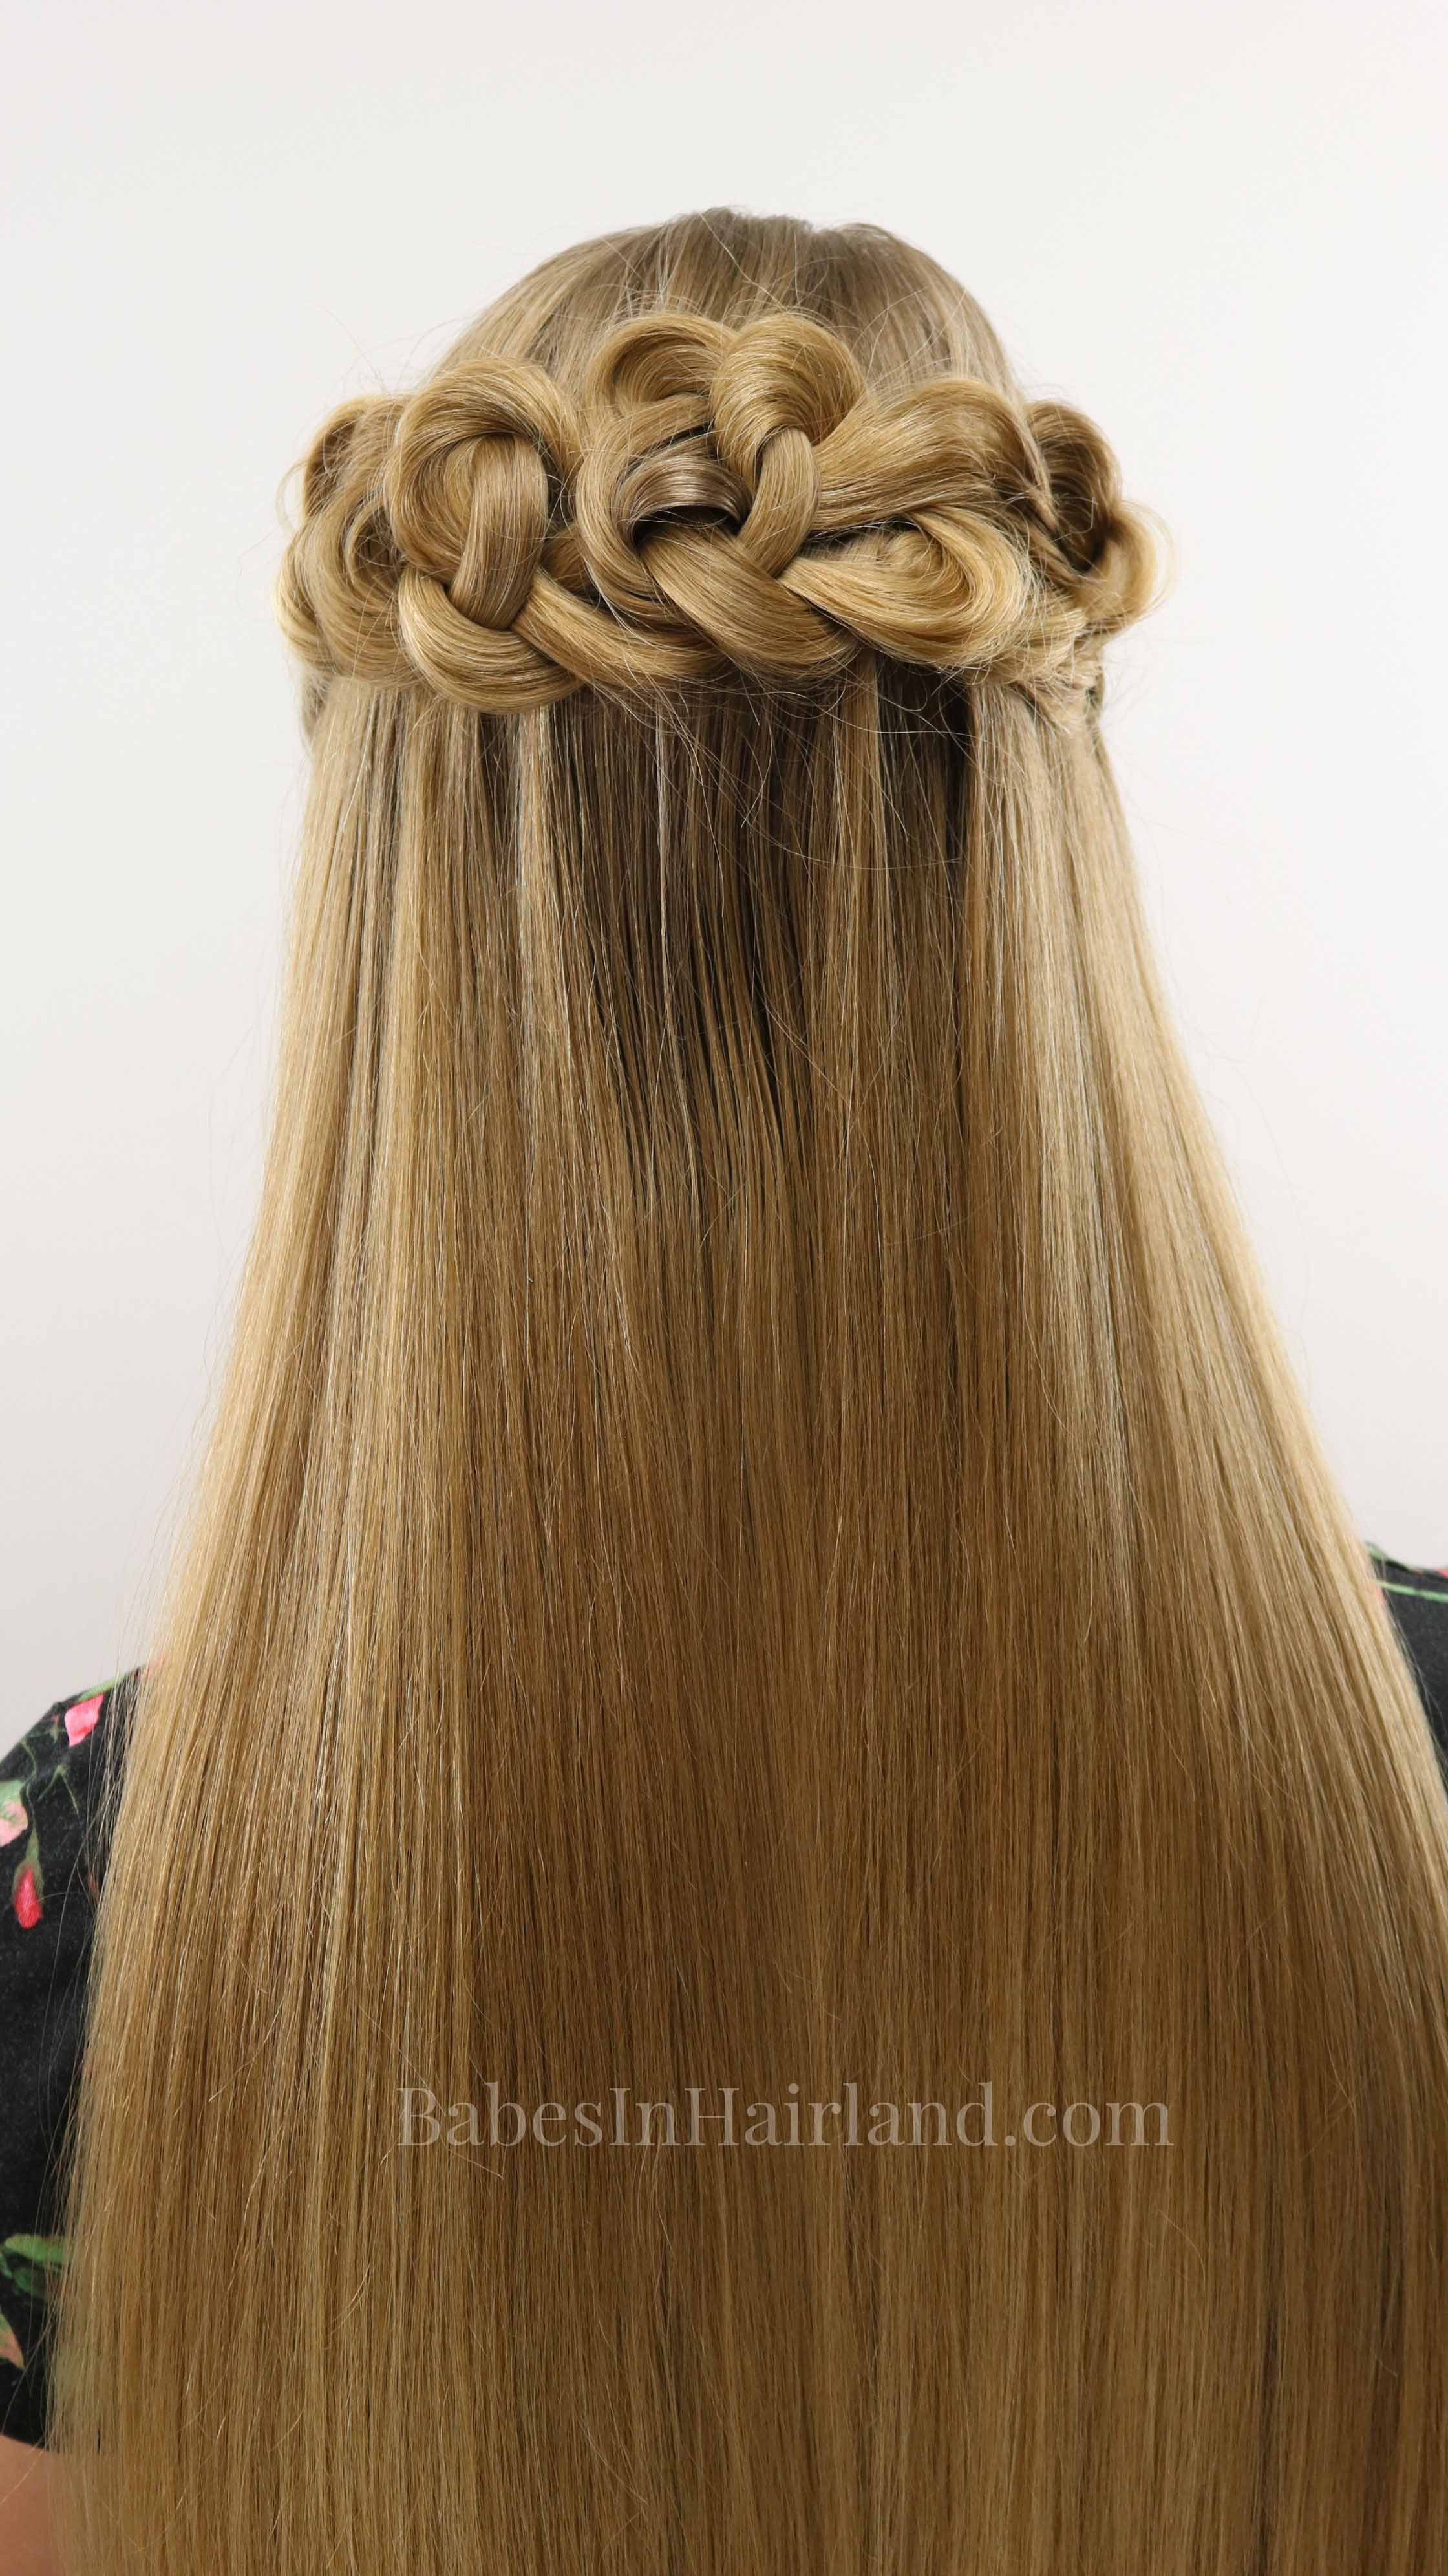
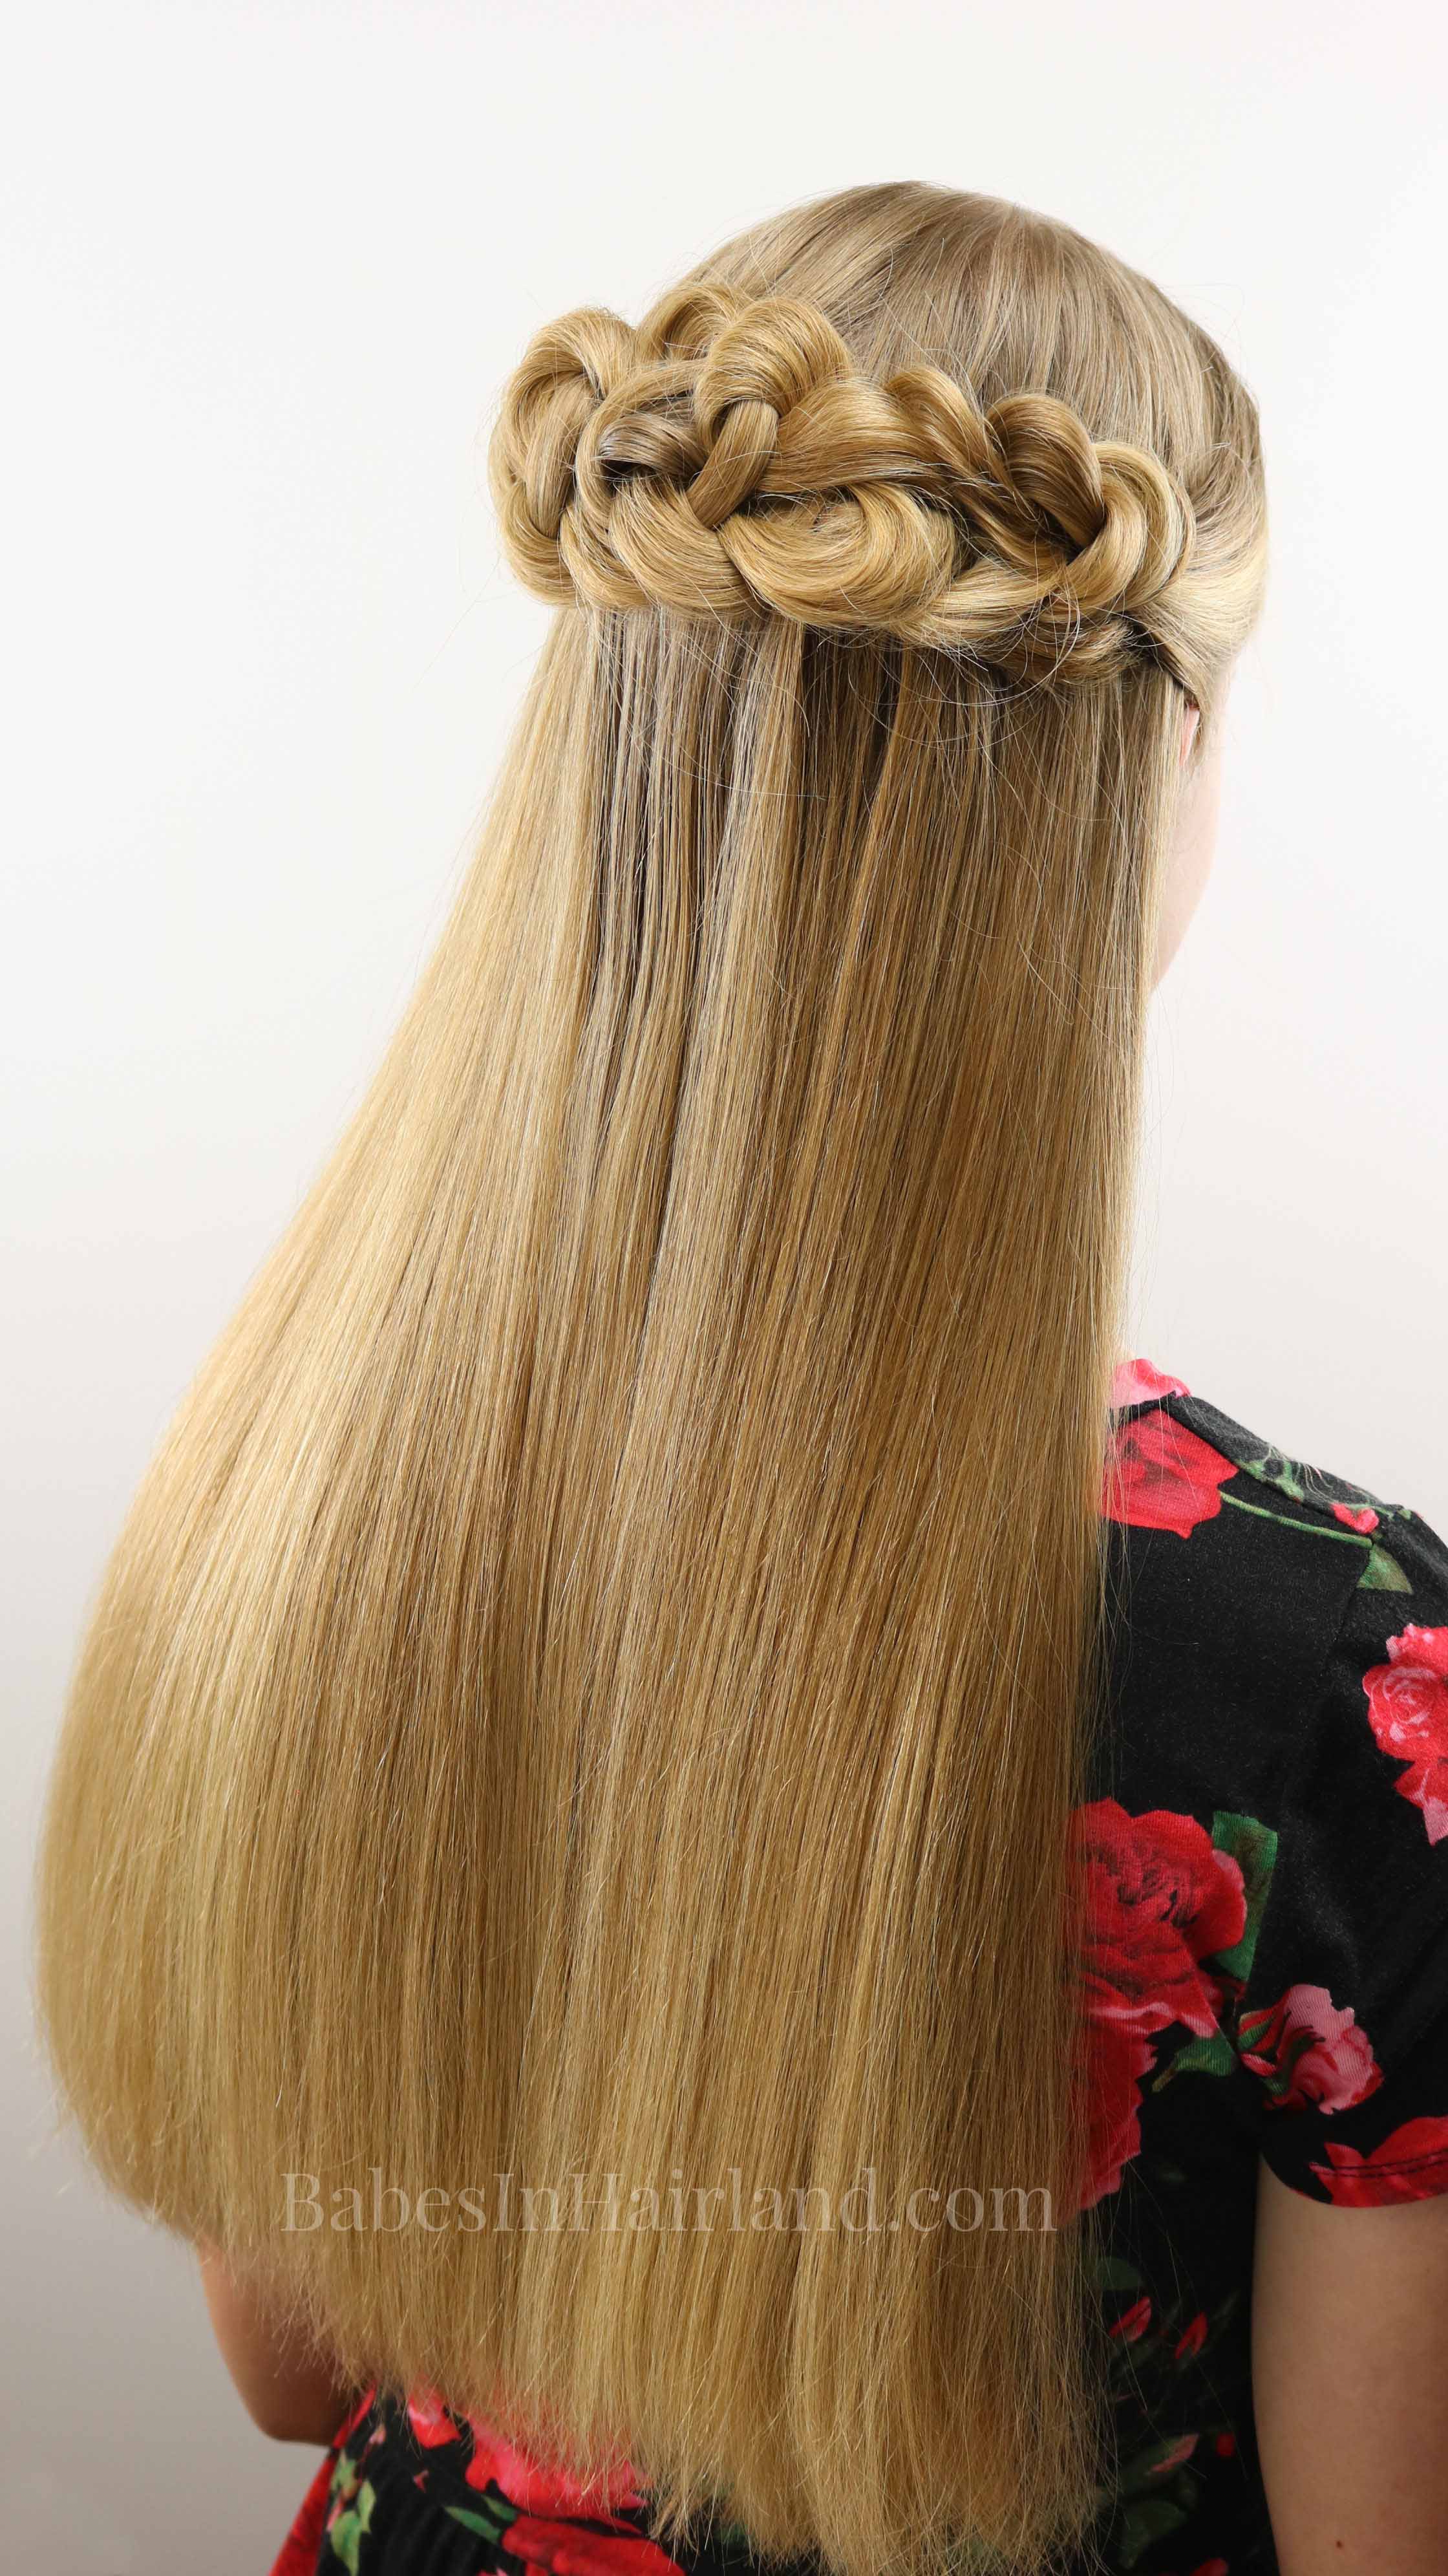
]]>The local high schools here are getting close to prom season, and this gorgeous daisy chain style would be perfect for any formal dance, or even a wedding. Add some curls in the hair that remains, and it dresses the hairstyle up even more. You could even add a gorgeous hair accessory or small fresh flowers (like little daisies!) and it would look amazing.
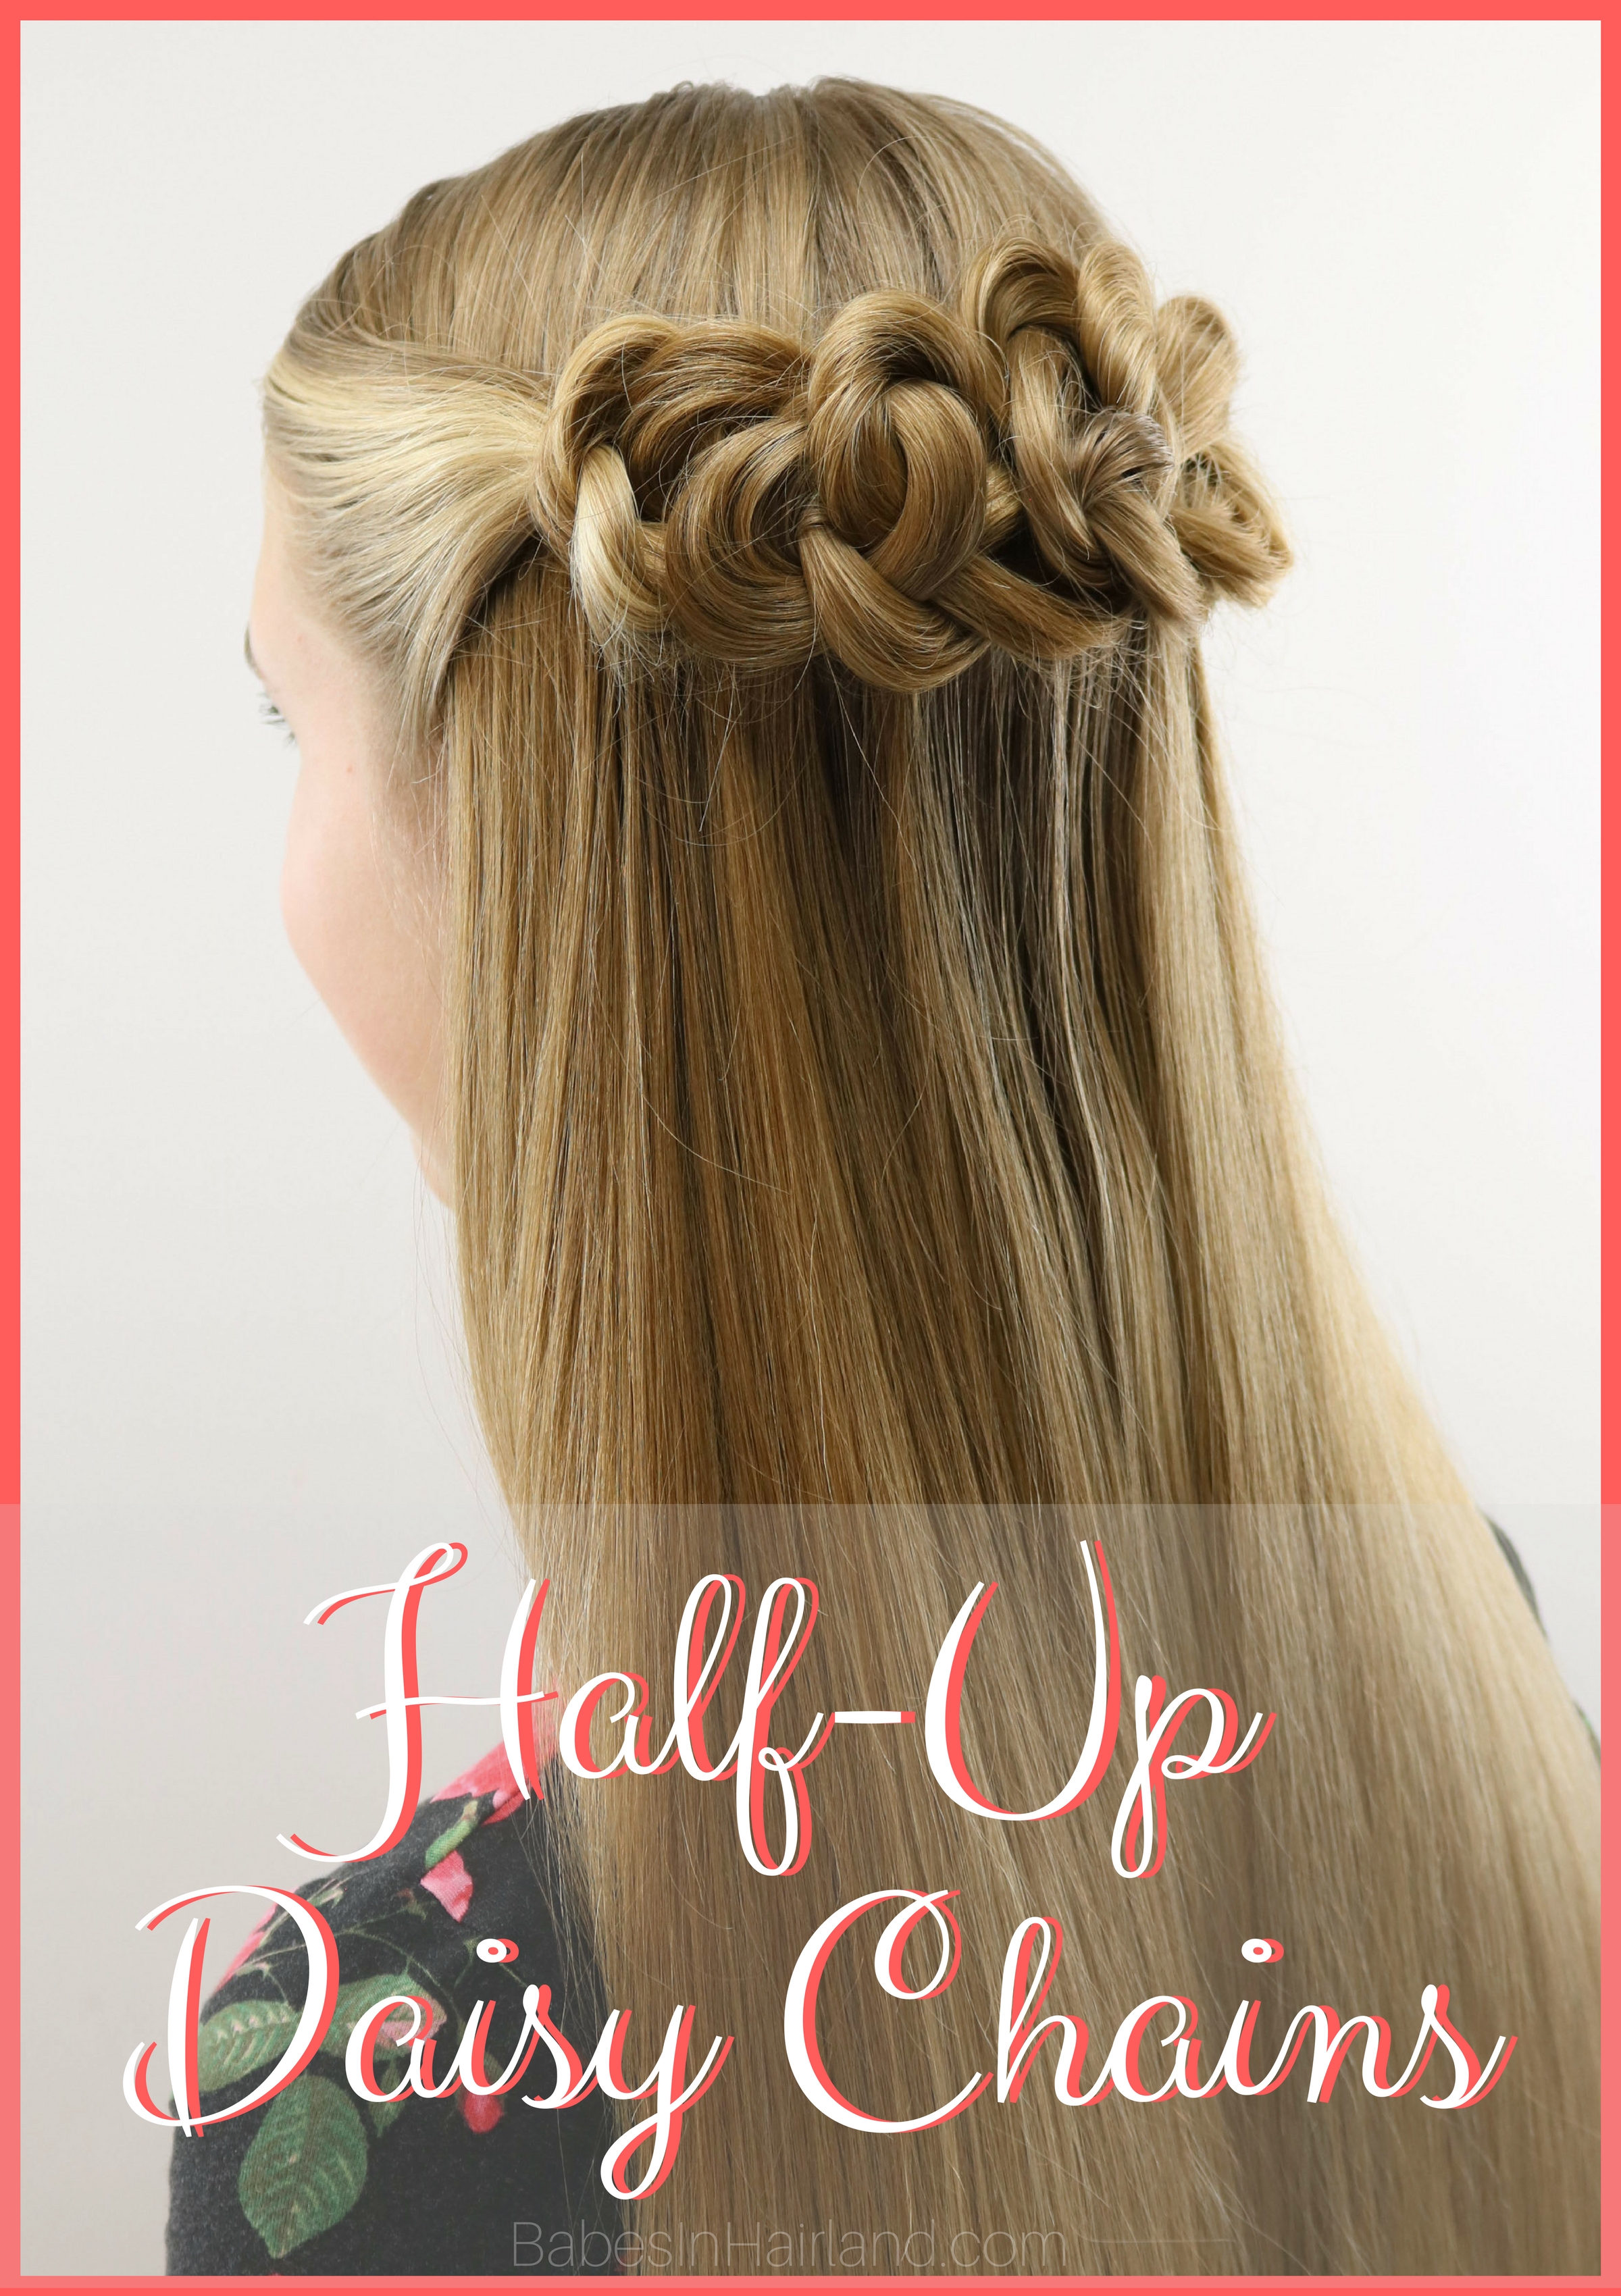
We think you’re going to love this one! Be sure to check out all of our other updos and hairstyles that are perfect for prom or formal occasions HERE. Here’s our quick video showing how it’s done. If you have issues viewing it here on our blog, go HERE to our YouTube channel to watch it. While you’re there, be sure you’ve subscribed so you don’t miss a single tutorial!
1- Starting on the left side of the head, divide out a section of the hair near the temple and down to the left ear.
2- With your left hand palm facing up, use your right hand to wrap this section of hair around 3 fingers on your left hand so it forms a loop.
3- Pass this loop to your right hand. Begin to pull the end of the knot partially up through the loop. This will create another loop.
4- Place your index and middle finger through the new made loop. With those 2 fingers, pull the tail of the hair partially through so it creates a 3rd loop.
5- Don’t pull the tail completely through this 3rd loop. Direct the remaining tails/ends of the hair so they can be tucked under the loops/knots you’ve been creating. Keep things rather loose and don’t pull things overly tight!
6- Secure the knot on the left side of the head with bobby pins as needed.
Notice in the video, with one bobby pin, the knot stays in place. Well, obviously you probably should use more than one to really hold things in place, but with a regular bobby pin, that wouldn’t have stayed in place at all. I use THESE bobby pins by Marianna and they are THE BEST! Grab yours today HERE.
7- Move to the right side of the head. Section out hair near the right temple and ear.
8- Repeat Step 2-6 with this section of hair. You will now have a daisy chained knotted section on the left and right side of the head.
9- Next, move to the center back of the head. Create another daisy chained knot section next to the one on the left.
10- As you bobby pin this one in place, make sure it over laps a bit with the first one you made on the left side.
11- Make another daisy chained knot section if needed, next to the one you just finished. This makes a total of 4 knotted sections.
12- Gently pull and adjust the daisy chained knots to hide bobby pins and make everything blend nicely together. The goal is to not be able to tell where one starts and another one stops!
FINISHED HALF-UP DAISY CHAINS!
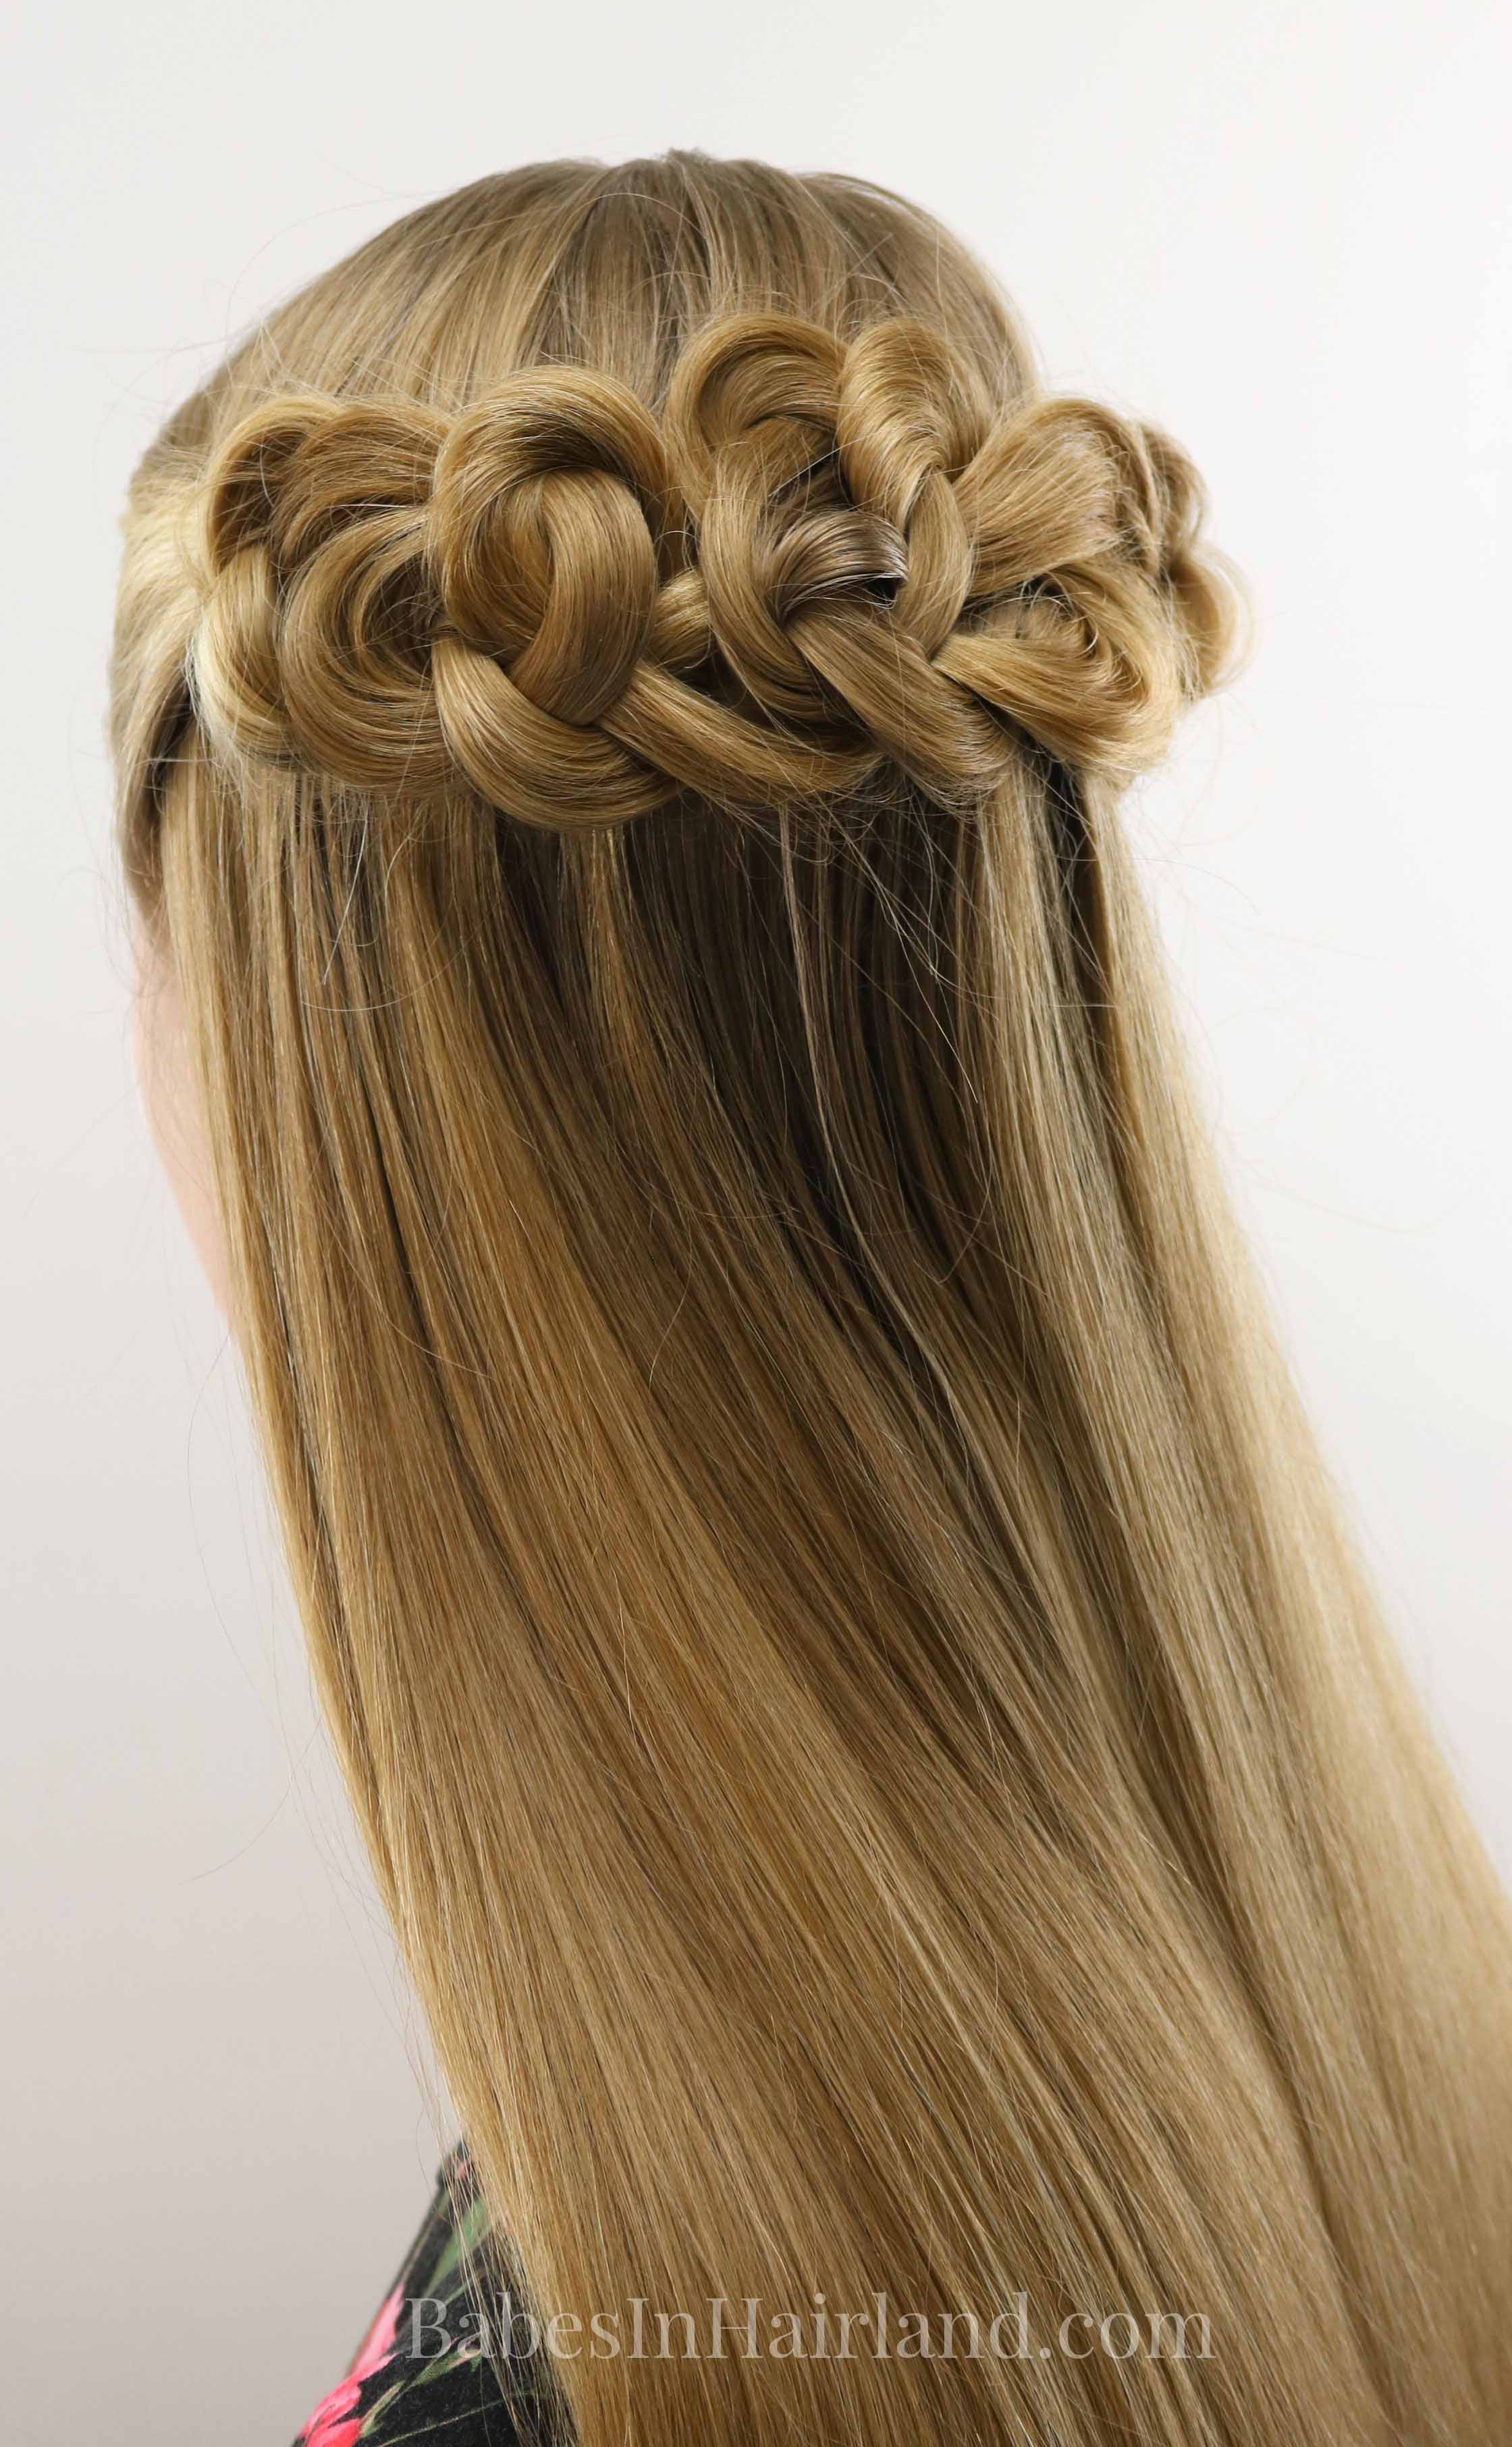

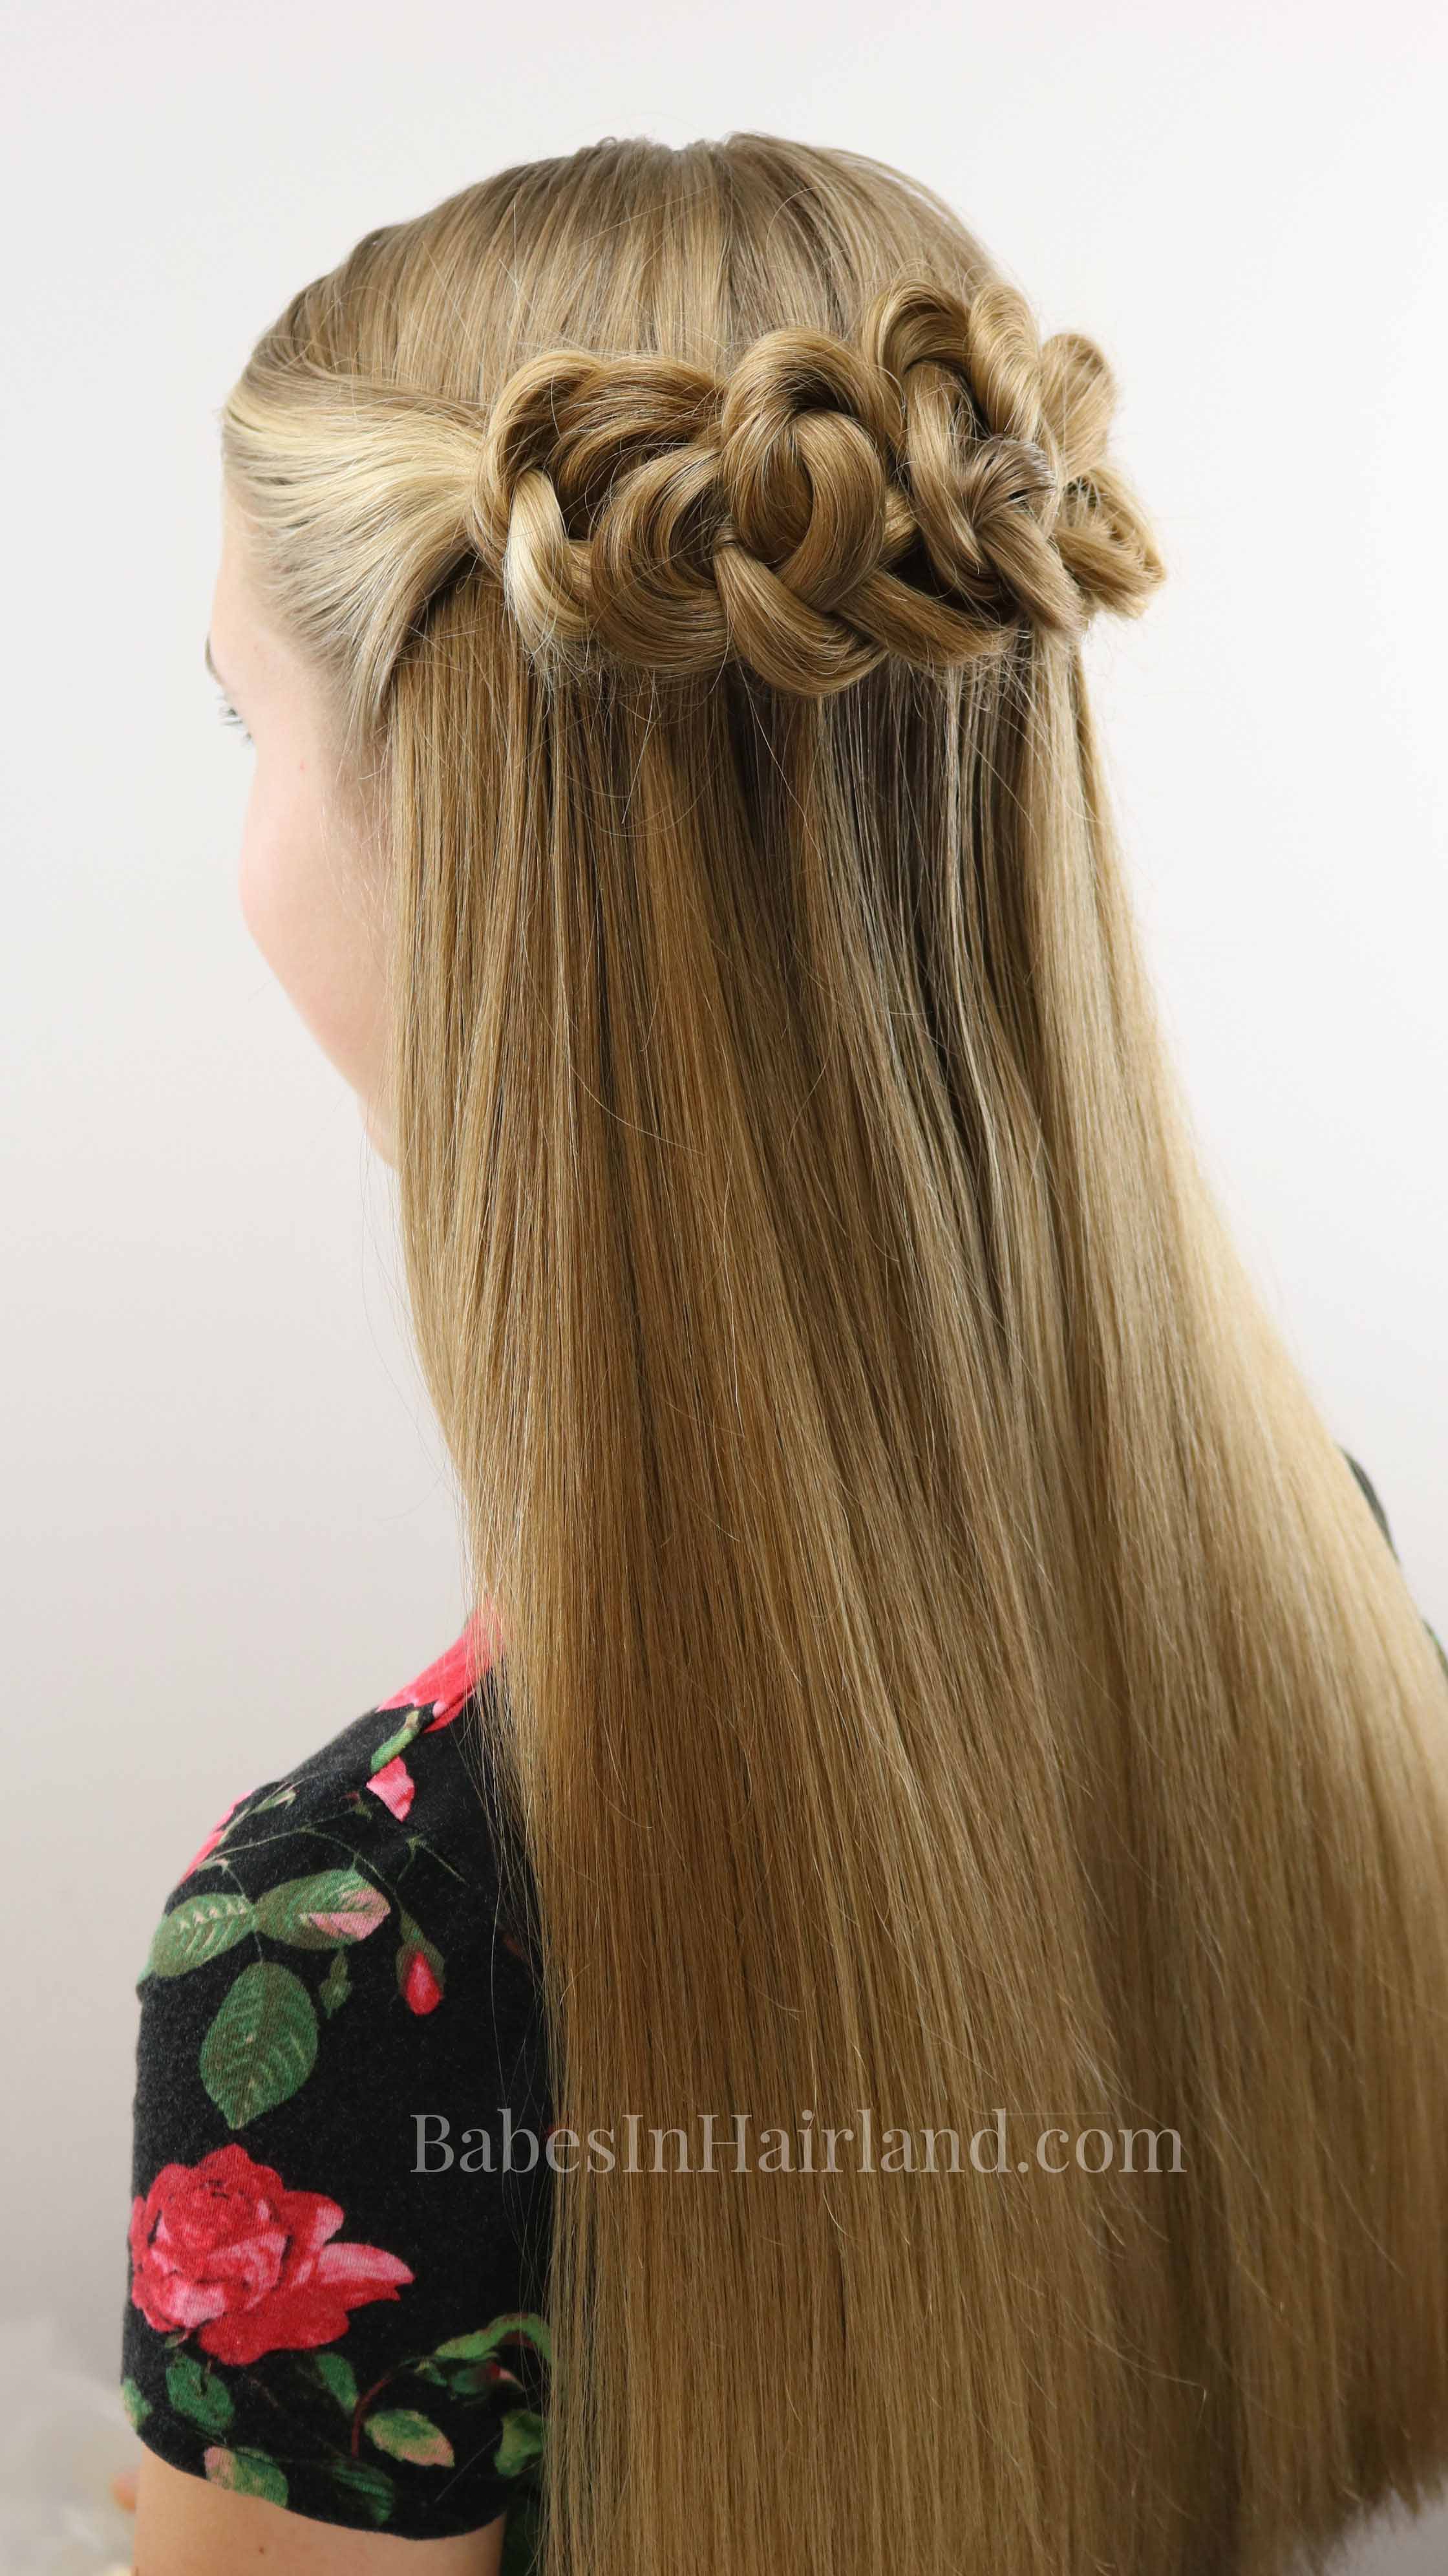
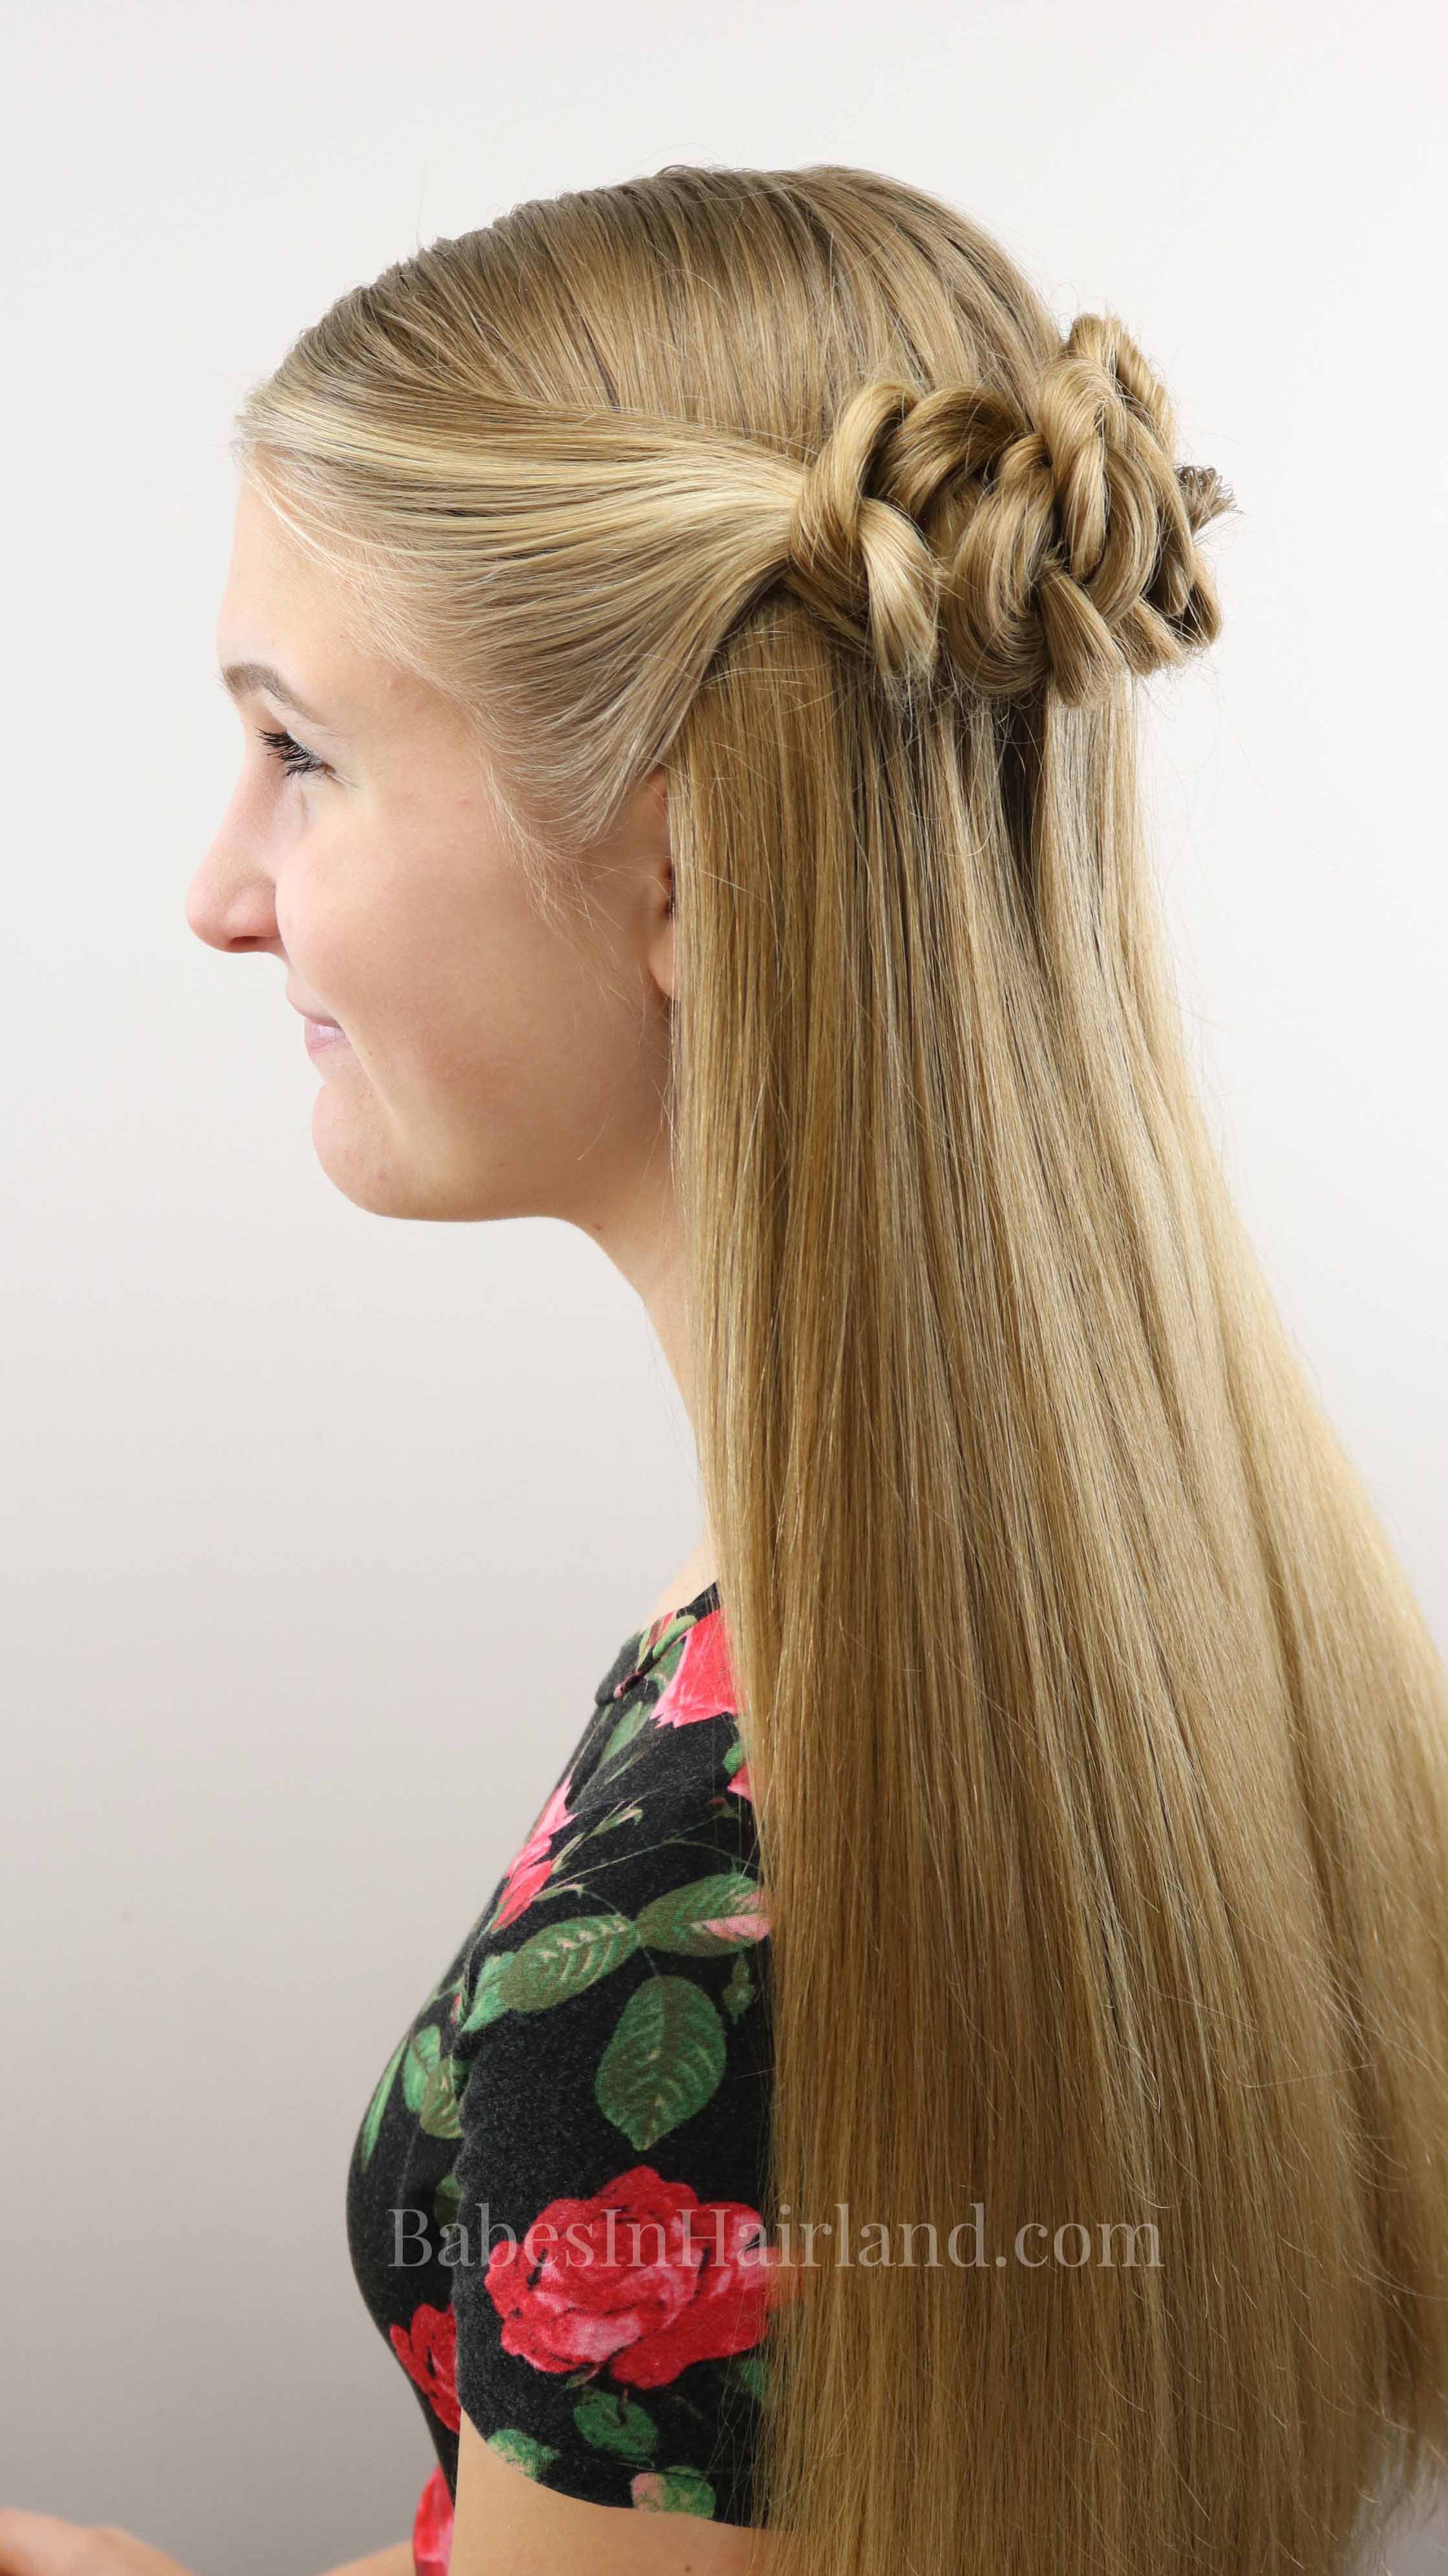

Here’s a little more up-close look at the “chains” as they weave across the back of the head. I love that you can’t tell where one stops and the other one stops!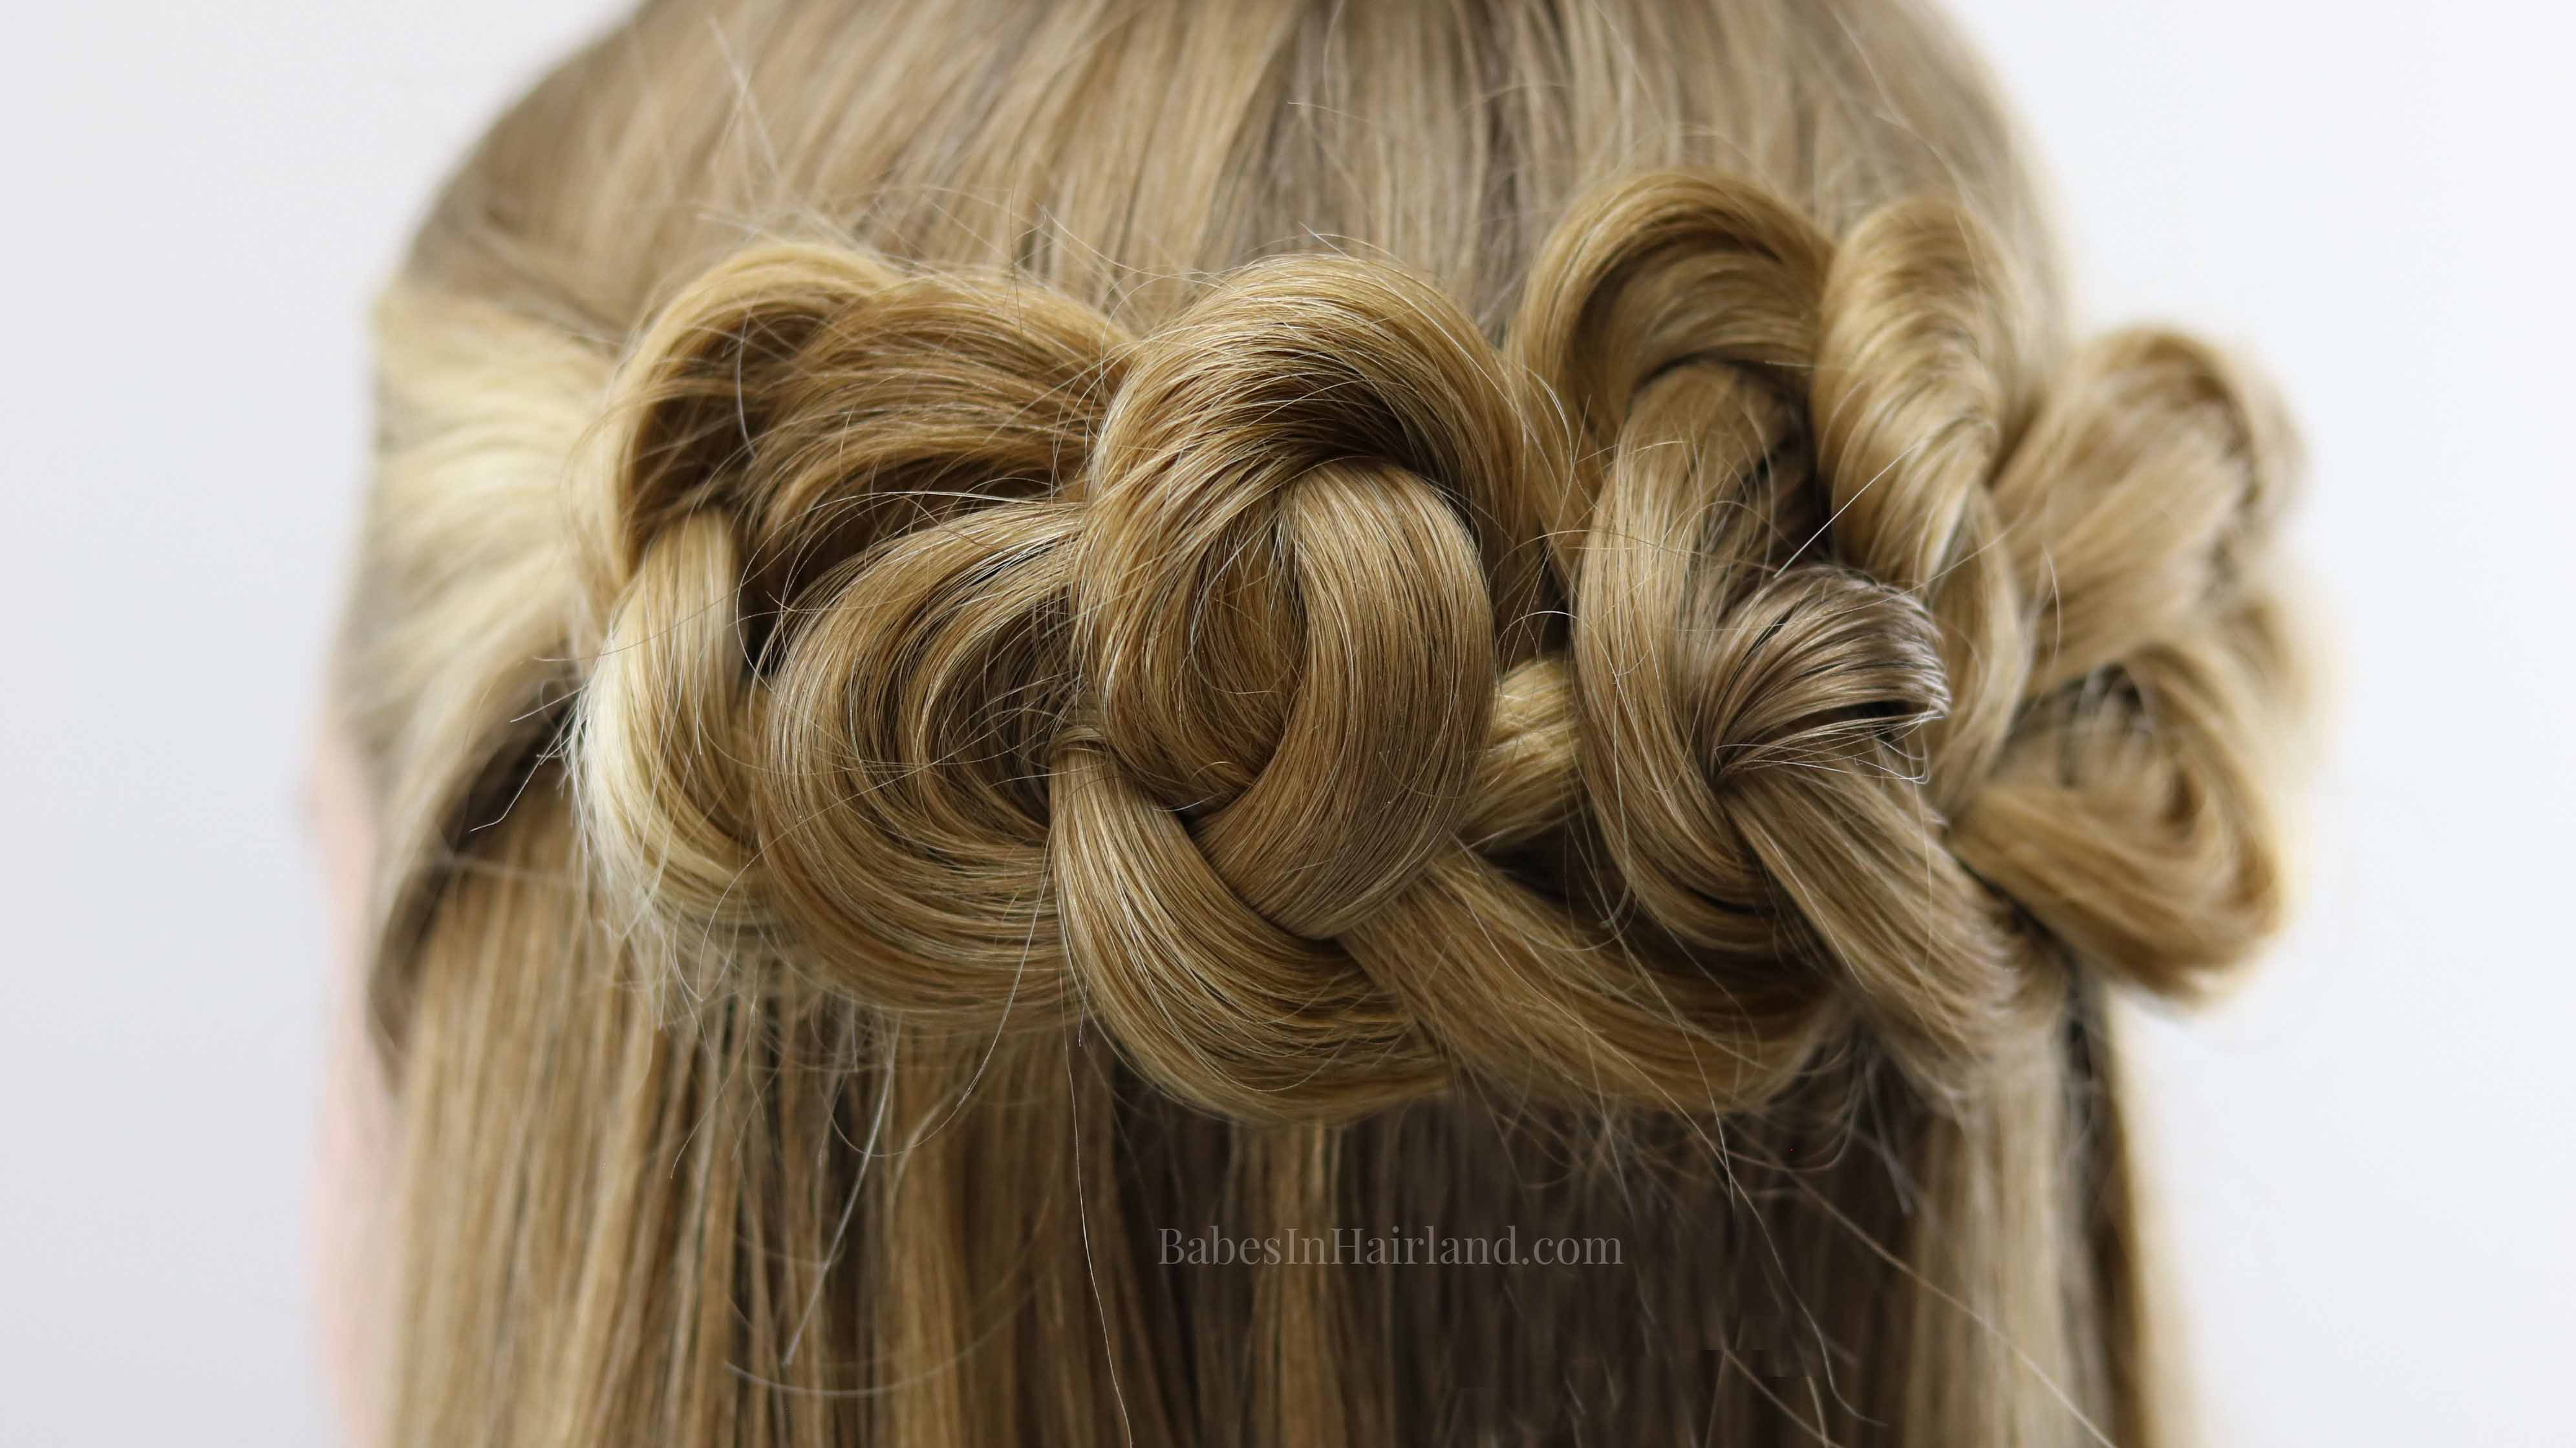

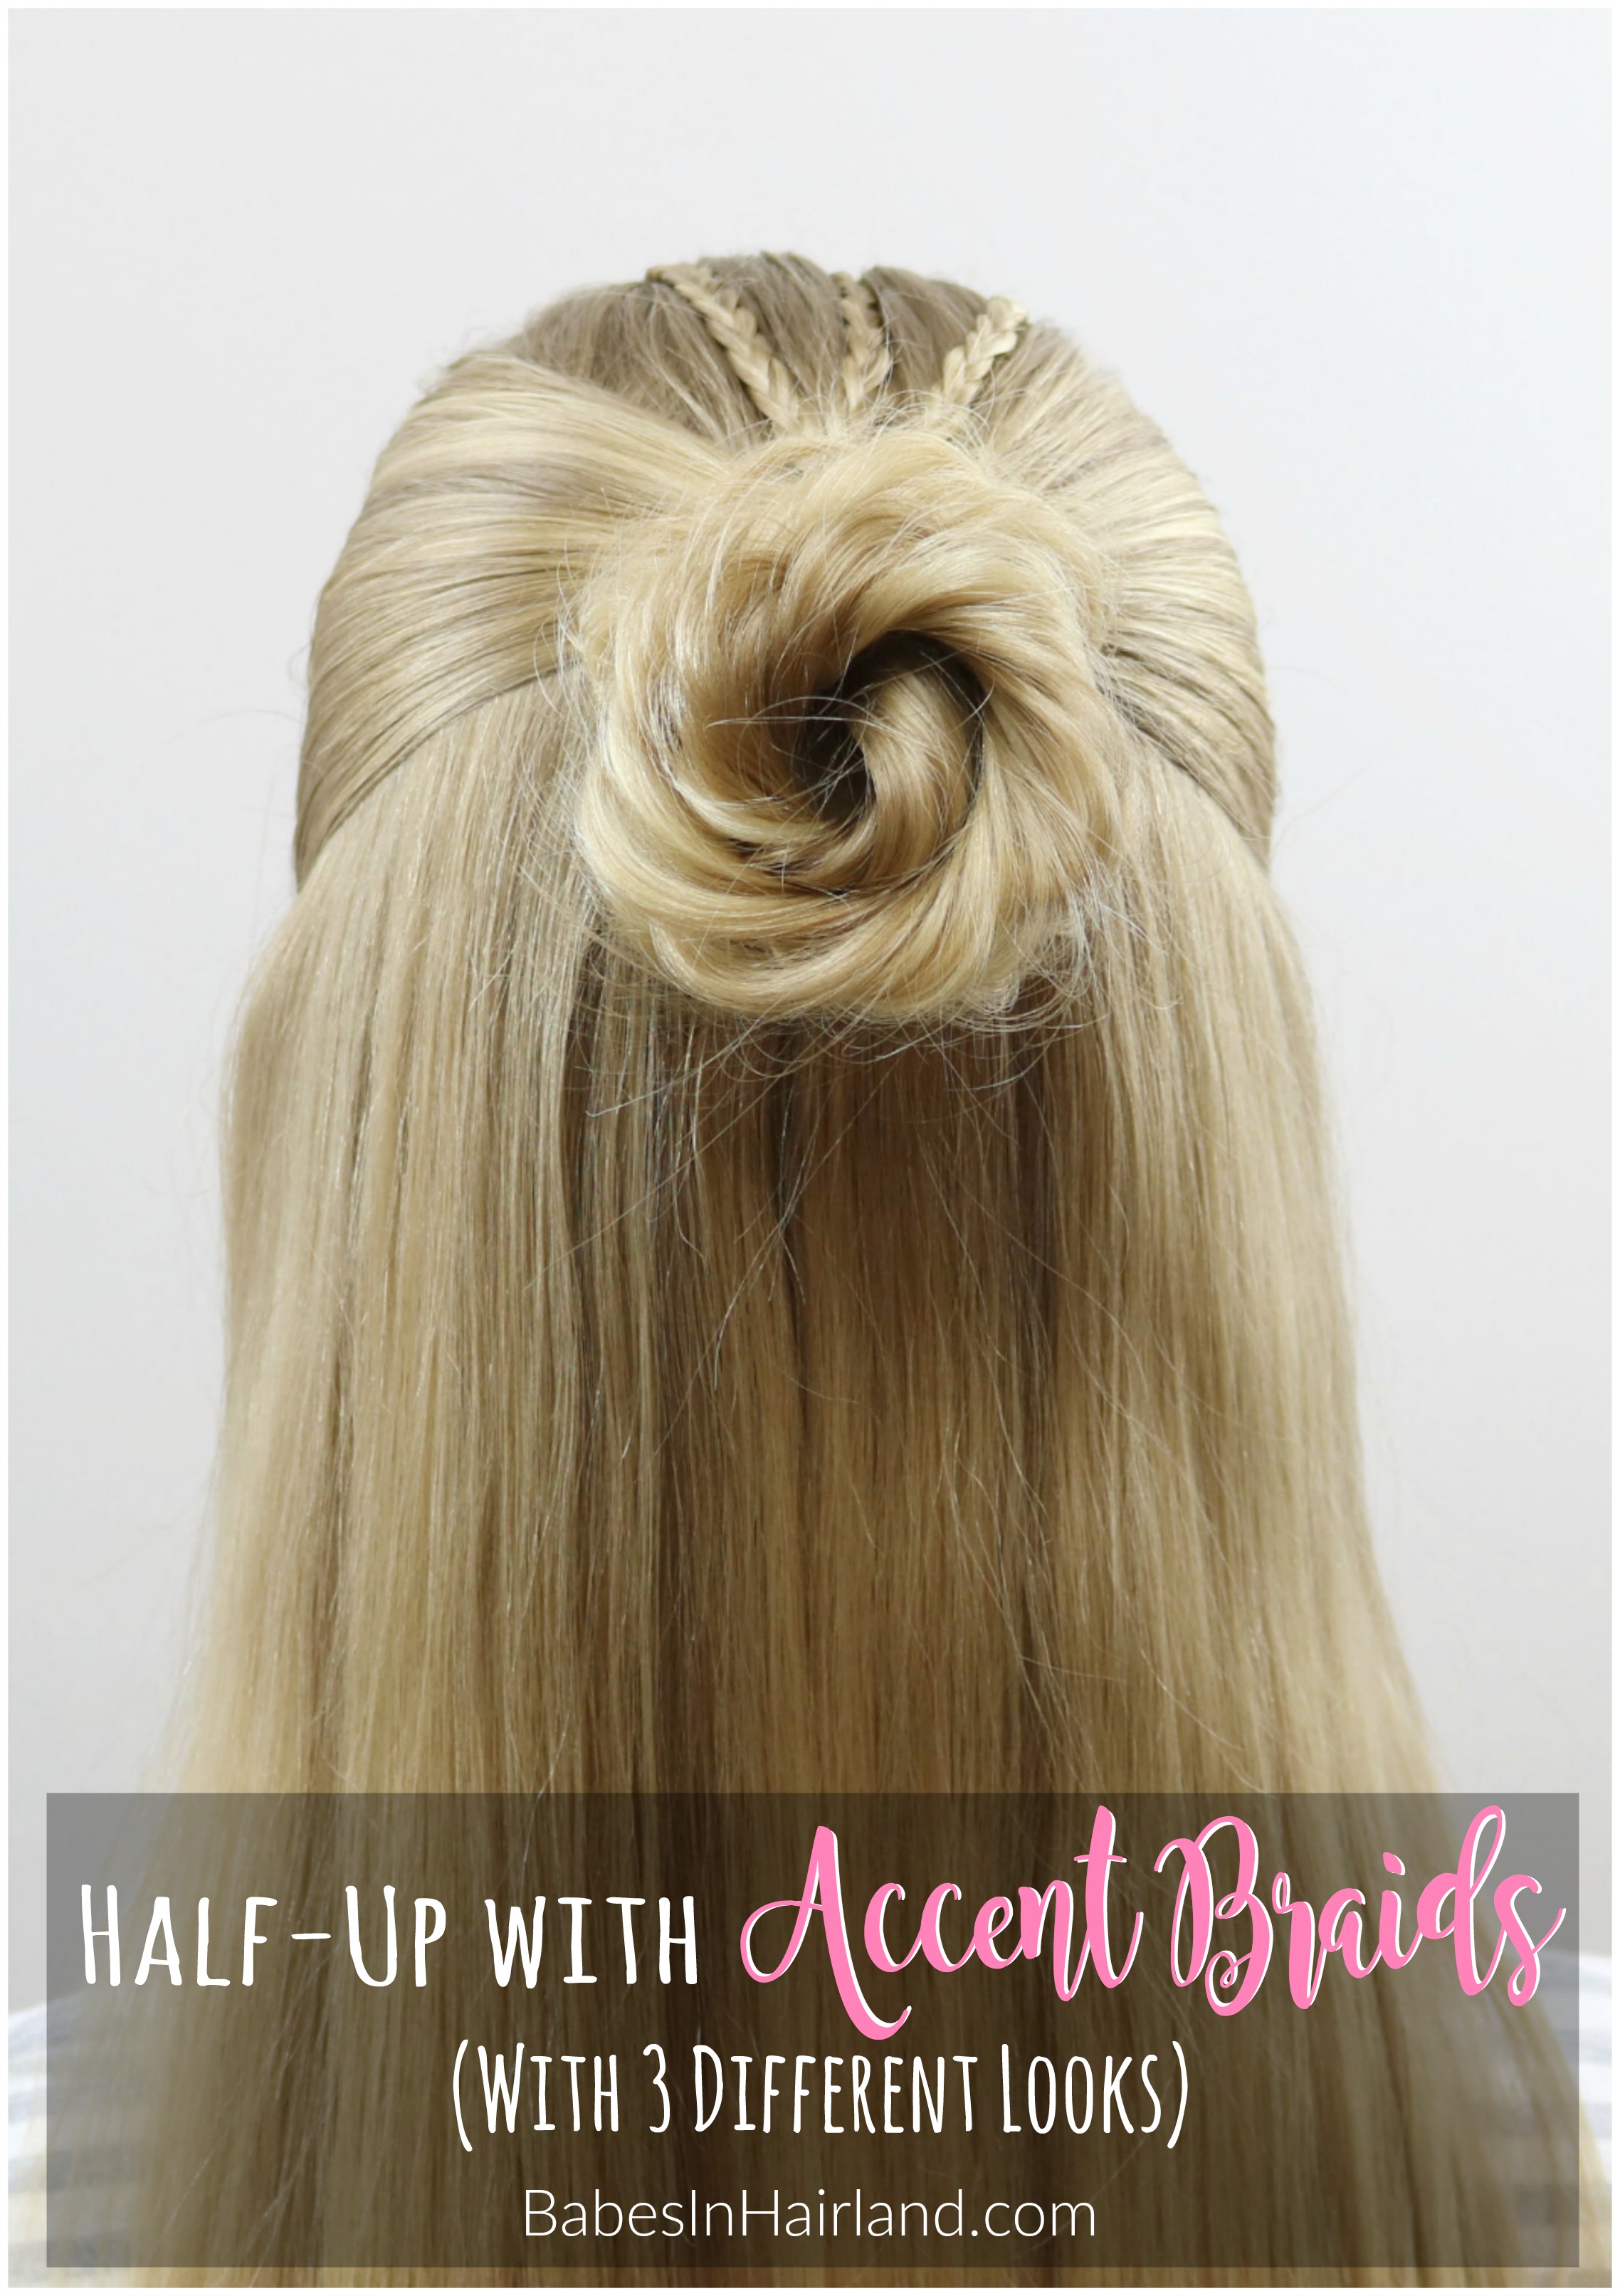
Looking for more half-up hairstyles? Check THESE out:
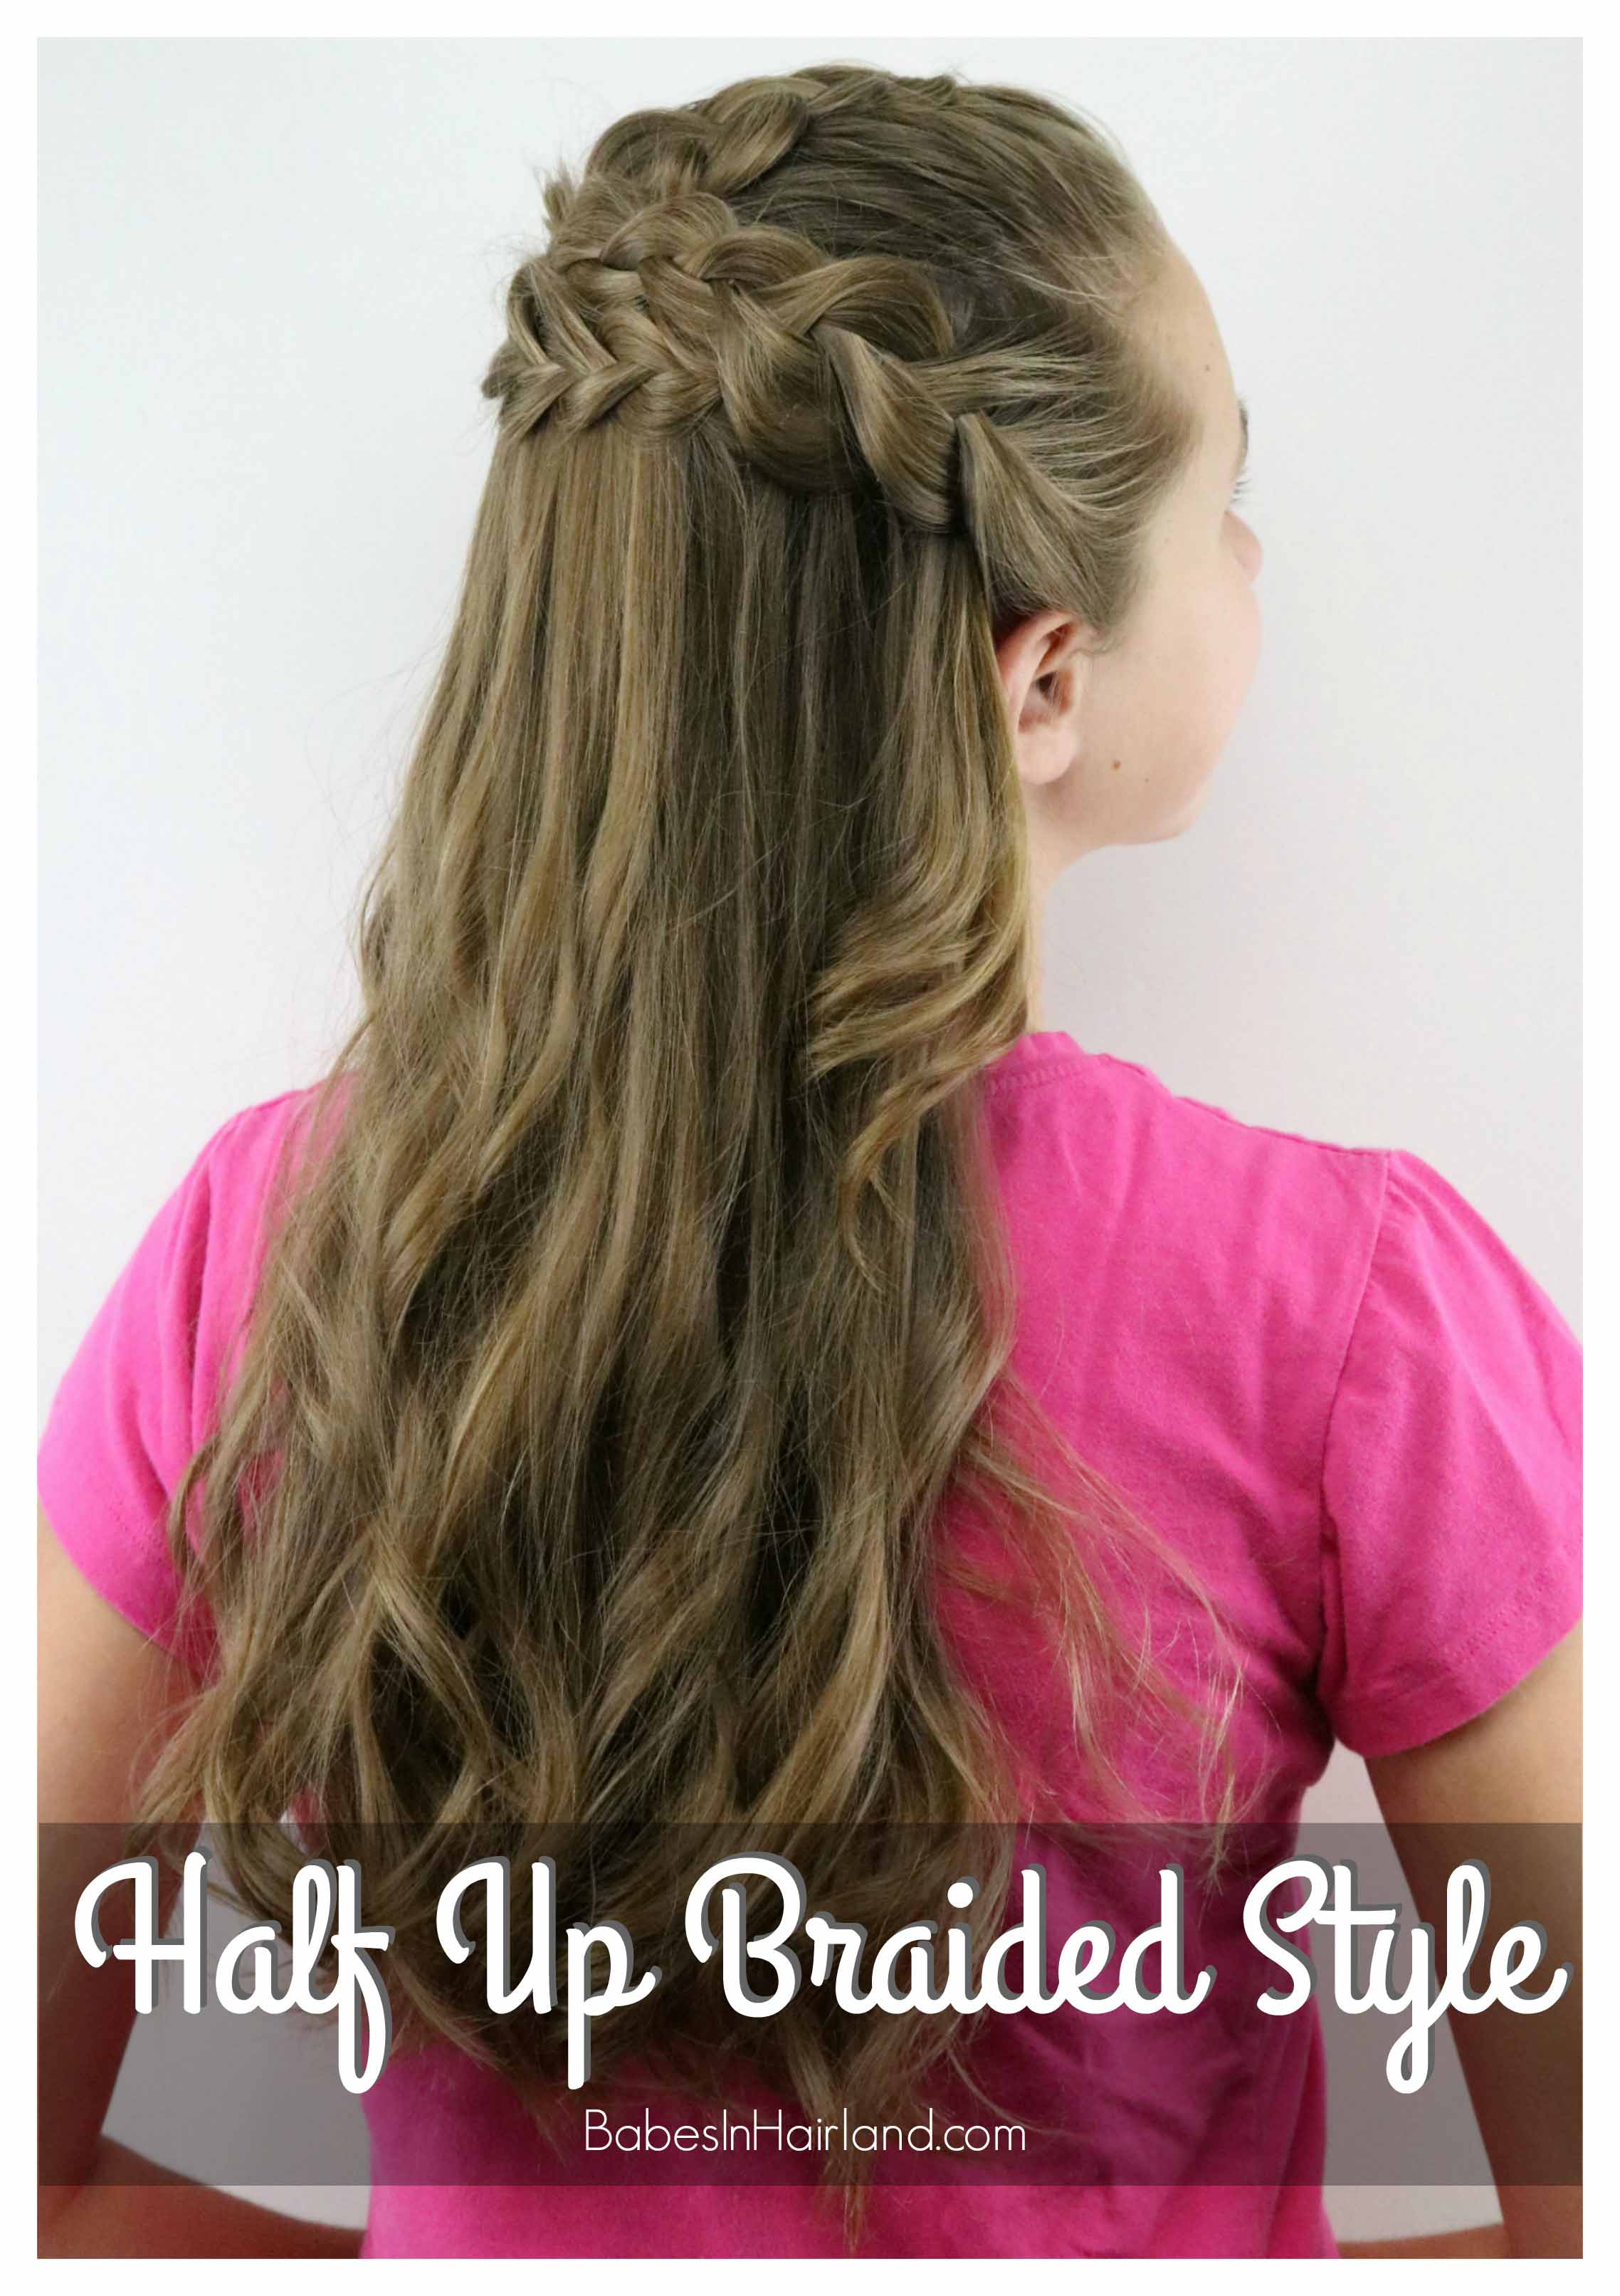
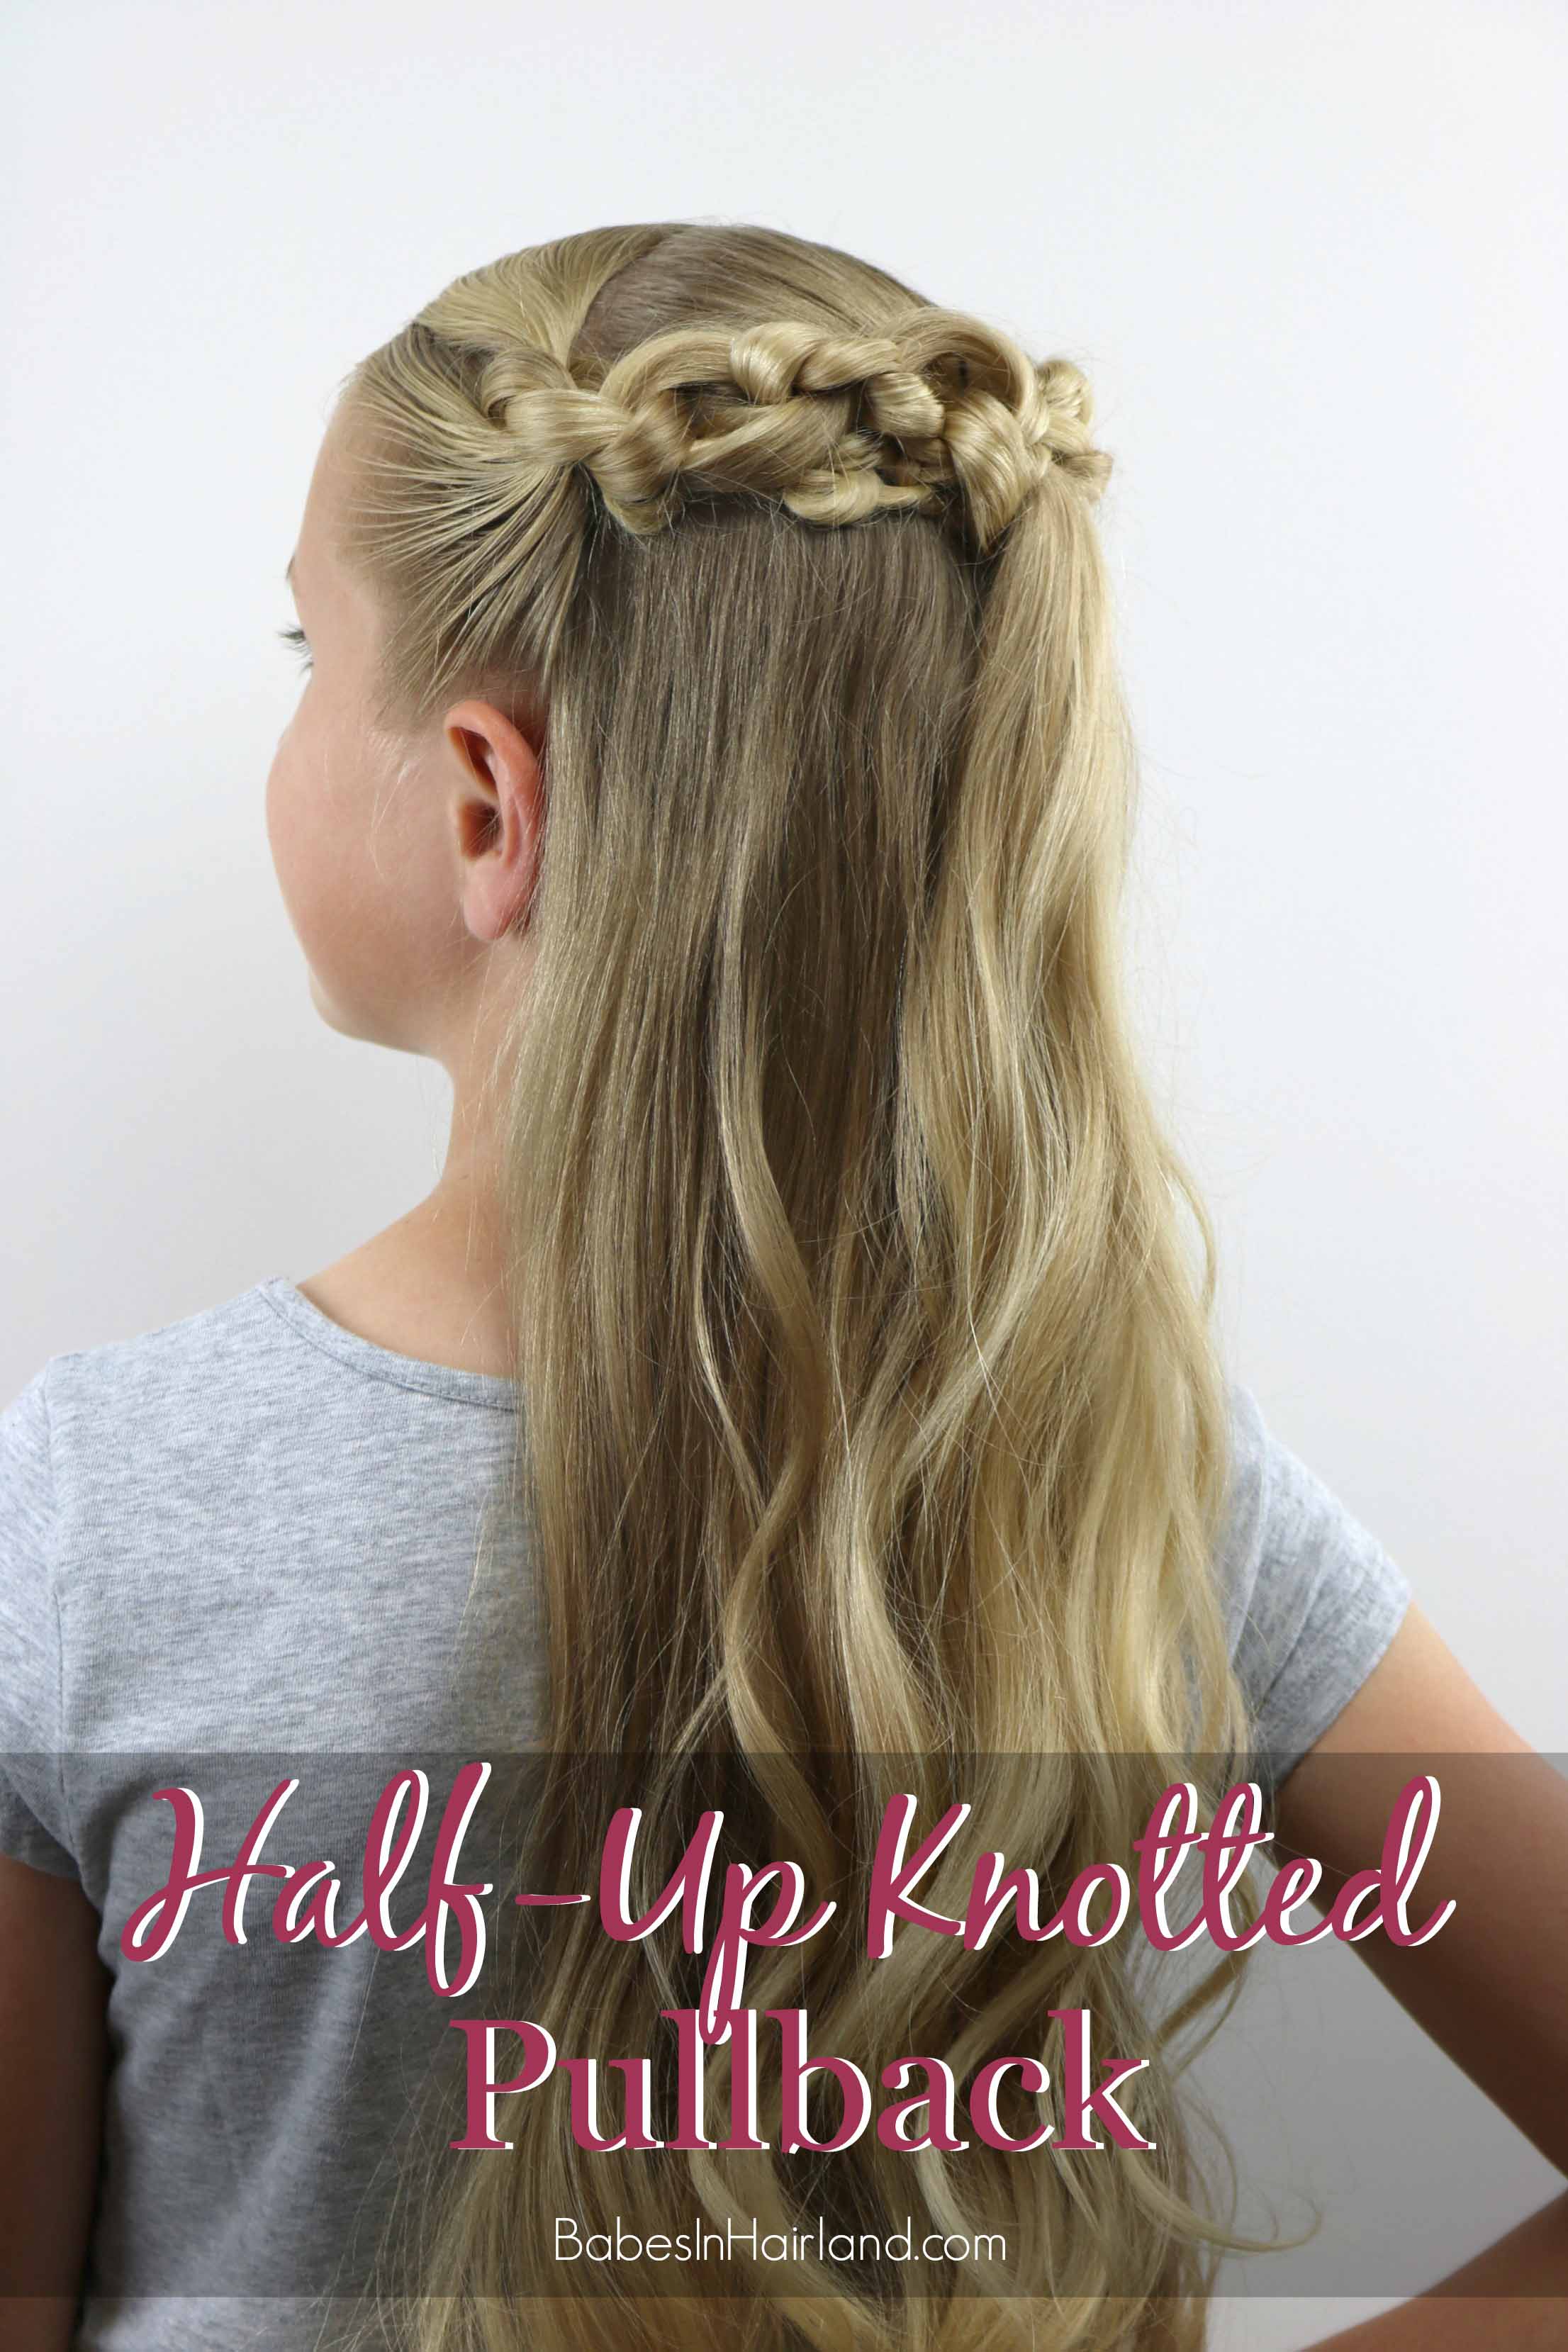
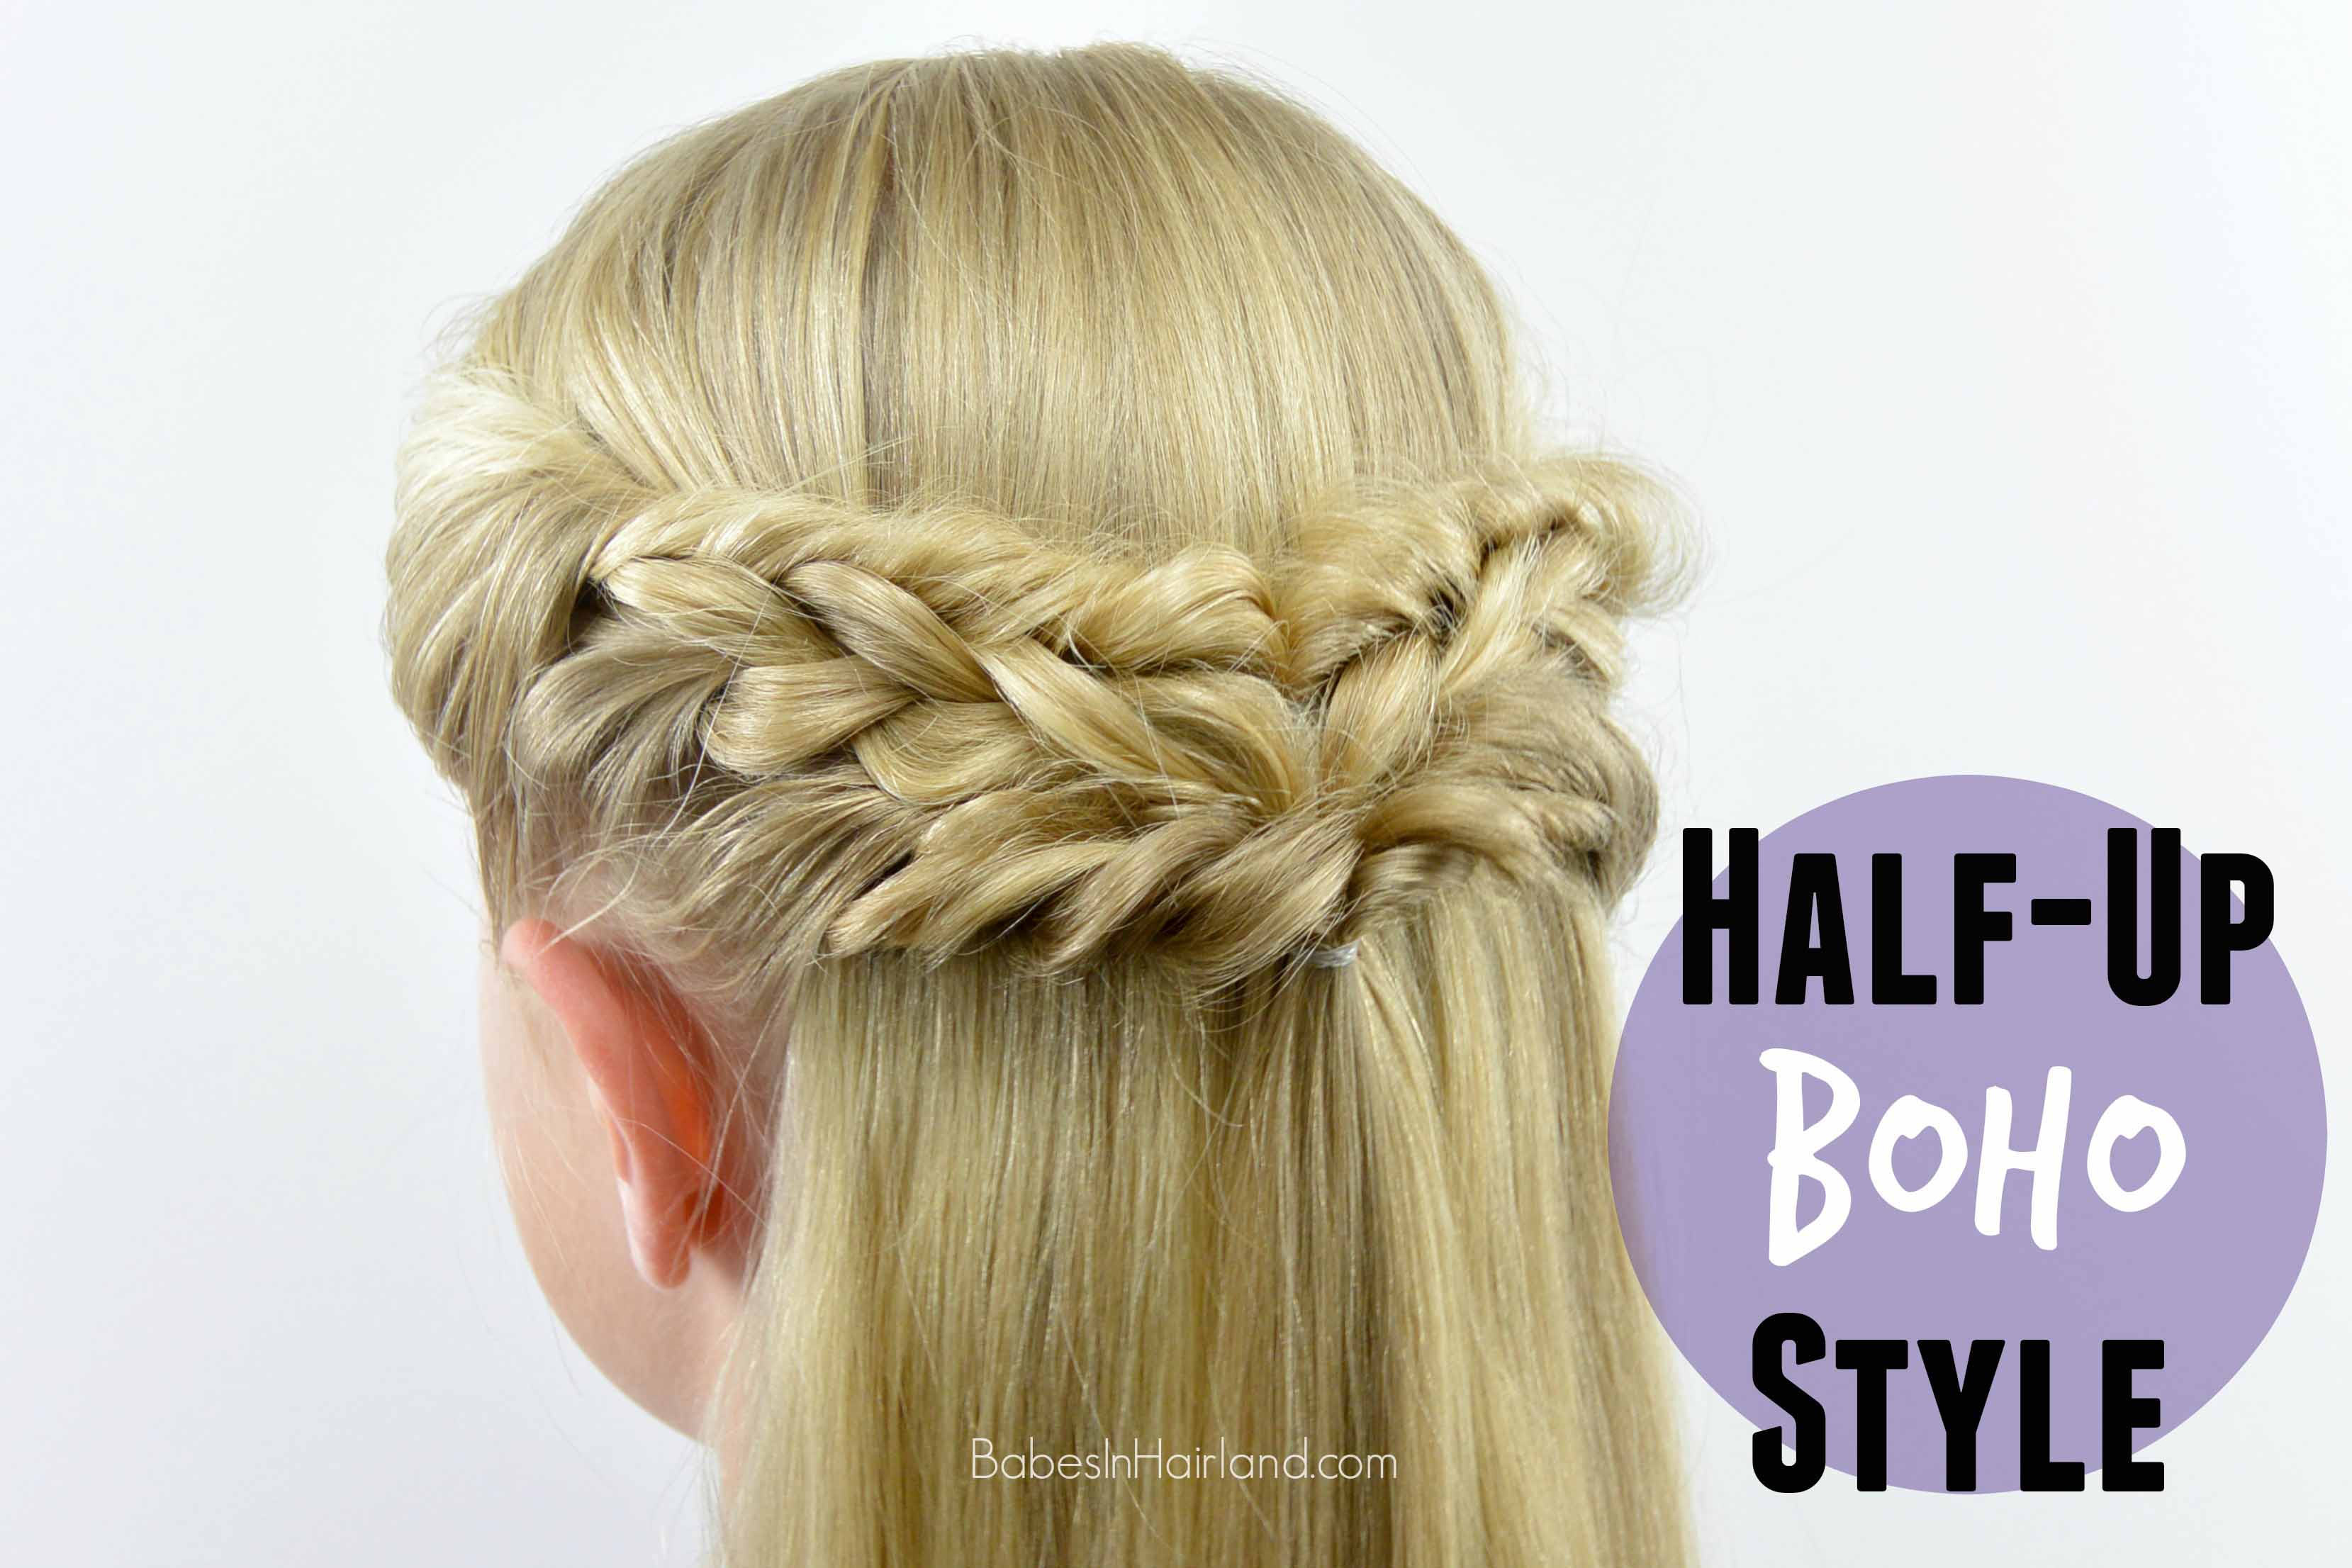
Don’t forget to PIN & SHARE today’s beautiful hairstyle! Tag us in your pictures on FB or Instagram when you recreate this!
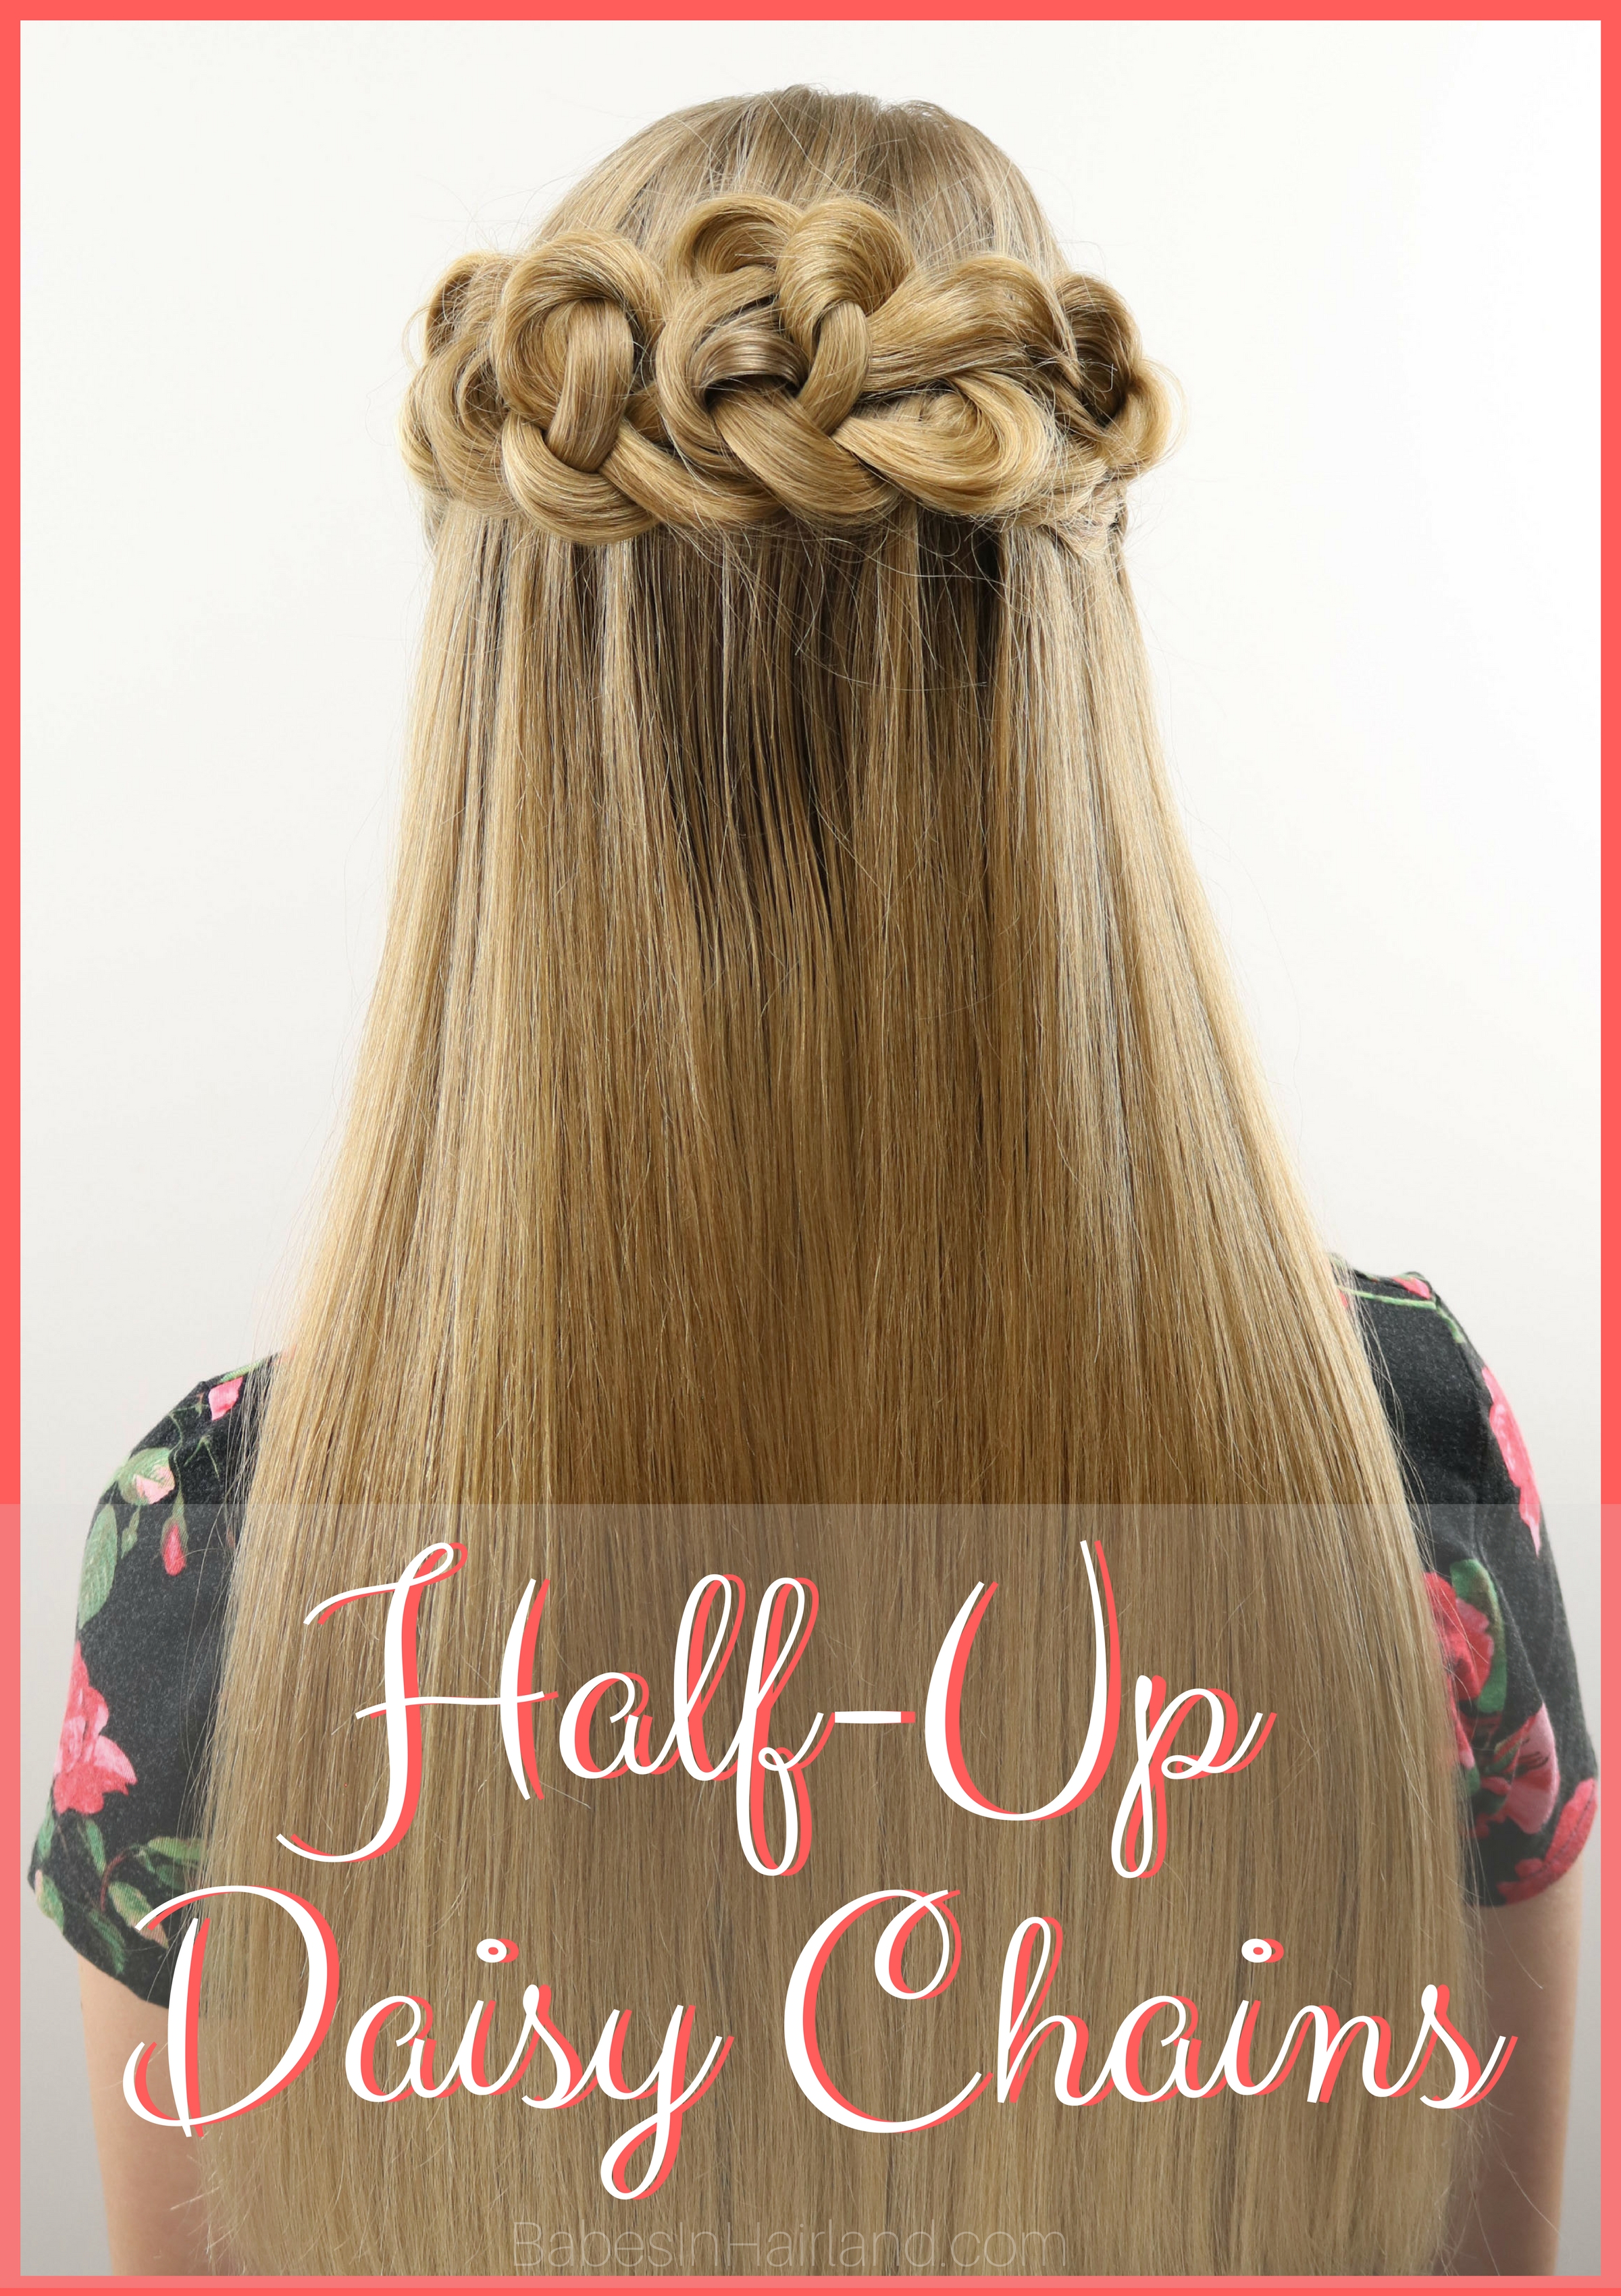
The post Half-Up Daisy Chains Hairstyle appeared first on Babes In Hairland.
]]>The post Bee’s Decision to Cut and Donate Her Hair Again appeared first on Babes In Hairland.
]]>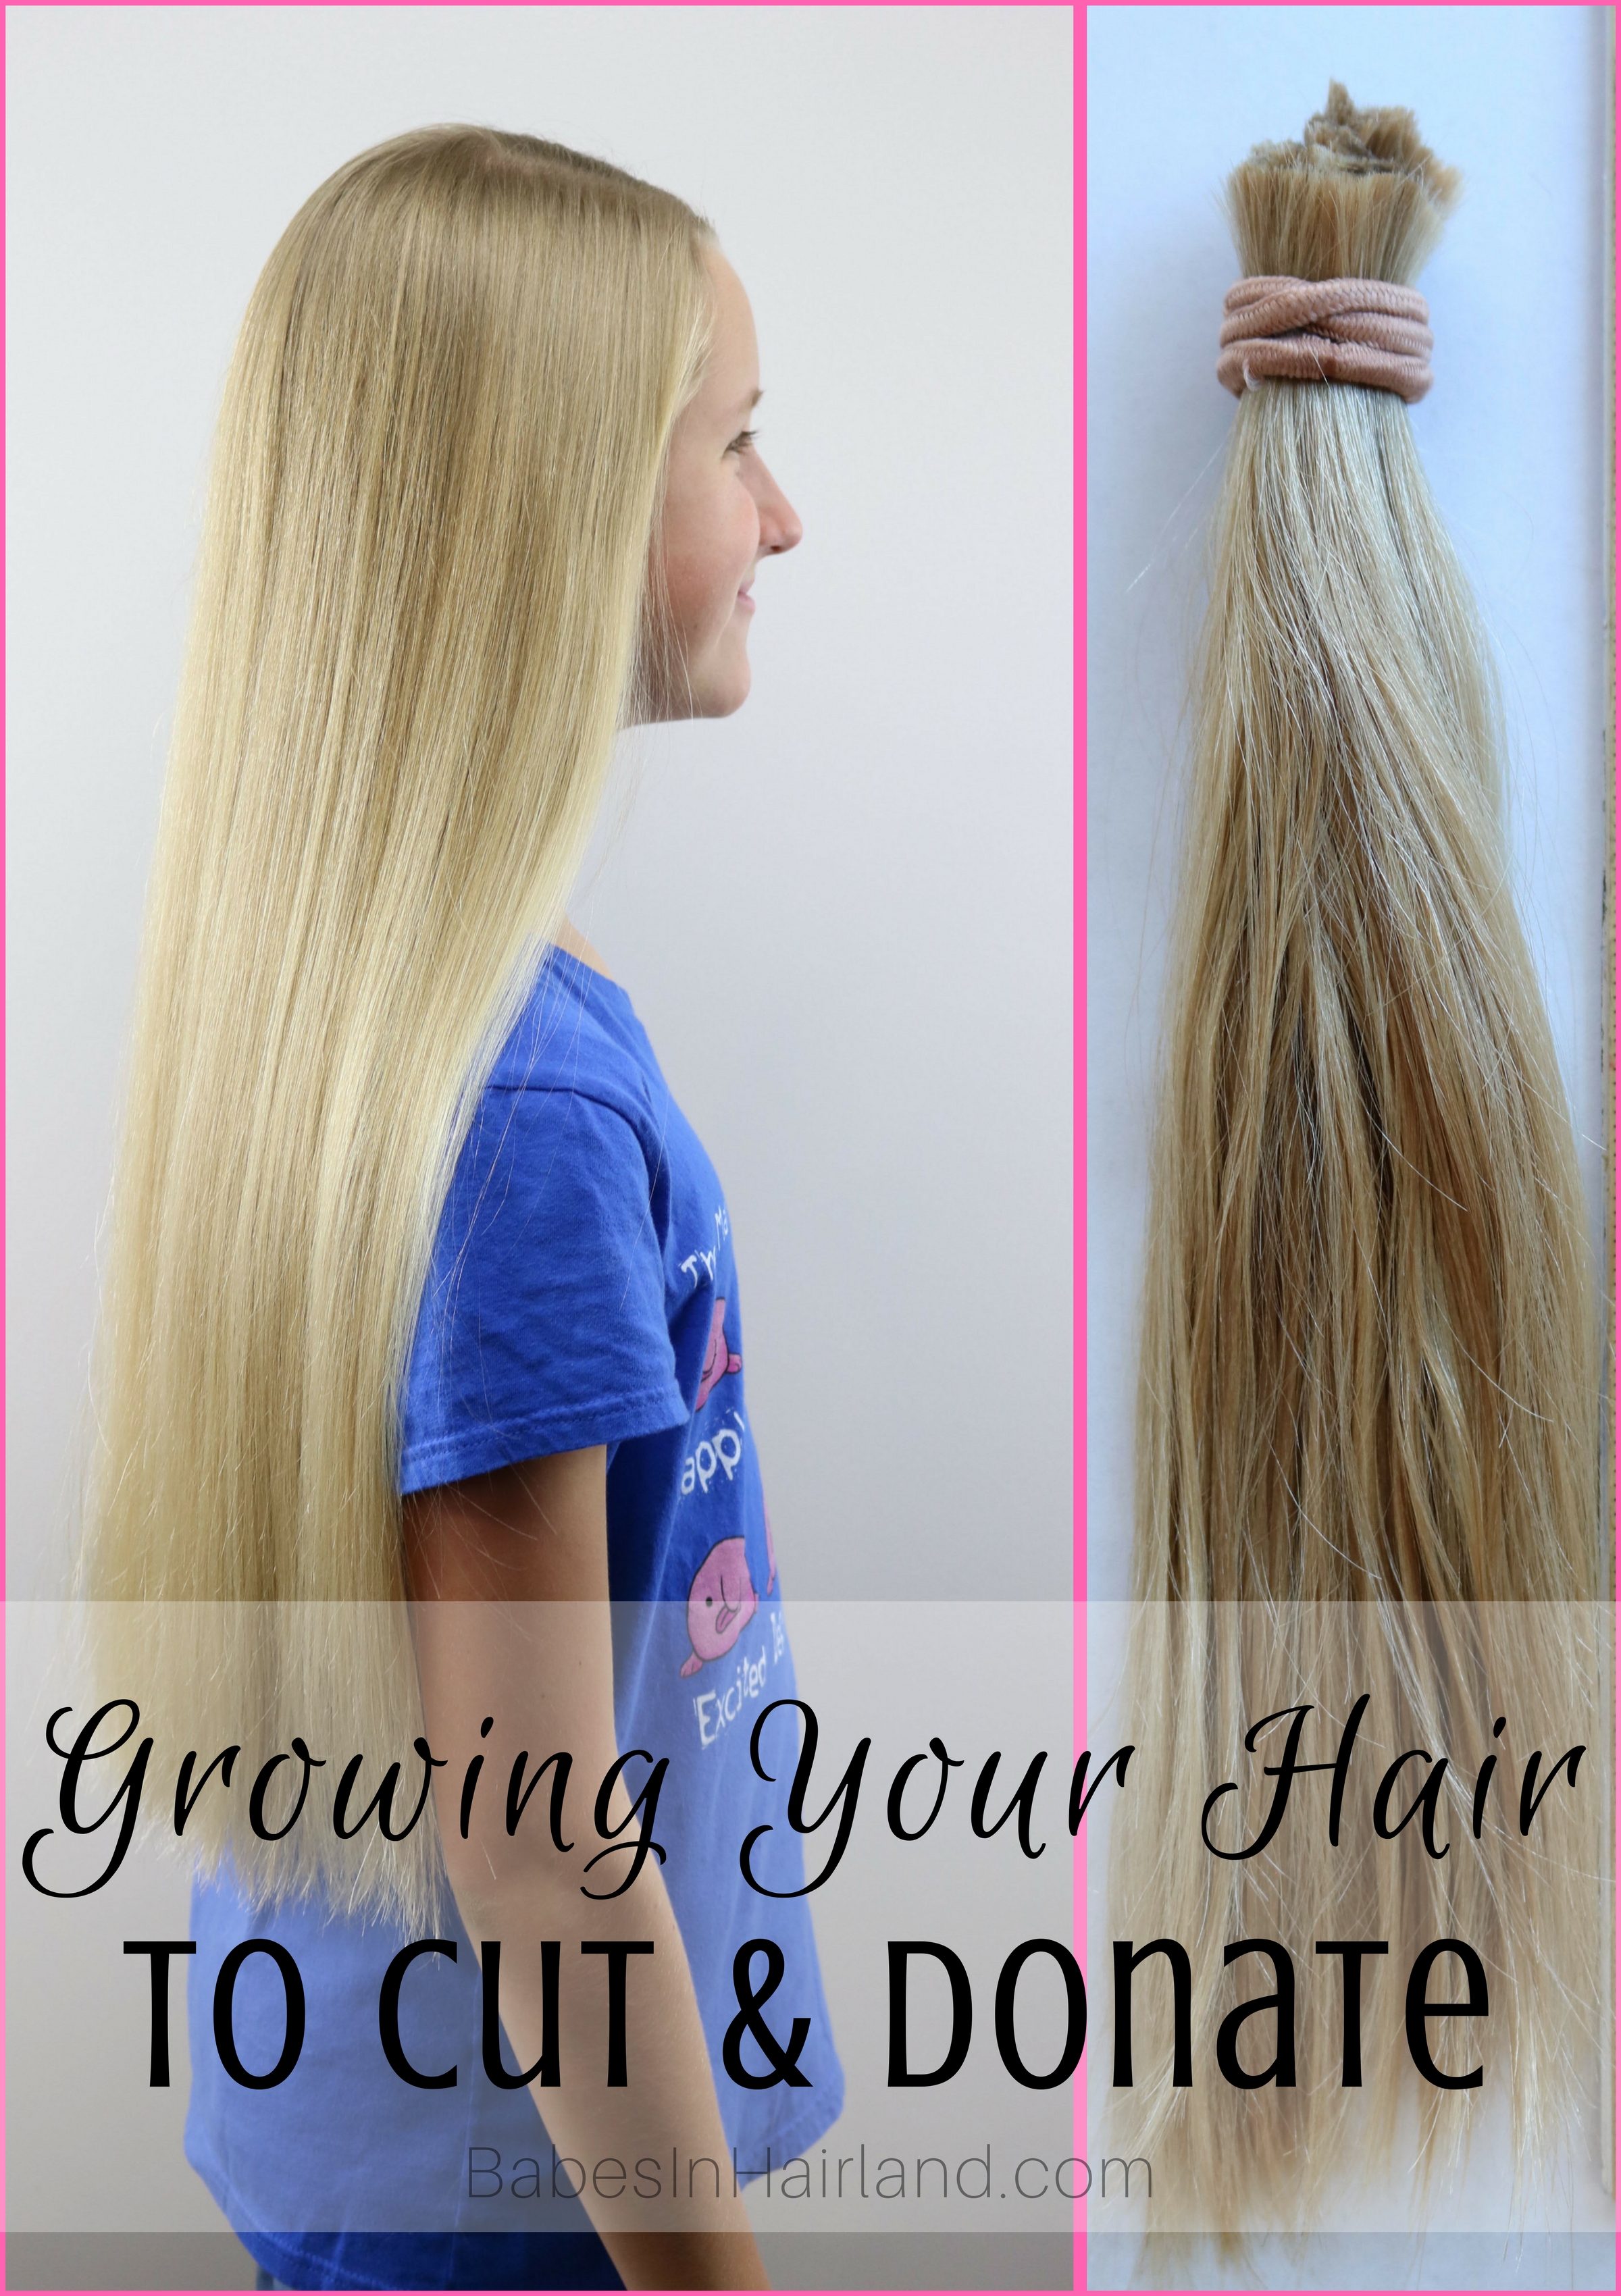
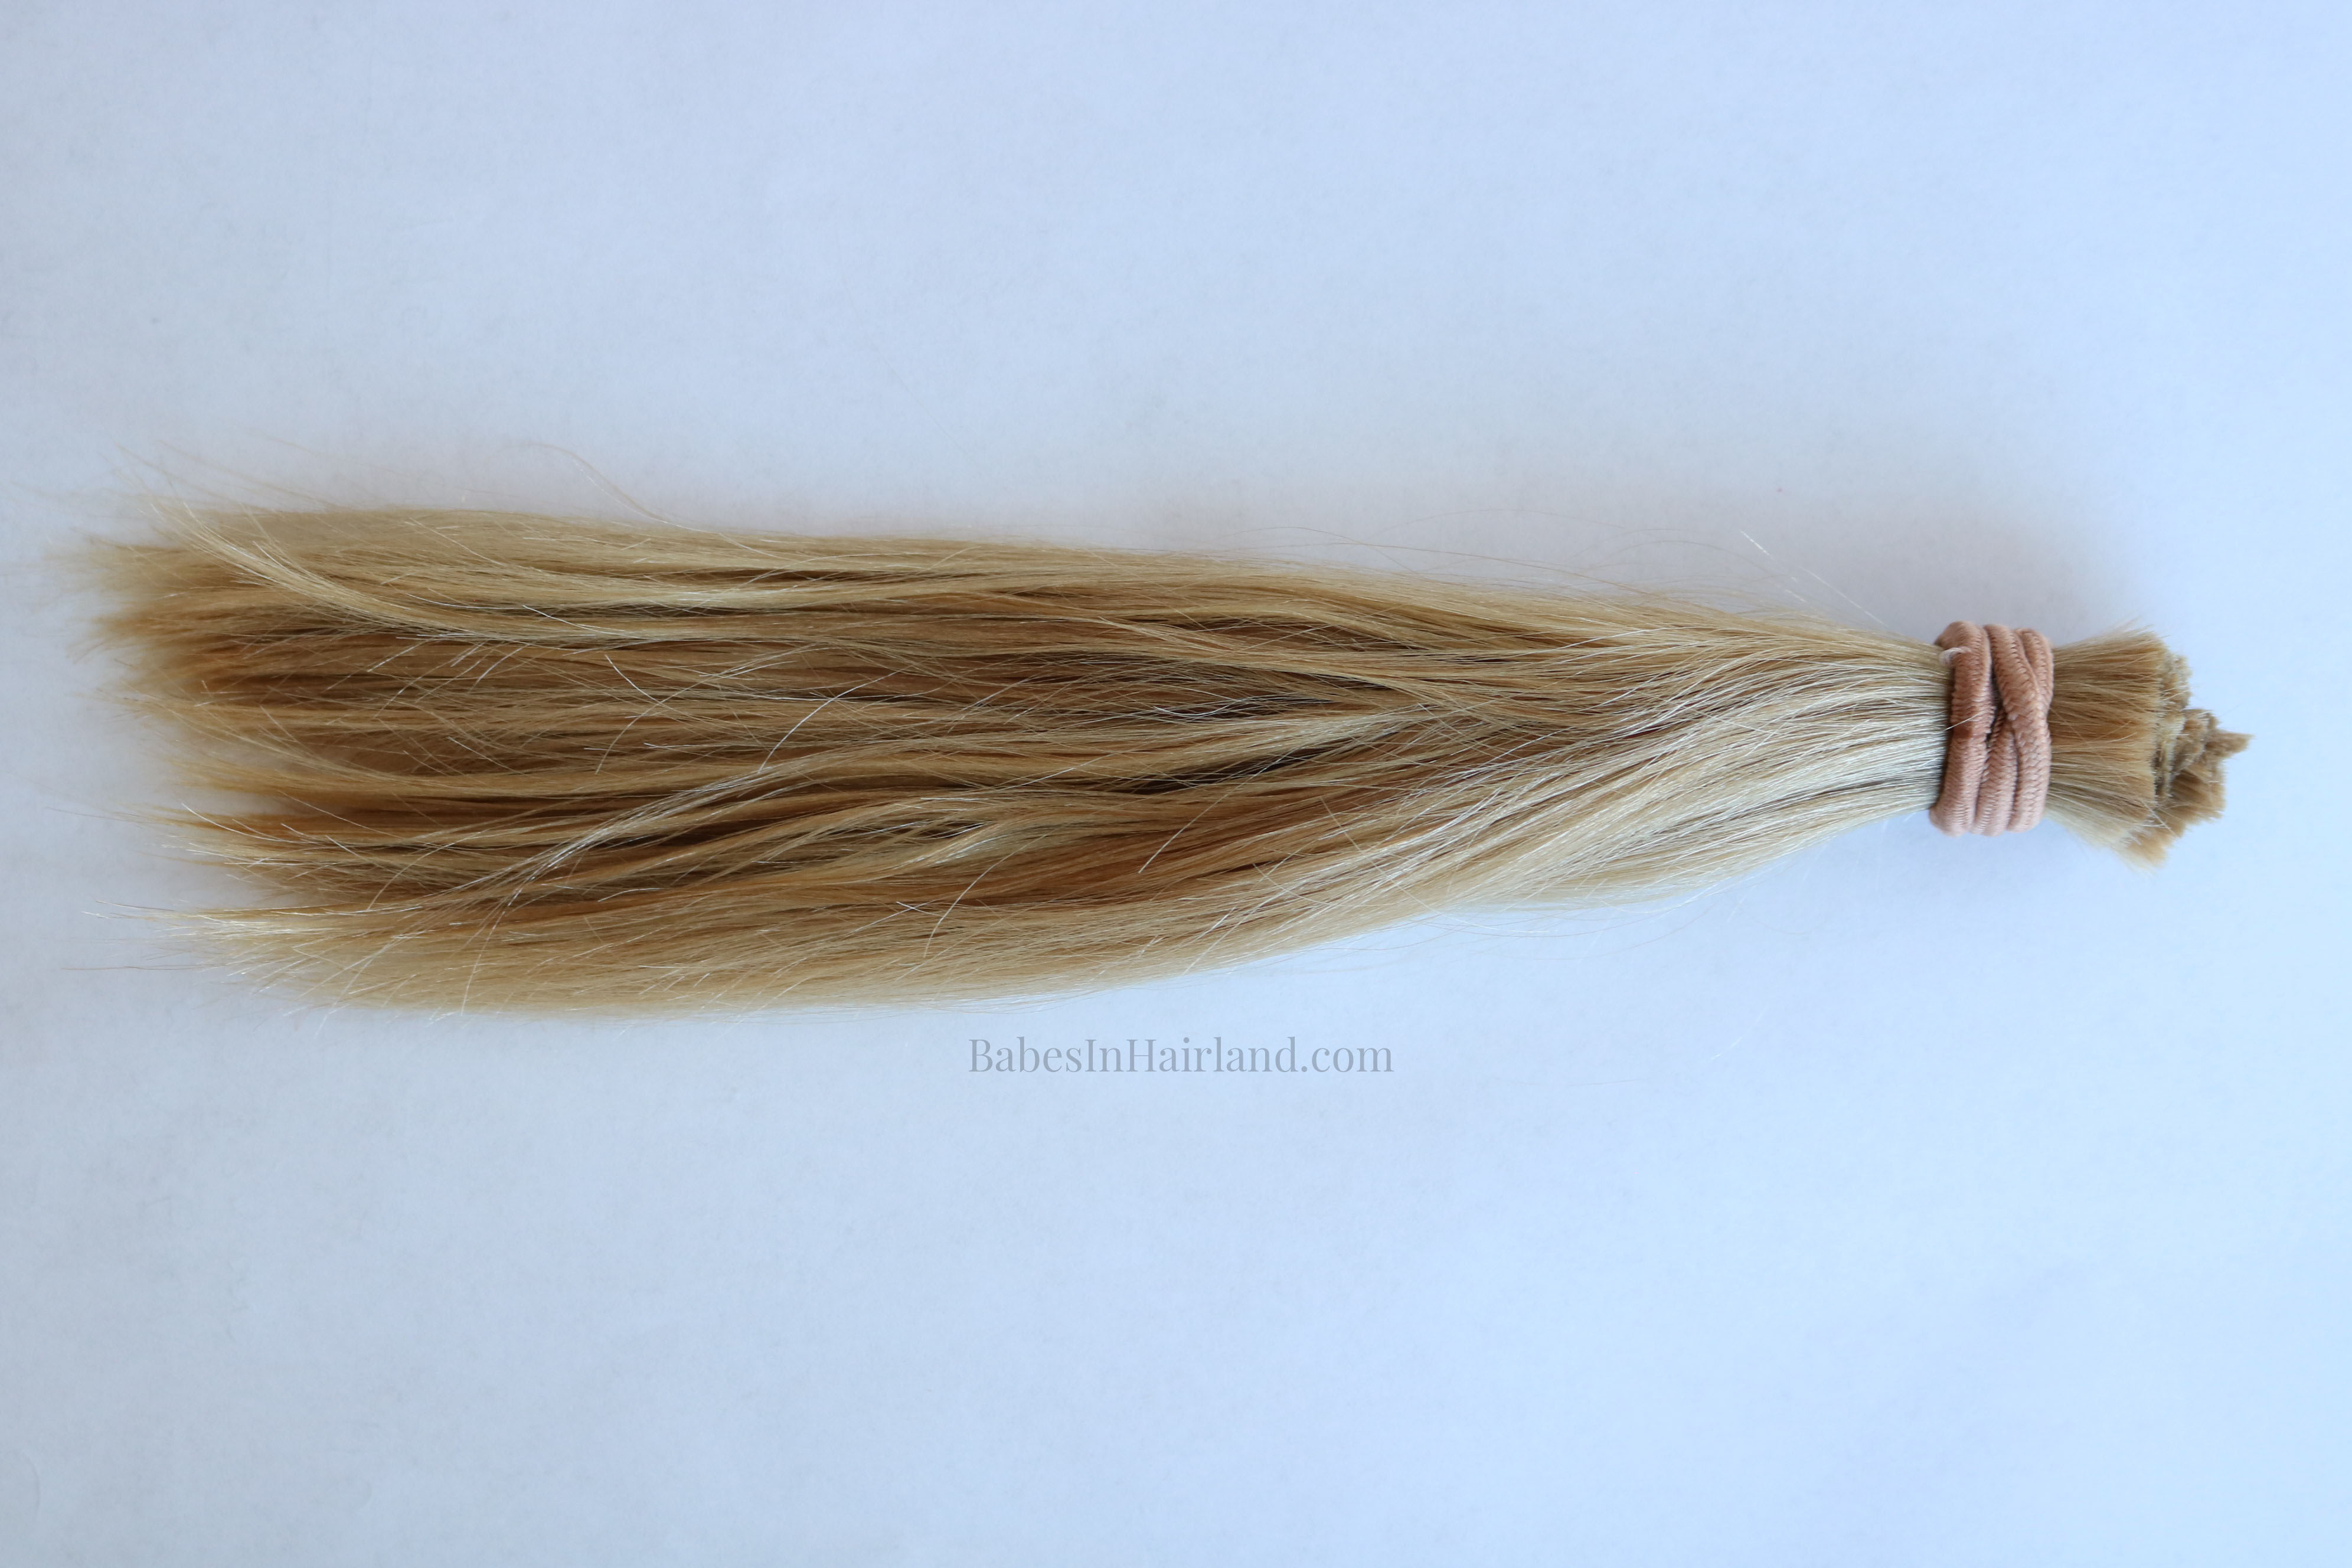
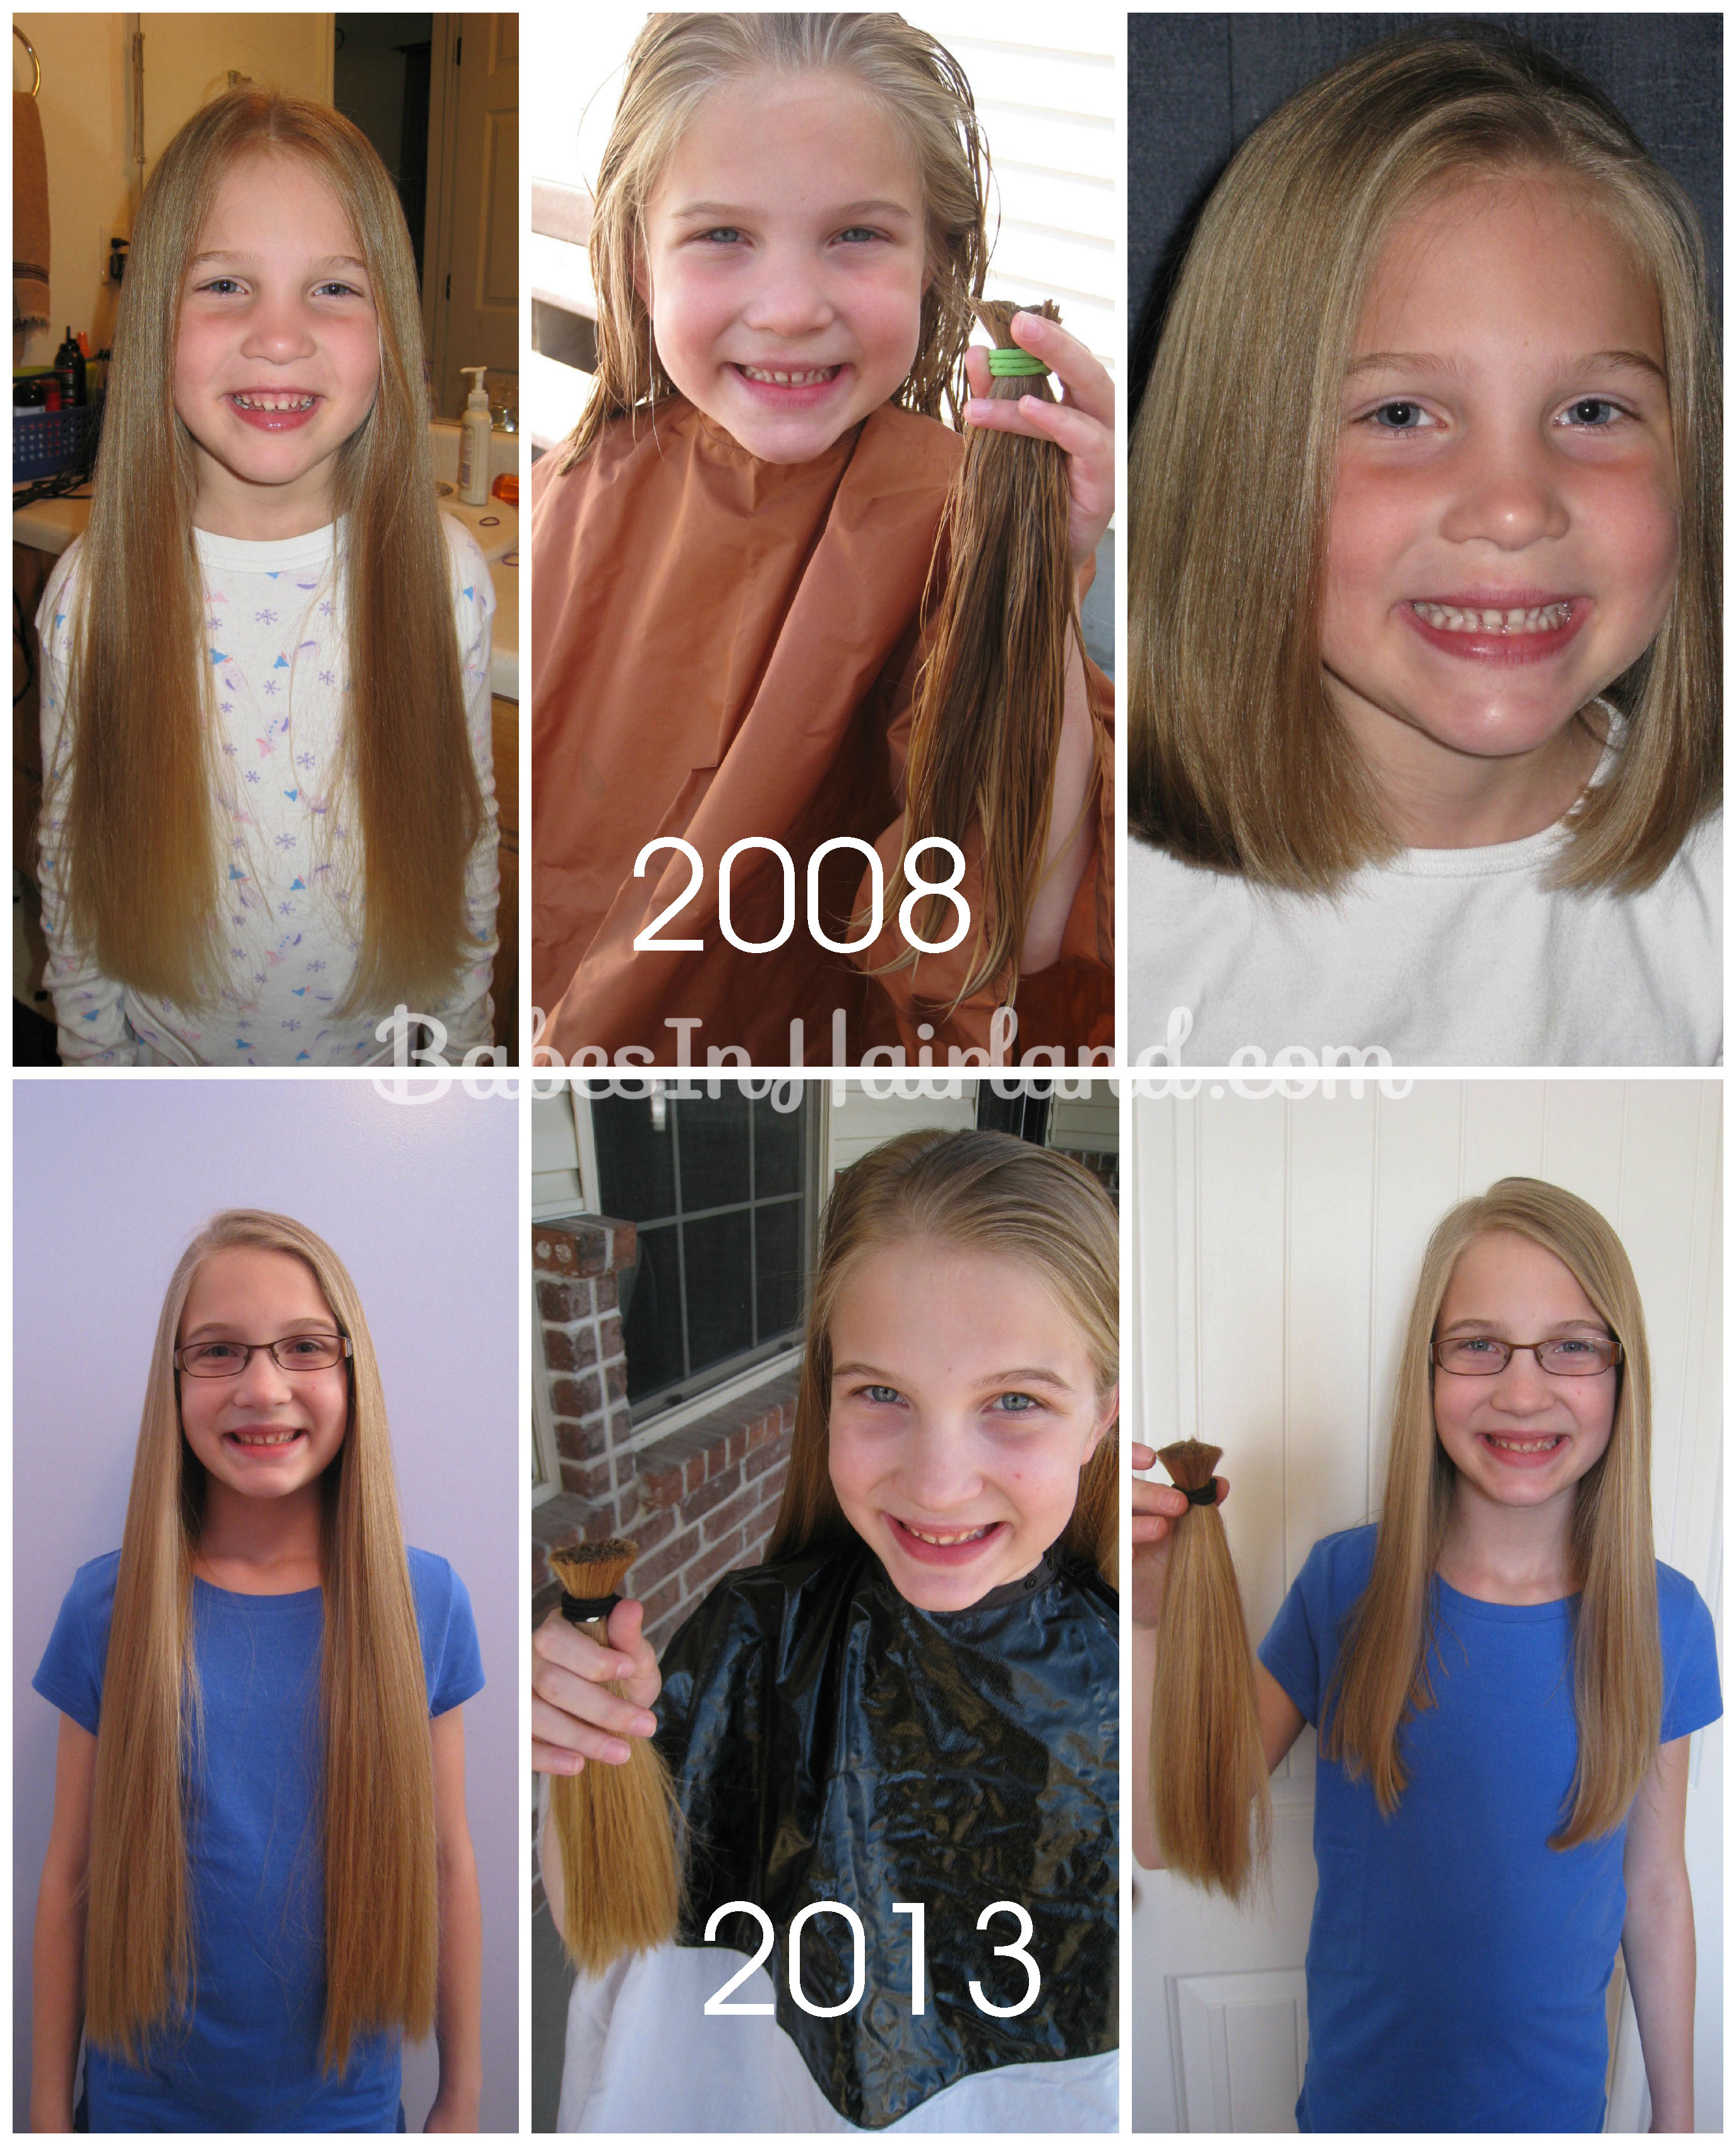
Back in the summer of 2014 Bee cut off decided to have my sister cut her hair, but this time it was more than a trim. She cut over a foot off of her long beautiful hair and donated it. You can read more about that in THIS post. Since 2014 she’s had a couple trims per year, usually cutting off a couple inches each time.
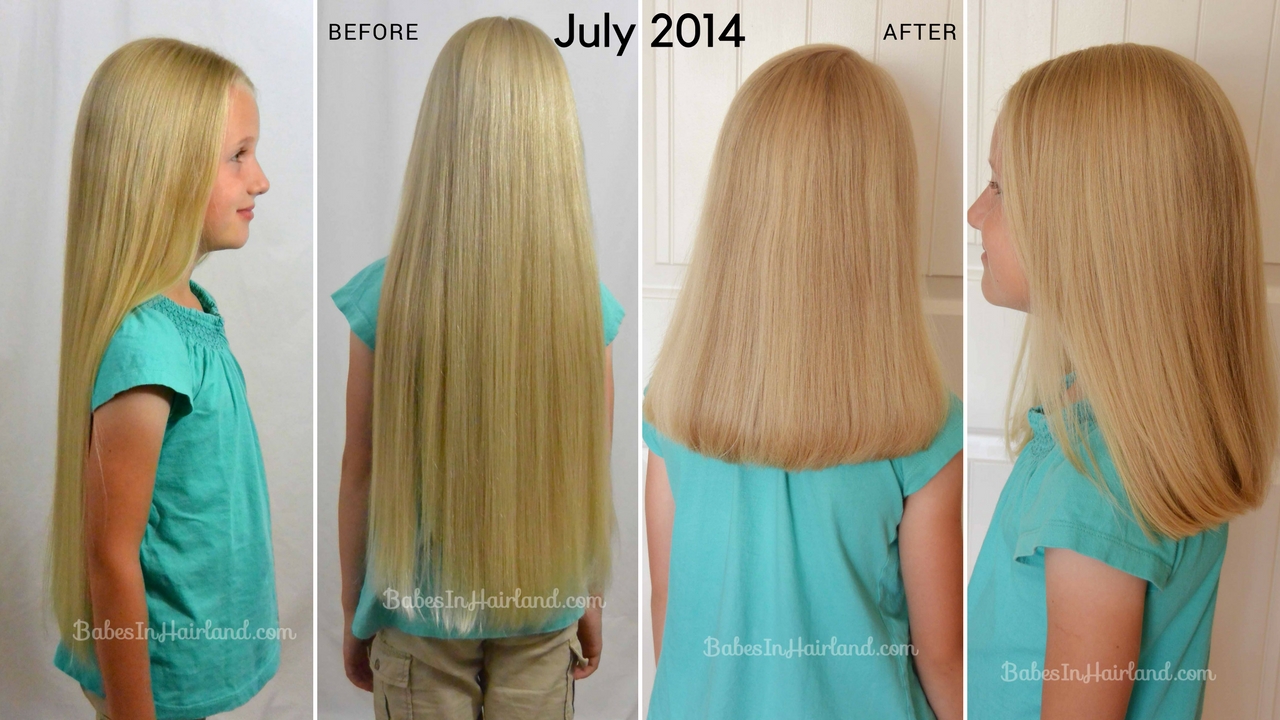
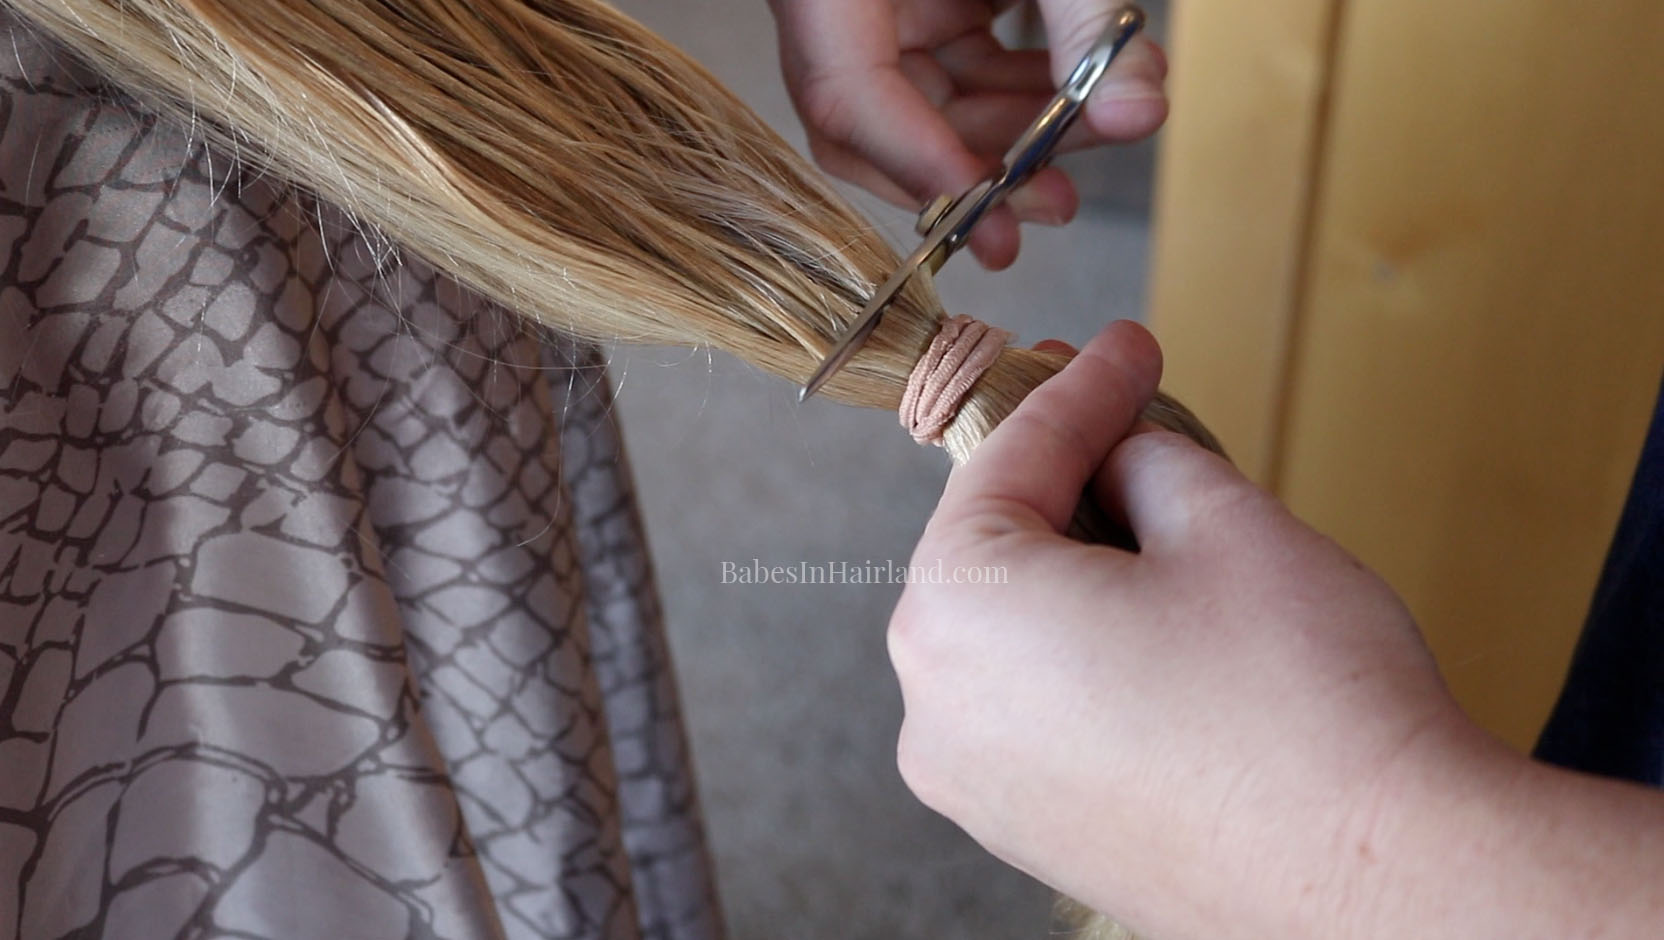
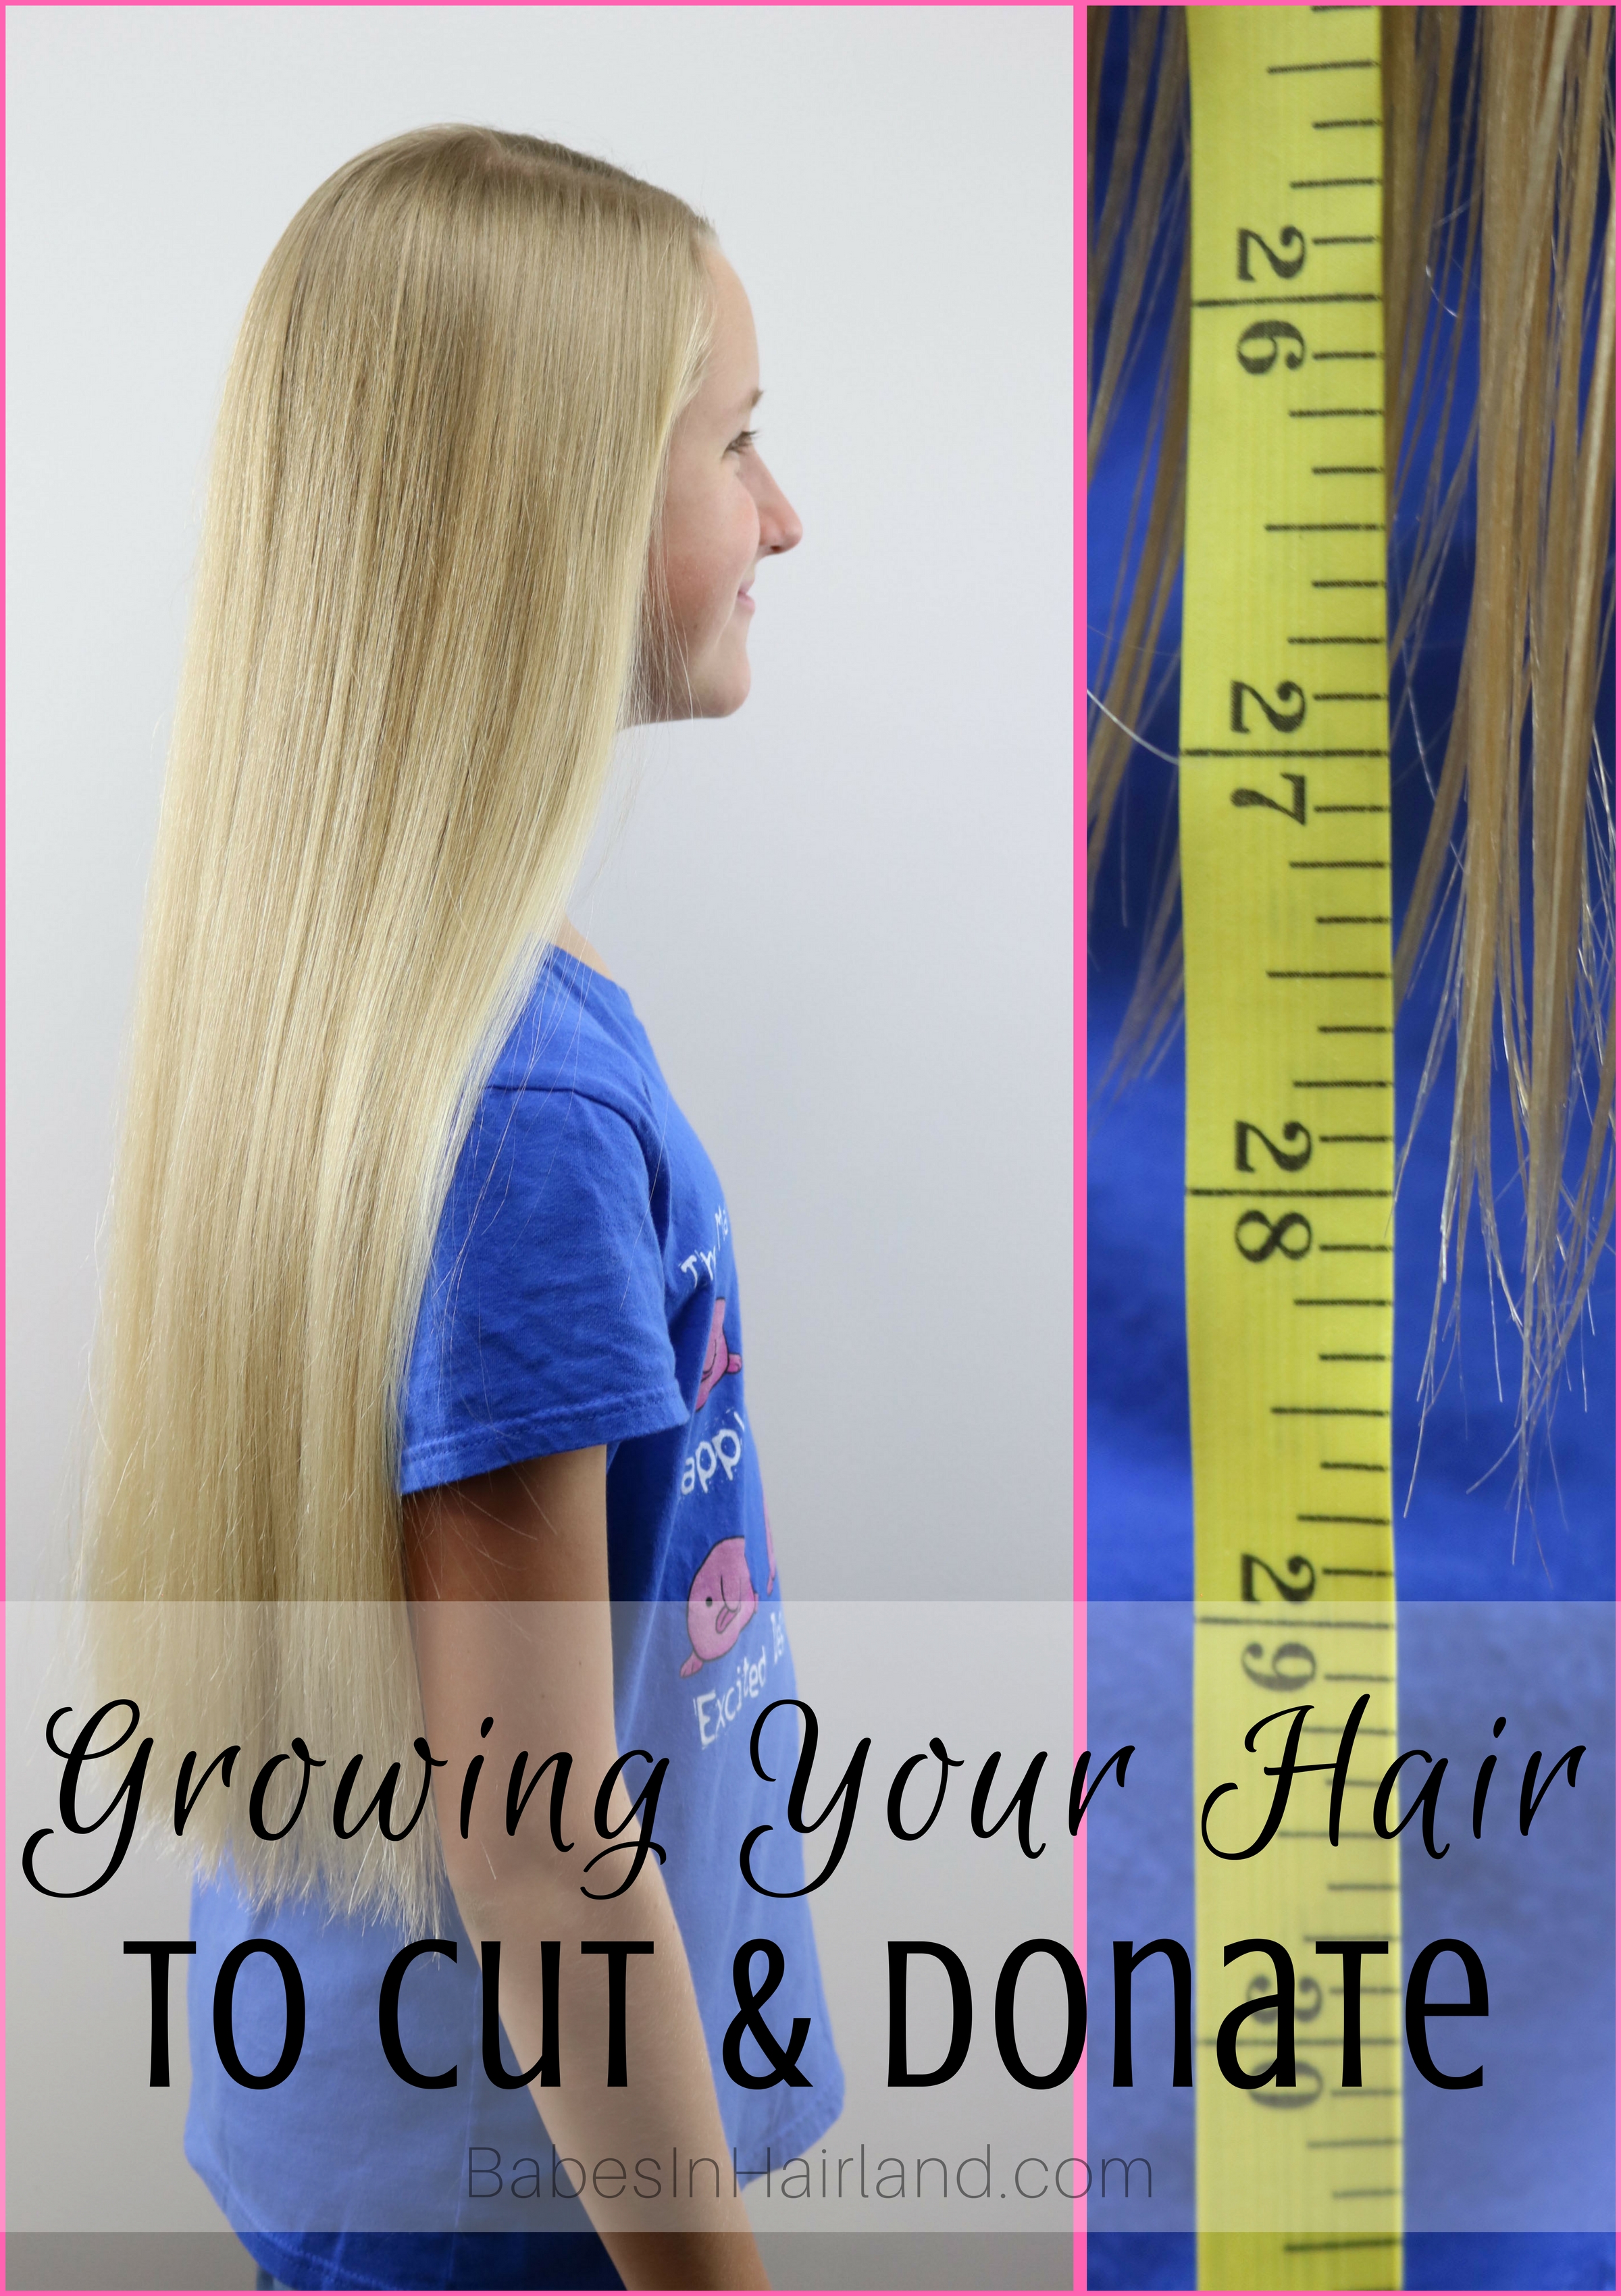
As Bee’s hair has continued to grow back, and as she is getting older, she started thinking about cutting it again. However, with the age she is, she’s just starting to try to learn how to do things in her own hair. Having a ton of long hair was hindering her a bit. And the concern of cutting too much off also worried her a bit as well. In the past, every time the girls have donated, they’ve cut about 12 inches off. She worried that might be a bit more than she wanted. We went back to our post about cutting & donating your hair and researched some more about minimum donation requirements. We found that there are some places that the minimum is 8 inches. She was happy she could still donate if she didn’t cut 12+ inches off. She decided to cut between 8-10 inches.
If you’re thinking of cutting and/or donating your hair, be sure to check out our post Things You Need to Know When Cutting & Donating Your Hair. We share tips & tricks, as well as different places you can donated your hair, and some of the requirements. As always, be sure to check with the donation organization personally to verify all information or ask any questions.
As silly as it may sound, I’ve struggled with sharing this because of the negative feedback that tends to come with these types of posts. While the majority of the feedback we get is positive, it still is always sad that people have to say negative things about cutting and donating hair. There are those who think we should have donated more, that the girls had plenty more to cut off so they should have. There are others who have issues with where we donate the hair. And there are others that totally disagree with us cutting their hair at all. But I just remind everyone that cutting your hair and donating (or not donating it) is a personal decision. My girls are all sweet and tender hearted girls, and just want to help others. So we thank you kindly for not judging Bee’s decision to cut her hair, and the fact that she cut a bit less off this time. 
Here’s the short video we put together for you! If you have trouble viewing it, head over HERE to our YouTube channel.
Bee’s 2018 Haircut Video
Here are a few of her “BEFORE” pictures- but you’ll want to watch the video to see the big reveal! And if you love her BlobFish Shirt – you can snag one HERE! She’s been a BlobFish lover for a couple years now, and it doesn’t look like that’s changing any time soon!
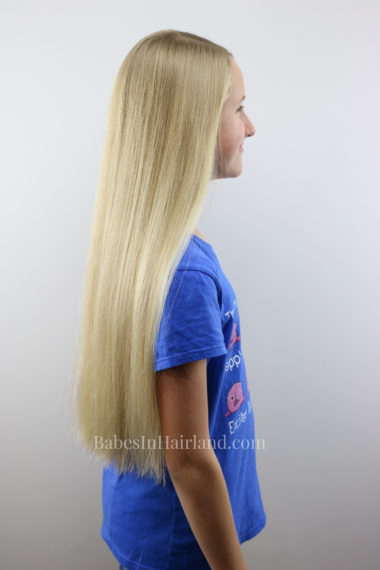
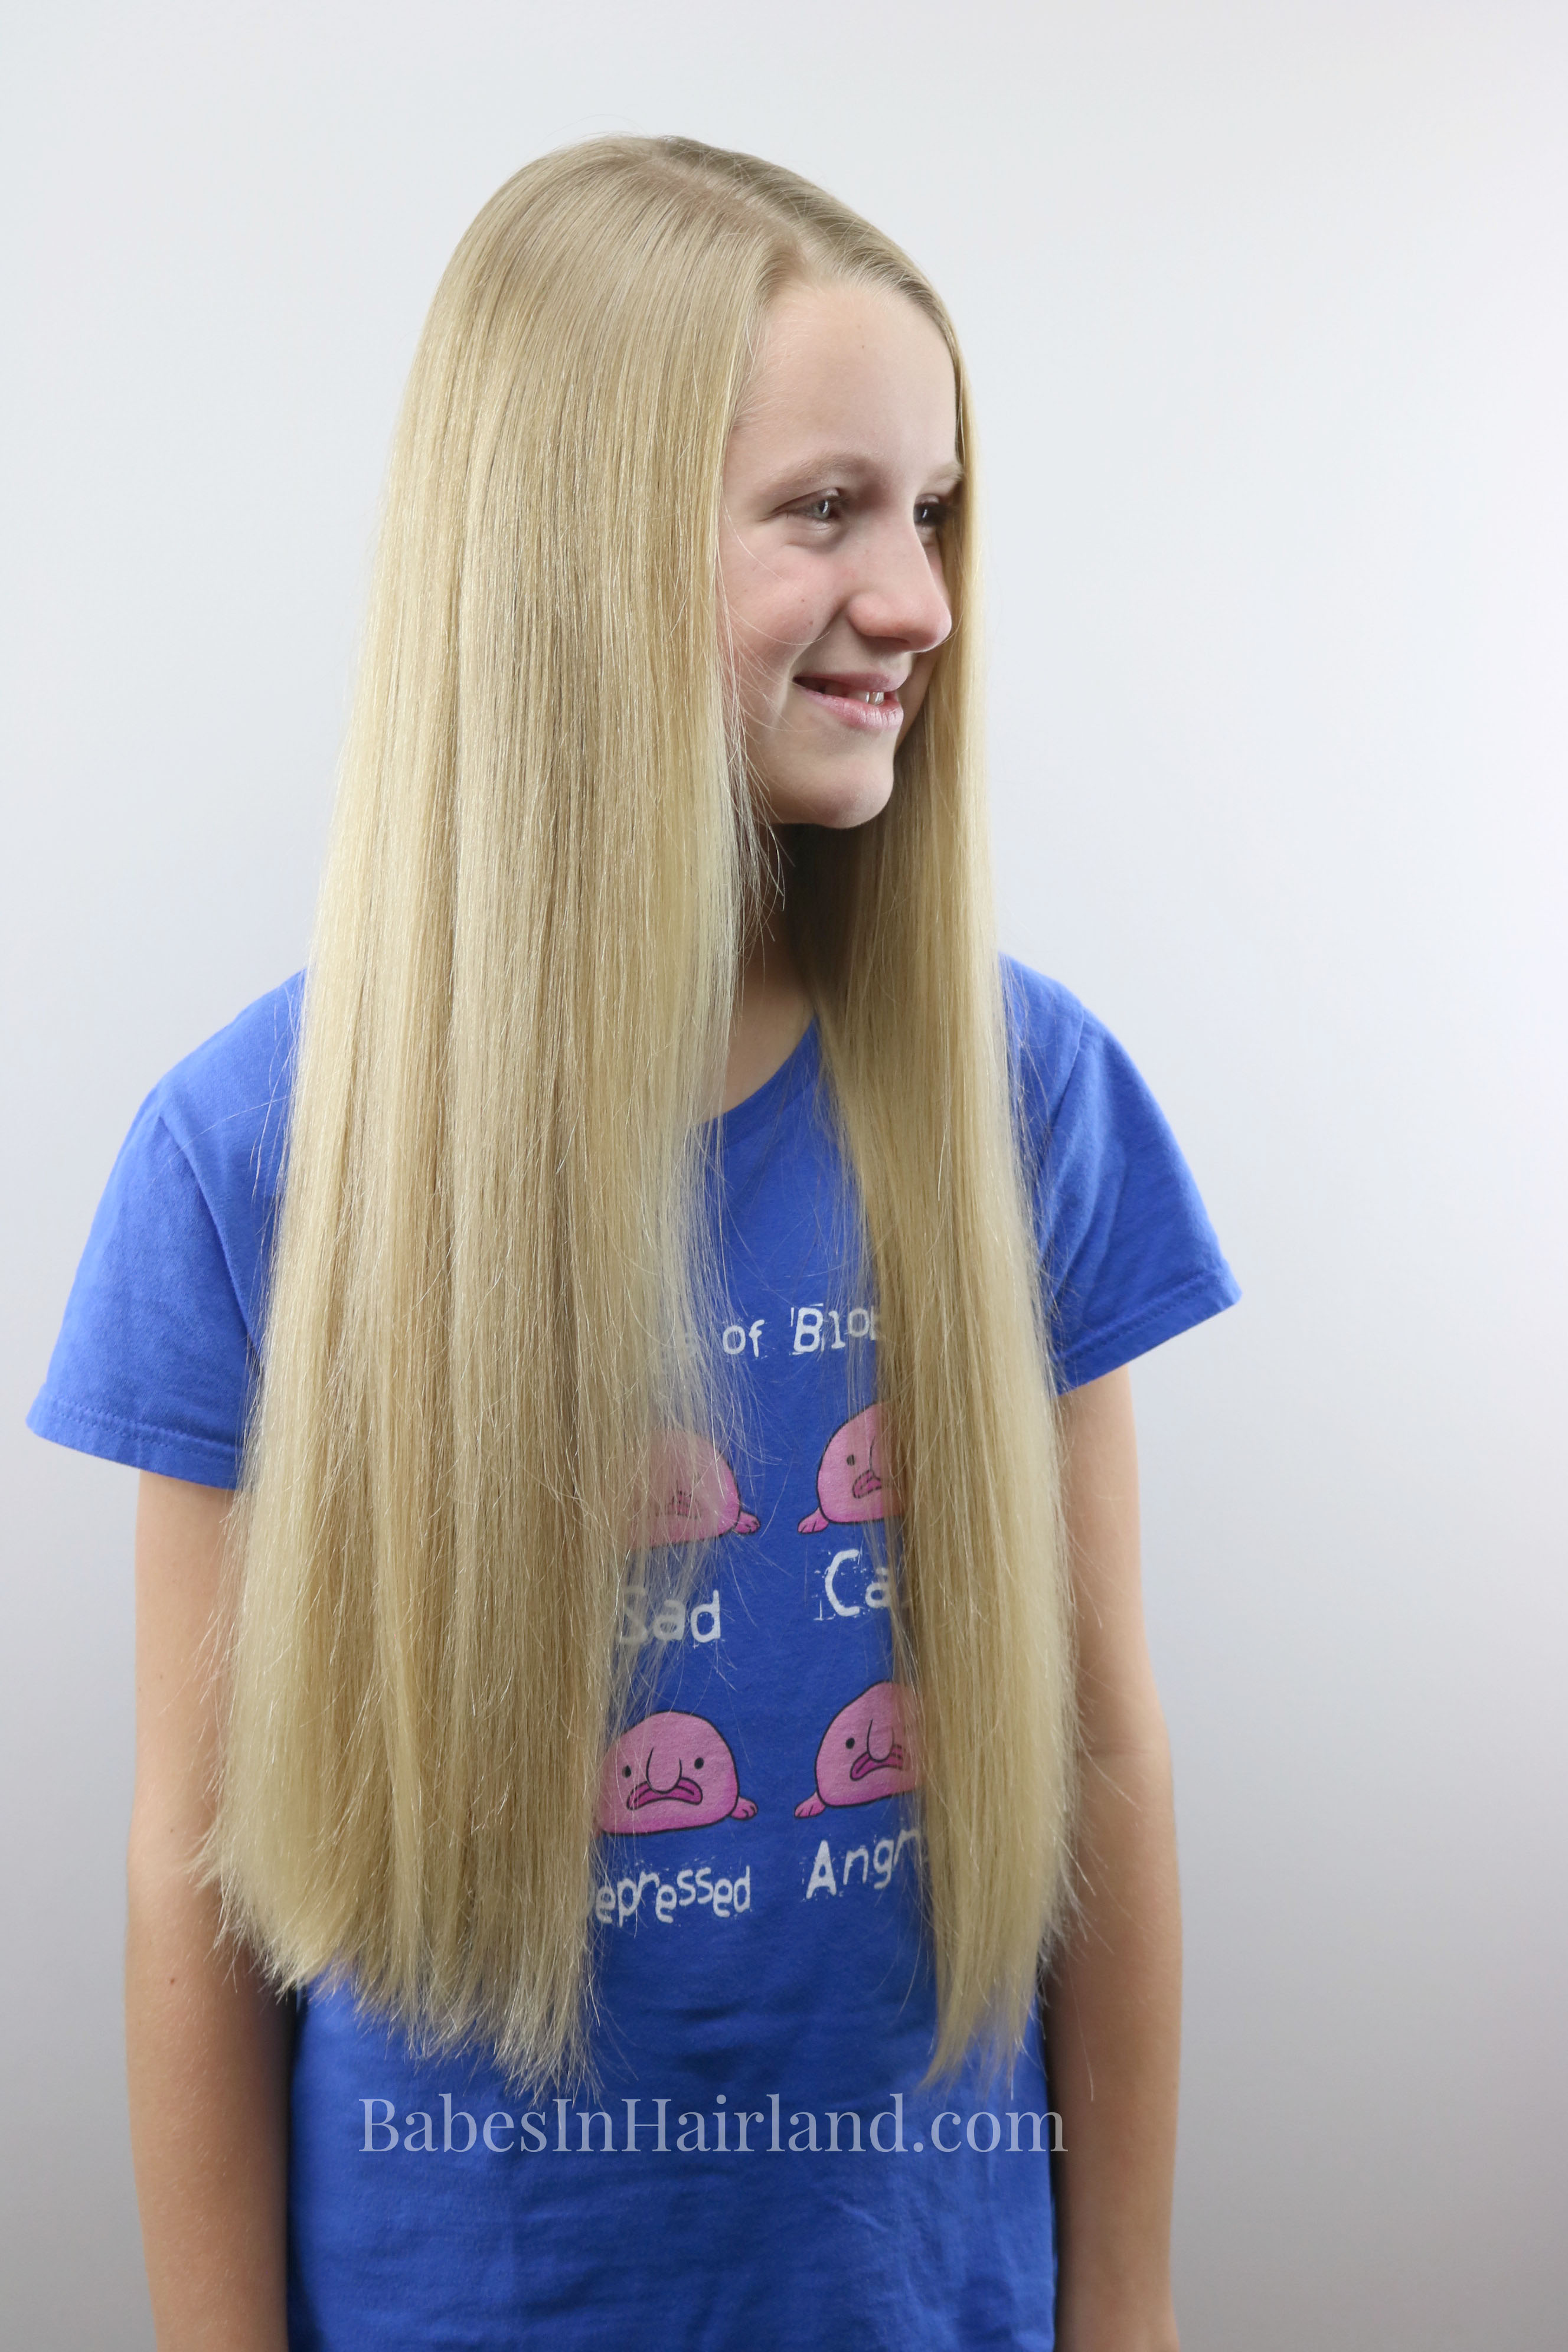
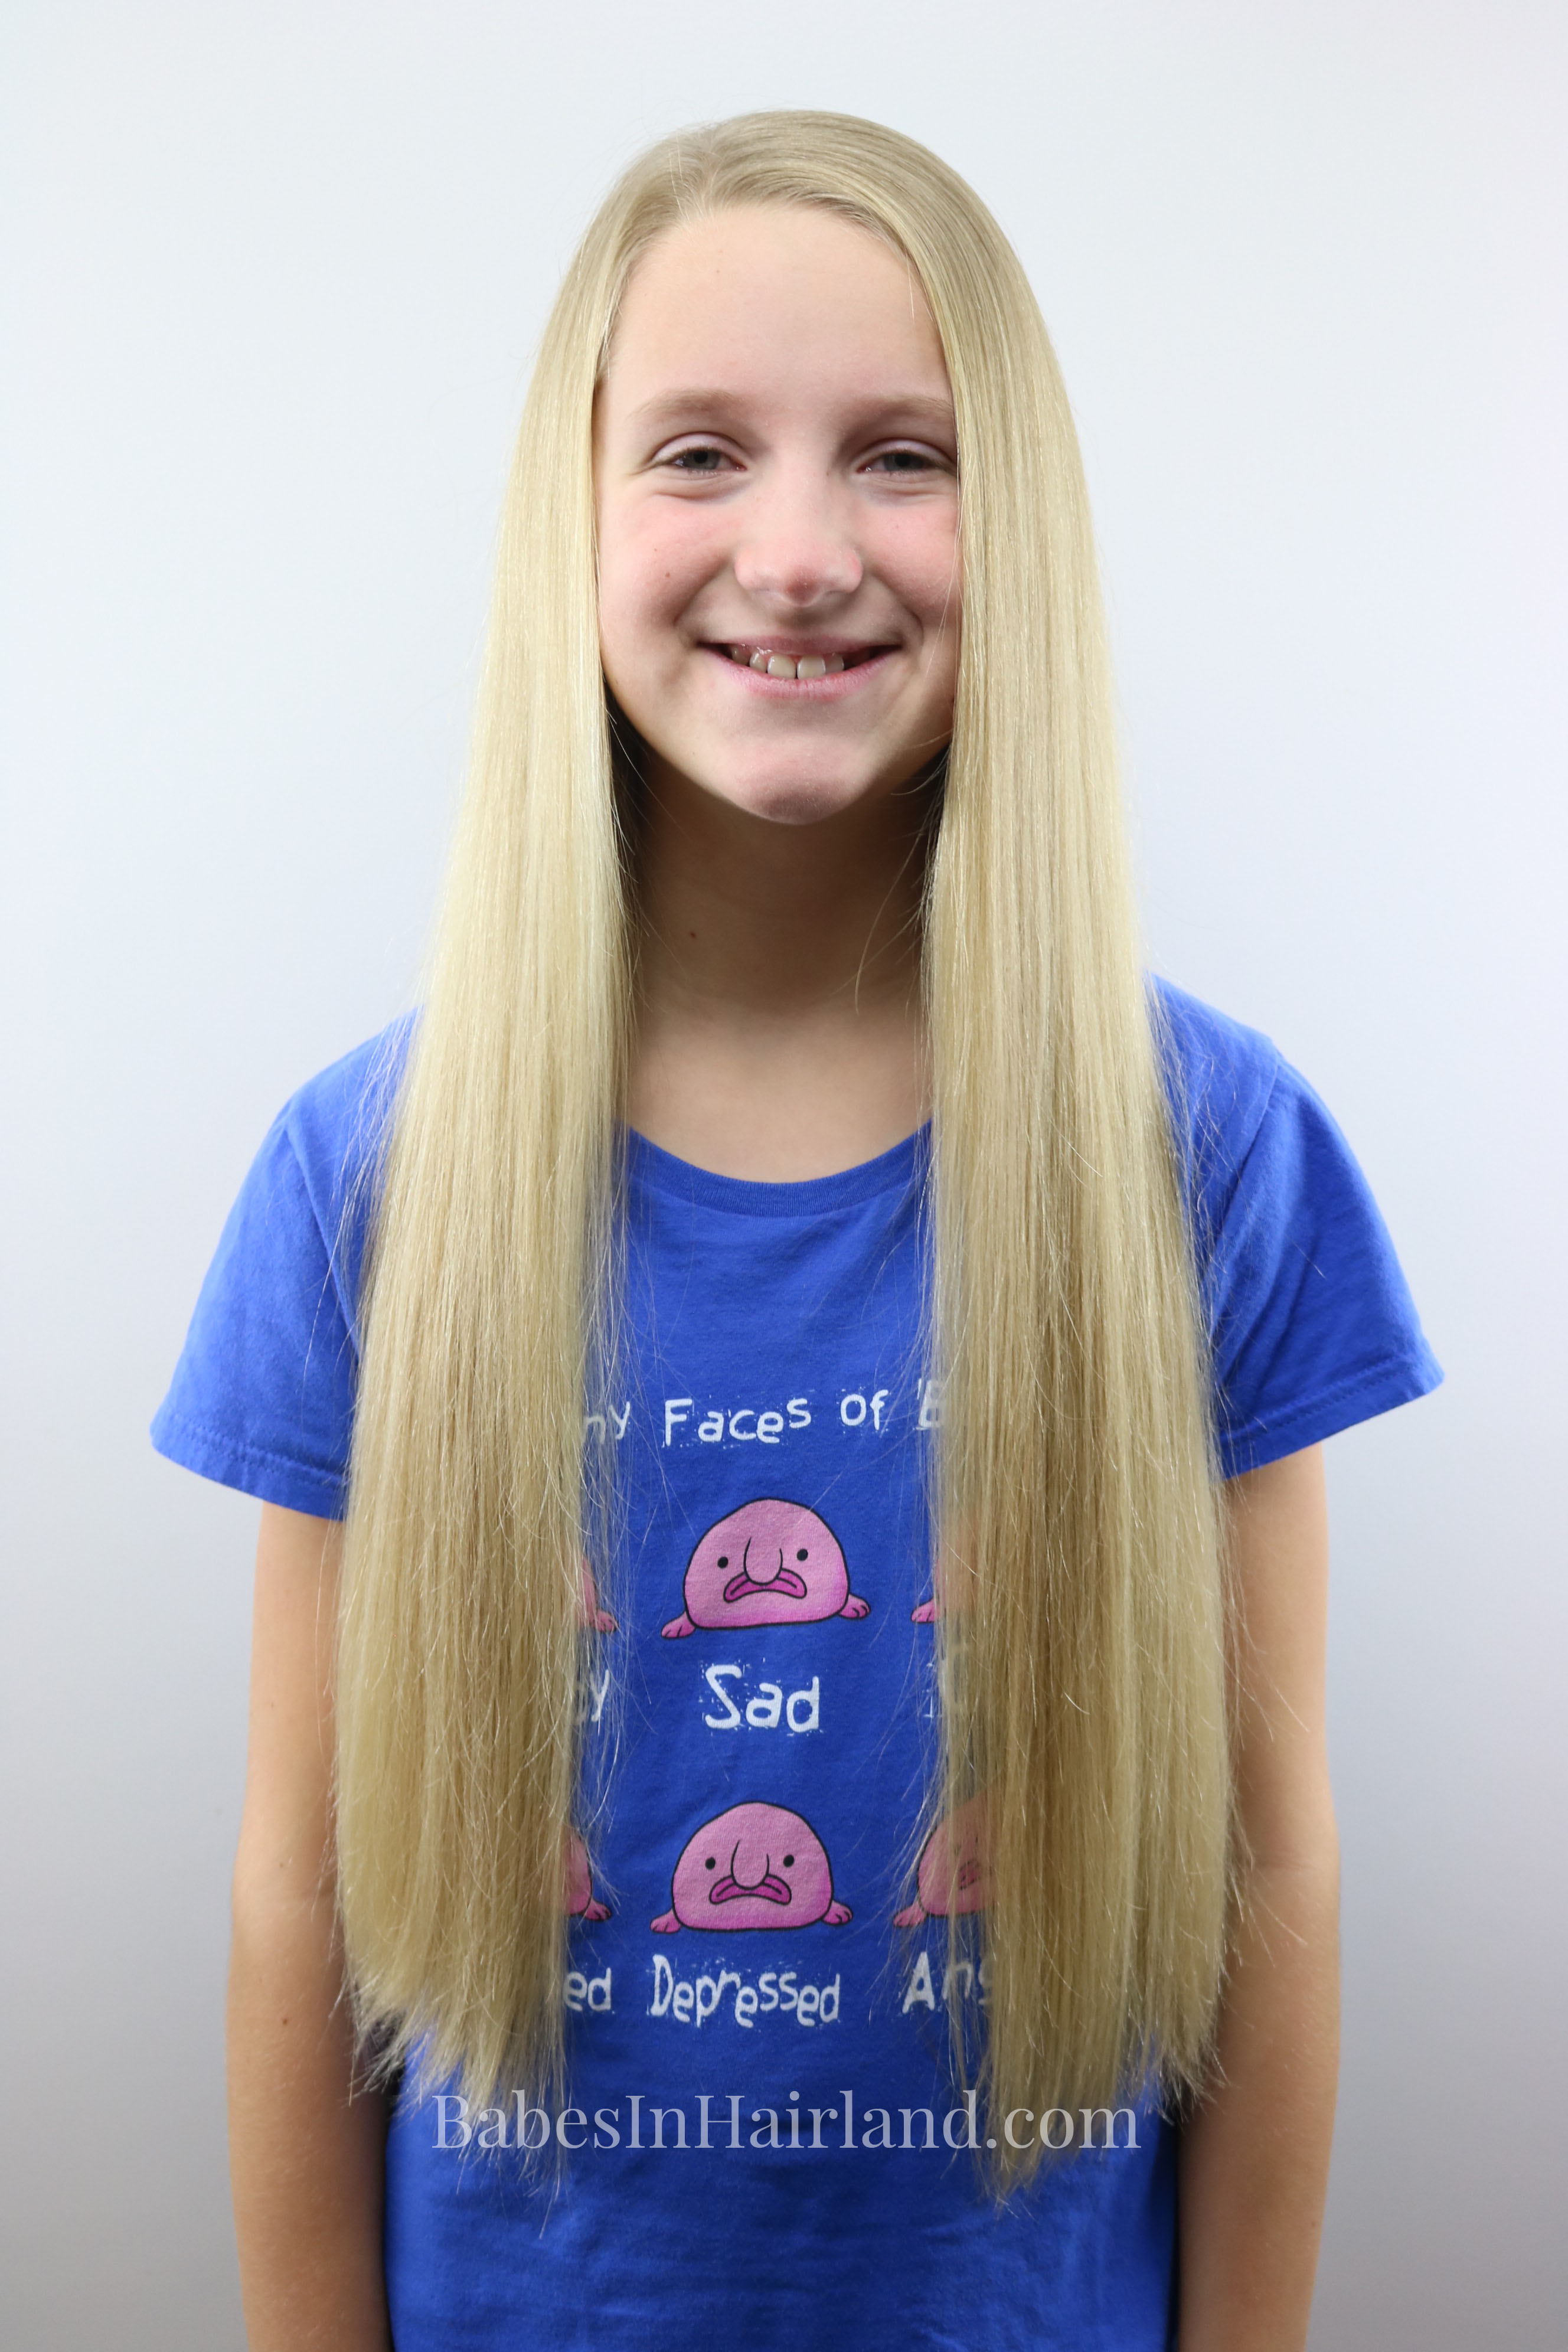
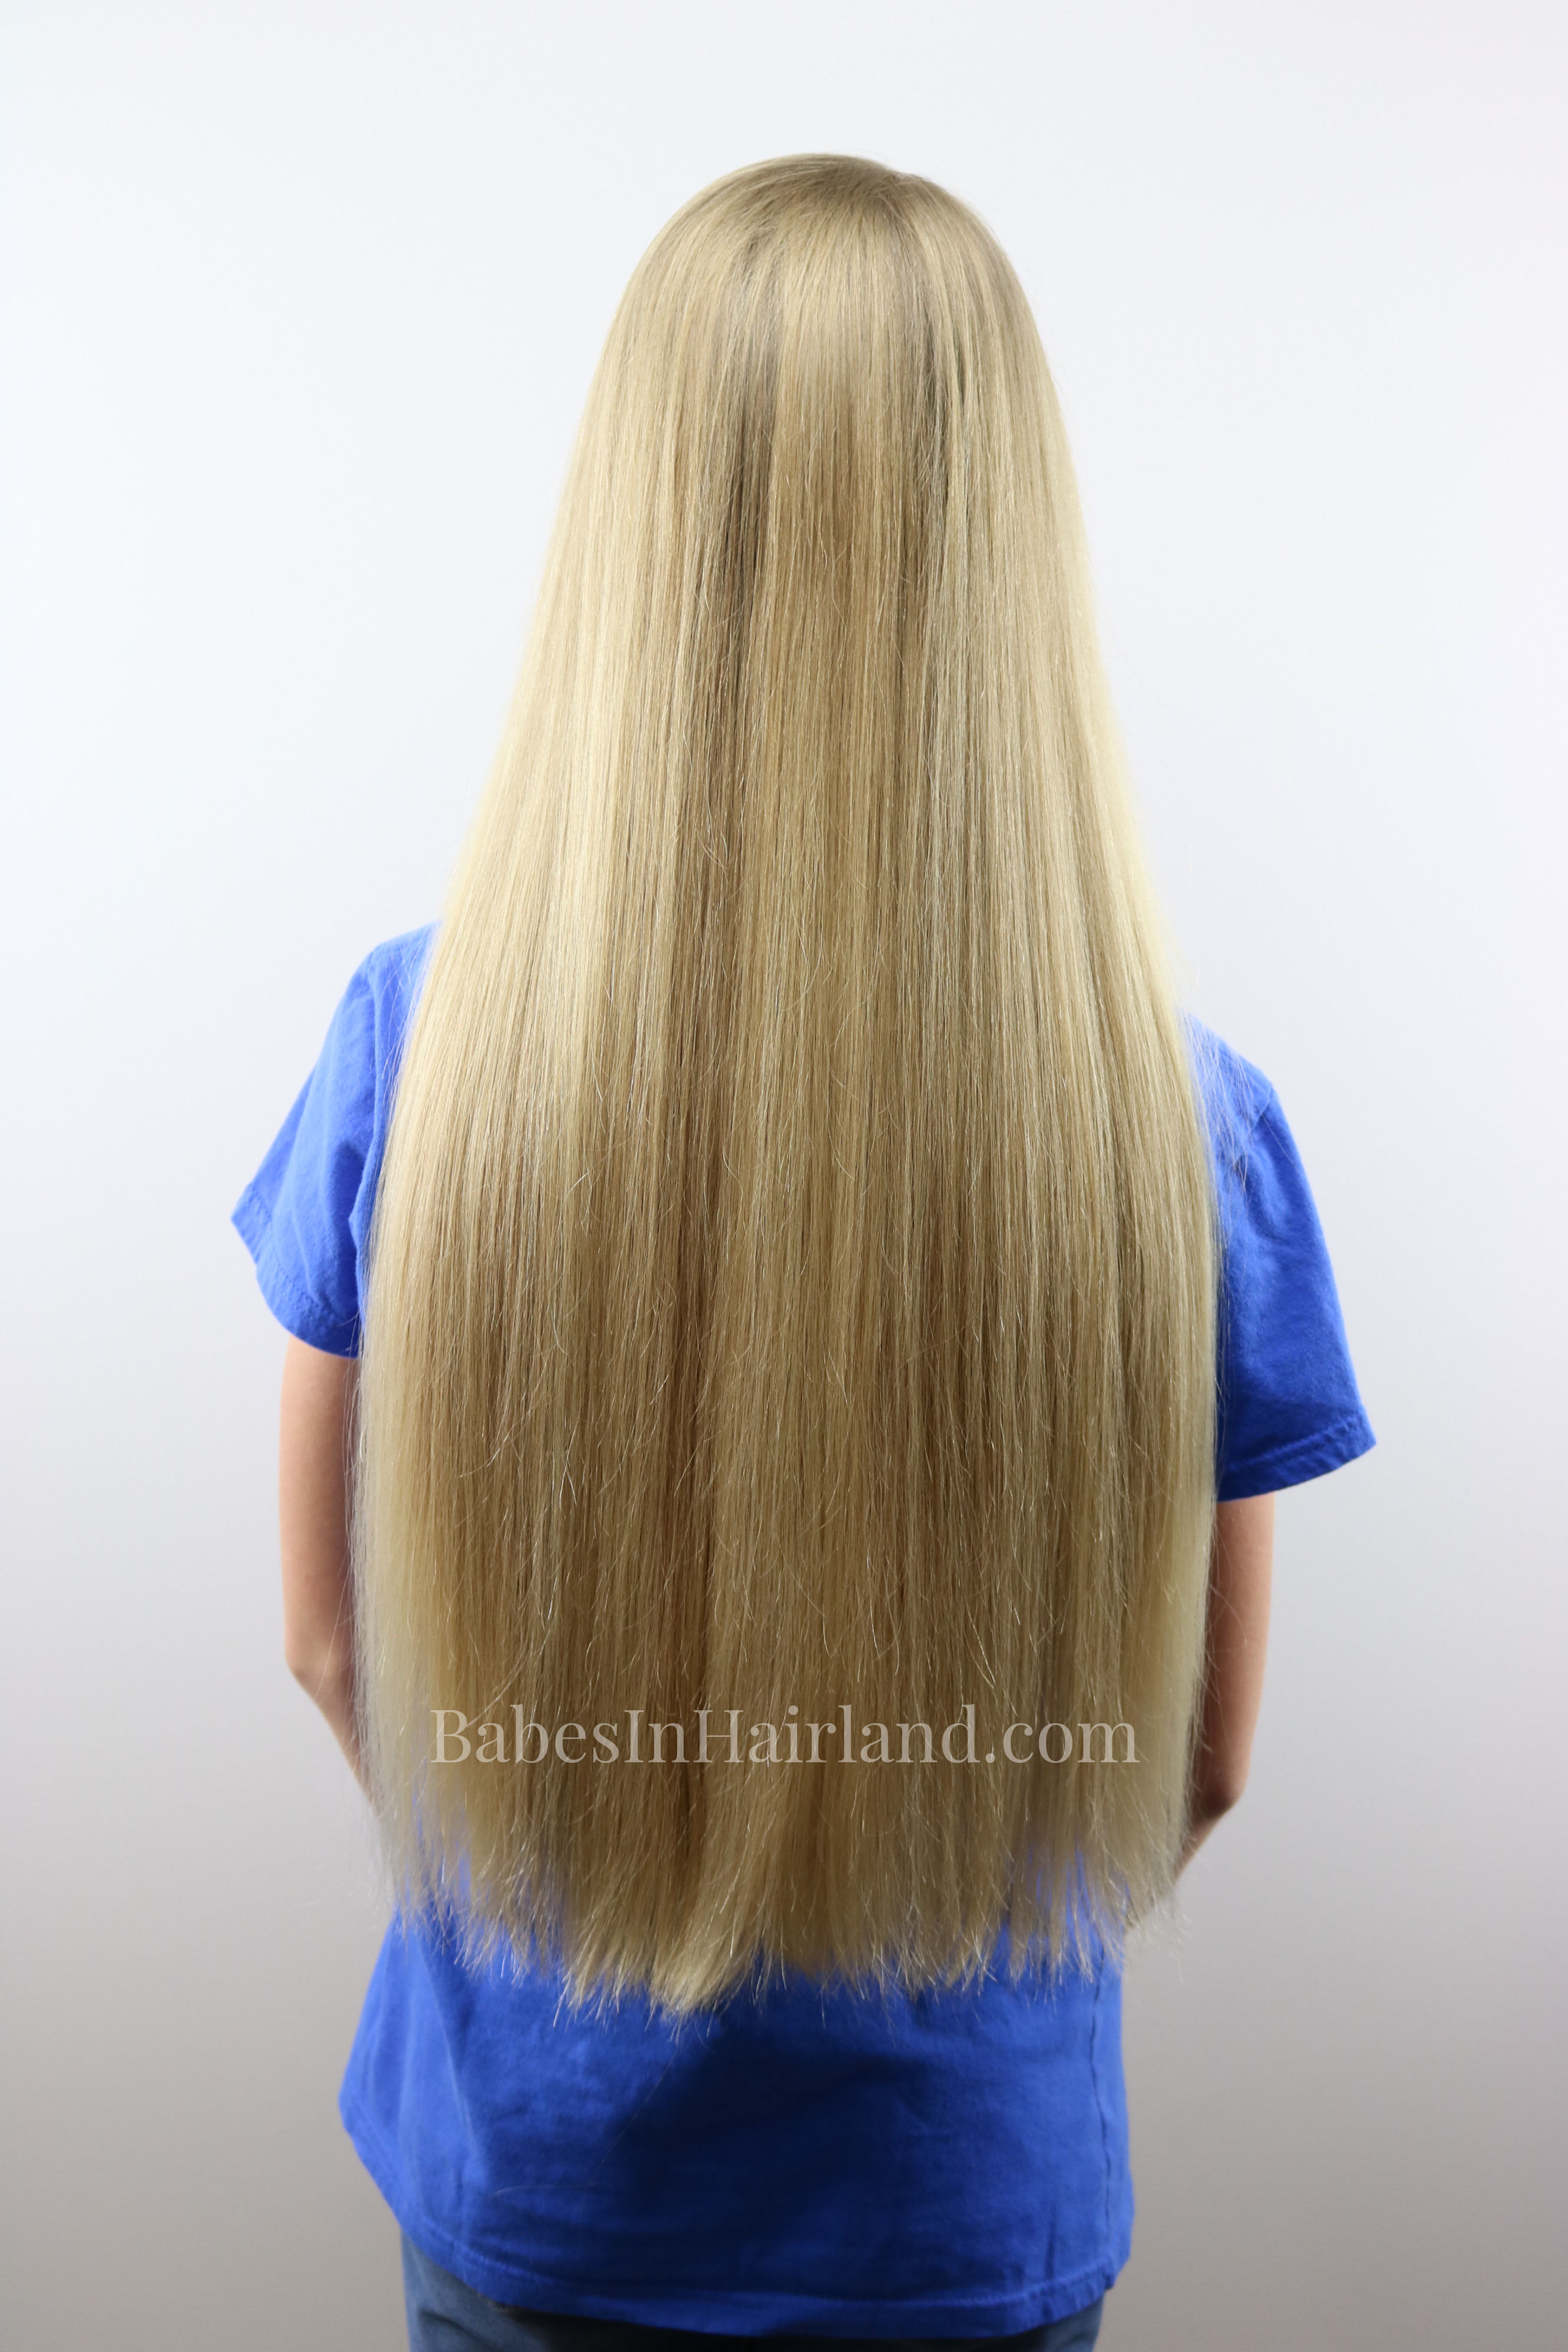
If you’re curious about her first haircut in 2014, go HERE to see more pictures and the haircut video. For all of the girl’s haircut videos and posts, go HERE.
The post Bee’s Decision to Cut and Donate Her Hair Again appeared first on Babes In Hairland.
]]>The post 6 Heart Hairstyles in 6 Minutes | Valentine’s Day appeared first on Babes In Hairland.
]]>
And while we have a whole lot more than 6 heart hairstyles —
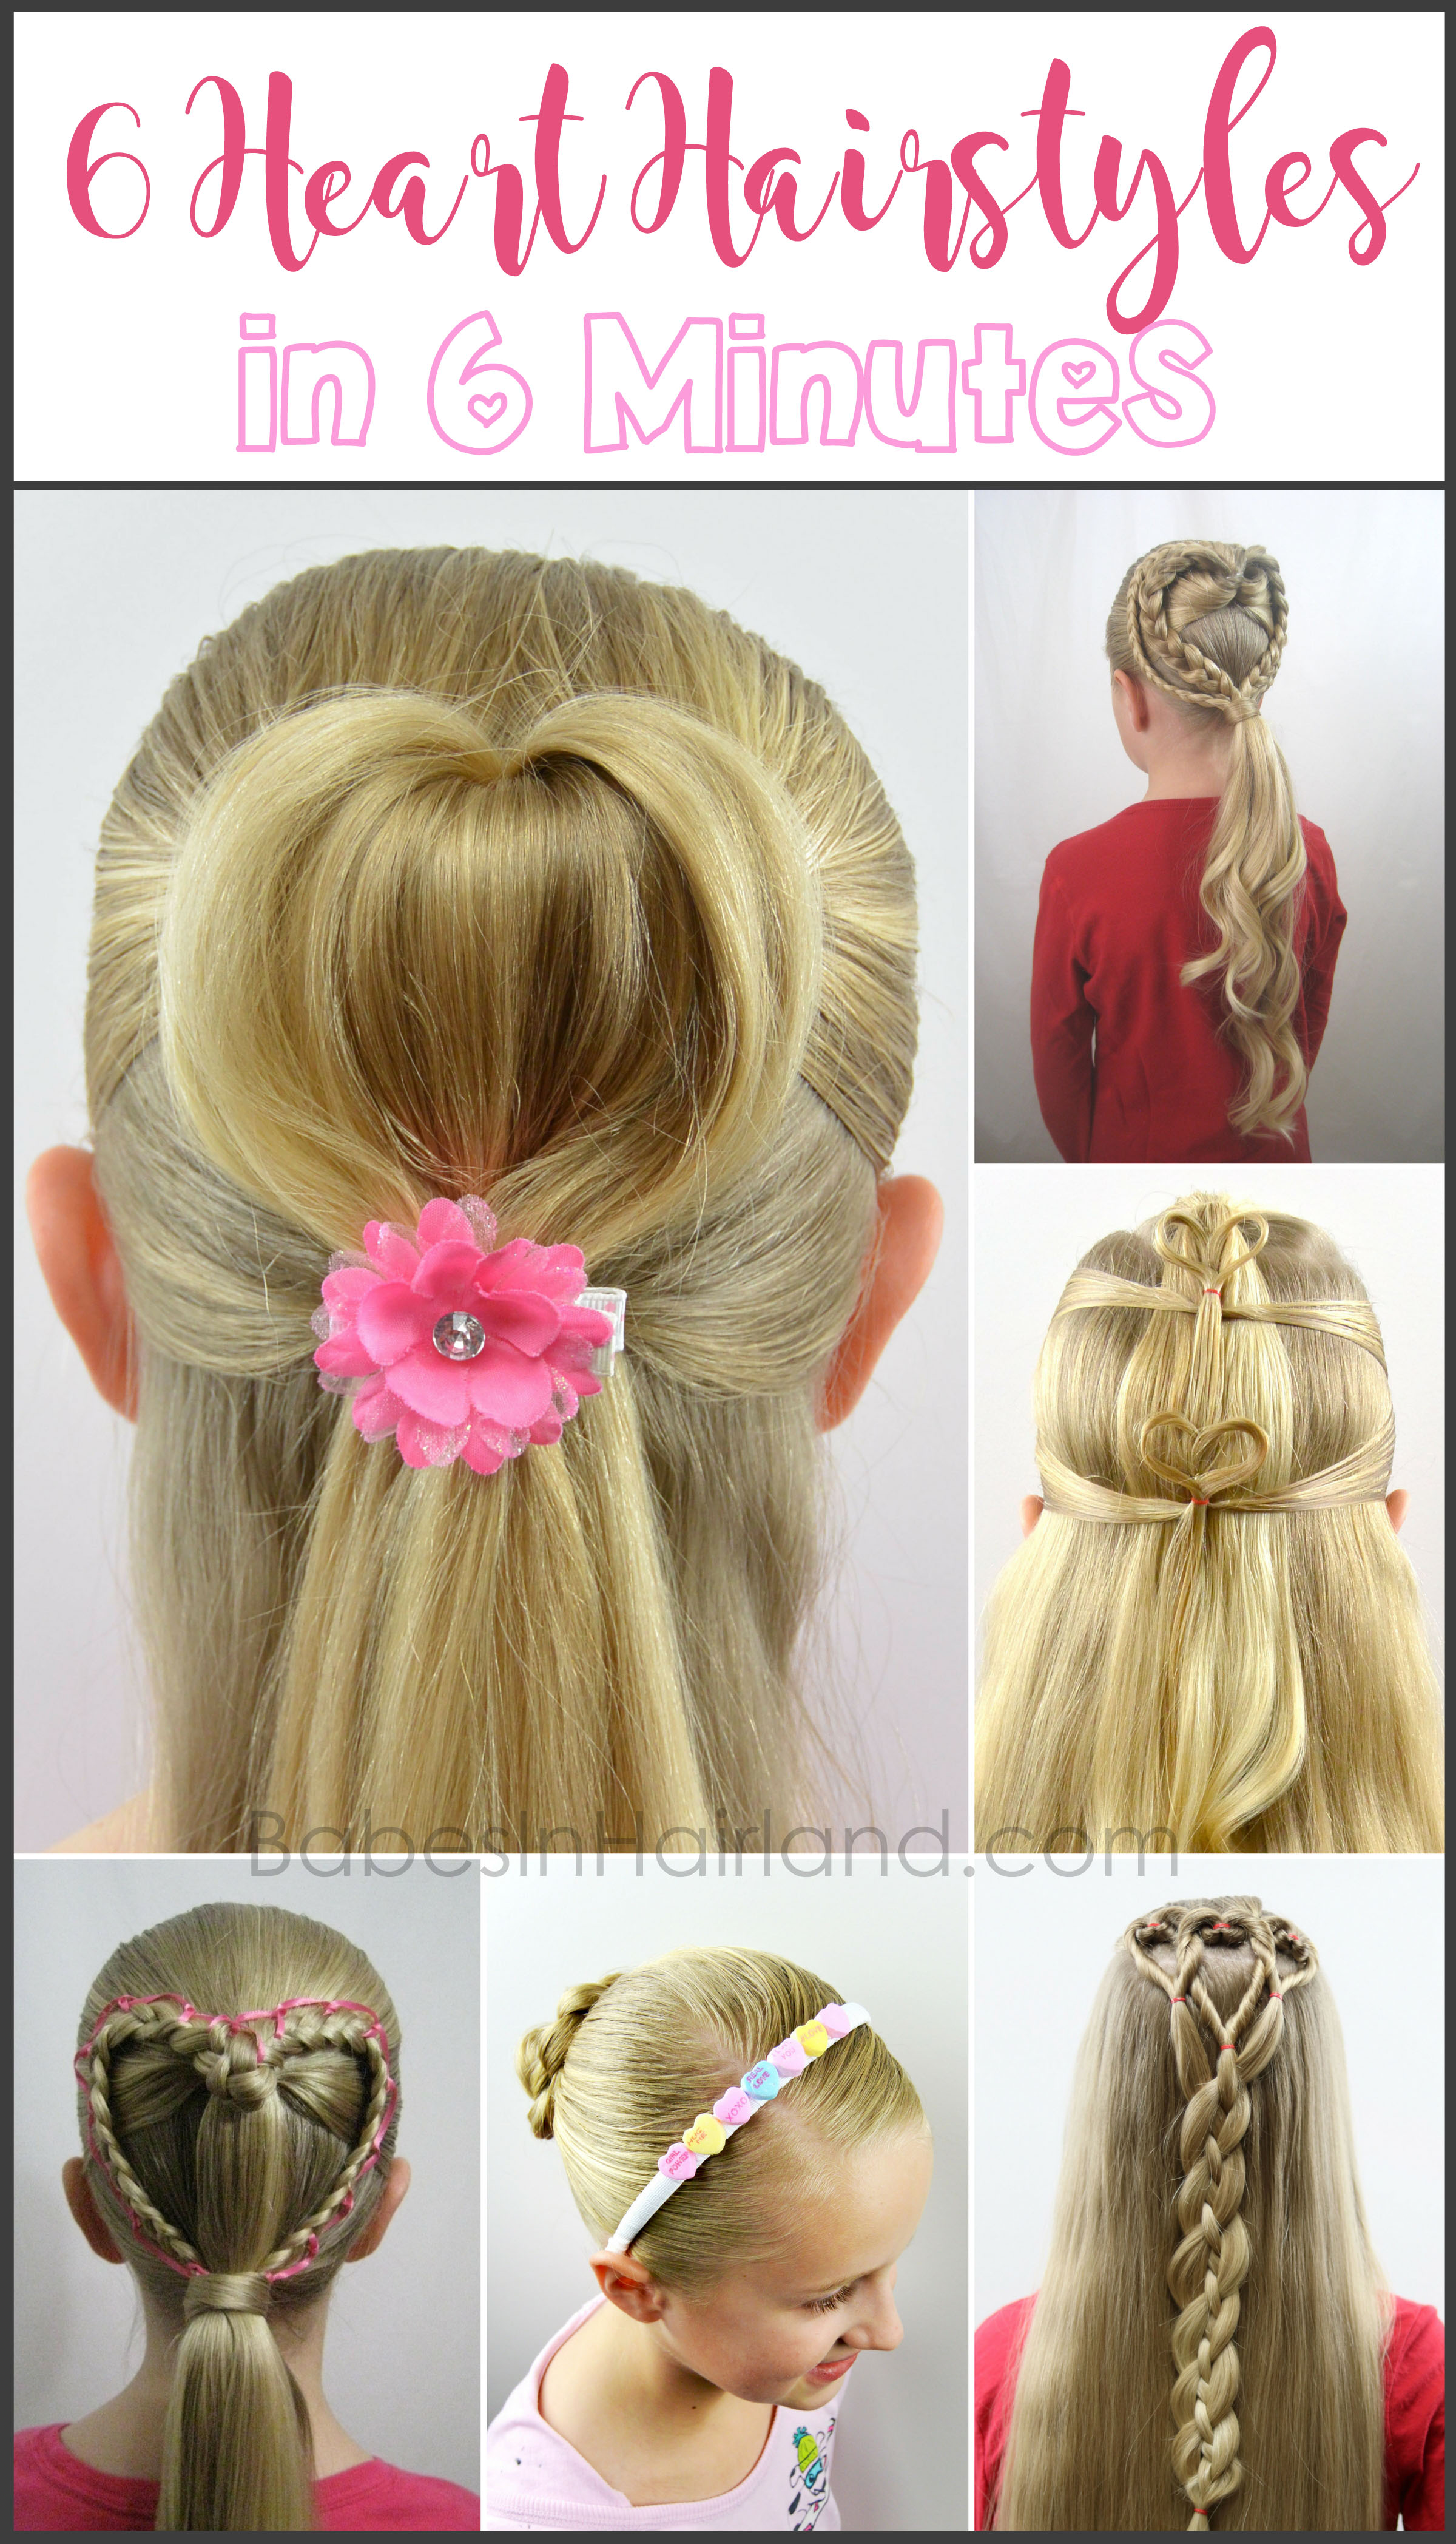
we present to you our 6 Heart Hairstyles in 6 Minutes!
If you have trouble watching the video here on our blog, go HERE to watch it on our YouTube channel. Please Subscribe if you haven’t!
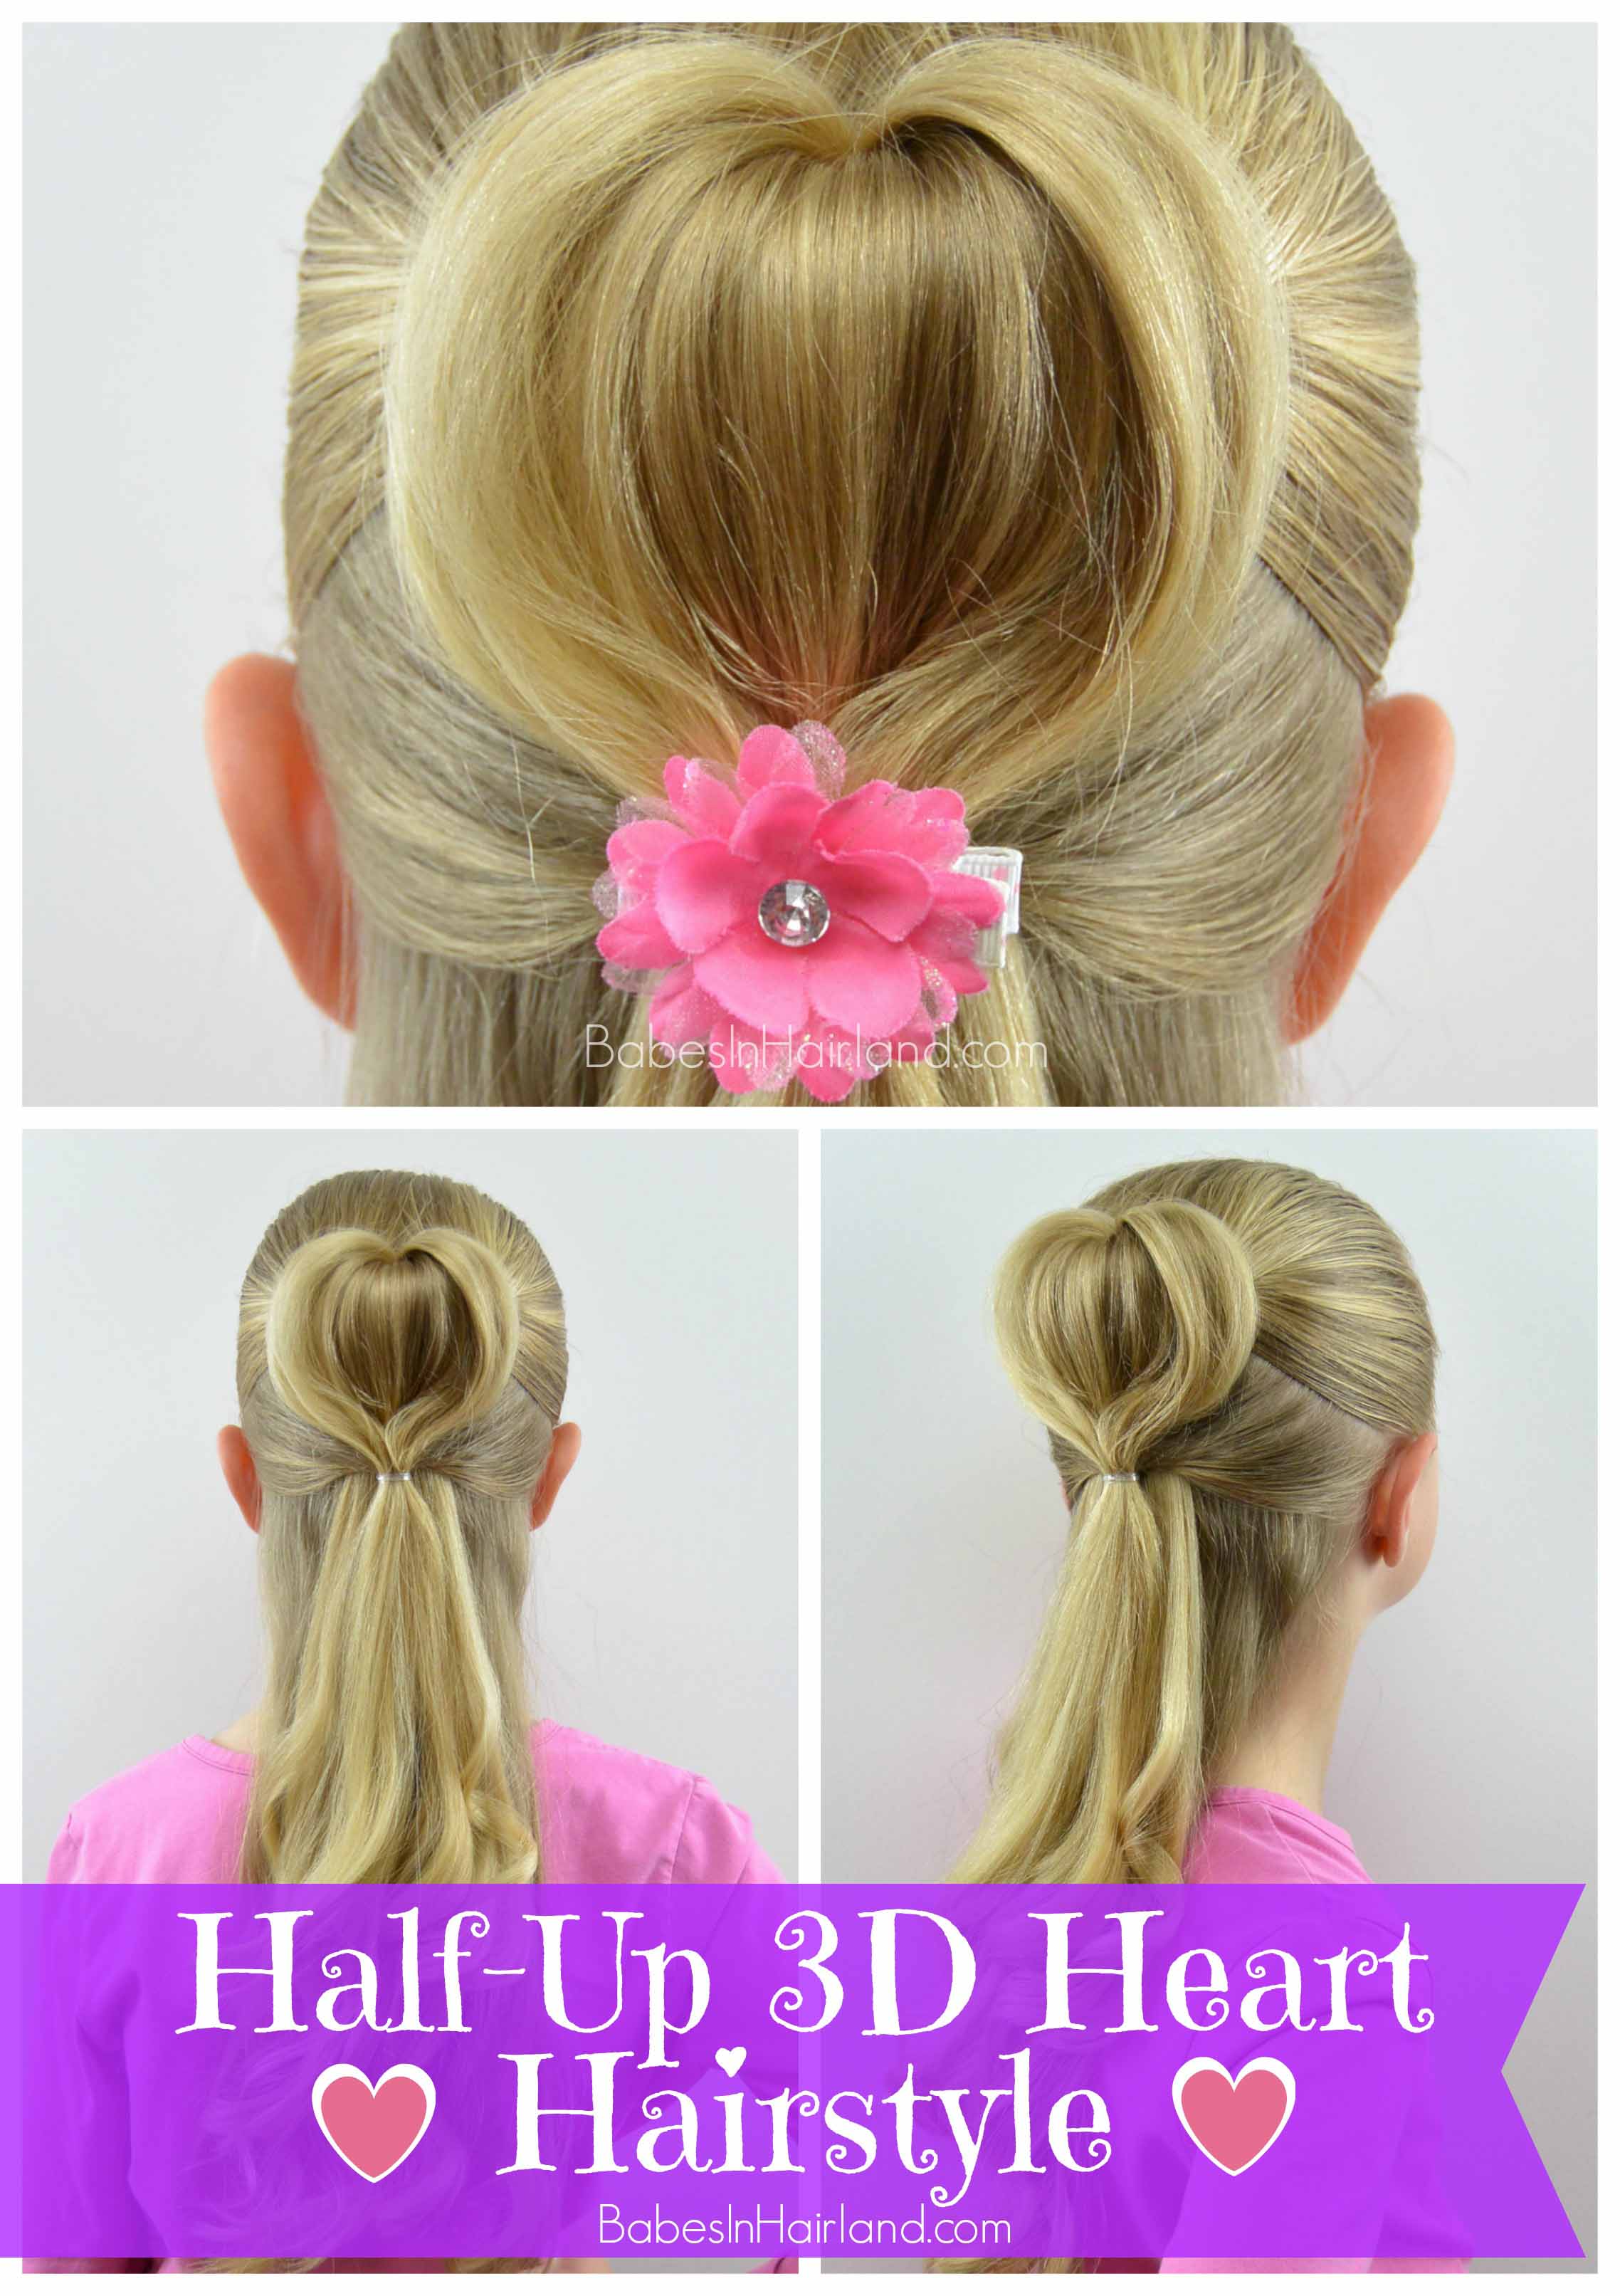
Heart Hairstyle #1-
Half-Up 3D Heart Hairstyle
Heart Hairstyle #2-
Candy Heart Hair Accessories
These next couple I guess could technically count for several “hairstyles,” but we’re just grouping them together as one heart hair idea!
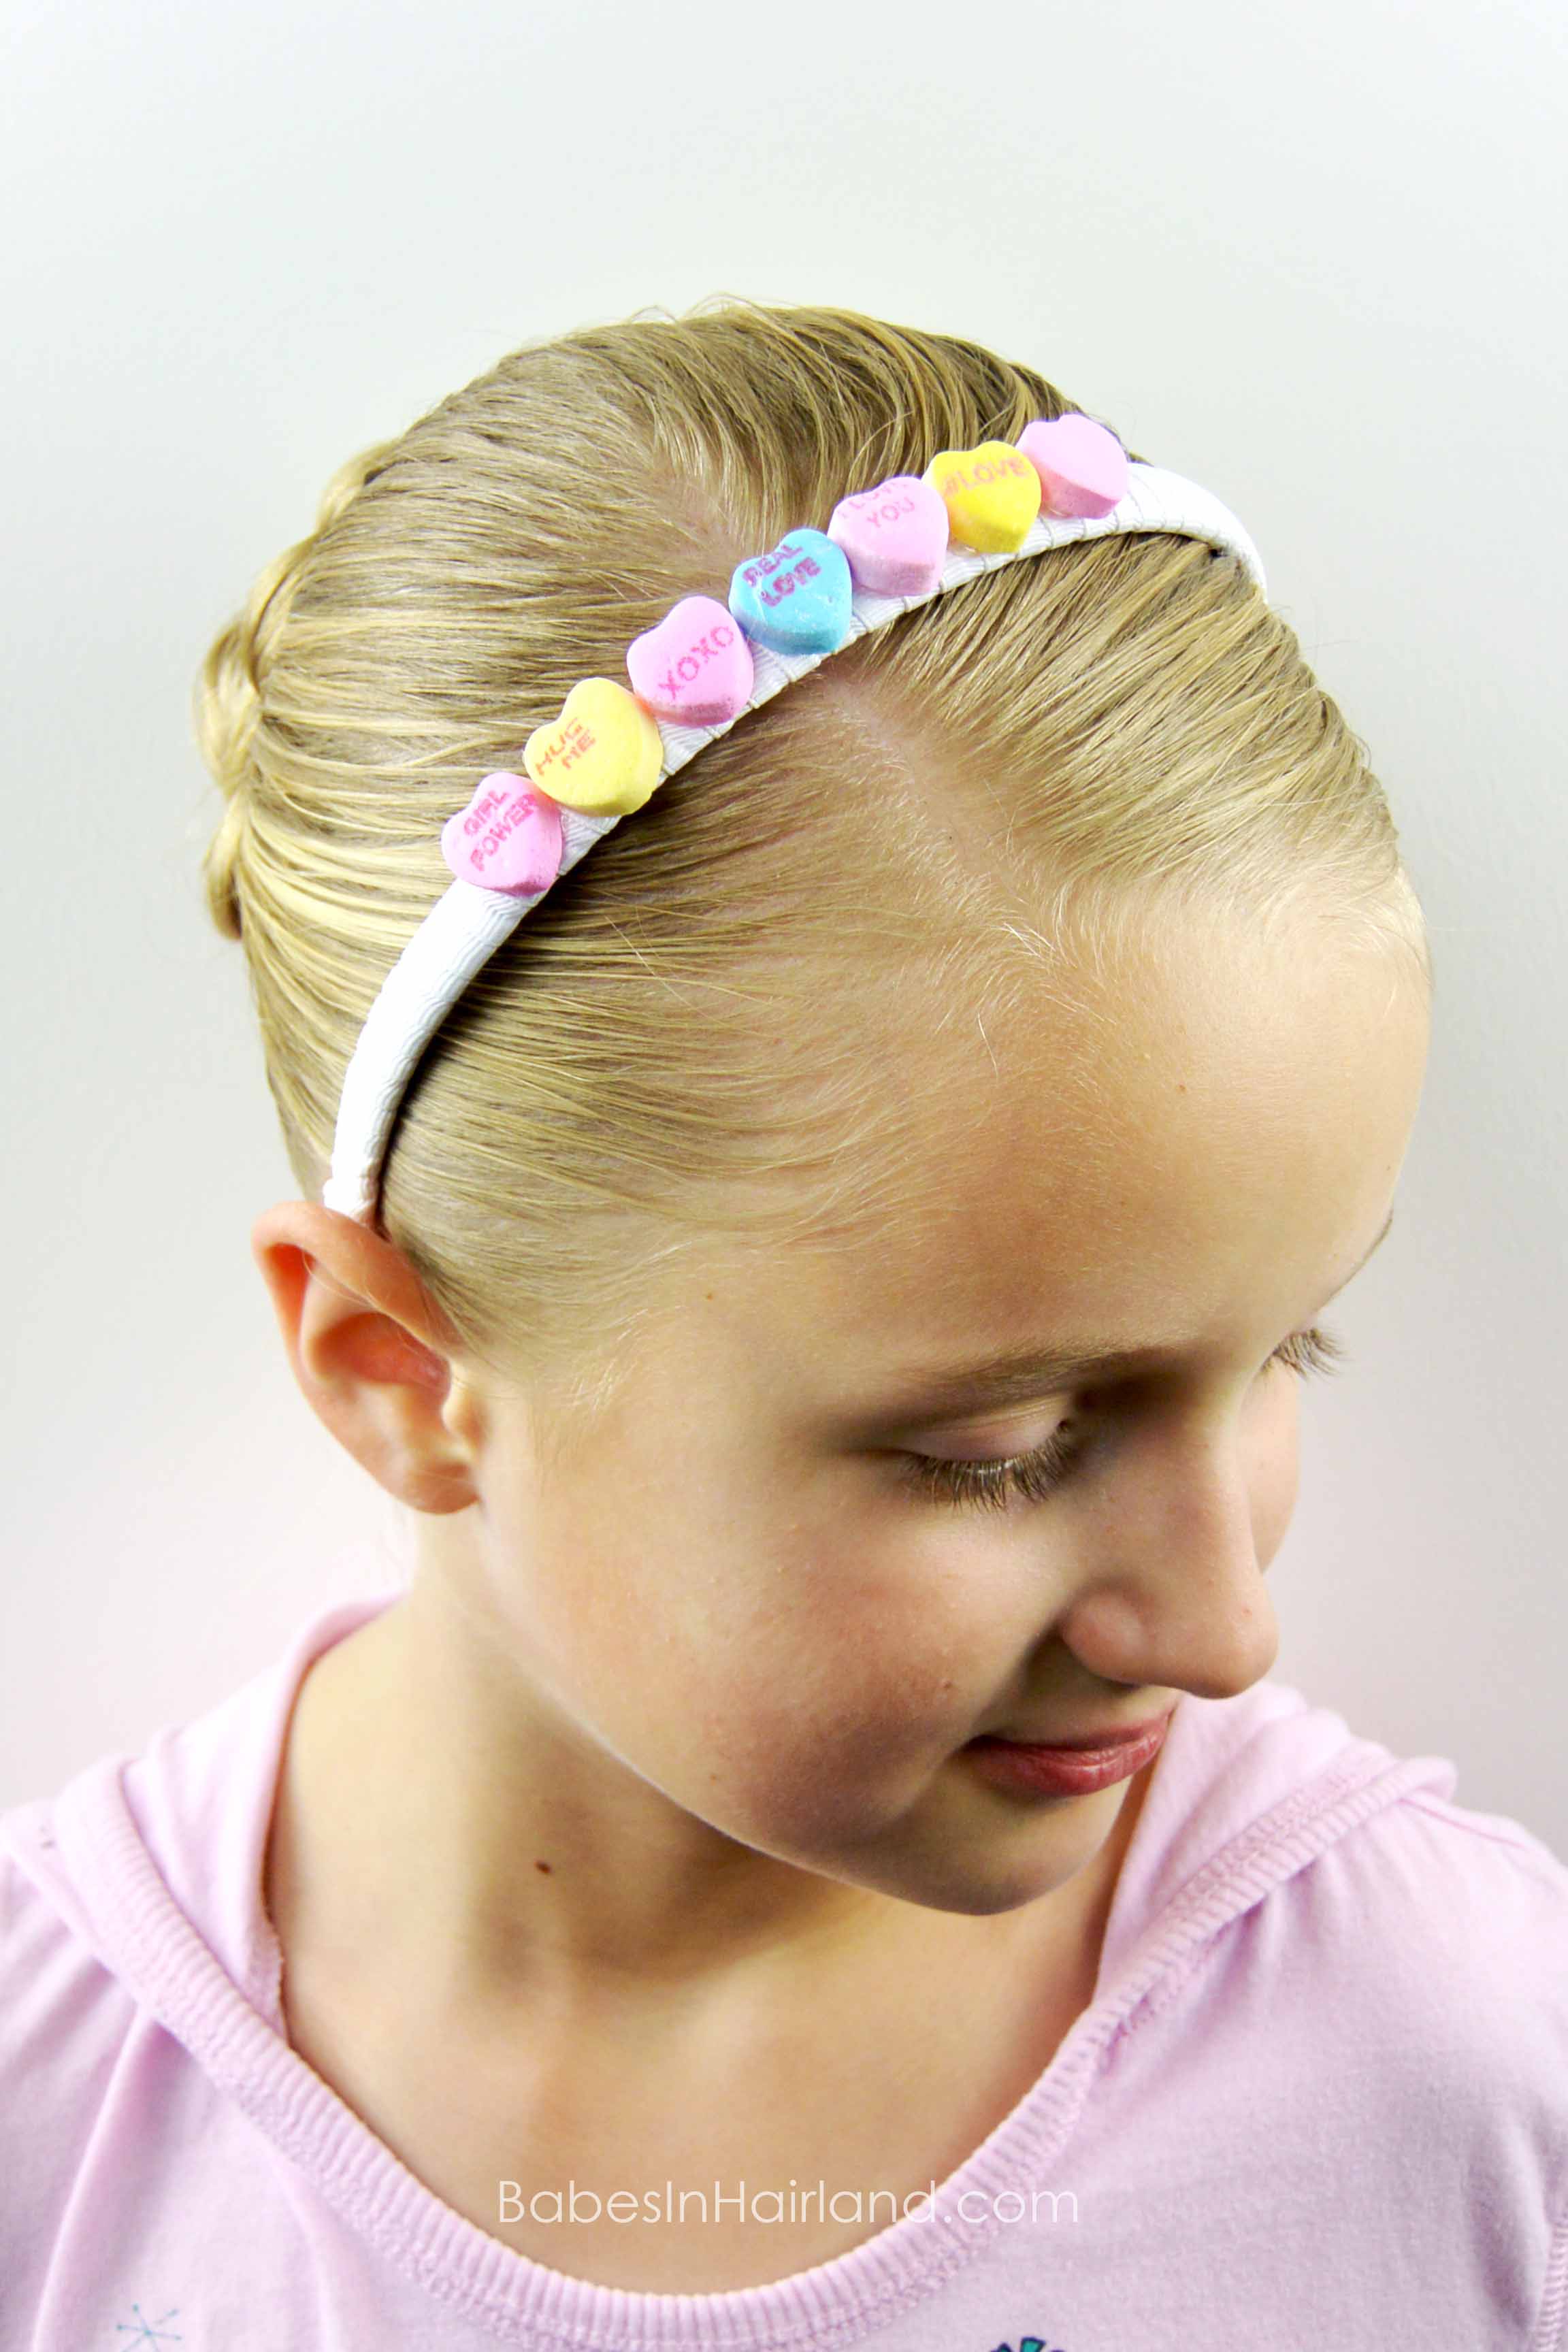
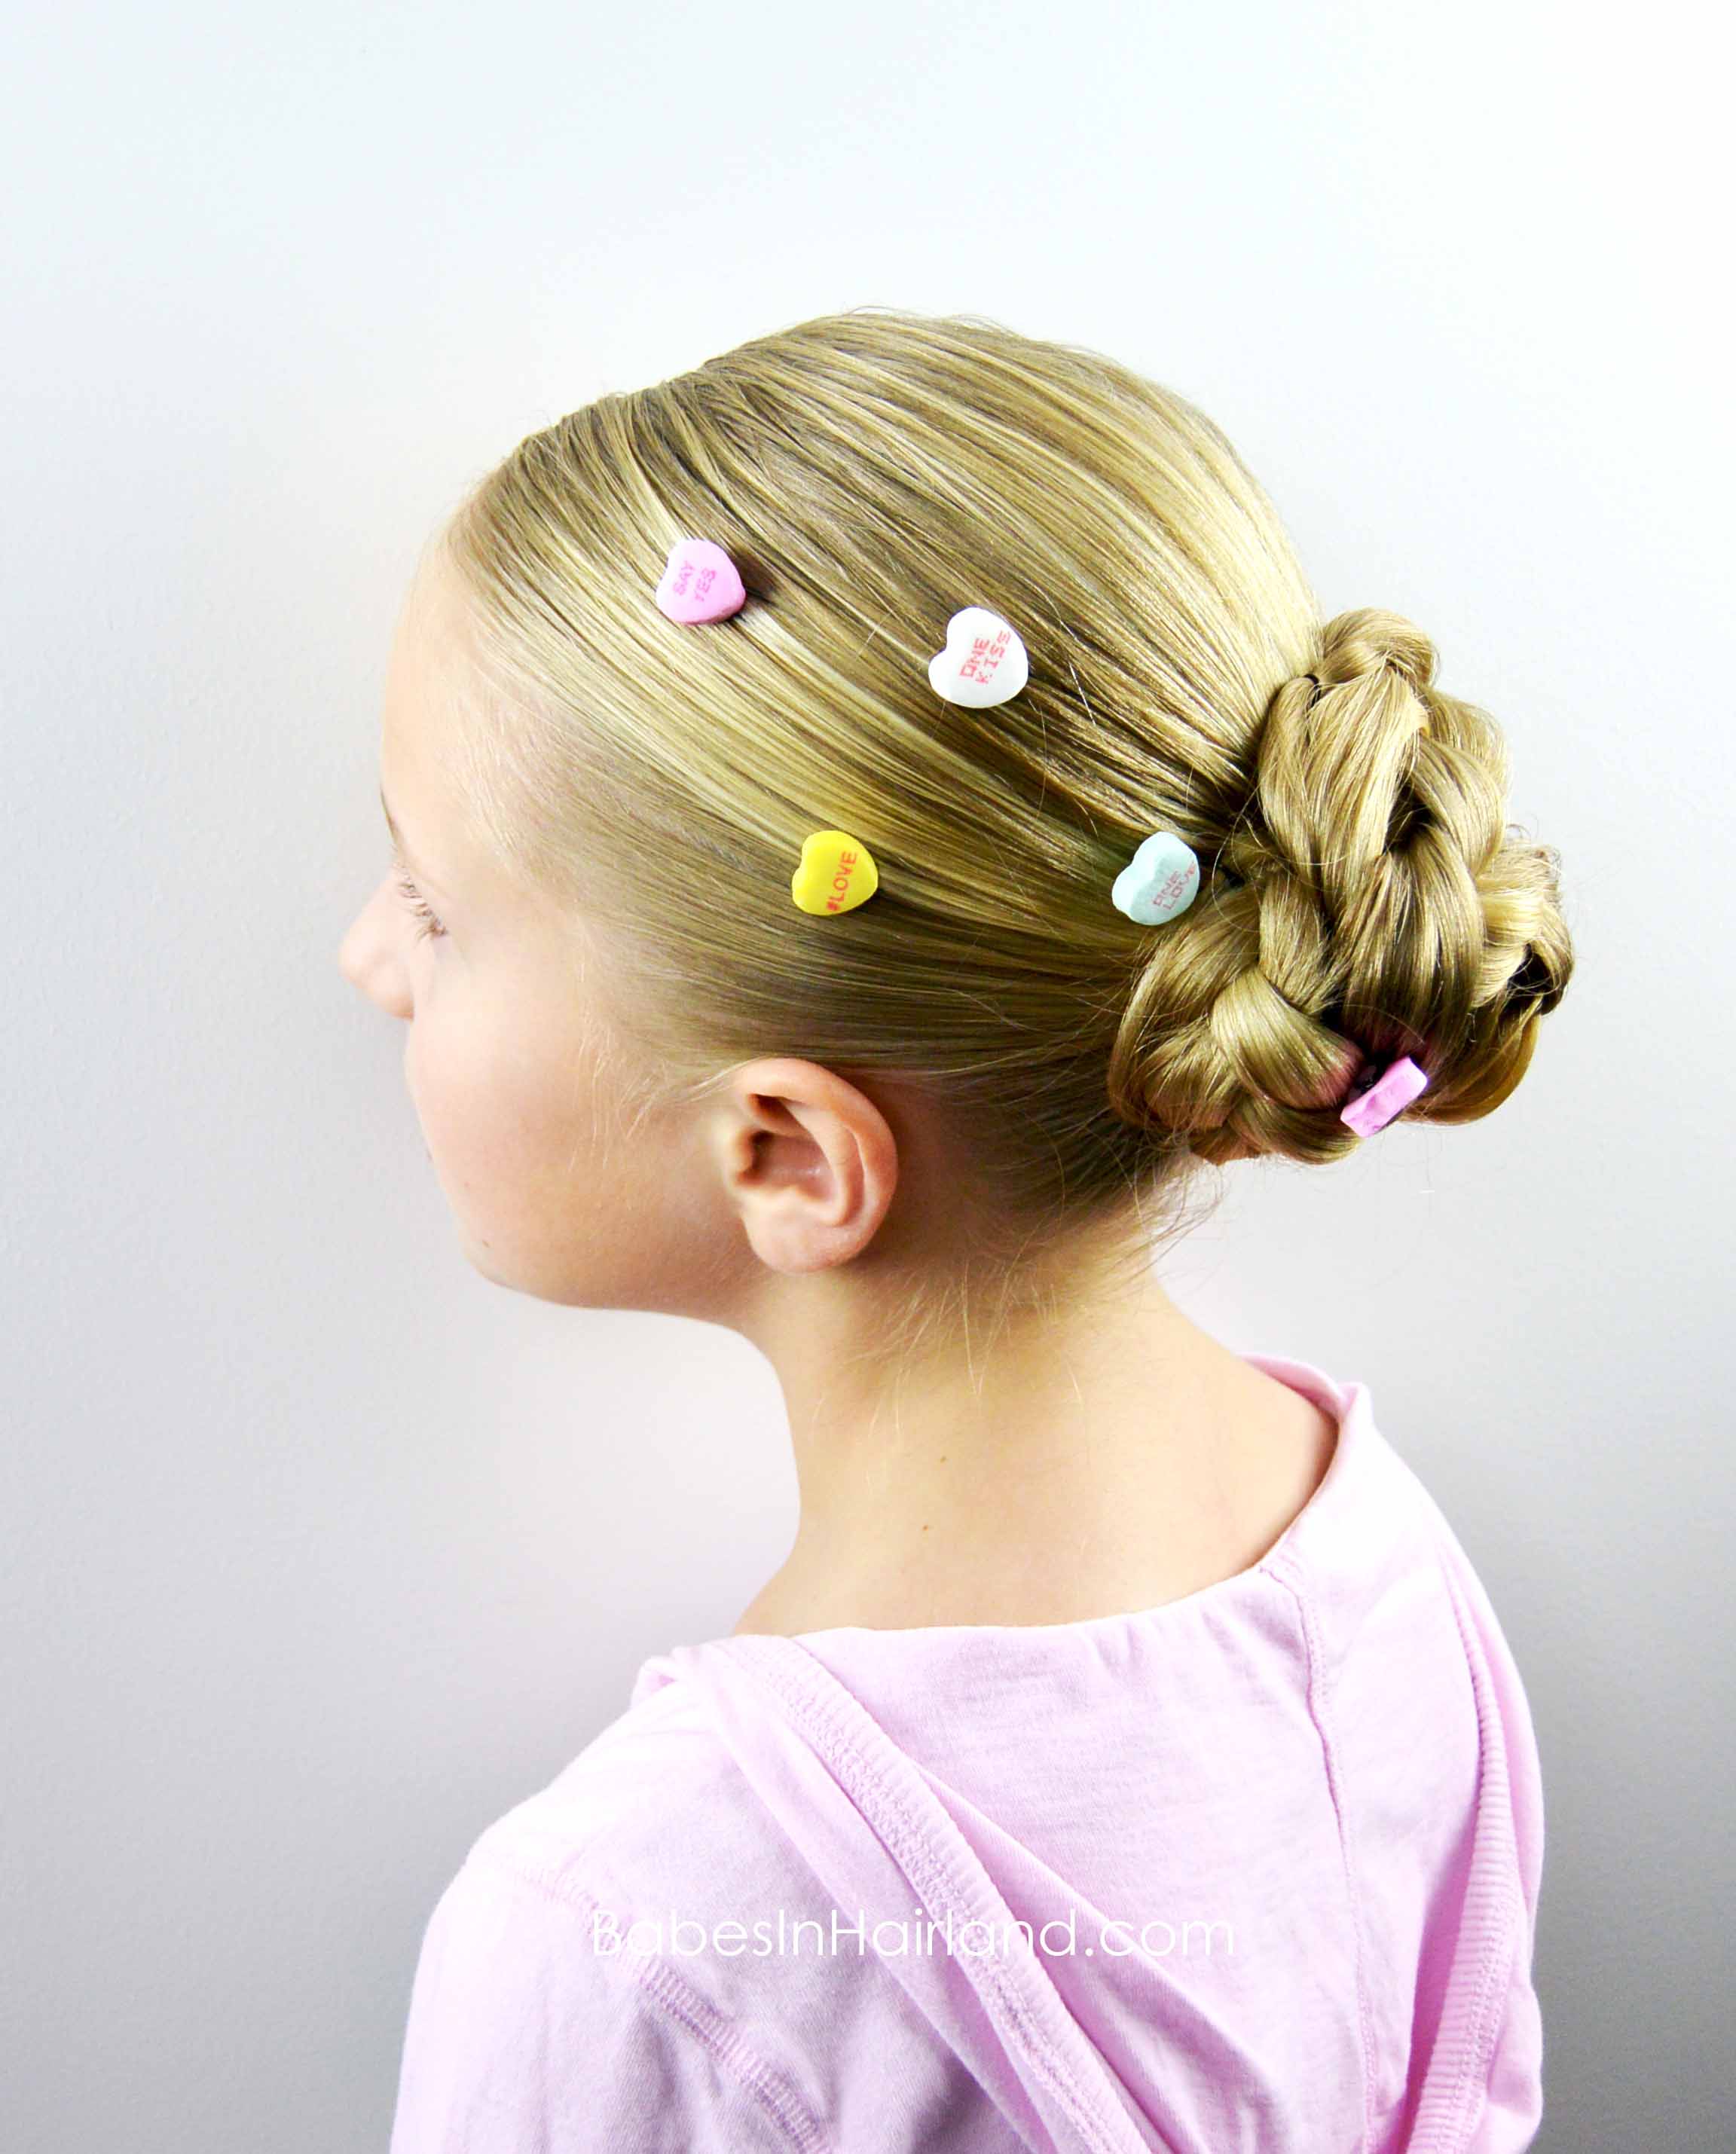
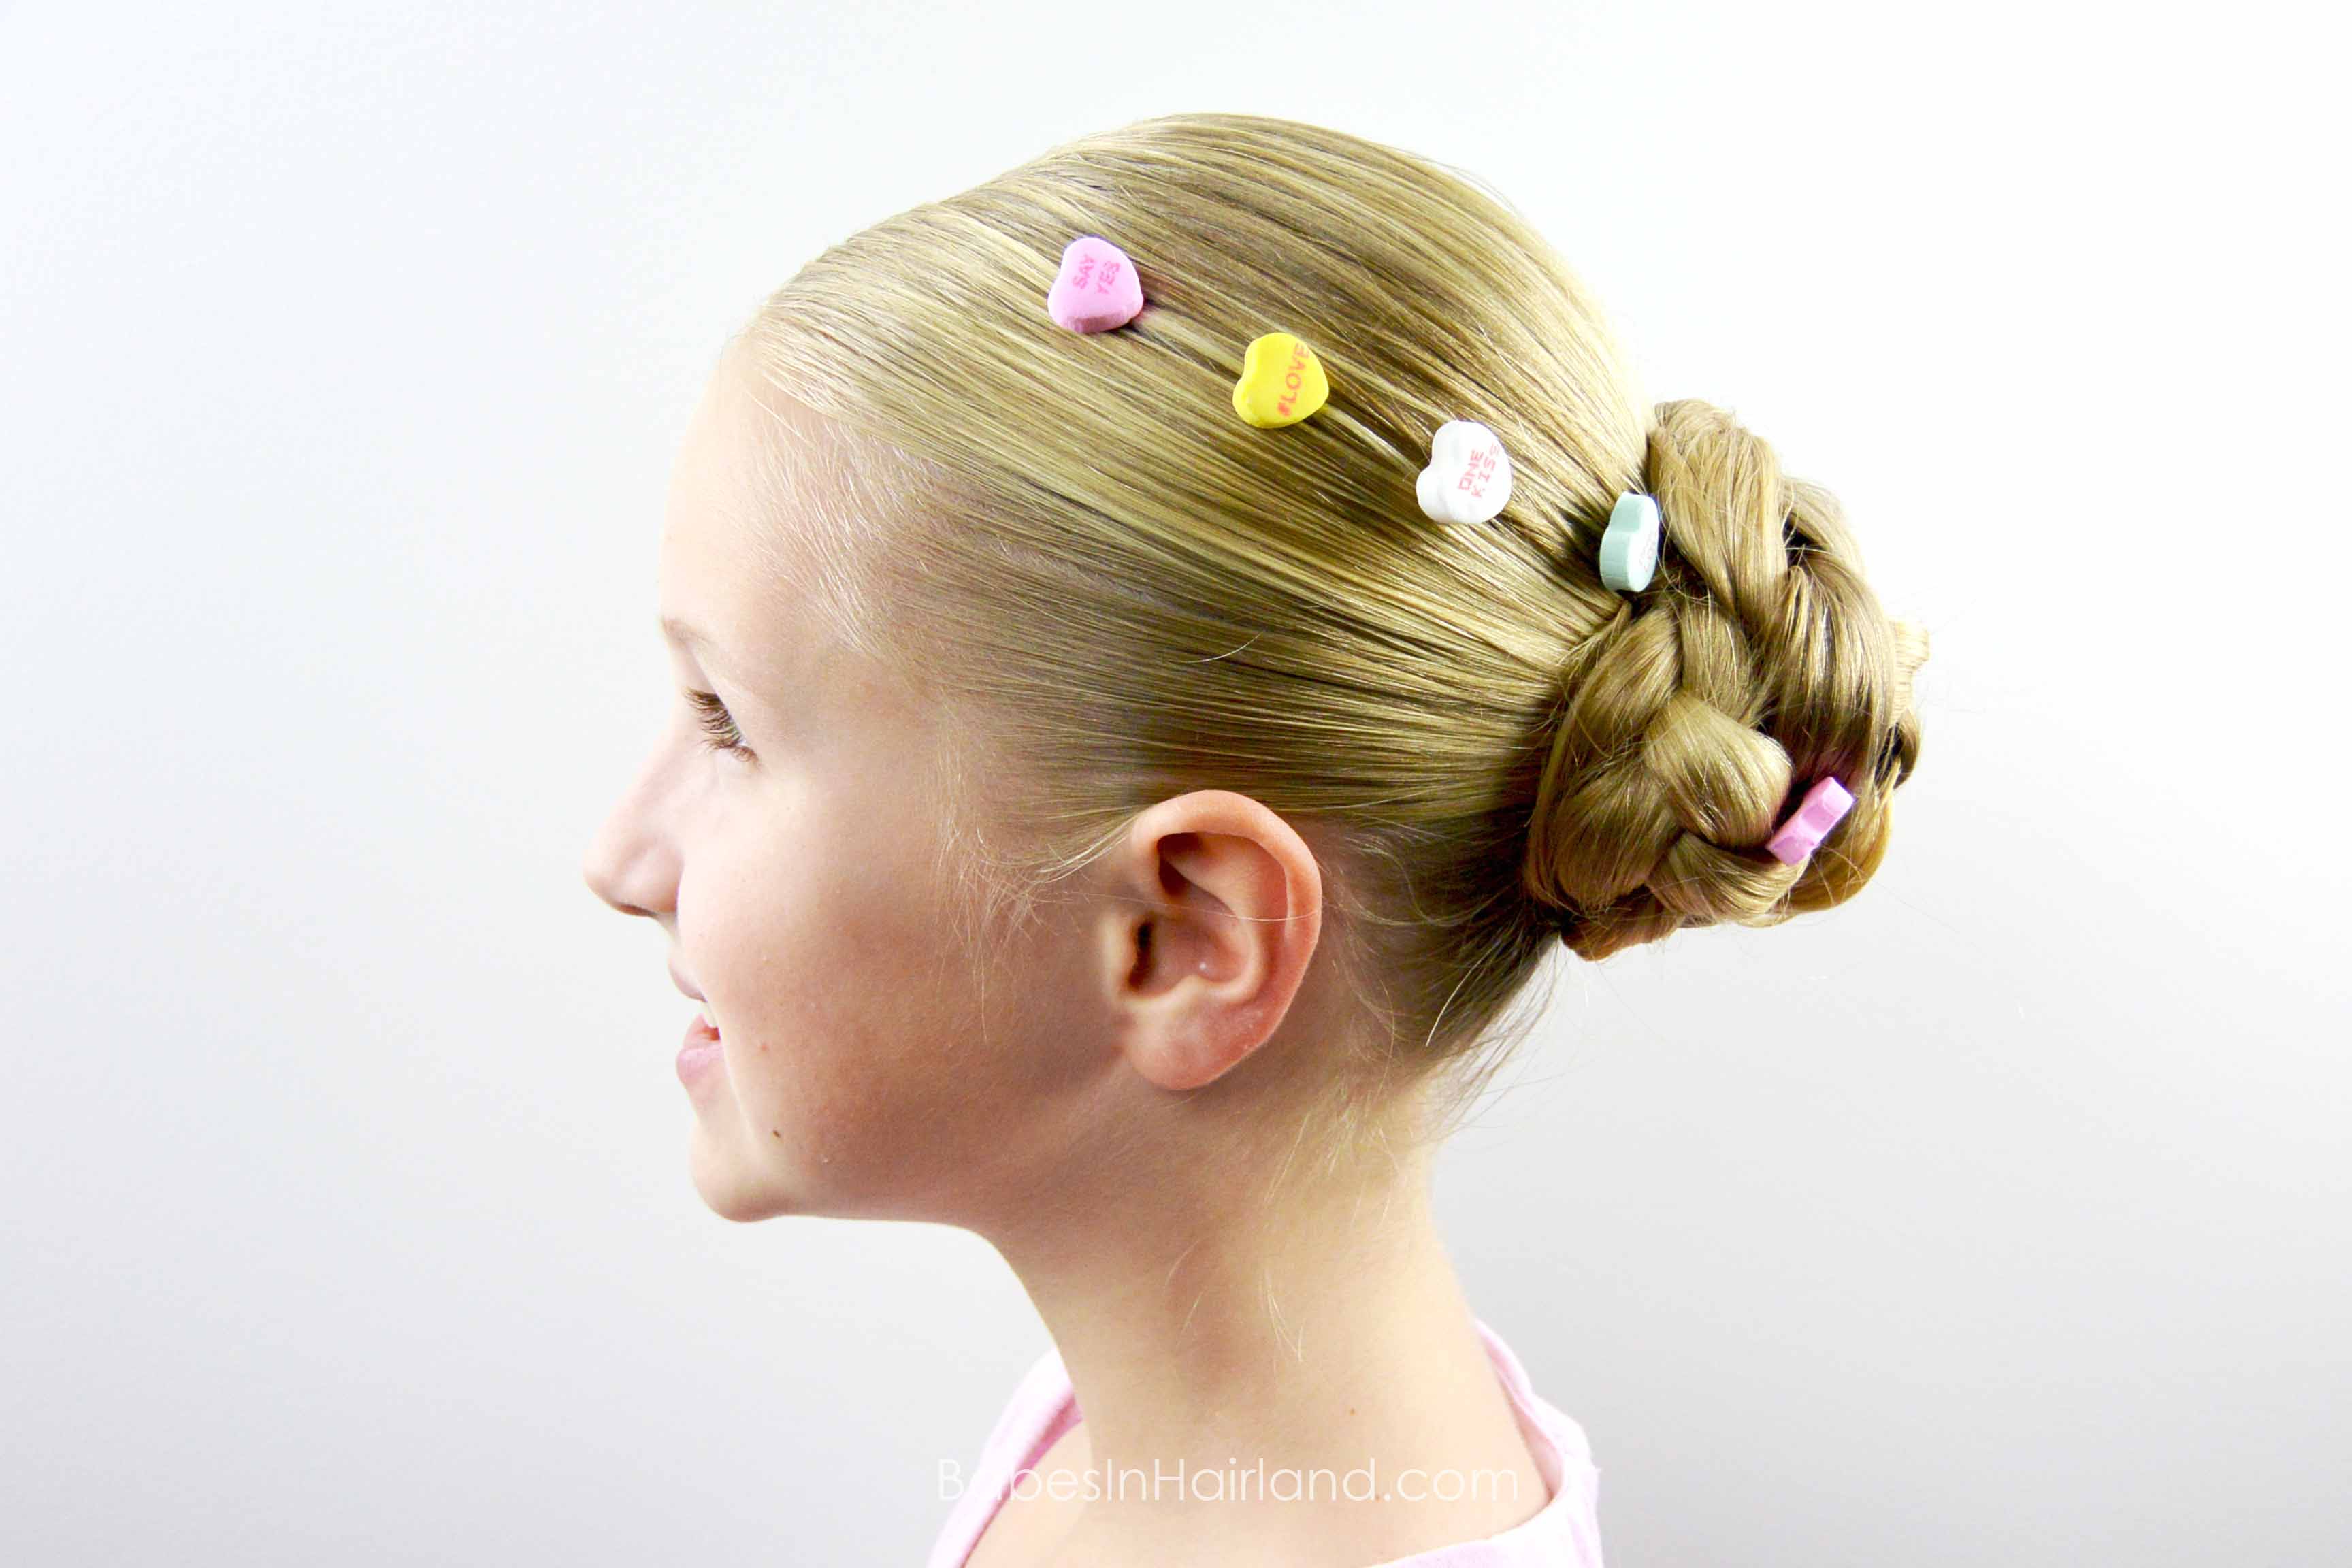
Heart Hairstyle #3-
2 Braided Hearts Hairstyle
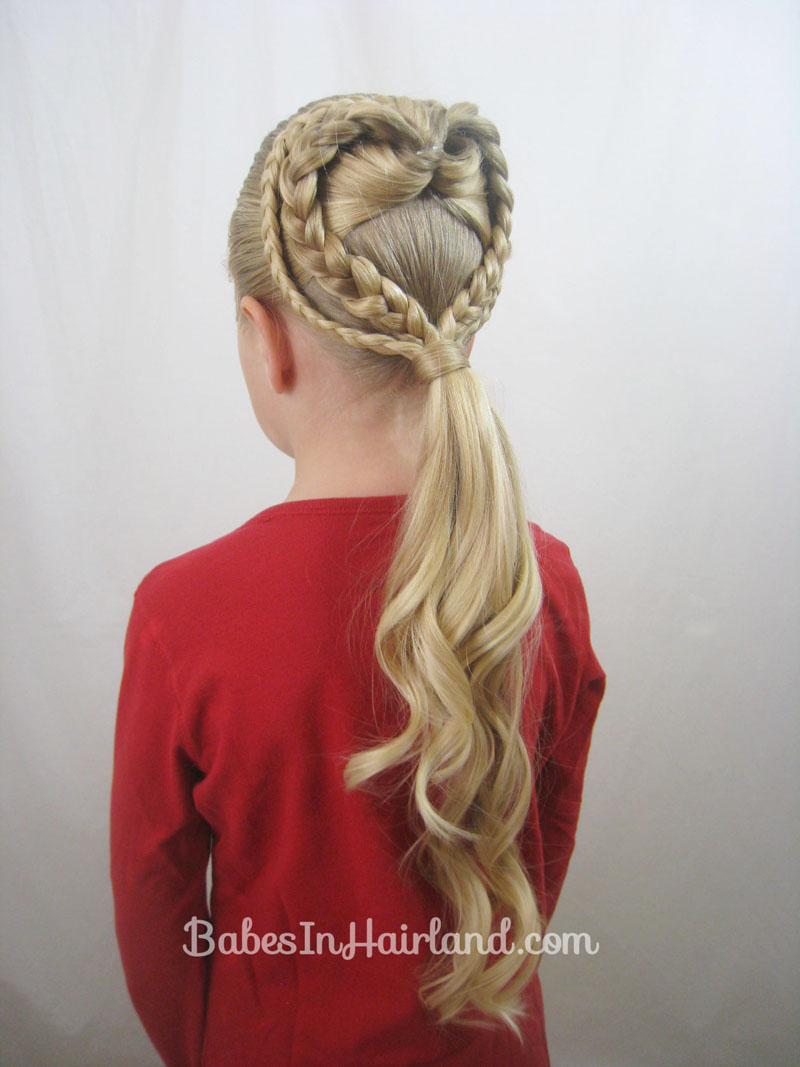
Heart Hairstyle #4 –
Double Floating Hearts
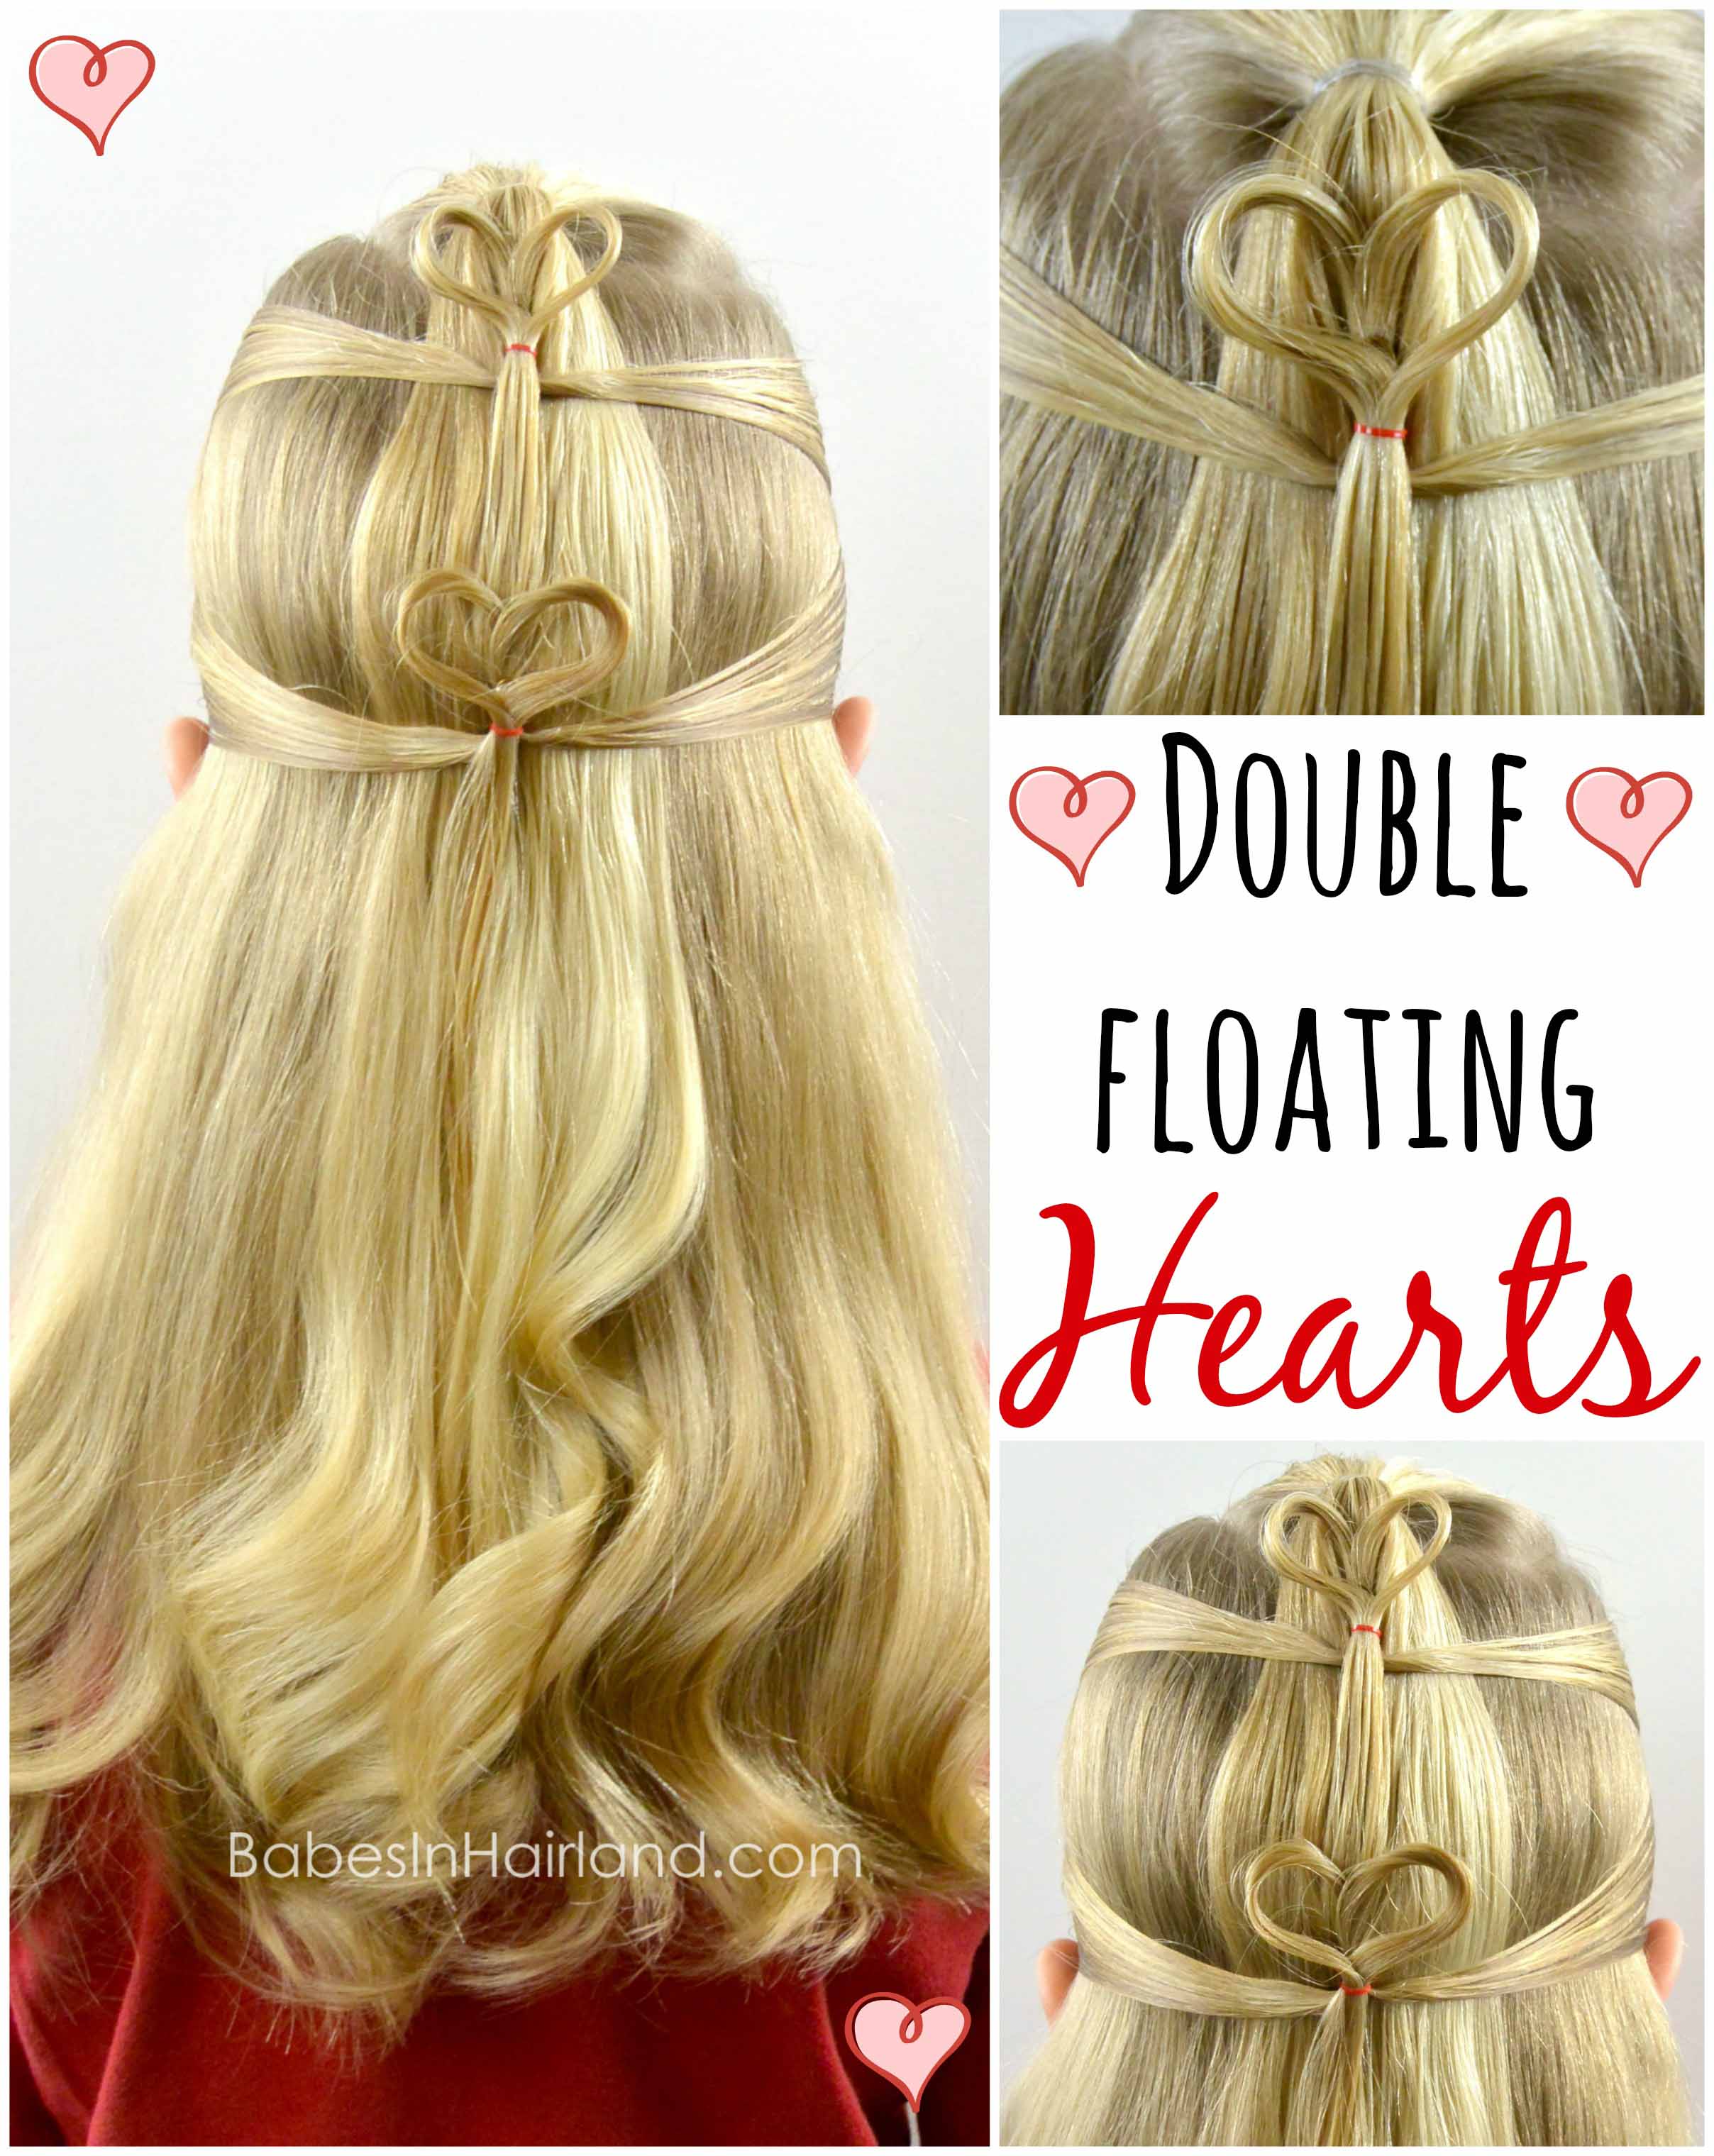
Heart Hairstyle #5 –
Triple Hearts & Braid
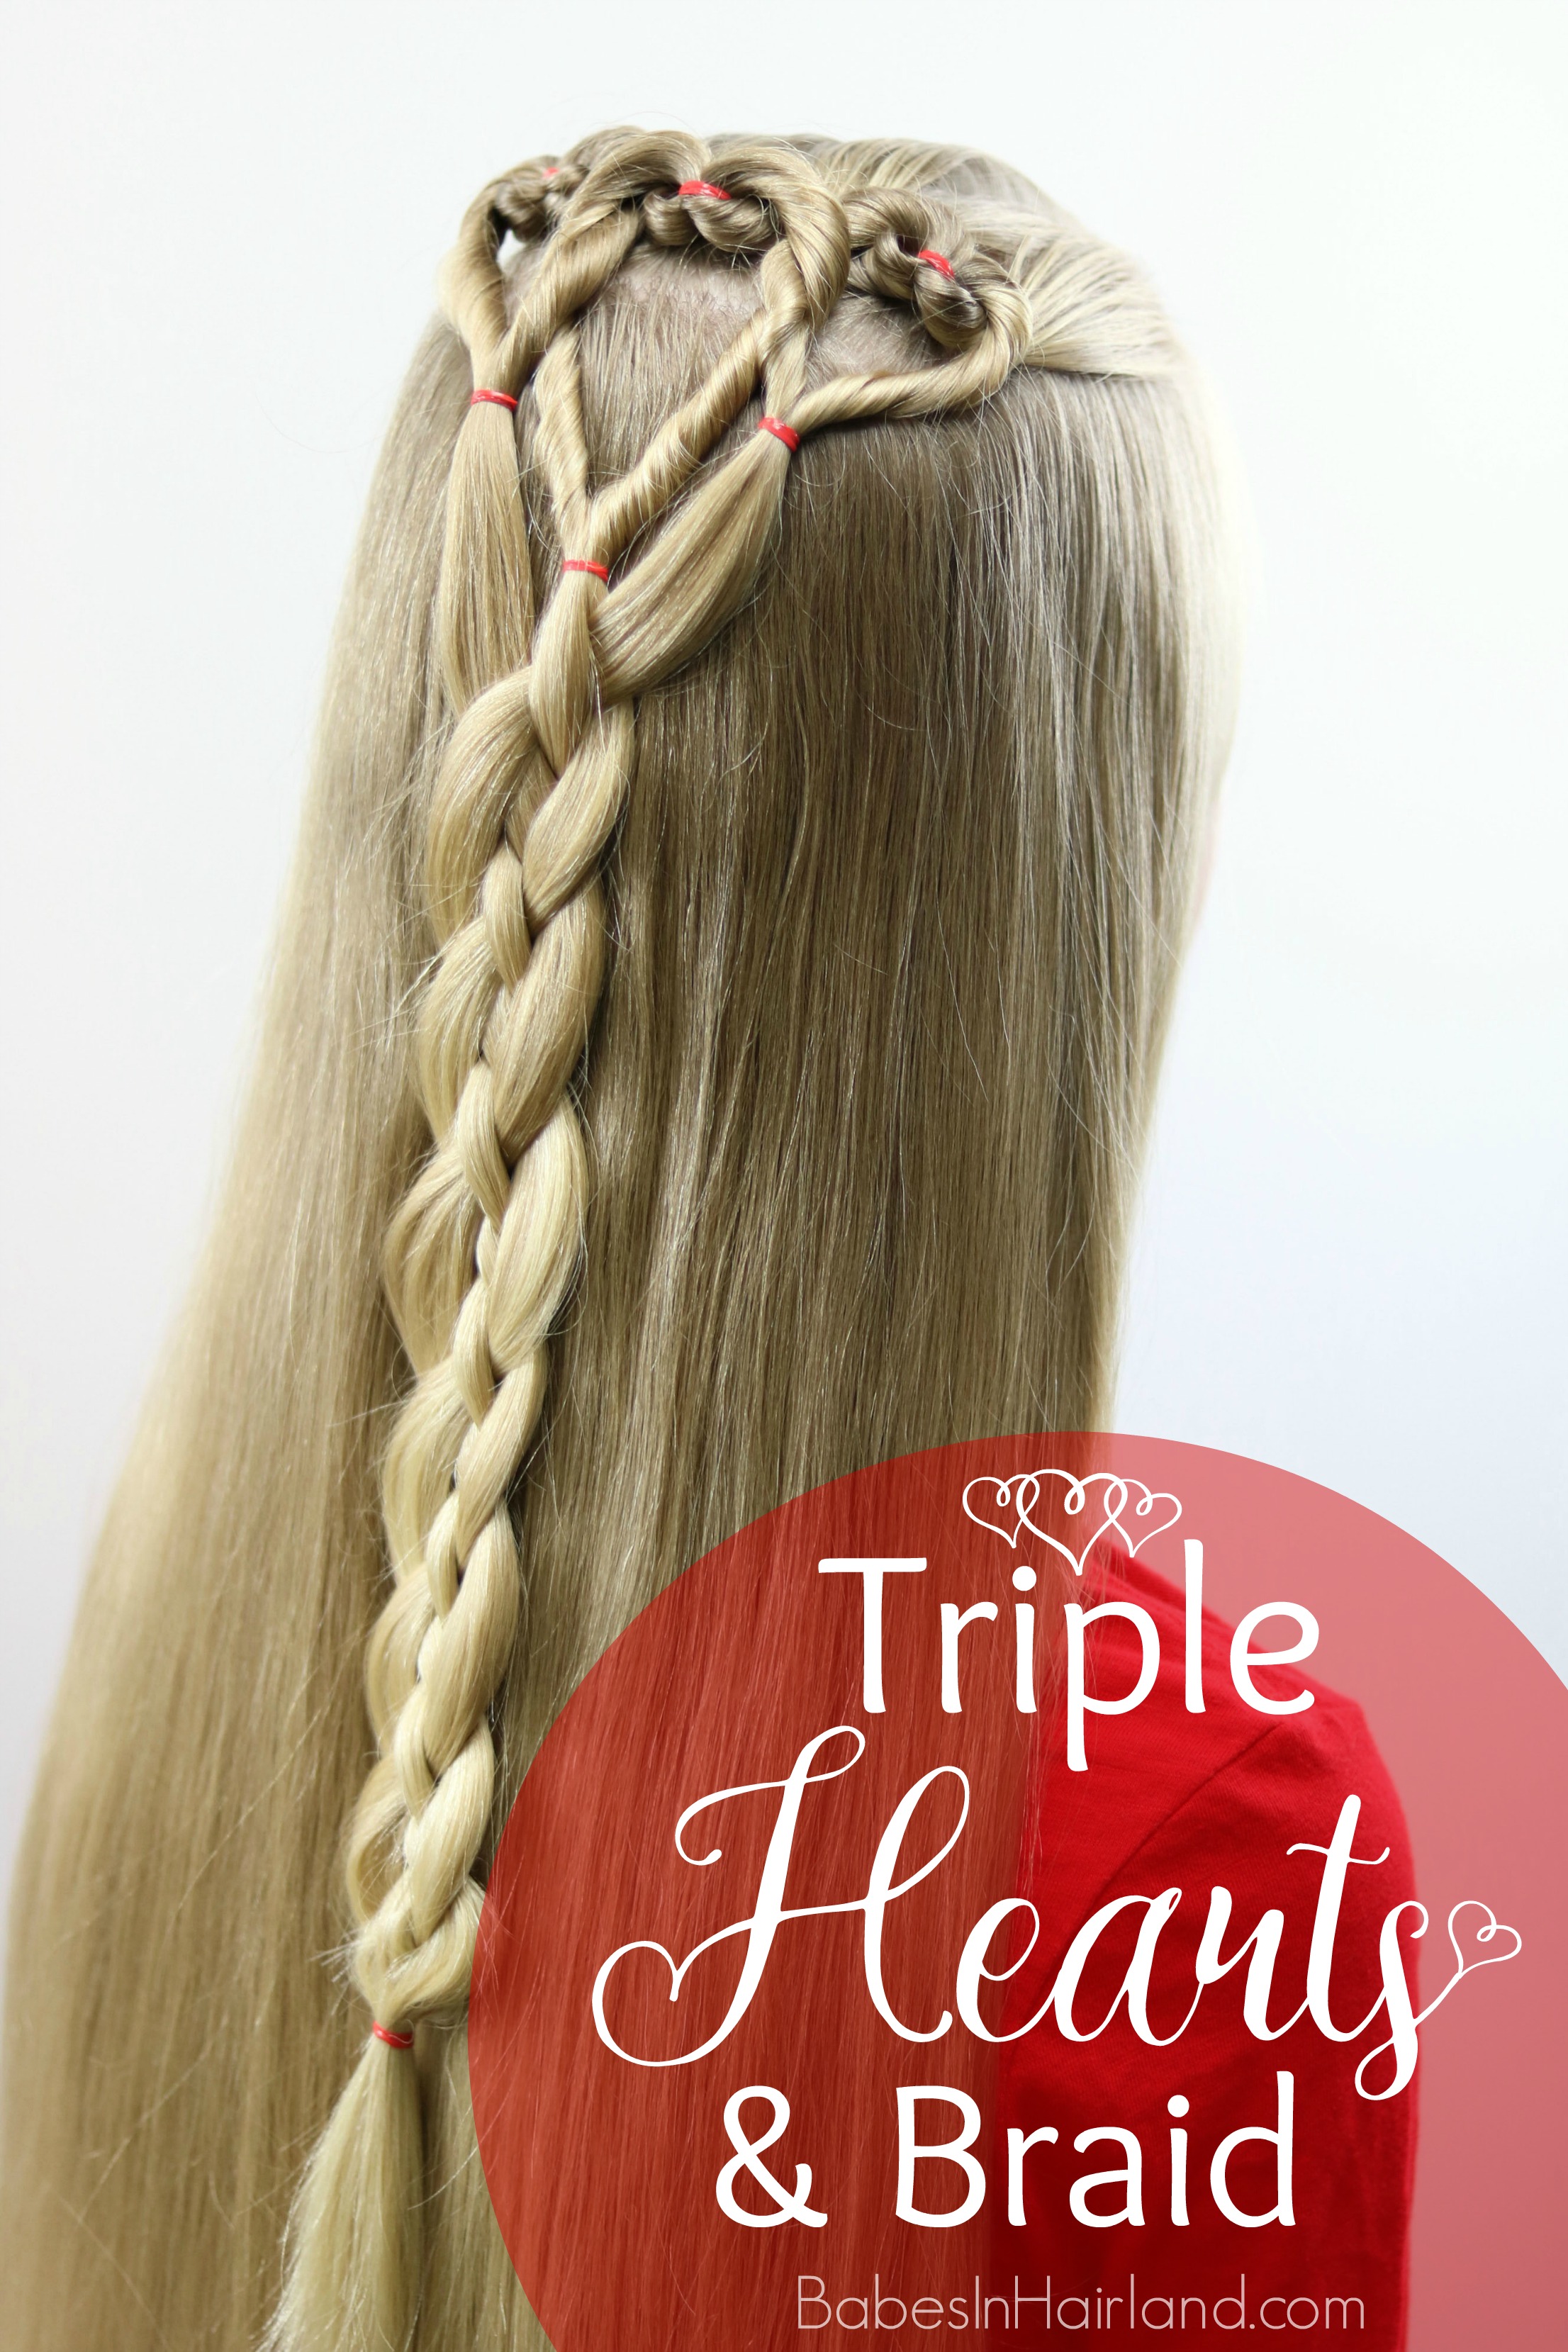
Heart Hairstyle #6-
Ribbon Laced Heart
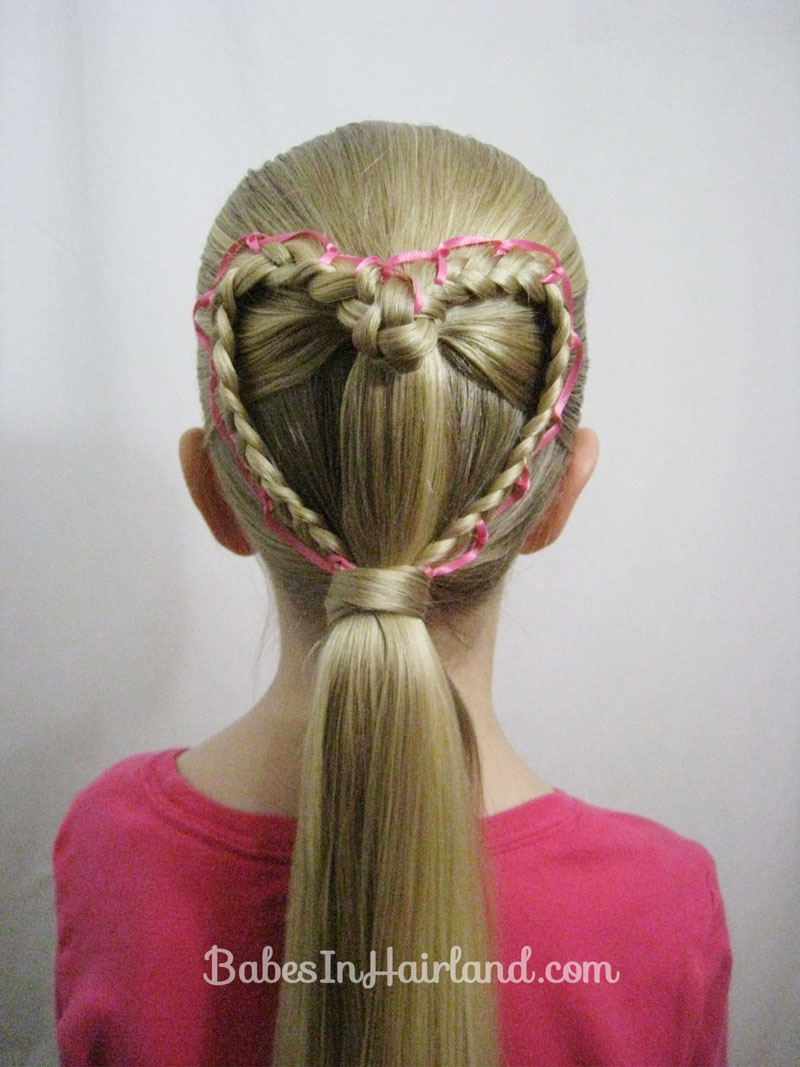
Be sure to check out ALL our
Valentine’s Day Heart Hairstyles HERE.
And here’s another quick view of some we’ve done in years past!
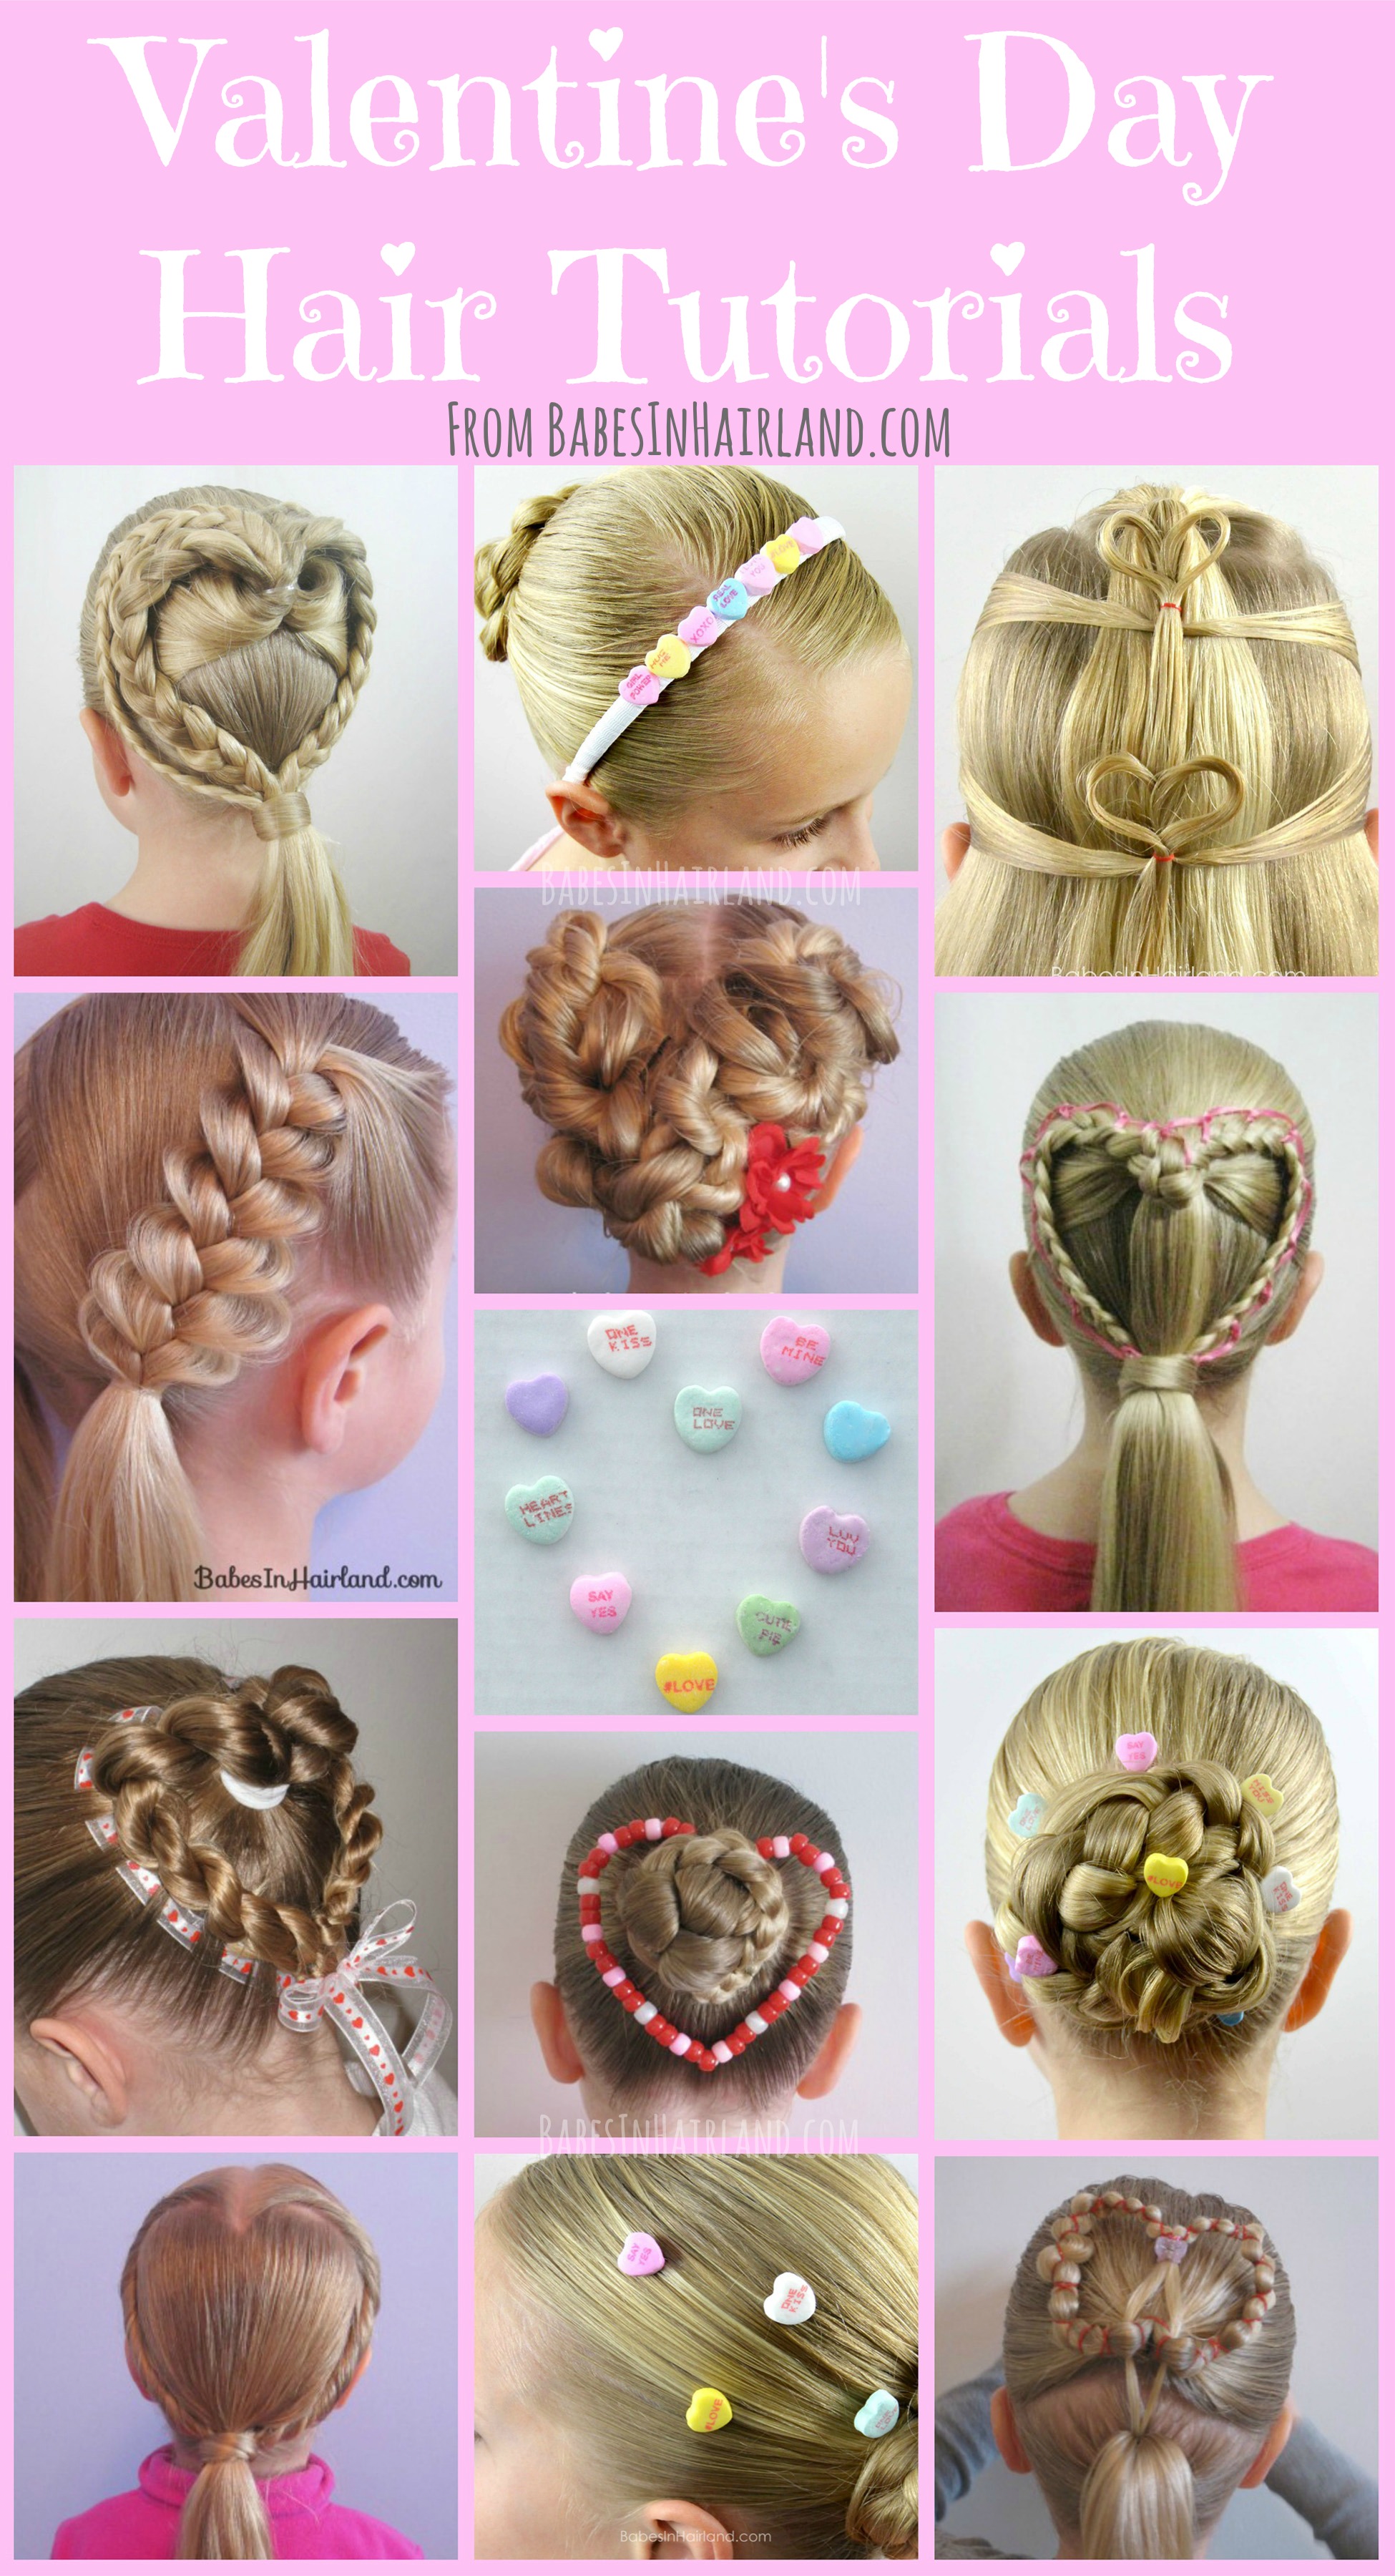
Happy Valentine’s Day! We love you guys!
Be sure to share your styles with us!
The post 6 Heart Hairstyles in 6 Minutes | Valentine’s Day appeared first on Babes In Hairland.
]]>The post Triple Heart Pullback | Valentine’s Day Hairstyle appeared first on Babes In Hairland.
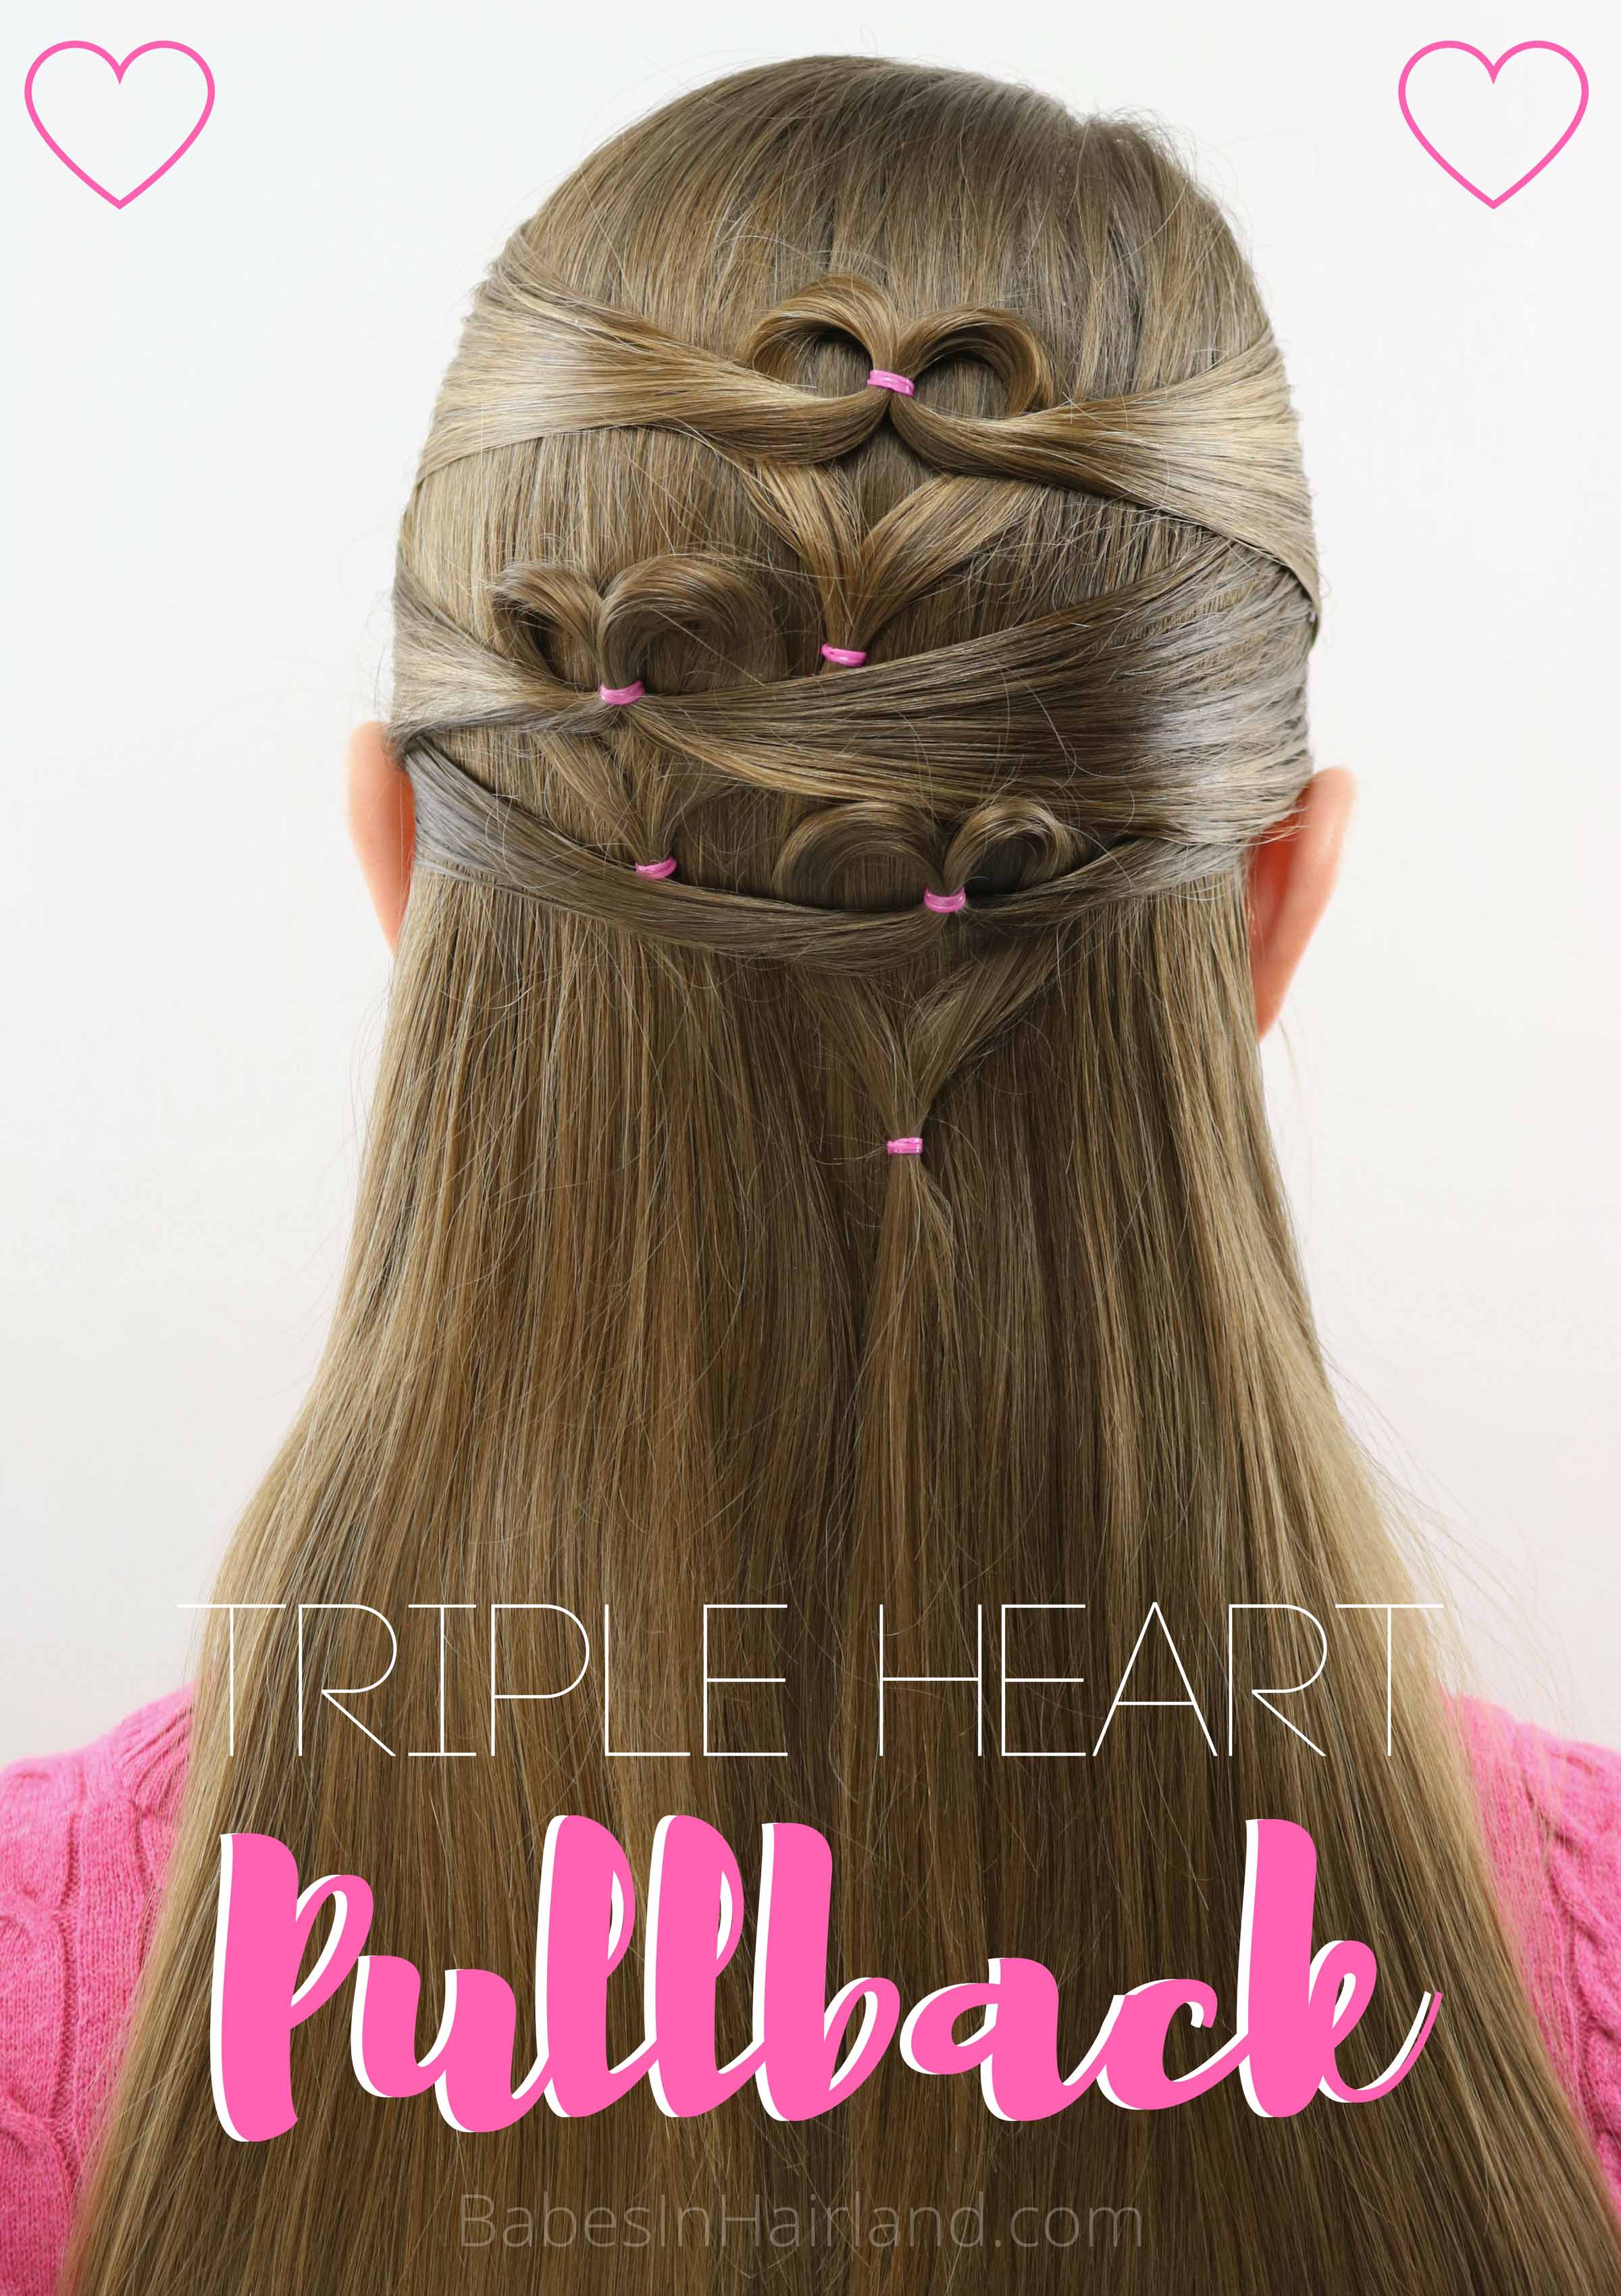
]]>
Watch our short video to see how we do it! Keep scrolling for more pictures and step-by-step instructions below! If you have trouble viewing the video, head to our YouTube Channel and watch it HERE.
1- Draw small sections of hair back from the left and right temple toward the back of the head.
2- Secure the 2 sections together with a colored elastic in the center of the back of the head to make a small ponytail.
3- Split the ponytail in half so you have a left and right section. Flip the sections upward and draw the ends up and over the hair that is pulled back.
4- Pull the ends of the hair down so it is behind the hair that is pulled back. Draw both sections back together again down below the first elastic.
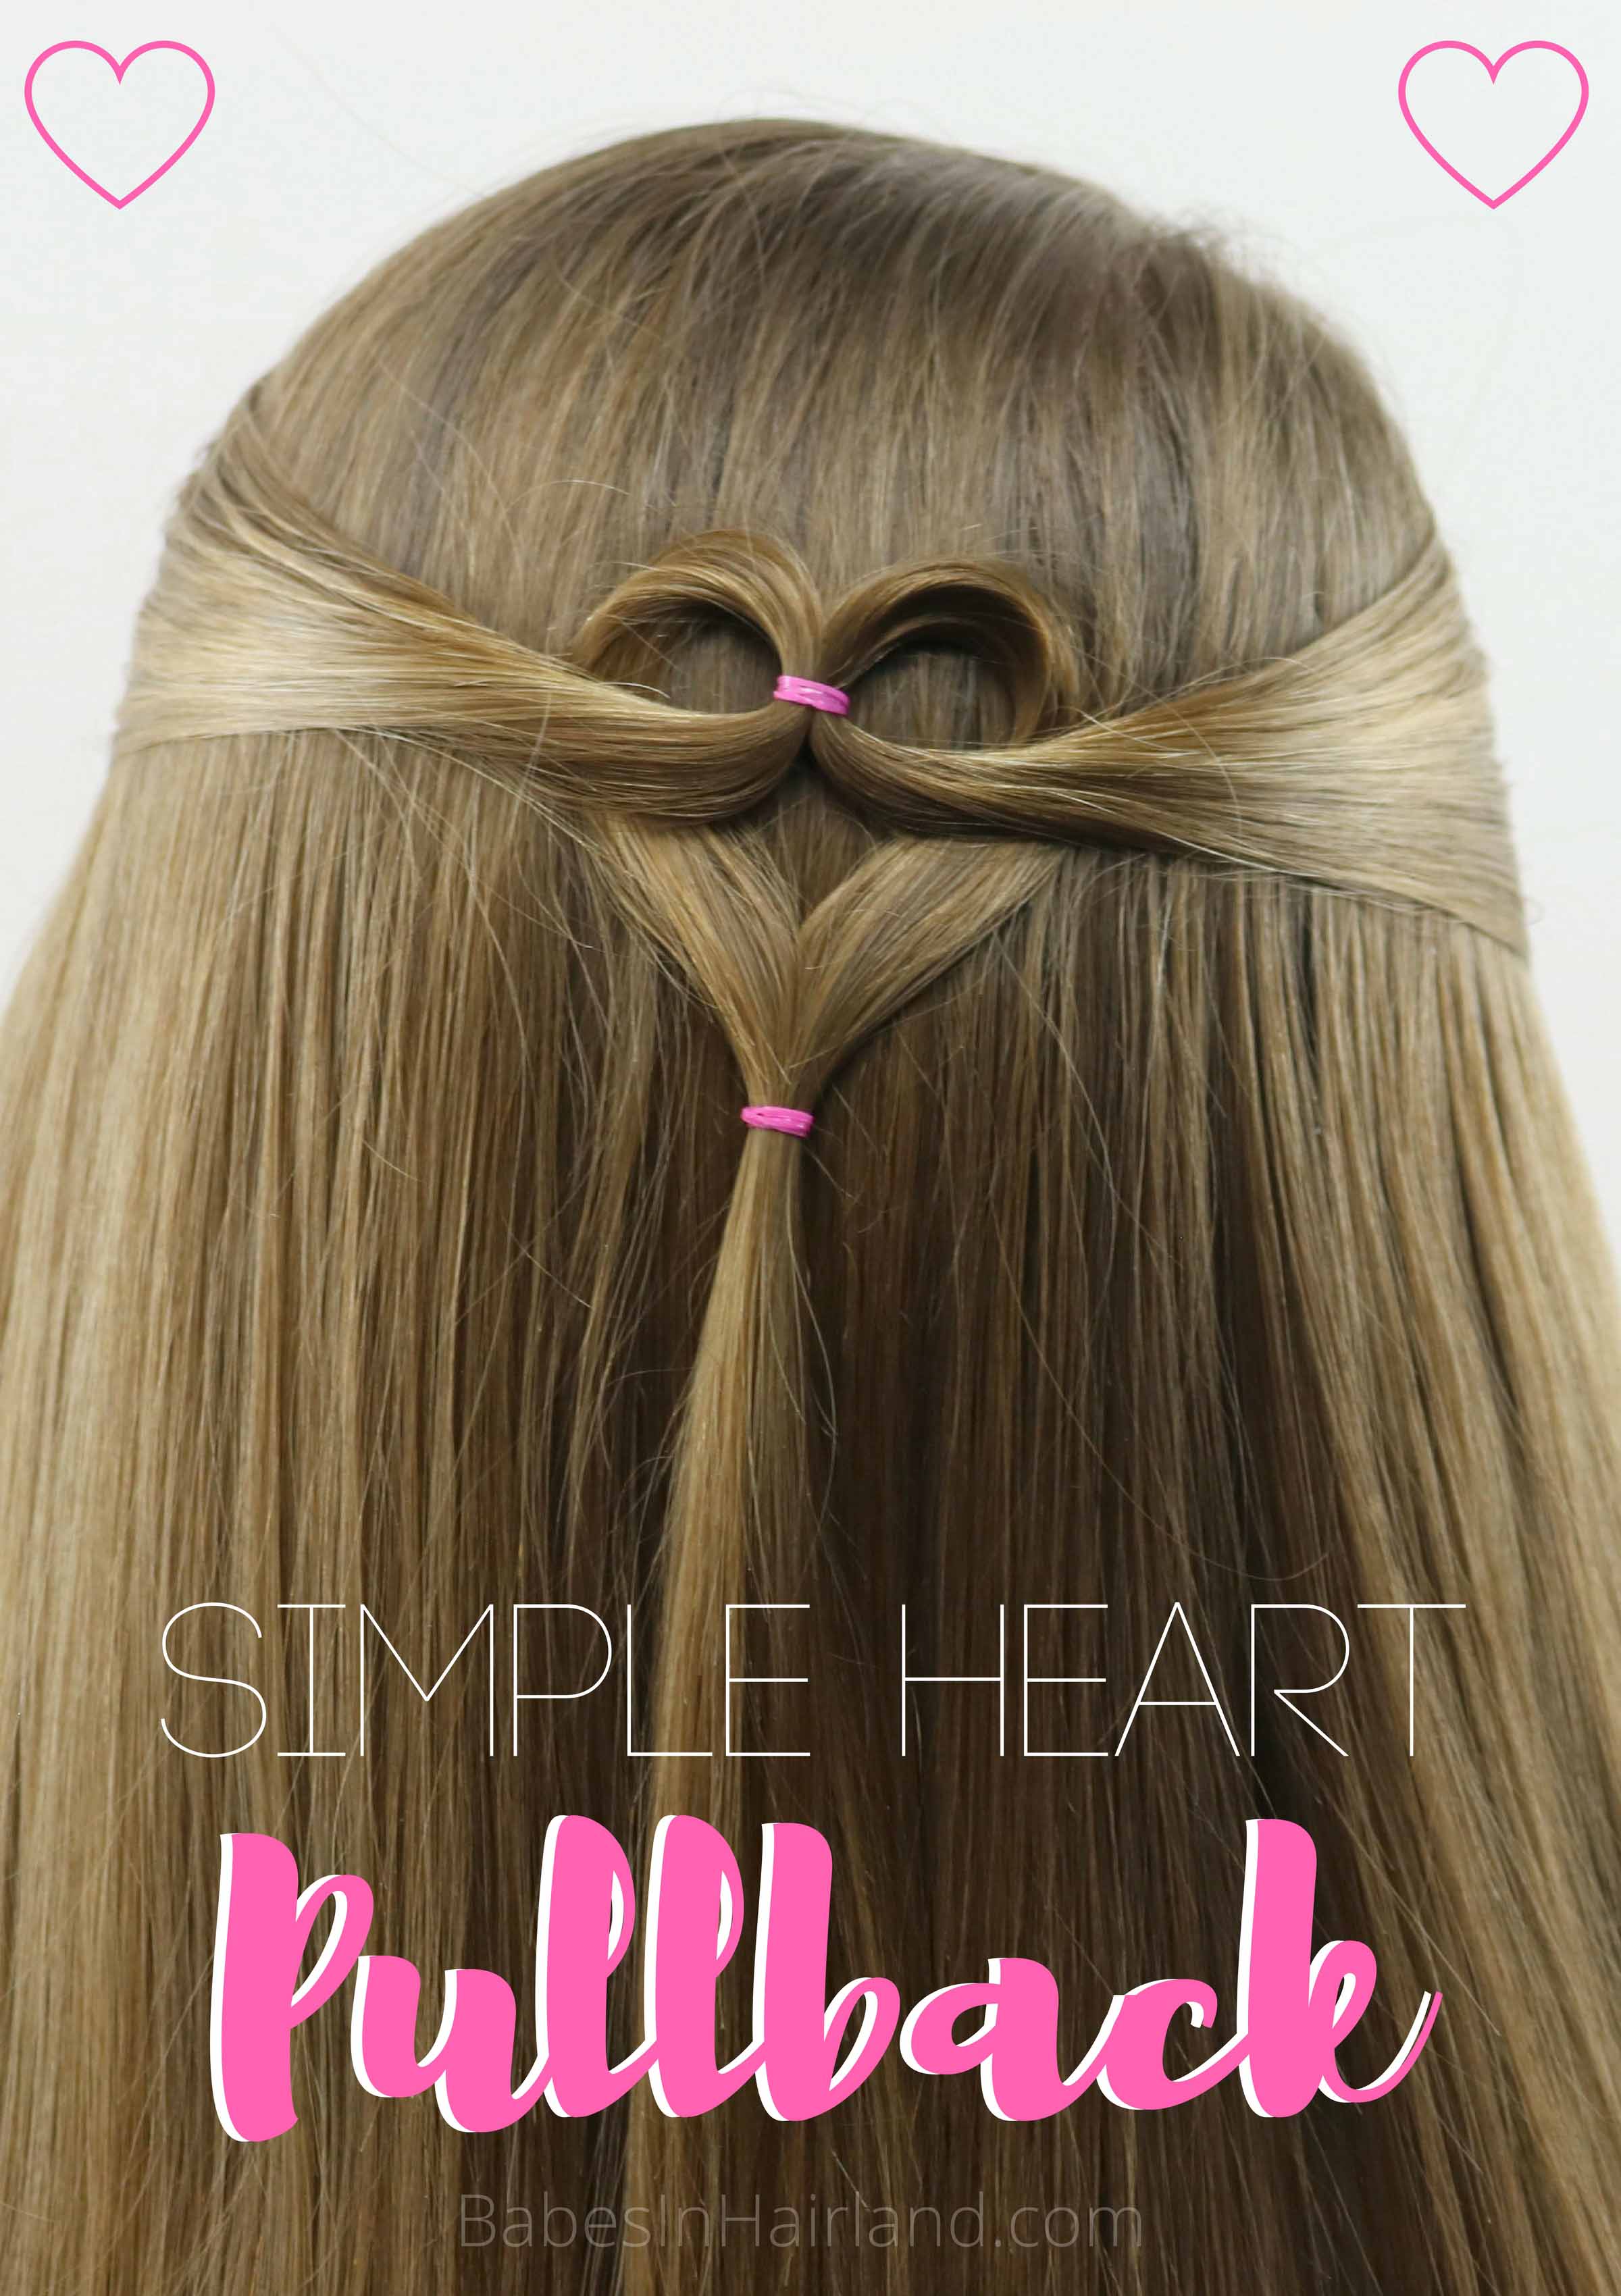
5- This will create the heart shape. Adjust the size and shape of the heart as needed.
6- Secure the 2 ends with another colored elastic. This creates your first little heart.
If you stop here, it should look like this:
SIMPLE HEART PULLBACK
7- If desired, create 2 more hearts.
8- Draw hair back from each side just below the hair in Step 1. Secure the ponytail off-center to the left of the first heart.
9- Repeat Steps 3-6 again, creating a 2nd heart.
10- For the 3rd heart, secure the 3rd ponytail off-center to the right of the first heart. Repeat Steps 3-6, to create the 3rd heart.
FINISHED TRIPLE HEART PULLBACK
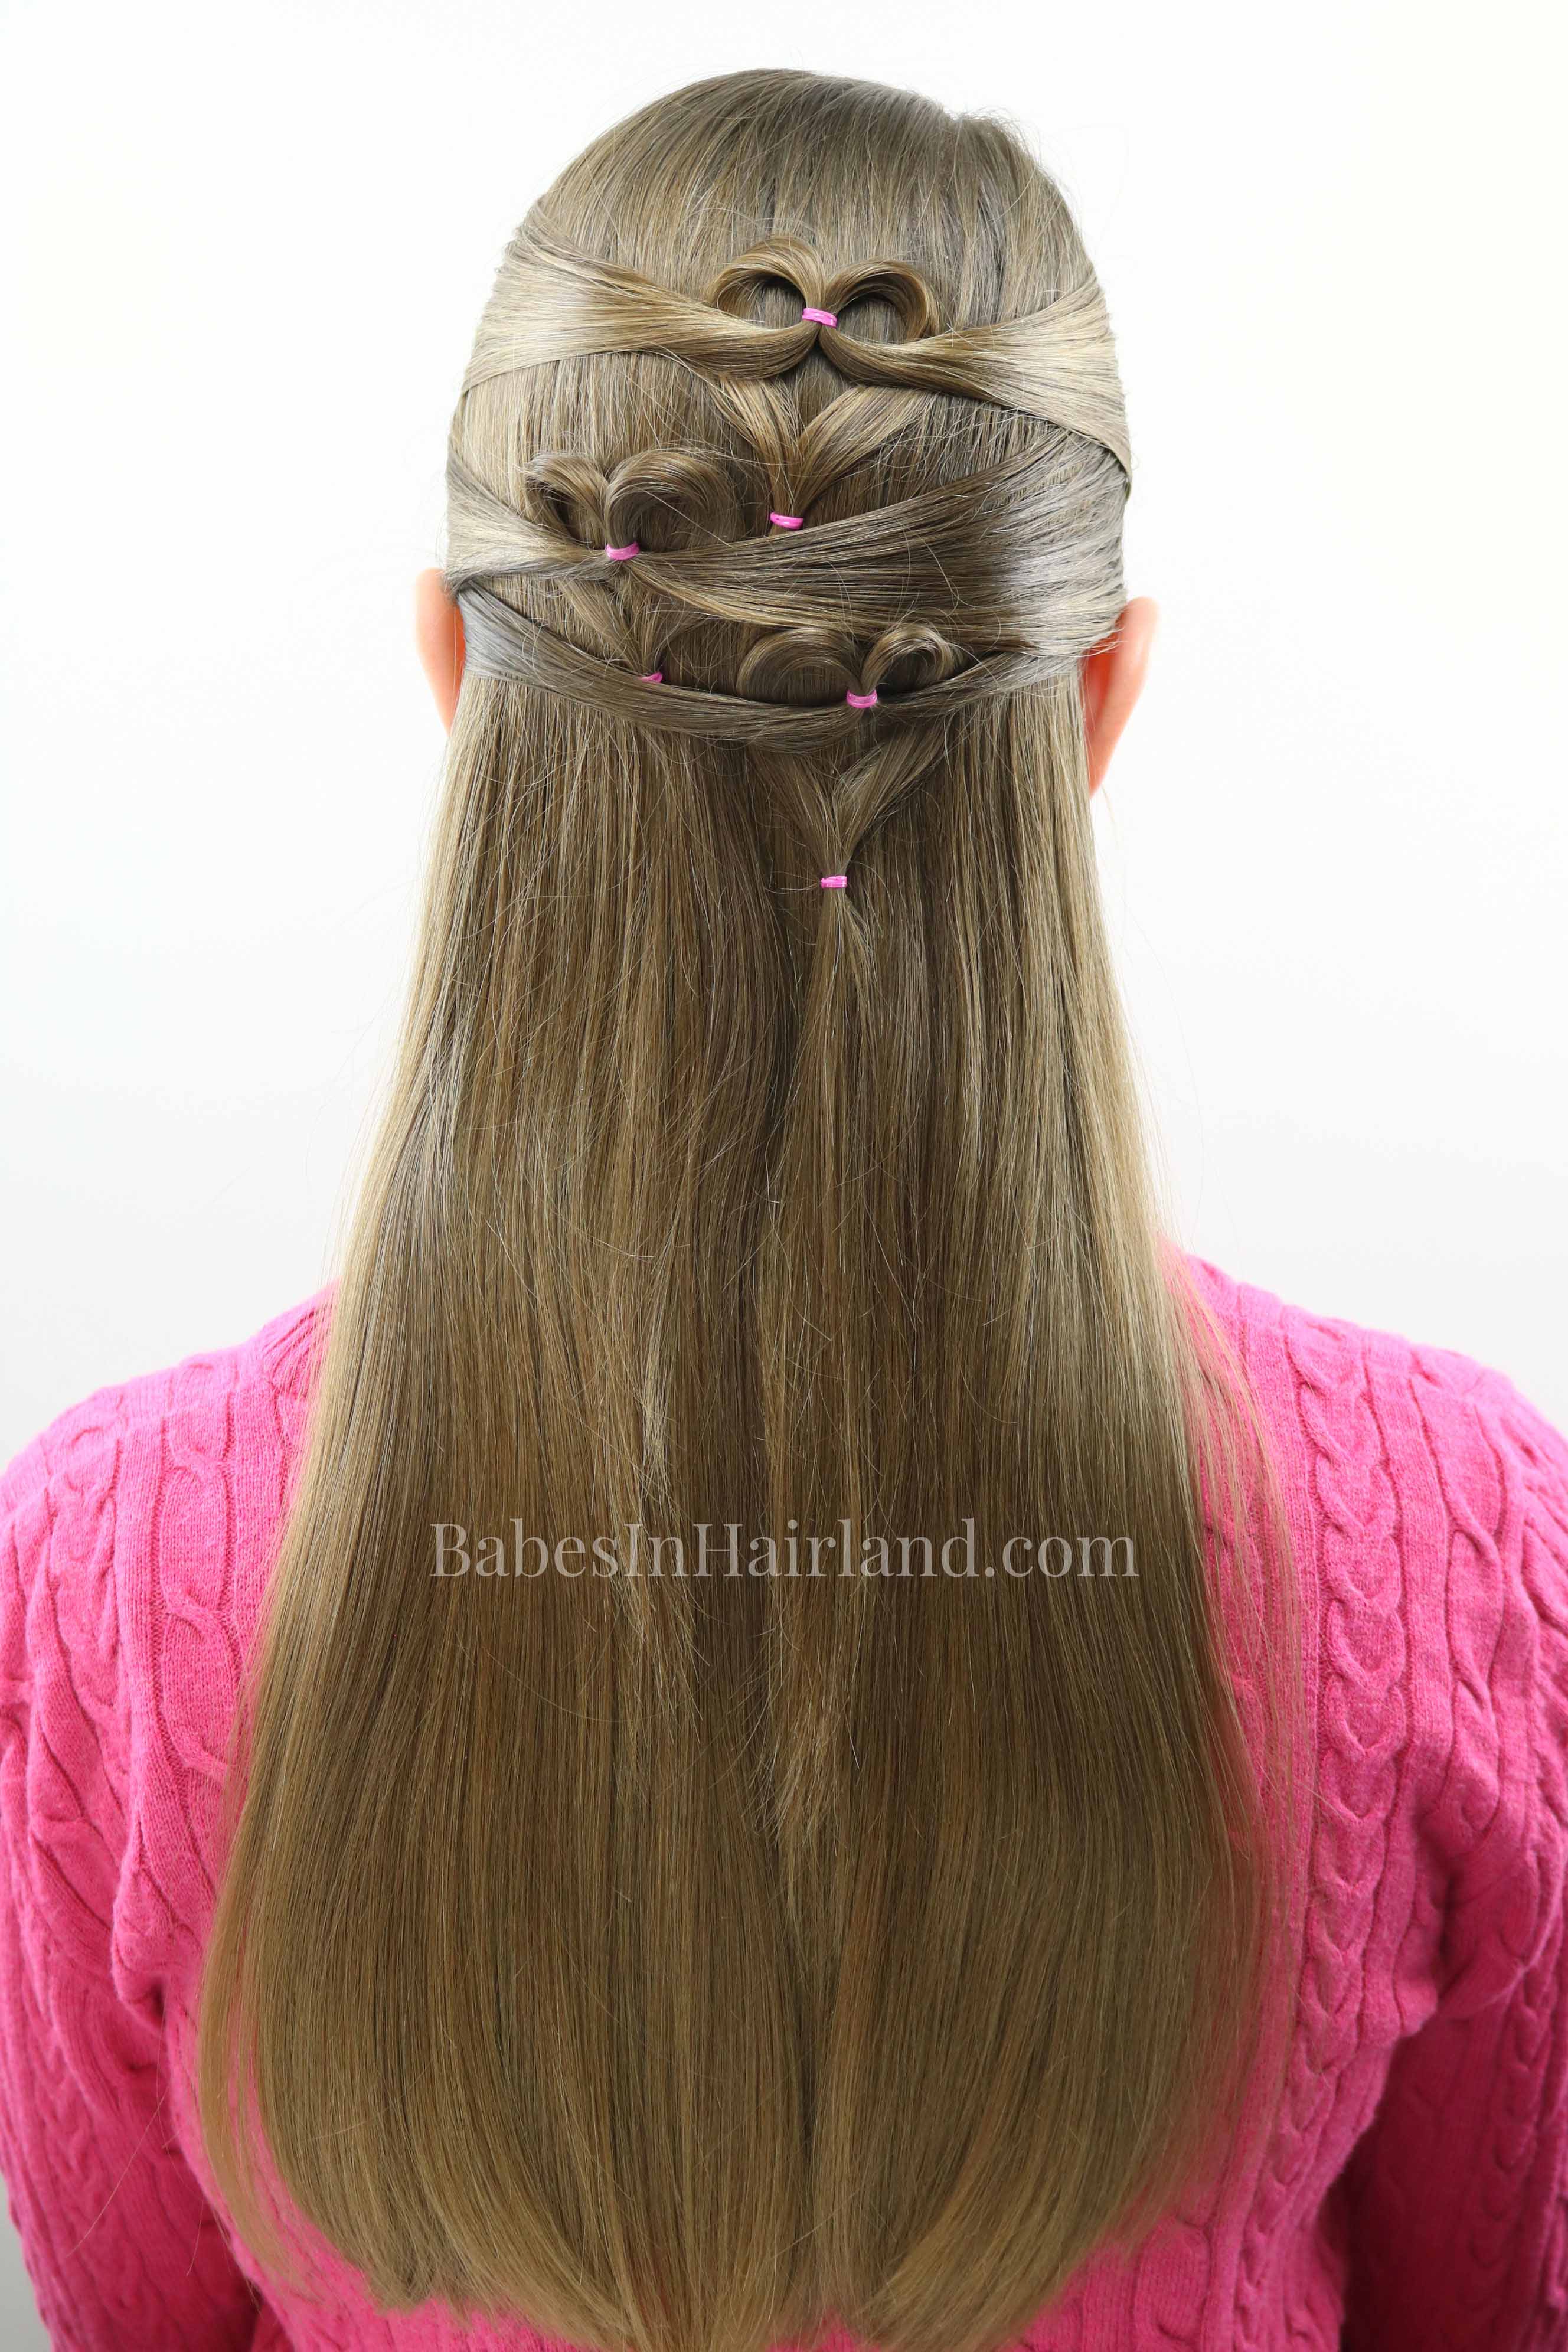
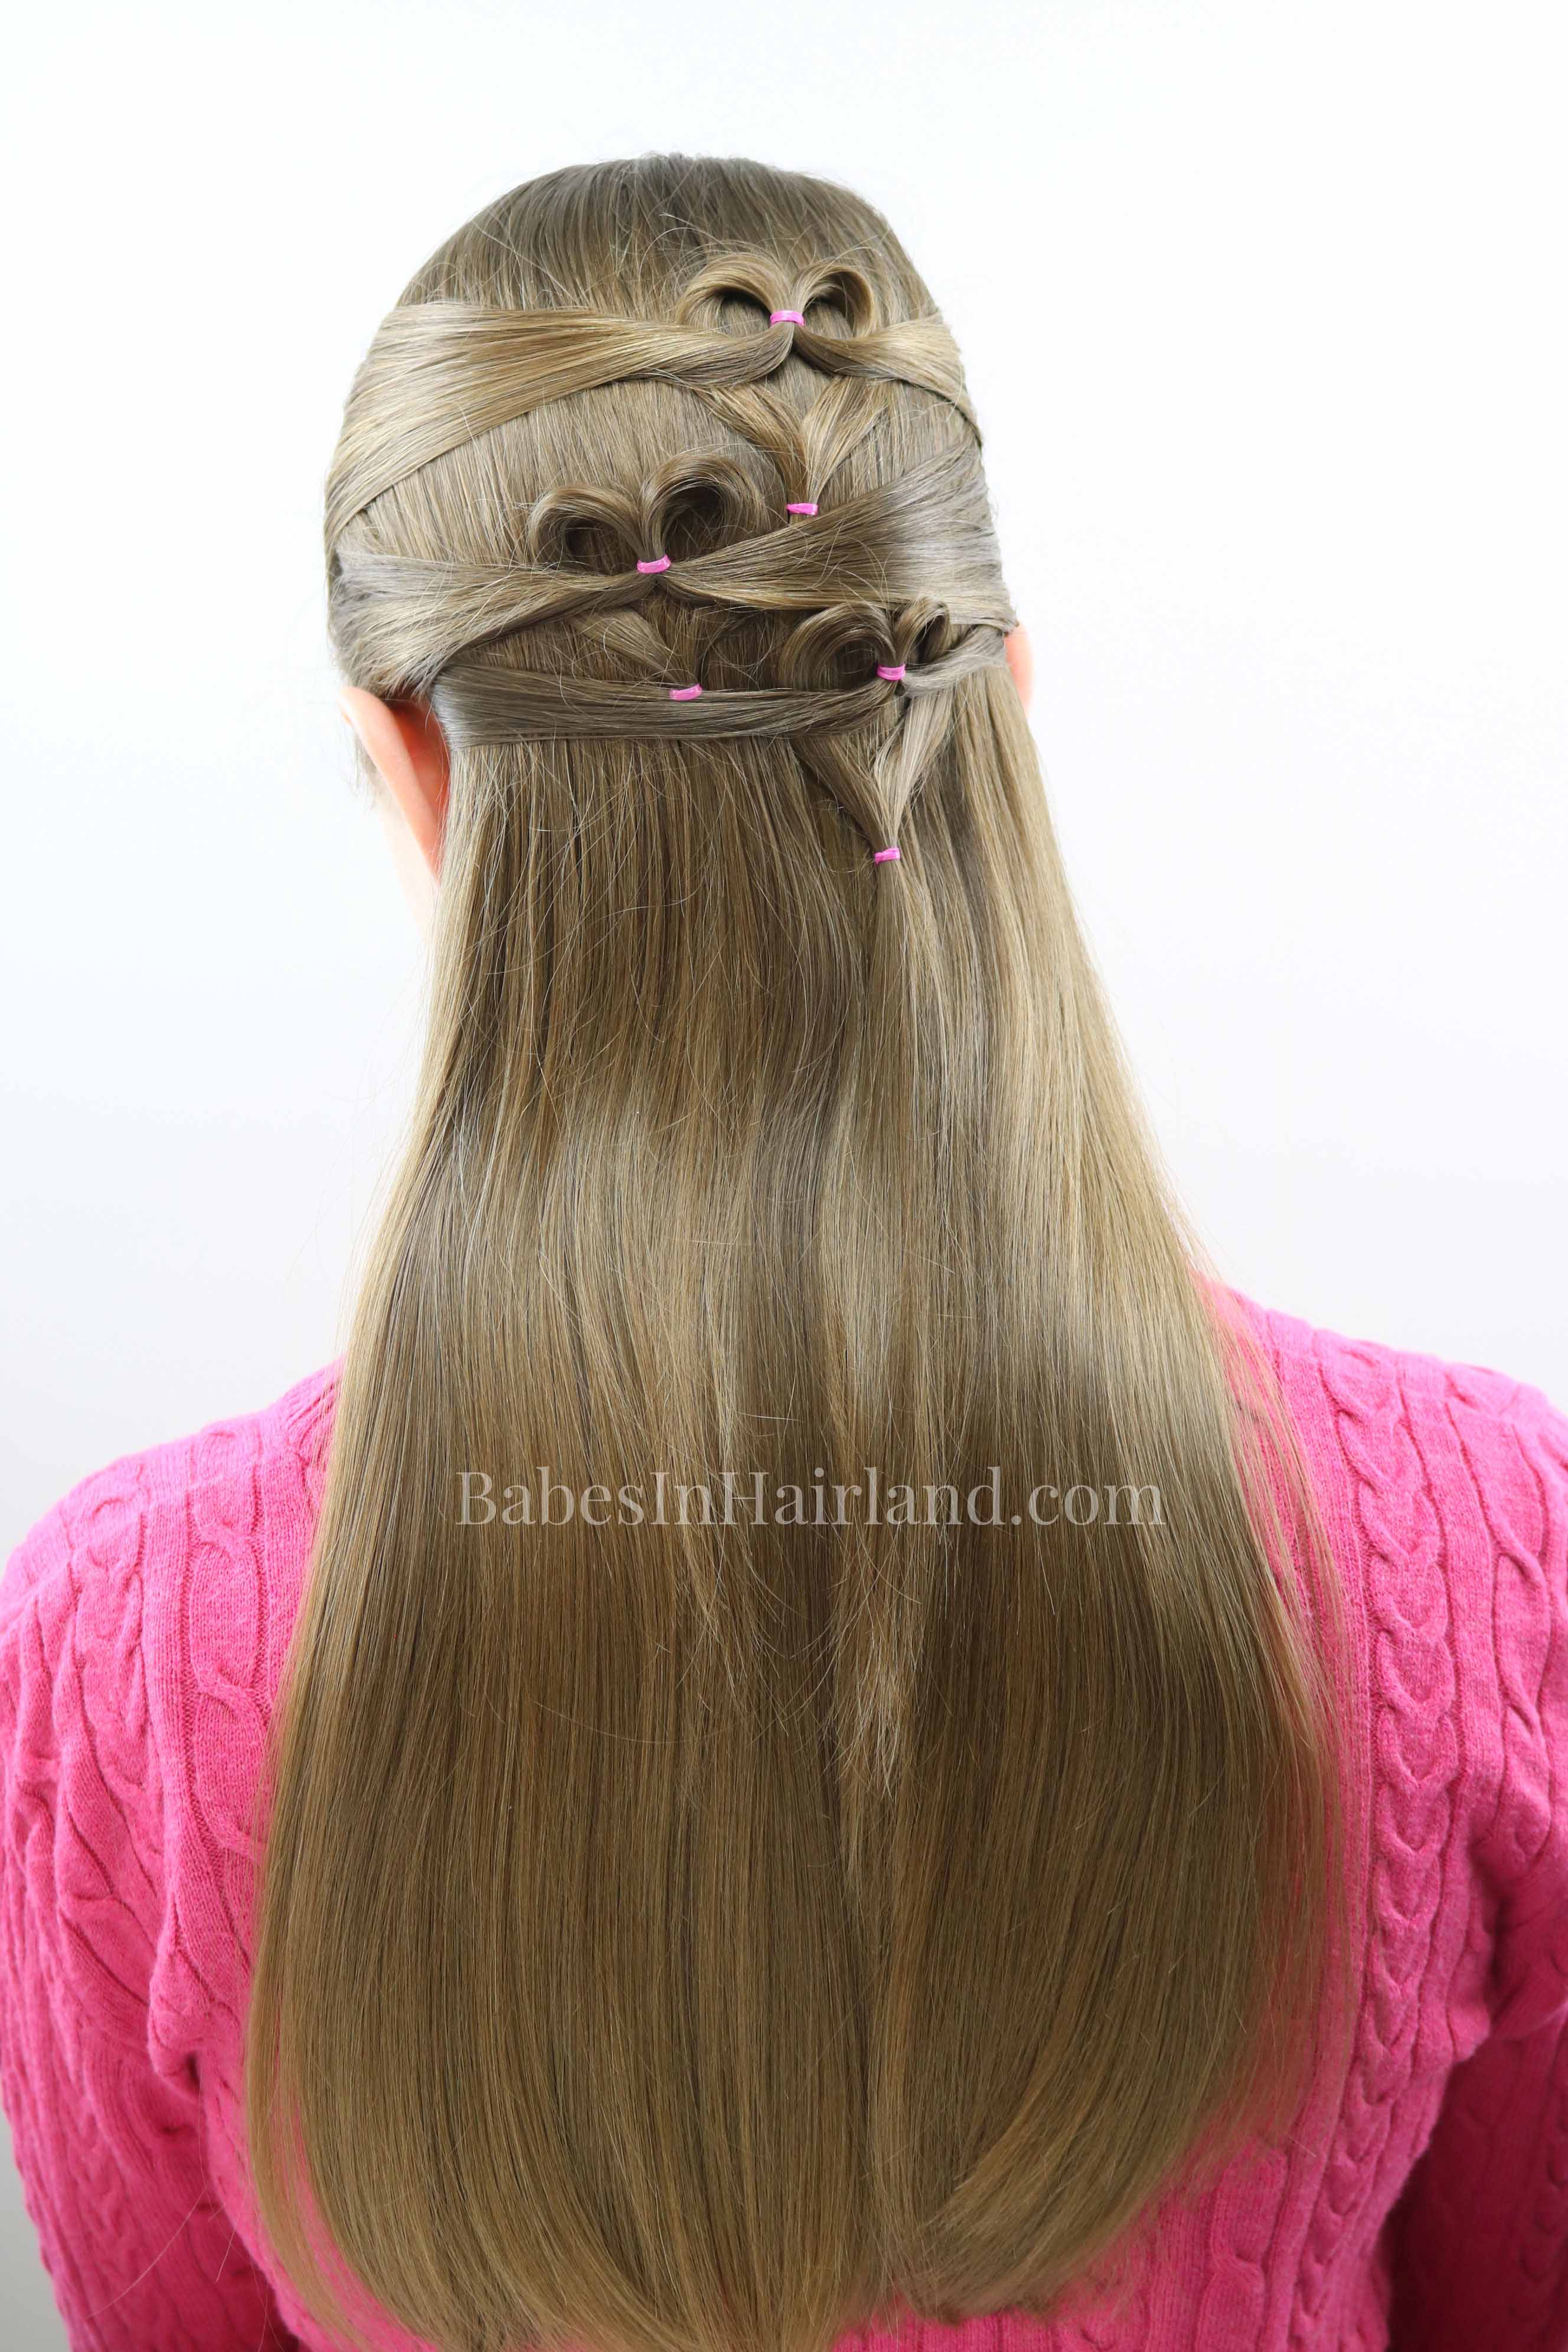
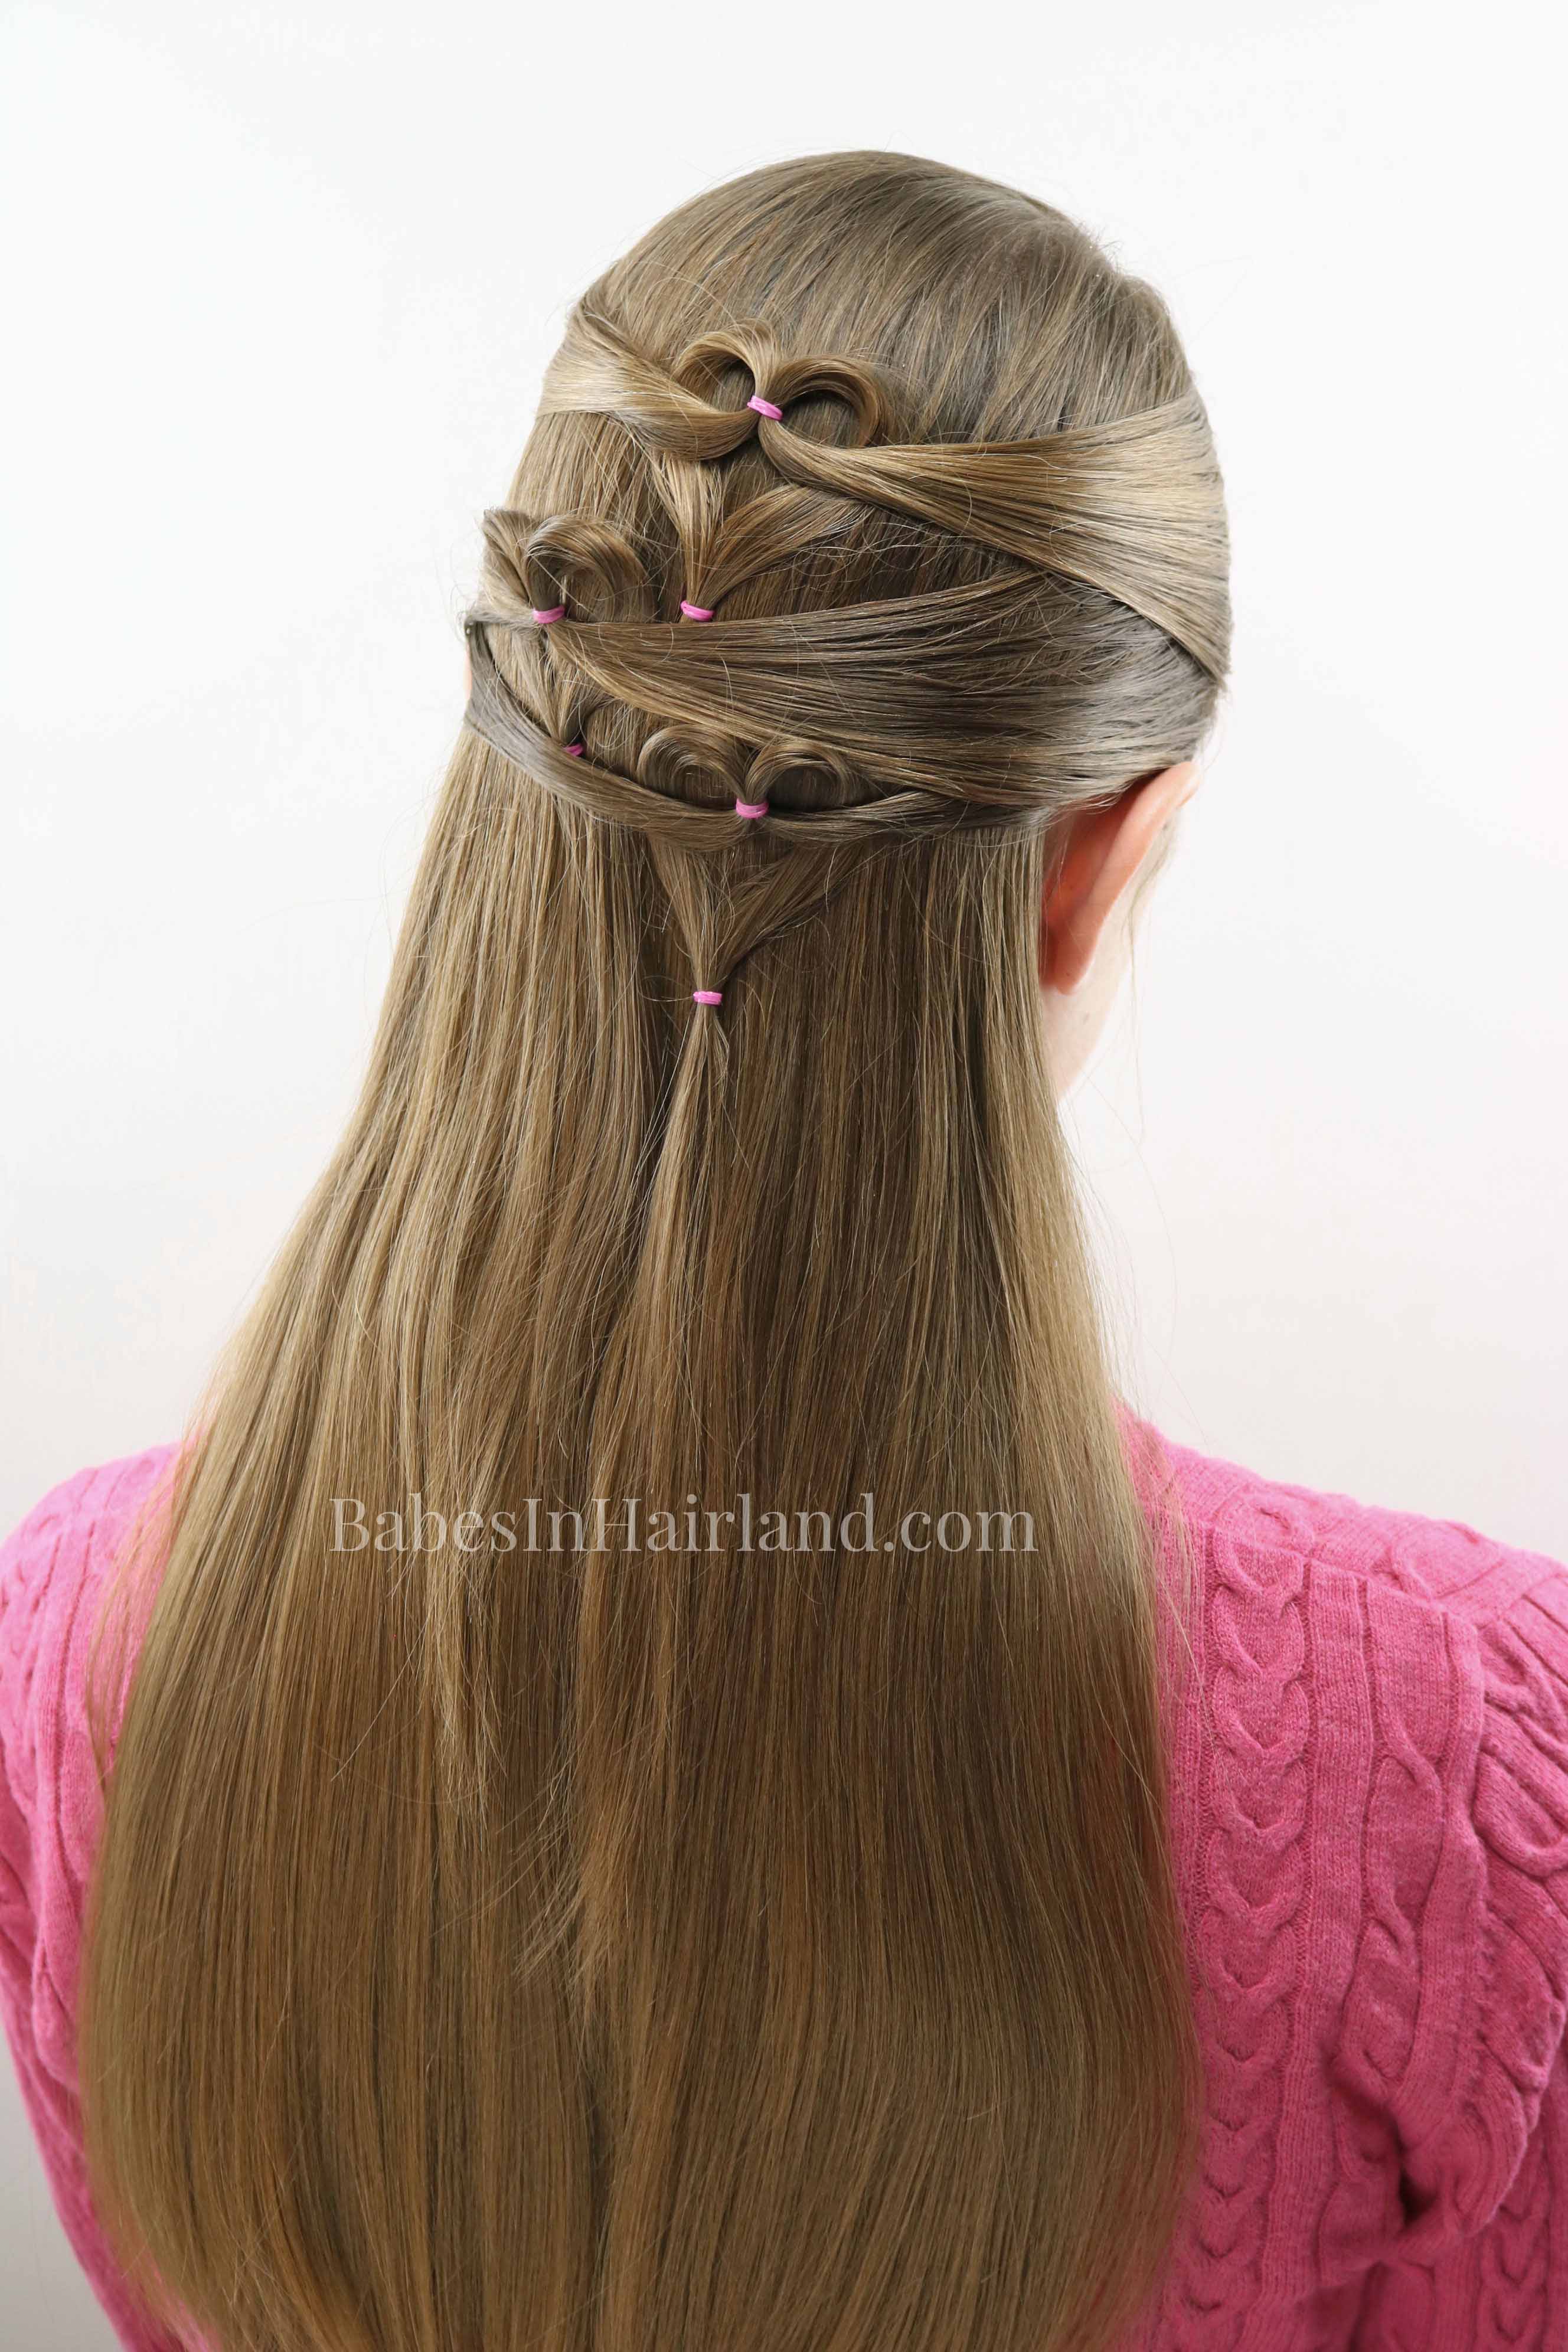
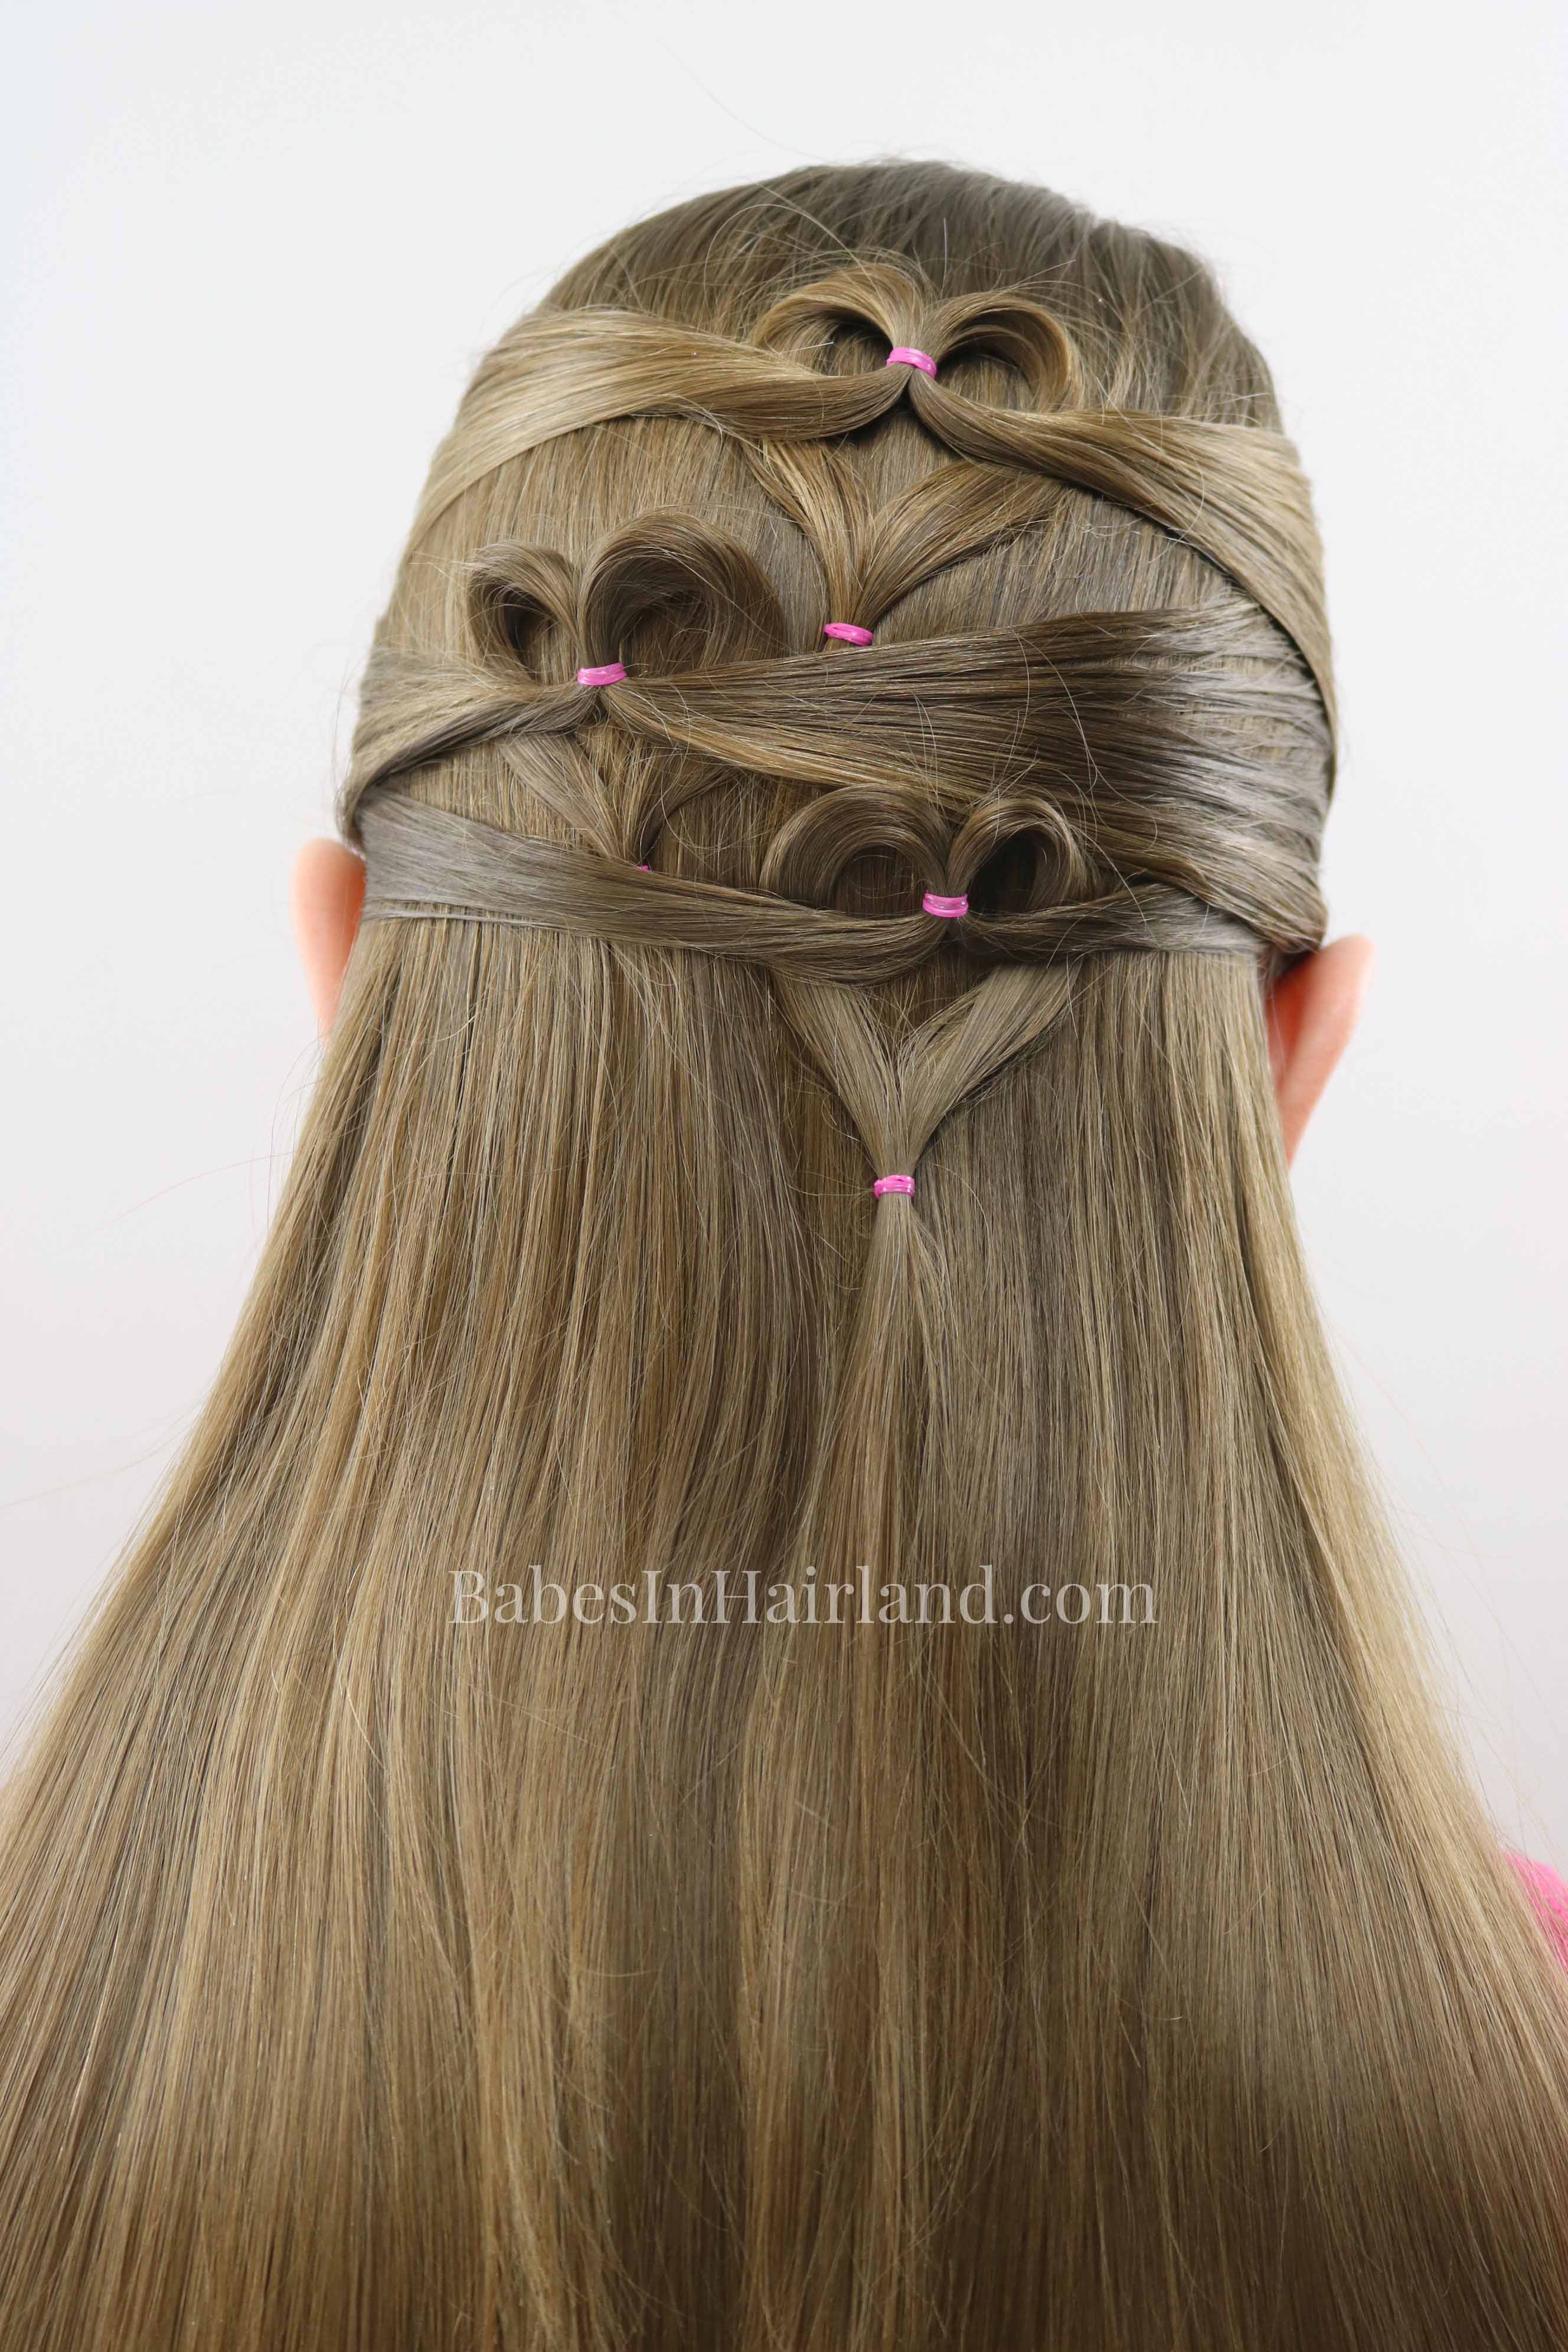
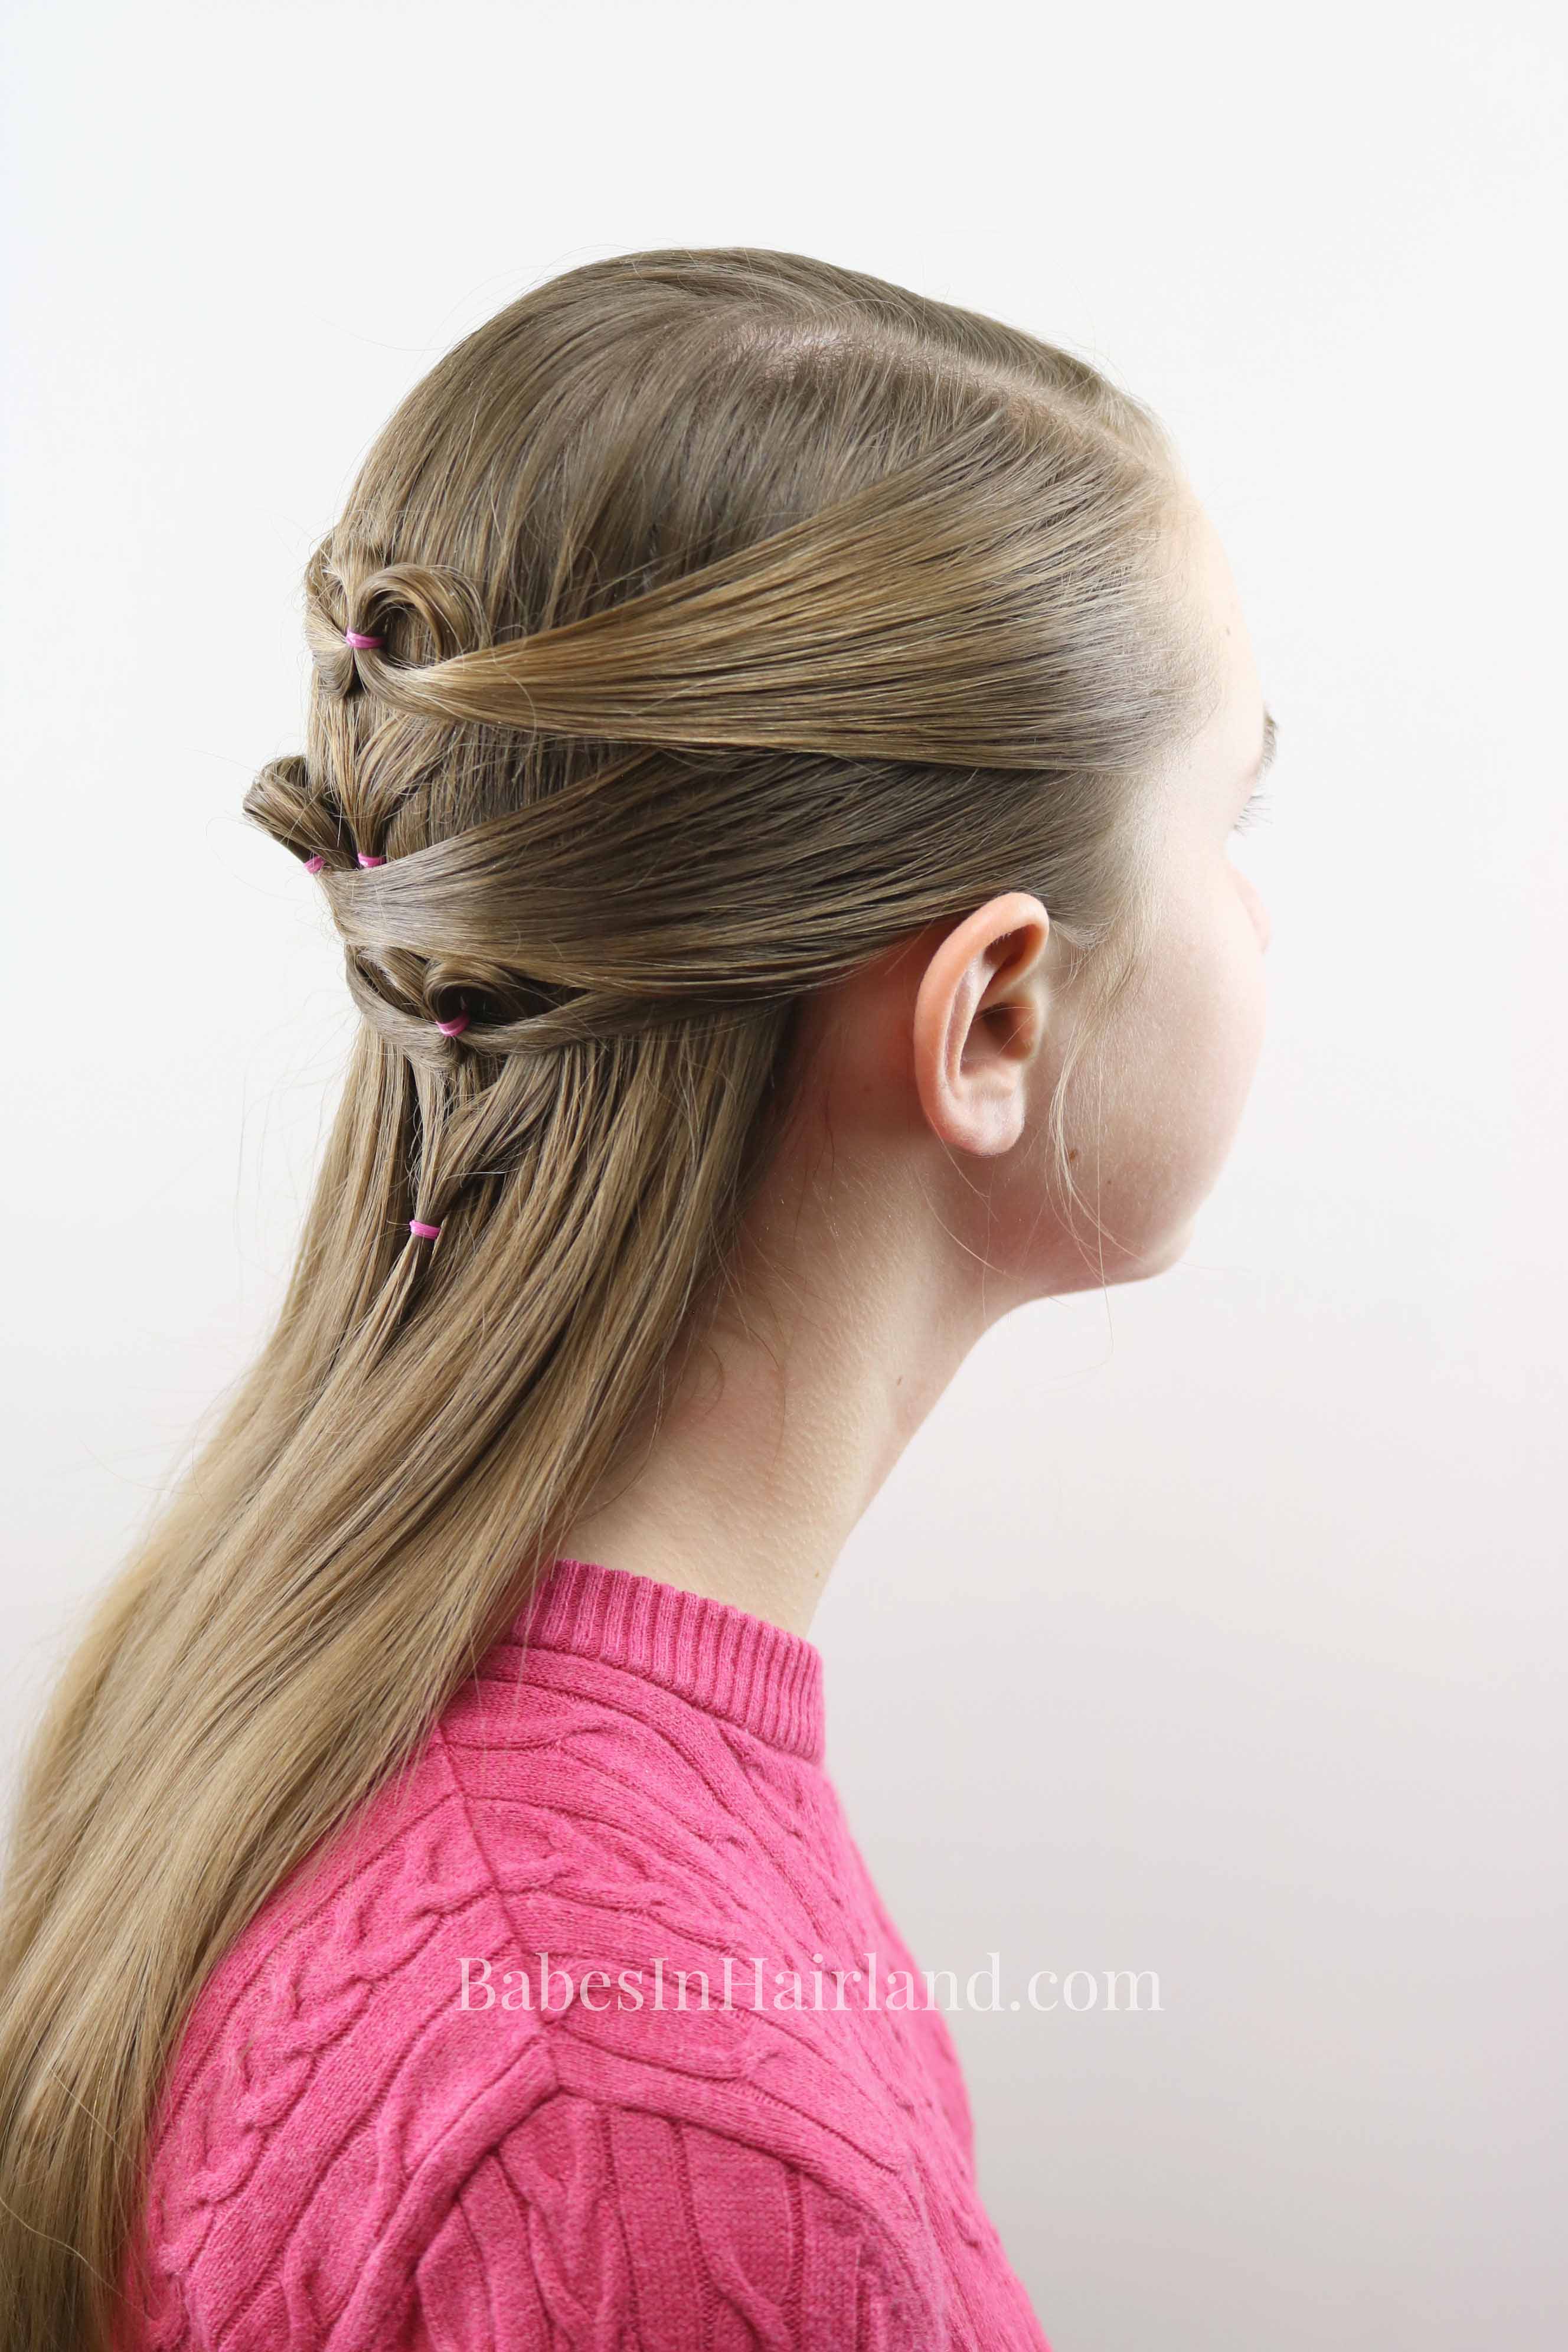
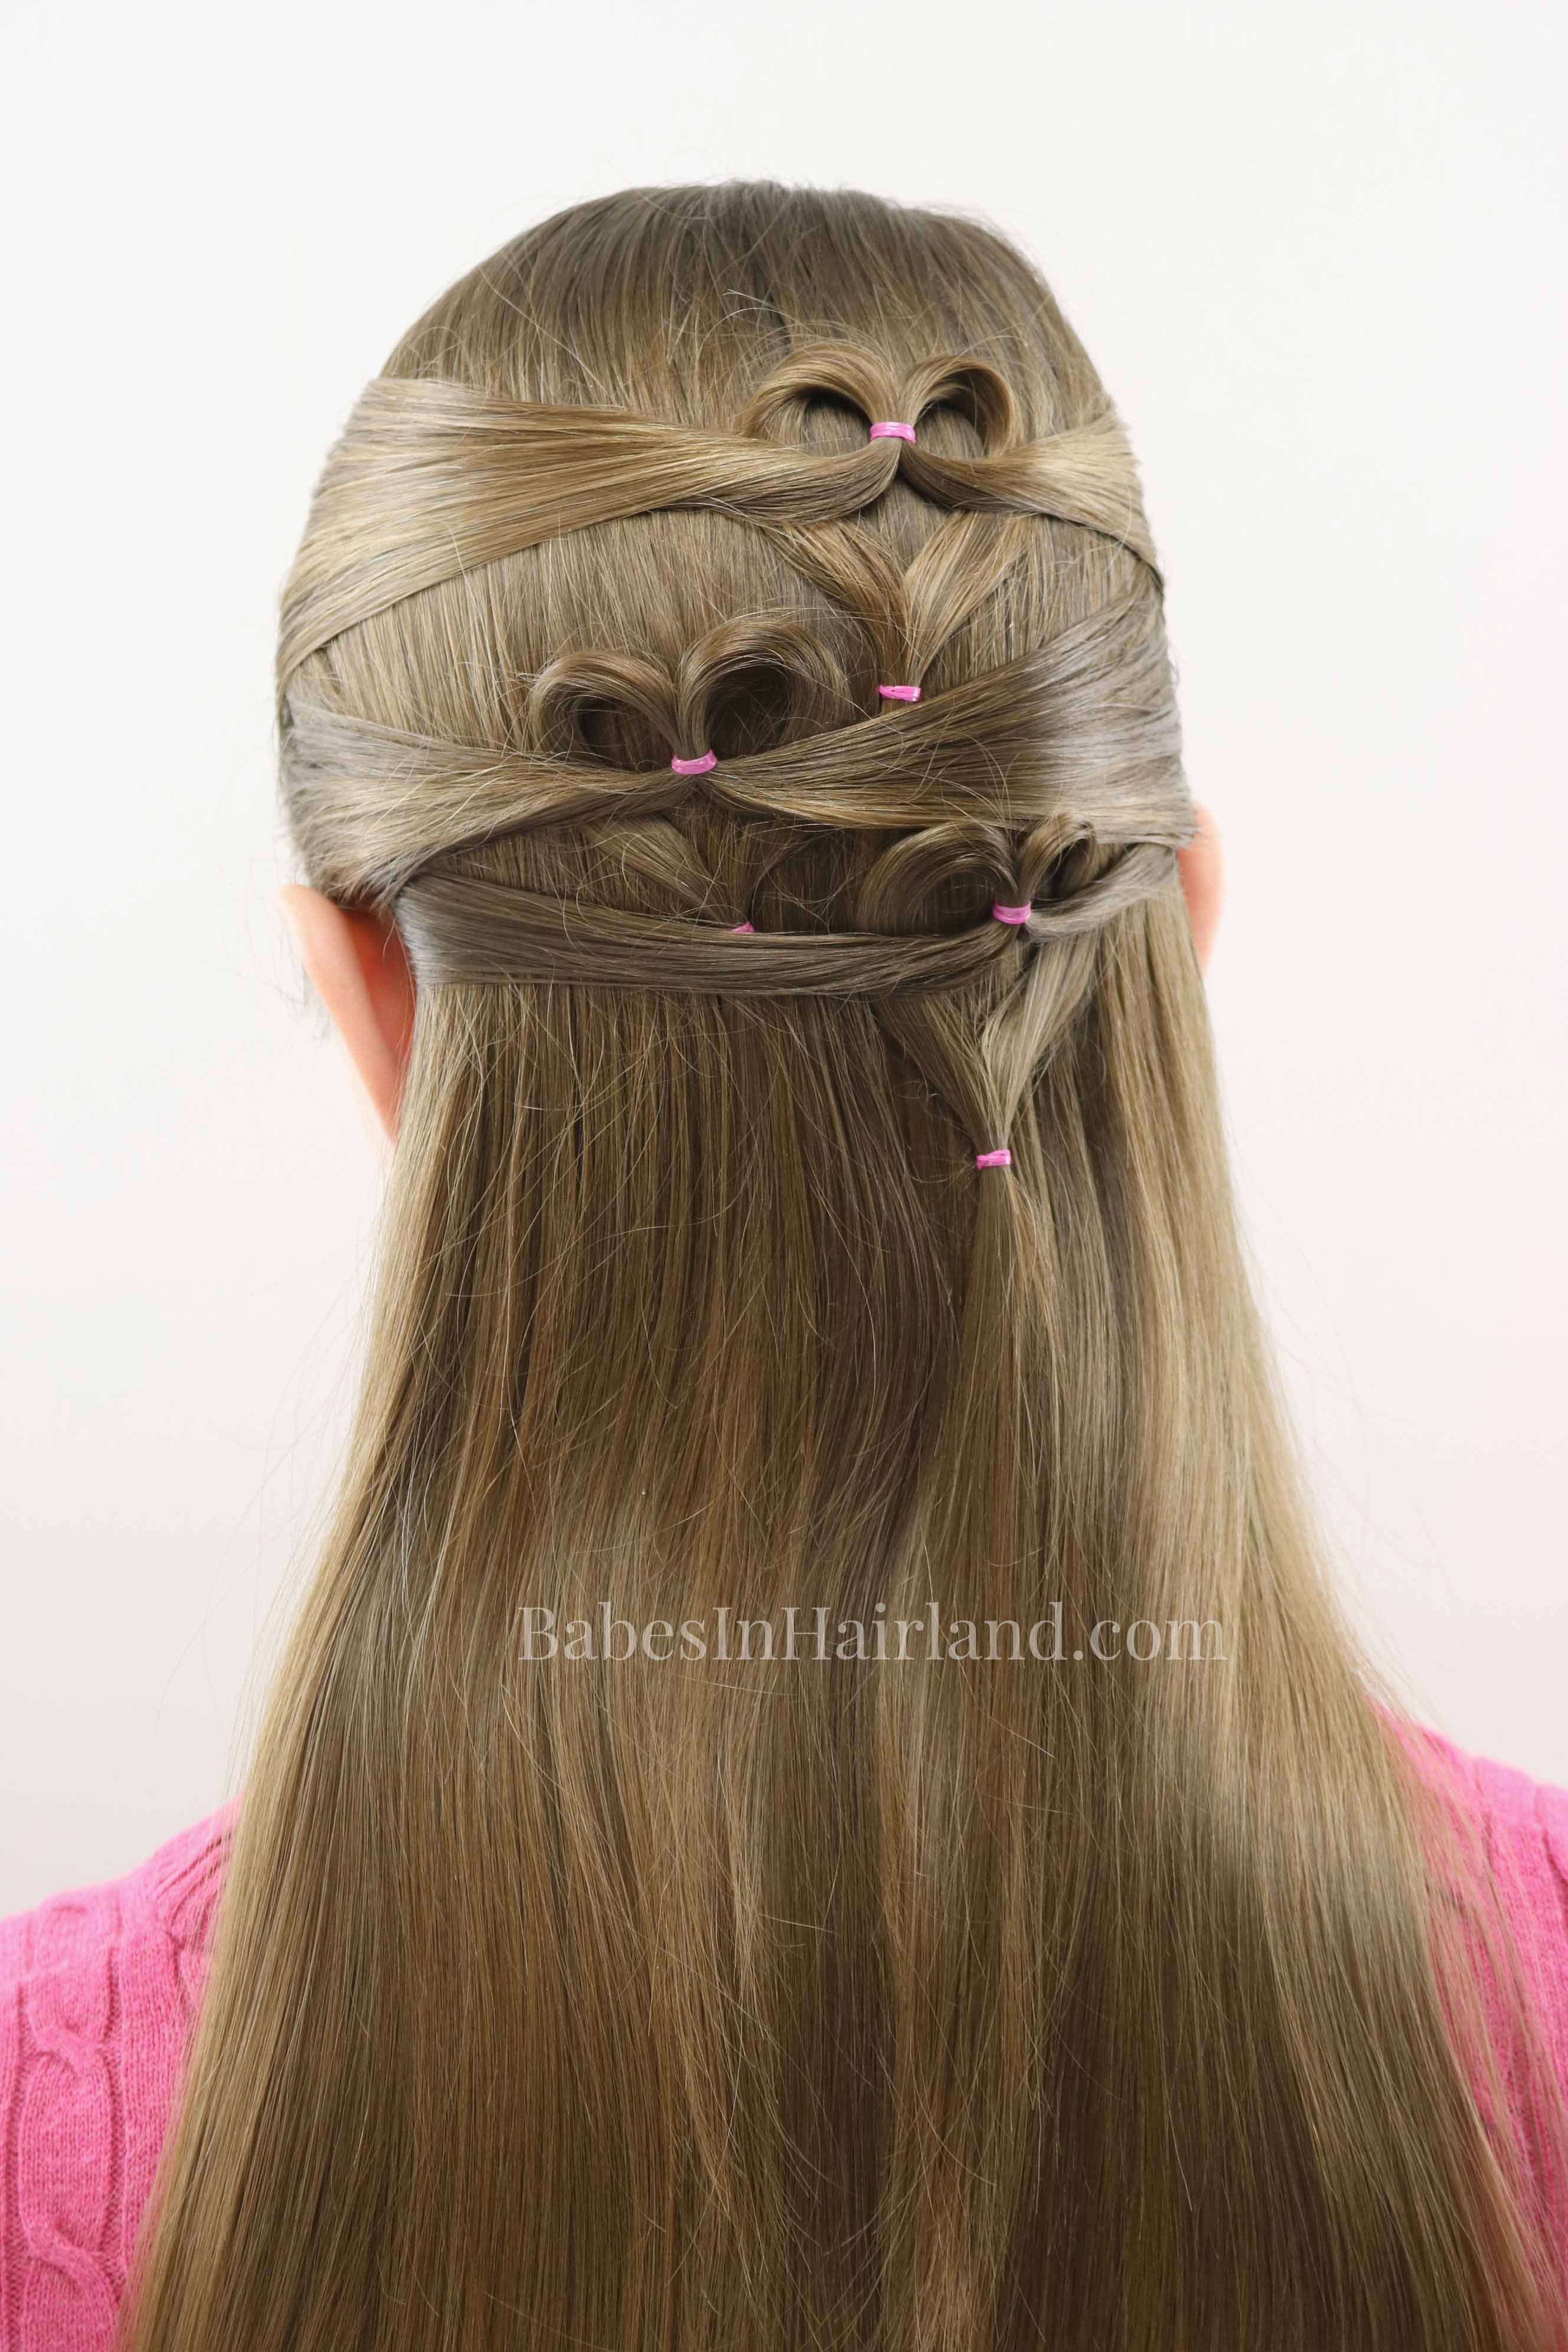
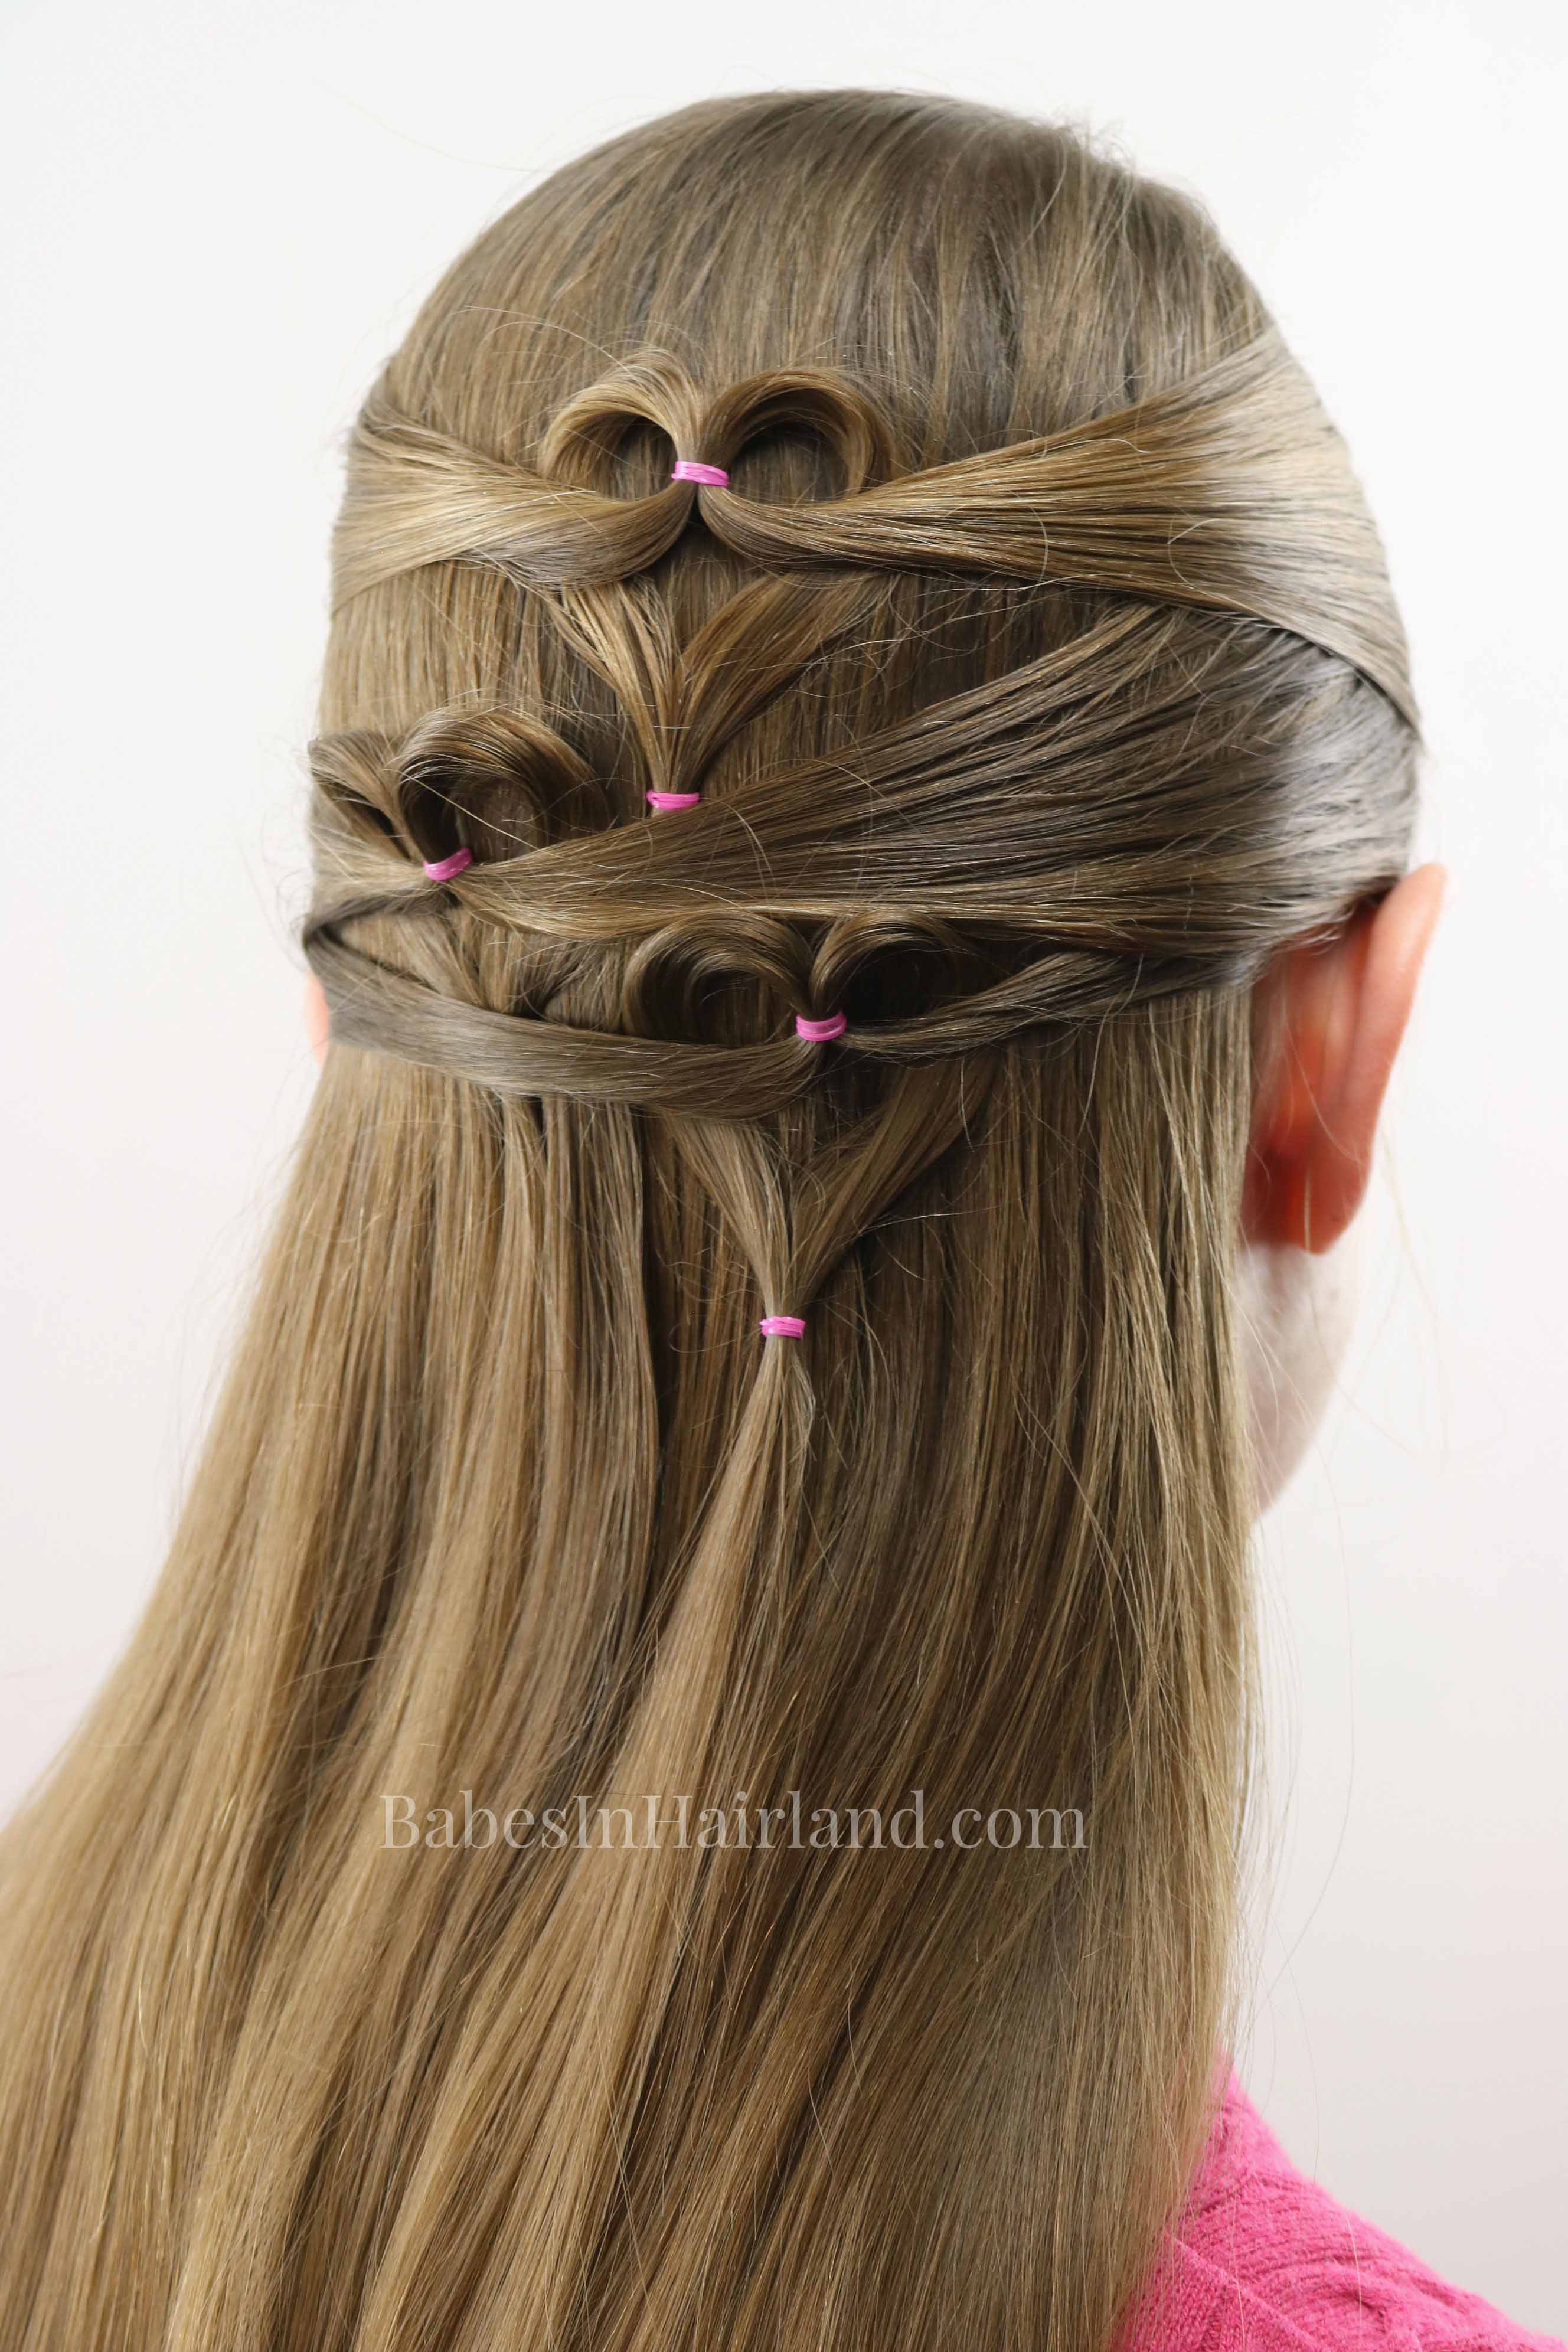
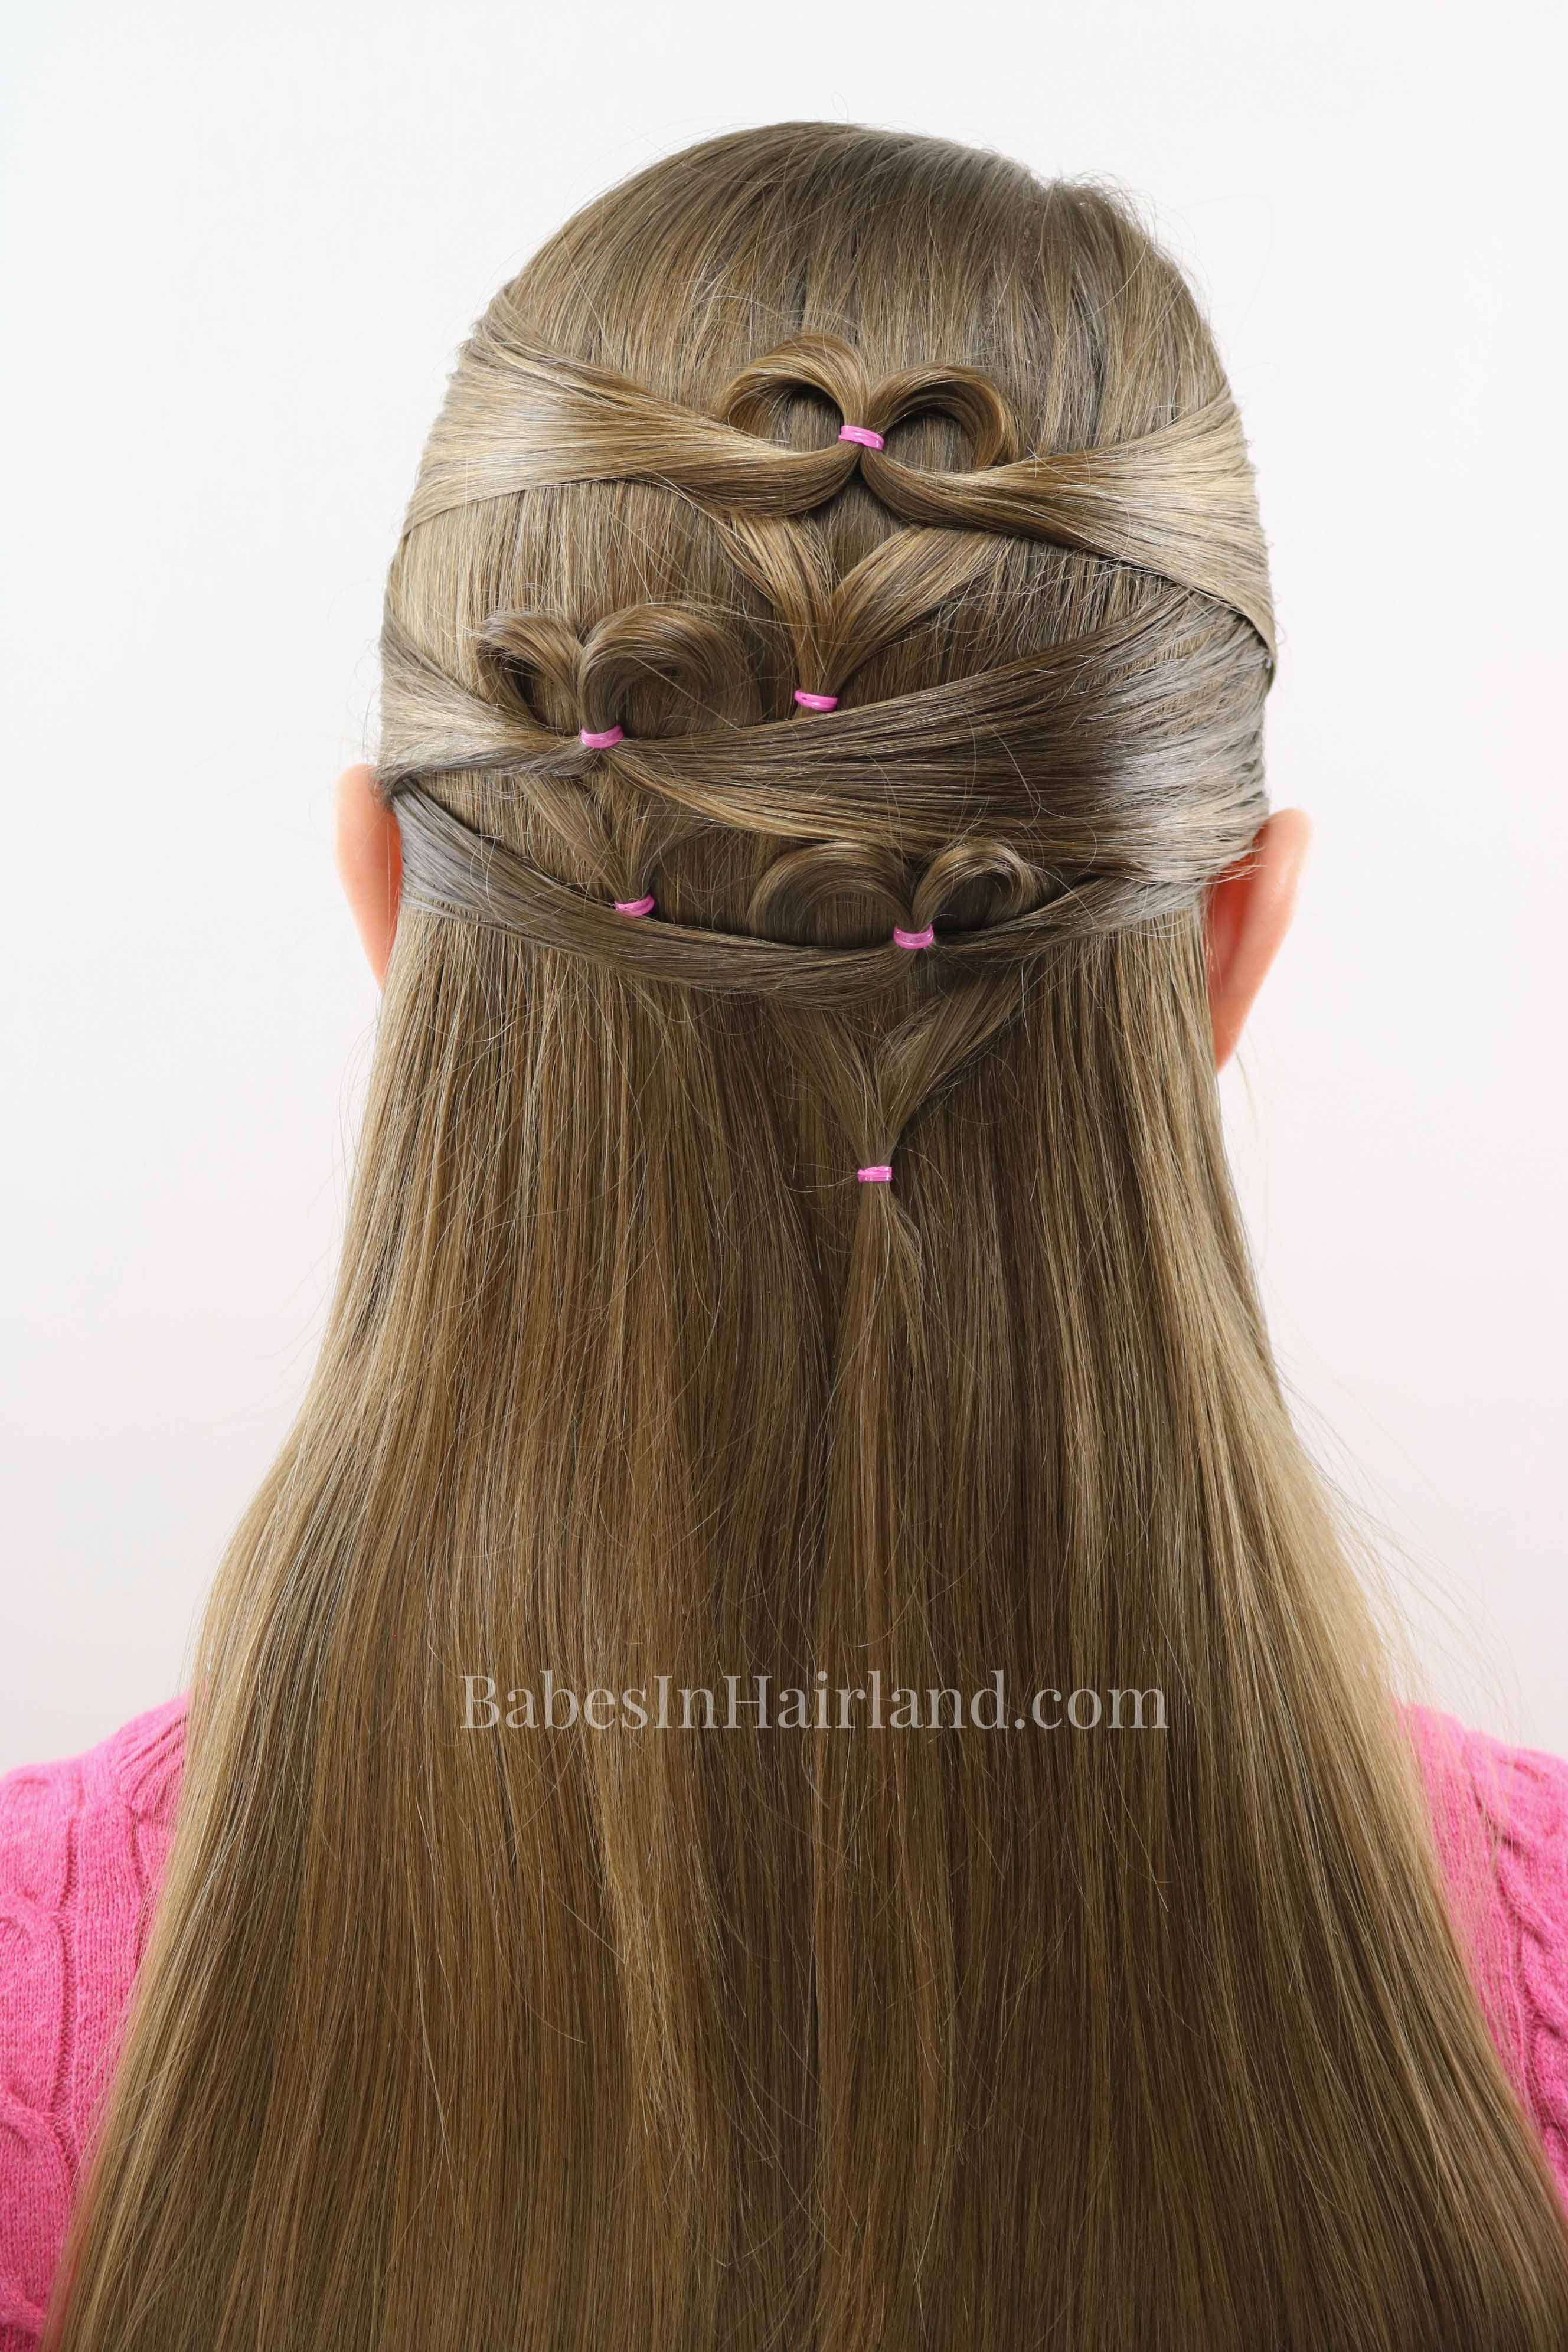
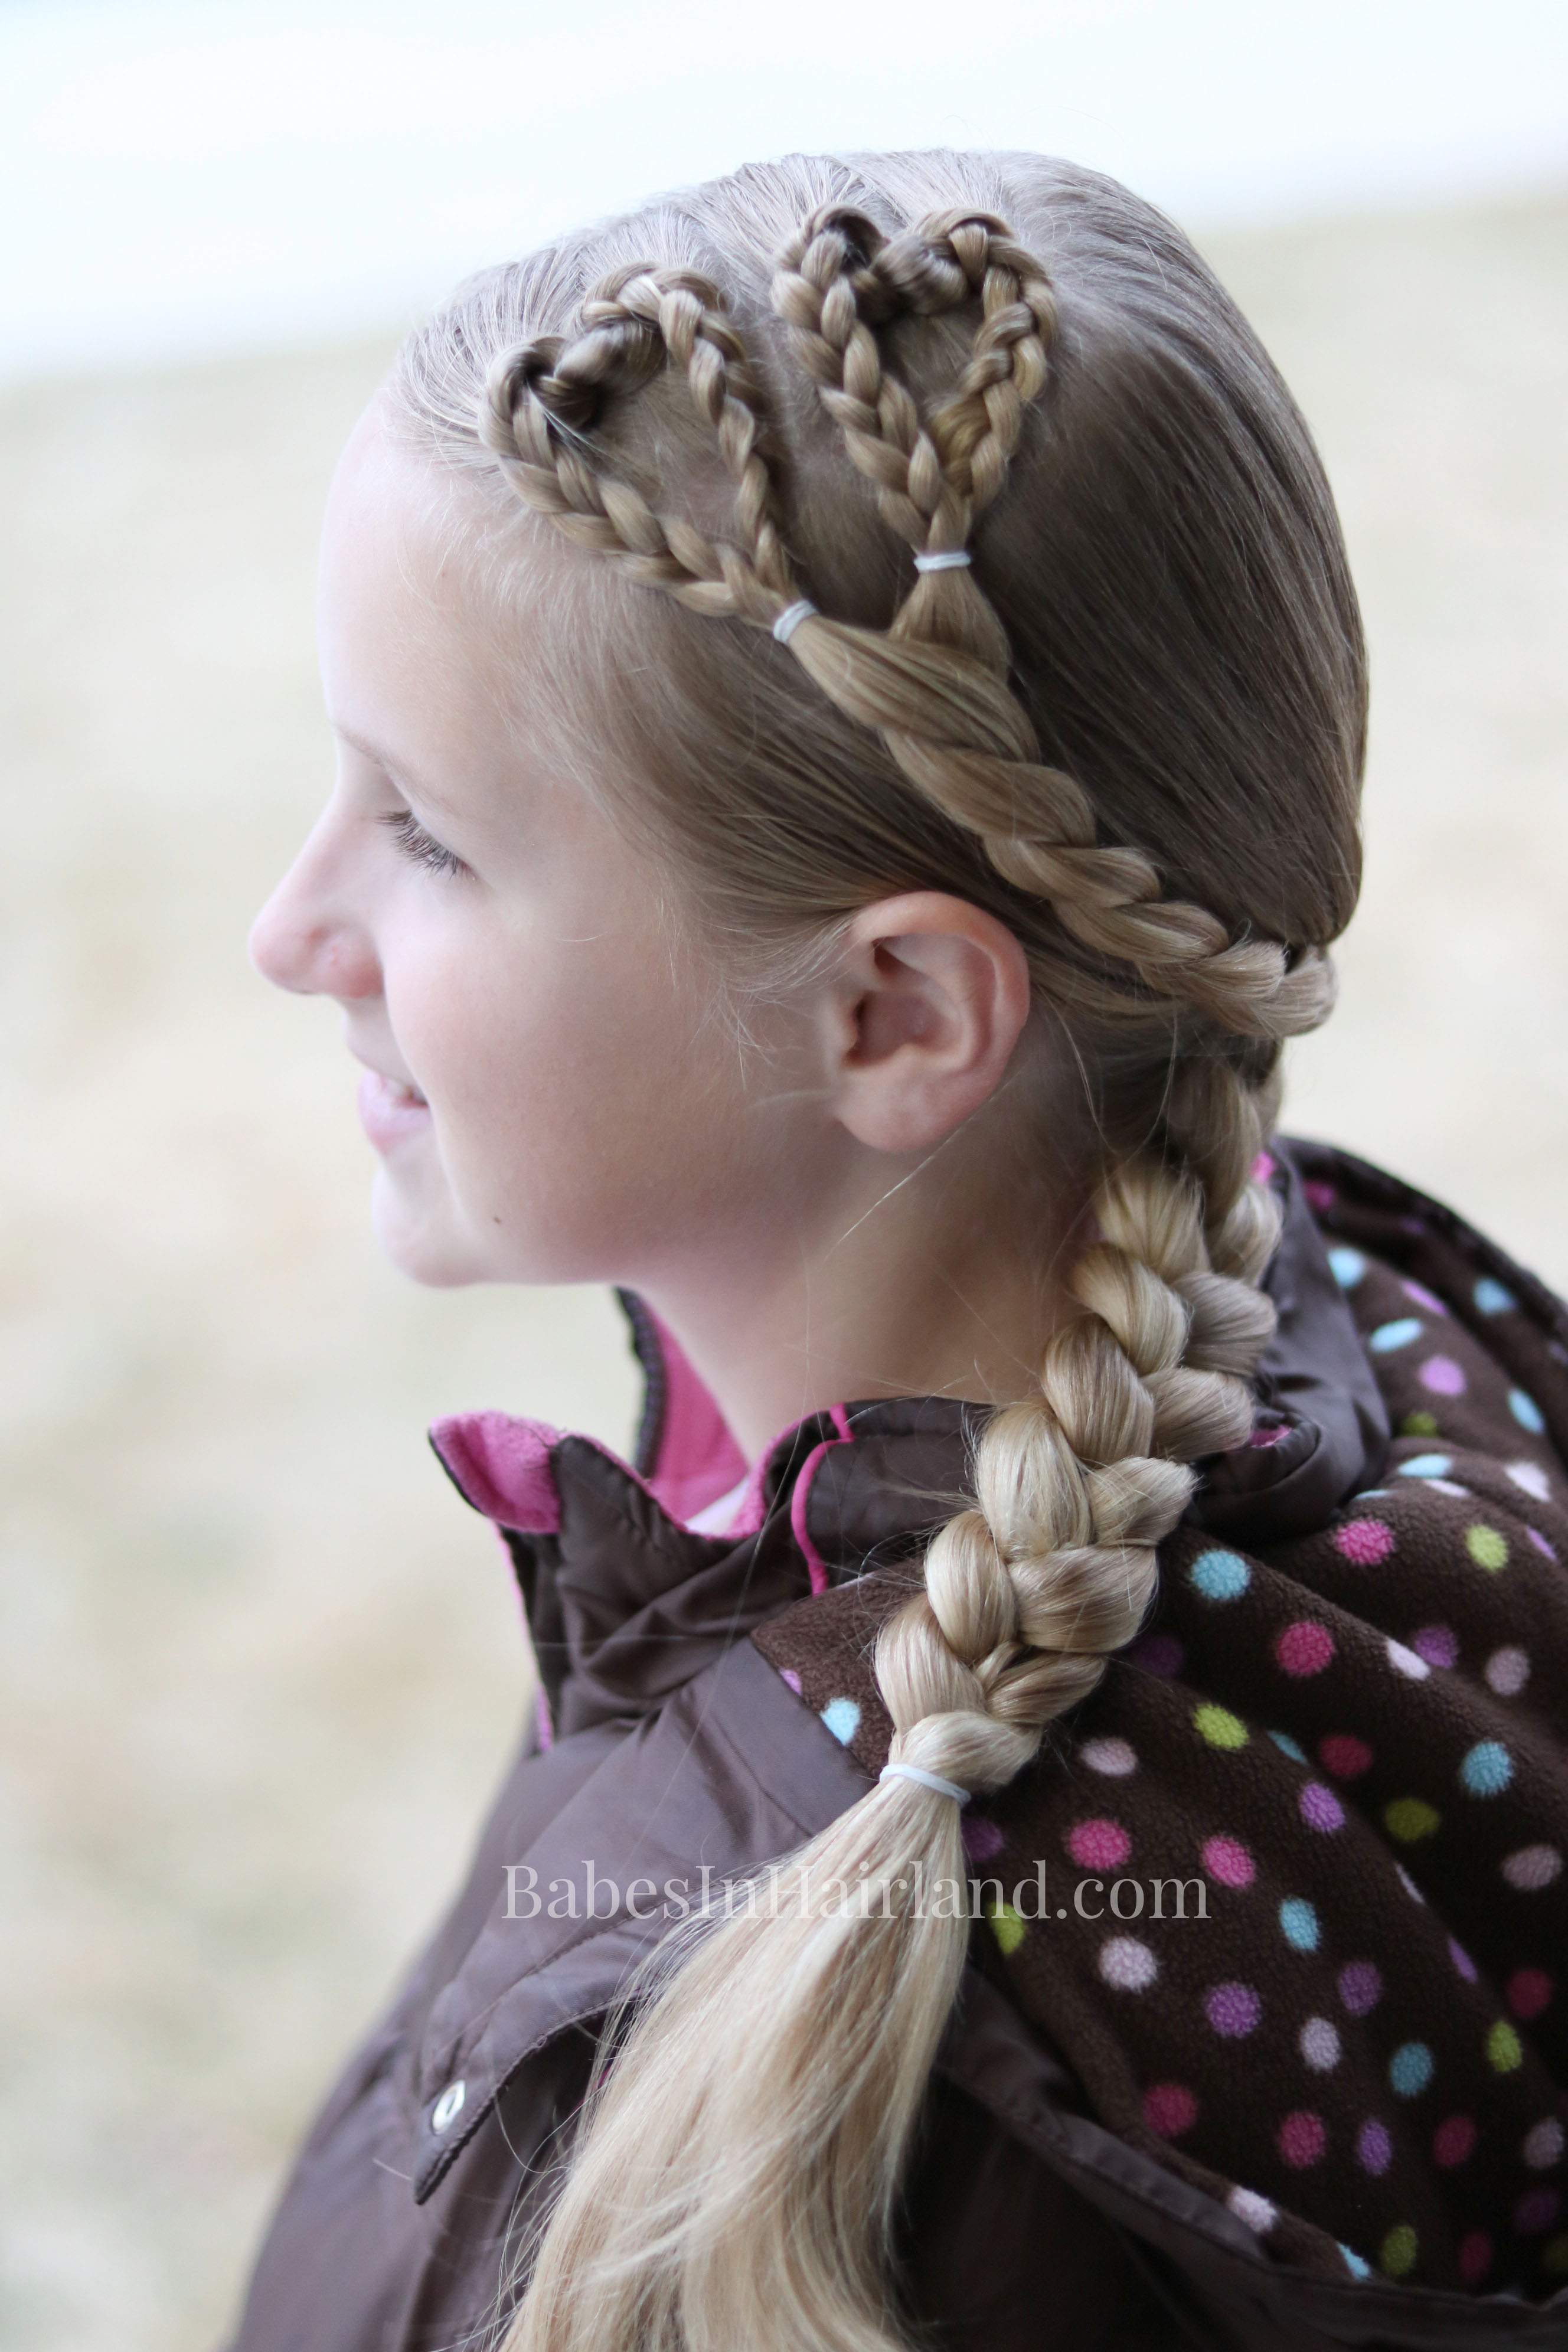
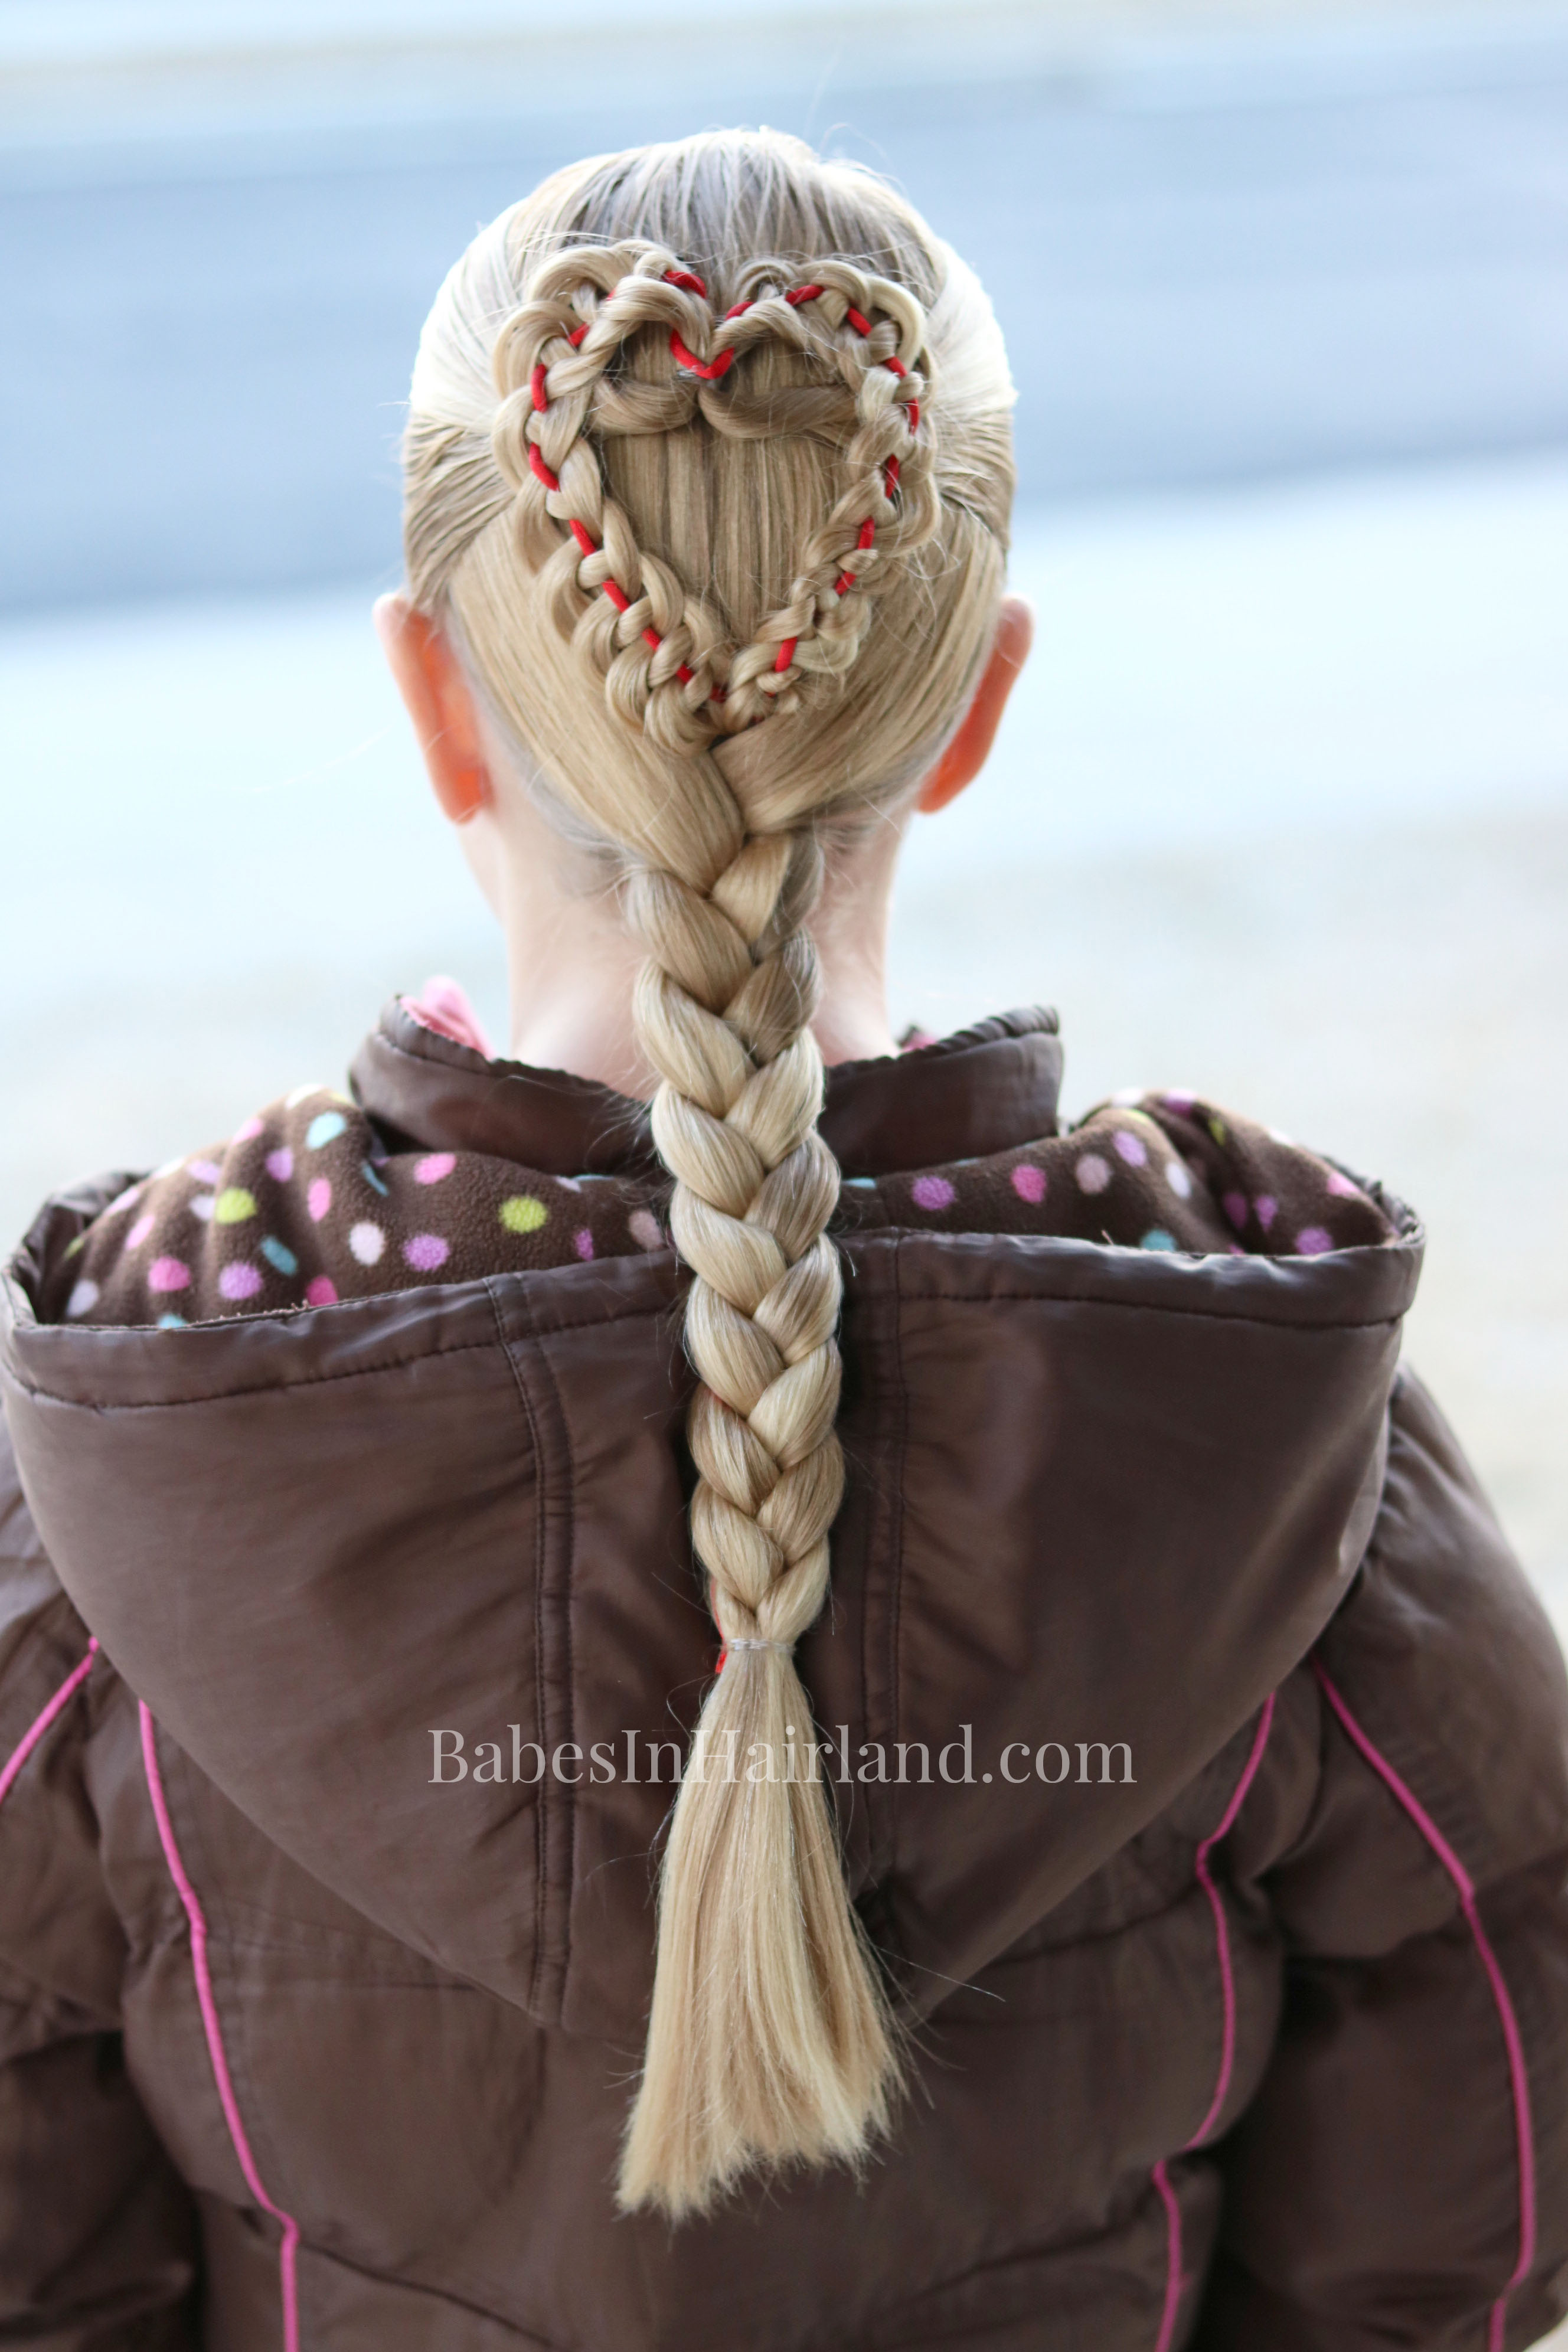
So regardless of if you create 1 or 3 hearts, this simple triple heart pullback hairstyle is sure to please! You’ll definitely have love in the hair with this cute Valentine’s Day hairstyle! Don’t forget some of our other cute heart hairstyles we’ve created. We shared these 2 last year on Instagram. They don’t have tutorials yet, but they are pretty straight forward.
Check these tutorials out as well!
Braided Doily Heart Hairstyle
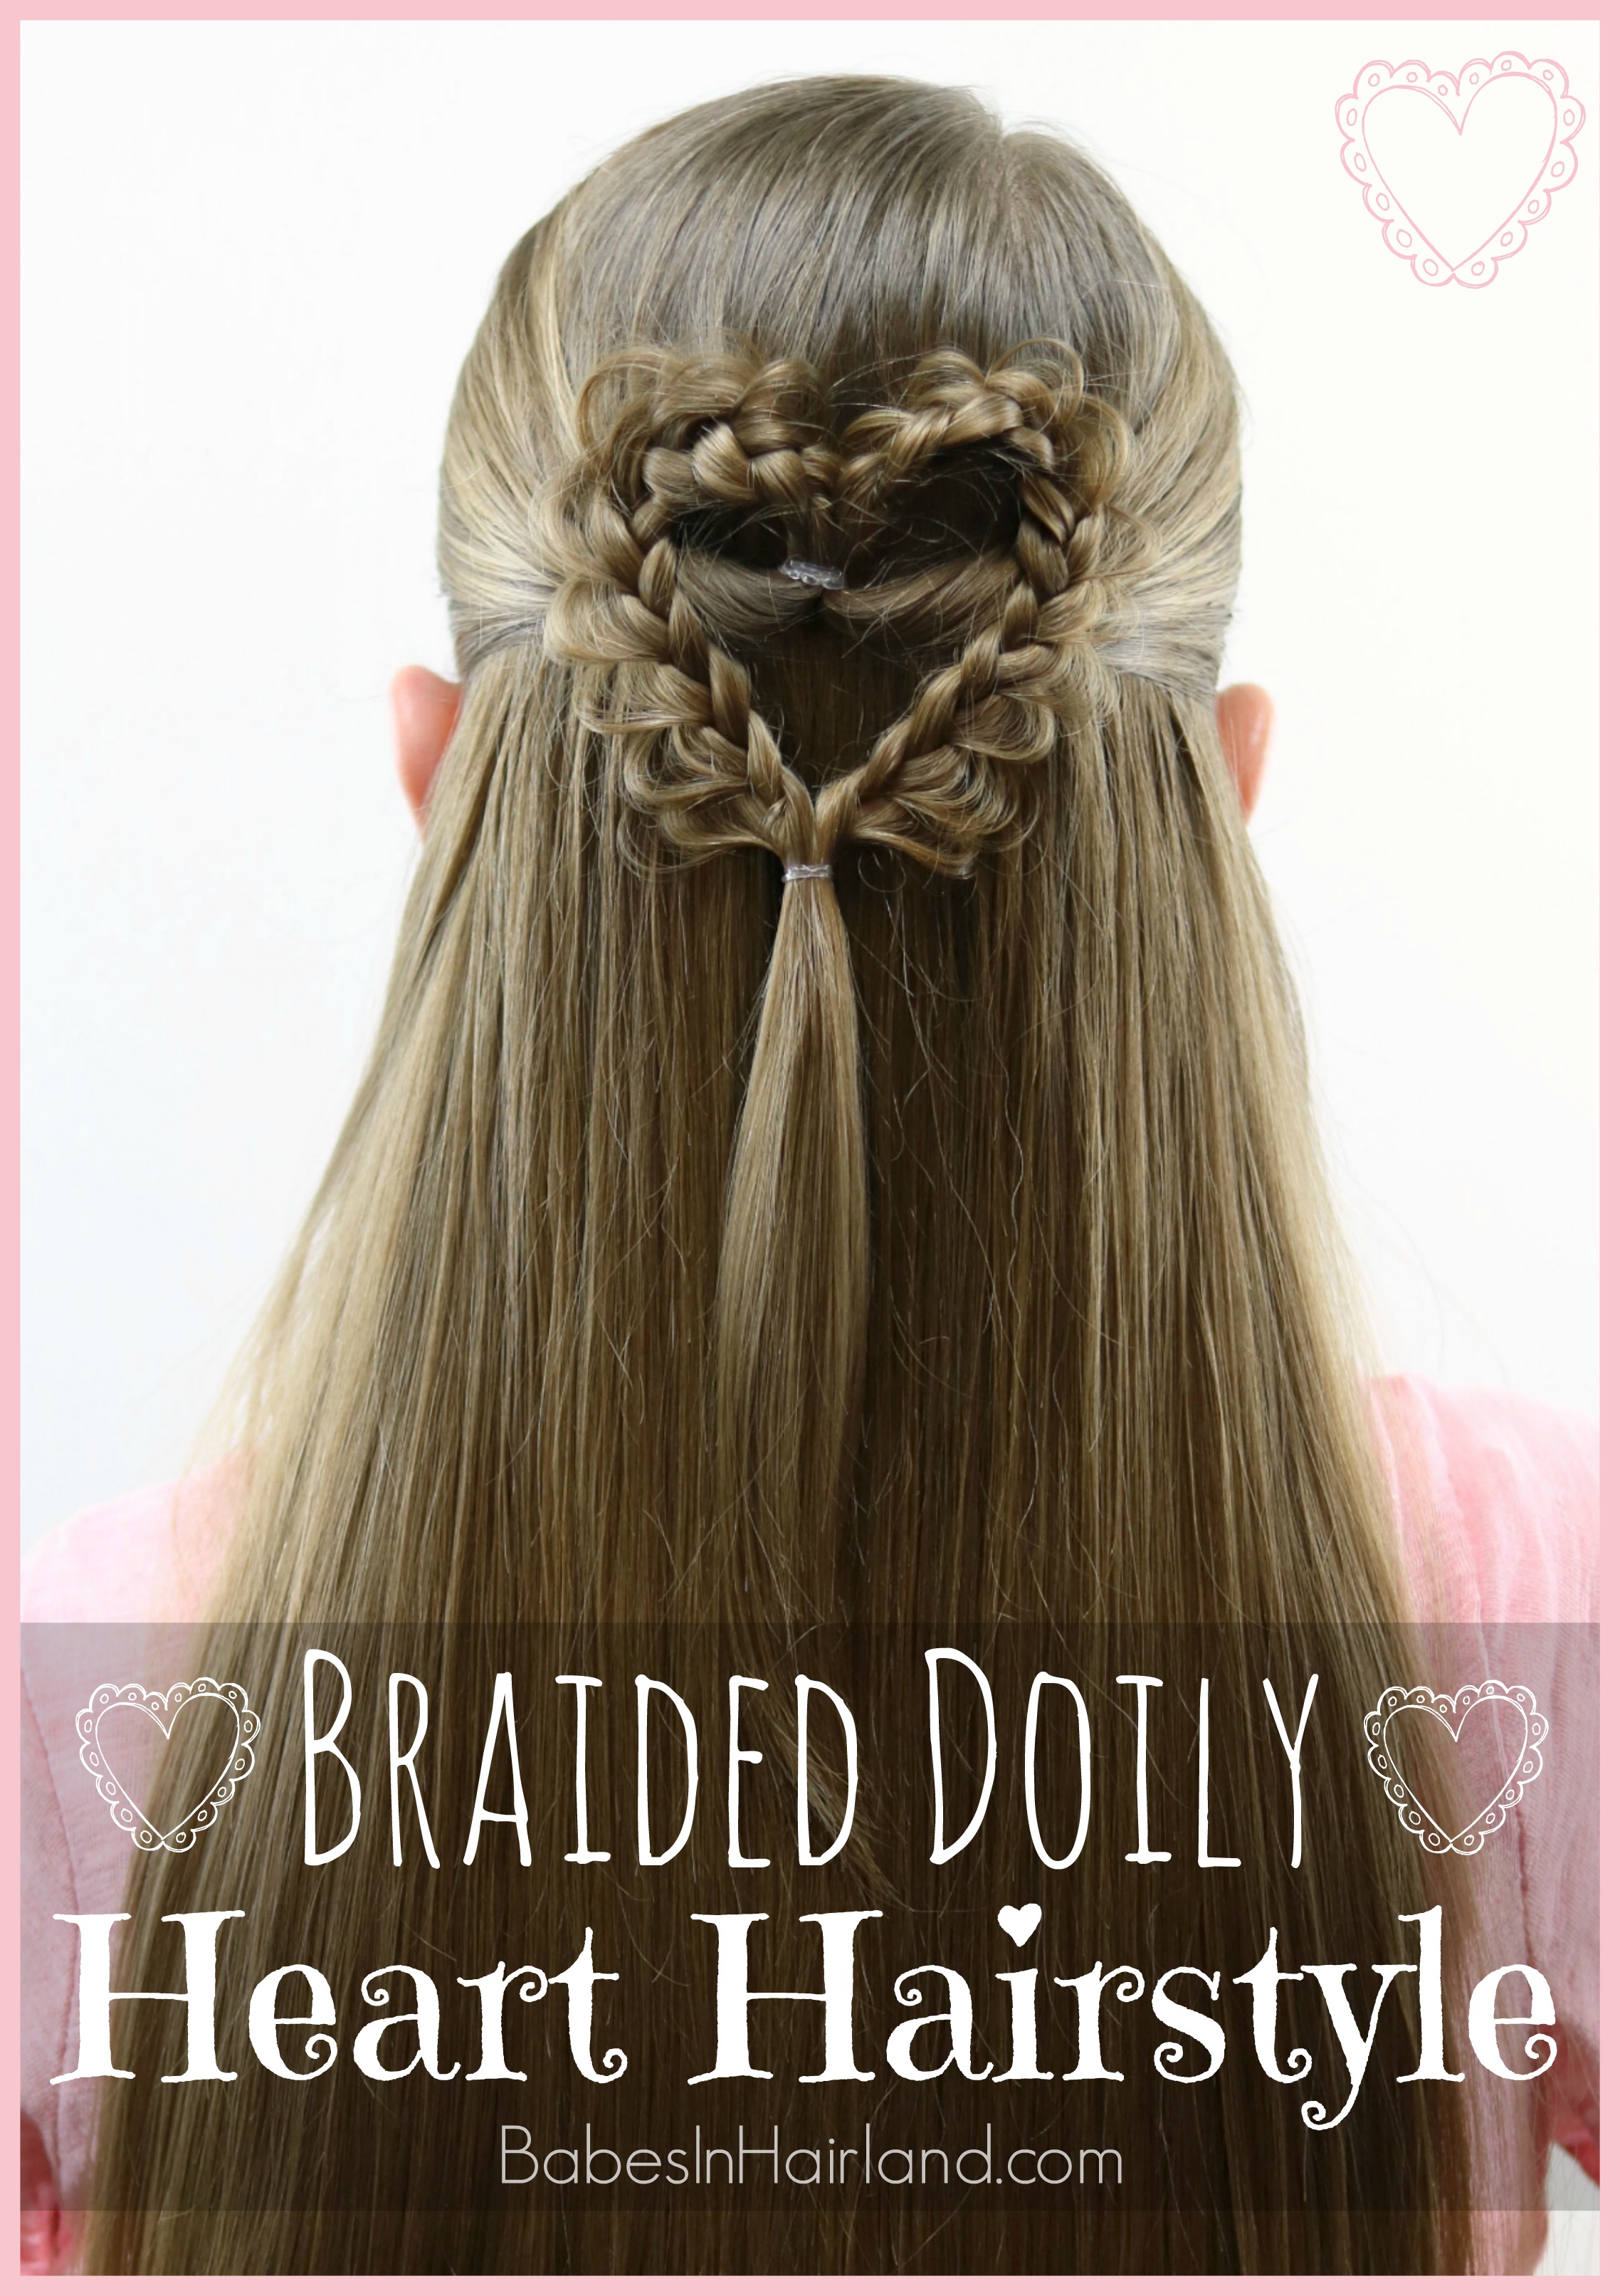
Half-Up 3D Heart Hairstyle
Thanks for stopping by today! We hope you are able to create some fun Valentine’s Day hairstyles in the coming week! Don’t forget to SHARE & PIN these for later too!
The post Triple Heart Pullback | Valentine’s Day Hairstyle appeared first on Babes In Hairland.
]]>The post Hanging Hearts | Valentine’s Day Hairstyle appeared first on Babes In Hairland.
]]>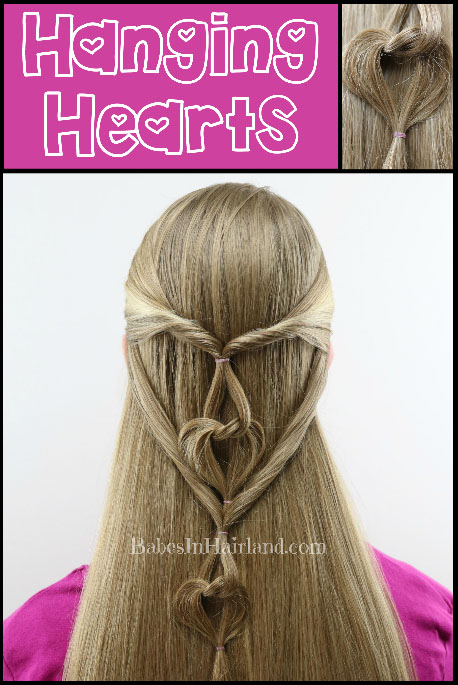
Here’s our short video tutorial for this cute Valentine’s Day hairstyle. If you have issues watching it here on our blog, go HERE to watch it on our YouTube channel. See below for more instructions and pictures of the finished hairstyle.
1- Draw hair back from both the left and right sides of the head. Join them together in the back center of the head with an elastic.
If you’re working with thinner hair, you could do a full half pony, parting hair from ear to ear and making a half ponytail in the back. You don’t want the hearts to be too thick, so I wanted to work with less hair. Because her hair is fairly thick, I just took a bit of hair from each side to form the ponytail.
2- Divide the ponytail into a left a right section to create a half knot, as if you are tying your shoe.
If this ponytail is still too thick, divide it into a top and bottom section first. Then only work with the top section. Then divide it in half so you have a left and right section. That’s what I did when doing this style, since McKayla’s hair is thicker.
3- Make a second half knot, crossing one section over the other, and pulling it through the hole.
4- Draw the ends together and secure them with an elastic.
5- Now begin to form your heart shape by gently tugging on each side above the elastic. Gently pull on things until the heart takes shape, and it is the size you want.
6- Next, section out hair from each side of the head just below the hair you’d pulled back in Step 1. Draw it back to the center back of the head. Join these 2 sections of hair together and secure with an elastic. This elastic should be just below the elastic at the bottom of heart #1.
7- Repeat Steps 2-4 to make a second heart.
8- Gently pull on the hair to make a 2nd heart shape that hangs below the first one.
9 – Adjust hearts as needed and spray with hairspray to help things stay secure.
FINISHED HANGING HEARTS HAIRSTYLE!
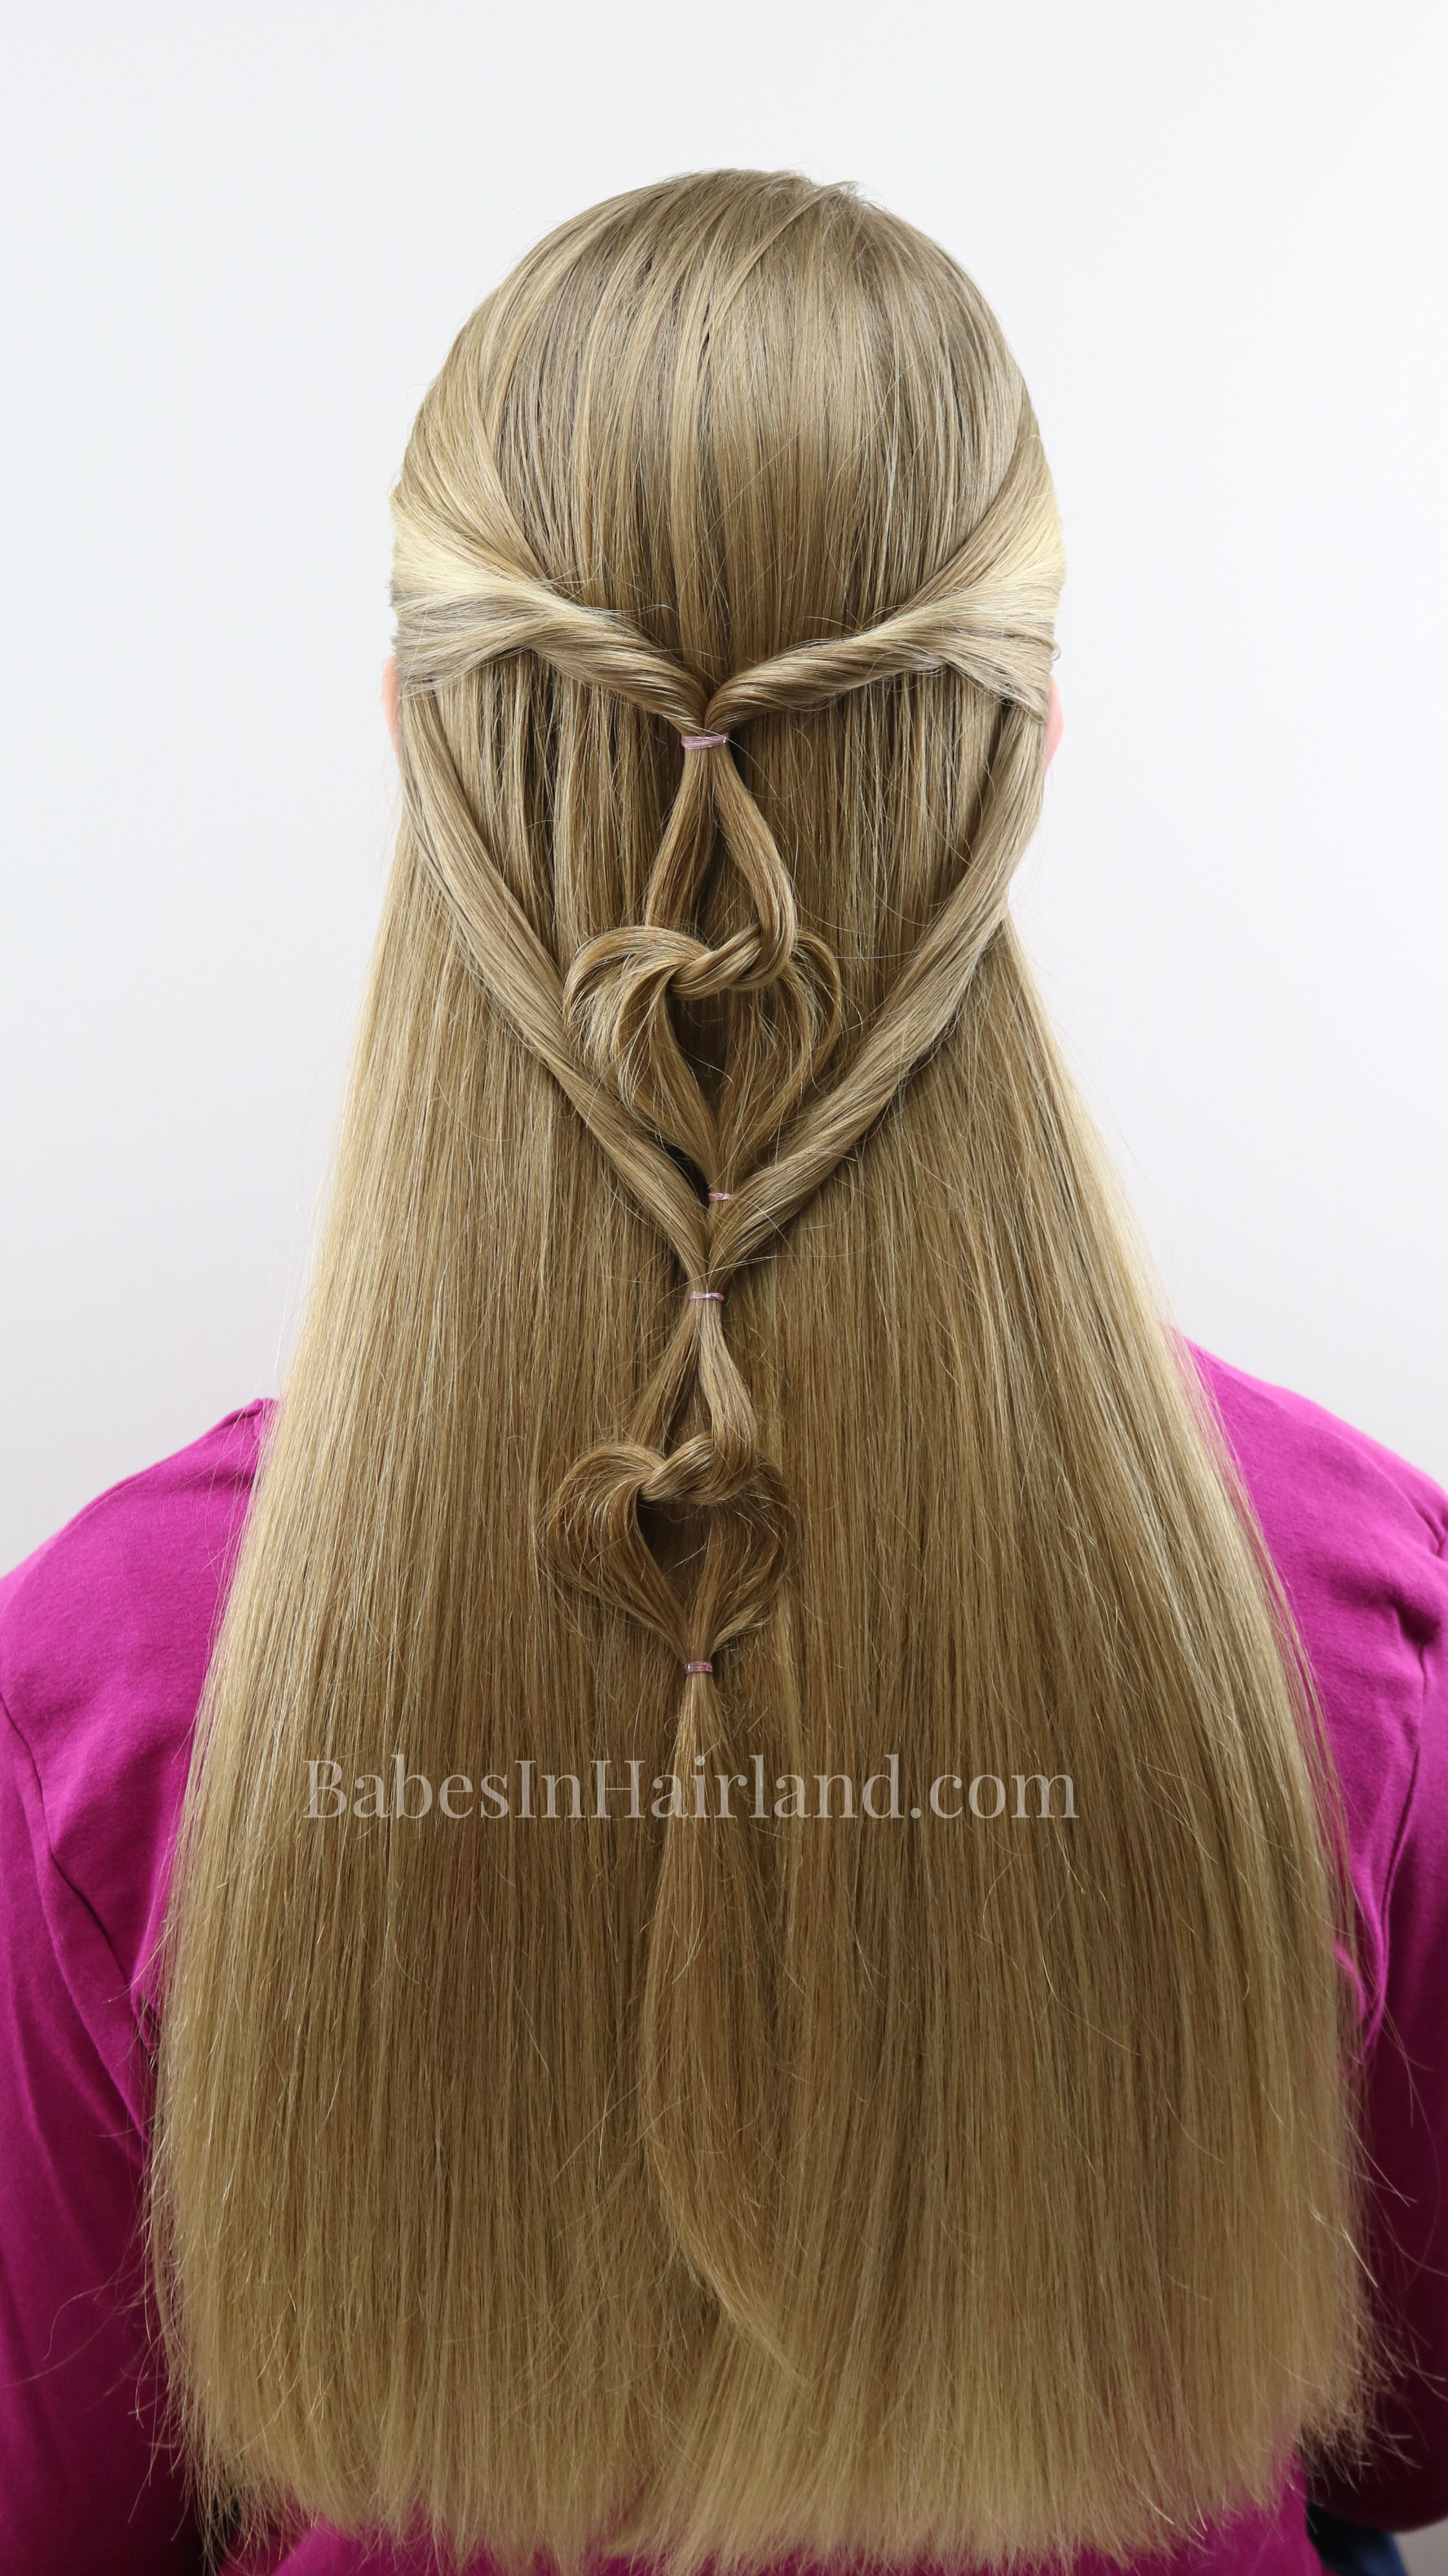
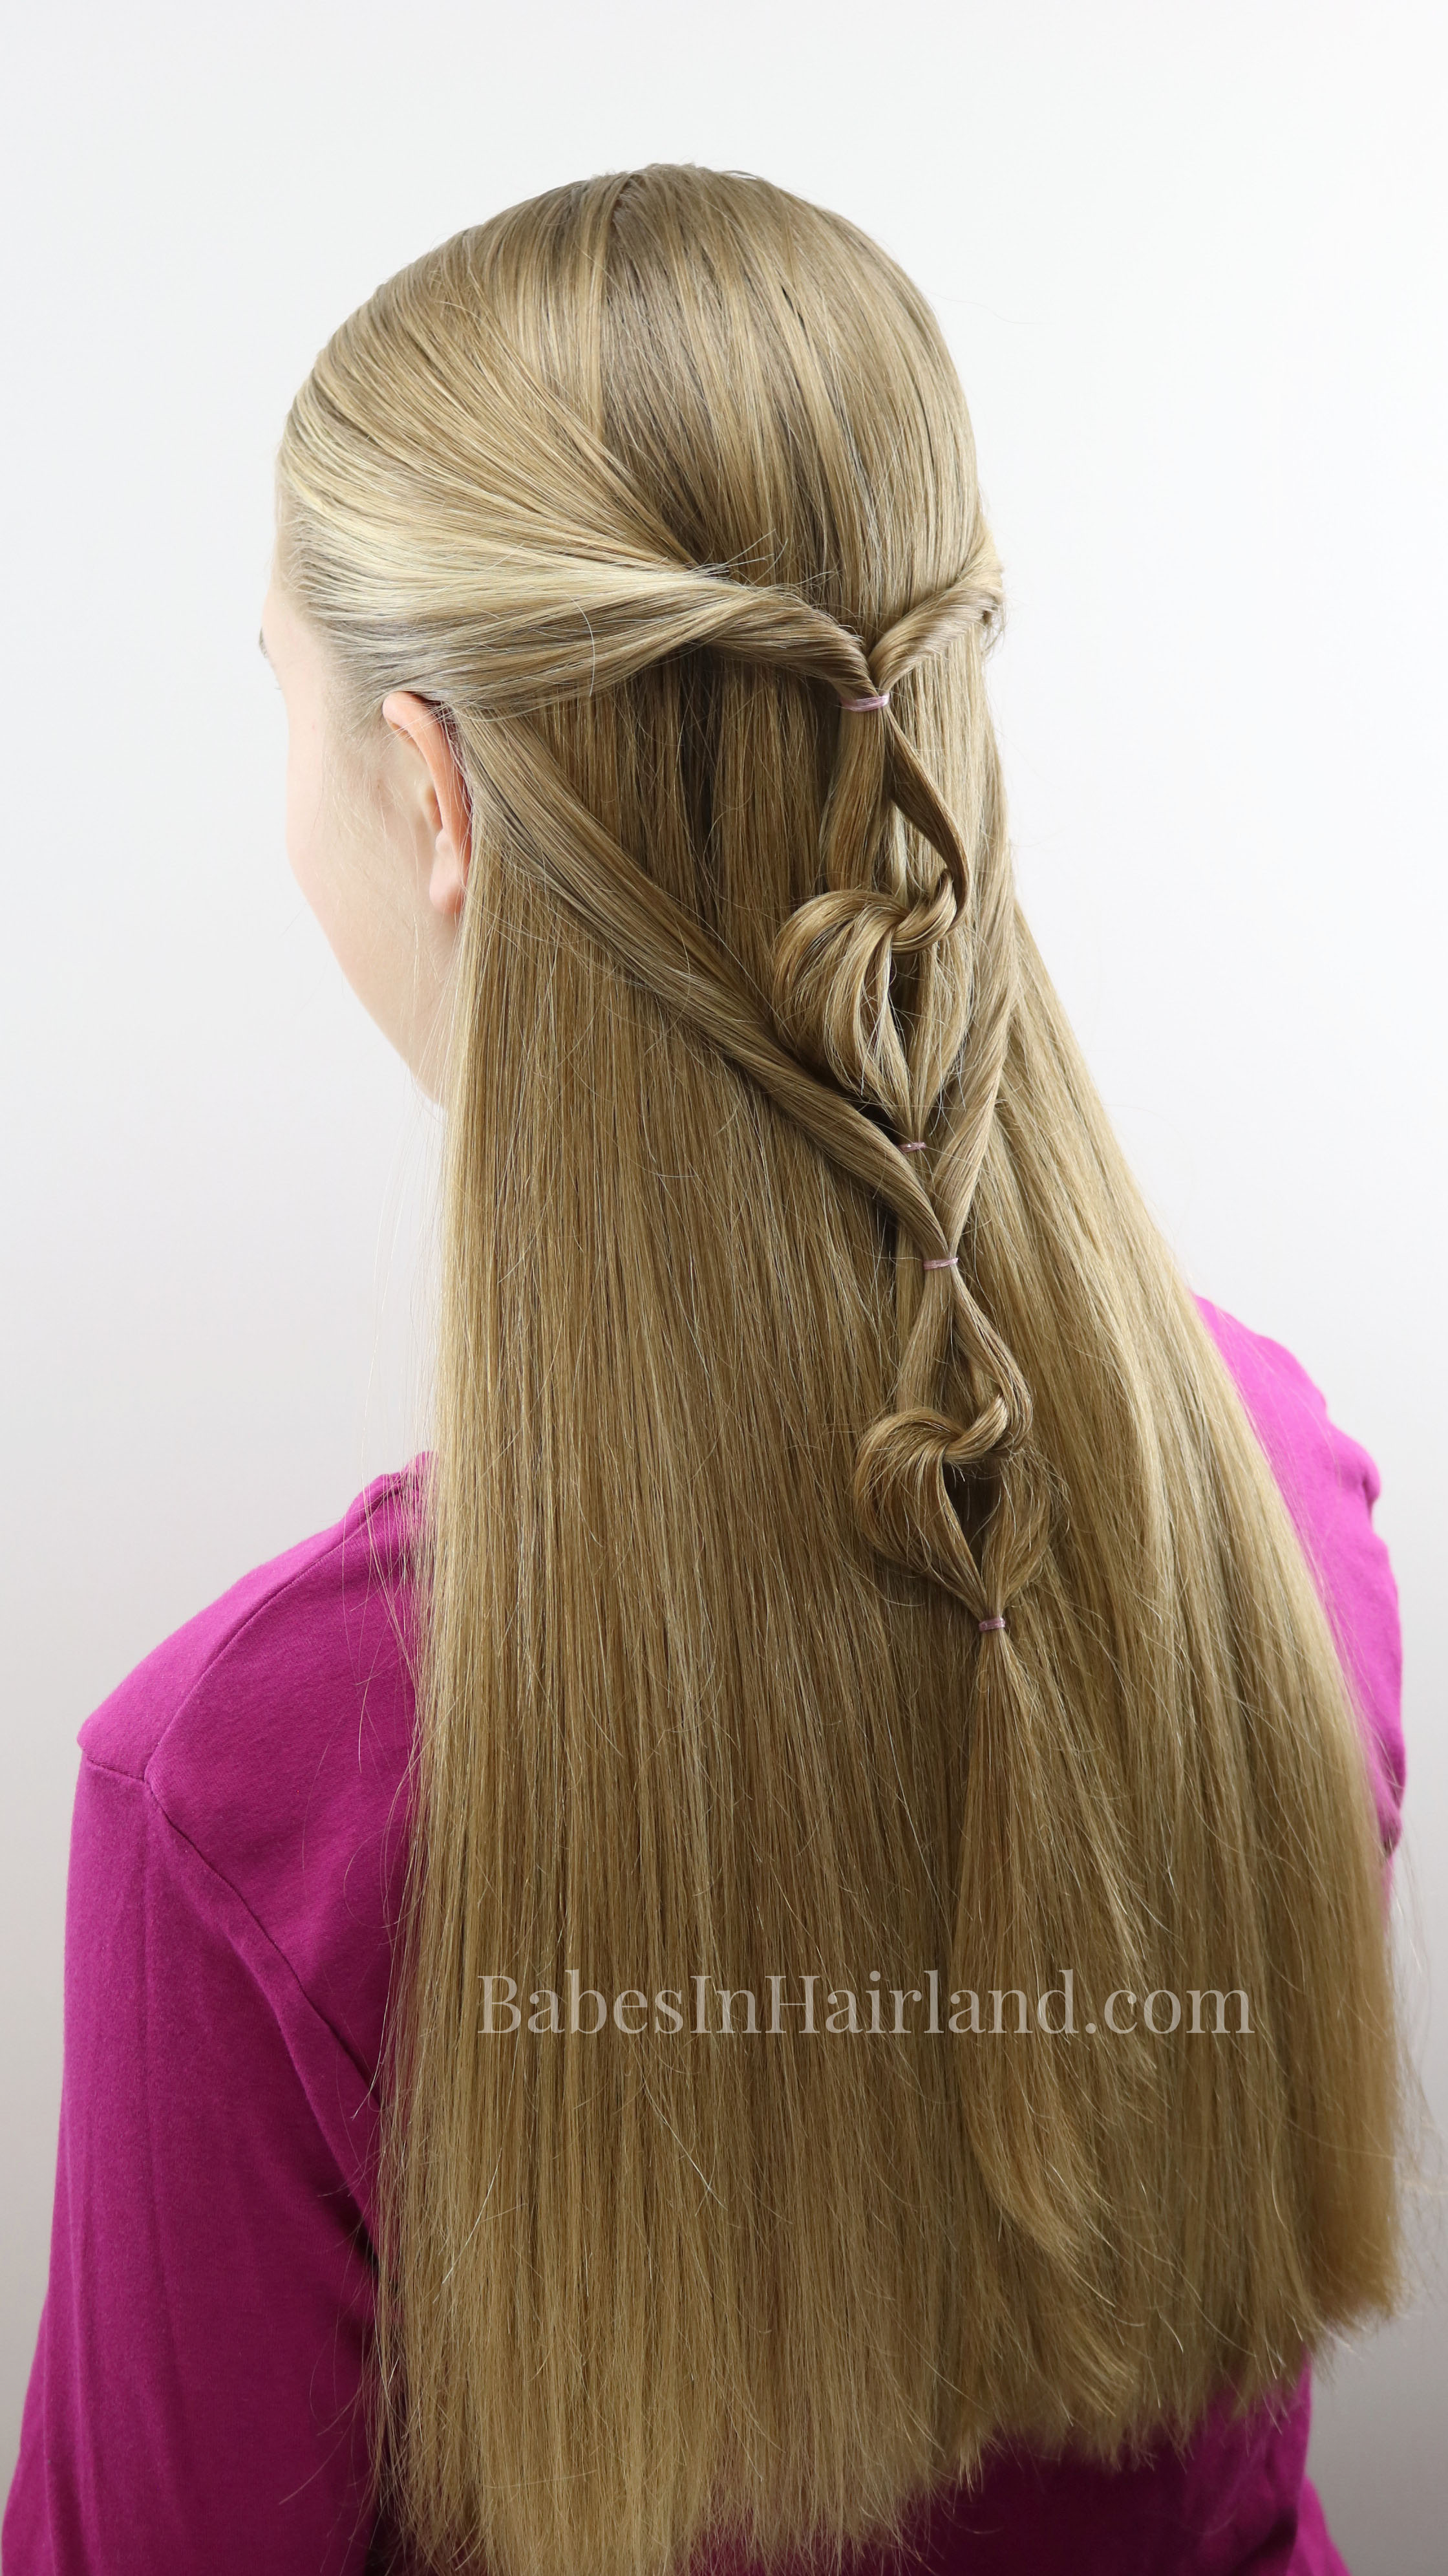
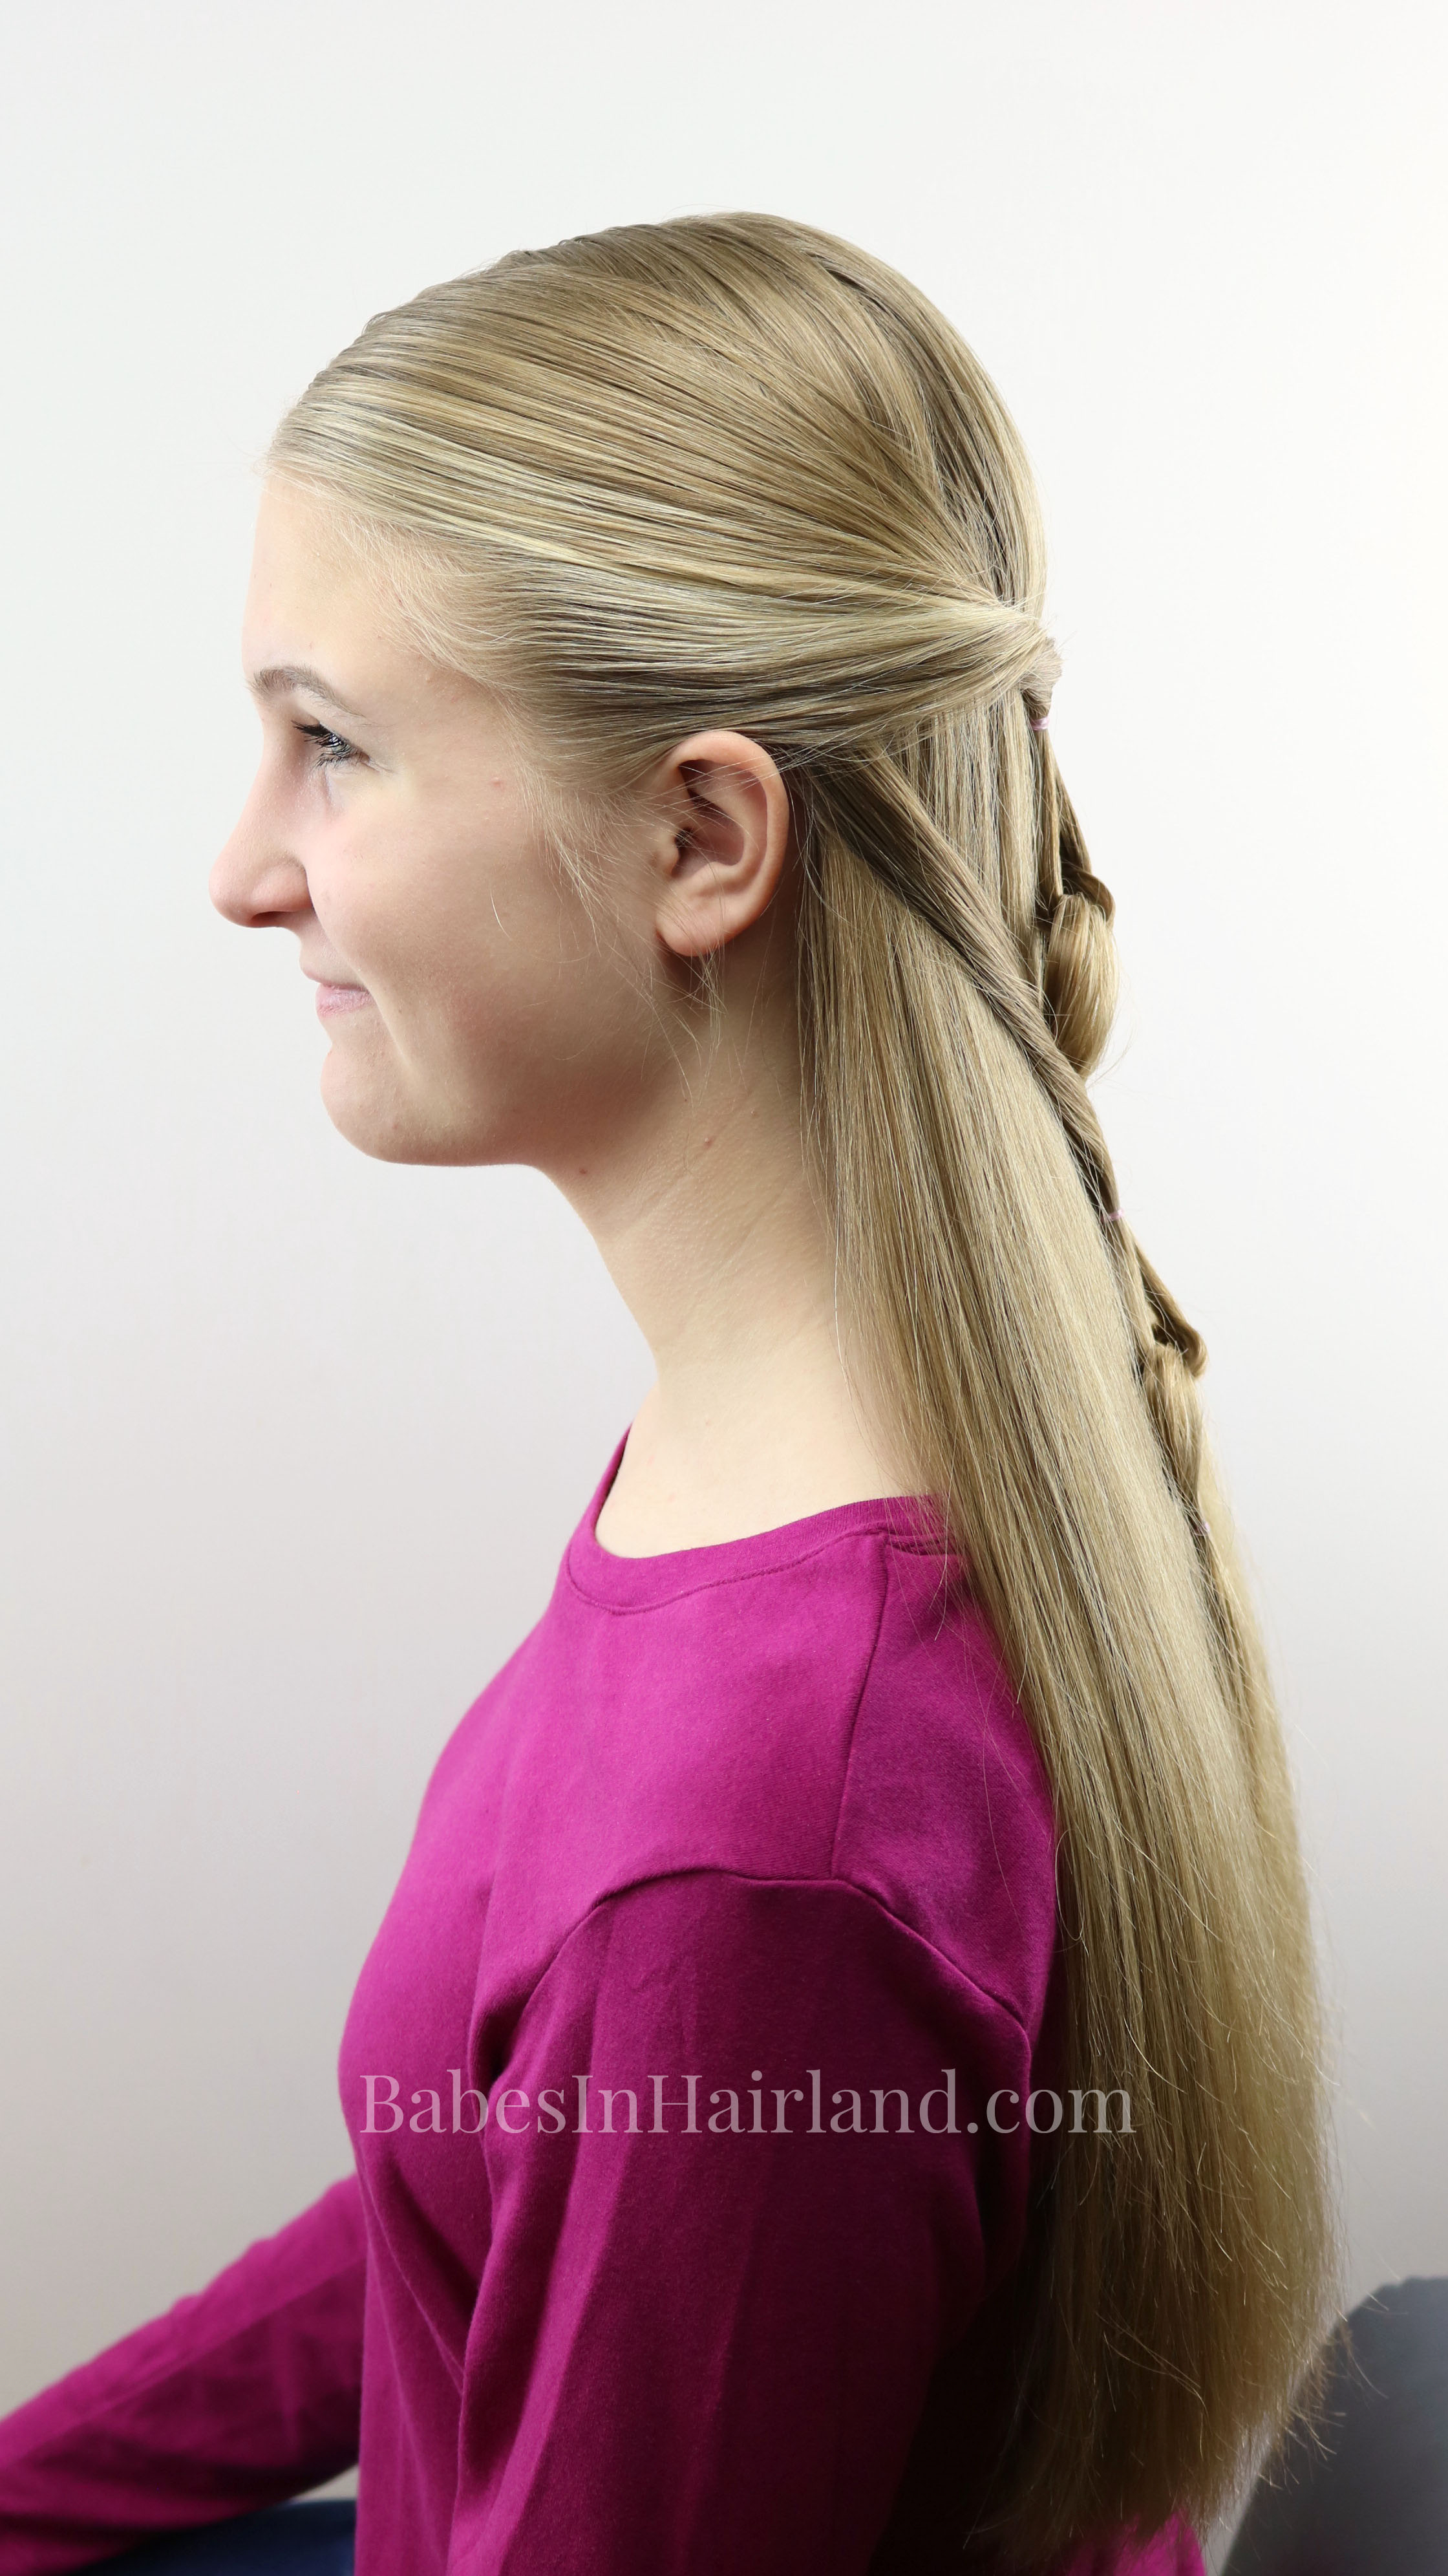
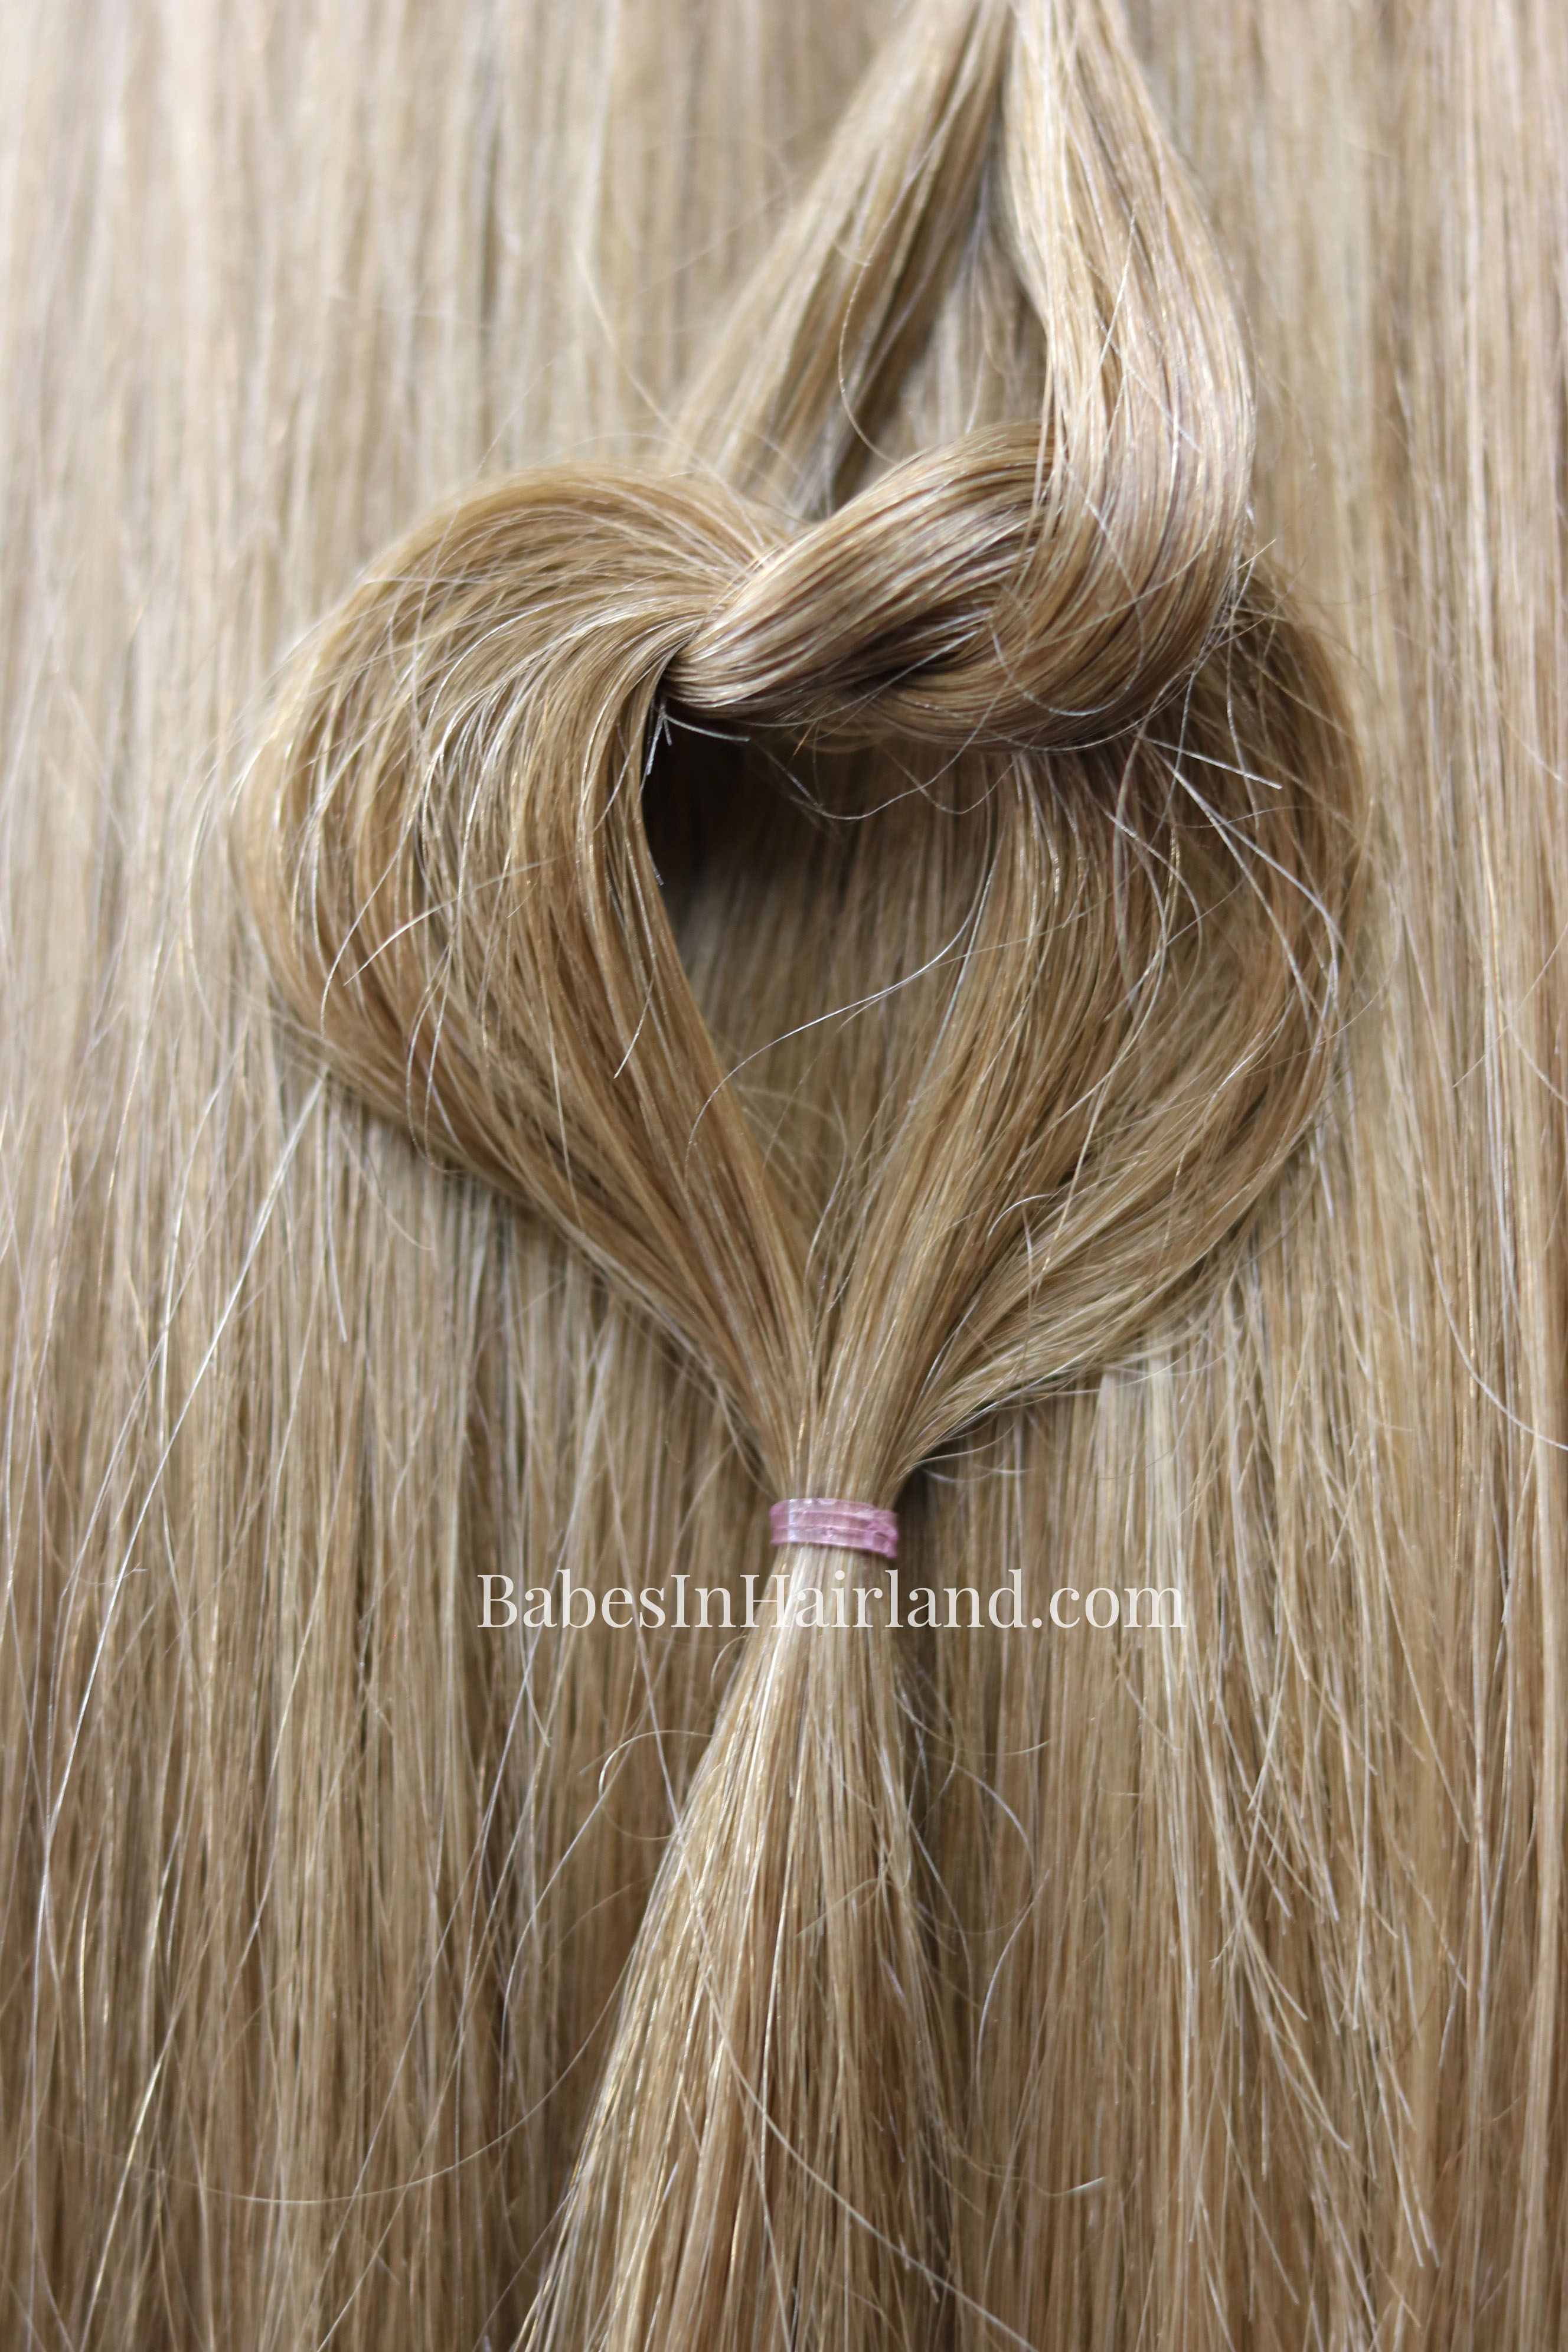
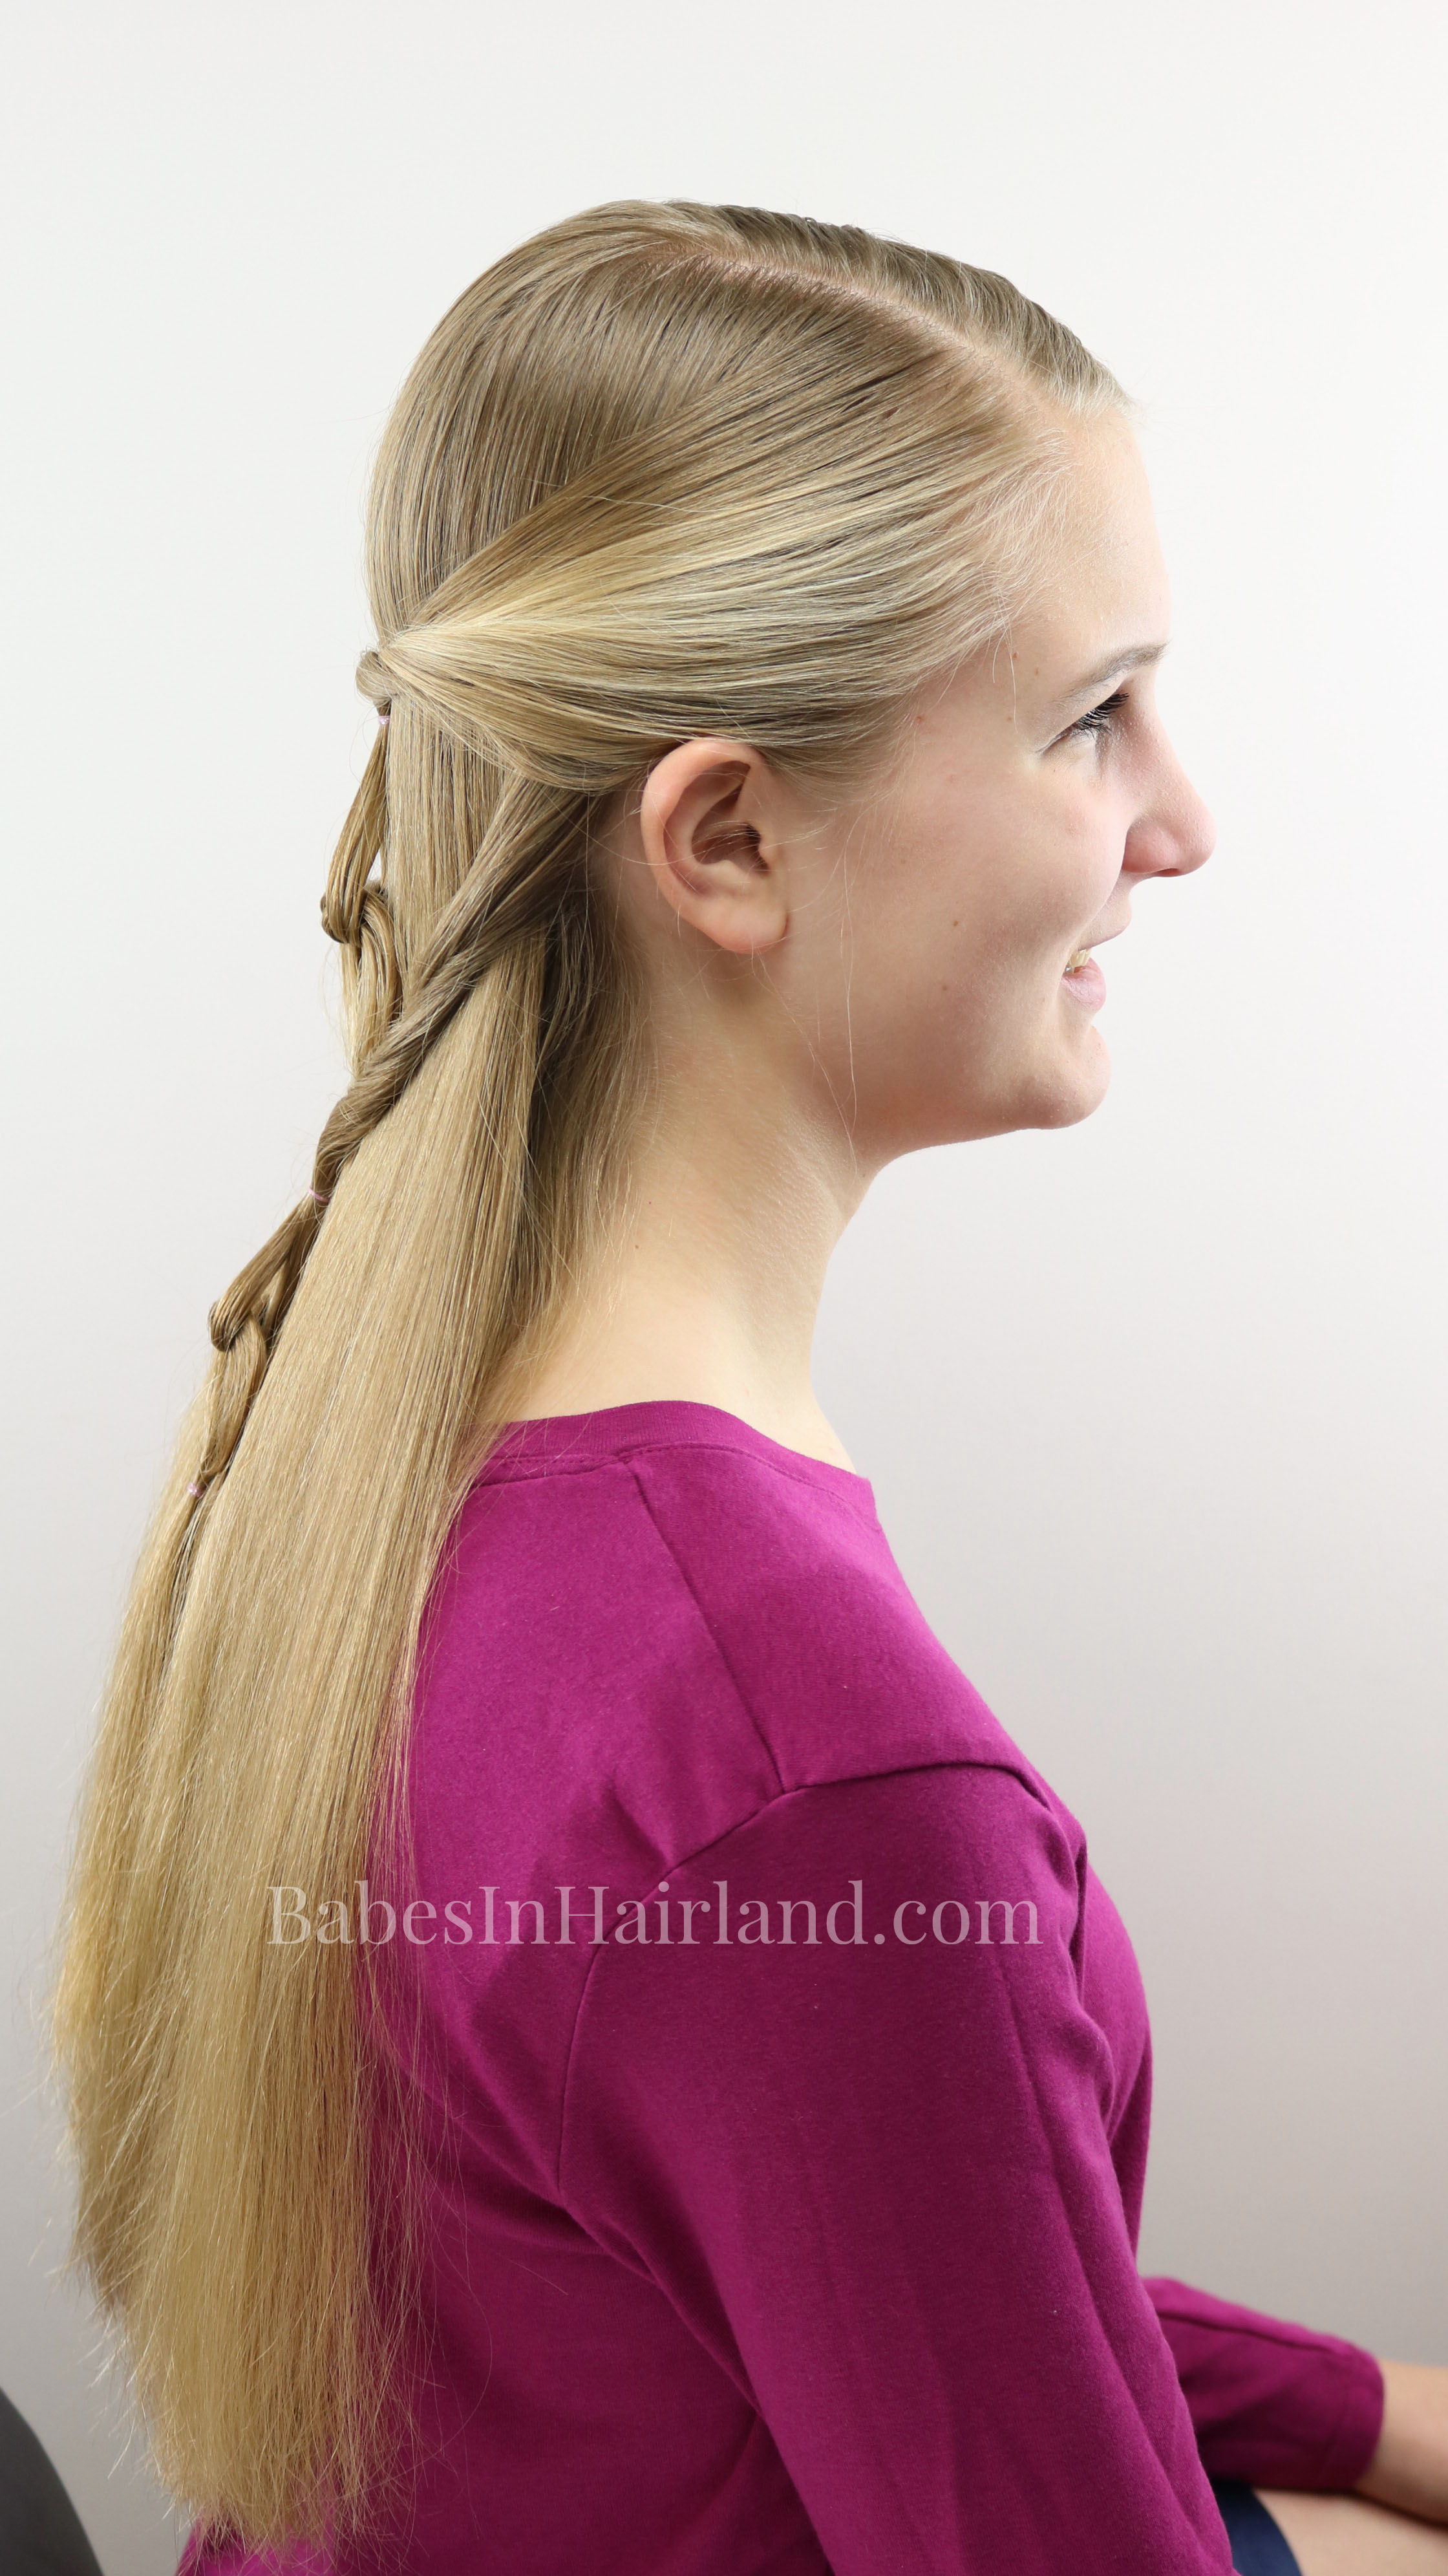
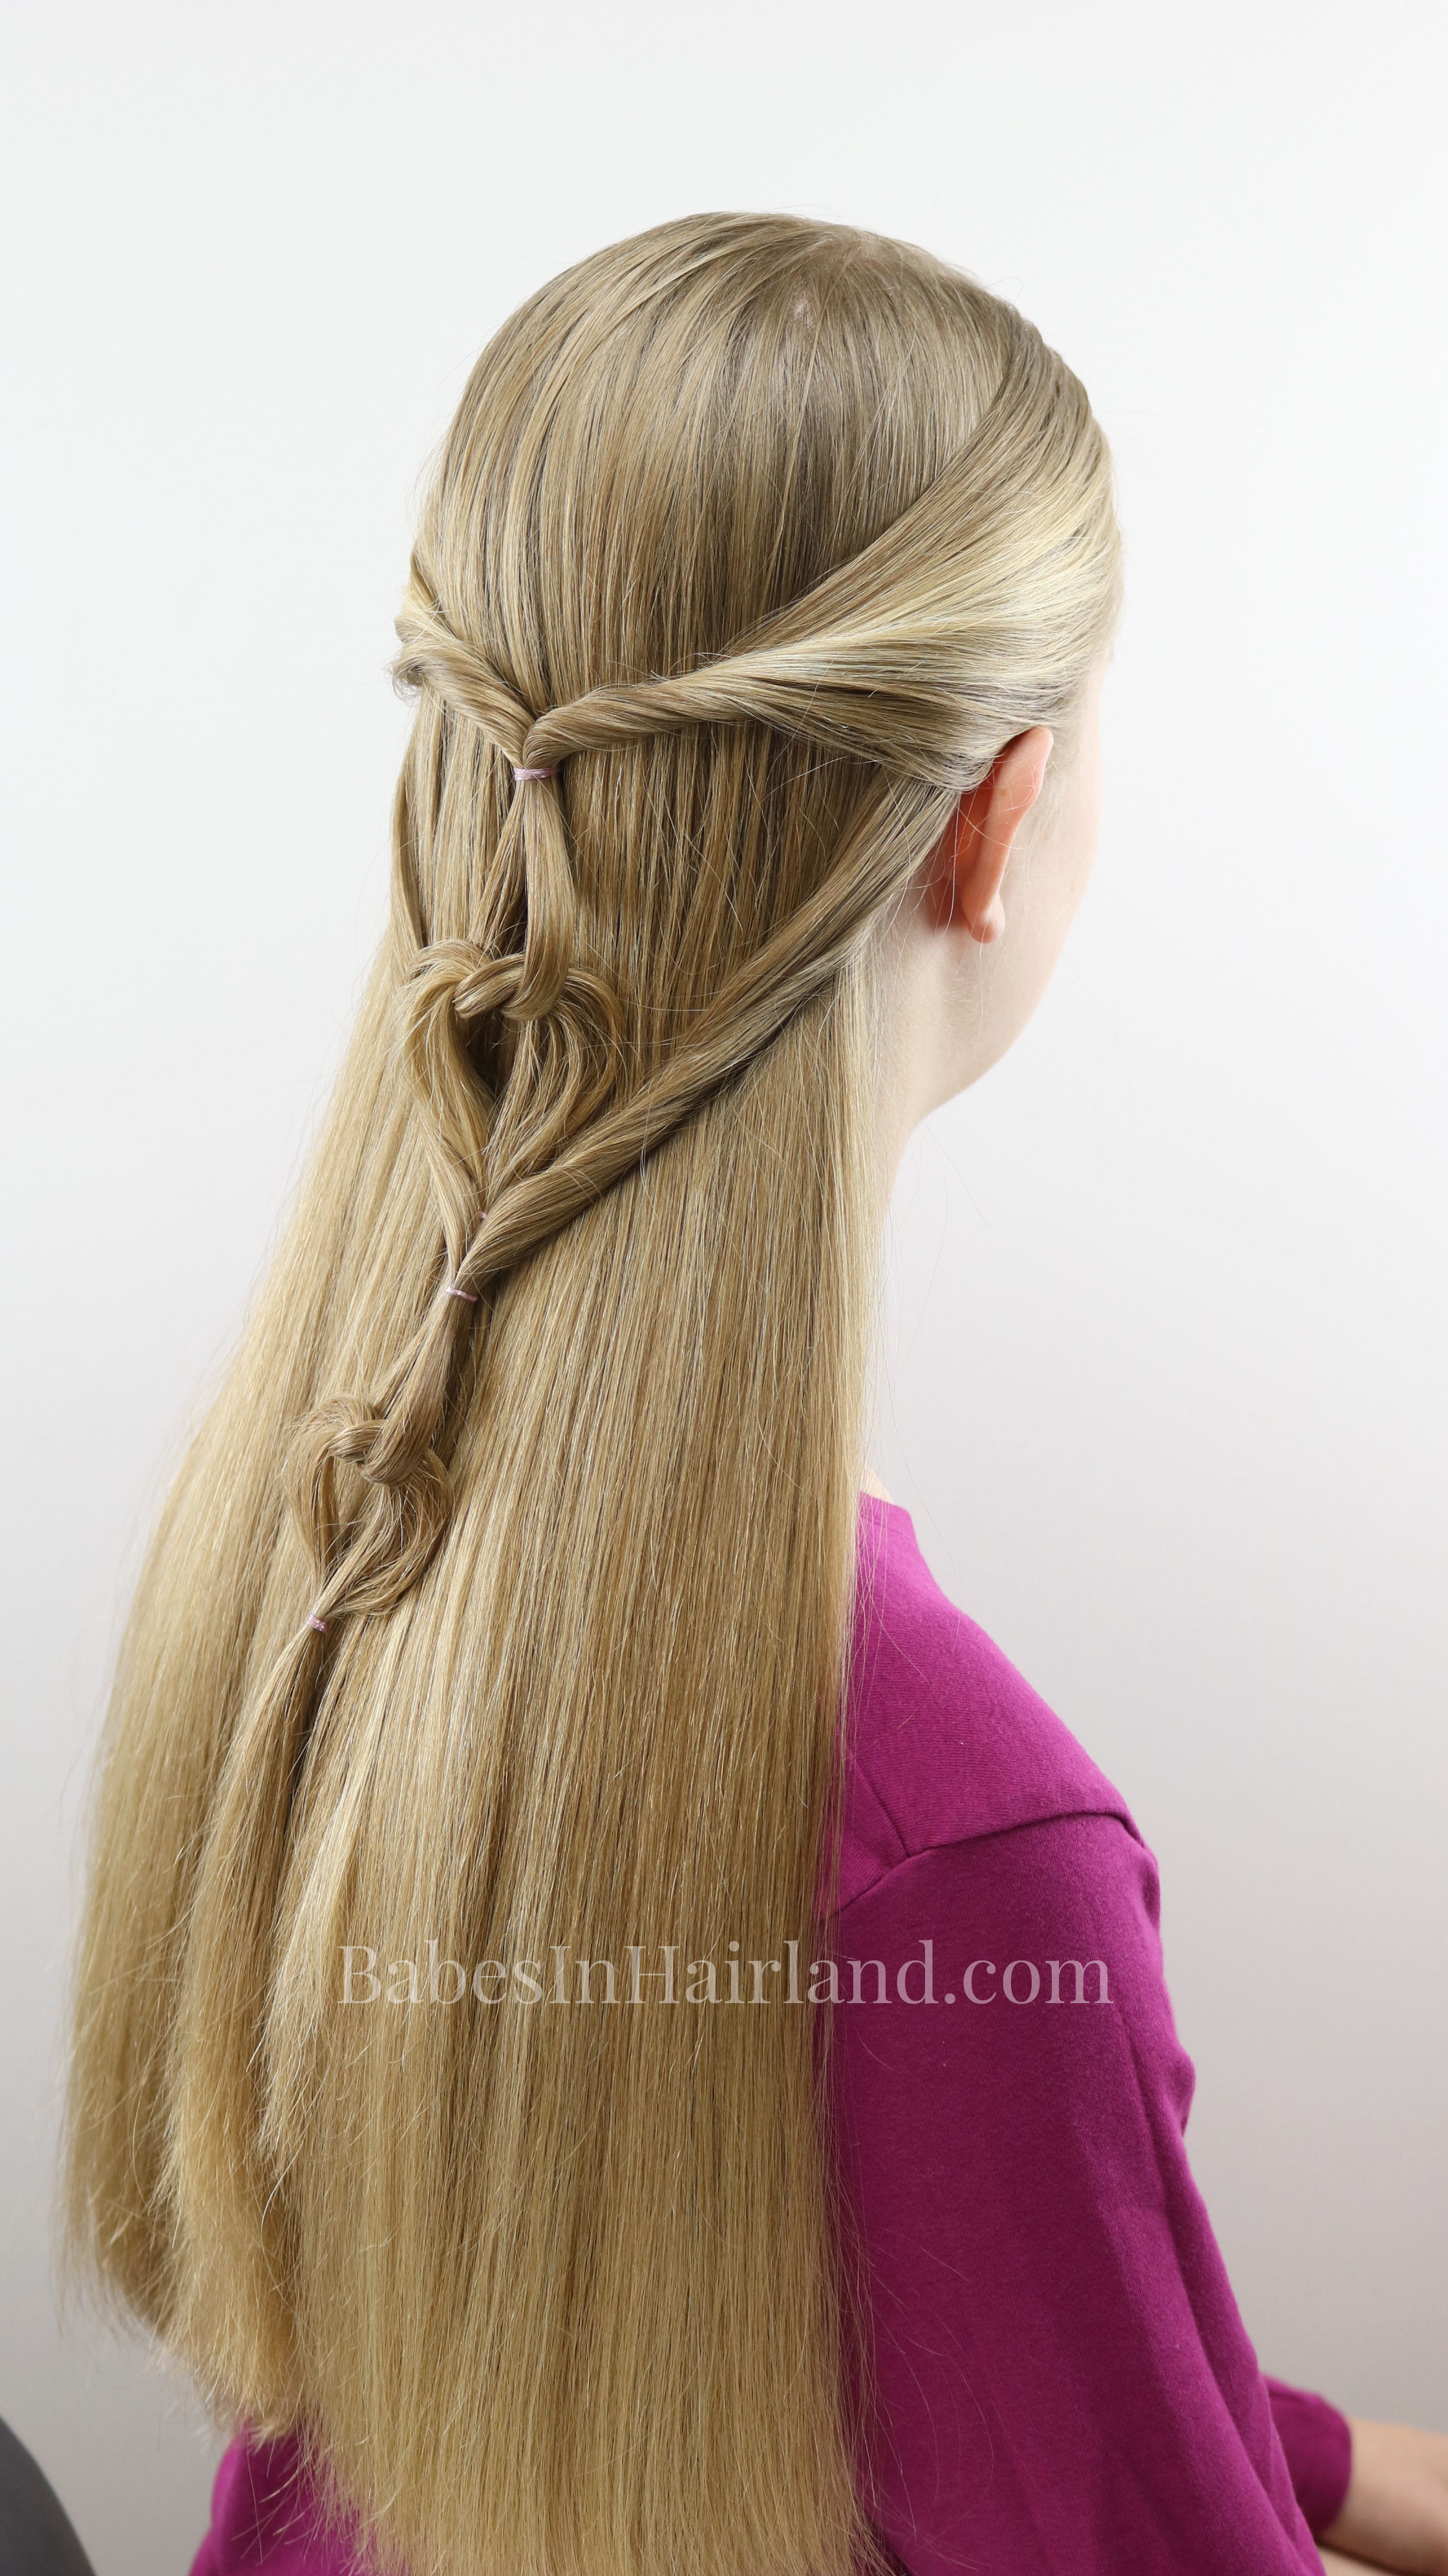
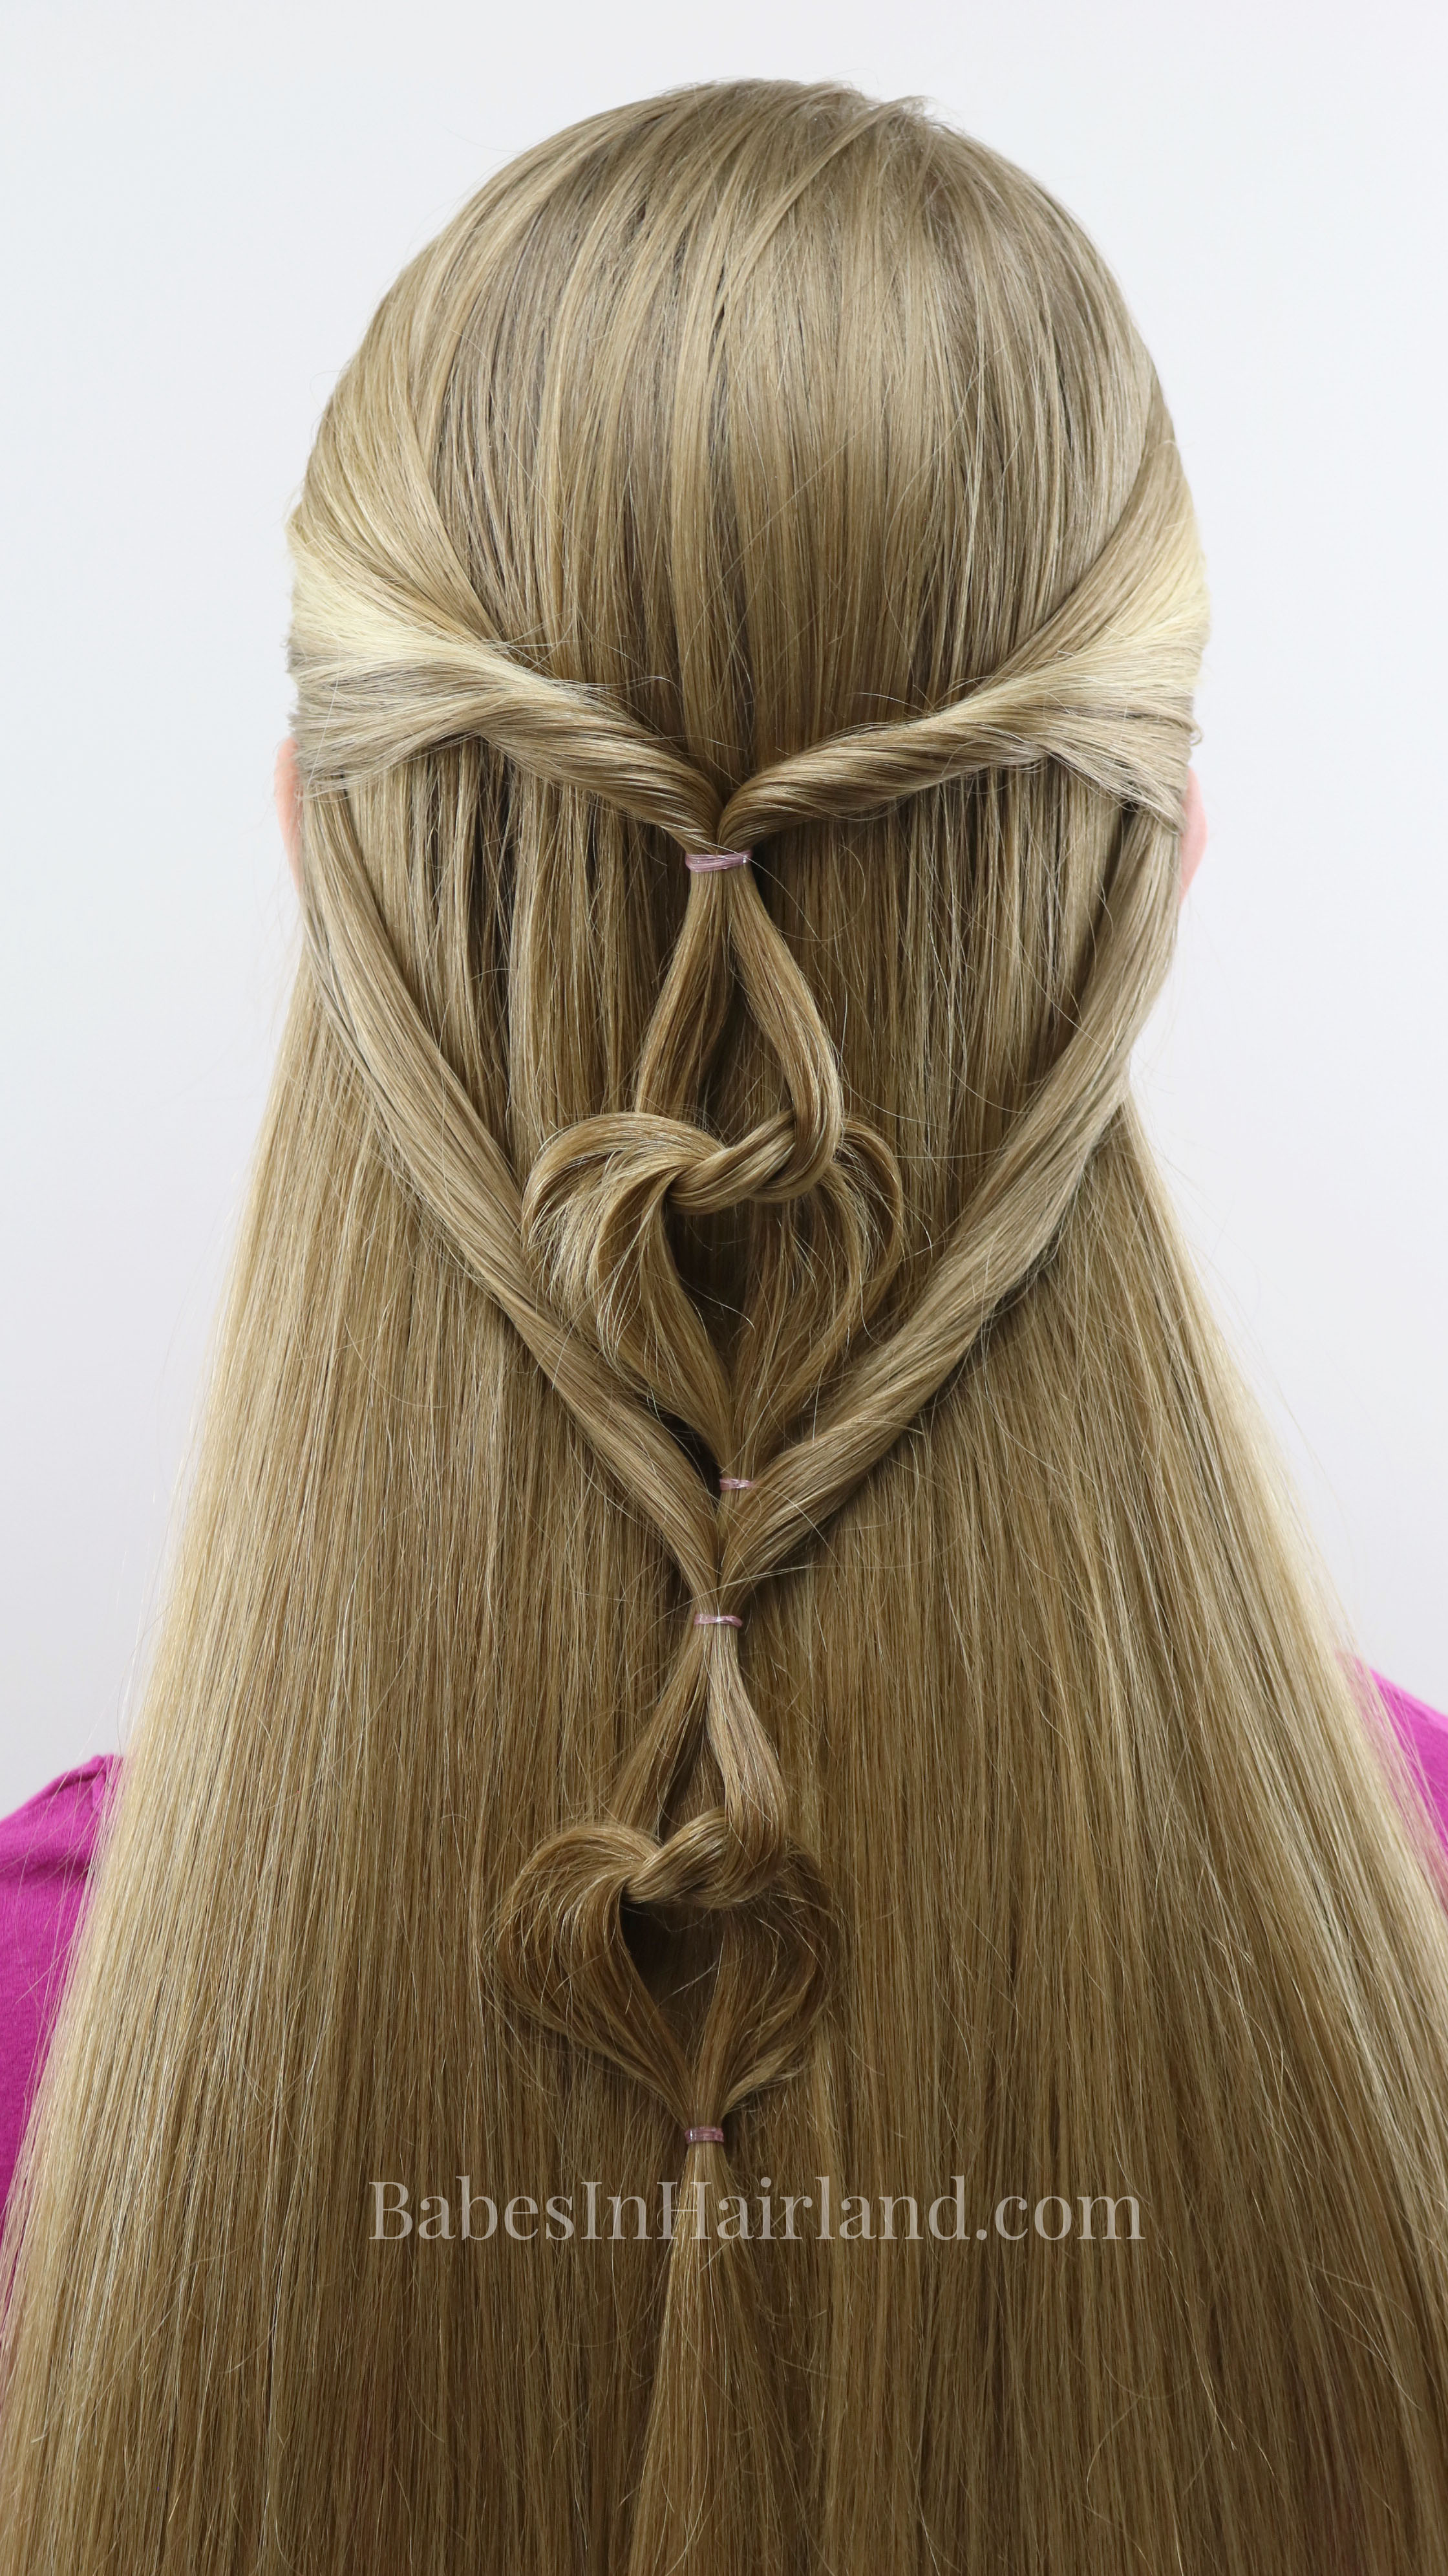
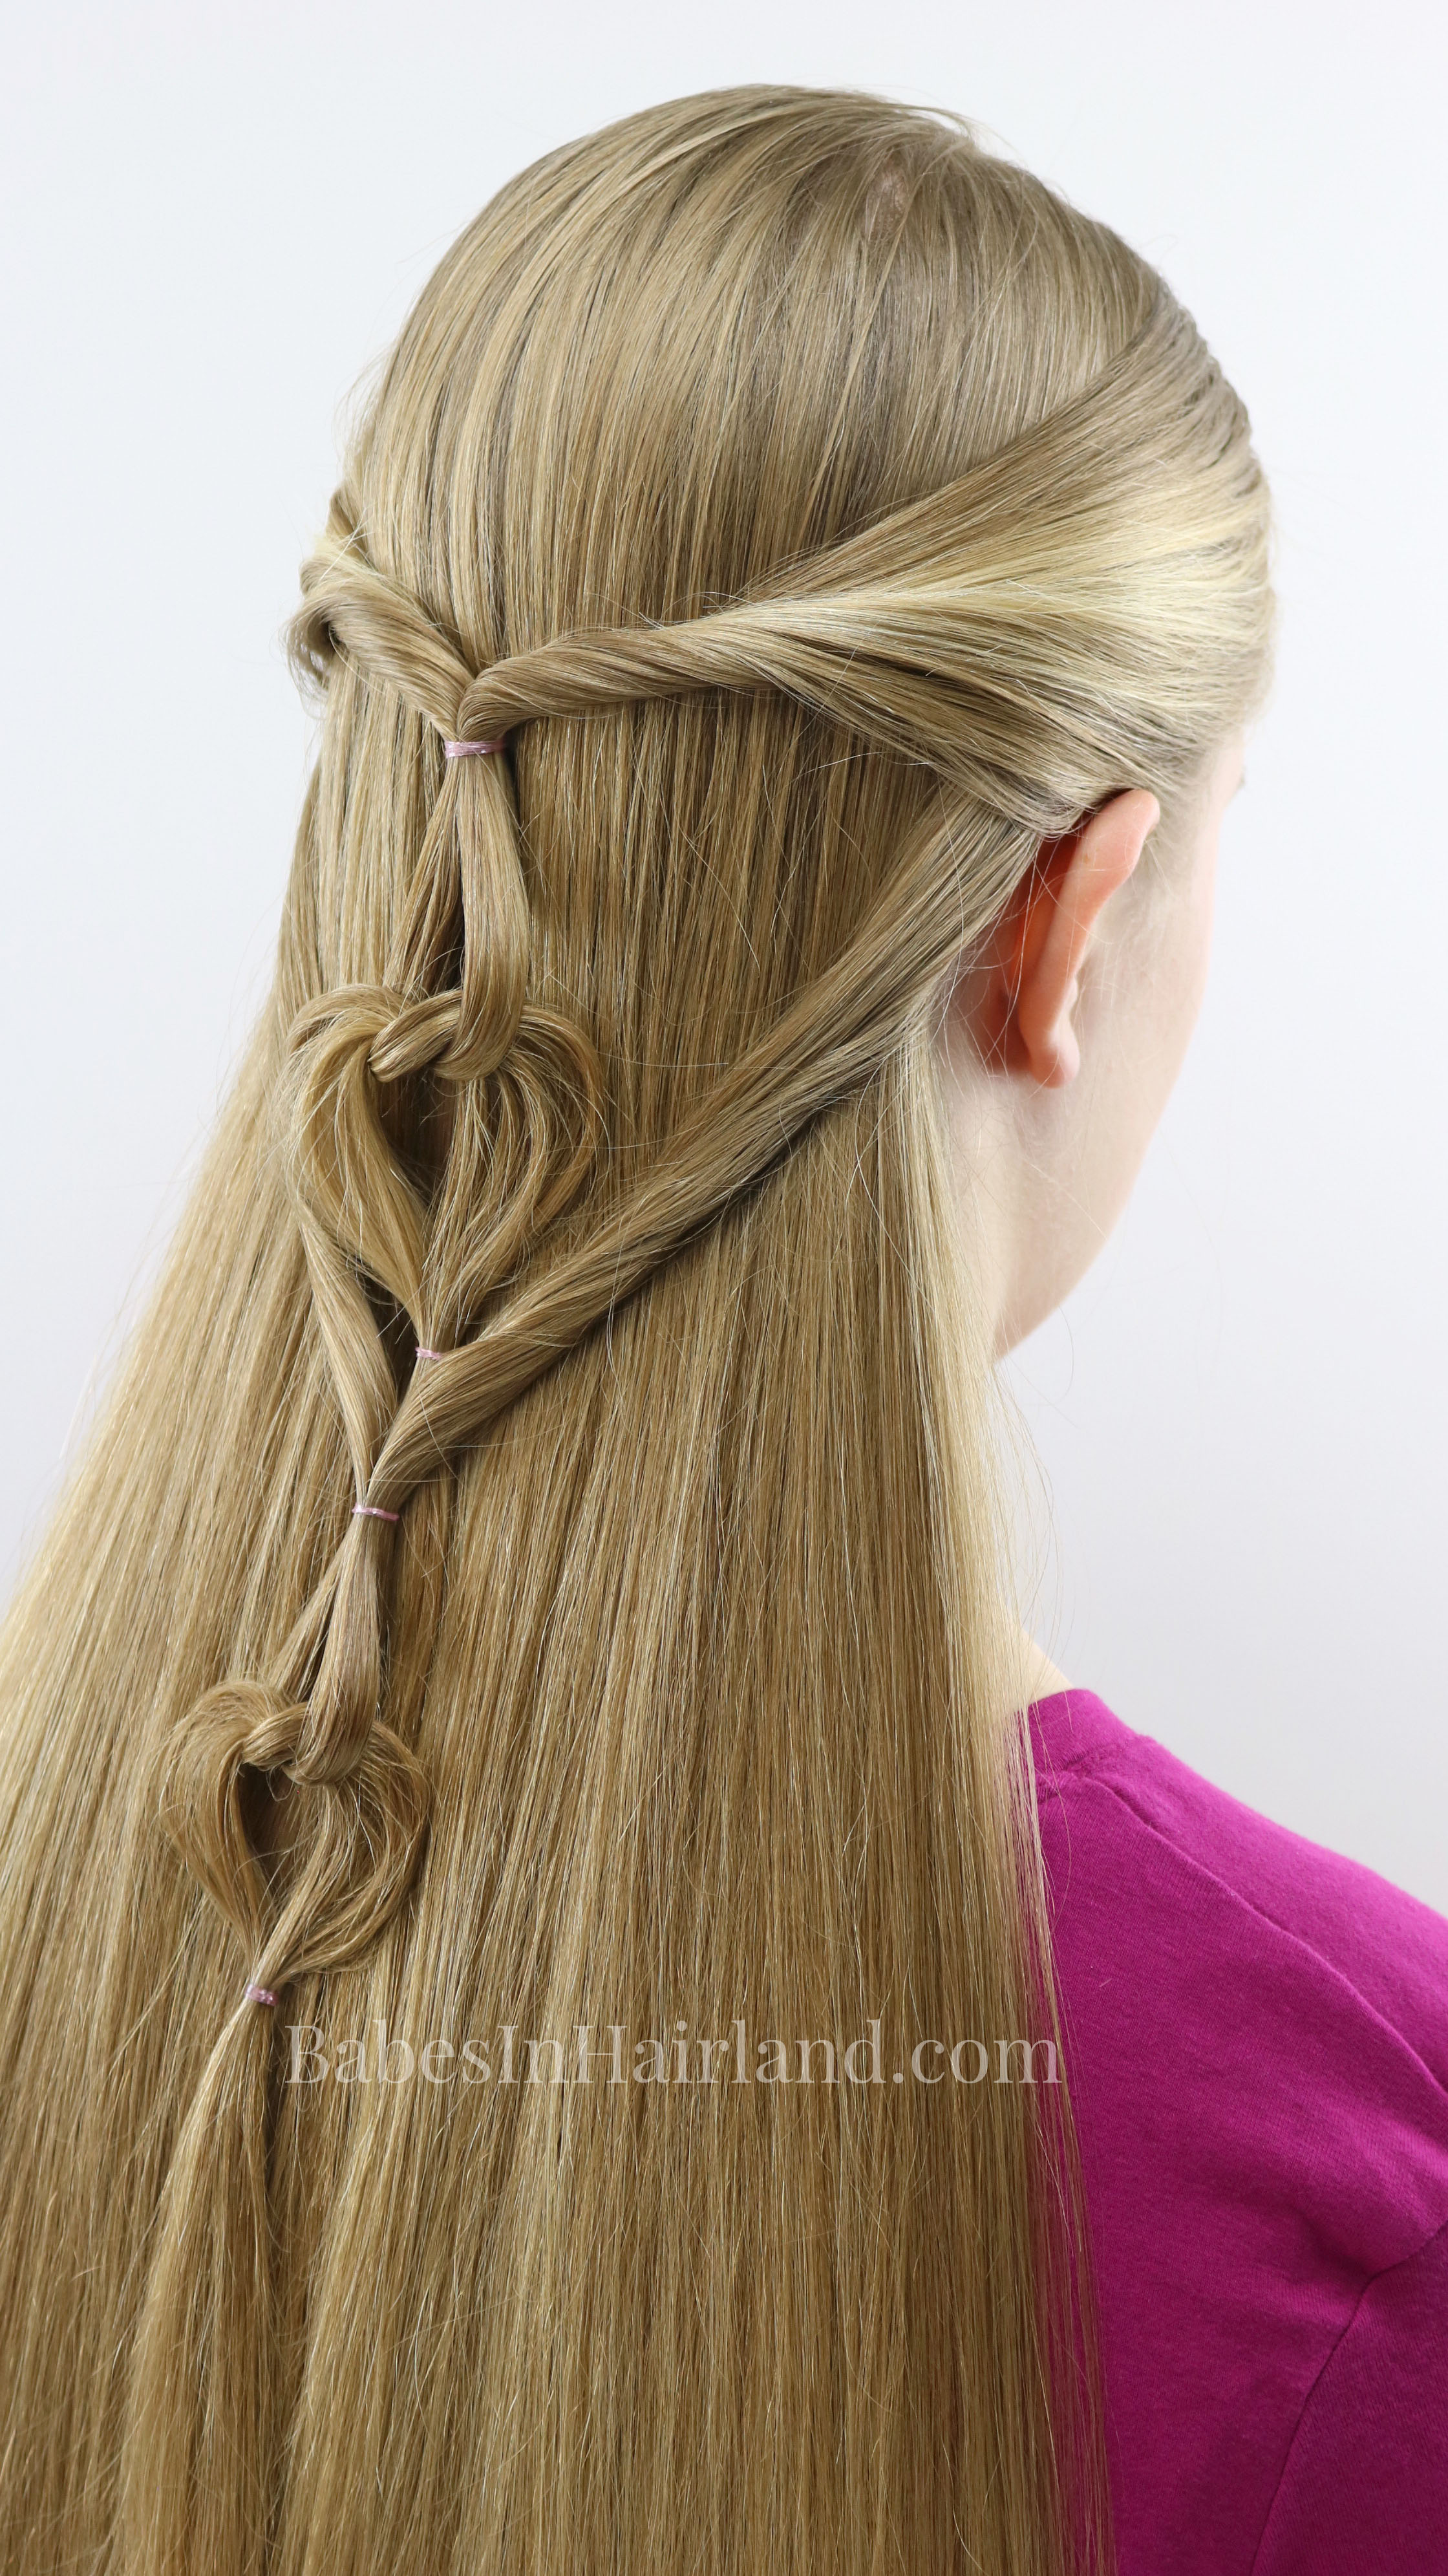
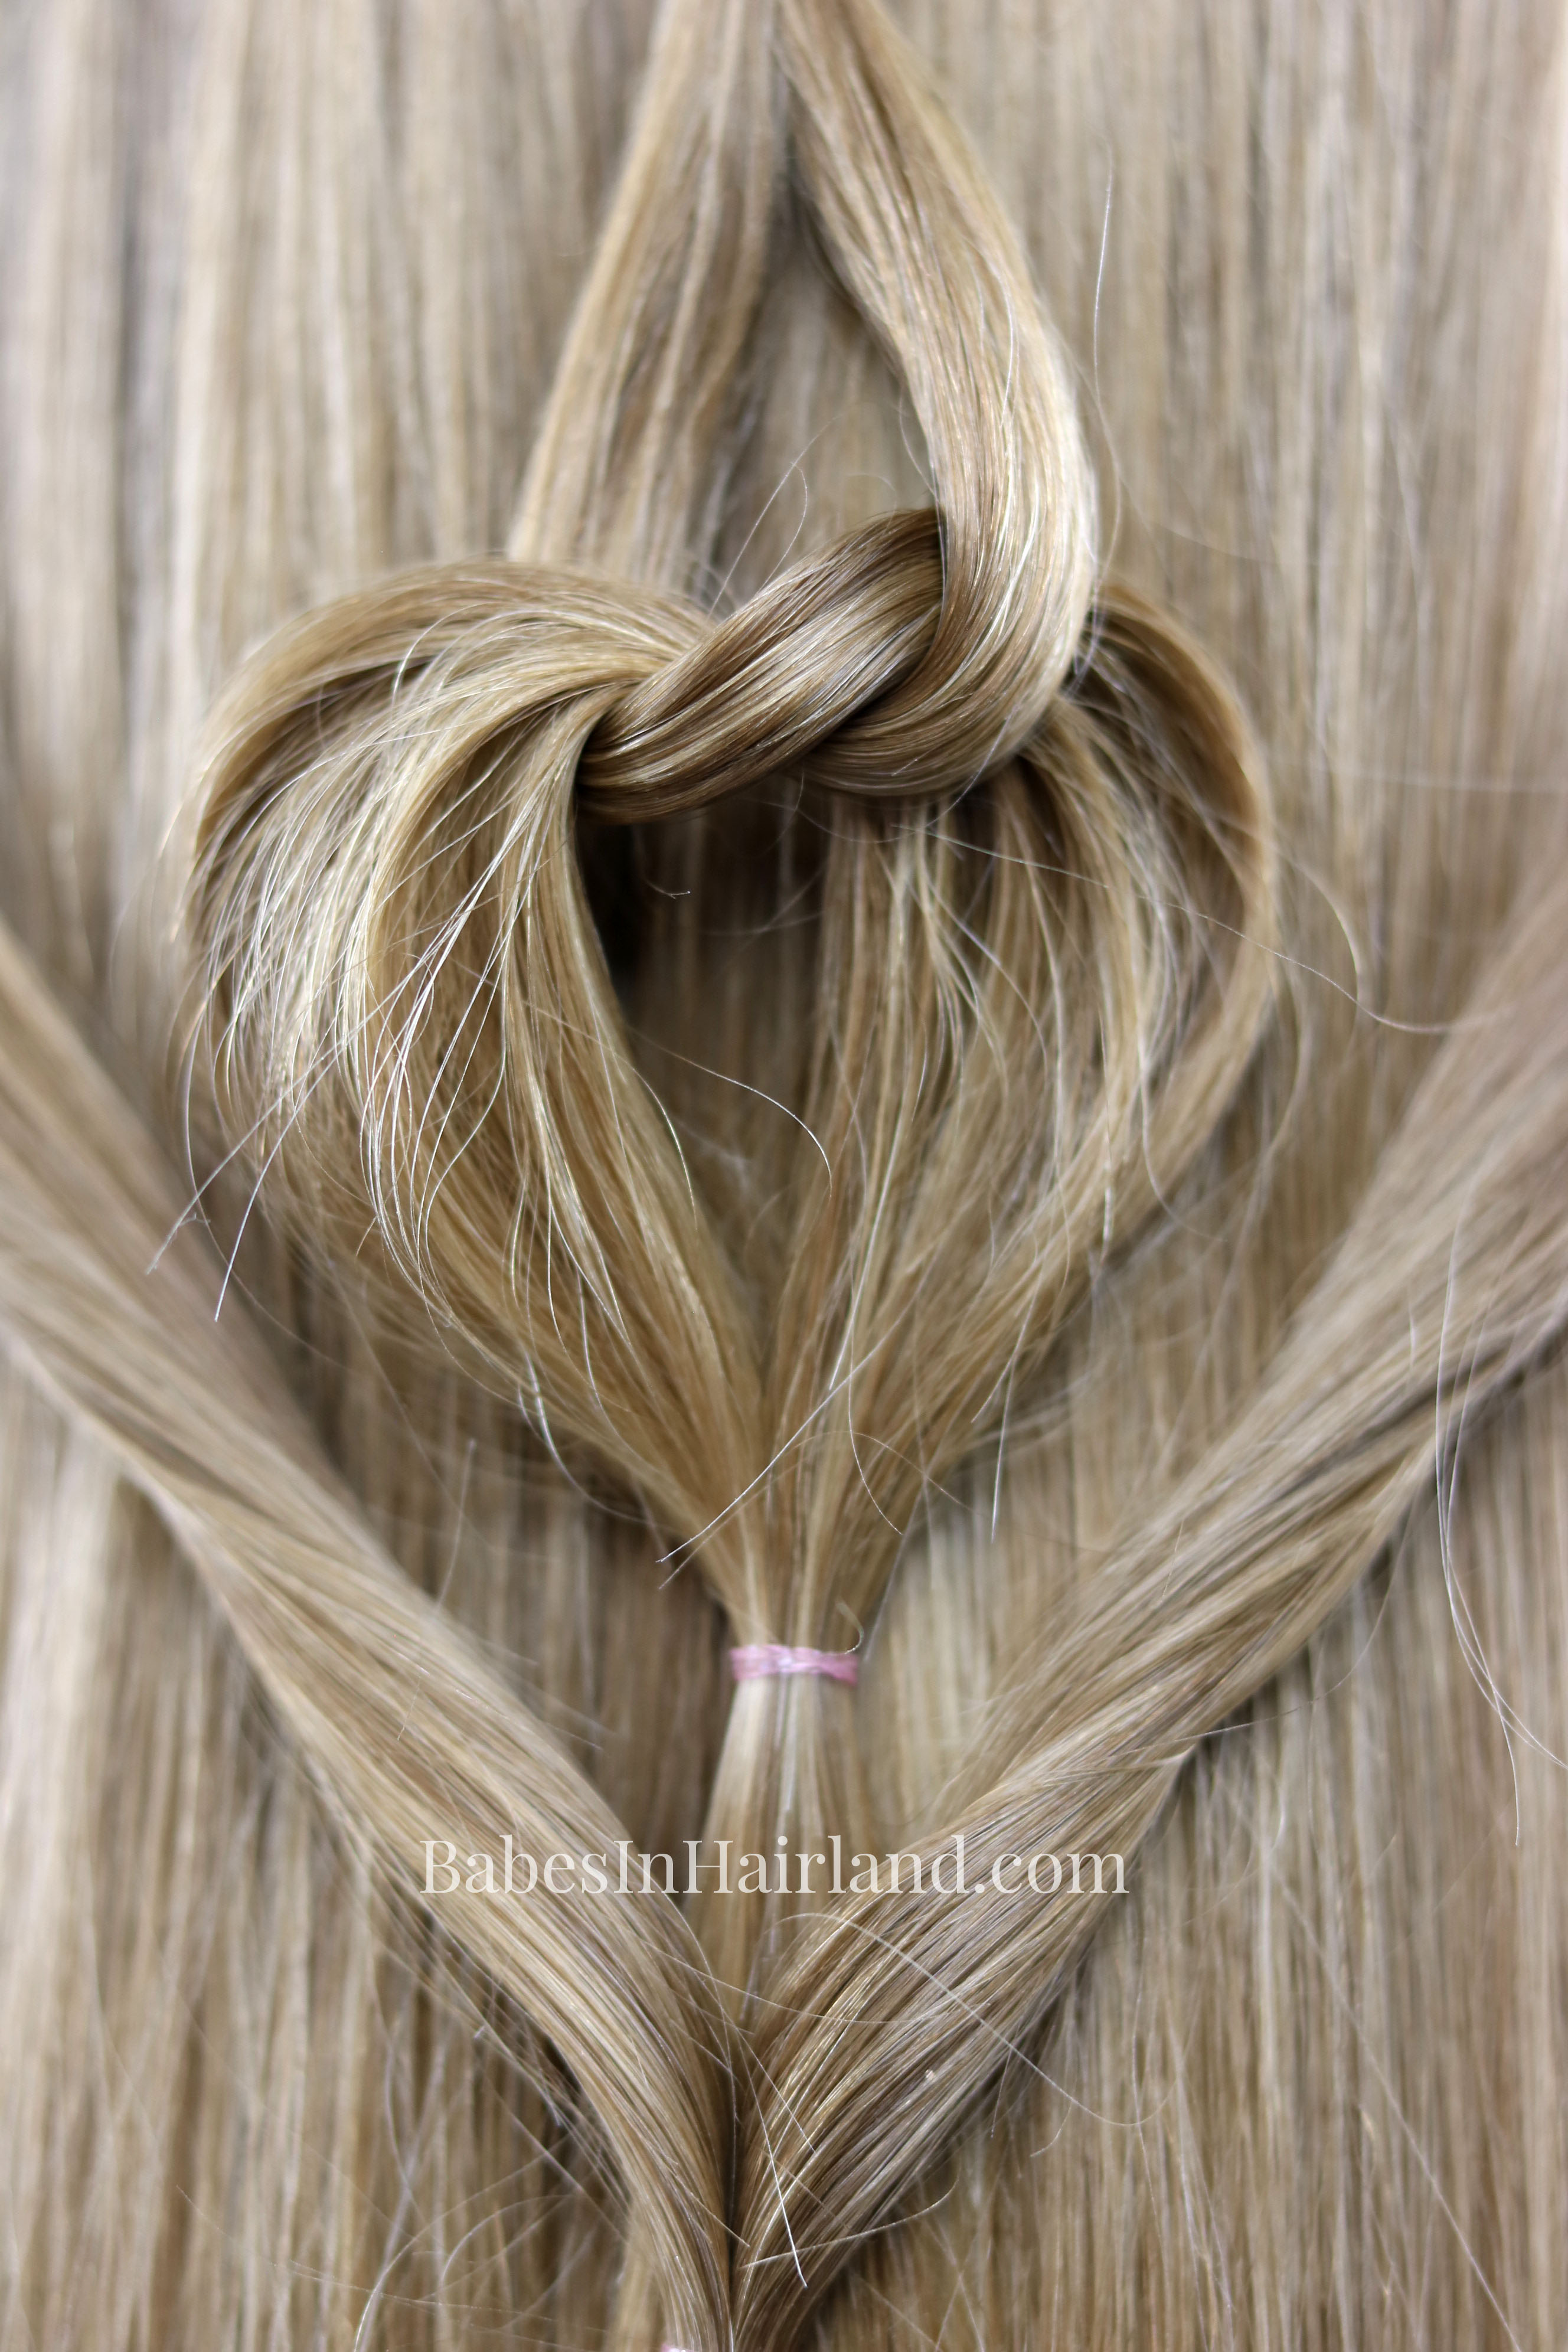
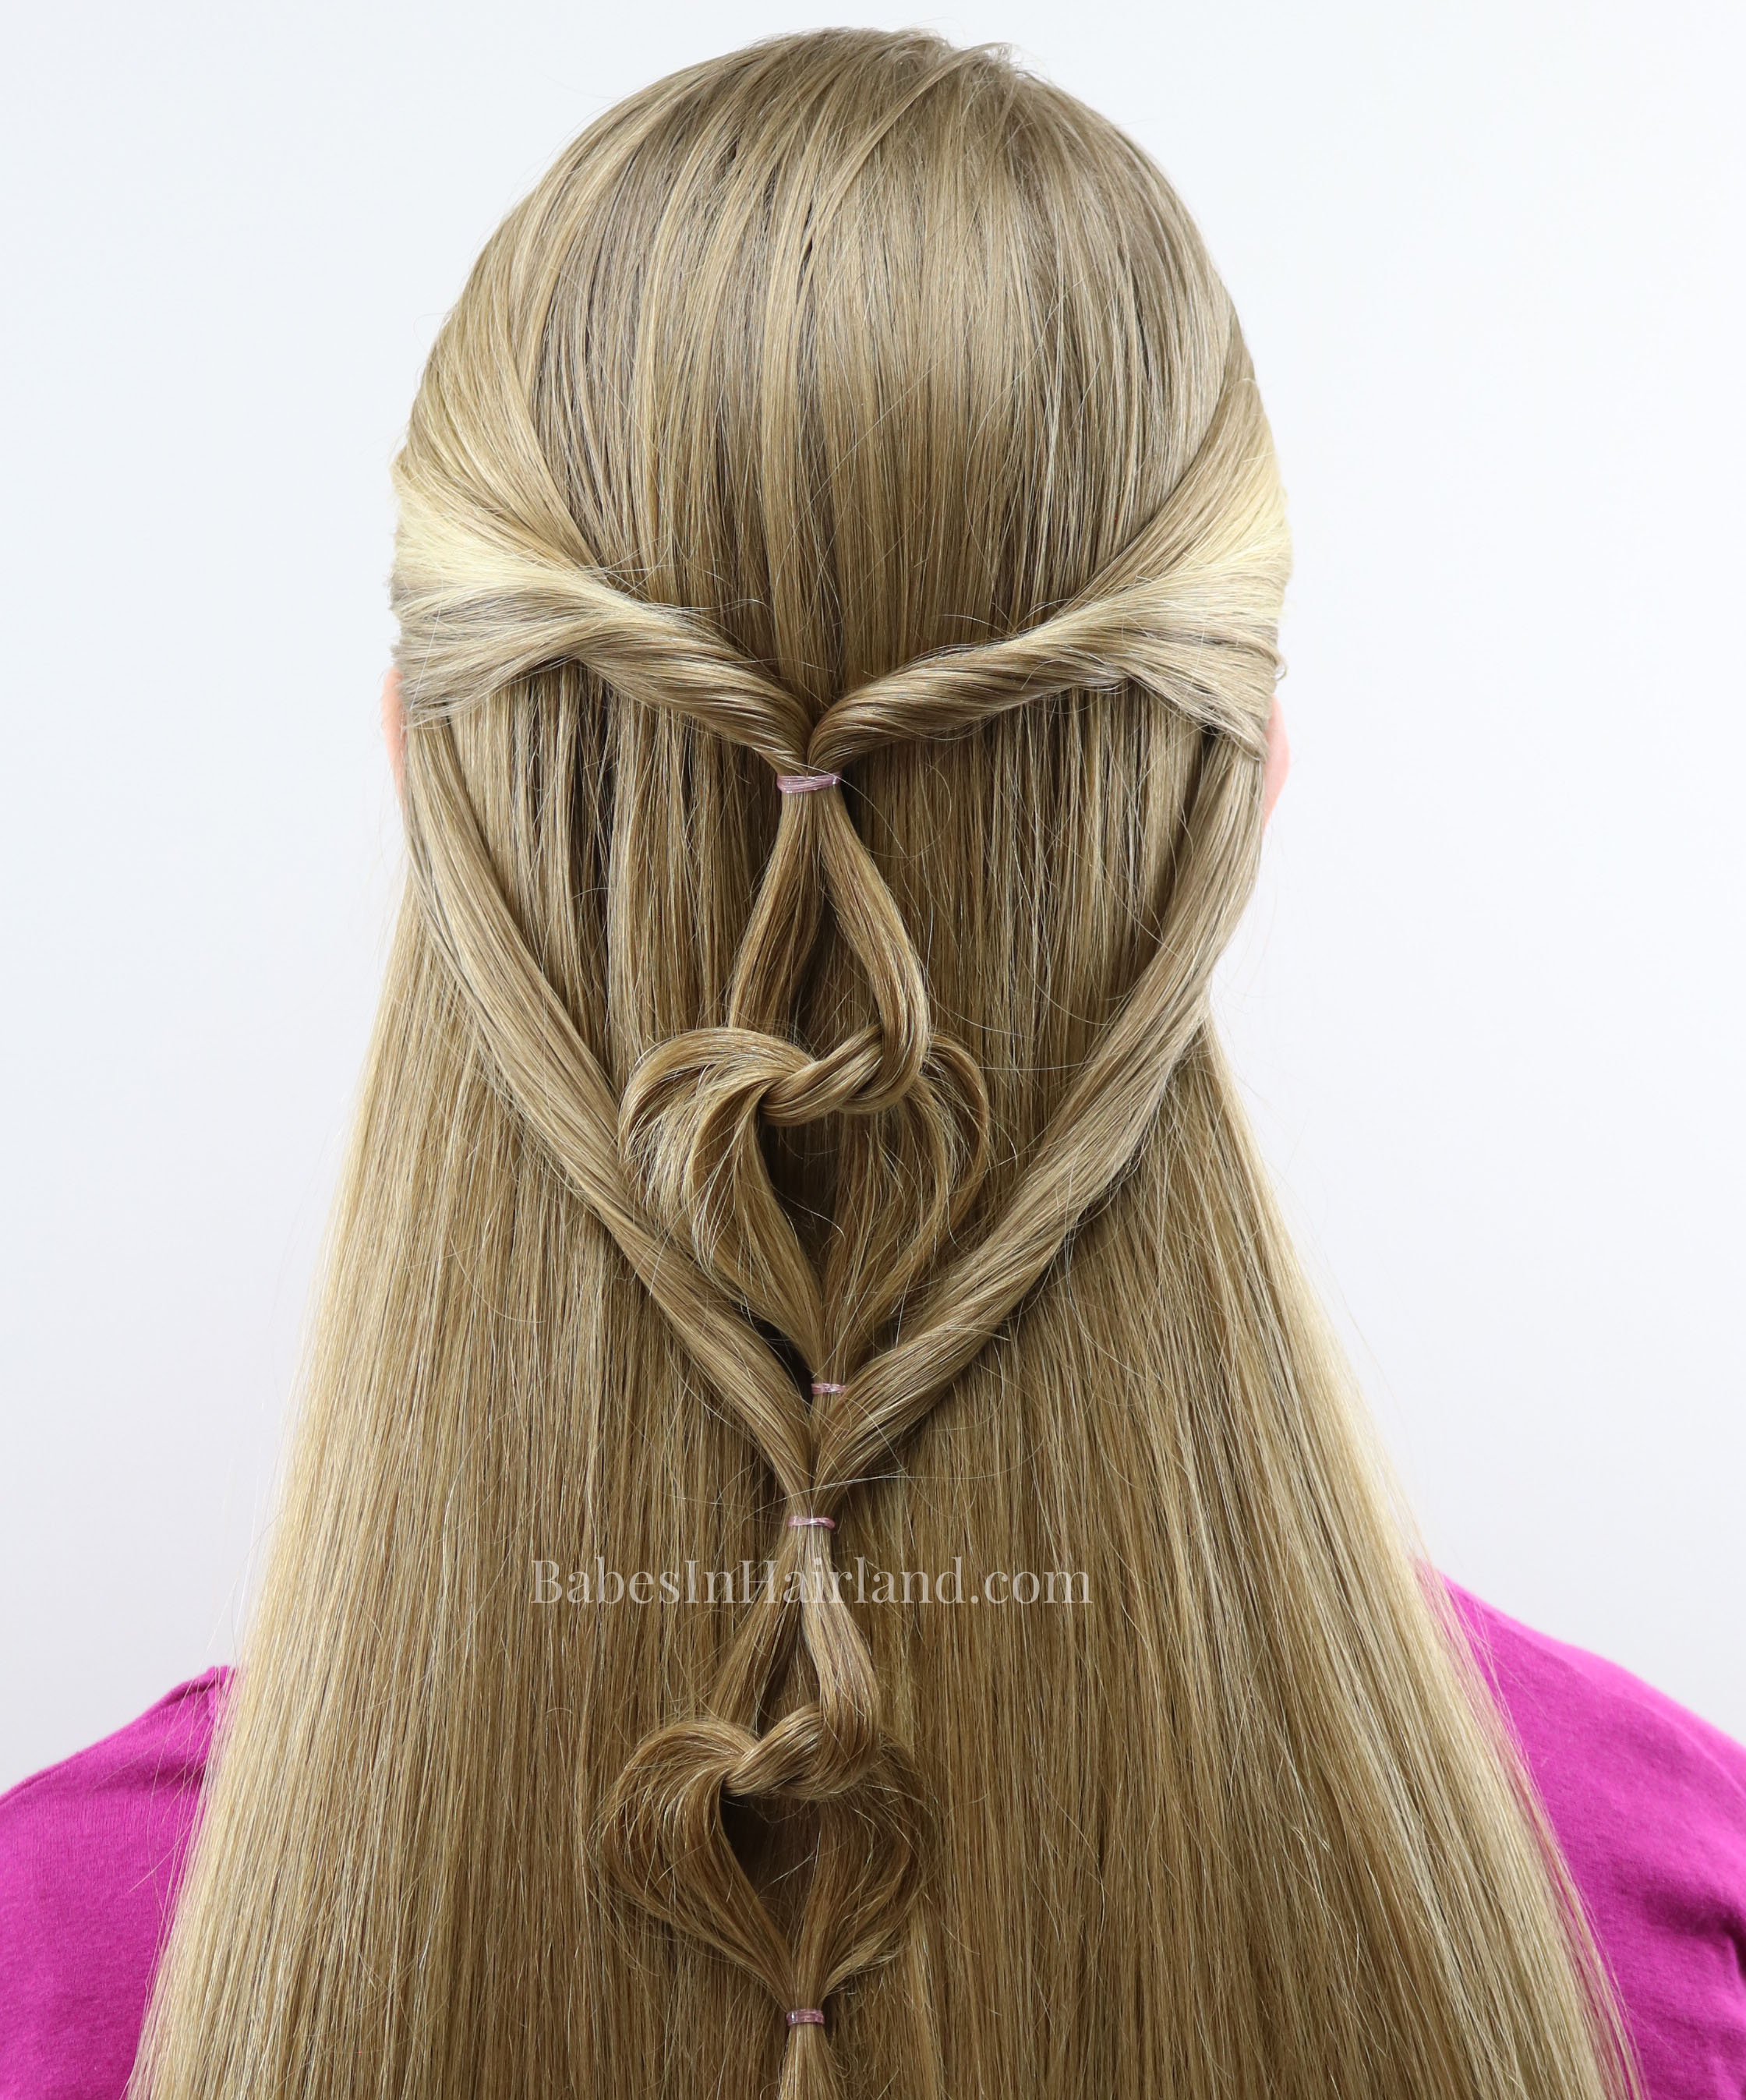
Love is definitely in the air with this one, right?! Here’s a few other of our cute Valentine’s Day hairstyles from years past. Be sure to check them out. Click on the name of the hairstyle to go to the tutorial.
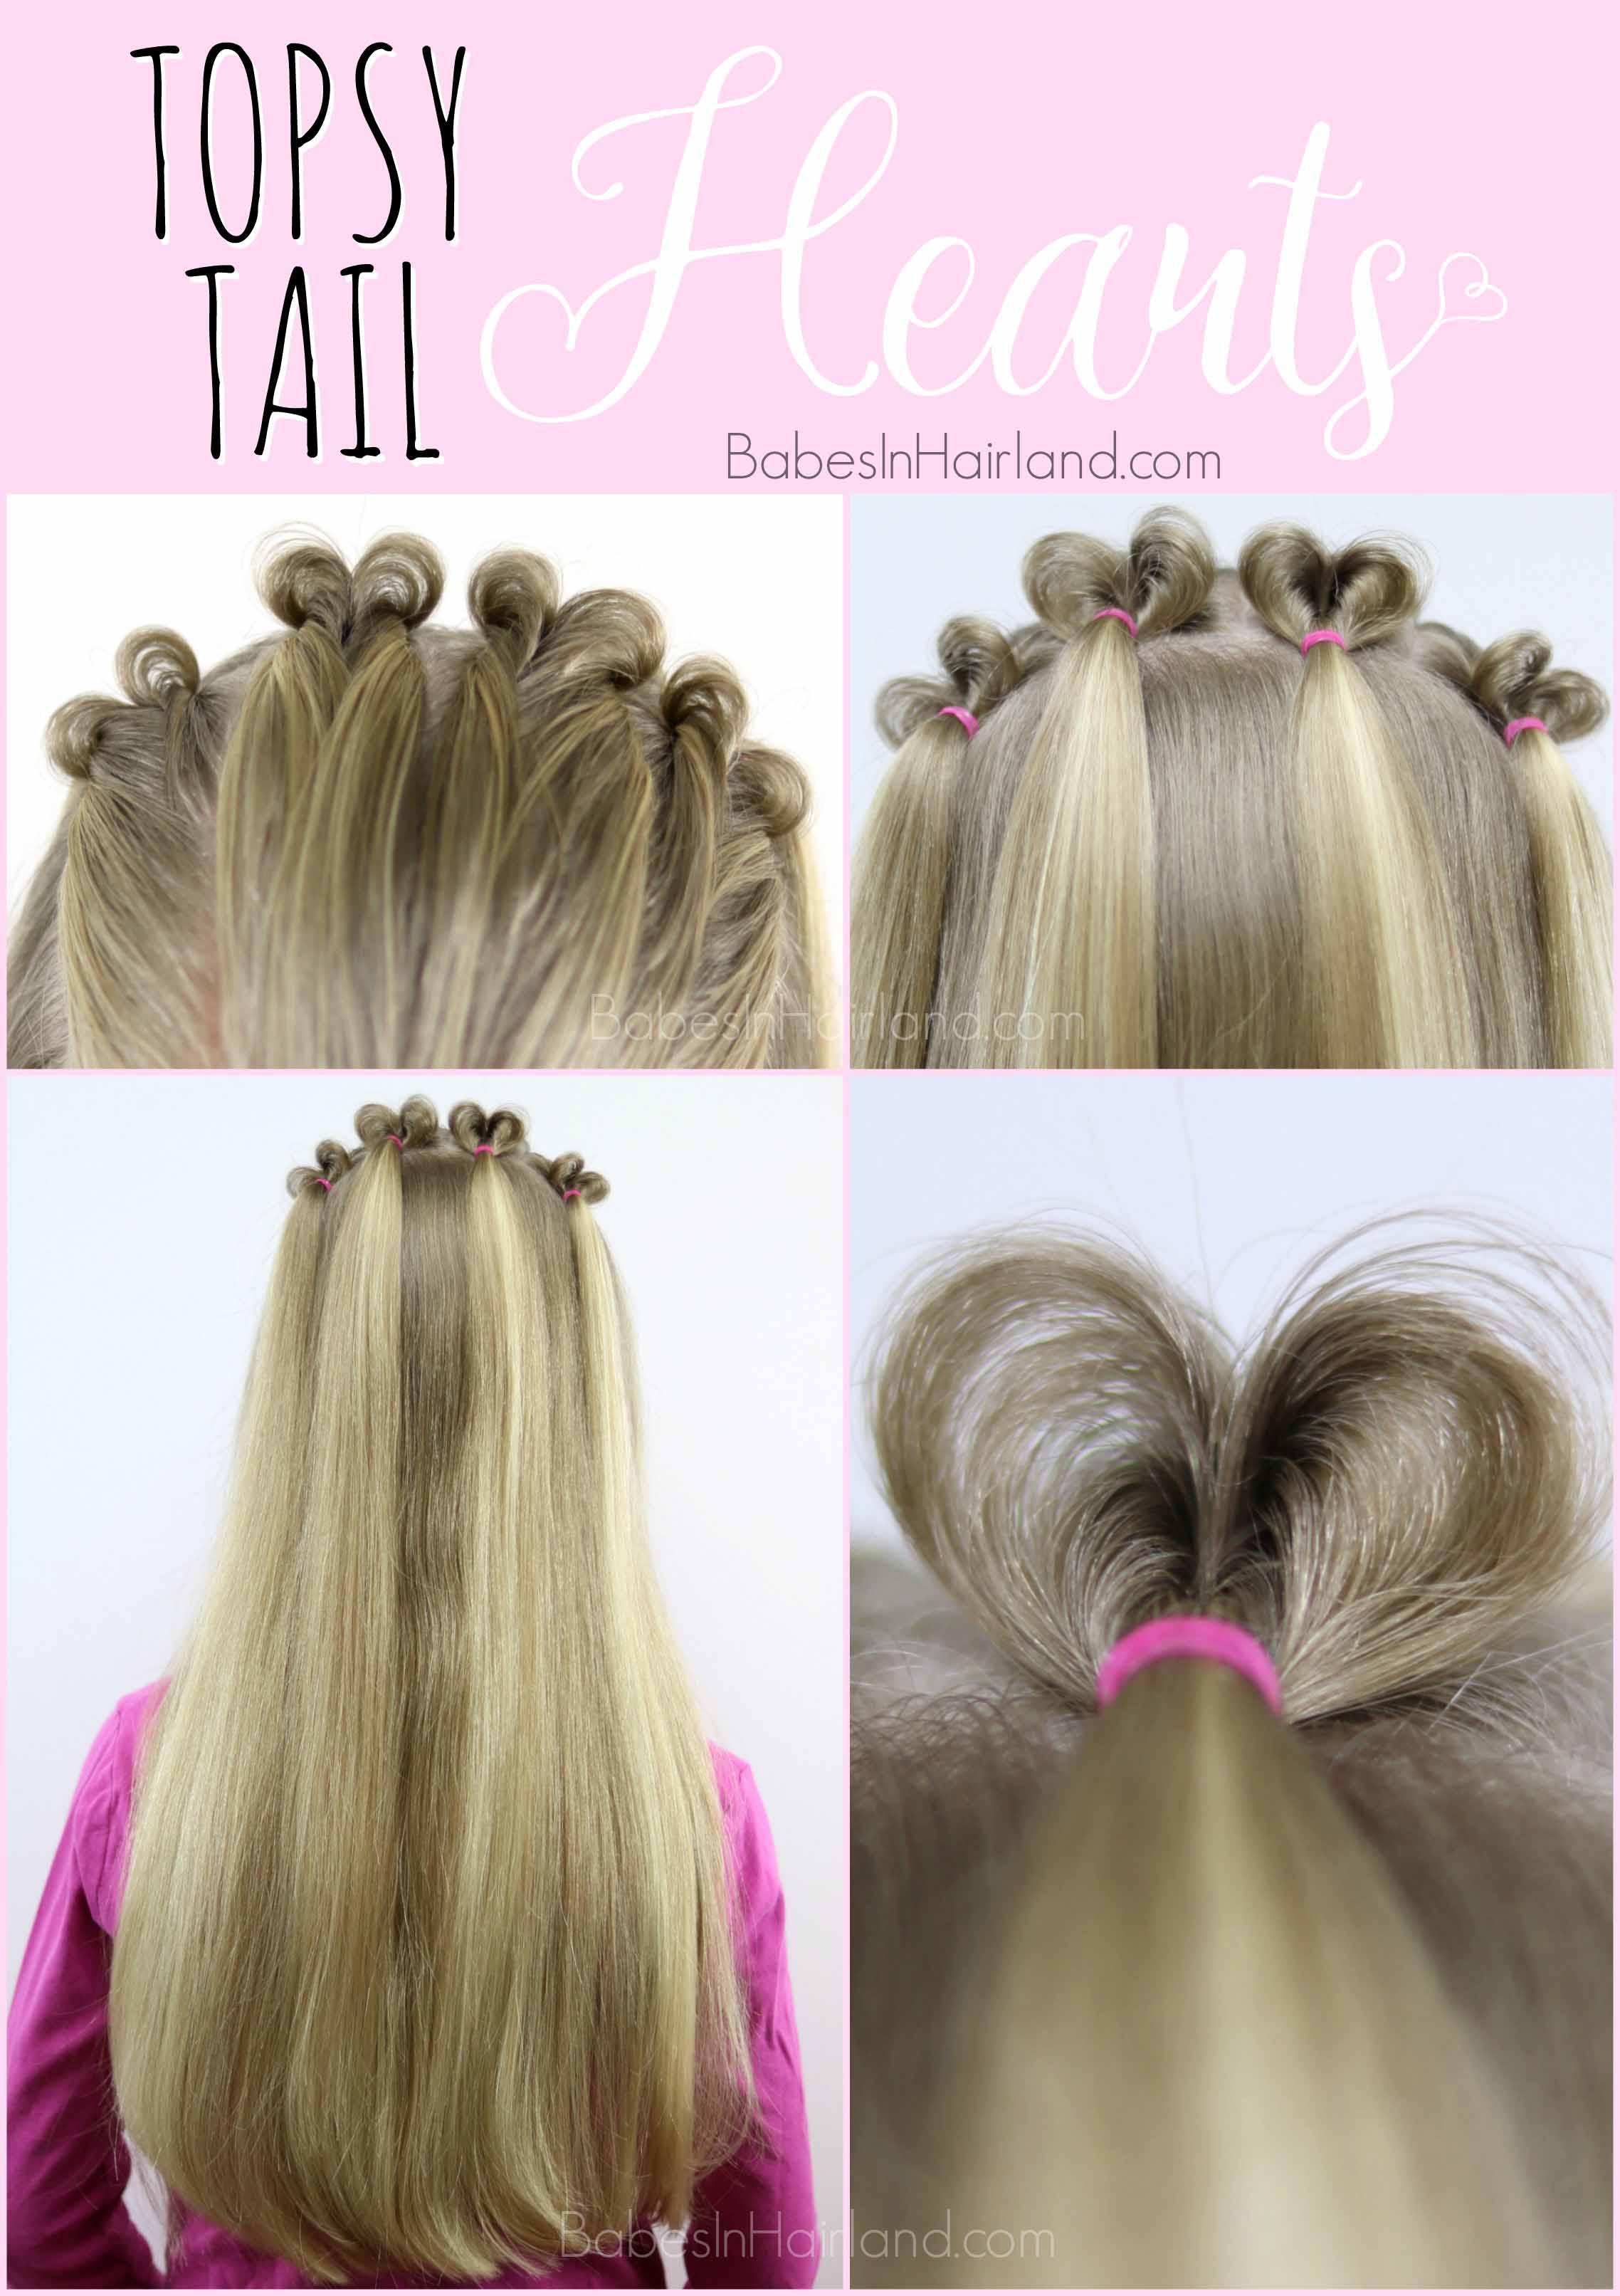
Topsy Tail Hearts
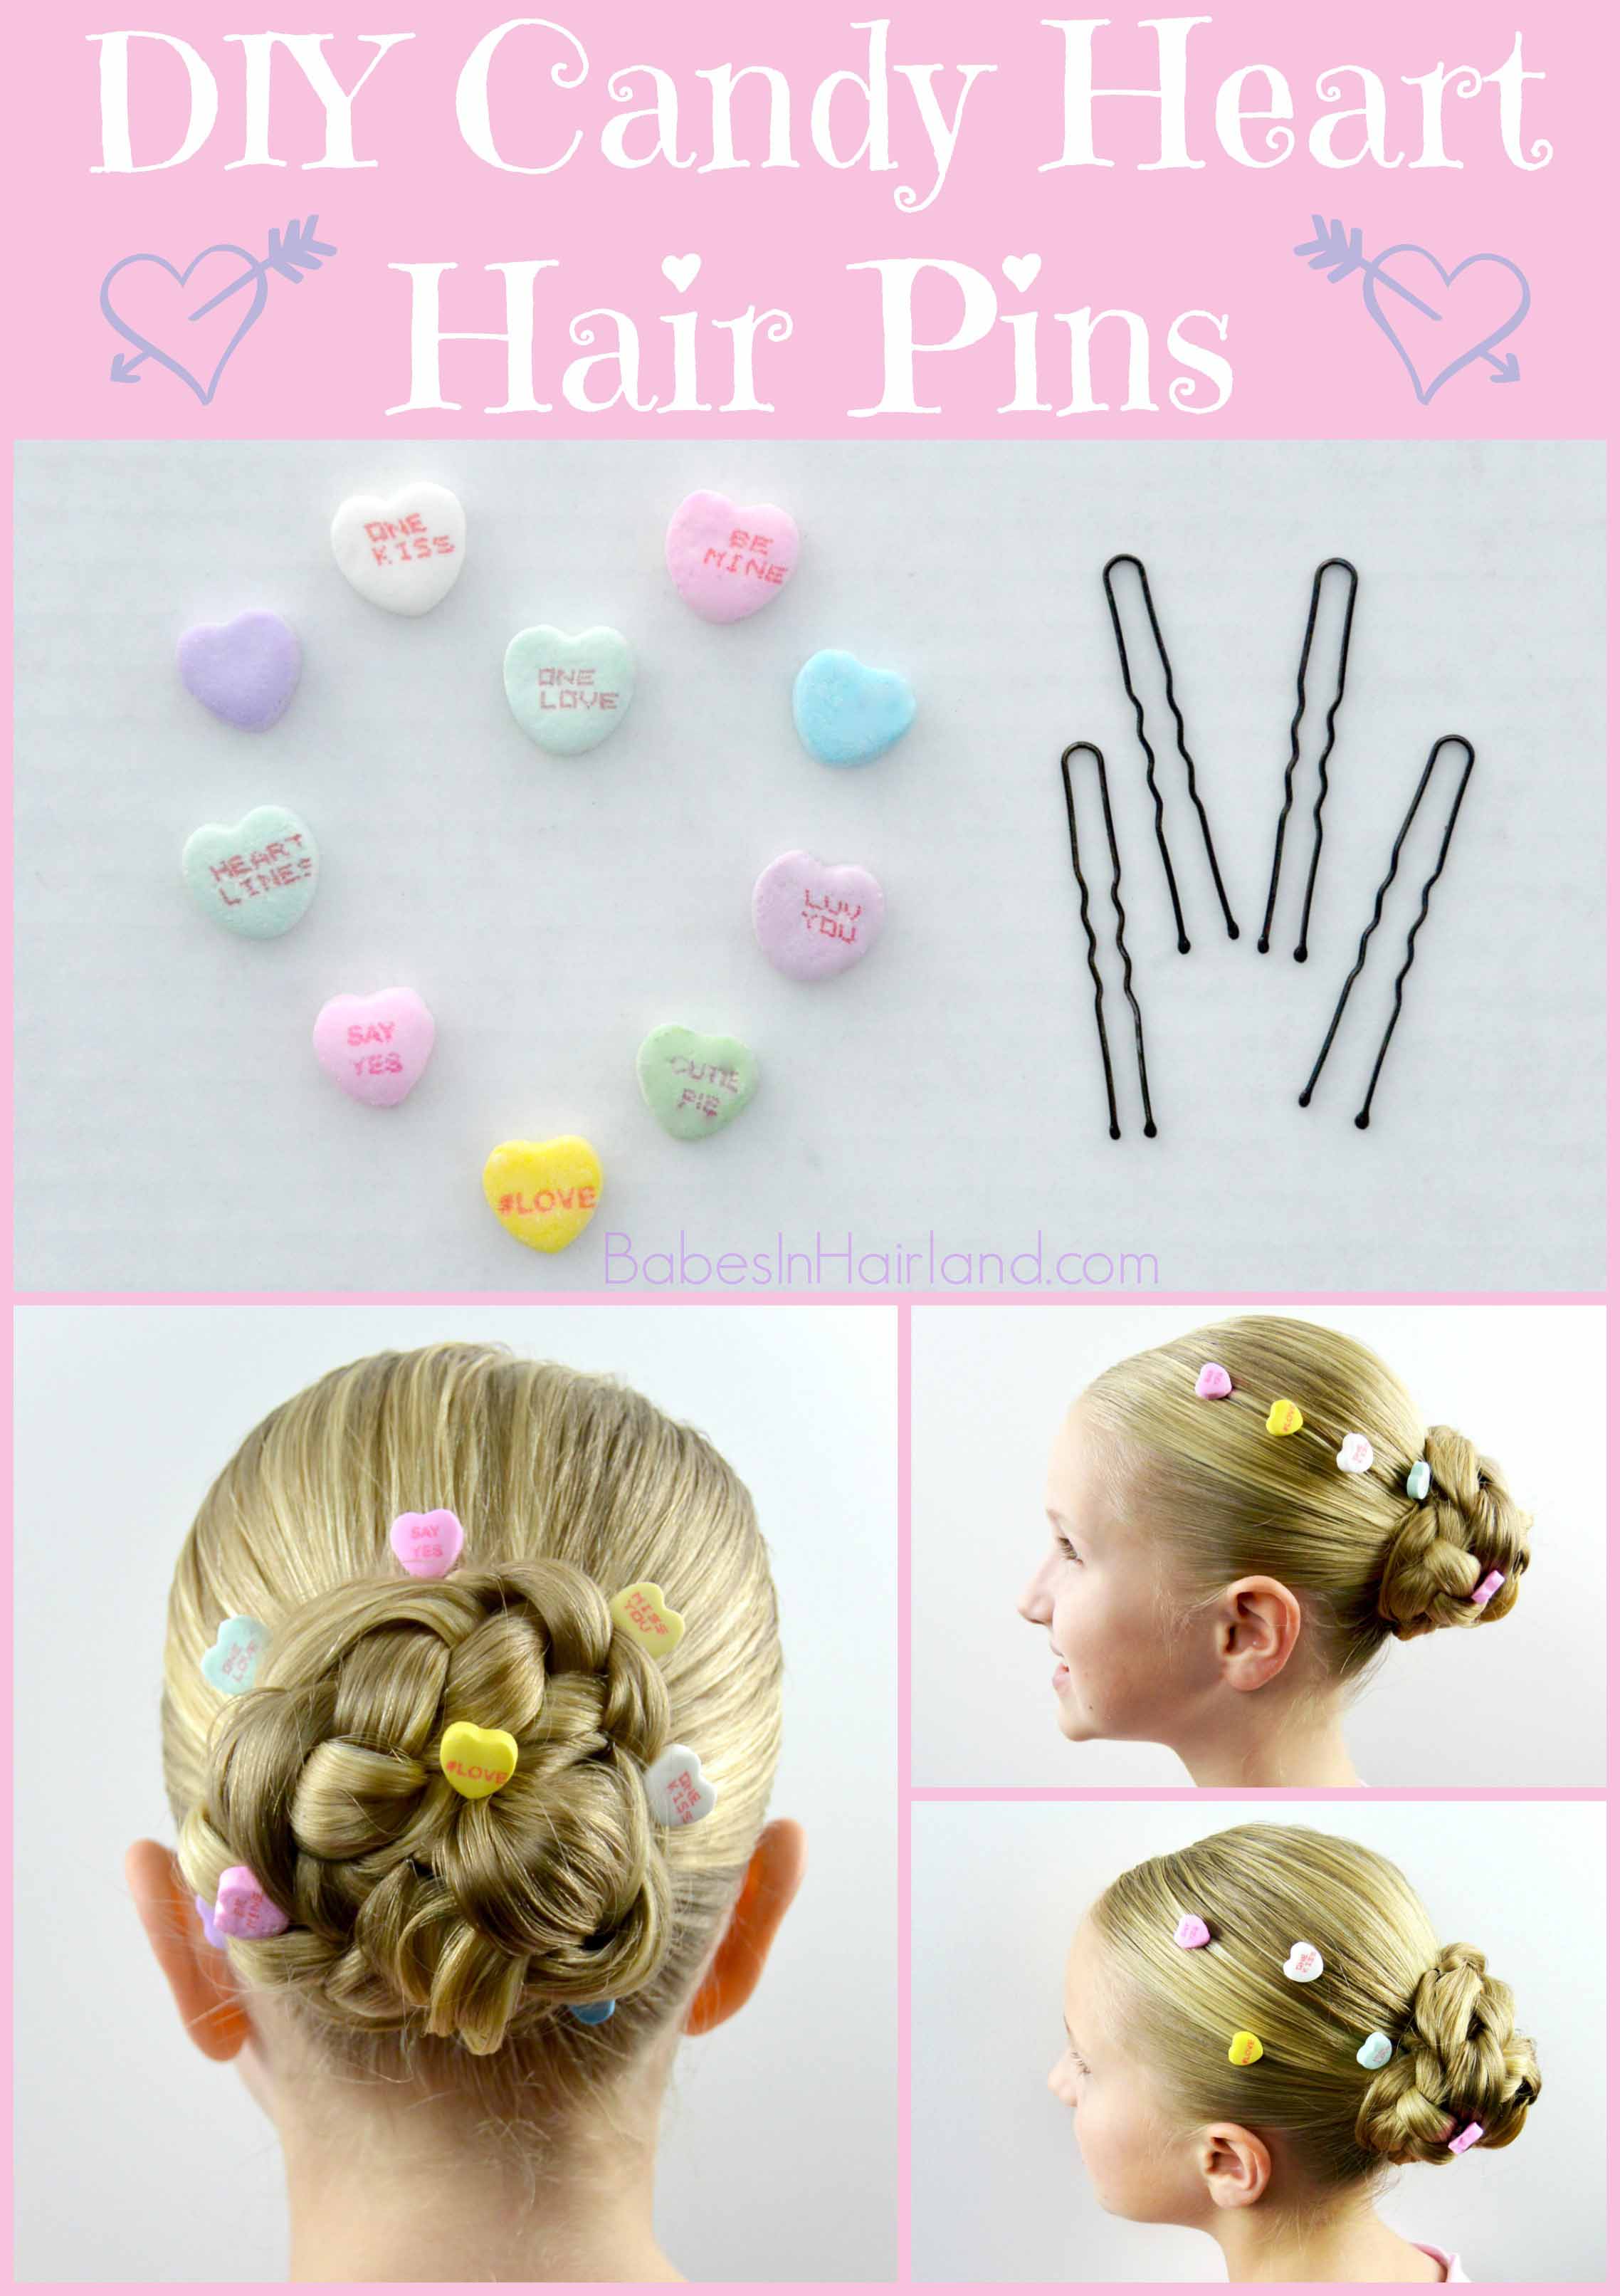
DIY Candy Heart Hair Accessories
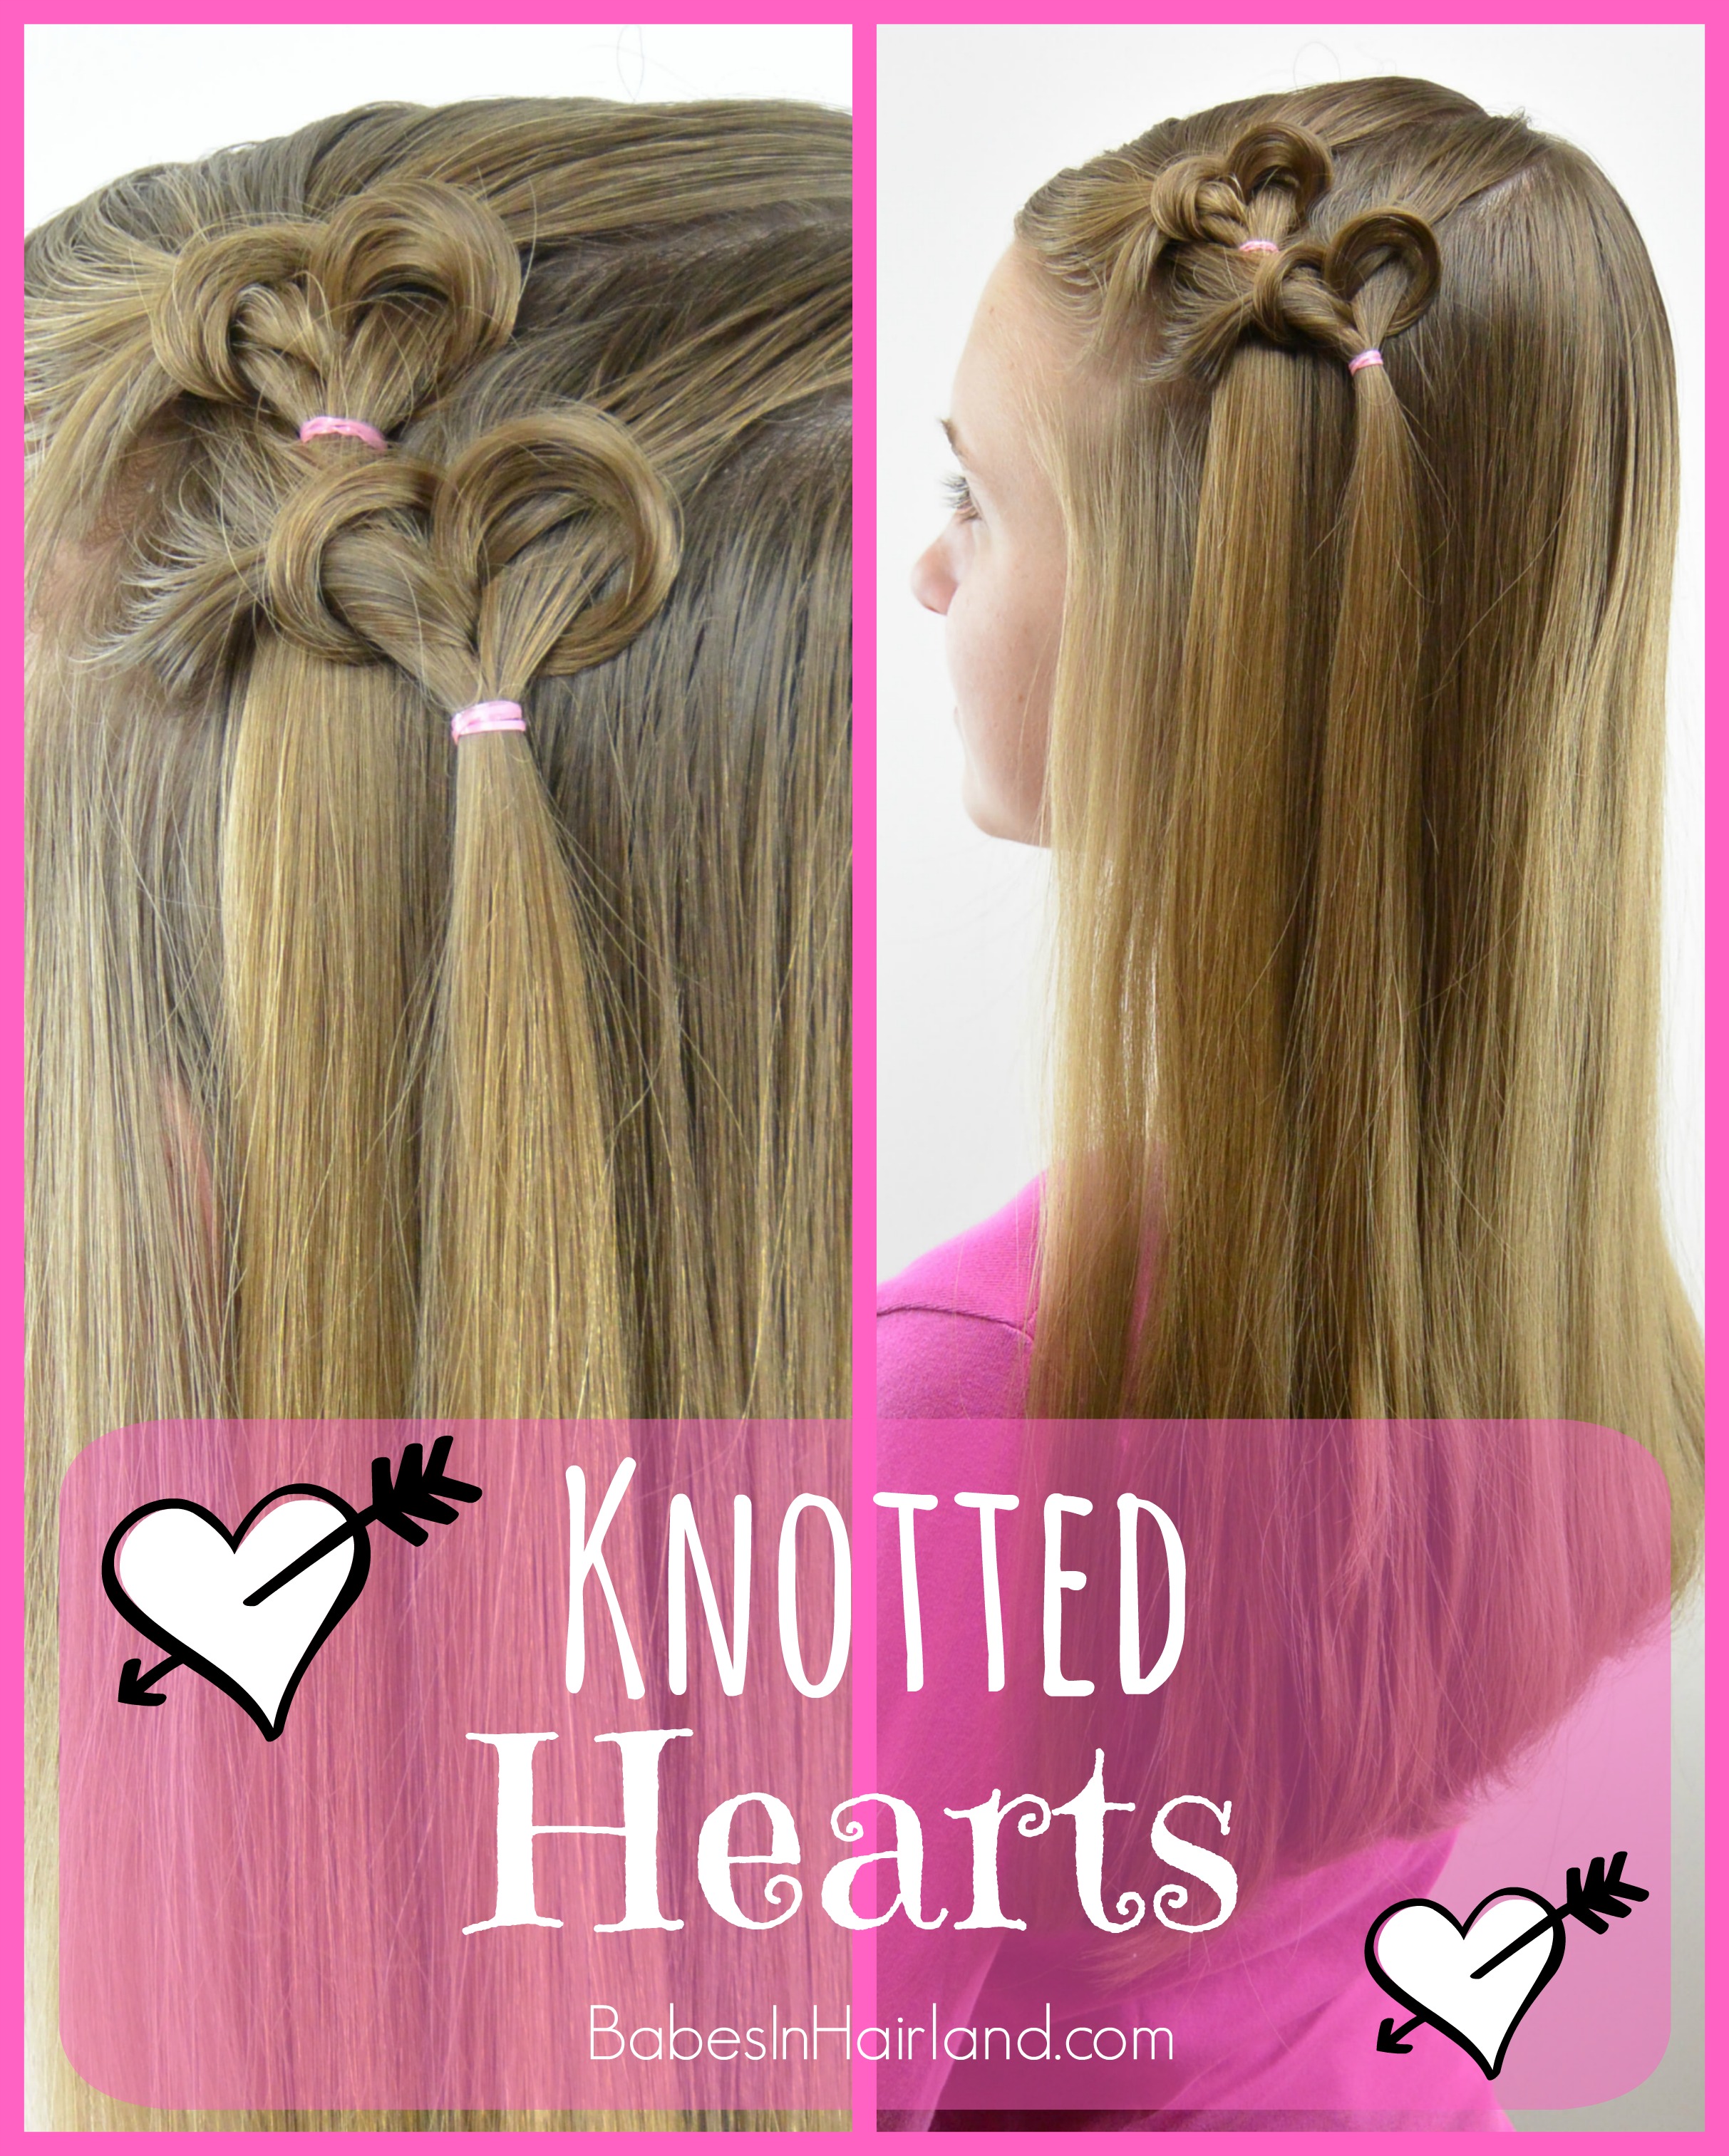
Knotted Hearts
And if you LOVE this week’s tutorial, please PIN & SHARE it too! Have a great week & thanks for stopping by!
The post Hanging Hearts | Valentine’s Day Hairstyle appeared first on Babes In Hairland.
]]>The post How to Create a Fabulous Faux Hawk appeared first on Babes In Hairland.
]]>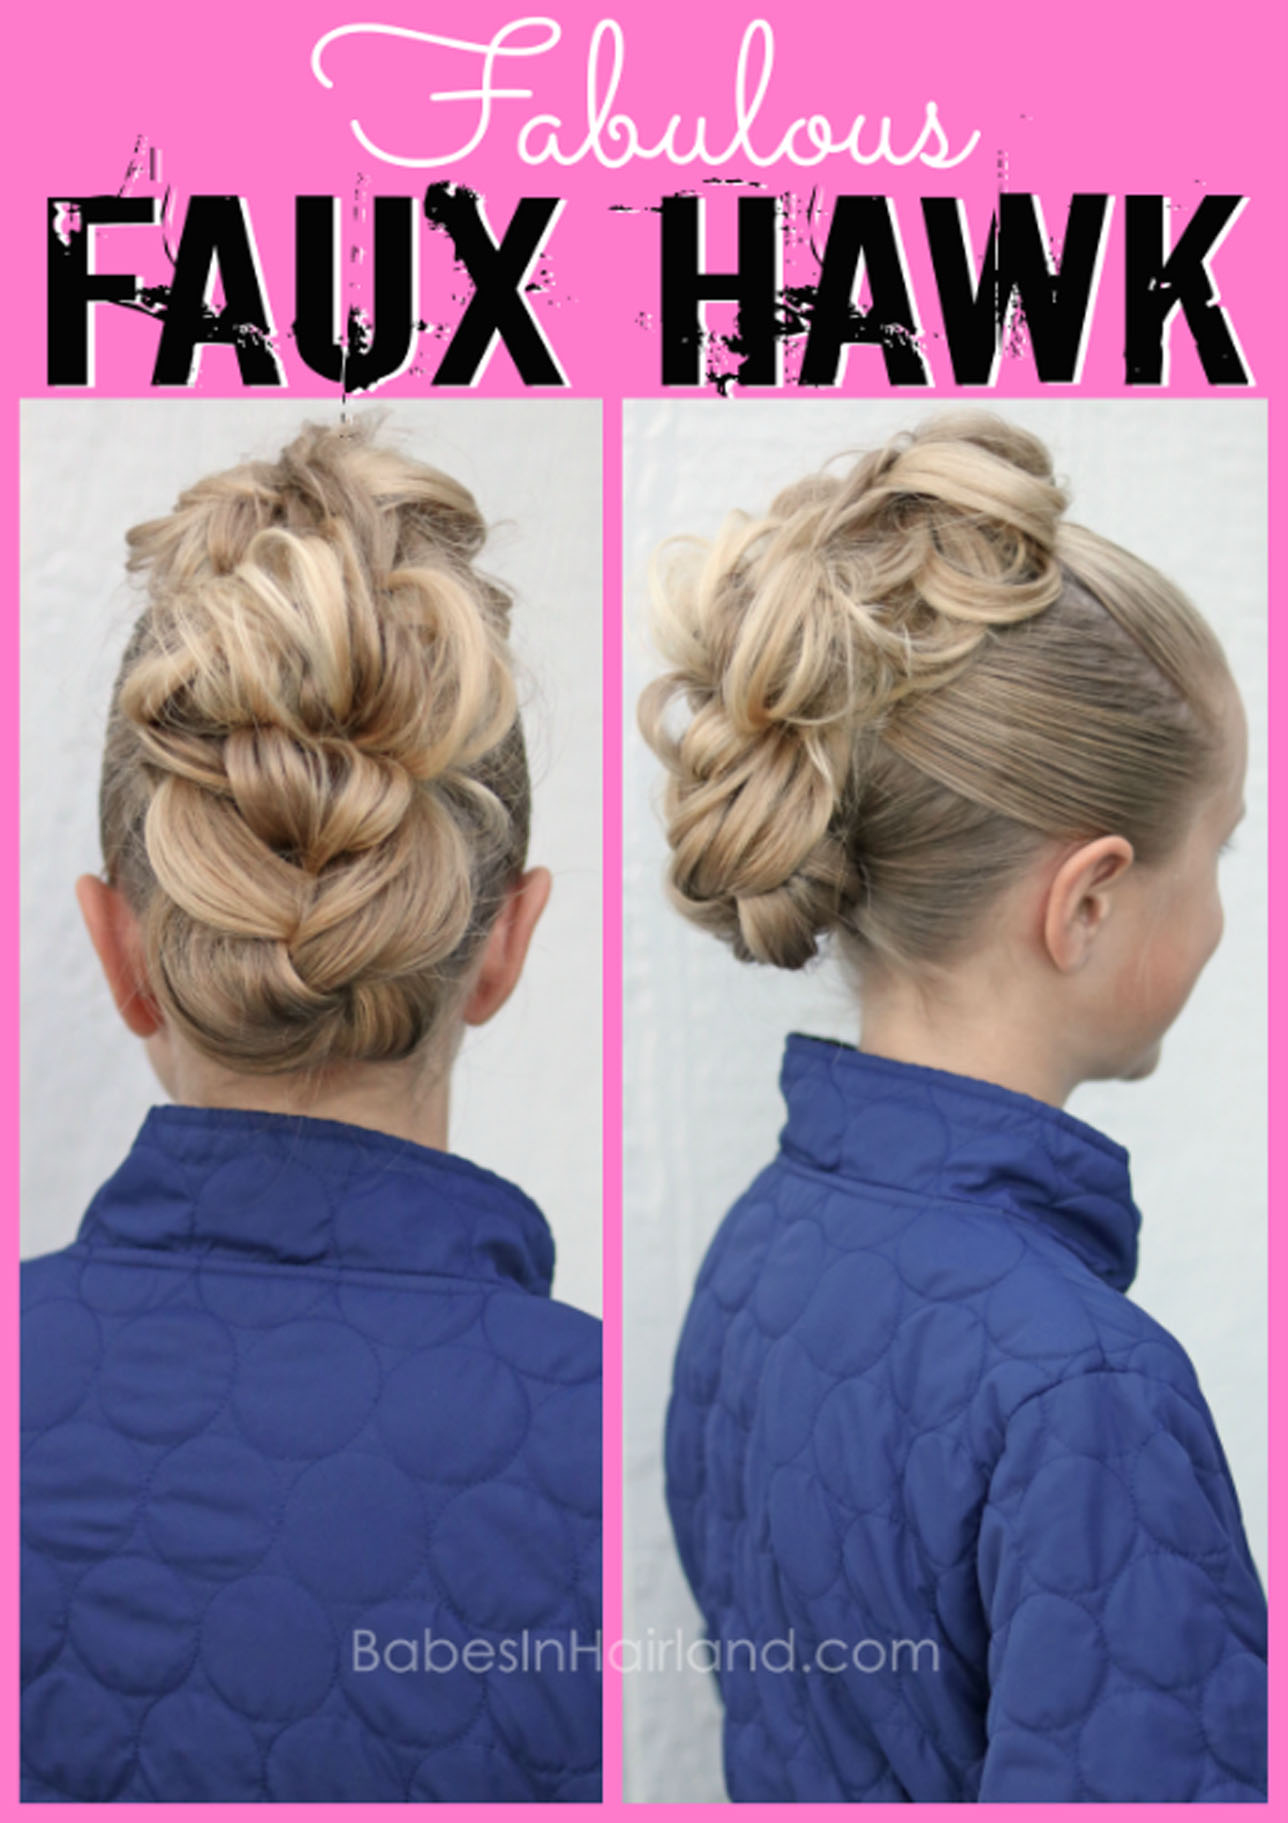
A while back we shared a fabulous faux hawk on Instagram. We had several requests asking how we did it. I actually thought we’d already shared a tutorial on this, but looking through all our tutorials, apparently we hadn’t! In the past we’ve created hairstyles that have incorporated a faux hawk element, but not just a “full” faux hawk style! So today we’re sharing how we created this fabulous faux hawk! The size of this faux hawk can sort of depend on the length of hair you’re working with. But even if your hair is shorter or mid-length, you can still create an amazing faux hawk like the one we’re sharing today. These faux hawks are so big and beautiful, they can almost be considered an updo as well! So whatever your occasion, this hairstyle is fabulous for it!
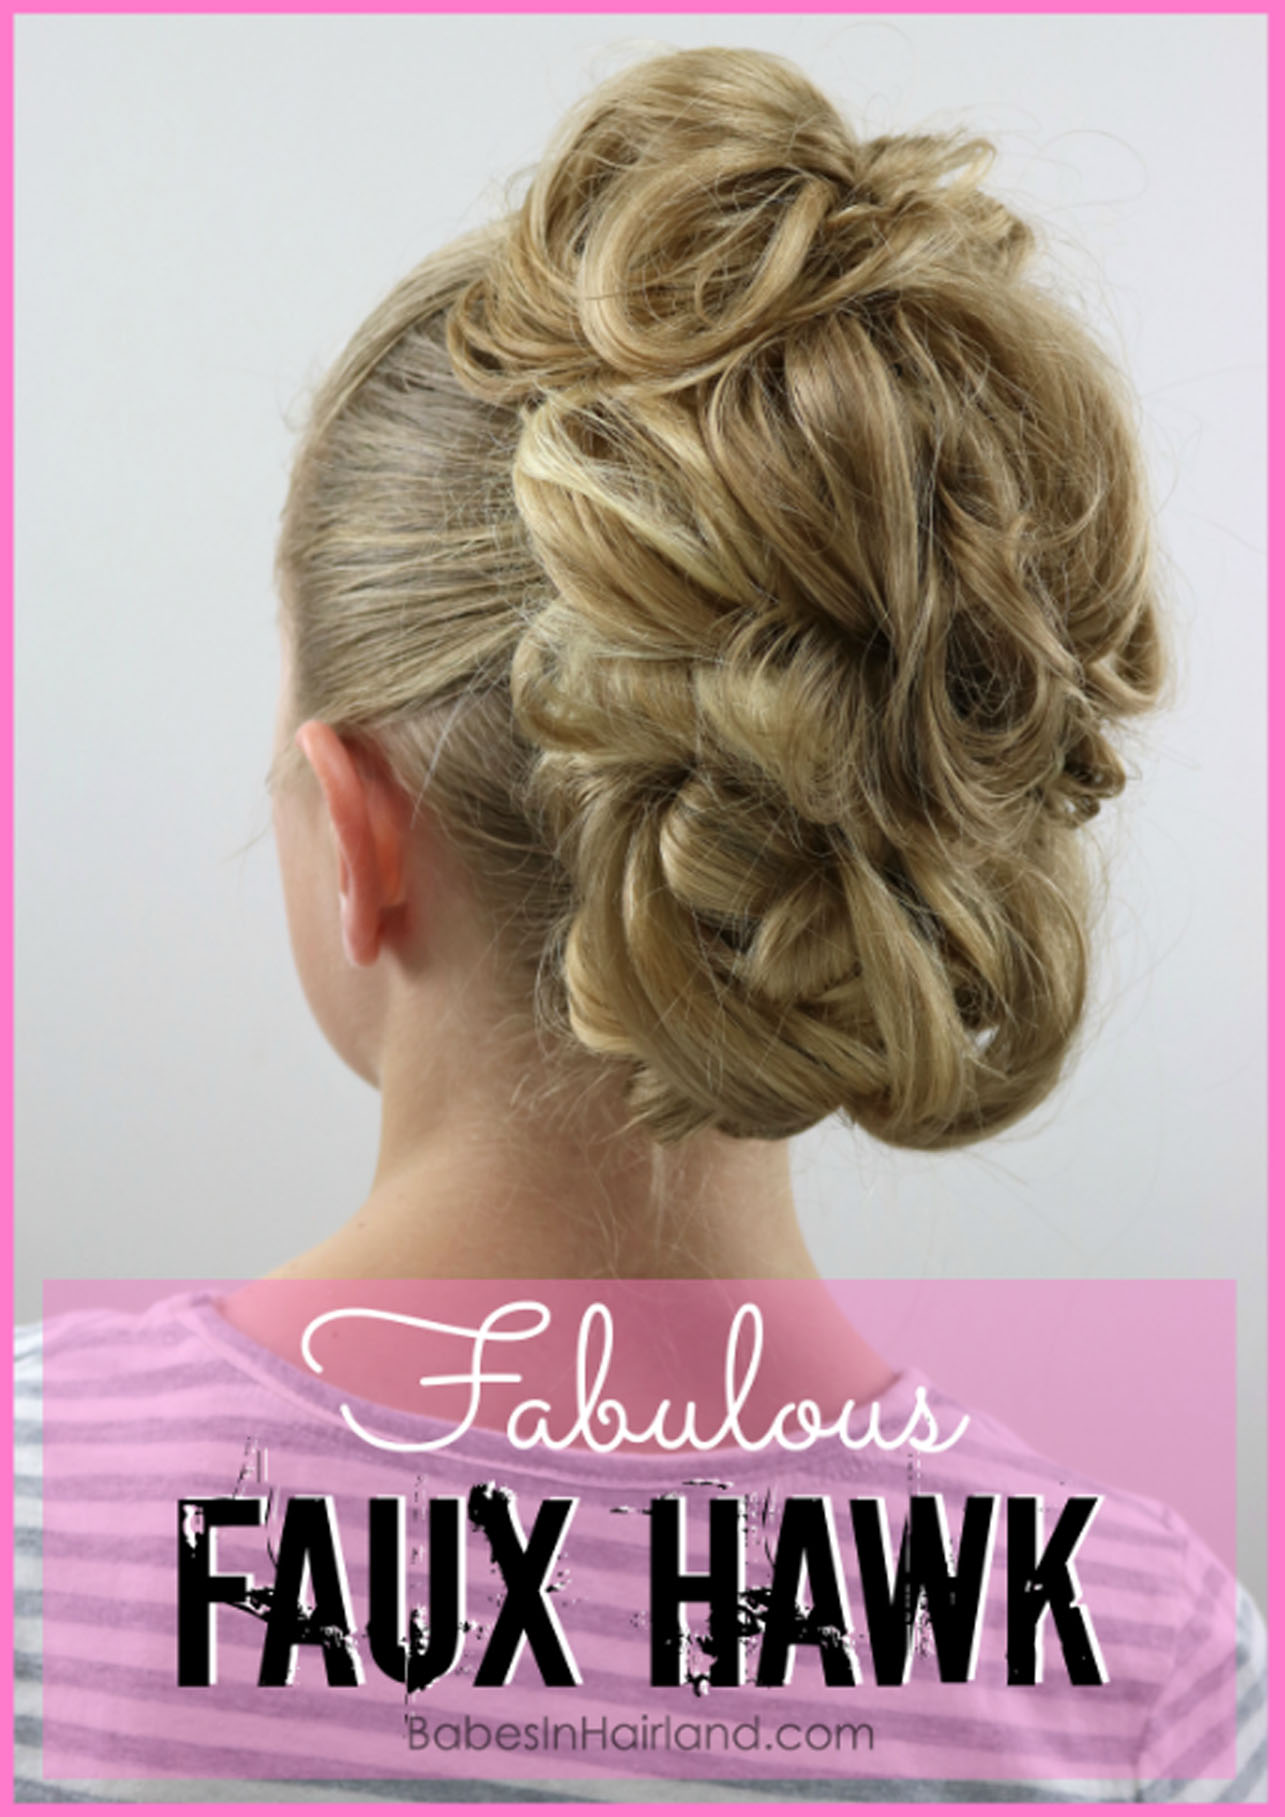
Here’s our video tutorial showing how it’s done, and below you will find step-by-step instructions and more pictures. If you have trouble viewing our video, go HERE and watch it on our YouTube channel.
1- Part the hair from the temples back to the crown and make a ponytail. Secure that hair with an elastic.
2- With a 2nd elastic, wrap it around the first elastic, and on the last wrap of the elastic, don’t pull the ponytail all the way through. Leave the hair in a big loop.
3- Temporarily clip that big loop up and out of the way.
4- Next, part the hair from ear to ear to create another ponytail. Include the tails of the hair from the ponytail above in this ponytail. On the last wrap of the elastic, don’t pull the ponytail all the way through. You will now have a 2nd loop.
5- Back to the top loop, start pulling it apart and using bobby pins to pin sections around. There isn’t an exact science to this process. You just want to break apart the big loop and pin them to create your bigger fauxhawk look.
These top 2 loops are to be pulled apart and almost make a messy bun. Watch our Messy Bun video to see that process a bit better.
6- Once both big loops have been pulled apart and pinned in place like you like, move to the remaining hair down in back.
7- Comb all the remaining hair into a low ponytail at the nape of the neck and secure with an elastic.
8- With this last ponytail, make a loose braid. Pancake the braid if desired to make it even wider and flat.
9- Roll this braid up toward the head and secure it with bobby pins.
10- Gently pull on sections of the braid to break it apart a bit and secure as needed with bobby pins.
This process is similar to our Pull Apart Bun we shared a while ago. You just don’t want things to look like a full braid rolled up there on bottom, so pull and pin things to break it up.
FINISHED FABULOUS FAUXHAWK UPDO!
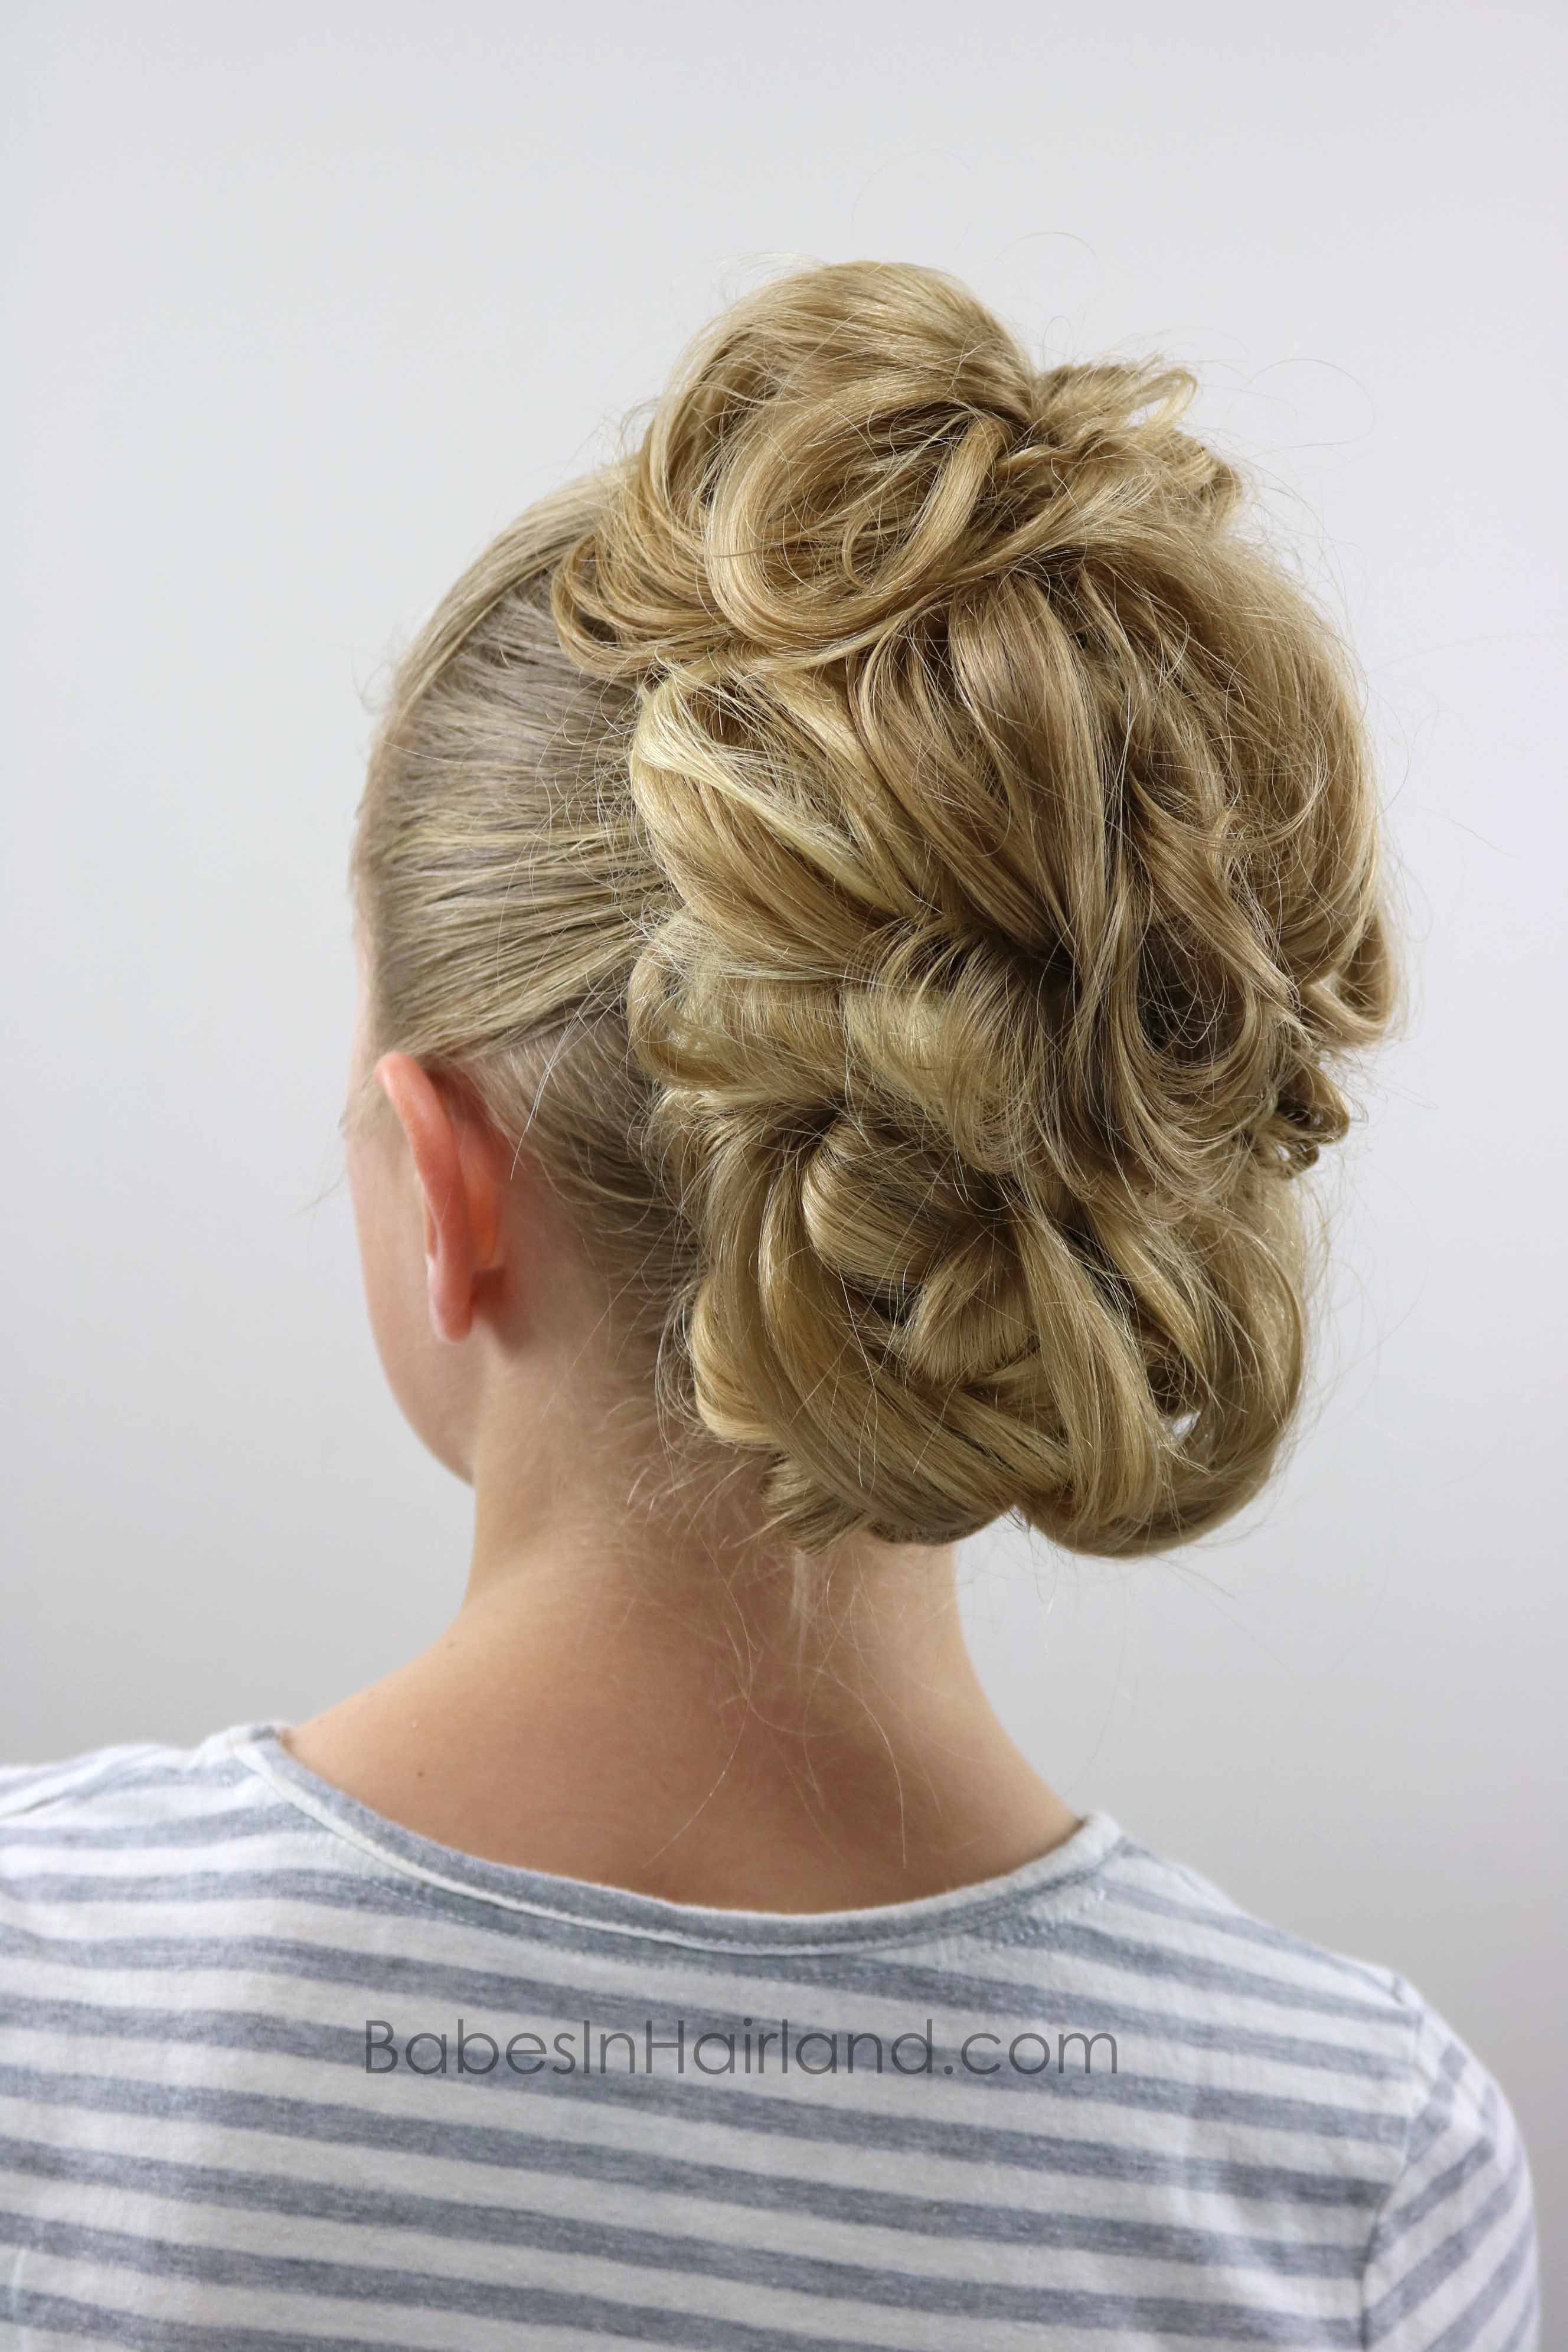
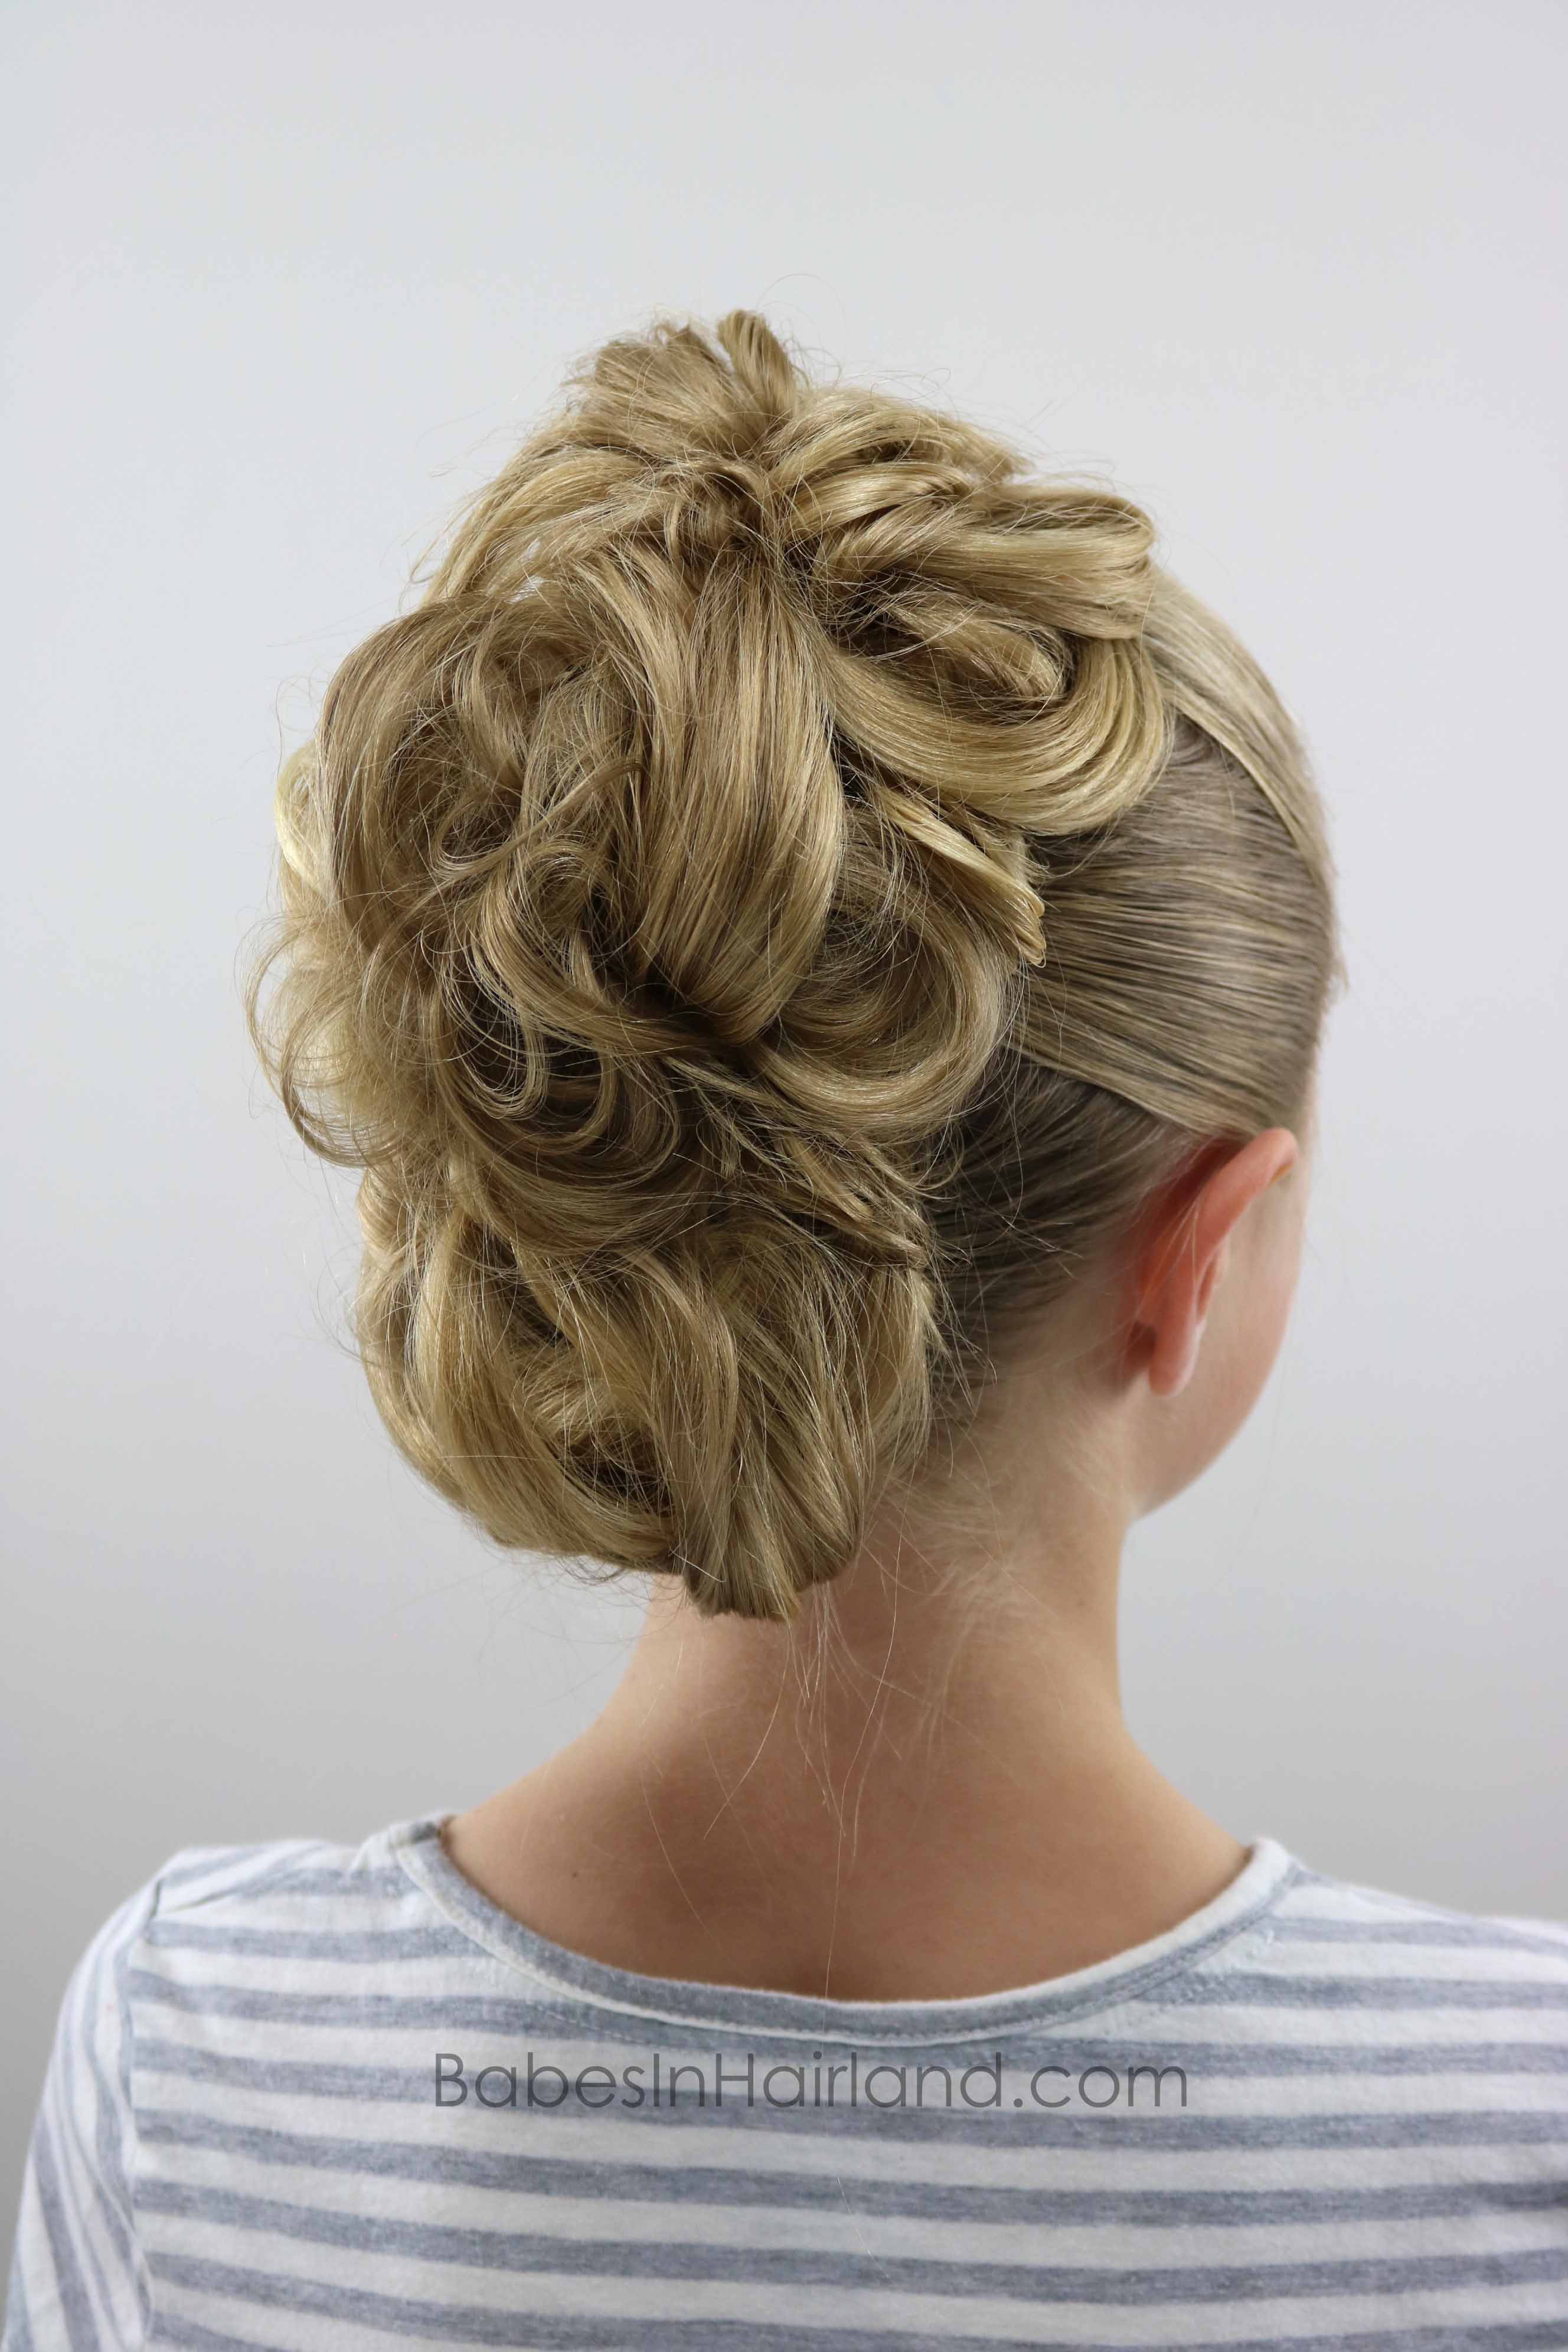
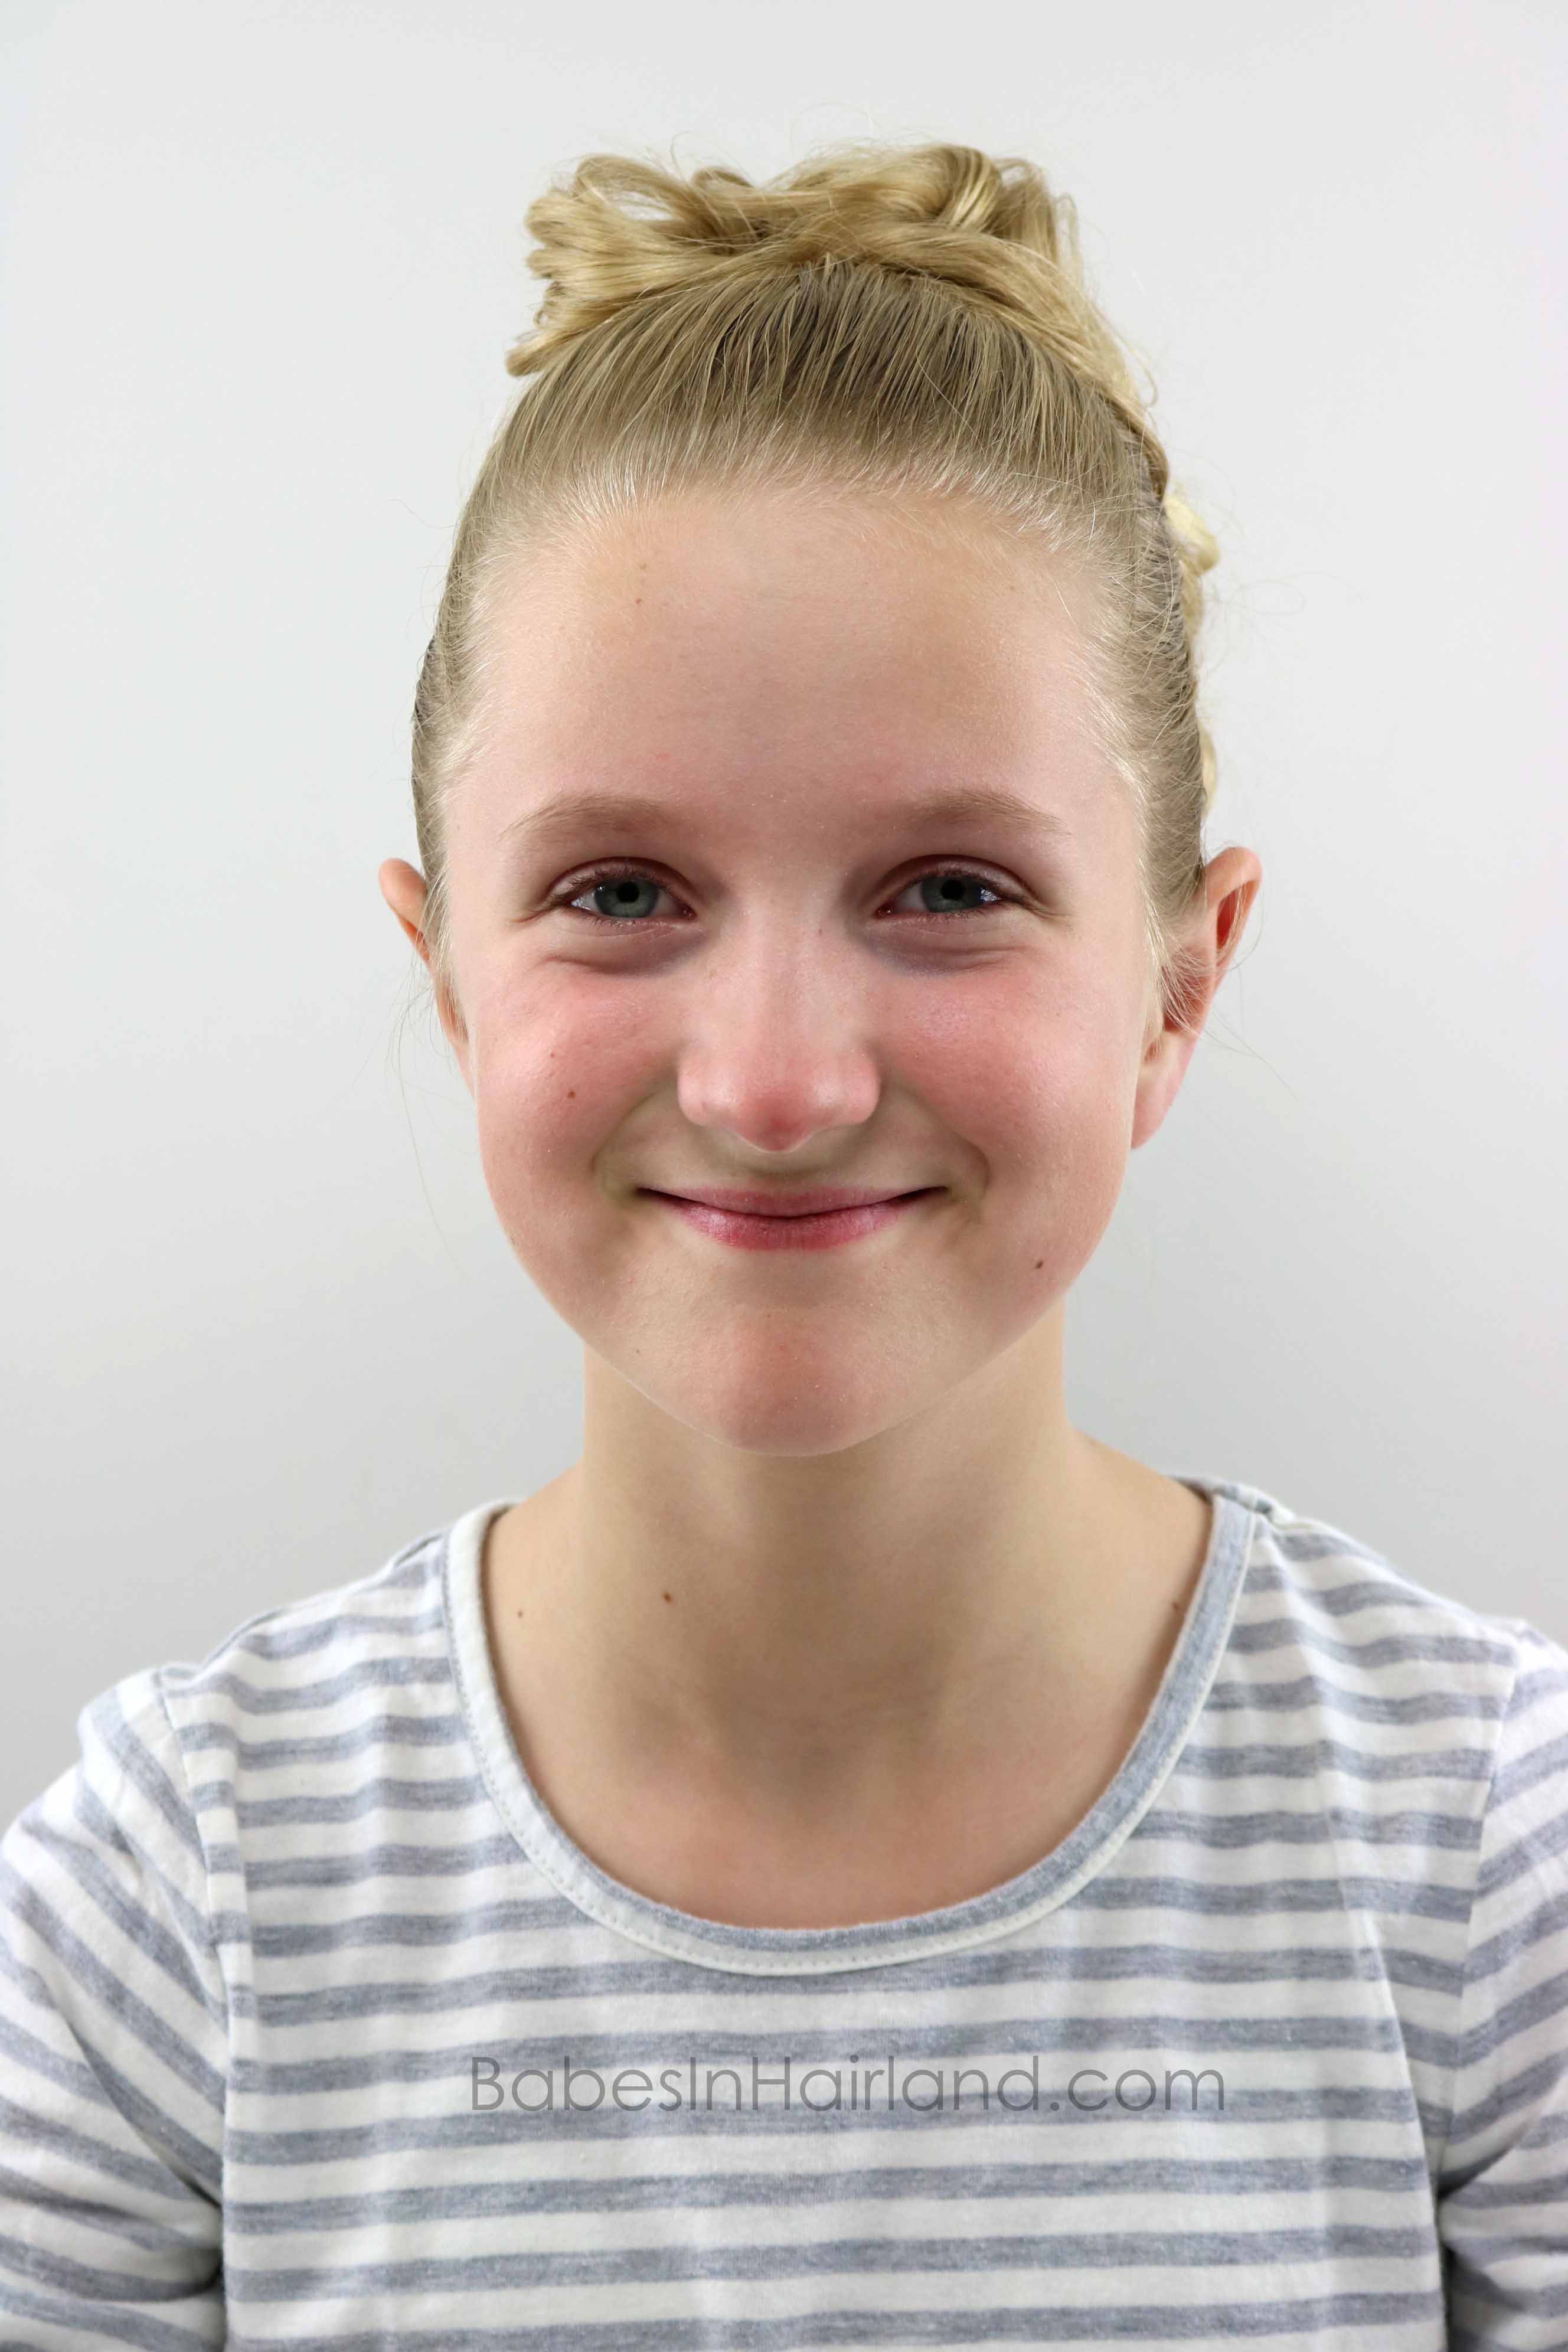
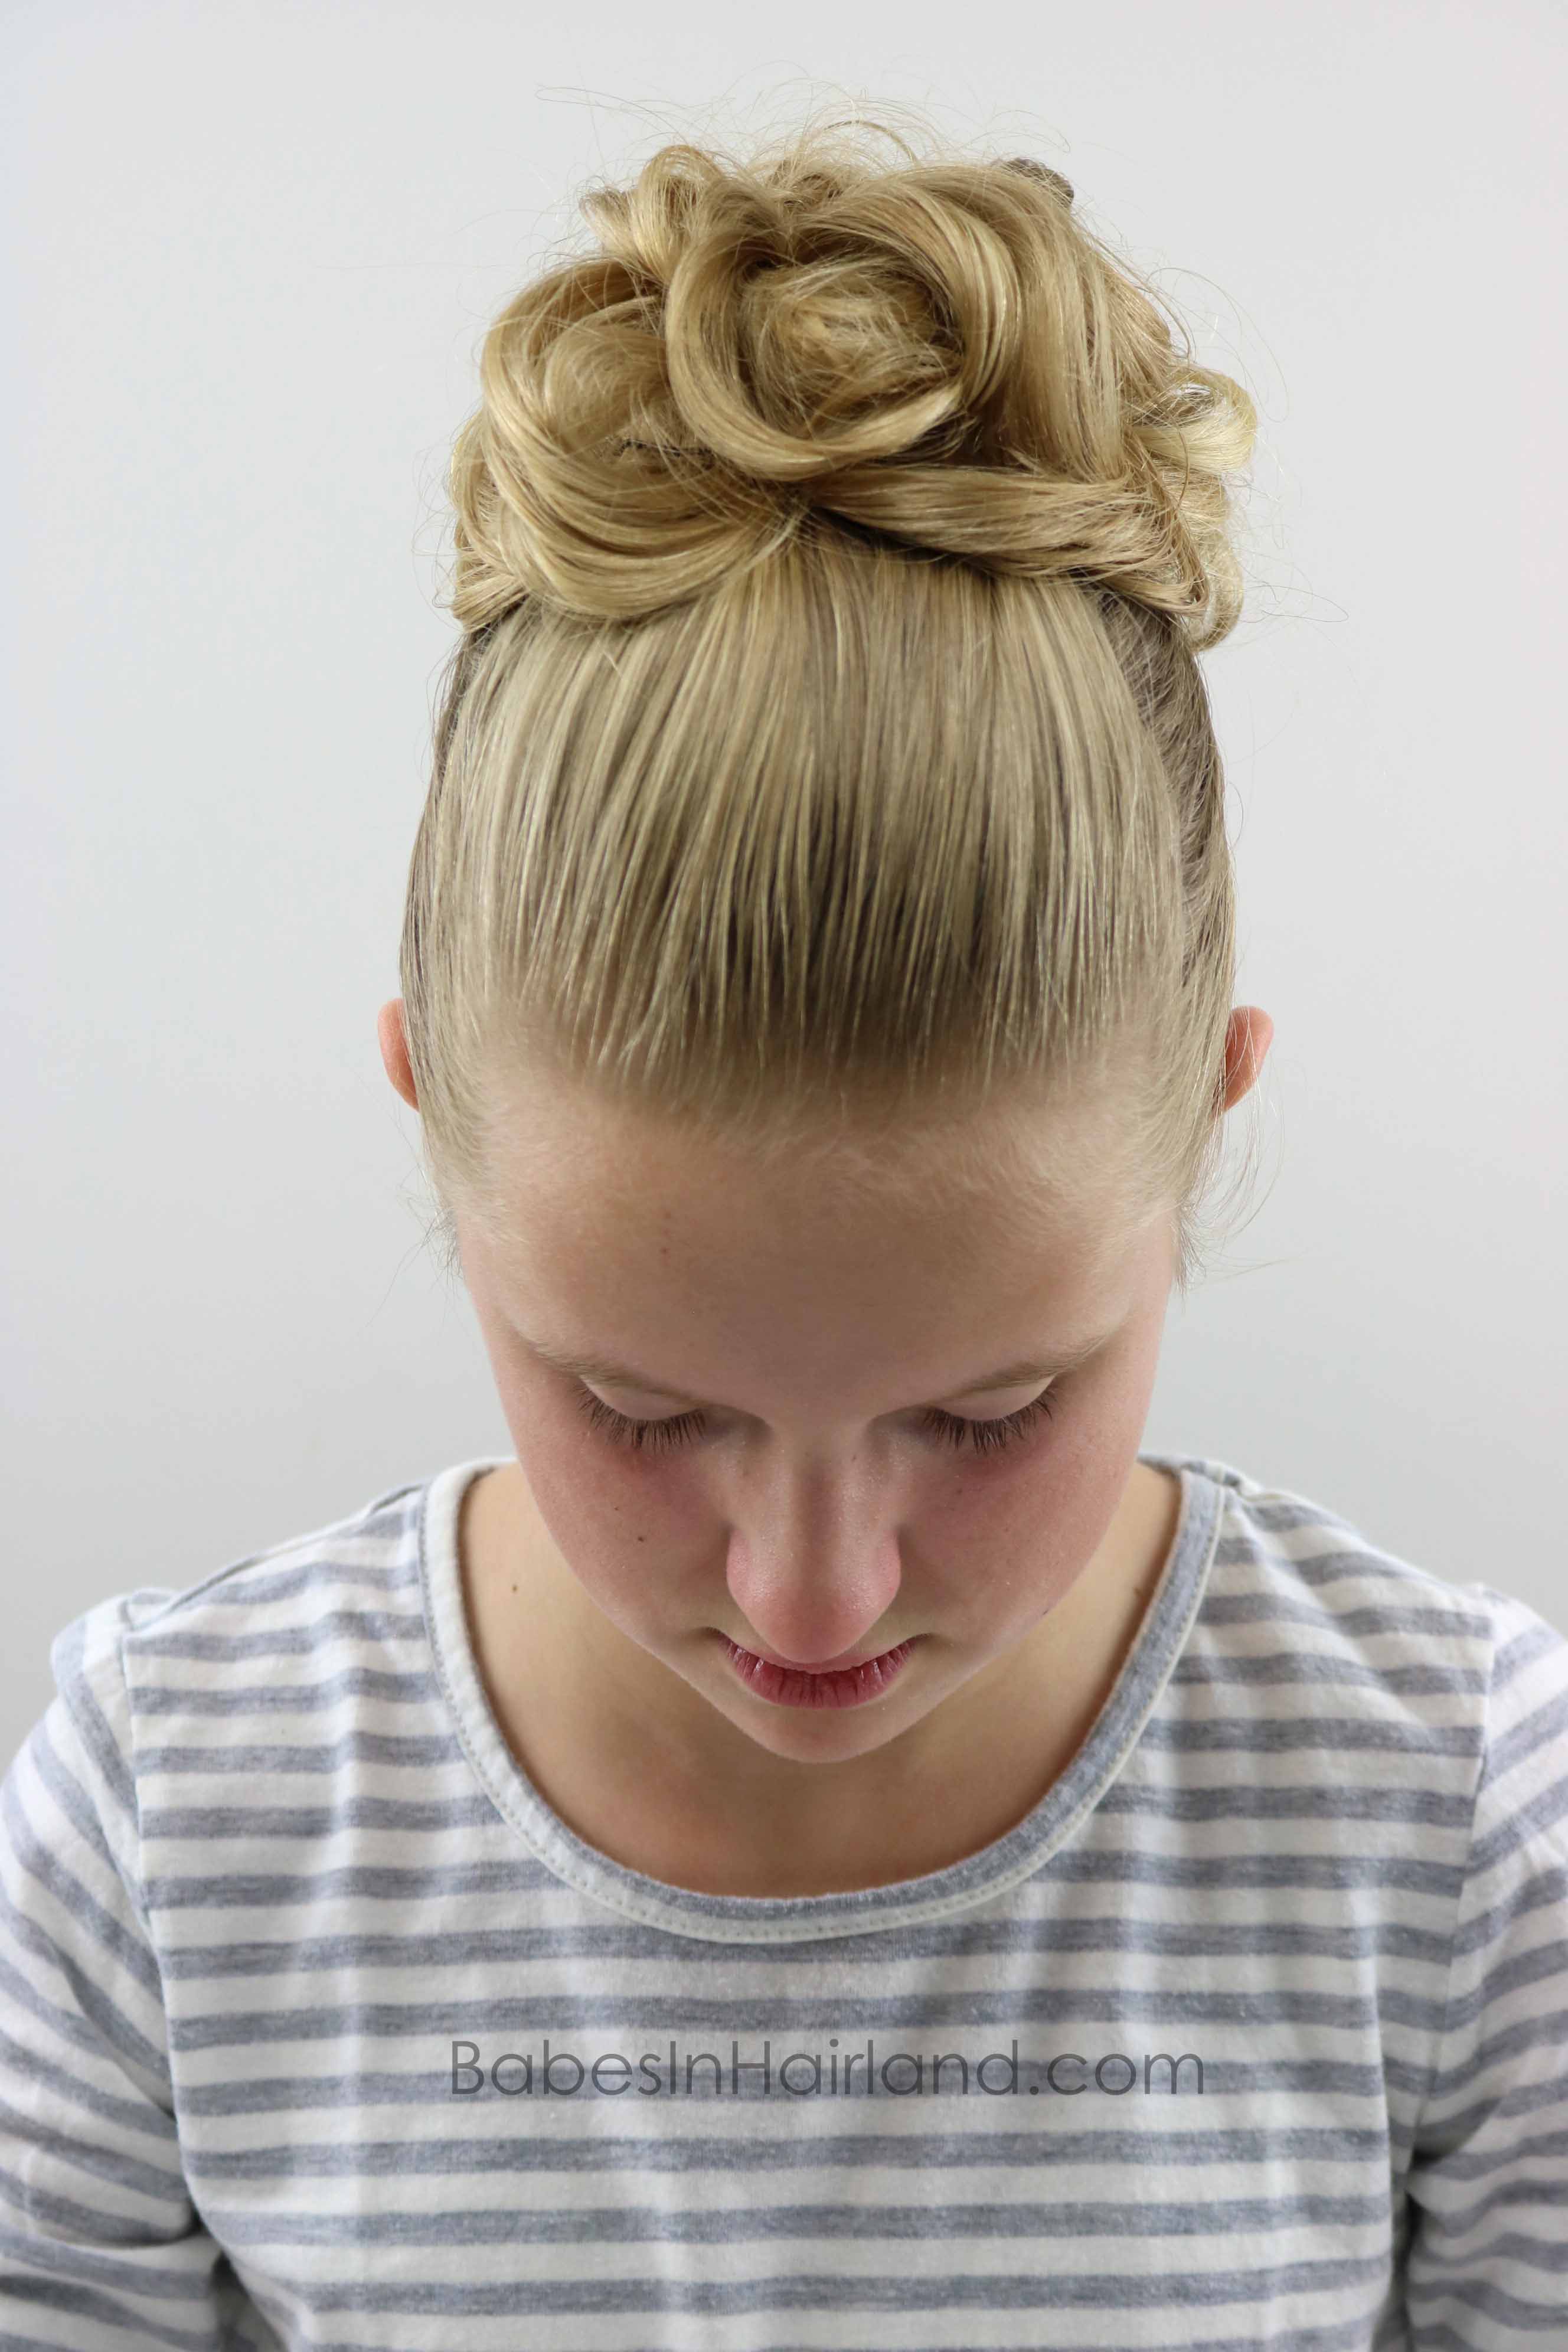
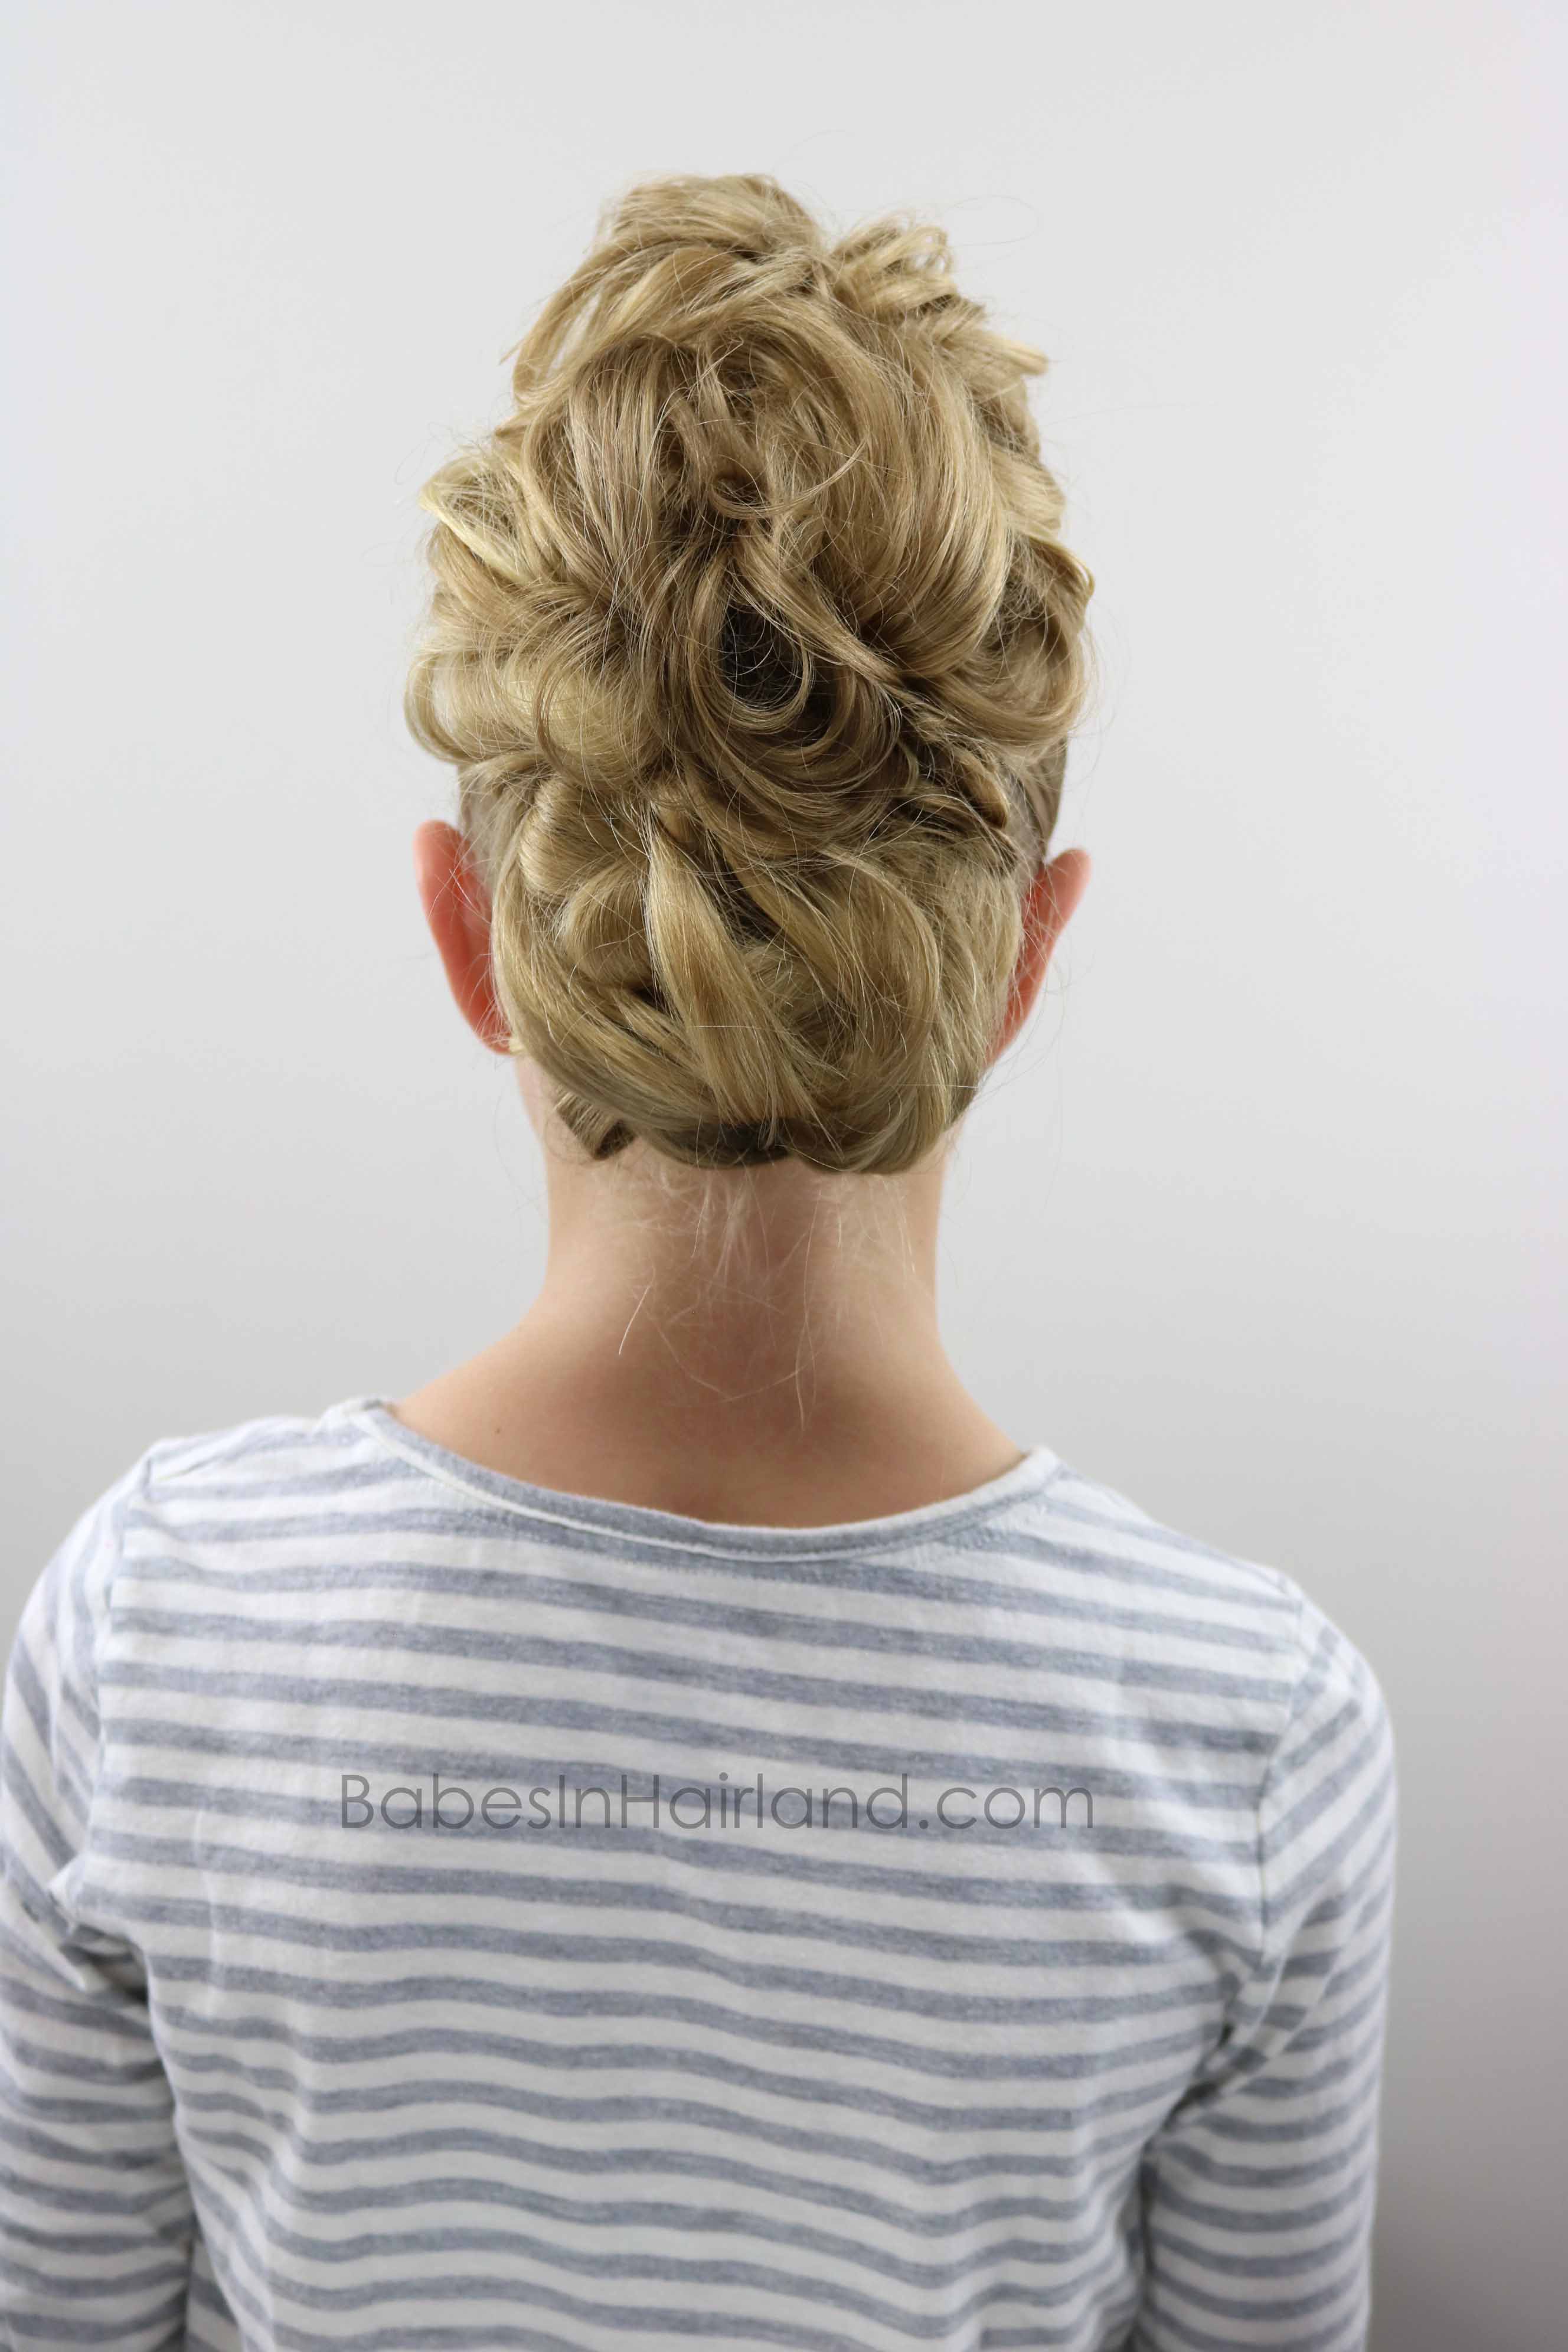
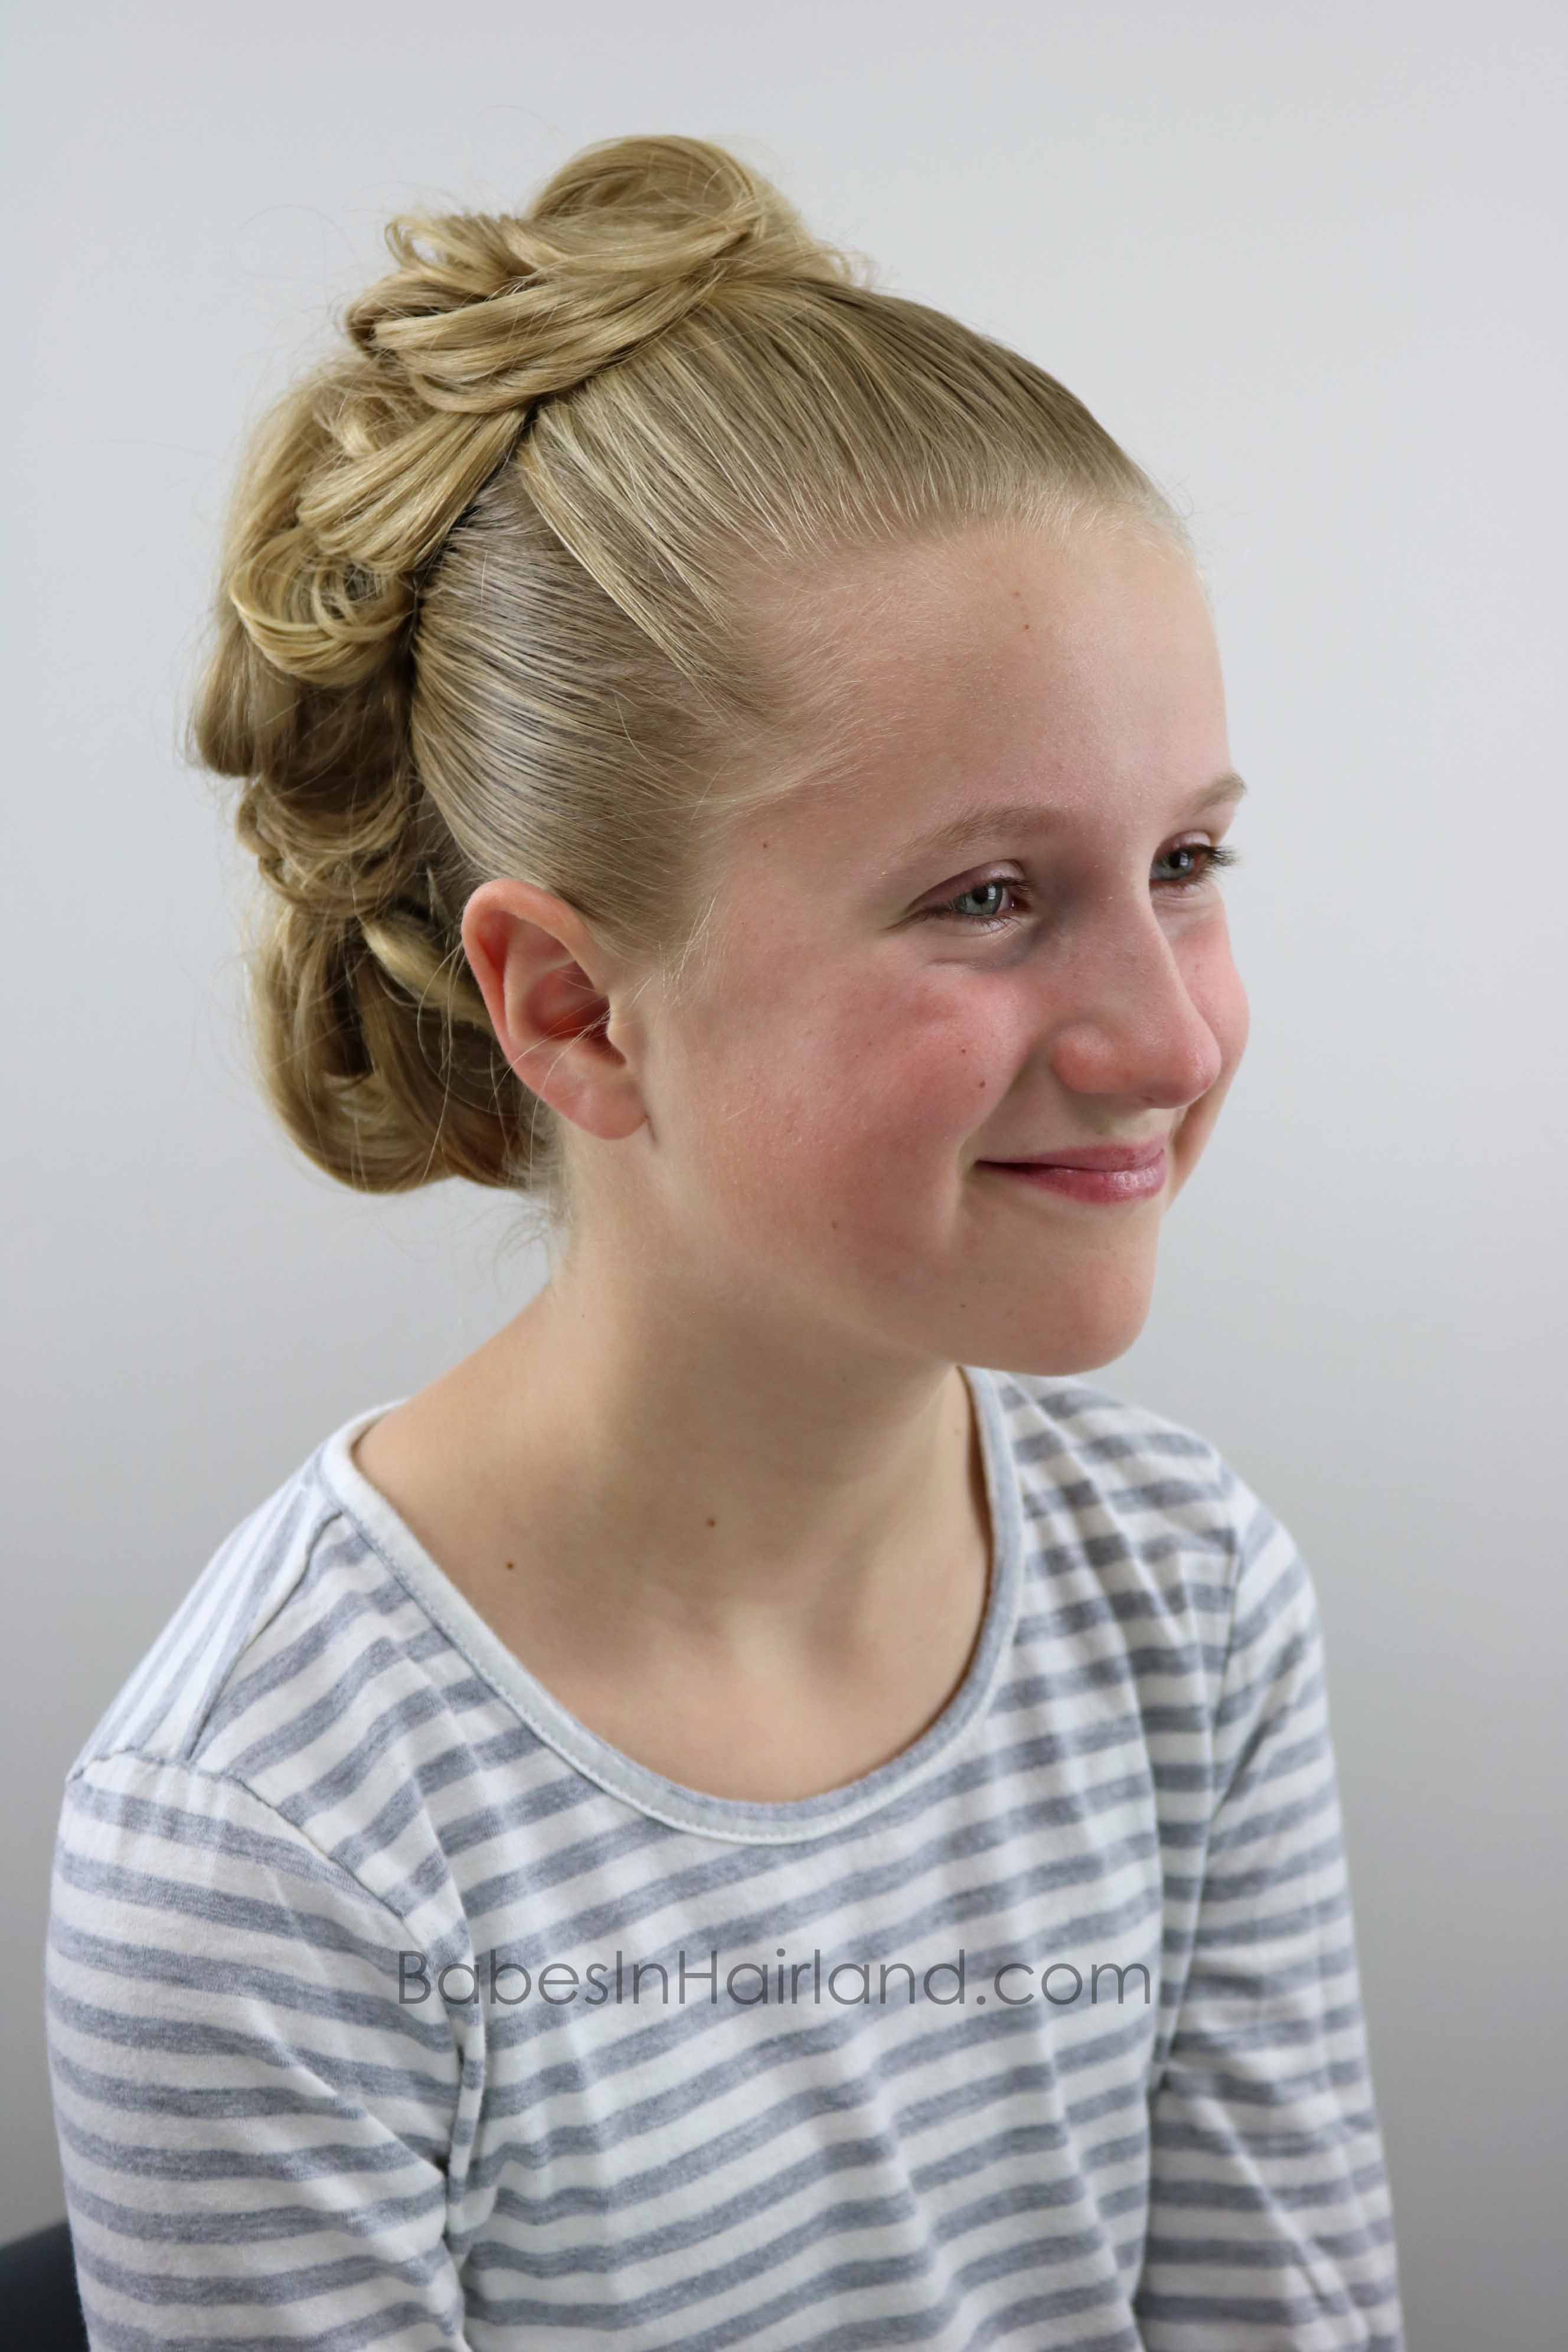
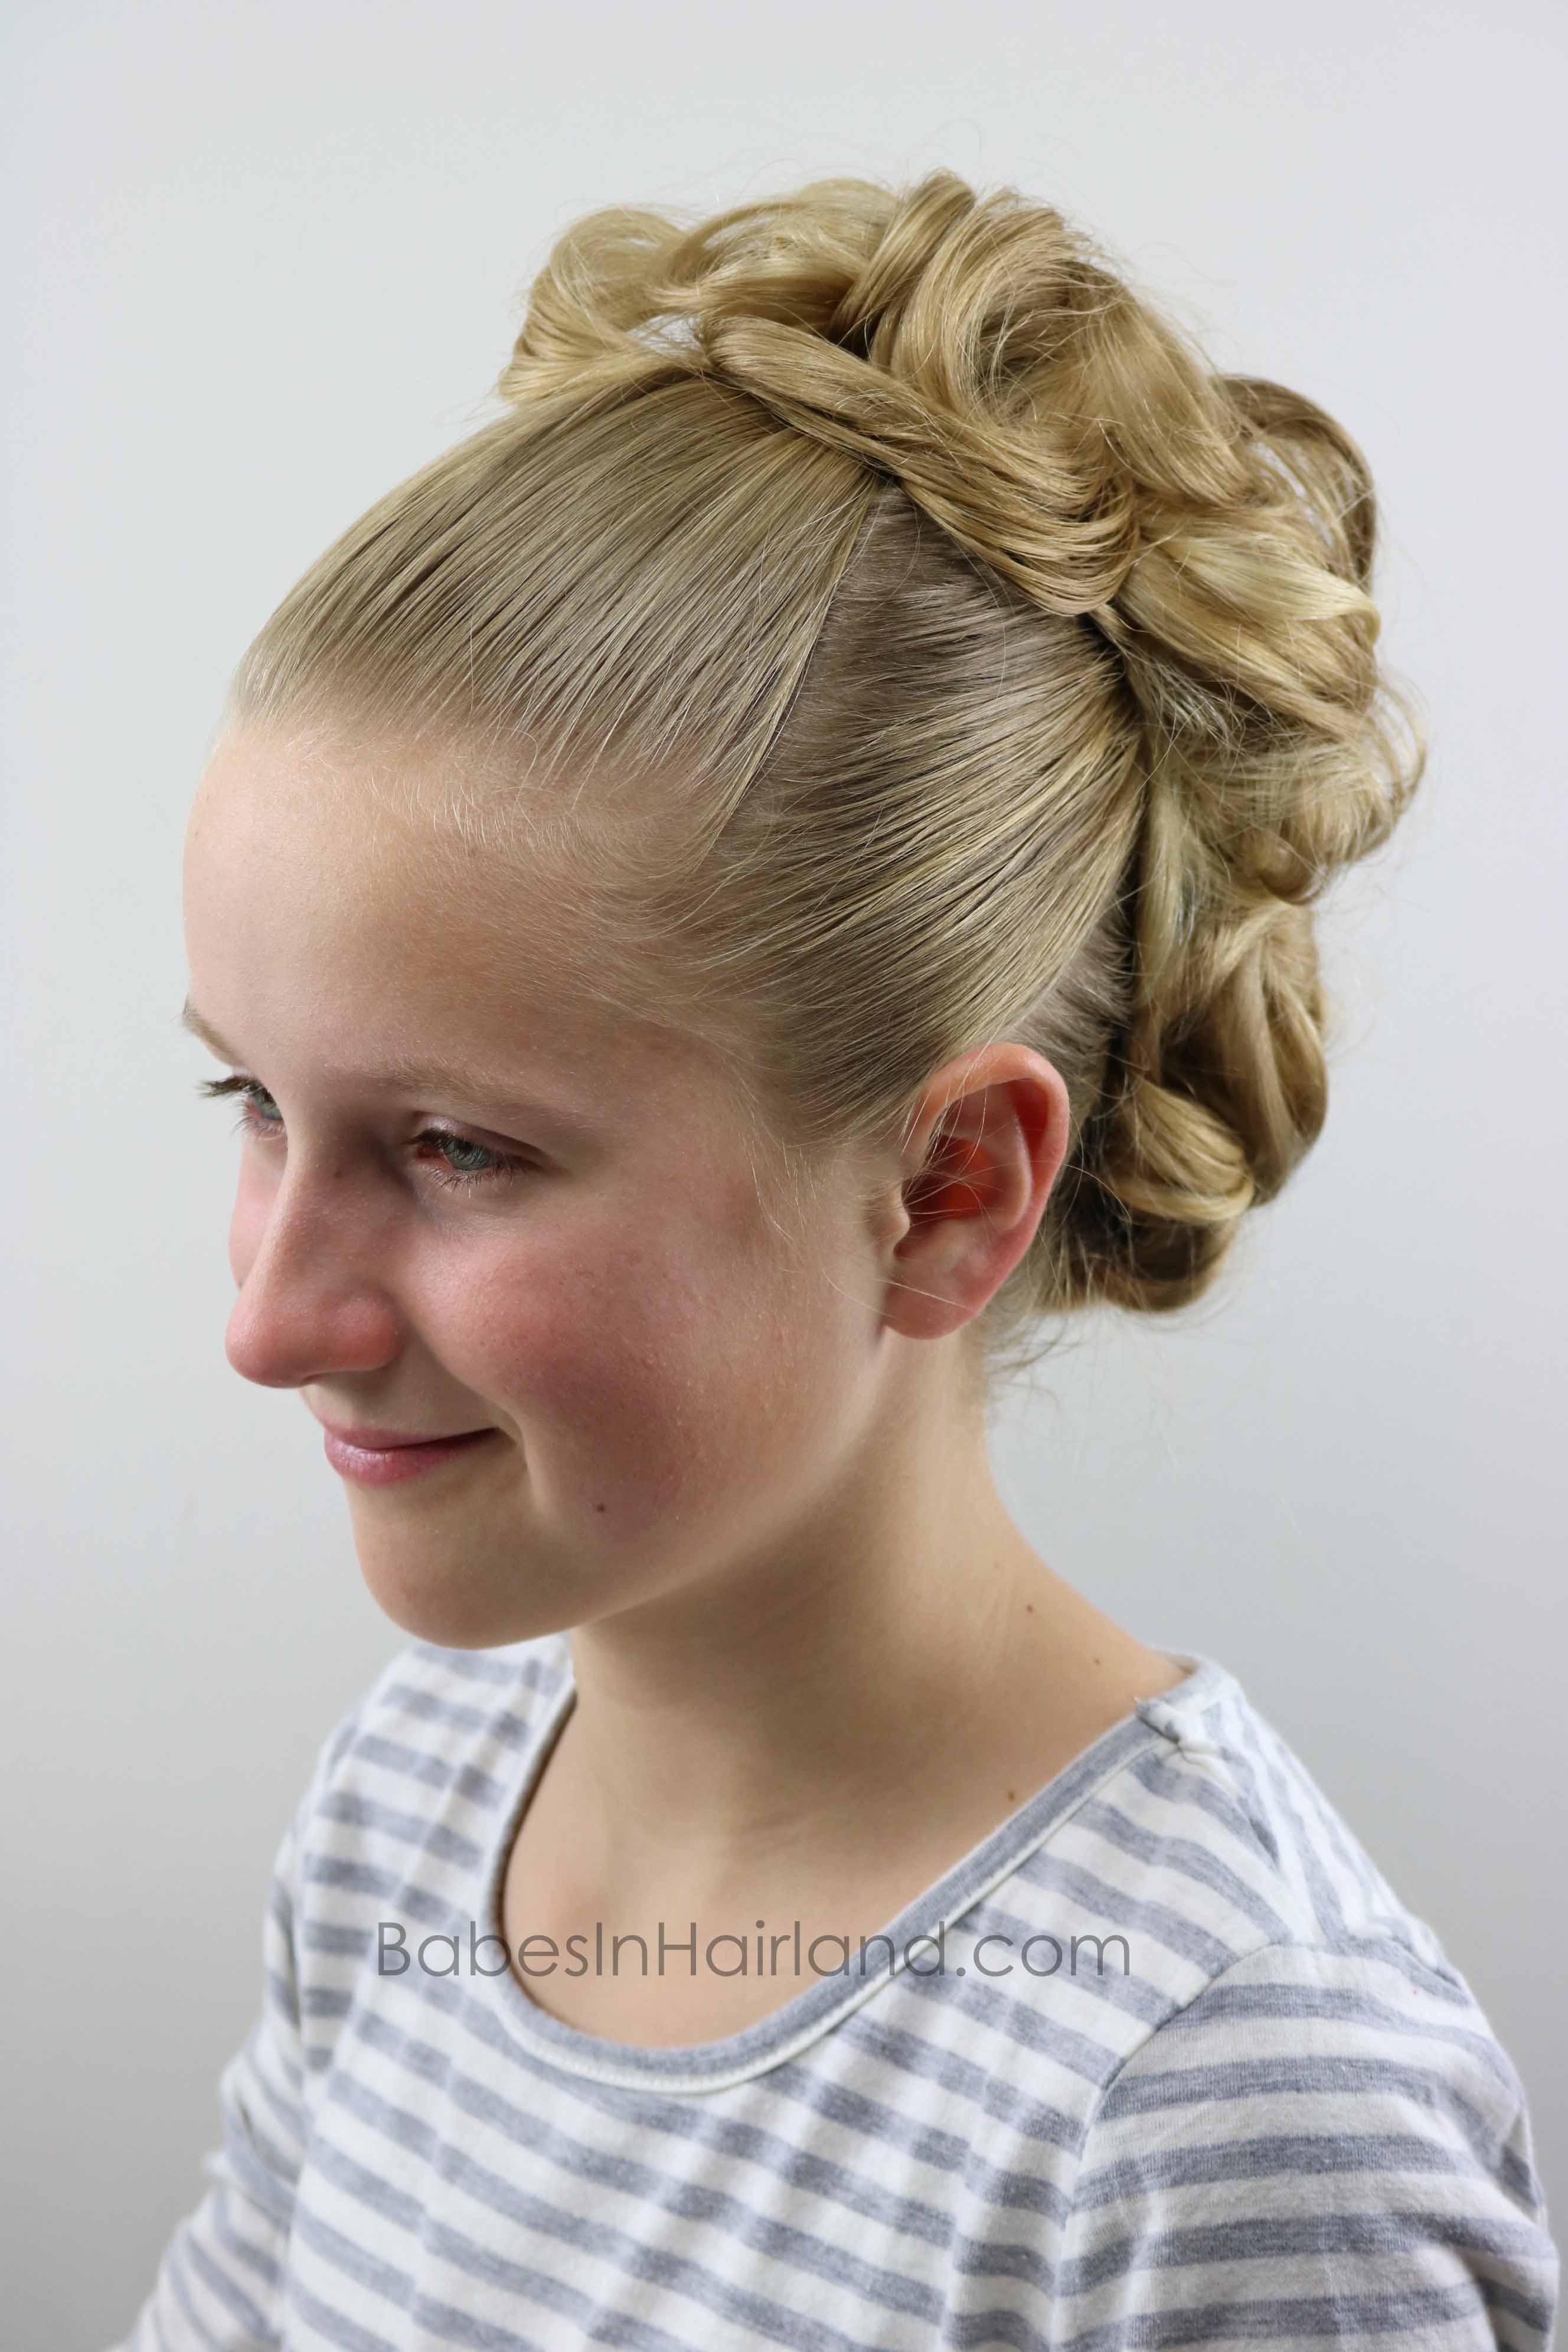
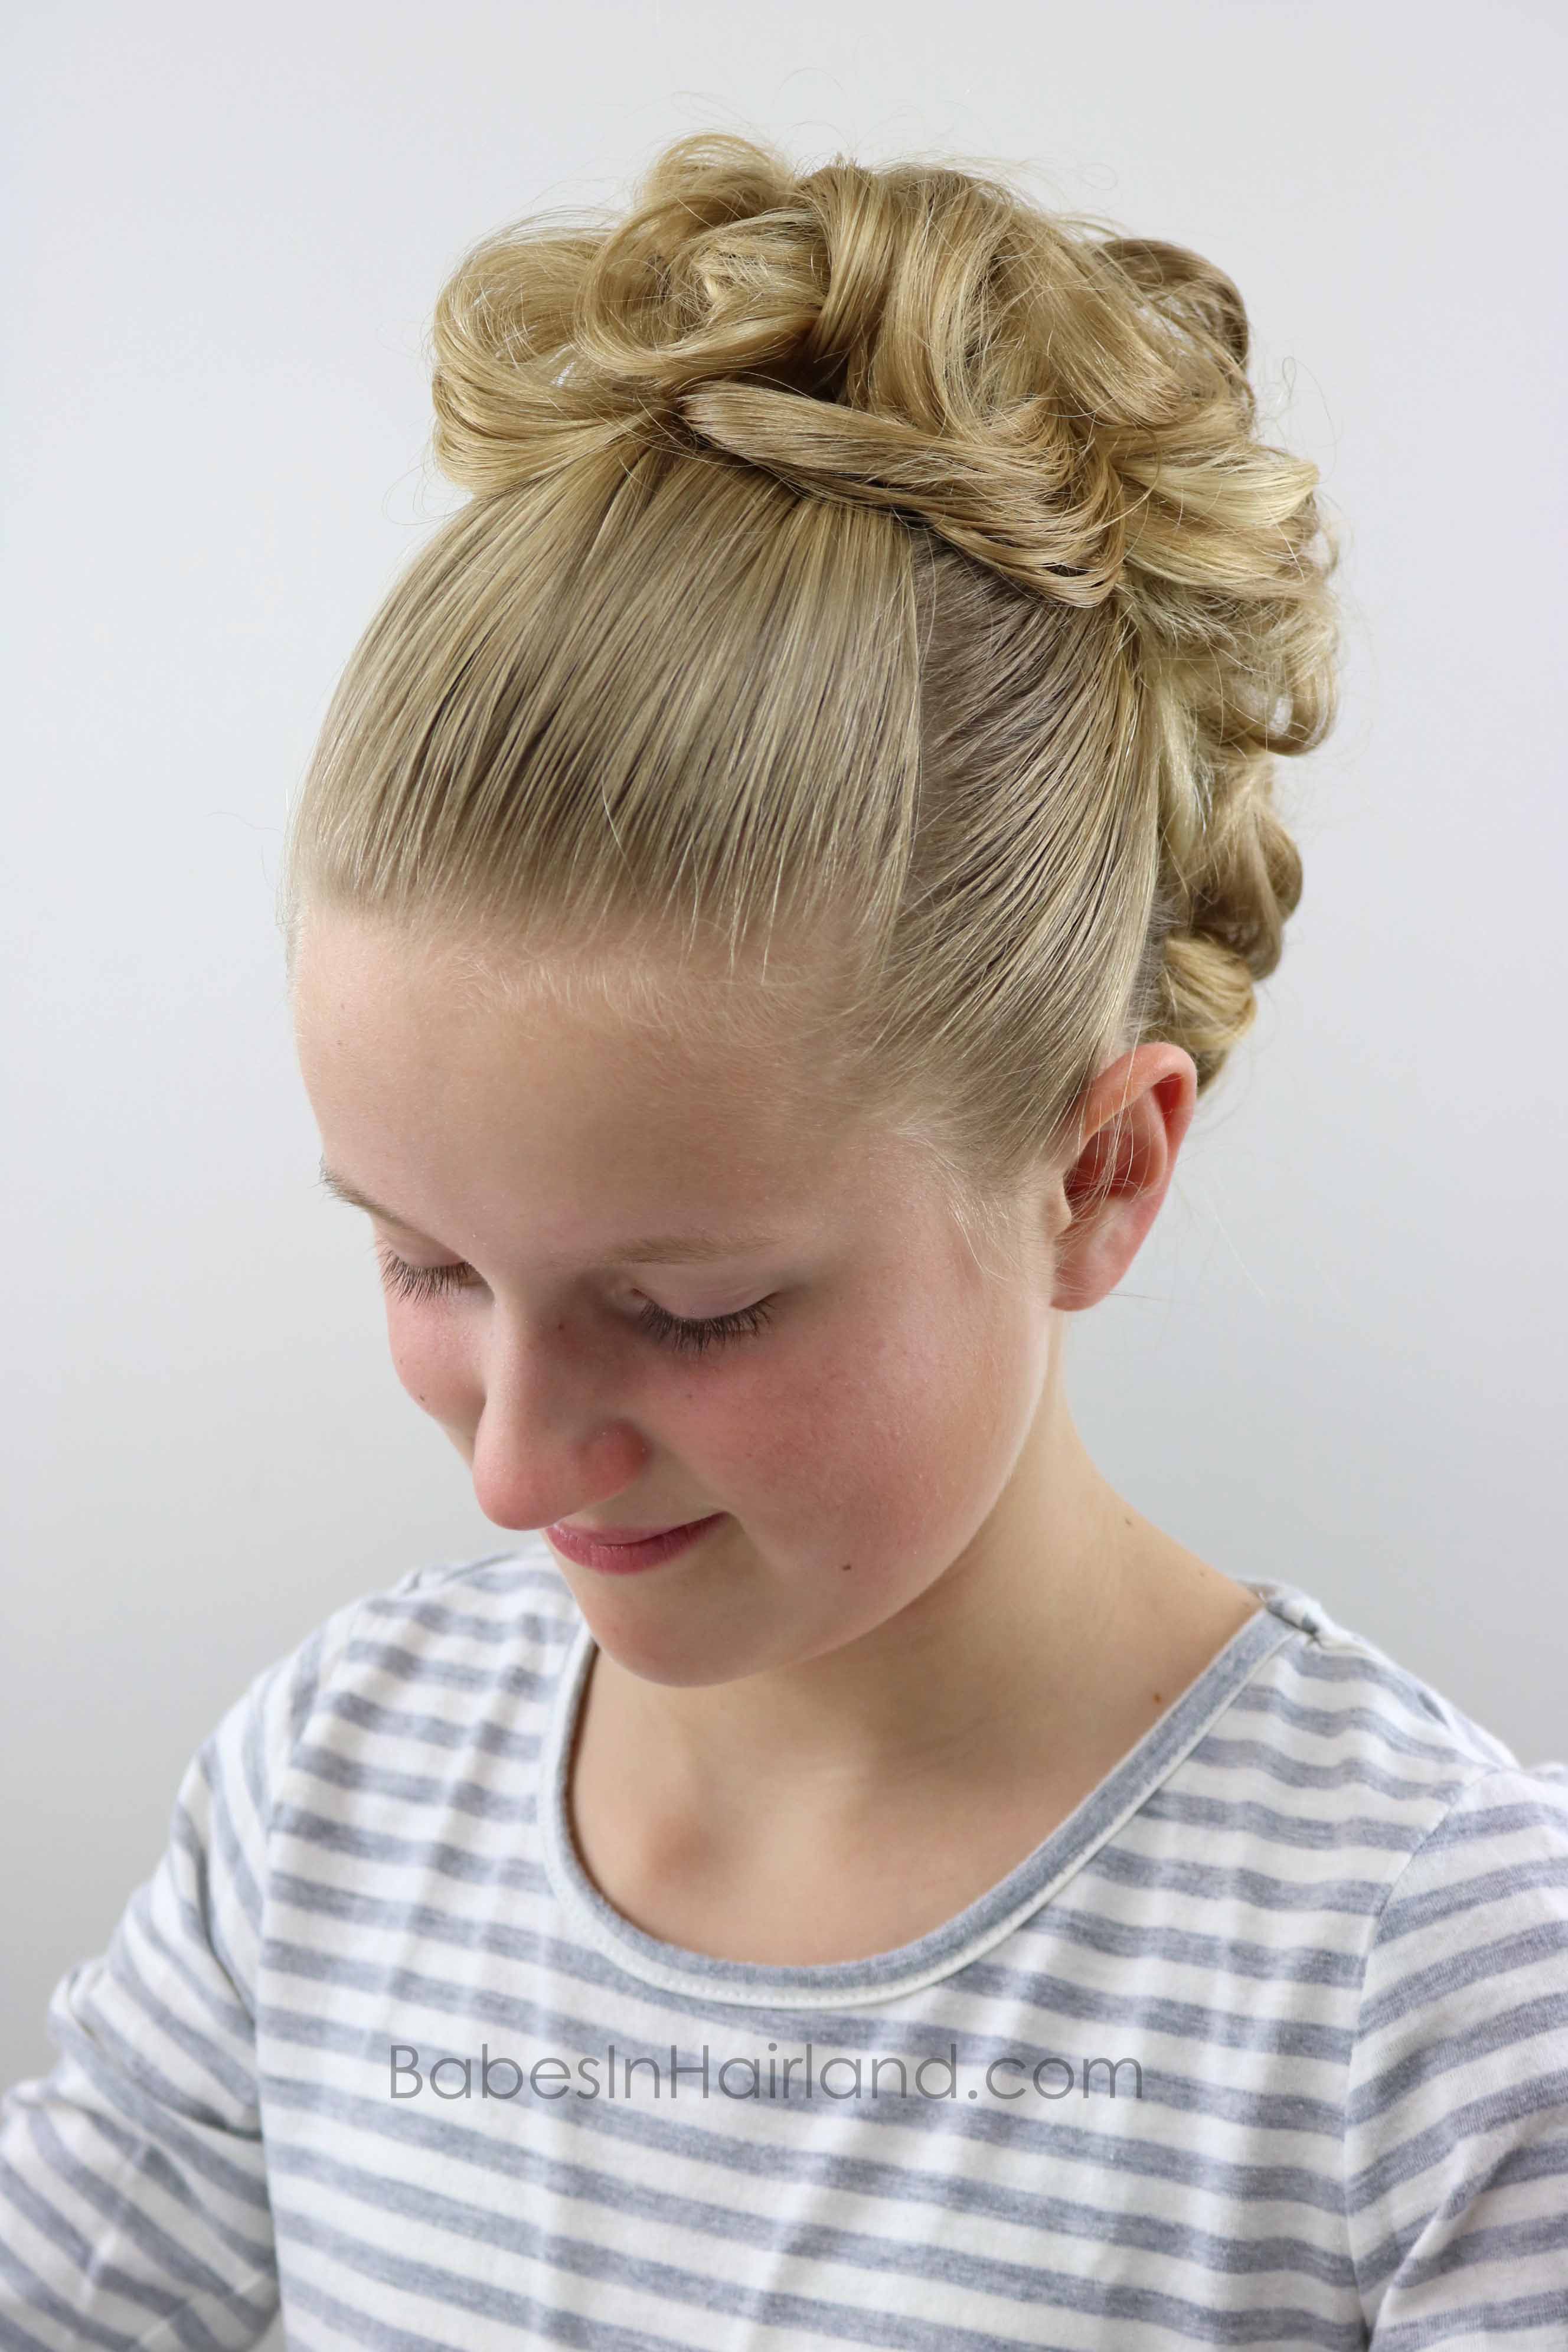
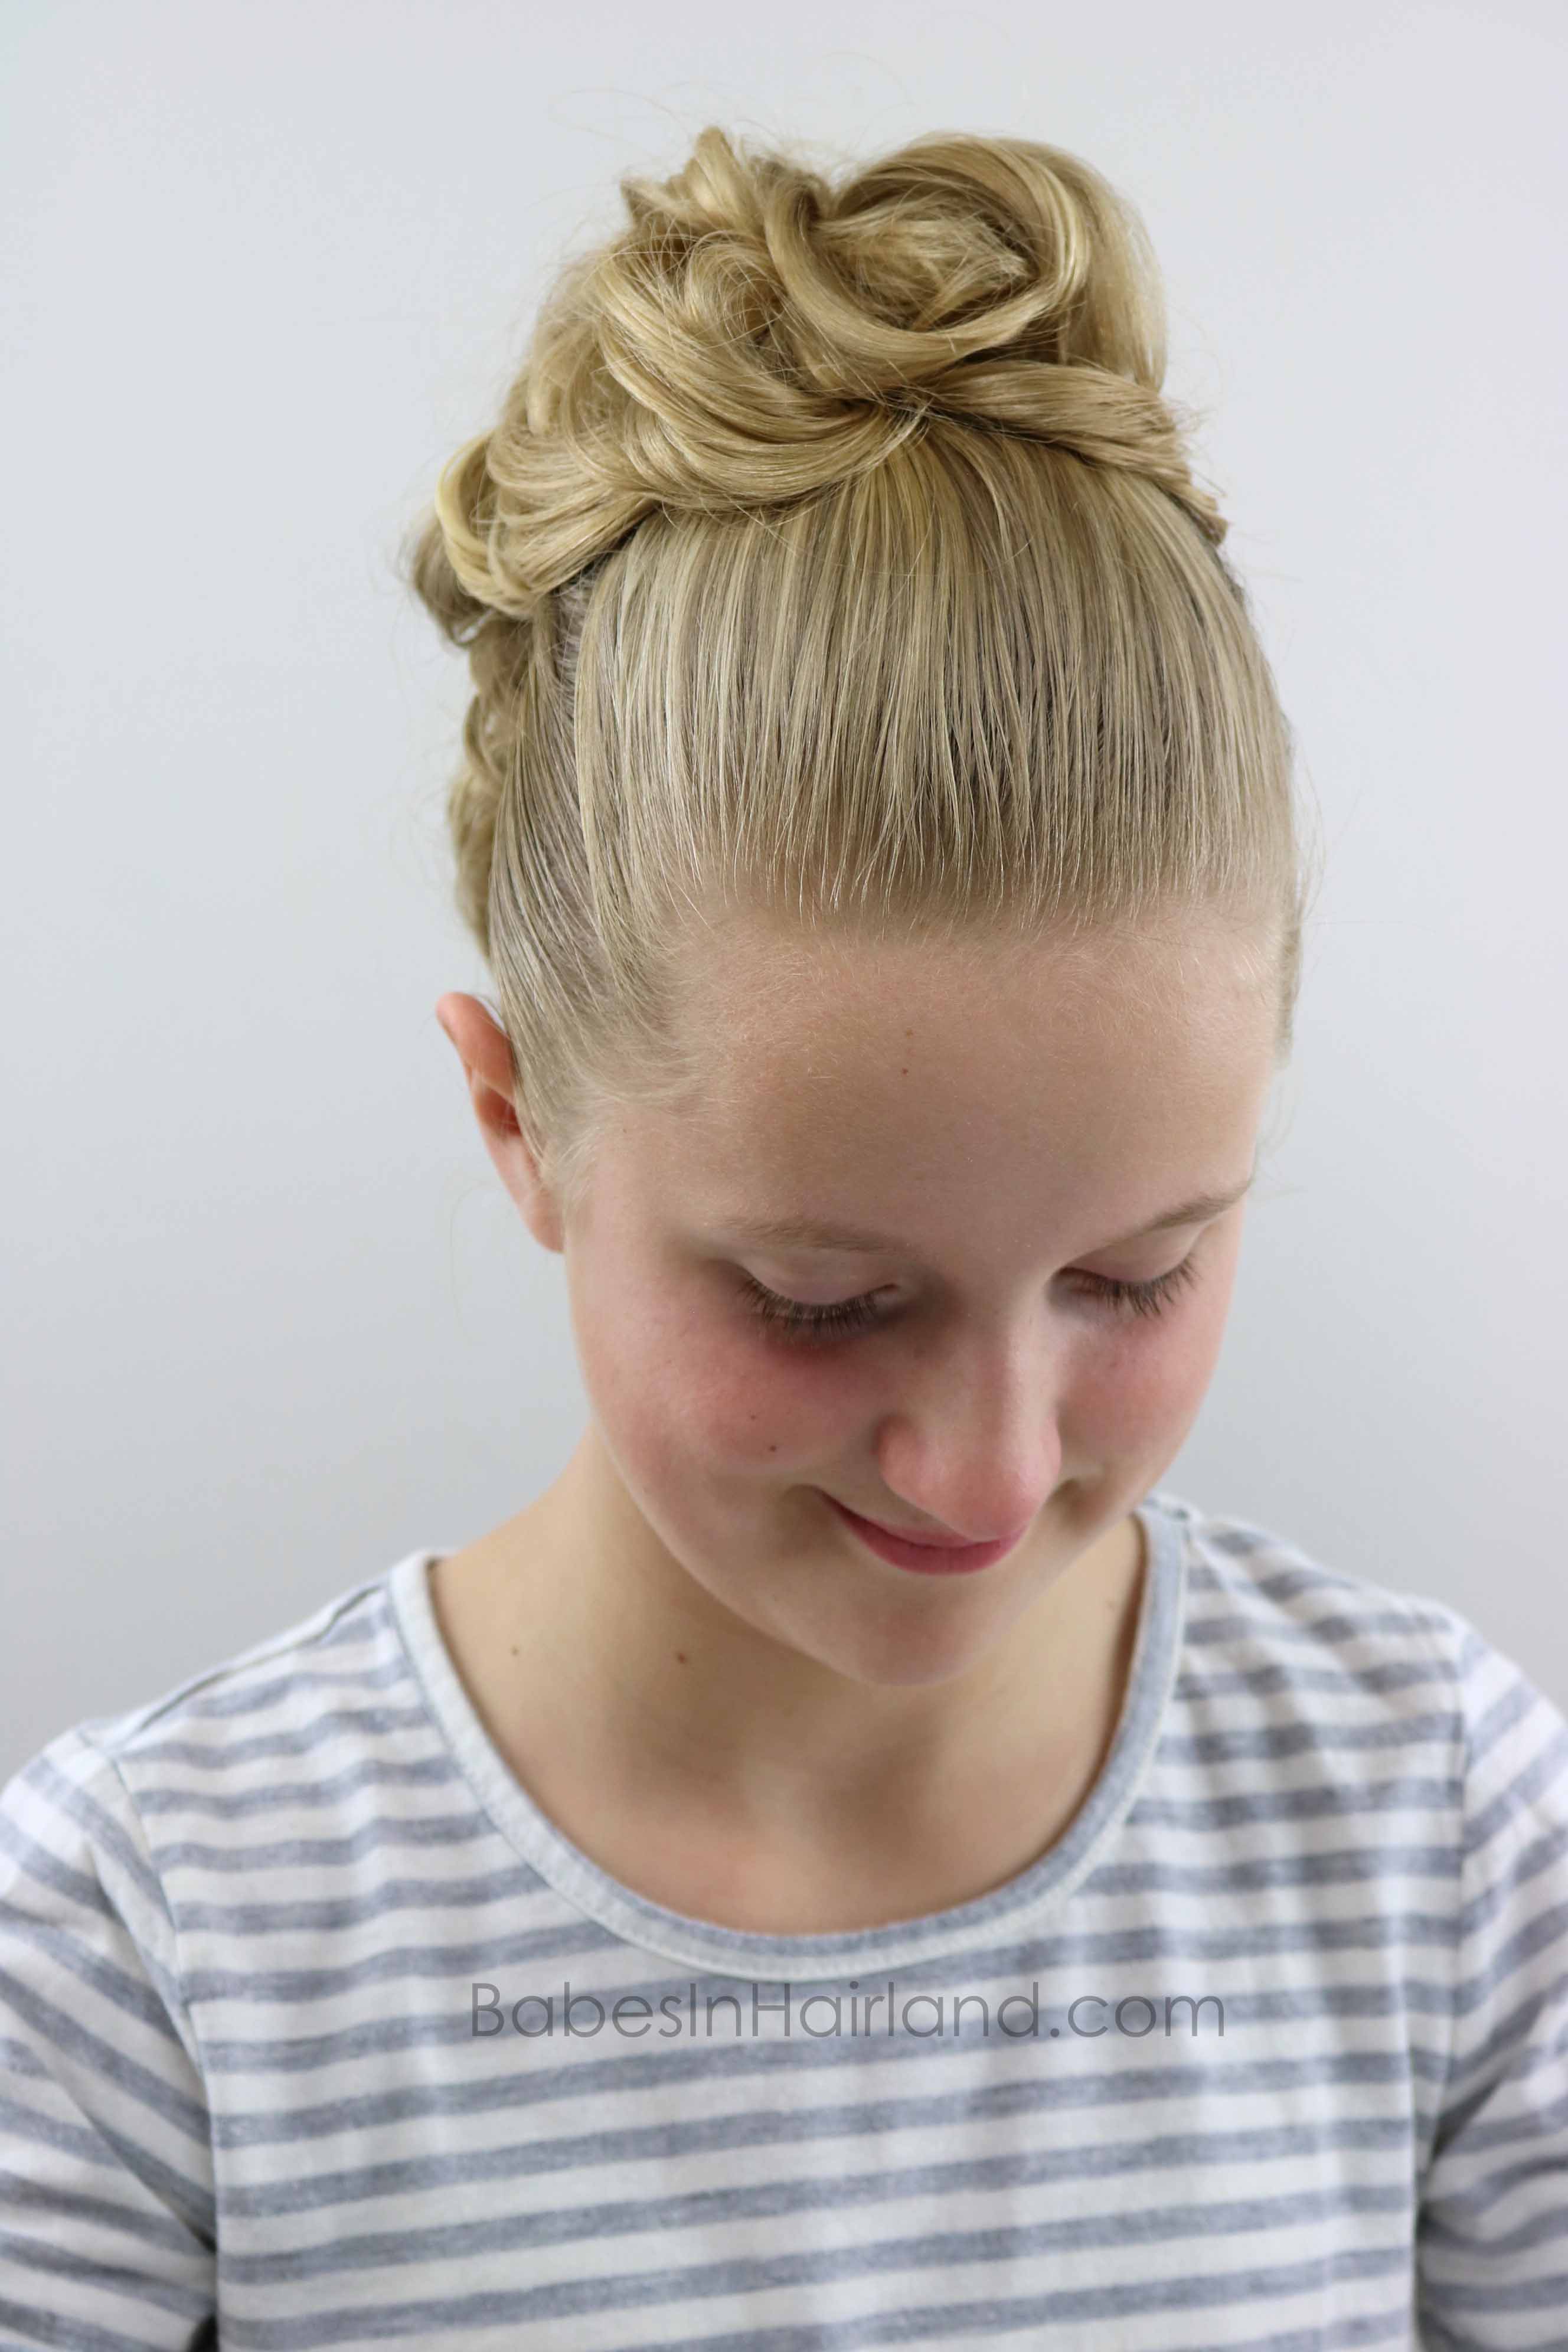
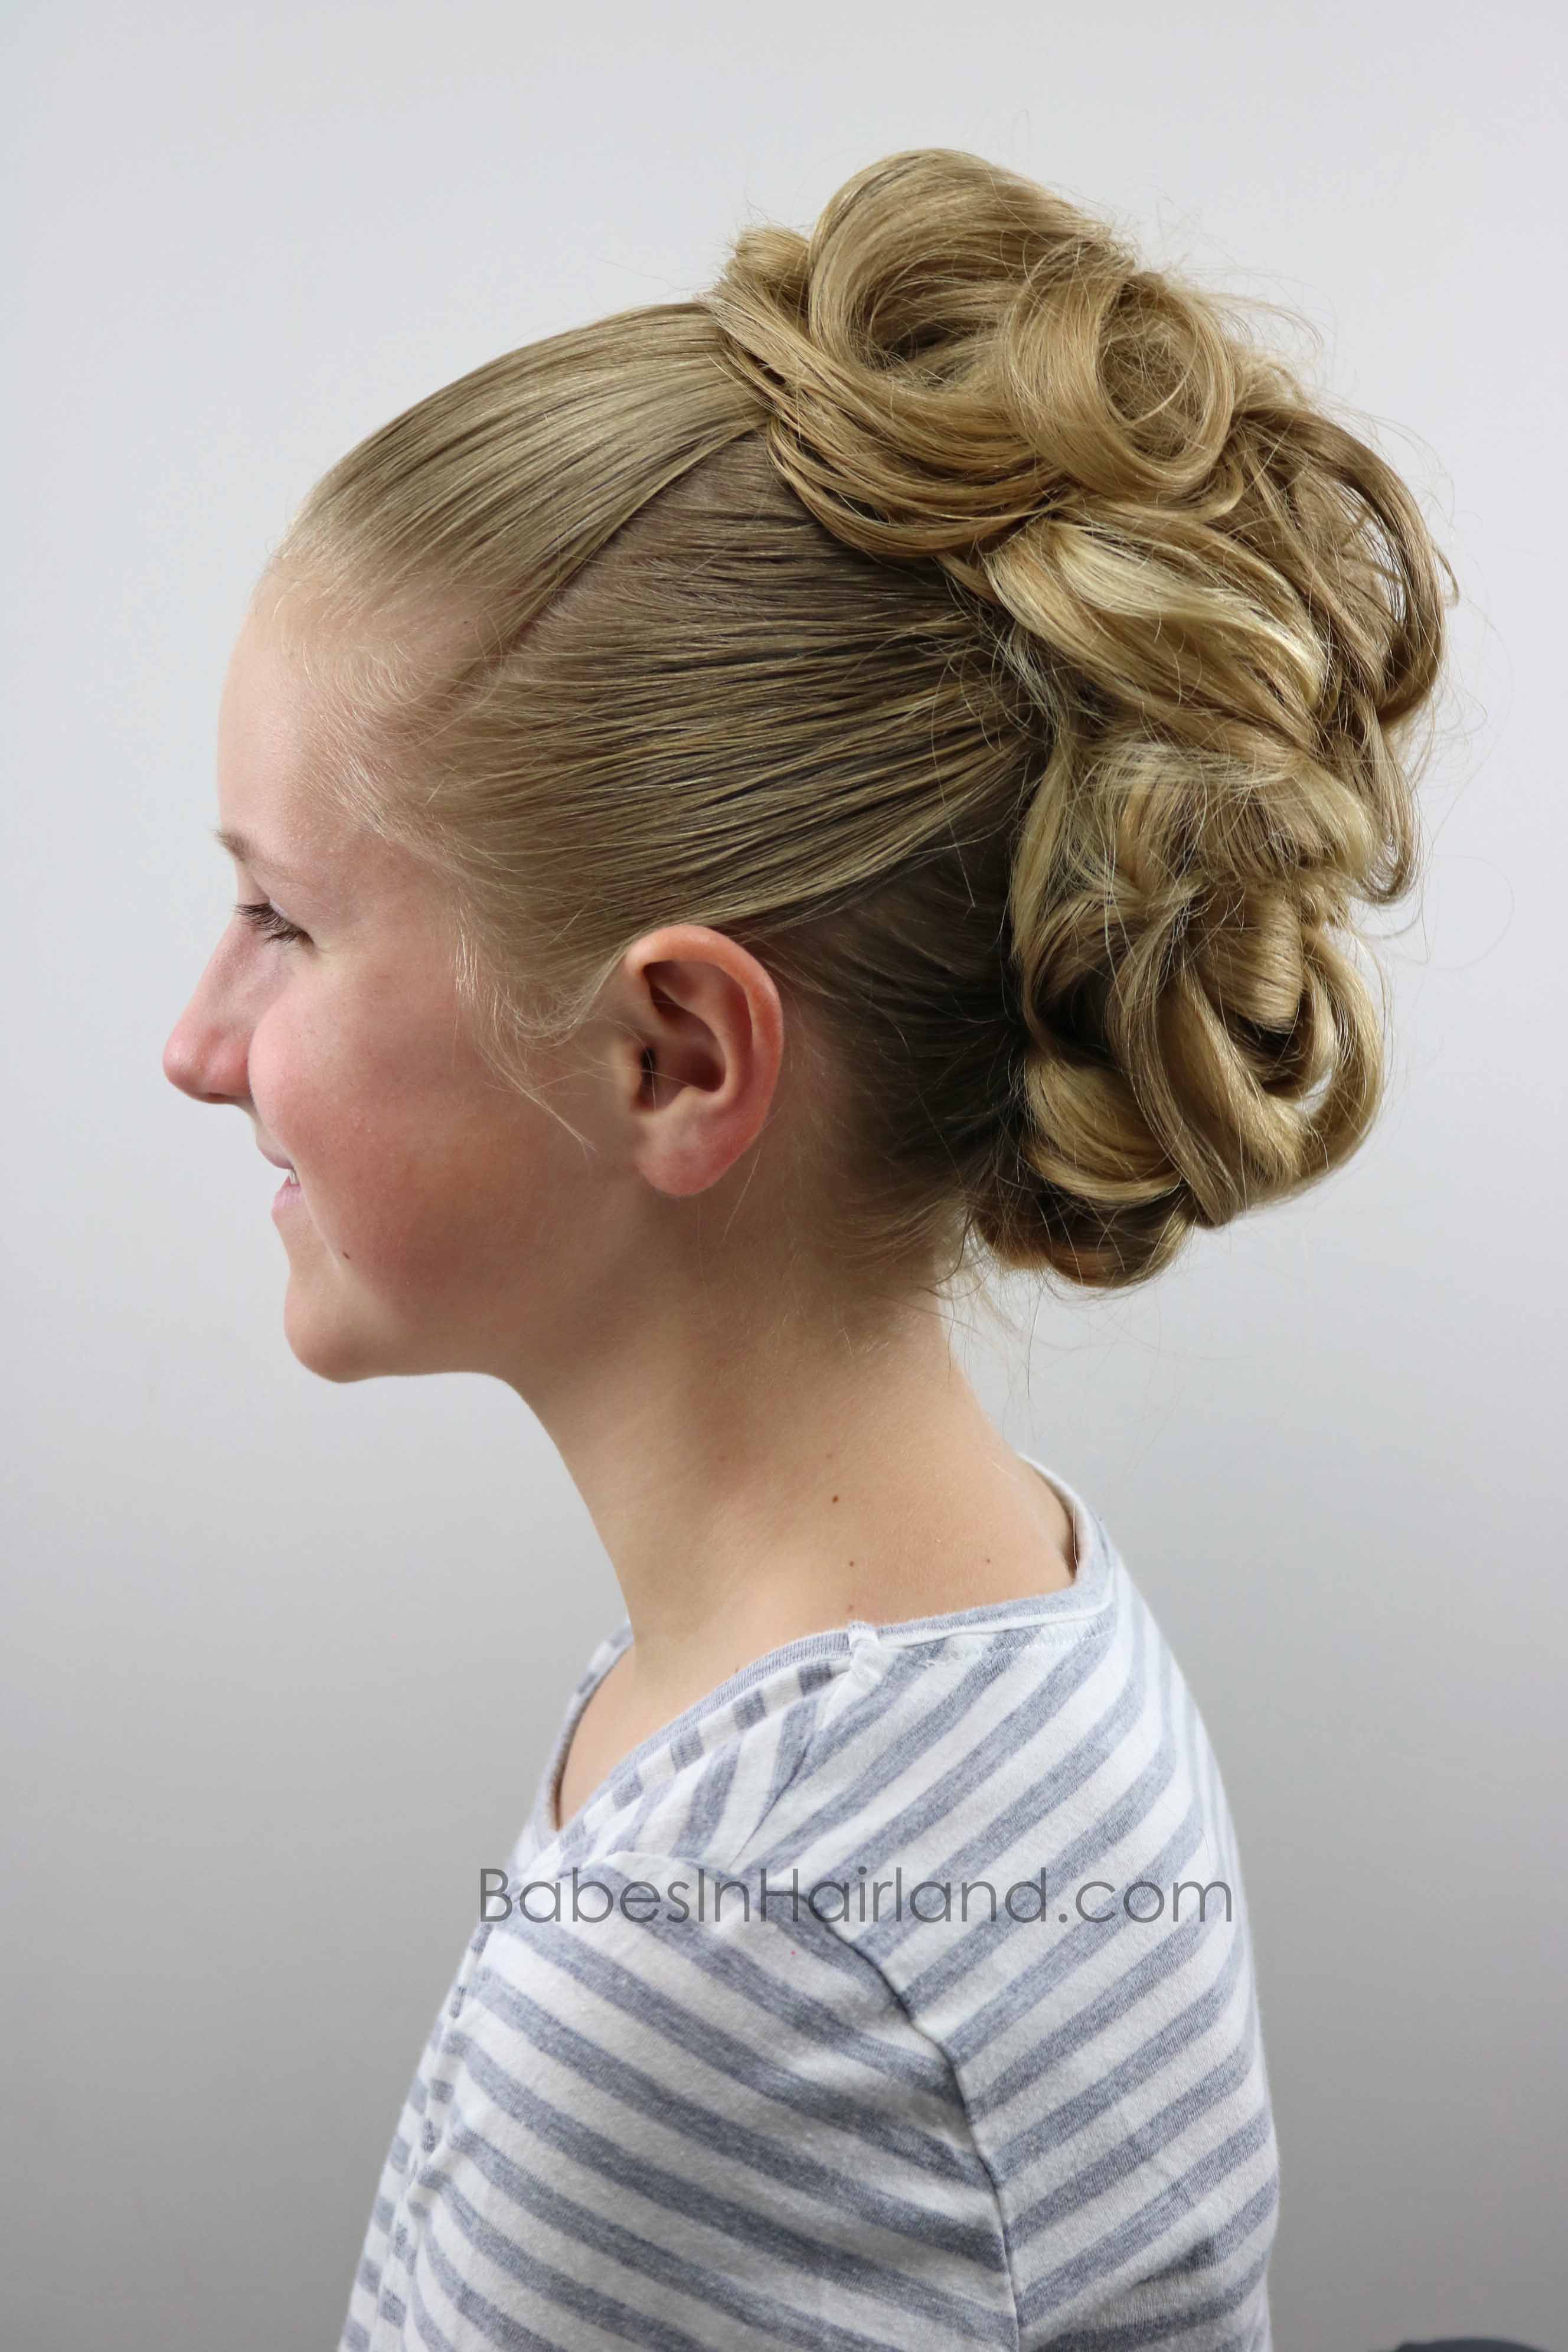
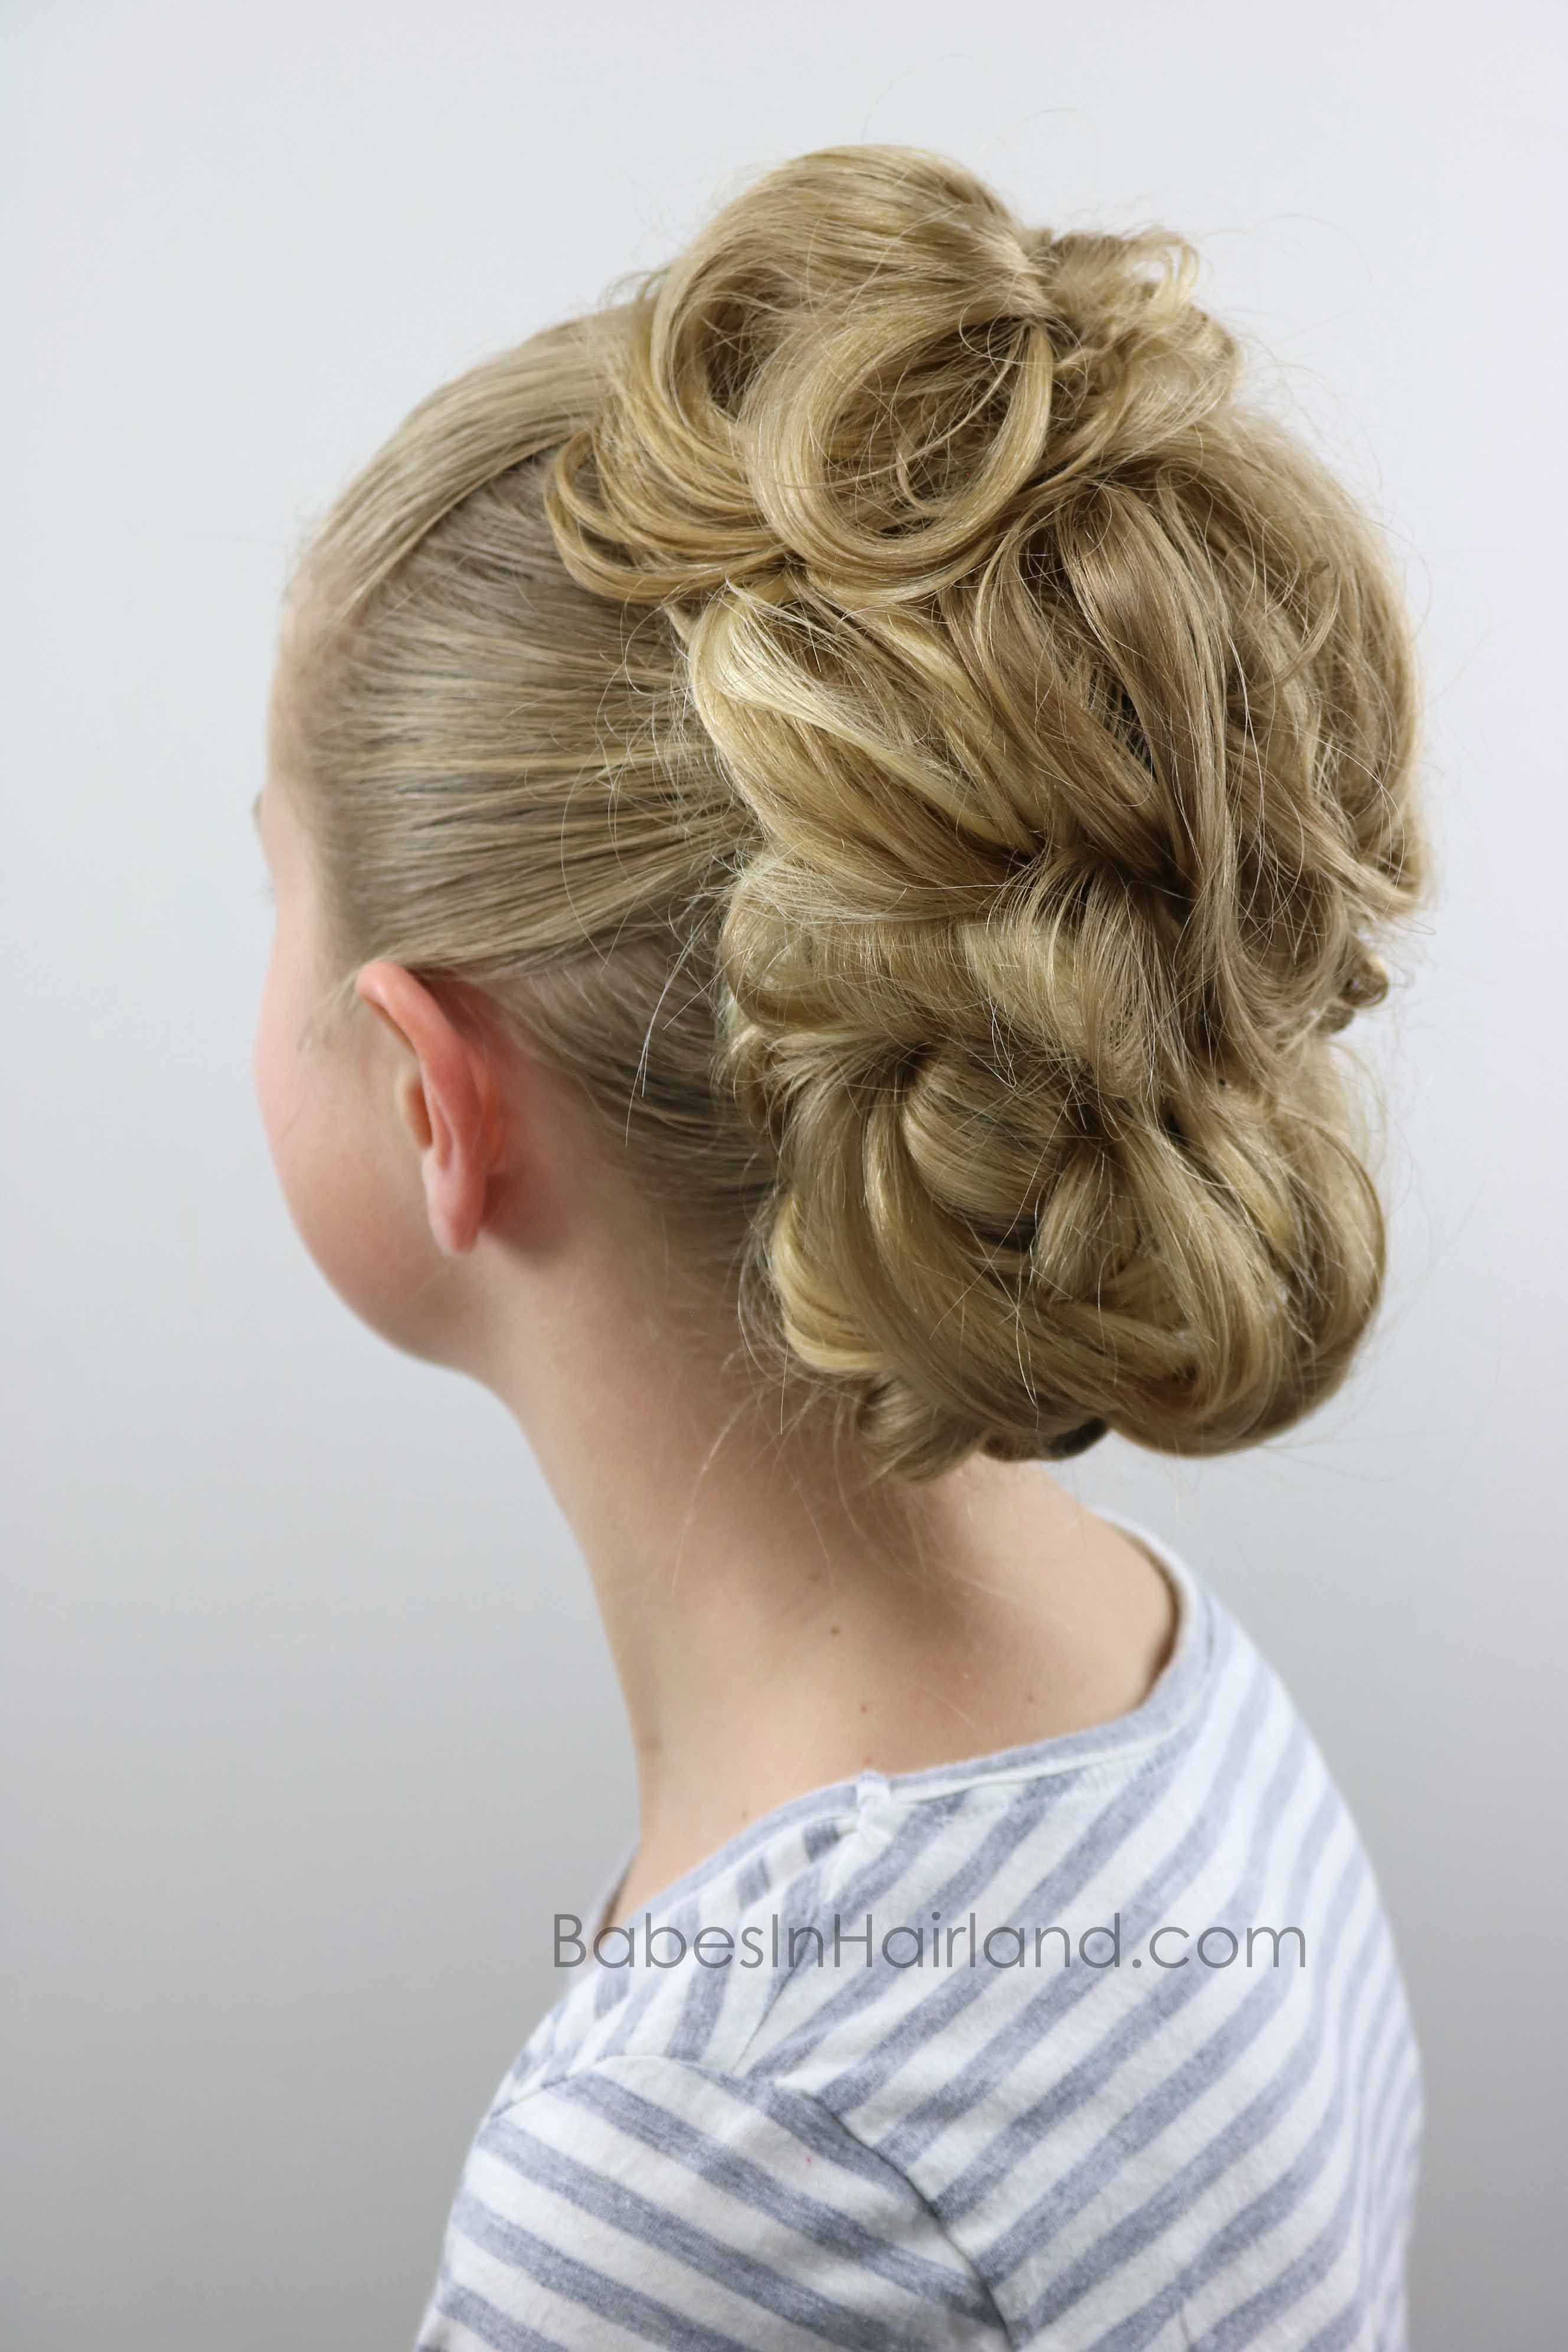 We hope you like this one! She gets so many compliments when she wears this hairstyle, so we have no doubt you will too!
Here’s a few other styles we’ve incorporated the “faux hawk look” in:
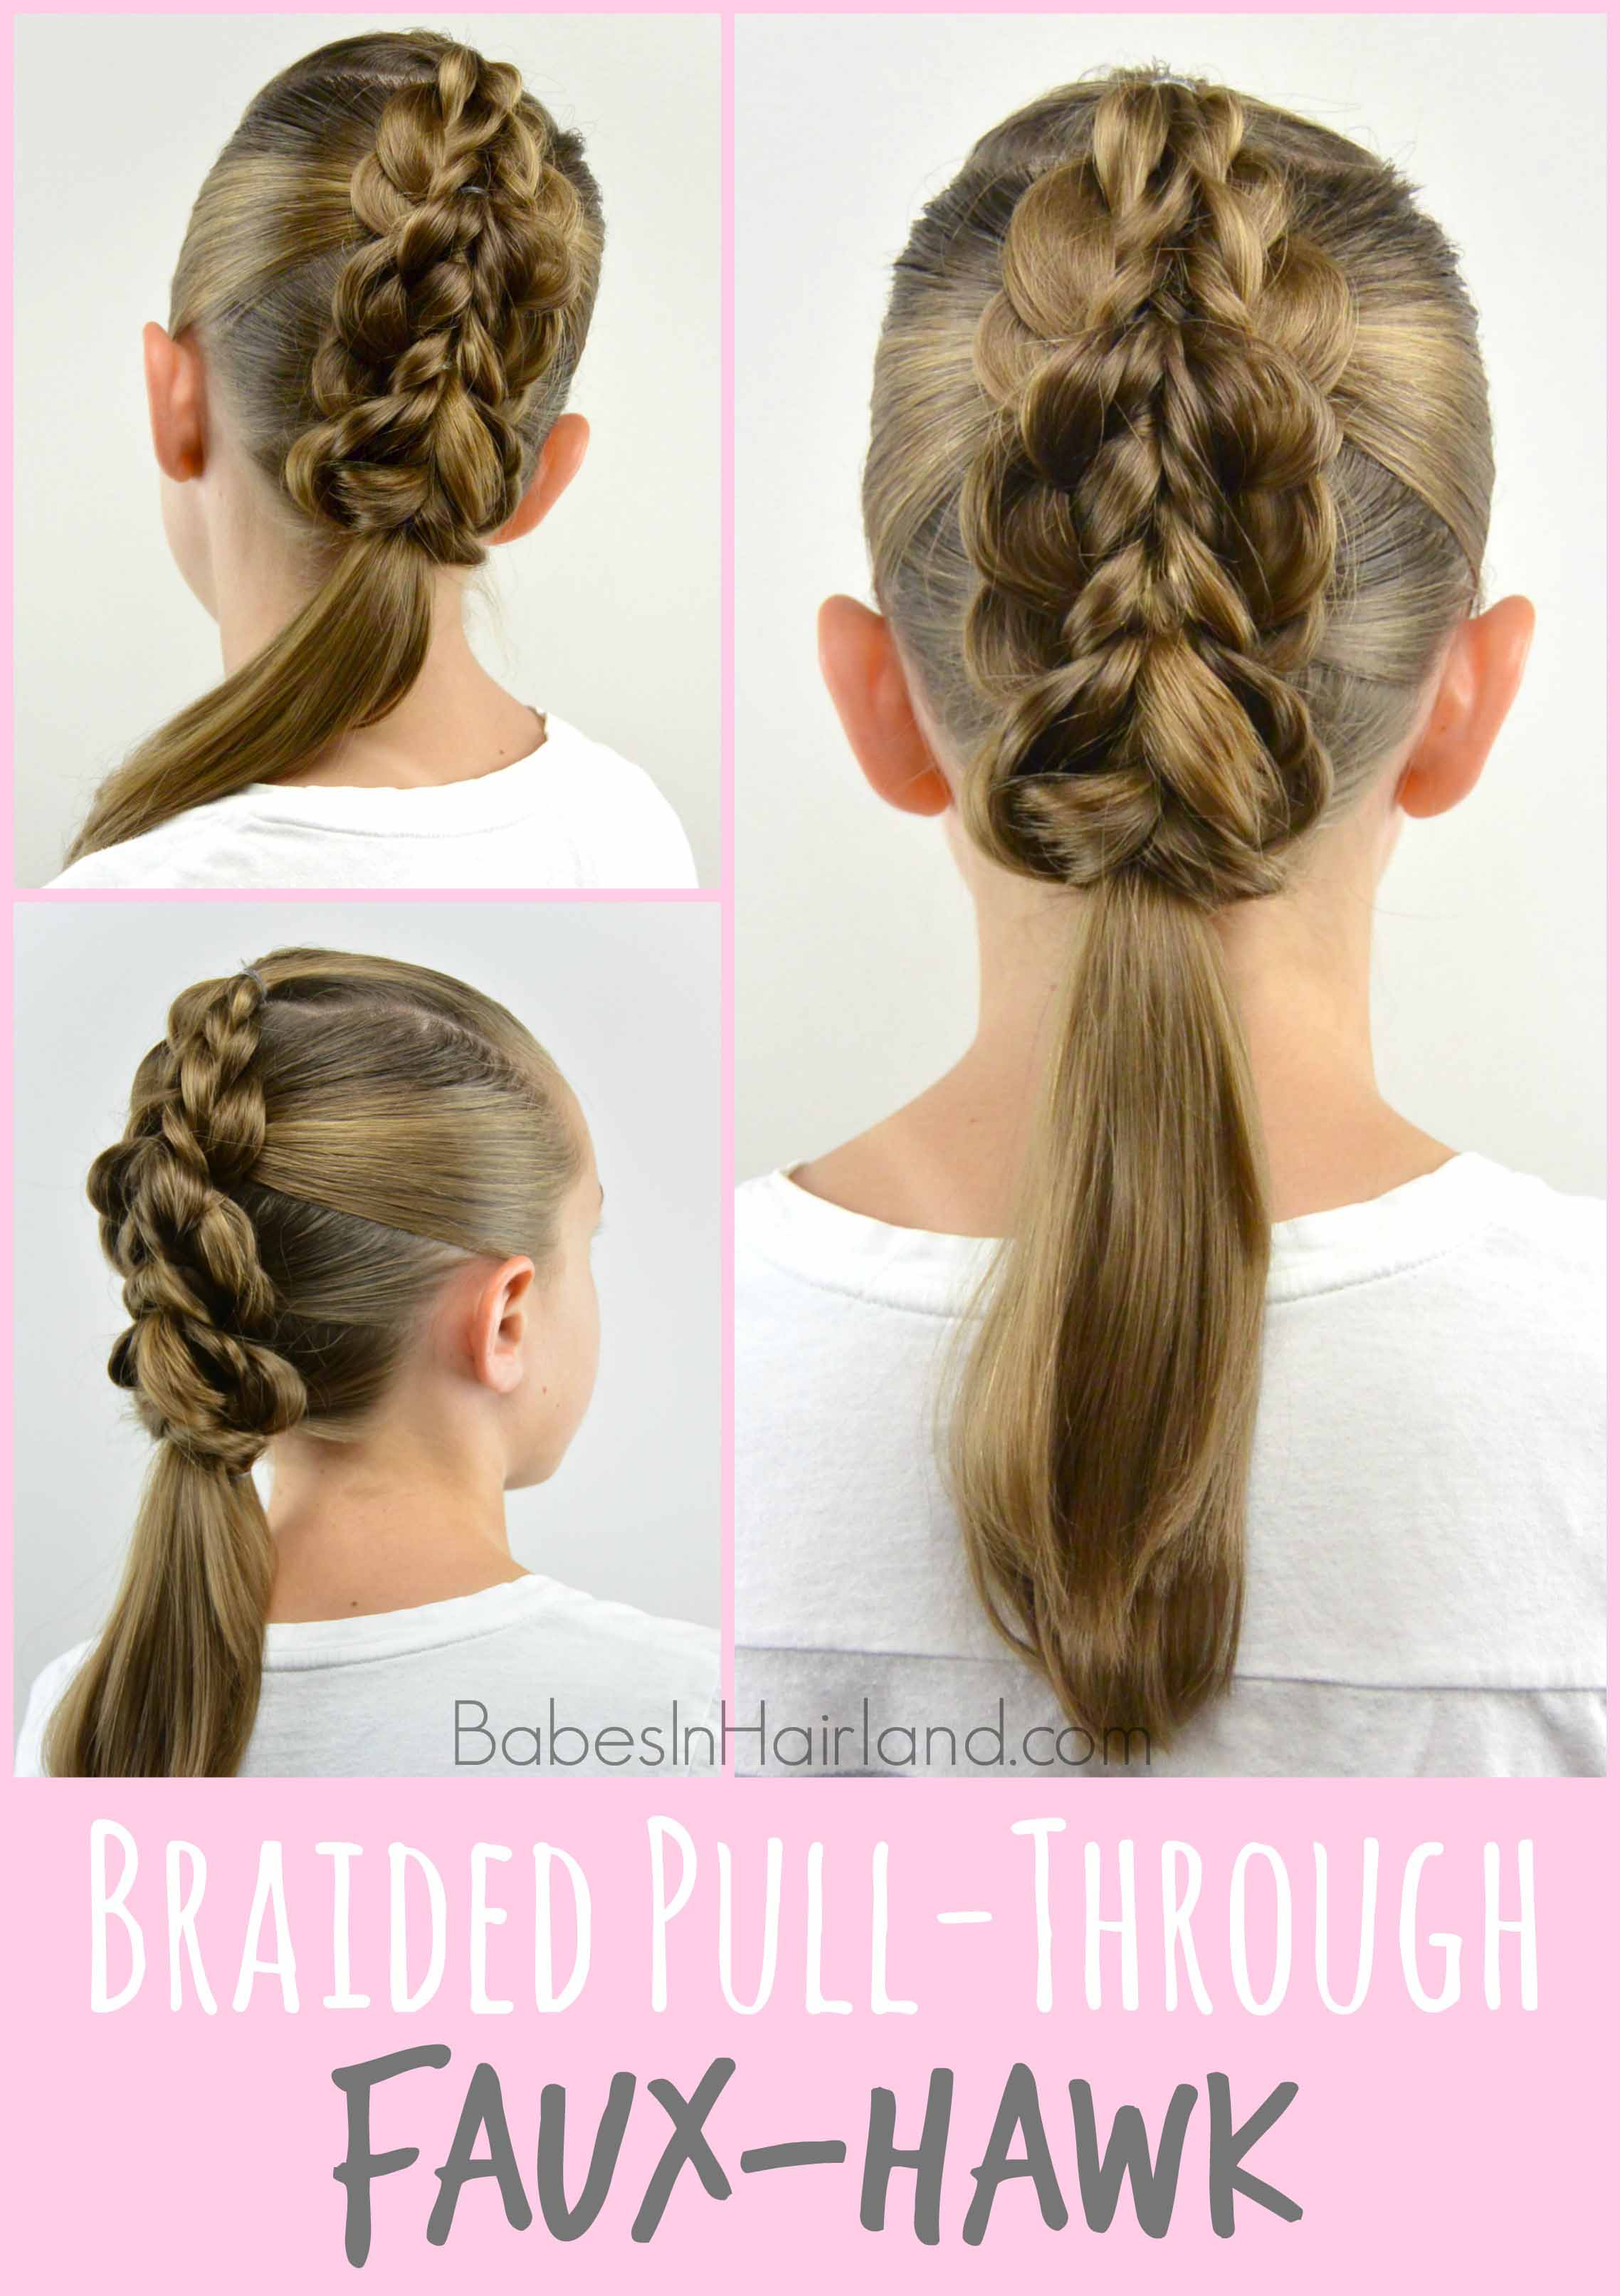
Braided Pull Through Faux Hawk
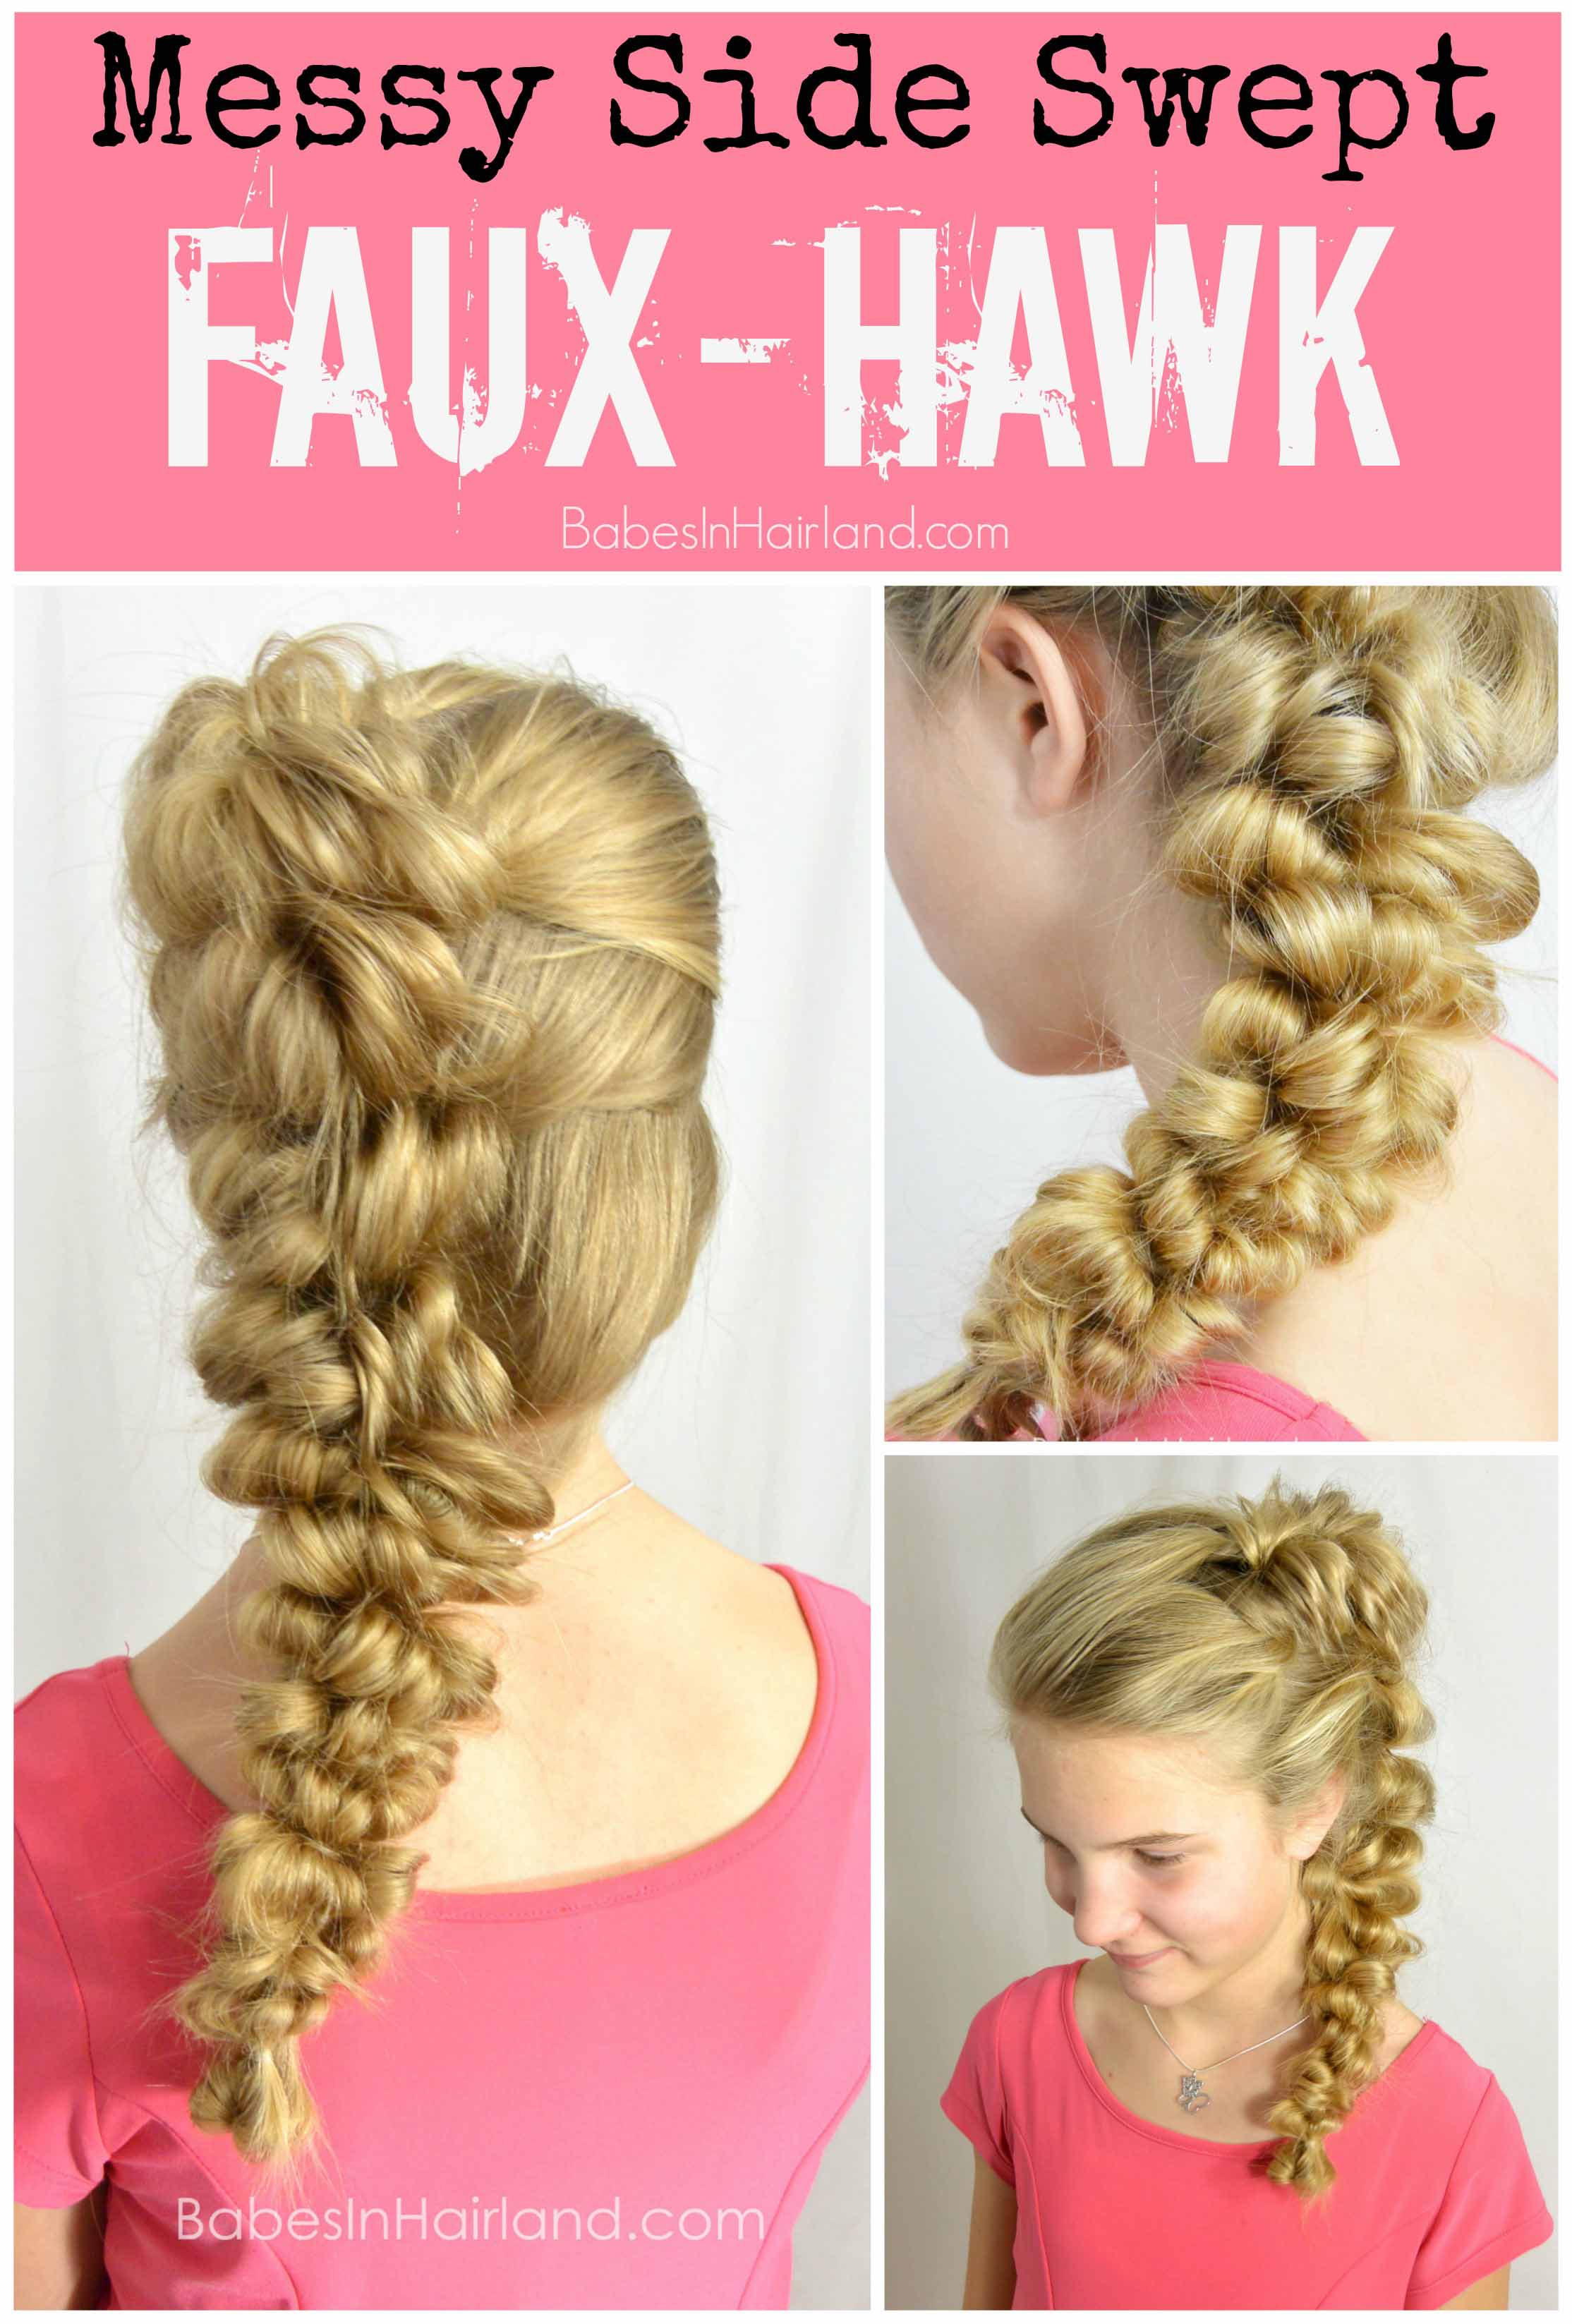
Messy Side Swept Faux Hawk
Thanks for stopping by and please be sure to
PIN & SHARE this fabulous faux hawk!
The post How to Create a Fabulous Faux Hawk appeared first on Babes In Hairland.
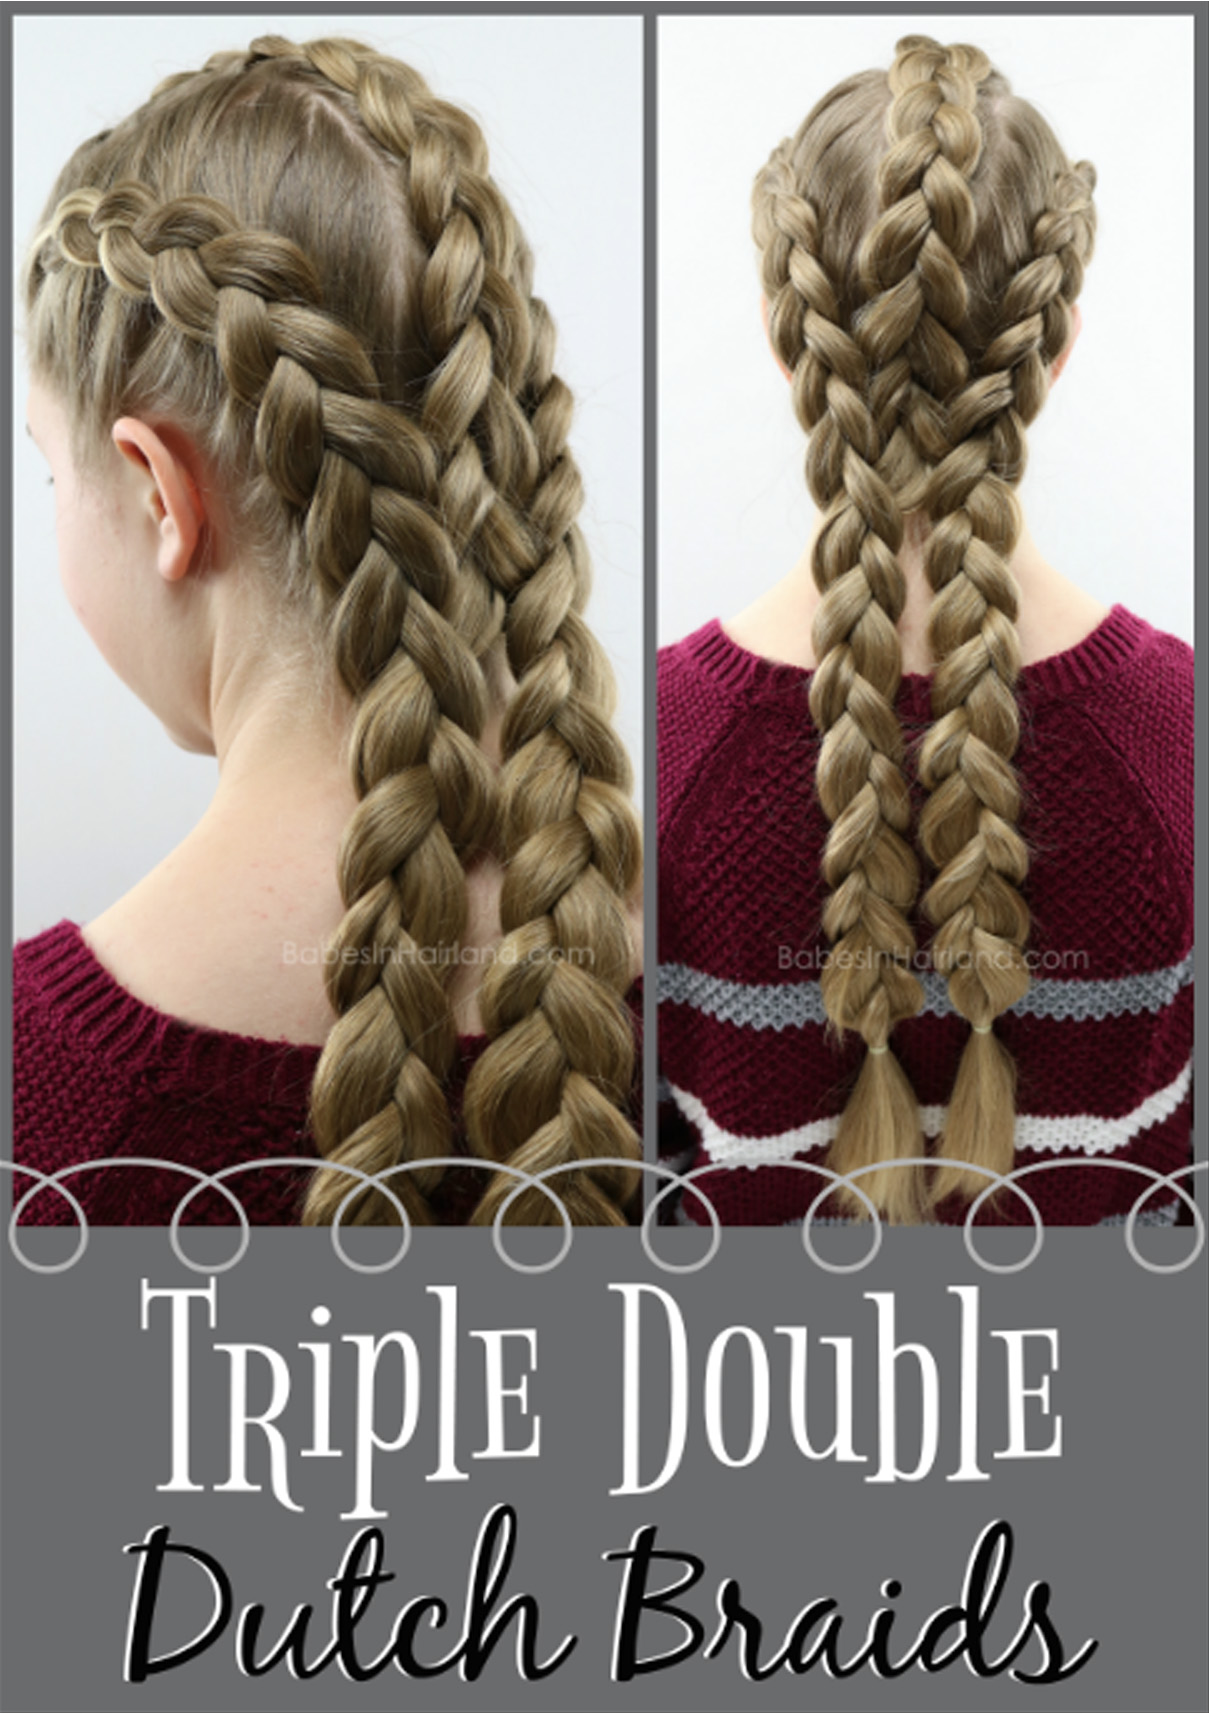
]]>The post Triple Double Dutch Braids appeared first on Babes In Hairland.
]]>
Here’s our video showing how we did it. If you have trouble watching the video, go HERE to watch it on our YouTube Channel.
1- Divide your hair into 3 even sections. From each temple, part vertically along the head back to the nape of the neck. Hold the left and right sections in clips temporarily.
2- With the center section, starting near the forehead, begin a Dutch braid.
If you need help with Dutch braids, go HERE to see McKayla’s Dutch Braiding tutorial. You could easily do this with French braids as well, but I think the Dutch braid adds an extra pretty element to the hairstyle. Go HERE for our regular French braid tutorial.
3- Braid all the way until you reach the nape of the neck and can no longer add hair. Pancake the braid so it is not extremely tight.
4- With the center section of your braid, divide it in half. Add the left half of it to the left section of your braid, and add the right half to the right side of your braid. You now will have only 2 sections of hair for that braid. Use a clip to temporarily hold the left and right sections of the braid.
5- Moving to the right section of hair you’d parted out in Step 1, you will make a second Dutch braid starting near the right temple.
6- Braid until you can’t add anymore hair near the nape of the neck. Also pancake this braid as much as desired.
7- Pass the left section of your braid under, and then grab the right section of the braid from the center. Add it into your braid here onthe right side of the head.
8 – Once that section of hair is incorporated into your braid, continue braiding all the way down to the end. Secure the end of your braid with an elastic.
9- Next on the left side of the head, begin a 3rd Dutch braid starting near the left temple. As in the above steps, braid until you reach the nape of the neck and can’t add any more hair. Pancake the braid as needed.
10- Pass the right section of the braid under. Next, grab the right side of the braid from the center and incorporate it into your braid on the left side.
11- Continue braiding until you reach the end of the hair. Secure the end with an elastic.
12- Go back and adjust braids so they look uniform in thickness as you’ve pancaked them. Make the 3 braids near the nape of the neck fairly wide so they sort of blend together.
FINISHED TRIPLE DOUBLE DUTCH BRAIDS!
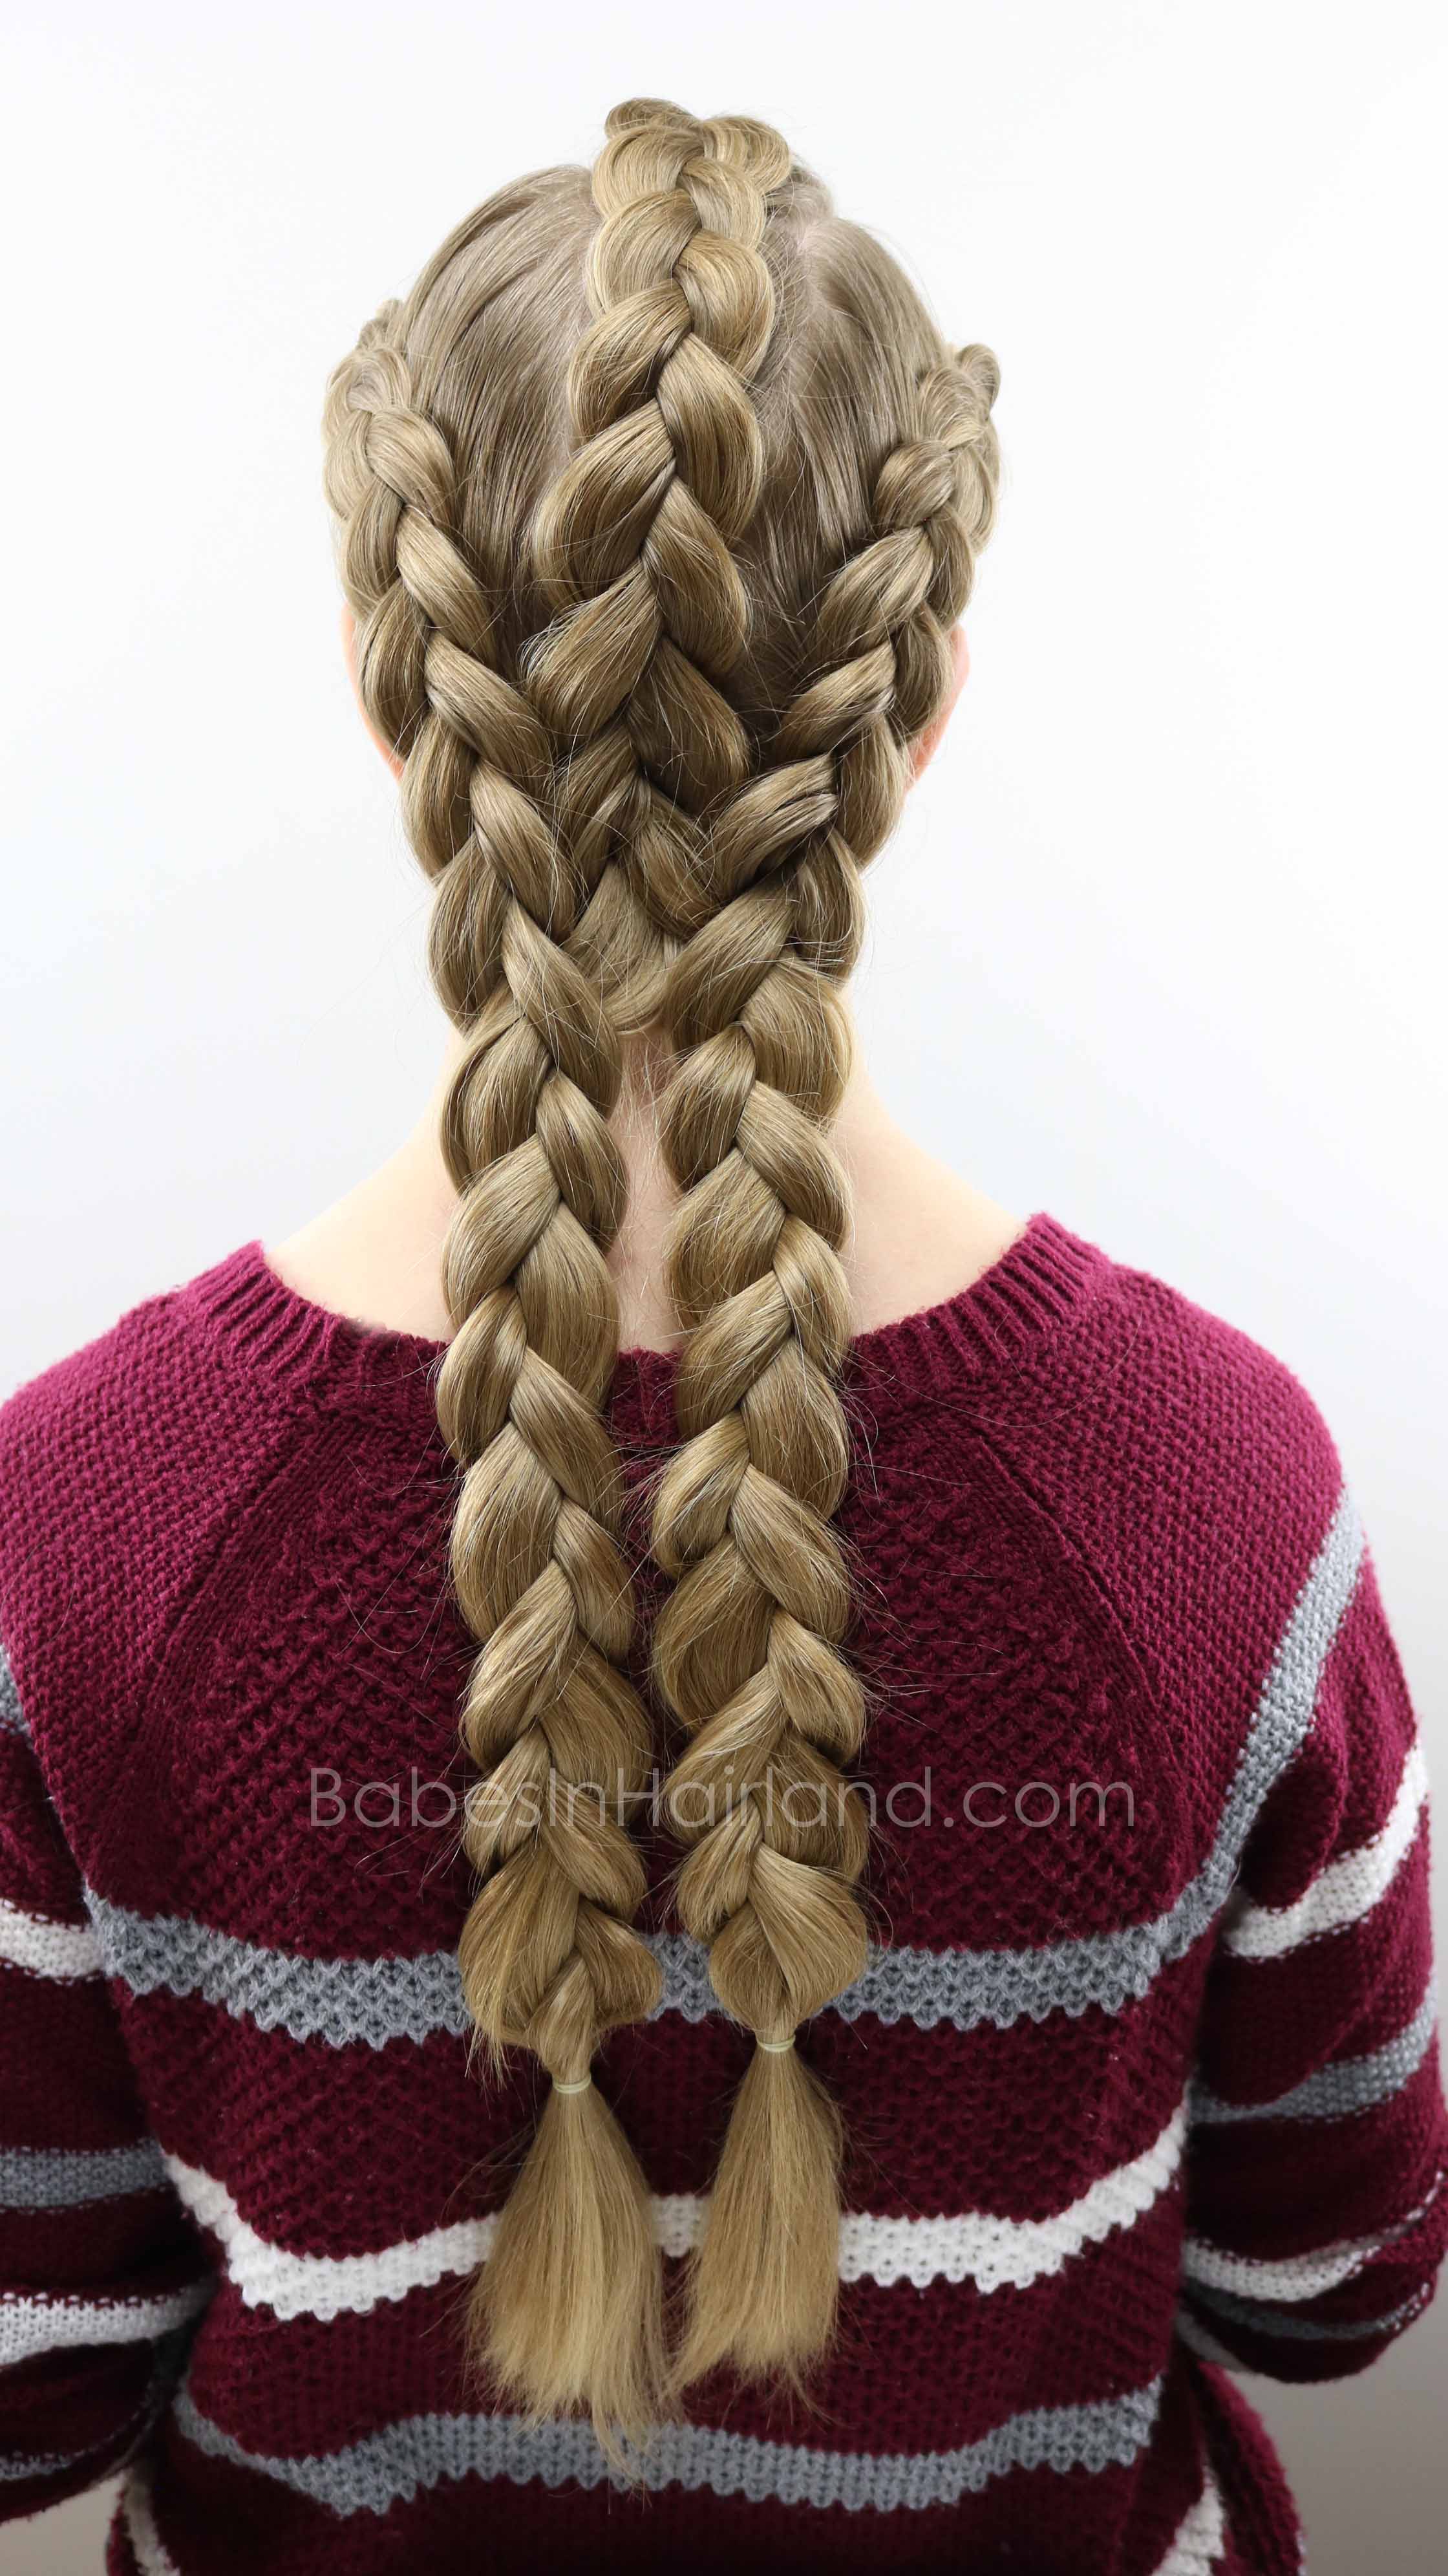
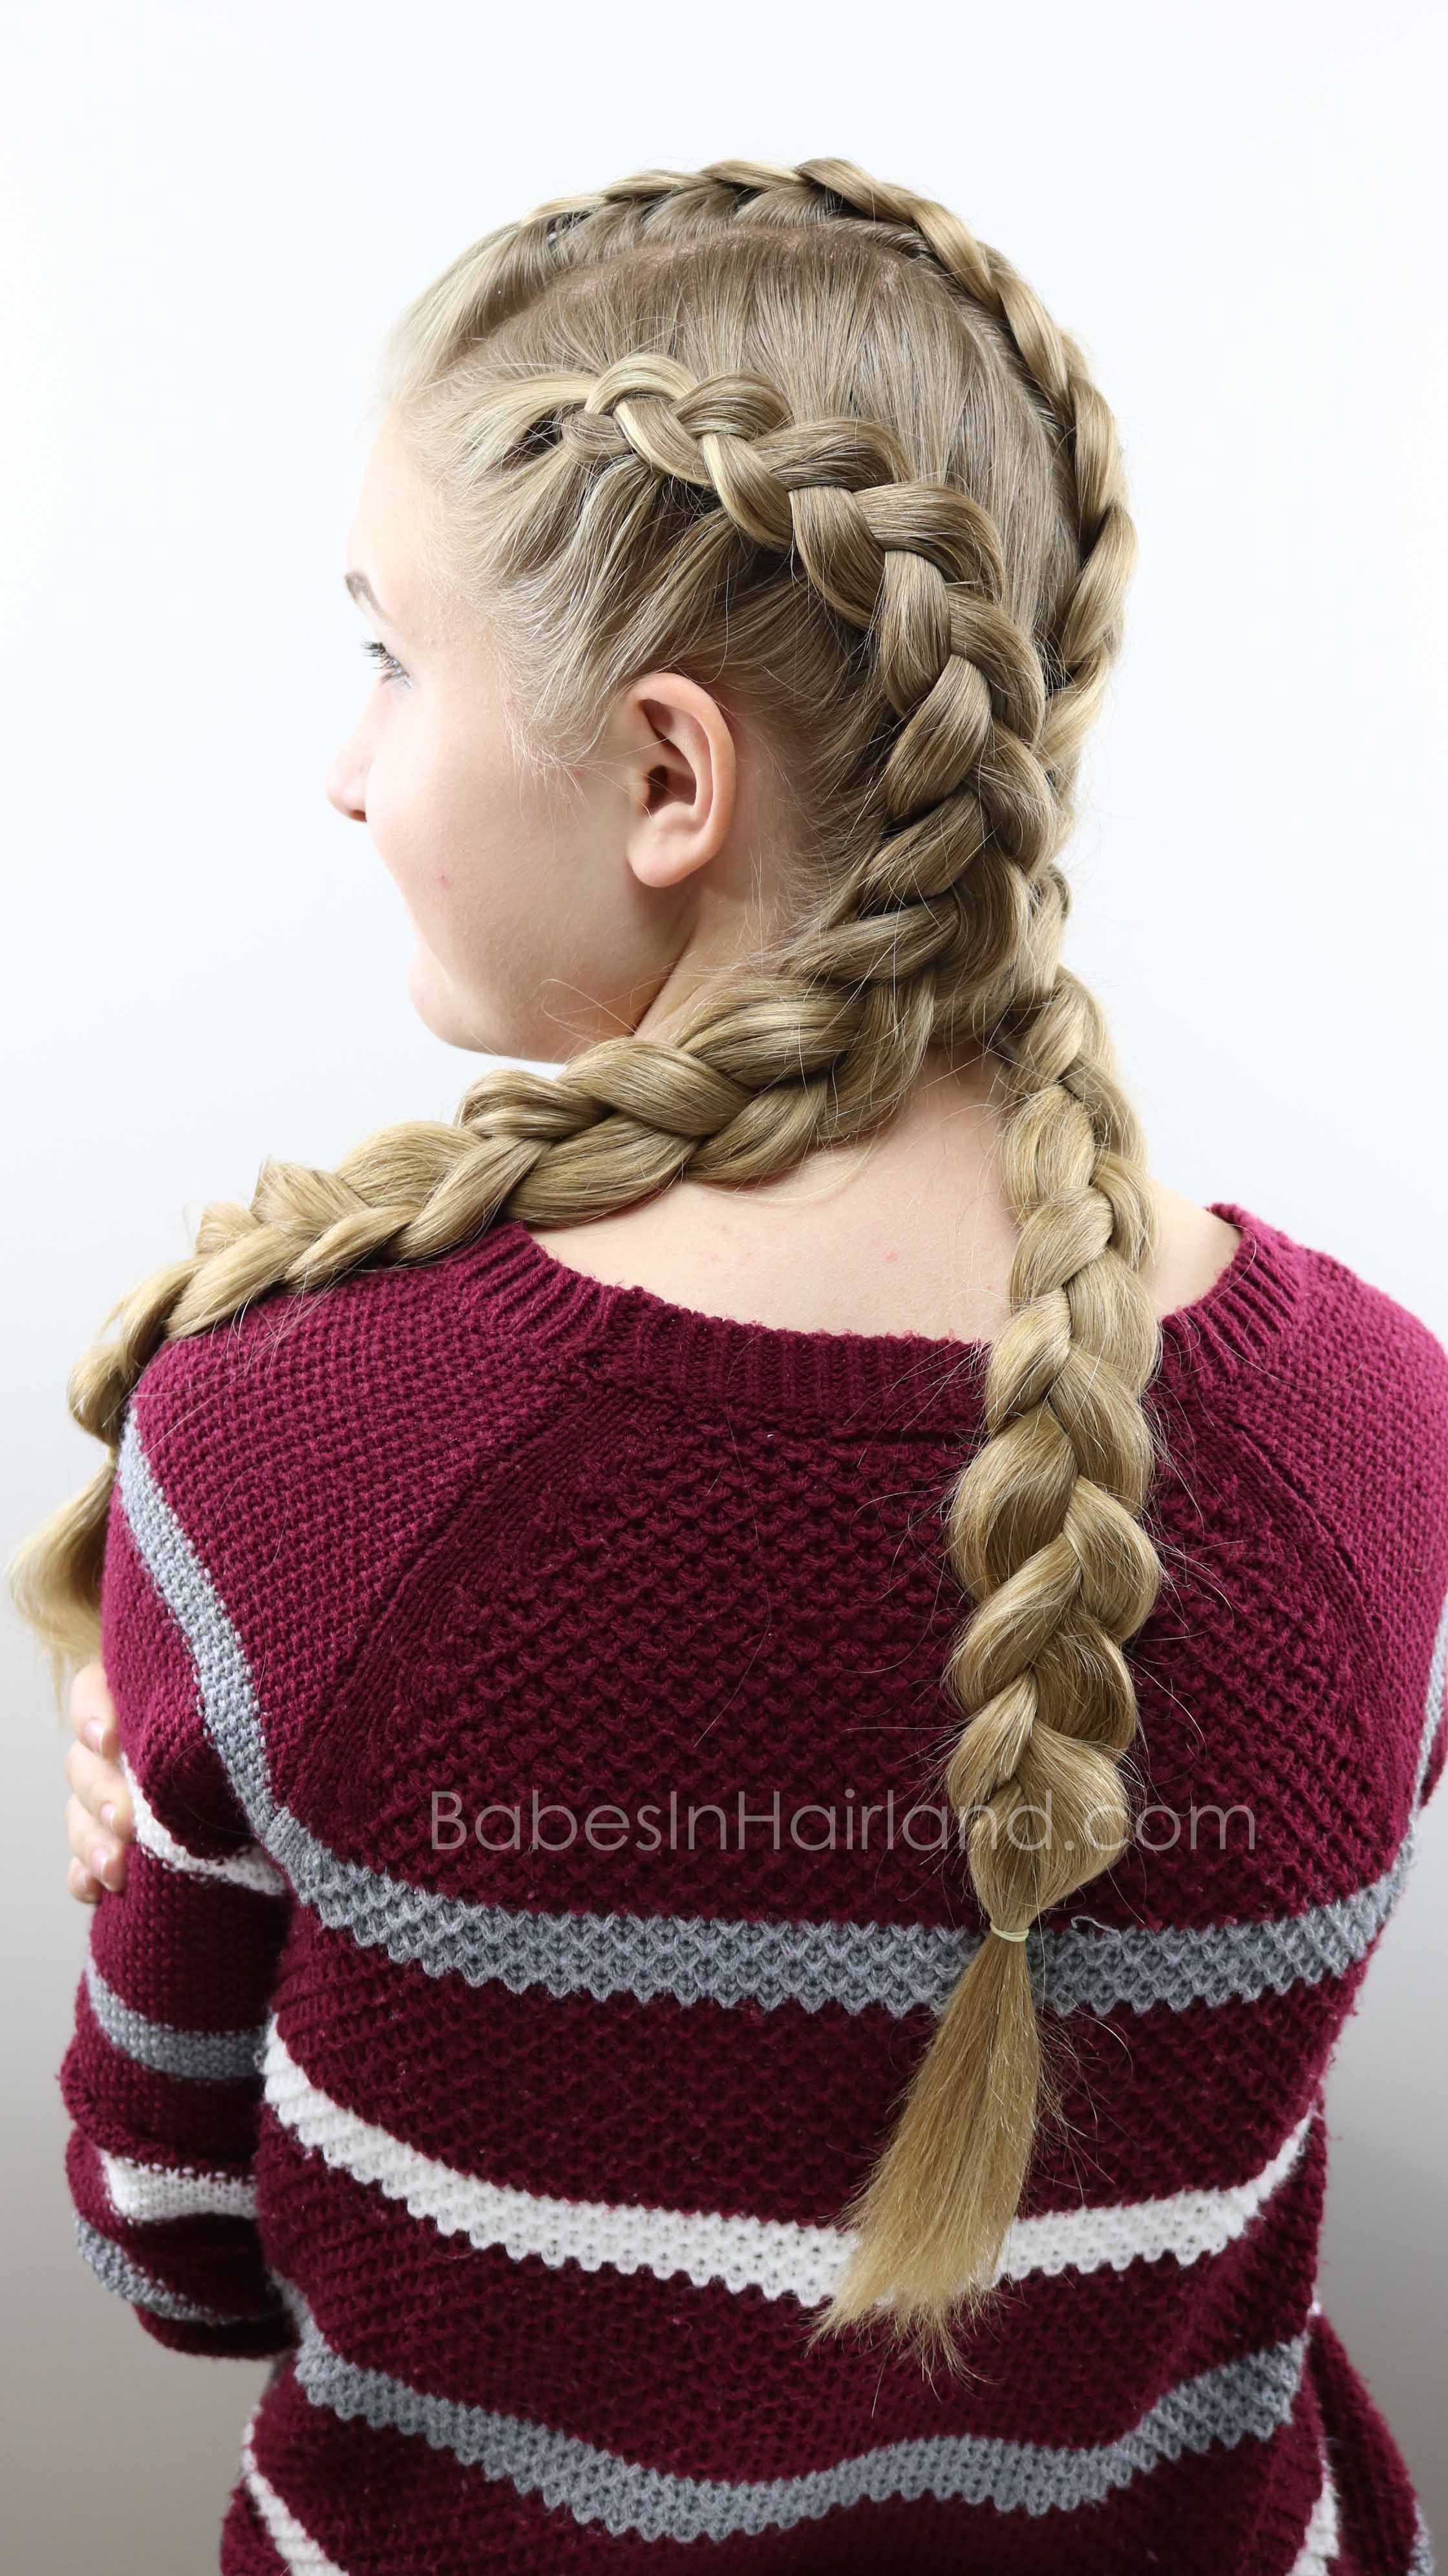
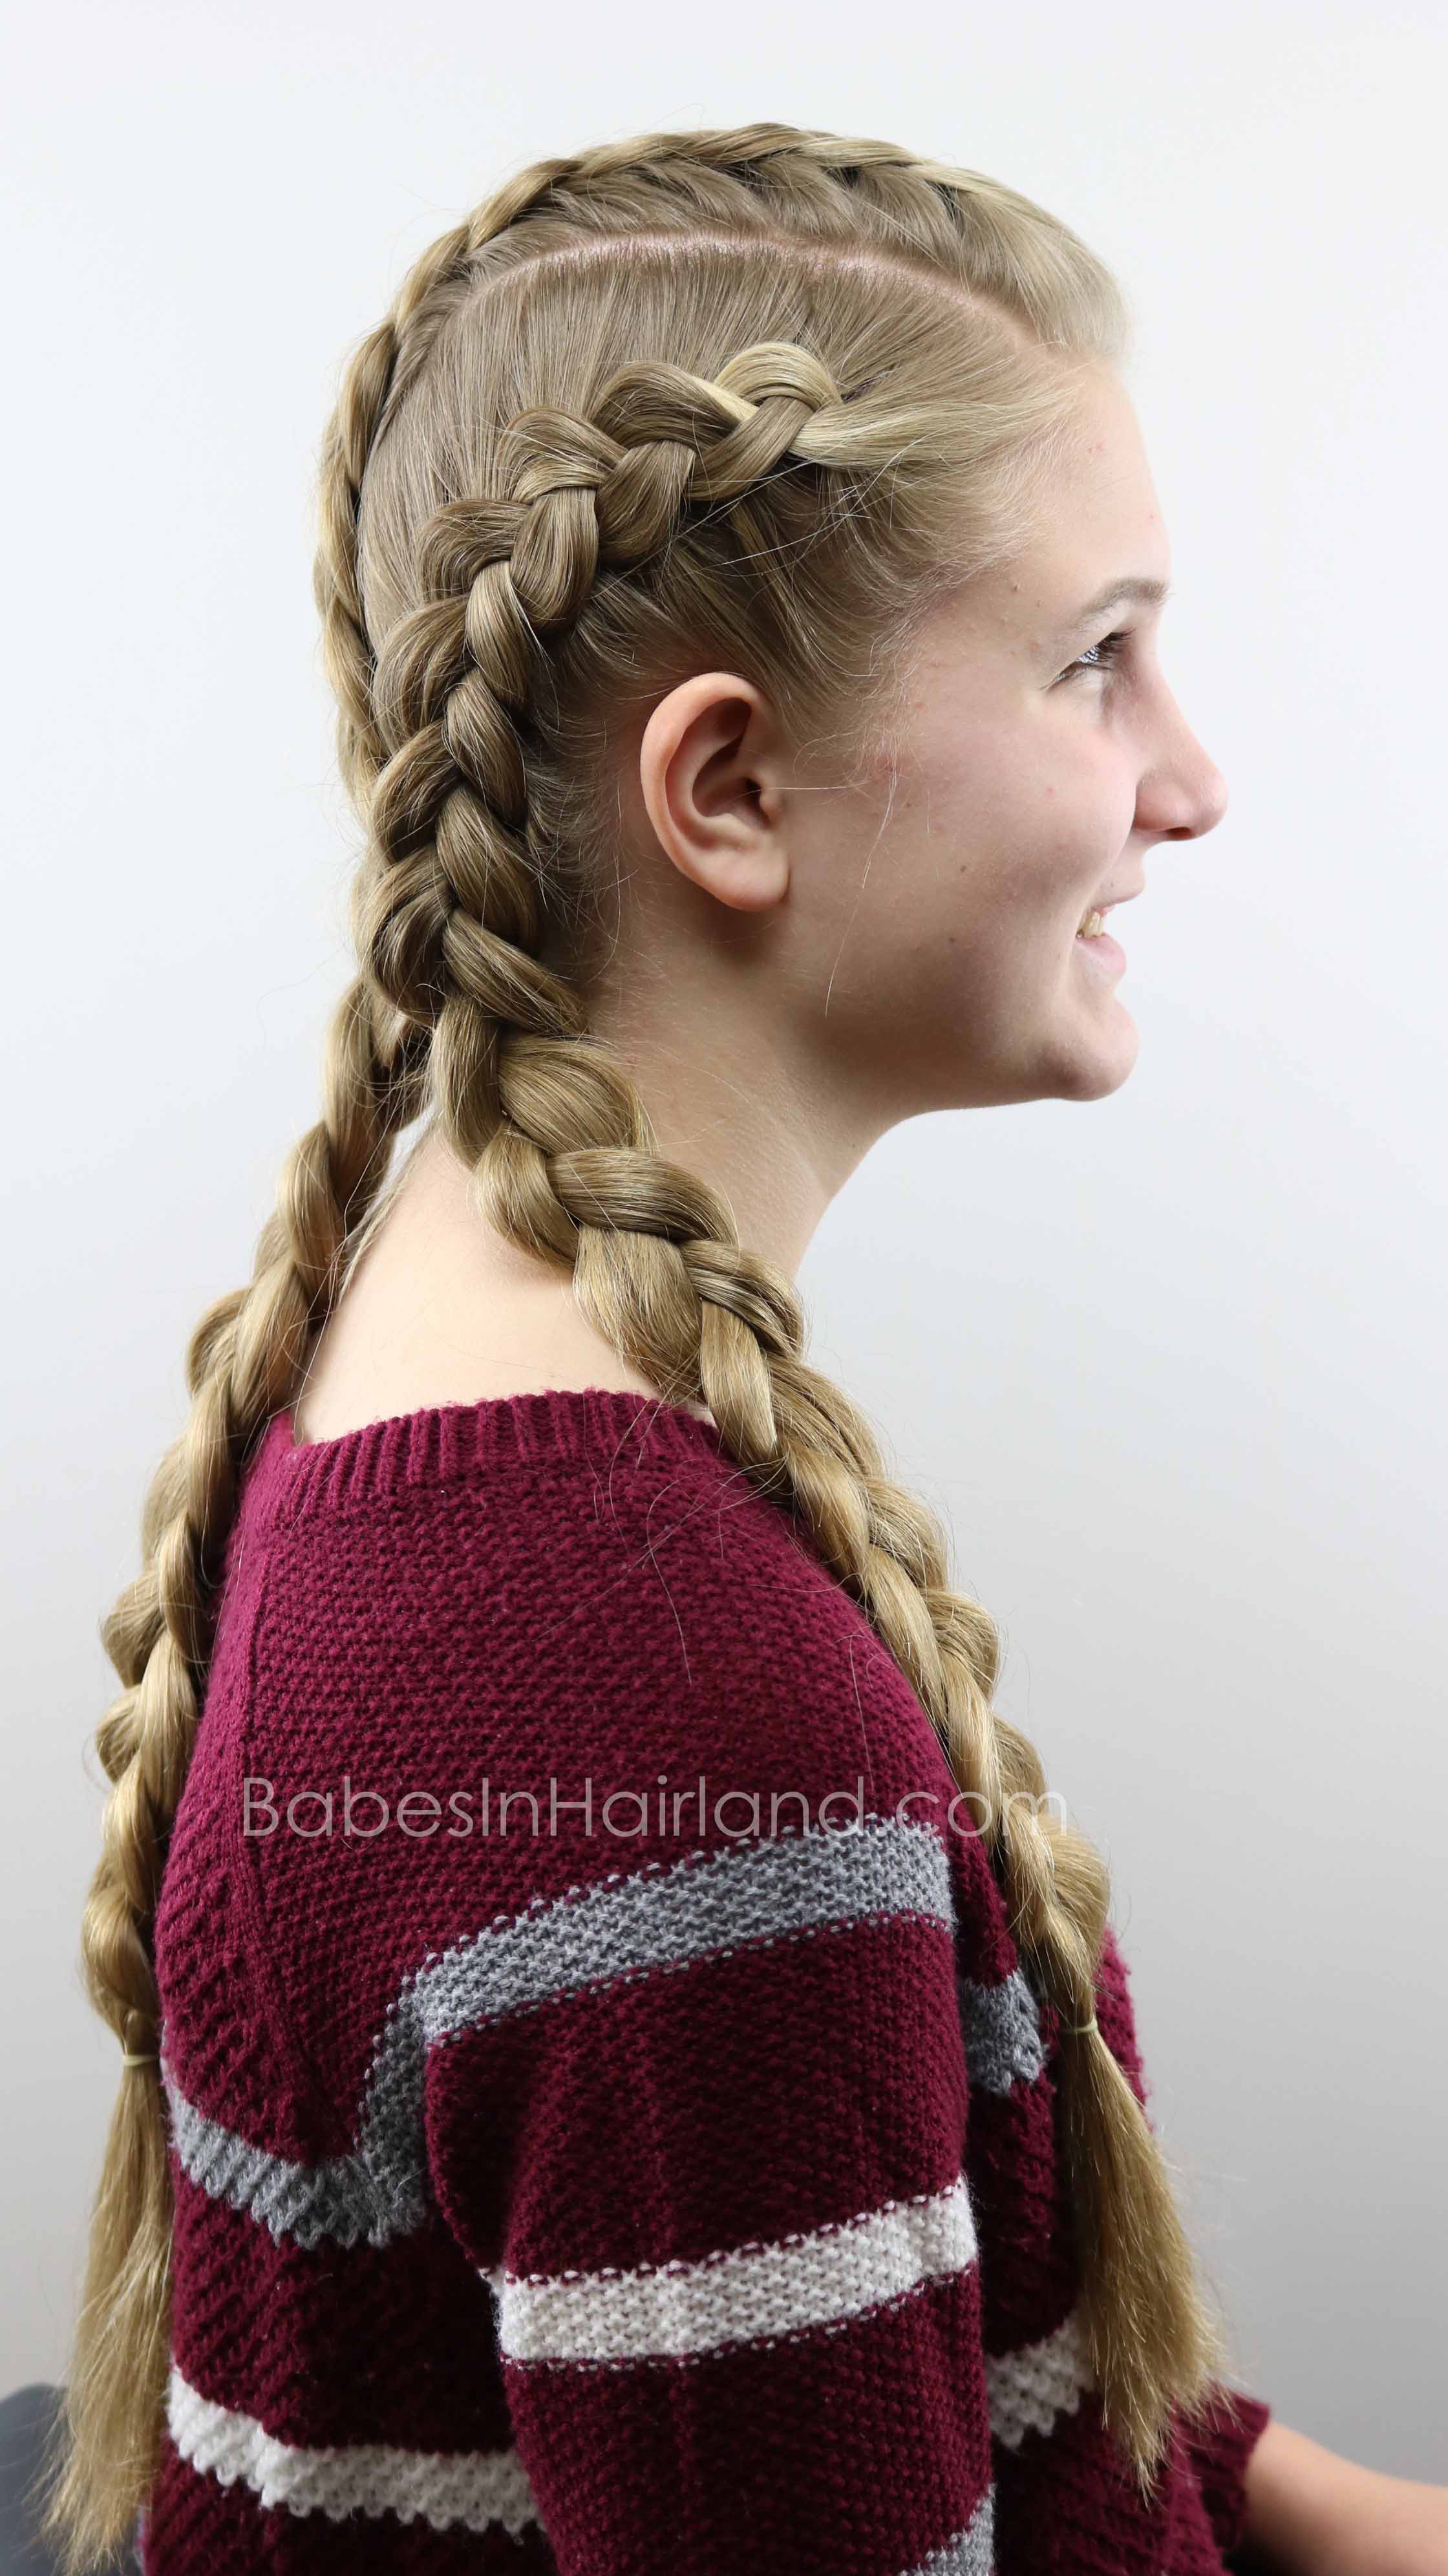
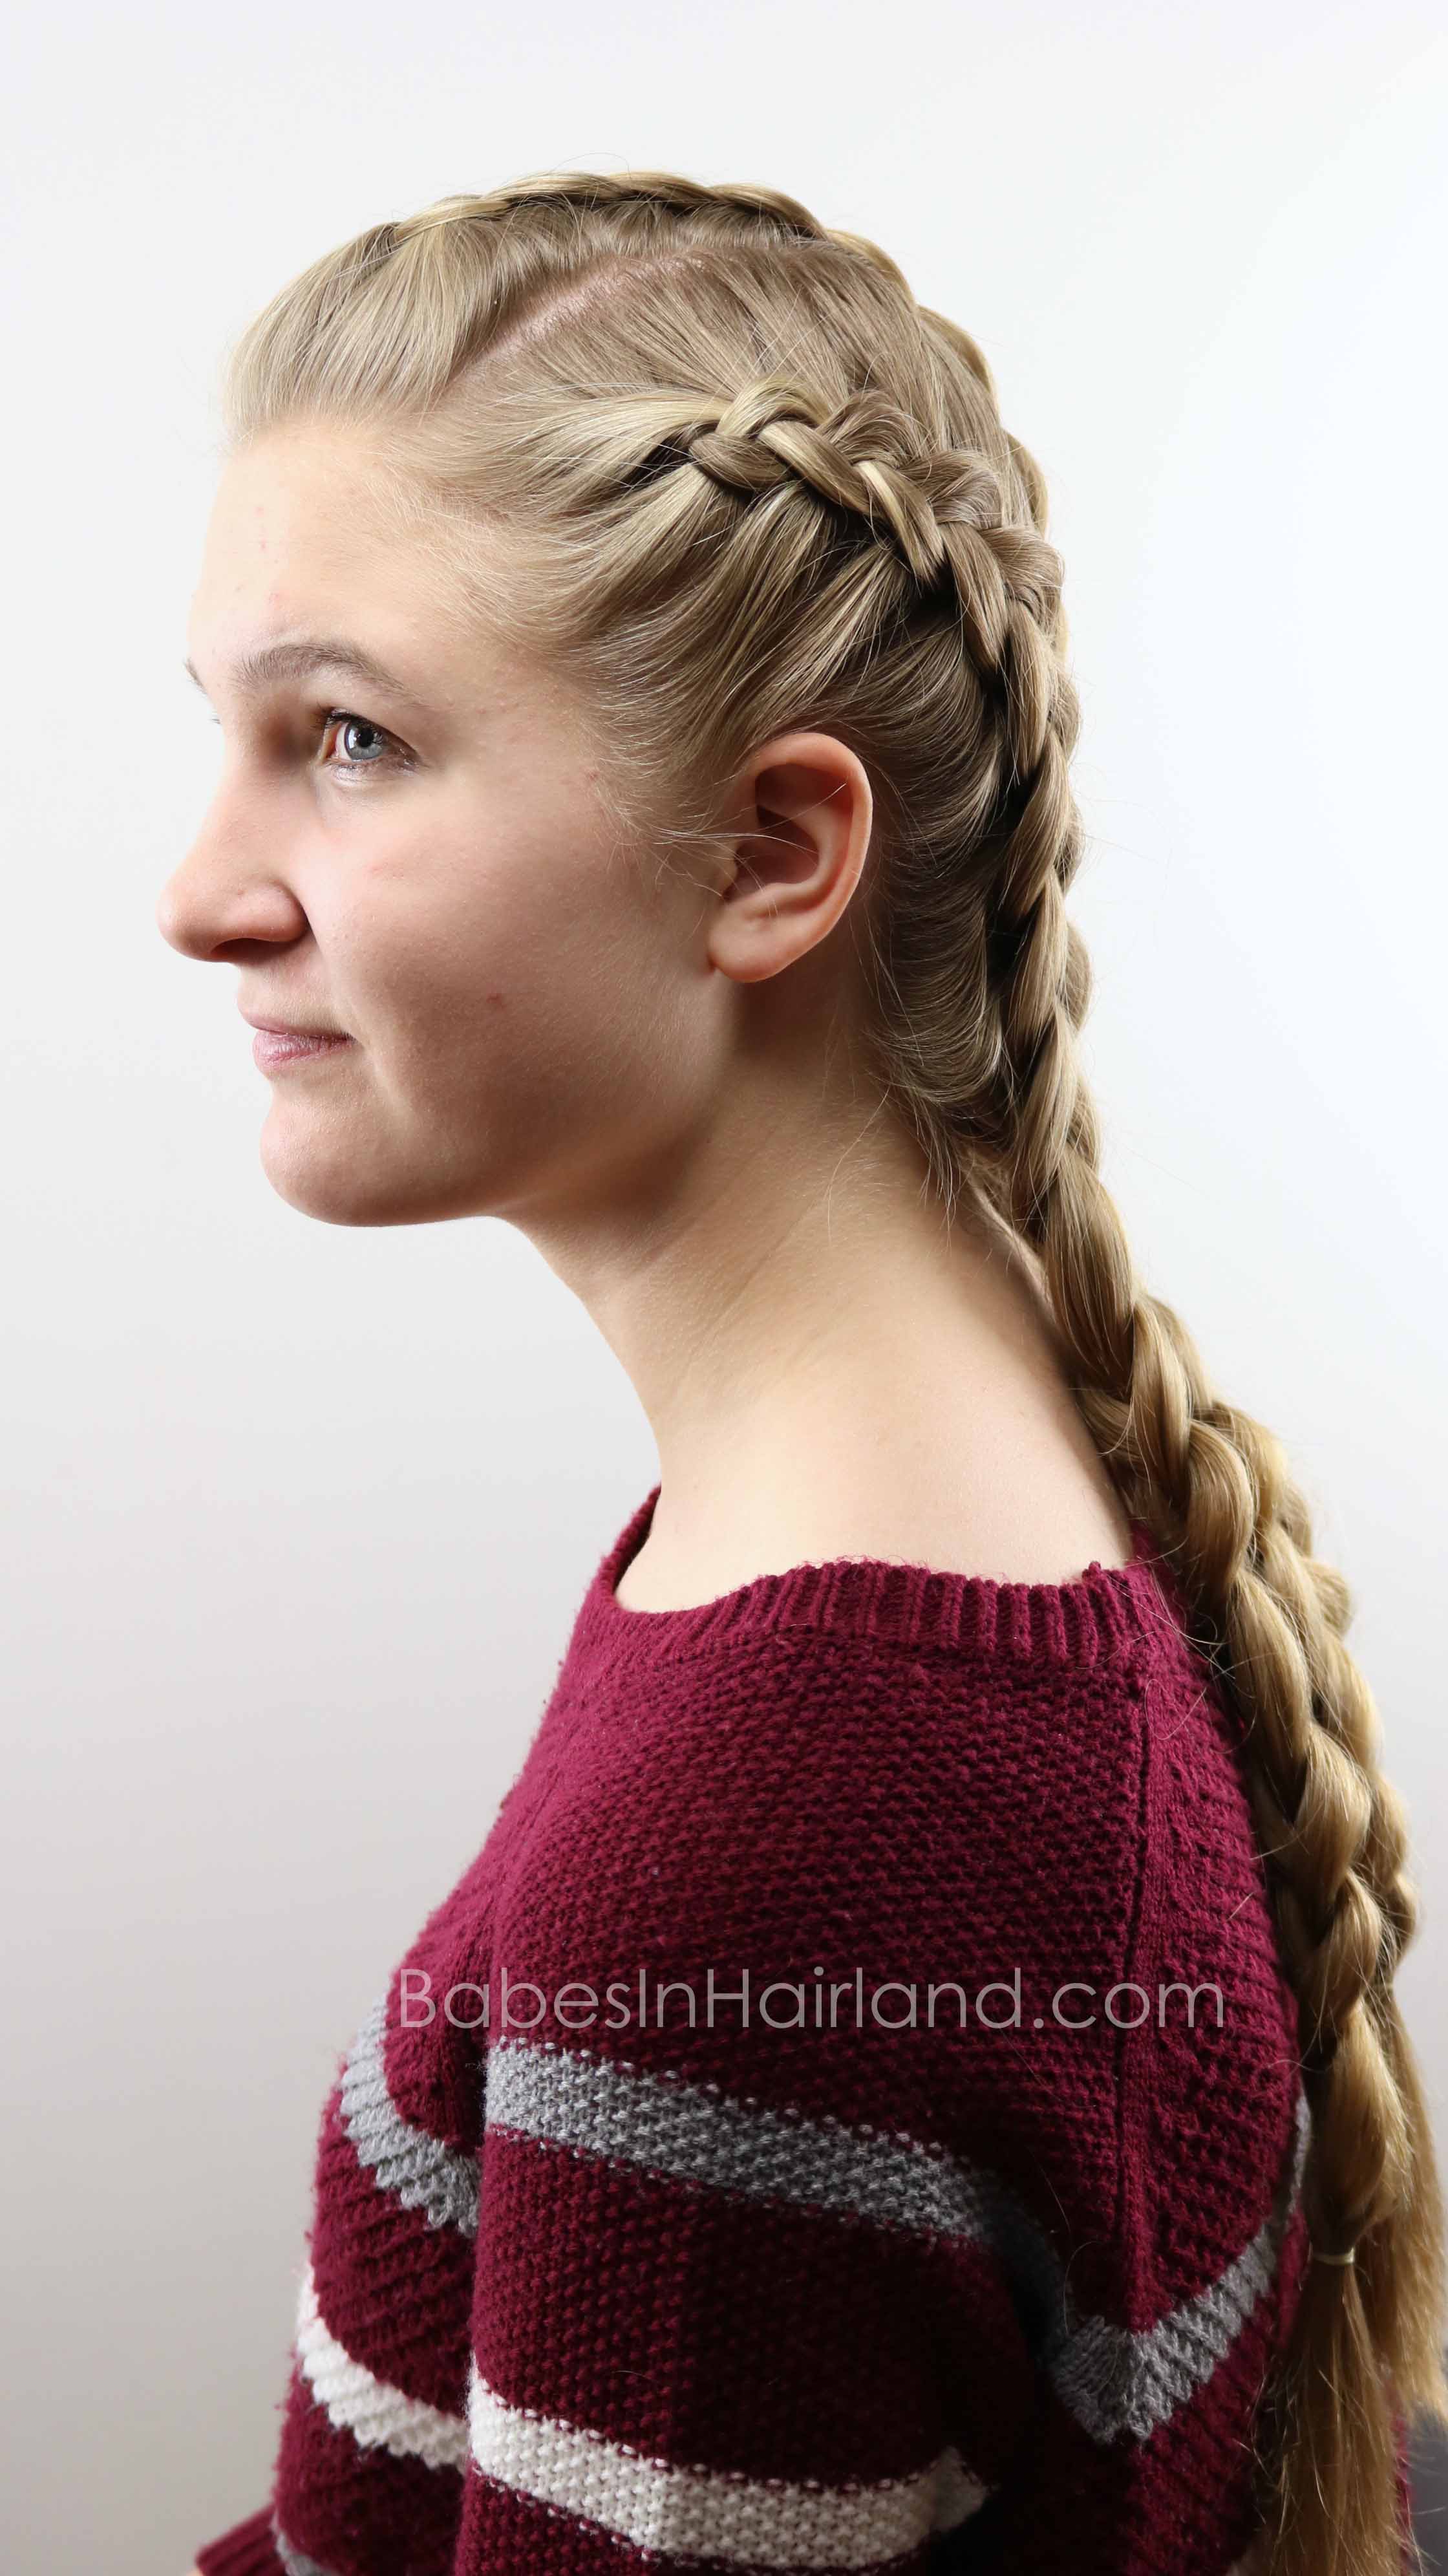
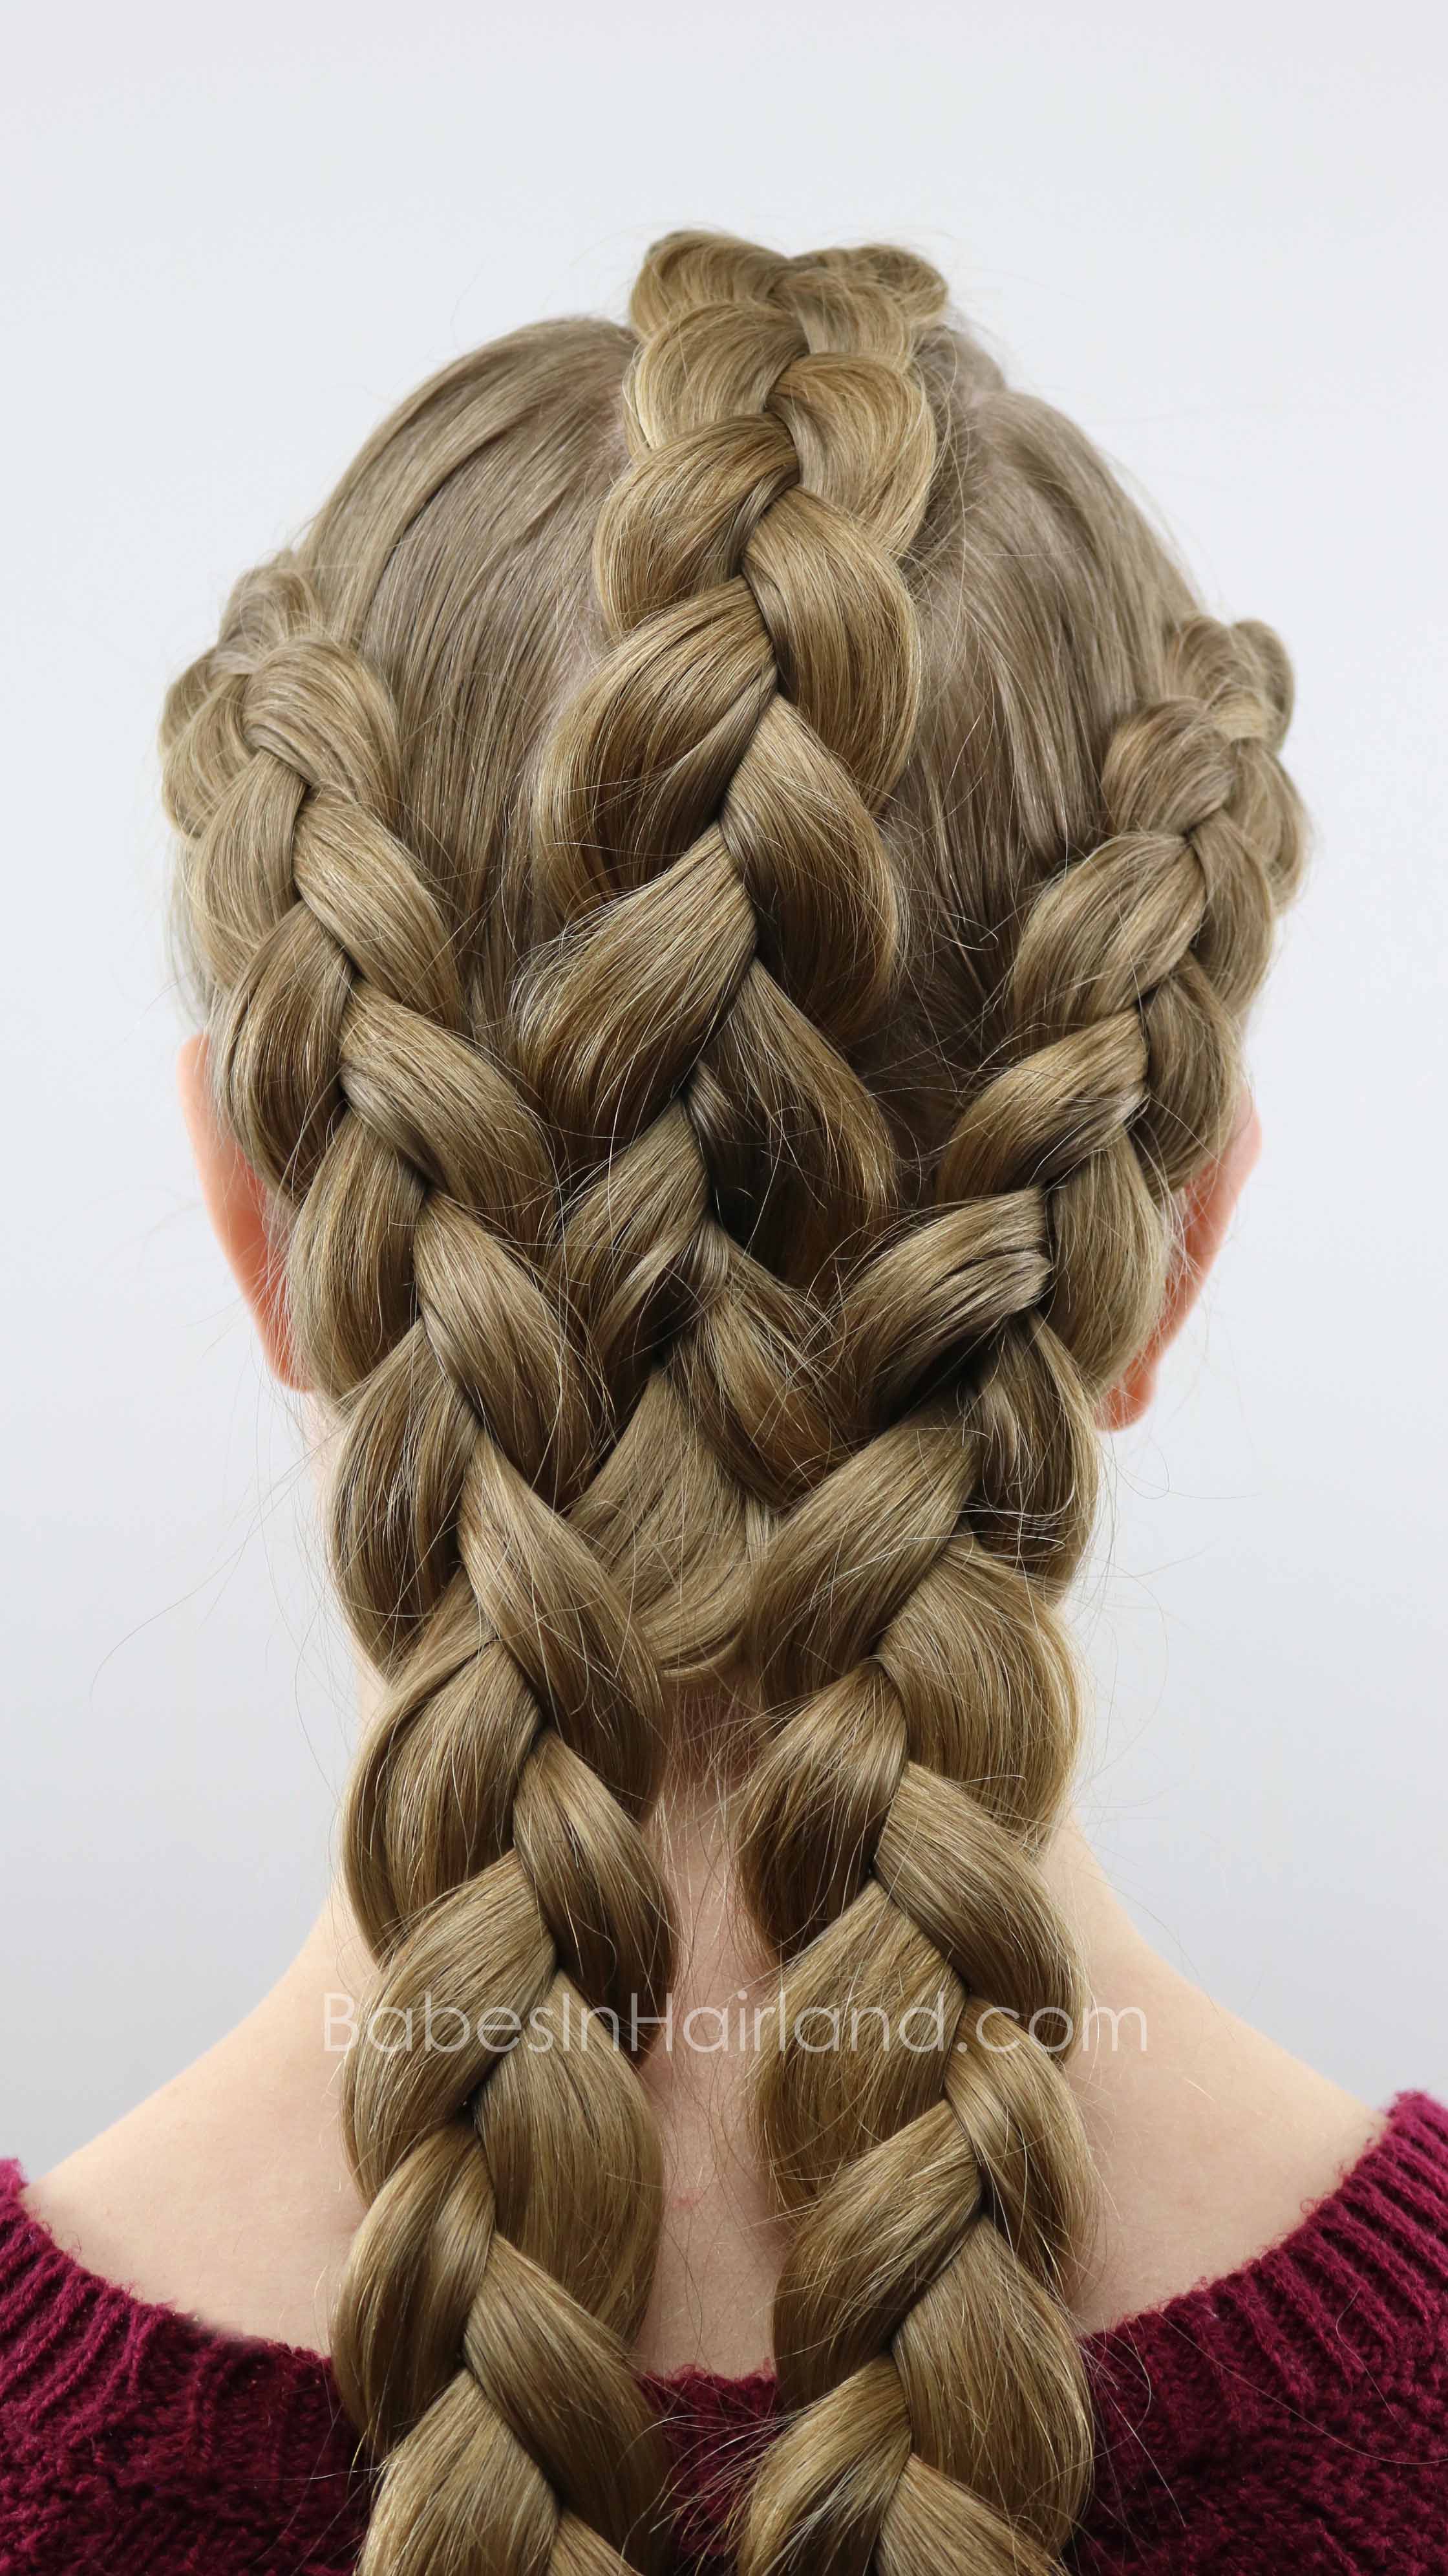
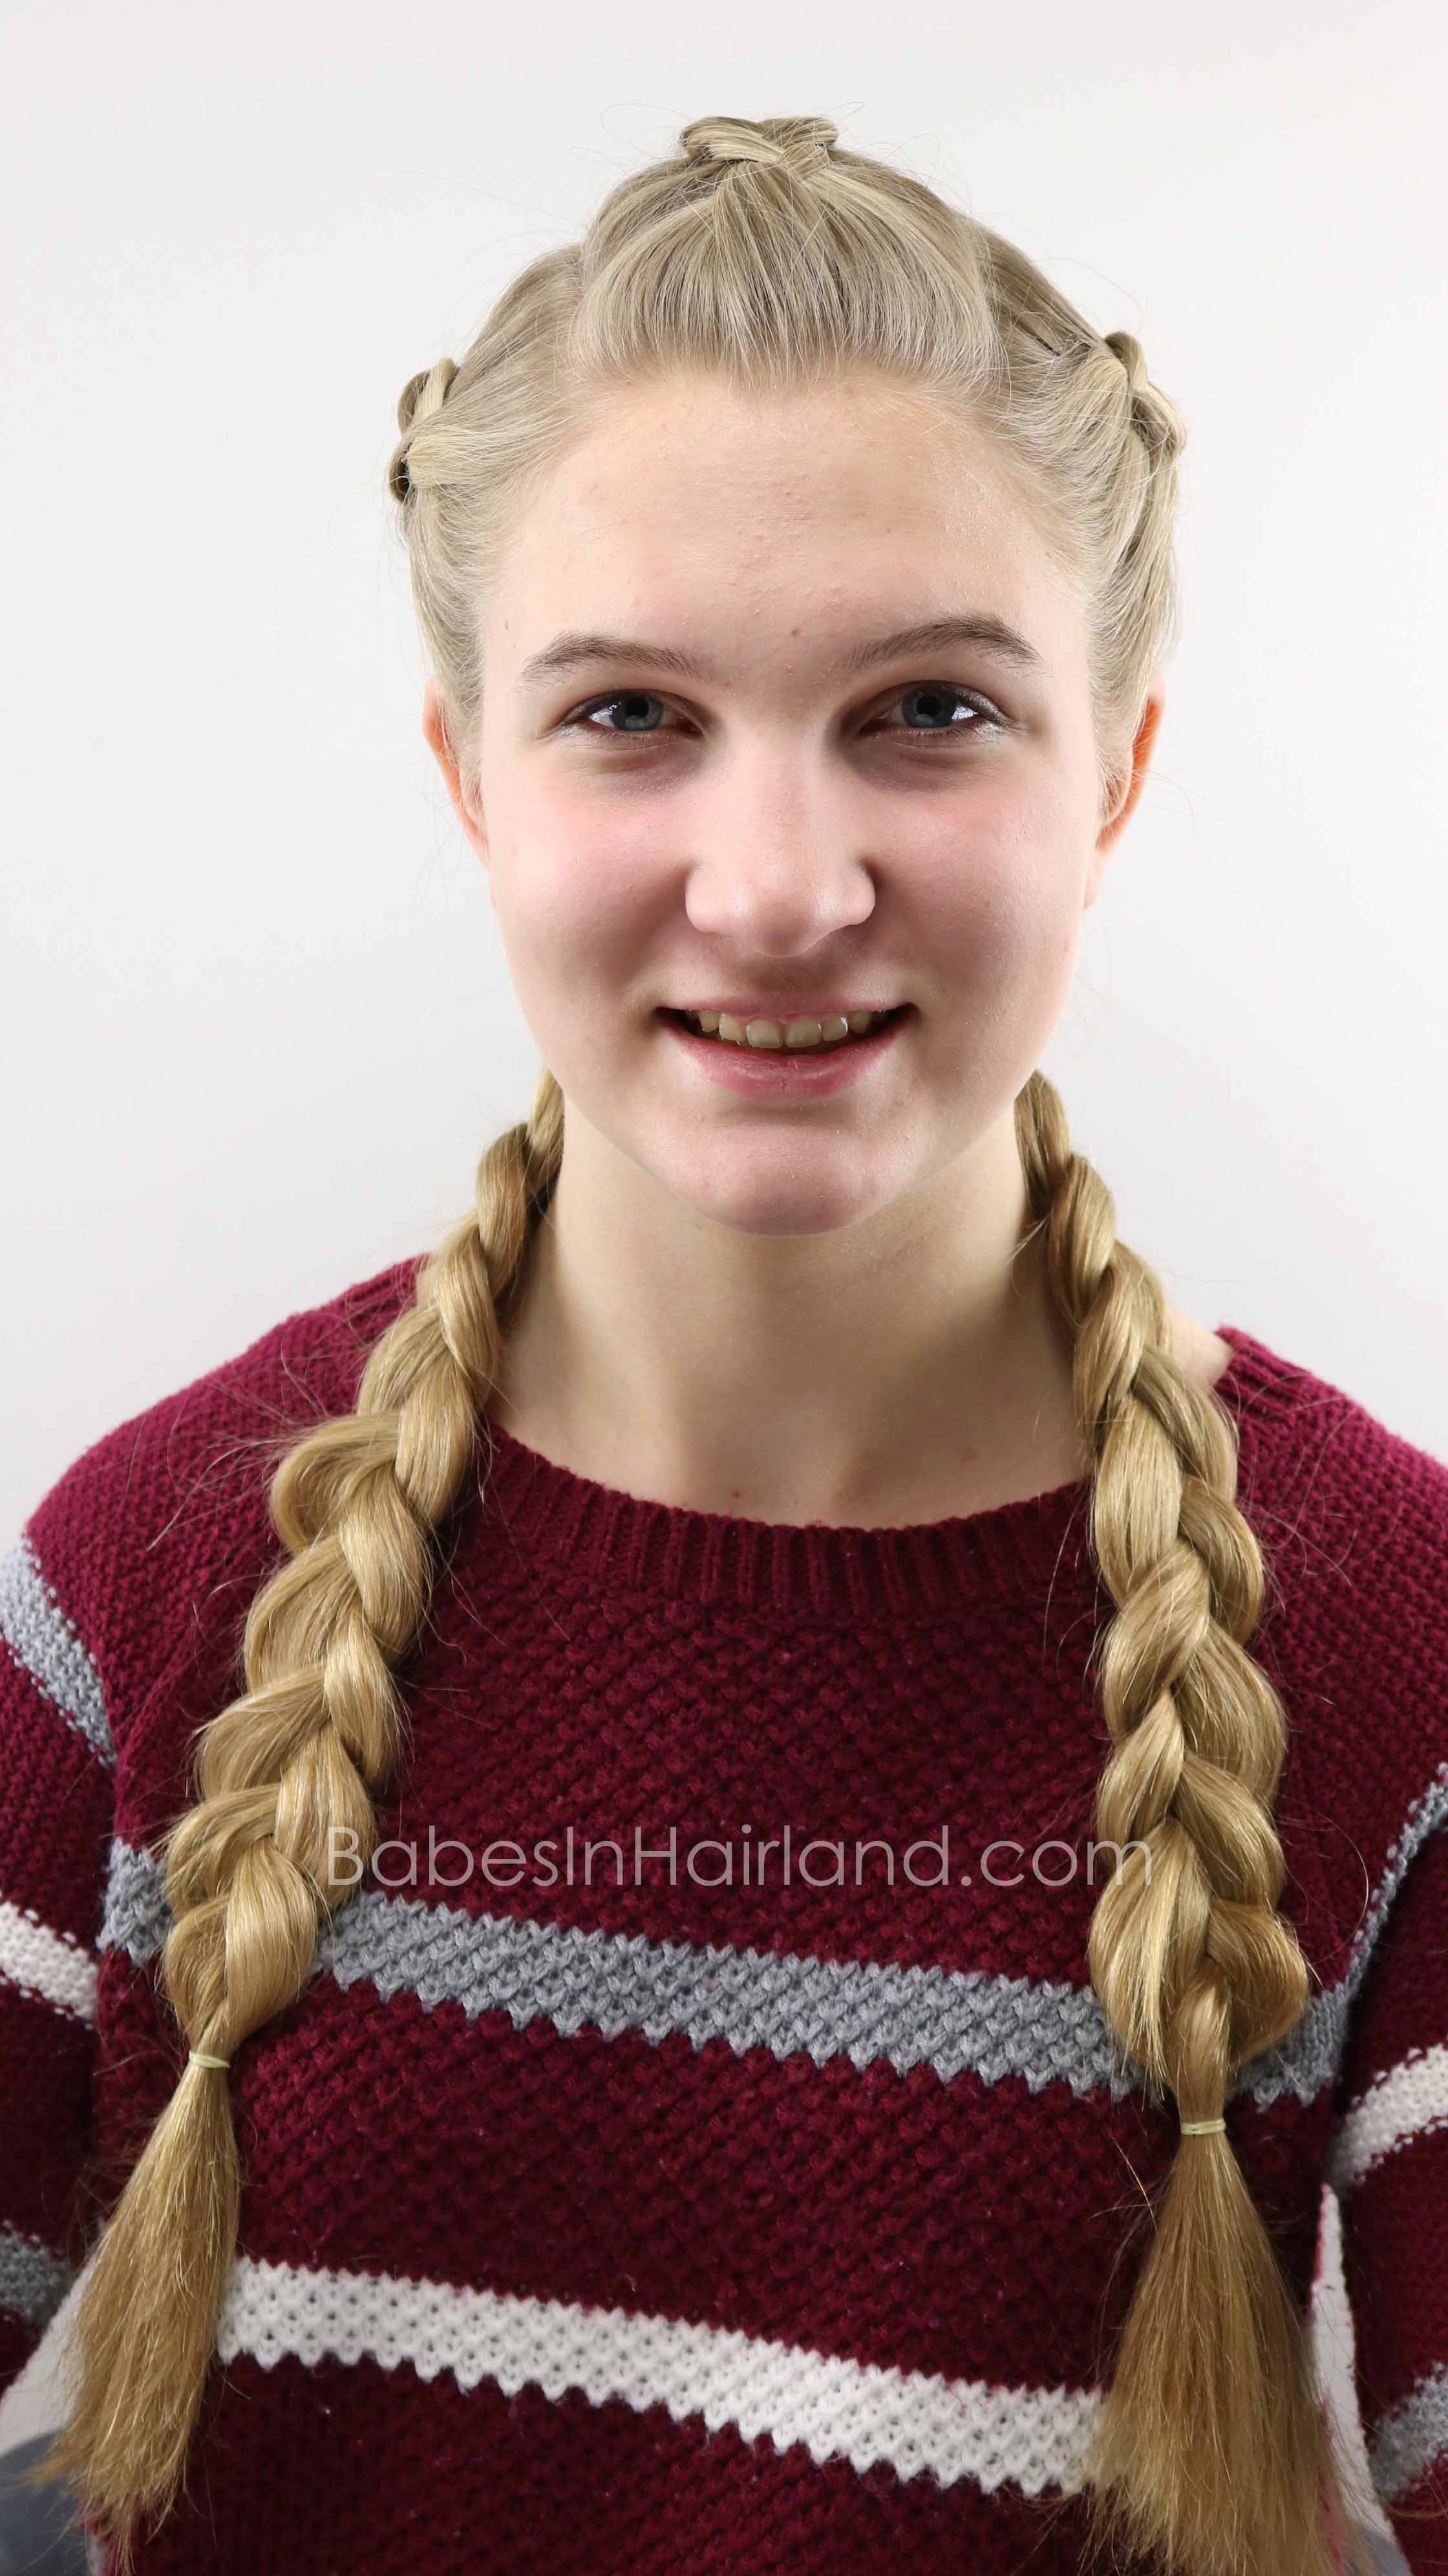

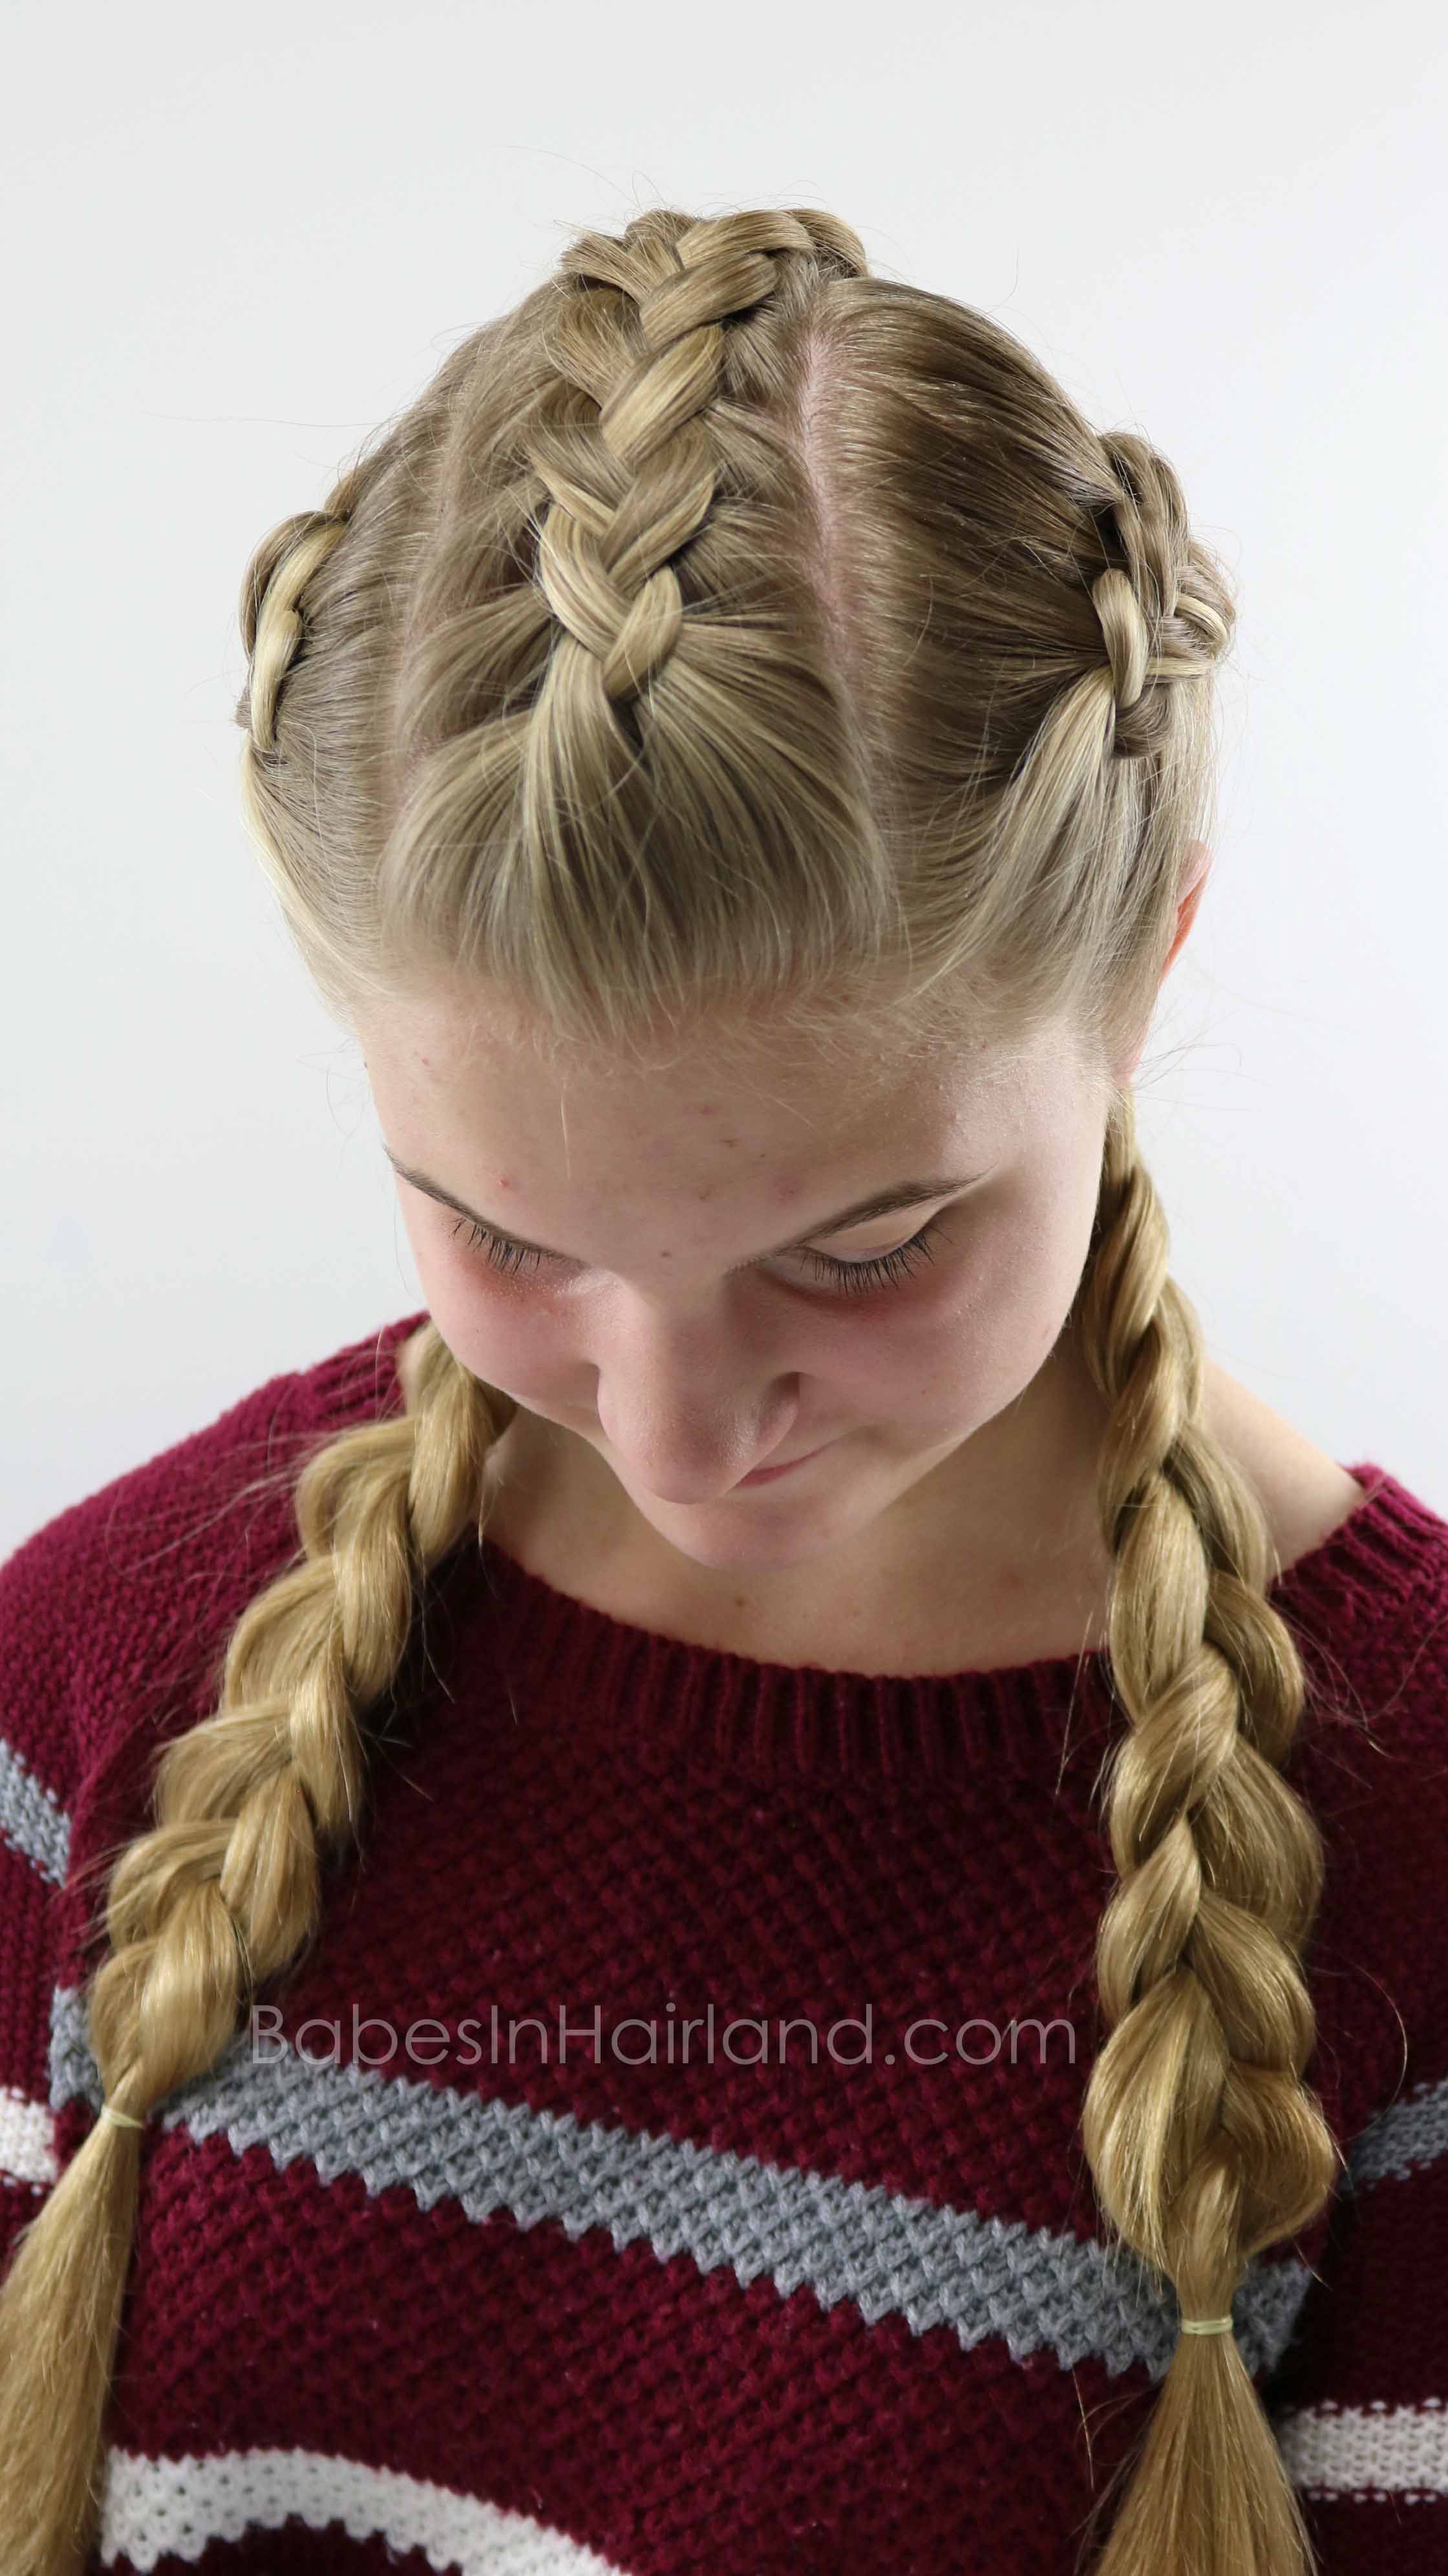
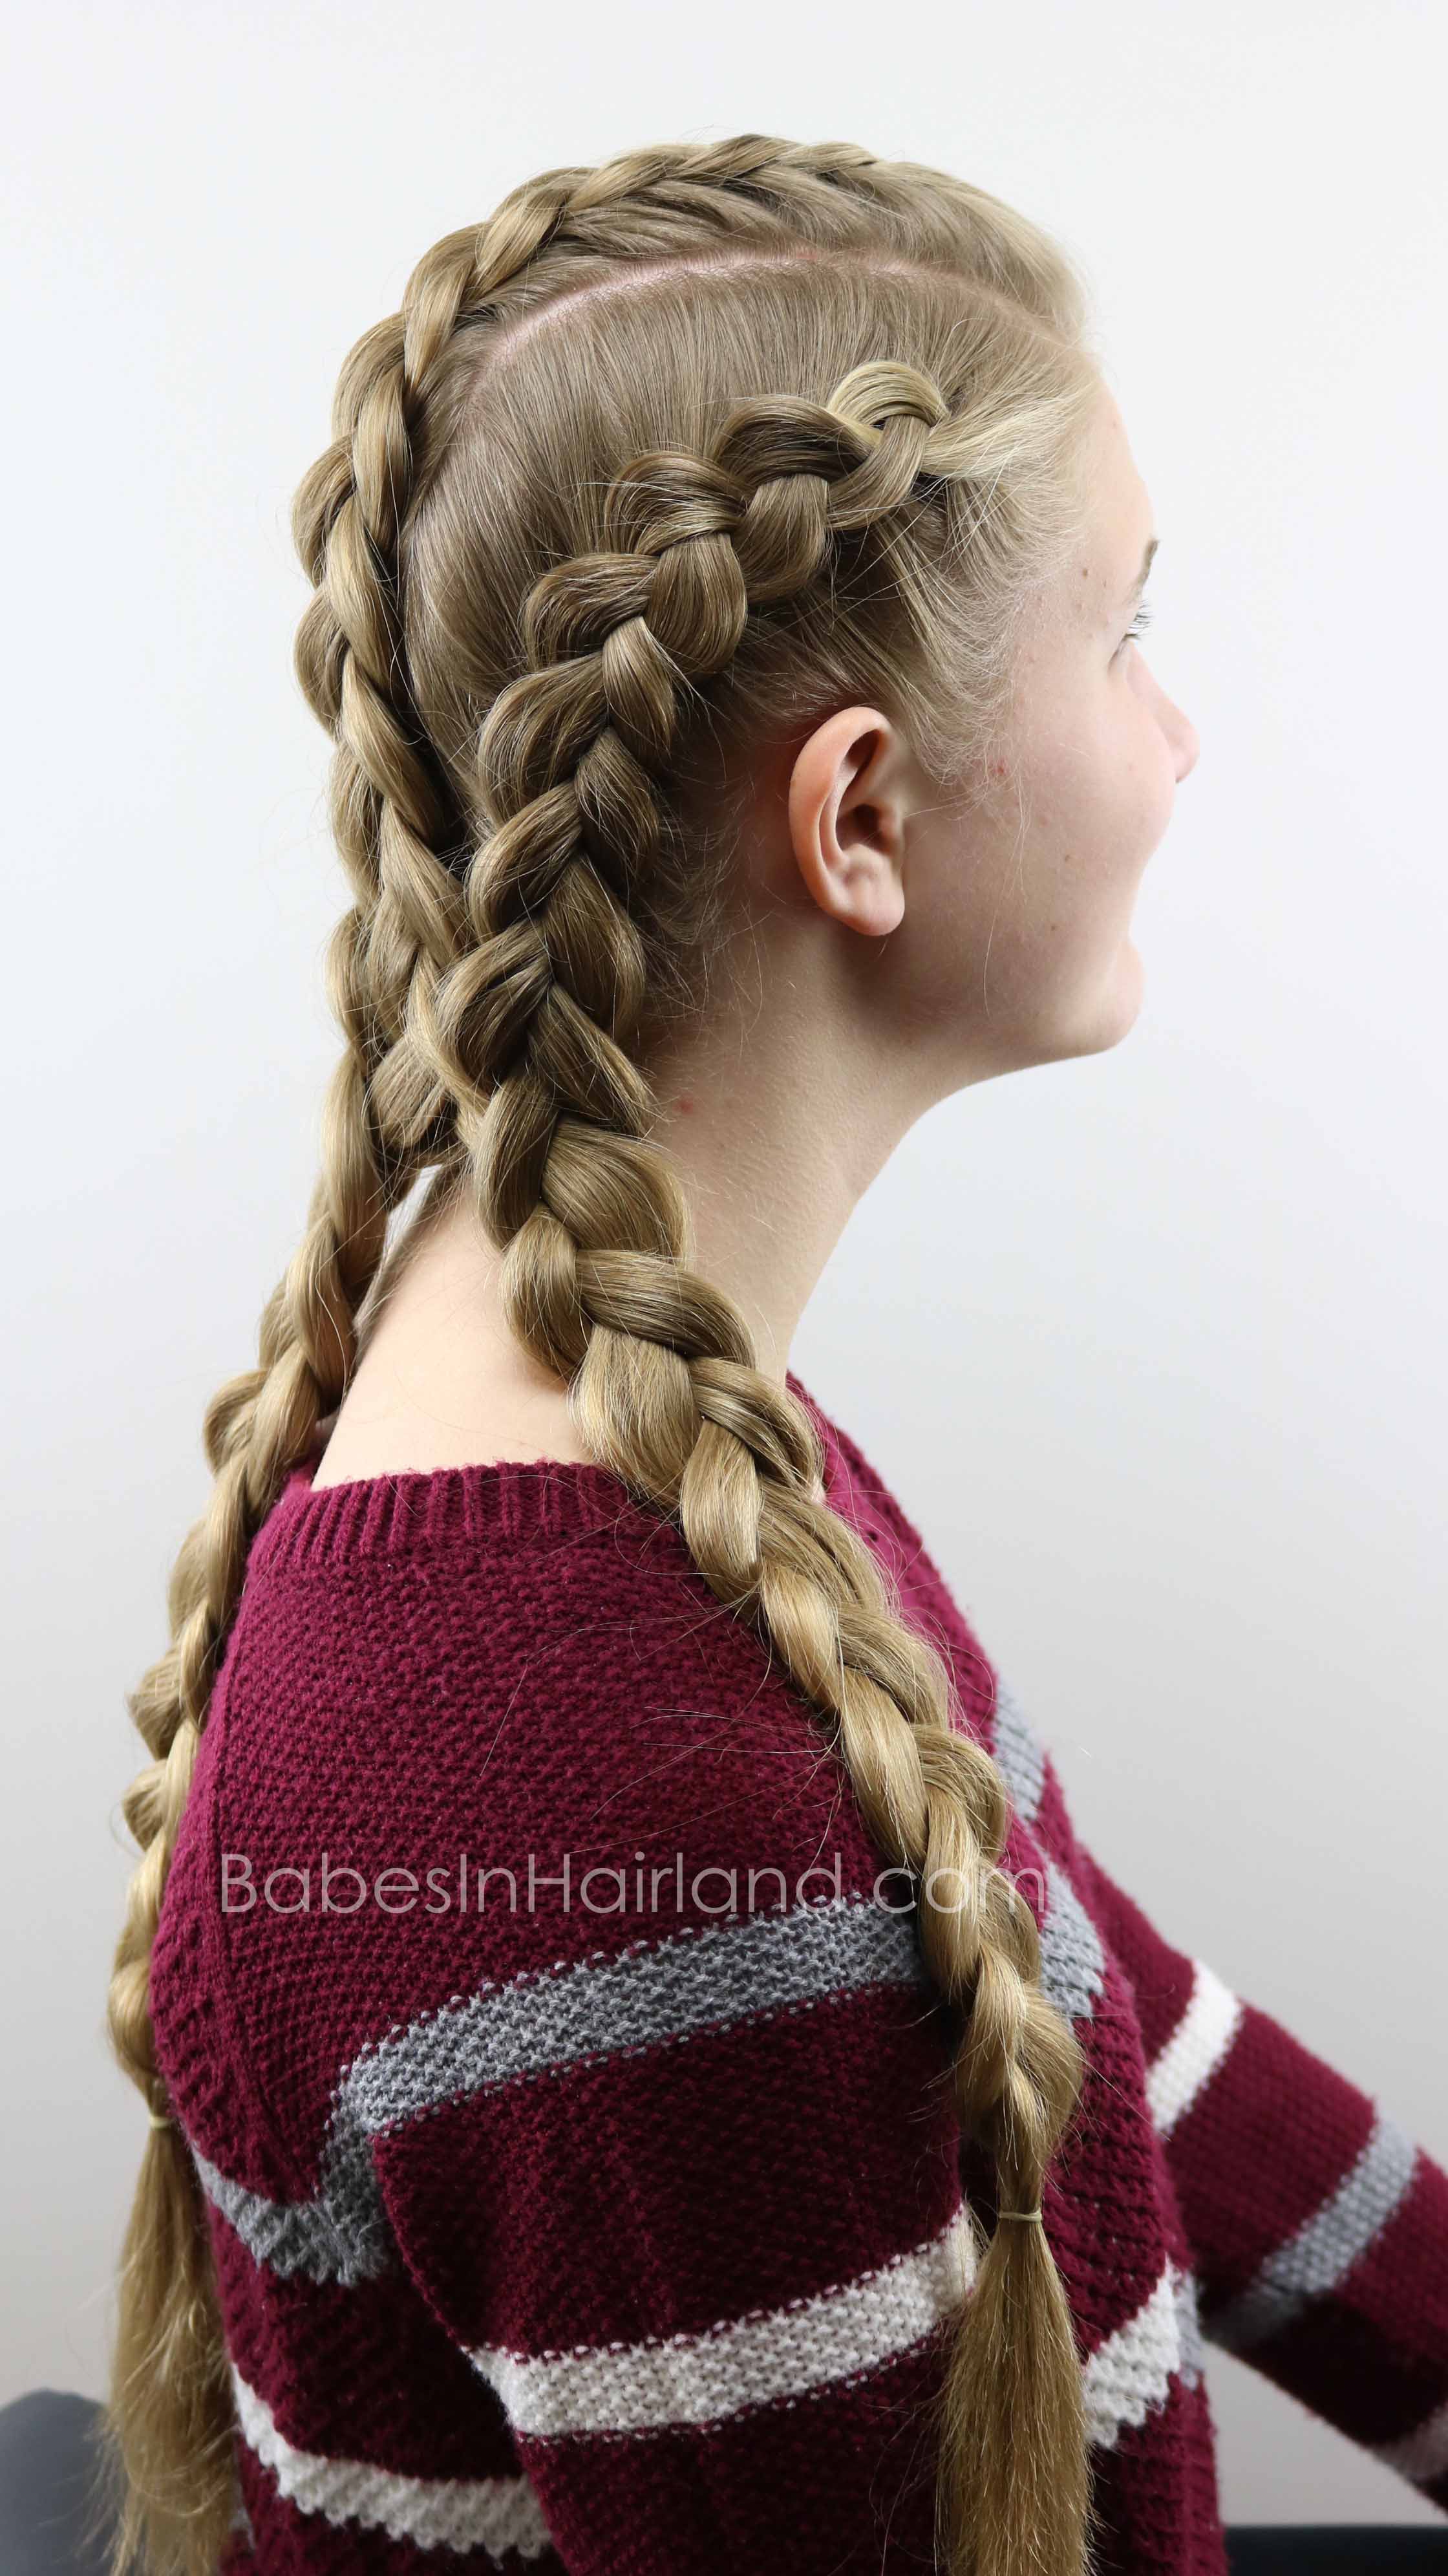
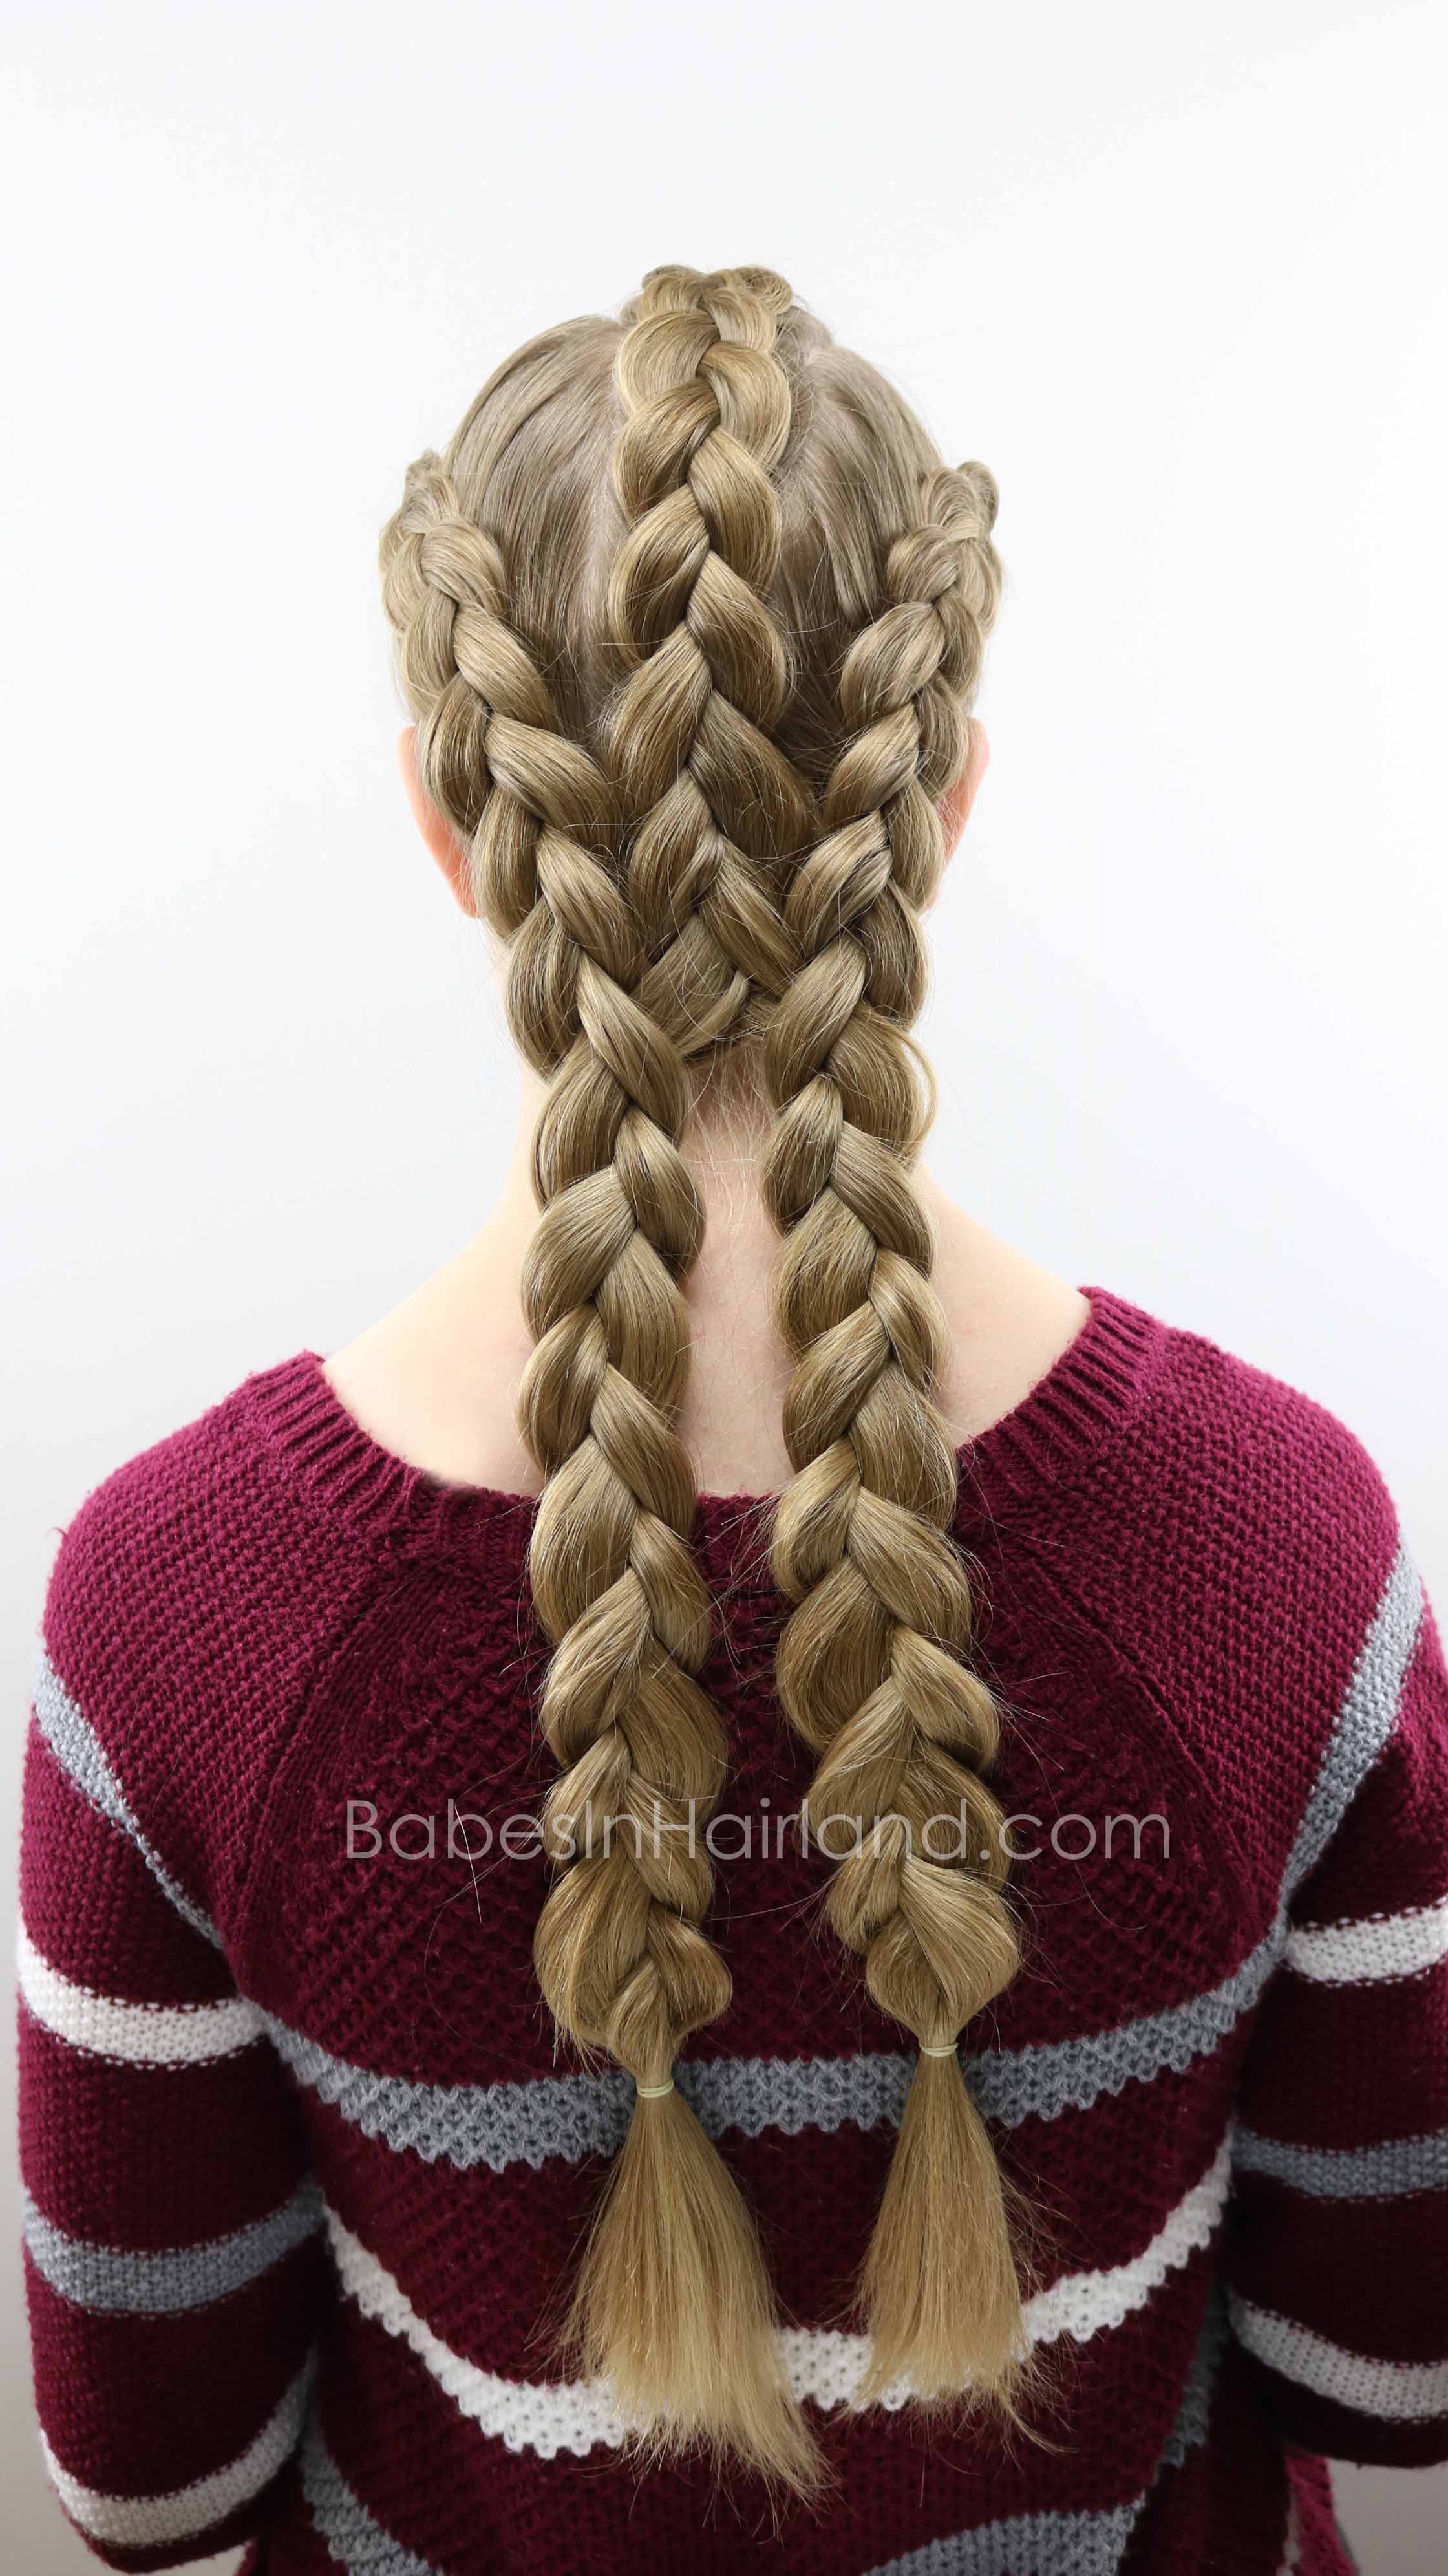
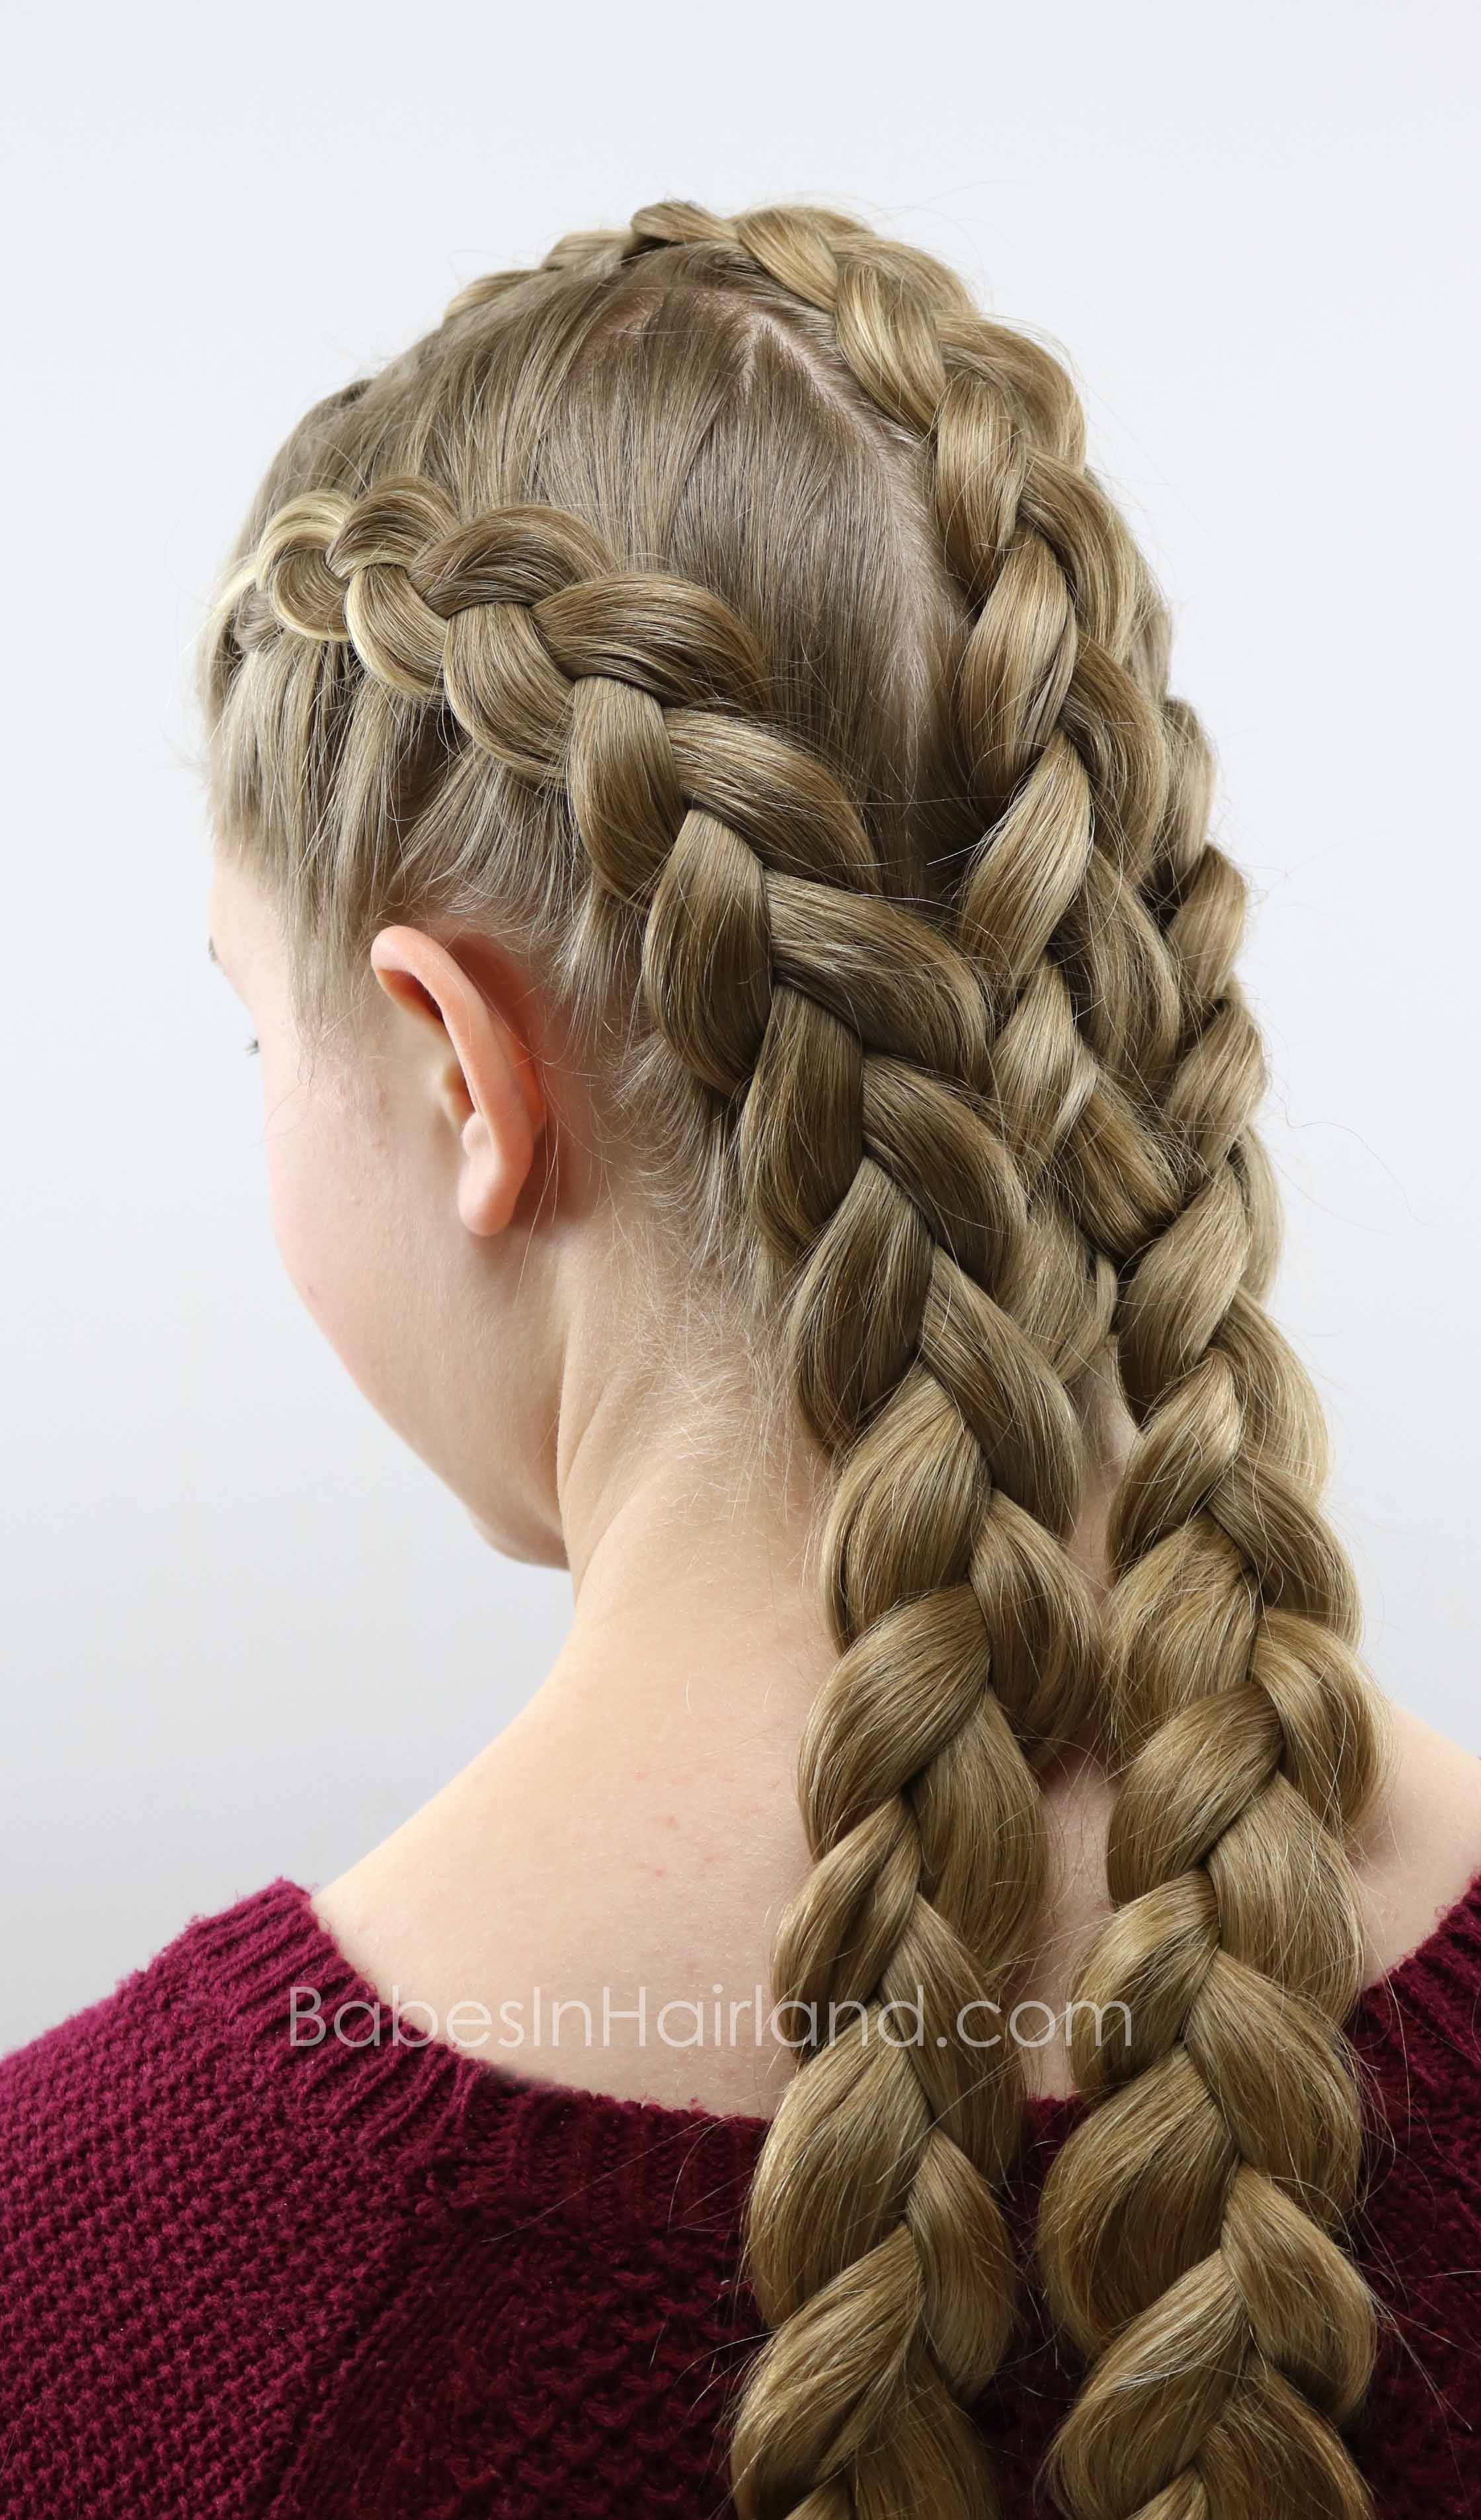
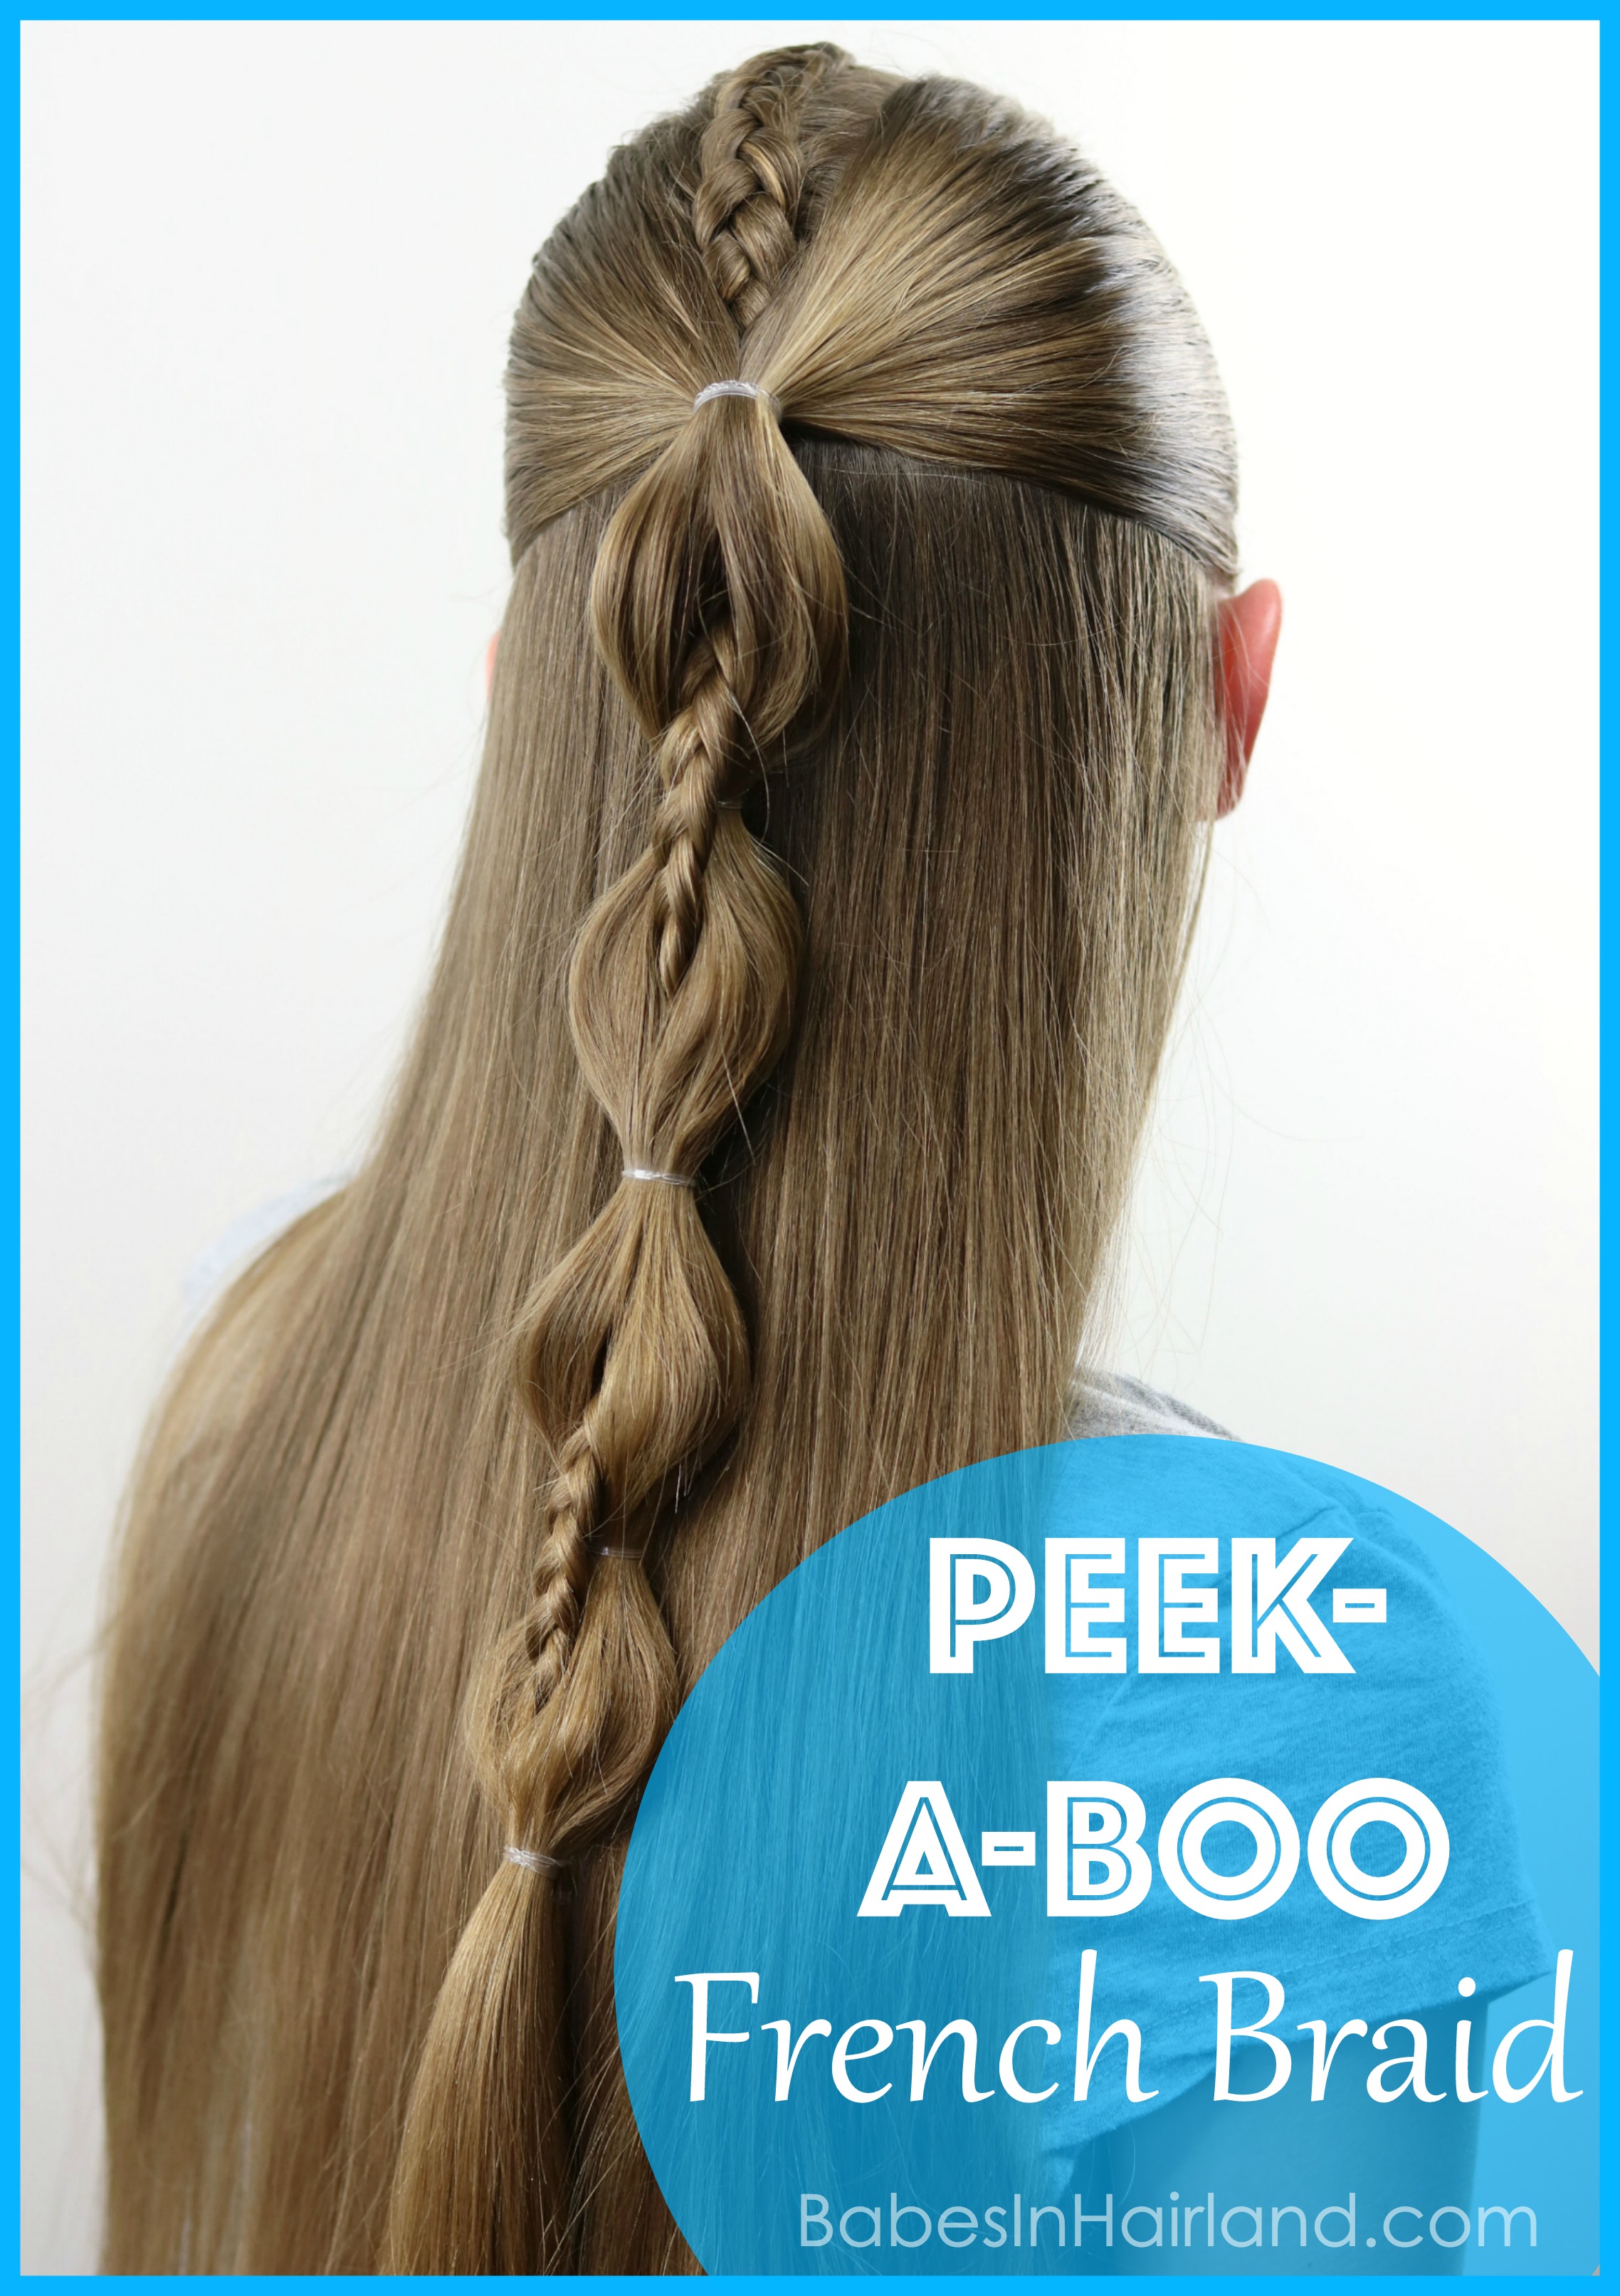
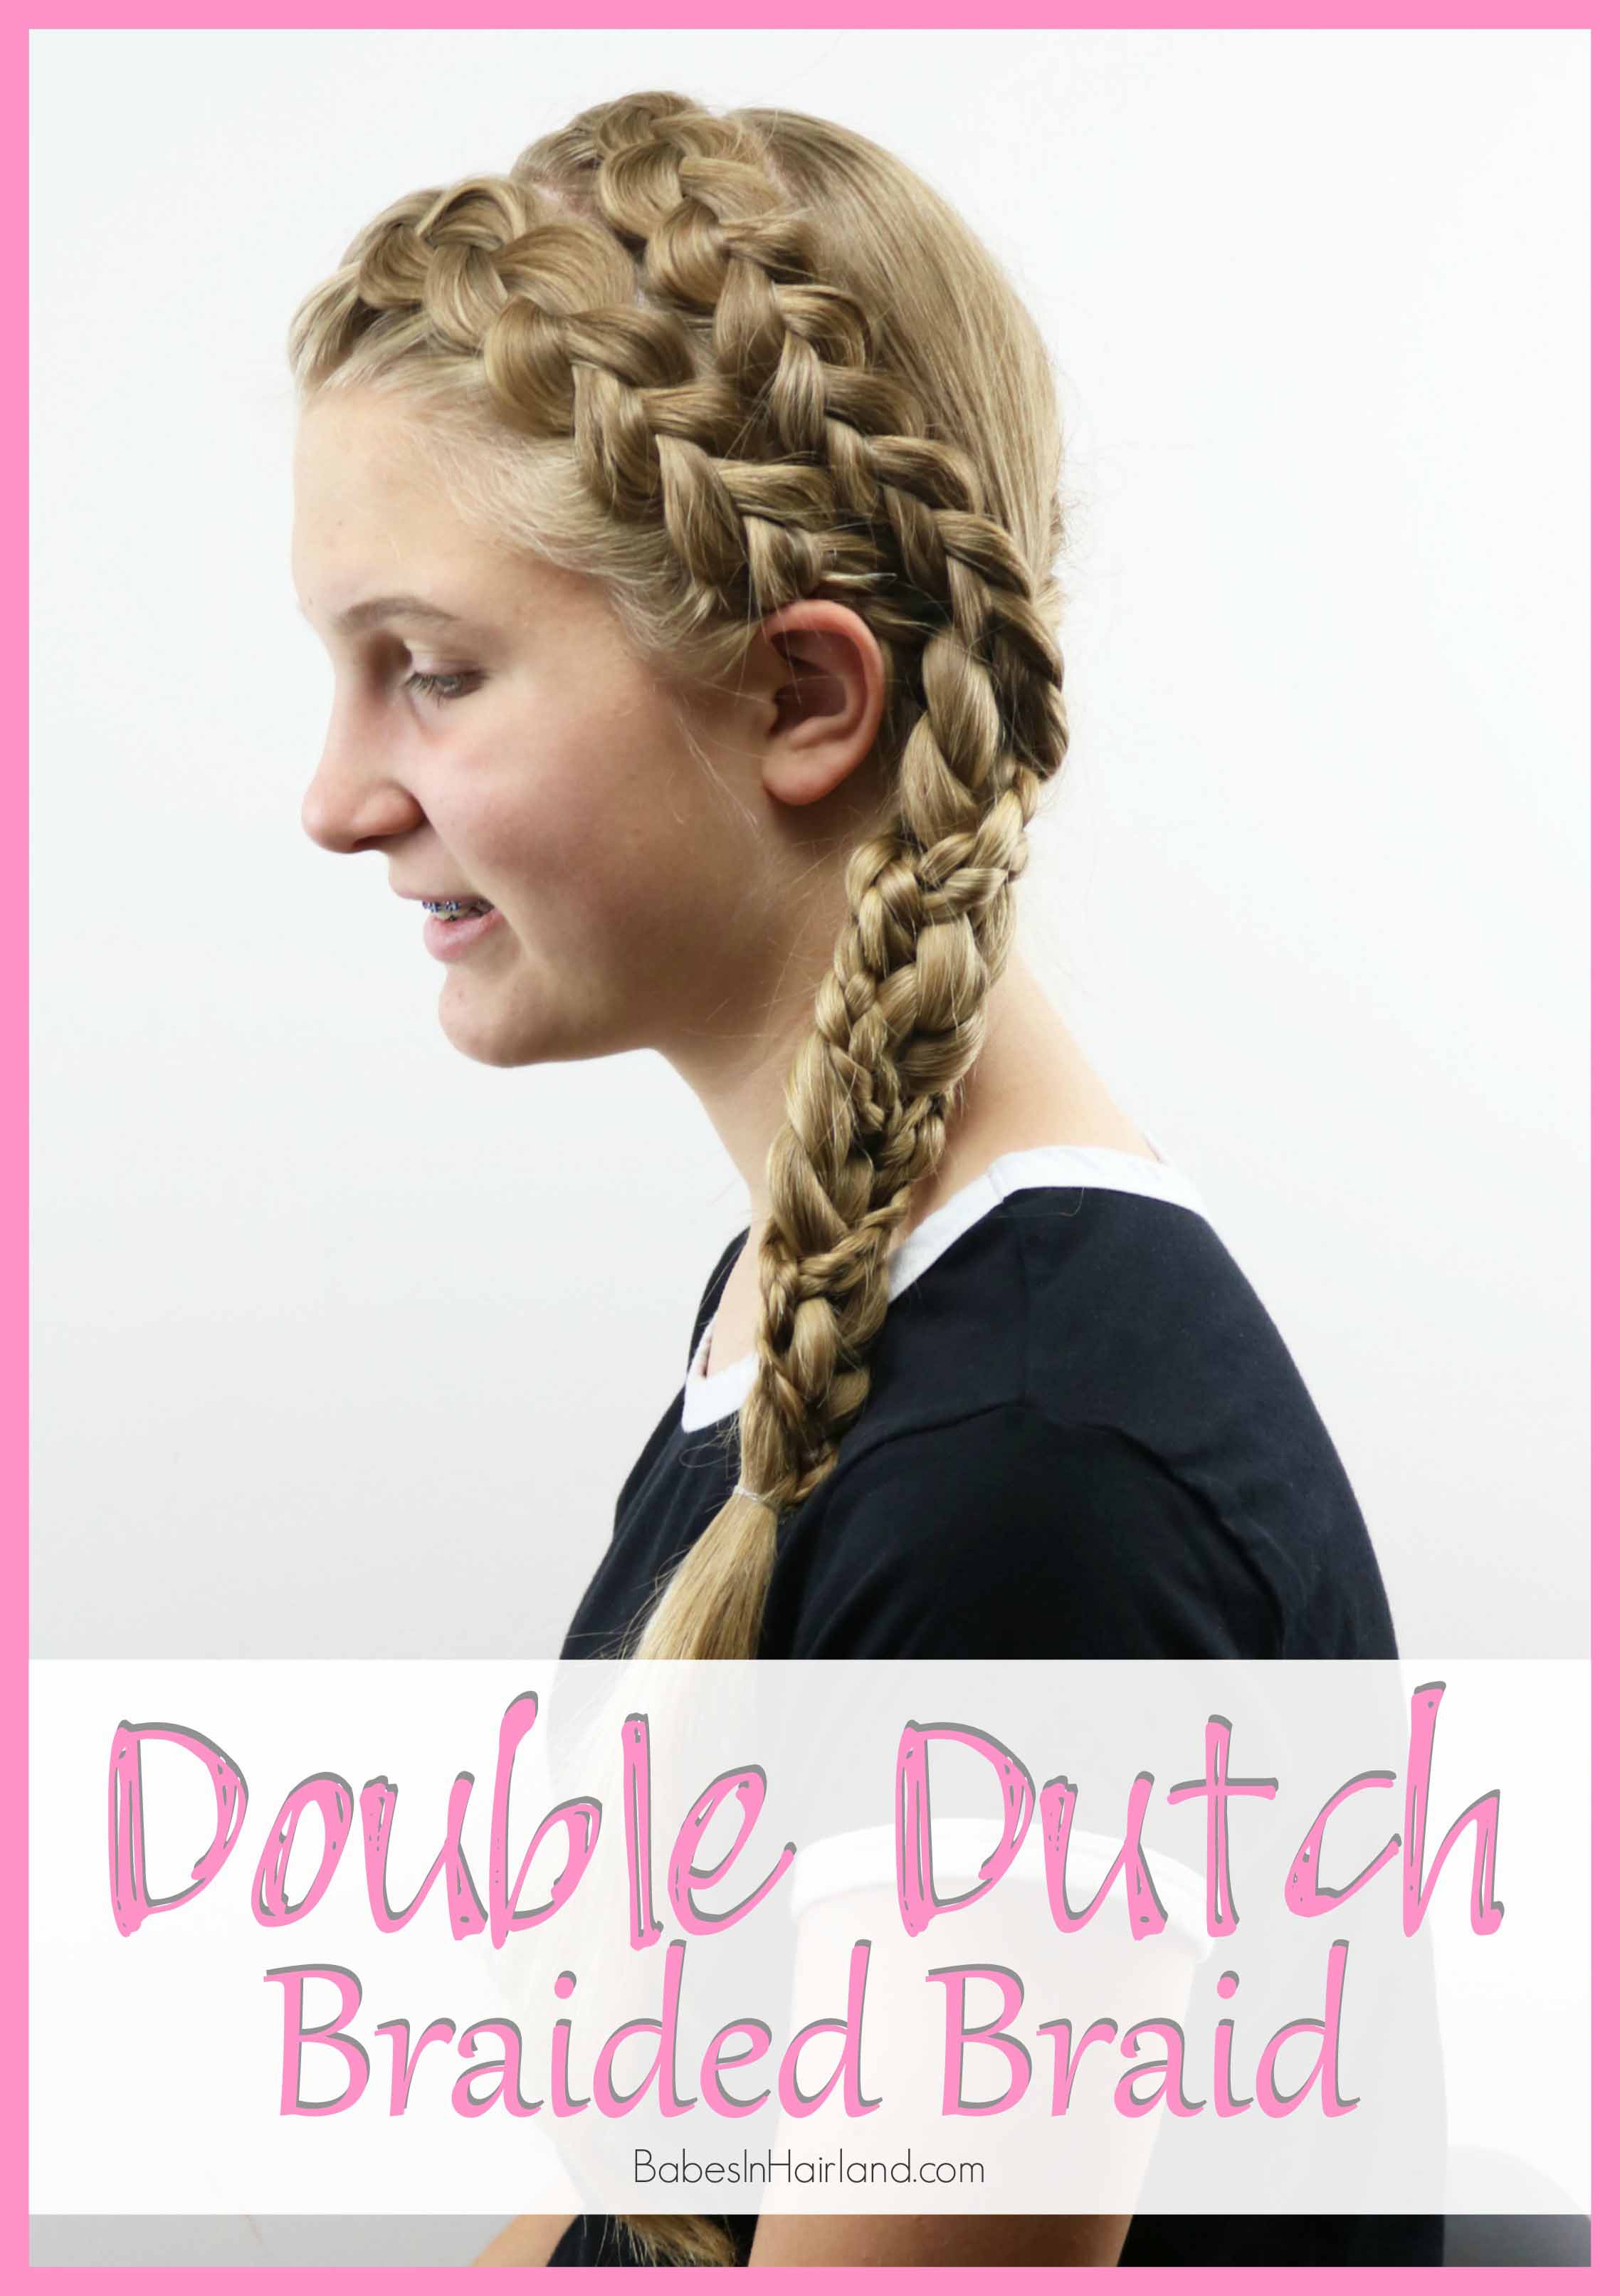
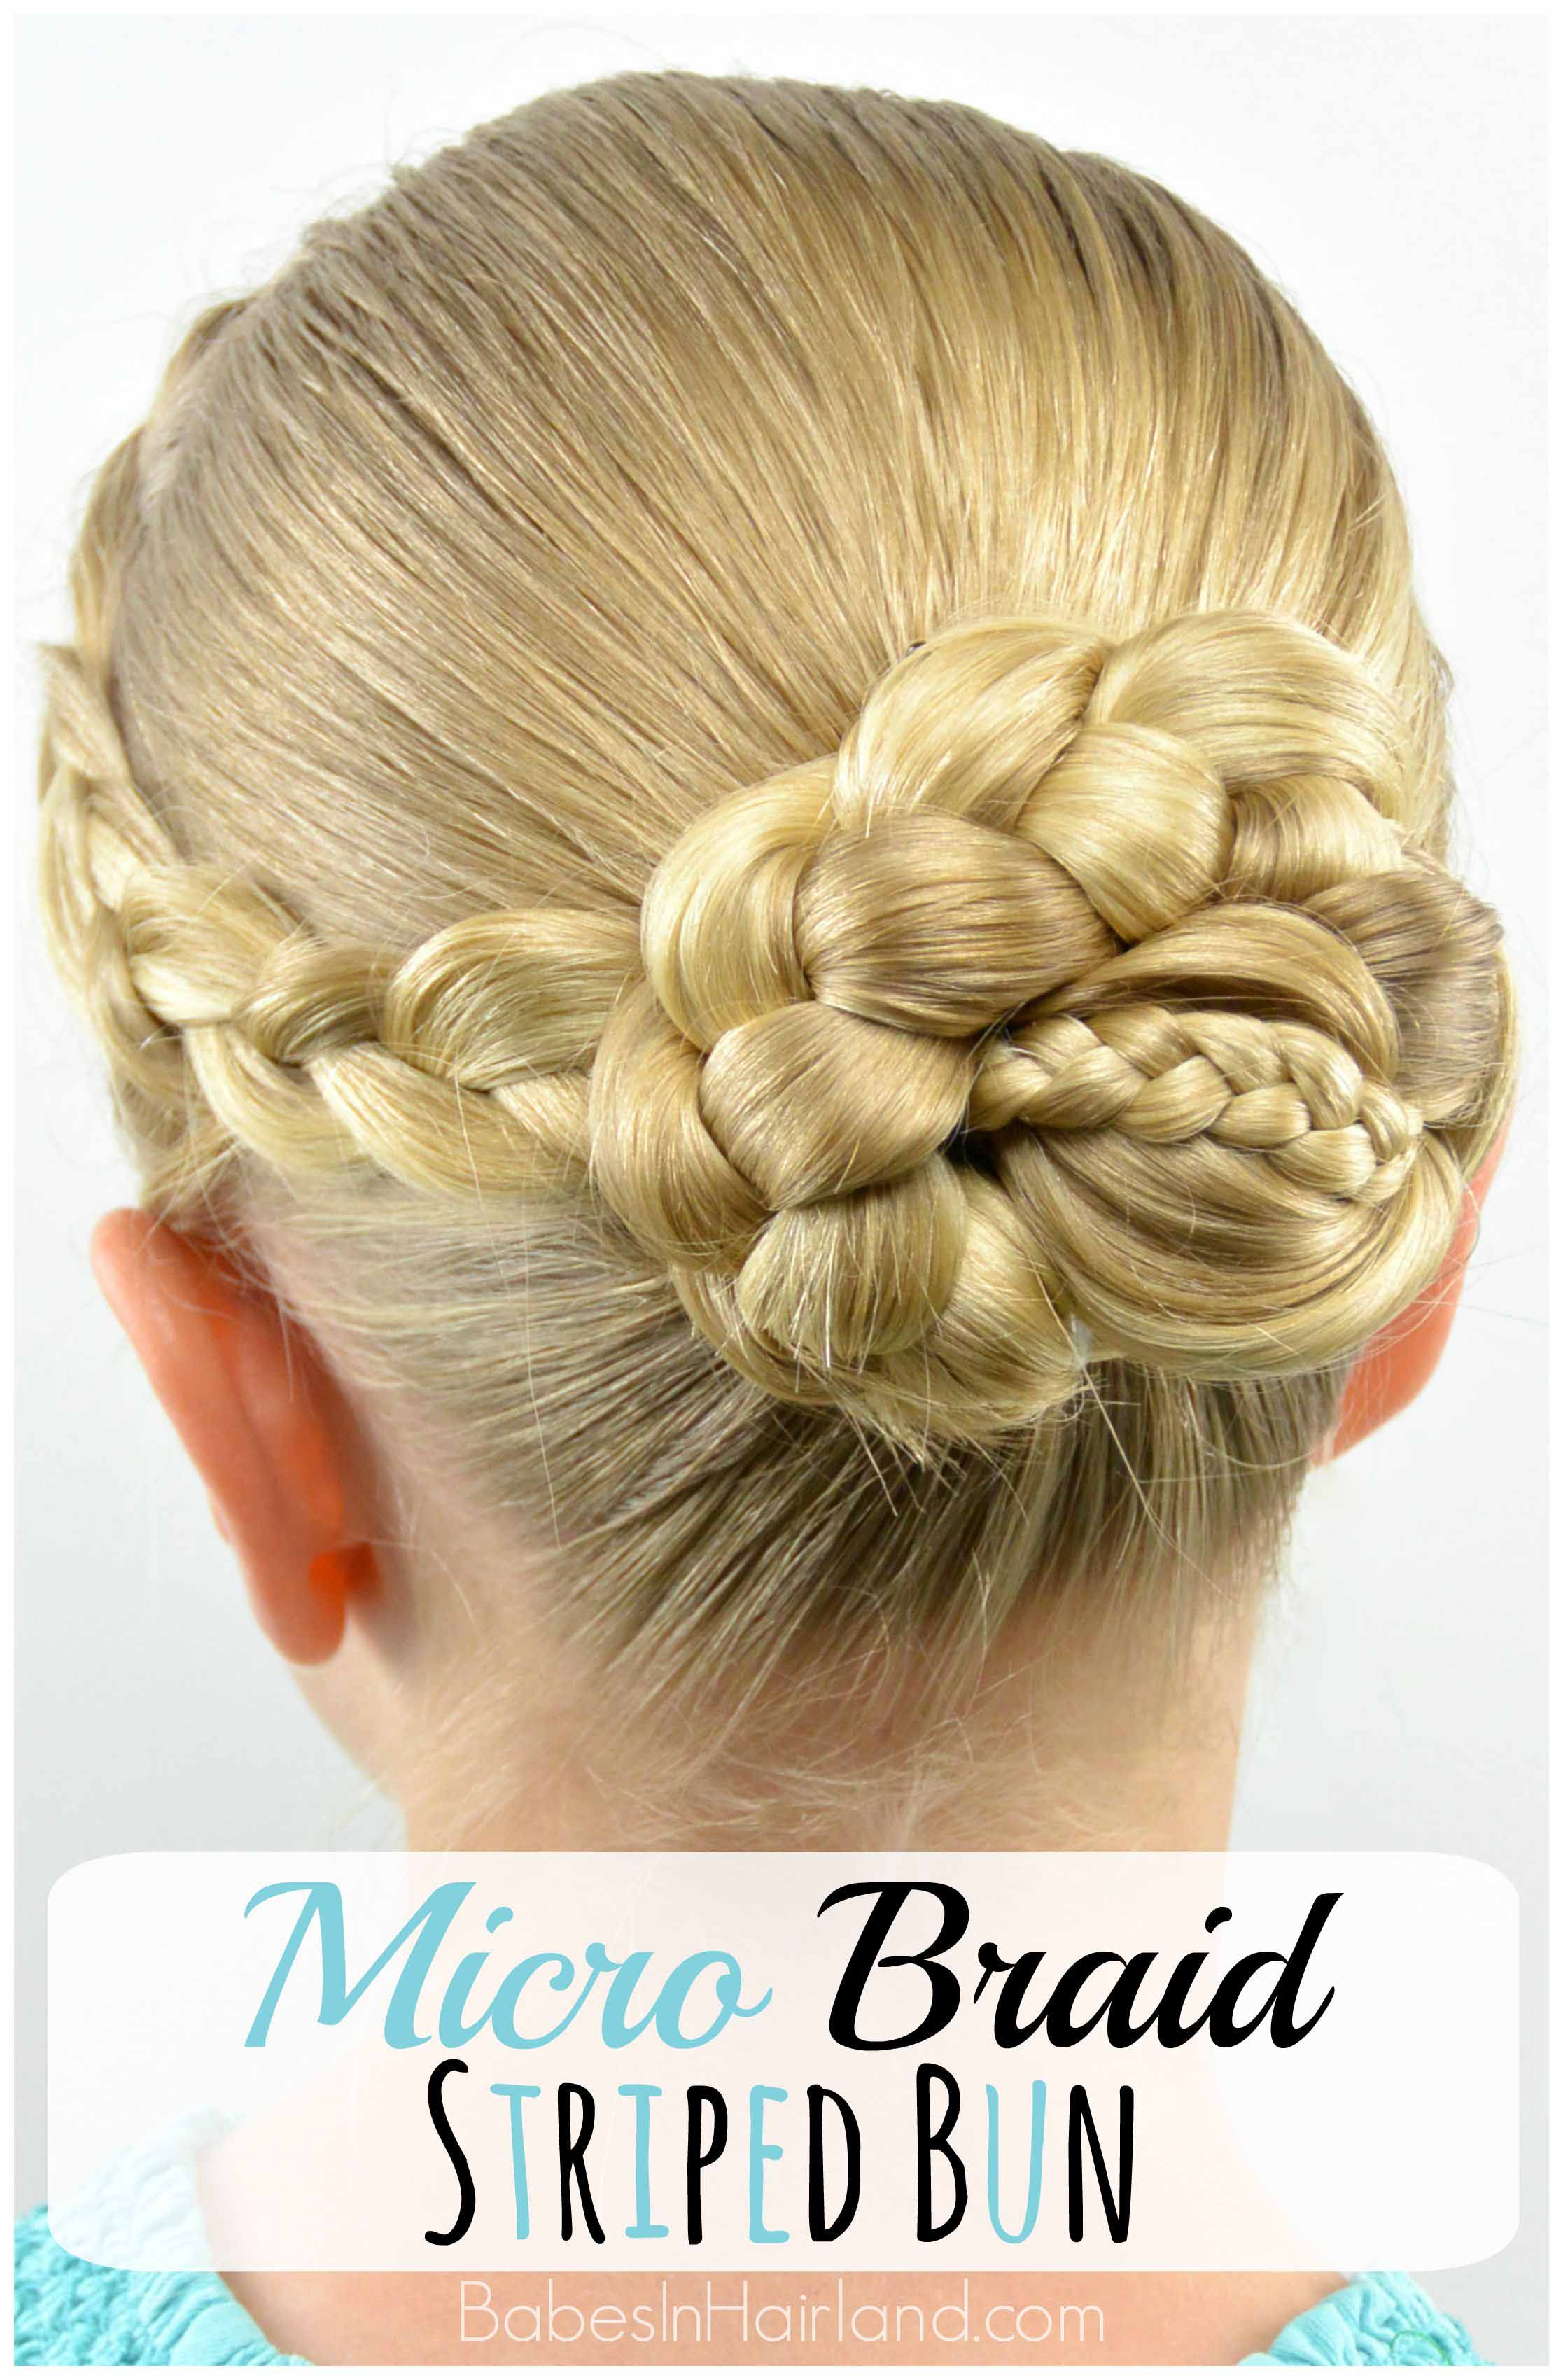
If you like Dutch braids, here’s a few more of our tutorials:
Peek-a-Boo French Braid
Double Dutch Braided Braid
Micro Braid Striped Bun
Thanks for stopping by today! Don’t forget to PIN & SHARE today’s tutorial!
The post Triple Double Dutch Braids appeared first on Babes In Hairland.
]]>The post 2 Dutch Braids – 5 Different Hairstyles appeared first on Babes In Hairland.
]]>
Happy New Year everyone! We trust your holidays were wonderful and that you rang in the new year without issue! Today’s hairstyle is actually 5 hairstyles combined into 1 video. I wanted to show “Bug” that you can take one common element or technique and create many different styles, branching off of the main element. So for today’s style, we have 2 Dutch braids 5 different hairstyles. You obviously could create countless other varieties, but we kept it simple with 5 styles. If you are someone that can go several days without washing your hair, these hairstyles are perfect as you progress through the different days of your unwashed hair. When it’s cleaner, wear your hair down, and as it starts to bug you and gets a bit greasier, it ends up in a ponytail. Of course, dry shampoo can be your BFF during those times as well!
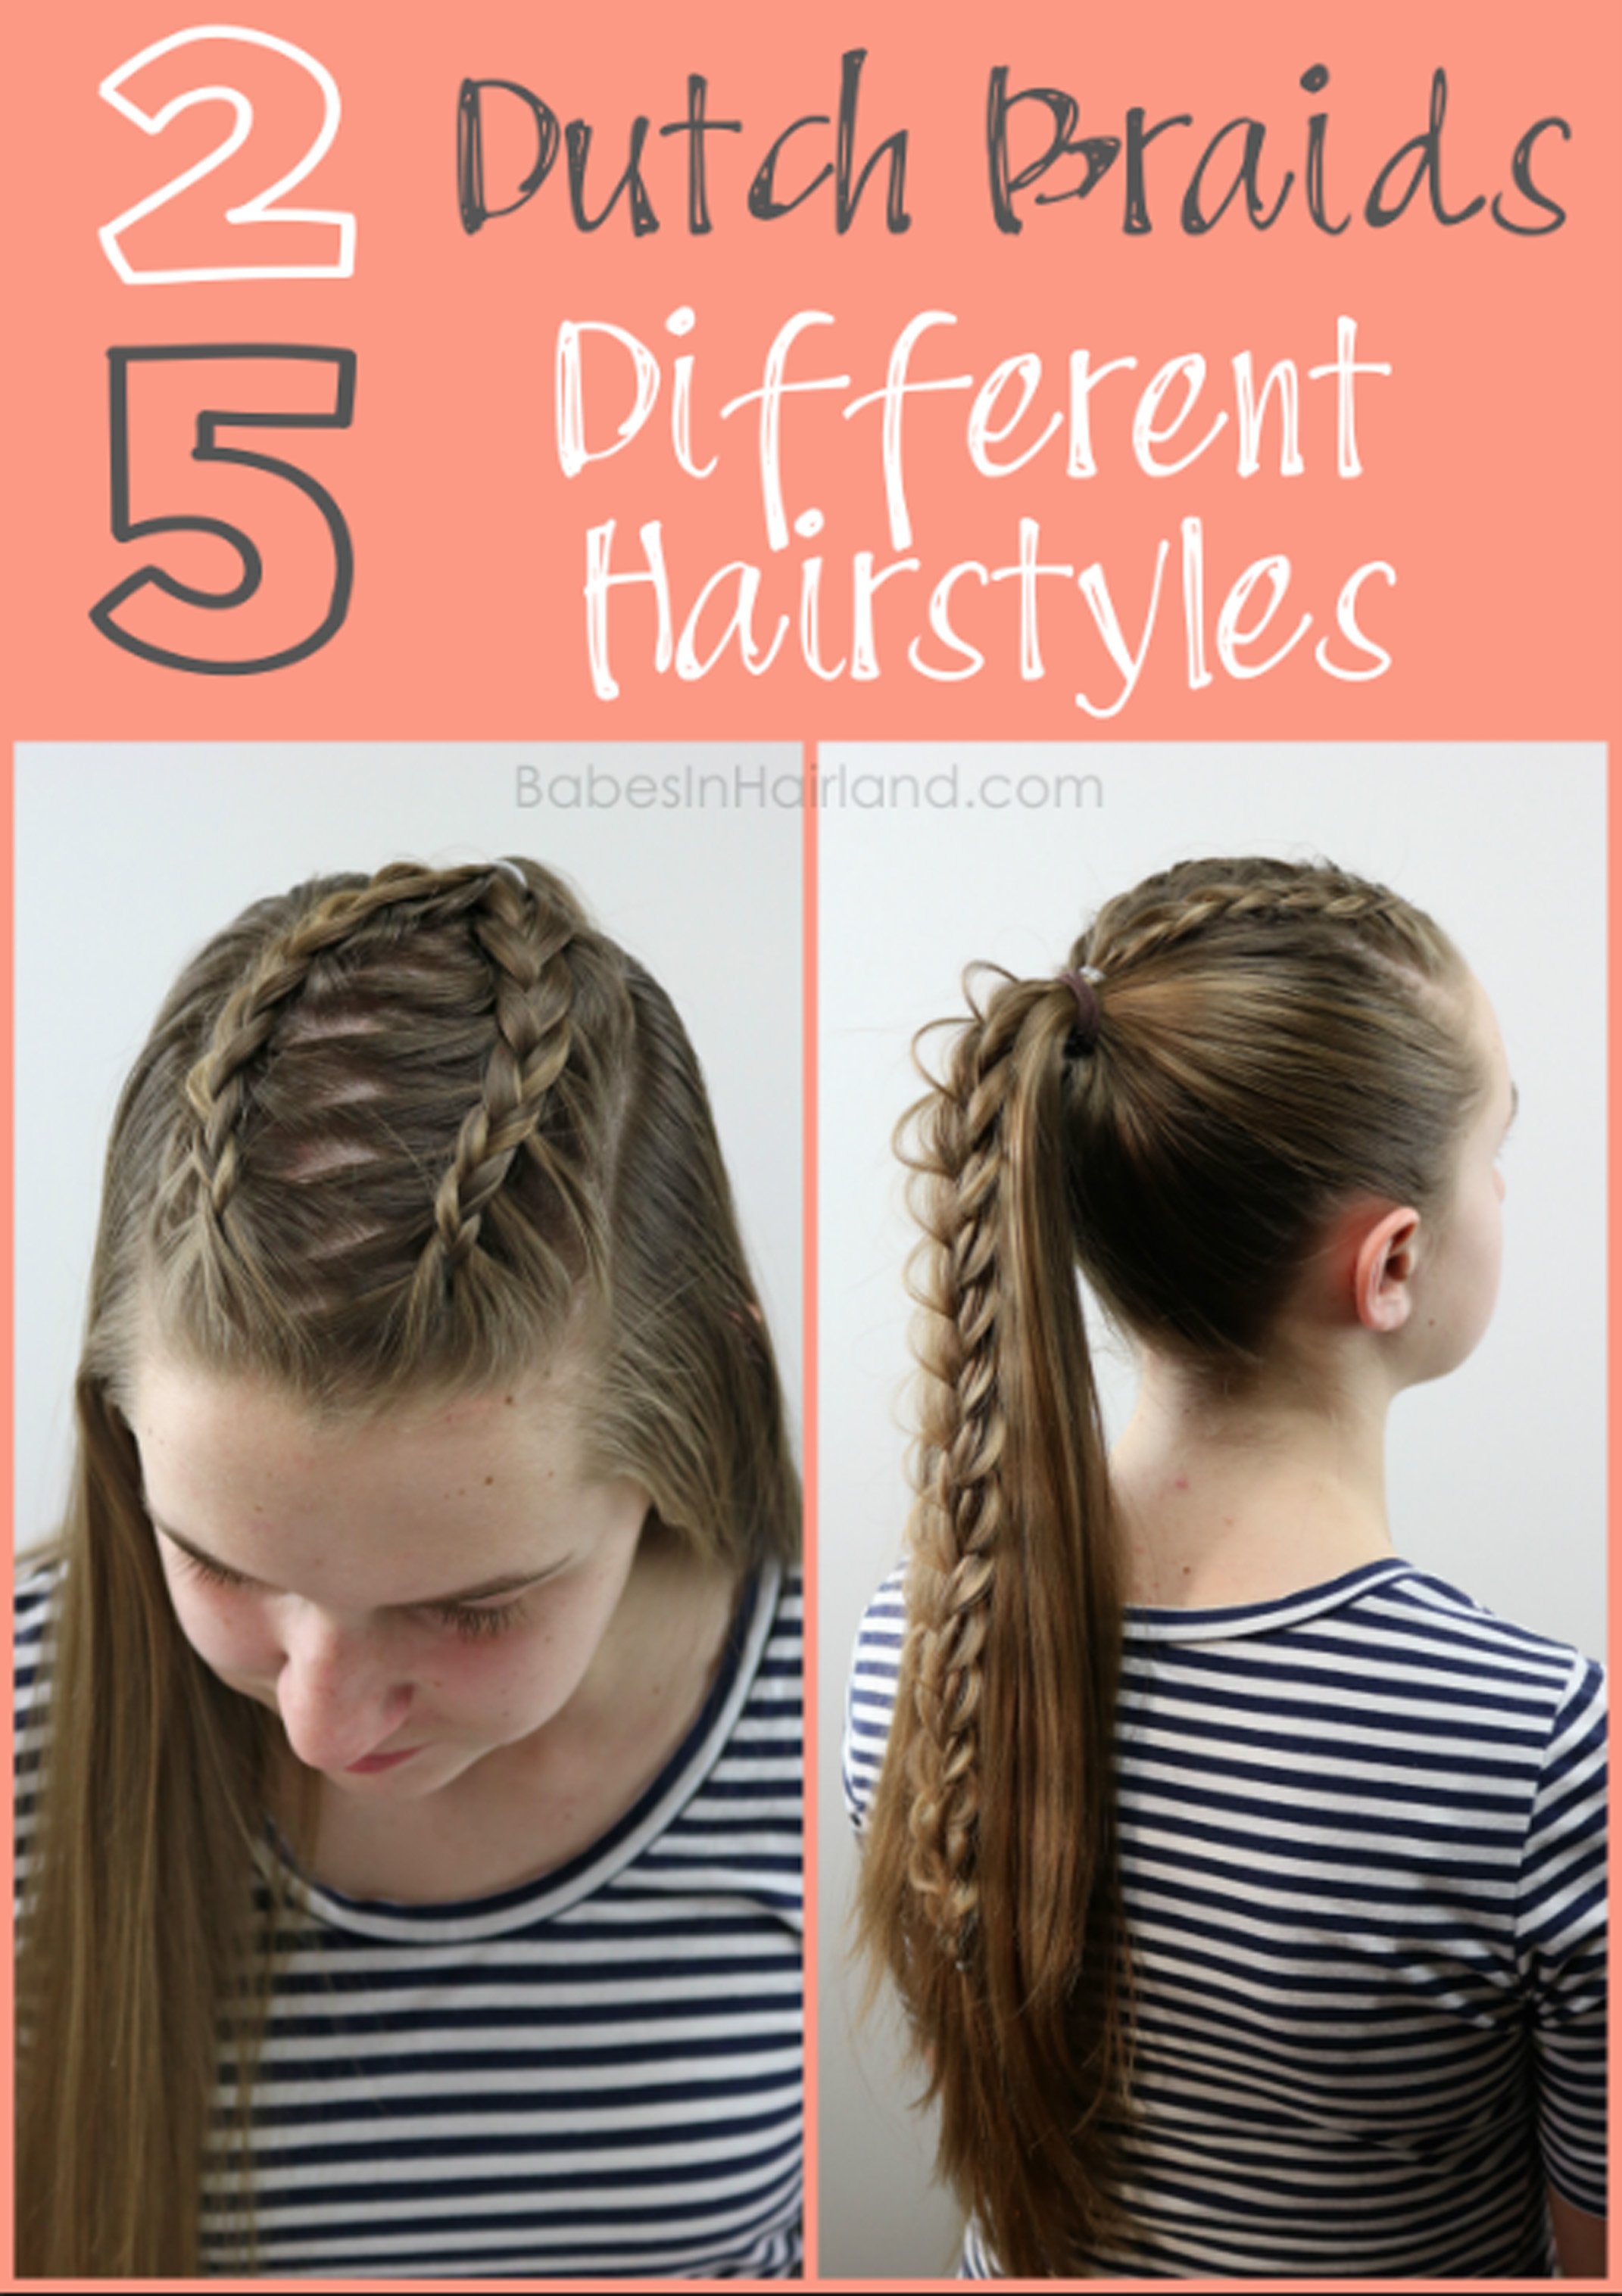
Here’s our video showing how we create all 5 different hairstyles, starting with 2 Dutch braids. Go HERE to watch it on our YouTube Channel if you’re having issues watching it on our blog. Keep scrolling for more pictures and step-by-step instructions.
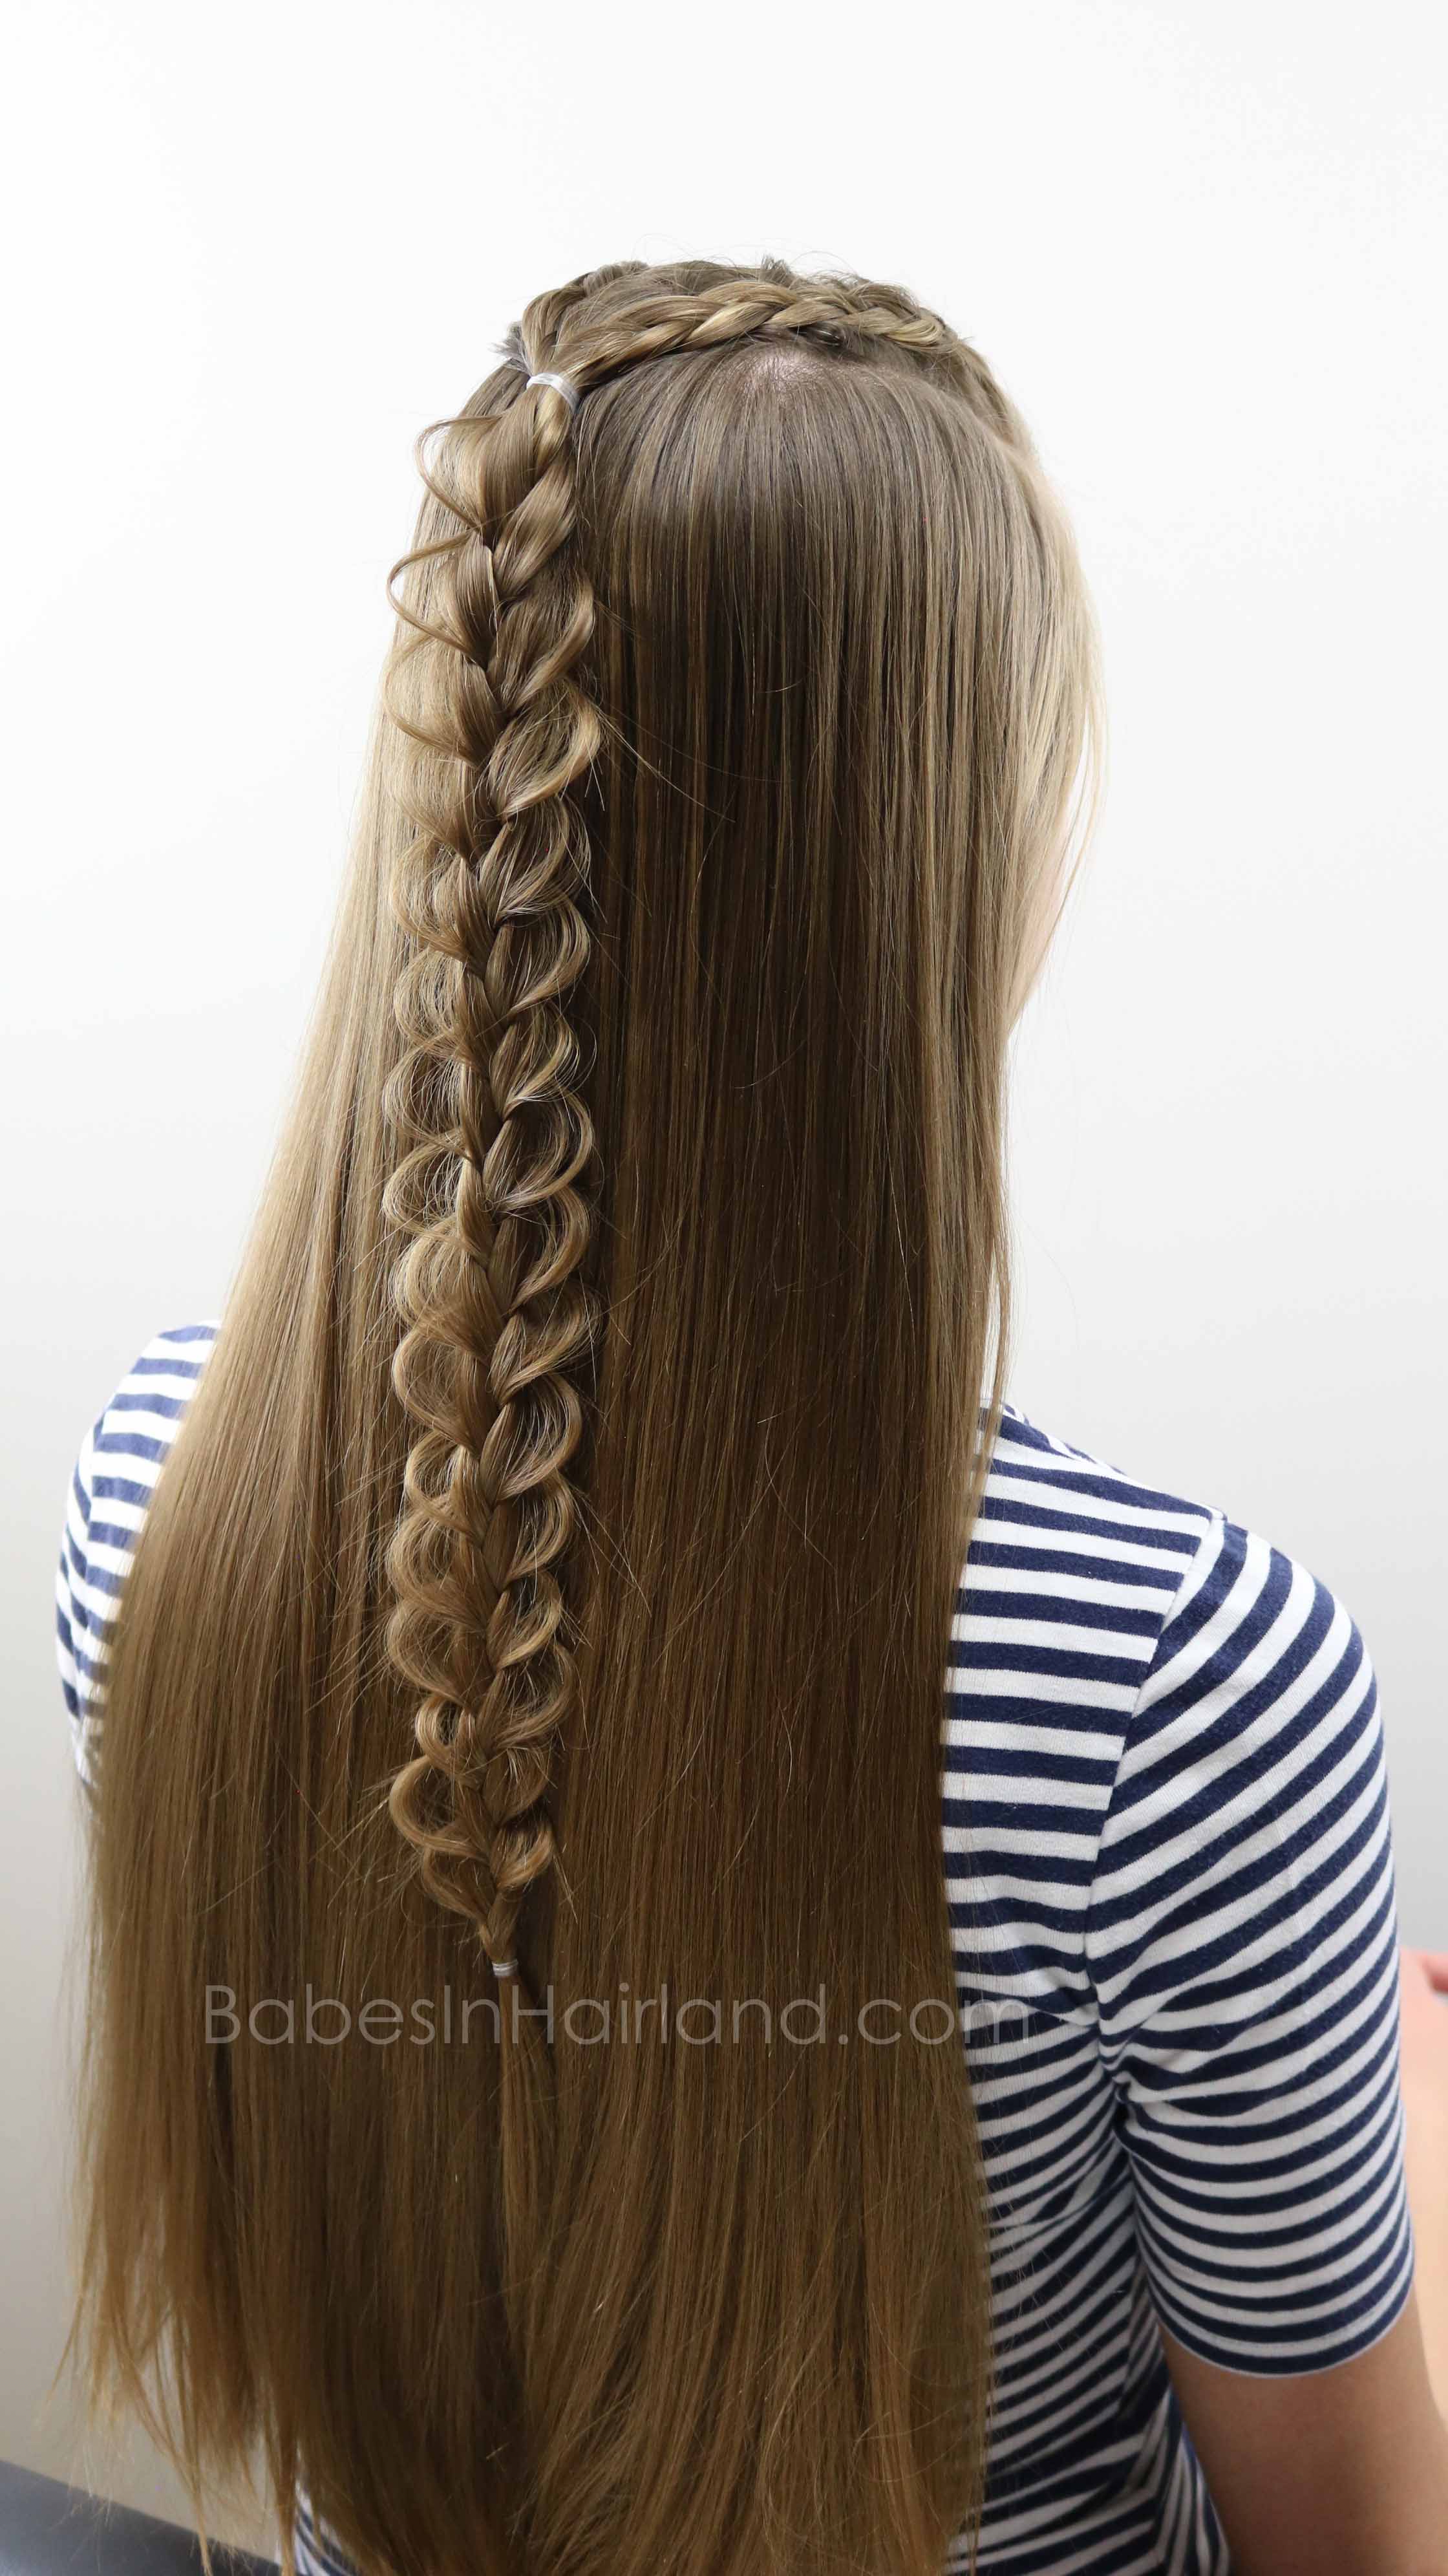
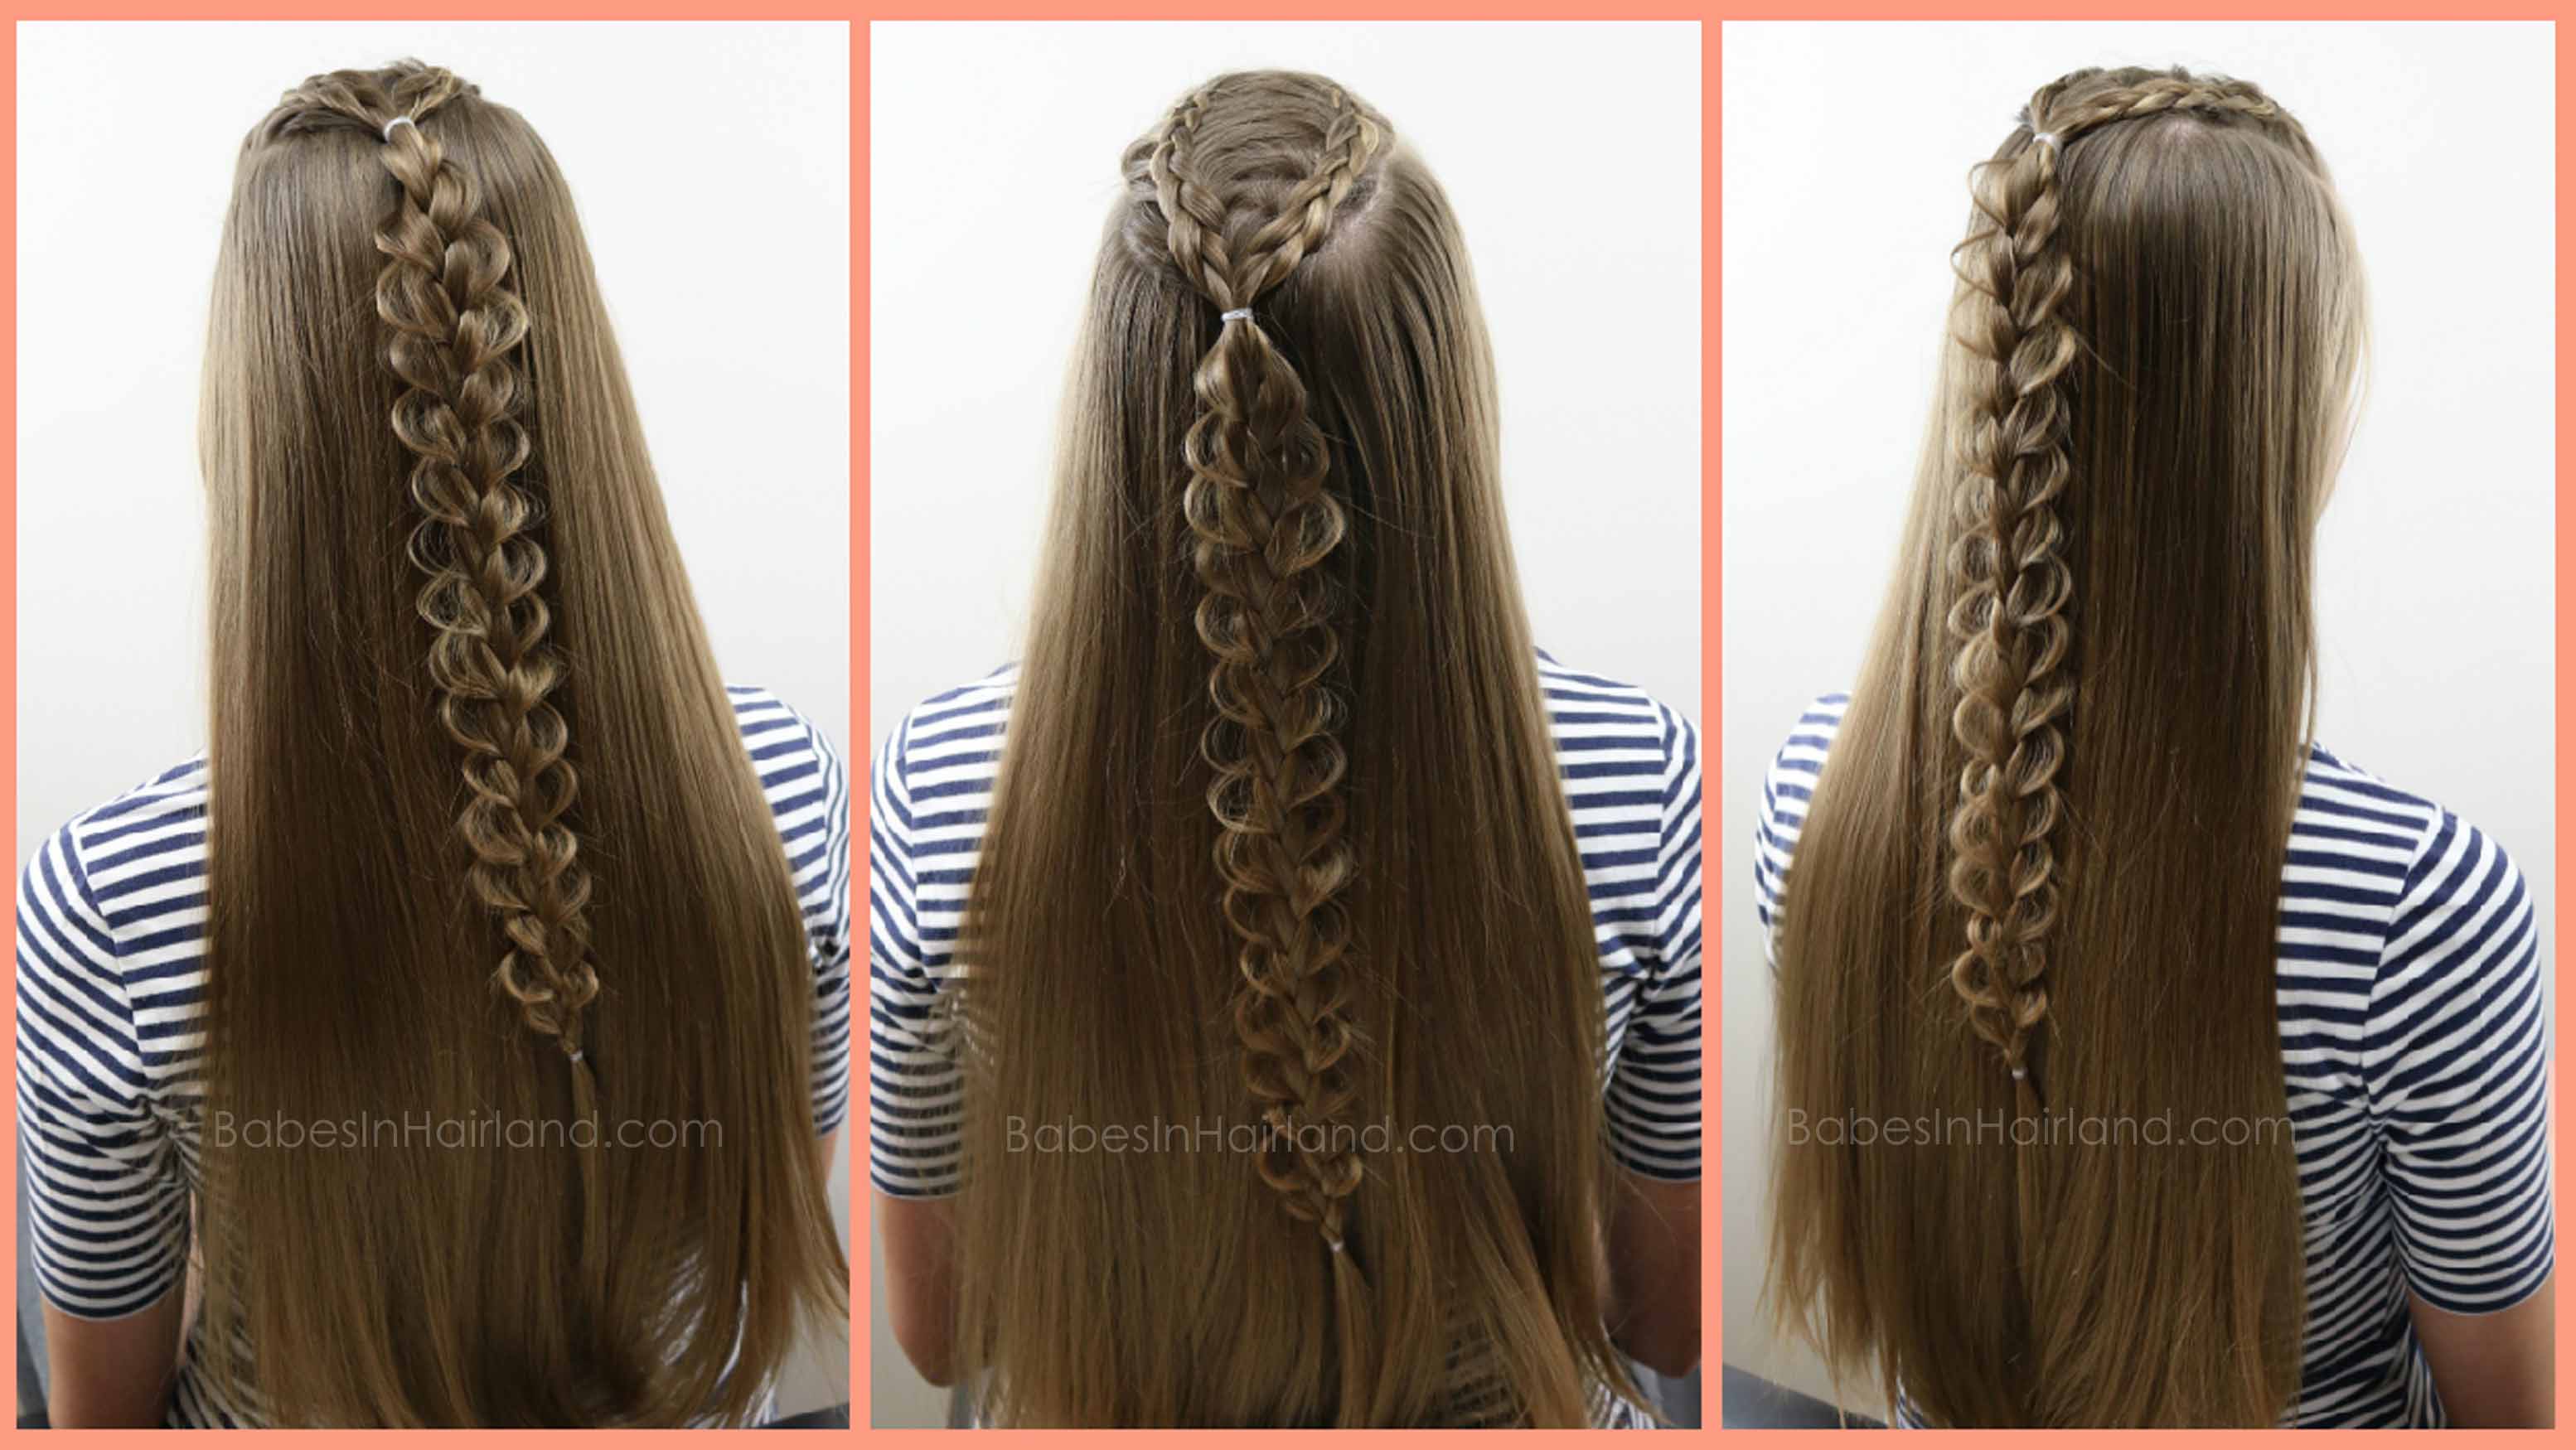
1- Make a zig zag part from your forehead back to your crown.
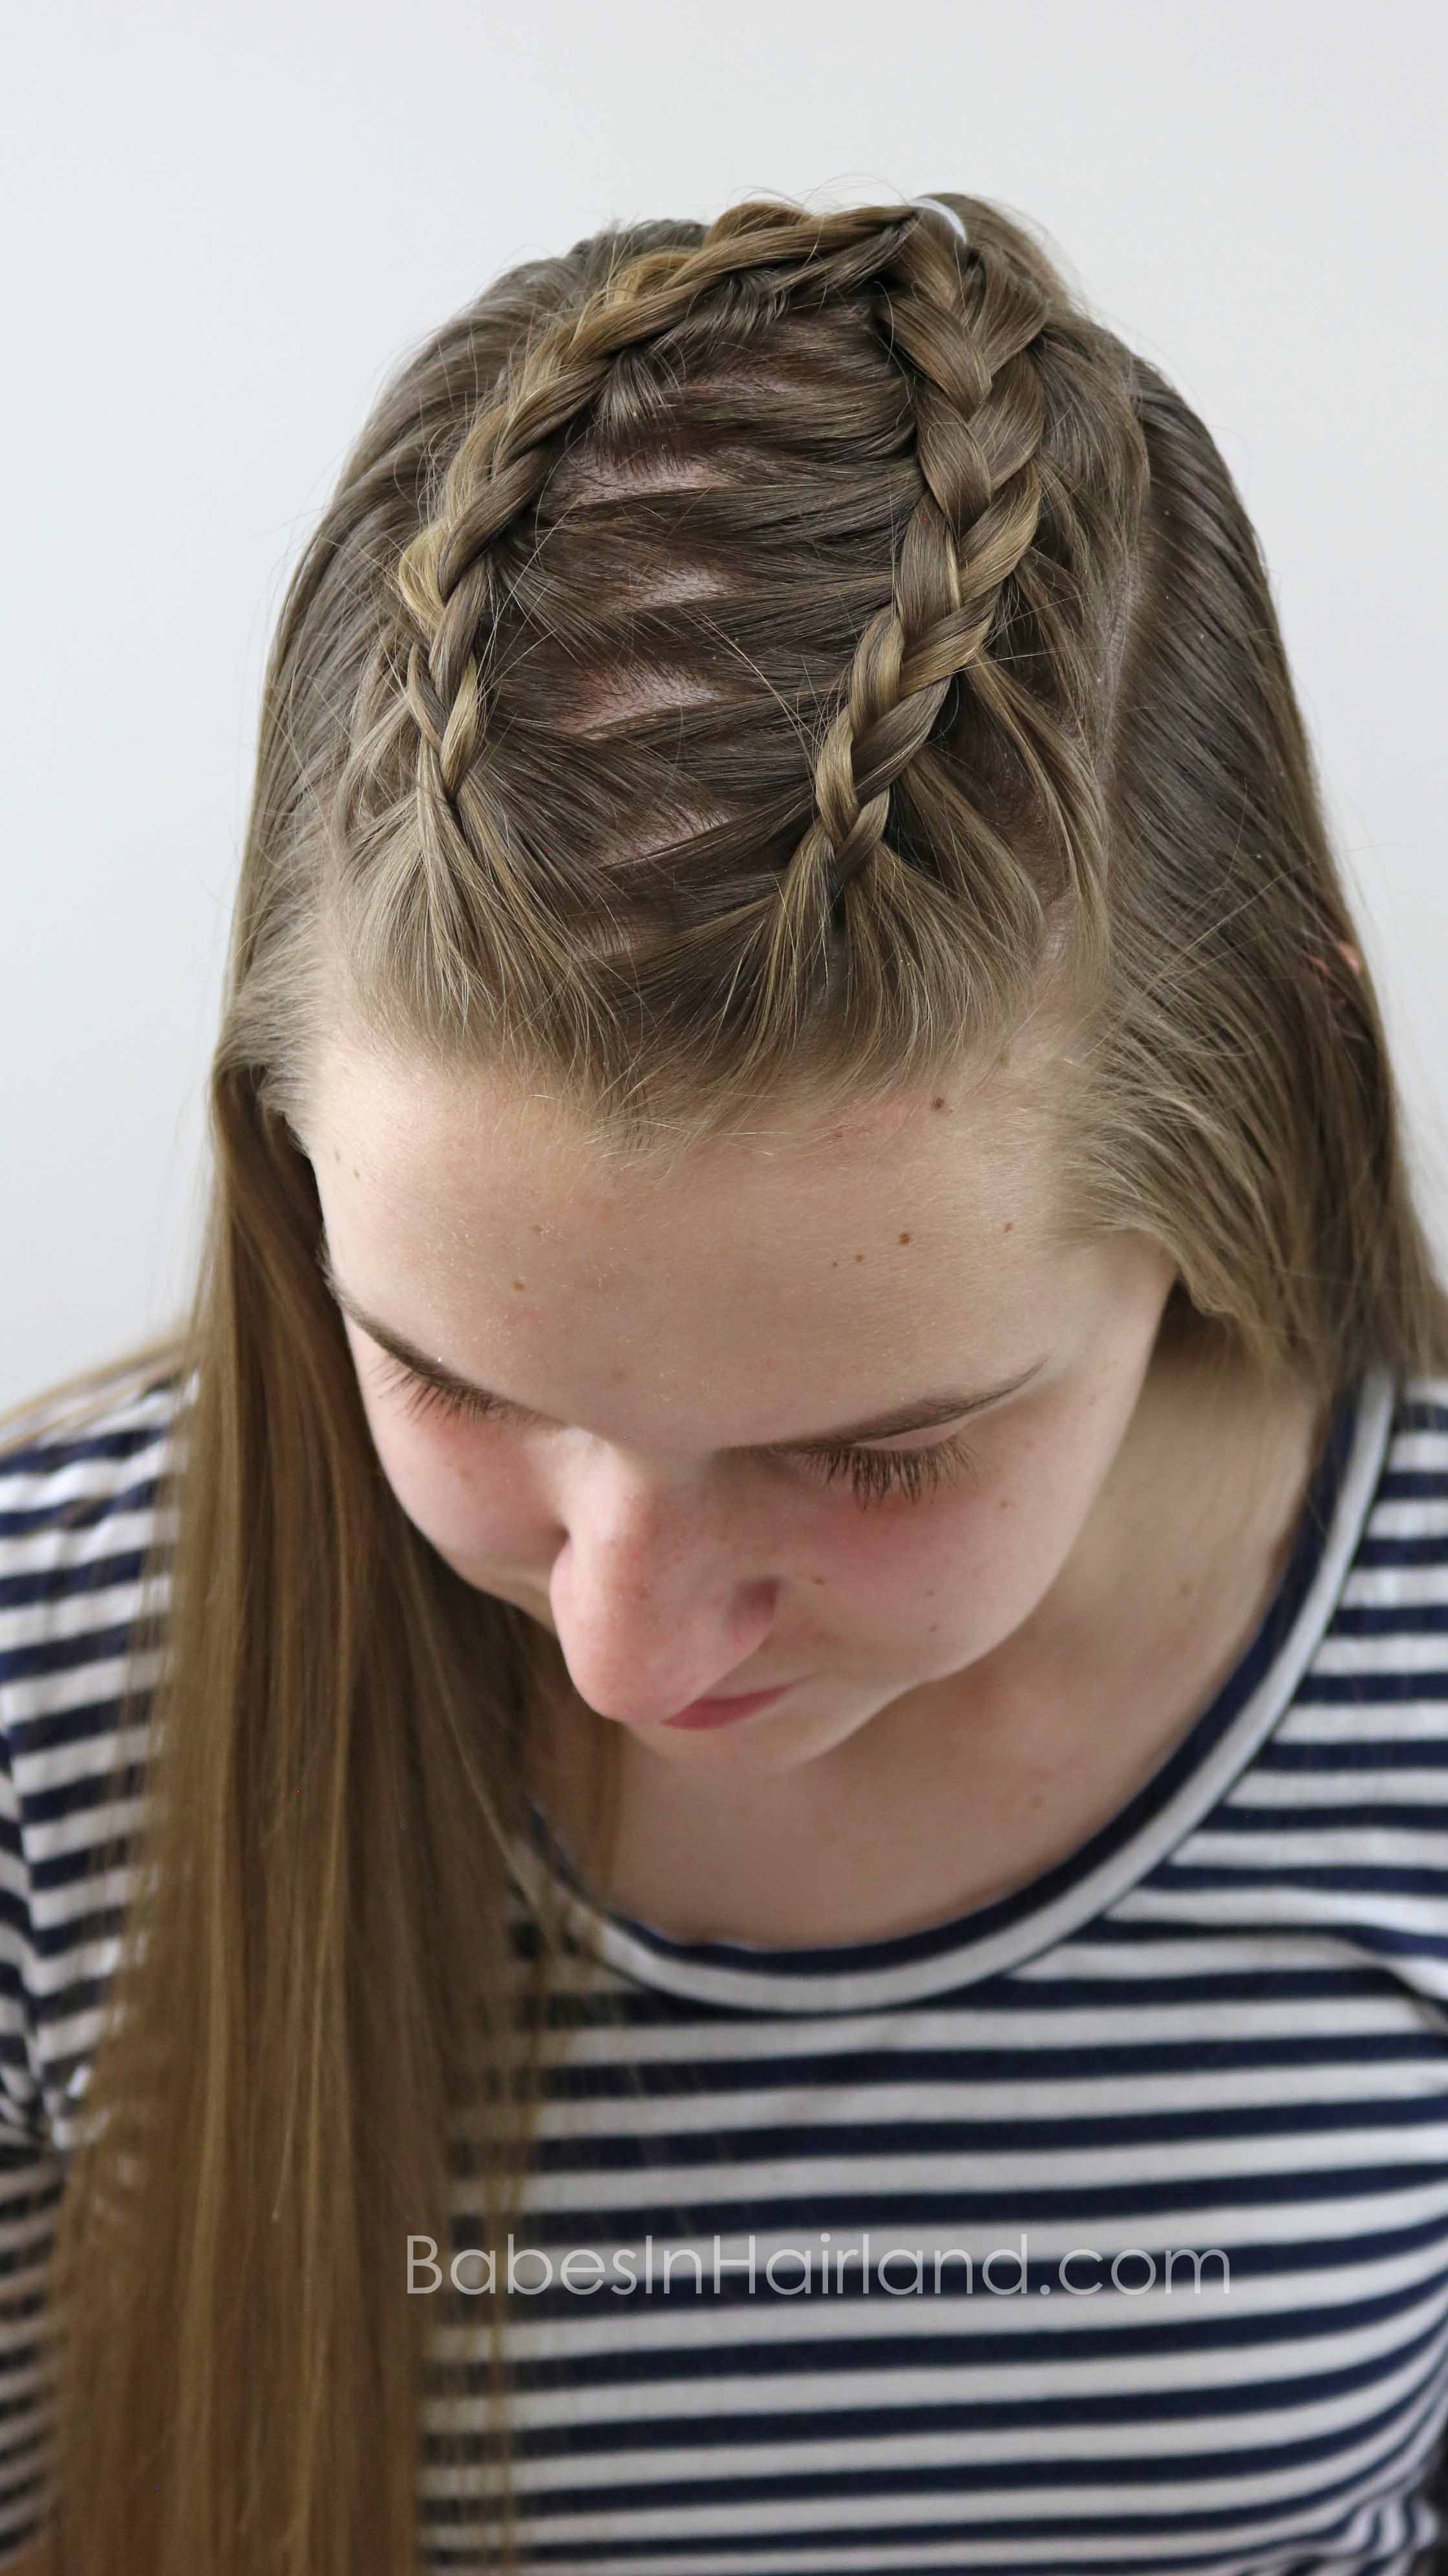
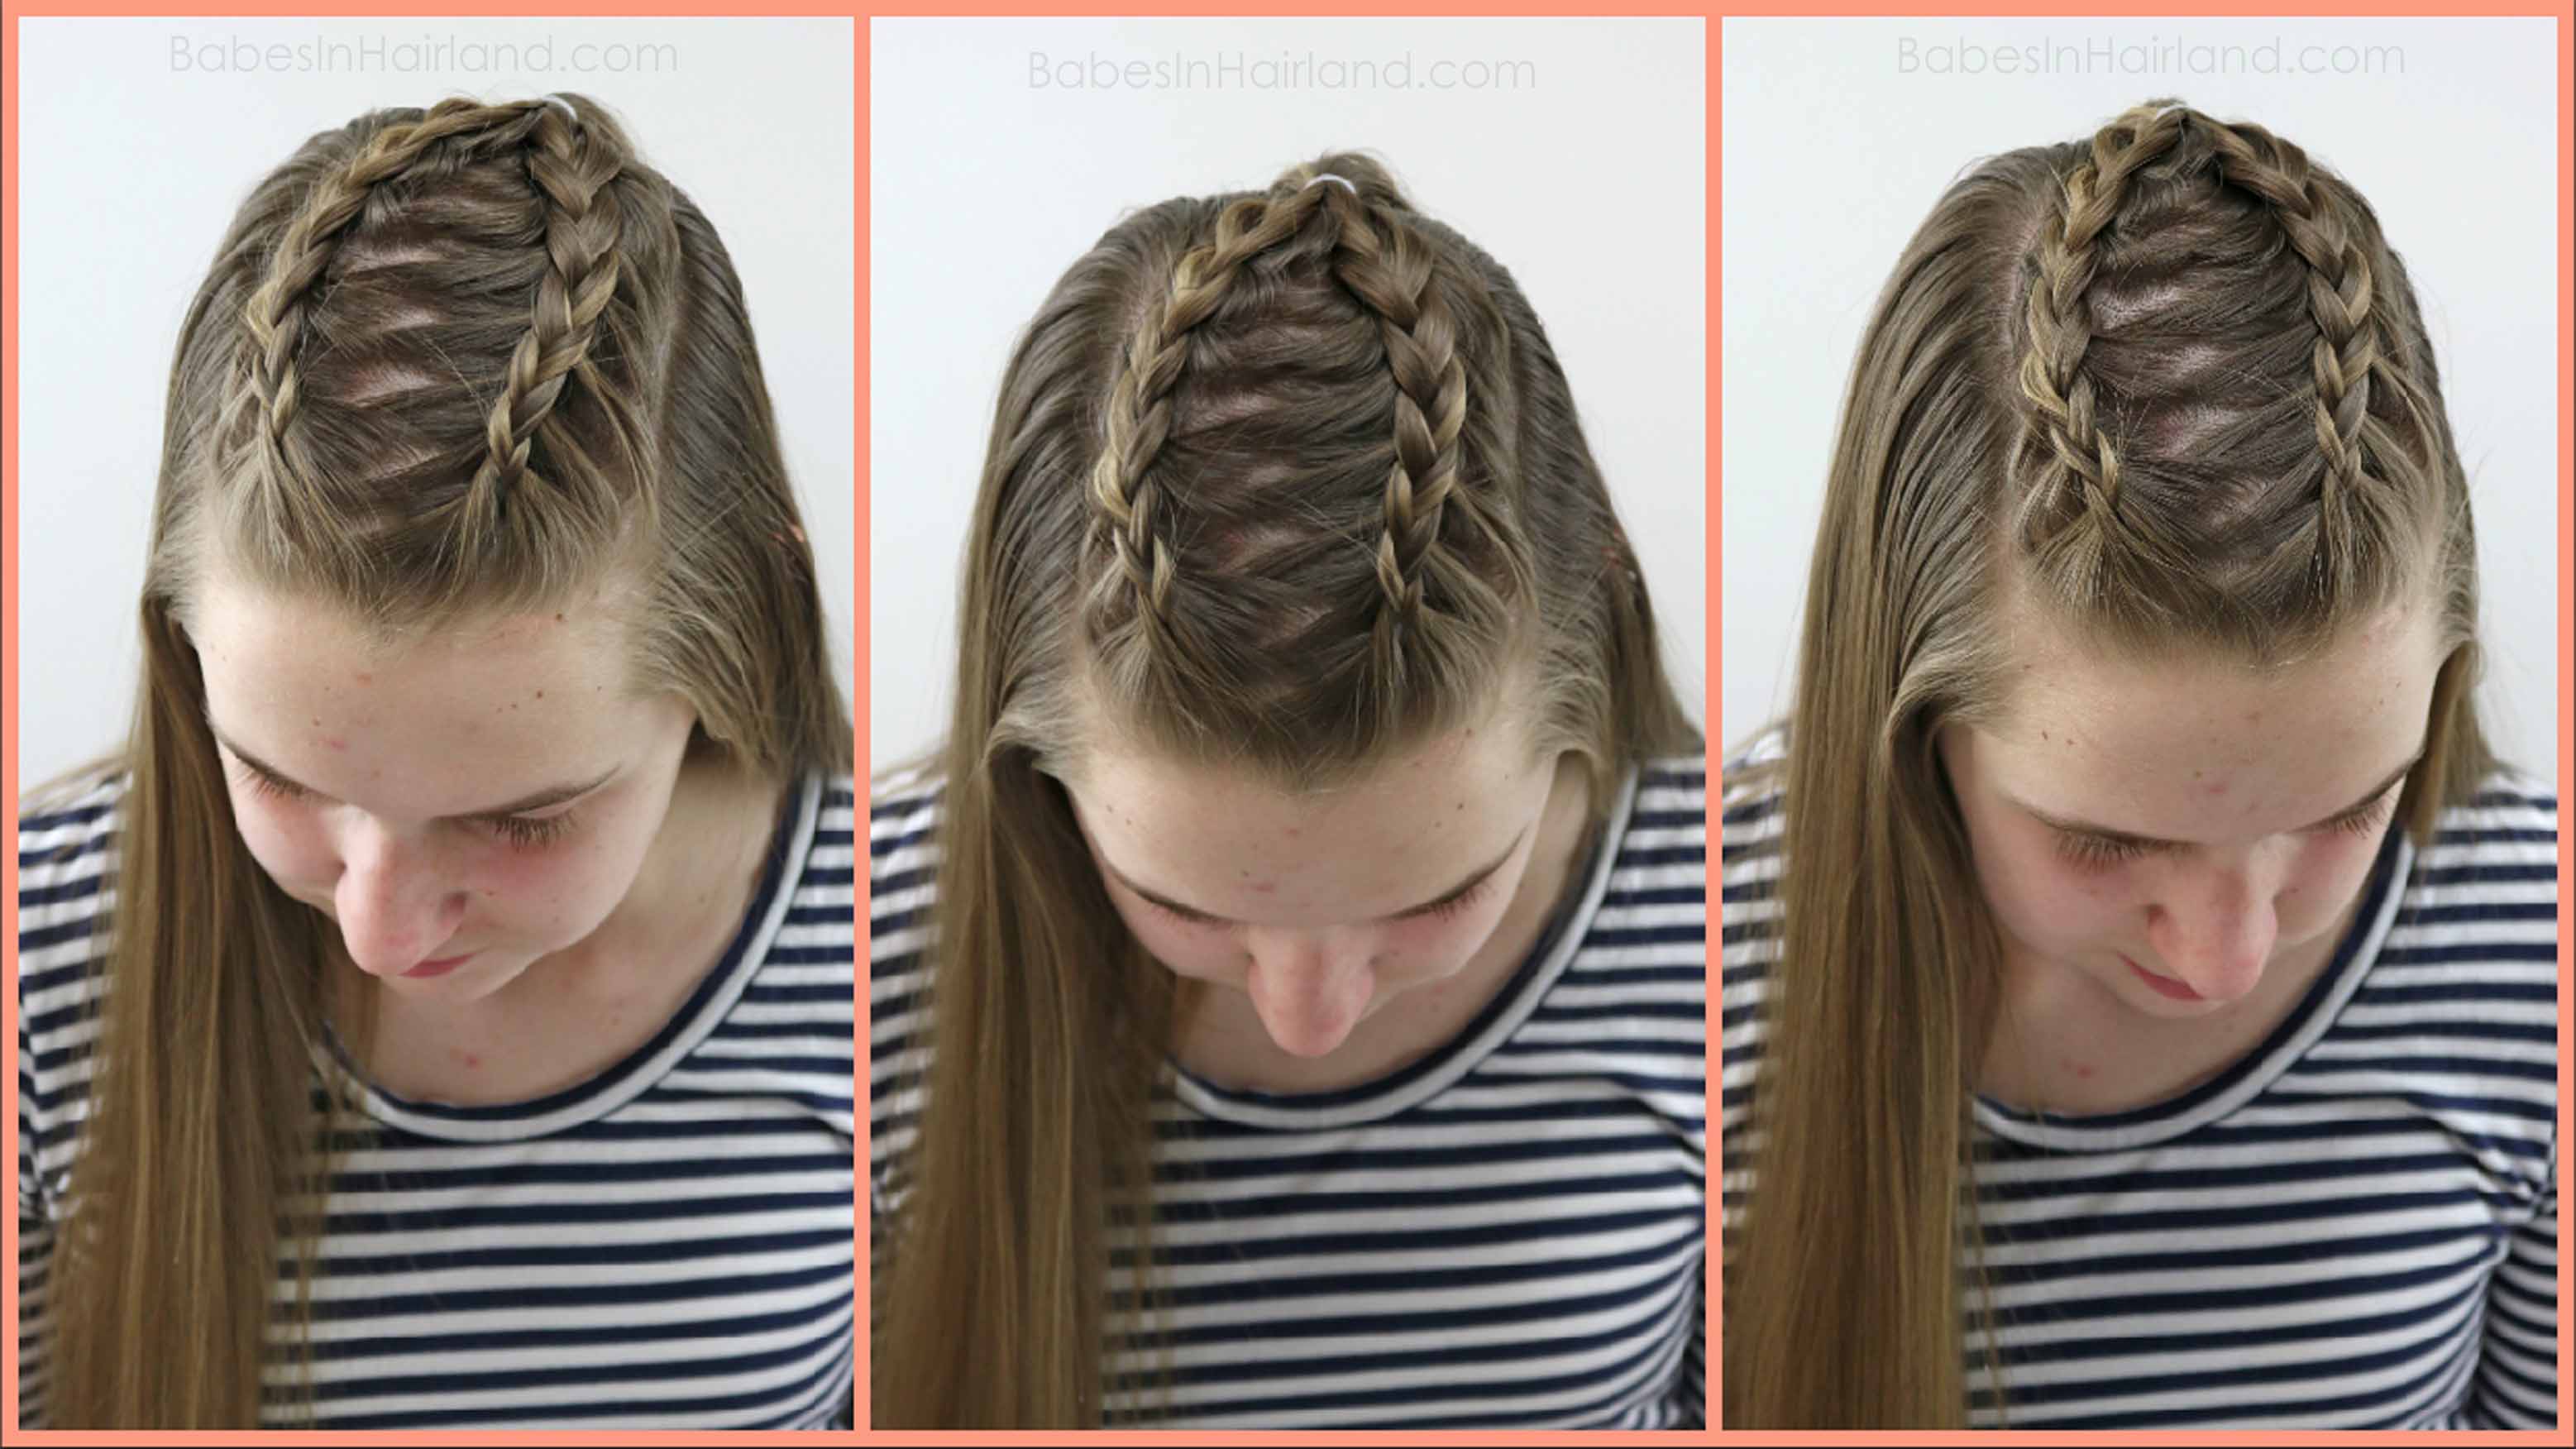
2- Divide out hair starting near the right temple and make a Dutch braid near the zig zag part, braiding back to the crown.
Remember, a Dutch braid is an inside out braid where you cross the strands underneath each other. If you need help with Dutch braids, watch McKayla’s Dutch braid video HERE. You can easily do a regular French braid here as well, it’s up to you.
3- Make a 2nd Dutch braid on the left side, braiding back to the crown as well.
4- Combine the 2 Dutch braids with an elastic at the crown.
FINISHED DUTCH BRAID STYLE #1
6- With the ponytail below the elastic, begin a regular 3 strand braid.
7 – As you braid down, gently pull on the very edges of the braid to create a scalloped loop edge to the braid.
You can do any type of braid in this part of the style. Again, so many options, but we just stuck with a regular braid and scalloped the edges.
8 – Braid all the way down the ponytail and secure the end with an elastic.
FINISHED DUTCH BRAID STYLE #2
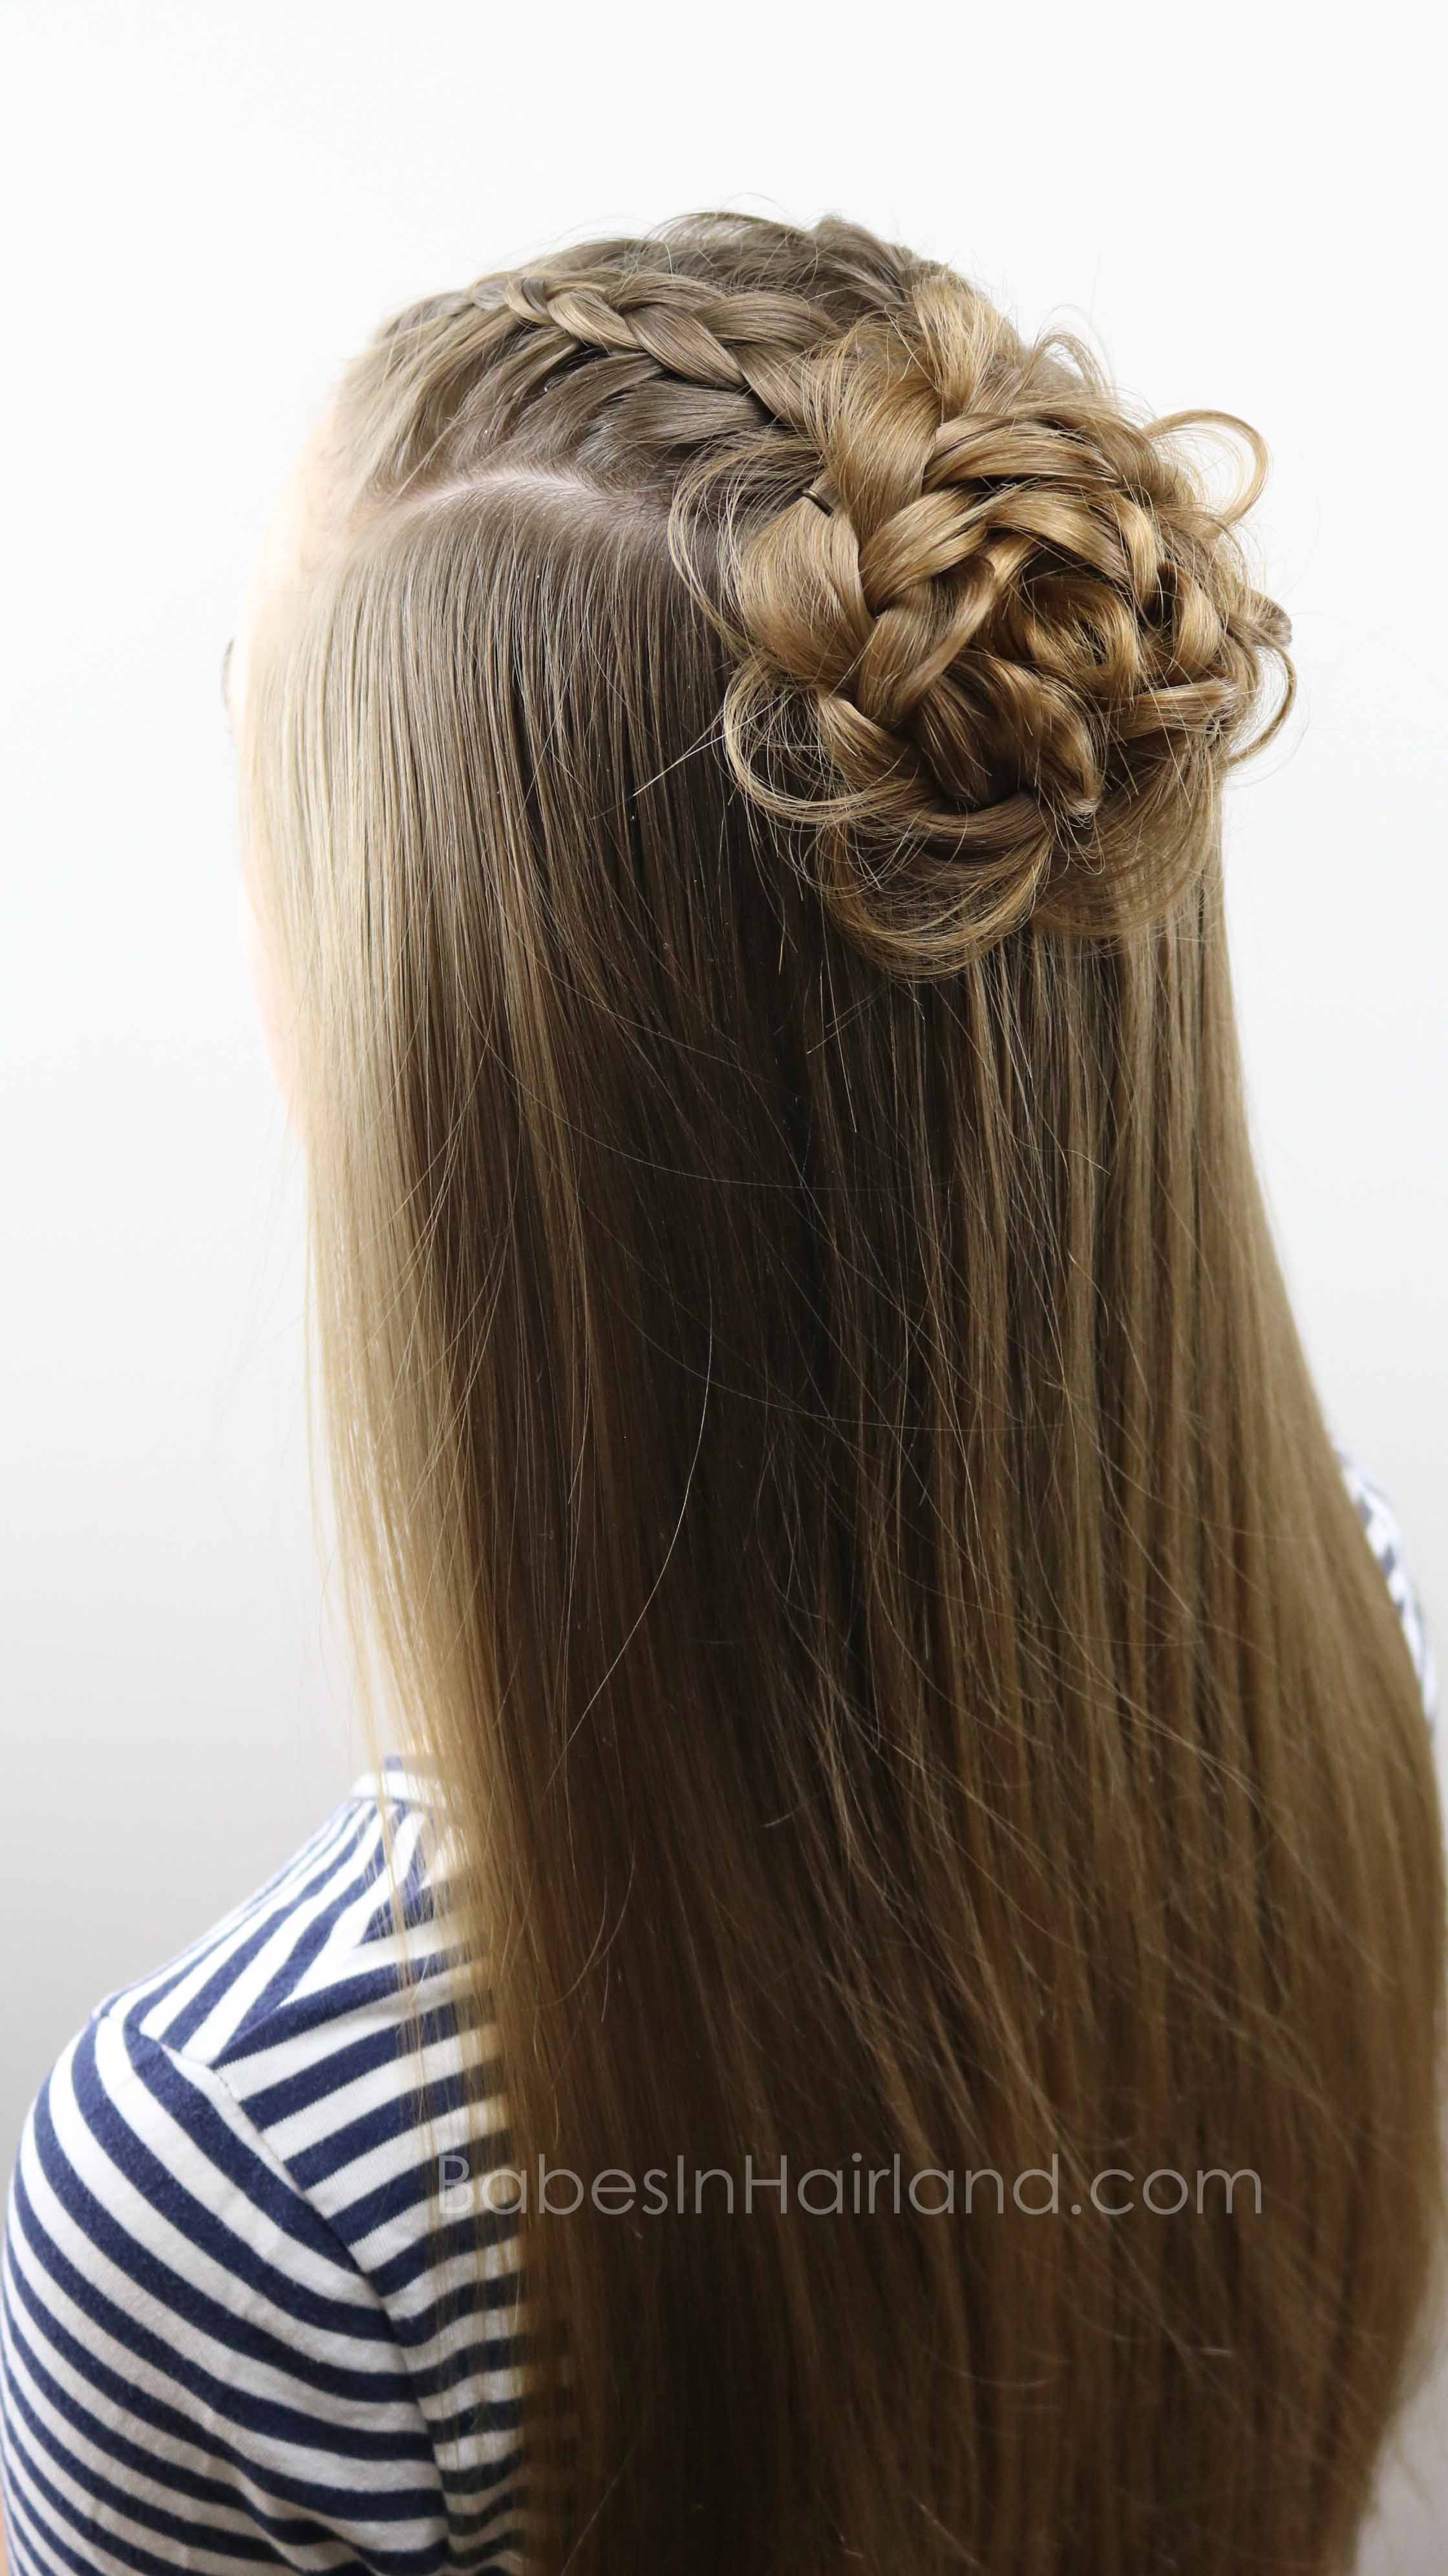
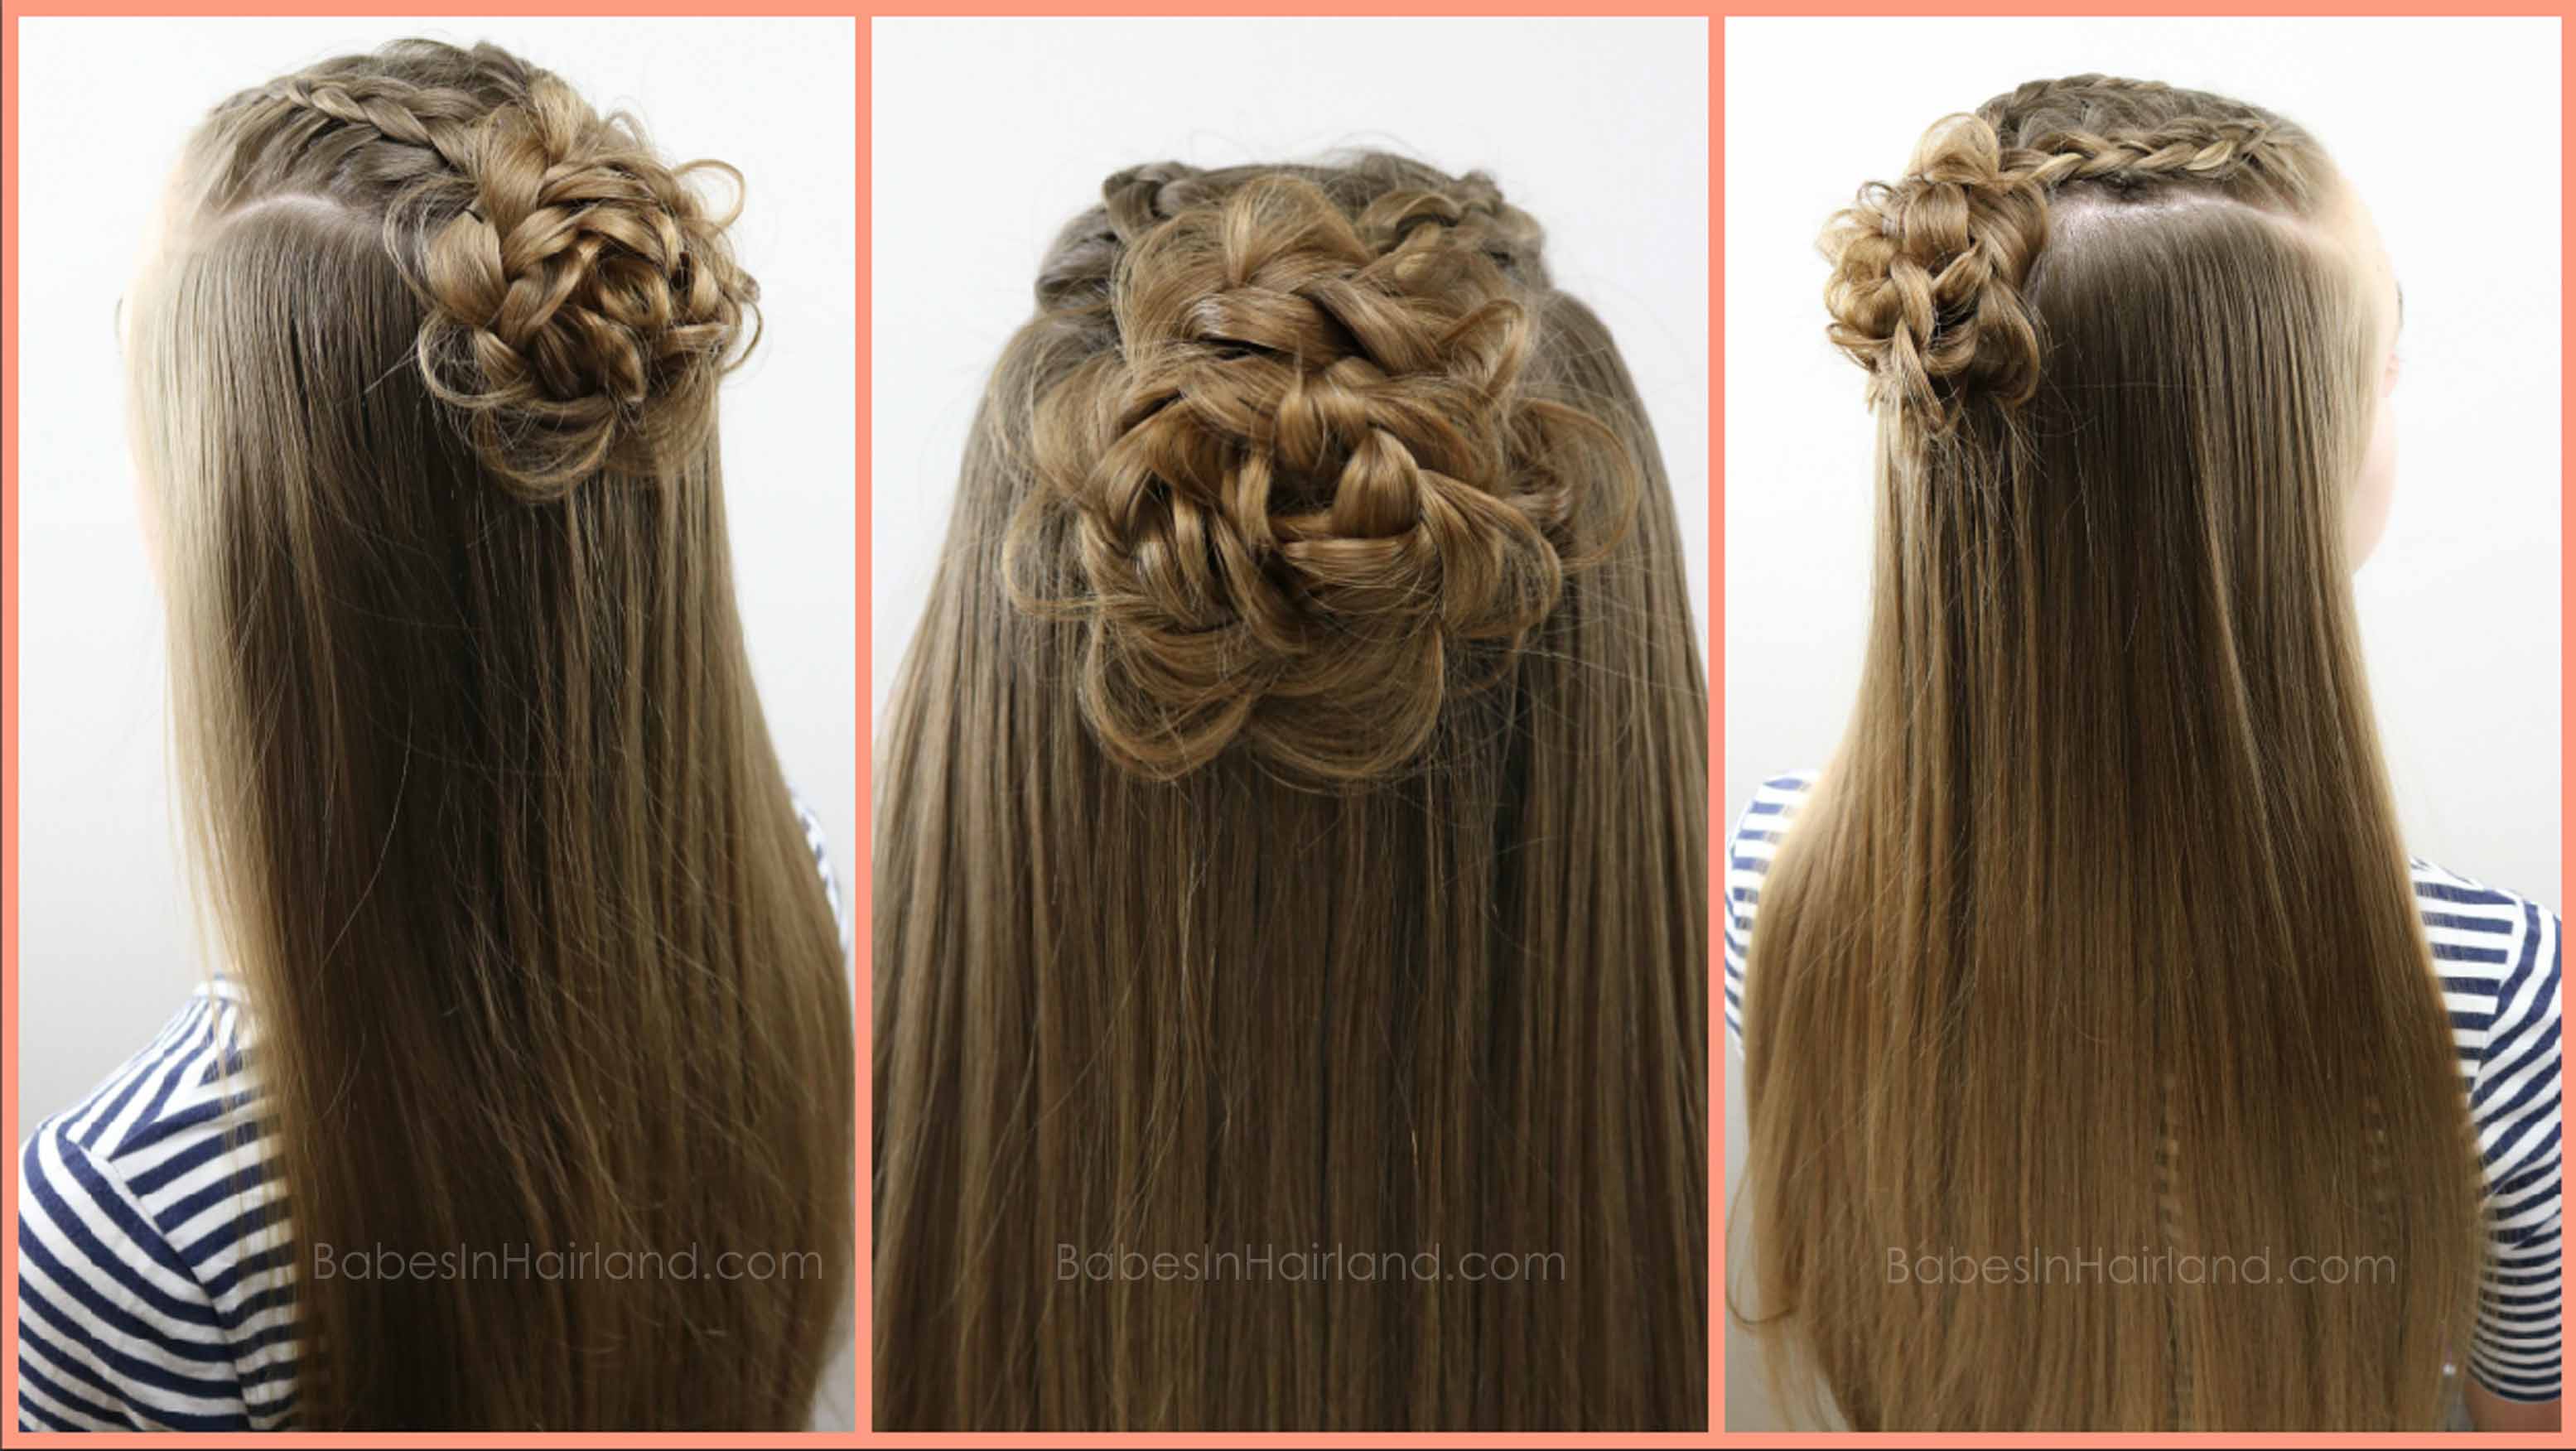
9- Gently coil or wind the scalloped edge braid up into a rosette looking bun. Do not wrap this braid like a regular bun, you want it to appear more like a flower.
10- Secure the rosette with bobby pins as needed.
FINISHED DUTCH BRAID STYLE #3
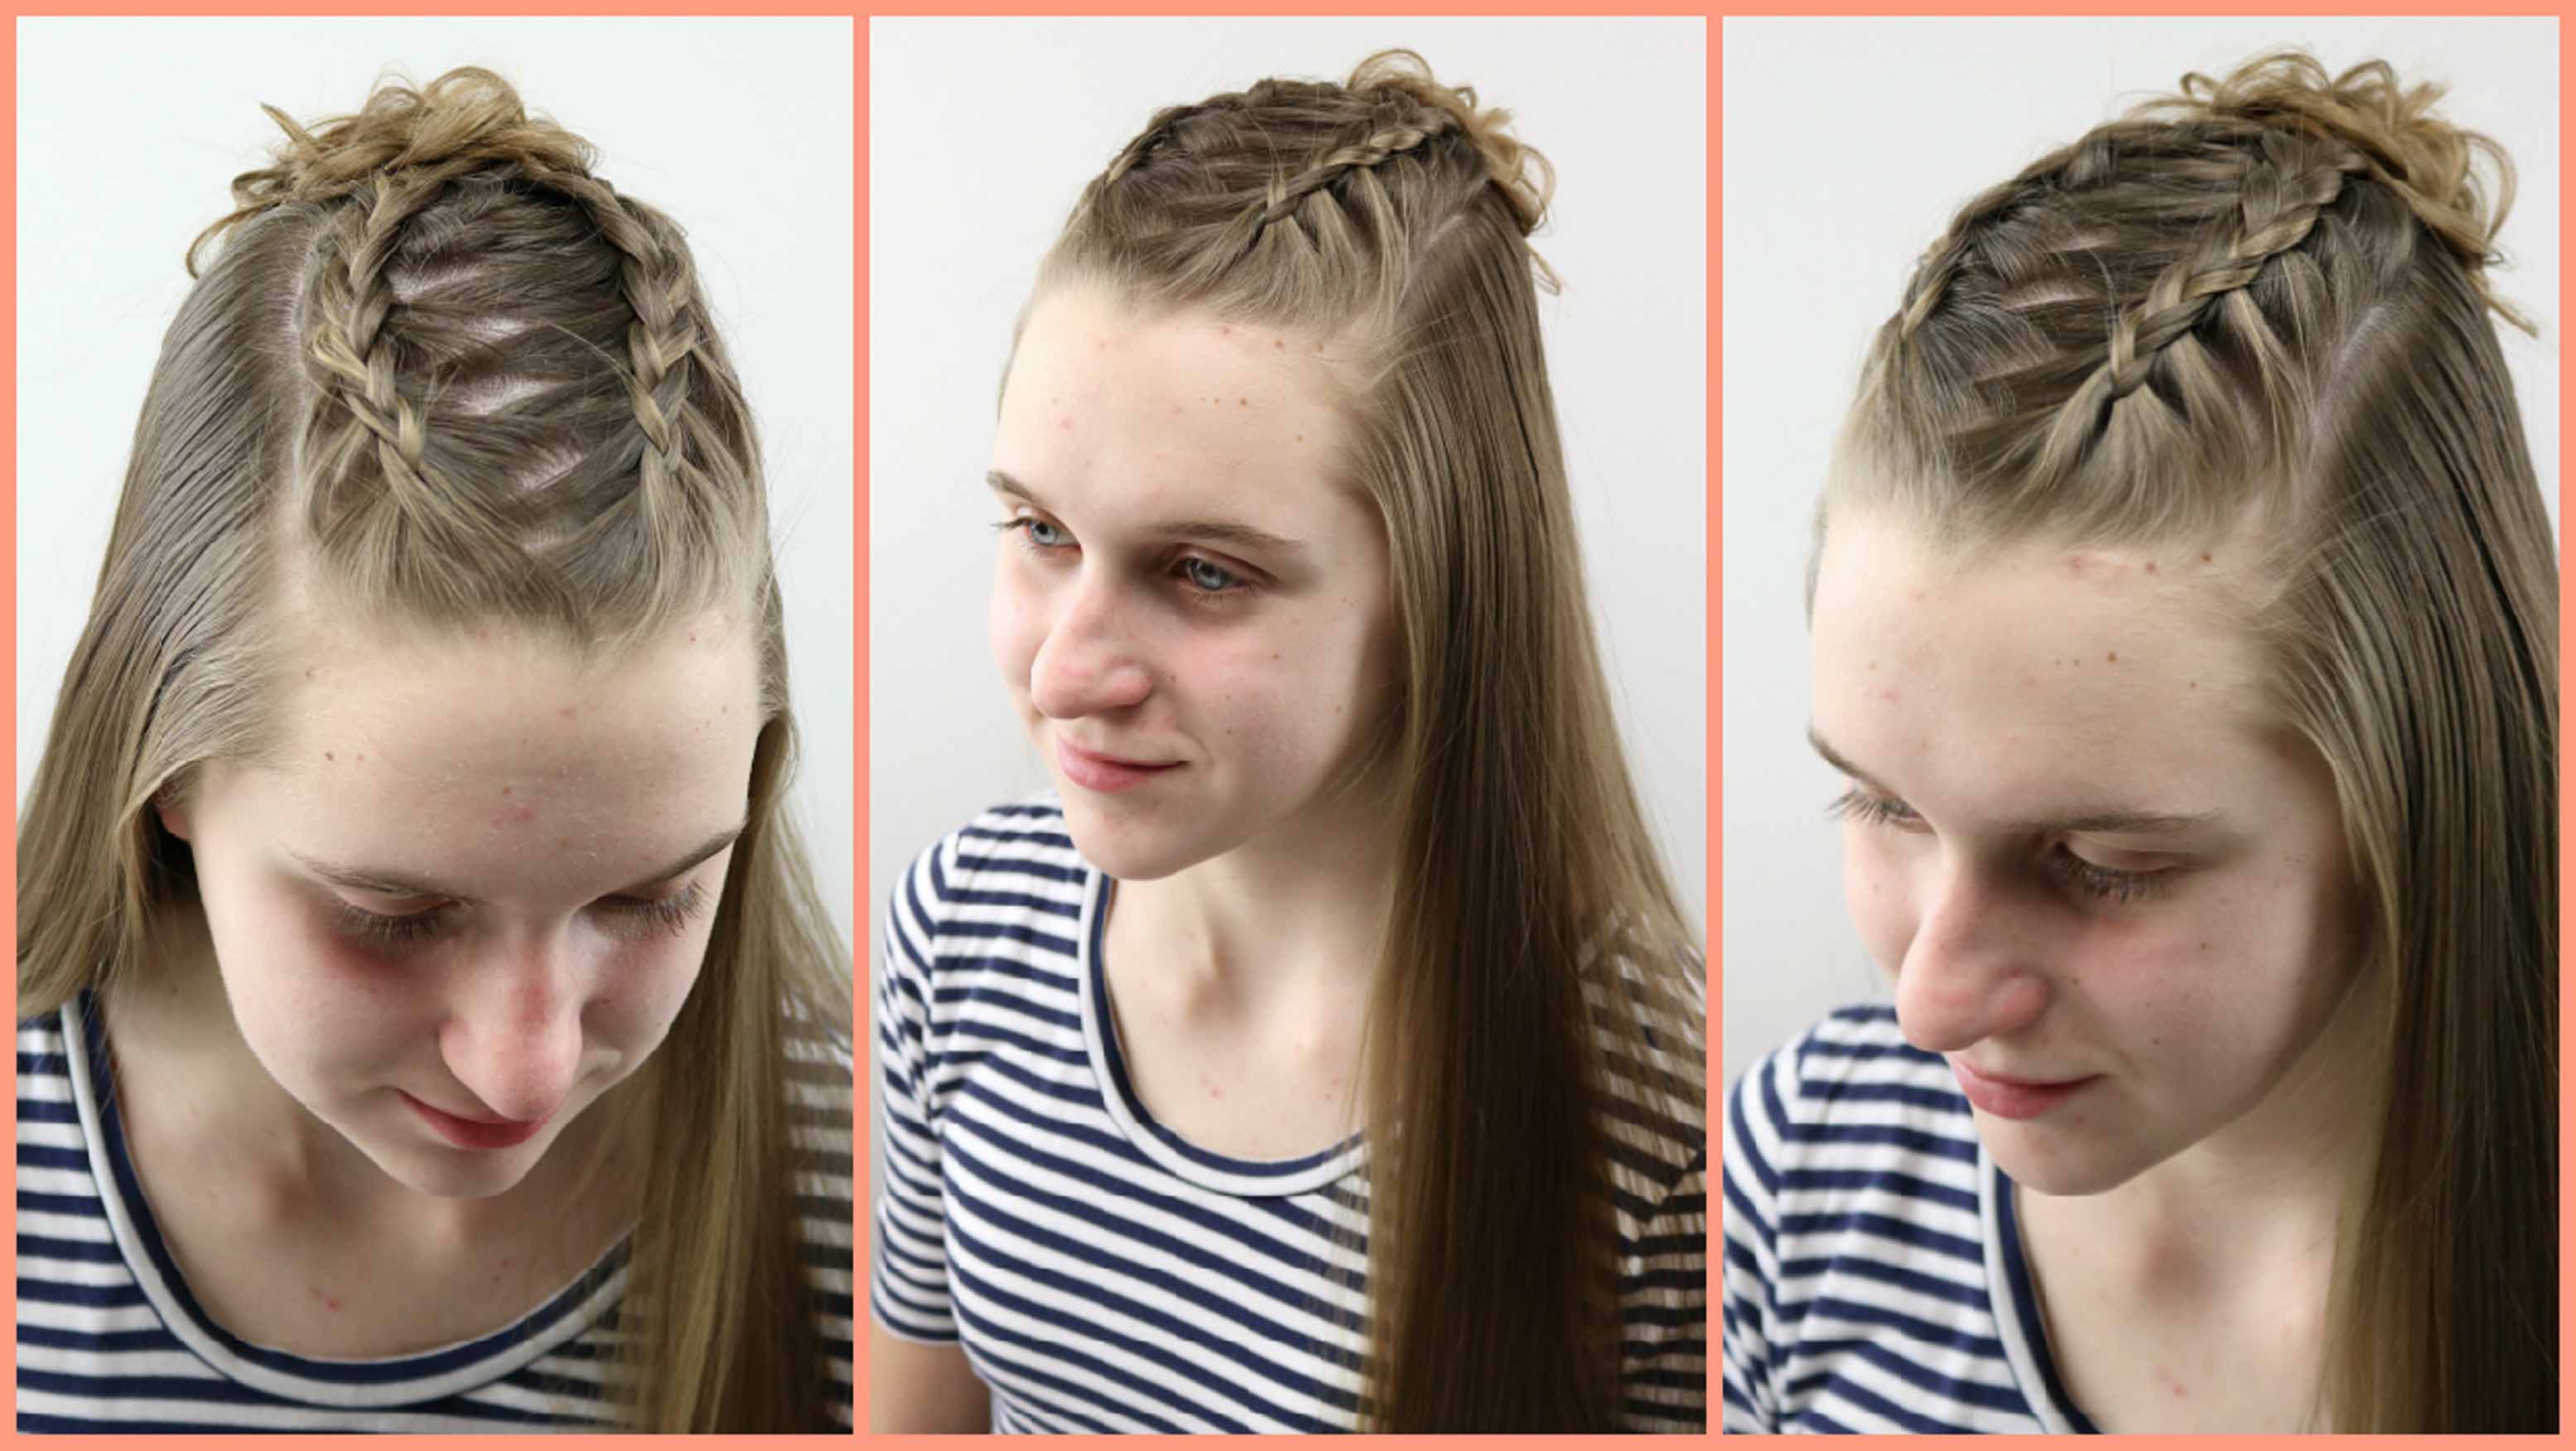
11- Remove the bobby pins from the rosette bun and unwind it. Flip the braid up and out of the way temporarily.
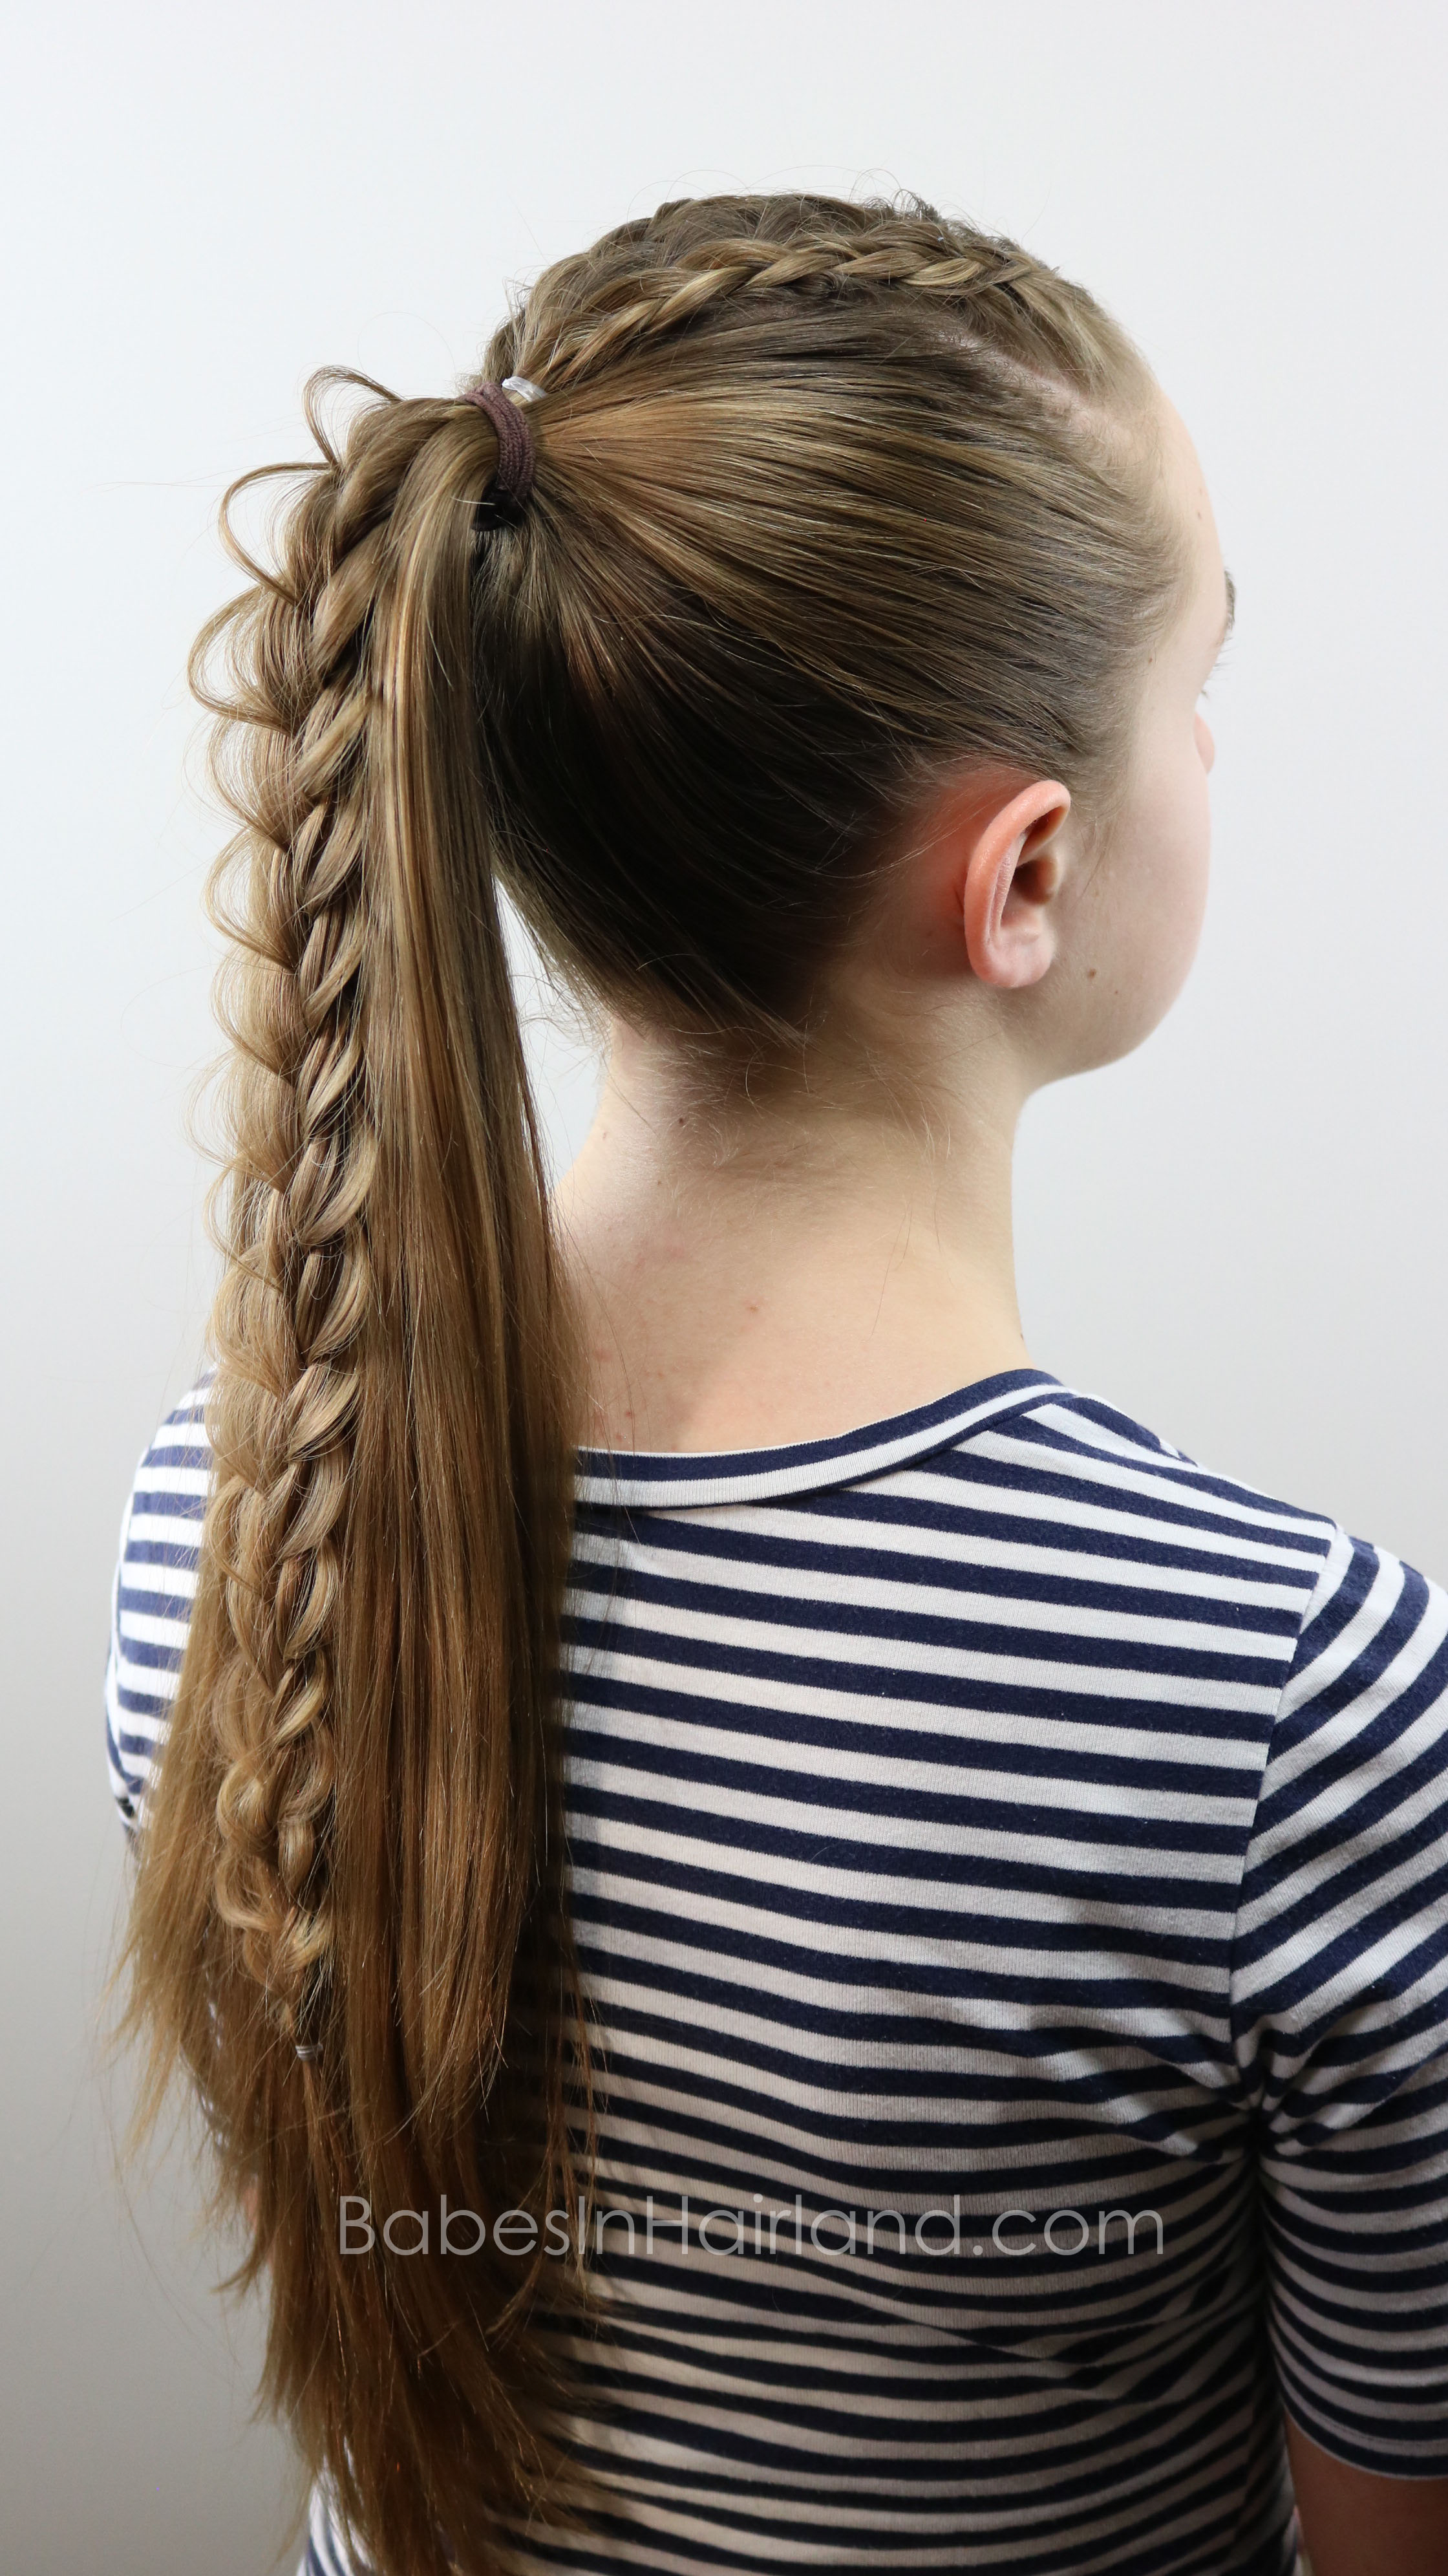
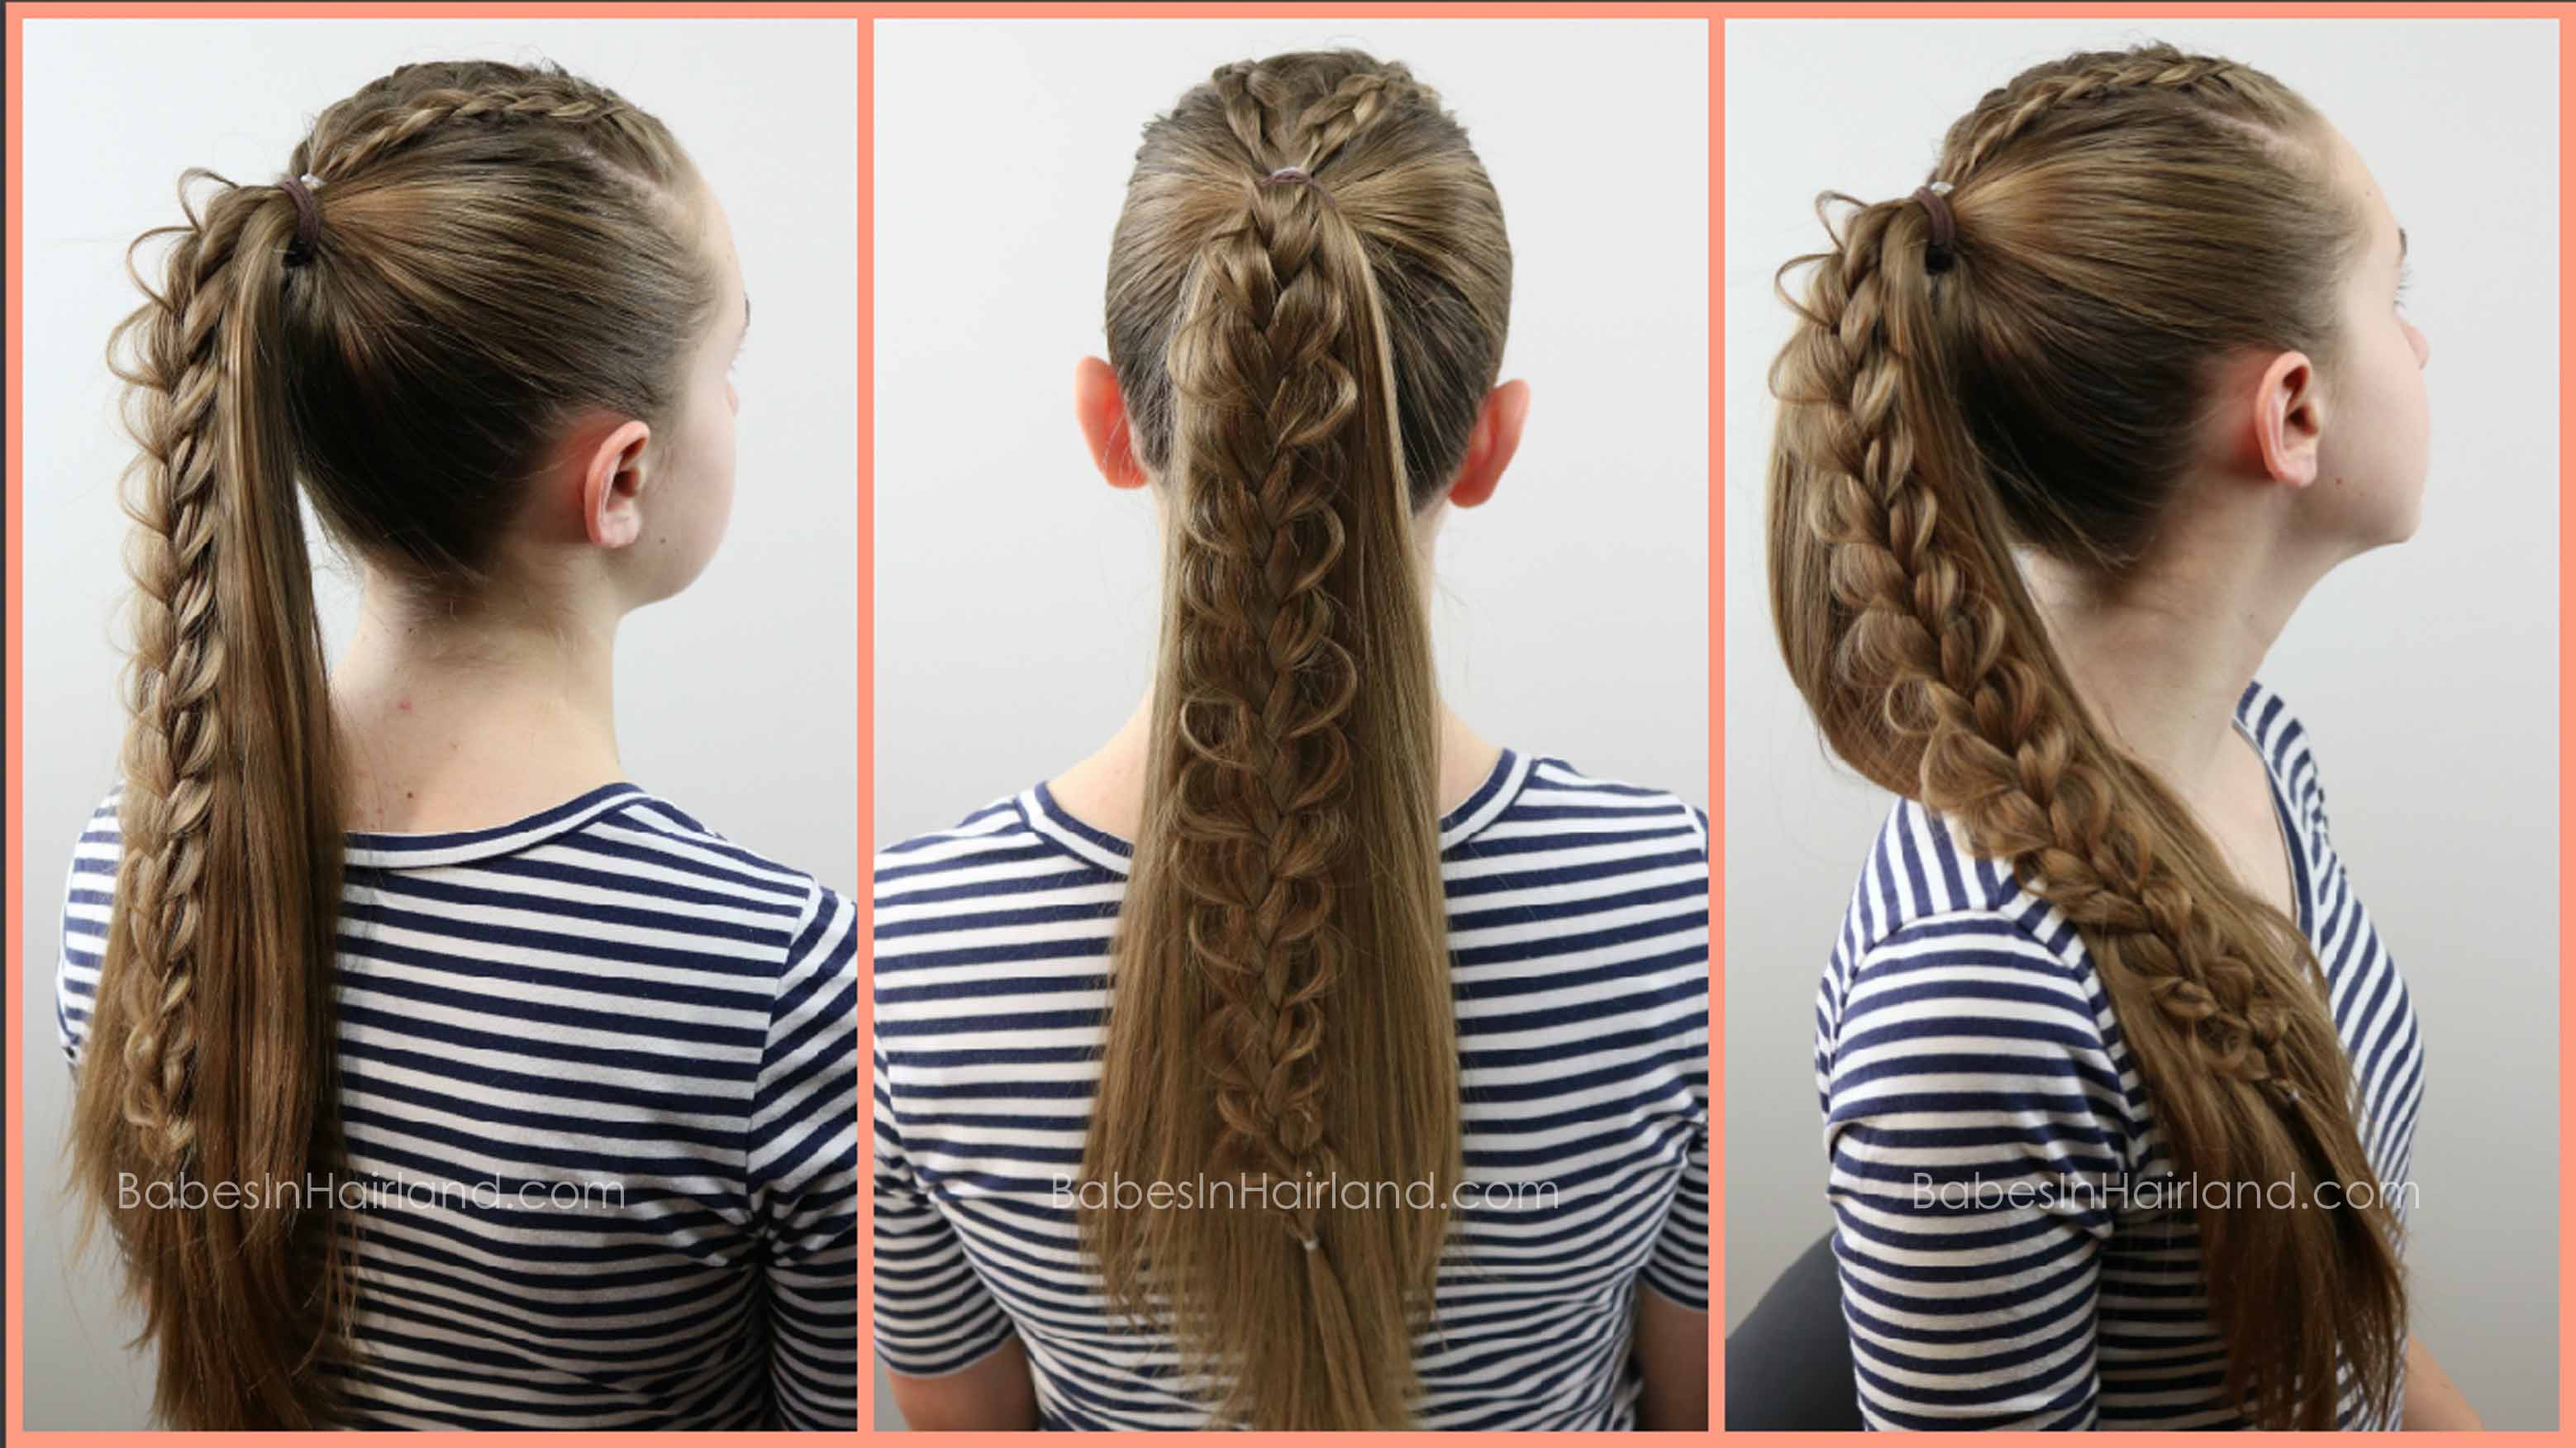
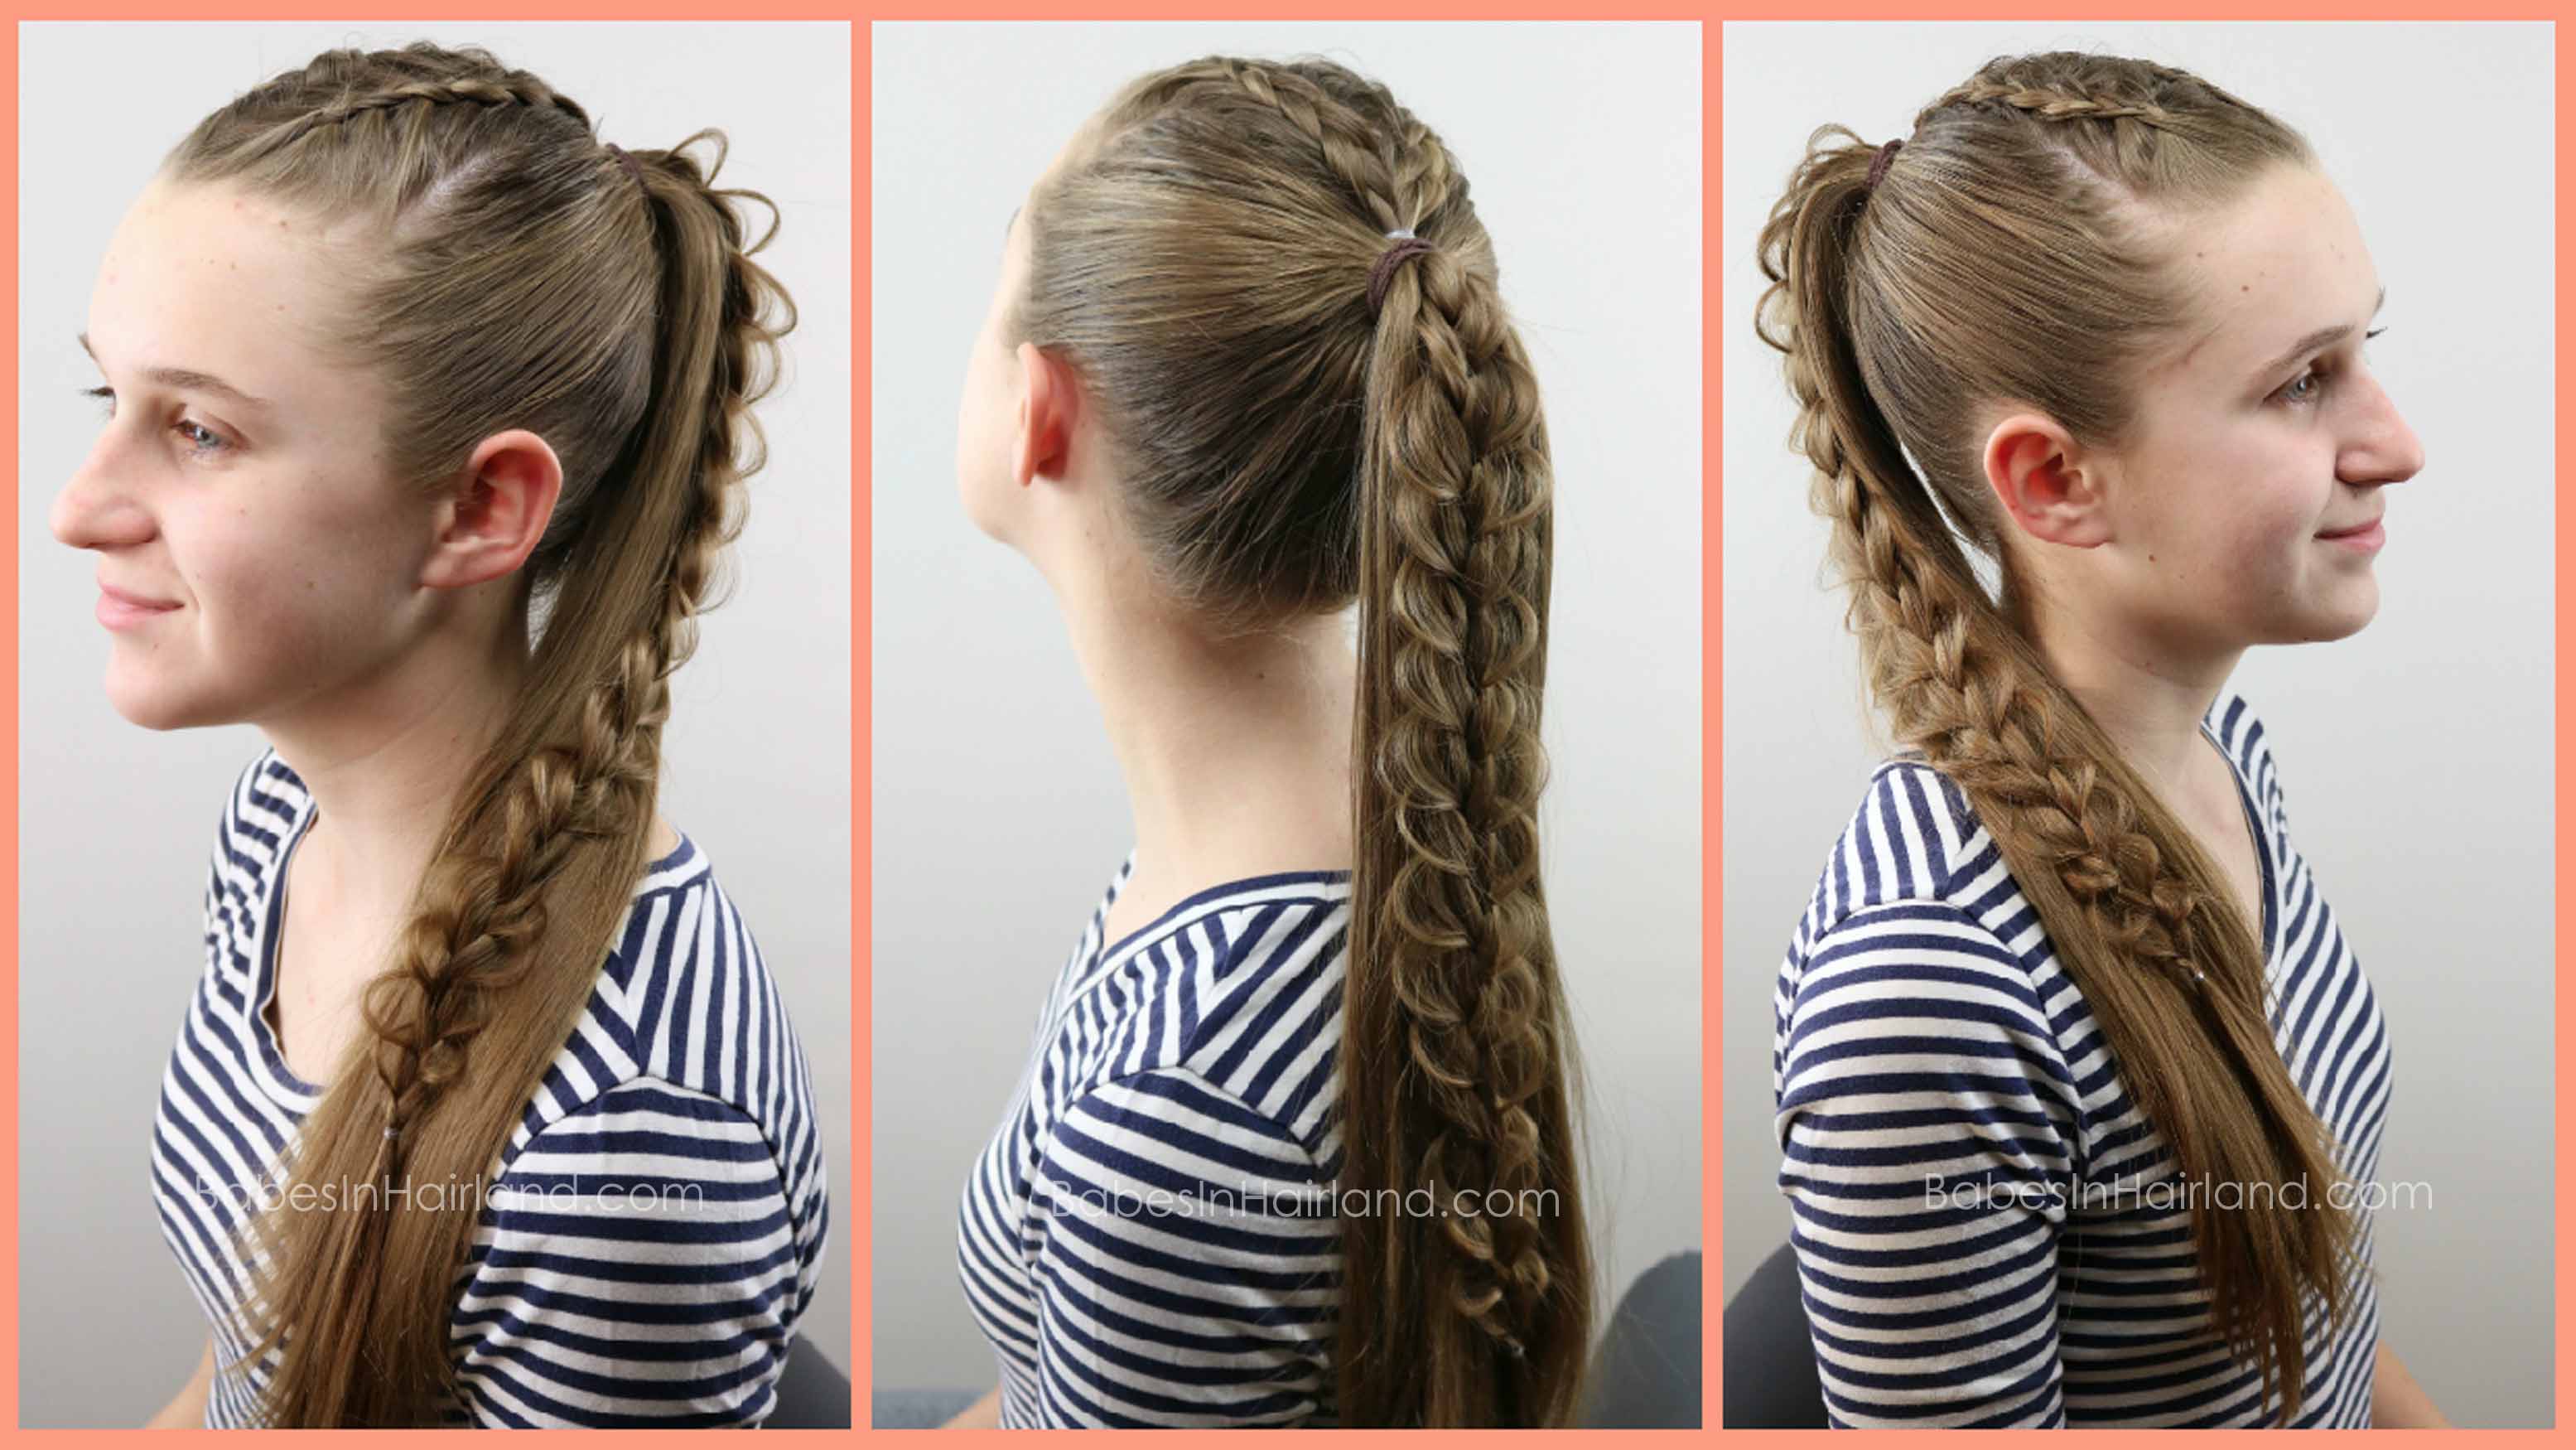
12- Gather all remaining hair down in back into a high ponytail.
13 – Draw your braid back down and add it into the hair you’ve gathered into a ponytail.
14- Secure all the hair and braid into a high ponytail with an elastic. Try get your ponytail high enough that your ponytail holder is close to, or covers the elastic from Step 4.
FINISHED DUTCH BRAID STYLE #4
 15- With the braid sitting on top of the ponytail, gently coil it back up into a rosette bun that will sit on top of the ponytail.
16- Secure the rosette bun on top of the ponytail with bobby pins so it covers the ponytail holder.
FINISHED DUTCH BRAID STYLE #5
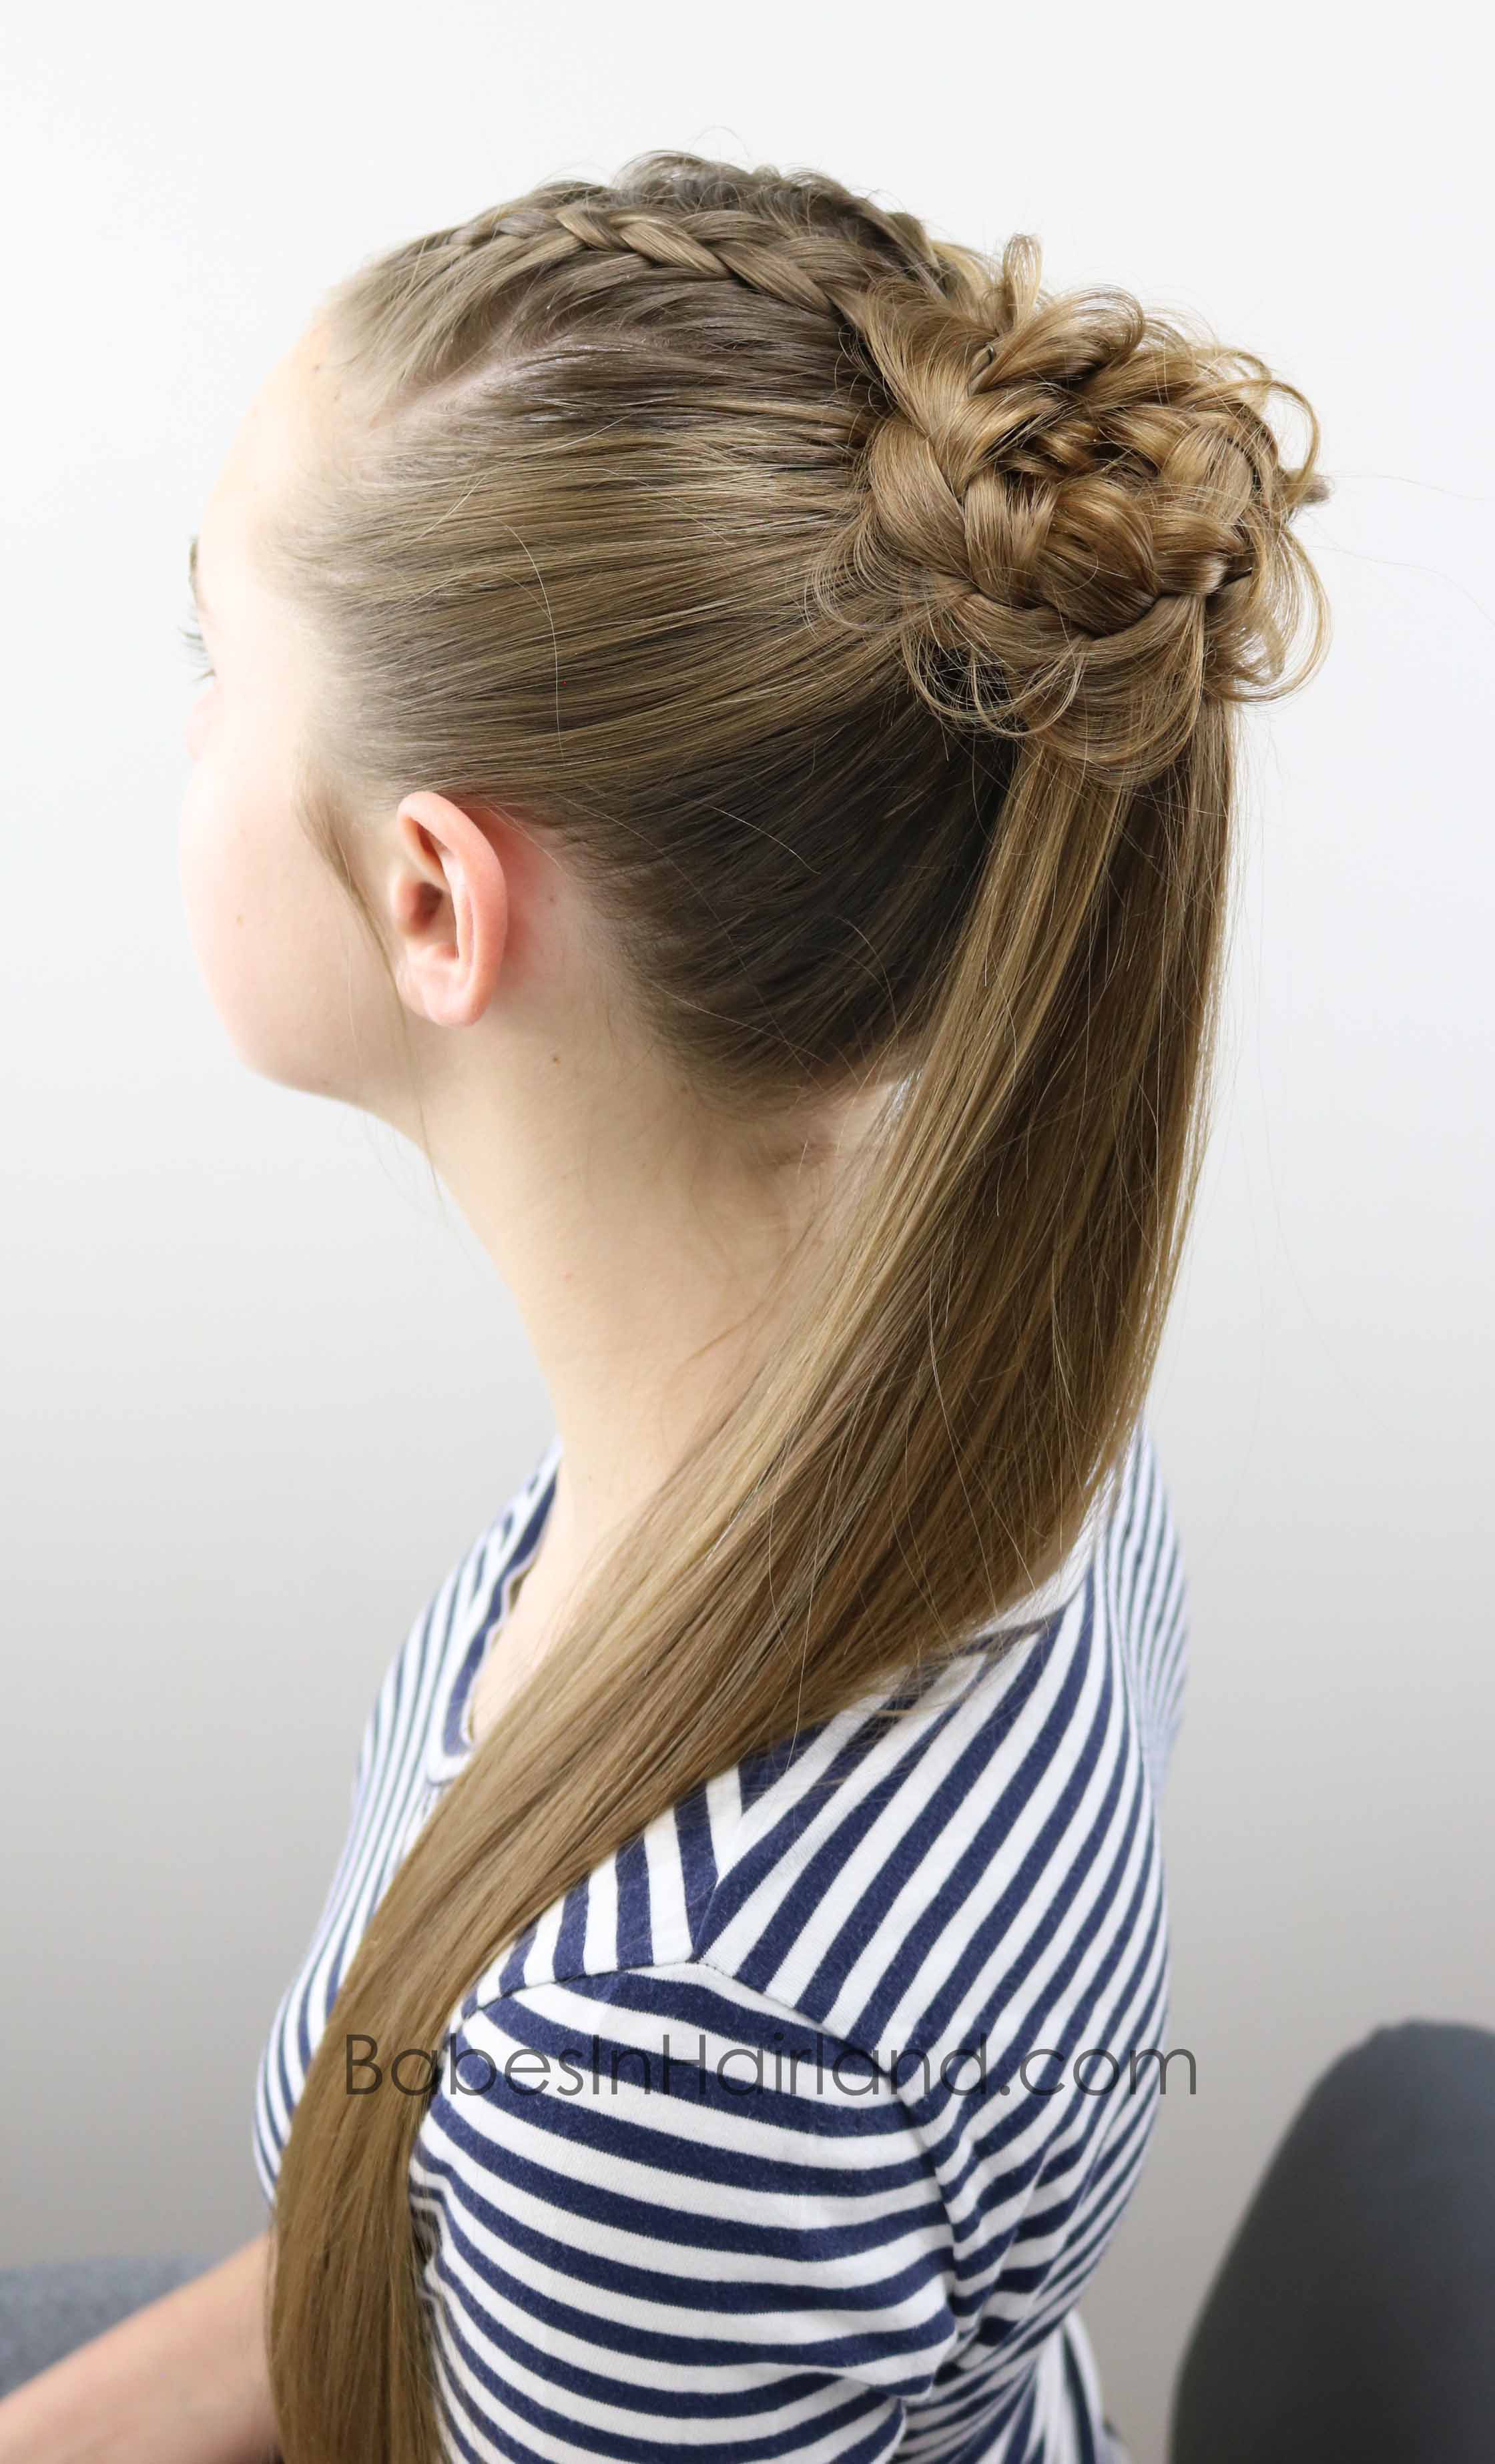
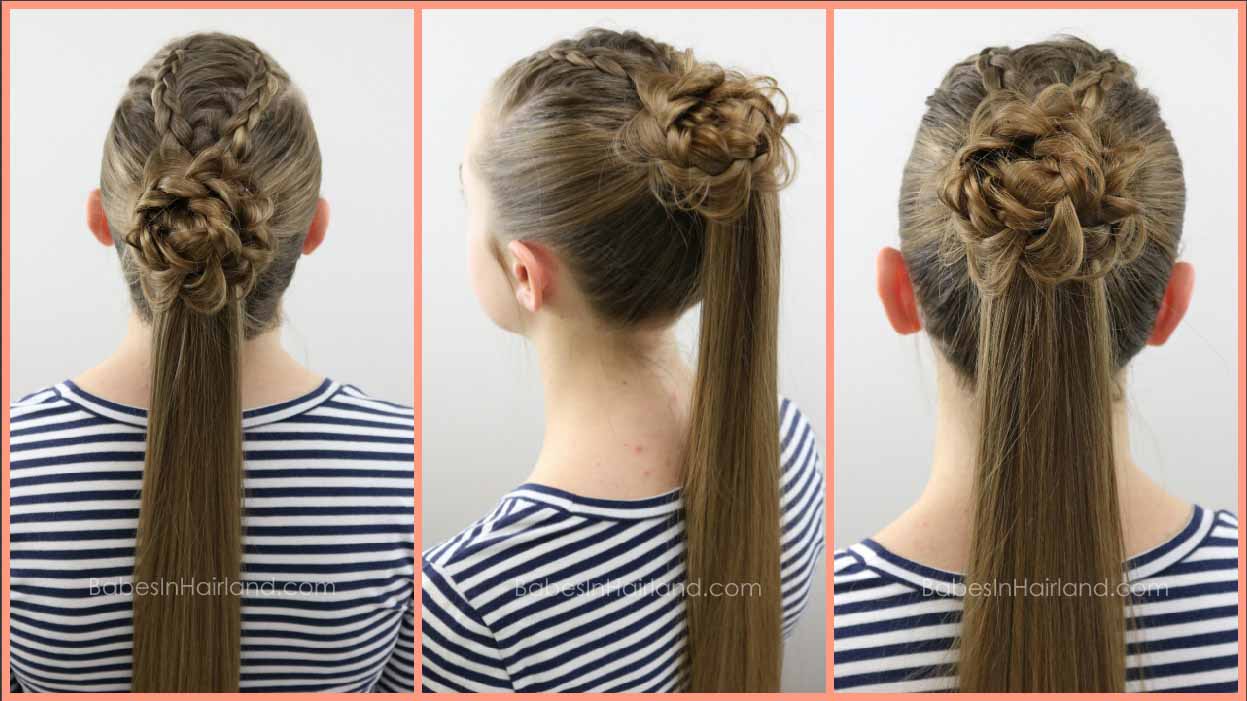
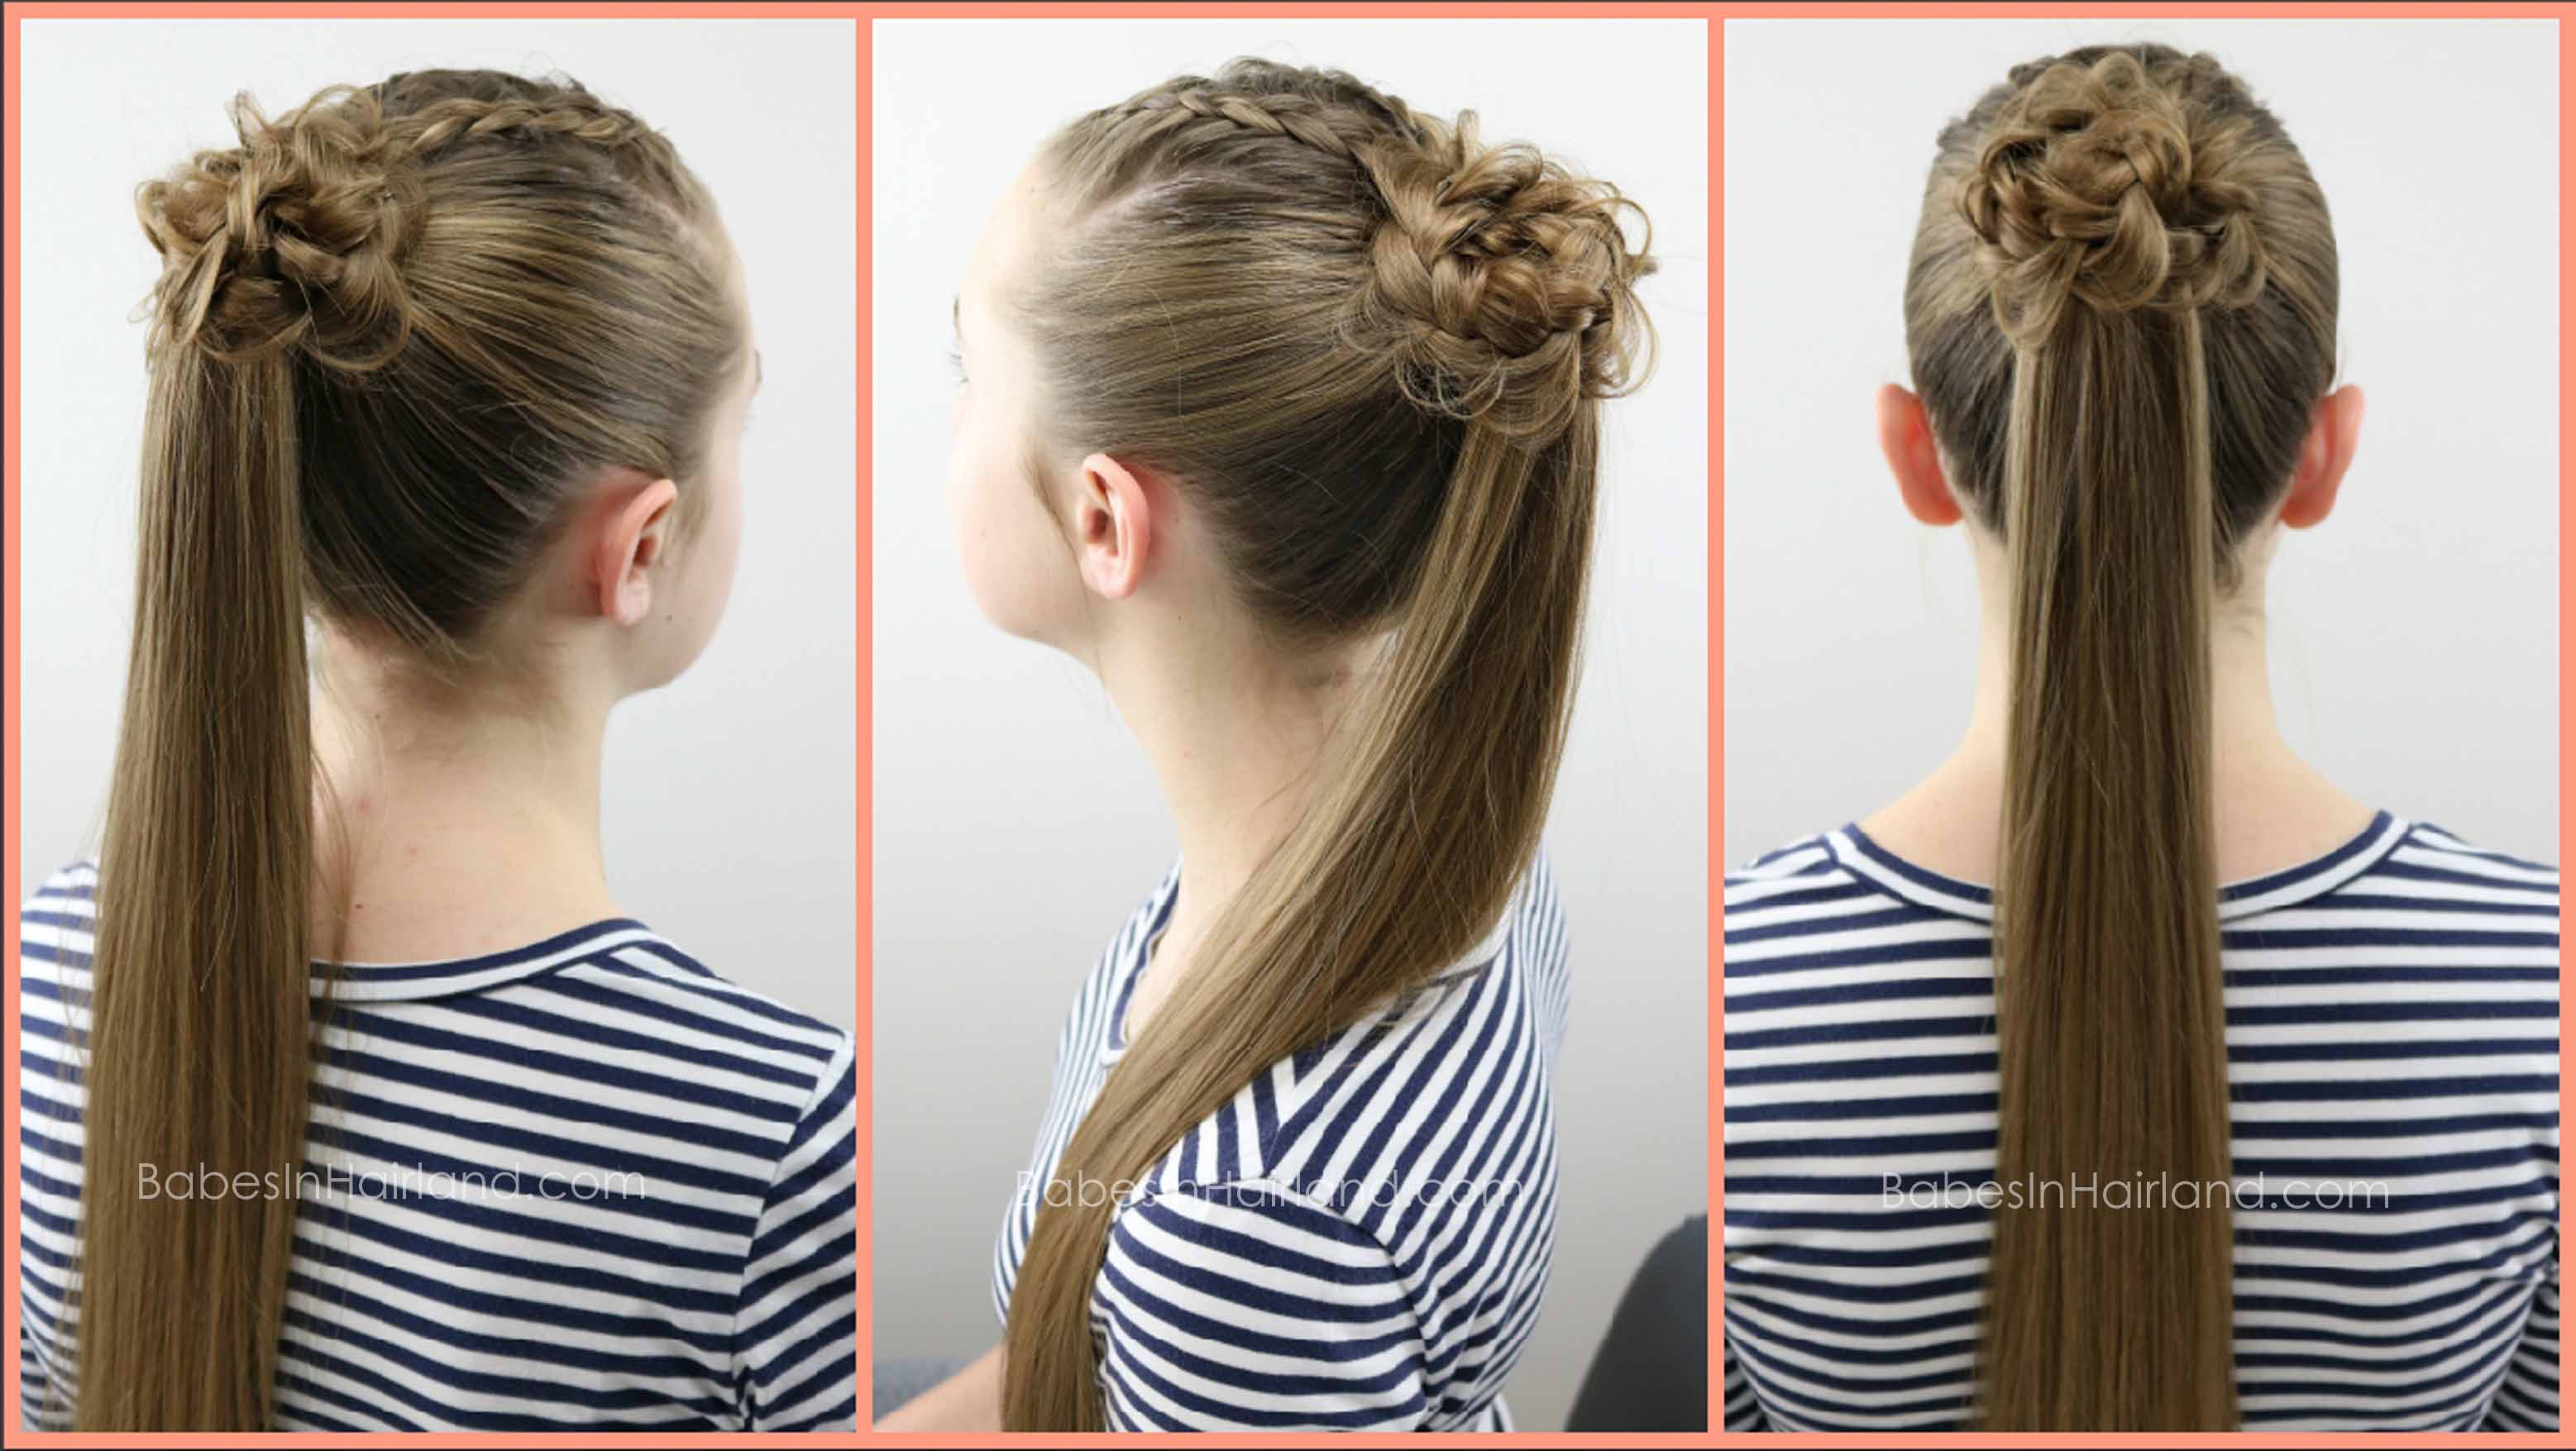
You can totally add more to this style, by doing many different things in the ponytail, but like I said, we just wanted to keep things basic and show you how a style can progress to different things using one main element.
Which style is your favorite? Be sure to PIN it and SHARE it! Thanks for stopping by and we’ll see you next week!
The post 2 Dutch Braids – 5 Different Hairstyles appeared first on Babes In Hairland.
]]>