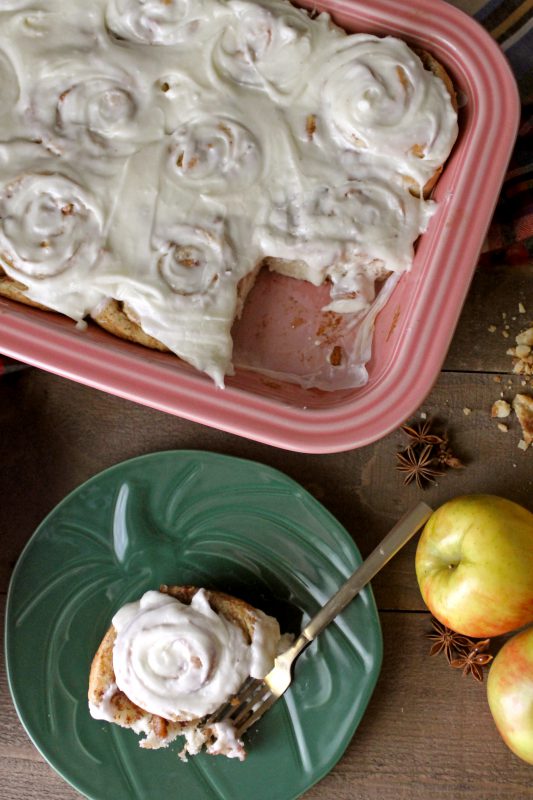
Apple Cinnamon Rolls
Dough
- 4 cups all-purpose flour
- 1/3 cup granulated sugar
- 1 packet Rapid Instant Rise Yeast
- 1 tsp salt
- 1-1/2 cups milk
- 6 tbsp butter
- 1 egg (room temperature)
Apple Cinnamon Filling
- 1/4 cup butter (room temperature)
- 2/3 cup light brown sugar
- 1 tbsp ground cinnamon
- 1-1/4 tsp apple pie spice
- 3 apples (peeled and diced in 1/4" bits)
- 1 pinch salt
Cream Cheese Frosting
- 4 oz cream cheese (room temperature)
- 1/2 cup unsalted butter (room temperature)
- 3 cups powdered sugar
- 2-3 tbsp milk
- 1 tsp vanilla extract
- 1 pinch salt
-
Start by taking a large bowl and in it, mix together 2 cups of flour, yeast, salt, and sugar. Ensure they are well combined.
-
In a microwave-safe bowl, warm the milk and butter for 30 seconds until they are warm and the butter is almost melted. It should be comfortably warm, not scalding. If it’s too hot, let it cool a bit before adding it to the yeast to avoid harming the yeast. Pour this warm milk-butter mixture into the flour mixture.
-
Add the egg and beat it on low speed, gradually increasing to high, until it’s thoroughly mixed in, which should take about 2 minutes.
-
Scrape down the sides of the bowl, then add another cup of flour, continuing to beat until it’s fully incorporated. Gradually add the remaining cup of flour bit by bit until the dough starts to pull away from the sides of the bowl and forms a ball.
-
Transfer the dough to a well-floured surface and knead it for approximately 10 minutes until it becomes smooth and can be stretched without breaking. This indicates that the gluten has developed, resulting in soft, pillowy dough.
-
Place the dough in an oiled bowl, cover it, and let it rise in a warm location for about 1 hour or until it has doubled in size.
-
While the dough is rising, prepare the filling by peeling, coring, and dicing the apples into small pieces. In a small bowl, combine the sugar, spices, and salt, mixing them thoroughly. Set this mixture aside.
-
Once the dough has doubled in size, roll it out on a well-floured surface into a large rectangle measuring approximately 18 x 12 inches.
-
Spread the butter for the filling evenly over the entire surface of the dough. Sprinkle the sugar mixture and the diced apple pieces onto the butter, pressing them down to stick.
-
Starting from the long side, roll the dough away from you into a tight cylinder, sealing the bottom edge by pinching the dough together.
-
Use baker’s twine or a very sharp knife to cut the dough into 12 even rolls. Arrange these rolls in a 9 x 13 inch Rectangular Baker lined with parchment paper. Cover loosely with a kitchen towel and allow them to rise for another hour until they have doubled in size and become puffy.
-
Bake the cinnamon rolls at 350°F for approximately 30 minutes or until they turn golden brown and are no longer doughy. After baking, transfer them to a wire rack to cool.
-
While the rolls are cooling, prepare the cream cheese frosting. Combine the cream cheese, butter, powdered sugar, milk, salt, and vanilla extract. Start at low speed, gradually increasing to high, until the mixture becomes light and fluffy. Spread this icing evenly over the rolls.
Pro fall baking tip! Use our Pumpkin Plate in Jade as a spoon rest or tasting place for all your fall baking recipes.
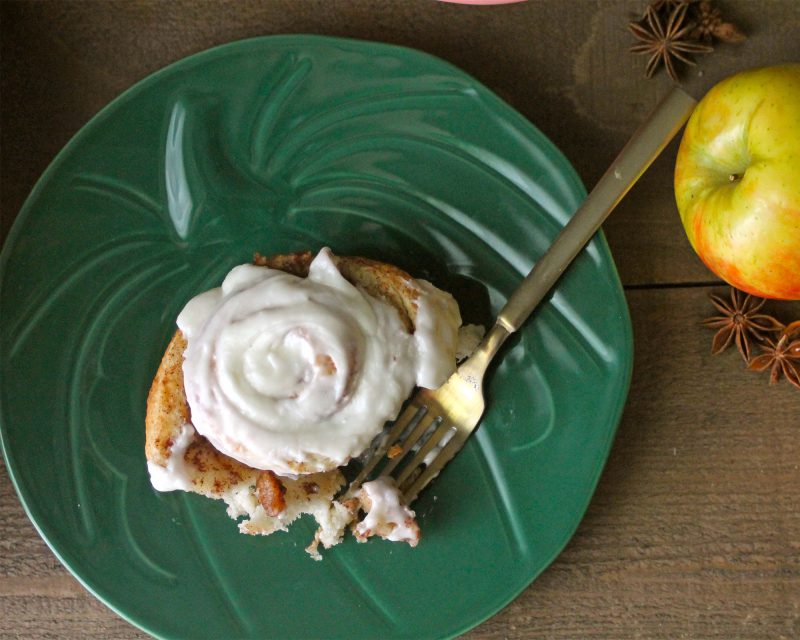
If our Apple Cinnamon Roll didn’t satisfy you’re sweet tooth, try Apple Pie Ice Cream! Our Loaf Pan is the perfect size for making this ice cream, plus it’s freezer safe!
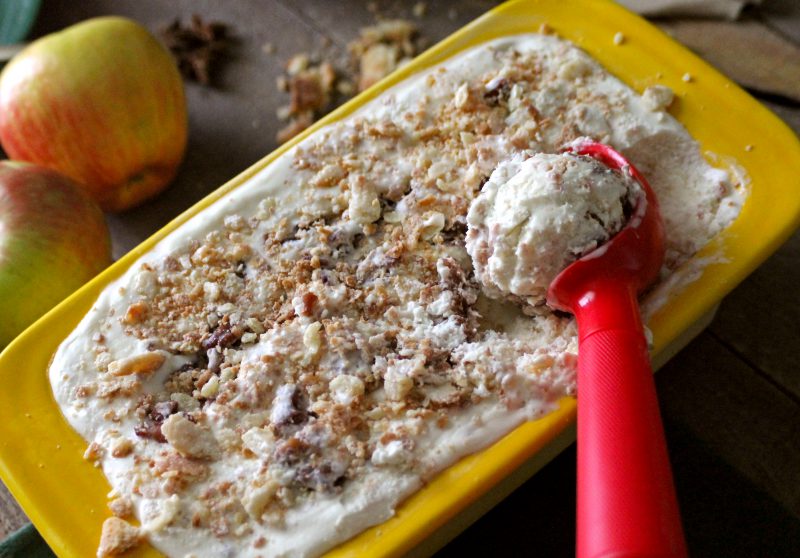
Apple Pie Ice Cream
Apple Pie Ice Cream
- 1 premade pie crust (baked and cut into bite size pieces)
- 2 cups heavy whipping cream
- 1 tbsp vanilla extract
- 14 oz sweetened condensed milk
- 1/2 tsp salt
Apple Pie Bits
- 2 large apples
- 2 tbsp light brown sugar
- 1 tsp cinnamon
- 1-1/4 tsp apple pie spice
- juice of 1/2 lemon
- 1 tsp vanilla extract
- 1/4 tsp salt
-
Cut the apples into small cubes and place them in a medium-sized pot. Combine them with all the other ingredients.
-
Cook over medium heat for 20-25 minutes until the apples become soft and mushy. If the mixture becomes dry, add a tablespoon of water at a time, up to 1/2 cup throughout cooking.
-
Once the apple mixture is cooked, let it cool for 10 minutes, then use an immersion blender to pulse until the mixture is somewhat uniform, but with small apple chunks for texture.
-
Line a loaf pan with parchment paper and set it aside.
-
Whip the heavy cream in a mixing bowl until soft peaks form, then gently fold in the vanilla extract and salt.Pour the sweetened condensed milk onto the cream and fold gently until well combined. Add the pie crust pieces and fold them in.
-
Carefully scoop half of the ice cream into the prepared loaf pan. Spoon half of the apple mixture onto the ice cream in concentrated pools.
-
Use a knife to create large swirls to incorporate the apple mixture. Sprinkle a handful of pie crust. Then, add the remaining ice cream on top and repeat with the remaining apple mixture and pie crust.
-
Cover and freeze for a minimum of 12 hours before serving.
You can bake the pie crust at any time. Lay it flat on a baking sheet and bake at 375°F for about 20 minutes or until it turns golden brown. Let it cool, then roughly chop or crumble it into pieces. Store the pieces in an airtight container until ready to use.
We hope you enjoy our two must-try autumn apple recipes. Happy fall!
]]>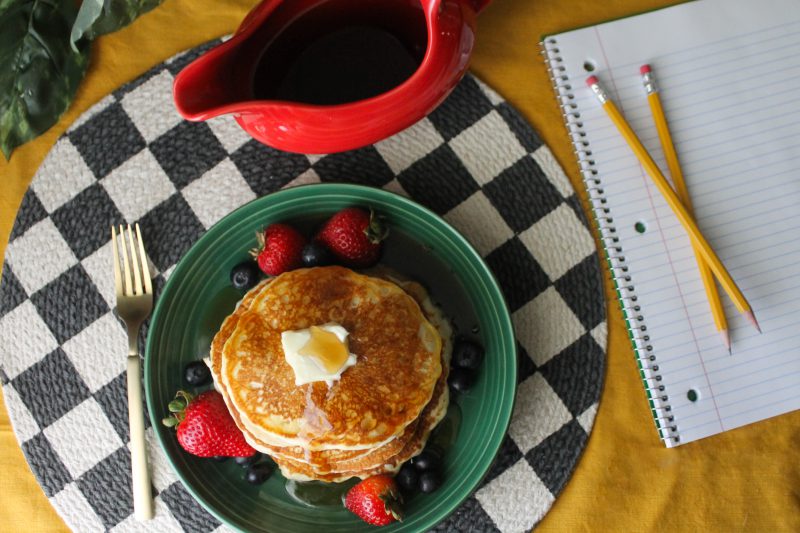
First, start the morning off right with classic pancakes. Easy, fast and delicious. Who doesn’t love a tall stack of pillowy goodness? Then serve your syrup in a Sauceboat for easy, non-sticky pouring!
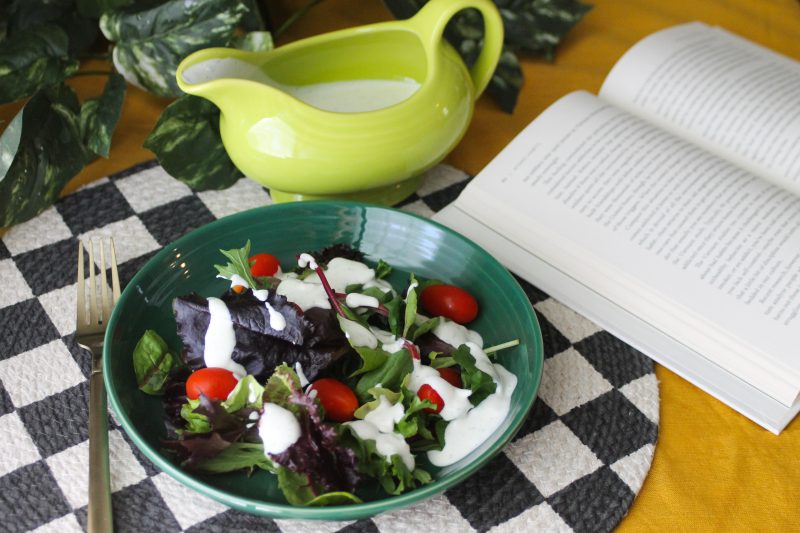
Second, we all need our greens. Serve your salad dressing in a Sauceboat to make salad fun! For a super easy and kid-approved ranch dressing, mix together 1 packet of restaurant-style buttermilk ranch seasoning, 1/2 cup of sour cream, 1/2 cup of mayo, and 1/2 cup of buttermilk. You’ll never go back to the stuff in the bottle!
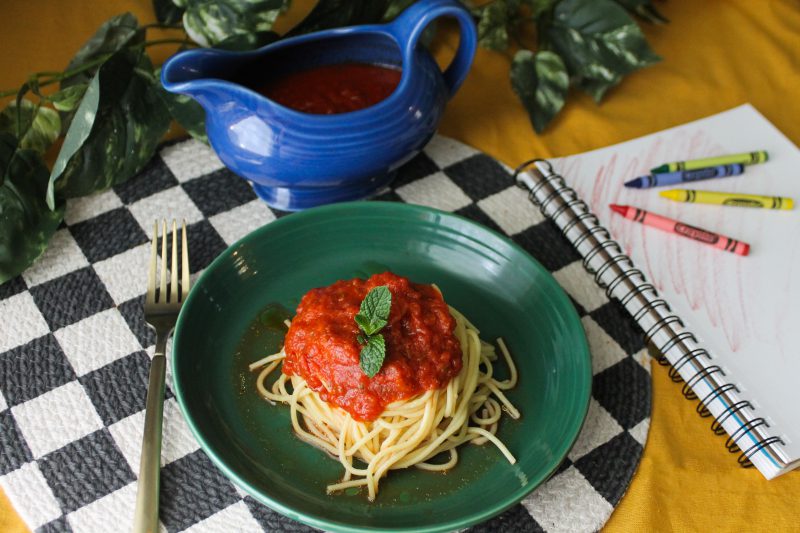
Next up, PASTA. Can you ever go wrong with a simple pasta dinner? Pour your marinara, fresh or from the jar, into a Sauceboat. Conveniently, heat up the sauce in the microwave. (All of our dishes are microwave, oven, and dishwasher safe!) Serve.
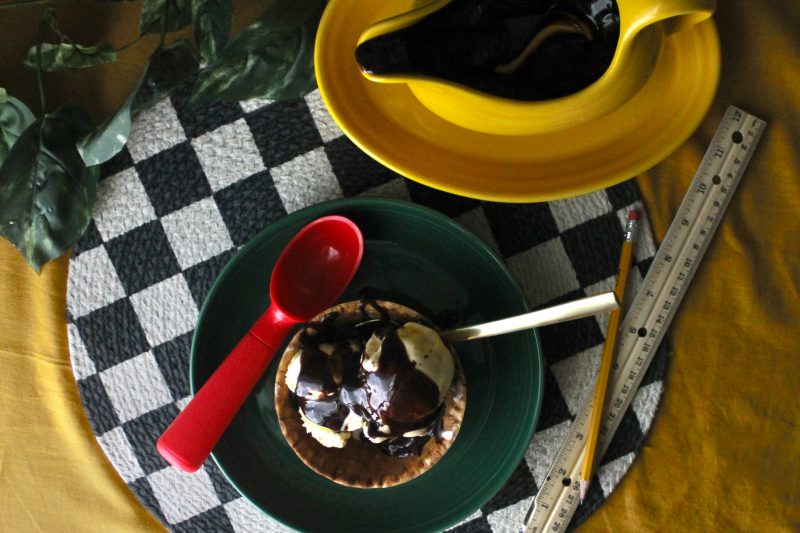
Last, but definitely not least, dessert! The best sundaes always have some kind of topping. Make yours as fancy as you want, but don’t forget to serve hot fudge (or peanut butter sauce, strawberry sauce, etc.) in a Sauceboat! *Pro Tip: For less mess, use a Small Oval Platter underneath a Sauceboat to catch all the drippings (& to look extra cute!)
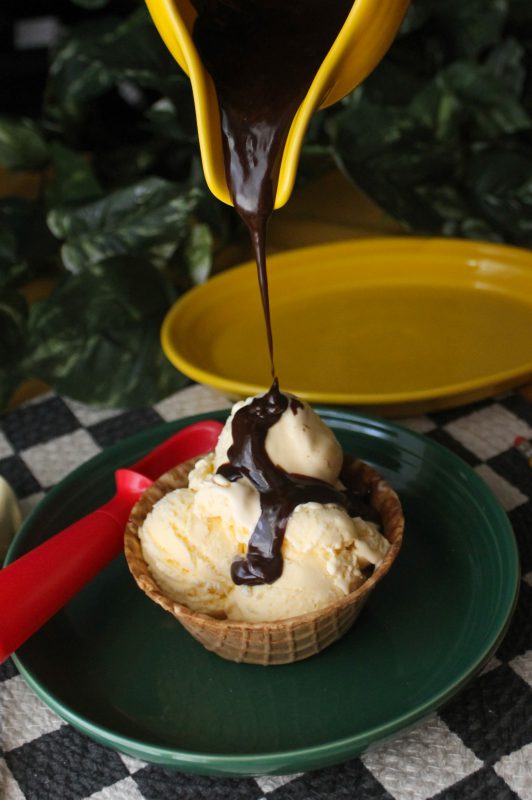
We wish you all a great upcoming school year, and if you’re feeling nervous, take your mind off of your worries and get creative. Something as little as a fun placemat or inventive use of a Sauceboat may turn into a back-to-school tradition you all look forward to.
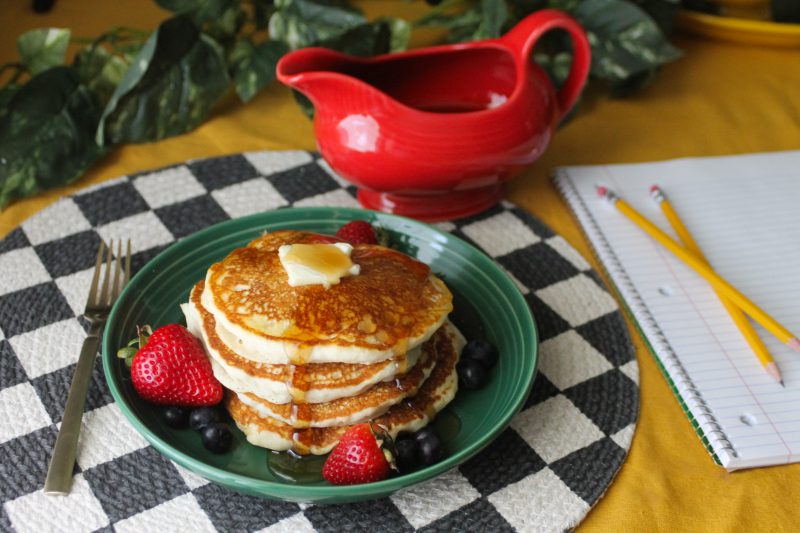
Let us know how you creatively use Fiesta in the comments below!
]]>This recipe should take about 1 hour from start to finish. It’s easy enough to have your kiddos help!
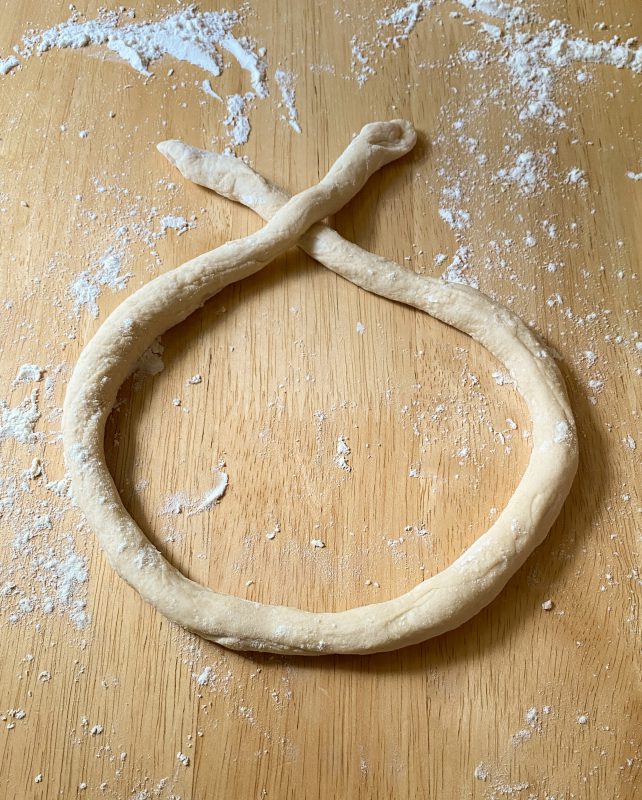
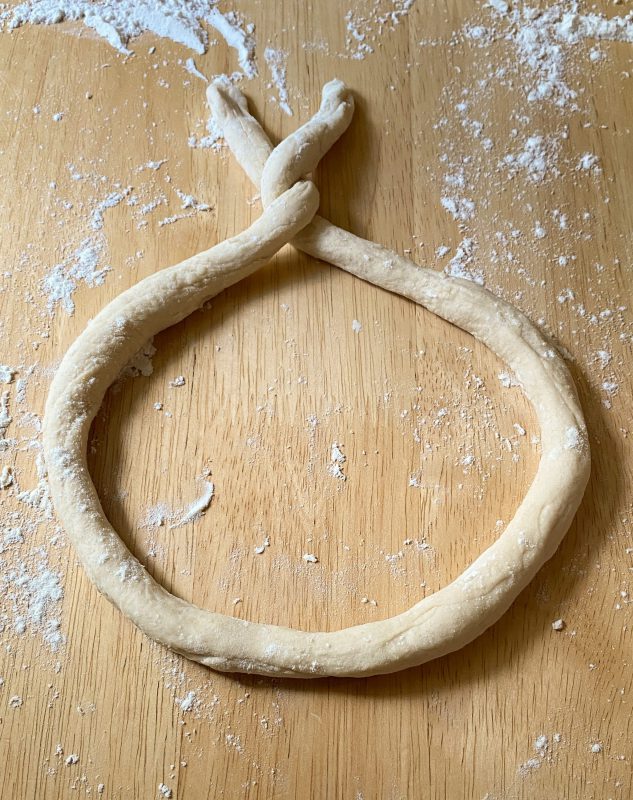
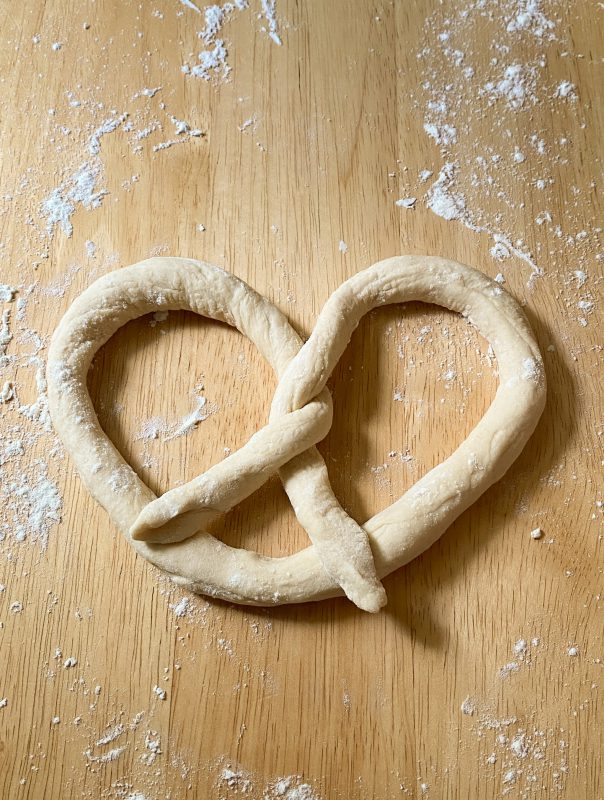
Here is our guide to forming the pretzel shape.
Soft Pretzel Recipe
- 1 1/2 cups warm water
- 2 1/4 tsp instant yeast (standard packet)
- 1 tsp salt
- 1 tbsp brown sugar
- 1 tbsp melted, unsalted butter (slightly cooled)
- 3-4 cups flour
- sprinkle of coarse salt
- extra melted butter to brush on afterwards
Baking Soda Bath
- 1/2 cup baking soda
- 9 cups water
-
Whisk the yeast into warm water, and let it sit for 1 minute.
-
Whisk in salt, brown sugar, and melted butter.
-
Slowly add in 3 to 4 cups of flour until the dough is no longer sticky. Poke the dough, and if it bounces back, it is ready to knead.
-
Turn dough onto floured surface. Knead for 3 minutes and shape into a ball. Place in a glass bowl and cover lightly with a towel. Allow dough to rest for 10 minutes.
-
Meanwhile, preheat your oven to 400°F. Line two baking sheets with silicone mats.
-
Fill a large pot with water and baking soda for the baking soda bath. Bring to a boil.
-
Use a sharp knife to cut dough into 9-10 sections. Roll each section into a 20 inch rope. Then shape the rope into a circle, crossing ends of dough at the top. Twist the ends one time, and then fold them down to the bottom of the circle and press in.
-
Drop pretzel one by one into the boiling baking soda bath for 30 seconds. Do not leave the pretzels in the bath any longer. Using a slotted spatula to lift pretzel out of the water and allow water to drip off. Place on silicone mat/baking sheet.
-
Sprinkle with coarse salt and bake for 12 to 15 minute or until golden brown.
-
Remove from oven and brush with melted butter. Serve warm with nacho cheese. Enjoy!
Cover and store at room temperate for up to three days. To reheat, place in microwave for a few seconds or in the air fryer for a couple minutes at 350°F.
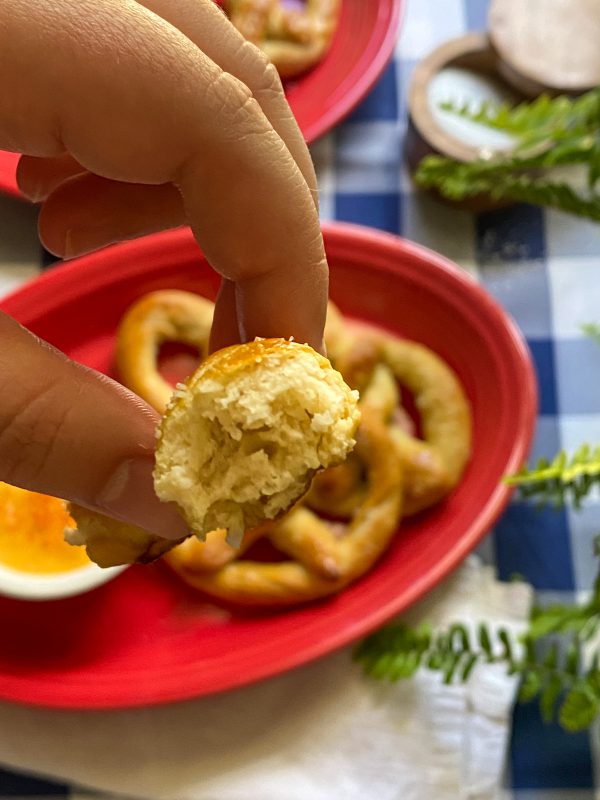
Slightly crispy on the outside, soft and fluffy on the inside.
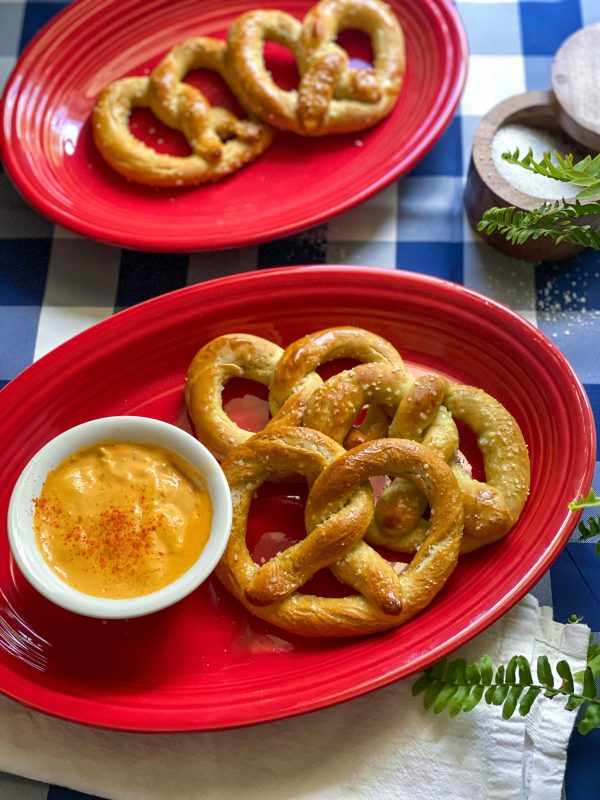
Serve these delicious pretzels on our Medium Oval Platter, and take them to cookouts and picnics this summer!
Trust us, they wont last long.
If you try this recipe, comment below and tell us what you think!
]]>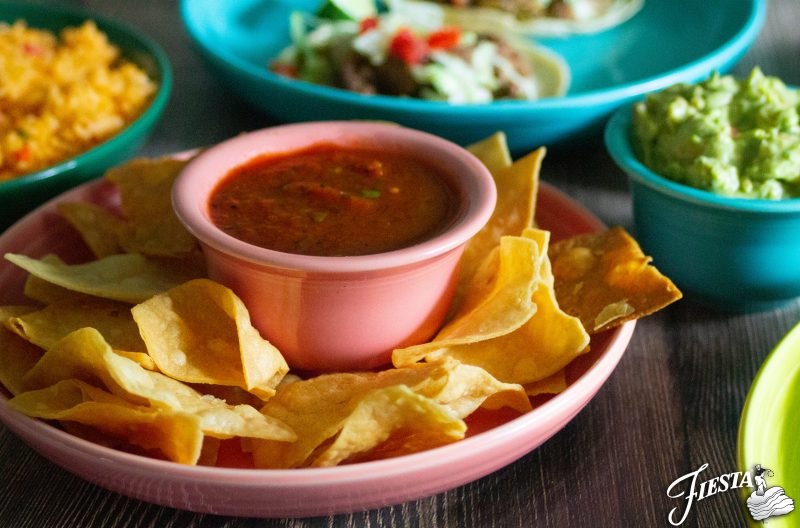
Every fiesta needs chips and salsa! We started our night off with a Bouillon full of fresh salsa surrounded by fried tortilla chips on a Luncheon Bowl Plate. Using a Bowl Plate helps contain the chips; we offer a larger size (regular Bowl Plate) depending on the size of your crowd.
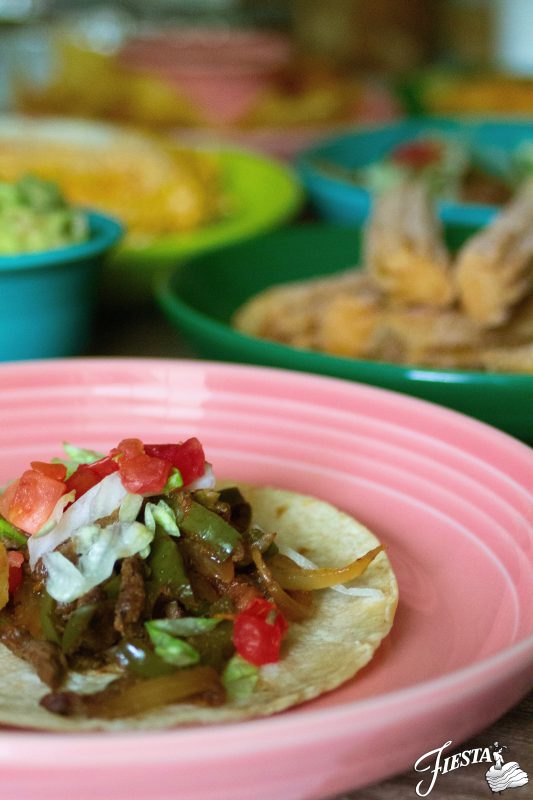
The star of our fiesta: Fajitas de Carne!
A Luncheon Bowl Plate for one…
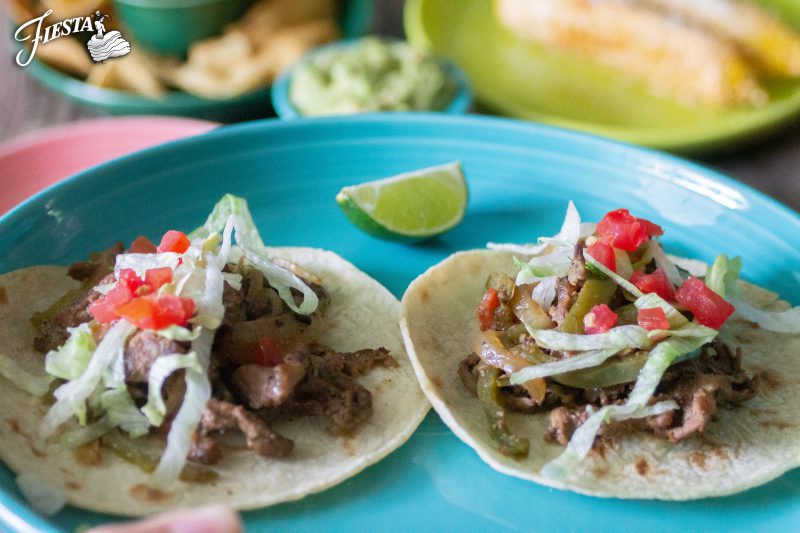
… our regular Bowl Plate for two!
Those pesky fallen toppings are finally contained!
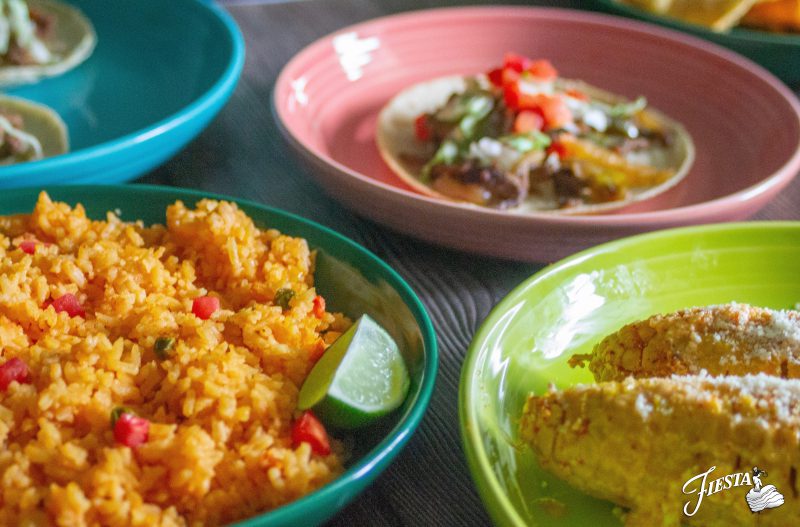
Bowl Plates perfectly enclose side dishes like rice or corn, preventing spillage while creating a professional presentation.
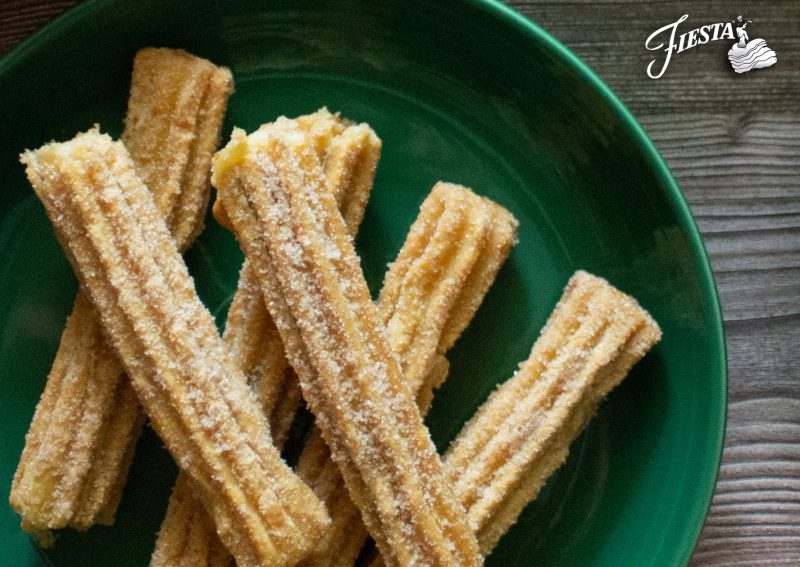
And don’t forget about dessert! We finished the night off with churros held inside our Luncheon Bowl Plate.
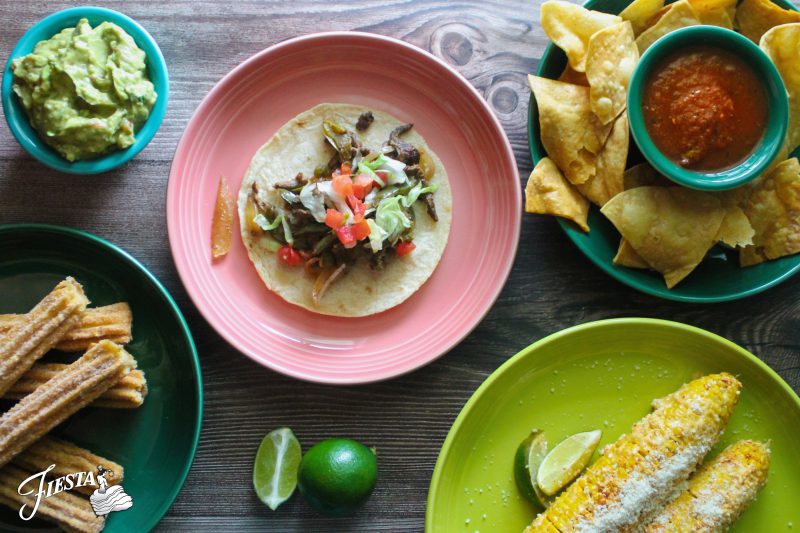
How do you use our Bowl Plates? Comment below!
]]>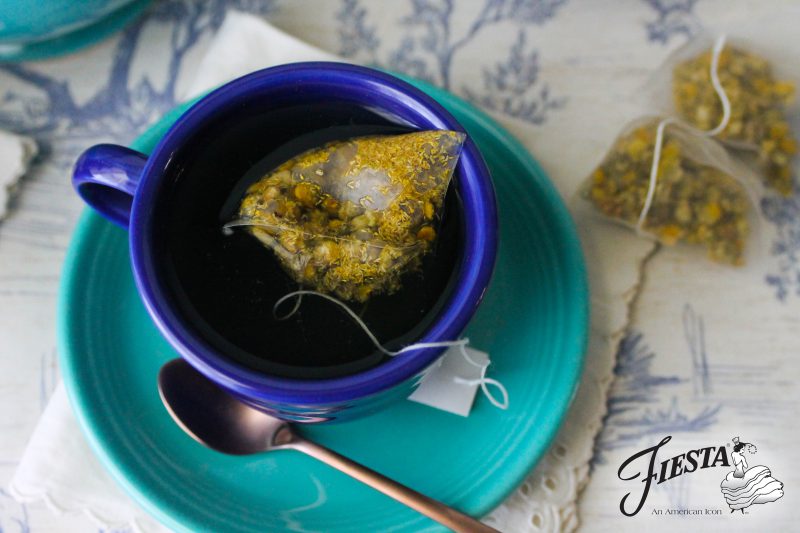
There’s no better gift than time, so spend some quality time over tea with your mom, stepmom, grandma, mother-in-law, or mother figure. This will fill her heart more than any tangible gift could!
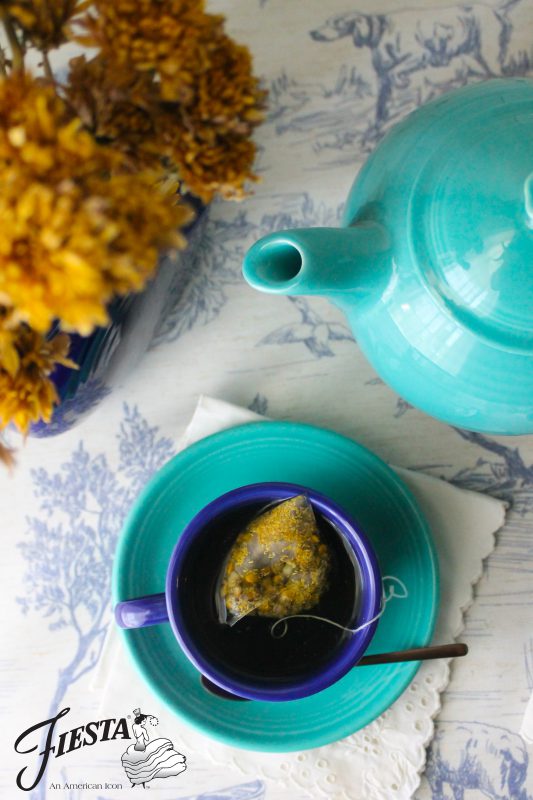
It’s impossible to sum up motherhood in just one color. Thankfully, we have a whole rainbow to choose from! Feel free to choose the colors that best fit your mom.
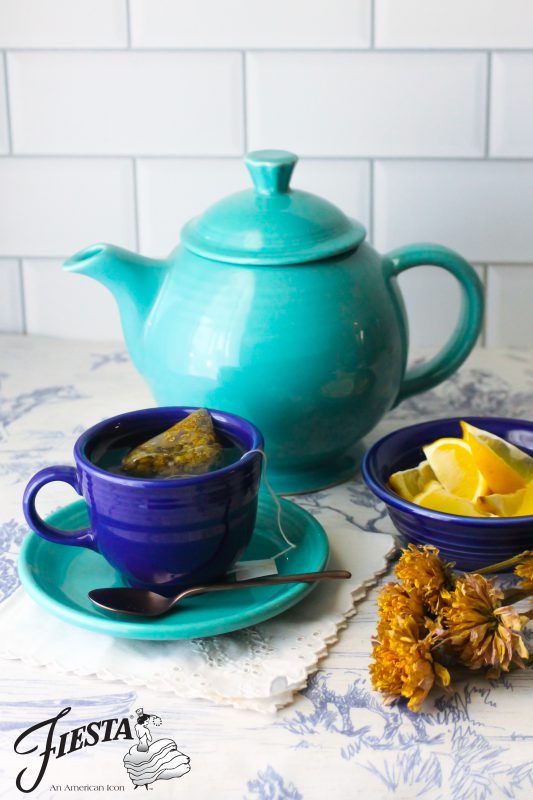
We chose Turquoise to represent the calmness amongst the chaos of motherhood, and what better royal blue than Twilight to represent her being the queen of the family? Last, we paired two of our coolest hues with pops of white and yellow to represent her warmth and brightness in our life.
If you’re celebrating Mom with a Fiesta tea party, comment your color scheme below!
]]>
Blueberry Muffins with a Streusel Topping
Muffins
- 2 cups all-purpose flour
- 3 tsp baking powder
- 1/2 tsp salt
- 2 large eggs
- 1 cup granulated sugar
- 1/2 cup oil
- 1 cup sour cream
- 1 tsp vanilla extract
- 1 1/2 cup blueberries (frozen or fresh)
- 1 tbsp flour (to coat blueberries)
Streusel Topping
- 1/2 cup unsalted butter (melted)
- 2/3 cup granulated sugar
- 1 cup all-purpose flour
- 1 1/2 tsp cinnamon
- 1/4 cup raw sugar (optional)
Muffins
-
Preheat oven to 400°F. Line a muffin pan with liners.
-
In a medium bowl, combine flour, baking powder and salt. Set aside.
-
In a large bowl, combine eggs, sugar, oil, sour cream and vanilla together. Whisk mixture until fully combined.
-
Add the dry ingredients into the wet ingredients. Fold together until fully combined. Be careful not to over mix!
-
Add 1 tbsp flour to blueberries to coat them well. Gently fold coated blueberries into batter.
-
Divide batter evenly into muffin tins. You should fill them about 2/3 of the way to leave room for the streusel topping.
Streusel Topping
-
Mix melted butter, flour, sugar, and cinnamon. Texture should be like damp sand.
-
Add a generous amount of streusel topping to each section of batter.
Baking
-
Place into the oven. Reduce heat to 375°F, and bake for 20 minutes or until a toothpick inserted into the center comes out clean.
-
As soon as the muffins come out of the oven, sprinkle with raw sugar.
-
Cool for 5-10 minutes, and enjoy!
Storage: Store in a air tight container to keep the muffins moist.
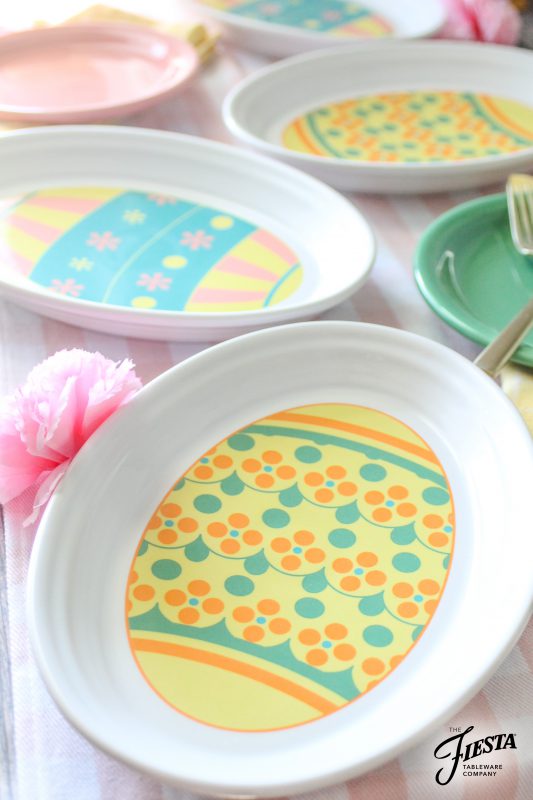
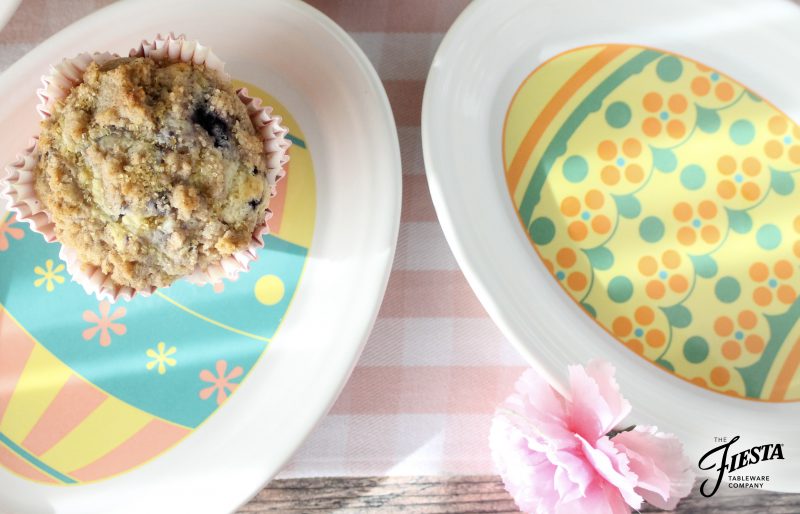
To be extra festive, don’t forget to serve your muffins on our adorable Easter Egg Platter! They come in two variations: Turquoise and Sunflower.
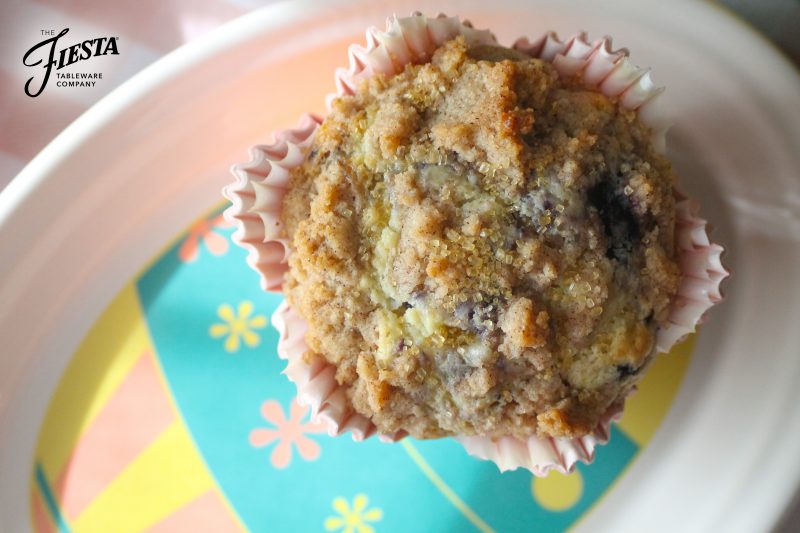
If you try this recipe, comment below and tell us what you think.
Happy Easter!
]]>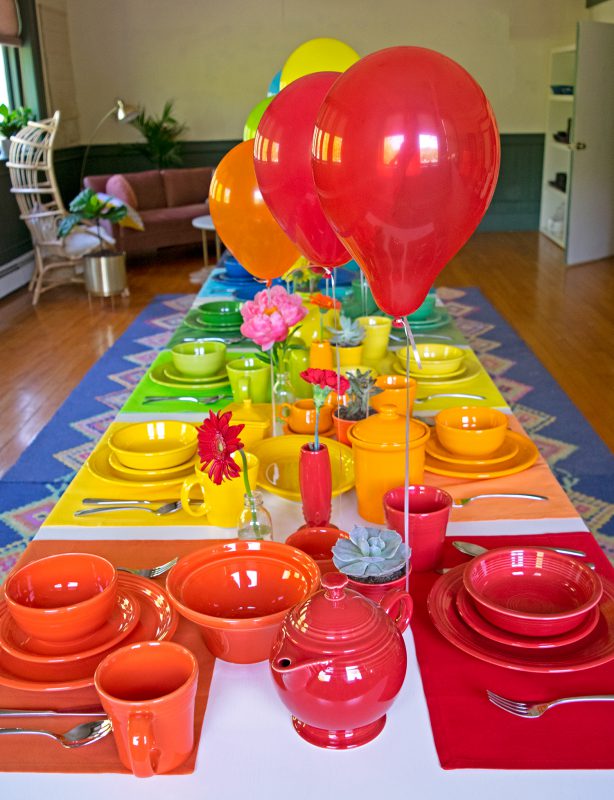
First, set a rainbow themed table-after all, the gold is found at the end of a rainbow!
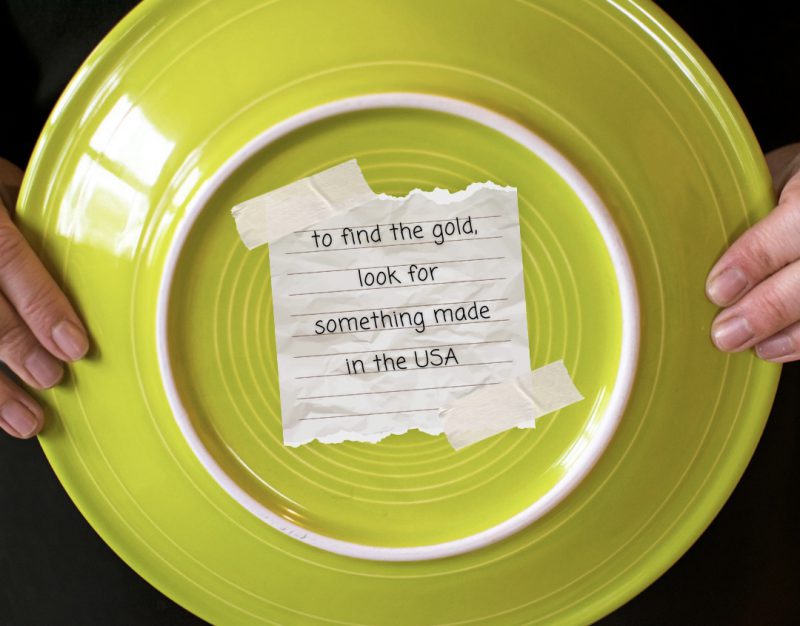
Flip the plates, and add your clues. Since you’ve hidden the “gold” in your Fiesta Canister or Gift Box, you could use clues like “made in the USA,” “kitchen,” another name for the color, like “red,” “born in (insert the year color or item was introduced),” and the list goes on!
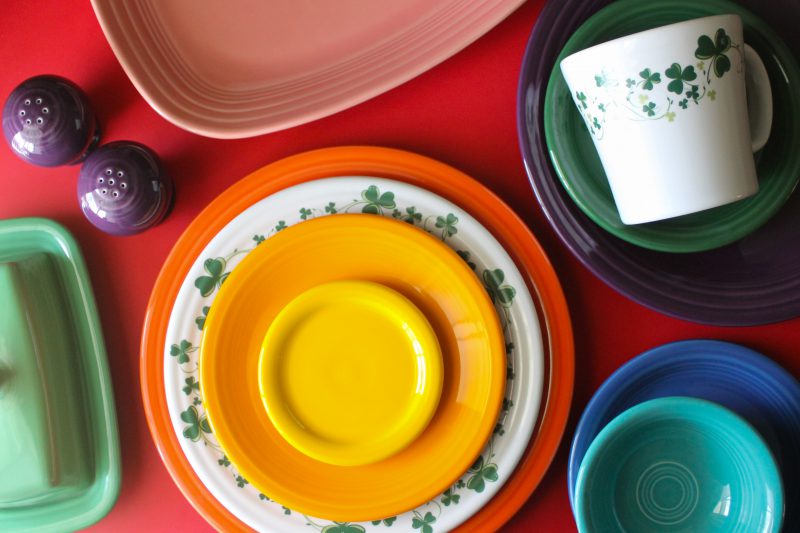
Once your guests have arrived, tell them to use the rainbow, aka the rainbow place settings, to find the gold. Good luck! Don’t forget to have fun and make it your own.
Happy St. Paddy’s Day!
]]>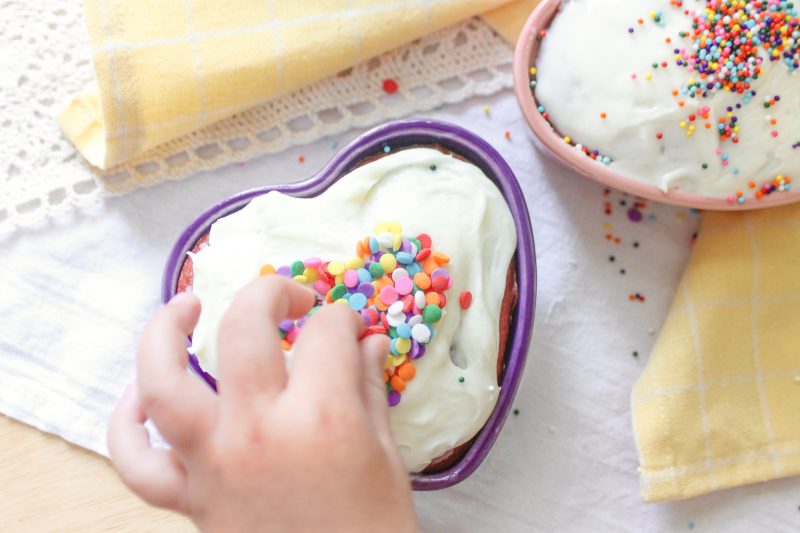
Make mini cakes in our Heart Ramekins and immediately turn a basic dessert into a festive treat that your kids will love. There’s just something about making food in fun shapes that makes everything better!
Pro Tip: If you’re using box cake mix, swap the oil with melted butter, and thank us later. 
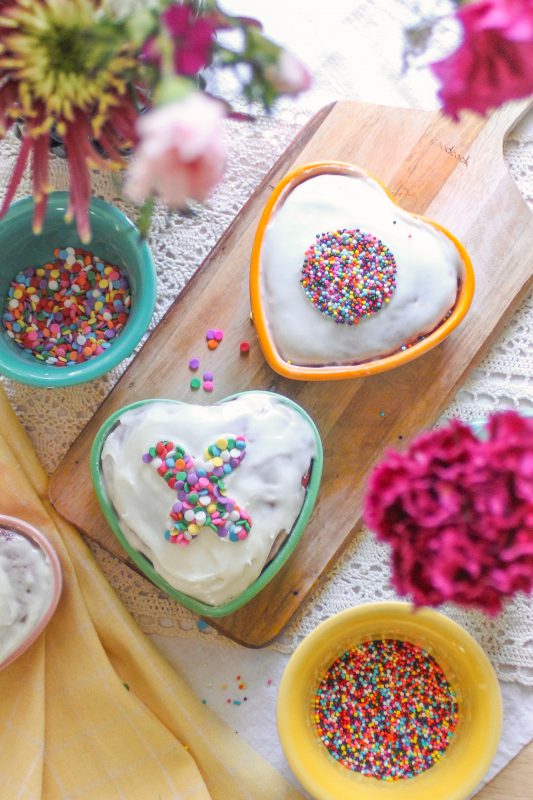
You can use mini cookie cutters as stencils for your sprinkles. We used an “x”, “o”, and a heart-shaped cookie cutter for ours. This hack is perfect for kids because they can customize it however they’d like!
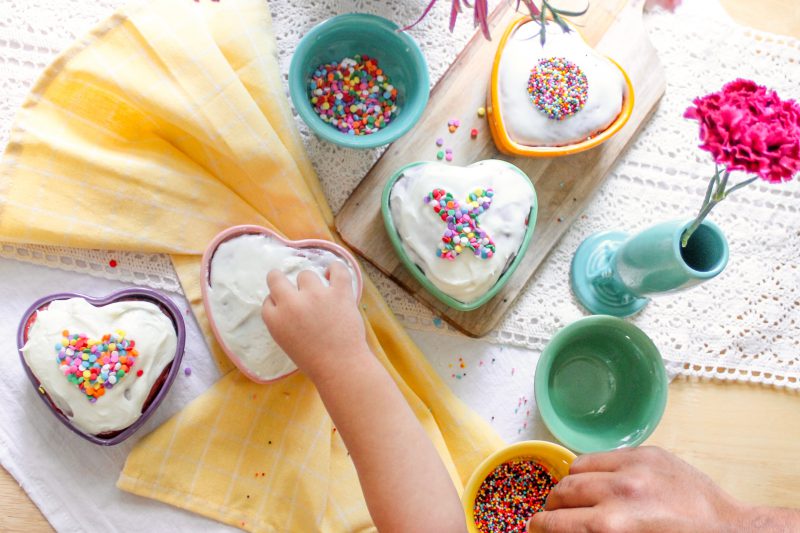
You can enjoy these mini cakes with your kids or have them surprise a loved one with a special gift. We can’t wait to surprise Grandma with a red velvet Heart Ramekin cake in her favorite color, Peony!
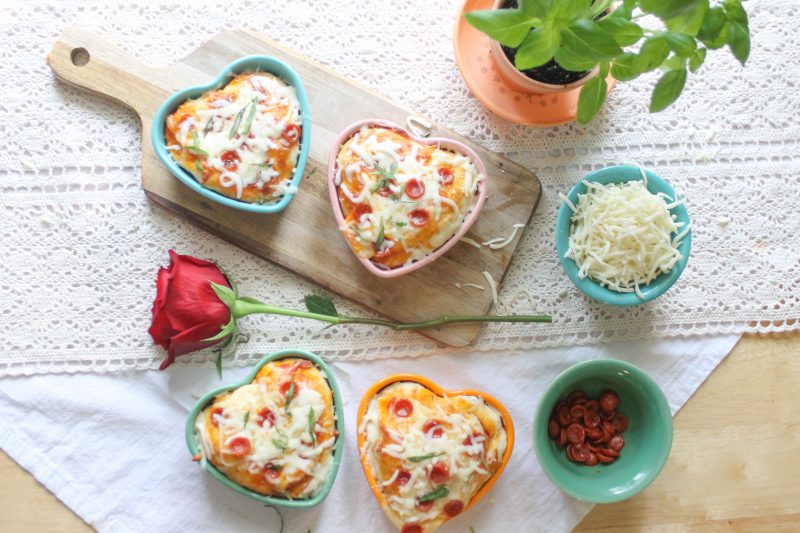
Who doesn’t love heart-shaped pizza? This is our kids’ definition of gourmet on Valentine’s Day! We buttered our Heart Ramekins before pressing in the dough, and then we pushed the dough up the sides for a deep dish effect.
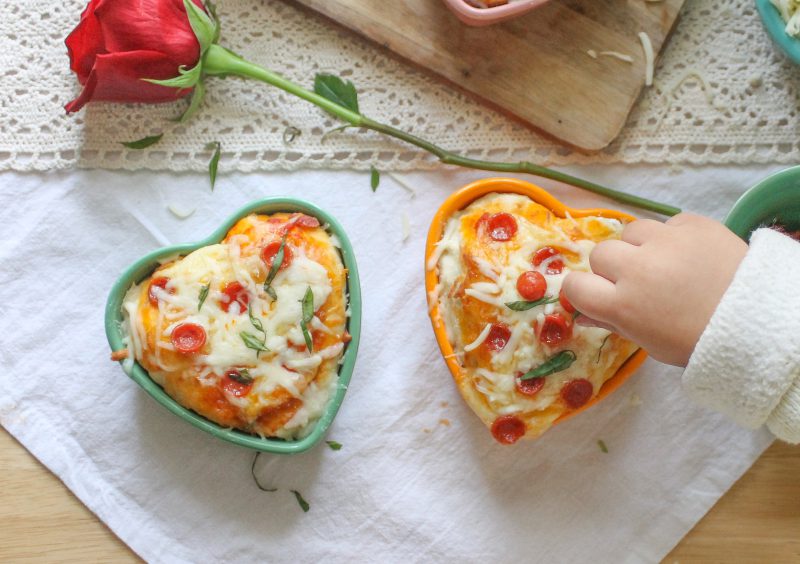
Display the toppings in Bouillons, and let your kids top each individual pizza. We used cheese and mini pepperoni, but you can use whatever your kiddos like best! Bake according to your dough instructions, and garnish with fresh basil.
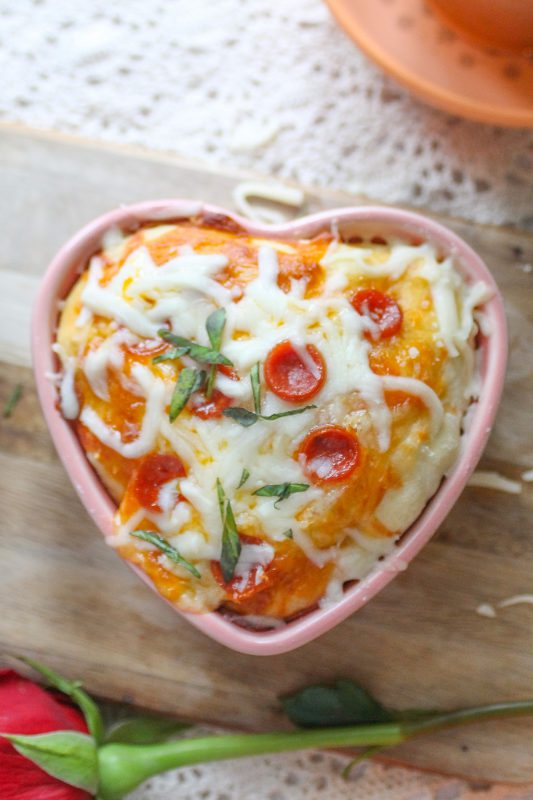
Voila! Two adorable ways you and your kids can use our Heart Ramekins this Valentine’s Day. What do you like to make on Valentine’s Day? Let us know in the comments below.
]]>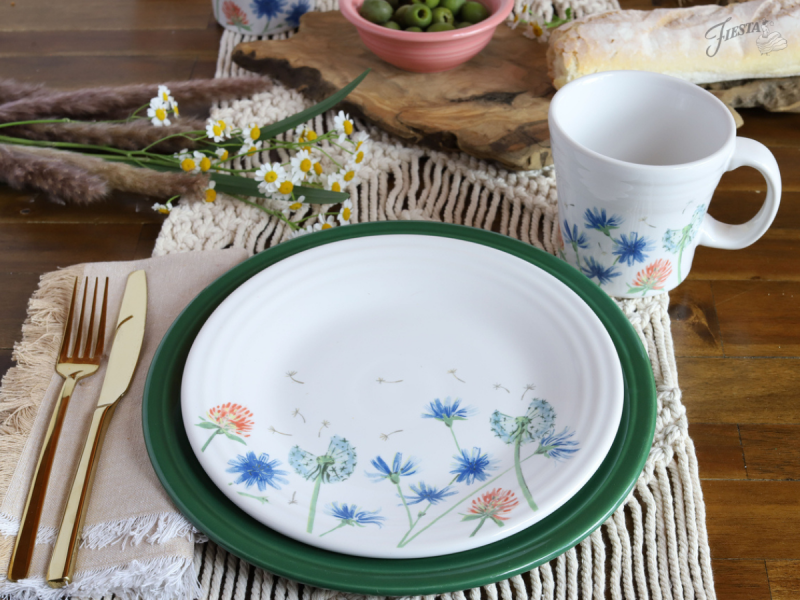
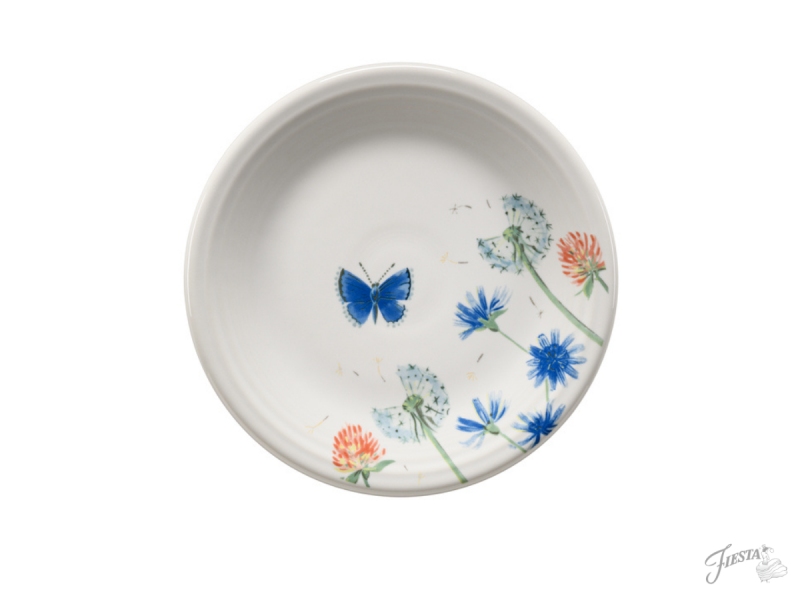
Our new Breezy Floral features colorful dandelions softly blowing in the wind. While the florals recall Spring, this pattern could certainly be used all year long. It’s available in a Luncheon Plate, Salad Plate and a Tapered Mug.
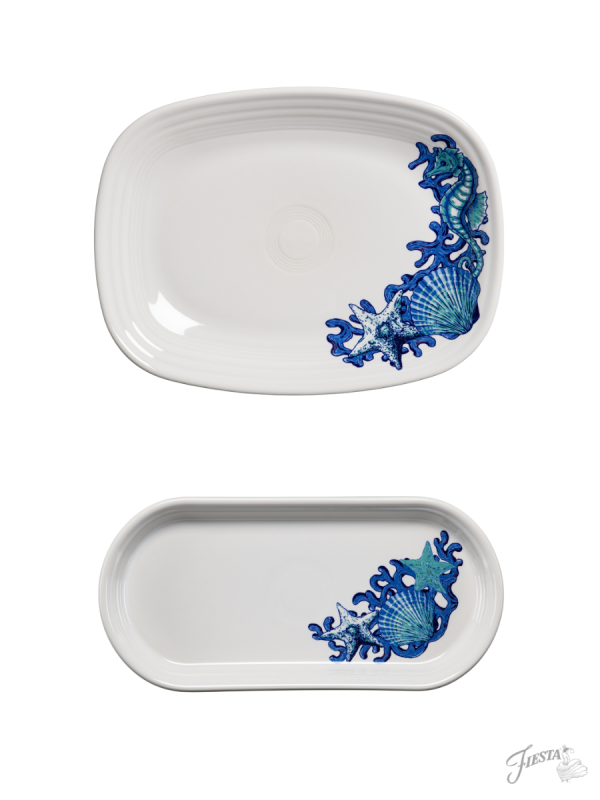
The ever-popular Fiesta Coastal collection continues to expand with two new pieces: a Bread Tray and a Rectangular Platter. The Coastal collection utilizes the spectrum of our Fiesta oceanic blue colors to make up a beautiful scene of seashells, starfish and coral.
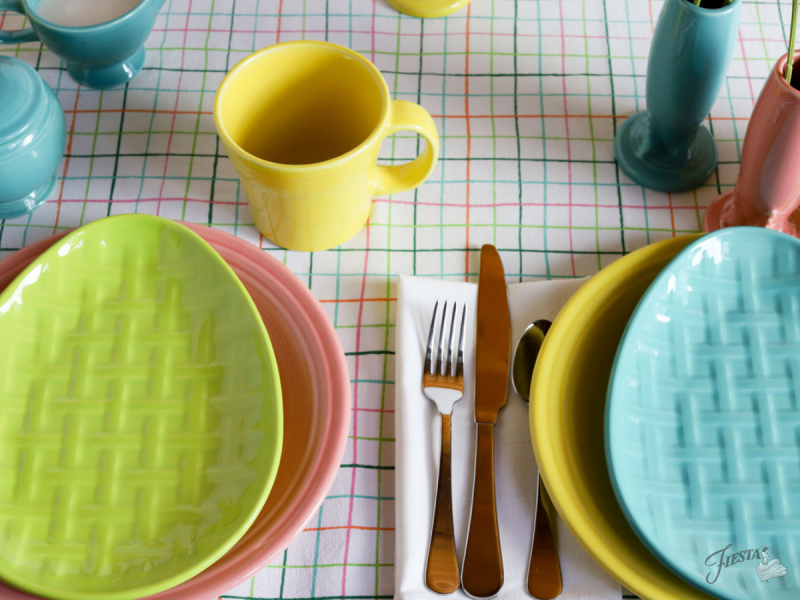
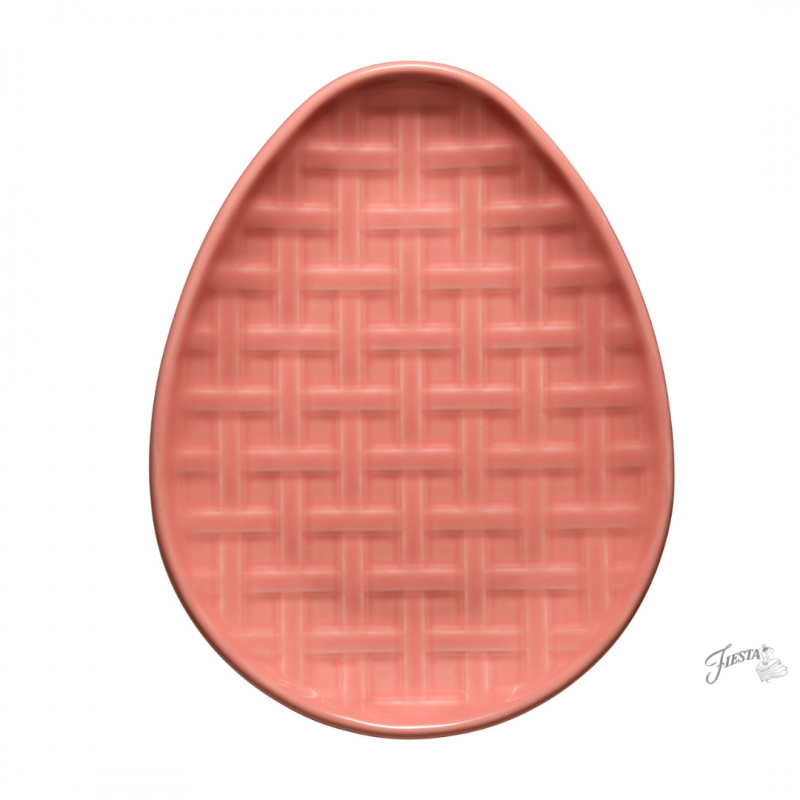
For Easter, a new Embossed Egg Plate is made in Sunflower, Peony, Turquoise, and Lemongrass. The plate is embossed in a basketweave design. Utilize them as individual place settings for salads or desserts. Use as a small appetizer serving tray or candy dish. Or set one out by an entryway or nightstand for keys, wallets, trinkets, and/or jewelry.
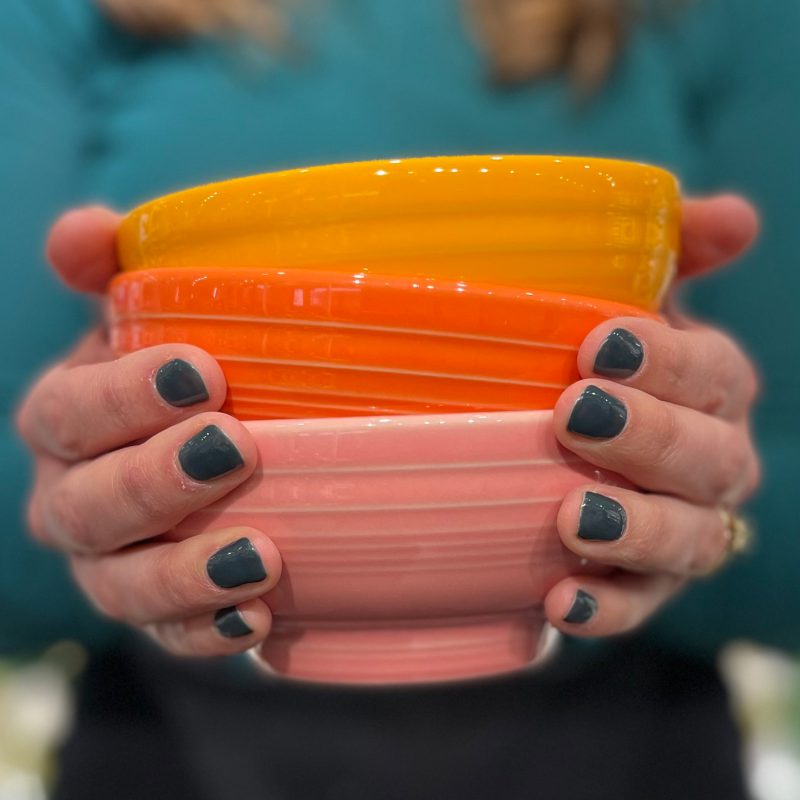
Our Small Footed Bowl was once a retailer exclusive, but now you’ll be able to find it on our website and in our outlet stores! The Small Footed Bowl holds 14 ounces, making it a perfect option for snacks and other small bites. This little bowl will be available in all colors.
Subscribe to our email newsletter and keep an eye out on our social media to see when these new items are available to purchase!
]]>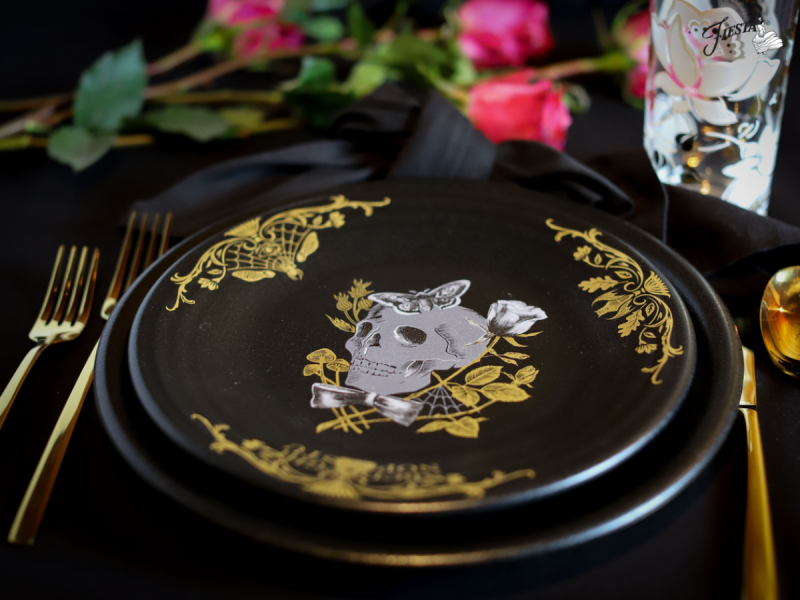
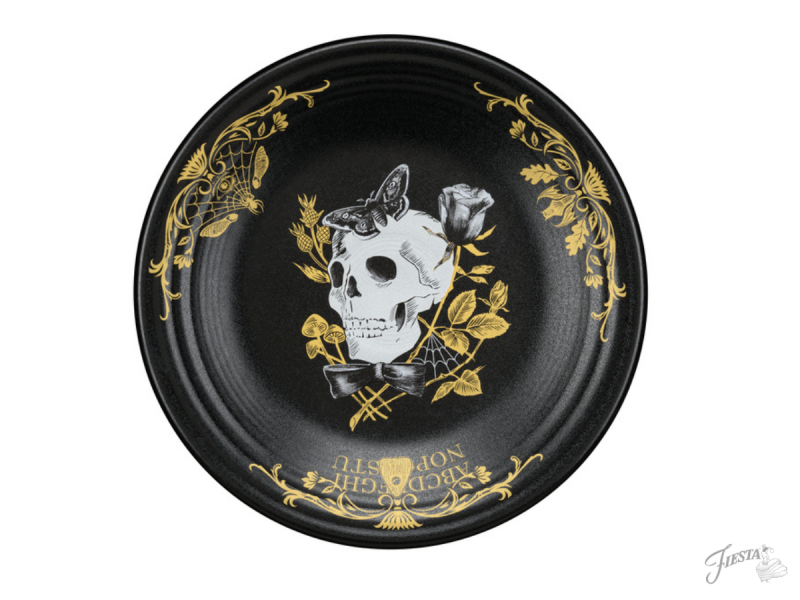
For Halloween or for any fan of the gothic lifestyle year-round, the new Fiesta Gothic Victorian Luncheon Plate is sure to be an instant classic. It’s decorated with a silver metallic skull, butterfly and rose which are surrounded by gold metallic delicate lacey cobwebs and tendrils of ivy and foliage.
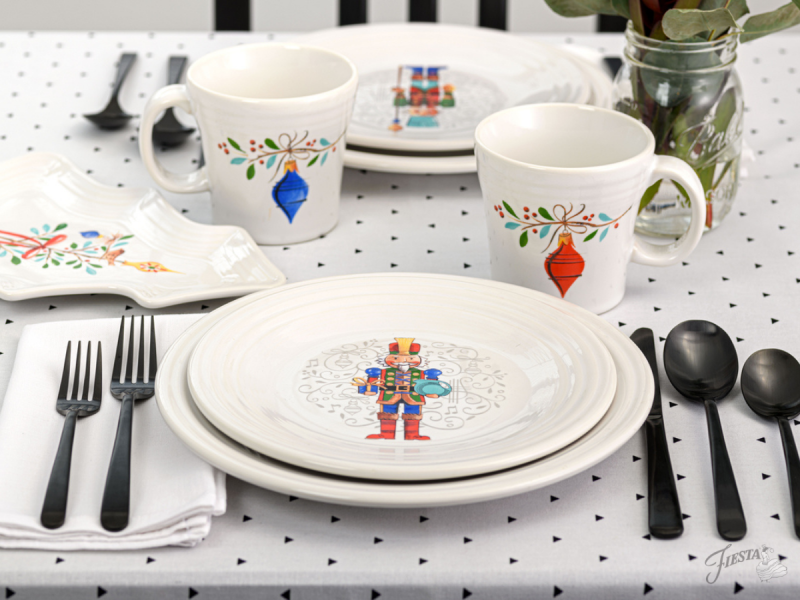
Always a holiday favorite, the traditional Nutcracker gets a Fiesta makeover! The Fiesta Nutcracker collection features two different Nutcracker characters – who actually are composed of Fiesta dishes. Look closely and you’ll see shoulders are salt and pepper shakers, a hat is made of a vase, boots are made of tumblers, and more! The collection wouldn’t be complete without one of the Nutcrackers holding an iconic Fiesta Large Disk Pitcher.
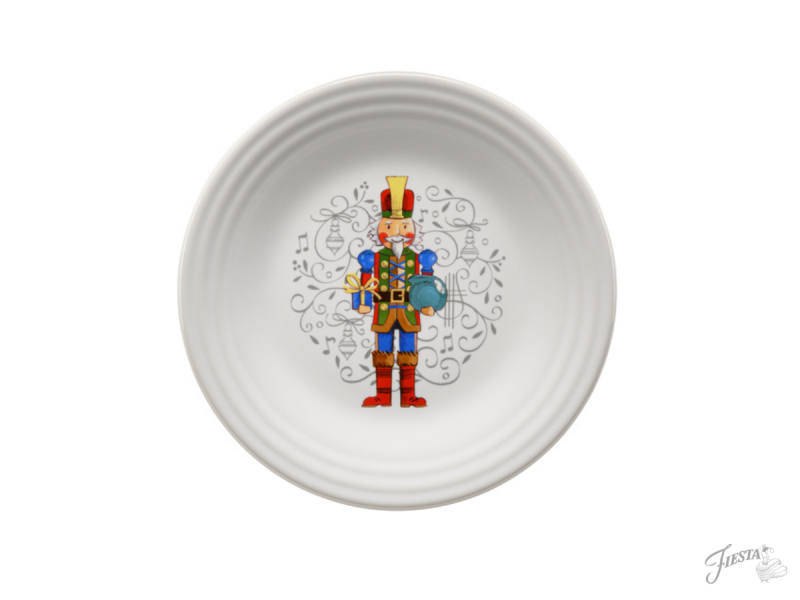
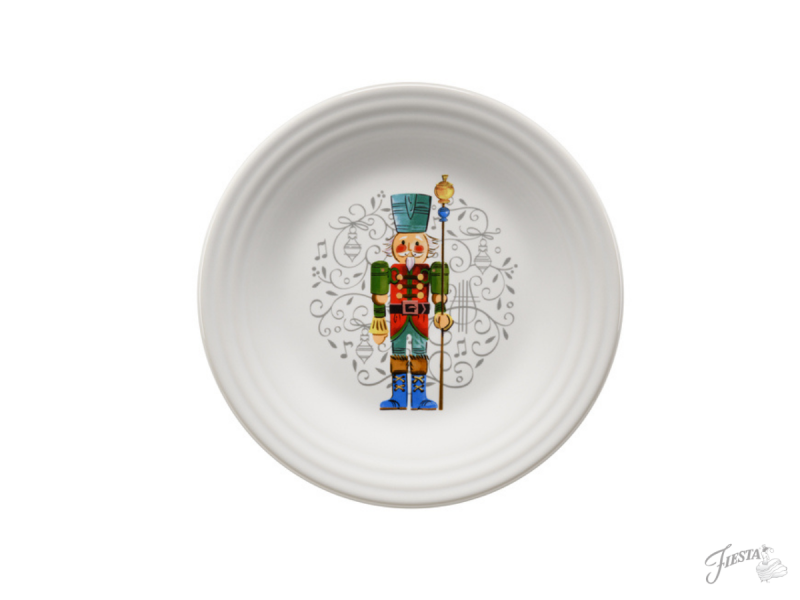
Fiesta launched a complete set of dinnerware in the Fiesta Nutcracker collection that includes:
- two different Luncheon Plates
- a Tapered Mug
- a Salad Plate
- a Rectangular Platter
- an Oval Vegetable Bowl
- a Tree Plate
- a Dinner Plate
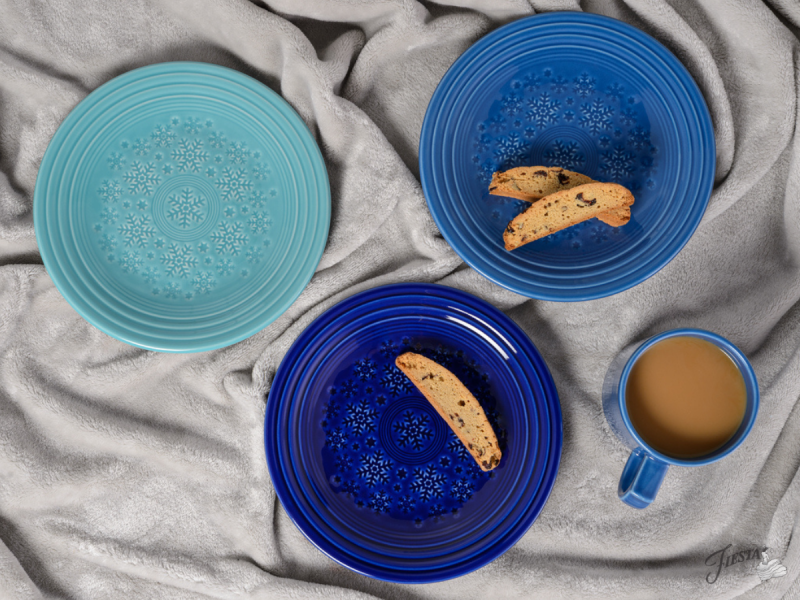
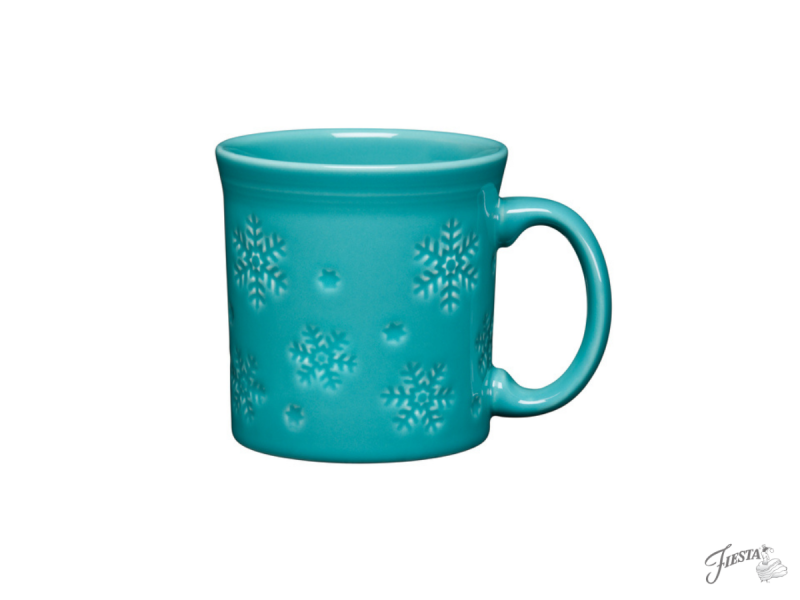
Another new holiday introduction is the Snowflake Embossed collection. It includes both a Luncheon Plate and a Java Mug. A delicate embossed snowflake and star pattern covers the surface of each of the pieces. It’s available in the following colors: Turquoise, Lapis and Twilight.
Which of these collections are you most excited to add to your tabletop?
]]>