Carol ]]>
 ]]>
]]>I was fortunate to be one of 12 participants in a 6-day Master Workshop on Color, team-taught by Maggie Maggio and Lindly Haunani in Portland last week. Learning from these two together again was one of the best learning experiences I’ve had in many, many years.
I had trouble focusing my attention on production in the workshop, there were so many ideas in the air, but now I am home and totally immersed in what I learned. I made this veneer using a technique Lindly taught. It is very different from my usual work – a good reminder that there is always more to learn about color and polymer, especially from Master Teachers and surrounded by gifted students.
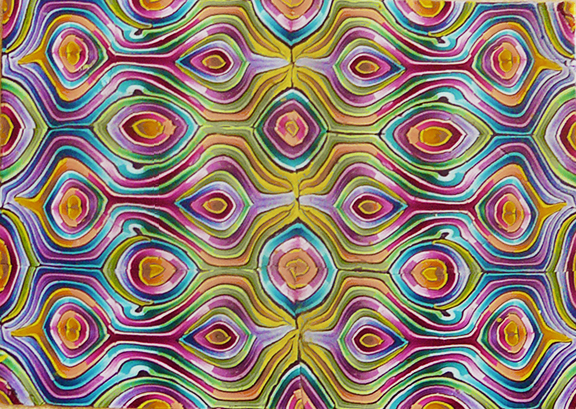
My “wavy ikat” Veneer
The workshop was held to celebrate the 10-year anniversary of the publication of Maggie and Lindly’s book” Polymer Clay Color Inspirations: Techniques and Jewelry Projects for Creating Successful Palettes.” It was particularly special for me because Maggie and Lindly (as a team) were among my first professional polymer clay teachers (Ravensdale, 1996) and I participated in a small way in the development of the book. They have only taught as a team one or two times since then.
The celebration included a potluck put on the local polymer clay guild that featured a cake with a picture of the book cover made into frosting.
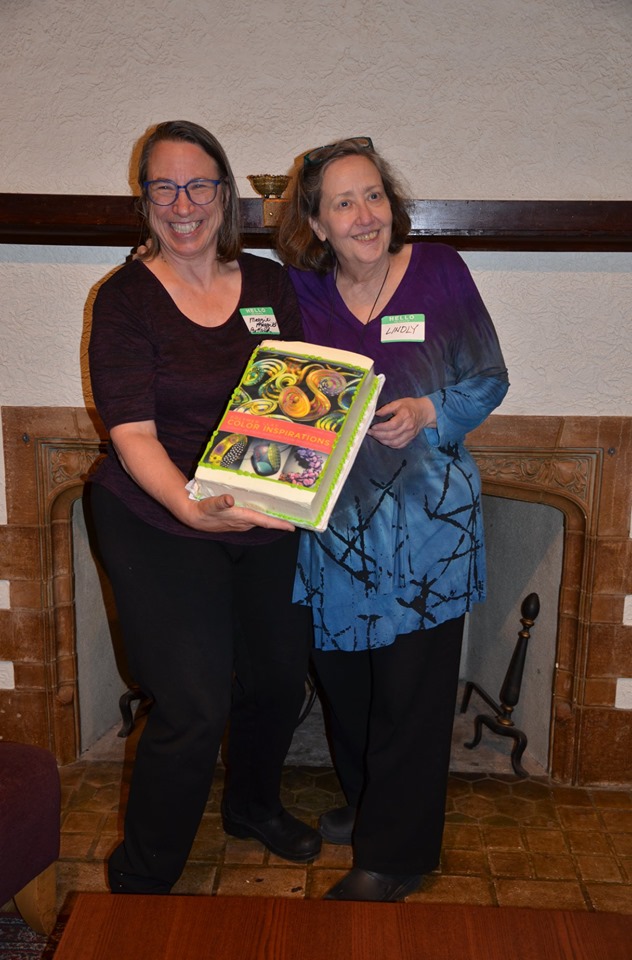
Celebration Cake
In my next post I will share more of the work I have done since the workshop.
]]>
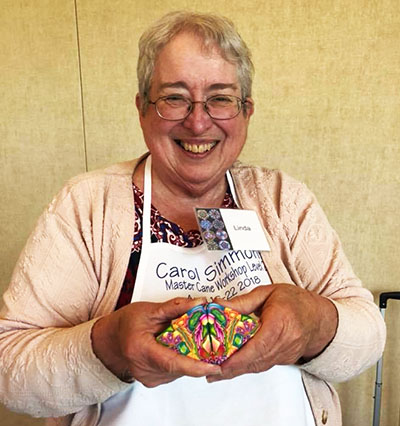
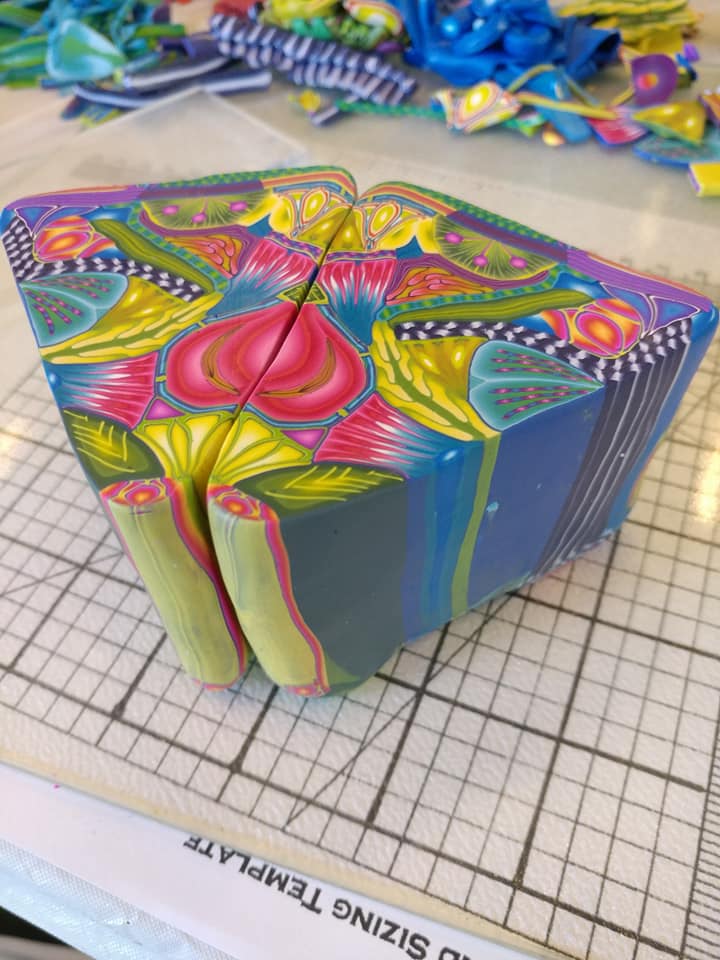
Here are some more images from that day.
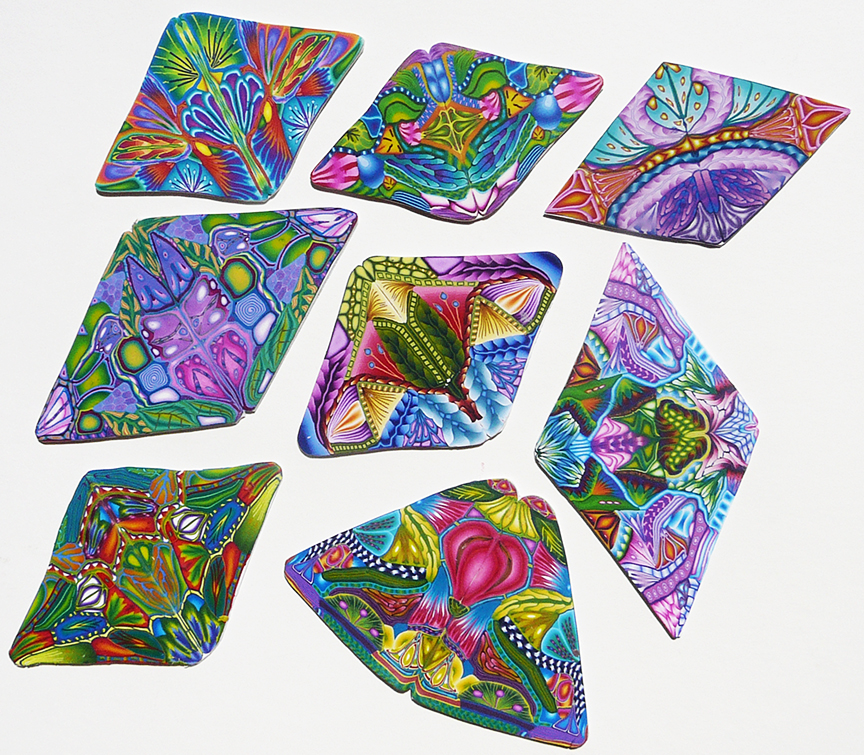
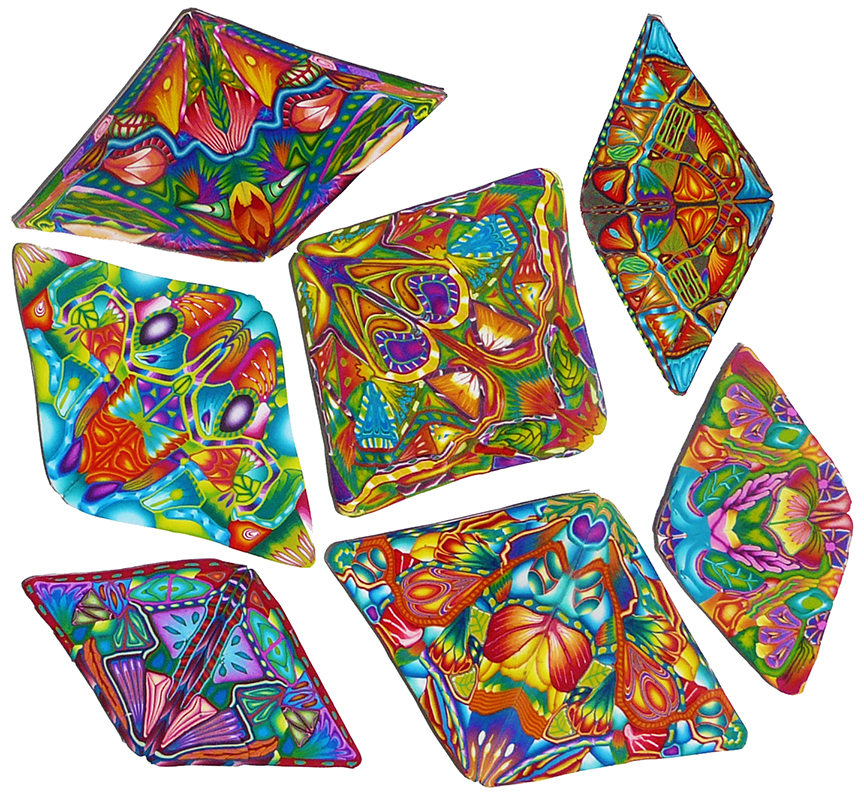
The large image above shows half of new cane sitting on a work surfaces. The two pictures below that show slices of all the canes made that day.
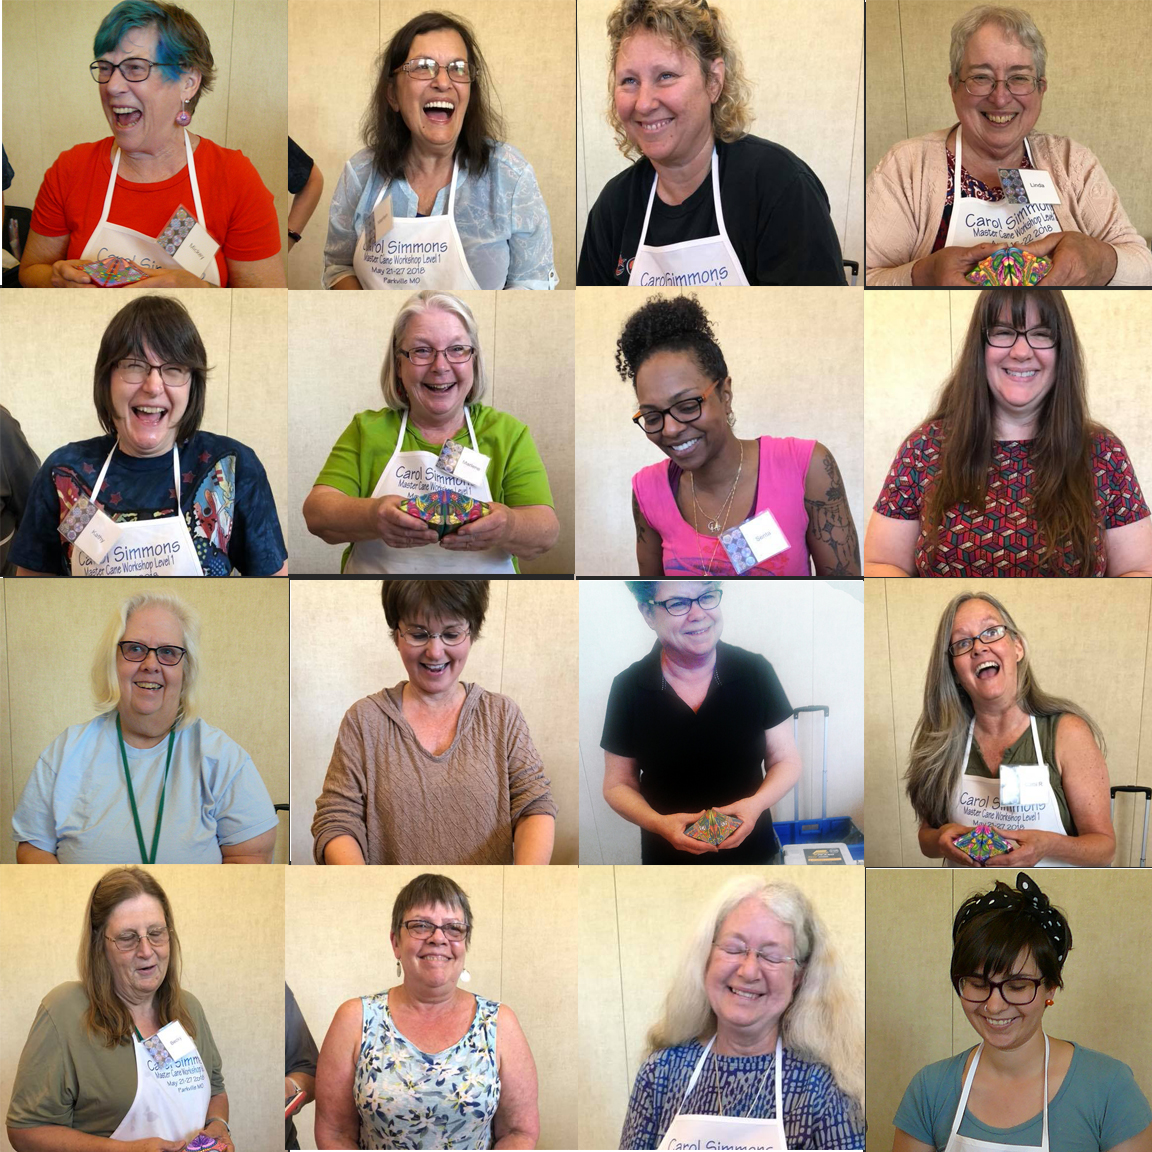
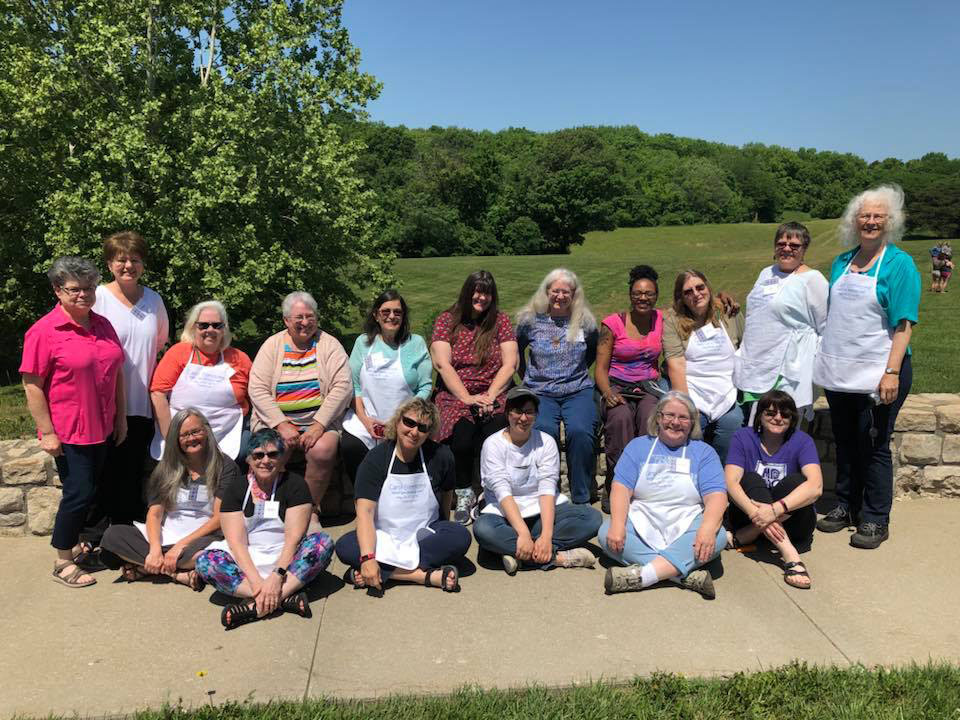
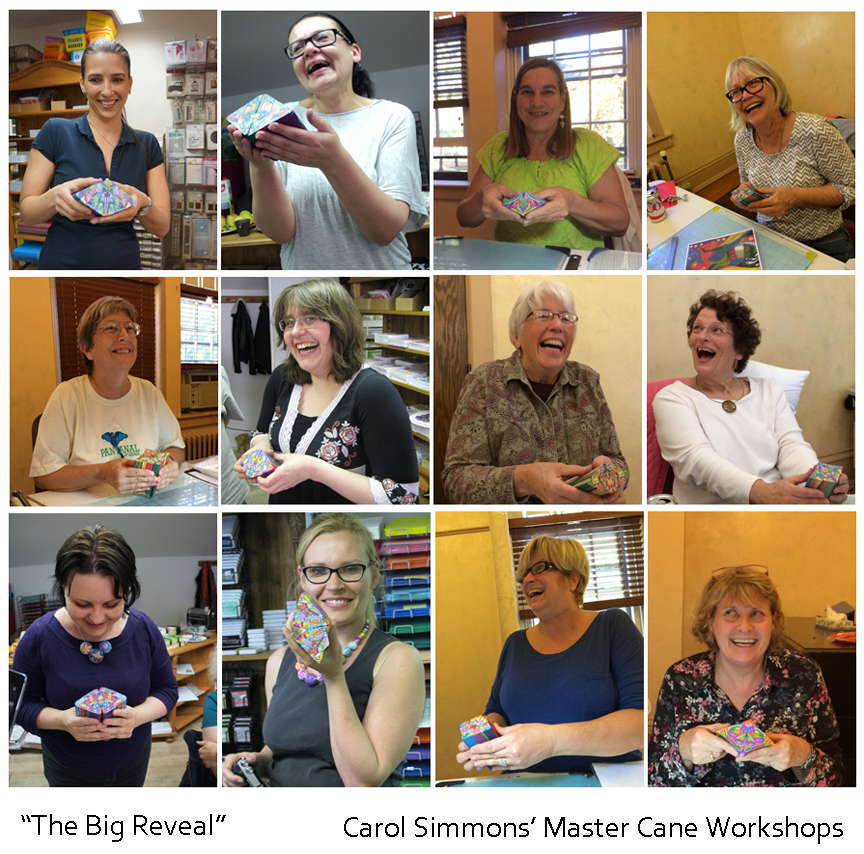
Here are closeups of the students faces when they cut open their canes and saw the designs inside for the first time.
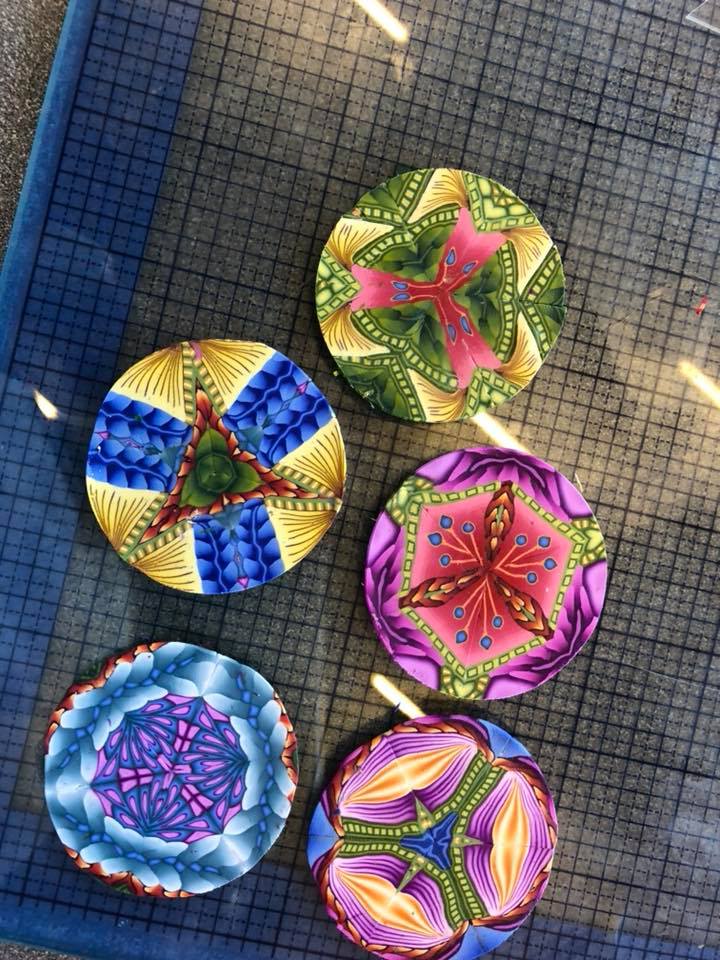
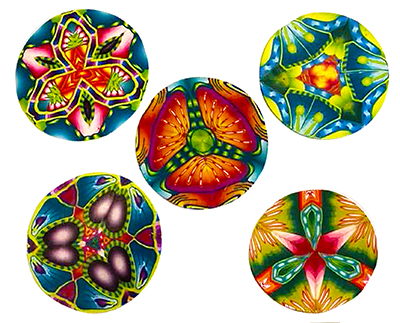
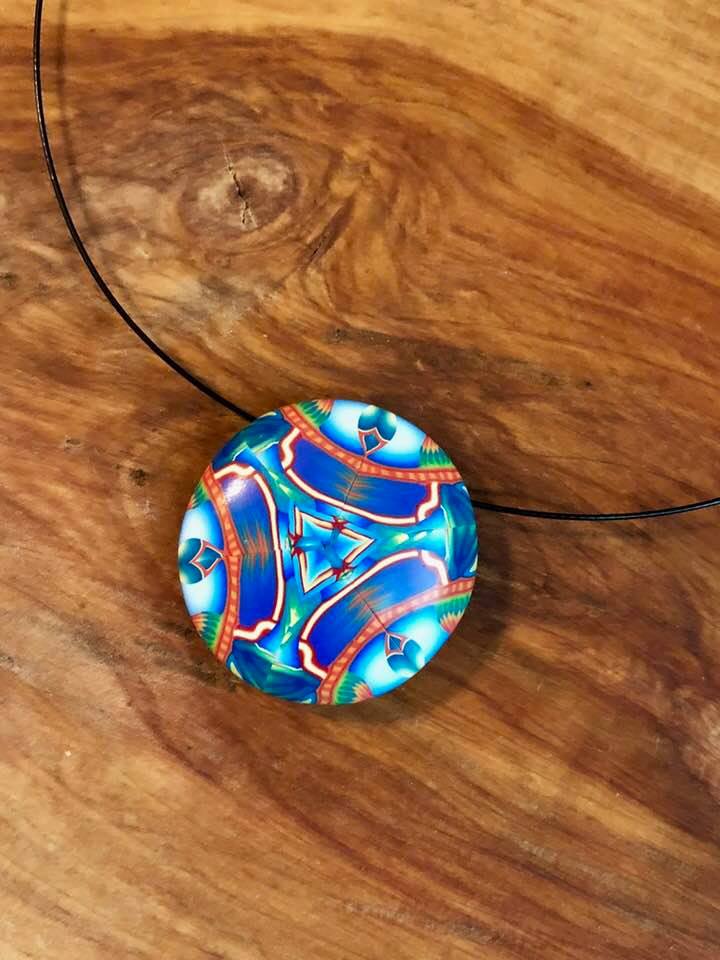
Some people had time to make sections of their master cane slices into kaleidoscope designs that same day. A few even had time to make pendants.
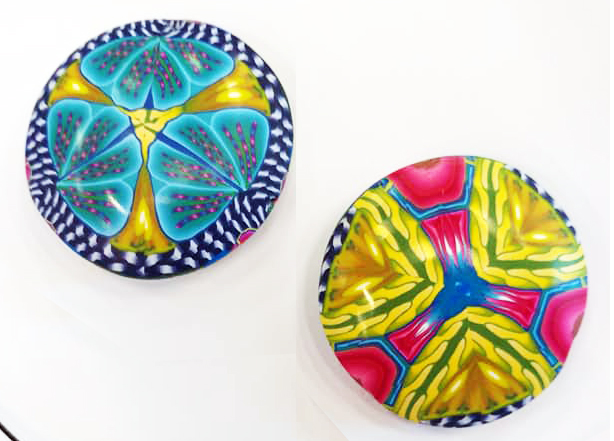
What a great day!
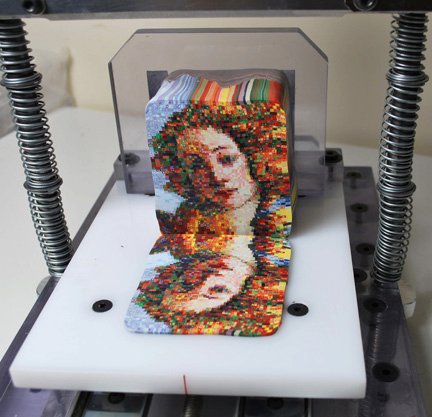
This picture shows Julie Eakes’ face cane on the very first slicer, made in 2012. Julie is using her slicer to this day to slice even larger canes.
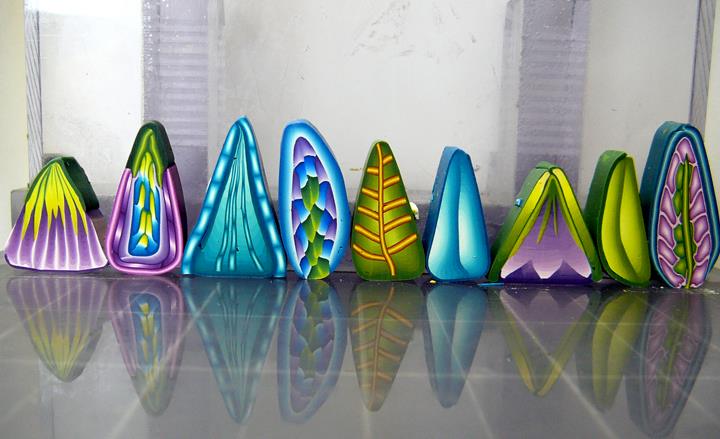
The picture below shows my canes lined up on the 5-inch-wide slicing surface so that they can be sliced all at once. This is the way I use the slicer most often.
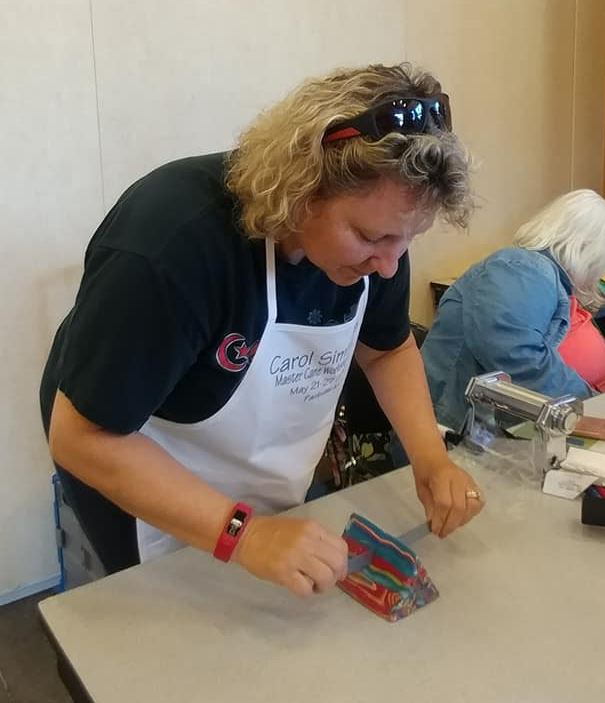
The picture below shows the current, improved slicer being used to cut a “Master Cane” in my latest workshop.
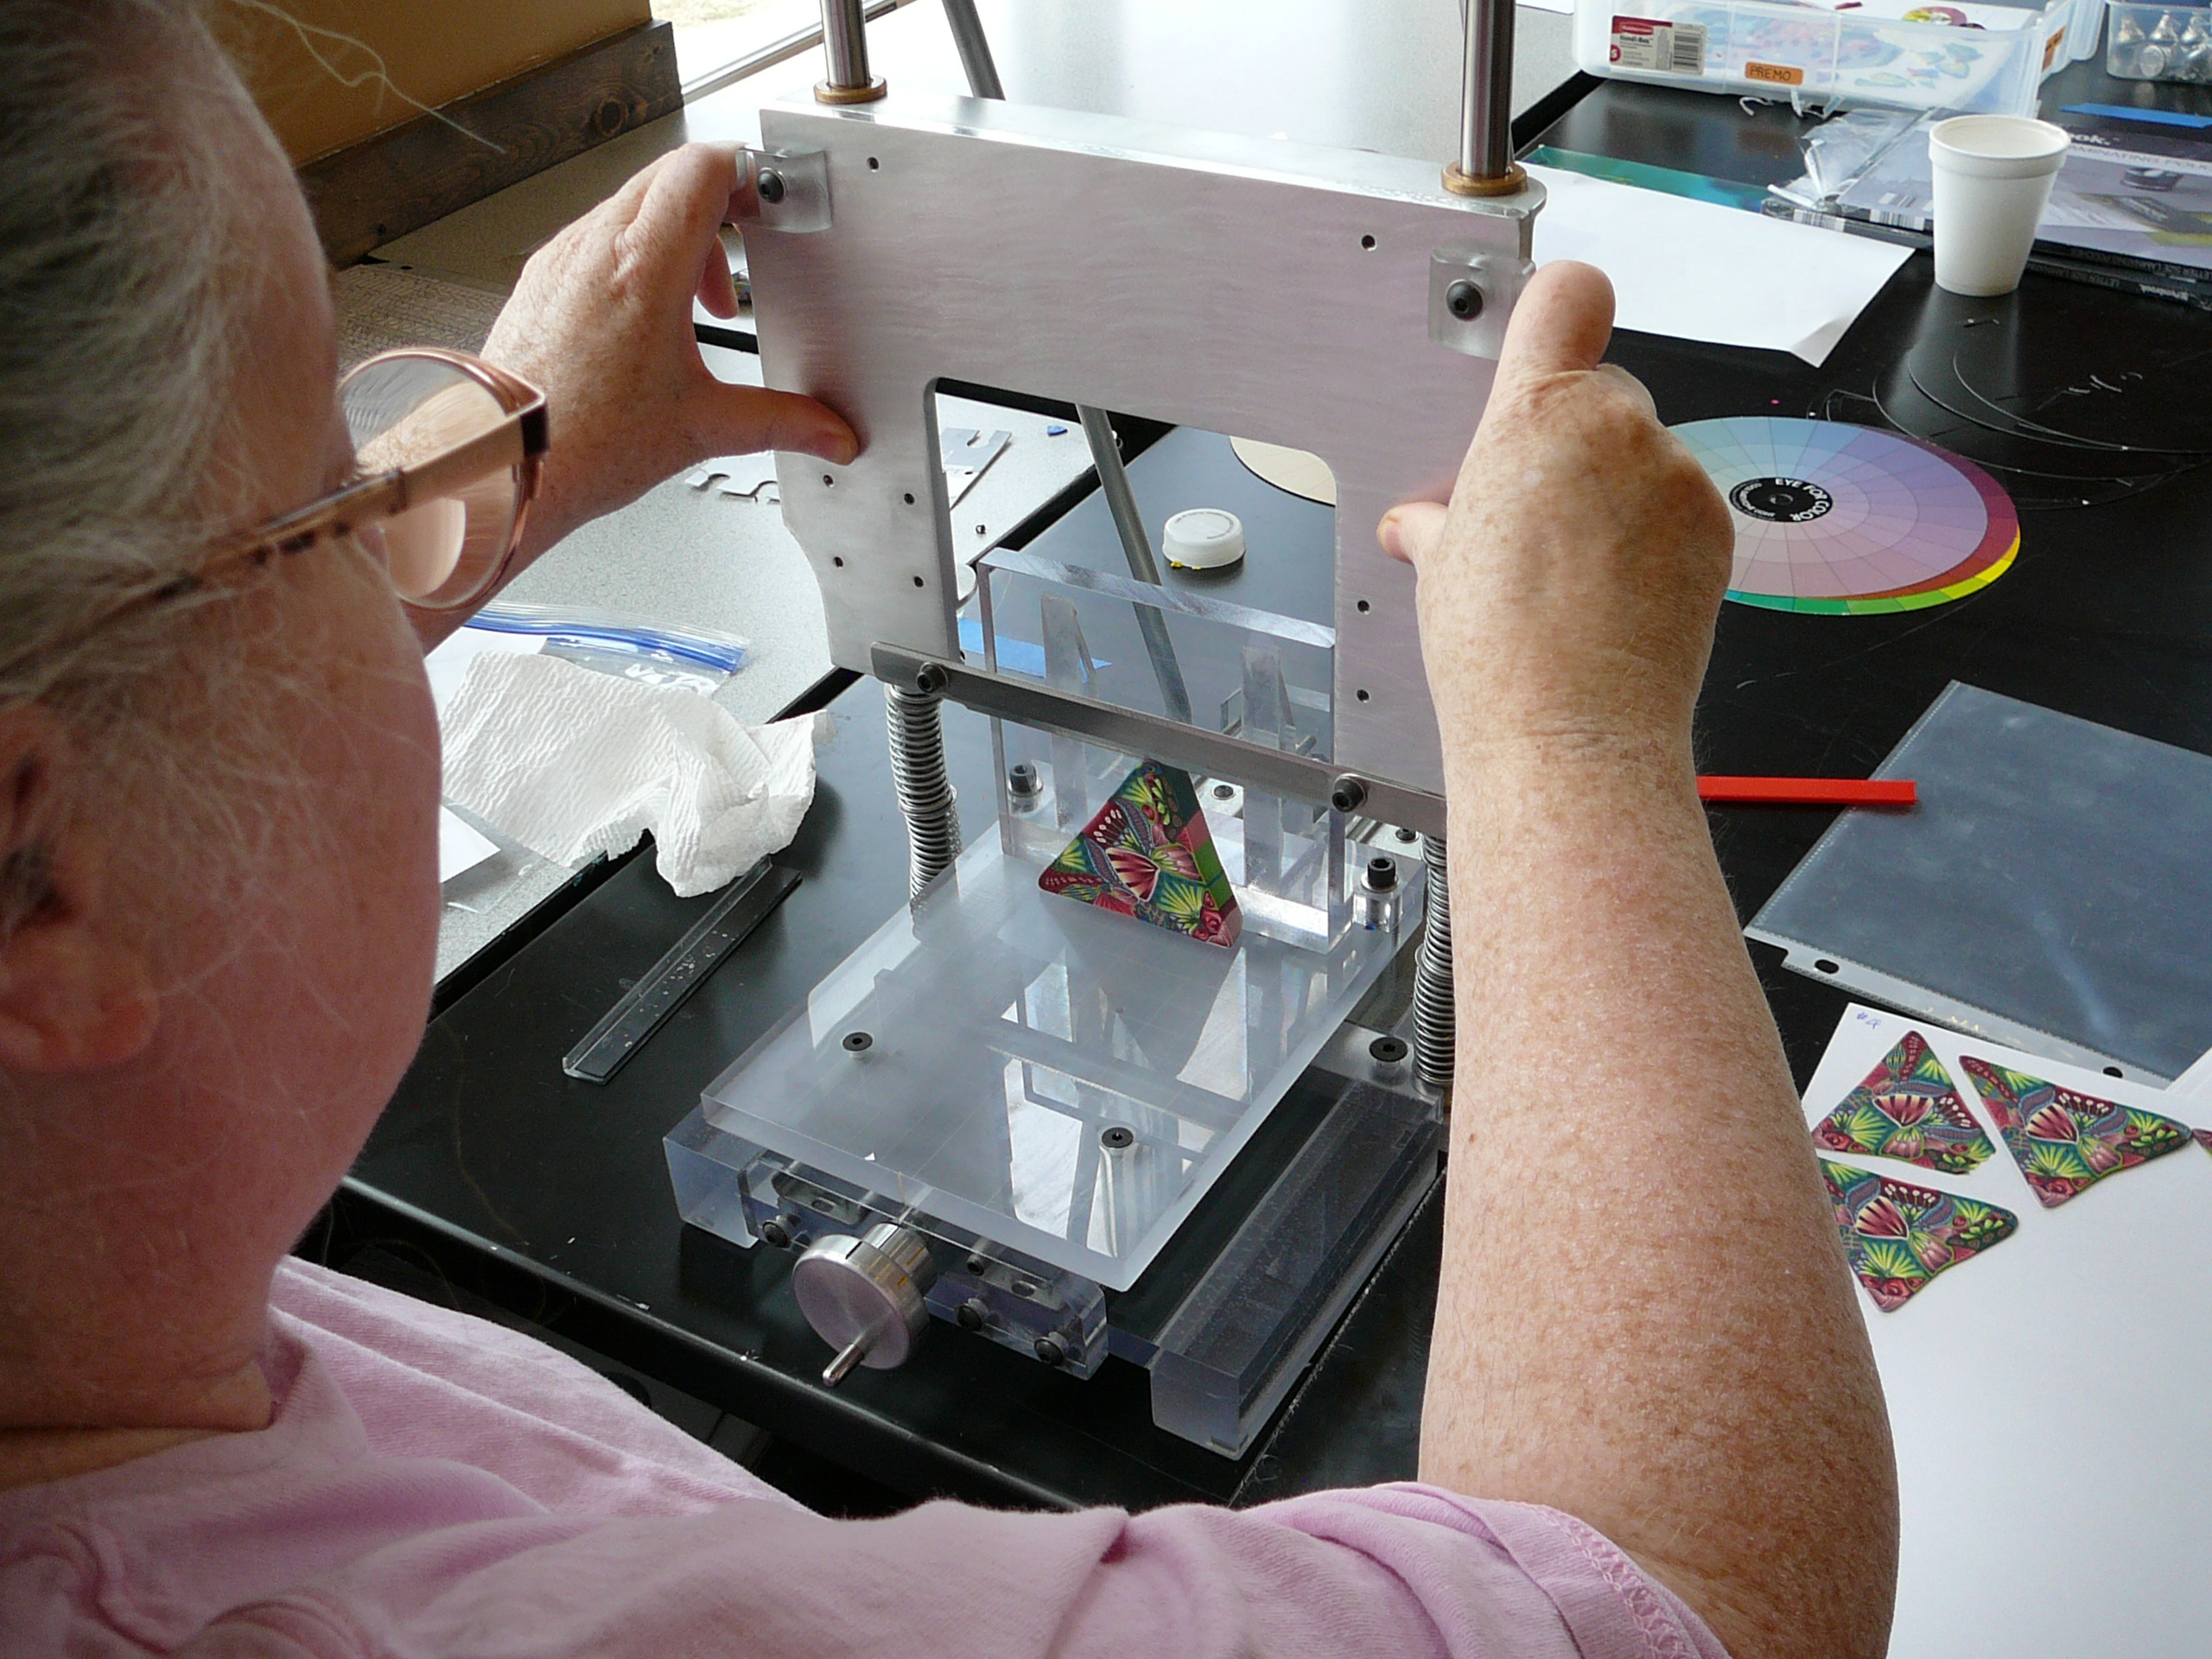
The specifications for the slicer are as follows:
- Overall dimensions: 11.5” wide x 14.75” long x 16.75” tall.
- Weight is just under 13 pounds.
- Capacities:
- Maximum slice area: 5” wide x 4.5” tall.
- Maximum cane length: about 5”.
- Minimum slice thickness: 1/64” although consistency is better at 1/32″
- The slicer can be disassembled for easier packing.
- Several accessories are available.
- Price $850 plus shipping.
SAFETY
The Simmons Polymer Clay Slicer is only meant for use with uncured (unhardened) polymer clay. Users must follow all safety precautions listed in the “Instructions for Use.” NEVER use it with food or allow food to contact it.
HOW TO ORDER A SLICER
The slicers are manufactured in small batches. There is already a waiting list. To add your name to the waiting list FILL OUT THIS FORM. This is the ONLY way to add your name to the waiting list.
PLEASE NOTE: If you filled out the form prior to May 1, 2018, we ask that you fill it out again so that we can update our records.
]]>
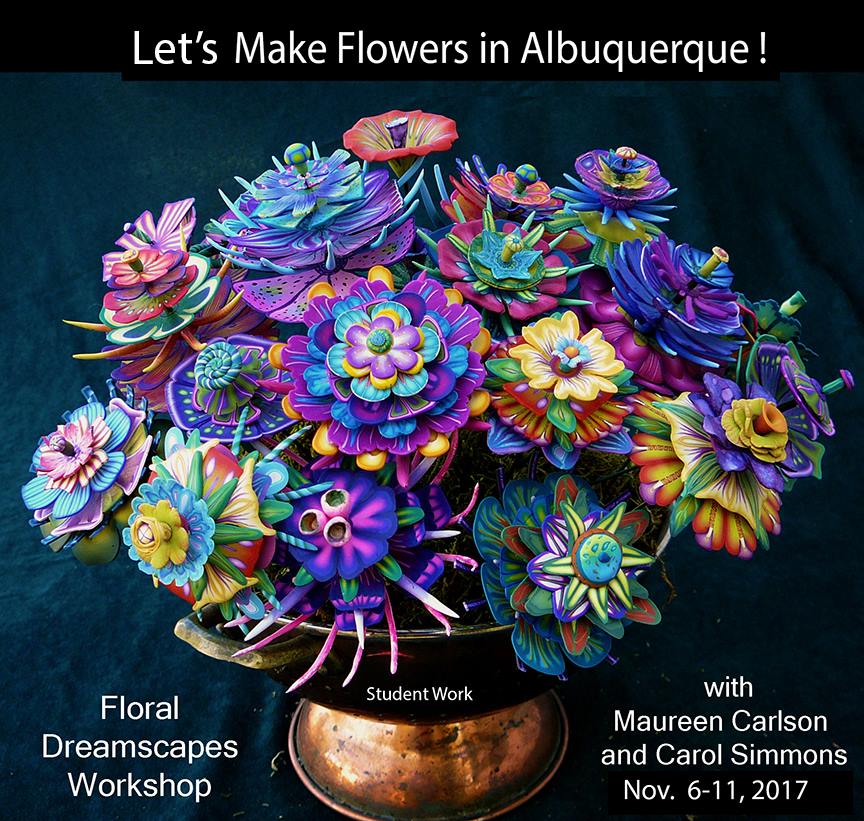
Information Brochure: 2018 Floral Dreamscapes in Ireland
Location Information (We will make the reservations for you.)
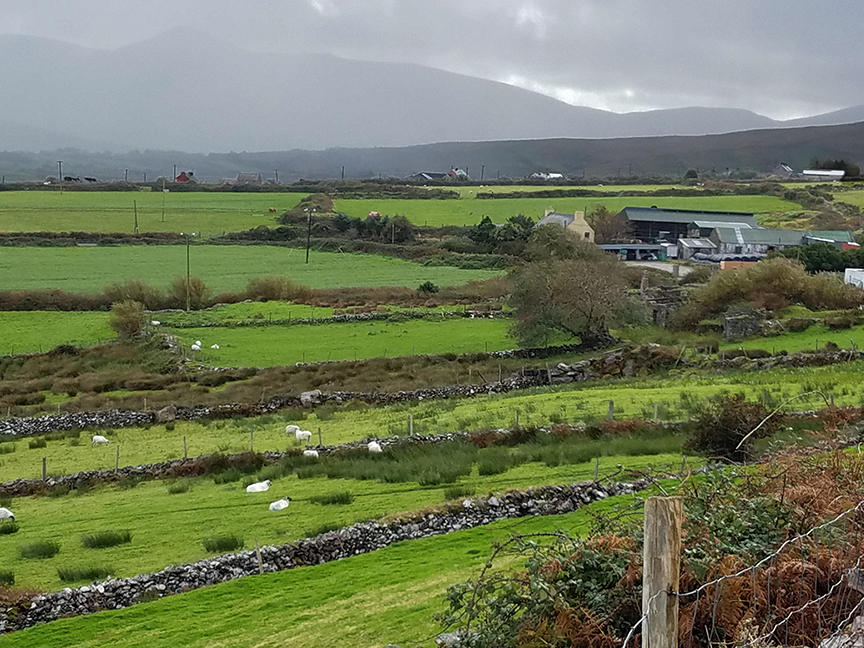

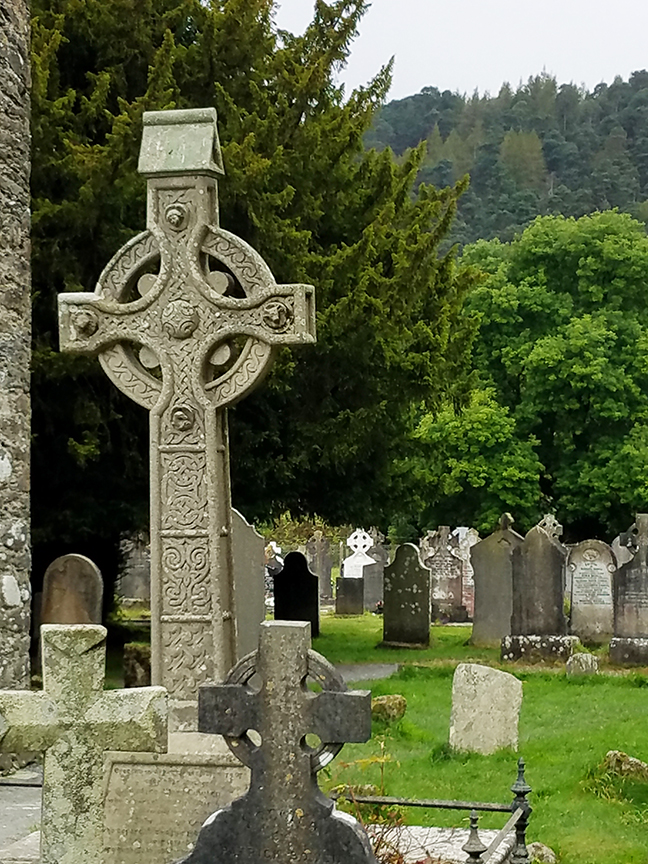

Next Master Cane Workshop
I’ve reserved the Heartland Retreat Center outside Kansas City for May 21-27 on a temporary basis while I see if there is enough interest to hold the workshop. (It will be the ONLY Master Cane Level 1 workshop I offer in the US in 2018.) If you would like to take the workshop you can register here http://
]]>
When Judith Skinner introduced her revolutionary blend technique, she started with two triangles of different colors lined up along their hypoteneuses to form a rectangle. As I explained in a 2011 post, the straight line between the colors should be a curve if the goal is to create an even color gradient. That is:
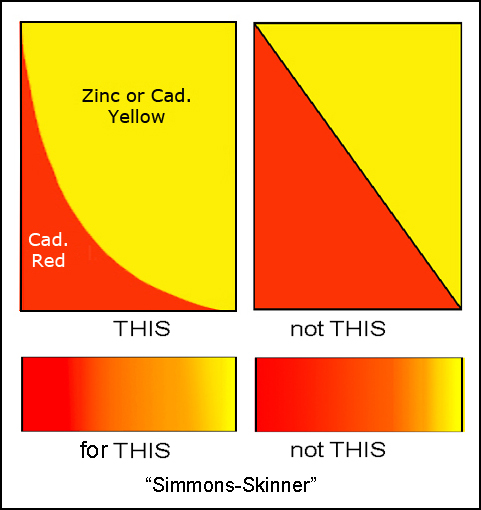
This post explains how you can determine the shape of that curve. Before I do that, though, I should remind you how to mix simple color scales (a concept Maggie Maggie introduced to the polymer world.)
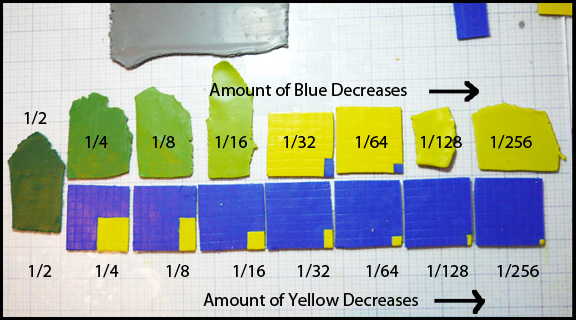
This image shows color scales between zinc yellow and ultramarine in progress. Look first at the bottom row. It shows how the clay was measured out before mixing. On the far left is the 1/2 and 1/2 mixture of the two colors. Moving from left to right along the bottom, each square contains half as much yellow as the one before it. In the top row the yellow increases toward the right. This type of sequence in which an amount is halved (or doubled) in each step is called a geometric progression. This 2011 post explains the process in more detail. A second approach is described in Polymer Clay Color Inspirations, a book by Maggie Maggio and Lindly Haunani.
Before you can create your pattern you must mix the geometric progression for the two colors you are using. After mixing the clay roll into into thin sheets and punch 2 small circles in each mixture. Leave everything on your work surface, labeled, until you are ready to use it.
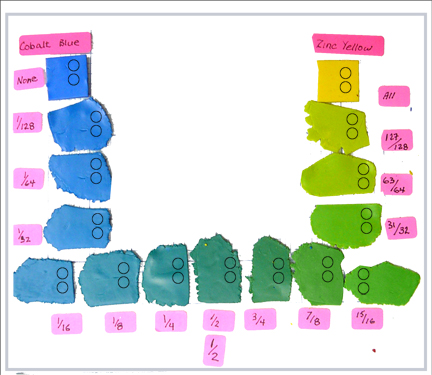
Color mixtures from cobalt to zinc on labeled sheet of glass.
You are going to place one set of dots along the bottom of a sheet of graph paper that looks like this.
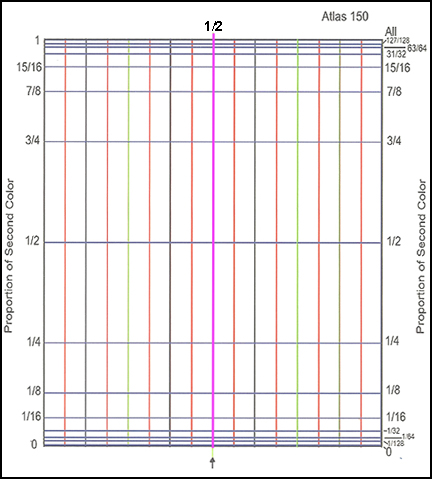
“Log-Normal” Graph Paper for Blend Patterns
This paper looks complicated, but it’s not. You can make it yourself:
- Draw a rectangle the width of your pasta machine and as tall as you want your sheet of clay to be.
- Draw a vertical line down the center. Write 1/2 just above it.
- Draw several equally spaced lines to the left and the right of the center line.
- Measure halfway up from the bottom line of the rectangle and draw a horizontal line all the way across. Label it 1/2 at both ends.
- Measure 1/4 of the way up and draw a horizontal line all the way across. Label it 1/4 at both ends.
- Measure 3/4 of the way up and draw a horizontal line all the way across. Label it 3/4 at both ends.
- Do the same for each of these proportions: 1/128, 1/64, 1/32, 1/16, 15/16, 31/32, 63/64, 127/128. The graph should look like the picture above.
Place the graph inside a sheet protector so the clay dots will stick to the surface. Arrange the dots along the bottom line of the graph, spreading them out the way you want the hues spread out in the final blend. Ignore the vertical lines while you do this. (Note: the fractions on the bottom will not be on the graph – they are put here to indicate the proportions of the two colors in the mixtures.)
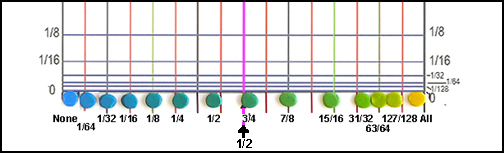
Graph with dots spread across bottom. (Labels are not necessary.)
Now you are ready to put the second set of dots on the graph to form the curve. The general idea is to put each new dot directly above its identical partner. The distance above is determined by the proportions of the 2 colors in the dot. For example, the 1/2 blue and 1/2 yellow dot goes right on top of the hoizontal line labeled 1/2.
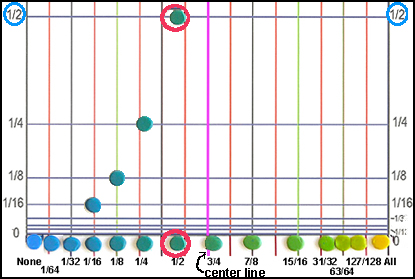
Notice that the dot is more than half way across the graph even though it is half yellow and blue. That is because the mixture is blue-green and I want the center of the blend to be green. The 3/4 mixture is closer to true green. Repeat this step with all of the other dots. When you are finished your graph should look like the bottom left. 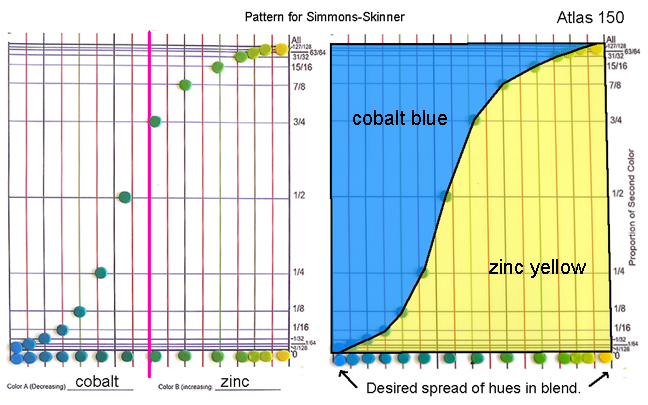
To make the pattern, mark the locations of the centers of the dots on a new sheet of graph paper. Connect the dots, draw a rectangle around the outside and your pattern is finished. Notice that the curved line does not go all the way to the corner on either side. This ensures that you will have a narrow strip of the original colors at the beginning and end of the blend. Label the pattern with the colors you used as shown above. This is important because the pattern for each color combination will be different.
]]>