The post Chocolate Pie Recipe appeared first on Baked Bree.
]]>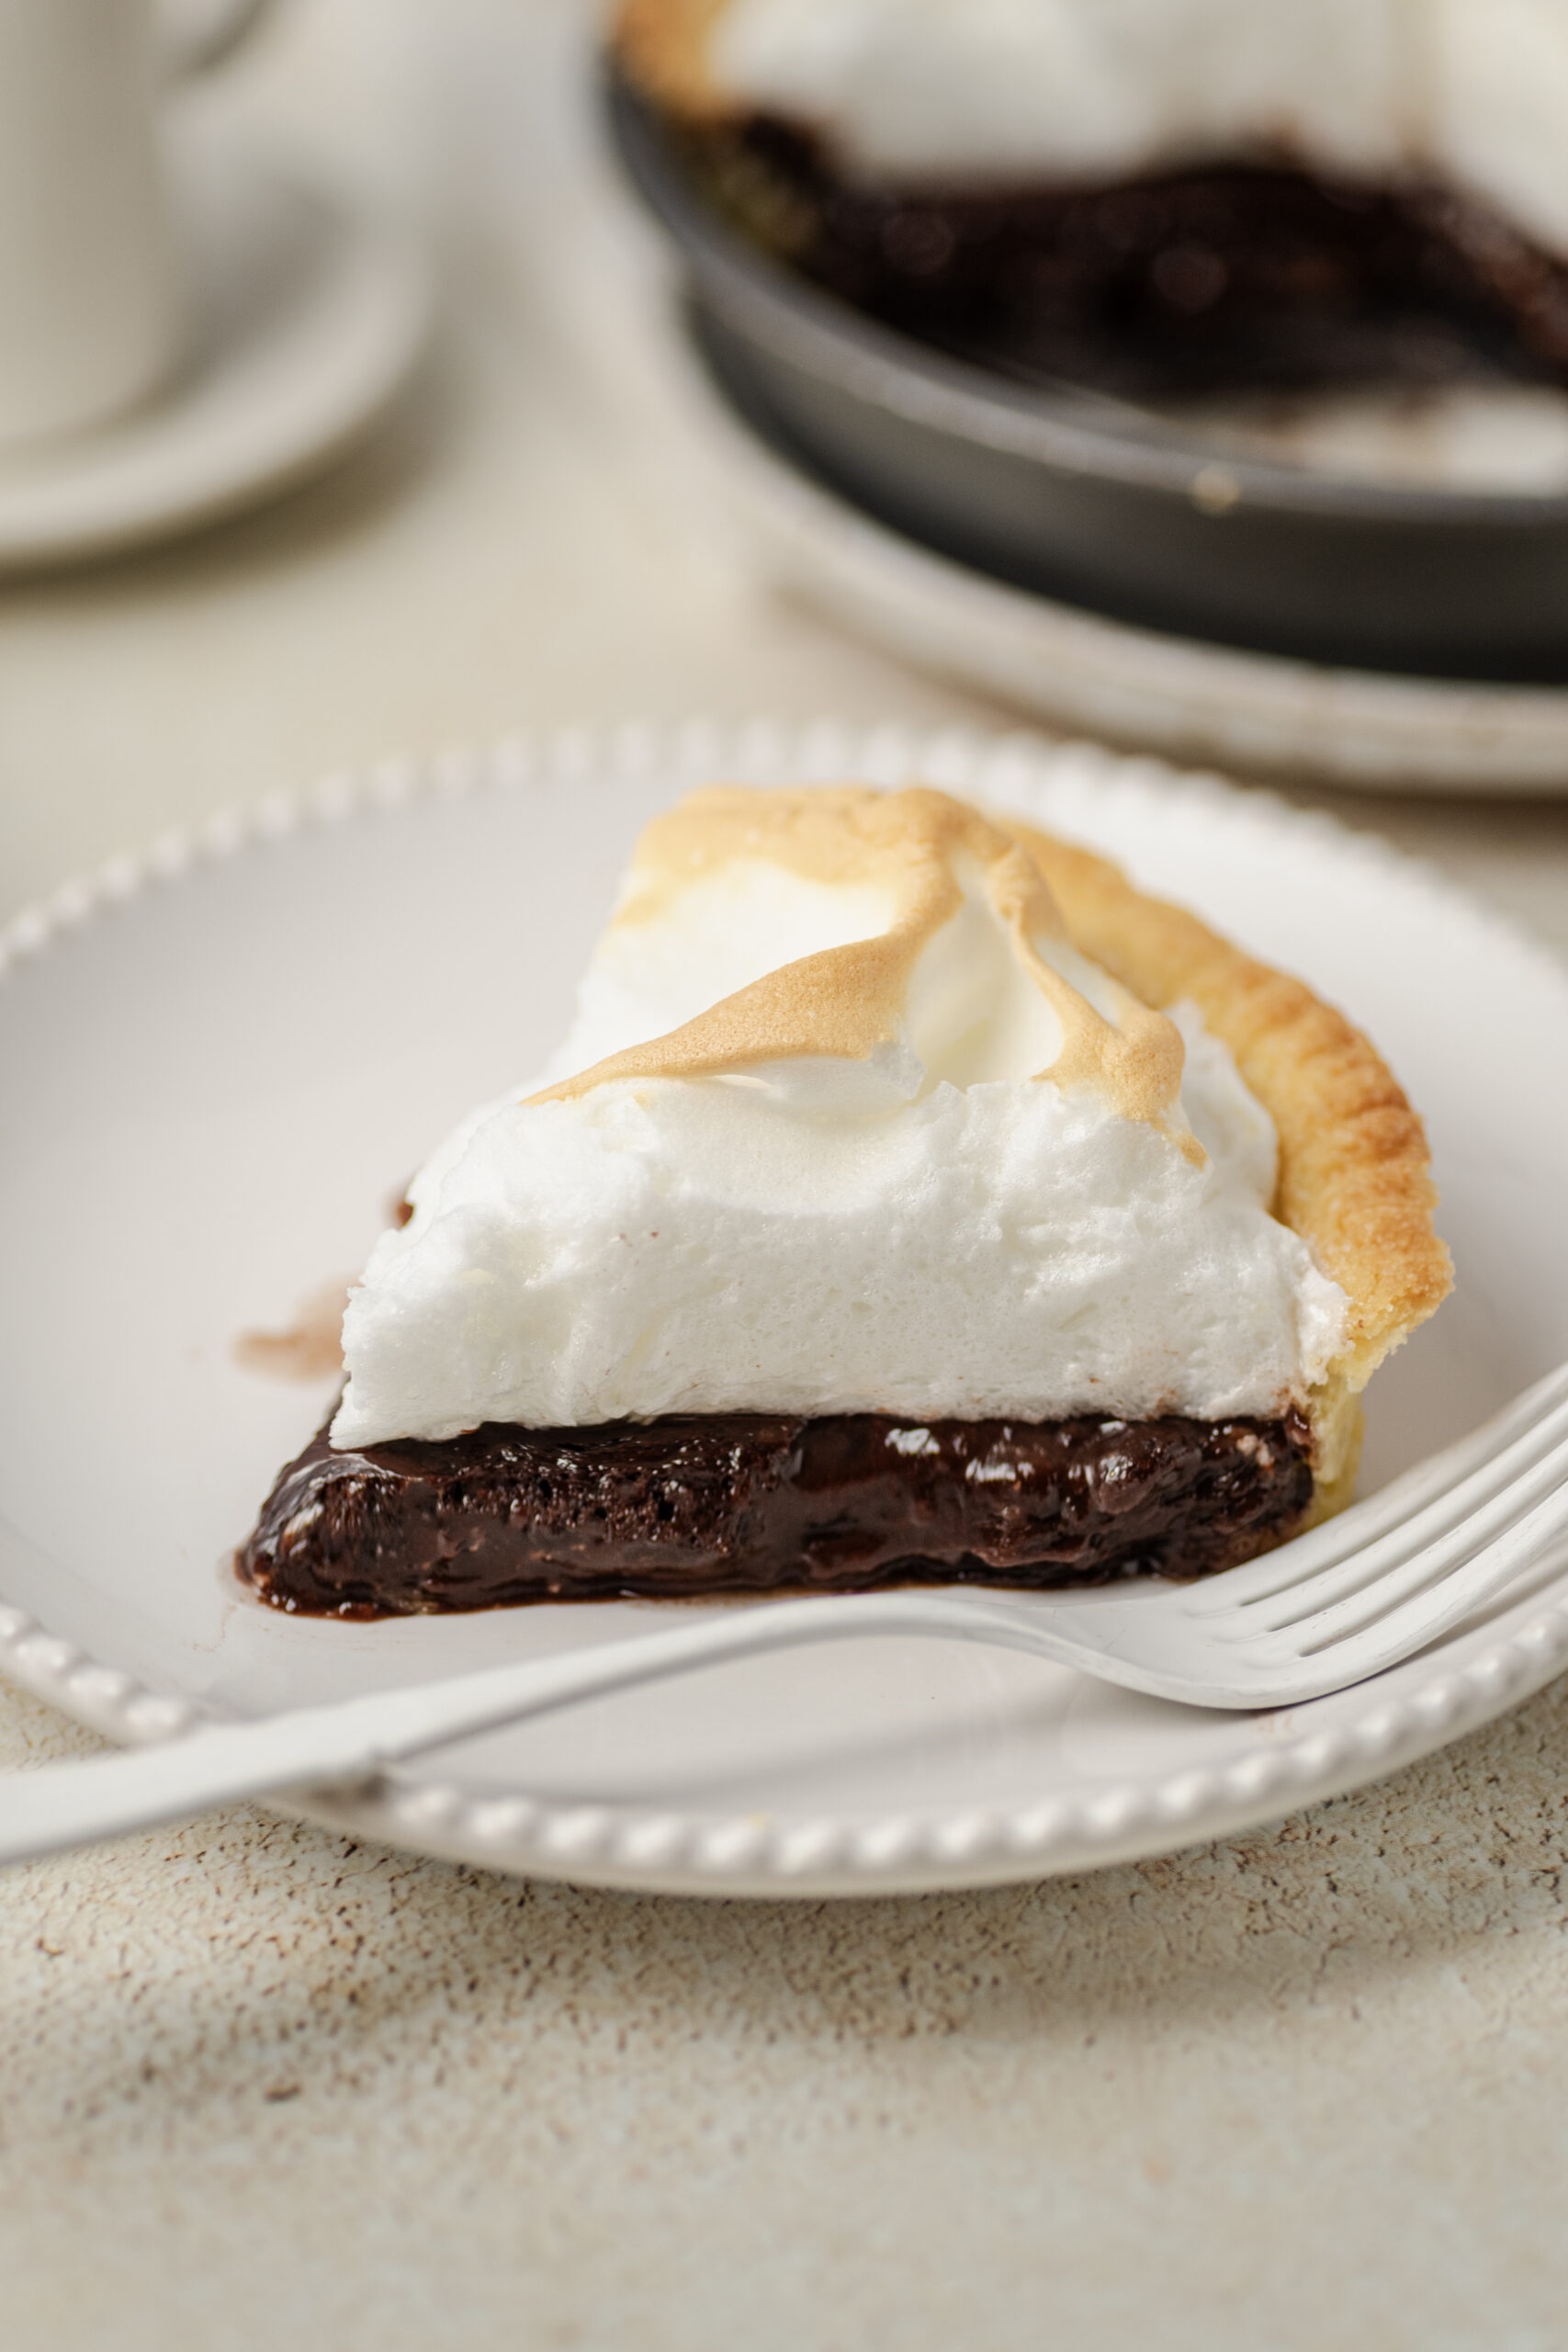
While it is true that chocolate pie is a time-honored dessert that can easily be purchased, this chocolate pie recipe is something I’m pretty sure is going to inspire you to head into your kitchen instead of out to a bakery. Why? Because the results are so impressive that you’ll be beaming with pride. And, after all, nothing beats something that is homemade!
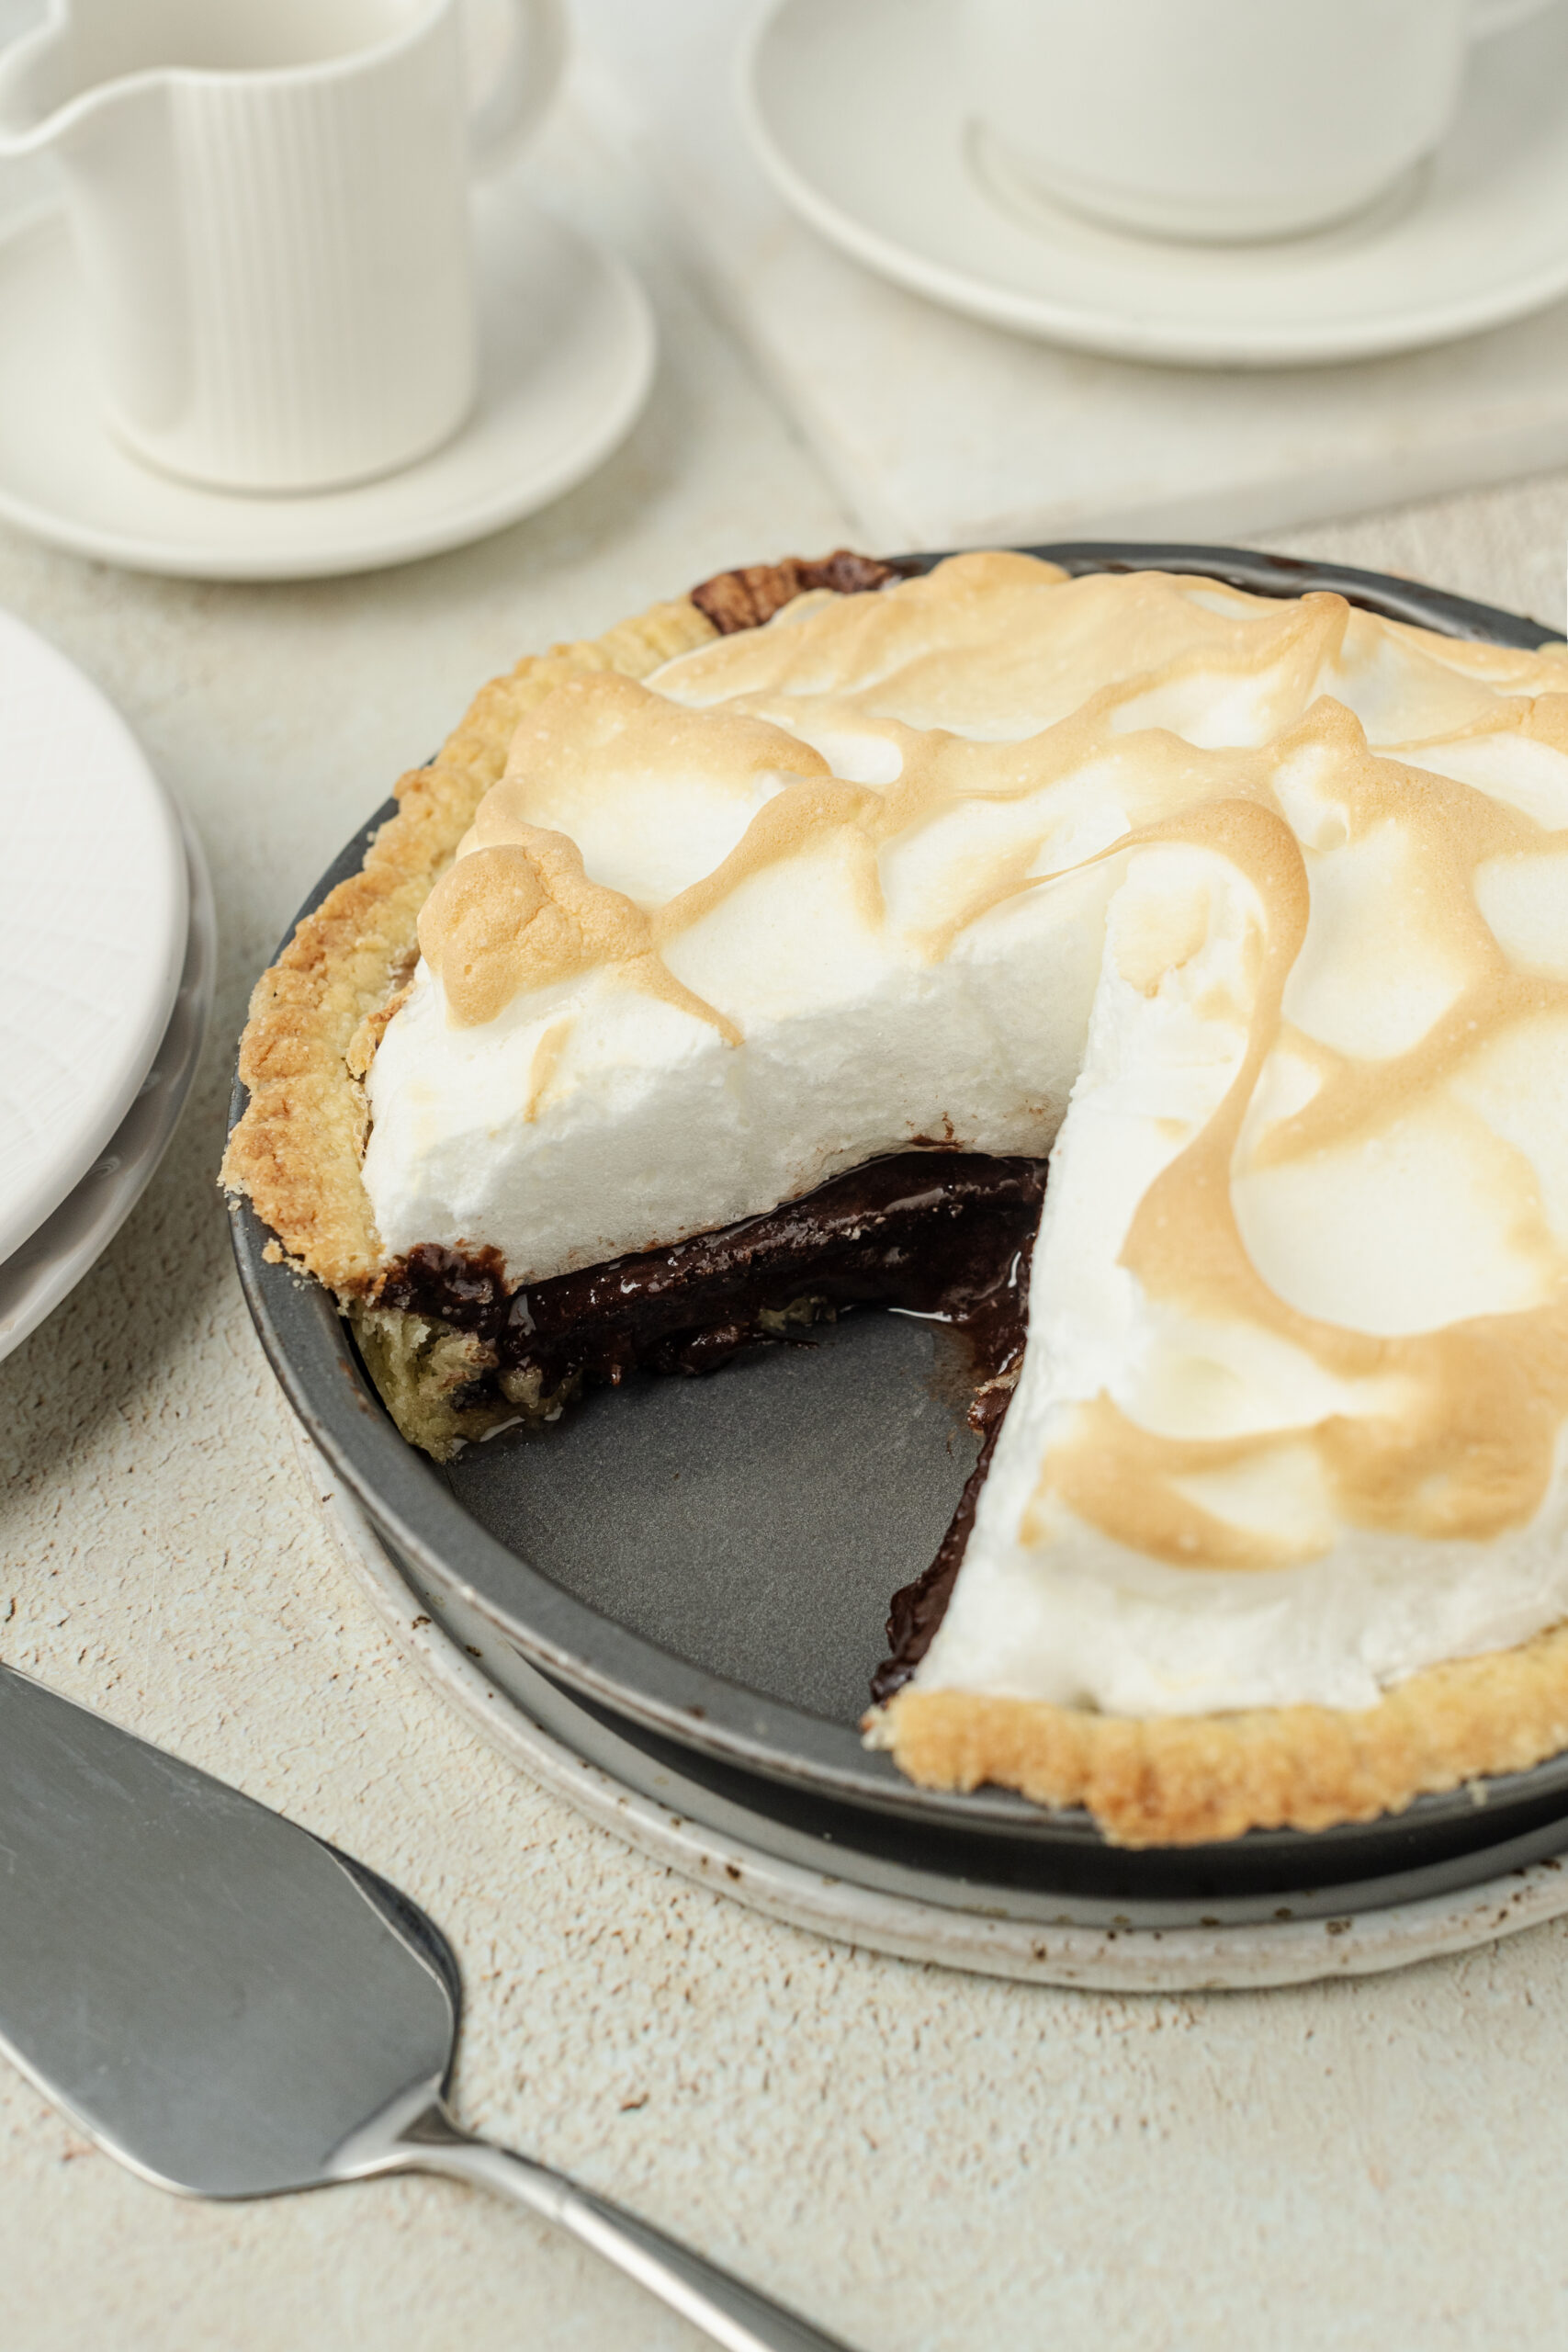
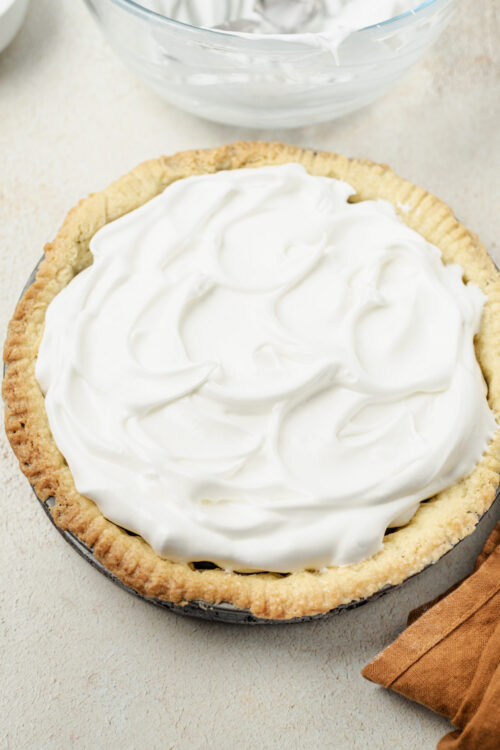
What makes this chocolate pie unique, and uniquely scrumptious, is that instead of being topped with the traditional whipped cream, the rich chocolatey filling sits under an ethereal cloud of airy and sweet meringue. The combination of textures—a creamy chocolate filling and the light, feathery meringue—makes each bite a moment of bliss.
And although it takes some time, this chocolate pie is simple to make, starting with an unbaked pie crust that just needs to be baked until golden. In Step 2, you’ll be making the yummy chocolate filling, which gets its depth of flavor from sugar, cocoa powder, butter, and vanilla; its consistency is almost like a pudding, made rich with egg yolks and whole milk. And then you’ll whip the egg whites into stiff peaks for the meringue. When this pie comes out of the oven, topped with sky-high, glossy swirls of lightly golden perfection, you’re on your way (once it’s cooled!) to impressing family and friends with this divinely delicious dessert.
Tips for a perfect meringue
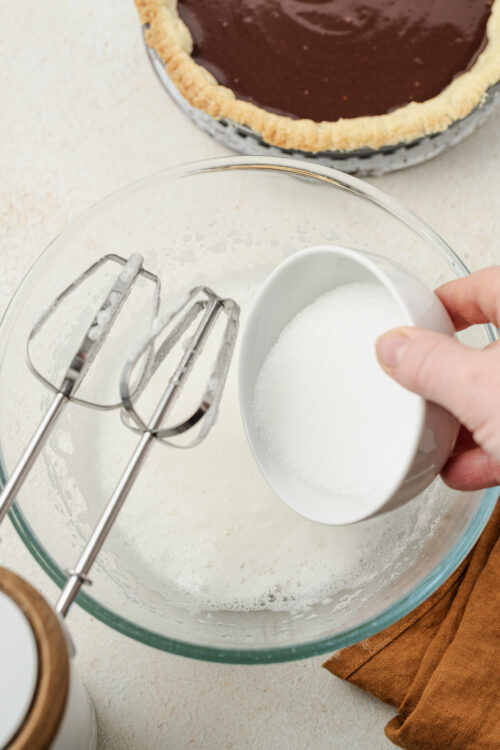
There are certain culinary techniques that, once you’ve mastered them, make you feel like a professional chef. For me, one of those techniques is making the perfect meringue. Achieving its airiness and signature, dramatic height is a feat to aspire to! To make sure your meringue for this chocolate pie is perfect, start by separating the eggs when they are cold but letting the whites come to room temperature before whipping them. Next, and this may be the most important tip, your bowl and beaters must be completely, pristinely clean; even the slightest bit or smudge of anything will prevent the egg whites from whipping up properly. Start the mixer at low and then raise the speed to medium when the egg whites become foamy. Add the sugar slowly and as soon as the peaks are glossy and stiff (they stay upright when you lift the beaters out of them), they are ready.
How do I store leftovers?
In order to keep the meringue from falling, insert a toothpick in the center and 3-4 others strategically around the edges and then cover the pie with plastic wrap; it will keep in the refrigerator like this for up to 2 days. We don’t recommend freezing this chocolate pie; the meringue can turn “weepy”—meaning it will leak water—during thawing and become tough, as well.
Serving suggestions
This chocolate pie welcomes a drizzle of The Best Chocolate Sauce Ever, but it is also wonderful with something tart and fruity like Strawberry Sauce or a few spoonfuls of Roasted Summer Berries. We also like to serve it with ice cream, favorites being flavors that go particularly well with chocolate, such as Coffee Toffee Ice Cream or Vanilla Bean Ice Cream. And if you miss a chocolate pie’s traditional whipped cream, whip up some of your own: vanilla-forward Chantilly Cream is wonderful but to turn chocolate pie into a holiday dessert, try topping it with Pumpkin Whipped Cream at Thanksgiving or Peppermint Marshmallow Whipped Cream at Christmas.
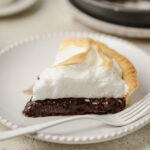
Chocolate Pie Recipe
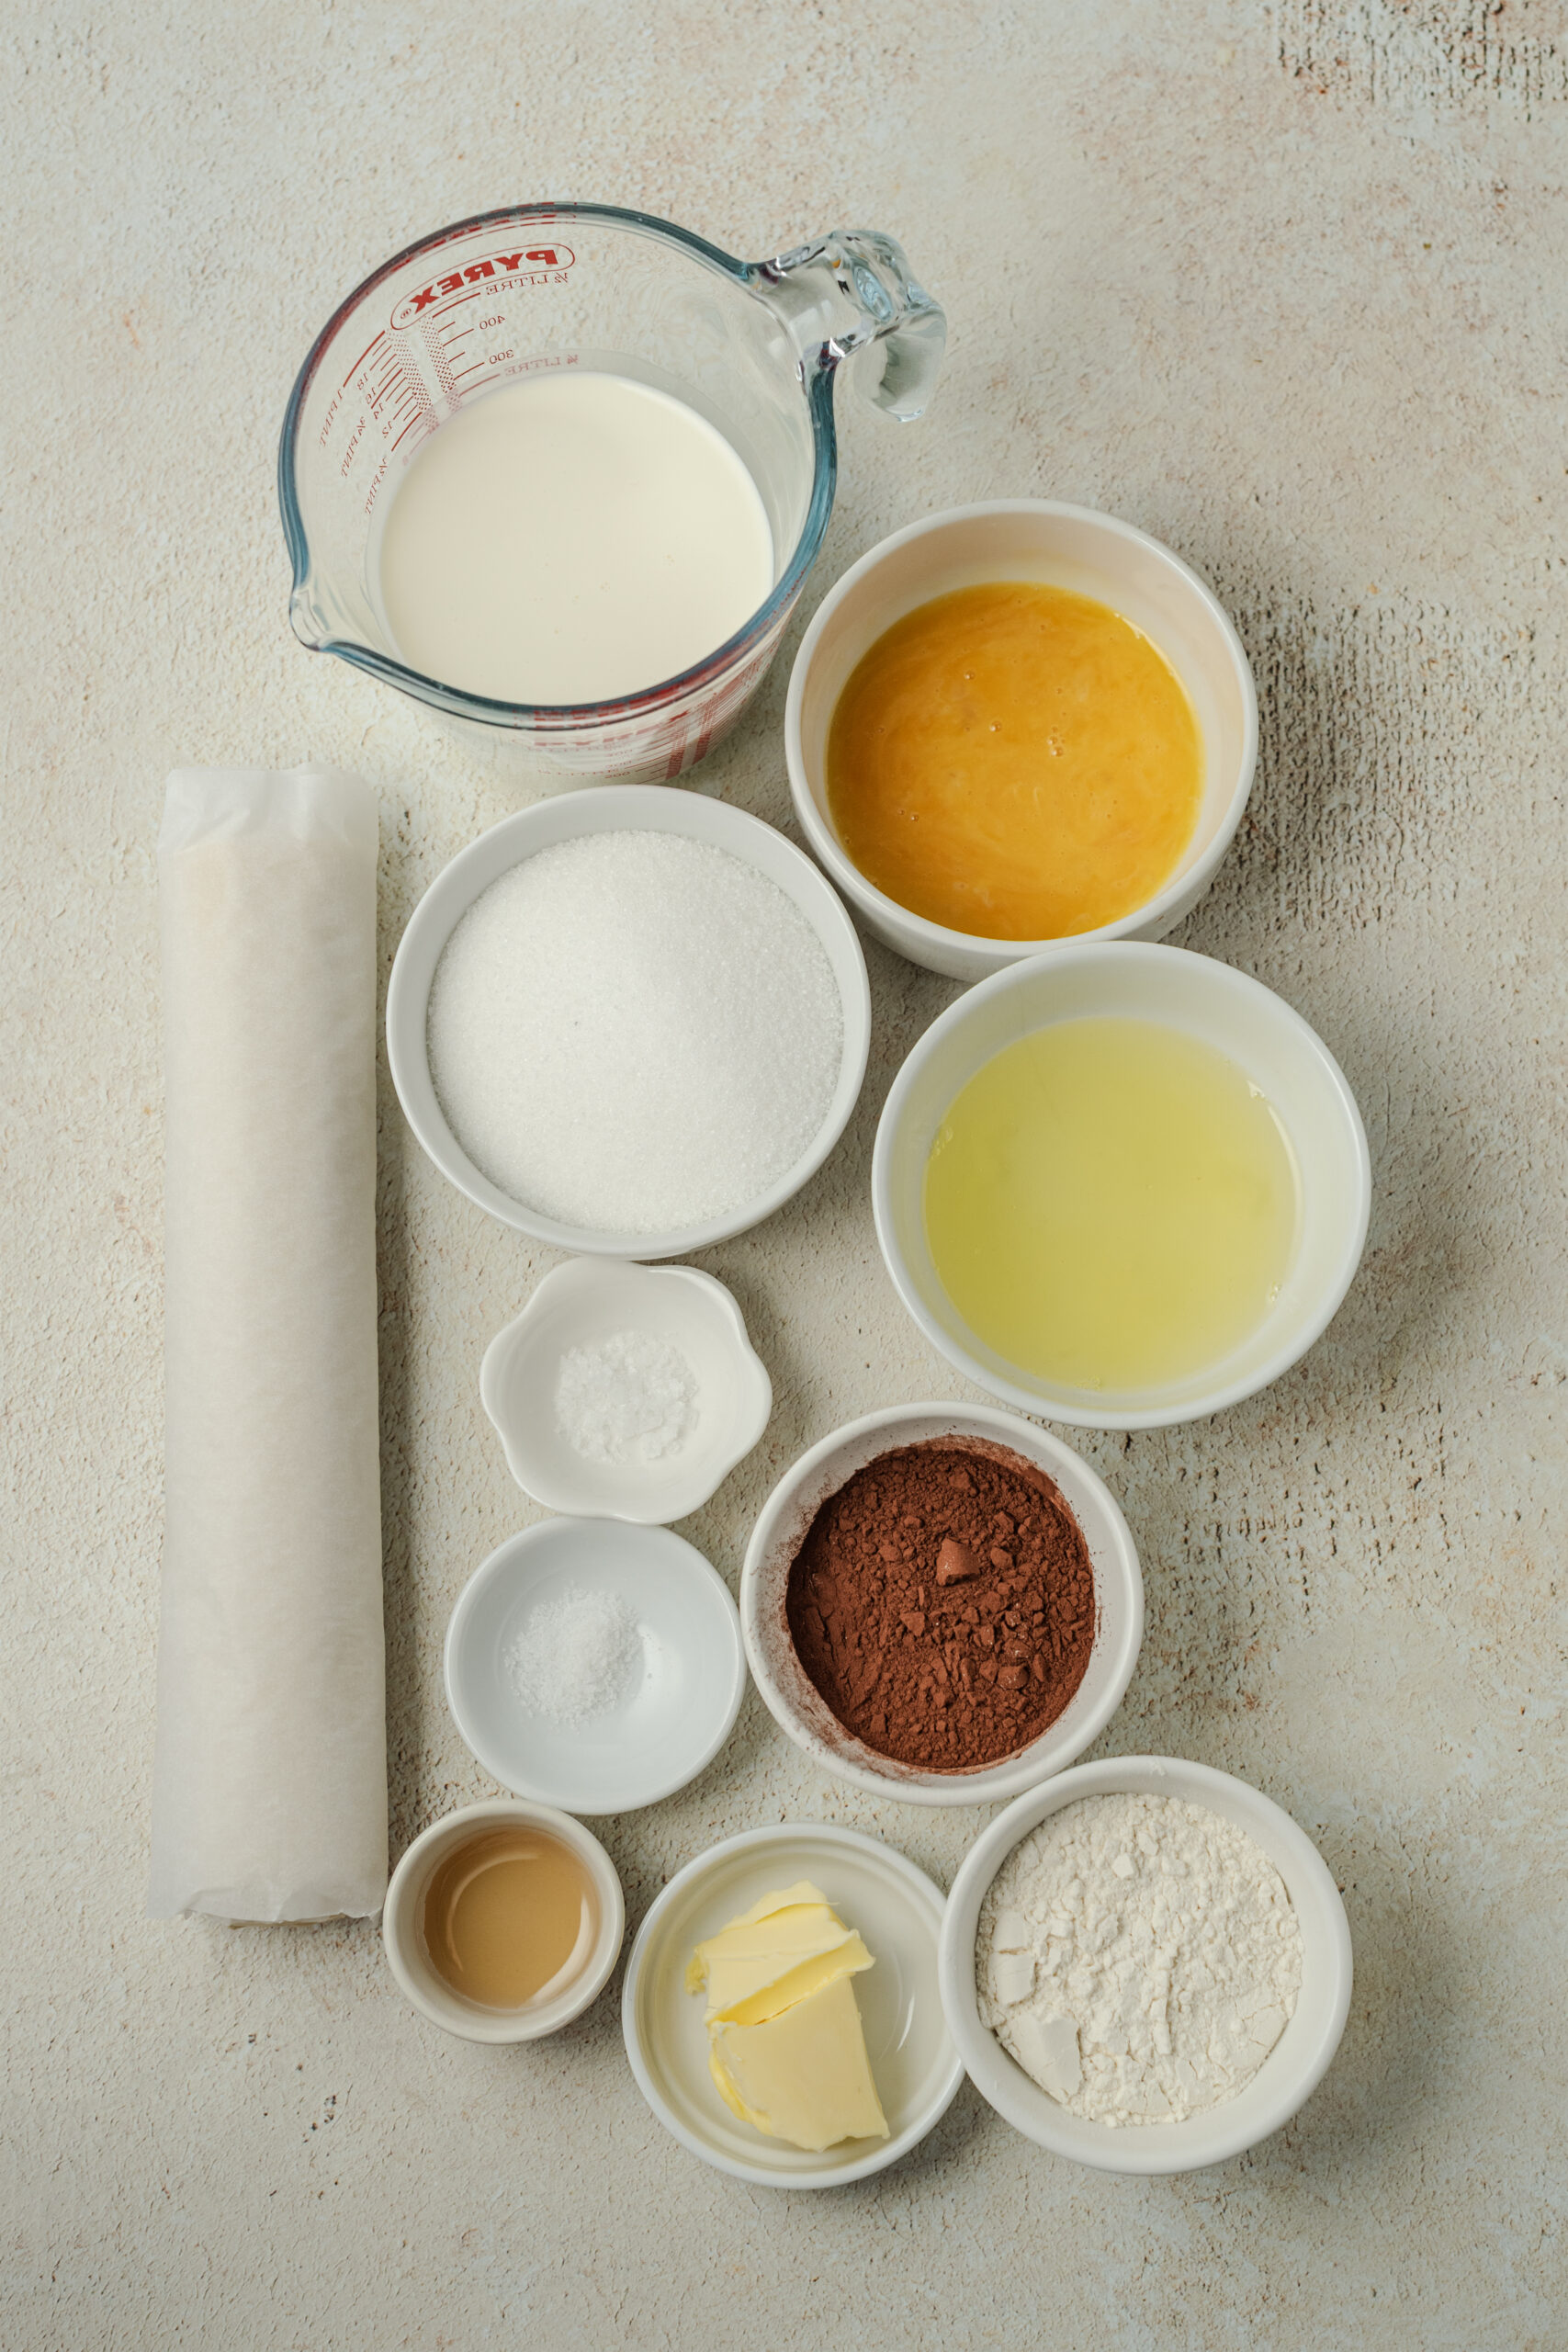
Ingredients
- 1 unbaked 9-inch pie crust
- 1/4 cup cocoa powder
- 1 cup sugar divided
- 1/3 cup all-purpose flour
- 1/4 teaspoon salt
- 2 egg yolks lightly beaten
- 1 1/2 cups whole milk
- 1/2 teaspoon vanilla extract
- 1 tablespoon butter
- 2 egg whites
- 1 pinch kosher salt for meringue
Instructions
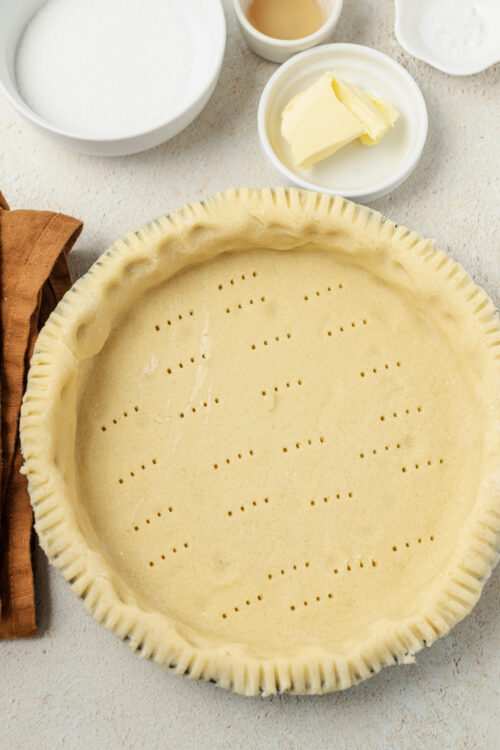
- Preheat your oven to 350°F. Poke holes in the unbaked pie crust with a fork and bake until lightly golden.
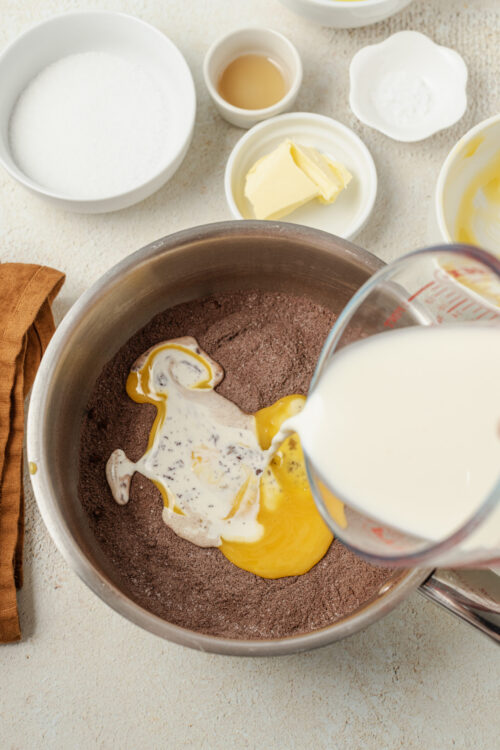
- In a medium saucepan, whisk together the cocoa powder, 3/4 cup sugar, the flour, and 1/4 teaspoon salt with 2 lightly beaten egg yolks and 1 1/2 cups milk. Cook over medium heat, stirring constantly until the mixture thickens (about 5 to 10 minutes). It will not thicken further in the oven. Remove from heat and stir in the vanilla extract and butter.
- In a clean bowl, beat 2 egg whites with a pinch of salt until soft peaks form. Gradually add the remaining 1/4 cup sugar and continue beating until stiff peaks form.
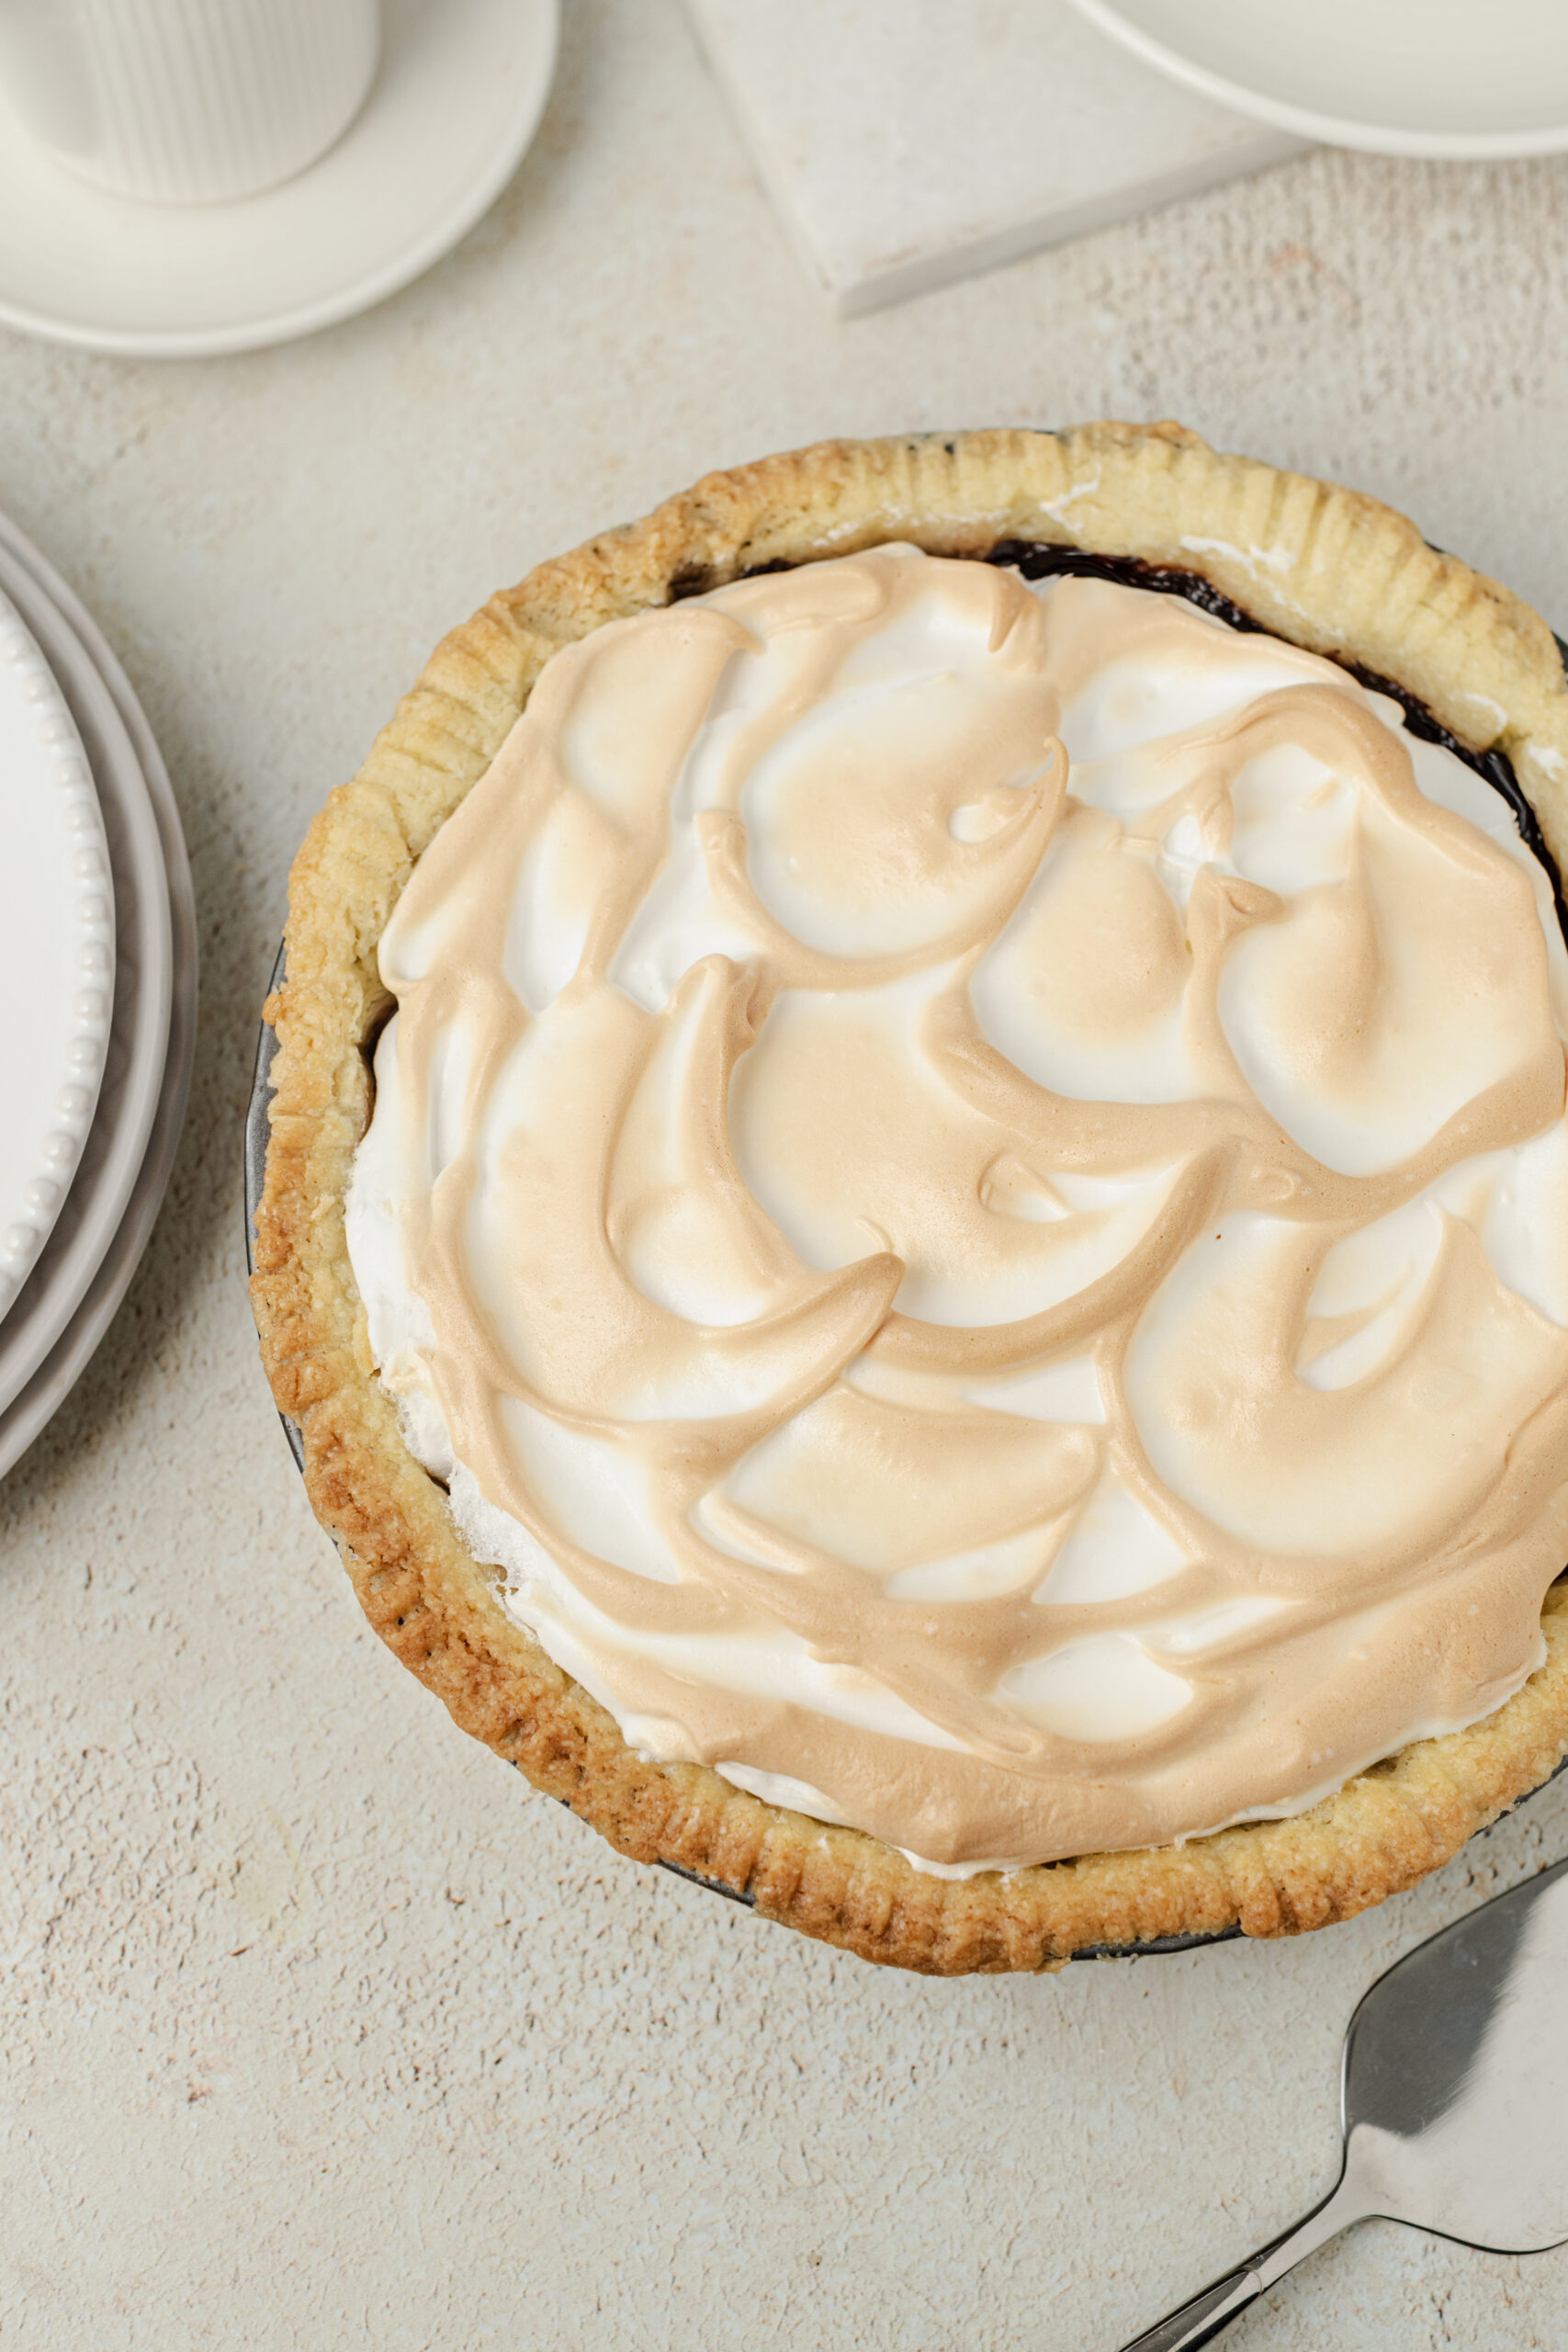
- Pour the warm chocolate custard into the baked pie crust and top with the meringue, spreading it evenly and creating peaks. Bake at 350°F for about 8-12 minutes until the meringue peaks are lightly browned. Allow the pie to cool to room temperature before serving.
Nutrition
The post Chocolate Pie Recipe appeared first on Baked Bree.
]]>The post Pickle De Gallo appeared first on Baked Bree.
]]>
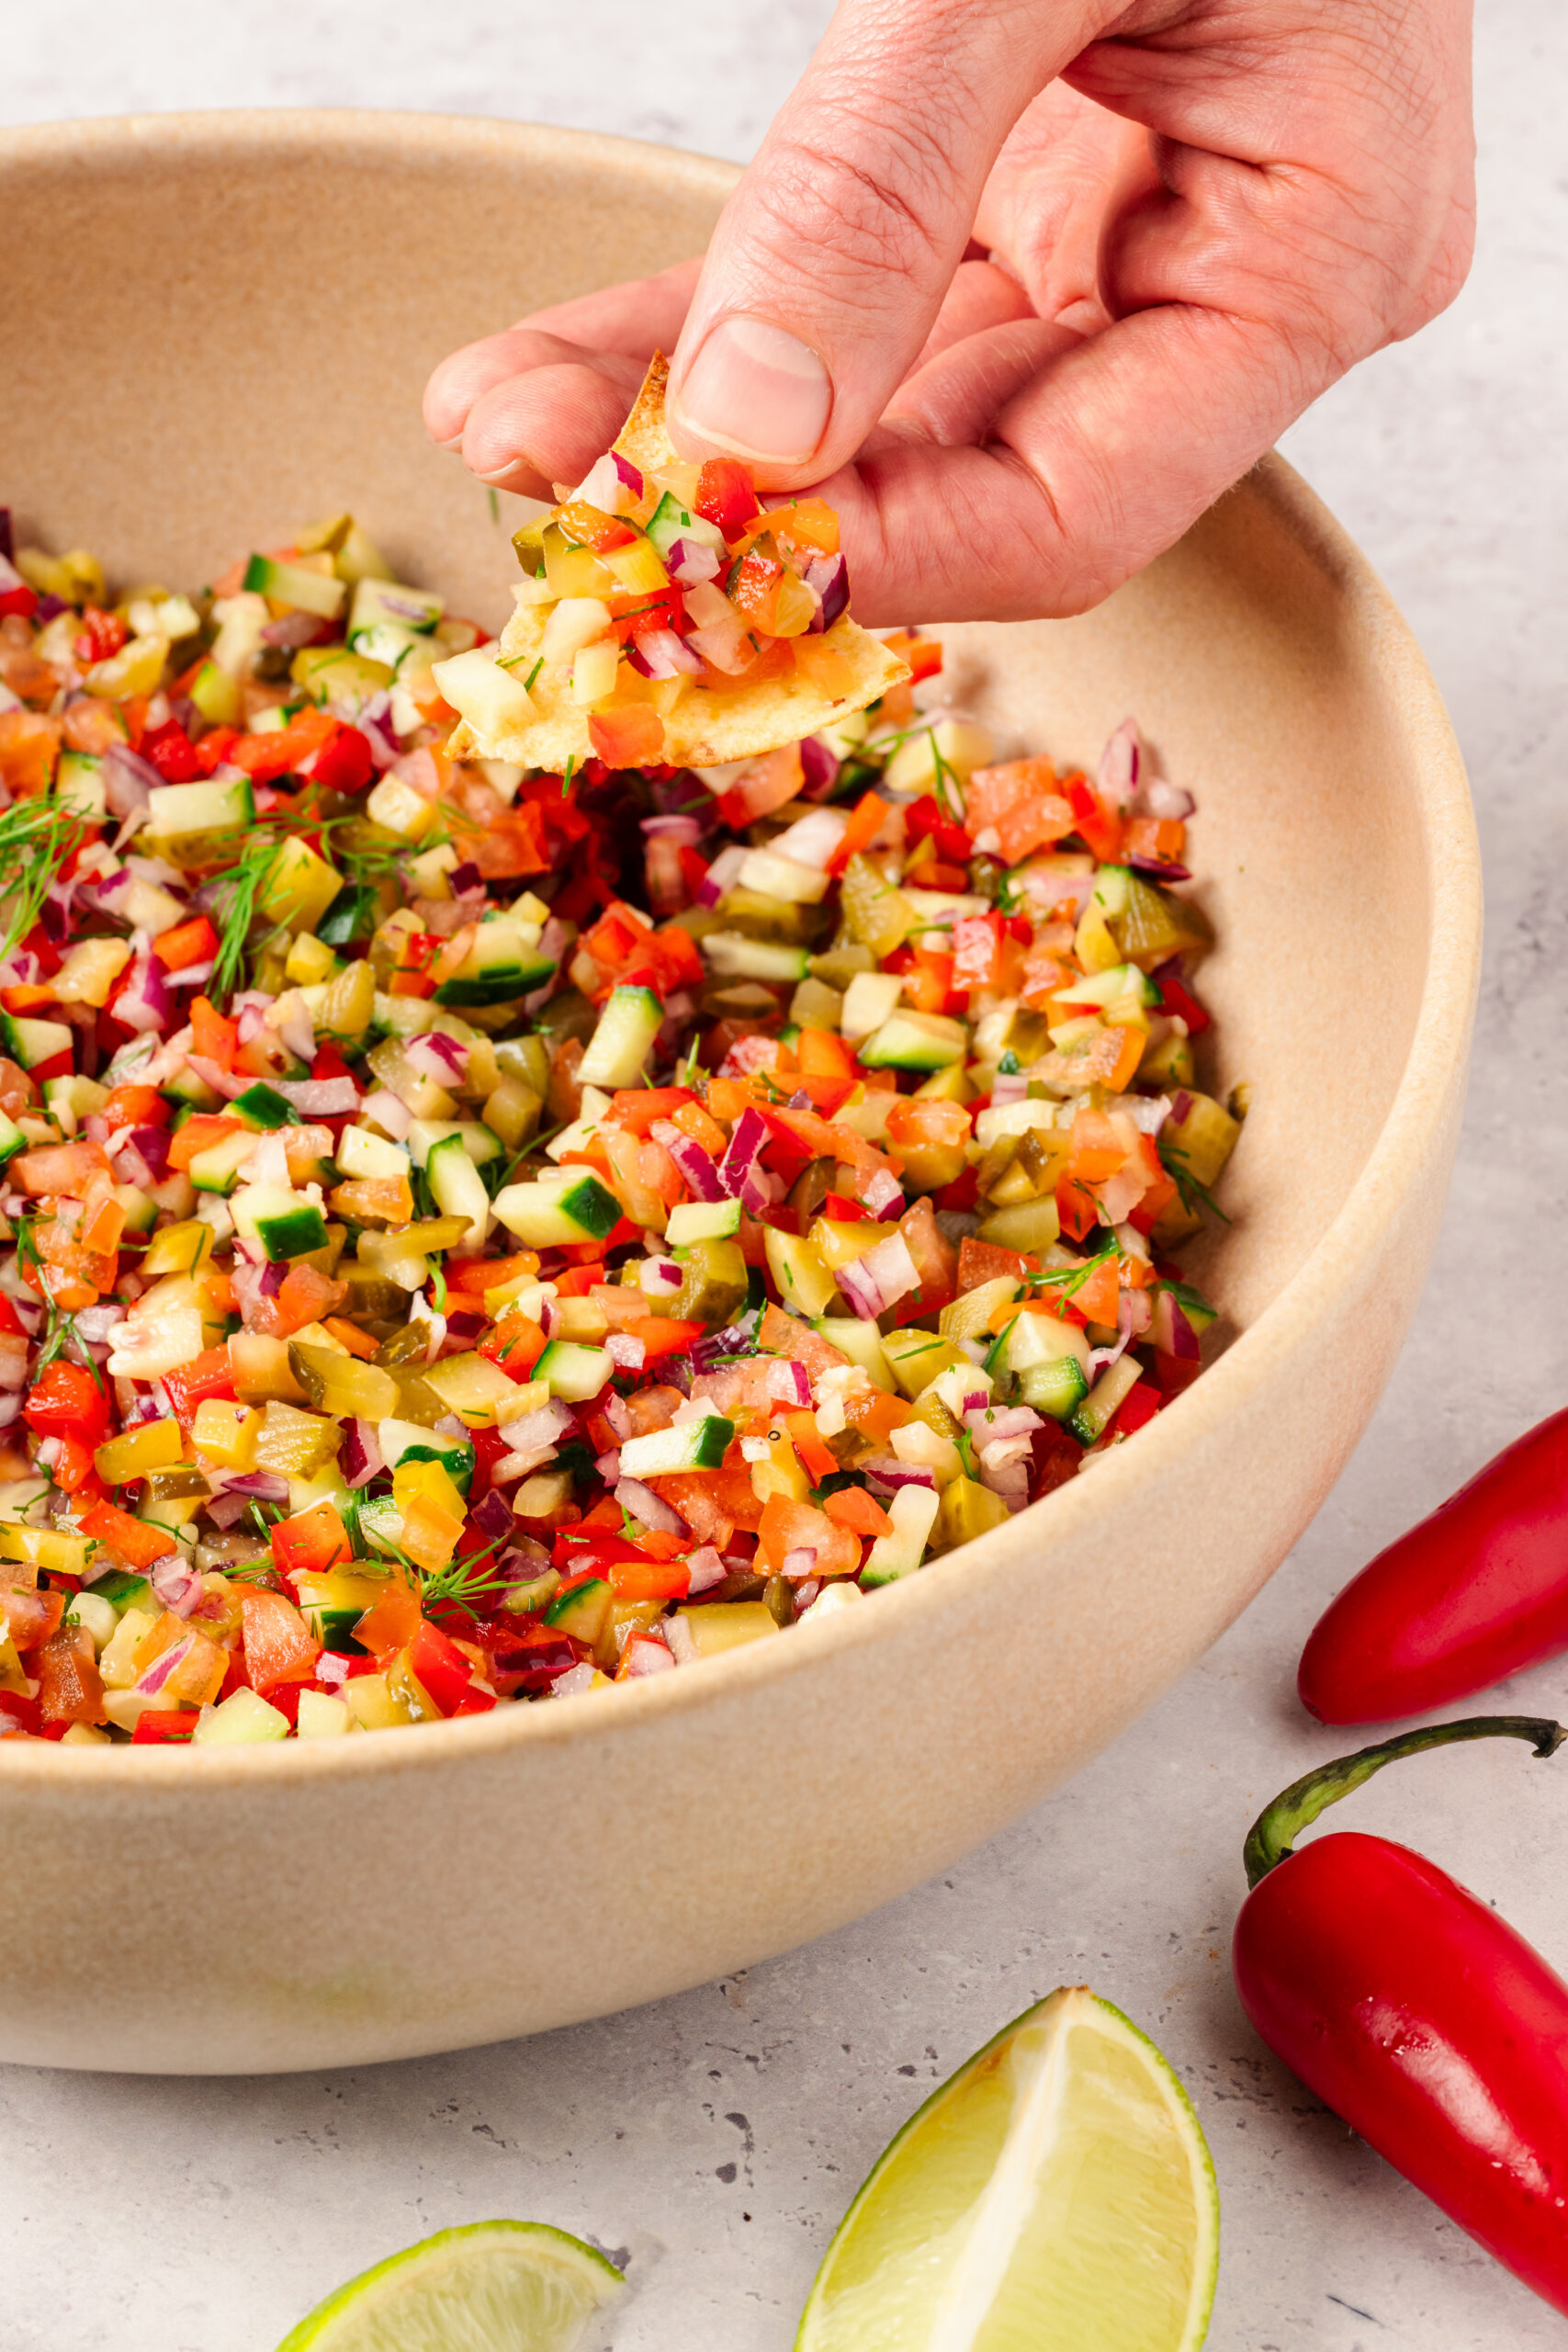
Unless you’ve been living under a rock, you are aware that dill pickles have found their way into so many of our favorite foods, from snacking items to main dishes and even dessert (MOO-ville Creamery in Michigan has an ice cream flavor called “Just Dill With It”!). Since it is not possible to live under a rock, by now you’ve seen and/or tasted dill pickle-flavored potato chips, cashews, pickle pizza, pickle fries, and maybe even the low-carb sub known as the Picklewich, made famous by Jimmy John’s sub shop, which uses a giant, hollowed-out dill pickle in place of bread. So it’s no surprise that the vinegary, often garlicky mix of cucumbers brined with dill seeds and other flavorings is taking a starring role in one of our favorite Mexican condiments, transforming pico de gallo into pickle de gallo.
Grillo’s Pickles, a Boston-based company, introduced its pickle de gallo in 2020. Available in mild, medium, and hot varieties, Grillo’s pickle de gallo is sold in grocery stores across the U.S. Mixing their classic dill pickles with fresh bell peppers, onions, and garlic (the hotter versions also contain jalapeños and/or habaneros), this bright, delicious dip and condiment is considered a cult favorite.
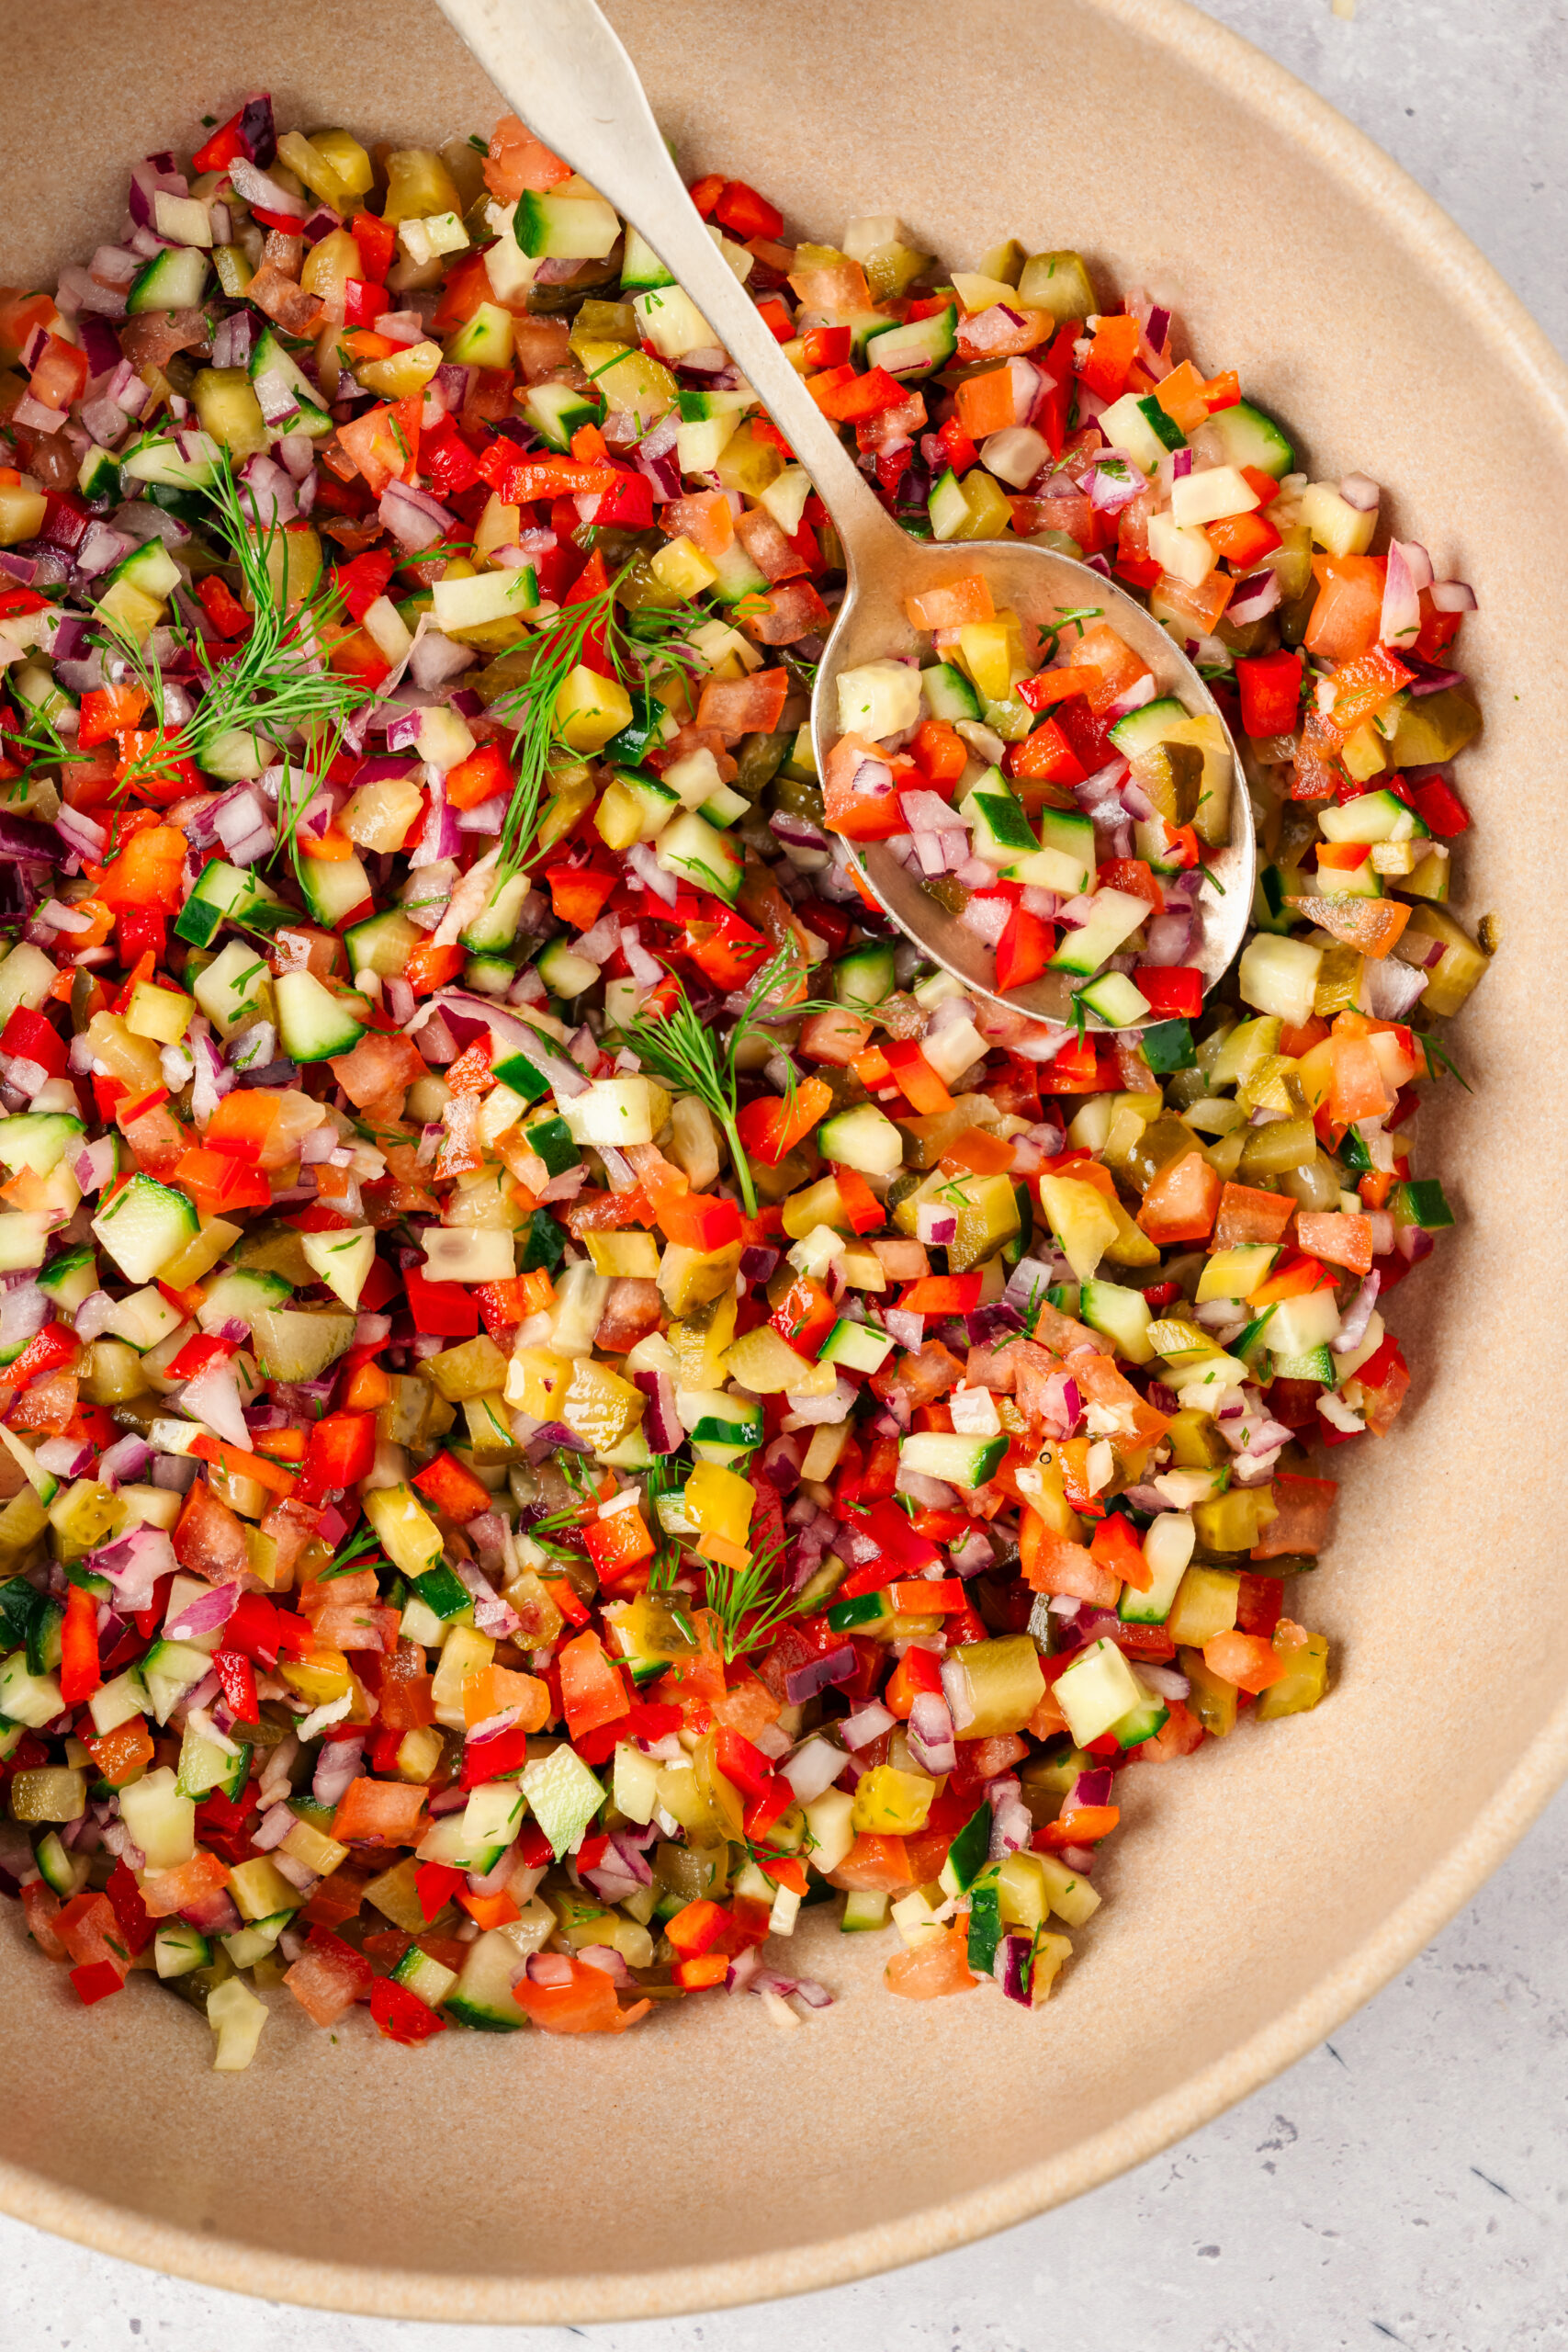
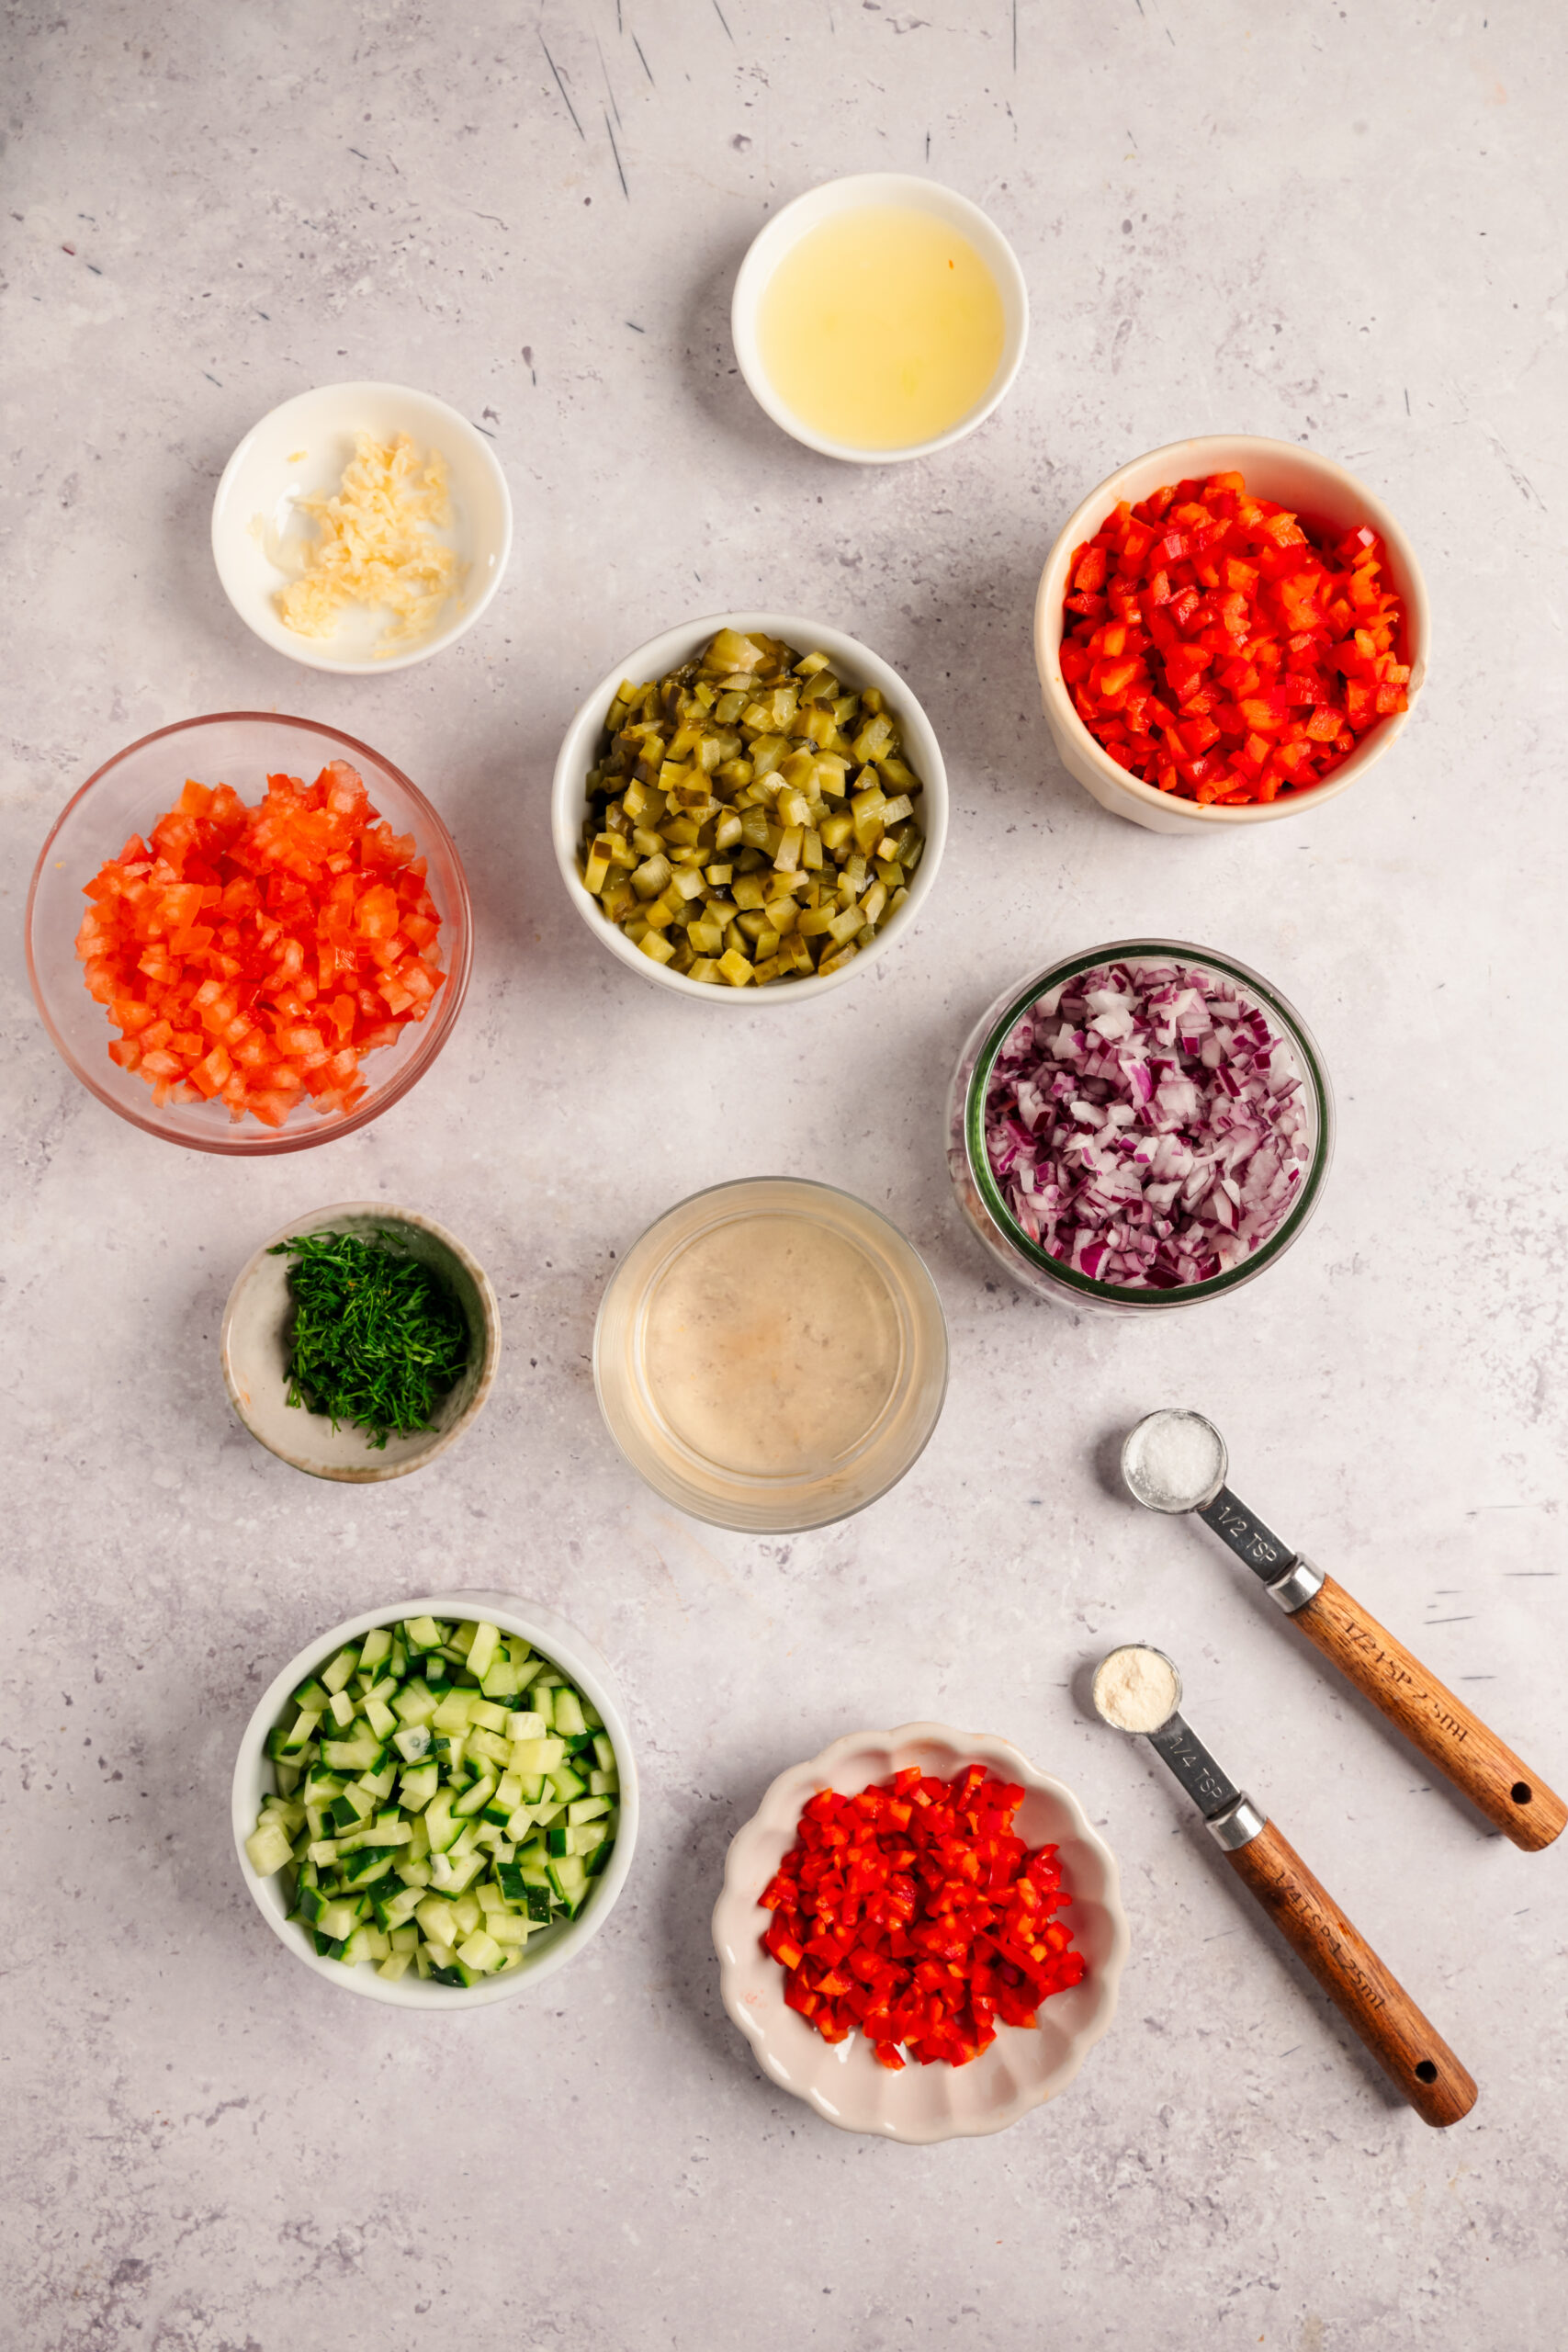
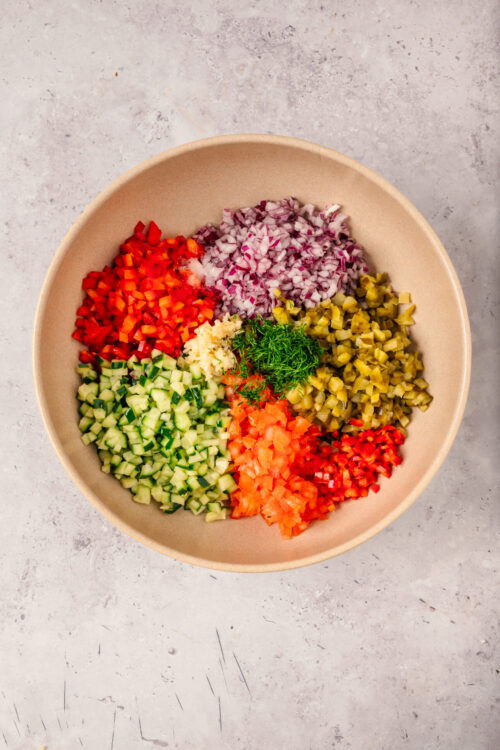
Our recipe for pickle de gallo calls for pickles and cucumbers, red bell pepper, tomato, red onion, jalapeños, garlic, and lots of fresh dill. Everything is combined with pickle brine and lime juice, giving the mix a bright, tangy, citrusy depth that highlights all the other ingredients. Not only is our pickle de gallo really delicious, it is also gorgeous, so it’s sure to impress.
Tips for perfect pickle de gallo
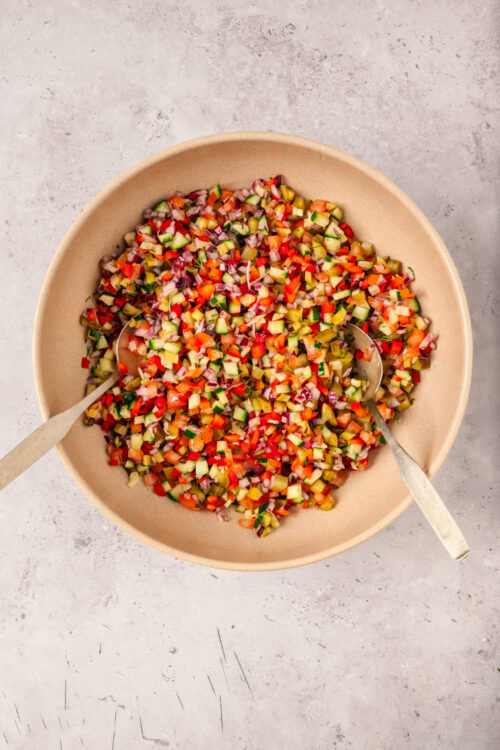
Perhaps the most important feature of pickle de gallo is that the pickles and all of the other vegetables are finely diced into the same, uniformly small pieces; this ensures balanced flavor and texture in each bite. Next, no matter how tempted you are to dig into pickle de gallo the moment after you’ve mixed all the ingredients together, don’t skip the 10-15 minute (or even longer!) chill time in the fridge before serving; this is a crucial step that allows all of the flavors to meld so beautifully. Finally, just before serving, stir the mixture well, since the brine does have a tendency to settle during the chill time.
How do I store leftovers?
Pickle de gallo can be stored in an airtight container in the refrigerator for up to 3 days. We don’t recommend freezing pickle de gallo, as the veggies can become mushy during thawing.
Serving suggestions
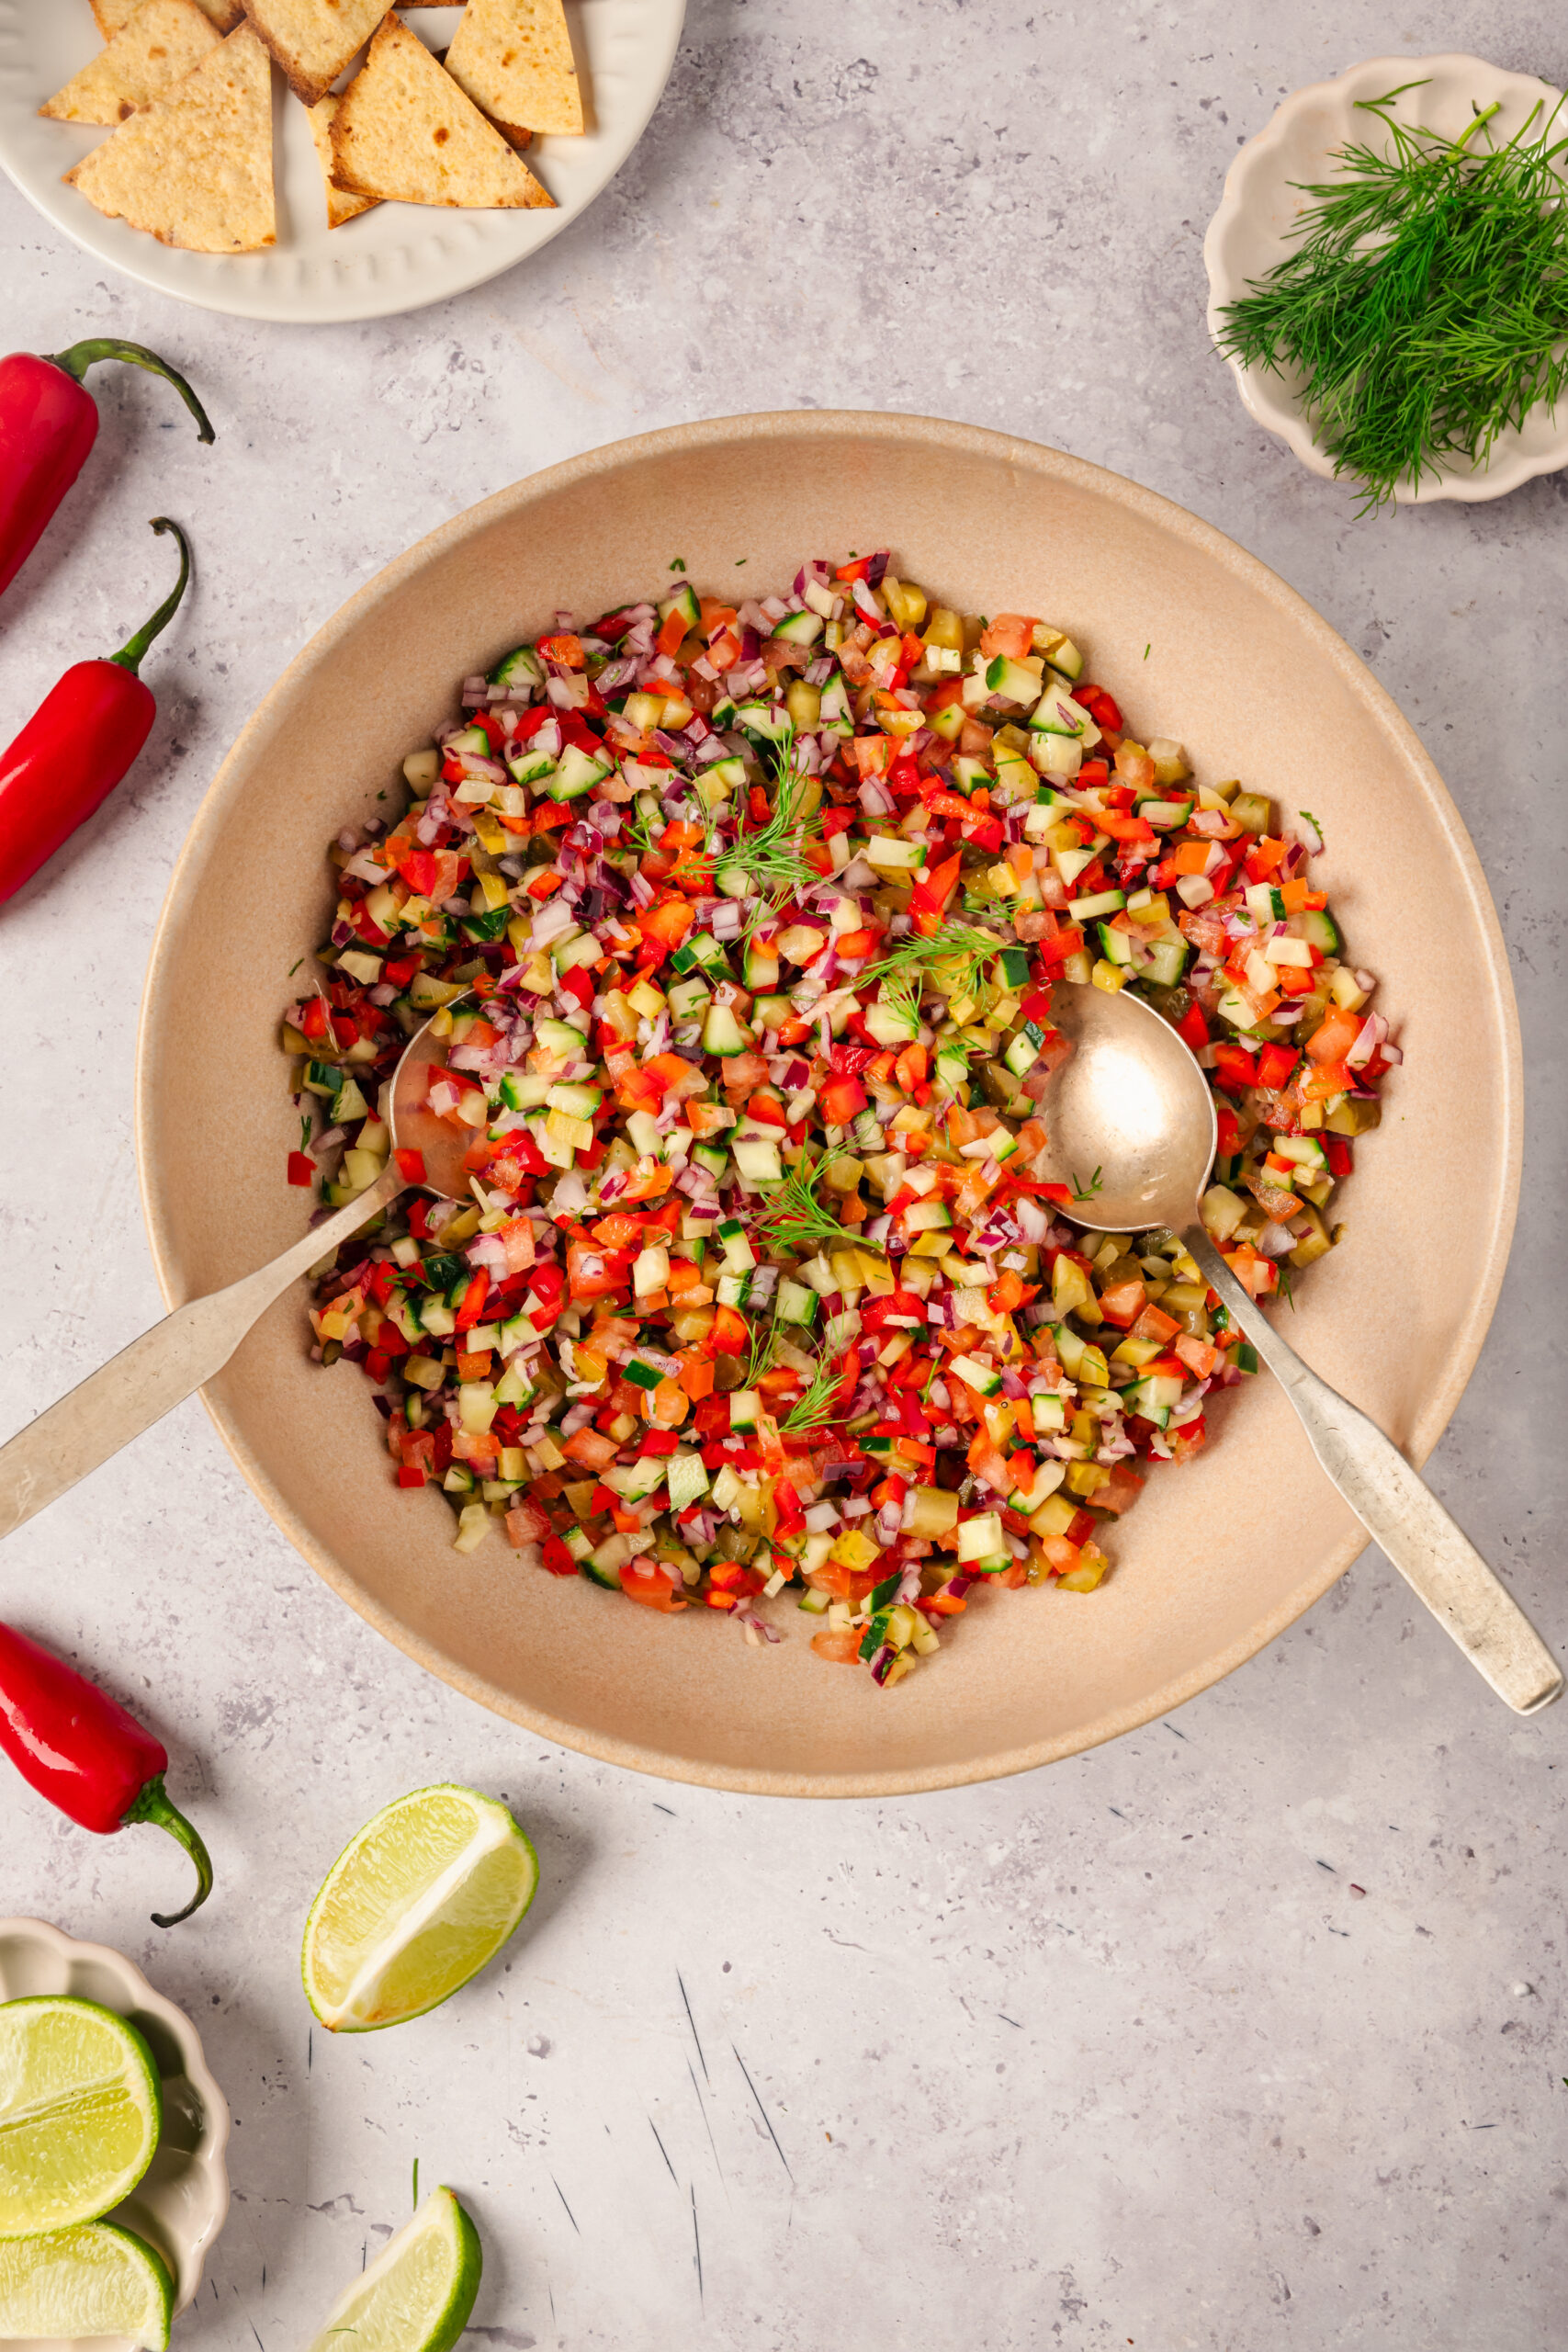
Like its traditional namesake, pickle de gallo is great with tortilla chips, but we also love it with these Homemade Potato Chips, as well as these Sweet Potato Chips In Air Fryer. And since there’s no such thing as too much pickle, try dipping Fried Pickles into pickle de gallo and then adding a little dollop of cool, creamy Homemade Ranch Dressing. As good as it is as a dip, though, pickle de gallo is almost even better as a condiment. We love it inside a Grilled Cheese, but we really celebrate it on all the things we customarily top with tomatoes, onions, and pickles. You’re going to love pickle de gallo on Hot Dogs In Air Fryer (and make your own Hot Dog Buns), and a Bacon Cheeseburger. Don’t leave your non-meat eaters out of this taste sensation! Pickle de gallo is amazing on vegetarian Black Bean Burgers and this vegan Veggie Burger.
Pickle De Gallo
Ingredients
- 1 cup finely diced dill pickles
- 1 cup finely diced cucumber
- 1 cup finely diced red bell pepper
- 3/4 cup finely diced tomato
- 1/2 cup finely diced red onion
- 3 tablespoons minced jalapeño
- 2 garlic cloves minced
- 1 tablespoon chopped fresh dill
- 1/4 teaspoon onion powder
- 1/4 cup pickle brine
- 1 tablespoon lime juice
- Kosher salt to taste
Instructions
- In a large bowl, combine all of the ingredients. Stir well. Adjust seasoning to taste.
- Let the mixture chill in the refrigerator for 10 to 15 minutes to allow the flavors to blend. Stir once more before serving as a dip or a topping.
Nutrition
The post Pickle De Gallo appeared first on Baked Bree.
]]>The post Oreo Cheesecake Recipe appeared first on Baked Bree.
]]>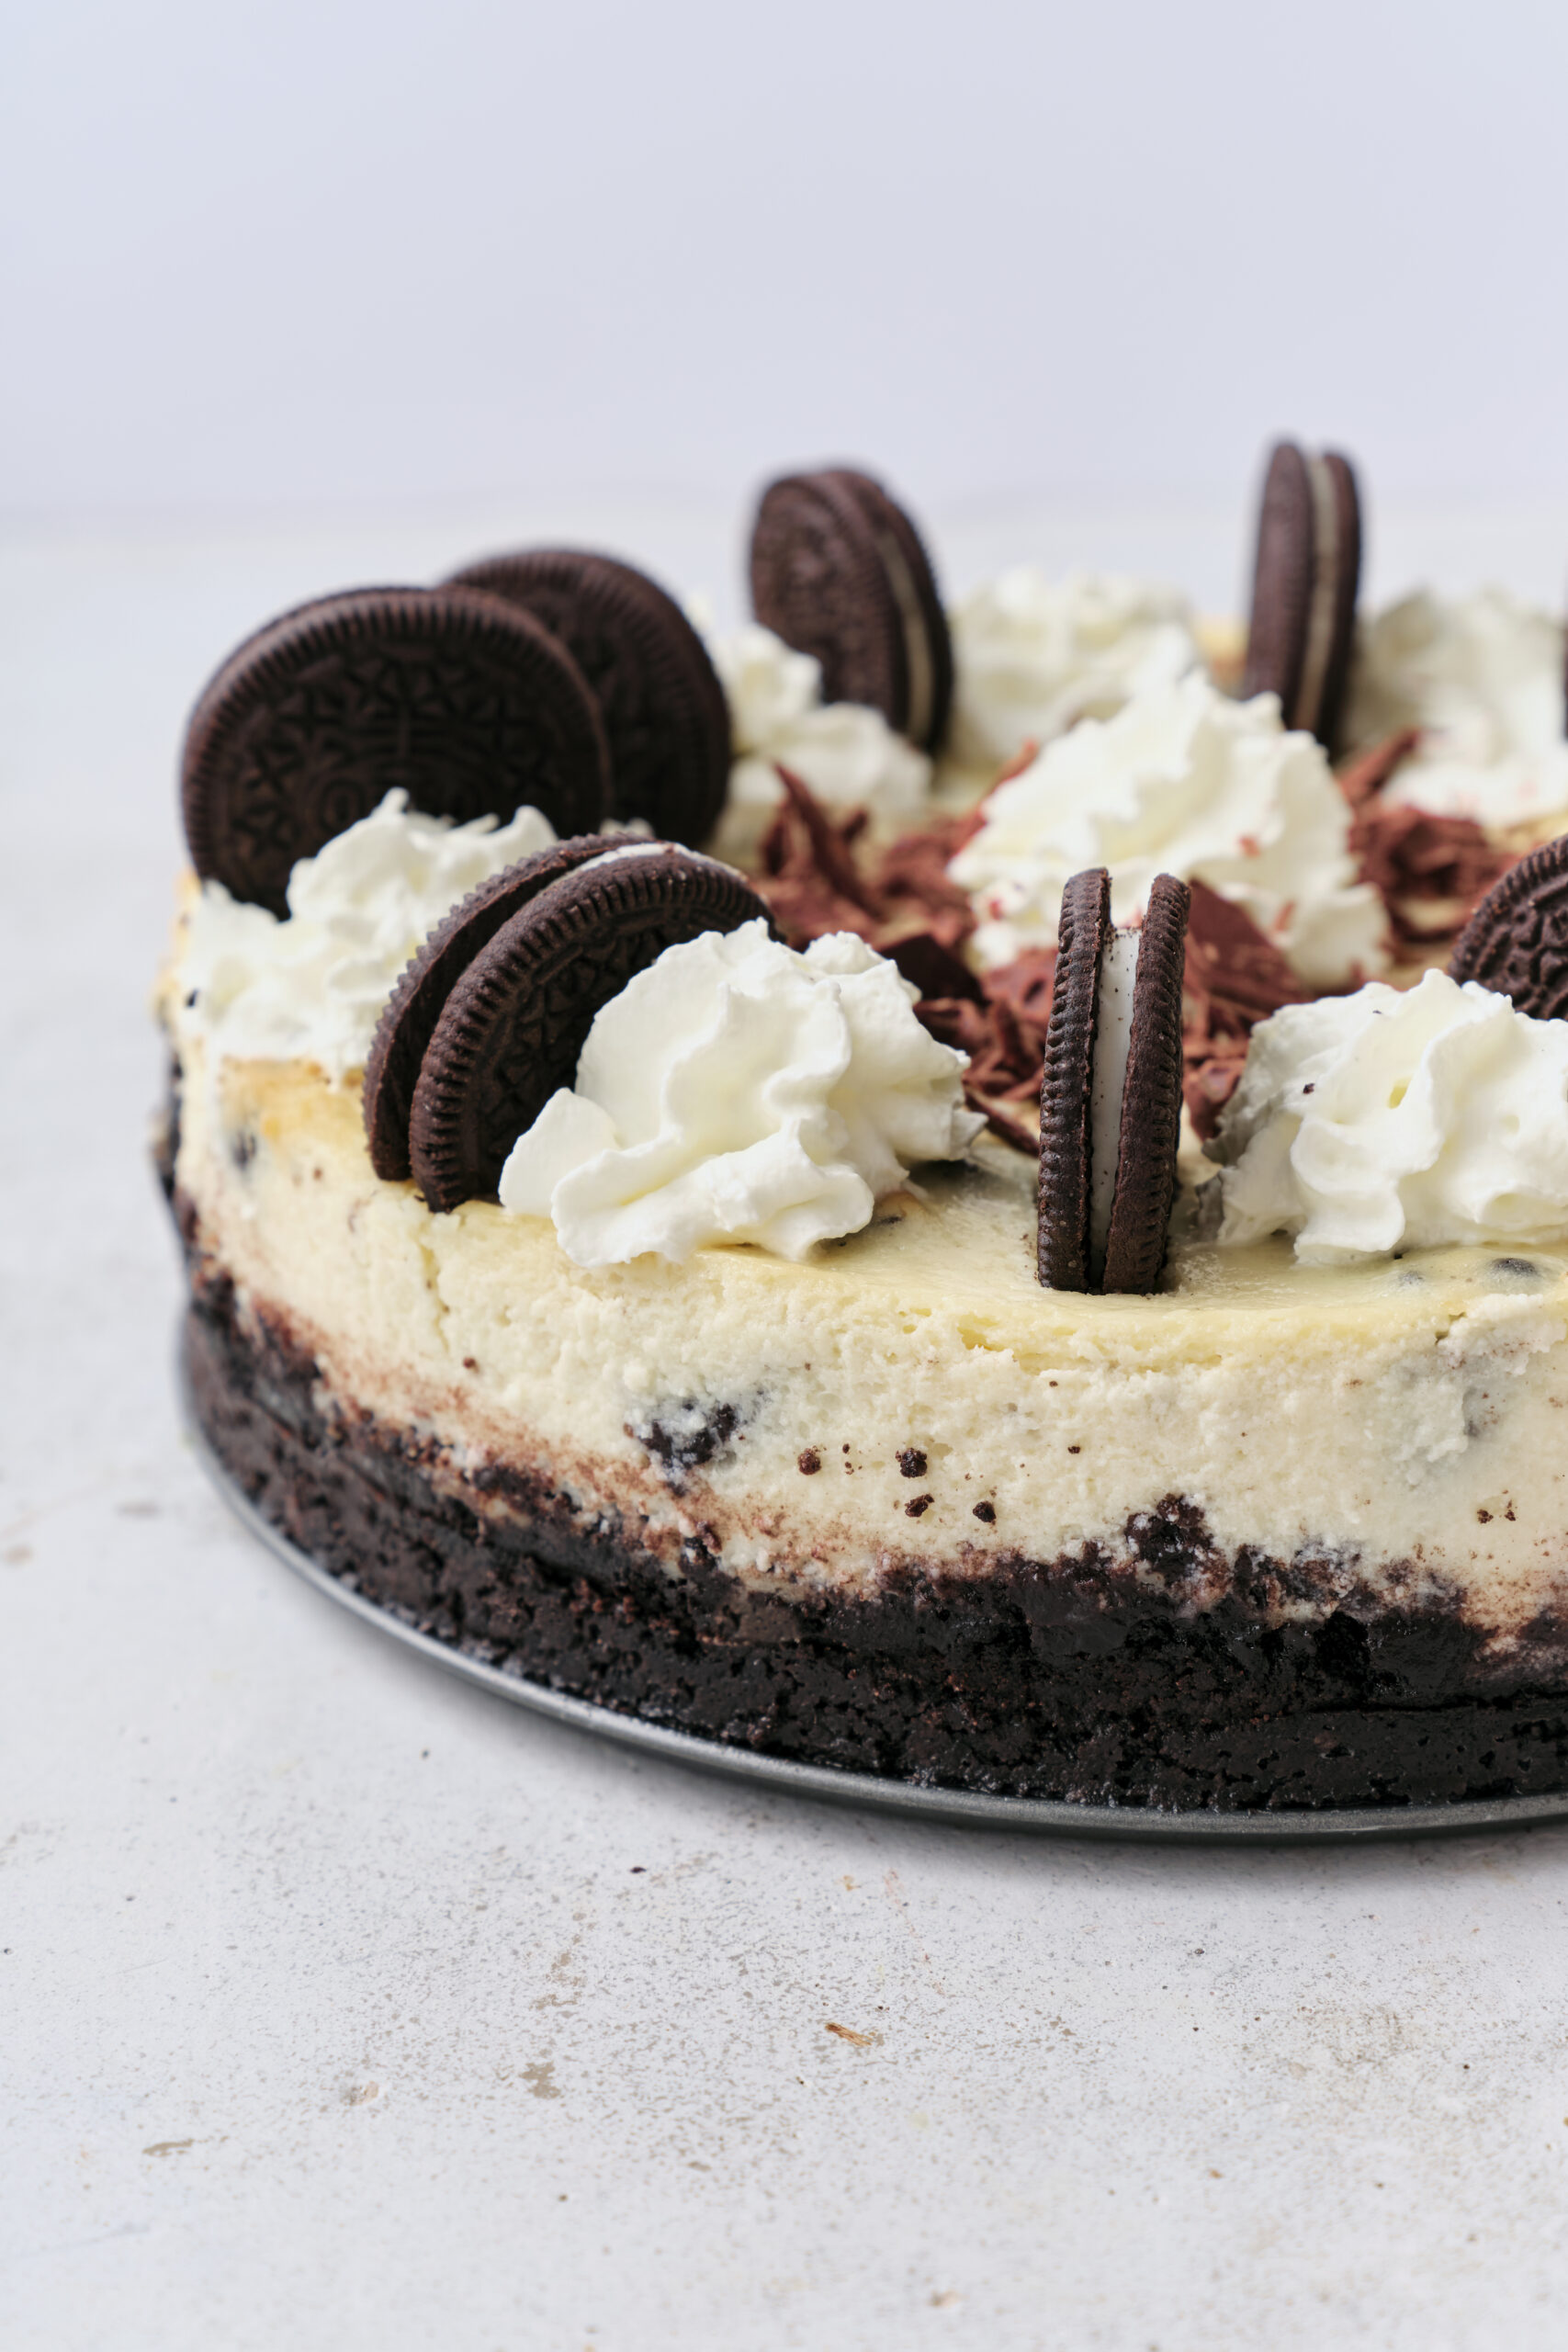
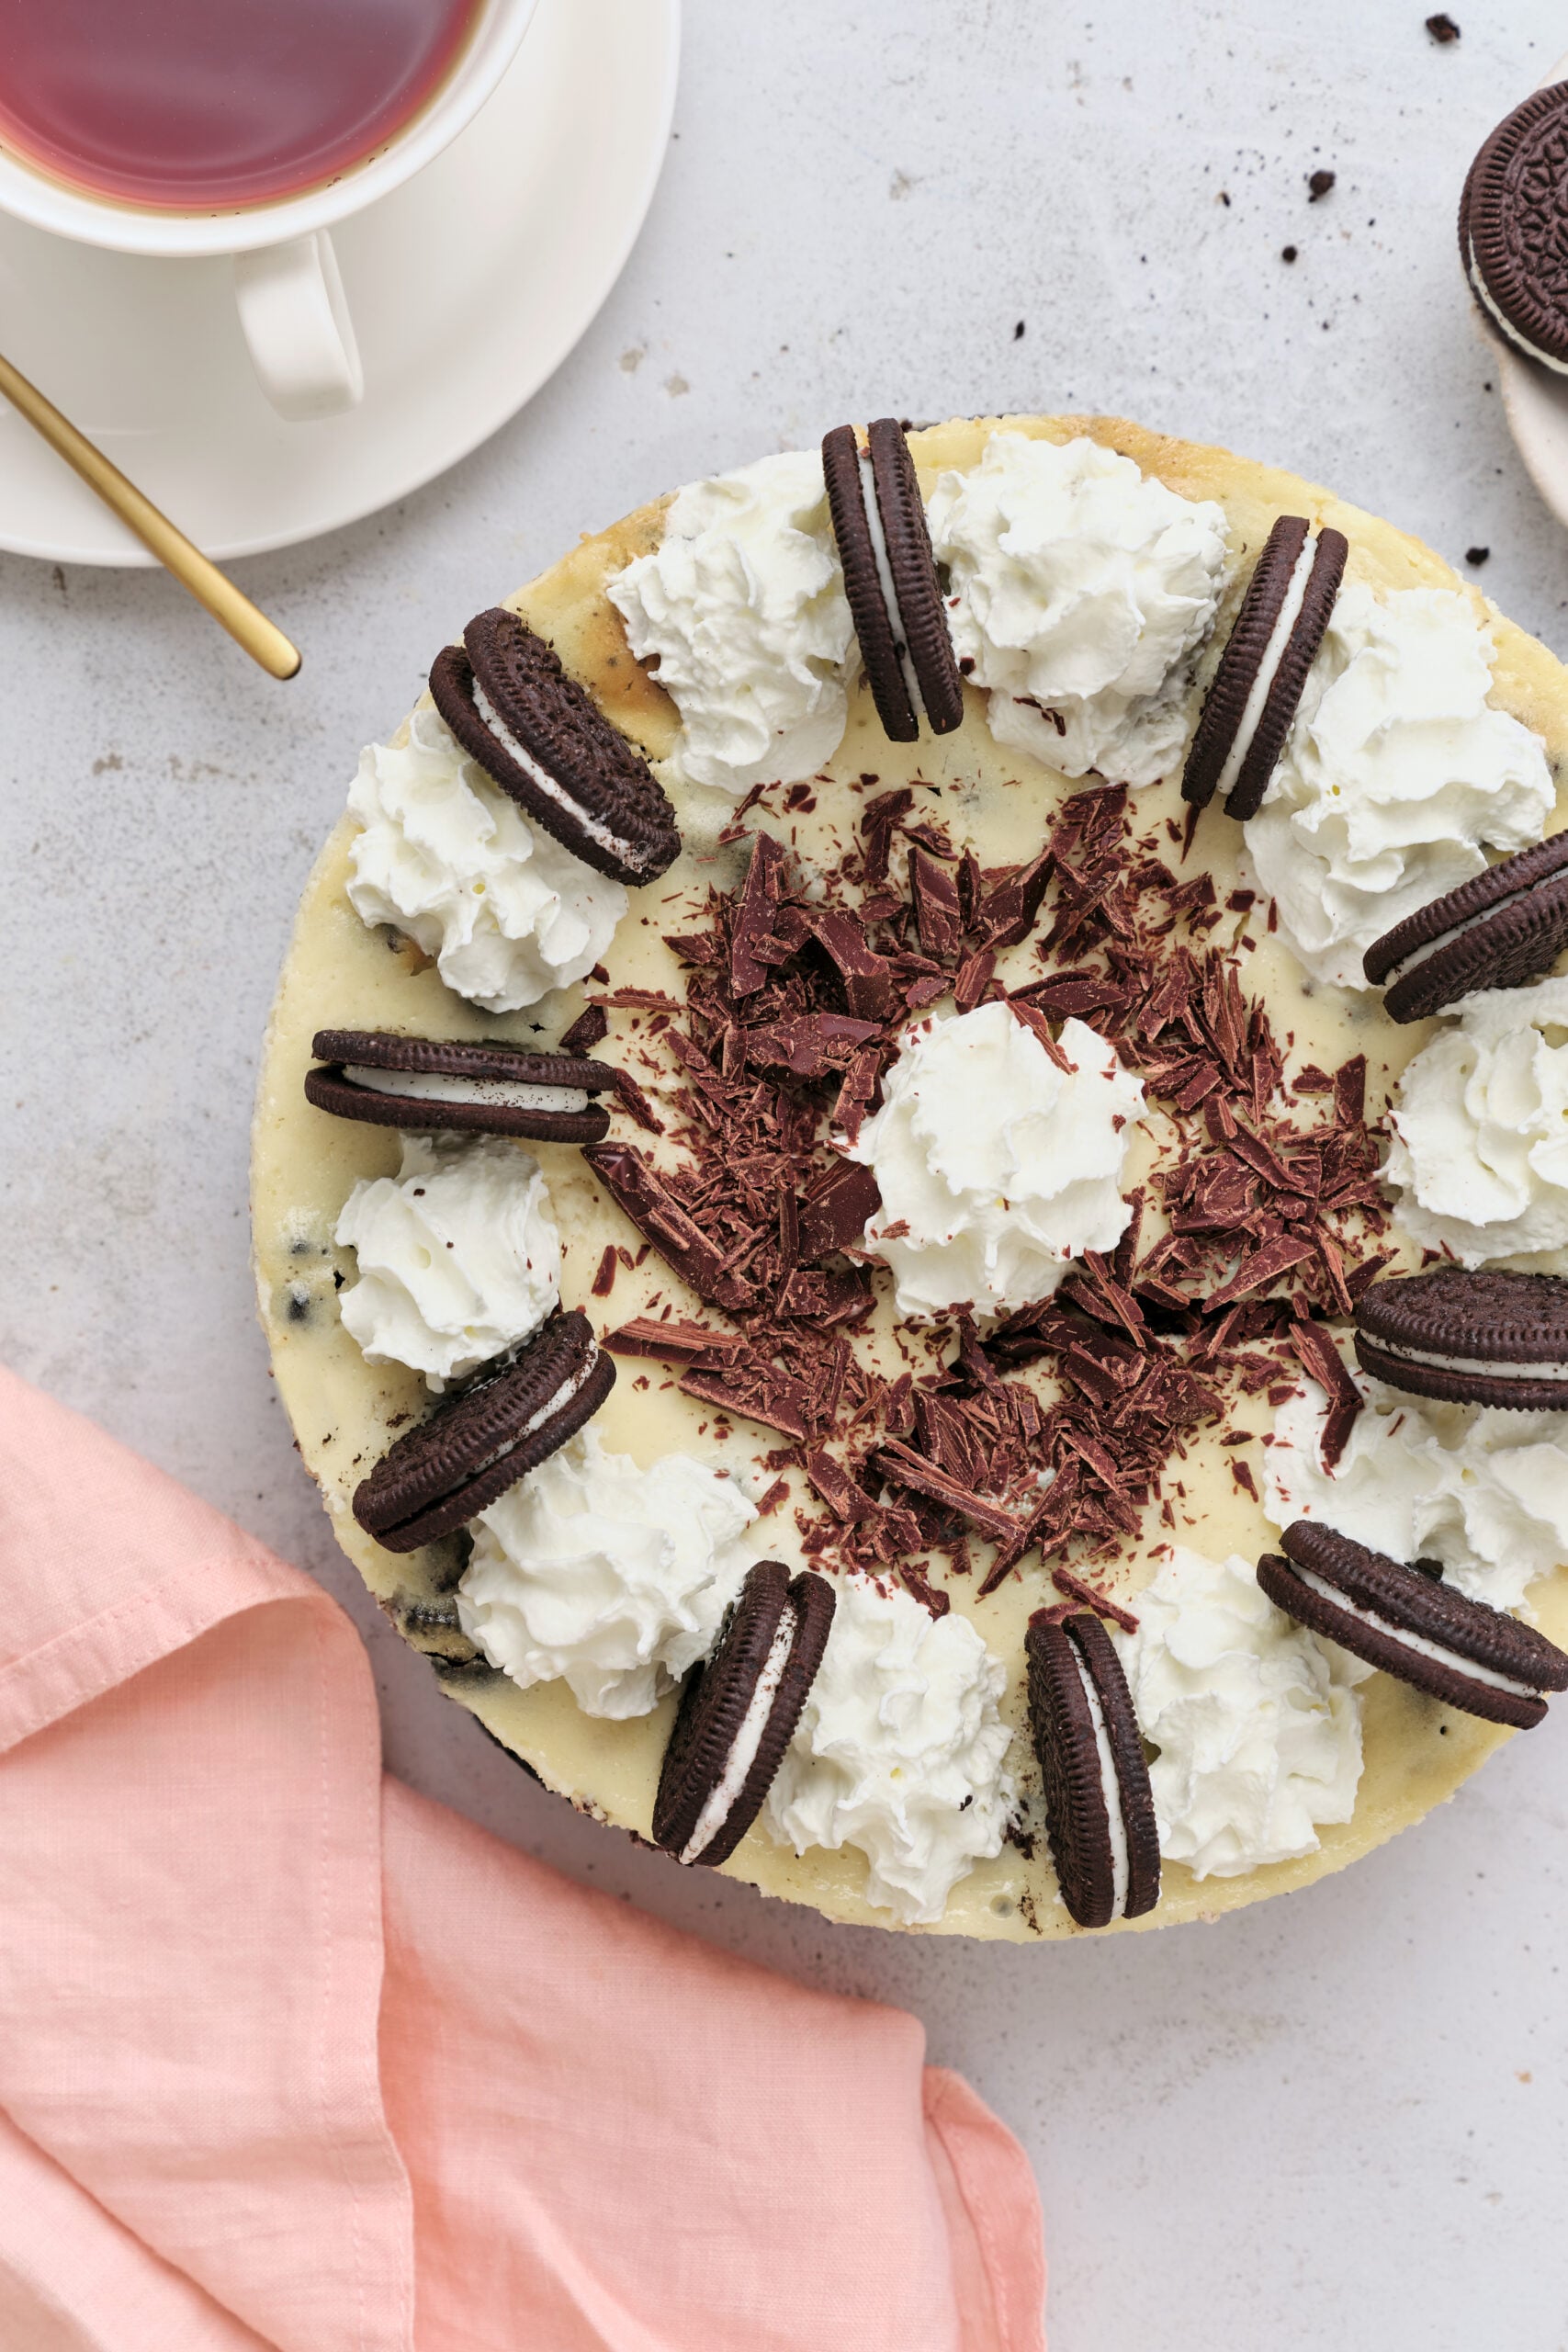
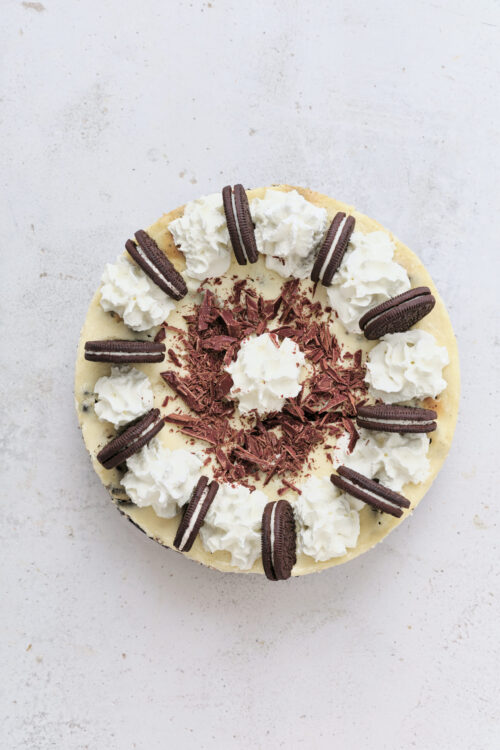
If you’re looking for a showstopper dessert that is surprisingly simple to make but with a knockout presentation and taste, Oreo cheesecake is the answer. The crunchy cookie crust topped with creamy, cookie-studded cheesecake is crowned with dollops of whipped cream, additional cookies, and chocolate shavings. Beautiful! And one taste will prove it tastes as good as it looks.
What is it that makes Oreos and cheesecake such a great combo? The Oreo cookie, an old favorite since 1912, is a cookie with contrast: the dark chocolate, crisp cookies are punctuated by a sweet creme filling for a perfect sweet bite. Likewise, traditional cheesecake is naturally creamy and tangy but the crisp cookie pieces and bits of the sweet creme filling add a delightful contrast. It’s that contrast that makes this combo work so well.
You will love Oreo cheesecake for birthdays and other special occasions. Not only is it a great dessert, but since it’s a cheesecake recipe that requires chilling, it’s a make-ahead, which is a nice perk if you’re busy prepping other dishes. Even if you’ve never made a cheesecake before, the step-by-step instructions make it easy to master this indulgent treat. Oreo cheesecake just might become your family’s favorite special occasion cake!
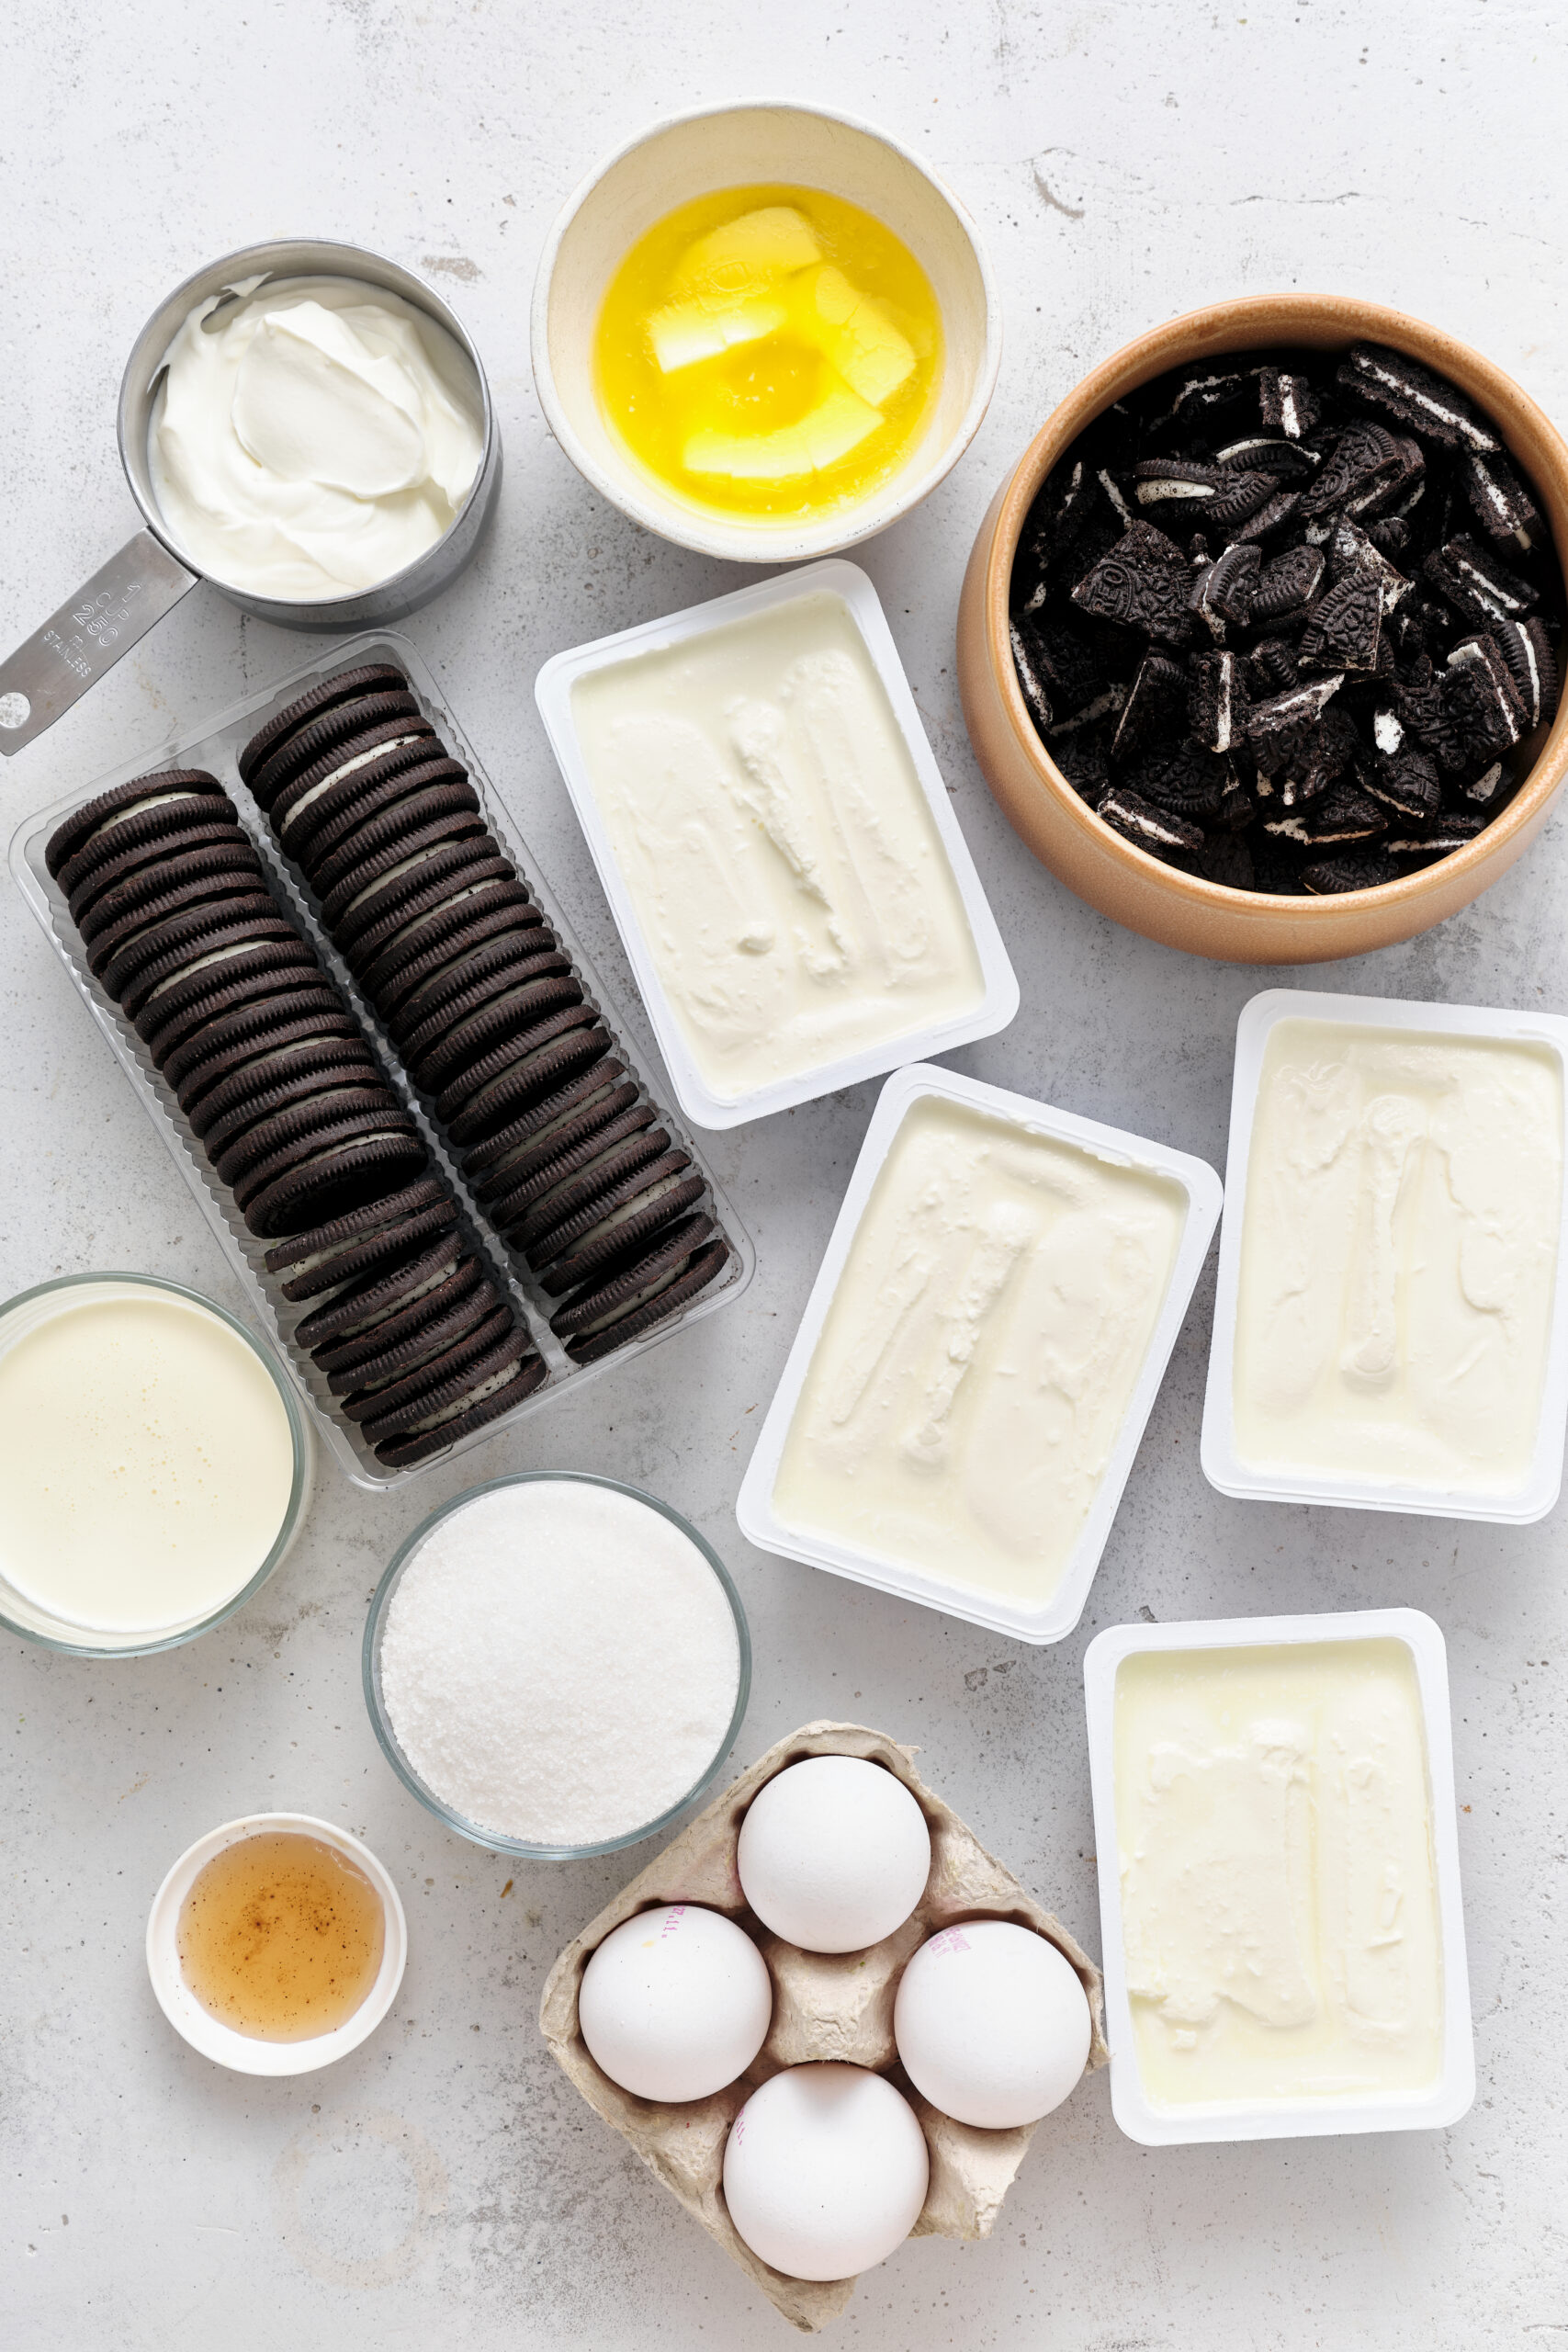
Perfectly smooth cheesecake batter
If you’re a cheesecake novice, read this part carefully. One of the pitfalls of making cheesecake is lumpy batter. This happens when the cream cheese is not totally softened, and once the lumps happen, no amount of mixing or beating the batter will help! So, take care to make sure your cream cheese is softened thoroughly. I like to leave the cream cheese out on the counter for about 45 minutes, still wrapped. Leaving the foil wrapper on, I place the entire block (or blocks) in a large bowl of warm water, flipping after about five minutes. After about ten minutes, unwrap and proceed with the recipe. Using both of these methods ensures the cream cheese is adequately softened all the way through, and you get a perfectly smooth cheesecake batter.
How do I store leftovers?
Chill any leftover Oreo cheesecake in the refrigerator for up to 5 days. It’s best to store it in an airtight container, but if you don’t have one large enough, simply cut the remaining cheesecake into manageable slices and wrap those in plastic wrap. You can also freeze leftovers. Wrap in plastic wrap and then wrap again, covering tightly with foil. Freeze this way for up to 2 months. Thaw in the refrigerator overnight before serving.
Serving suggestions
Oreo cheesecake is a wonderful celebration dessert. To serve, make delicious from-scratch Sweetened Whipped Cream for the top. While store-bought Oreos work just fine for the top as well, you can always make your own for a special touch. Homemade Oreos are not hard to make at all and taste delicious! If you want another sweet on the side, consider Chocolate-Covered Strawberries. They are decadent, fresh, and add a lovely pop of color.
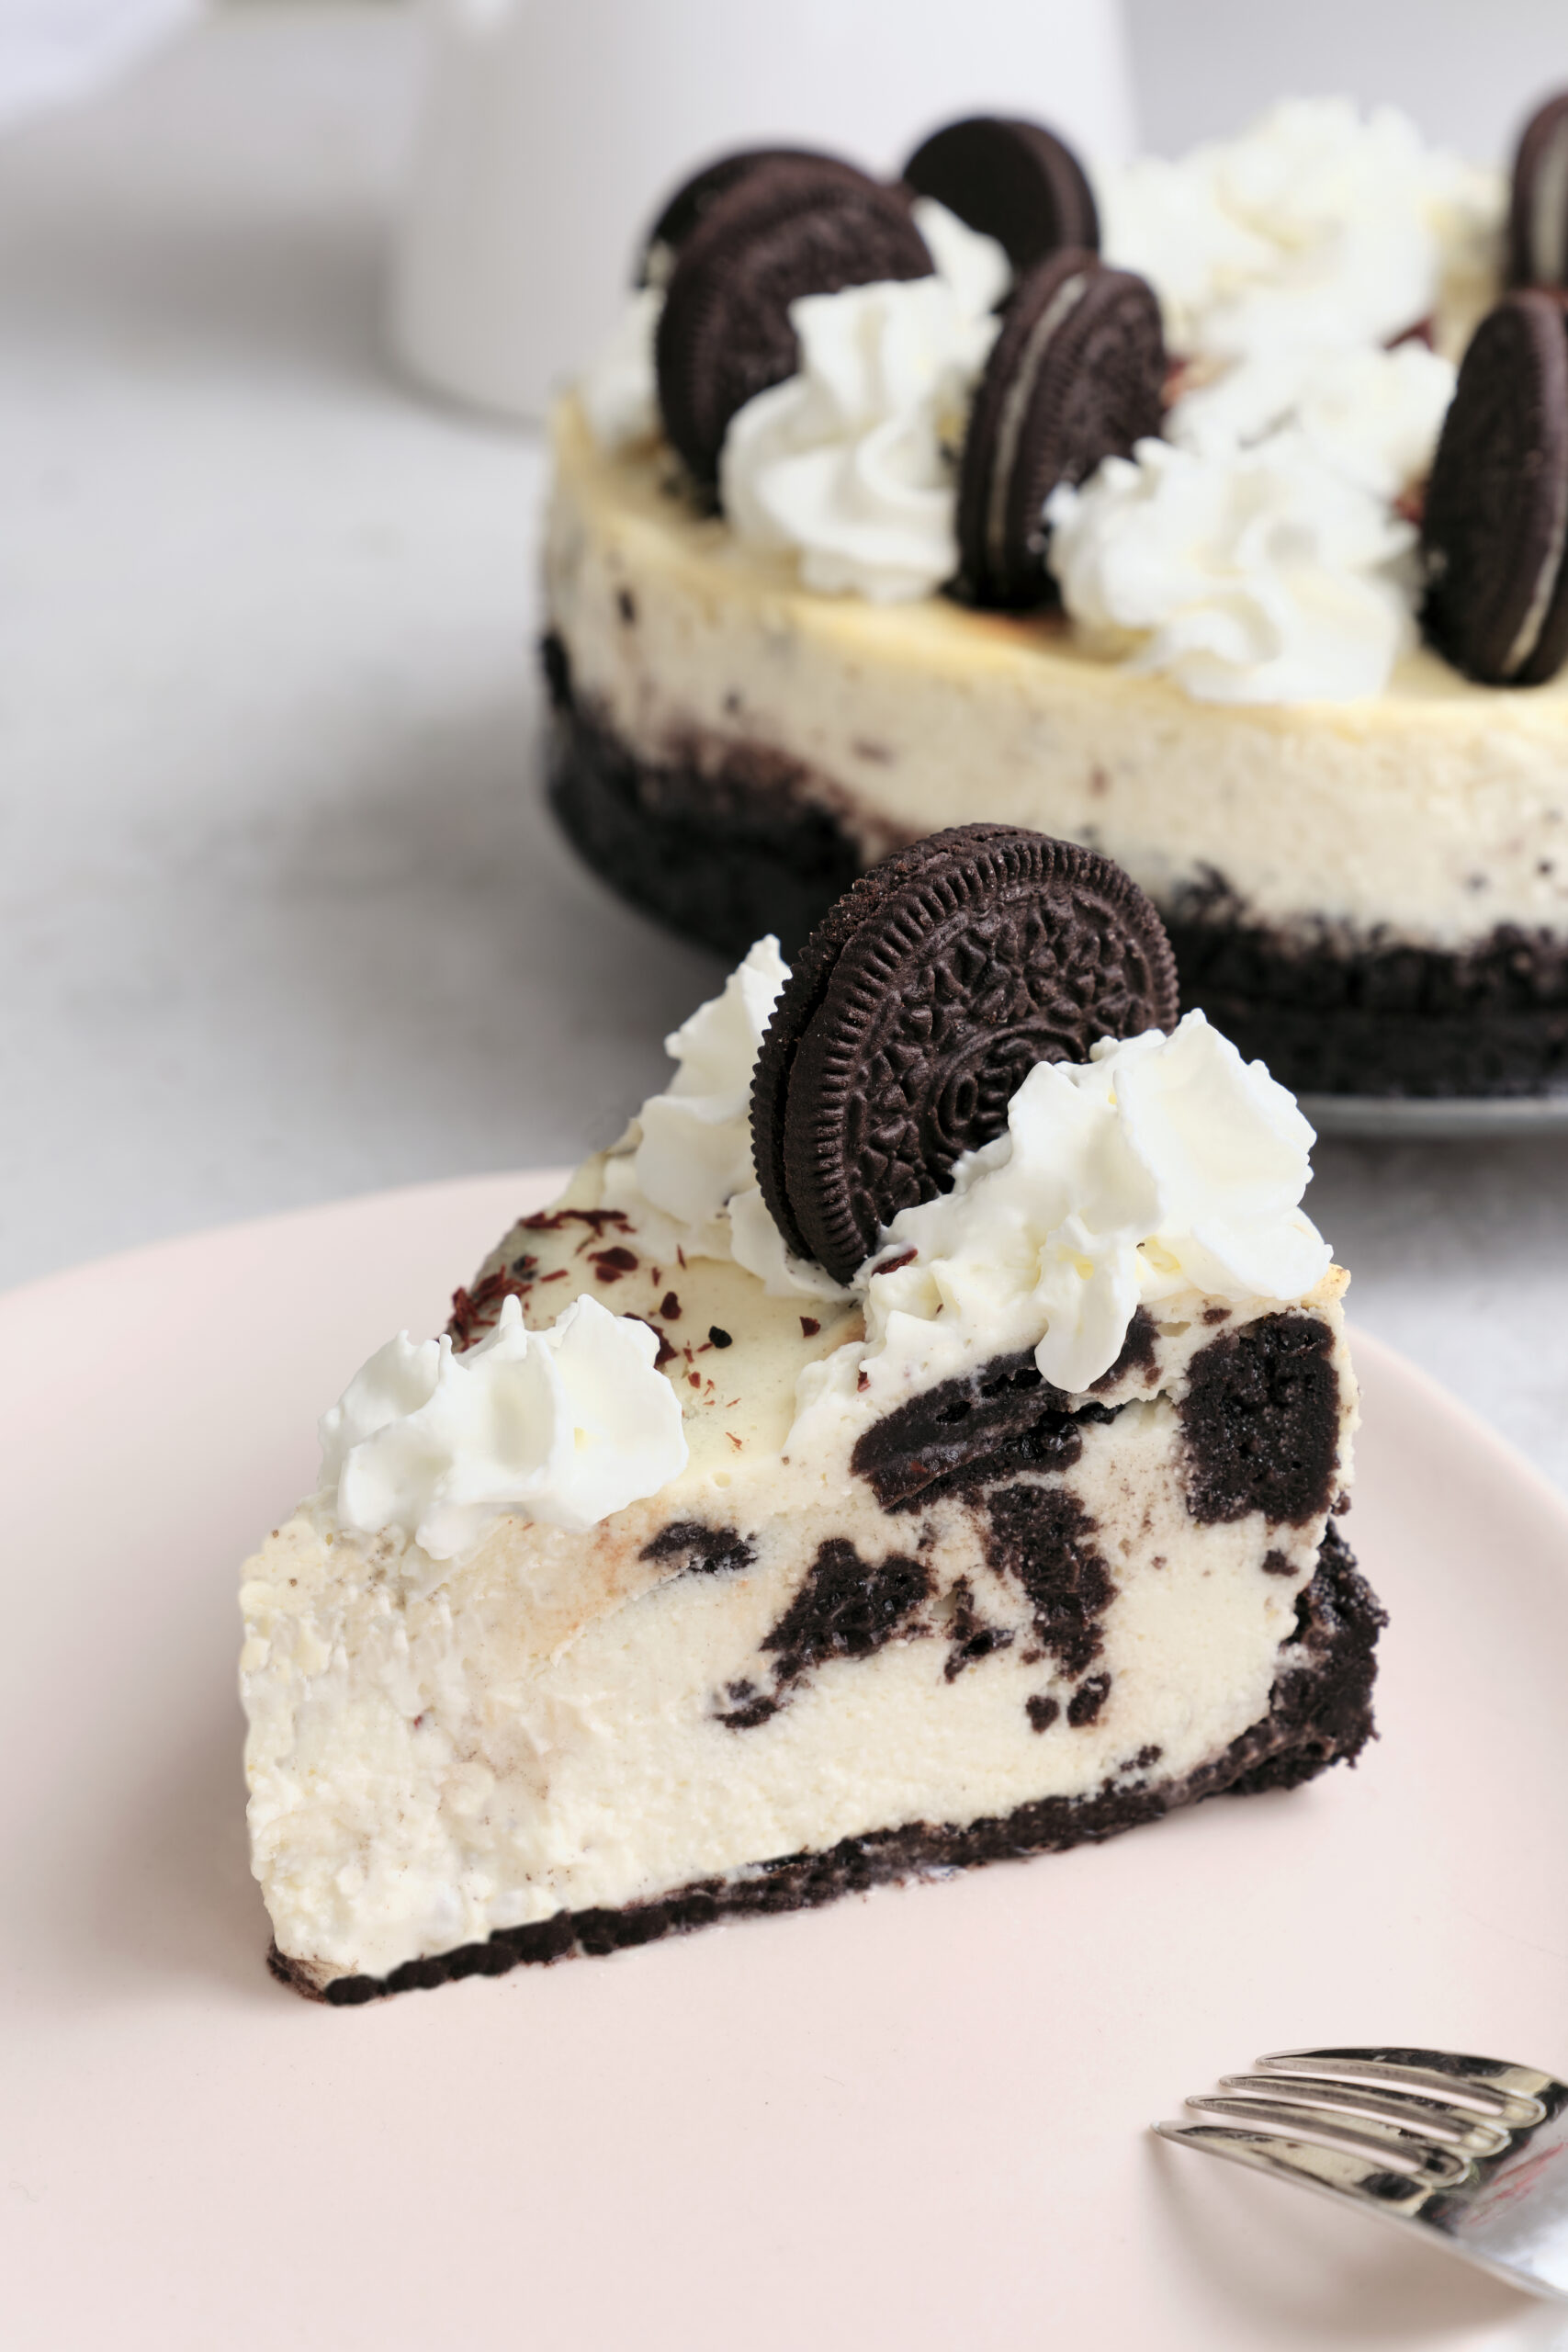
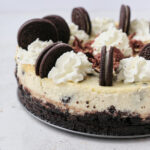
Oreo Cheesecake Recipe
Ingredients
- 24 Oreo cookies for the crust
- 4 1/2 tablespoons unsalted butter melted
- 32 ounces cream cheese softened
- 1 cup granulated sugar
- 3/4 cup sour cream room temperature
- 1 1/2 teaspoons vanilla extract
- 4 large eggs room temperature
- 15 Oreo cookies roughly chopped (for the filling)
- Whipped cream and optional extra Oreos for garnish
Instructions
- Preheat your oven to 325°F. Spray a 9-inch springform pan with baking spray. In a food processor, pulse Oreo cookies for the crust until they form fine crumbs.
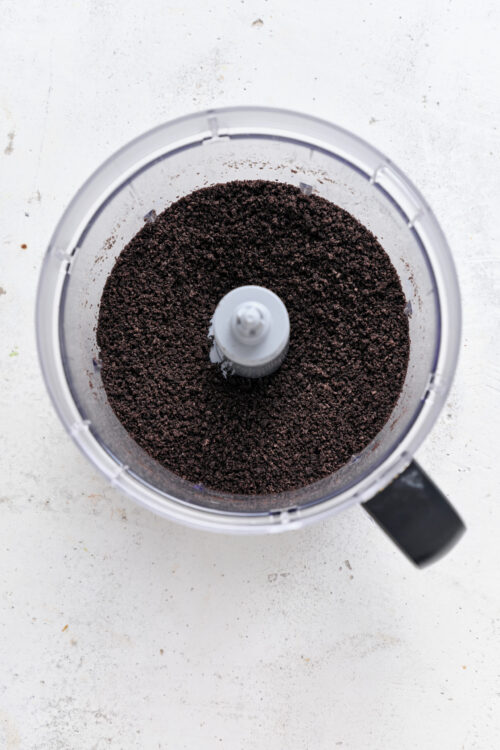
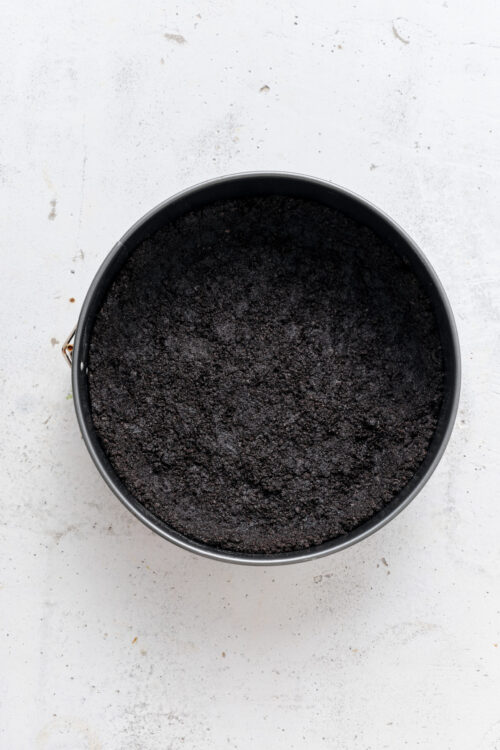
- Transfer the crumbs to a bowl, add the melted butter and mix until evenly moistened. Press the crumb mixture firmly into the bottom and about 1 inch up the sides of springform pan.
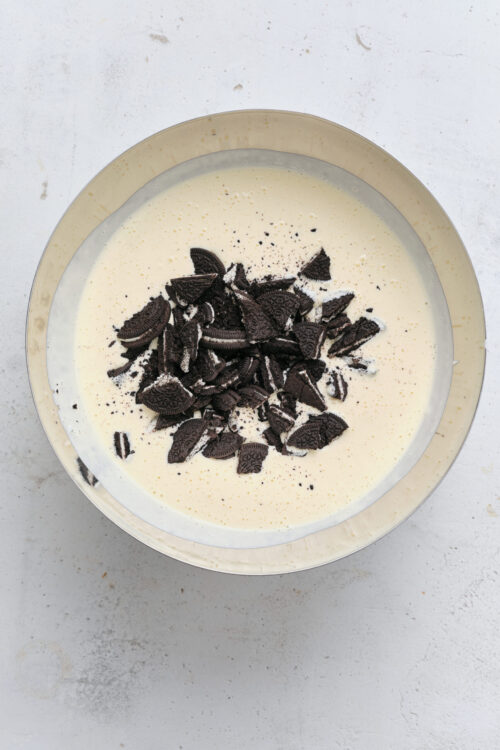
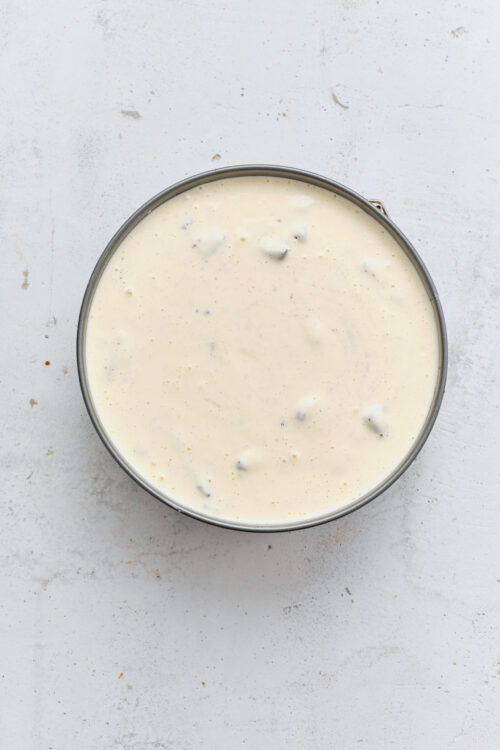
- In a large bowl, beat the softened cream cheese until smooth and lump-free. Add granulated sugar and mix well. Stir in sour cream and vanilla extract. Then add the eggs one at a time, mixing gently after each addition. Fold in the roughly chopped 15 Oreo cookies until evenly distributed.
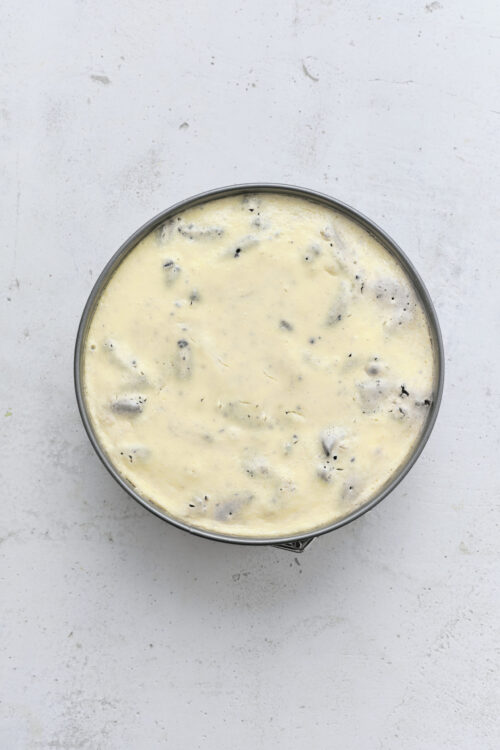
- Pour the cheesecake batter over the crust and smooth the top with a spatula. Bake in the preheated oven for 55 to 65 minutes until the edges are set and the center still has a slight jiggle.
- Remove from the oven and allow to cool at room temperature for about 1 hour. Then refrigerate for at least 6 hours, or overnight, until fully set.
- Decorate the top of the cheesecake with whipped cream. If desired, add whole or crushed Oreos for garnish.
Nutrition
The post Oreo Cheesecake Recipe appeared first on Baked Bree.
]]>The post Raspberry Vinaigrette appeared first on Baked Bree.
]]>
If you’re stuck in a rut with bottled ranch or balsamic vinegar salad dressing, it’s time to try something new. While bottled dressings are convenient, it’s easy to settle for just-okay taste. Making your own dressing is easy, and the payoff in taste and texture is definitely worth it. Raspberry vinaigrette is a great example. Even if you’ve never made your own vinaigrette before, it’s a doable endeavor that produces a gourmet finish to your favorite tossed salad.
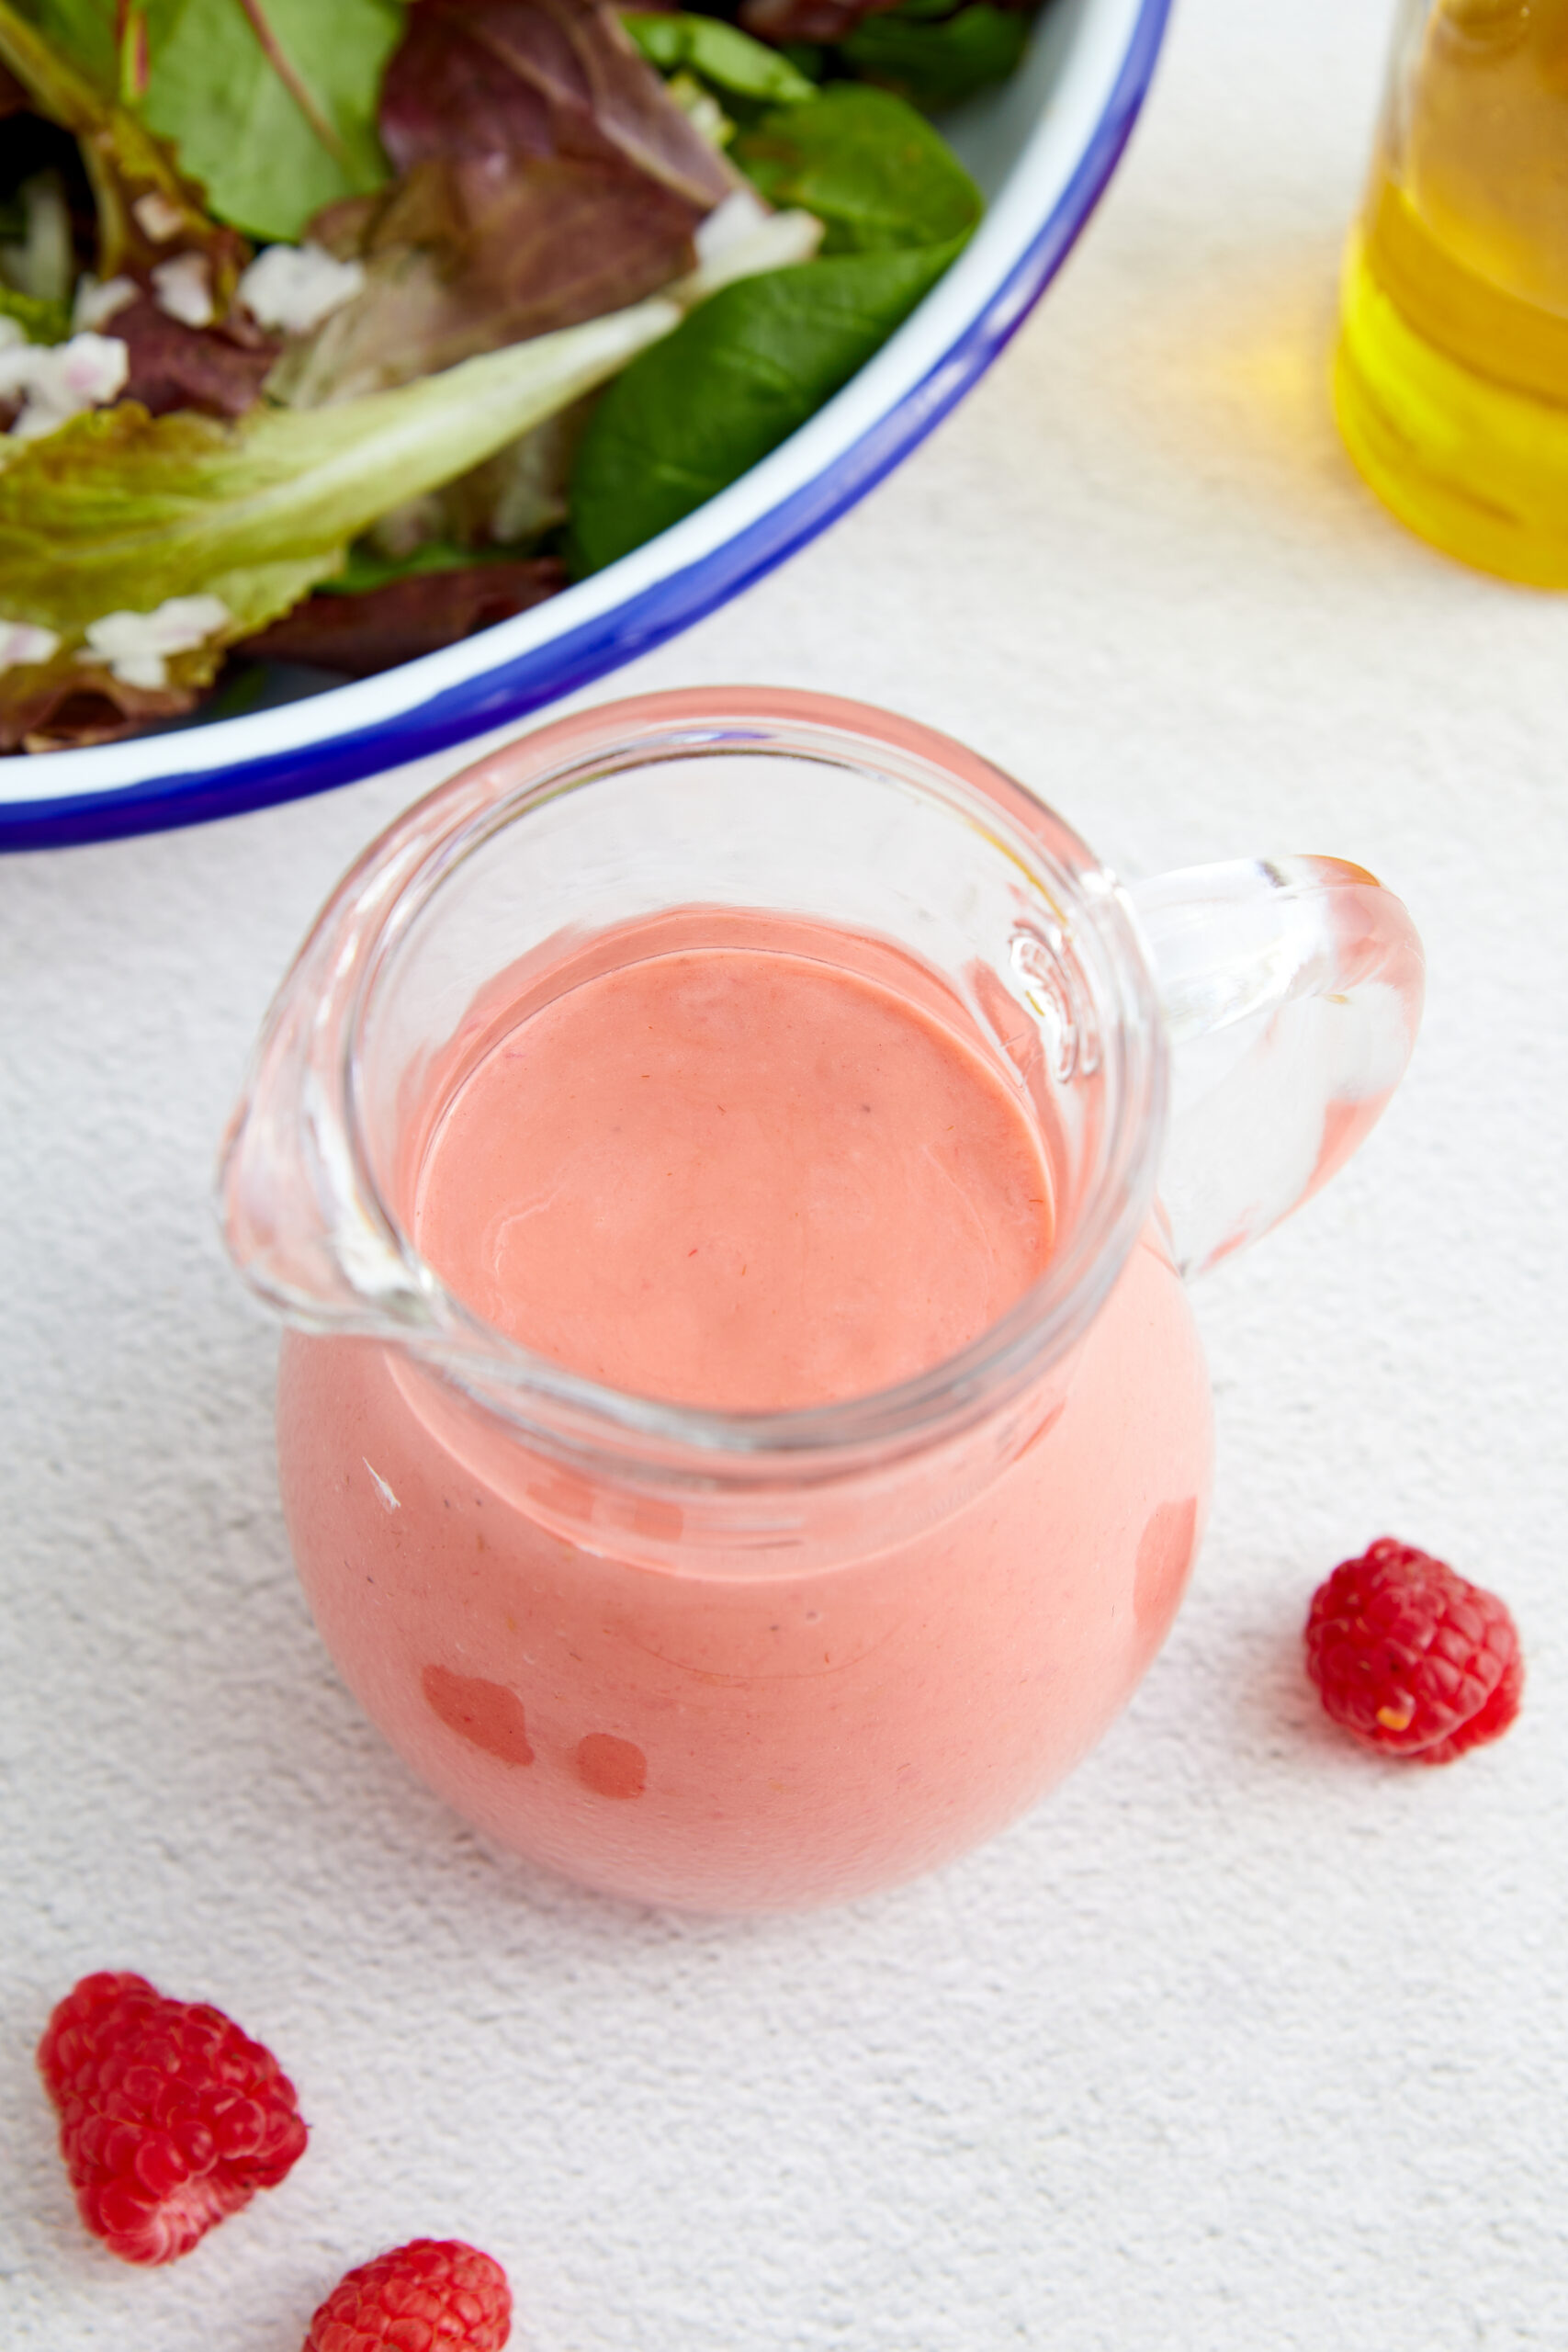
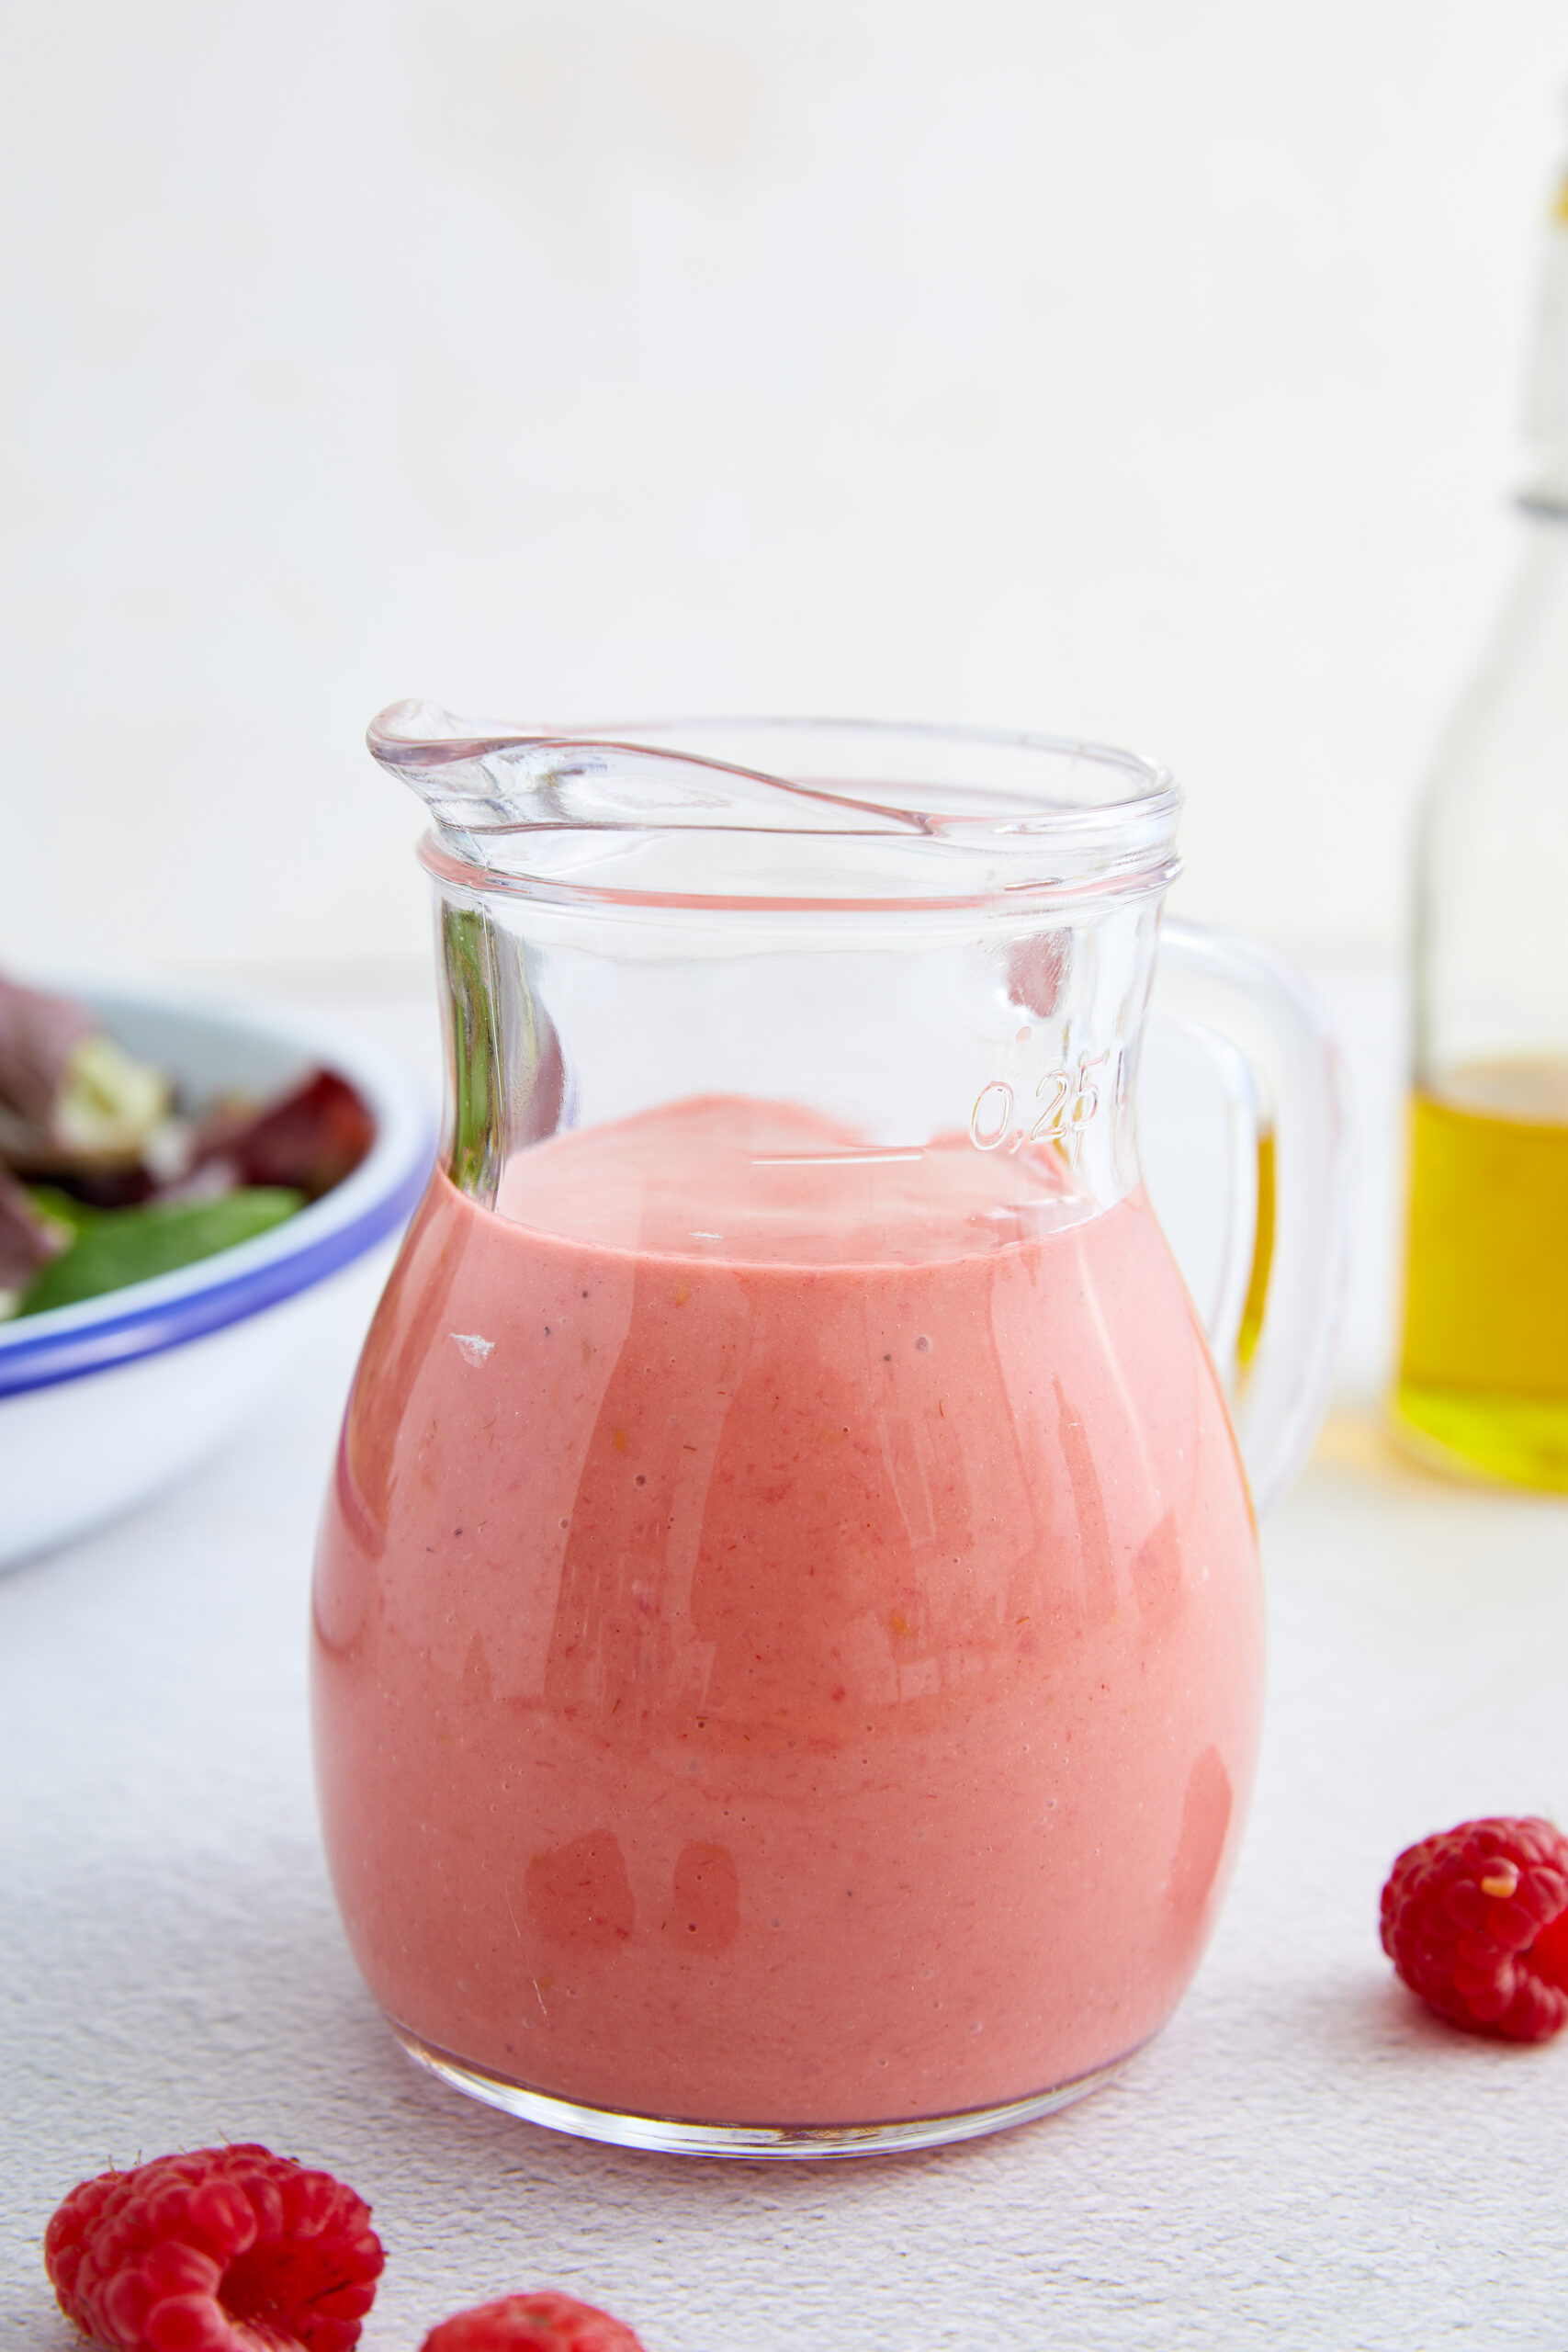
While raspberries might not seem like an obvious choice for a salad dressing, their color and flavor work well. Naturally bright red, raspberries turn a lovely pink when blended with the oil, red wine vinegar, Dijon mustard, and seasonings. Their zingy tart-sweet flavor adds the perfect punch to vinaigrette and is especially delicious paired with salads containing fruits like apples or pears.
Try something new on a favorite salad and make raspberry vinaigrette. It’s easy to make and delivers bold, vibrant flavor. This vinaigrette is easy to prep; use a chopper to finely chop the shallot and then your blender does most of the work. The good news is that this recipe makes enough for several salads, so you can make raspberry vinaigrette on a weekend and enjoy it during the busy work week. Your taste buds will thank you for this fresh, flavorful dressing!
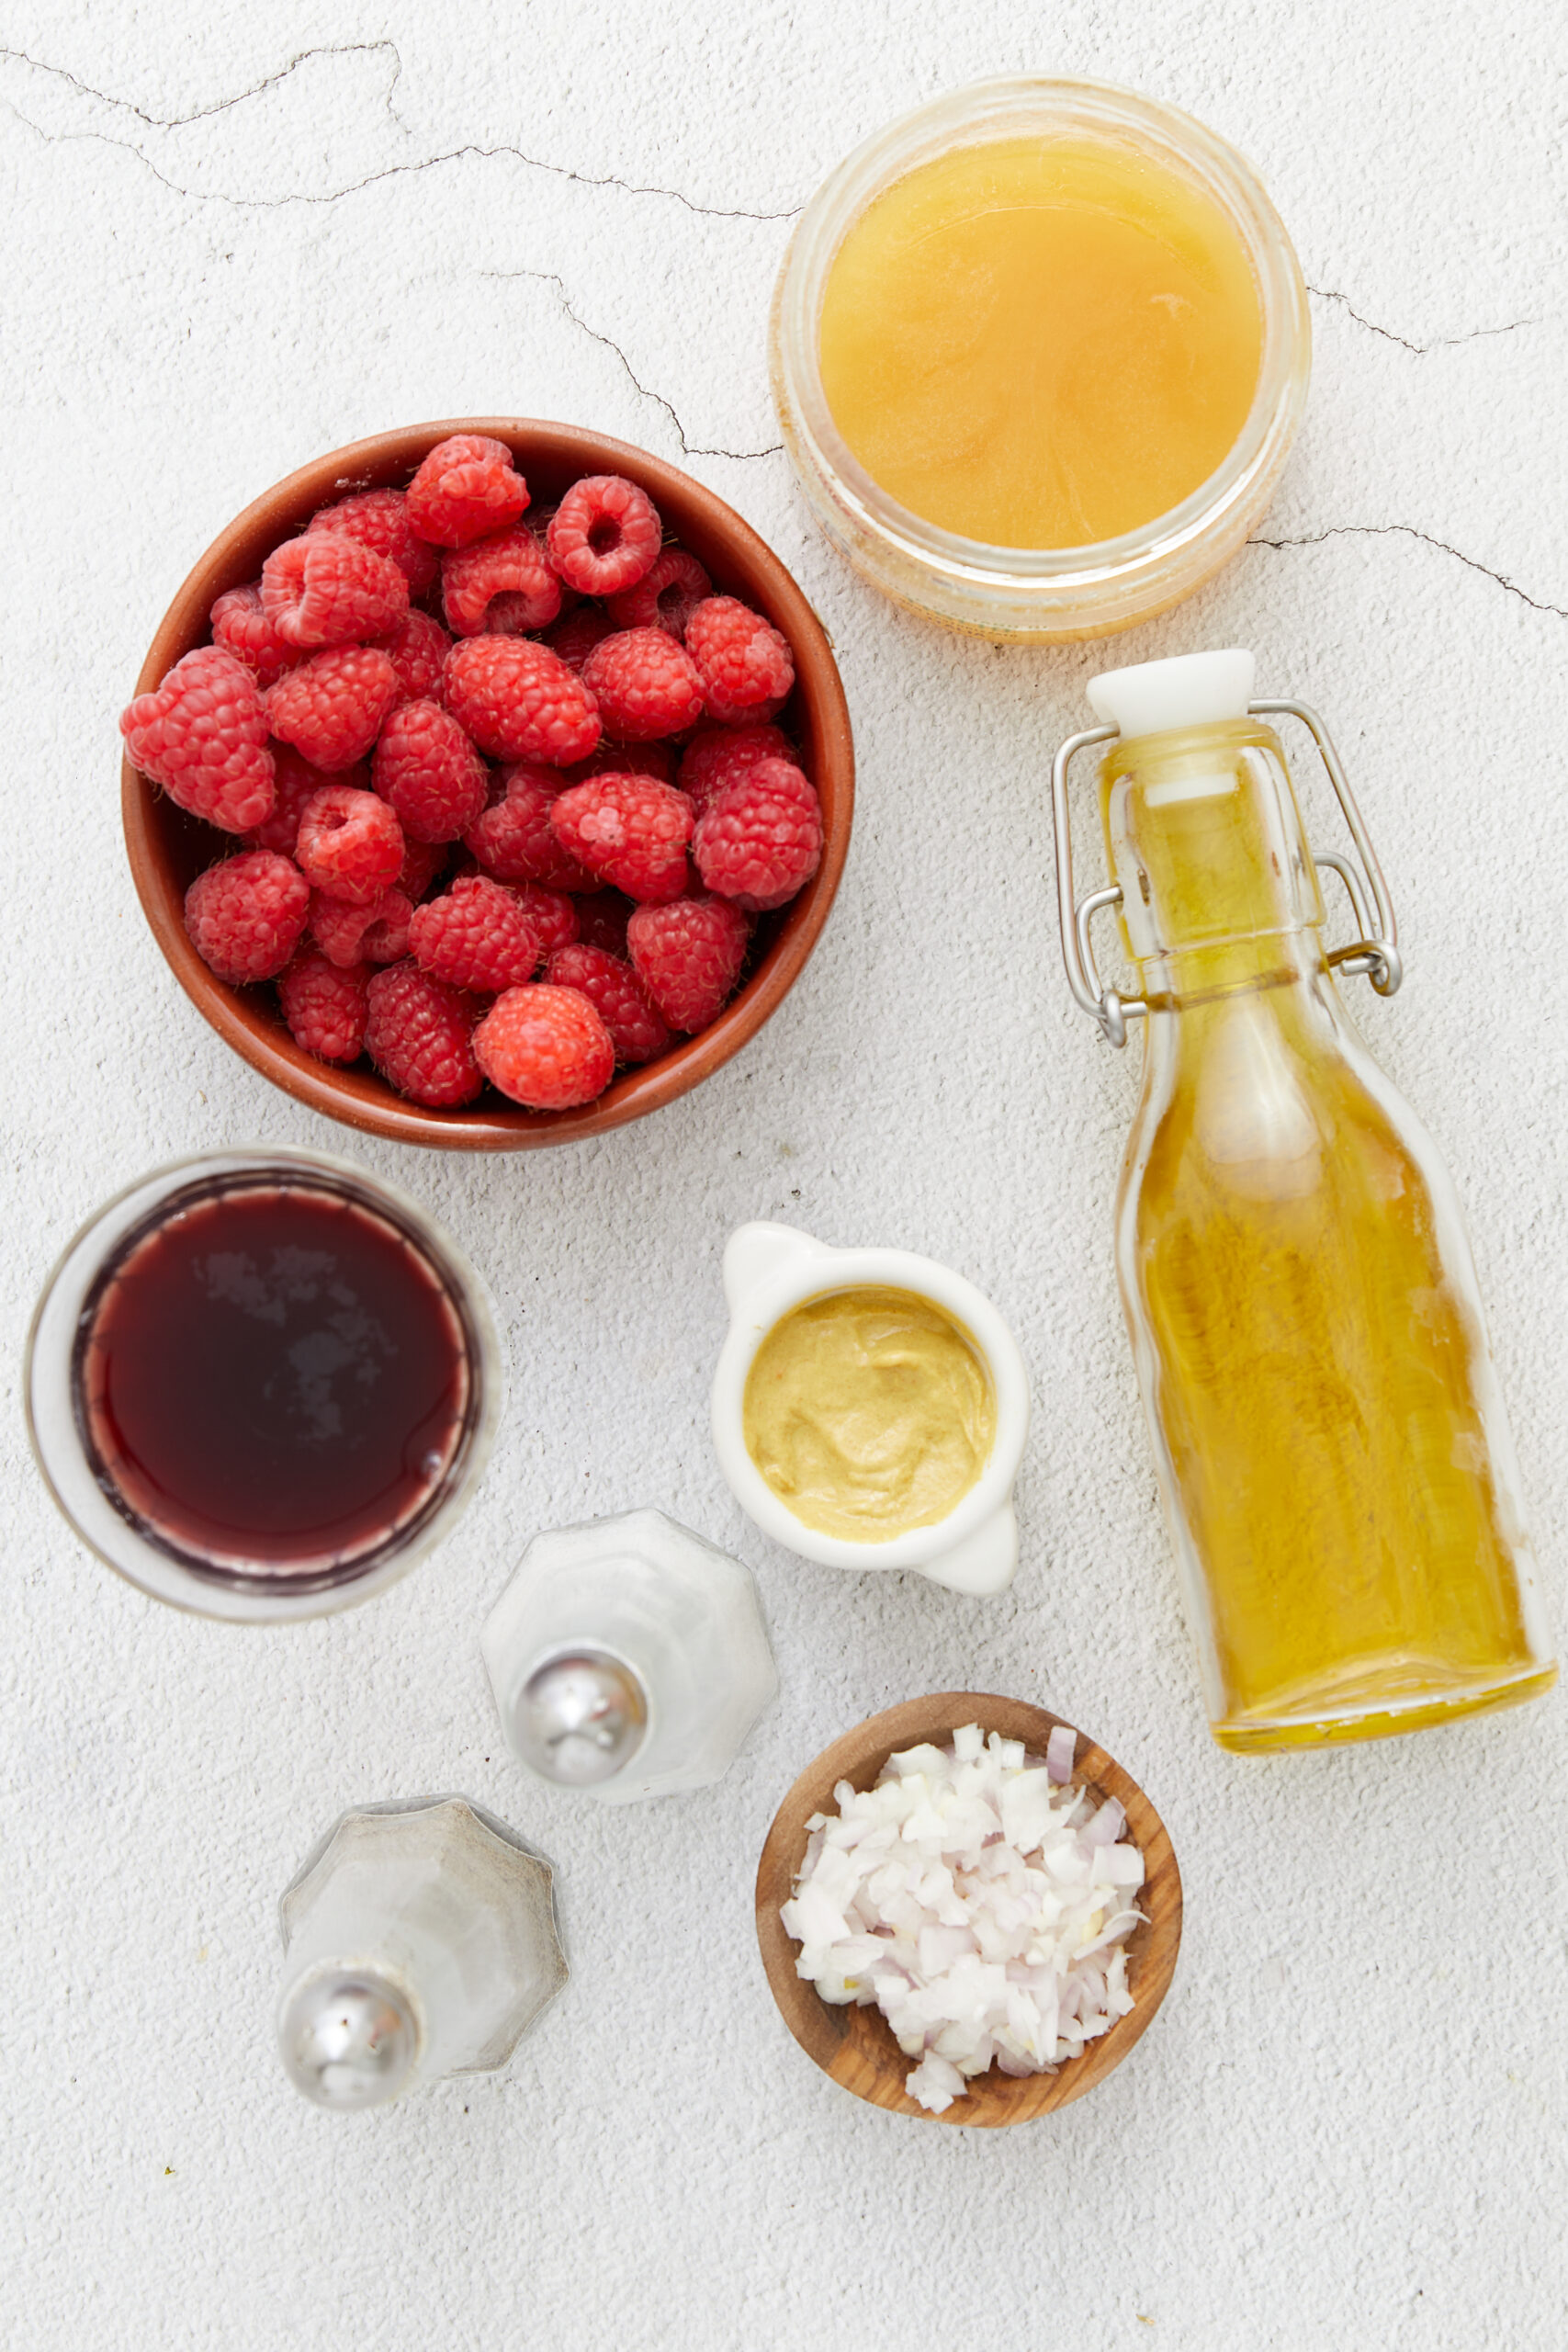
Shallots vs. onions
This recipe calls for a small shallot, chopped. If you haven’t cooked with shallots before and are looking at the pictures here, you may think it’s just a fancy word for onion. However, shallots and onions are two different things. While they are both in the allium family, shallots grow in clusters like garlic and have a milder, slightly sweeter flavor than onions. Underneath a shallot’s papery husk, the inside can have a slight purple tinge; the color can range from gray to magenta. Overall, shallots are a bit more delicate in size and flavor than onions, making them an excellent choice for a vinaigrette that is not cooked at all; look for shallots near the onions in the produce section of your supermarket.
How do I store leftovers?
Store leftover raspberry vinaigrette in a salad dressing cruet with a tight-fitting lid or mason jar. Keep it in the fridge for up to 1 week. Freezing is not recommended. Since the chill of the fridge may cause the oil to solidify, set the salad dressing out on the counter to warm up for about 15 minutes before shaking and using. If you’re in a rush, dip the fresh-from-the-fridge bottle or jar in a bowl of warm water to gently warm it. Shake, drizzle, and toss. Enjoy!
Serving suggestions
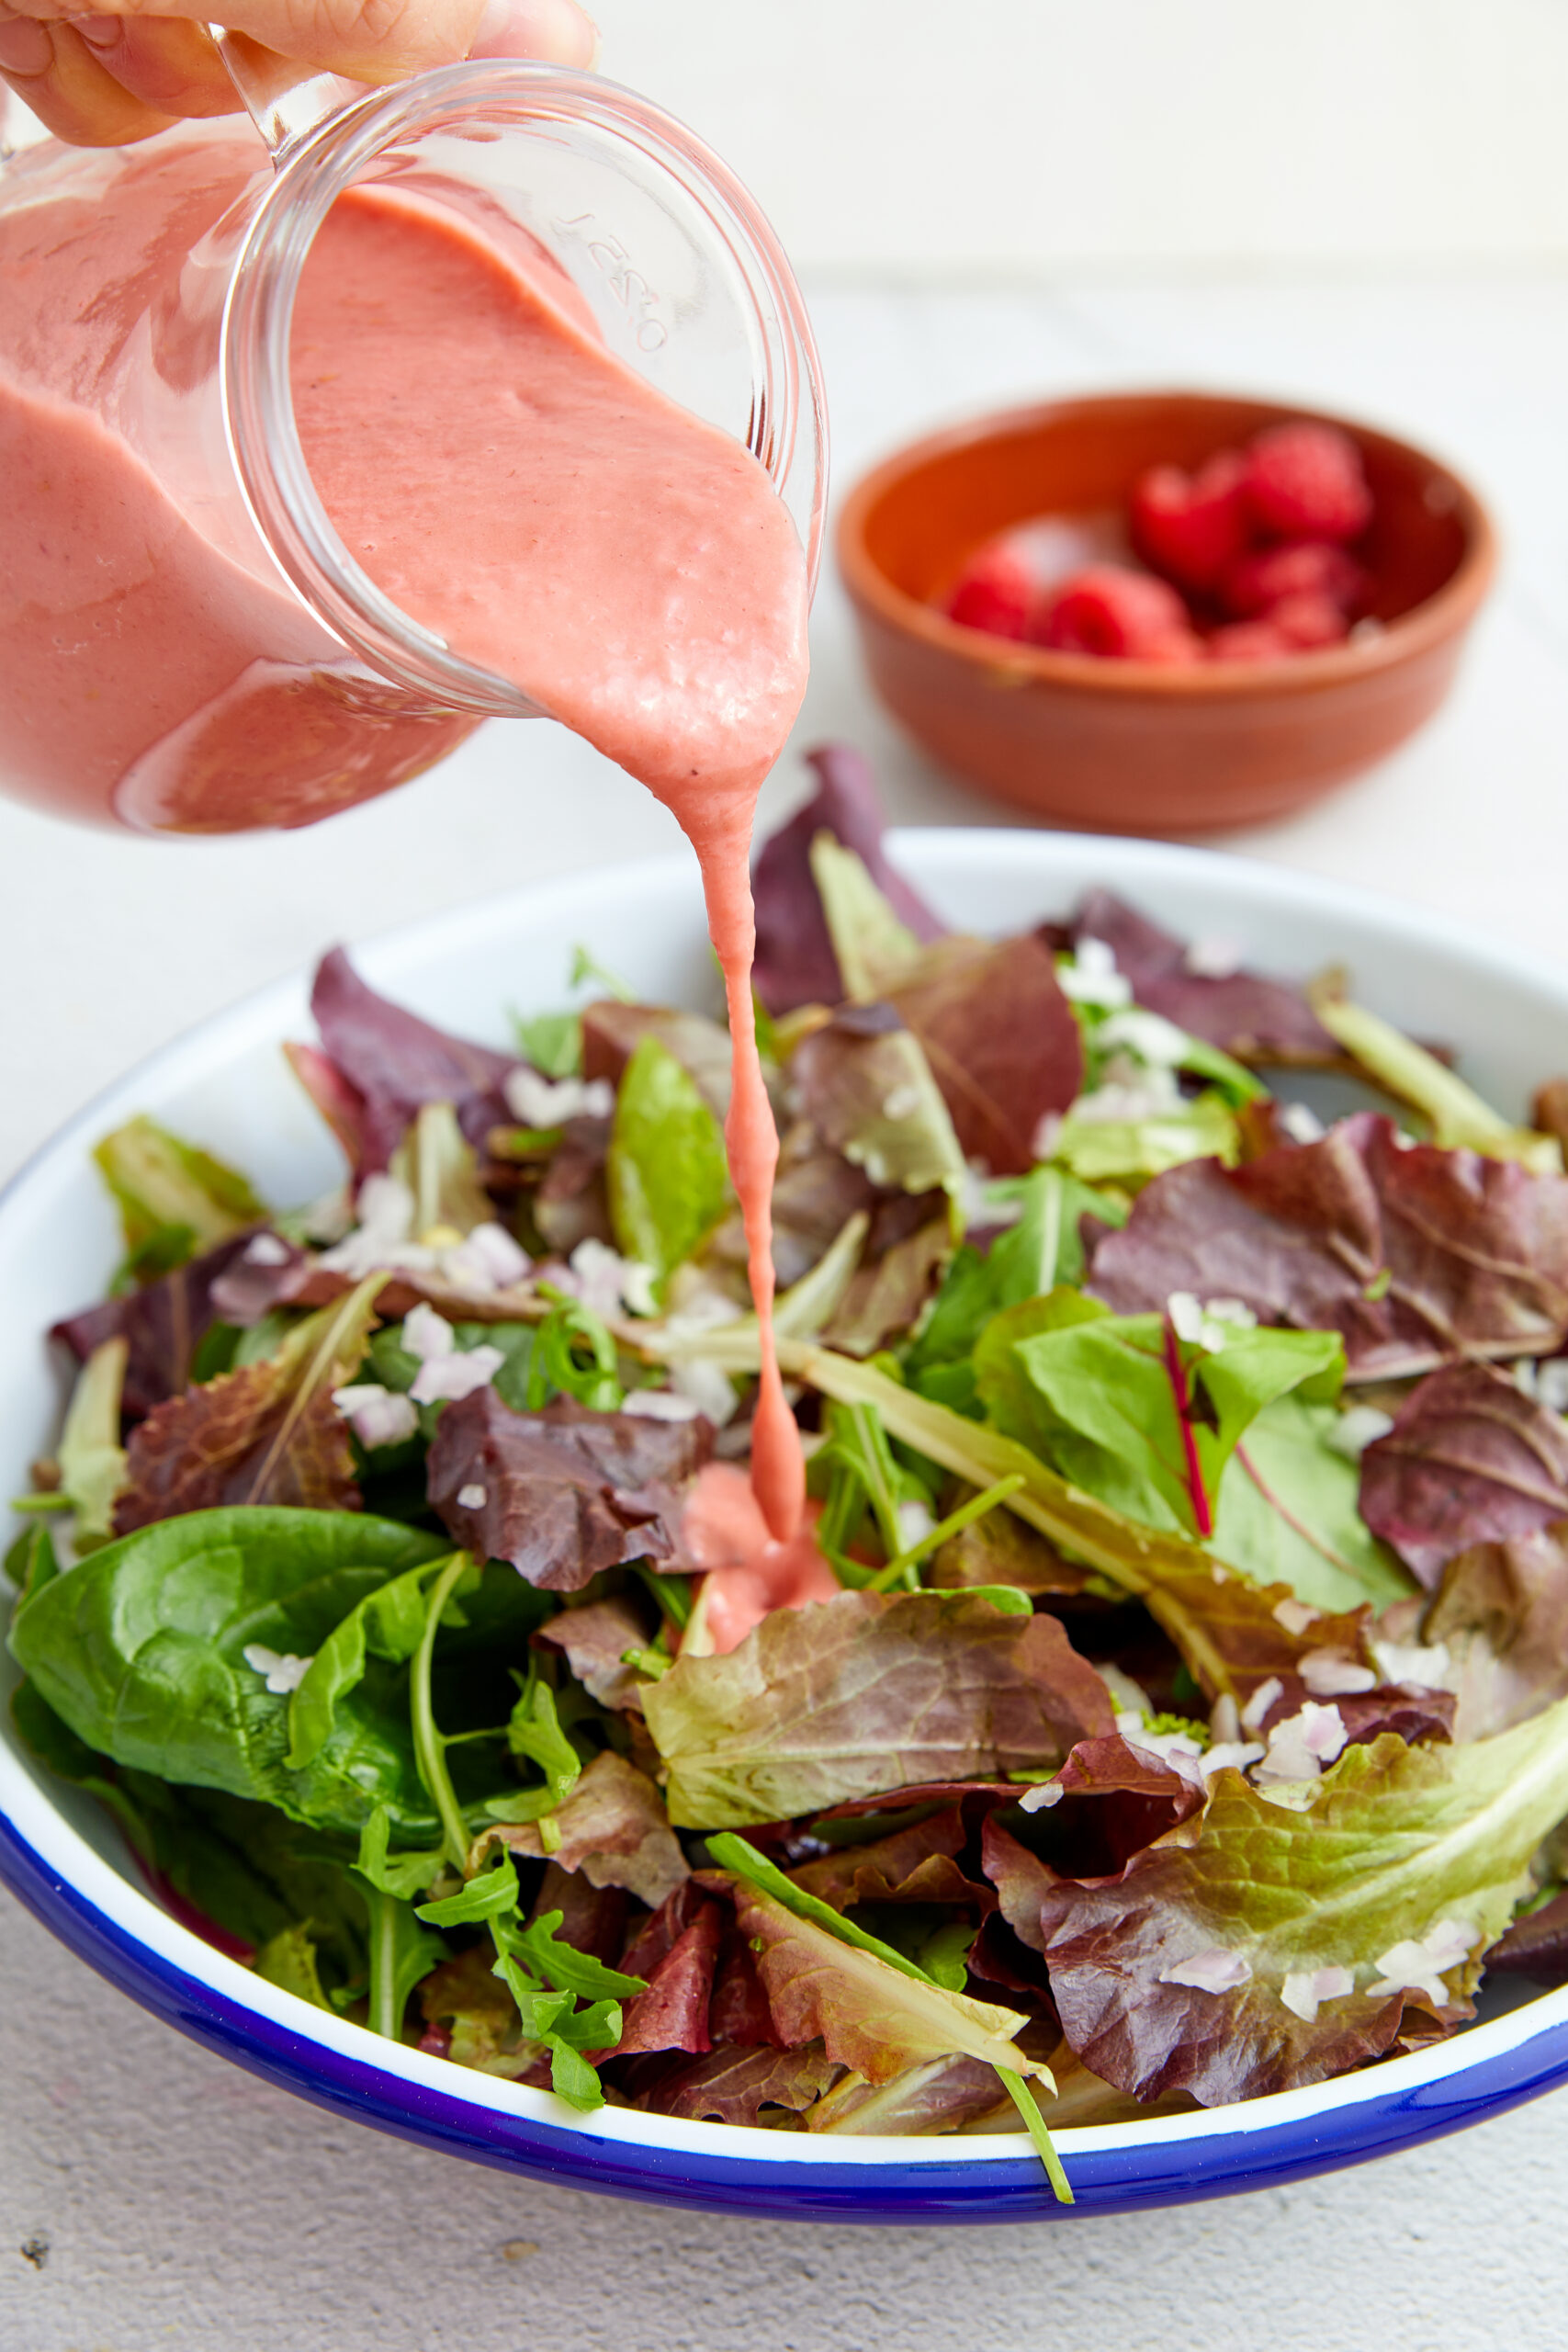
One of my favorite ways to enjoy raspberry vinaigrette is on an entrée salad with grilled chicken. The sweet-tart raspberry flavor pairs wonderfully with the savory grilled chicken and crisp greens. For instance, try it on Strawberry-Chicken Salad and swap this dressing out for the honey poppyseed one. It also tastes great on side salads, such as Apple-Walnut Salad or Spinach Salad. Experiment and see how you like raspberry vinaigrette the best; drizzle it on a different salad each day of the week for a taste test!
Raspberry Vinaigrette
Ingredients
- 1 1/2 cups fresh raspberries rinsed (or thawed frozen raspberries)
- 1/2 cup extra-virgin olive oil
- 3 tablespoons red wine vinegar
- 1 small shallot finely diced, about 2 tablespoons
- 3/4 teaspoon Dijon mustard
- 1 teaspoon honey
- 1/4 teaspoon kosher salt
- Ground black pepper to taste
Instructions
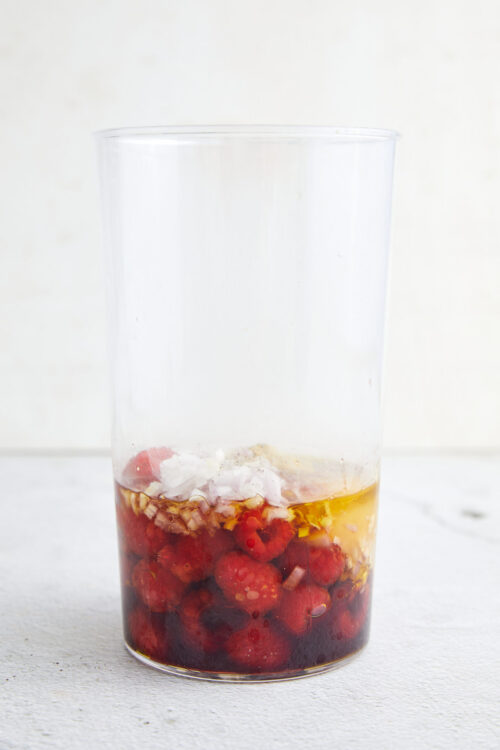
- Place the raspberries, olive oil, red wine vinegar, diced shallot, Dijon mustard, honey, kosher salt, and a few grinds of black pepper into a blender or food processor.
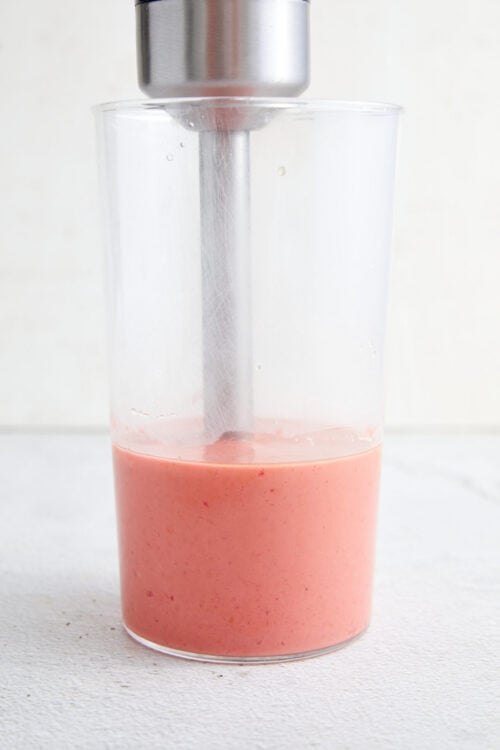
- Blend on low speed for about 30 seconds until smooth and creamy. Taste and adjust the seasoning if needed. Serve immediately or store in an airtight container in the refrigerator.
Nutrition
The post Raspberry Vinaigrette appeared first on Baked Bree.
]]>The post Christmas Fruit Salad appeared first on Baked Bree.
]]>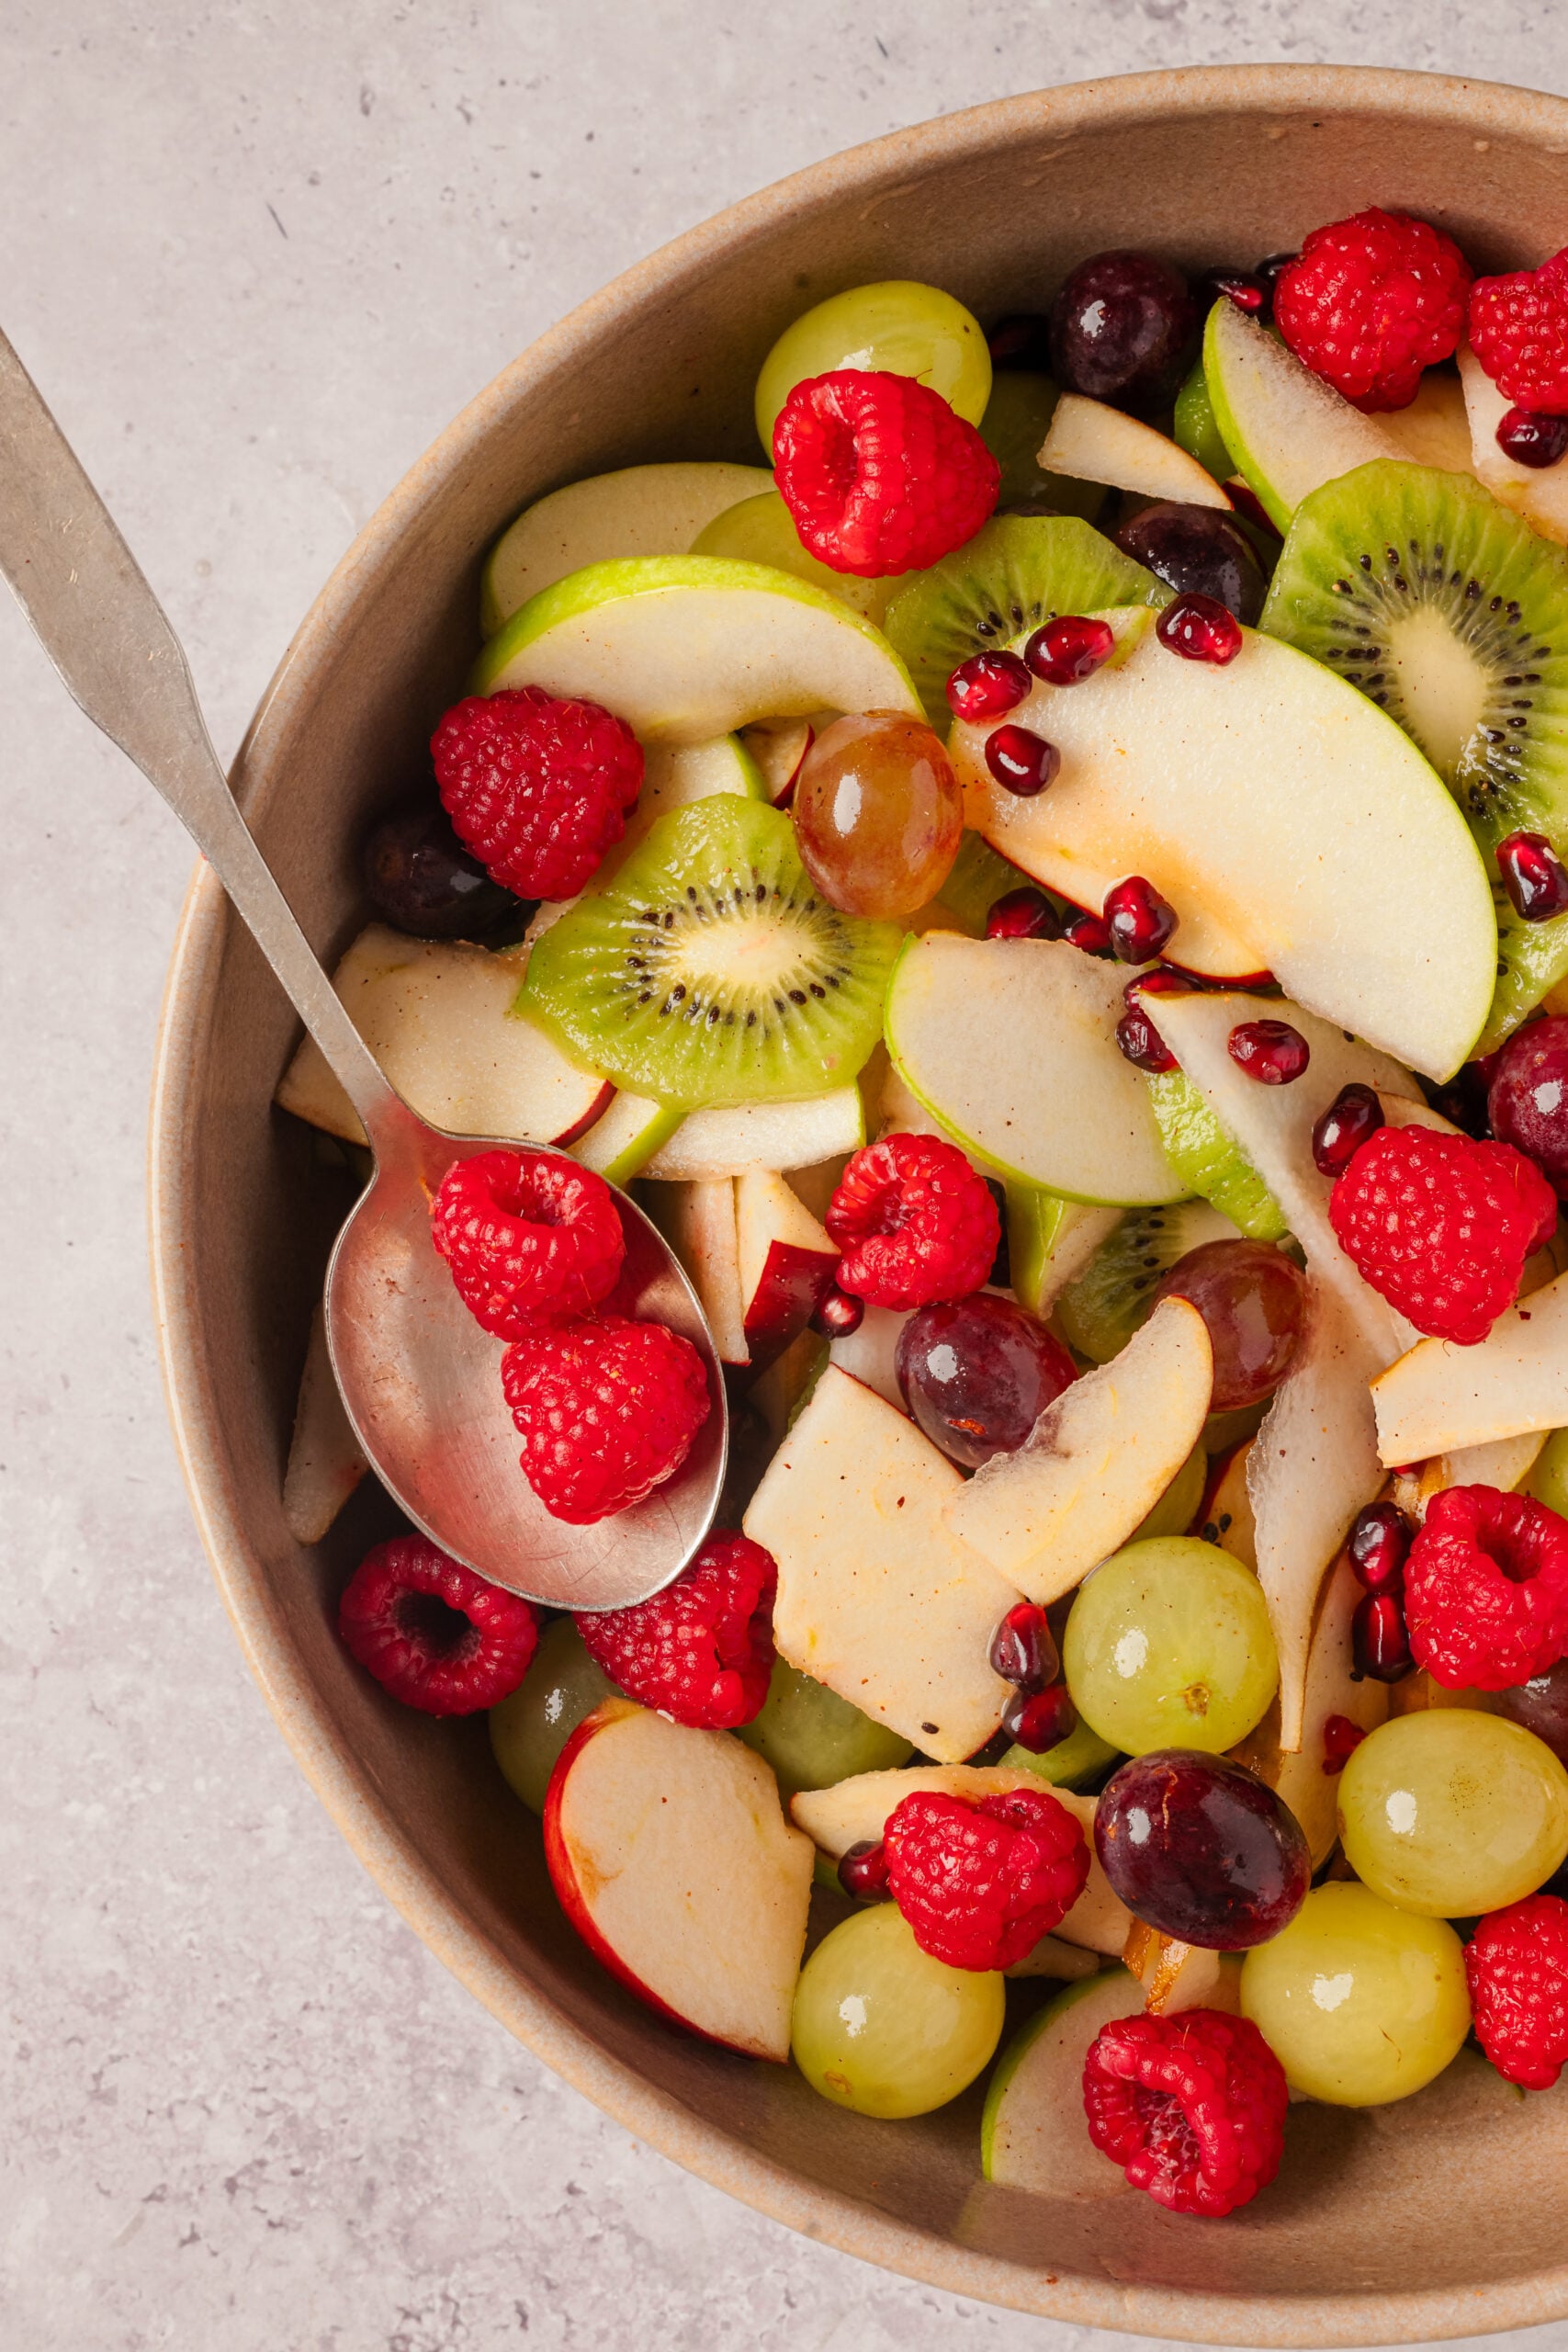
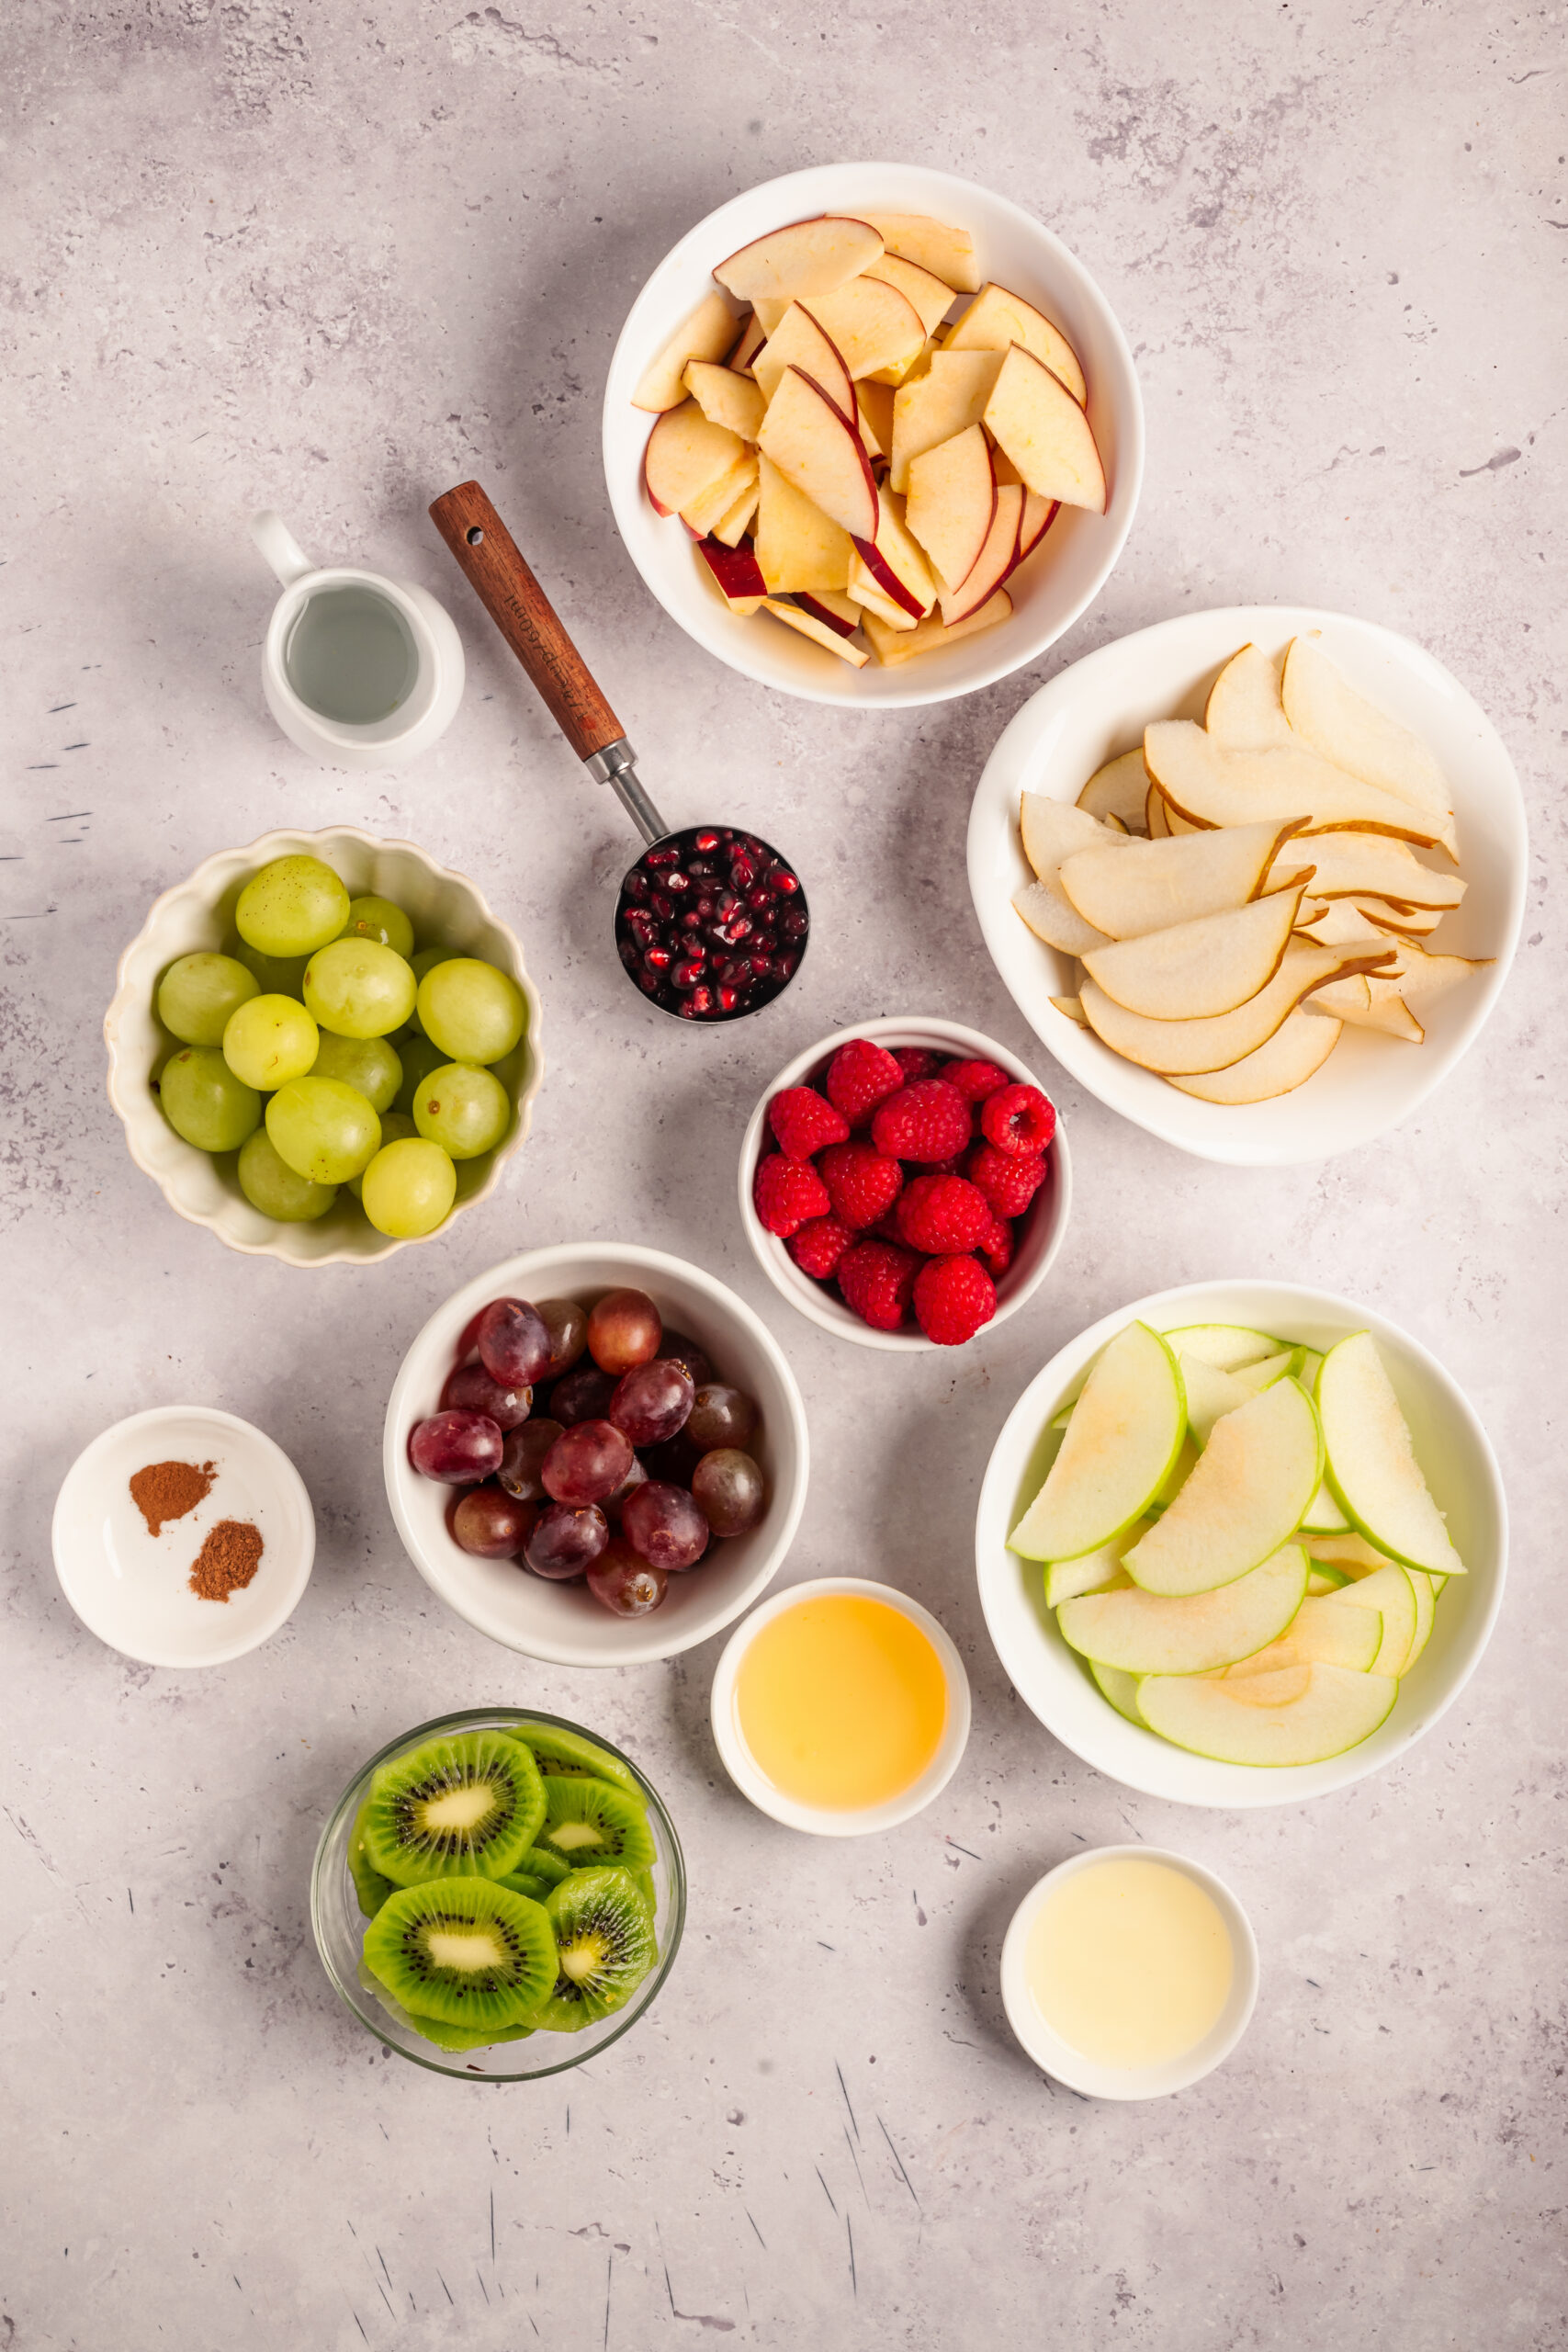
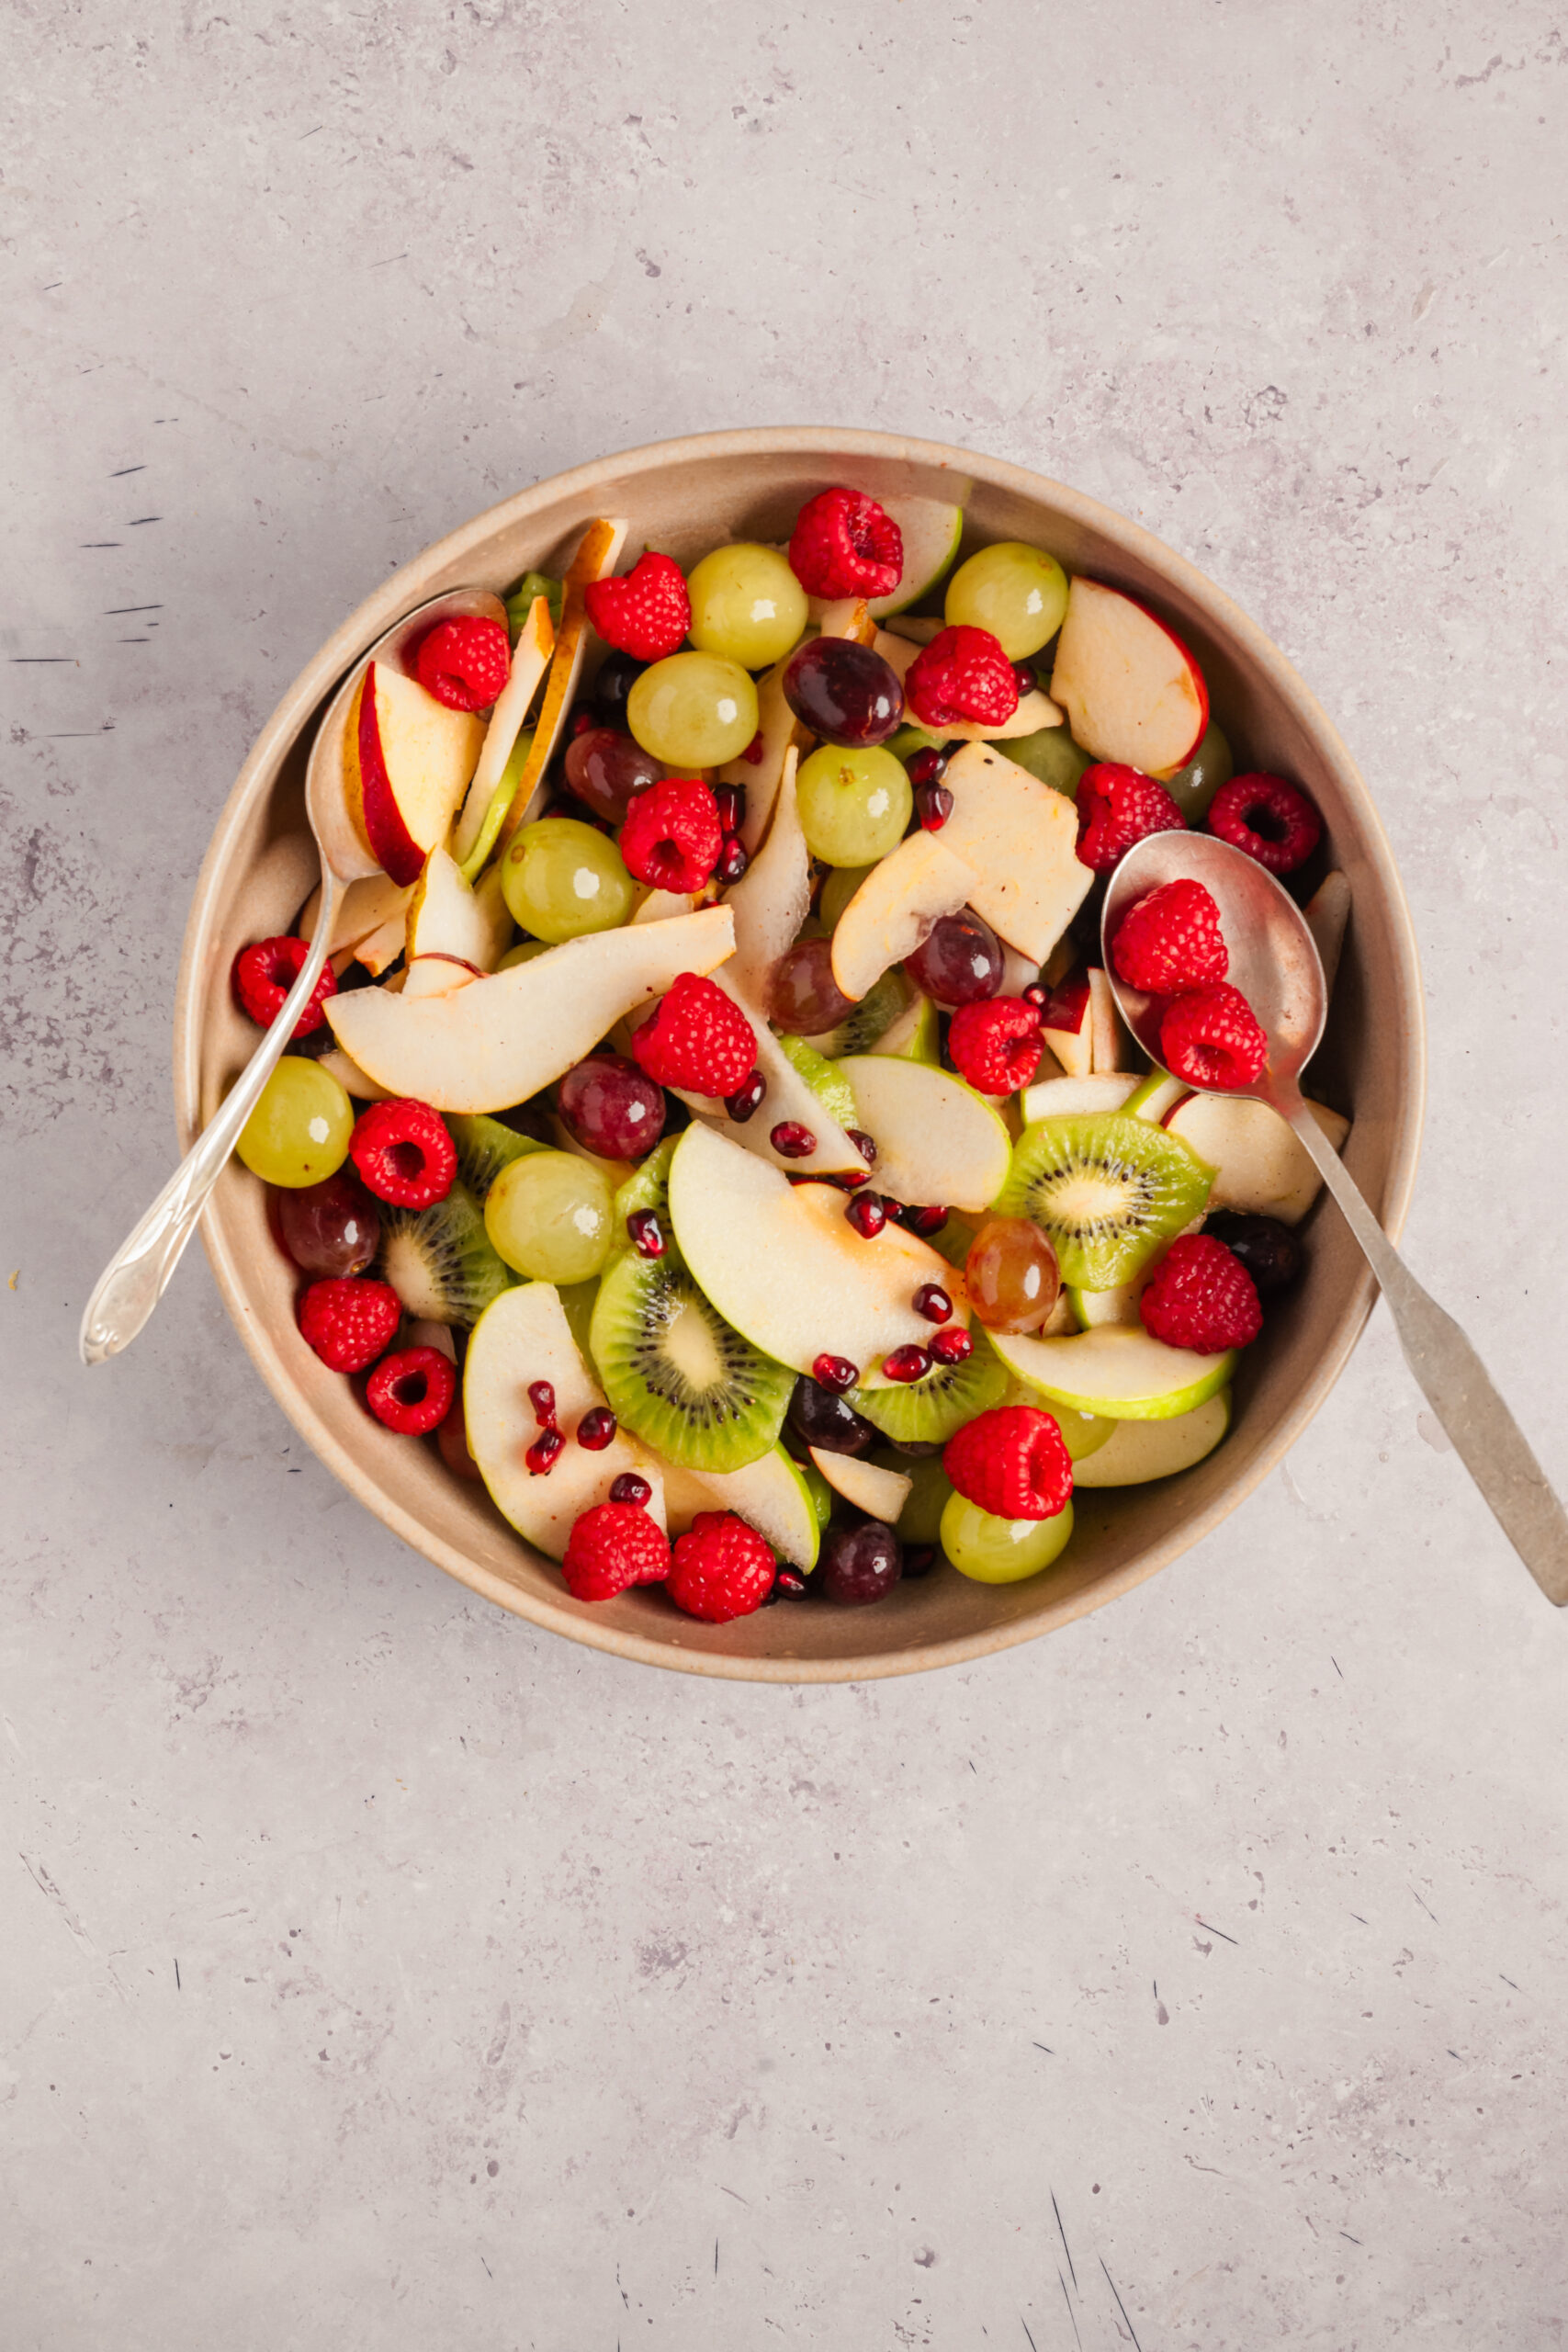
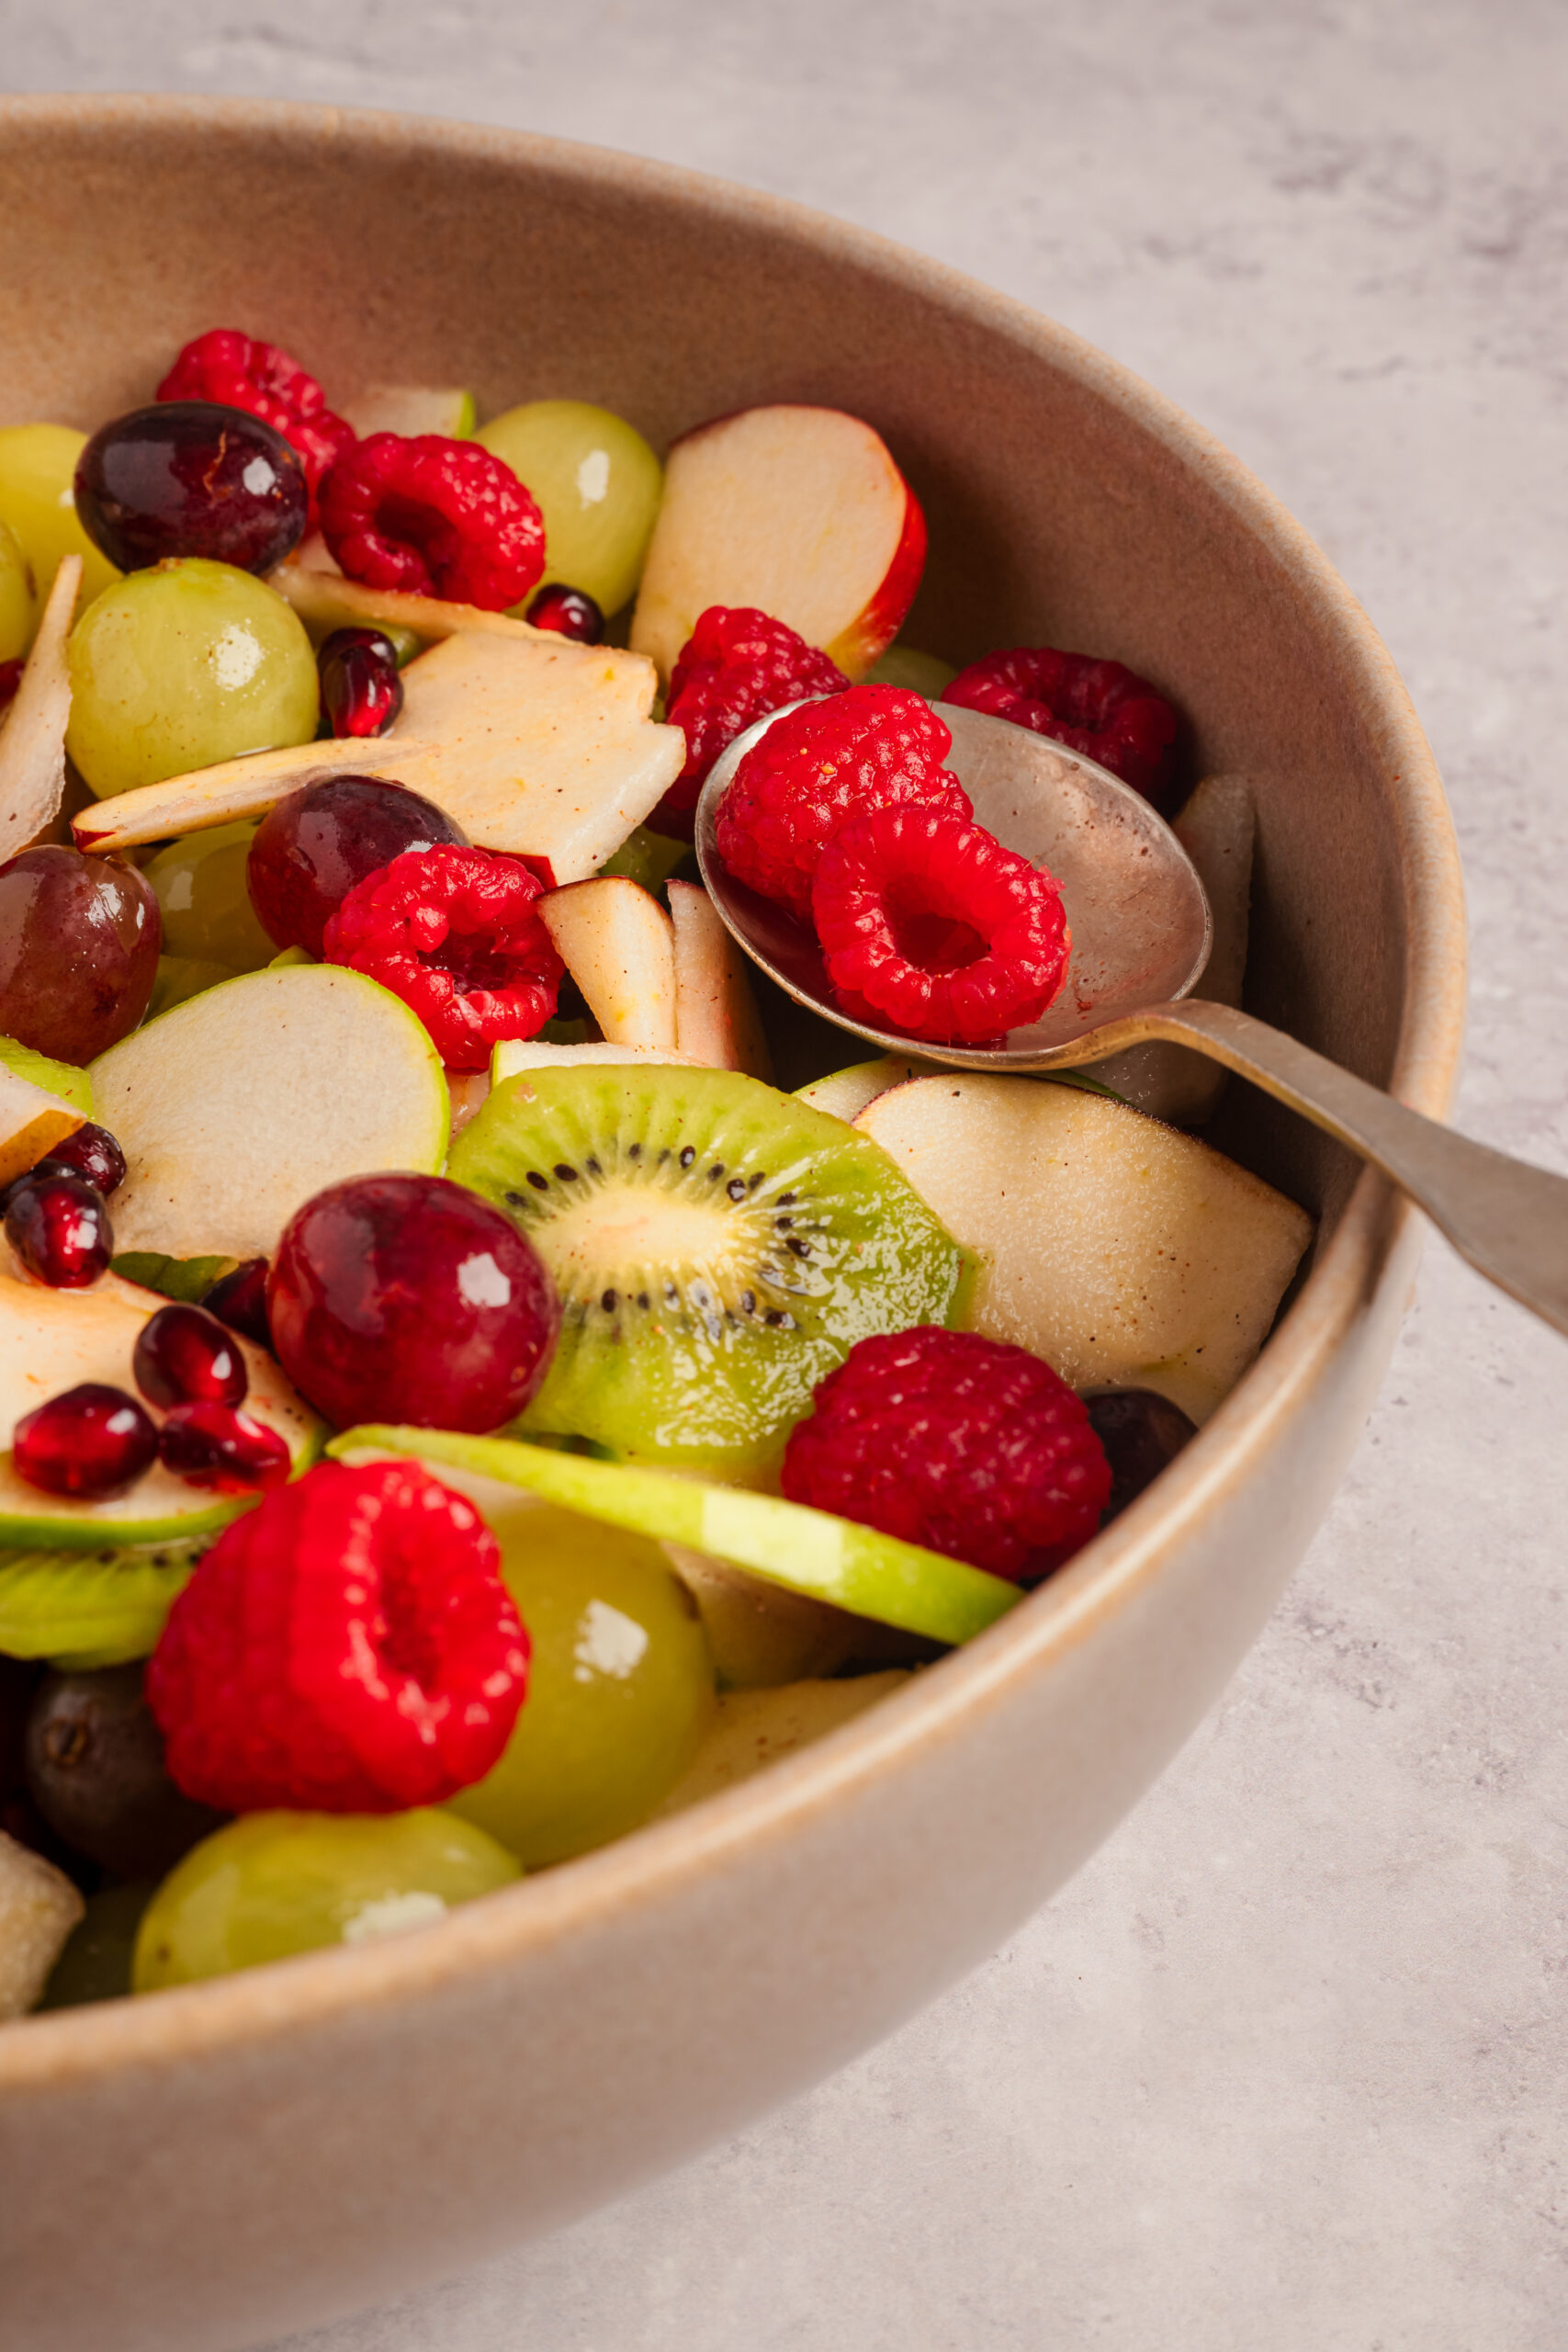
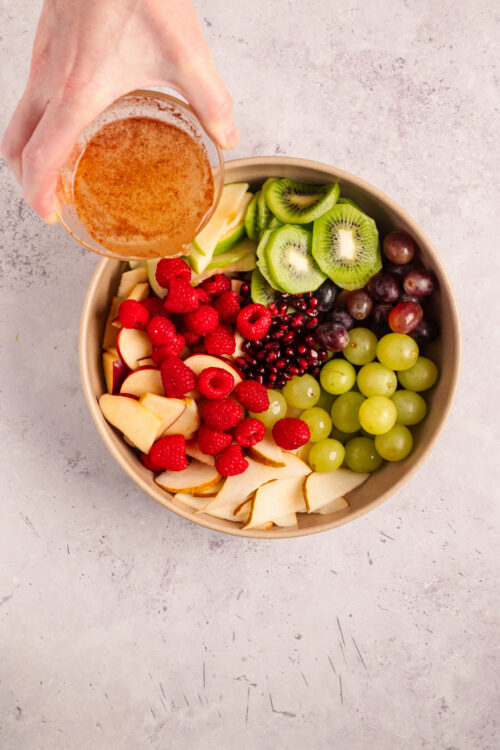
Deck the halls, or at least your holiday table, with this beautiful and fresh Christmas fruit salad that celebrates the colors of the season: red and green! Those traditional Christmas colors, in a range of hues, create this salad’s show-stopping visual appeal and the wonderful taste comes from the combination of apples, pear, grapes, kiwi, raspberries, and pomegranate seeds tossed in a light and lovely dressing.
Who doesn’t love a fresh fruit salad at the holidays? Sweet and tart, crunchy and soft, this Christmas fruit salad is a symphony of flavors and textures. It is at once mellow and bright, which makes it the perfect companion to the kinds of rich dishes we tend to serve on holidays and other special occasions.
The fruits in this salad are tossed in a dressing that is a sublime blend of sweet (honey) and tart (lime juice), but also redolent of the season thanks to the warming flavors of cinnamon and nutmeg. Once you’ve prepped the fruits, the salad comes together in no time; it’s so delicious that it’s going to disappear in no time, too!
All about the pomegranate
One of the oldest fruits known to humankind, the pomegranate is believed to have originated in ancient Persia at least 5,000 years ago. This glorious fruit, filled with vibrant, red, jewel-like seeds also symbolized many things in ancient Greece and Rome, including fertility, abundance, marriage, and prosperity. In our modern times, pomegranate seeds, called arils, bring their ruby-hued beauty, wonderfully tart flavor, and juiciness to all sorts of dishes, including Christmas fruit salad. To retrieve the seeds, try this simple technique. First, wash the pomegranate thoroughly. Next, slice the fruit in half horizontally, then place the cut side in the palm of your non-dominant hand. Hold the pomegranate over a bowl and with your other hand, use a wooden spoon to whack the fruit vigorously: this will loosen the arils, and they will fall into the bowl!
How do I store leftovers?
Store Christmas fruit salad in an airtight container in the refrigerator for up to 3 days; although the salad is considered safe to eat for up to 5 days, the fruits’ textures will begin to deteriorate and the salad will not be as appealing.
Serving suggestions
Of course, you don’t have to only serve Christmas fruit salad at Christmas time, but here is something I love to do when entertaining guests on the holiday: a red and green dinner buffet from starters to sweets! For appetizers, I set out a platter of Caprese Skewers with Homemade Basil Pesto for dipping and a platter of Baked Brie With Buttered Almonds decorated with Sugared Cranberries. Next, a bowl of Christmas fruit salad and a bowl of Spinach Salad. For the main courses, I serve slices of Roasted Turkey Breast with Cranberry Stuffing and Chimichurri Baked Salmon, and a platter of Easy Sautéed Broccoli drizzled with Red Pepper Coulis. My favorite desserts for this meal are Christmas Chocolate Bark and Peppermint White Chocolate Bars. Very merry!

Christmas Fruit Salad
Ingredients
- 1 pear sliced
- 1 small red apple sliced
- 1 small Granny Smith apple sliced
- 1 cup green grapes
- 1 cup red grapes
- 2 kiwi peeled and sliced
- 3/4 cup raspberries
- 1/4 cup pomegranate arils
- 2 1/2 tablespoons honey
- 1 pinch ground cinnamon
- 1 pinch ground nutmeg
- 1 1/2 tablespoons lime juice
- 1 tablespoon water
Instructions
- Place all sliced fruits in a large bowl. Be gentle with the raspberries to avoid squishing them.
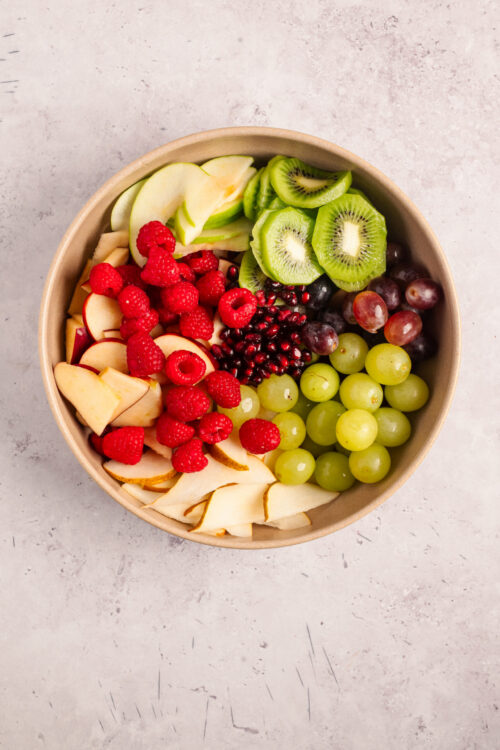
- In a small bowl, whisk together honey, cinnamon, nutmeg, lime juice, and water. Taste and adjust sweetness as needed.
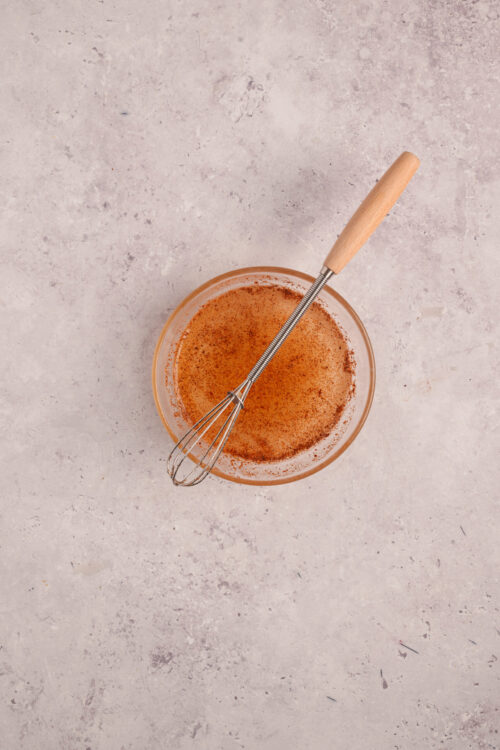
- Drizzle the dressing over the fruit and stir gently. Serve immediately or cover and refrigerate up to 6 hours.
Nutrition
The post Christmas Fruit Salad appeared first on Baked Bree.
]]>The post Taffy Apple Salad Recipe appeared first on Baked Bree.
]]>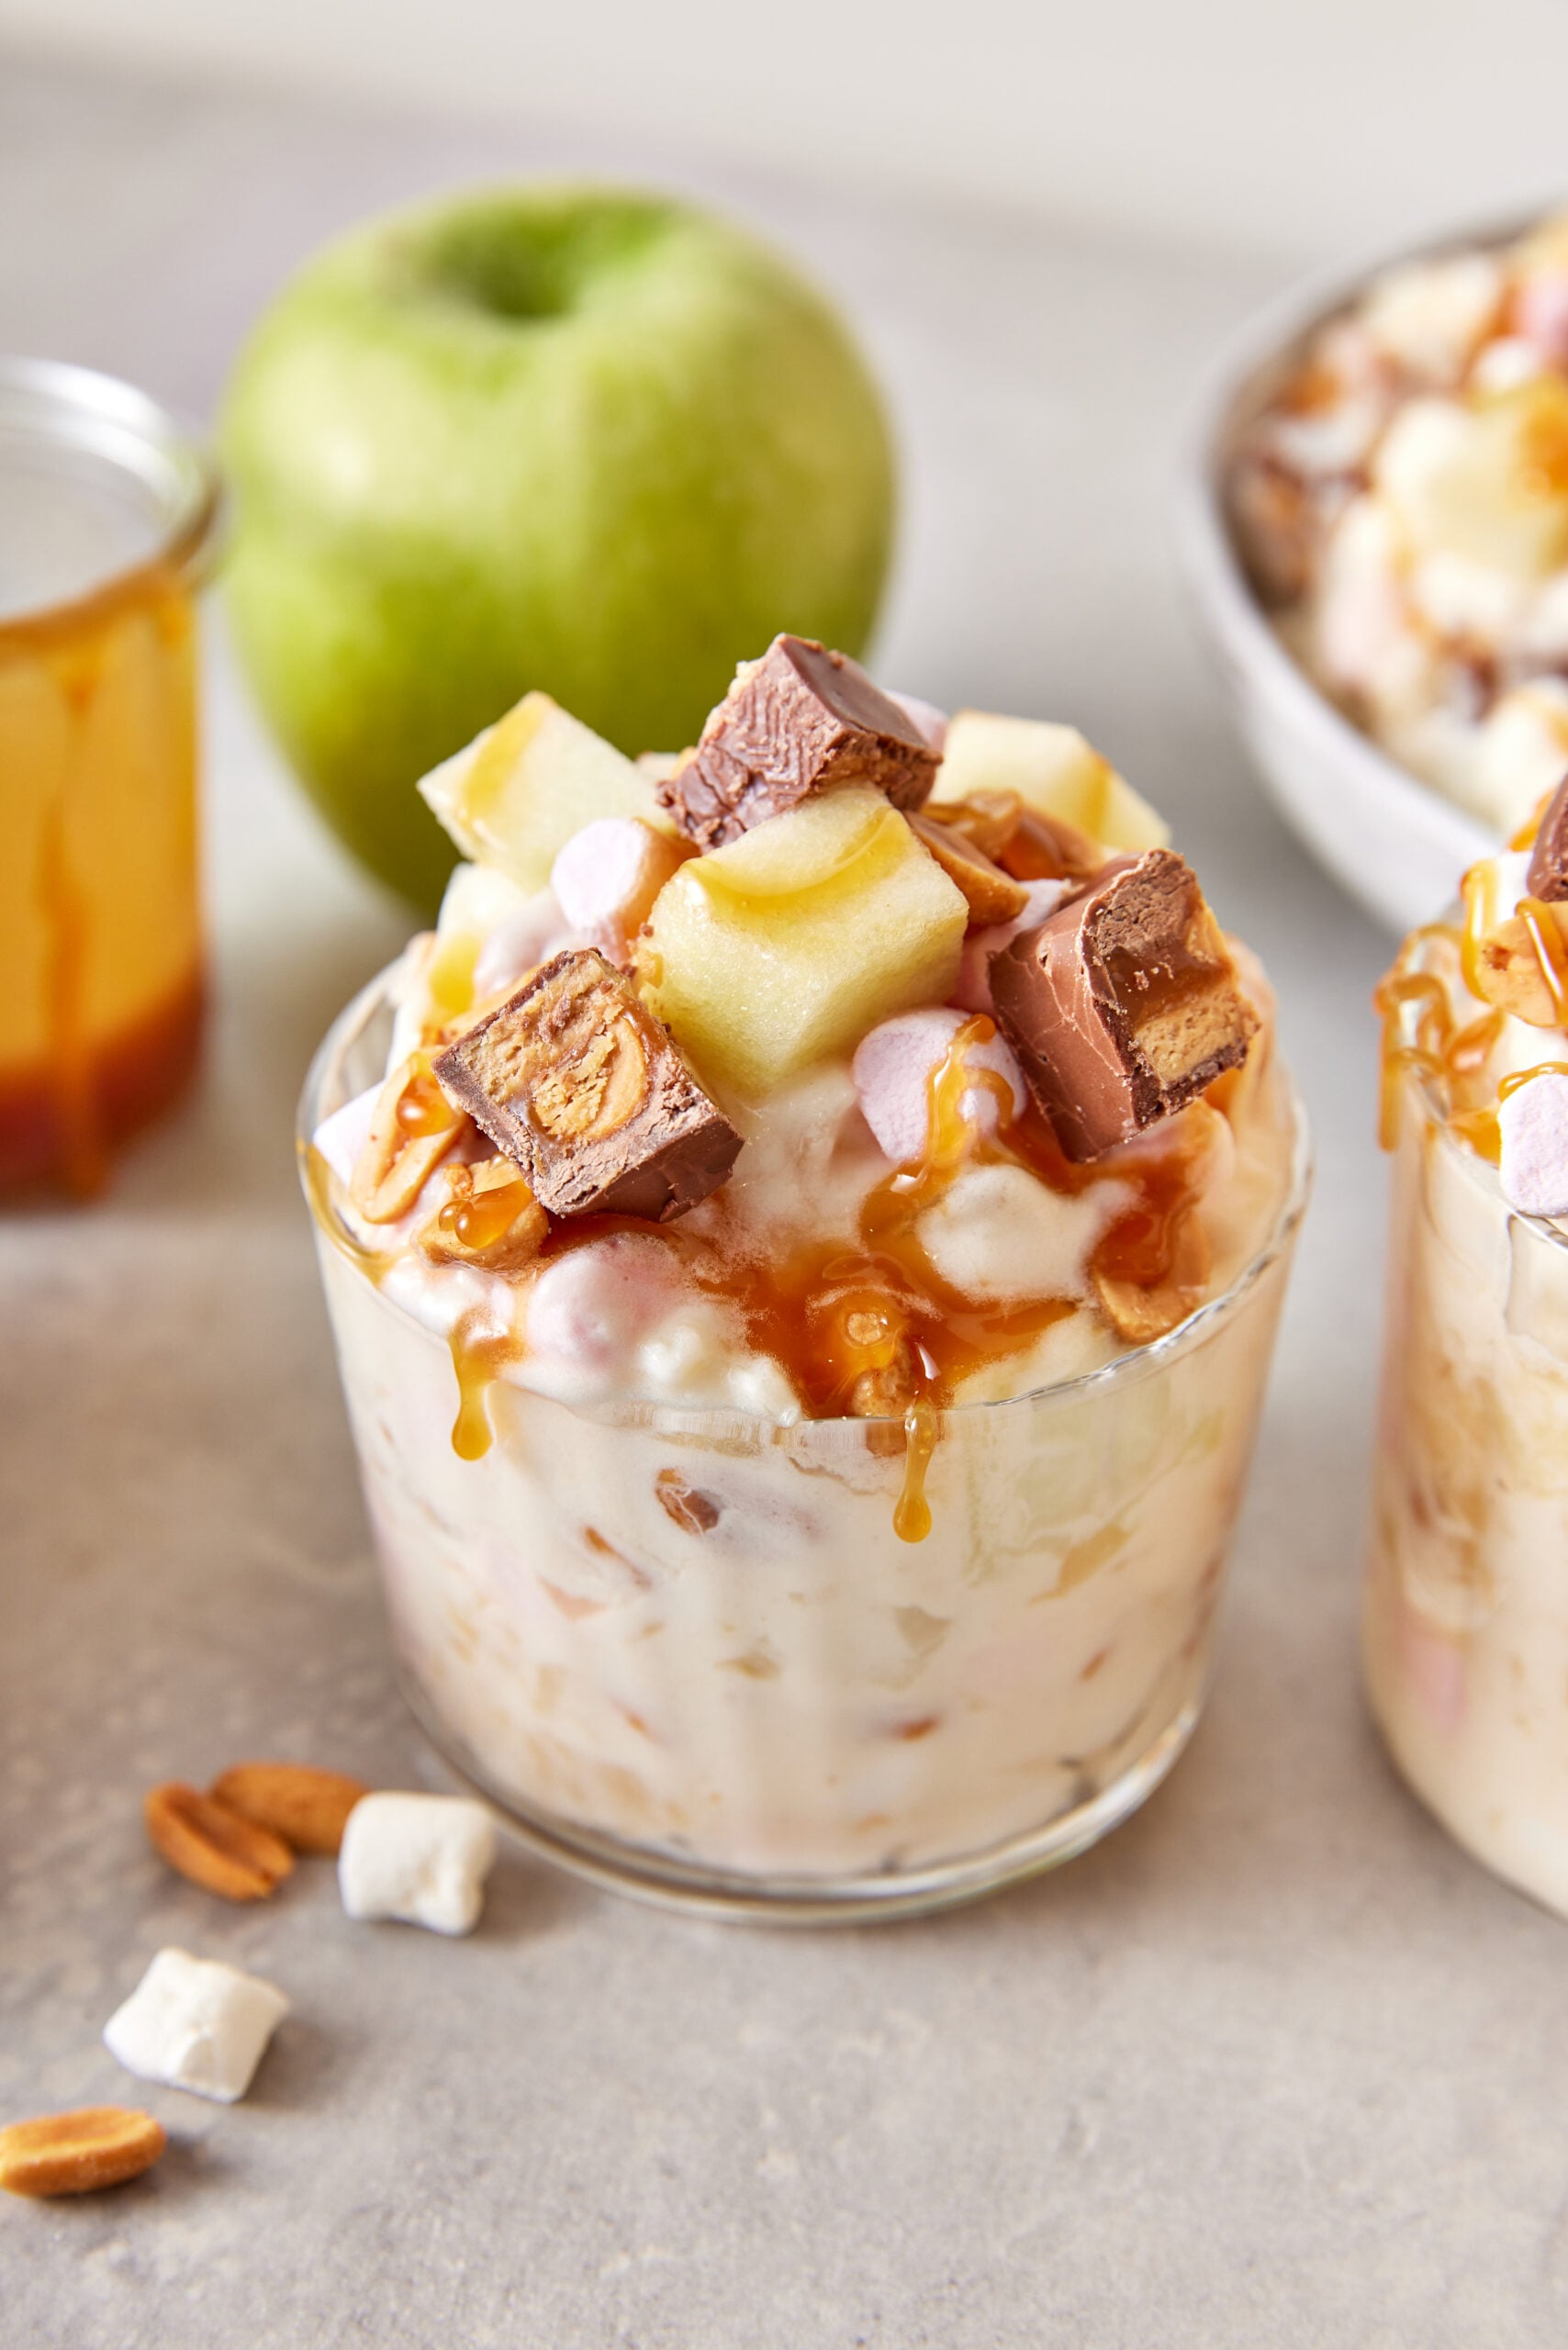
Have you ever heard the phrase “word salad”? It refers to a mix of random words and phrases that, when uttered as a unit, appear to lack any coherent meaning. You could say the same about “taffy apple salad”, a concoction of ingredients that may not seem to belong together and certainly don’t seem to be a salad, but after one bite, it will all make delicious sense.
The taffy apple is a Midwestern name for a caramel apple, a popular item associated with autumn and often sold at fairs. It features an apple—usually a Granny Smith—covered in melted caramel and sometimes coated with chopped peanuts. The origin of this delectable treat is debatable: some attribute the creation of the taffy apple to an employee of the Kraft Food Company in the 1950s, who was experimenting with caramels that were leftover from Halloween, but another claim is that Mrs. Edna Kastrup created the taffy apple for her family’s Chicago-based company, Affy Tapple, in 1948.
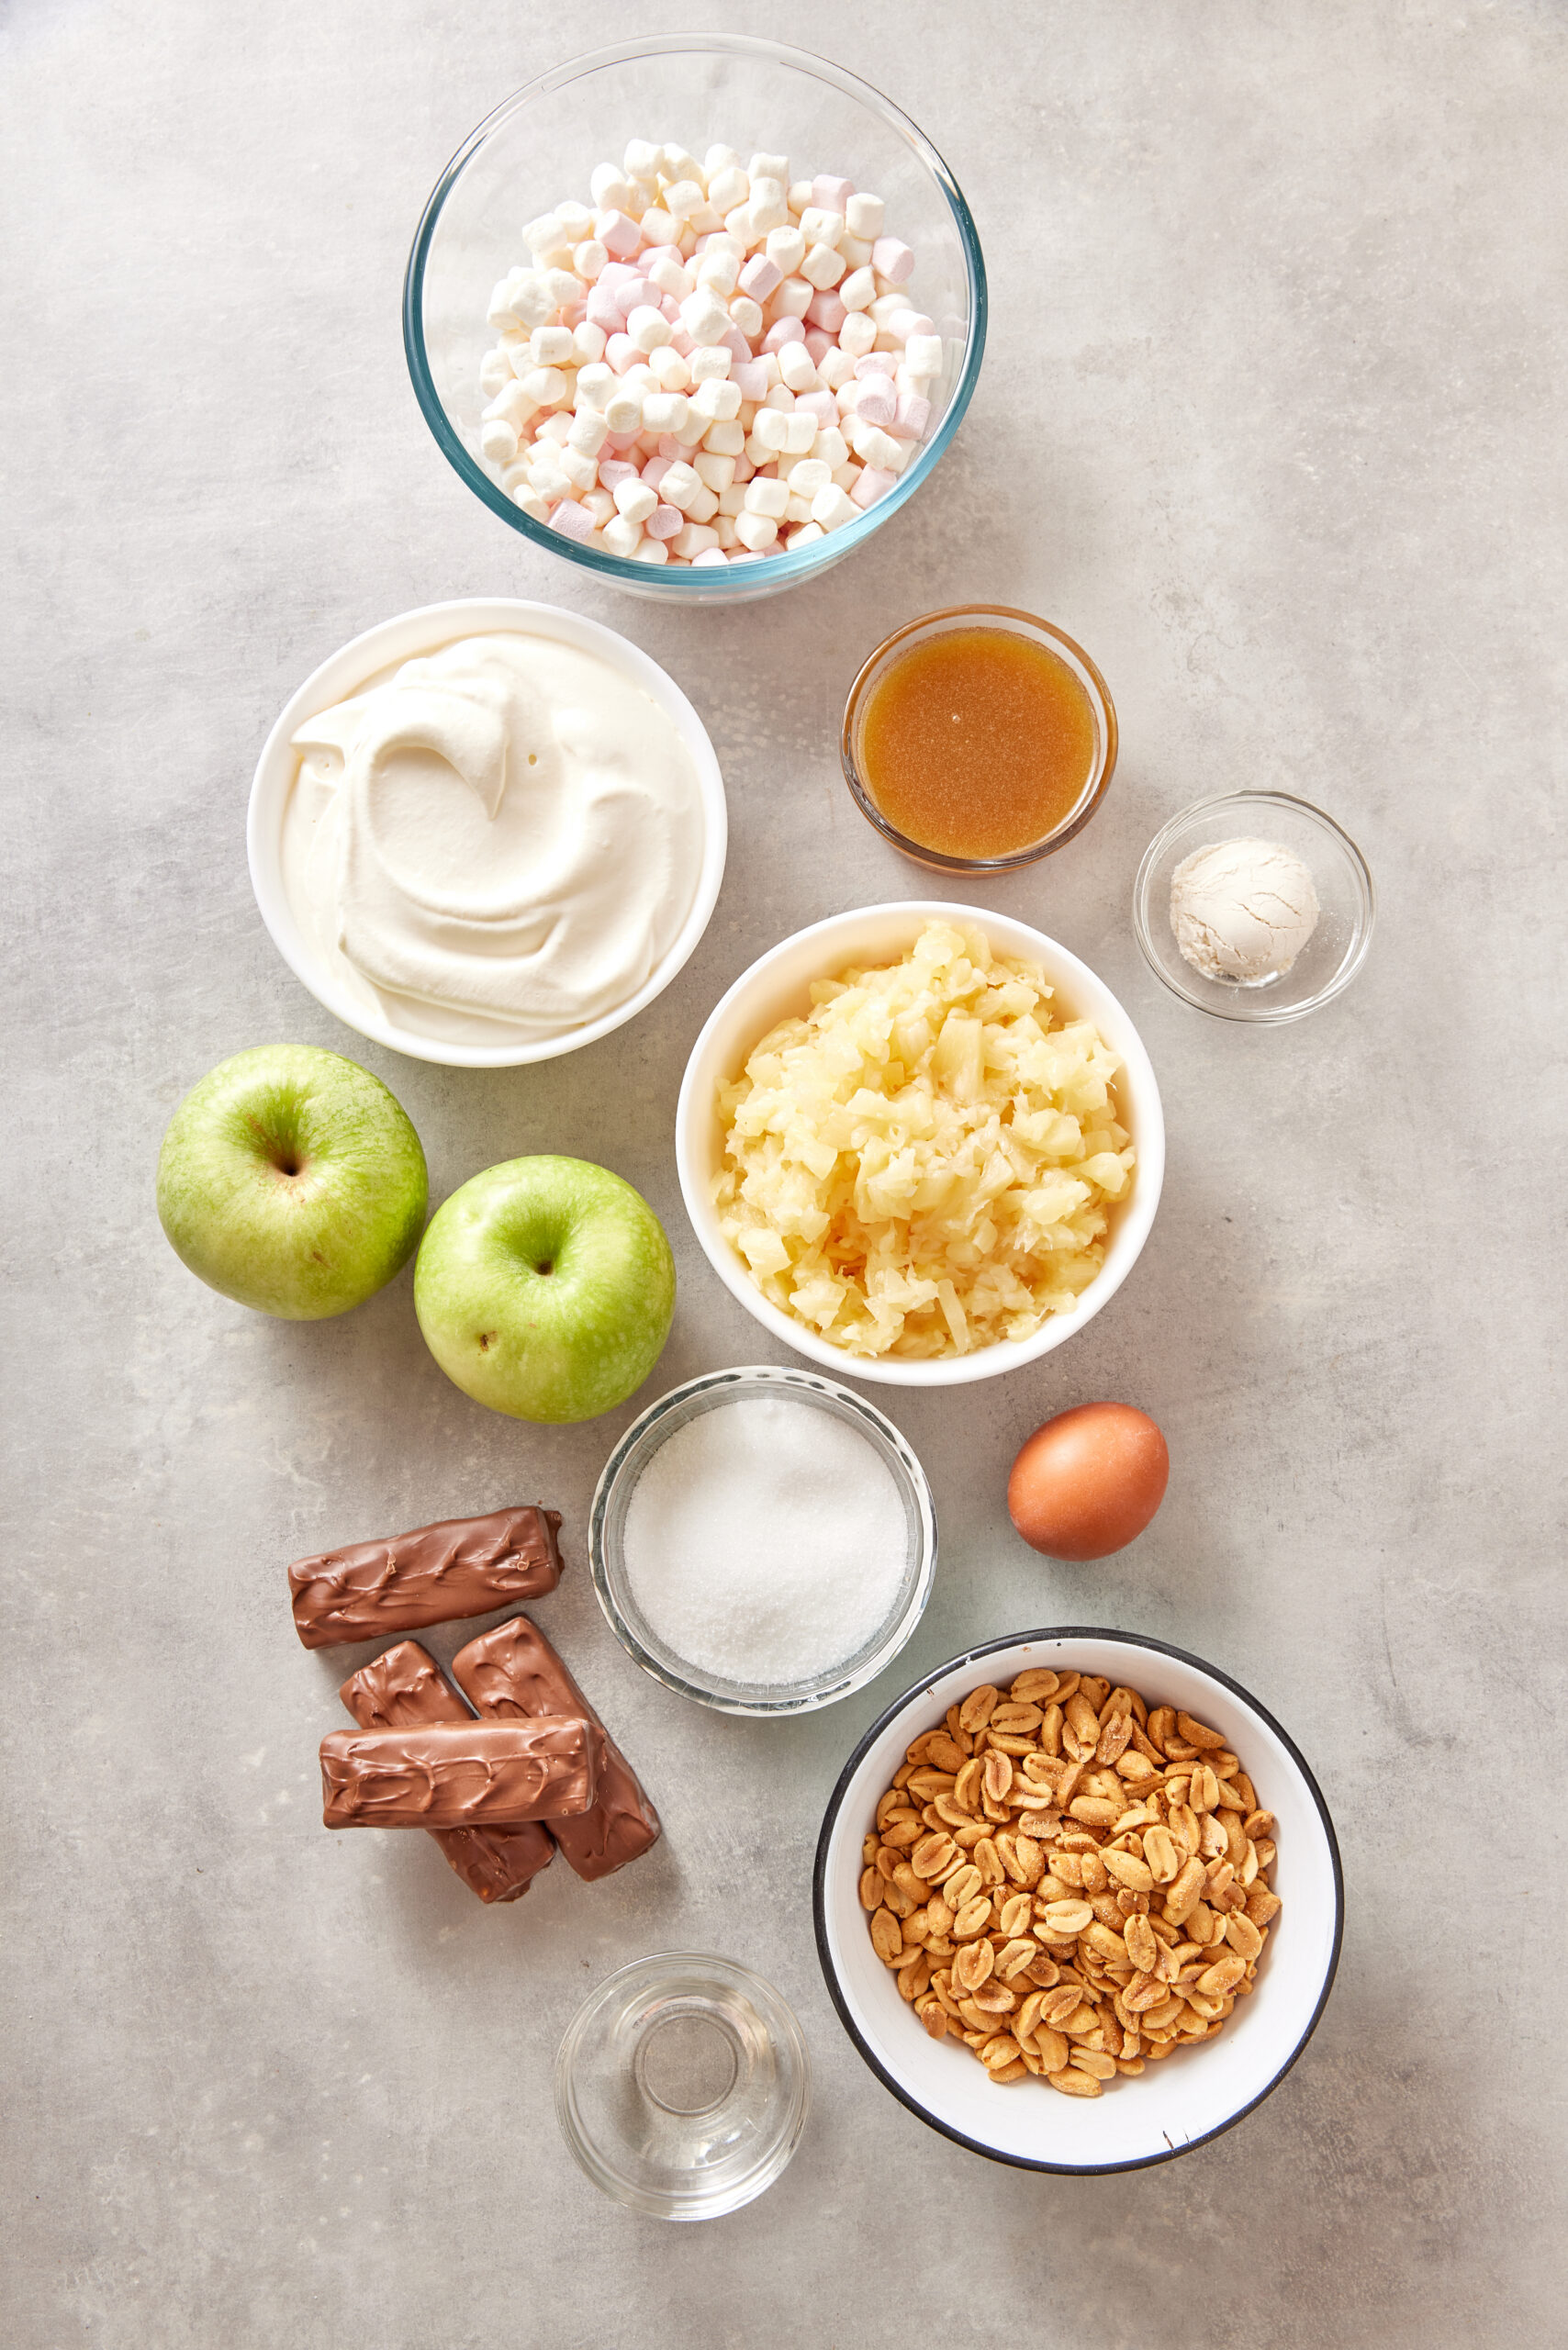
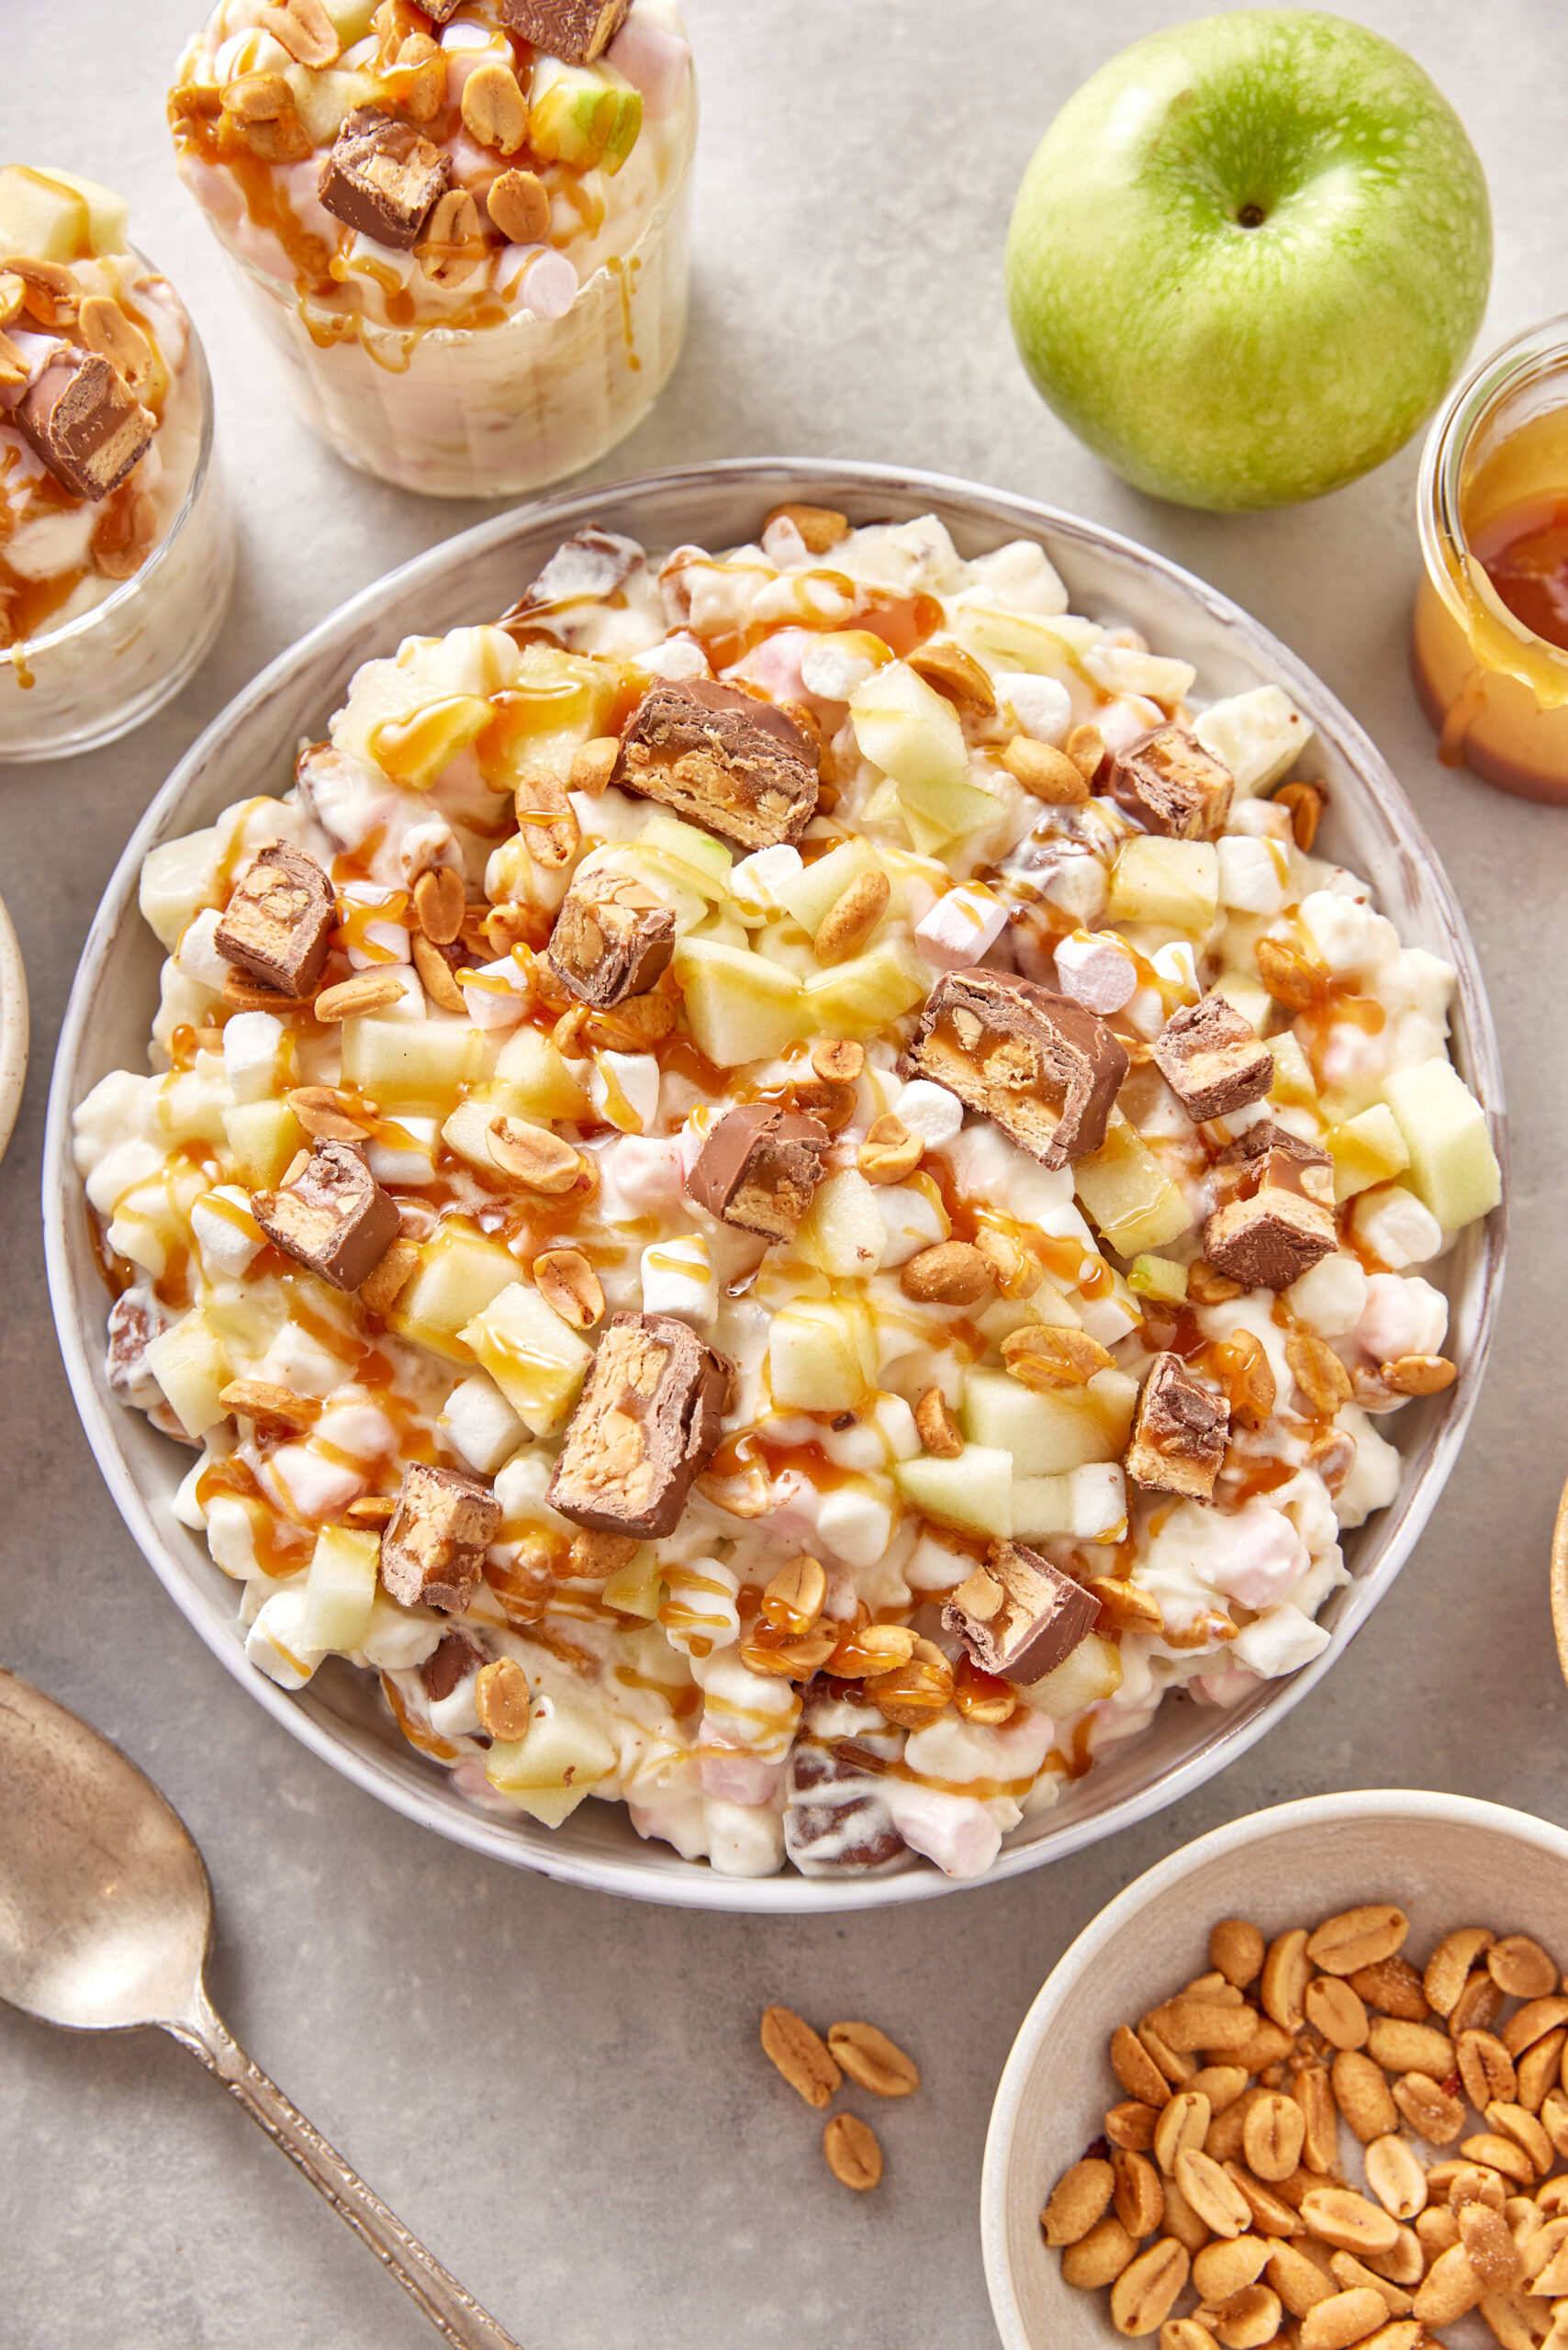
Whatever the origin, the caramel-covered apple was so popular that people started to create dishes based on its sweet-and-tart flavor combination; one of those evolutions is the taffy apple salad, which features chopped apples and peanuts in a custard-like sauce that gets its sweetness from pineapple juice and sugar, and some tang from white vinegar. But wait: there’s much, much more flavor and texture going on here. This scrumptious salad also includes crushed pineapple, mini-marshmallows, whipped topping, and for caramelly goodness and more peanuty crunch: chopped up Snickers bars!
Tips for perfect taffy apple salad
Our first tip is: plan ahead. Both Steps 1 and 3 in the instructions call for chilling time in the fridge, from eight hours to overnight. And while you can serve taffy apple salad as soon as you’ve combined the pineapple and mini-marshmallow mix with the sauce, apples, peanuts, and Snickers, the salad will taste even better if you chill the completed dish for a bit longer so all of the flavors can meld. When choosing the best type of apple for taffy apple salad, you can let your personal preferences guide you. Our recipe calls for tart apples, such as Granny Smith, Pink Lady, or Braeburn; but if you like more sweetness, Gala or Fuji apples are yummy in taffy apple salad, too. Can’t decide? How about a mix of both tart and sweet?
How do I store leftovers?
Store taffy apple salad in an airtight container in the refrigerator for up to 2 days (it can begin to get watery after that).
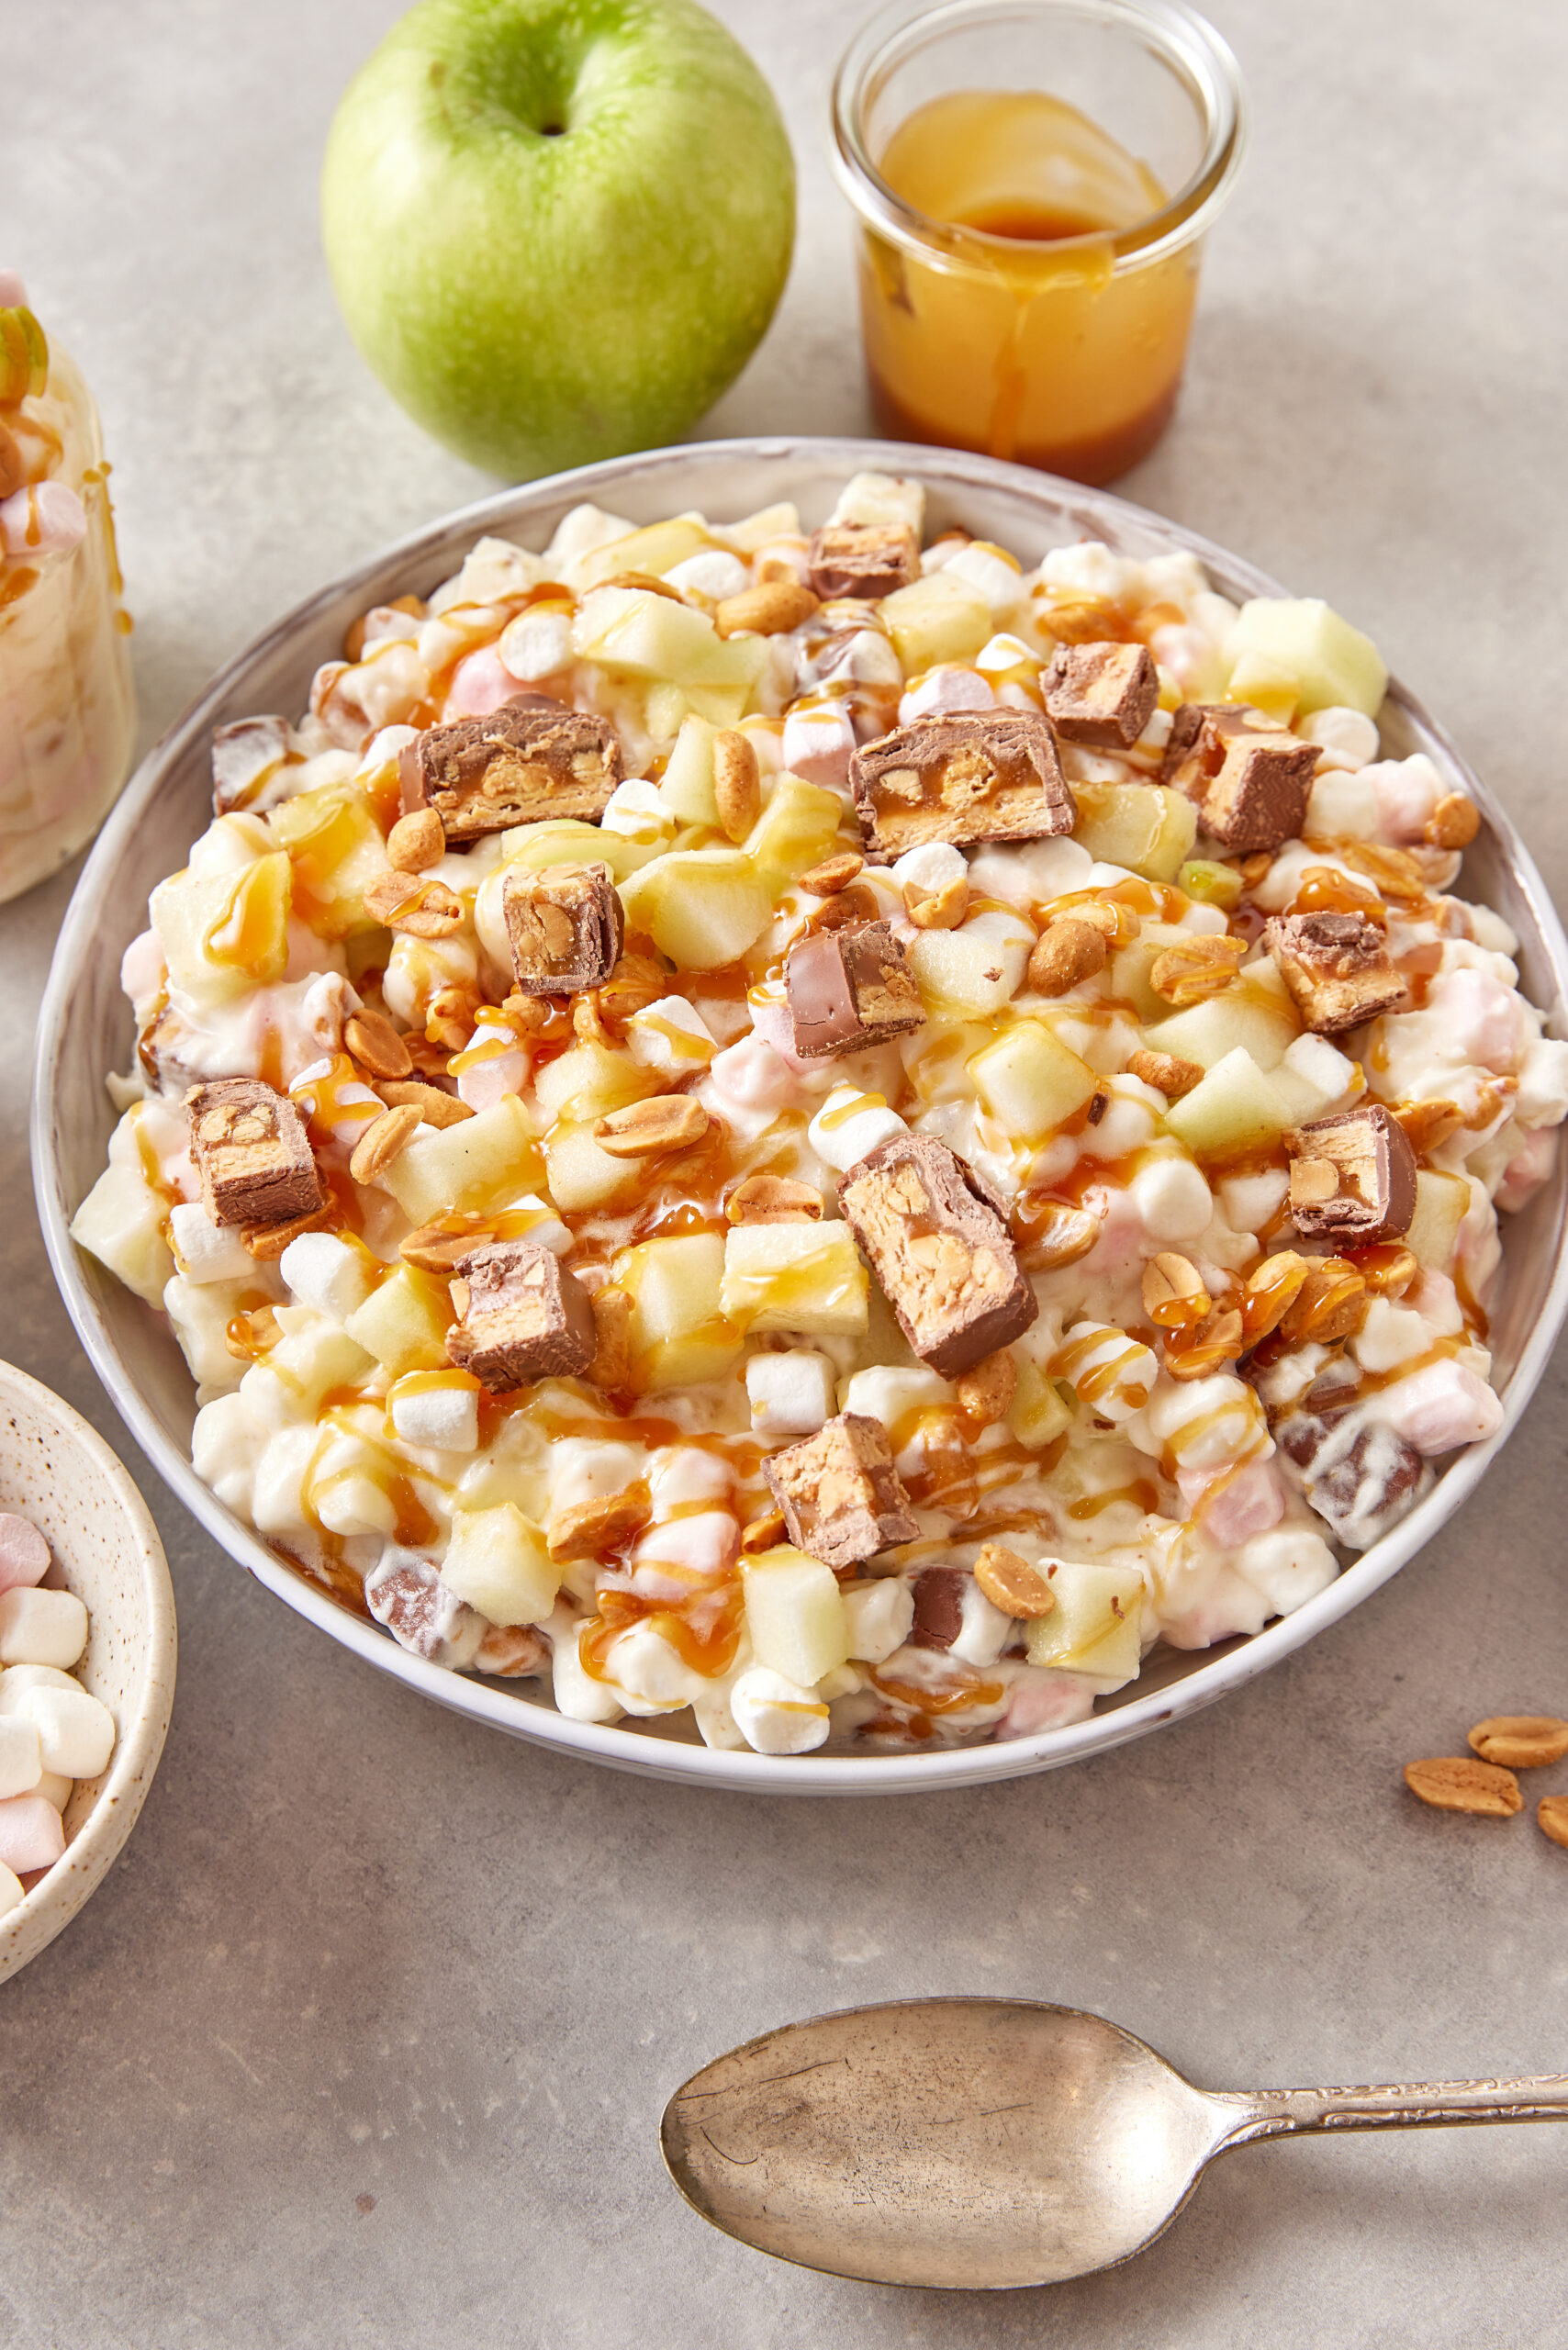
Serving suggestions
Taffy apple salad is the perfect dessert for dinners that feature autumn flavors, such as Delicious Roast Pork Loin with Butternut Squash Mac And Cheese and The Best Spiced Vanilla Homemade Applesauce. But you don’t have to save this treat for fall! Celebrate the pineapple and the apple in this dessert with a dinner featuring Hawaiian Meatballs over Baked Rice and an Apple-Walnut Salad, and then complete this yummy meal with taffy apple salad (drizzled with Homemade Caramel Sauce).
Taffy Apple Salad Recipe
Ingredients
- 2 1/4 cups miniature marshmallows
- 1 can crushed pineapple chunks (15 ounces), drained, reserve the juice
- 1/2 cup granulated sugar
- 1 egg beaten
- 4 teaspoons distilled white vinegar
- 1 tablespoon all-purpose flour
- 1 1/2 cups unsalted roasted peanuts
- 4 Snickers candy bars cut into bite-sized pieces
- 8-ounce container whipped topping thawed
- 2 tart apples peeled, cored, and chopped
- Caramel sauce for topping (optional)
Instructions
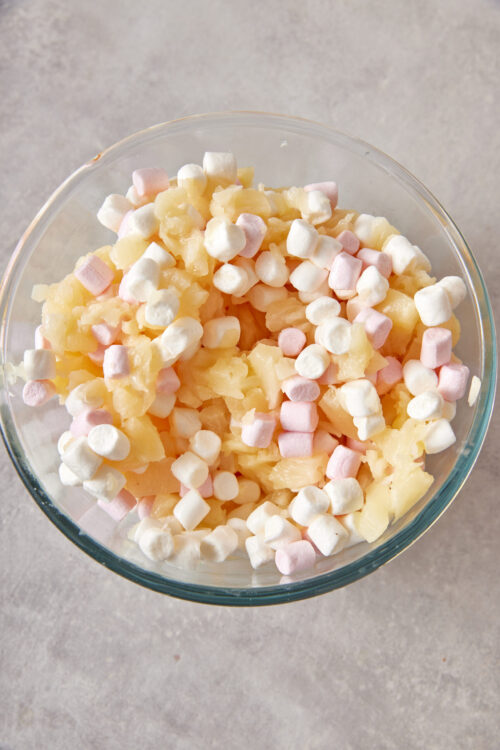
- In a medium bowl, stir together the miniature marshmallows and pineapple chunks. Cover and chill in the refrigerator for at least 8 hours or overnight.
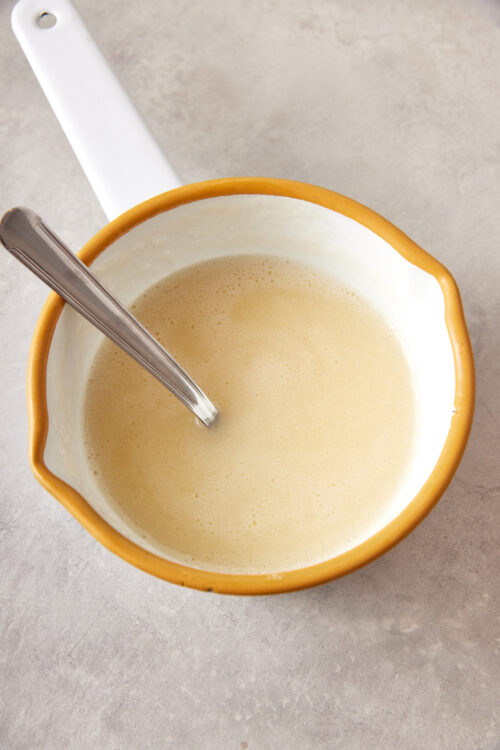
- In a small saucepan, whisk together the reserved pineapple juice, sugar, beaten egg, vinegar, and flour. Cook over medium-low heat, stirring constantly until the mixture thickens.
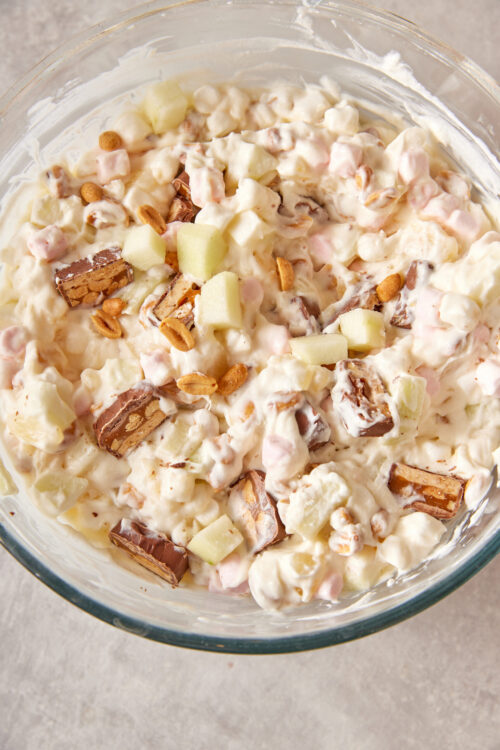
- Transfer the sauce to a bowl, cover, and chill for at least 8 hours or overnight. The next day, combine the chilled fruit mixture with the chilled sauce in a large serving bowl.
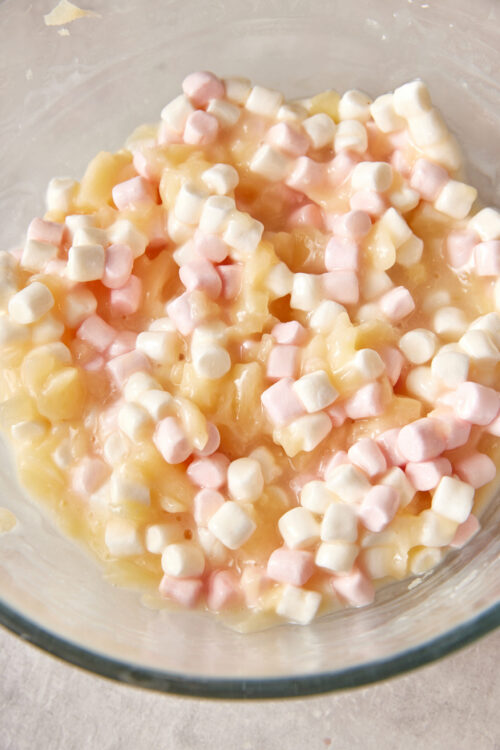
- Carefully fold in the peanuts, Snickers, whipped topping, and chopped apples until well mixed, reserving some candy or nuts for garnish if you like. Cover and refrigerate until ready to serve. Before serving, drizzle with caramel sauce and add other toppings of your choice for garnish, if desired.
Nutrition
The post Taffy Apple Salad Recipe appeared first on Baked Bree.
]]>The post Ambrosia Salad appeared first on Baked Bree.
]]>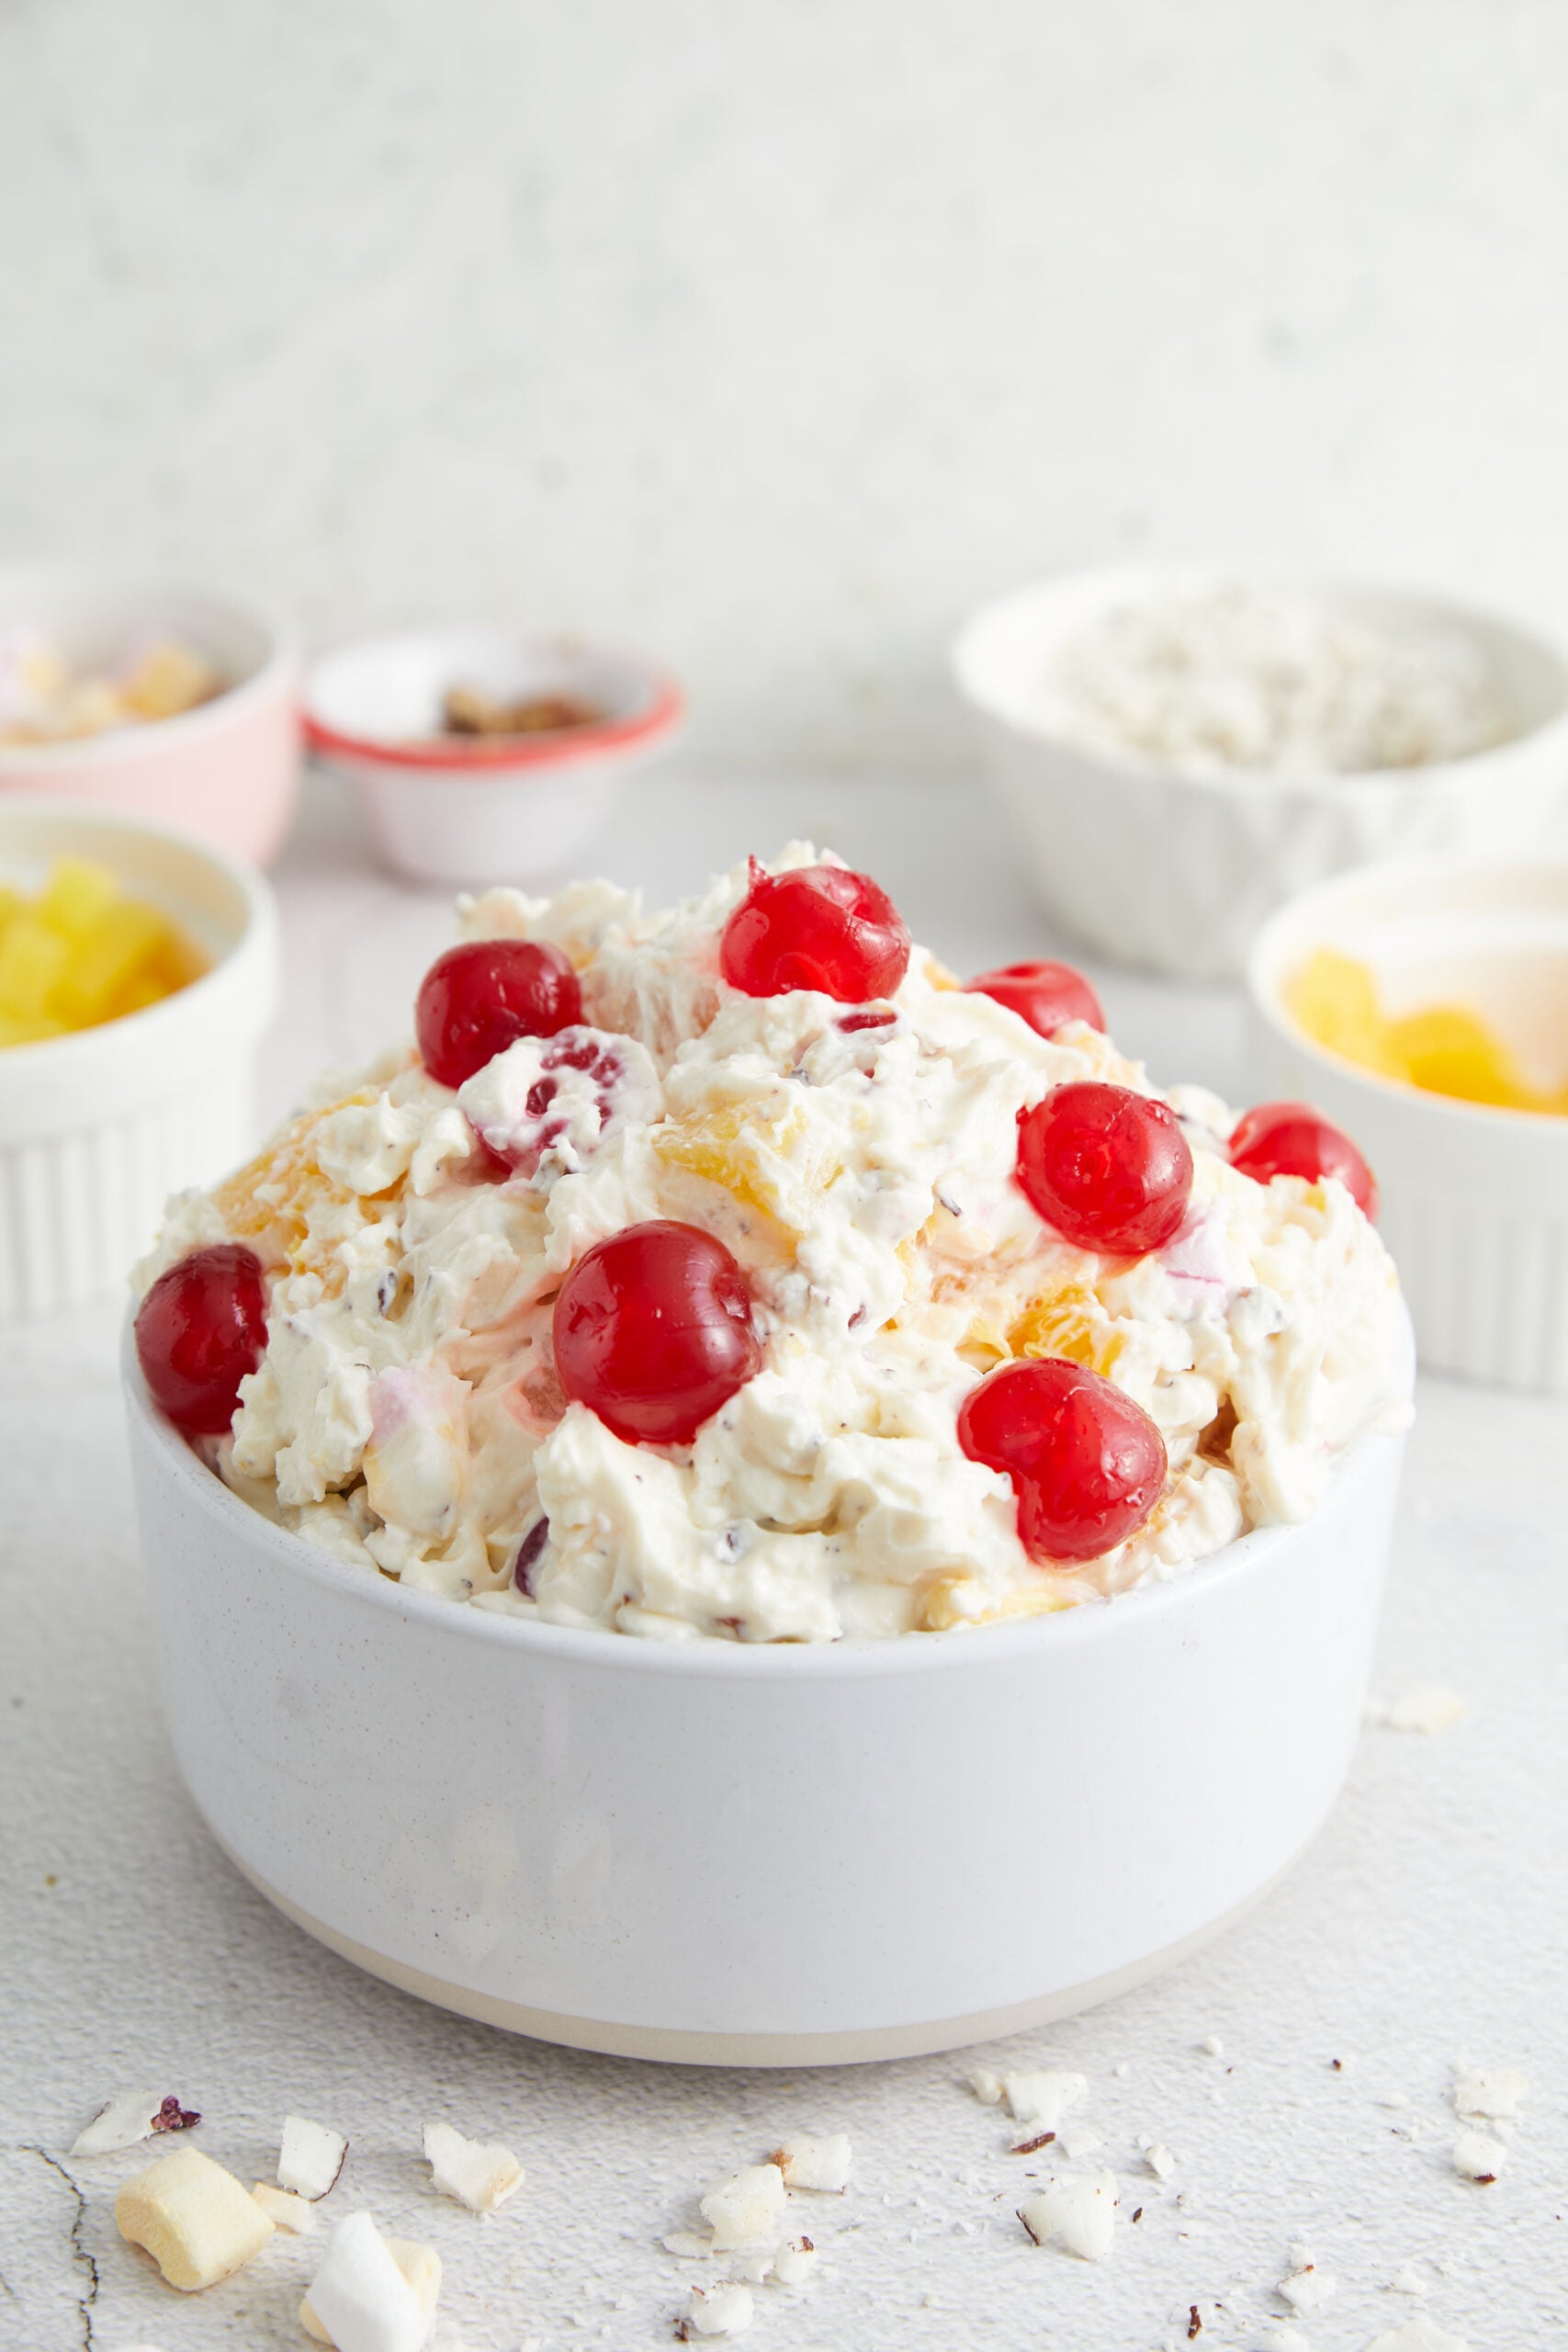
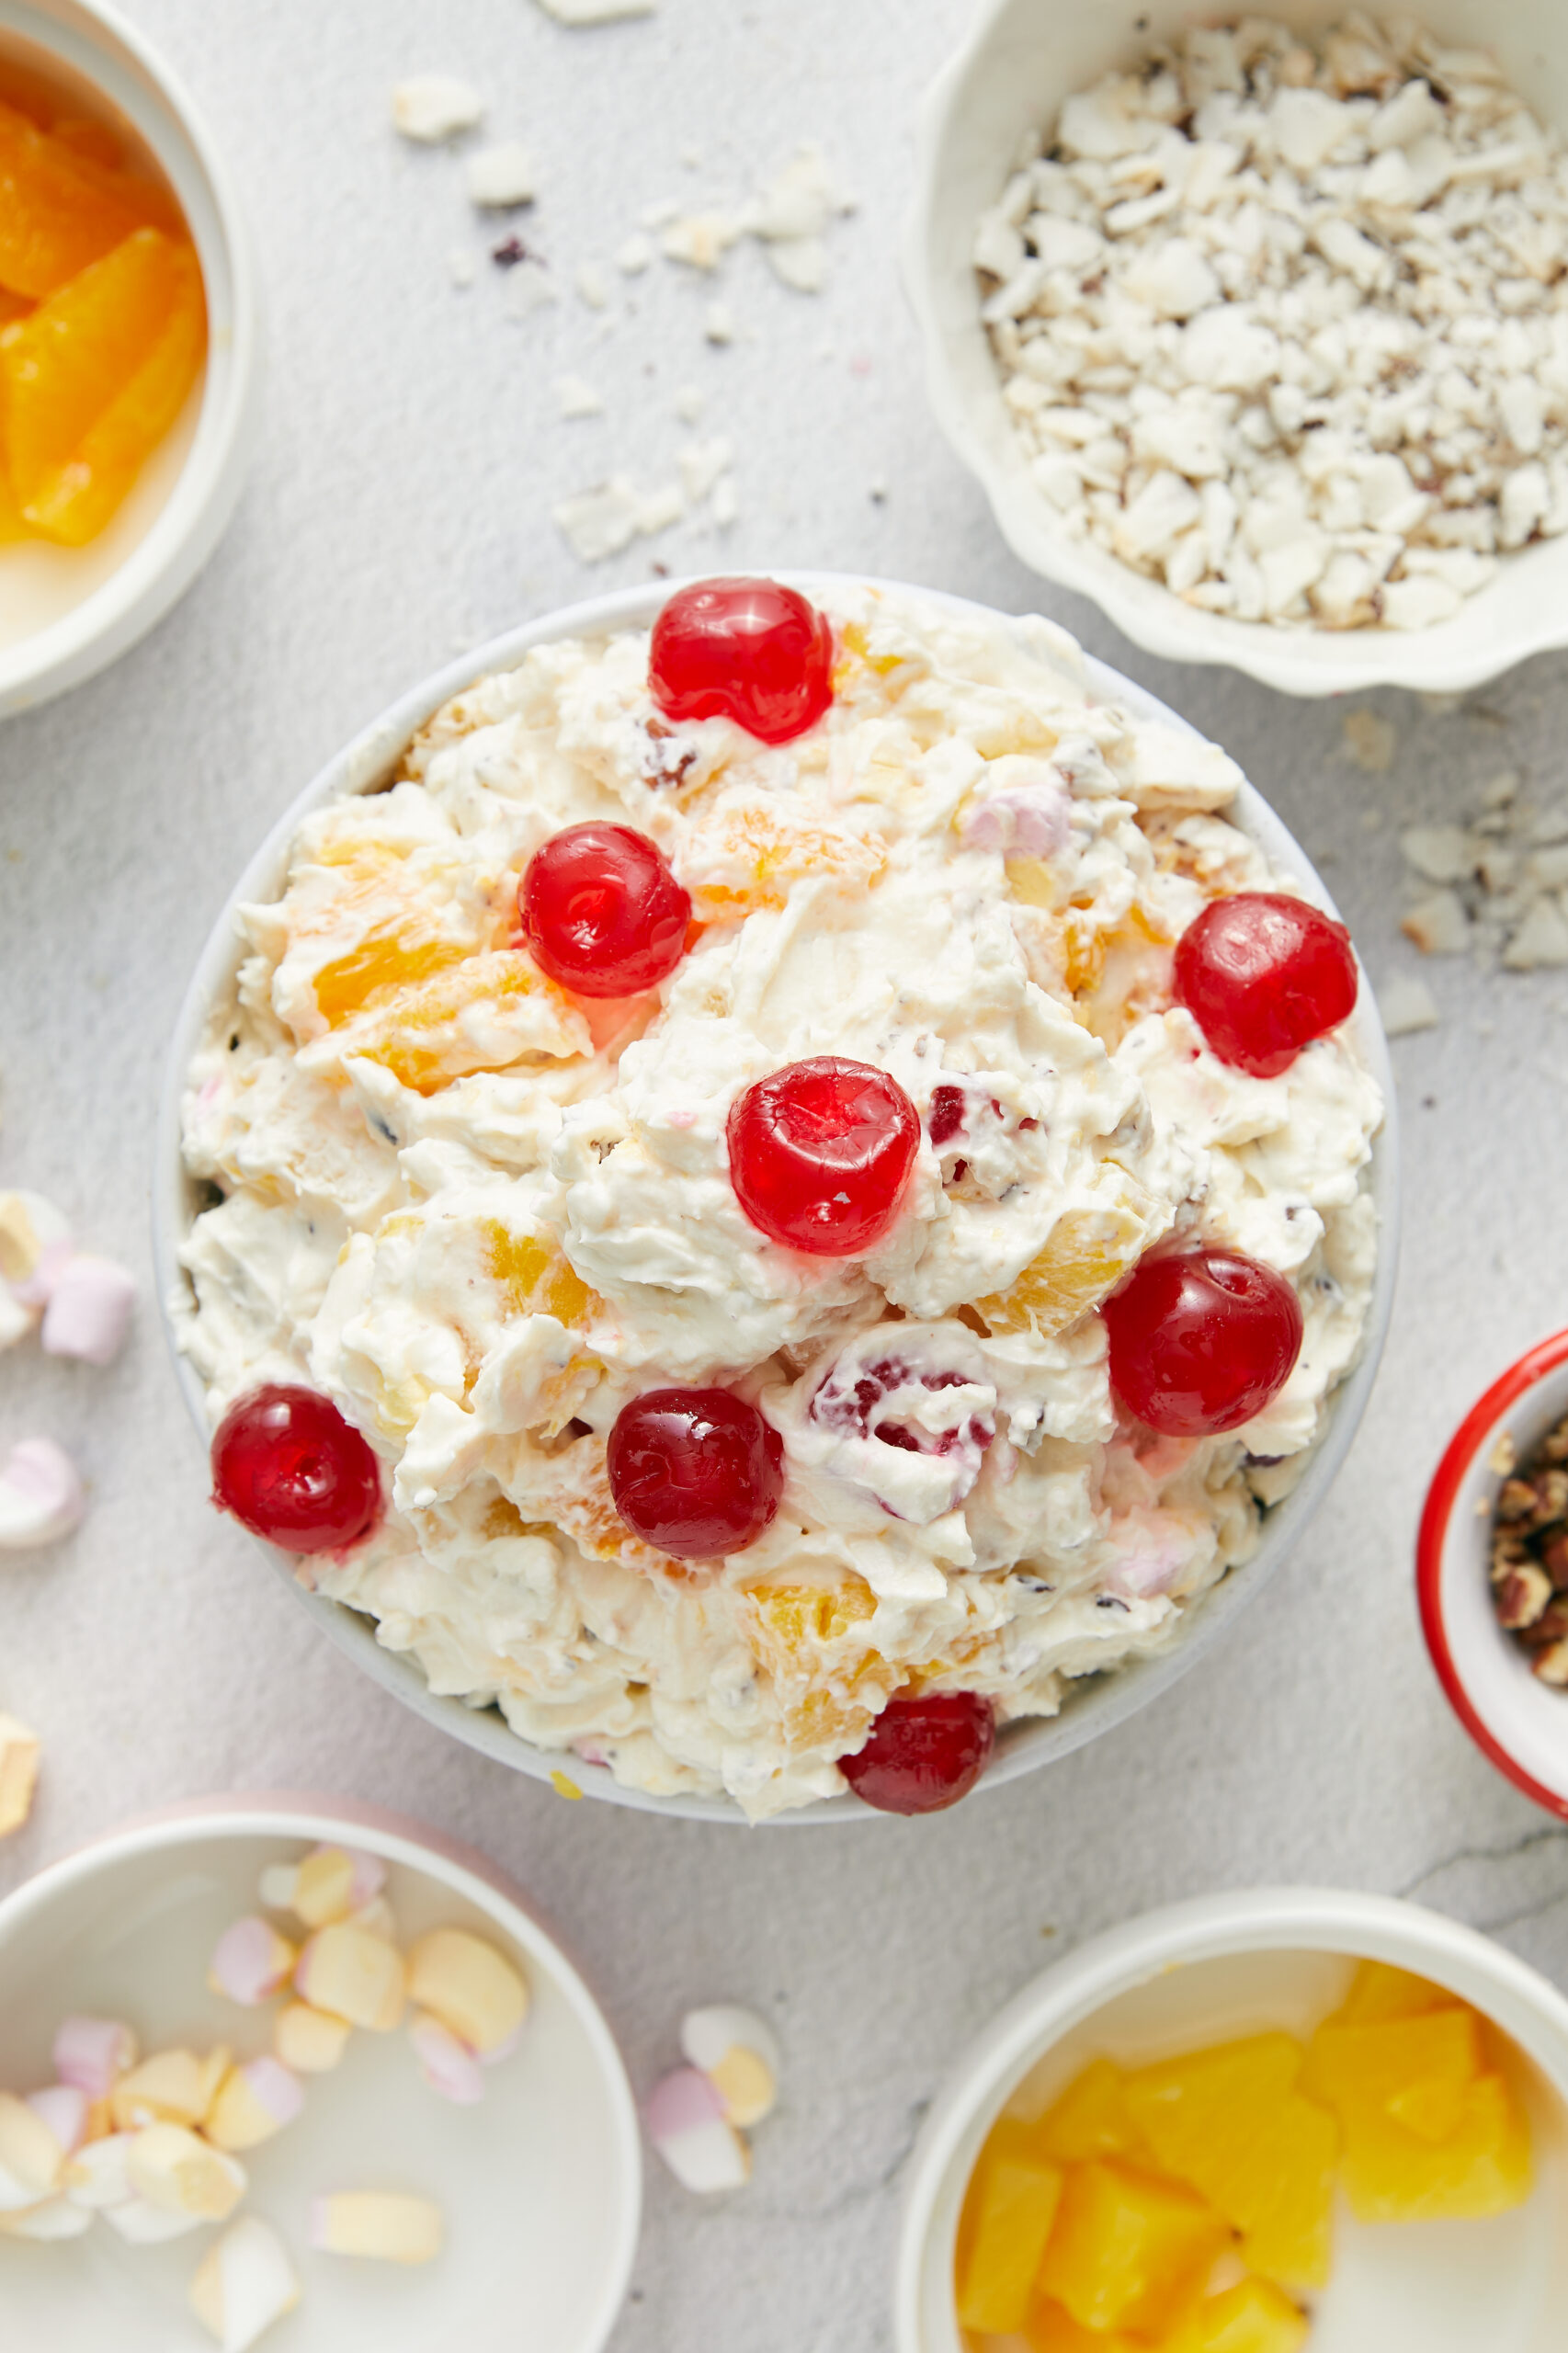
Are you familiar with @ThatMidwesternMom on Instagram? She is a lovely, quirky, funny person who makes a lot of old-school dishes; one of her taglines is, “Minnesota salads that aren’t really salads” (she sort of sings it, and it’s adorable!). I think of her every time I make ambrosia salad because, well, is this mix of whipped topping, mini marshmallows, canned fruit, maraschino cherries, pecans, and coconut really a salad?
Maybe, maybe not. But I’ll tell you something that it definitely is: a beloved, nostalgic dish that can be served as a side, a dessert, or even for breakfast. In the South, it often graces holiday tables. And, sure, some folks think of it as a type of fruit salad. Though its exact origin is elusive (the earliest known recipe appears in Maria Massey Barringer’s 1867 cookbook, Dixie Cookery), in ancient Greek myths, ambrosia was the food and drink of the gods. And so our dish is aptly named because ambrosia salad is definitely divine.
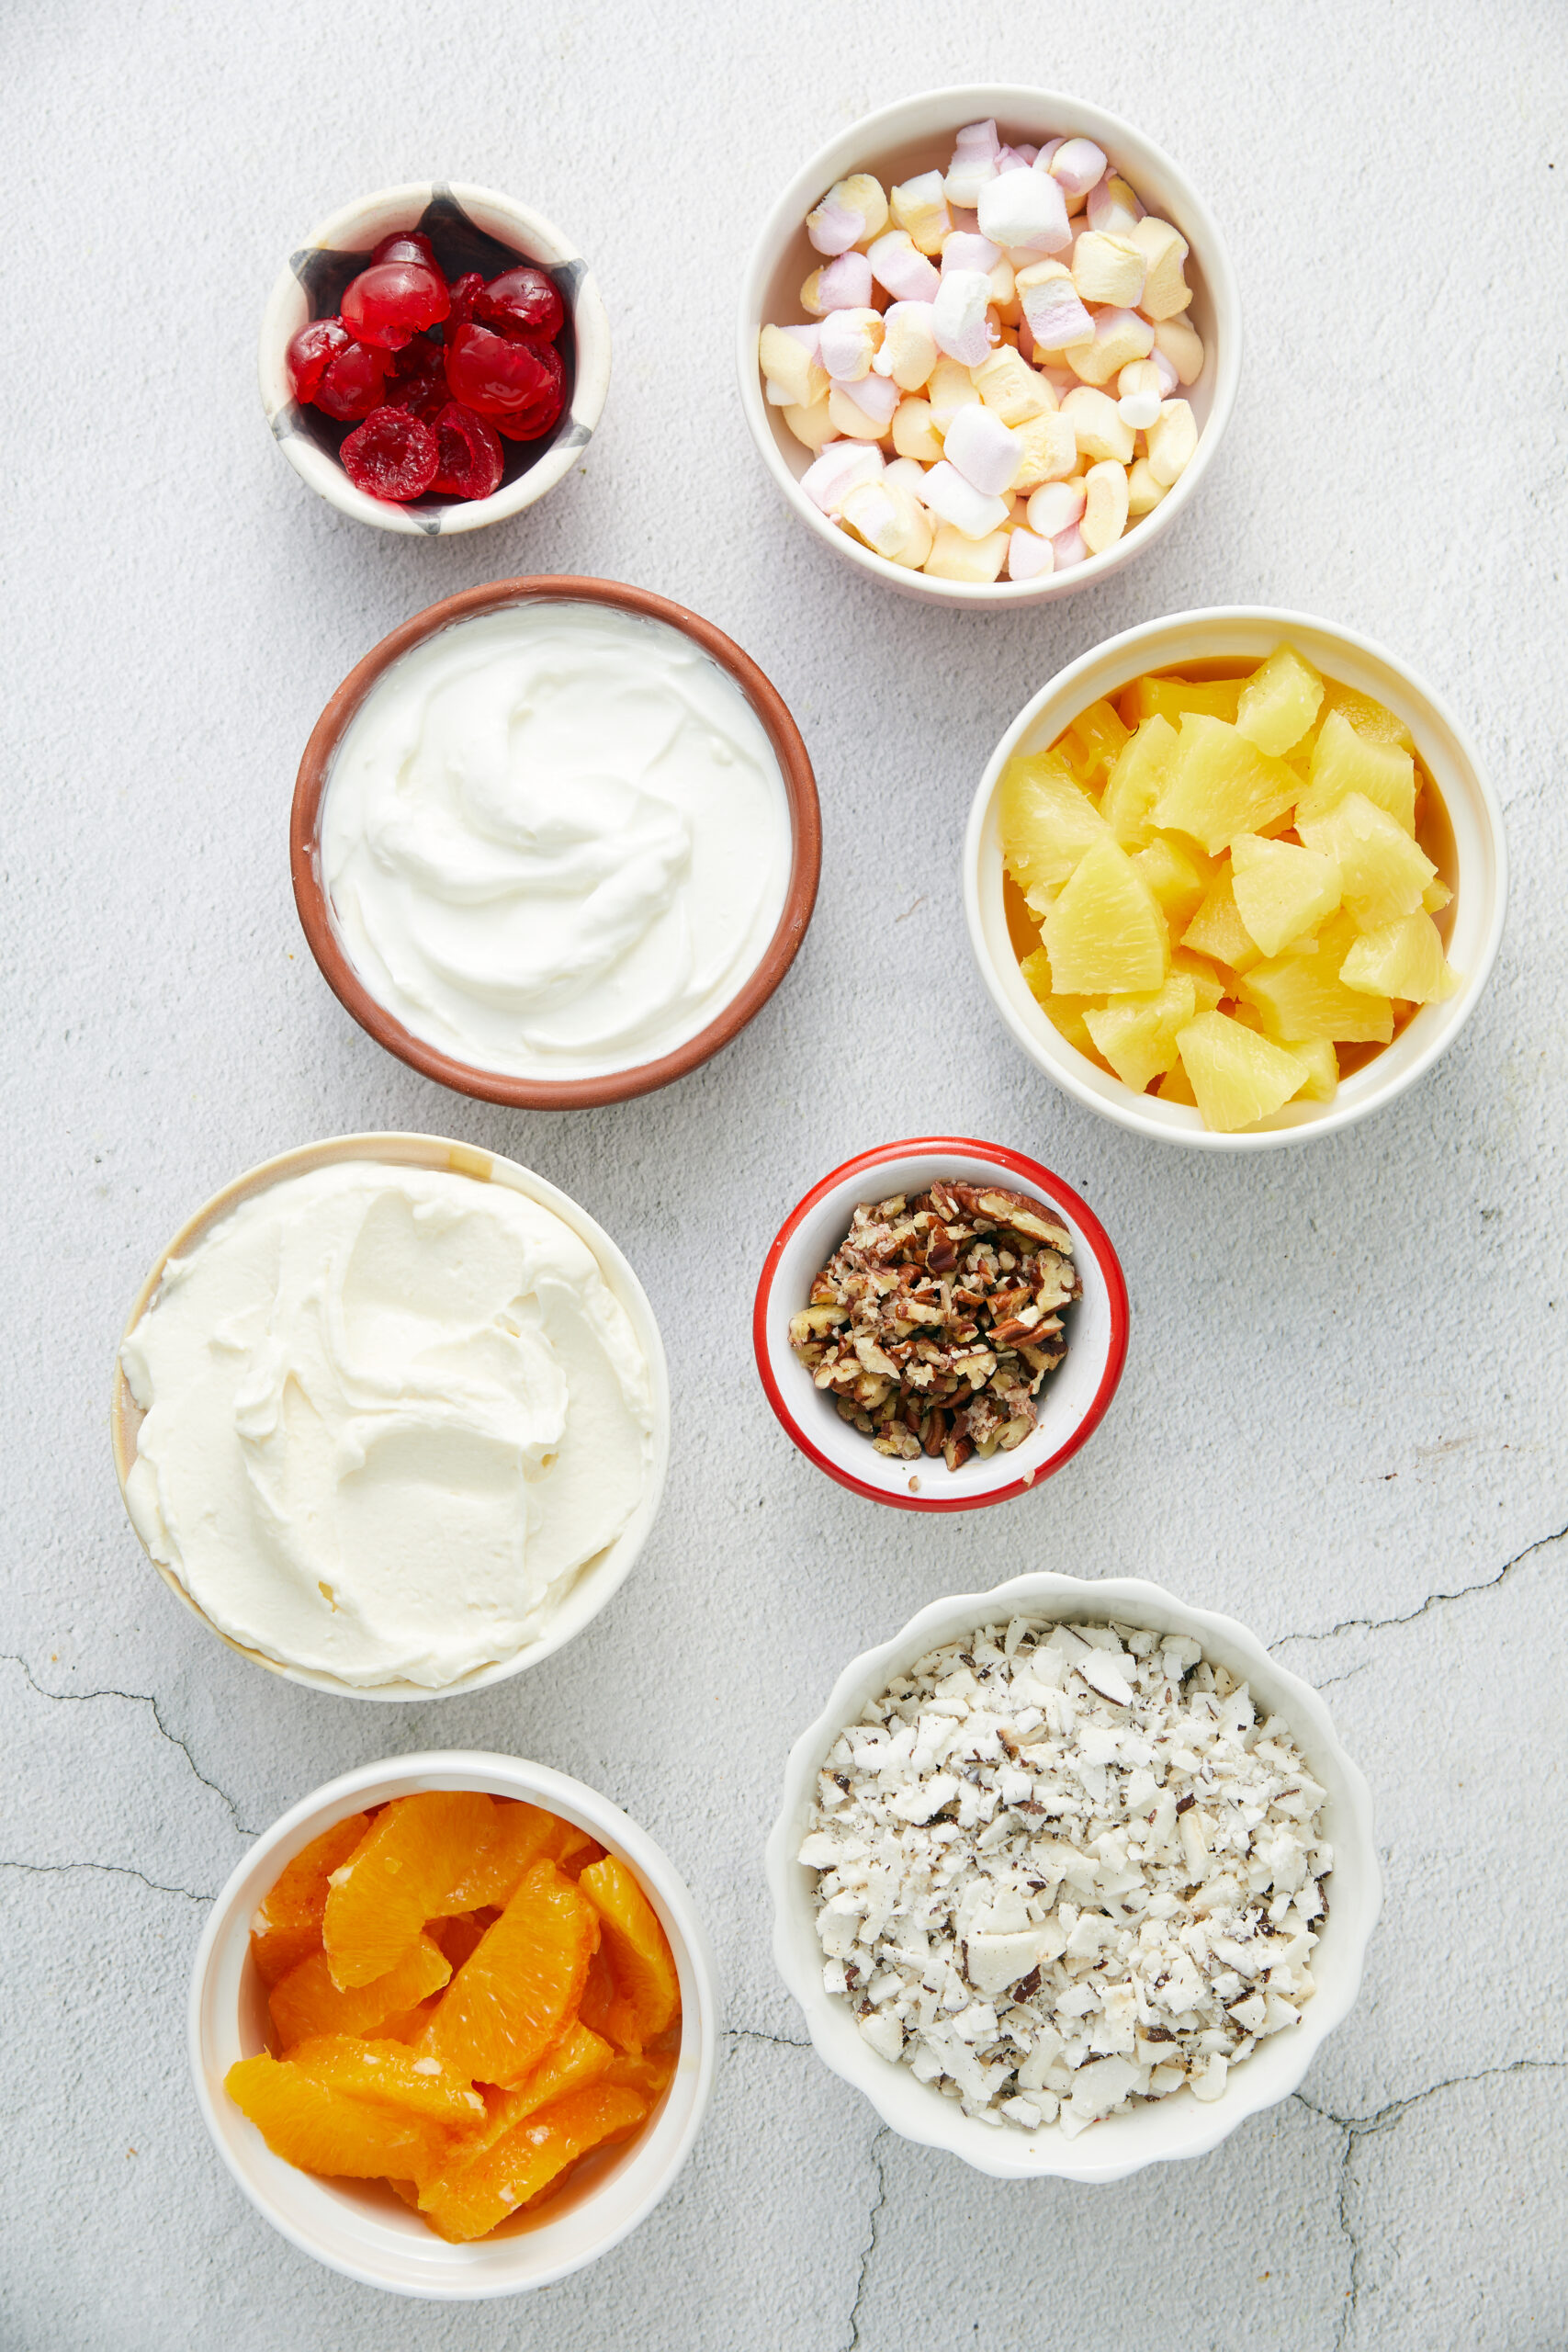
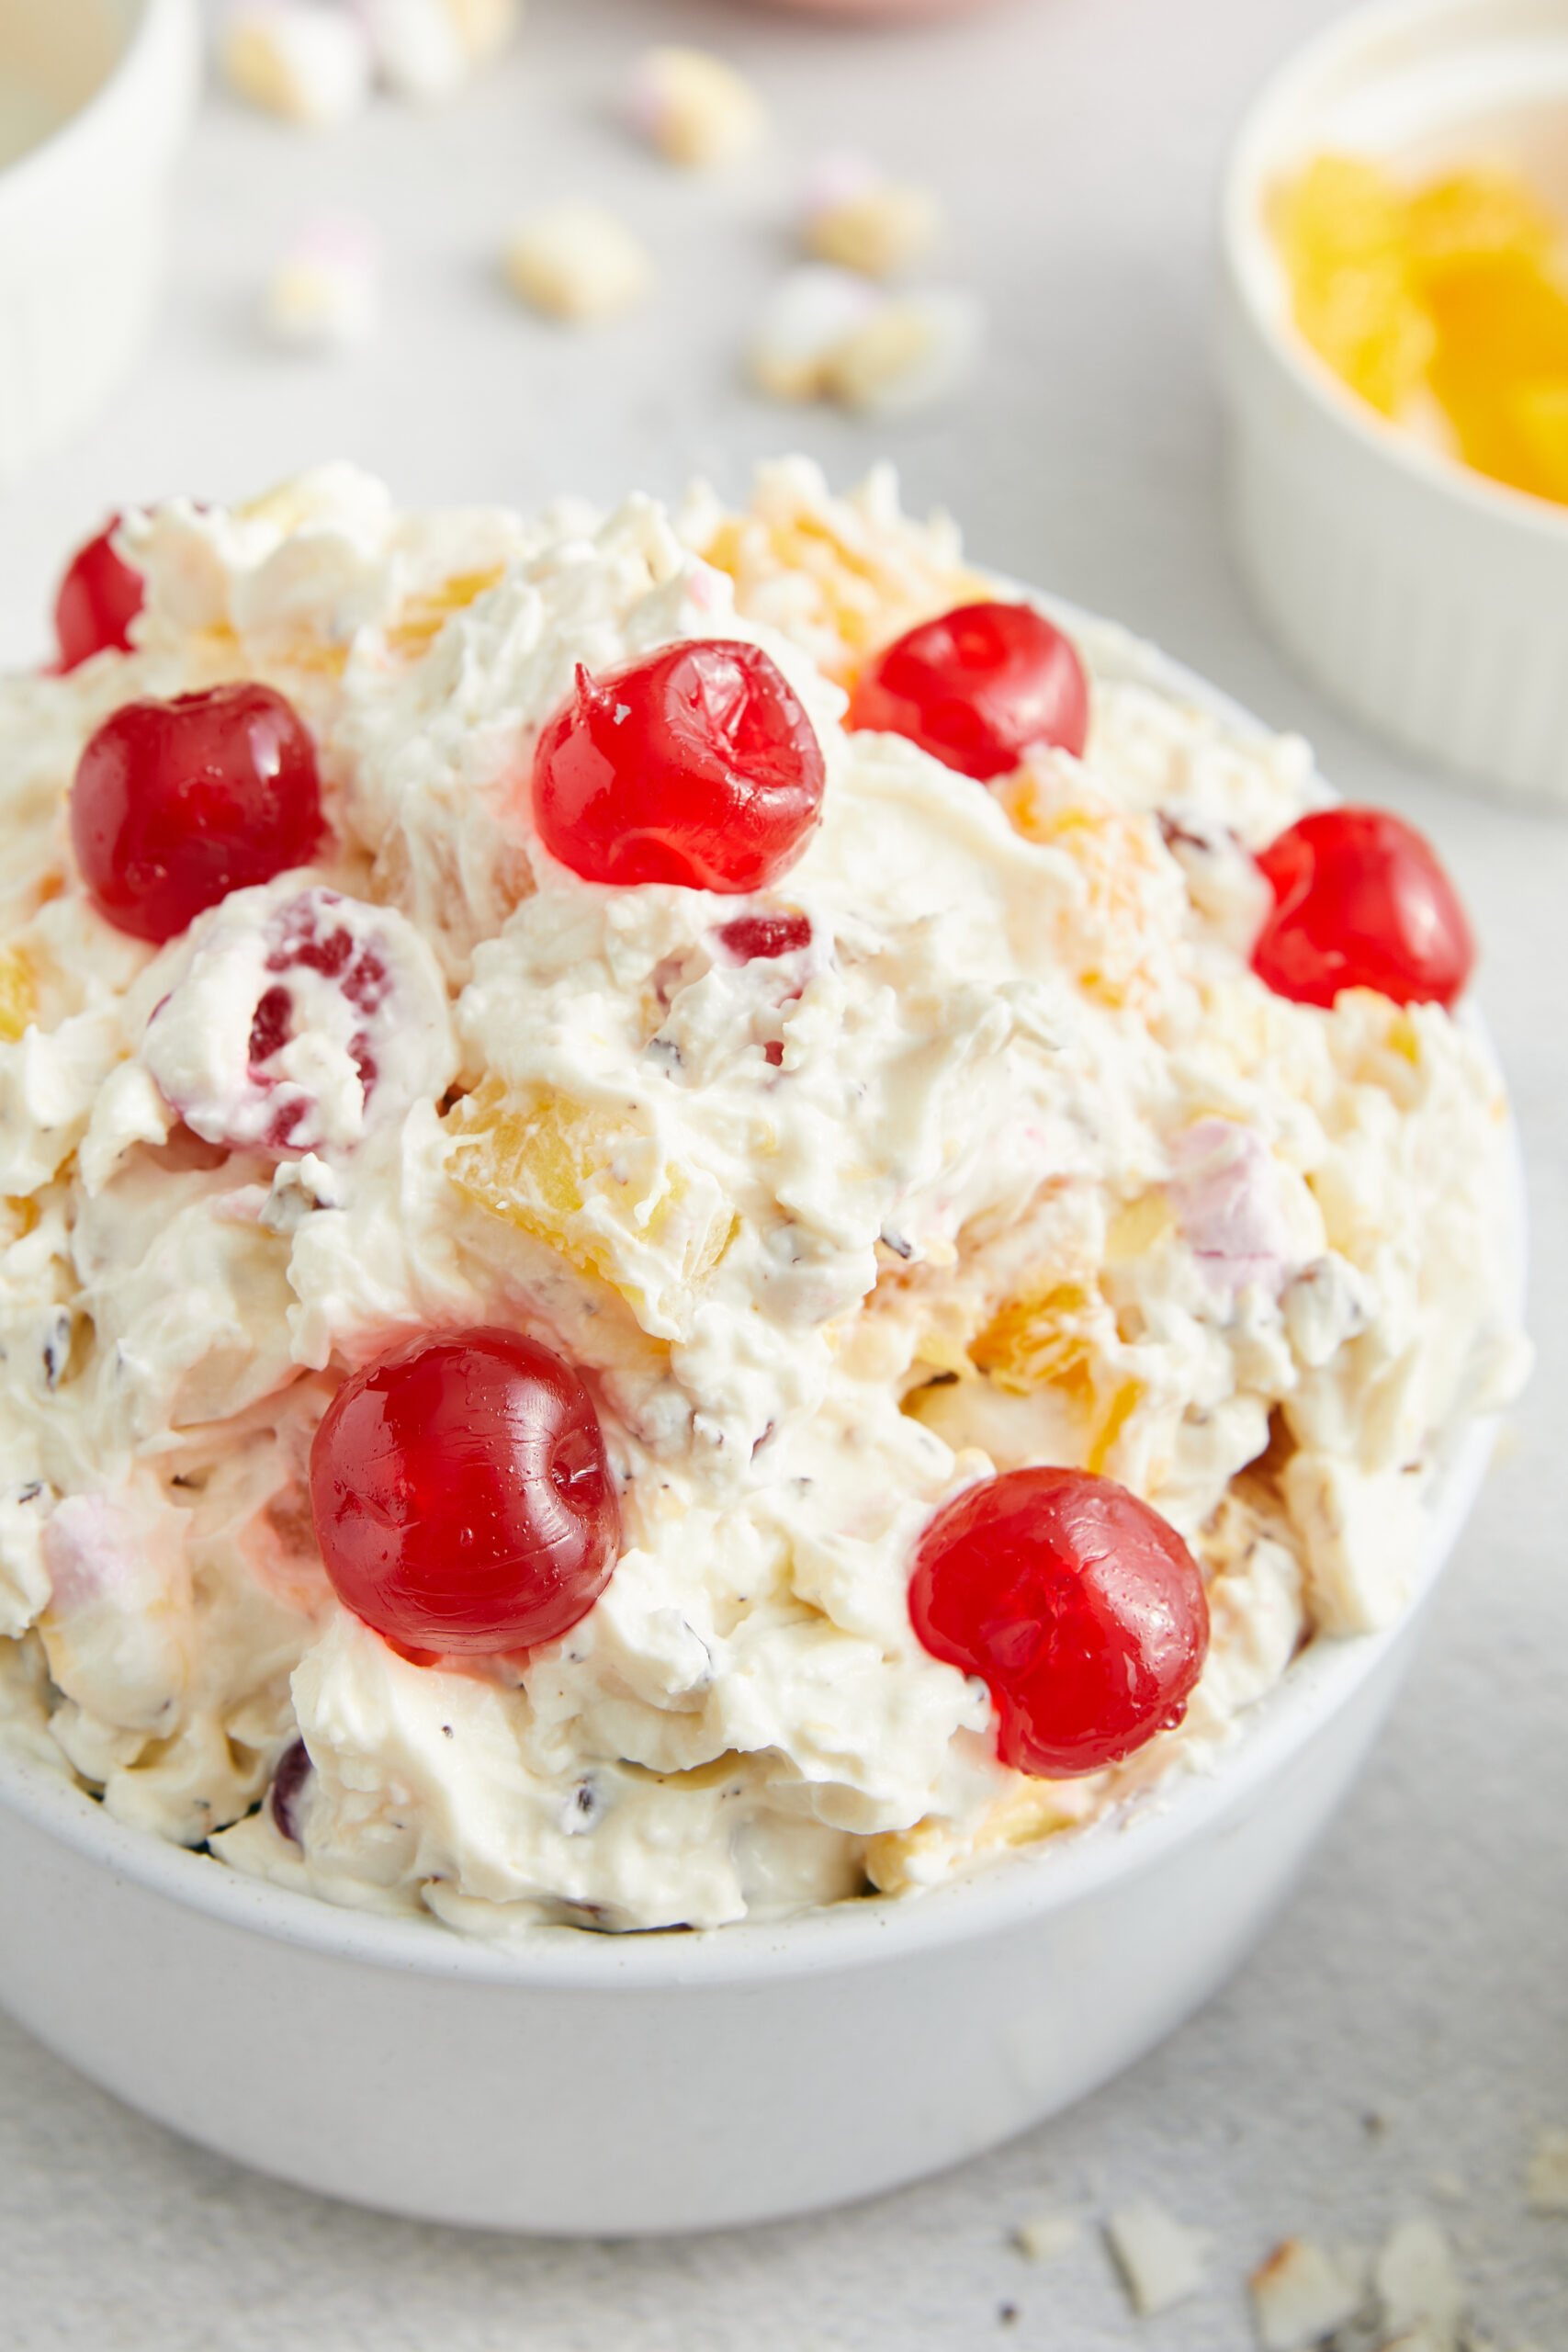
Once you’ve gathered together everything you’ll need, ambrosia salad is very simple to make. Combine the whipped topping with the Greek yogurt and whisk until smooth. Then add all of the other ingredients (saving a few maraschino cherries for garnish), mix well, and chill for a couple of hours. Not only is this beautiful ambrosia salad cloud-like, fluffy, and studded with sweet fruits and mini marshmallows, it also gets additional flavor and texture from the coconut and pecans. Heavenly.
Tips for perfect ambrosia salad
Firstly, chill all of your ingredients before combining them; this will help prevent the whipped topping and yogurt base from melting or becoming watery. And speaking of wanting to keep the base thick and creamy, make sure you have drained all of the fruit thoroughly before adding it. Cut the fruits all the same size to ensure even distribution. For some additional texture, aroma, and flavor, lightly toast the coconut (and cool) before incorporating it into the salad.
How do I store leftovers?
Store leftover ambrosia salad in an airtight container in the refrigerator for 3-4 days. We don’t recommend freezing this dish.
Serving suggestions
In many Southern households, ambrosia salad is a traditional Thanksgiving, Christmas, and Easter side dish, the sweetness a fine companion to savory, heavy holiday fare. But you can be inspired by the holidays without waiting for them by serving ambrosia salad with this Stuffed Turkey Breast and Green Beans Almondine in fall or winter, or with The Best-Oven Baked Lamb Chops and Roasted Asparagus in the spring. I know what you’re thinking: wouldn’t creamy and fruity ambrosia salad be perfect in the summer? Indeed, it would! Try it for dessert with these tart and tangy Key Lime Cookies after a summery meal of Grilled BBQ Chicken and Grilled Corn Salad With Fresh Herbs.
Ambrosia Salad
Ingredients
- 8 ounces whipped topping thawed
- 1/2 cup plain Greek yogurt
- 1 can pineapple chunks (20 ounces), drained
- 1 can mandarin oranges (11 ounces), drained
- 1/2 cup chopped pecans optional
- 1 cup mini marshmallows
- 1 cup sweetened shredded coconut
- 1/3 cup maraschino cherries halved (reserve some whole cherries for garnish)
Instructions
- In a large bowl, whisk together the whipped topping and Greek yogurt until smooth.
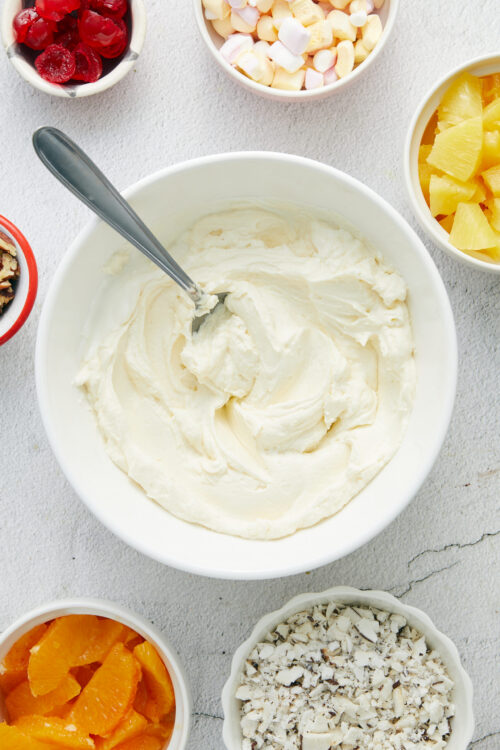
- Gently fold in the drained pineapple chunks, mandarin oranges, pecans, mini marshmallows, shredded coconut, and maraschino cherries.
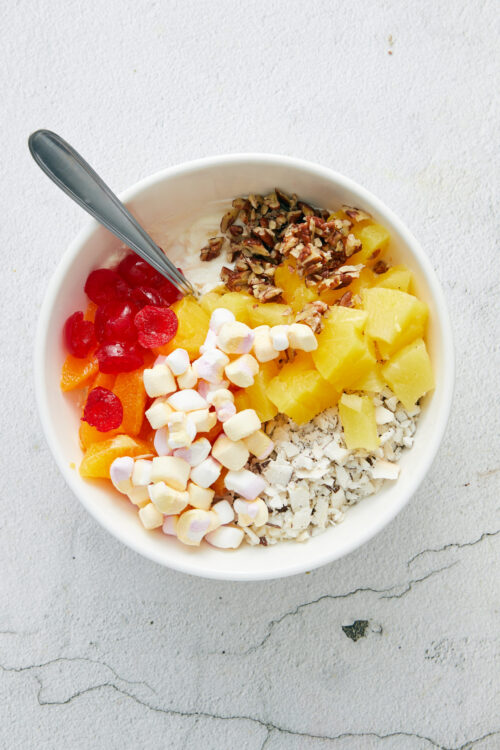
- Cover the bowl with plastic wrap and refrigerate for at least 2 hours. Garnish with reserved cherries before serving.
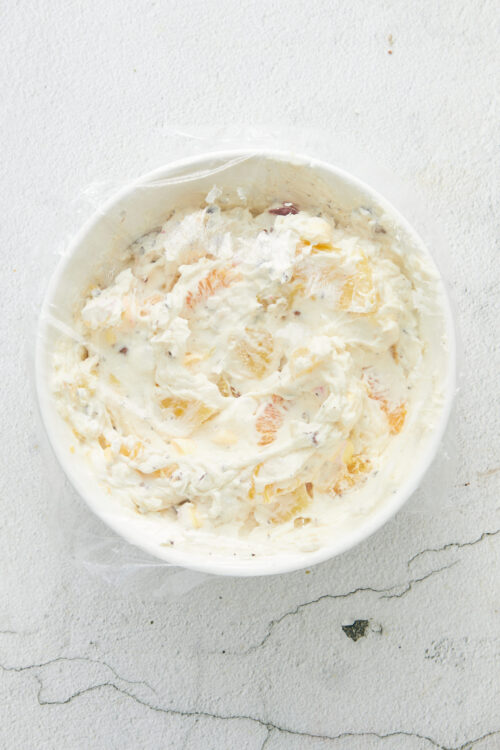
Nutrition
The post Ambrosia Salad appeared first on Baked Bree.
]]>The post Pickled Beets appeared first on Baked Bree.
]]>
When I was growing up, my dad always got excited (way more than I thought necessary) about pickled beets. He’d apparently grown up eating them, and while to me they seemed like just another weird vegetable that grown-ups ate, he relished them. What made them even stranger was the fact that this was a vegetable served cold. In my child’s eye, it was just another example of the strange cuisine of adults—that I wanted no part of! It wasn’t until I was older and first had them diced up in a salad with goat cheese, red onion, and greens that I appreciated pickled beets.
The pickled beets my dad grew up eating were likely canned pickled beets. Canning takes special equipment and time. However, this version of pickled beets is ready in 24 hours, and the heavy lifting is done by the brine you create and time in the refrigerator! No special equipment or complicated steps.
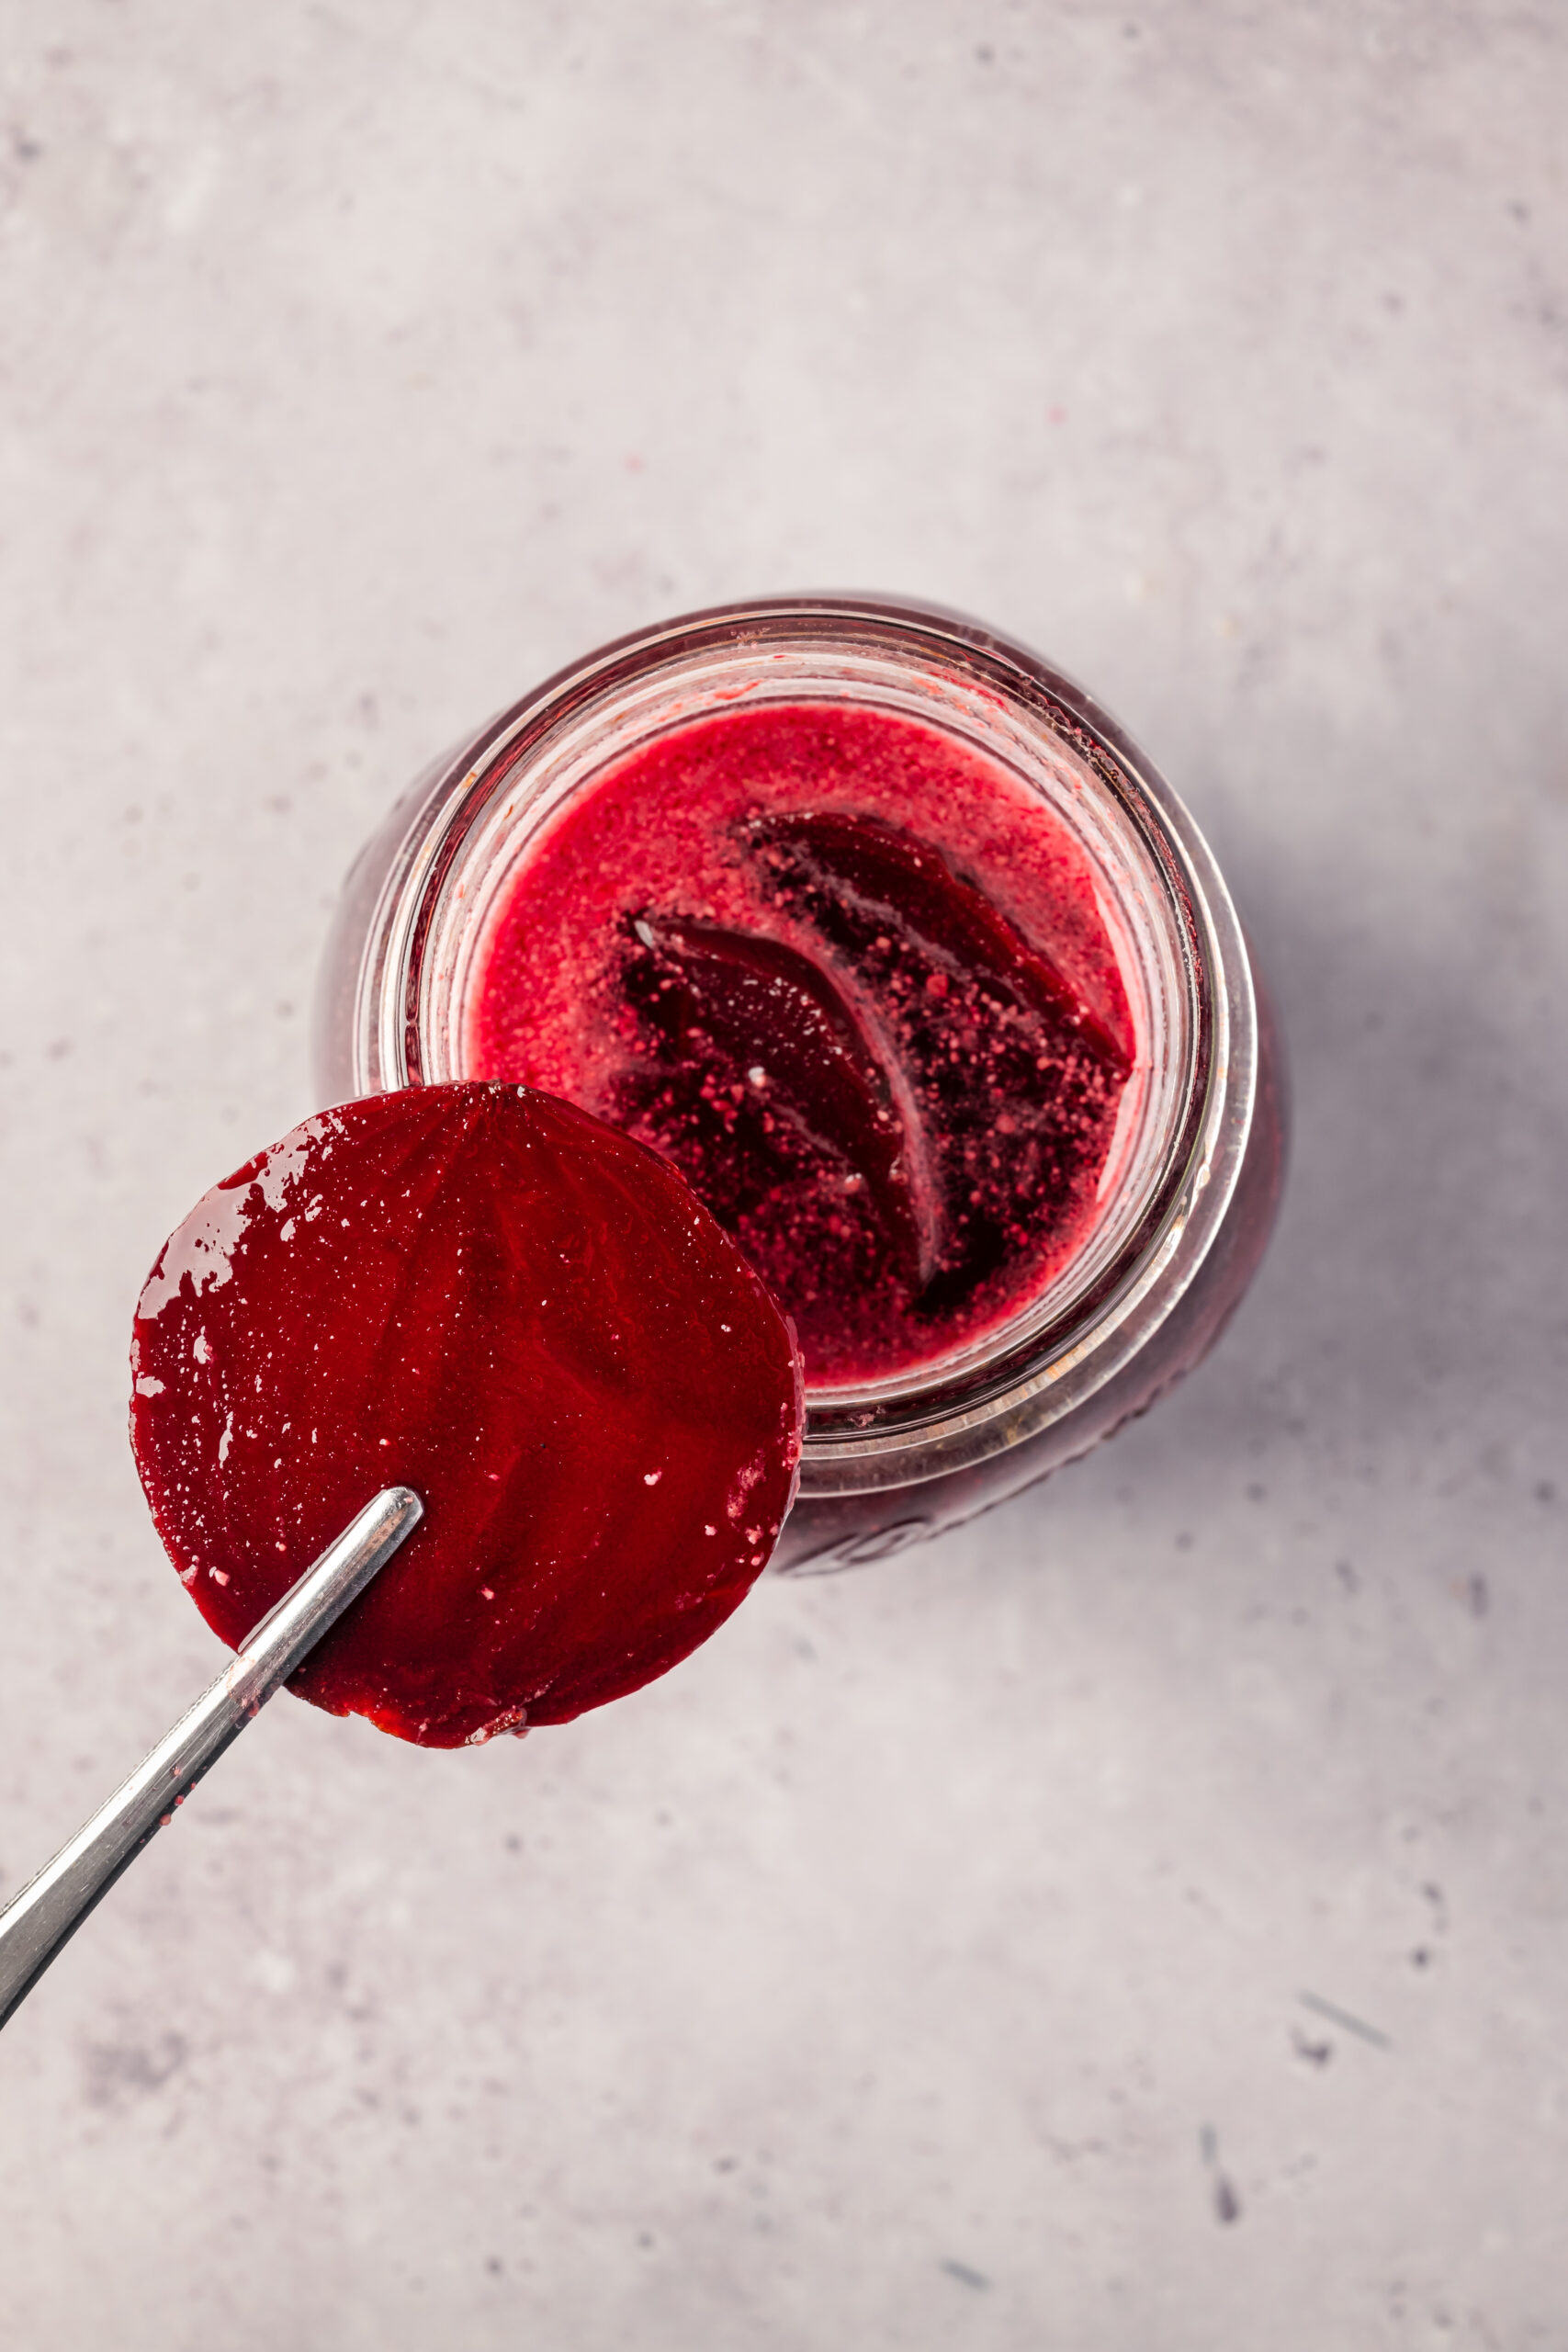
What finally turned me around on pickled beets was the taste. They are sweet but not cloying, thanks to the vinegar, which gives them a tangy zip. Pickled beets are, in fact, delicious served chilled and taste great in salads, sliced on your charcuterie board, or alongside rich mains like roast pork or chicken. One of the best things about this recipe is that once you make it, you will have pickled beets to enjoy for up to two months, as it keeps very well. I’m so glad I got past my childhood aversion and tried these tasty beets.
Roasting beets: prep for pickling
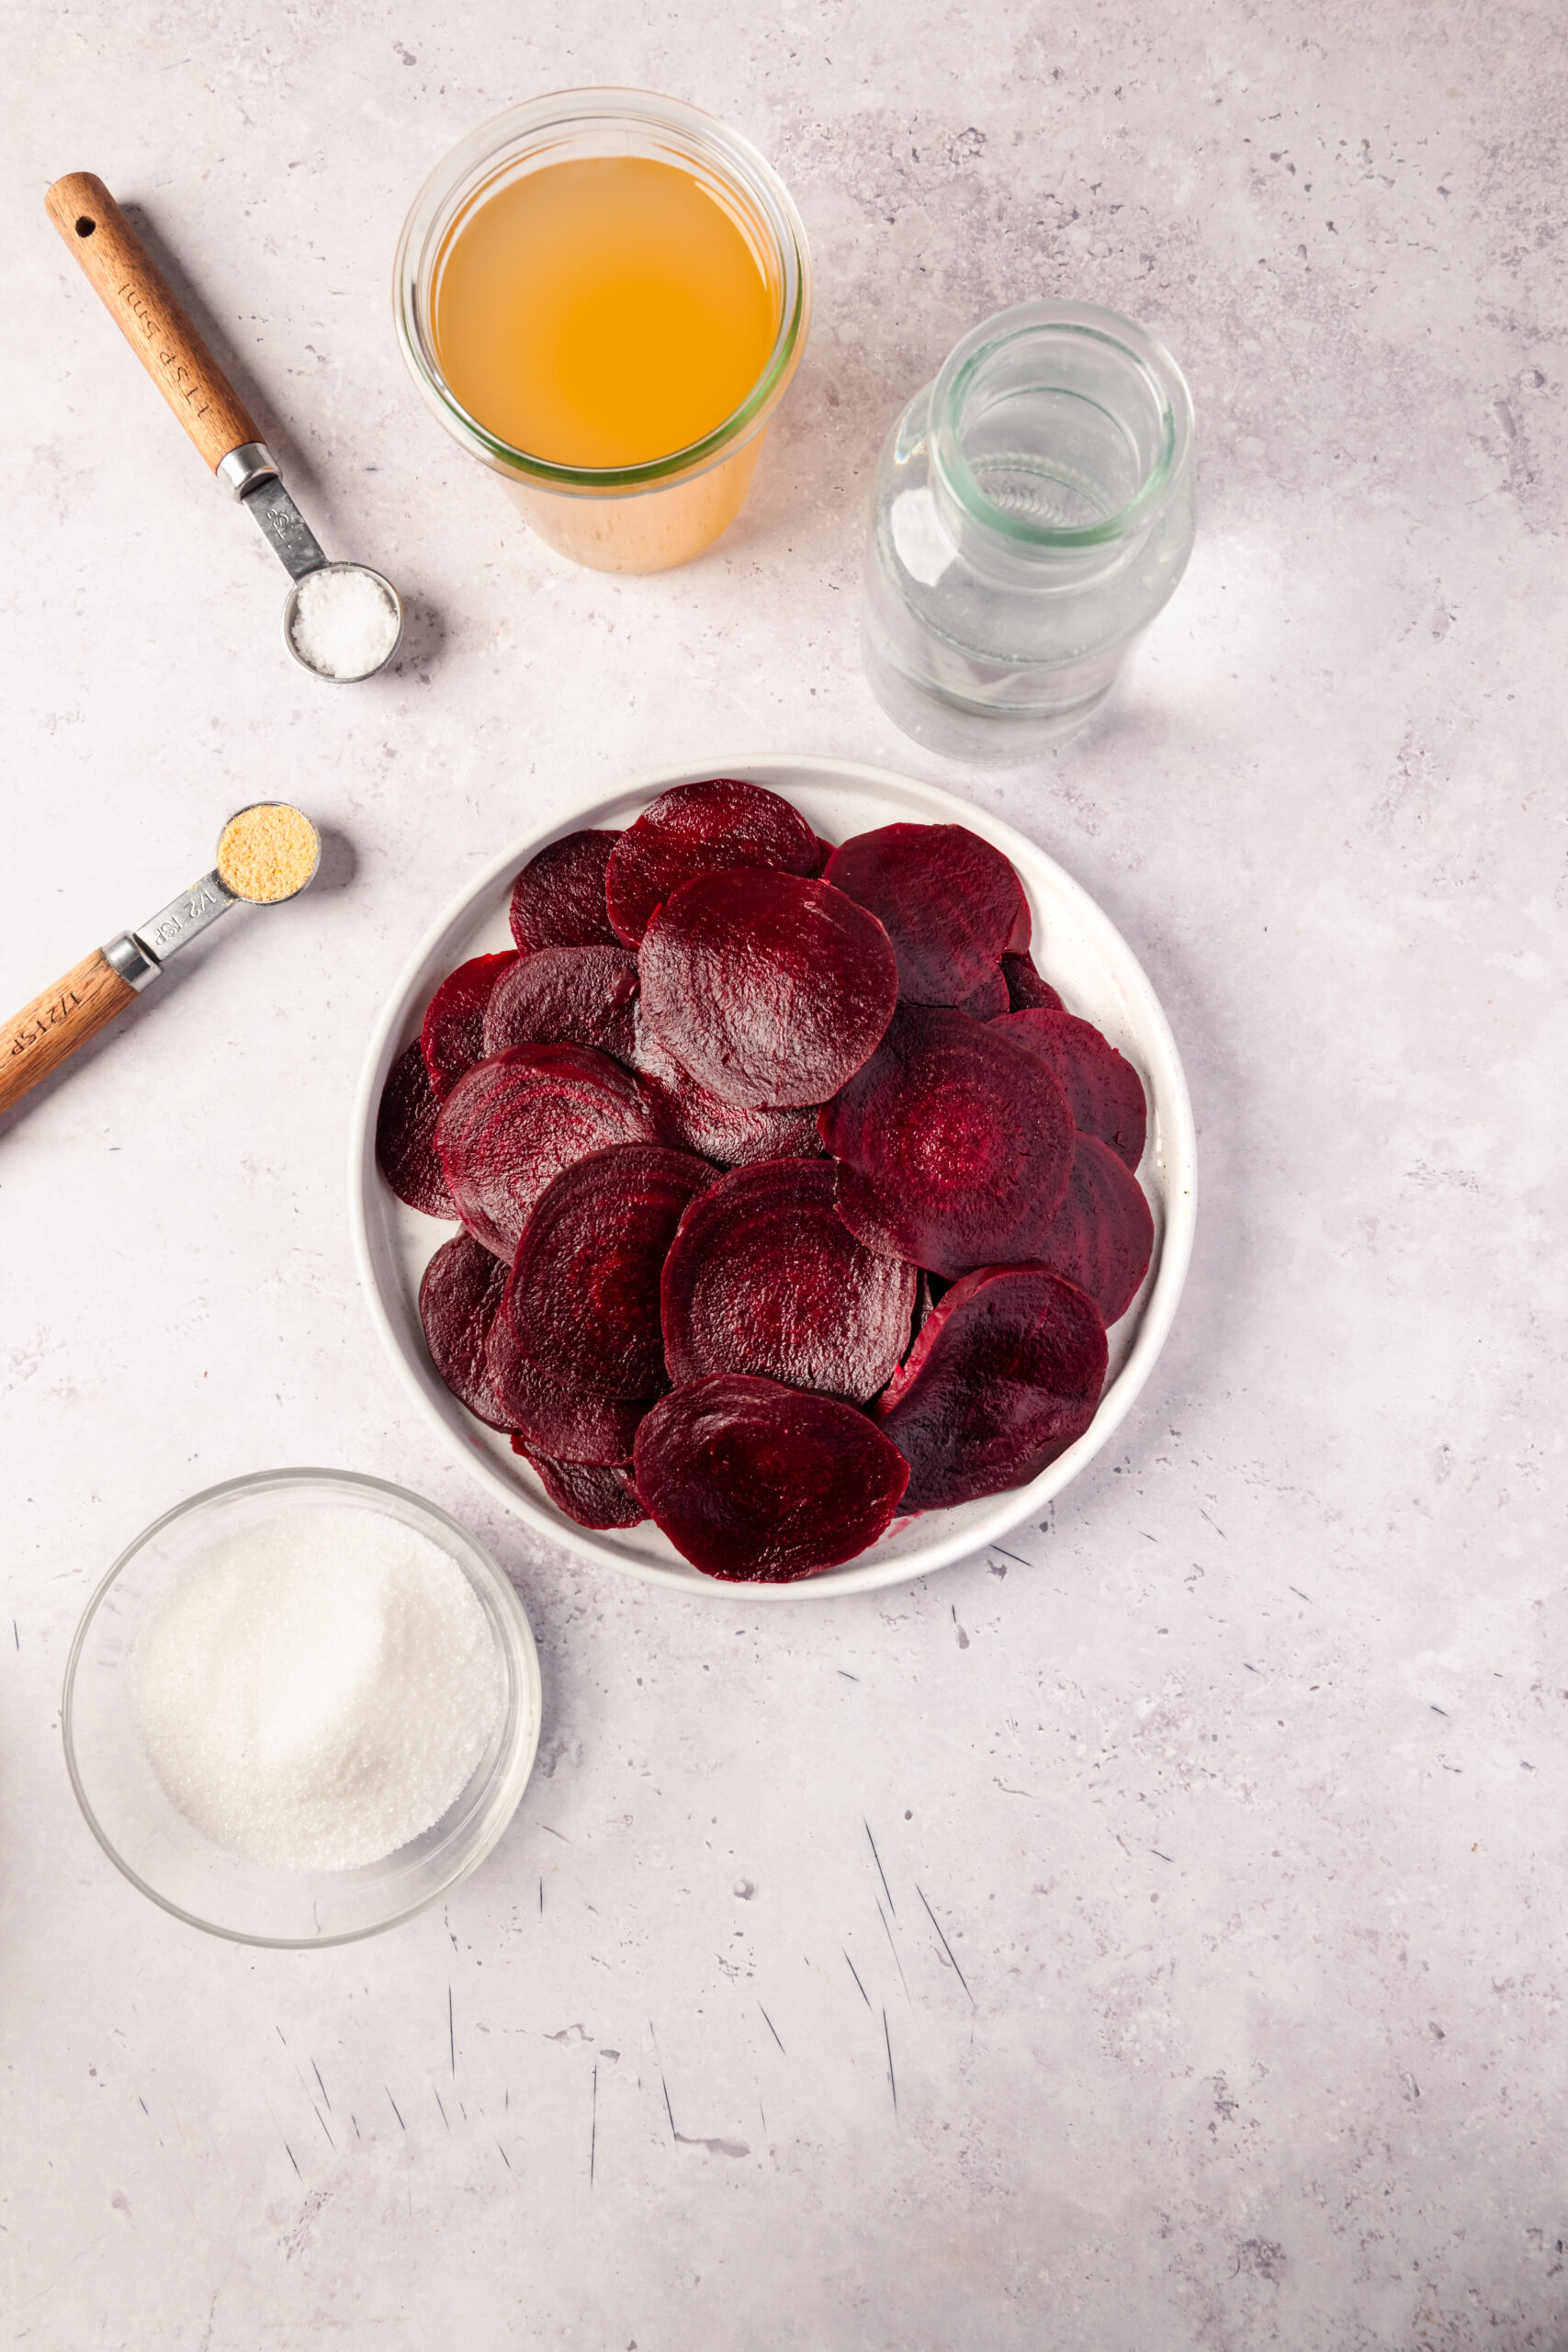
You can roast or boil your raw beets before starting this recipe; I prefer roasting them, as roasting brings out the best flavor. Choose medium-sized beets and scrub them well before placing them on a large piece of foil on your roasting pan. Toss the beets in olive oil, and fold the foil over the beets to create a sealed packet; this helps them retain moisture as they roast. Roast at 400°F for about 45-55 minutes or until tender when pierced with a fork. Let the beets cool in the packet to room temperature before peeling and slicing. Slice into uniform slices, about one-quarter-inch thick each.
How do I store leftovers?
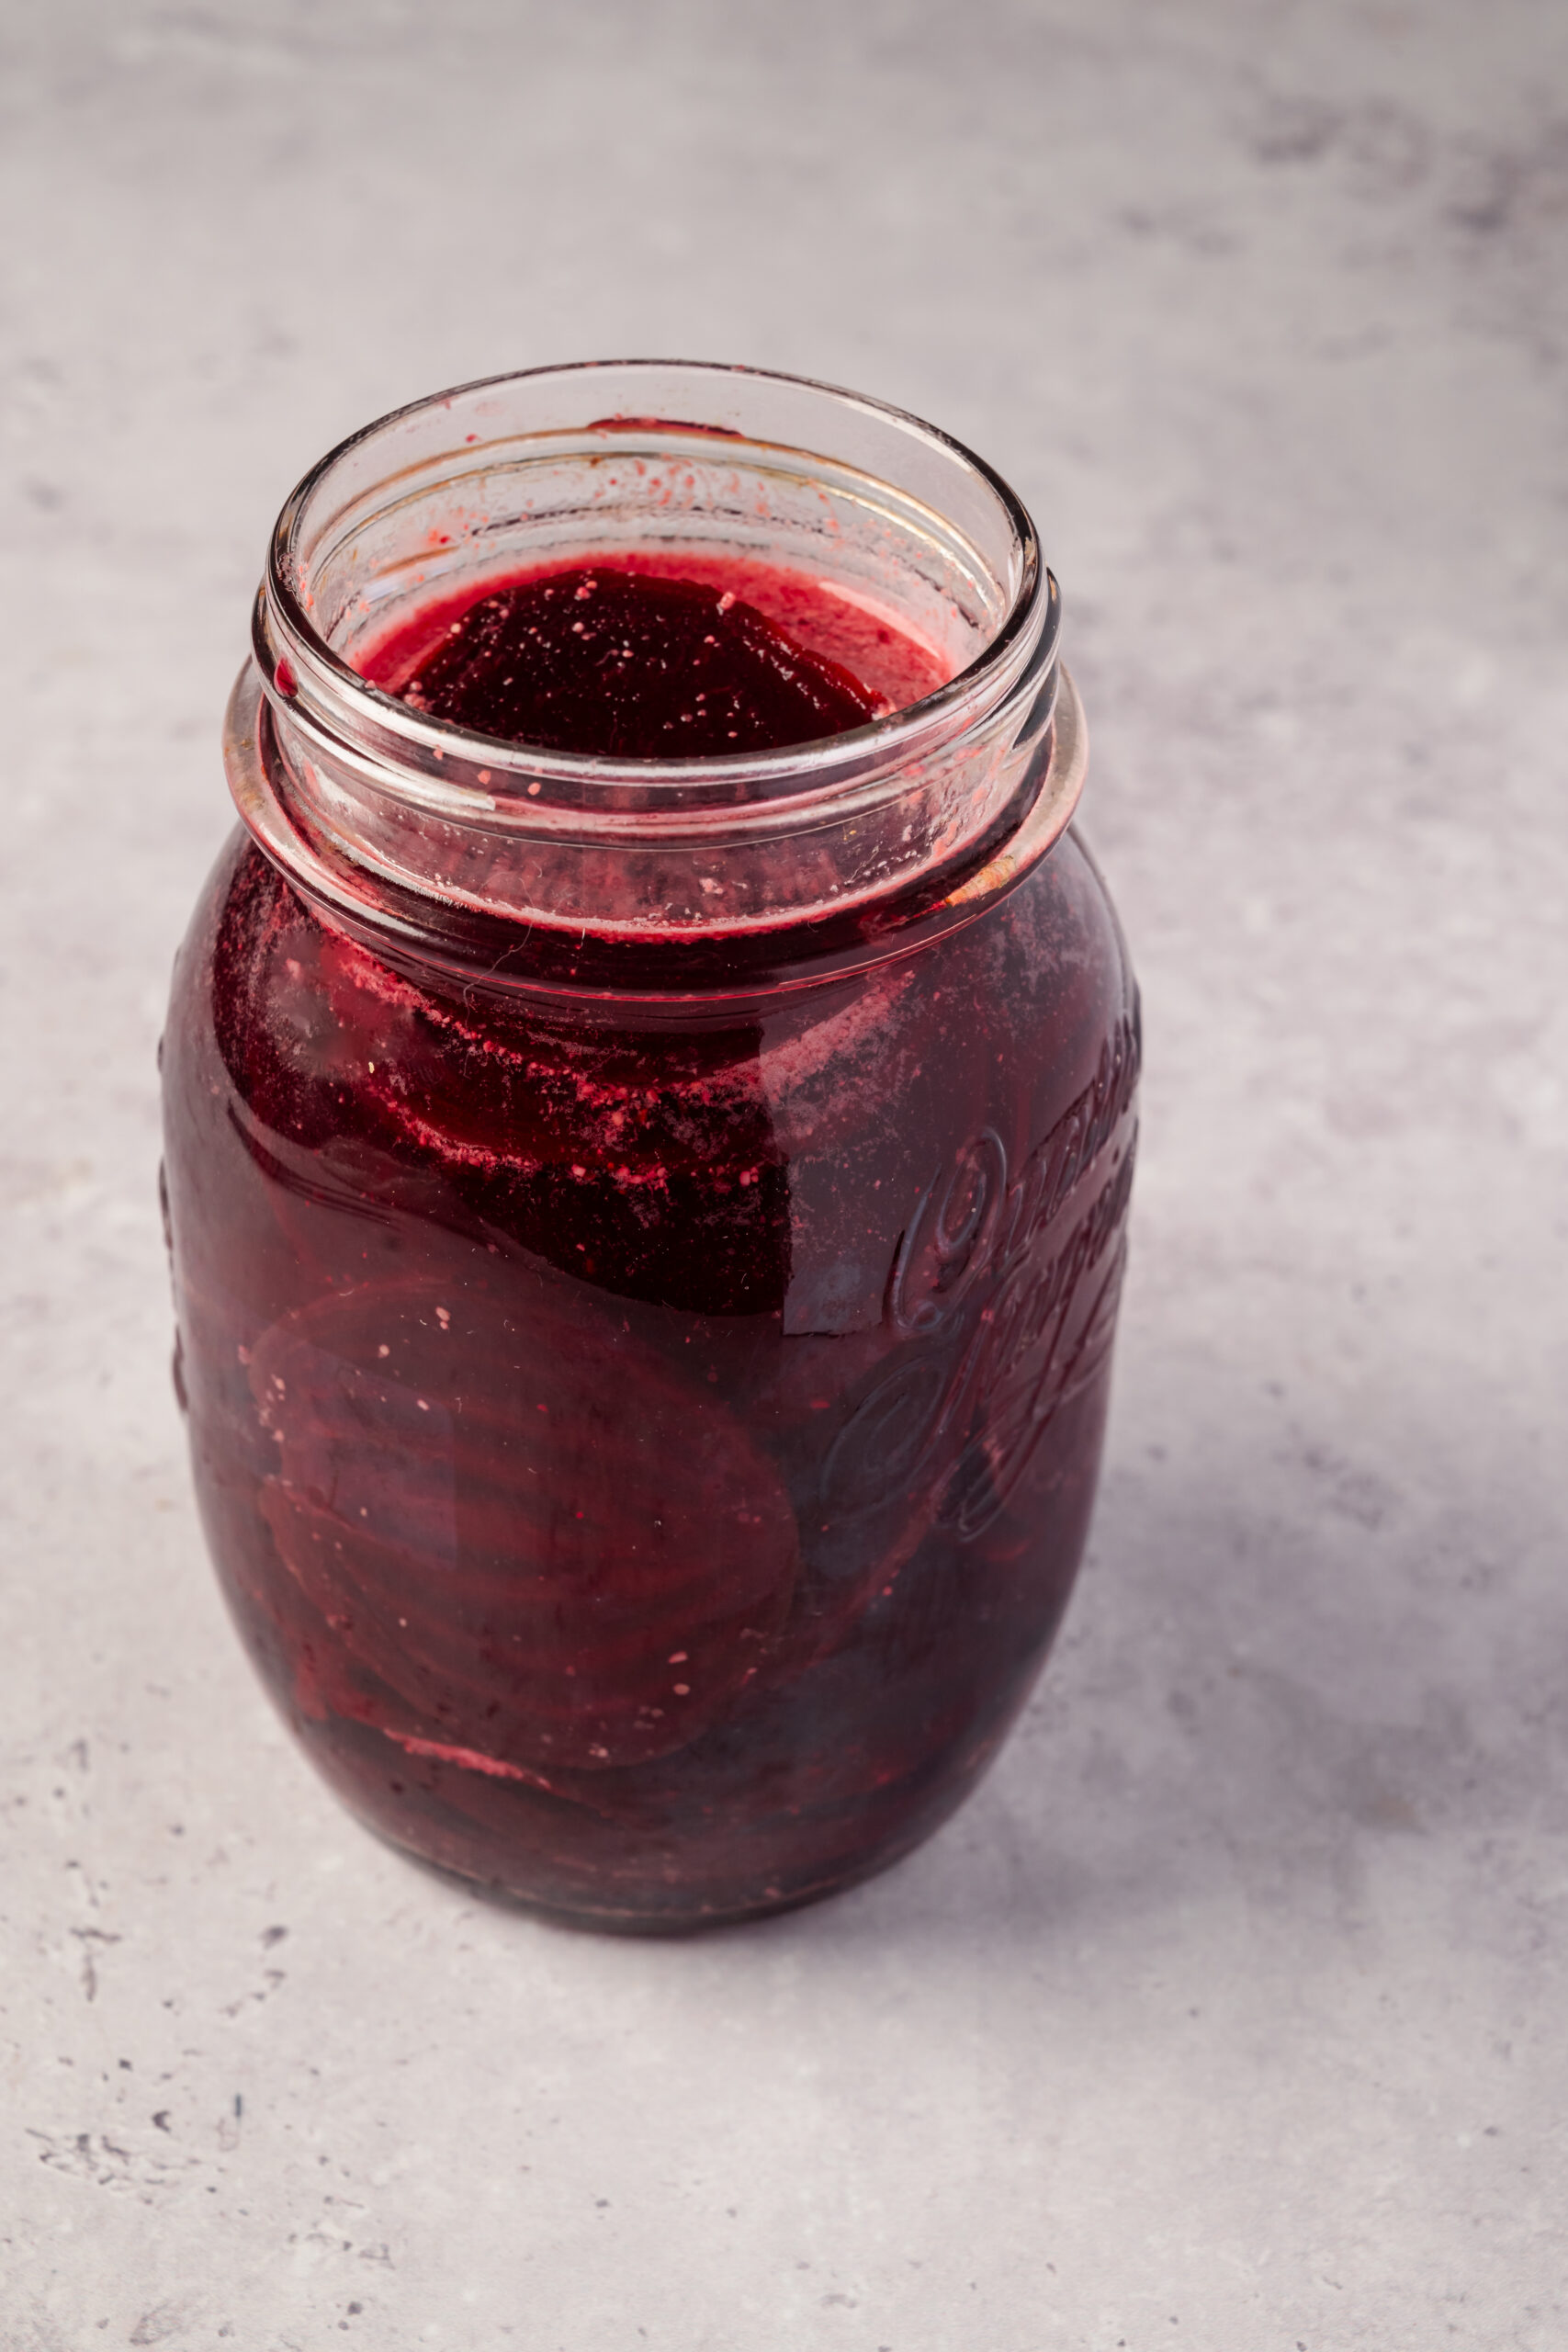
After the 24-hour chill time, pickled beets store very well in their original sealed jar. Store in the refrigerator for up to 2 months; freezing is not recommended. The flavors of the brine will continue to deepen the flavor of the beets as the jar sits in the fridge.
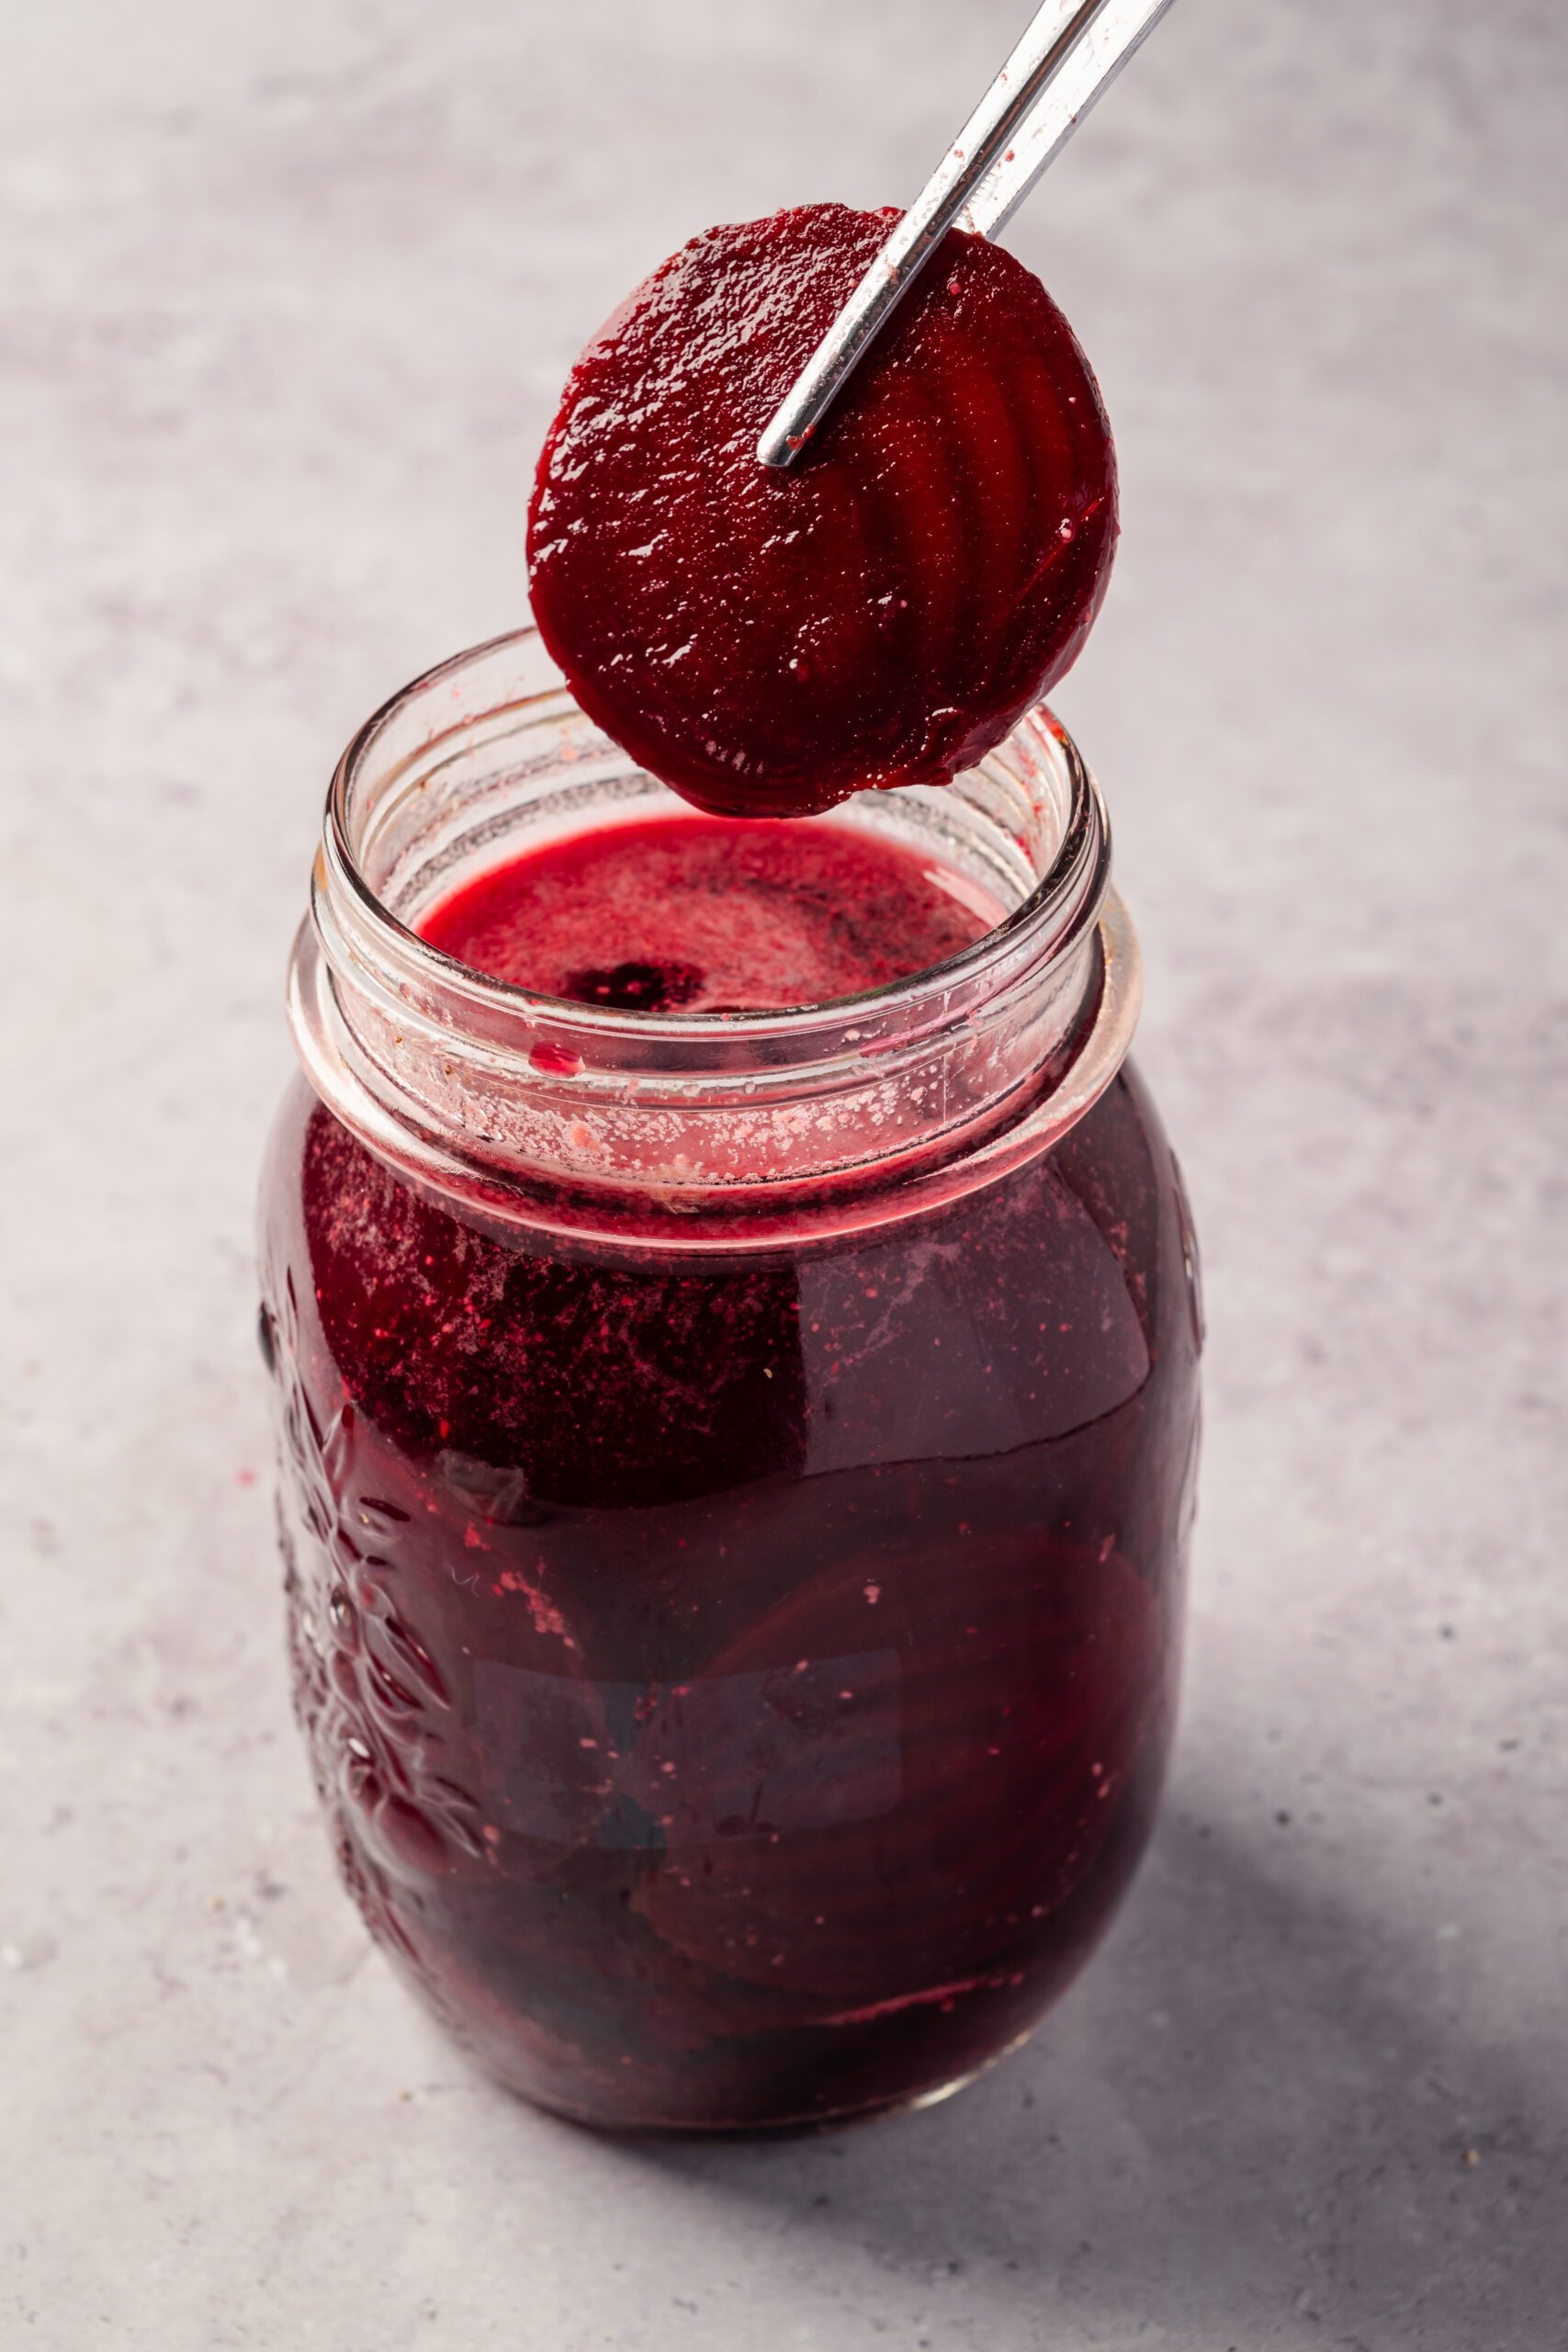
Serving suggestions
Pickled beets can be served right out of the jar, in chilled slices as an easy side to hearty mains like Delicious Roast Pork; round out the meal with Roasted Sweet Potatoes And Carrots for a colorful, flavorful dinner. Alternatively, you can just dice the slices and add them to your favorite green salad for a burst of color and flavor. One of my favorites is Apple-Walnut Salad. Finally, you can add slices to your charcuterie board or favorite sandwich as an easy upgrade. Experiment and figure out how you best like this versatile, tasty side!
Pickled Beets
Ingredients
- 1 cup apple cider vinegar
- 1 cup water
- 5 tablespoons granulated sugar
- 3/4 teaspoon kosher salt
- 1/2 teaspoon dry mustard
- 4 medium beets roasted or boiled, cooled, peeled, and sliced
Instructions
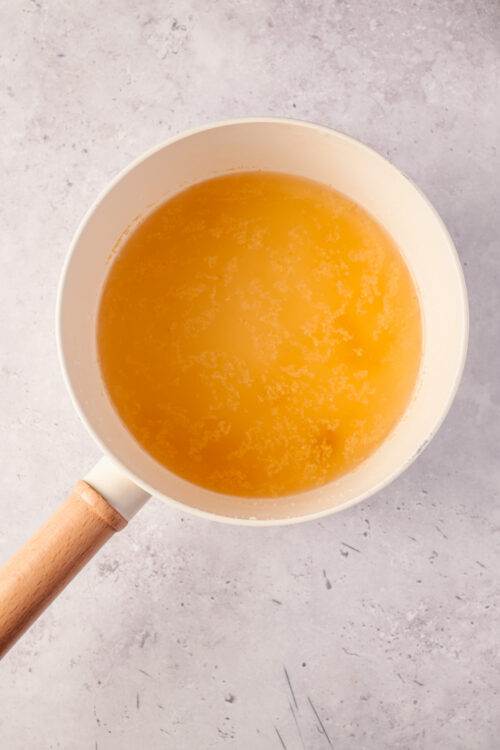
- In a small saucepan, combine the apple cider vinegar, water, sugar, salt, and dry mustard. Bring the mixture to a boil, stirring until the sugar dissolves.
- Pack the beet slices into a clean jar and pour the hot brine over them, ensuring they are fully submerged.
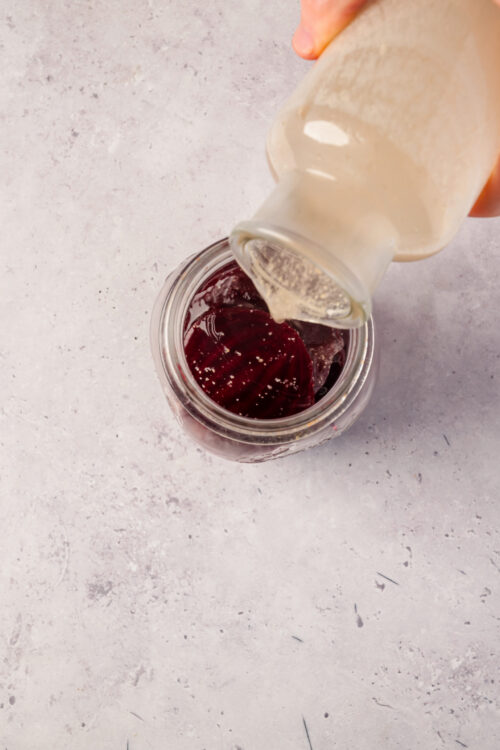
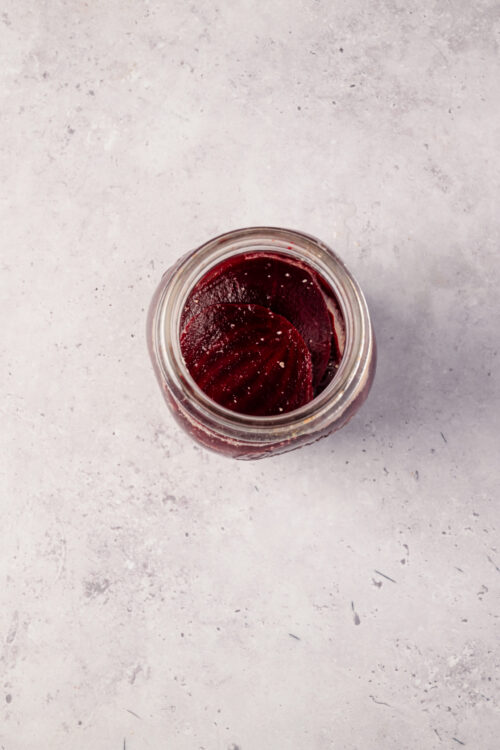
- Let the jar cool to room temperature (about 2 hours), then seal it with a tight lid and place it in the refrigerator. Allow the beets to pickle for at least 24 hours before serving.
Nutrition
The post Pickled Beets appeared first on Baked Bree.
]]>The post Sugar Cream Pie appeared first on Baked Bree.
]]>
Where I live in Kentucky, we call sugar cream pie “Hoosier pie”. That’s because this is a pie with a history in the state of Indiana (a.k.a. “The Hoosier State”). Back in the 1800s, the Shaker and Amish communities there often enjoyed this easy and tasty pie. It’s derived from a custard pie but with one notable difference: no eggs. While custard pie is egg-based, sugar cream pie is cream-based and uses exactly zero eggs. You still get a wonderfully rich dessert and can save your eggs for breakfast!
Sugar cream pie uses very basic pantry ingredients to produce a velvety, creamy pie with a crackled, crispy topping. The cream pie is topped with melted butter and cinnamon sugar, and after a little stint under the broiler, is beautifully caramelized. There is a simple pleasure in taking a bite of the creamy filling topped with the contrasting cinnamon and sugar.
You will love making sugar cream pie when you need a dessert quickly (no time for grocery shopping) or just crave something sweet and cozy. As it bakes, your kitchen will fill with aromas of vanilla and cinnamon, giving your whole house a nostalgic feel. Sugar cream pie may be an old-fashioned recipe, but its appeal is timeless.

Patience, patience, patience!
The third step is the hardest one in this recipe because it requires patience! When you are cooking the cornstarch, sugar, butter, and heavy cream, you need to stir constantly. If you don’t, the mixture will easily scorch. I usually alternate between a whisk and a rubber spatula during this step. The whisk keeps things moving, and you can use the rubber spatula to check the bottom of your pan as the mixture cooks. Patience pays off, however, when you get a smooth, thickened filling for your pie.
How do I store leftovers?
Cover the cooled pie with plastic wrap and store it in the fridge for up to 3-4 days. Sugar cream pie is sturdy enough to freeze if you need to make it ahead or have multiple slices leftover you want to save for a longer period than a few days. Put the slices in a freezer-safe container or resealable freezer bag. Freeze for up to 2 months. Thaw overnight in the refrigerator before serving.

Serving suggestions
Sugar cream pie is a lovely dessert any time of year. You can serve it chilled, at room temperature, or slightly warm. Especially in the cooler months, it pairs well with other pies like Pumpkin Pie or Pecan Pie. Enjoy this pie plain or top it with a scoop of cinnamon ice cream, a few sliced fresh strawberries, or even a dollop of Sweetened Whipped Cream for a little glow-up!

Sugar Cream Pie
Ingredients
- 1 9-inch pie crust
- 1/4 cup cornstarch
- 3/4 cup granulated sugar
- 6 tablespoons butter melted, divided
- 2 1/4 cups heavy cream
- 1 tablespoon vanilla extract
- 1/3 cup cinnamon sugar
Instructions
- If your pie crust is not pre-baked, roll out your dough and press it into a 9-inch pie pan. Blind bake the crust at 325°F for 10-12 minutes until it is lightly golden, then set aside to cool.

- In a medium saucepan, whisk together the cornstarch and sugar. Add 4 tablespoons of melted butter and the heavy cream.

- Cook over medium heat, stirring constantly, until the mixture thickens into a creamy consistency, about 10-15 minutes. Stir in the vanilla extract.

- Pour the warm filling into the prepared pie crust. Drizzle the remaining 2 tablespoons of melted butter over the top and sprinkle with cinnamon sugar.

- Bake at 325°F for about 25 minutes to help set the filling. Then, broil for about 30-90 seconds until the sugar crystallizes and browns.

- Let the pie cool to room temperature, then refrigerate for at least one hour before serving.
Nutrition
The post Sugar Cream Pie appeared first on Baked Bree.
]]>The post Peperonata appeared first on Baked Bree.
]]>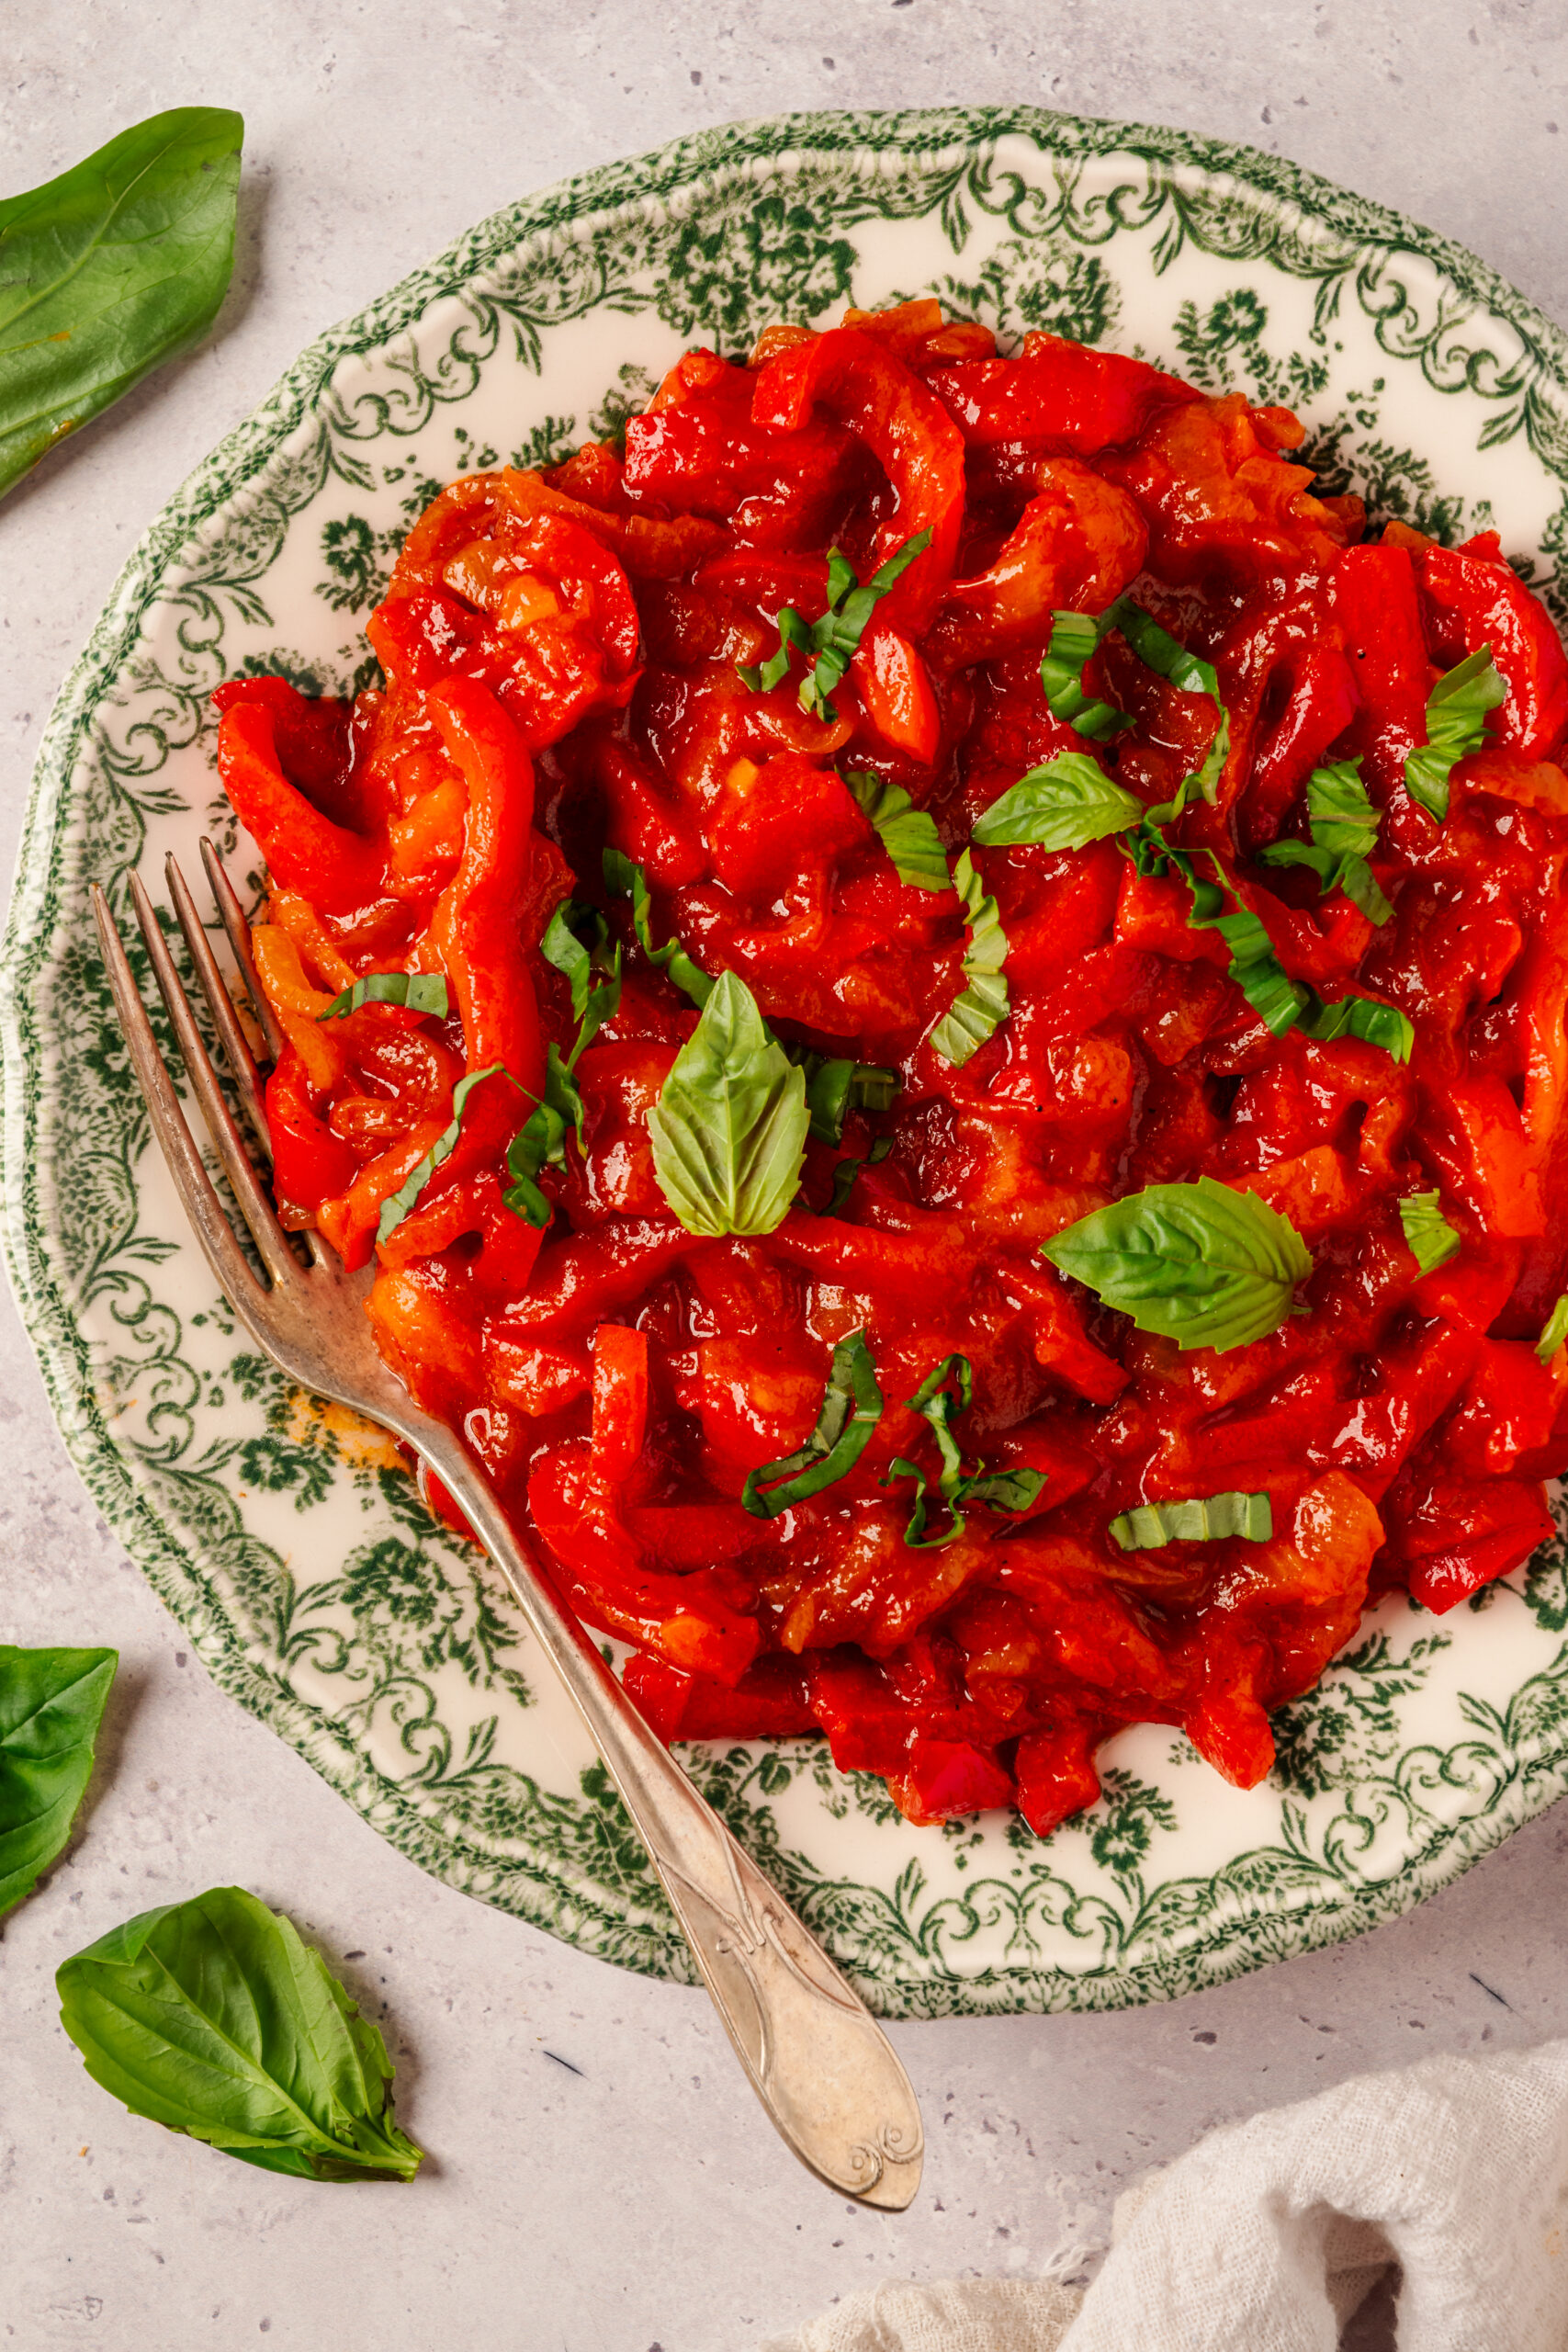
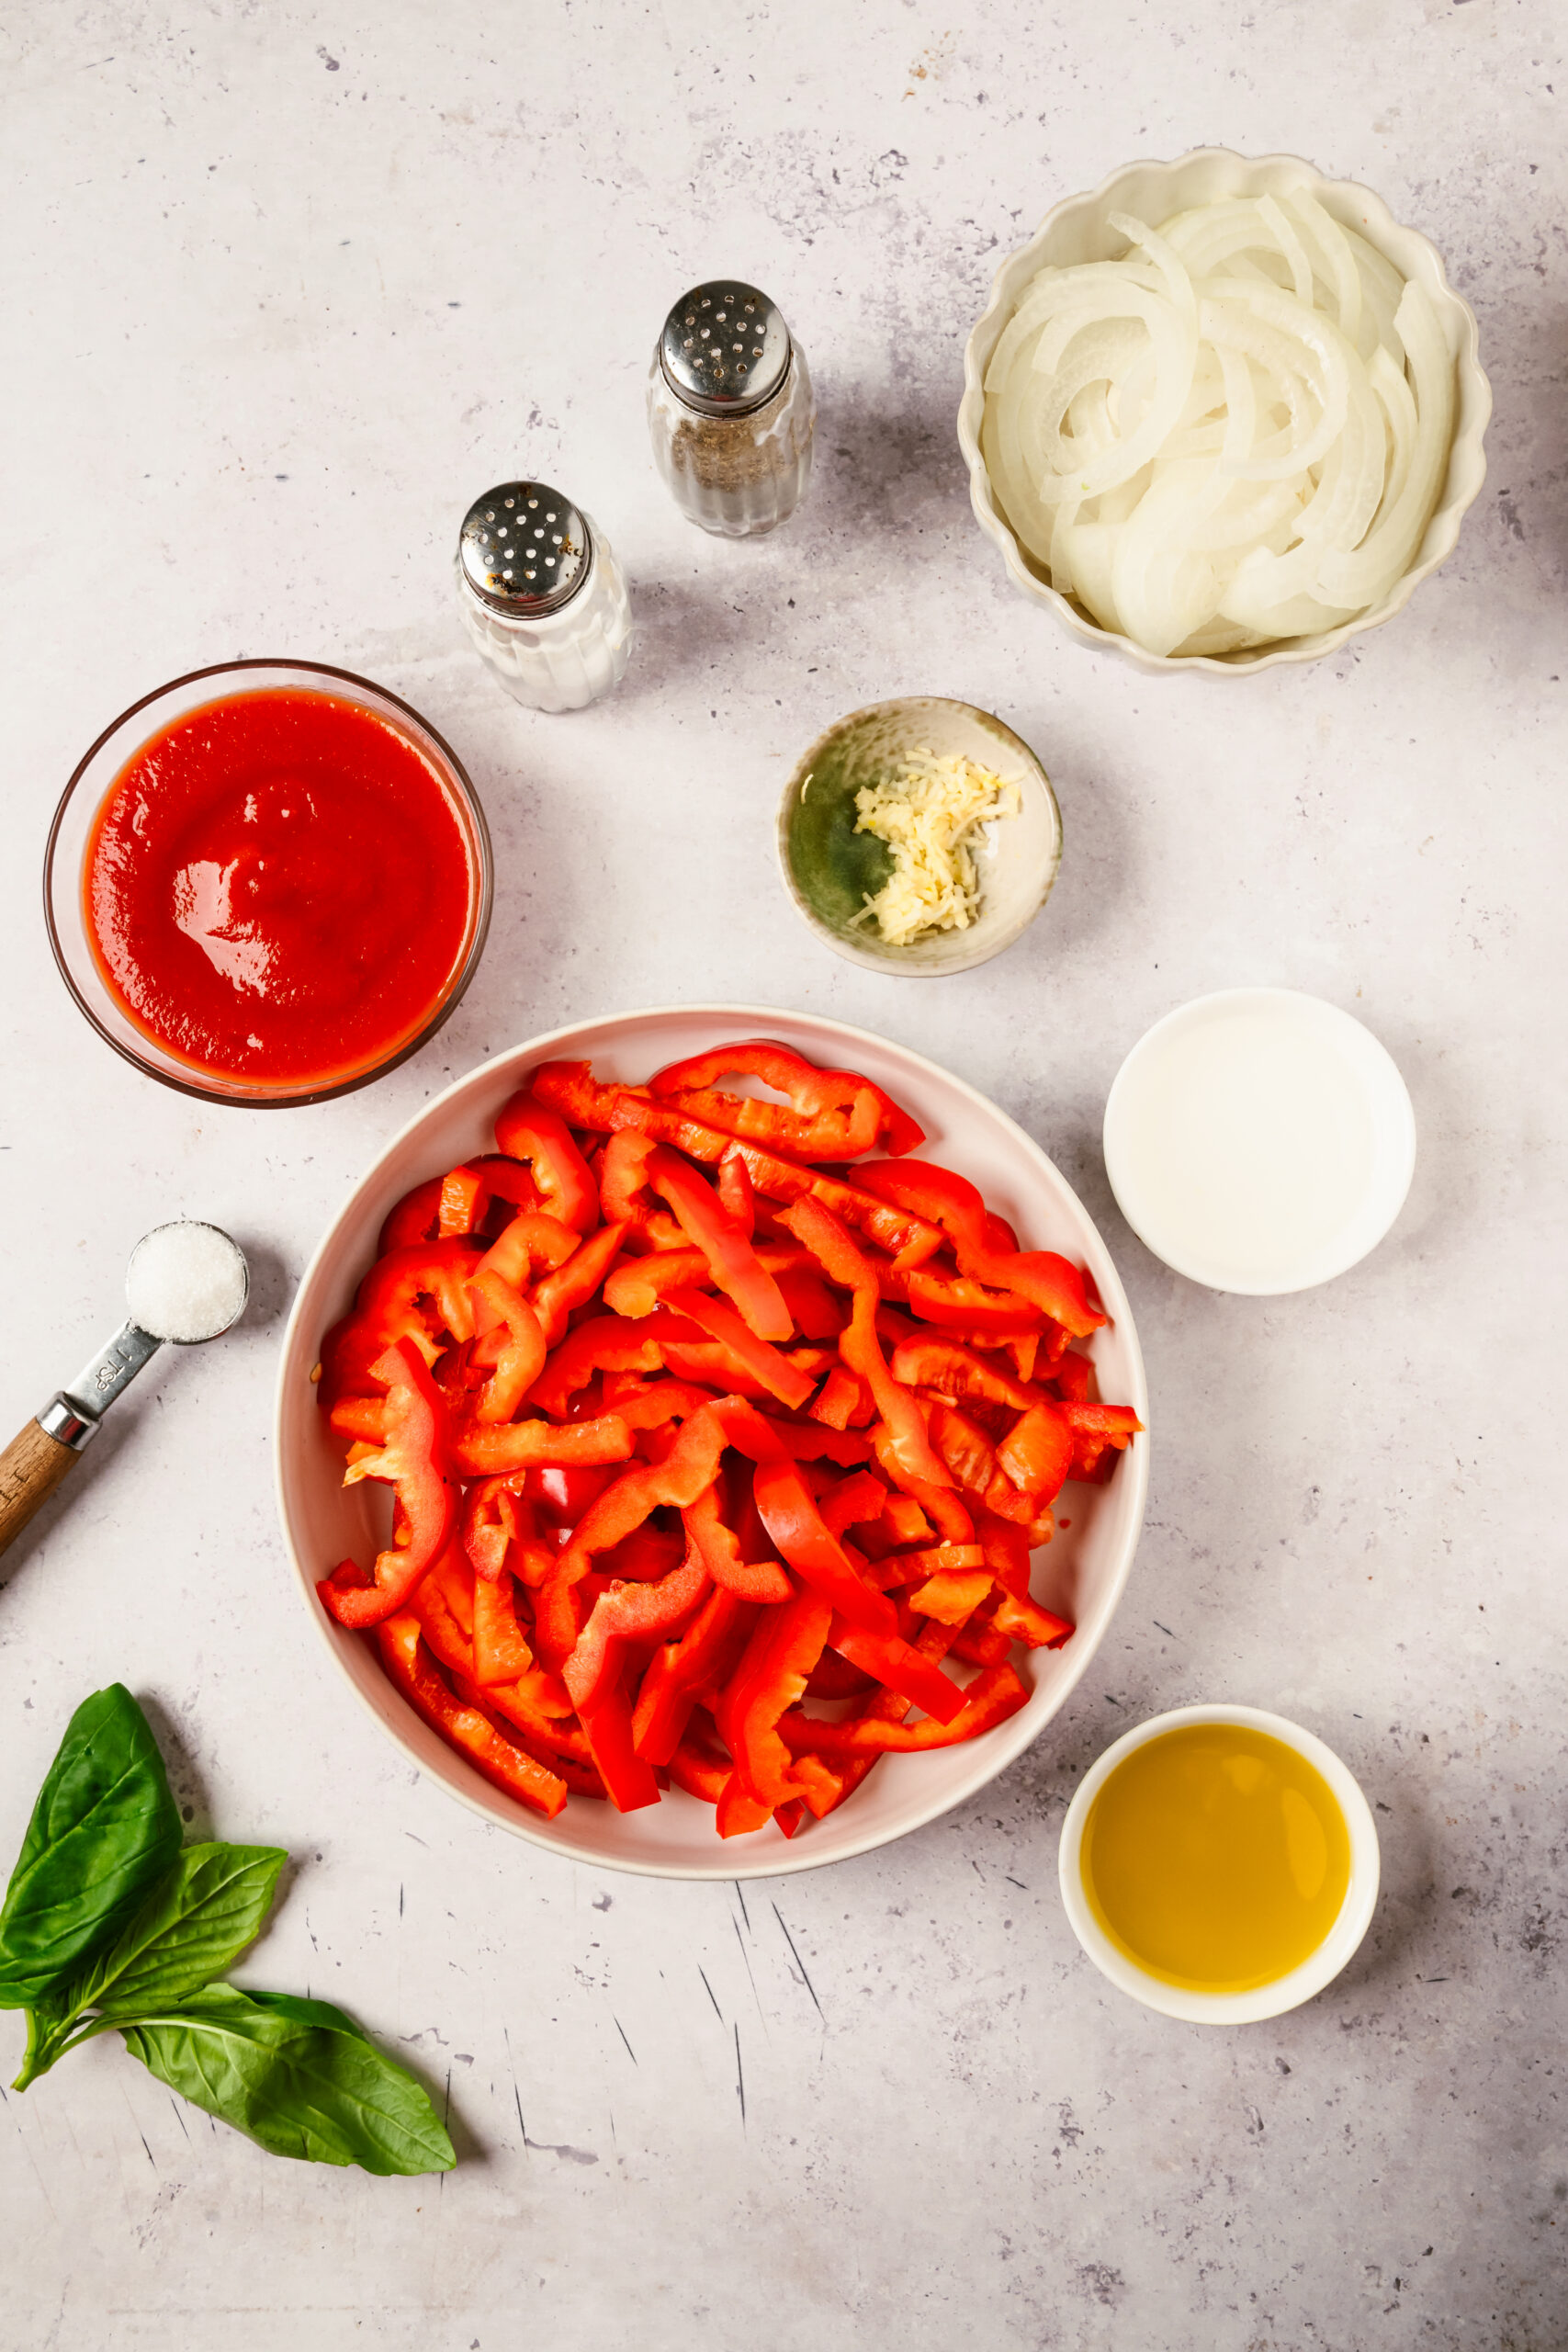
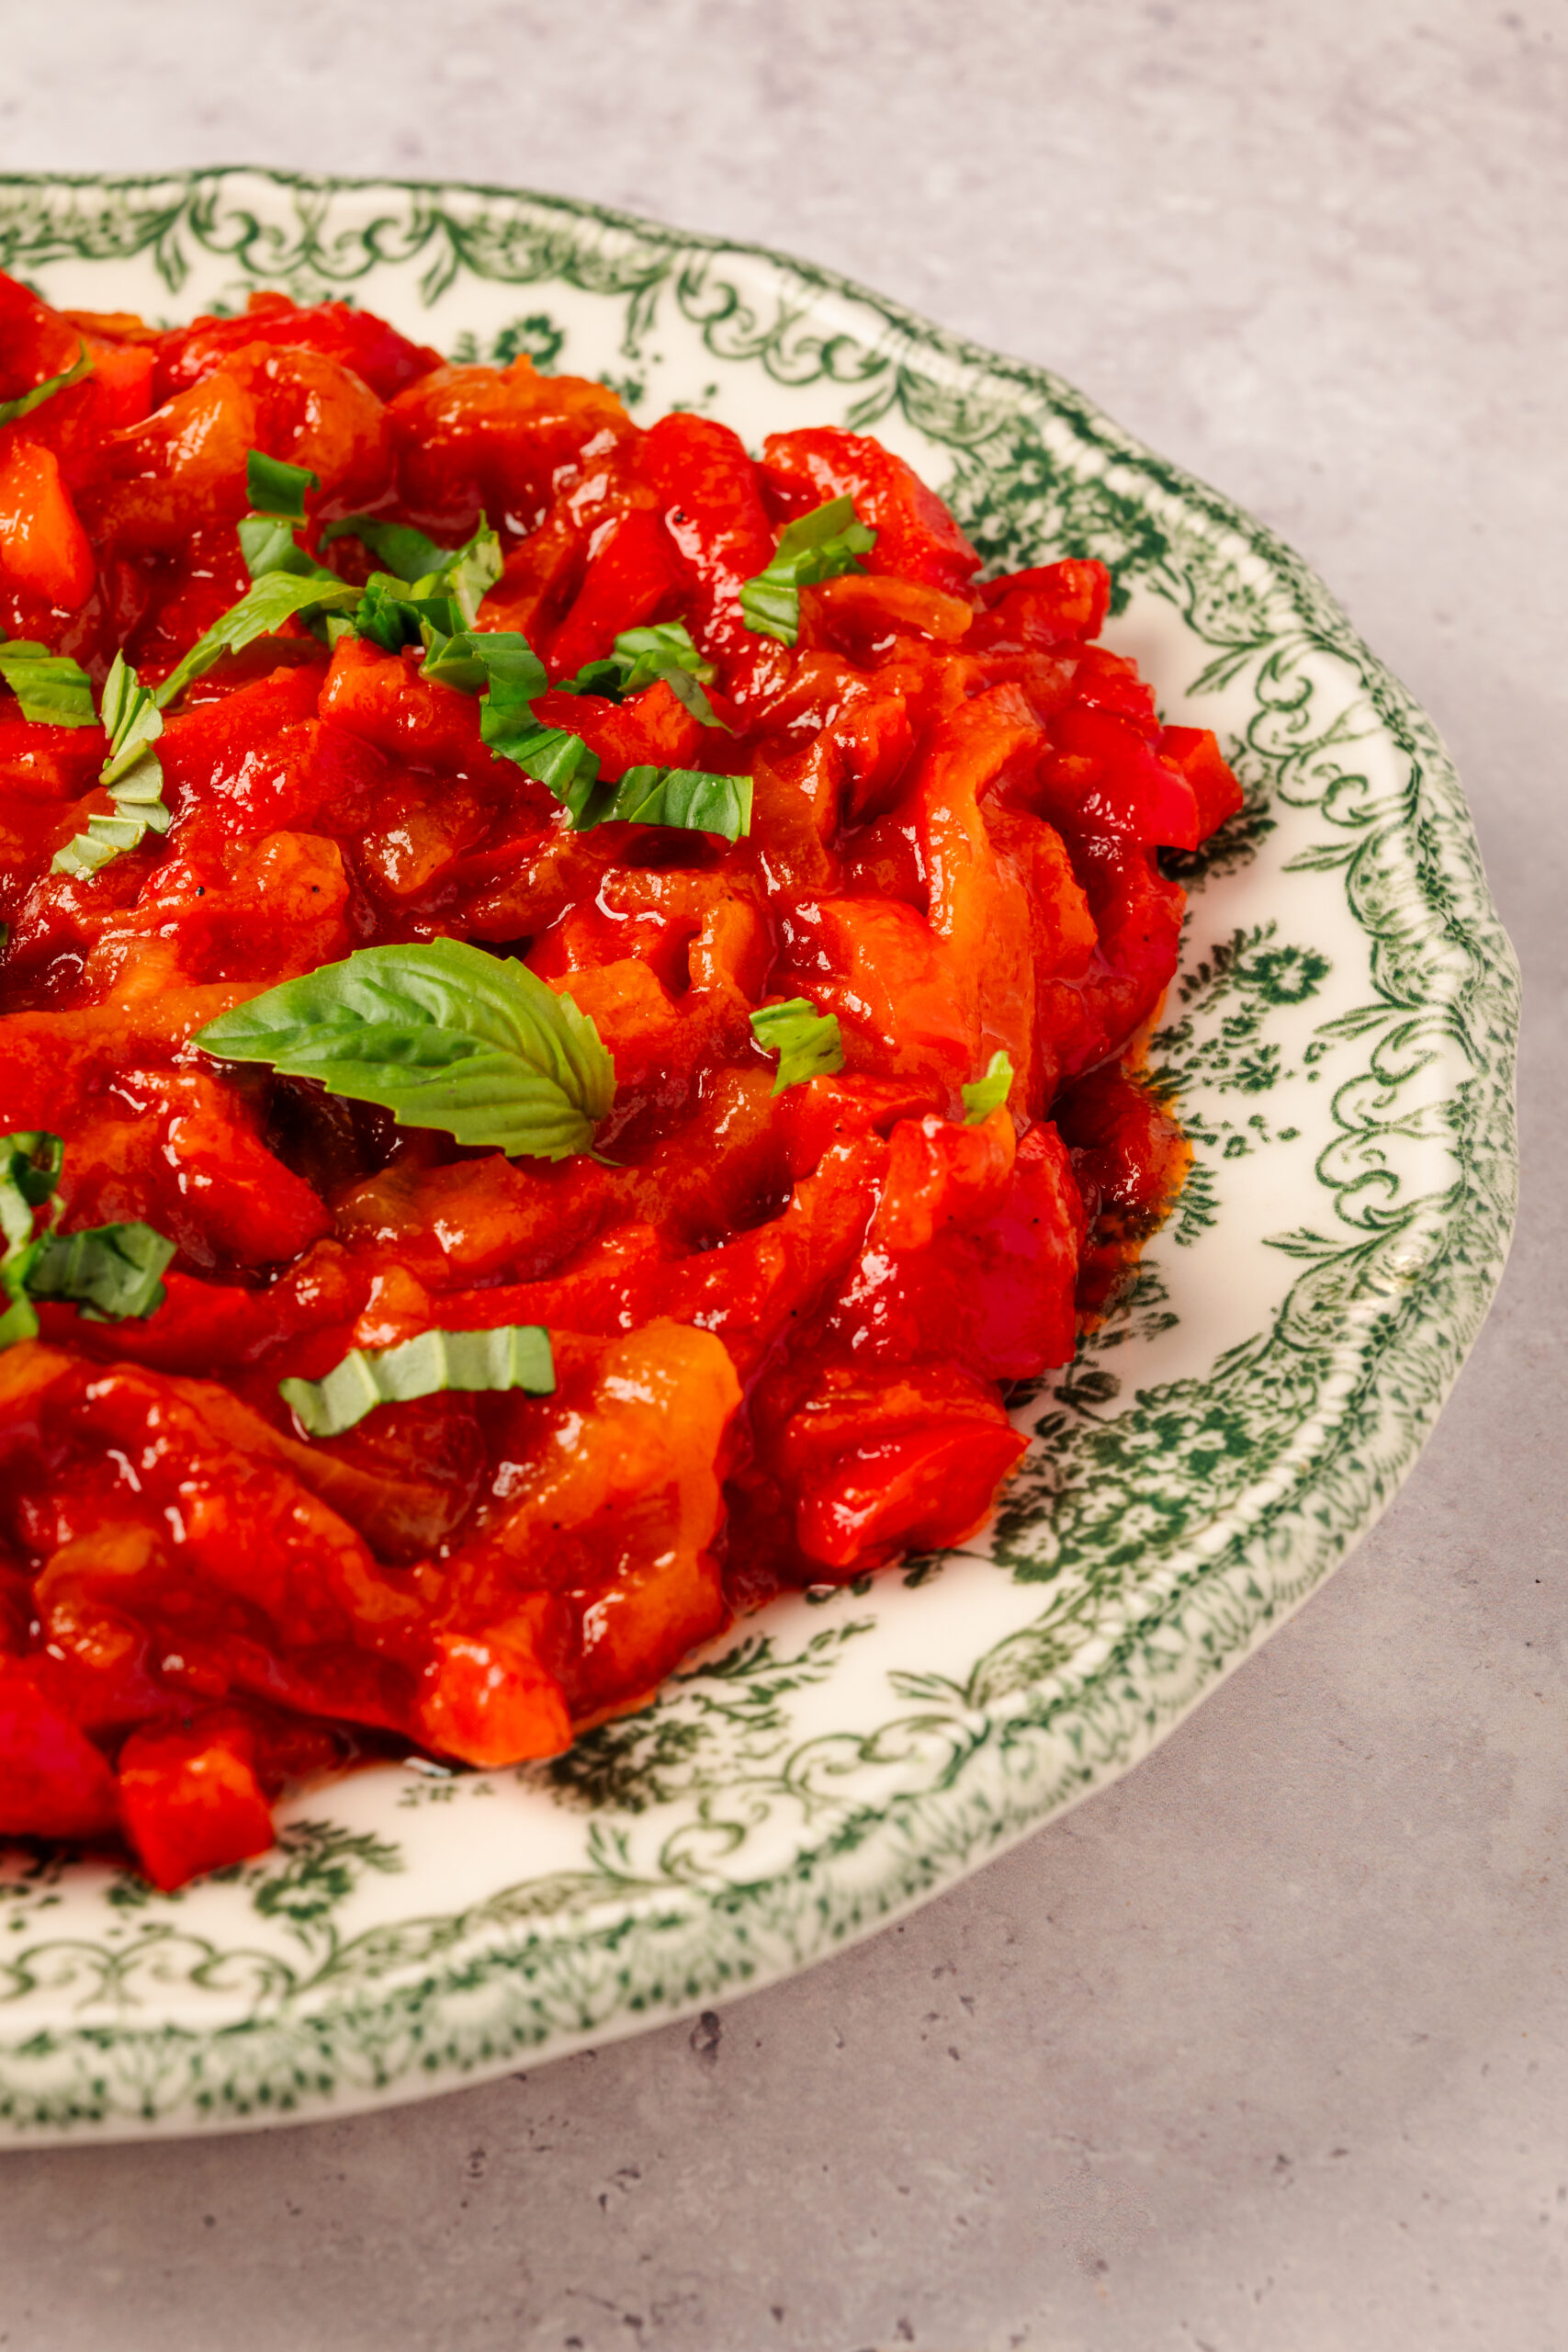
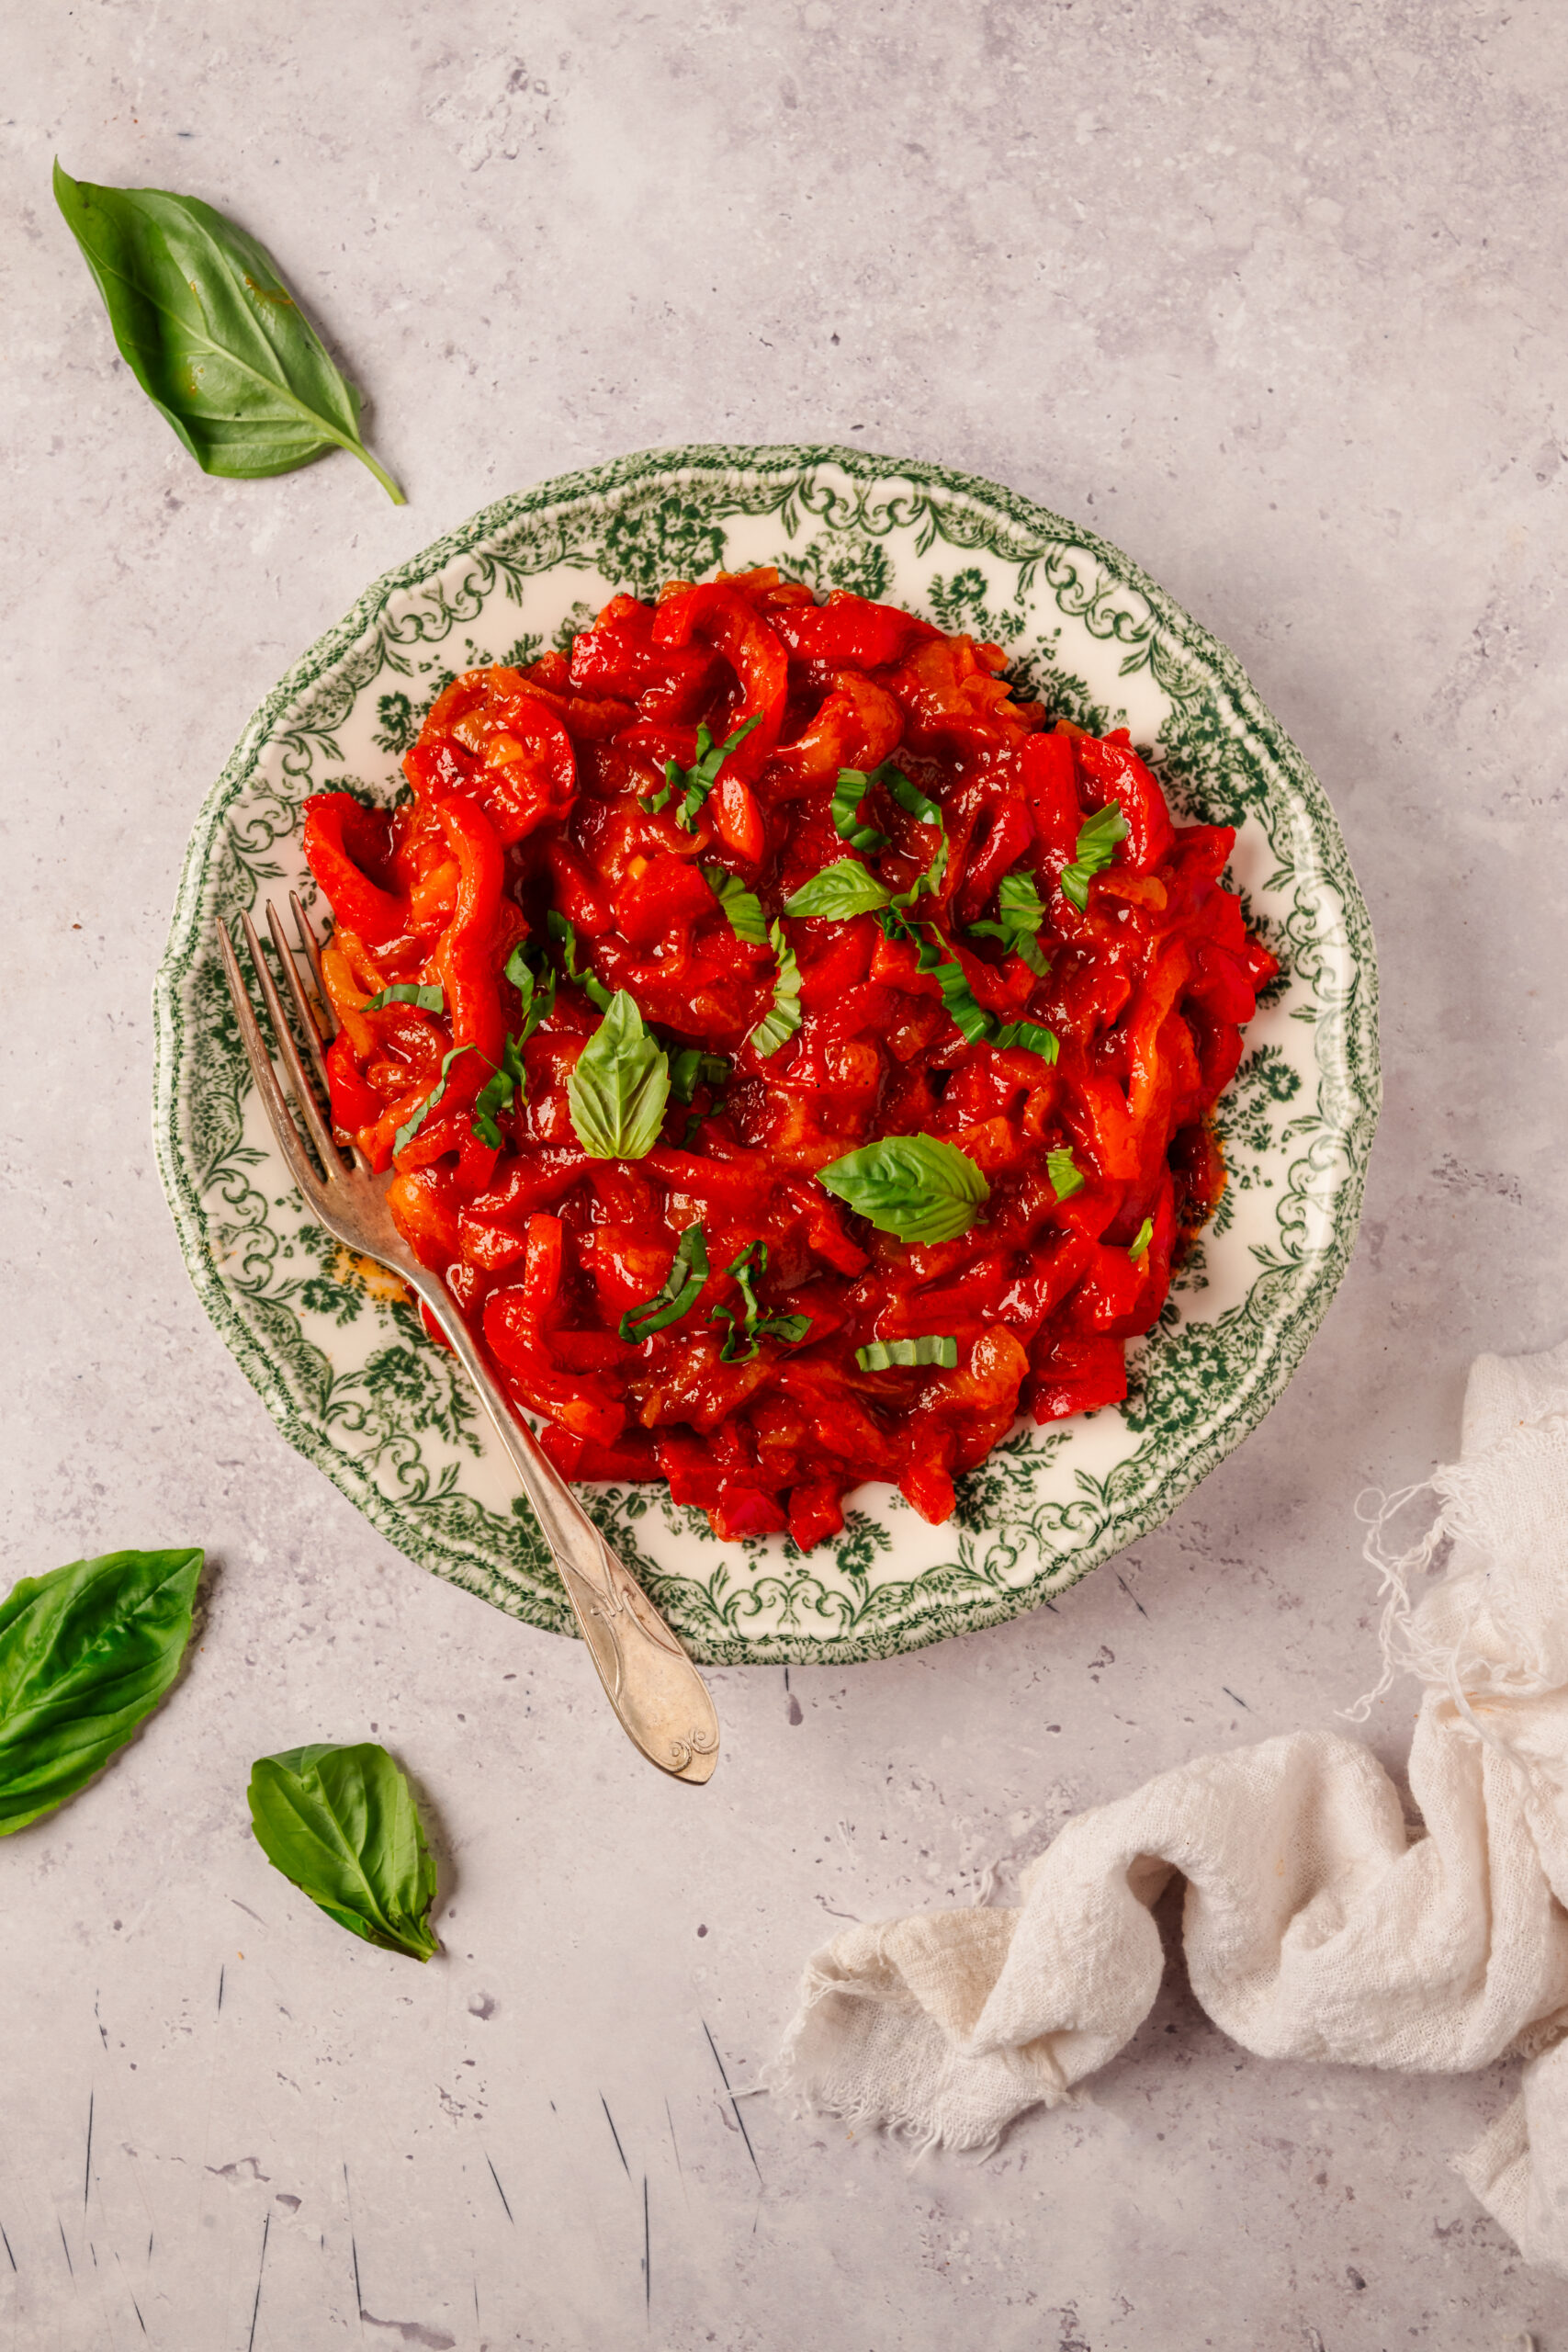
Peperonata is, in a word, stunning. This rustic vegetable stew from southern Italy owes its gorgeous color to its two main ingredients—red bell peppers and tomato passata—and its intense flavor to the slow simmering of those two red beauties. But we can’t forget about the other players that make big contributions to peperonata’s deliciousness: onions, garlic, white wine vinegar, a bit of sugar, salt, and pepper. Peperonata is a feast for the eyes and for the taste buds.
After the discovery of the Americas, bell peppers were introduced to Europe. Sweet bell peppers eventually became very popular, especially in the warm Mediterranean climates where they grew very well. At first, though, Europeans thought the peppers were poisonous and, believe it or not, Italians also thought their beloved tomato was poisonous when they first encountered it. But now, as we all well know, both tomatoes and peppers are integral components of Italian cuisine, and when you cook them together in peperonata, you’ll experience the magic of a true Italian classic.
You will love how easy it is to make peperonata. It’s a one-pot wonder, and while the total simmering time is around 50 minutes, this dish tastes as though it’s been cooking all day. Peperonata has a surprisingly complex depth of flavor, given there are so few ingredients, and you will be delighted by its rich savoriness.
What is passata?
You’ll see the word passata in our ingredient list. Passata, sometimes called passata di pomodoro (strained tomatoes), is an uncooked, Italian purée made from fresh, ripe tomatoes: the raw tomatoes are put through a food mill or sieve to remove the skins and seeds, and what you are left with is a vibrant tomato purée with fresh flavor and a velvety consistency. Unlike passata, American tomato purée is cooked; it has a thicker texture and a deeper flavor.
How do I store leftovers?
Cooled peperonata can be stored in an airtight container in the refrigerator for 3 to 5 days or in the freezer for up to 2 months (the texture may alter during freezing, but the peperonata will still be flavorful and a fine addition to cooked items, such as sauces, soups, or stews).
Serving suggestions
While it makes a perfect vegetarian or vegan main dish (we love it over pasta, Avocado Rice, or Quinoa), peperonata is also truly delicious served with a Pan-Seared Steak and some Delmonico Potatoes or on top of Parmesan-Crusted Salmon with a side of Pea And Lemon Risotto. You can also make some amazing appetizers with peperonata, like this riff on a bruschetta: toast or grill some thick slices of Ciabatta Bread, spread them with Whipped Ricotta, and then cover that with peperonata. And don’t forget the peperonata when you’re looking to add a flavor bomb to your favorite sandwiches: it is super yummy in a Philly Cheesesteak, on Chicken-Bacon-Cheddar Sandwiches, or piled on top of a Veggie Burger.
Peperonata
Ingredients
- 4 tablespoons olive oil
- 1 large onion thinly sliced
- 3 garlic cloves minced
- 16 ounces red bell peppers sliced into 1/4 inch strips
- 1 cup tomato passata
- 1/4 teaspoon salt plus more to taste
- 1 pinch ground black pepper
- 1 1/4 teaspoons white wine vinegar
- 3/4 teaspoon sugar
- Thinly sliced basil leaves for serving (optional)
Instructions
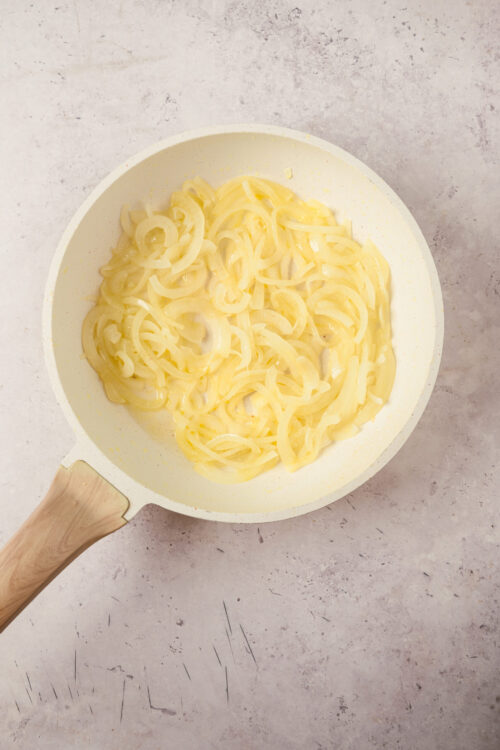
- Heat olive oil in a large pan over medium-low heat. Add the sliced onion and cook for about 5 minutes until soft. Stir in the minced garlic and cook for another 2 minutes.
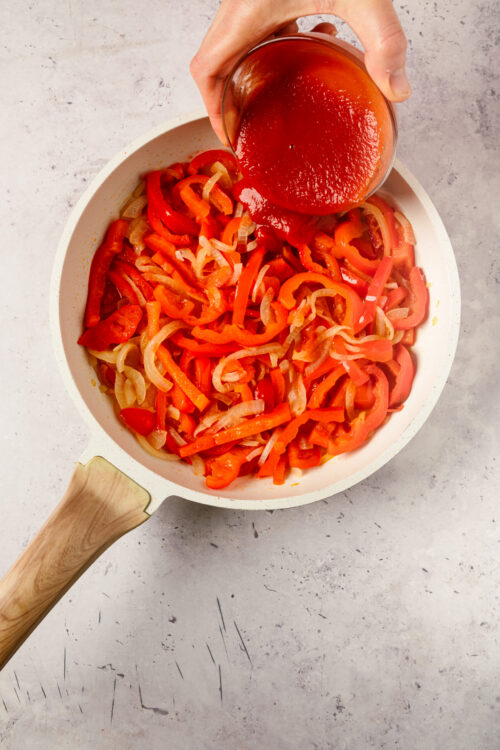
- Add the bell peppers and cook for 10 minutes. Pour in the tomato passata, add the salt and the ground black pepper, then cover and let simmer gently for 30 to 40 minutes, stirring occasionally.
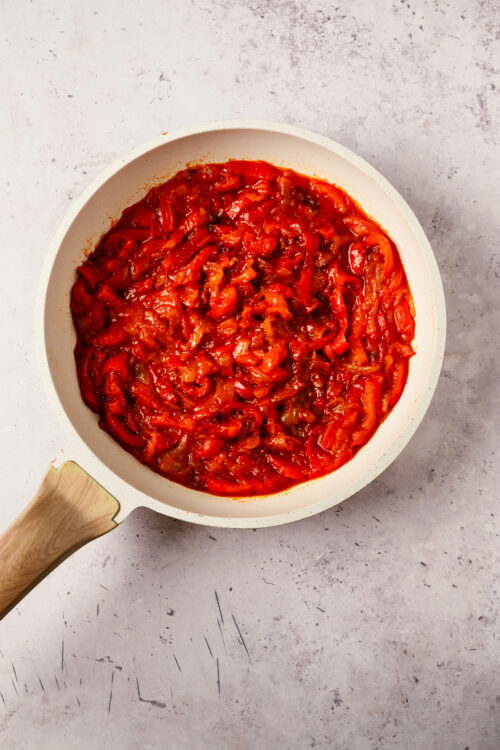
- Remove the lid, stir in the white wine vinegar and sugar, and continue to simmer uncovered for another 10 minutes.
- Taste and adjust the seasonings as needed. Garnish with basil if desired. Serve warm or at room temperature.
Nutrition
The post Peperonata appeared first on Baked Bree.
]]>