Scarves – $20 each or 2/$35 – 60″ long unless noted
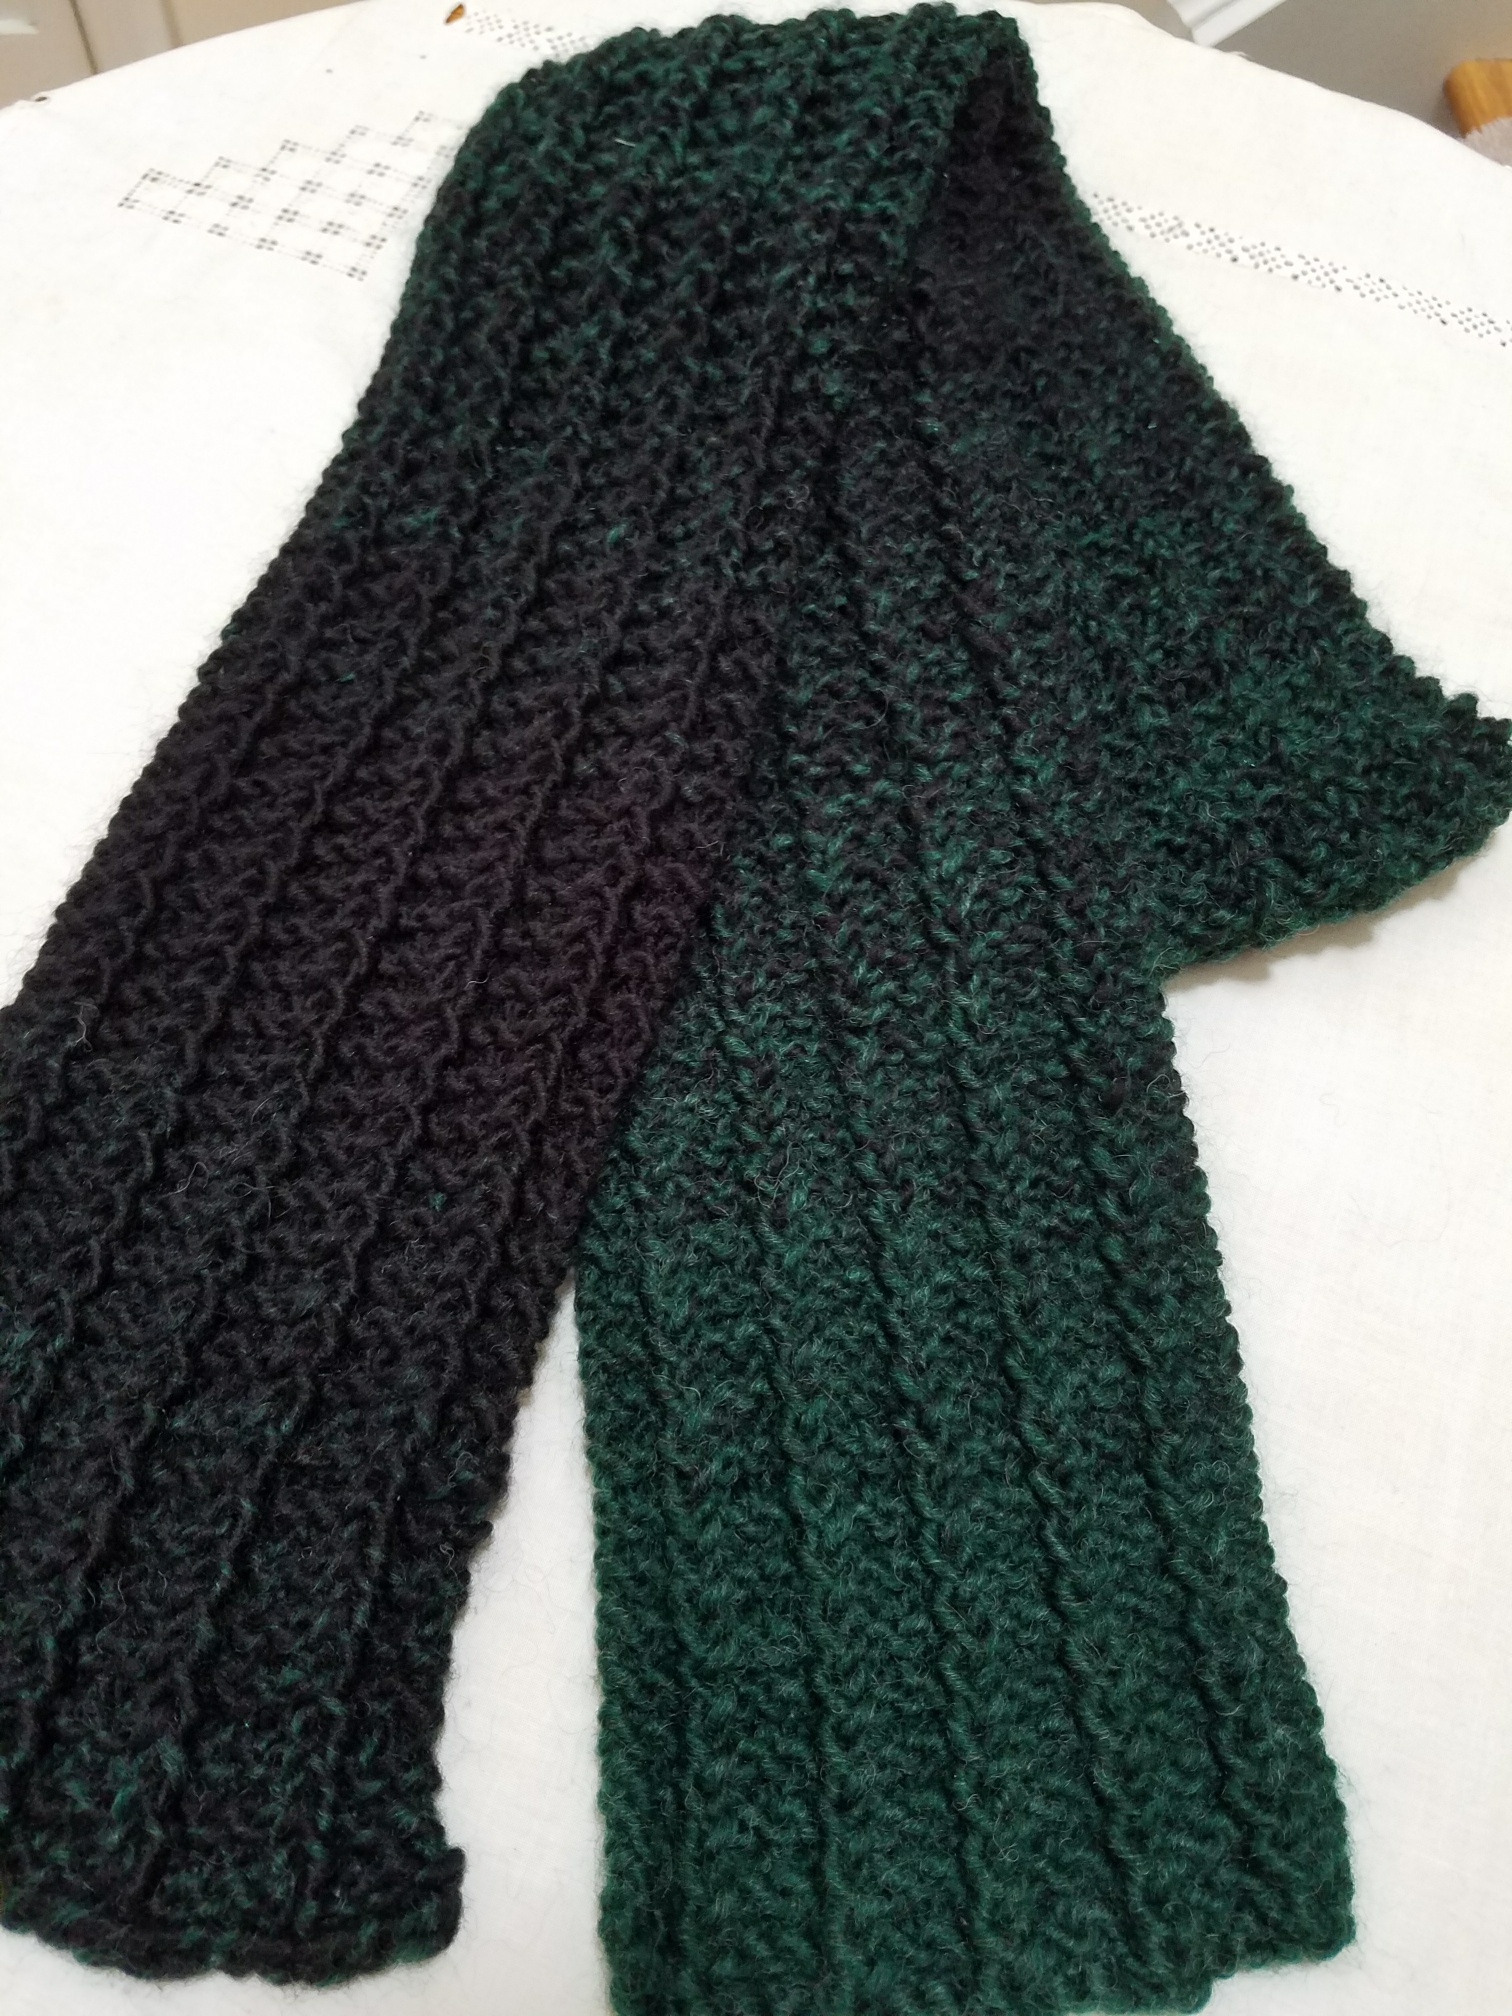
Stripe effect knit

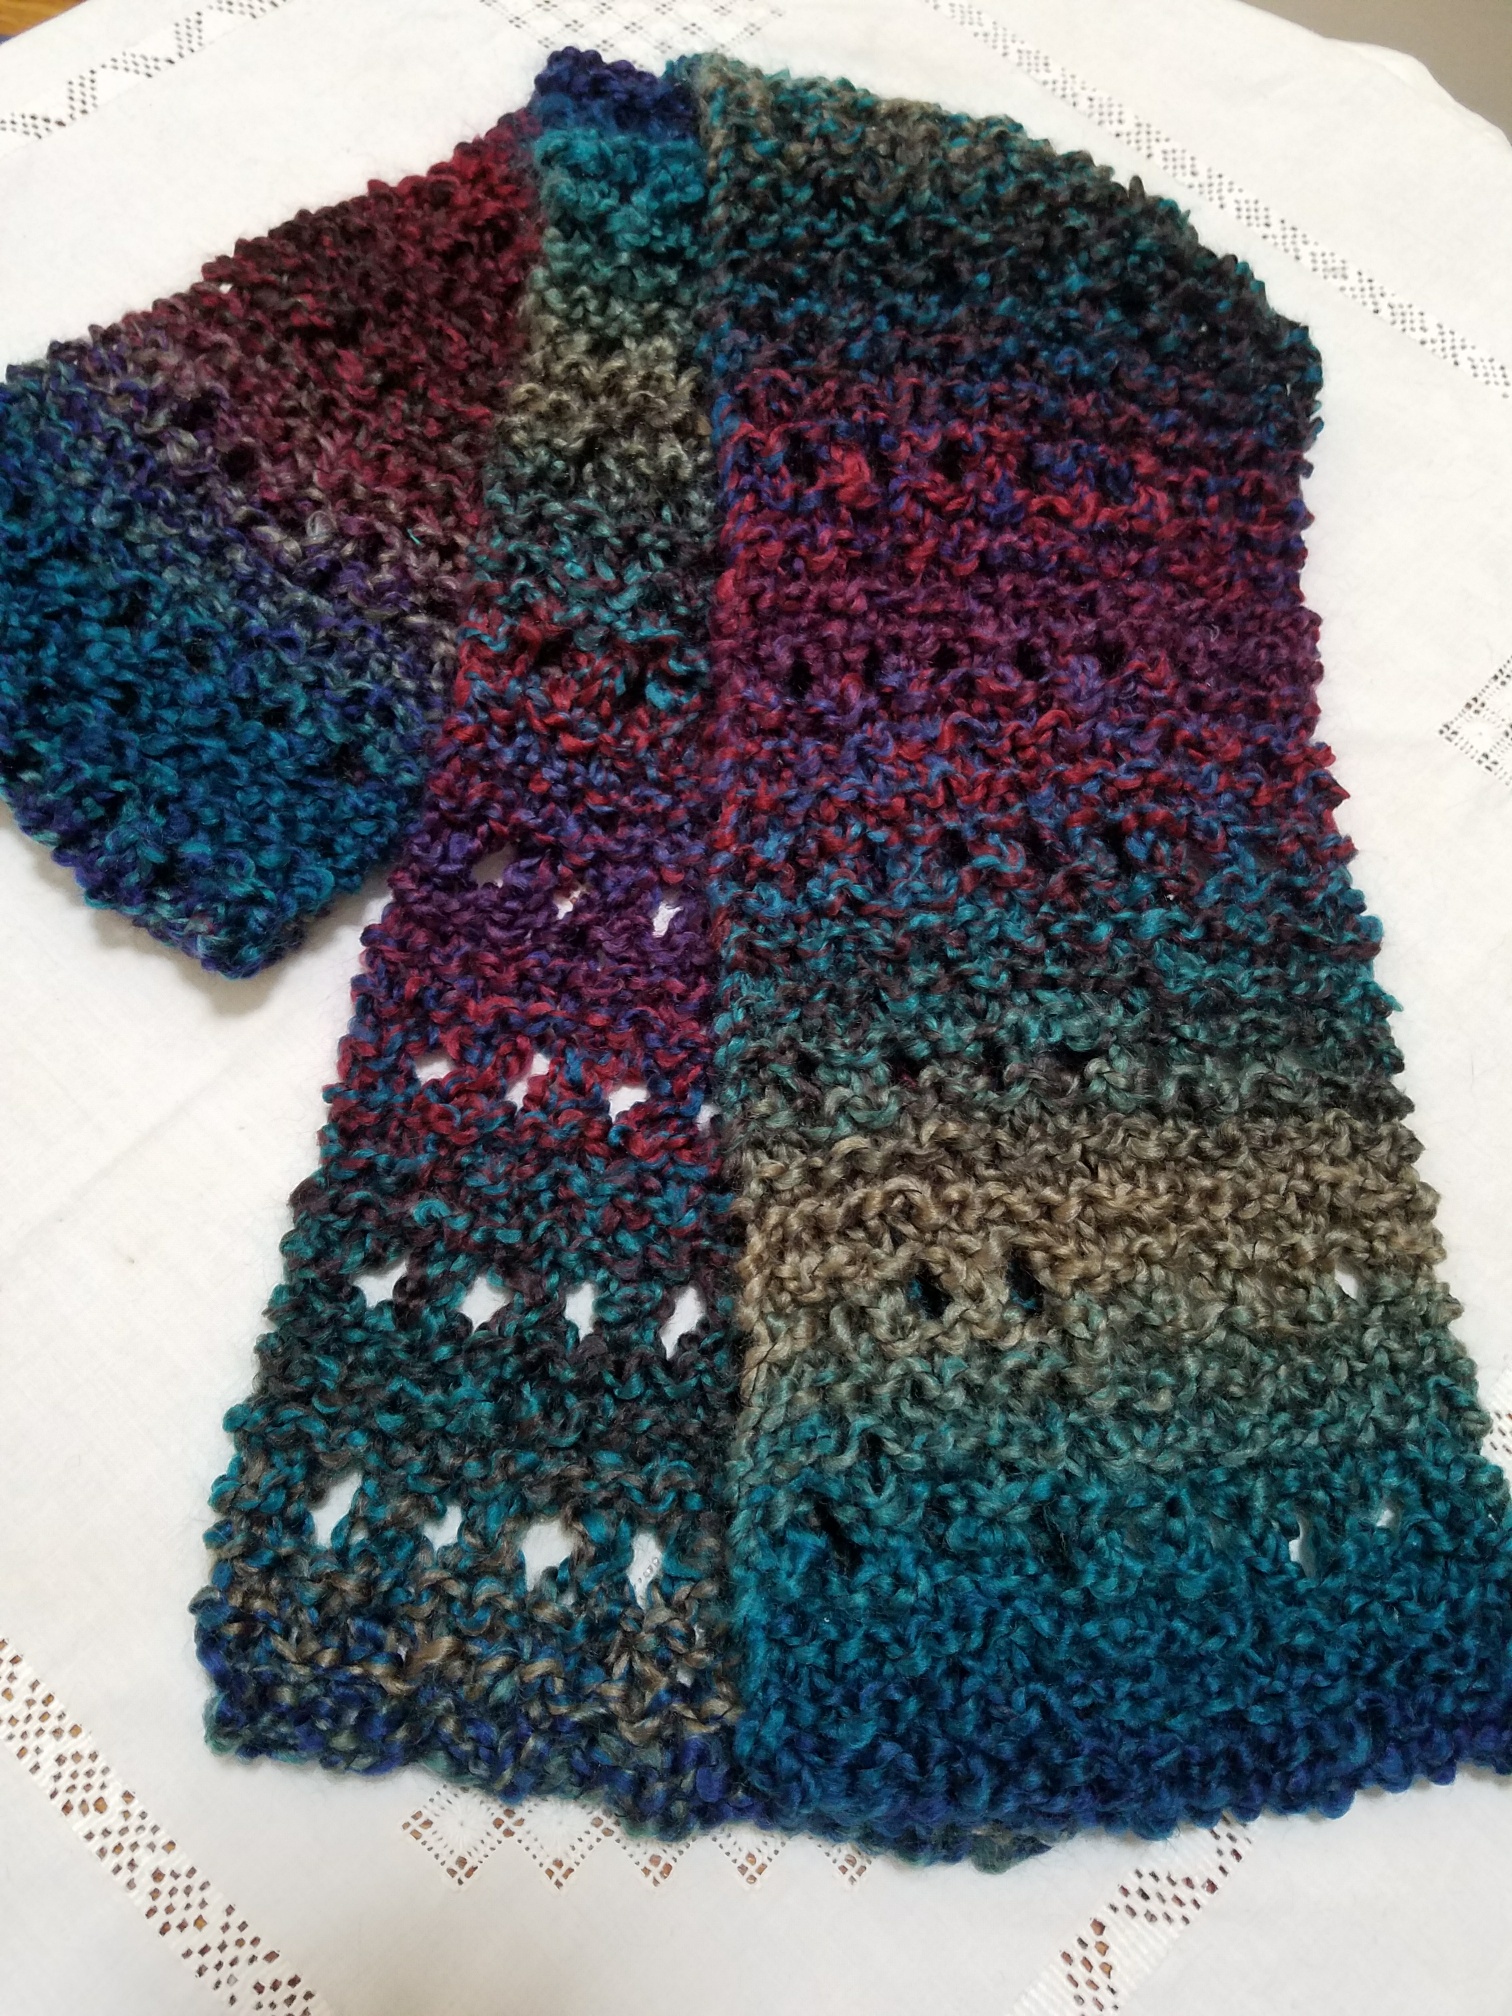
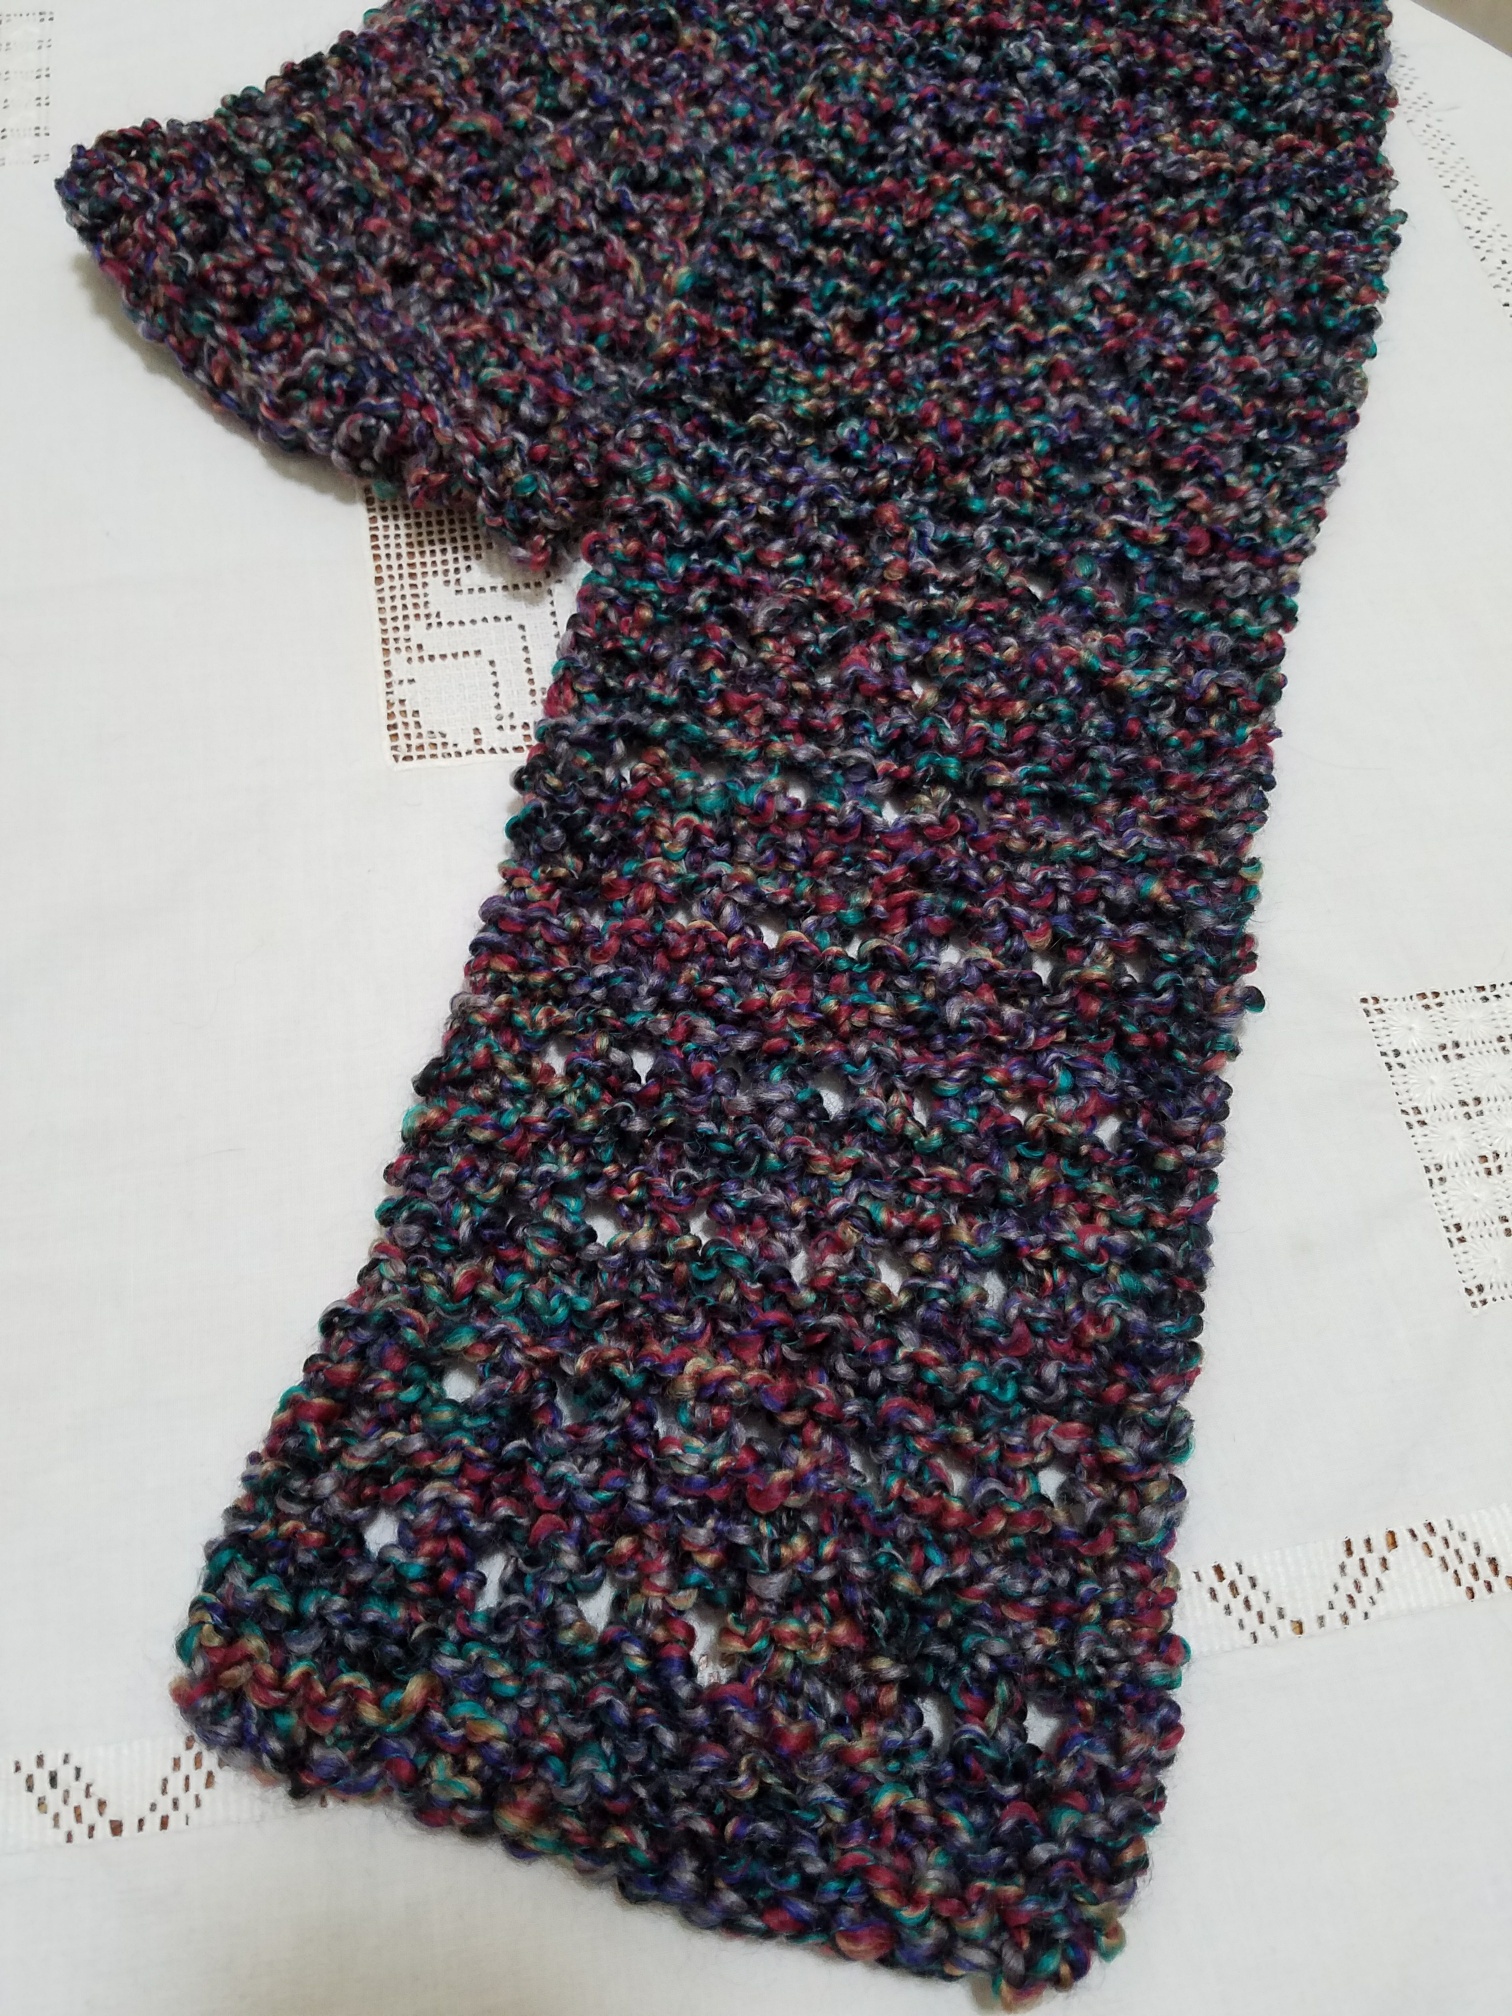
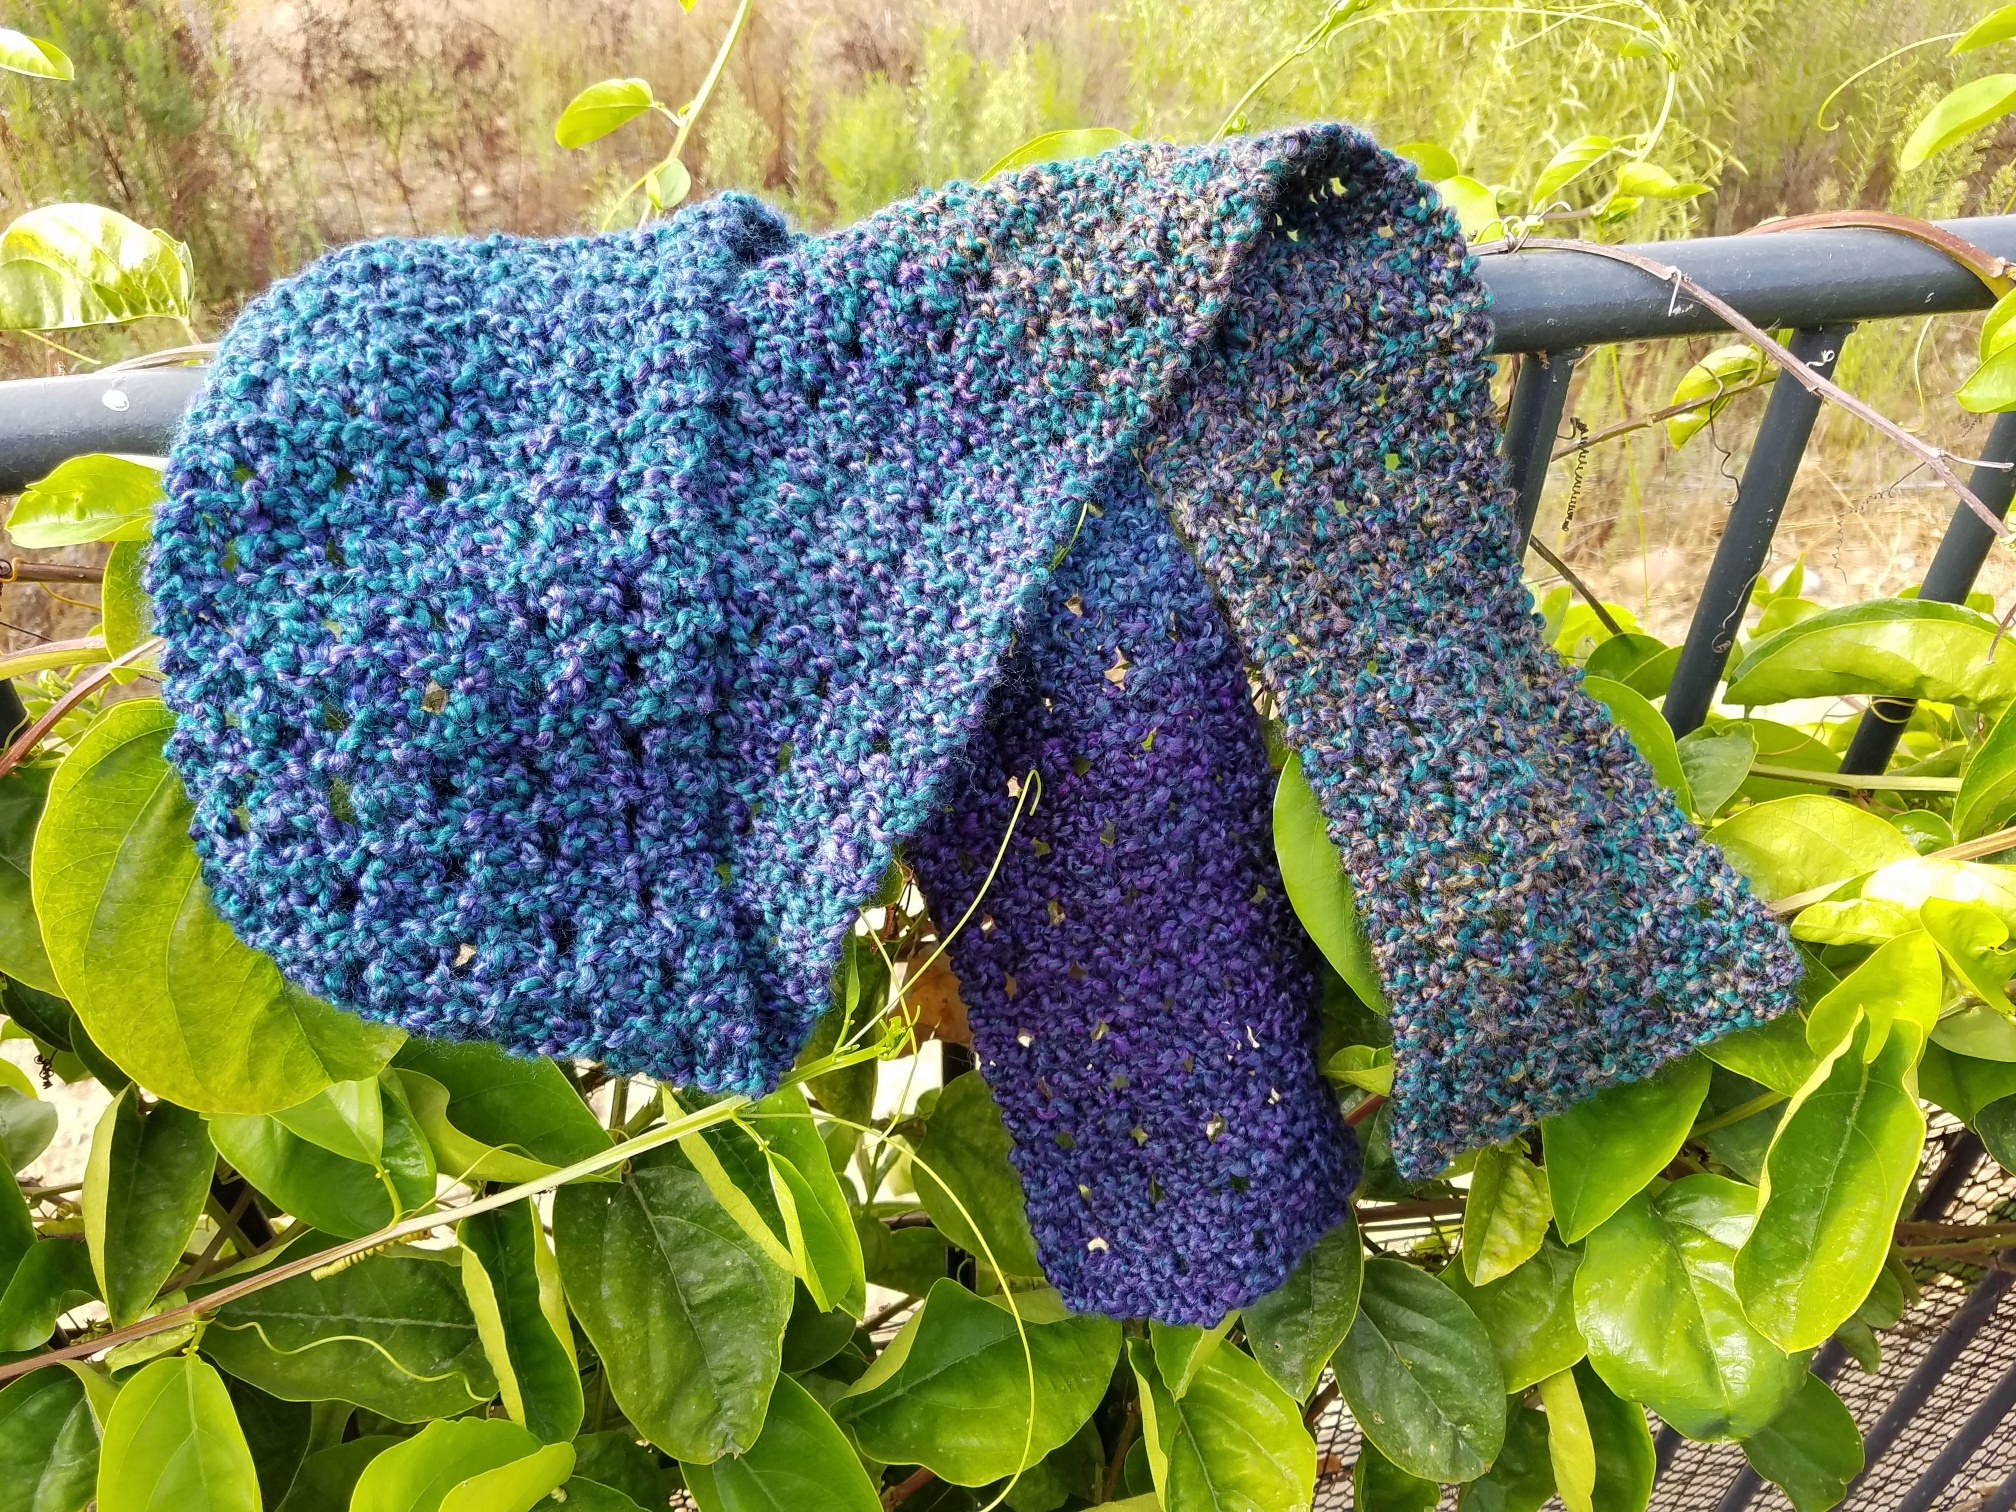
Rows of holes knit
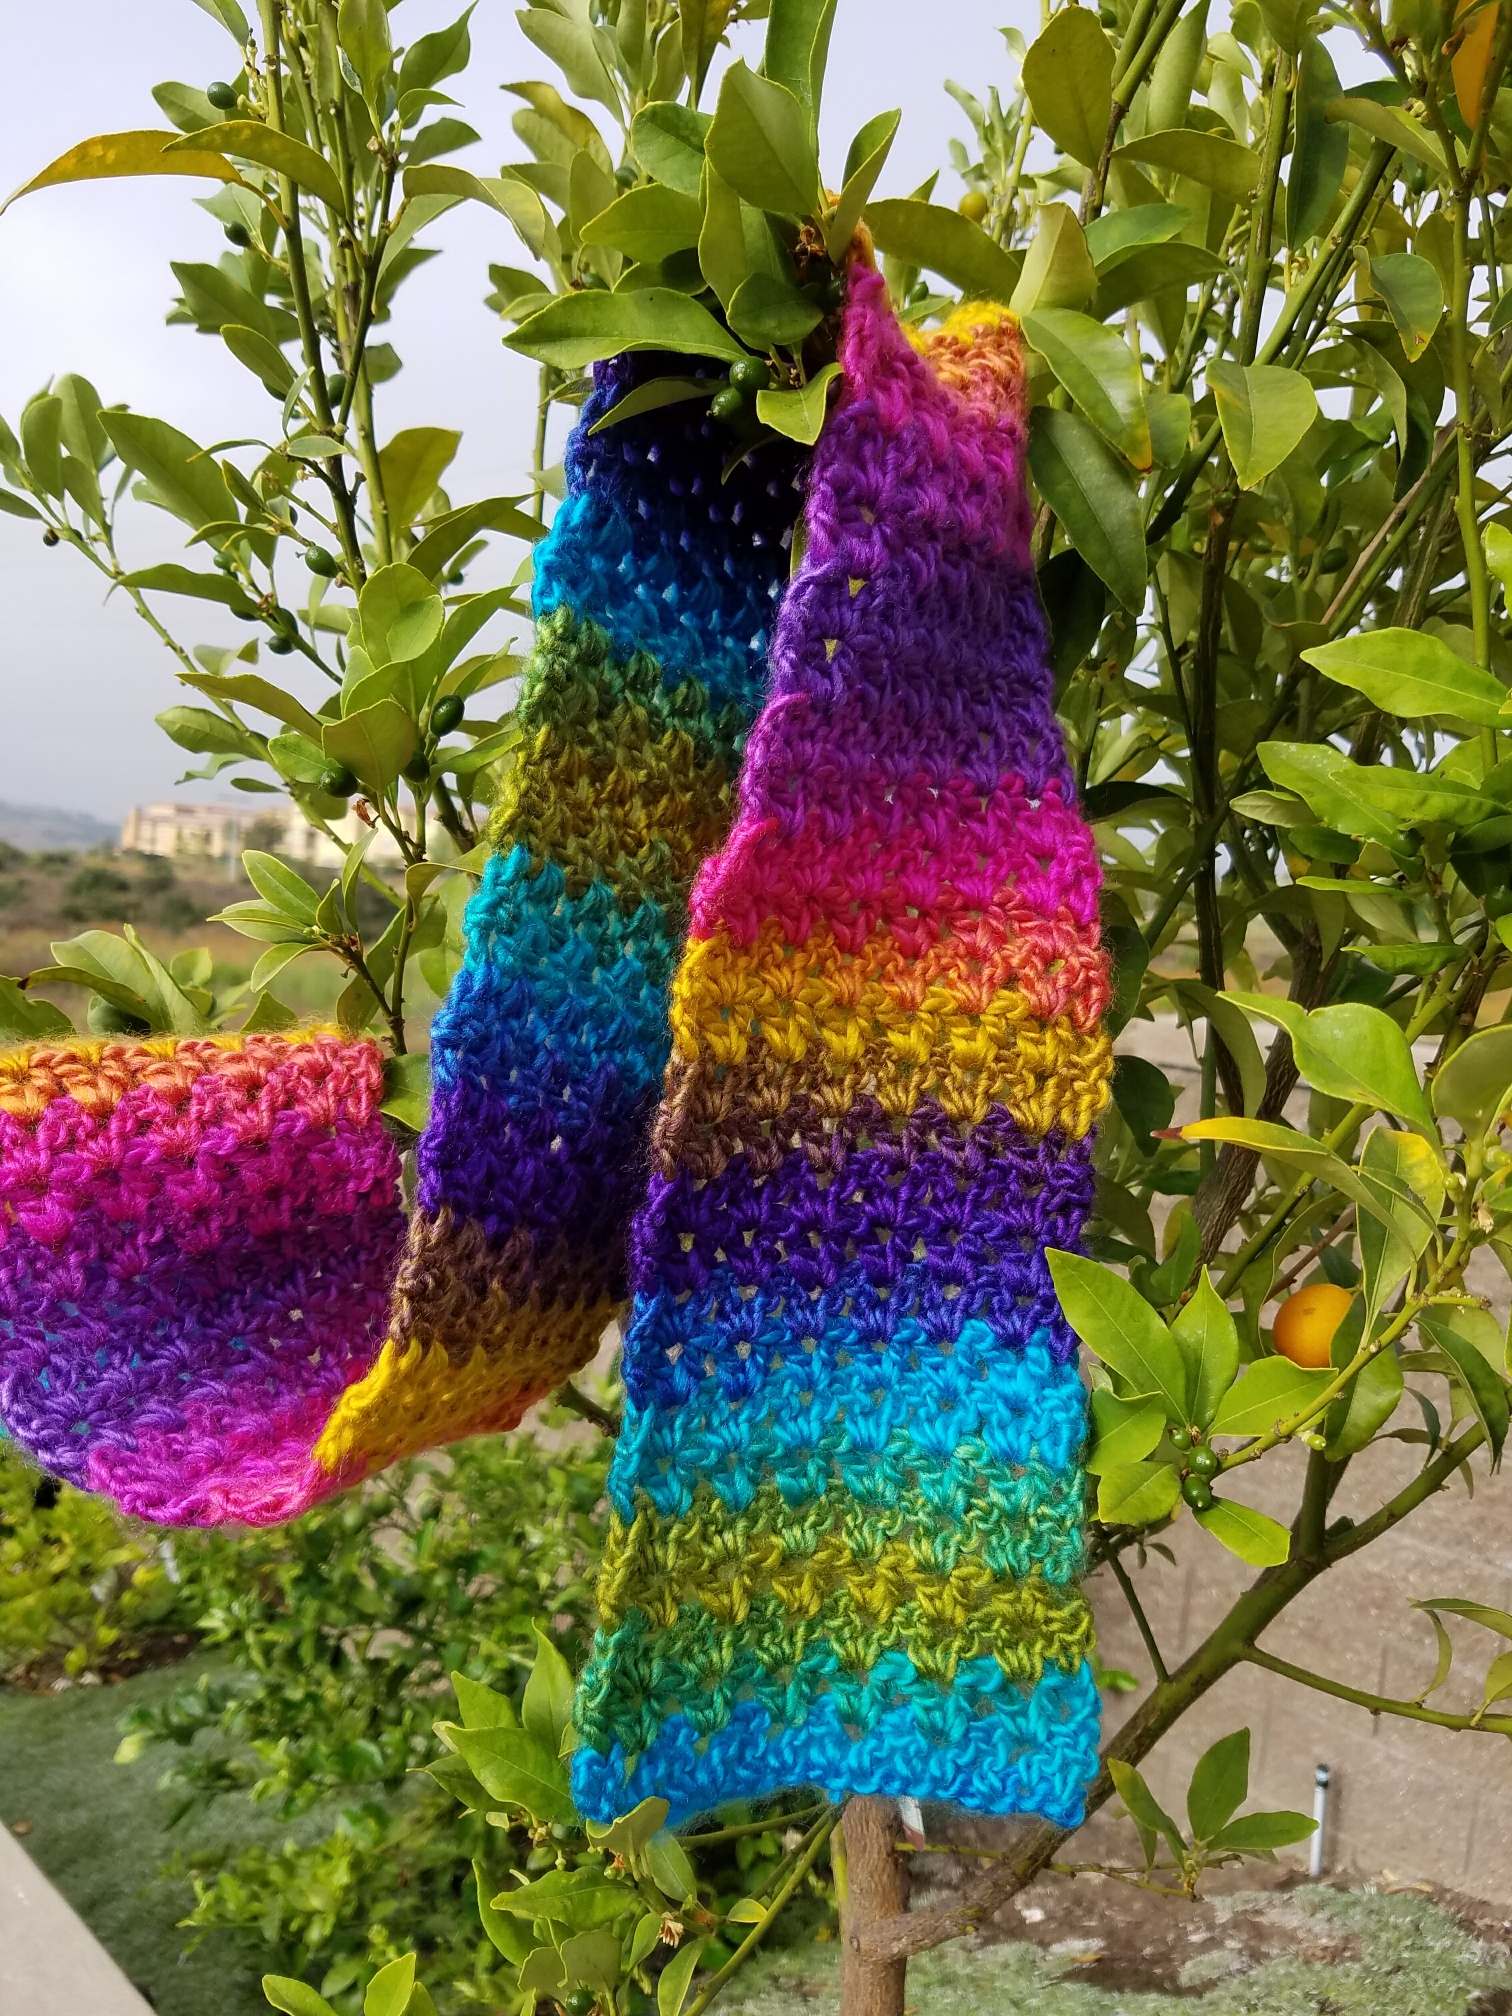
Rainbow crochet – shorter length – $15
Brown knit infinity

Hairpin lace crochet

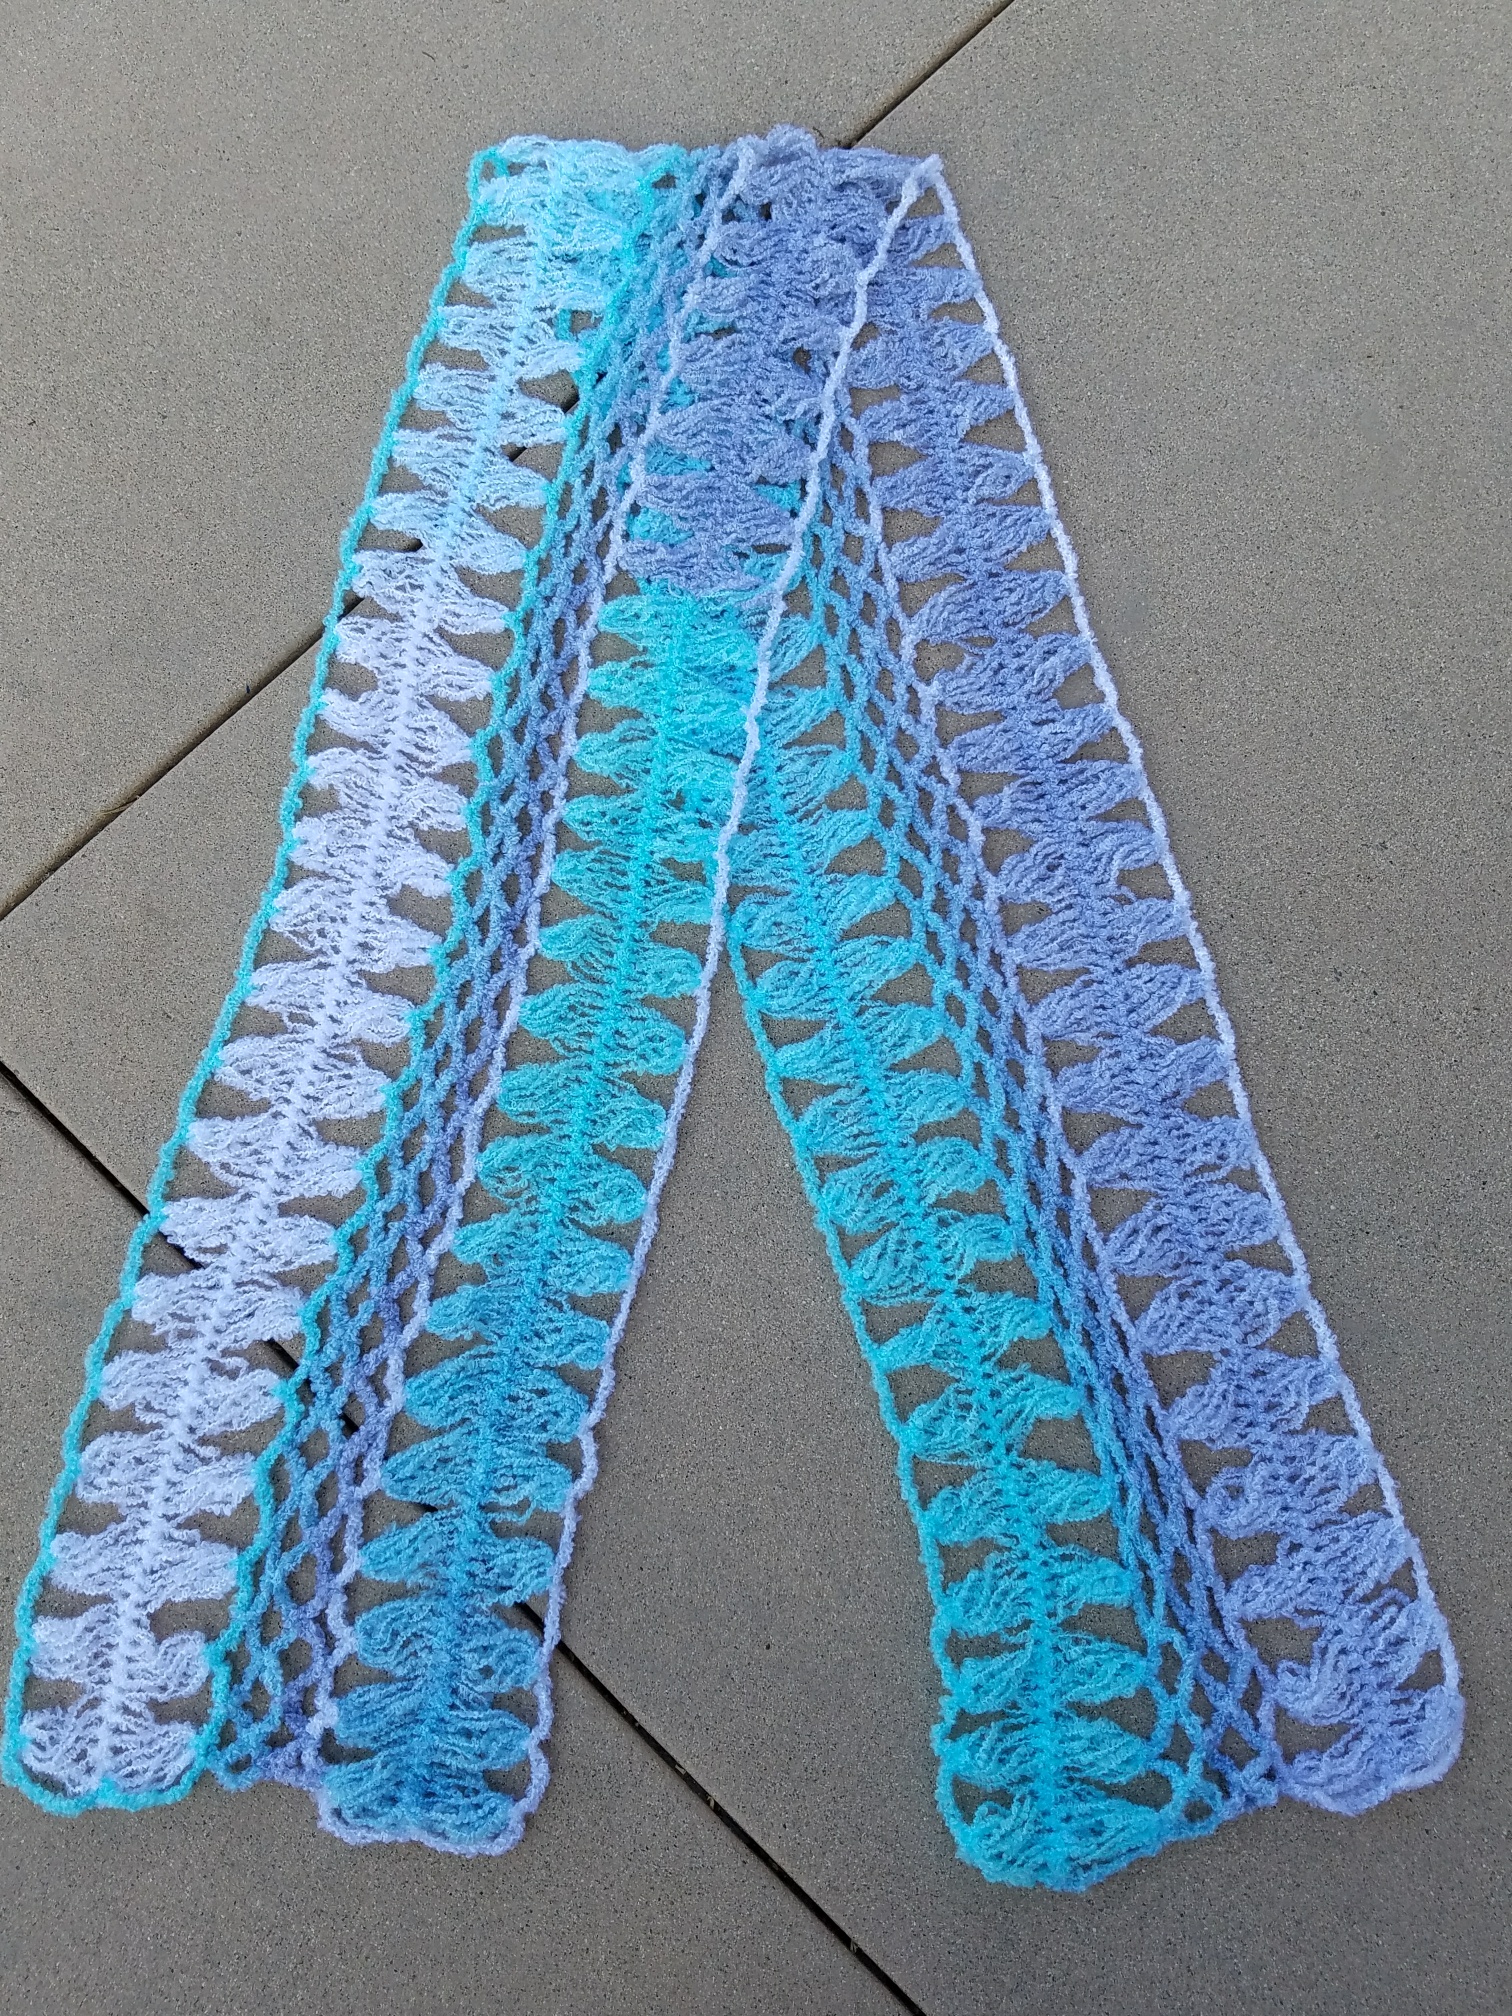
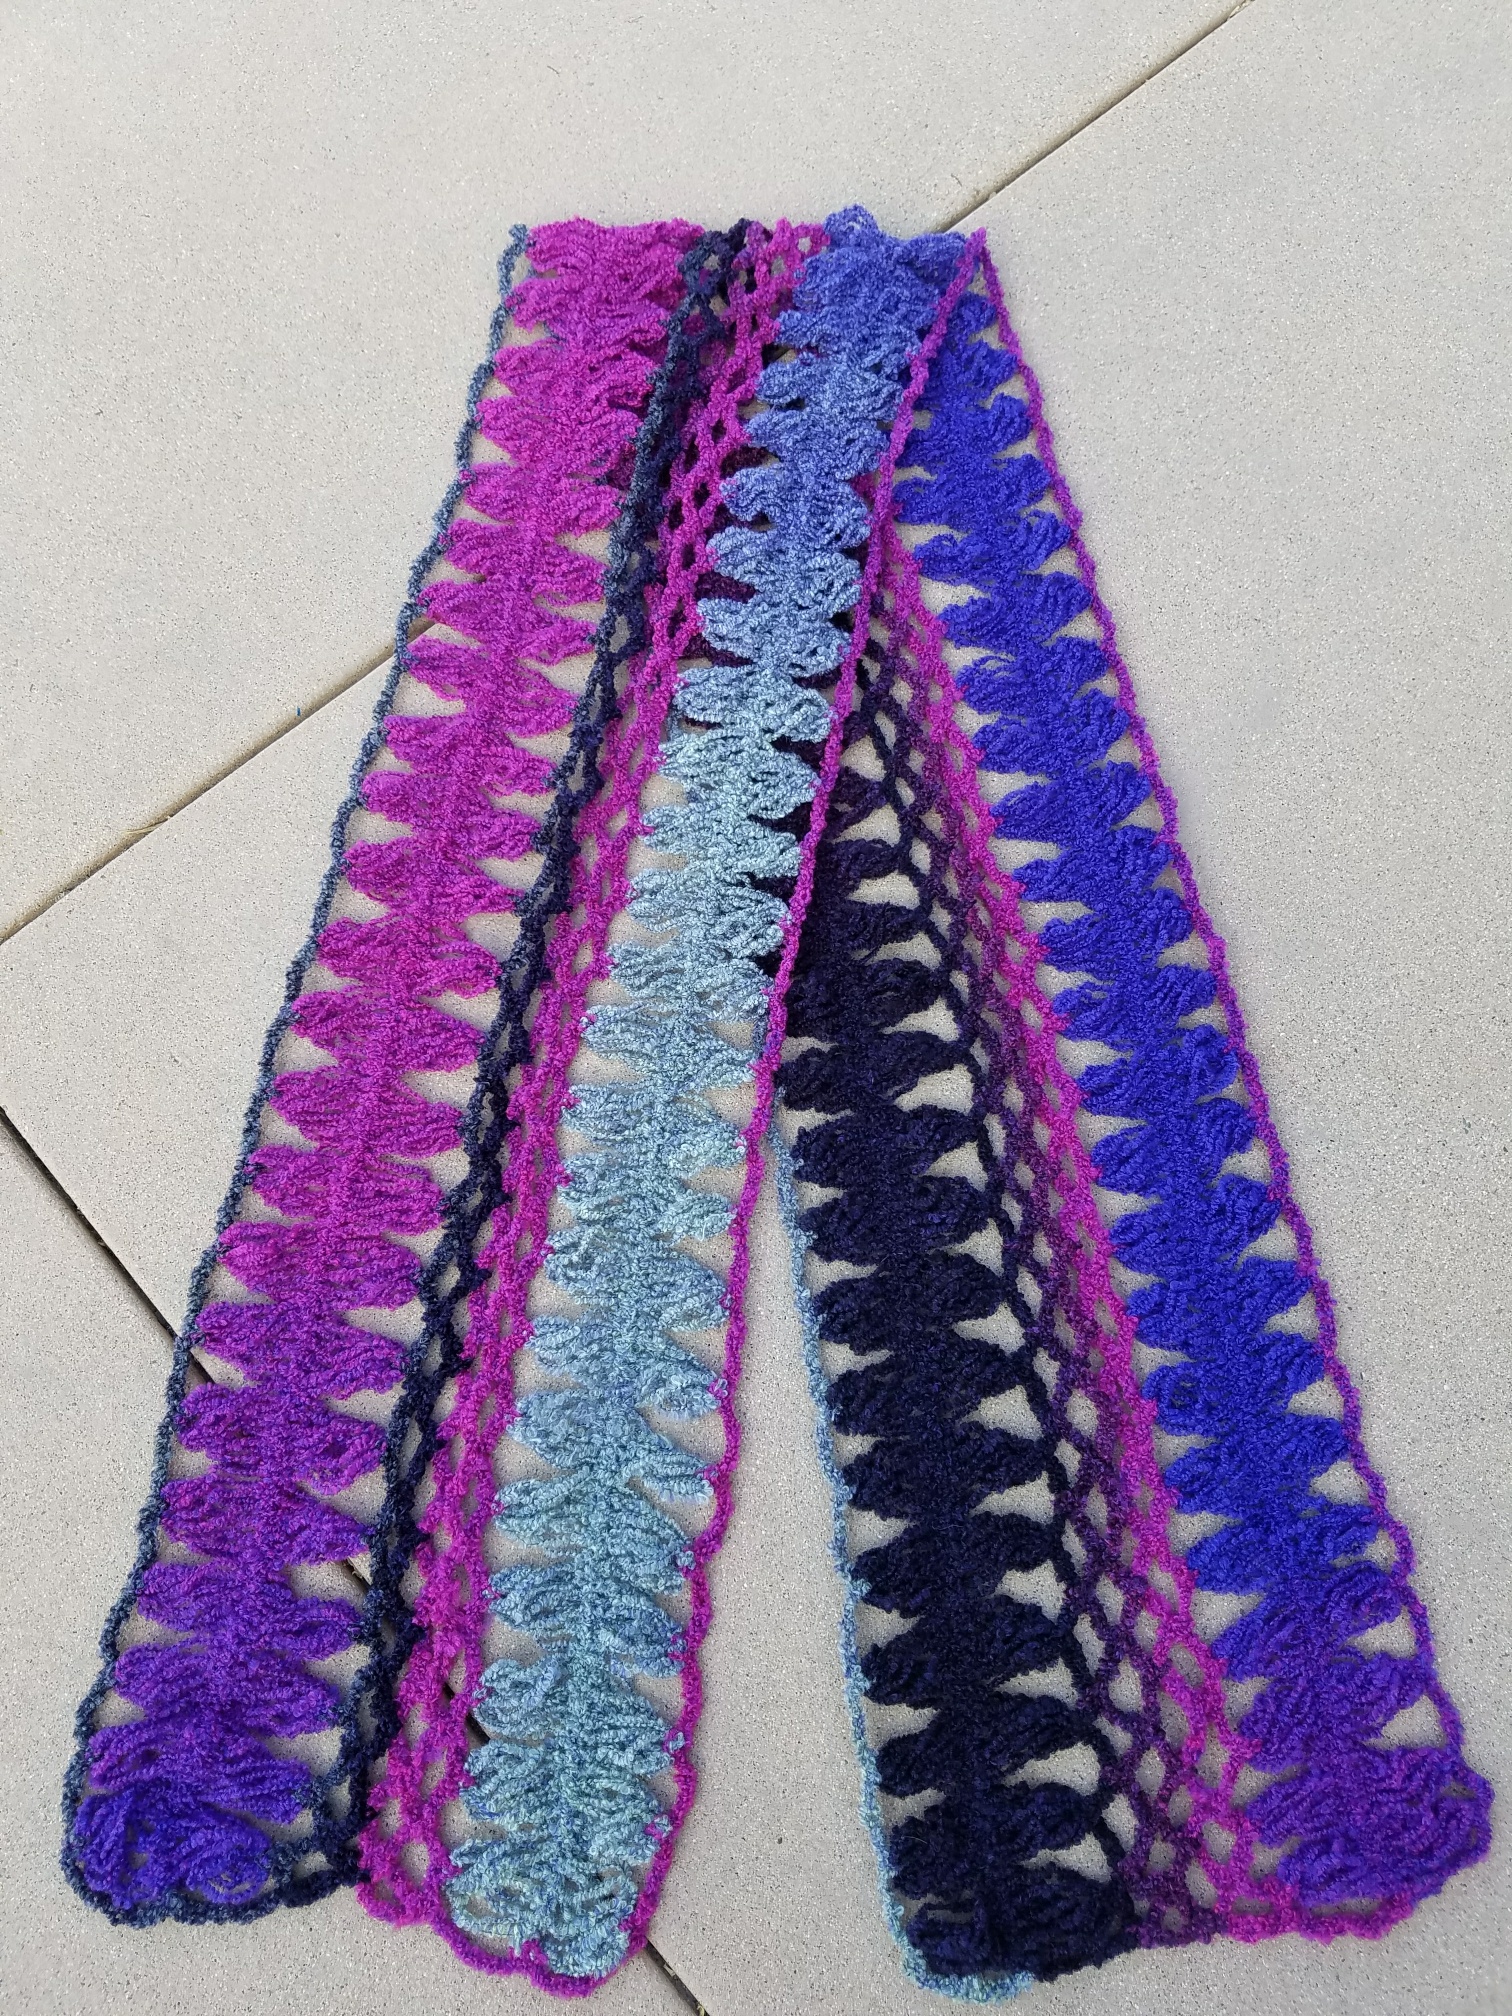
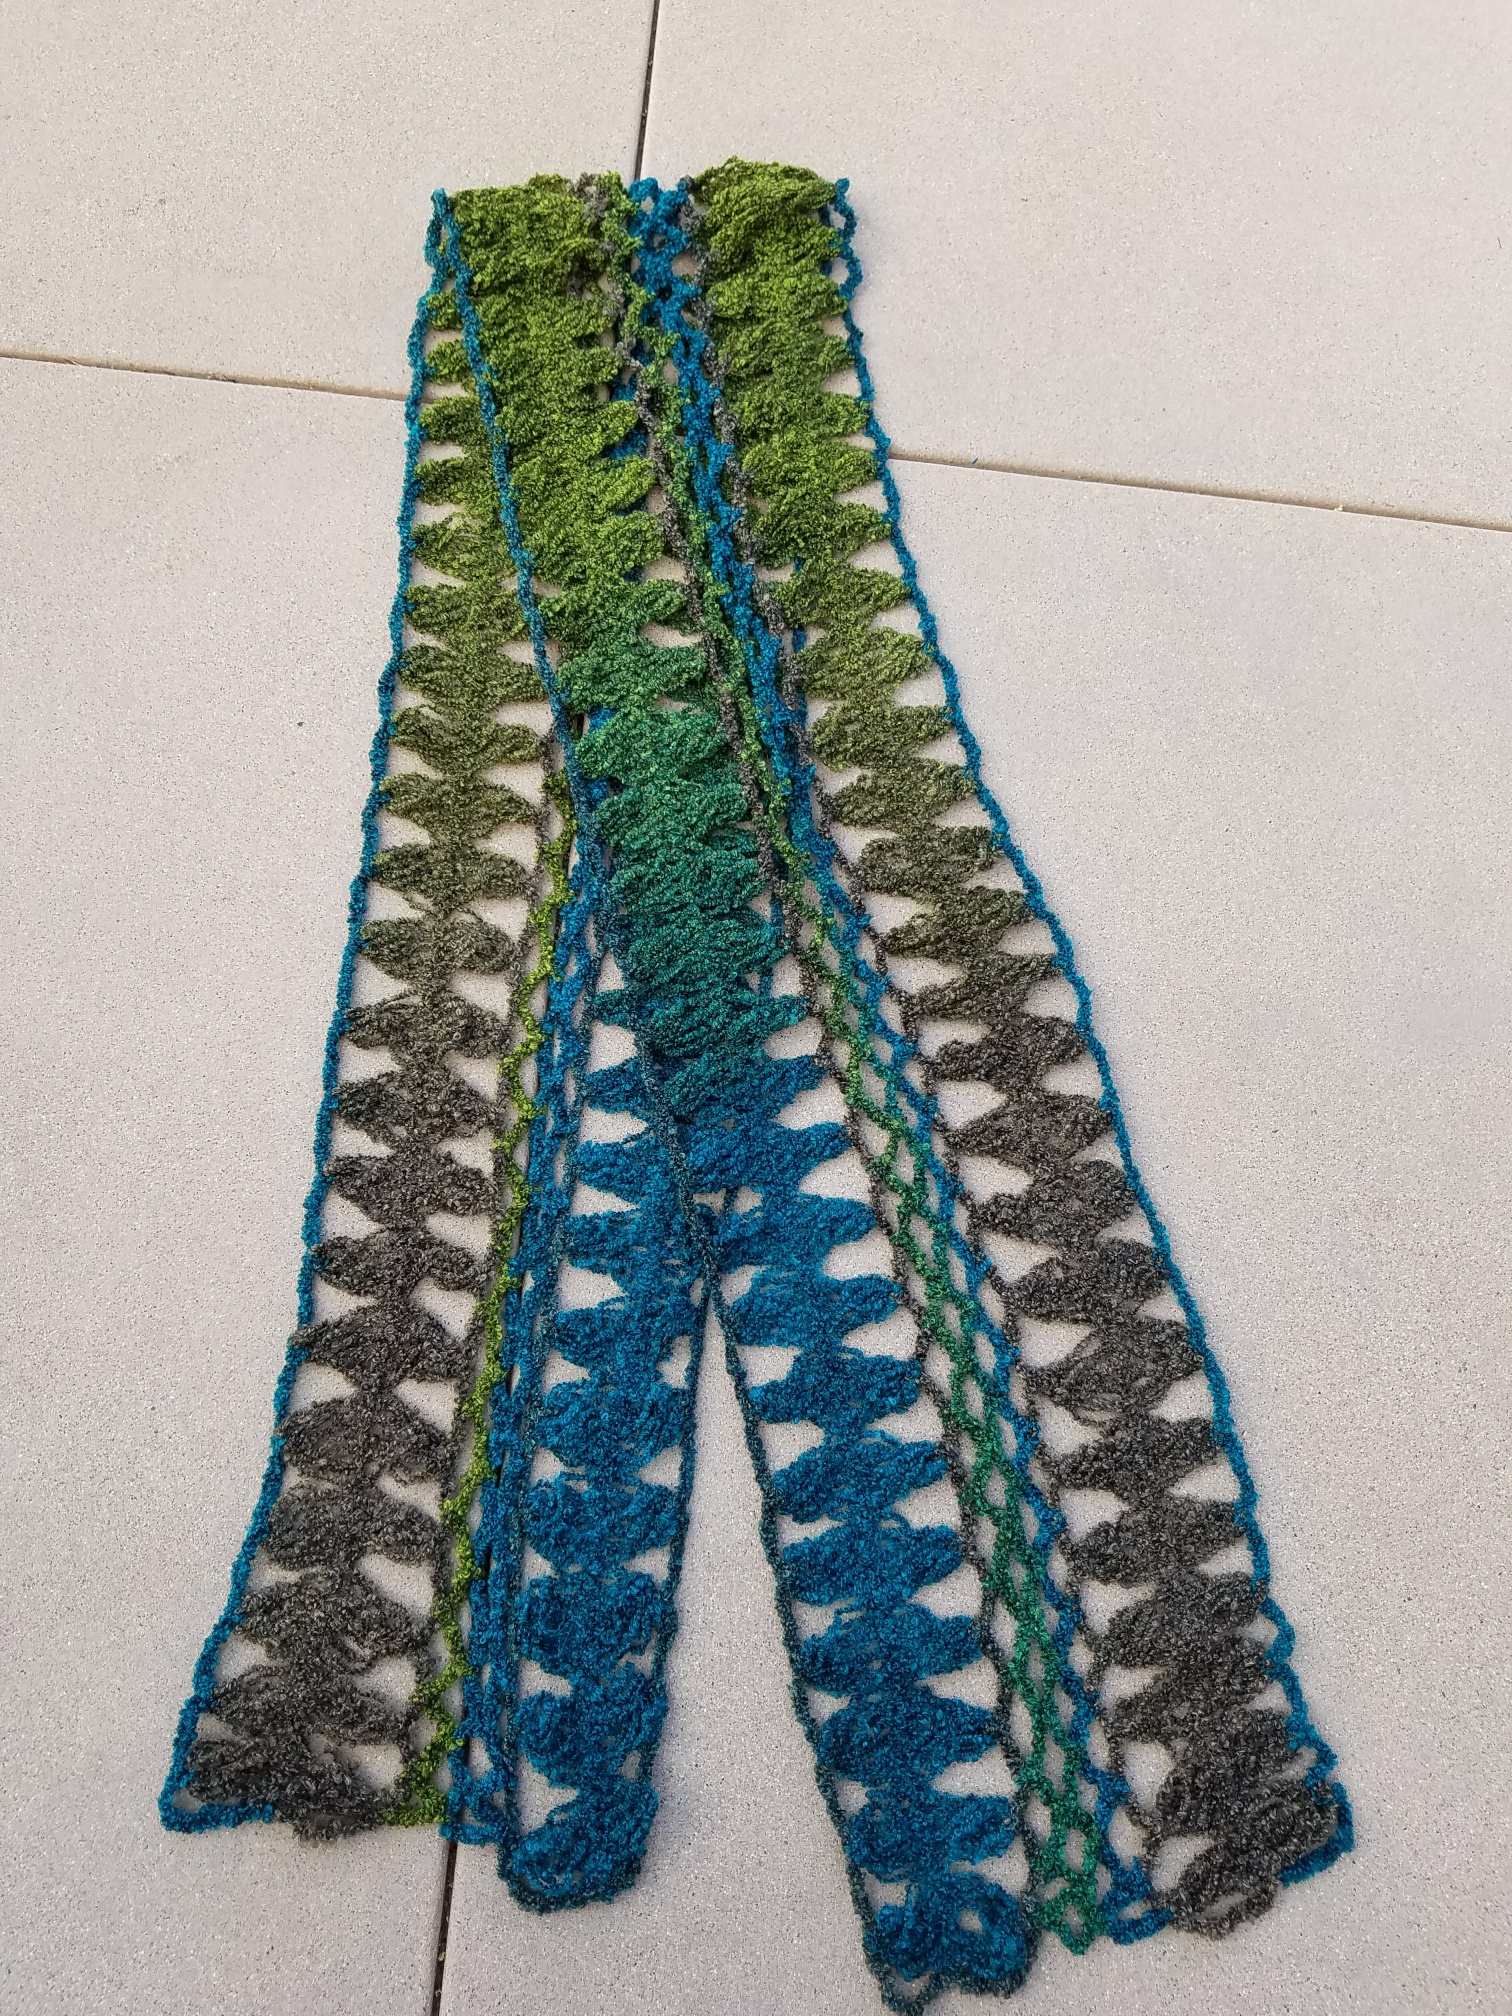
Ribbon yarn knit
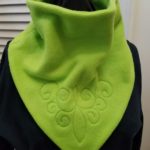
Fleece Neckwarmers – $10
Fabric Bags
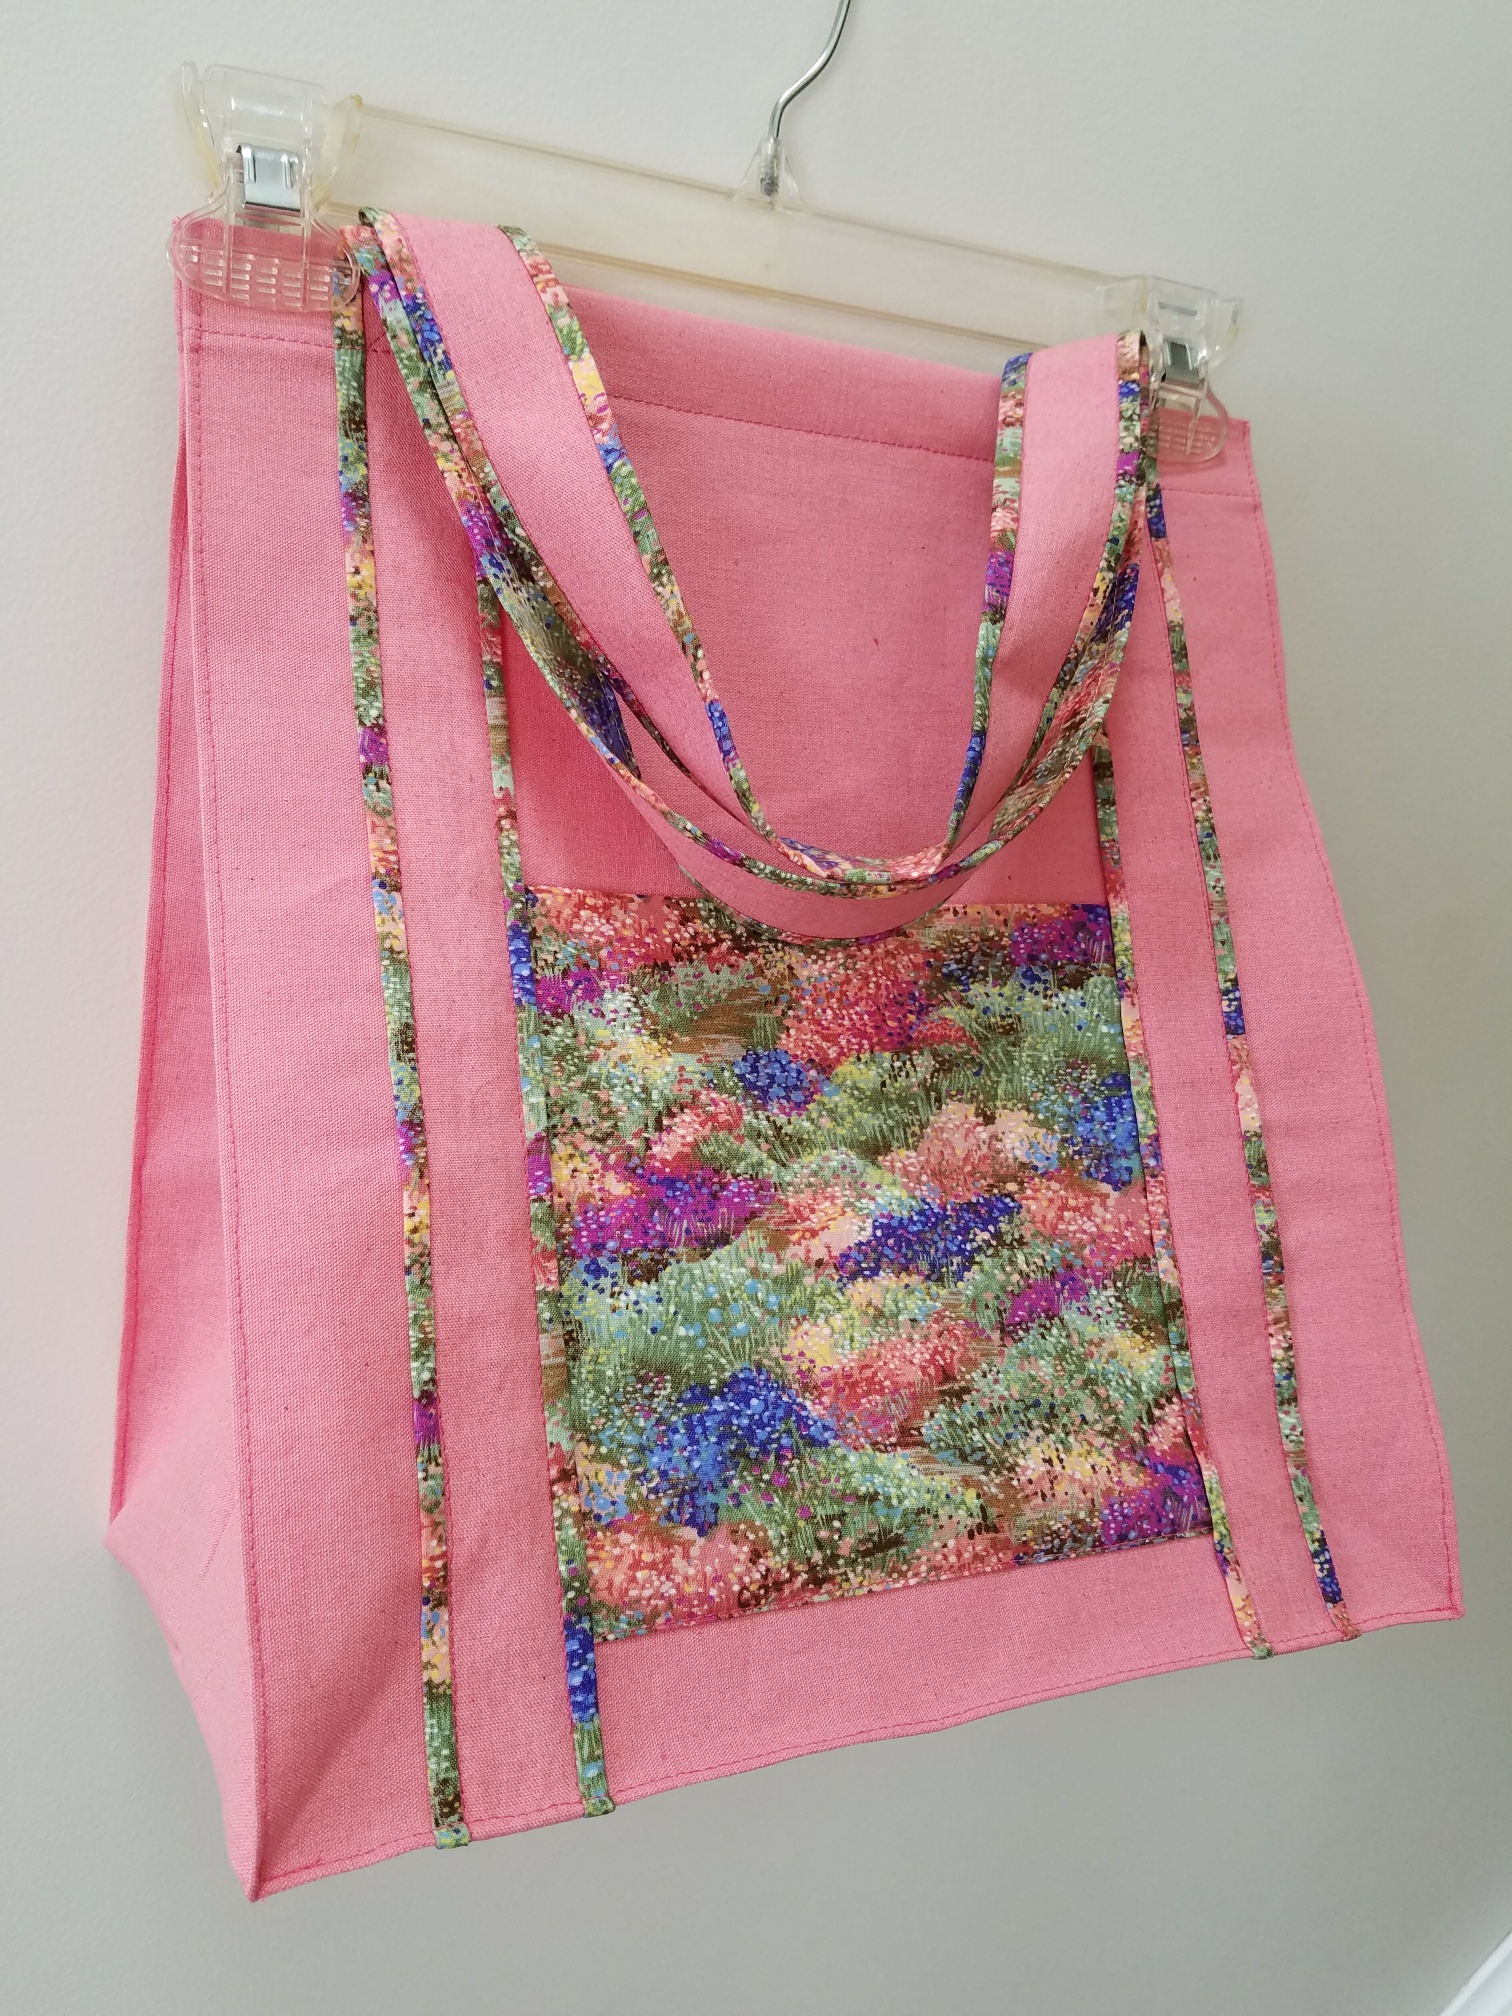
Sturdy market bag – with firm bottom insert -$10
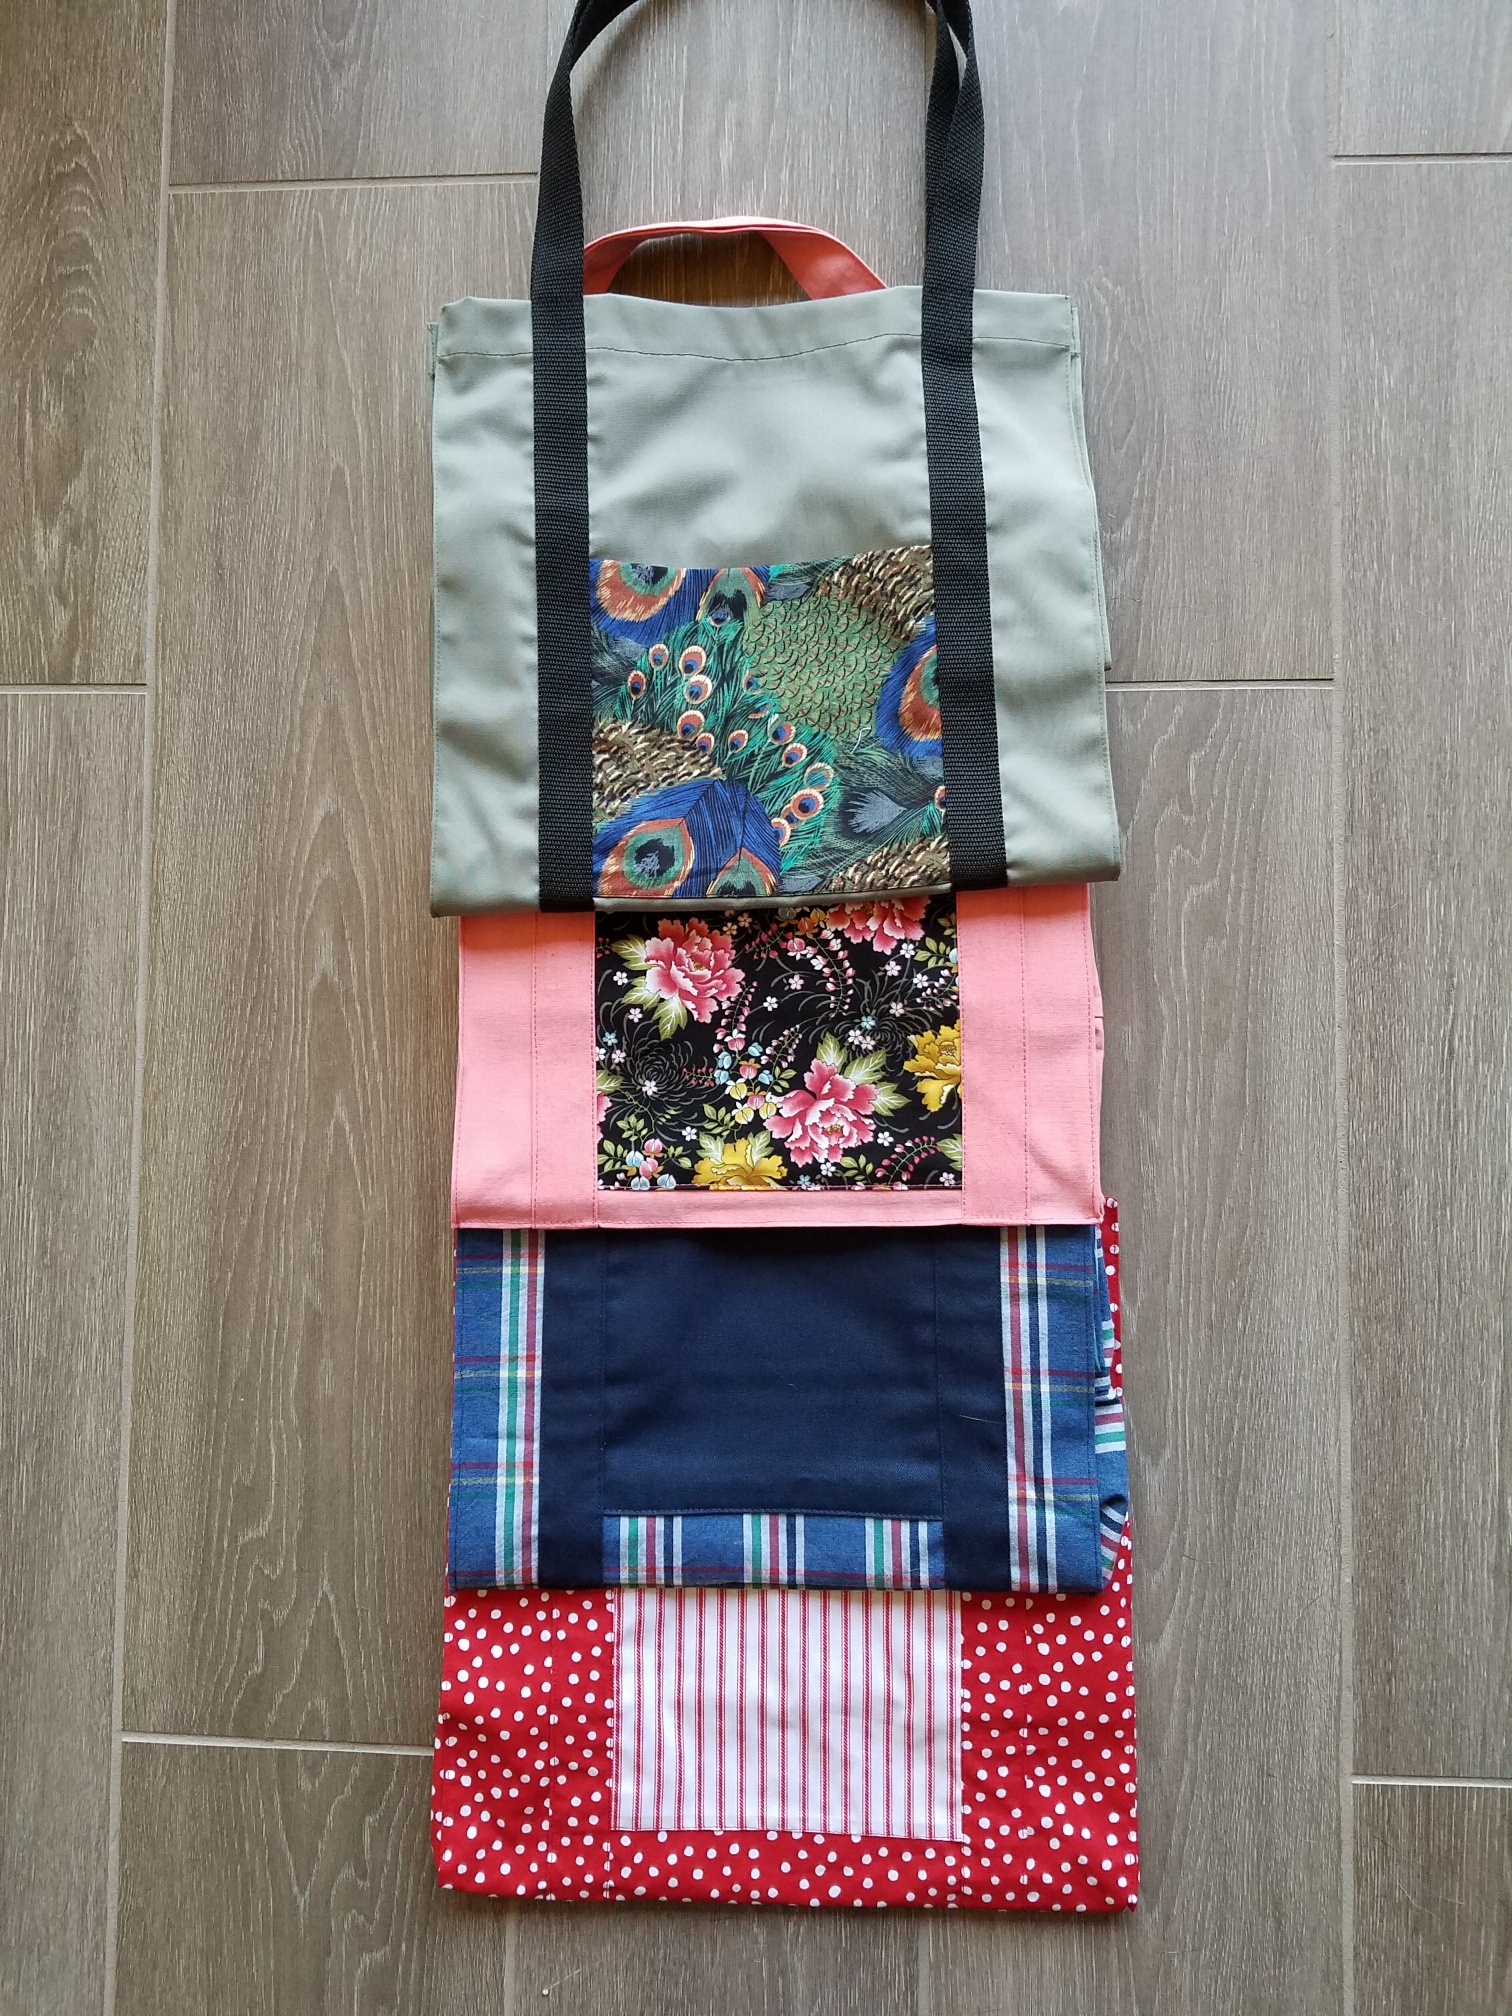
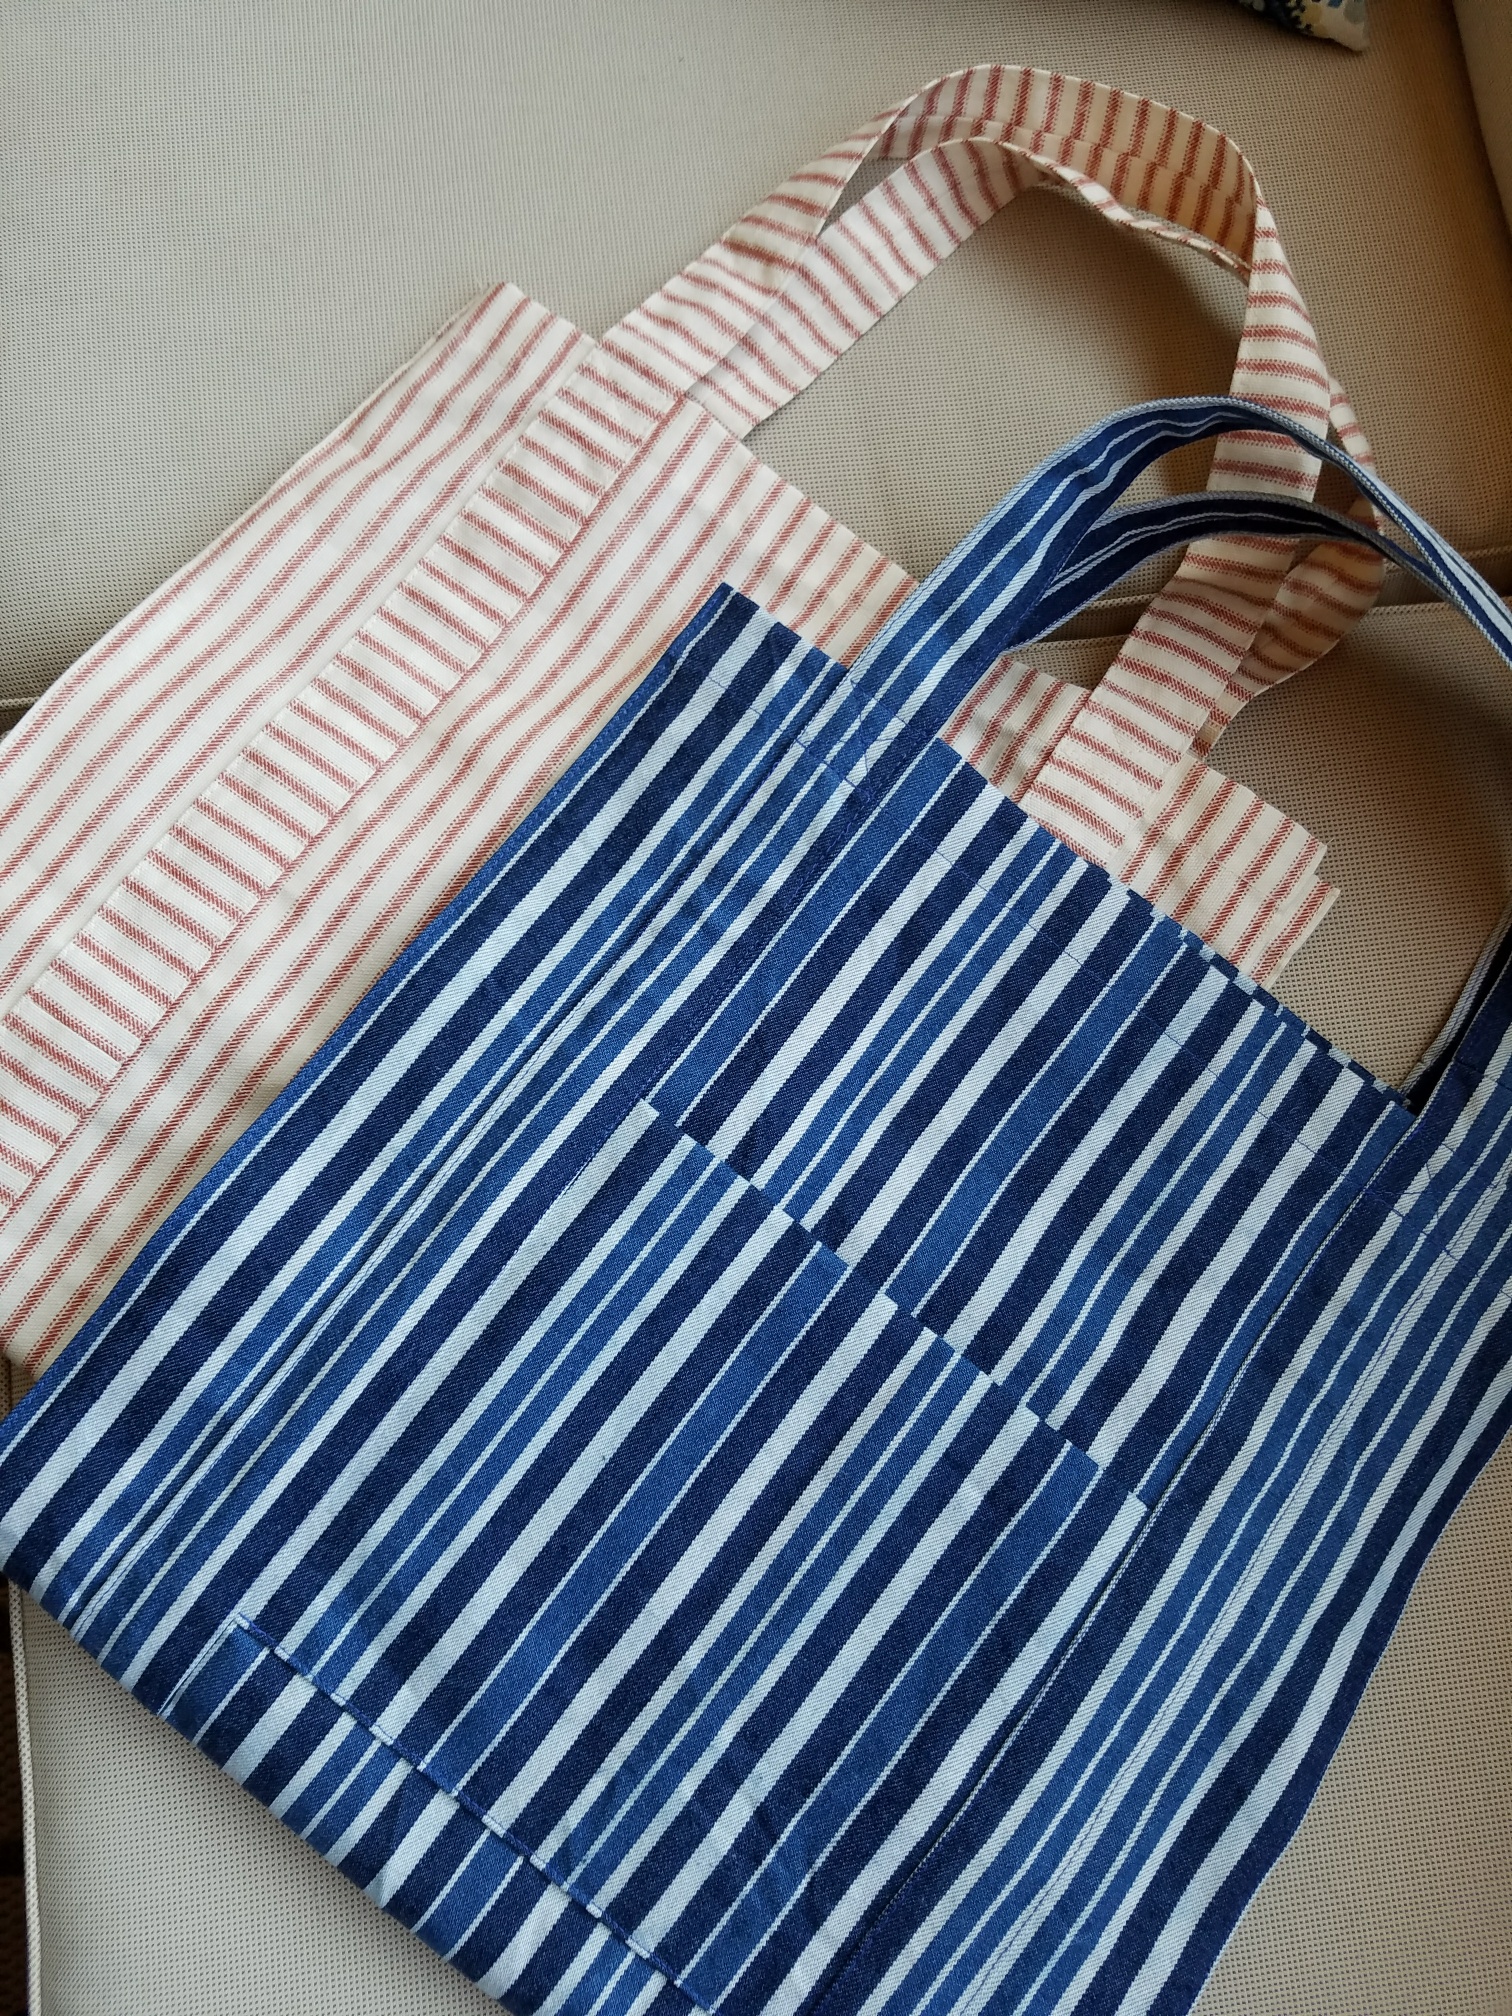
Project/tote bags – $5
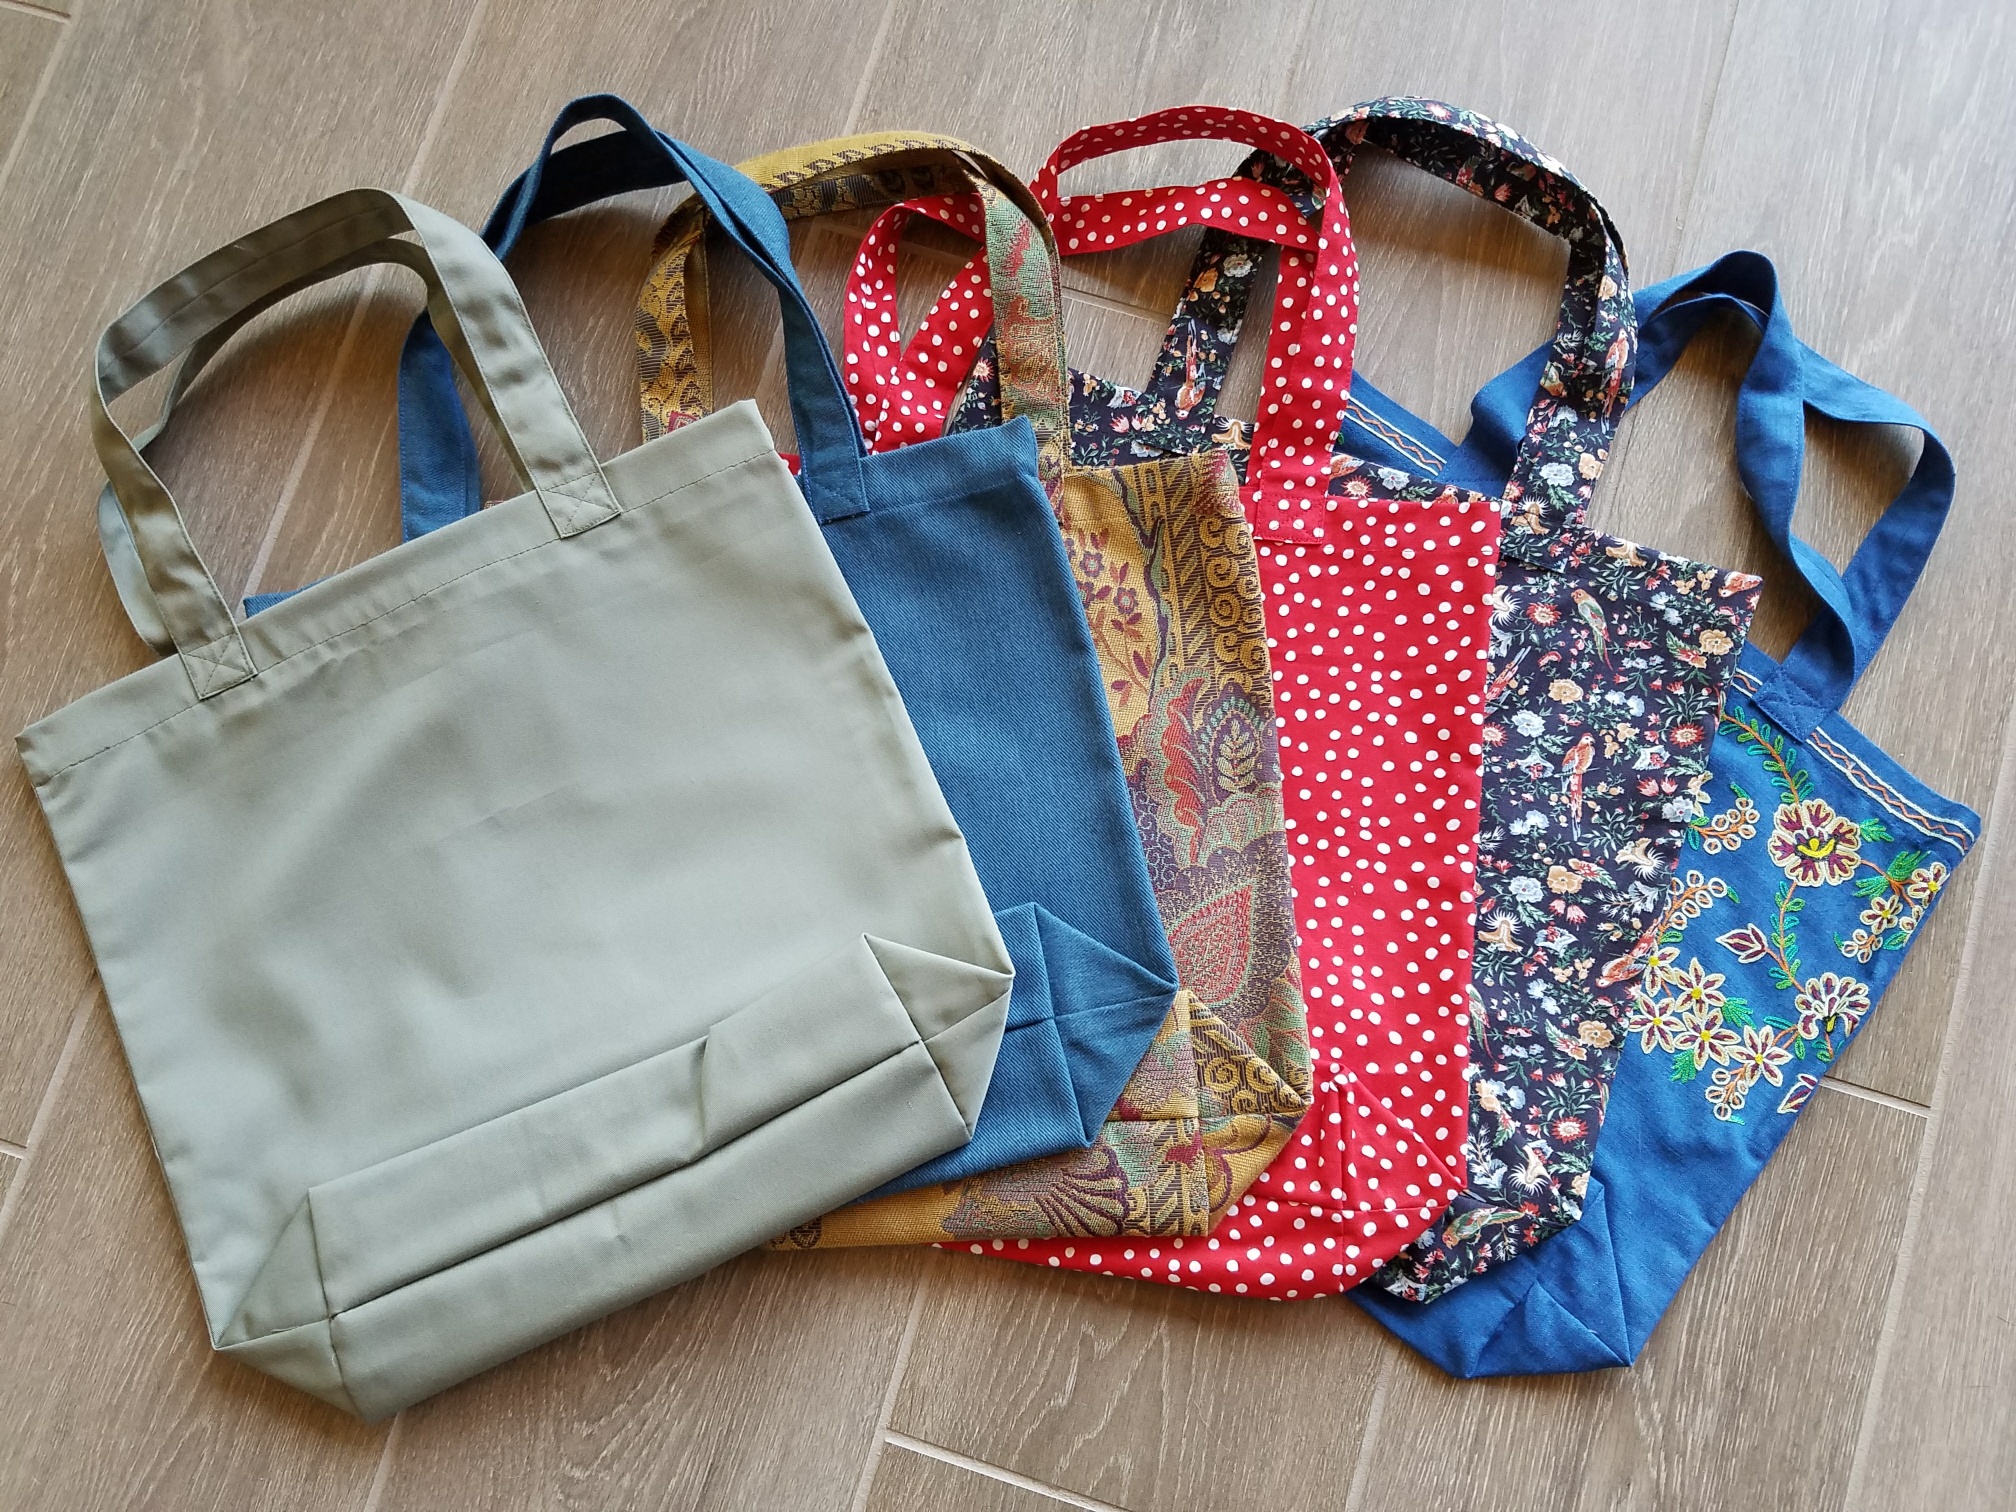
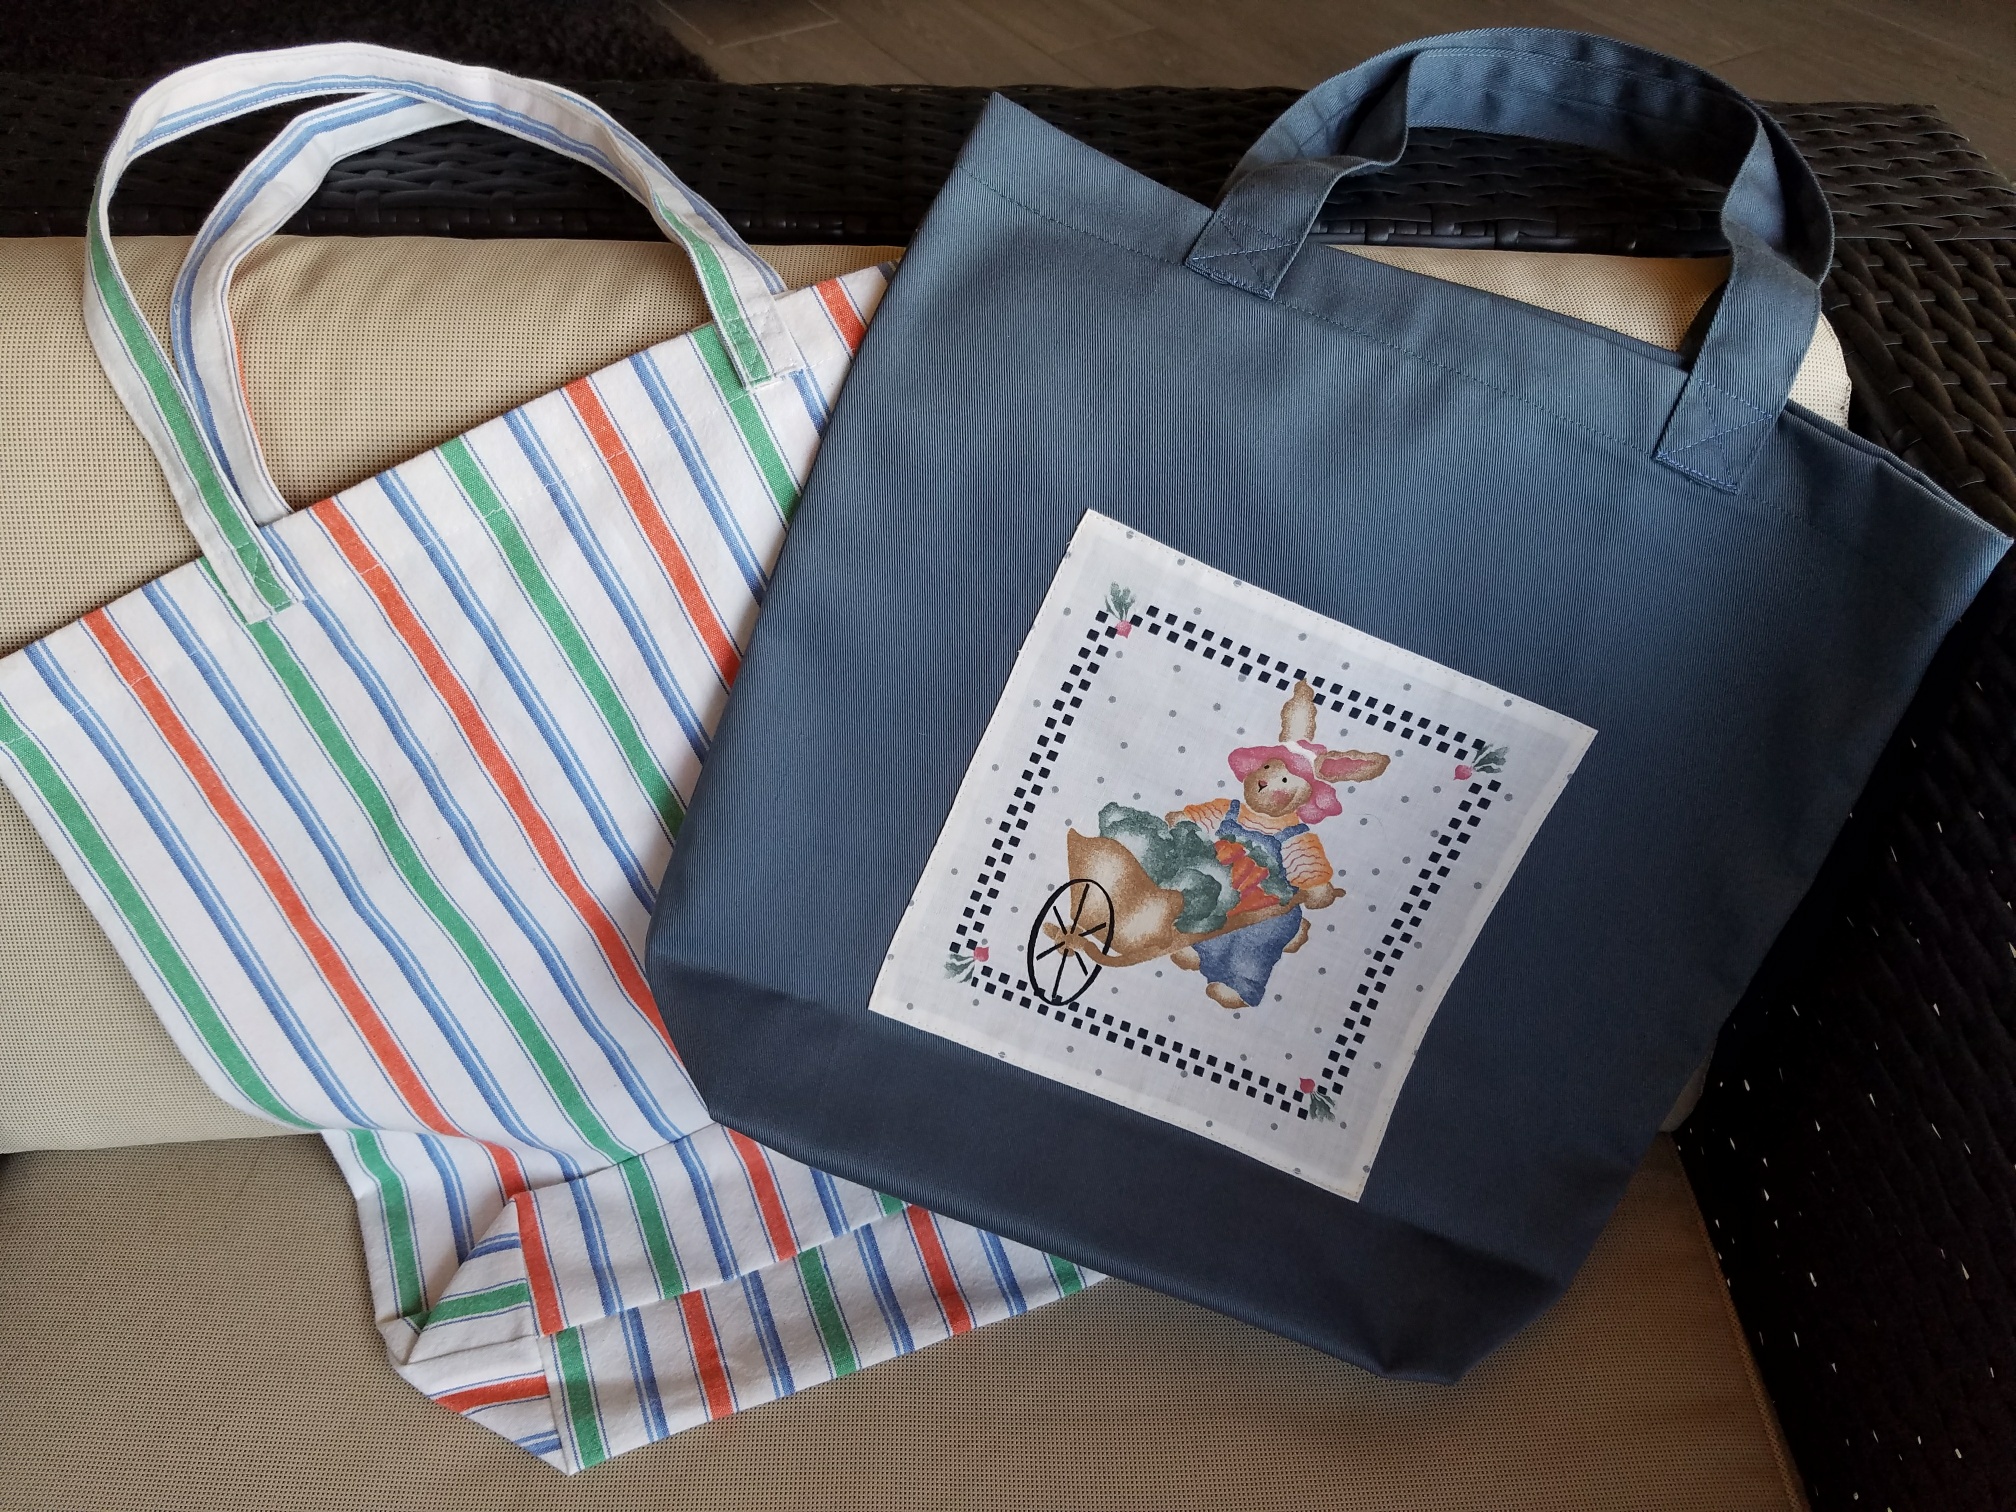
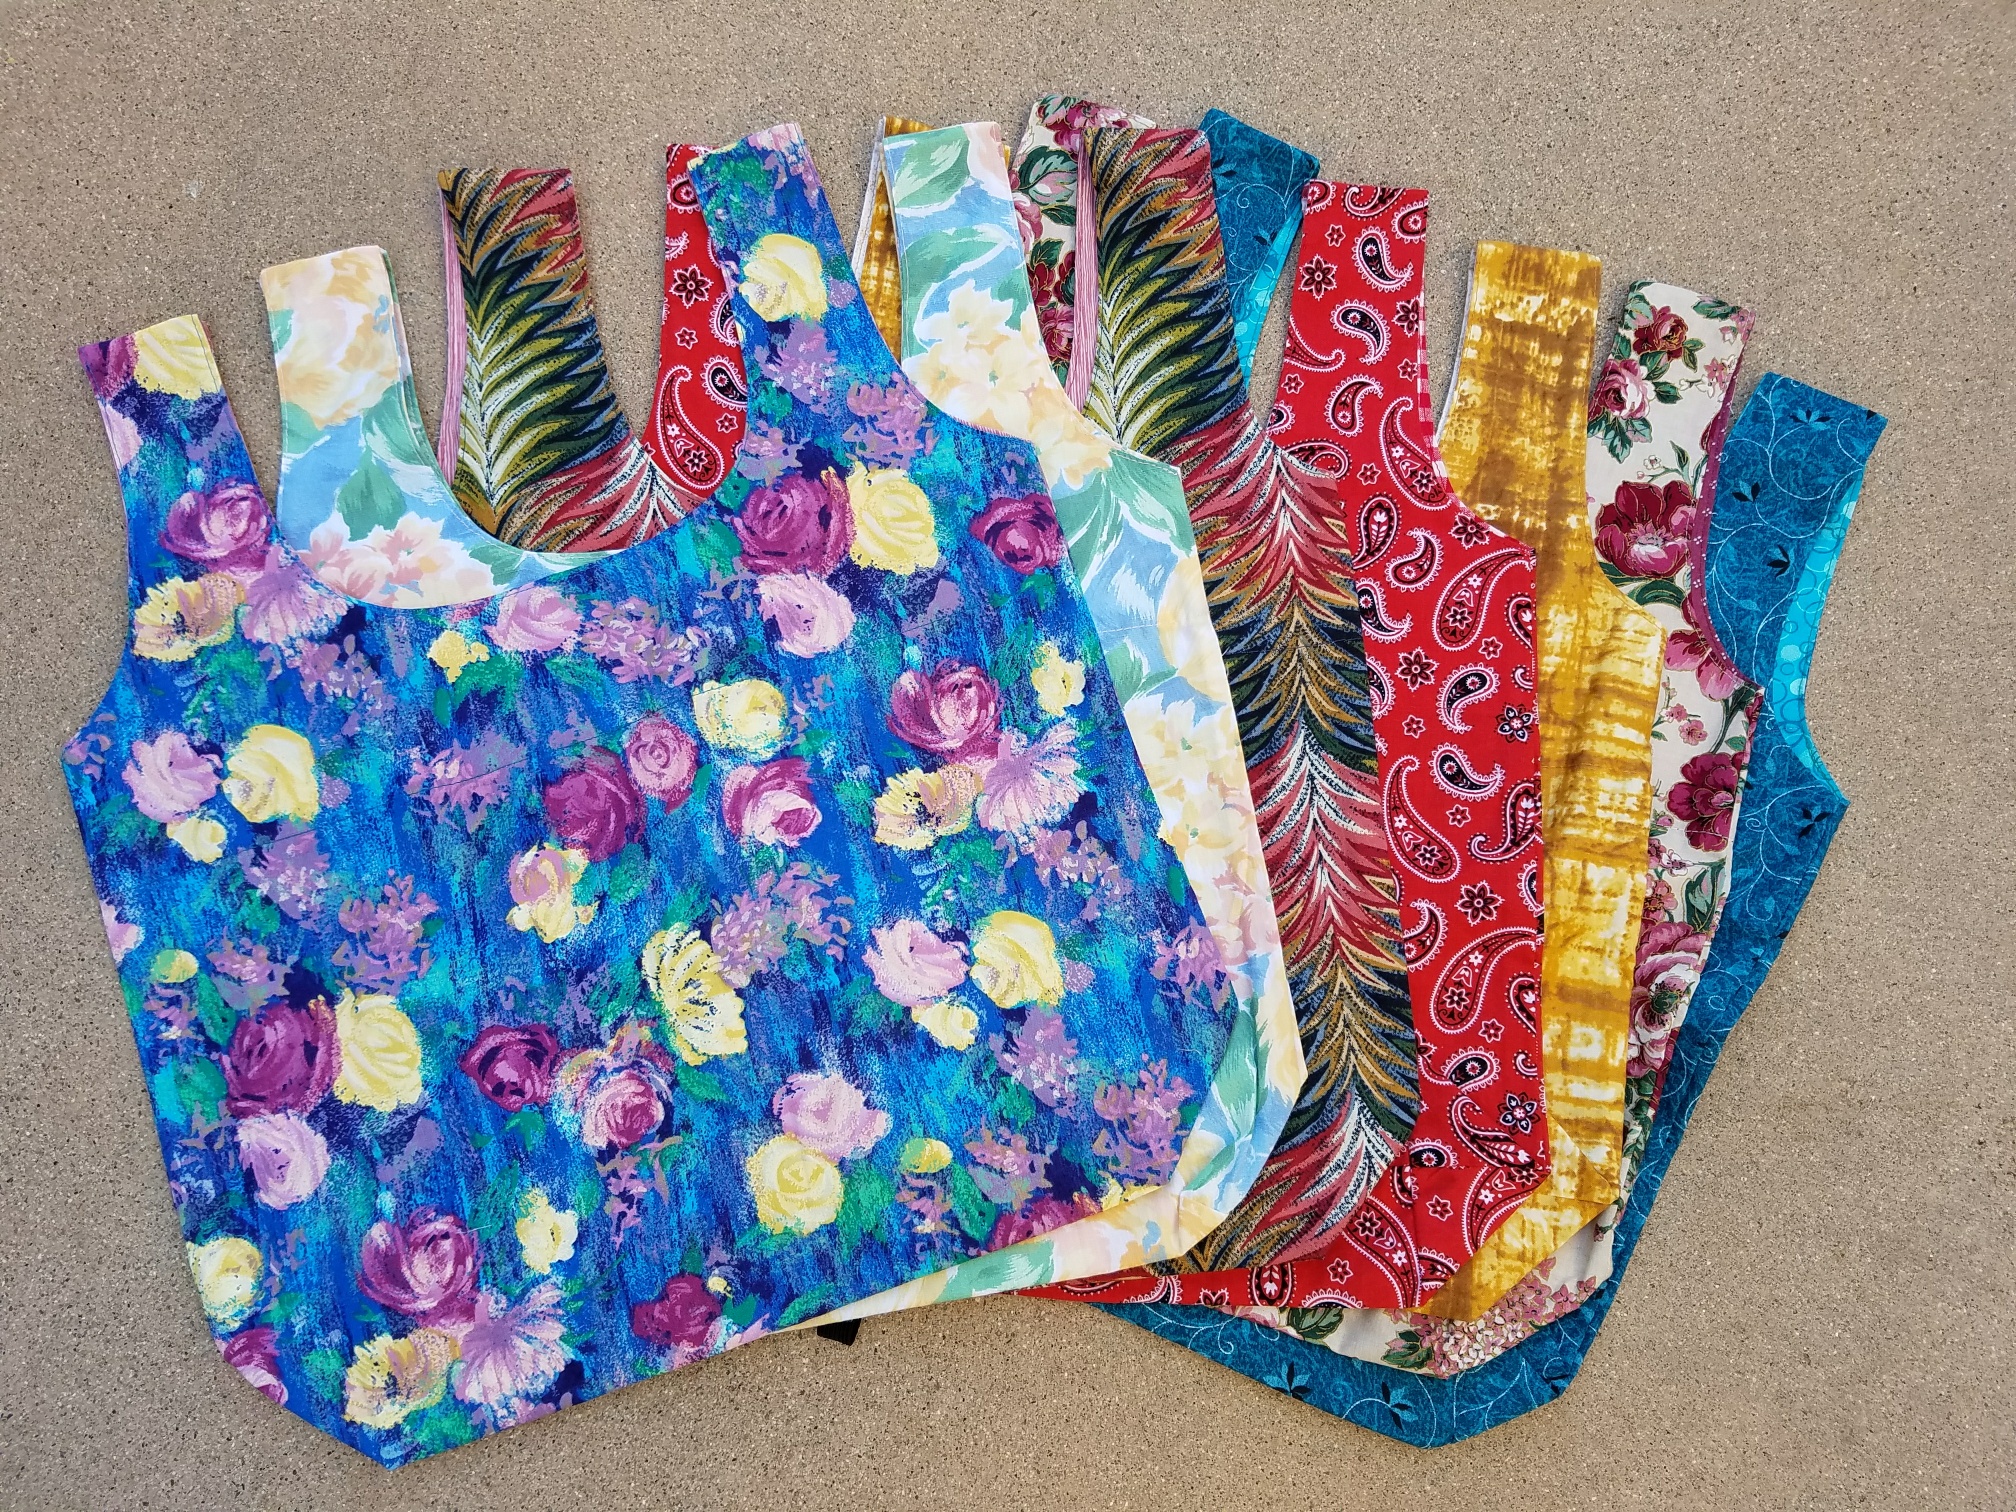
Roll-up tote bags – $4 or 3/$10
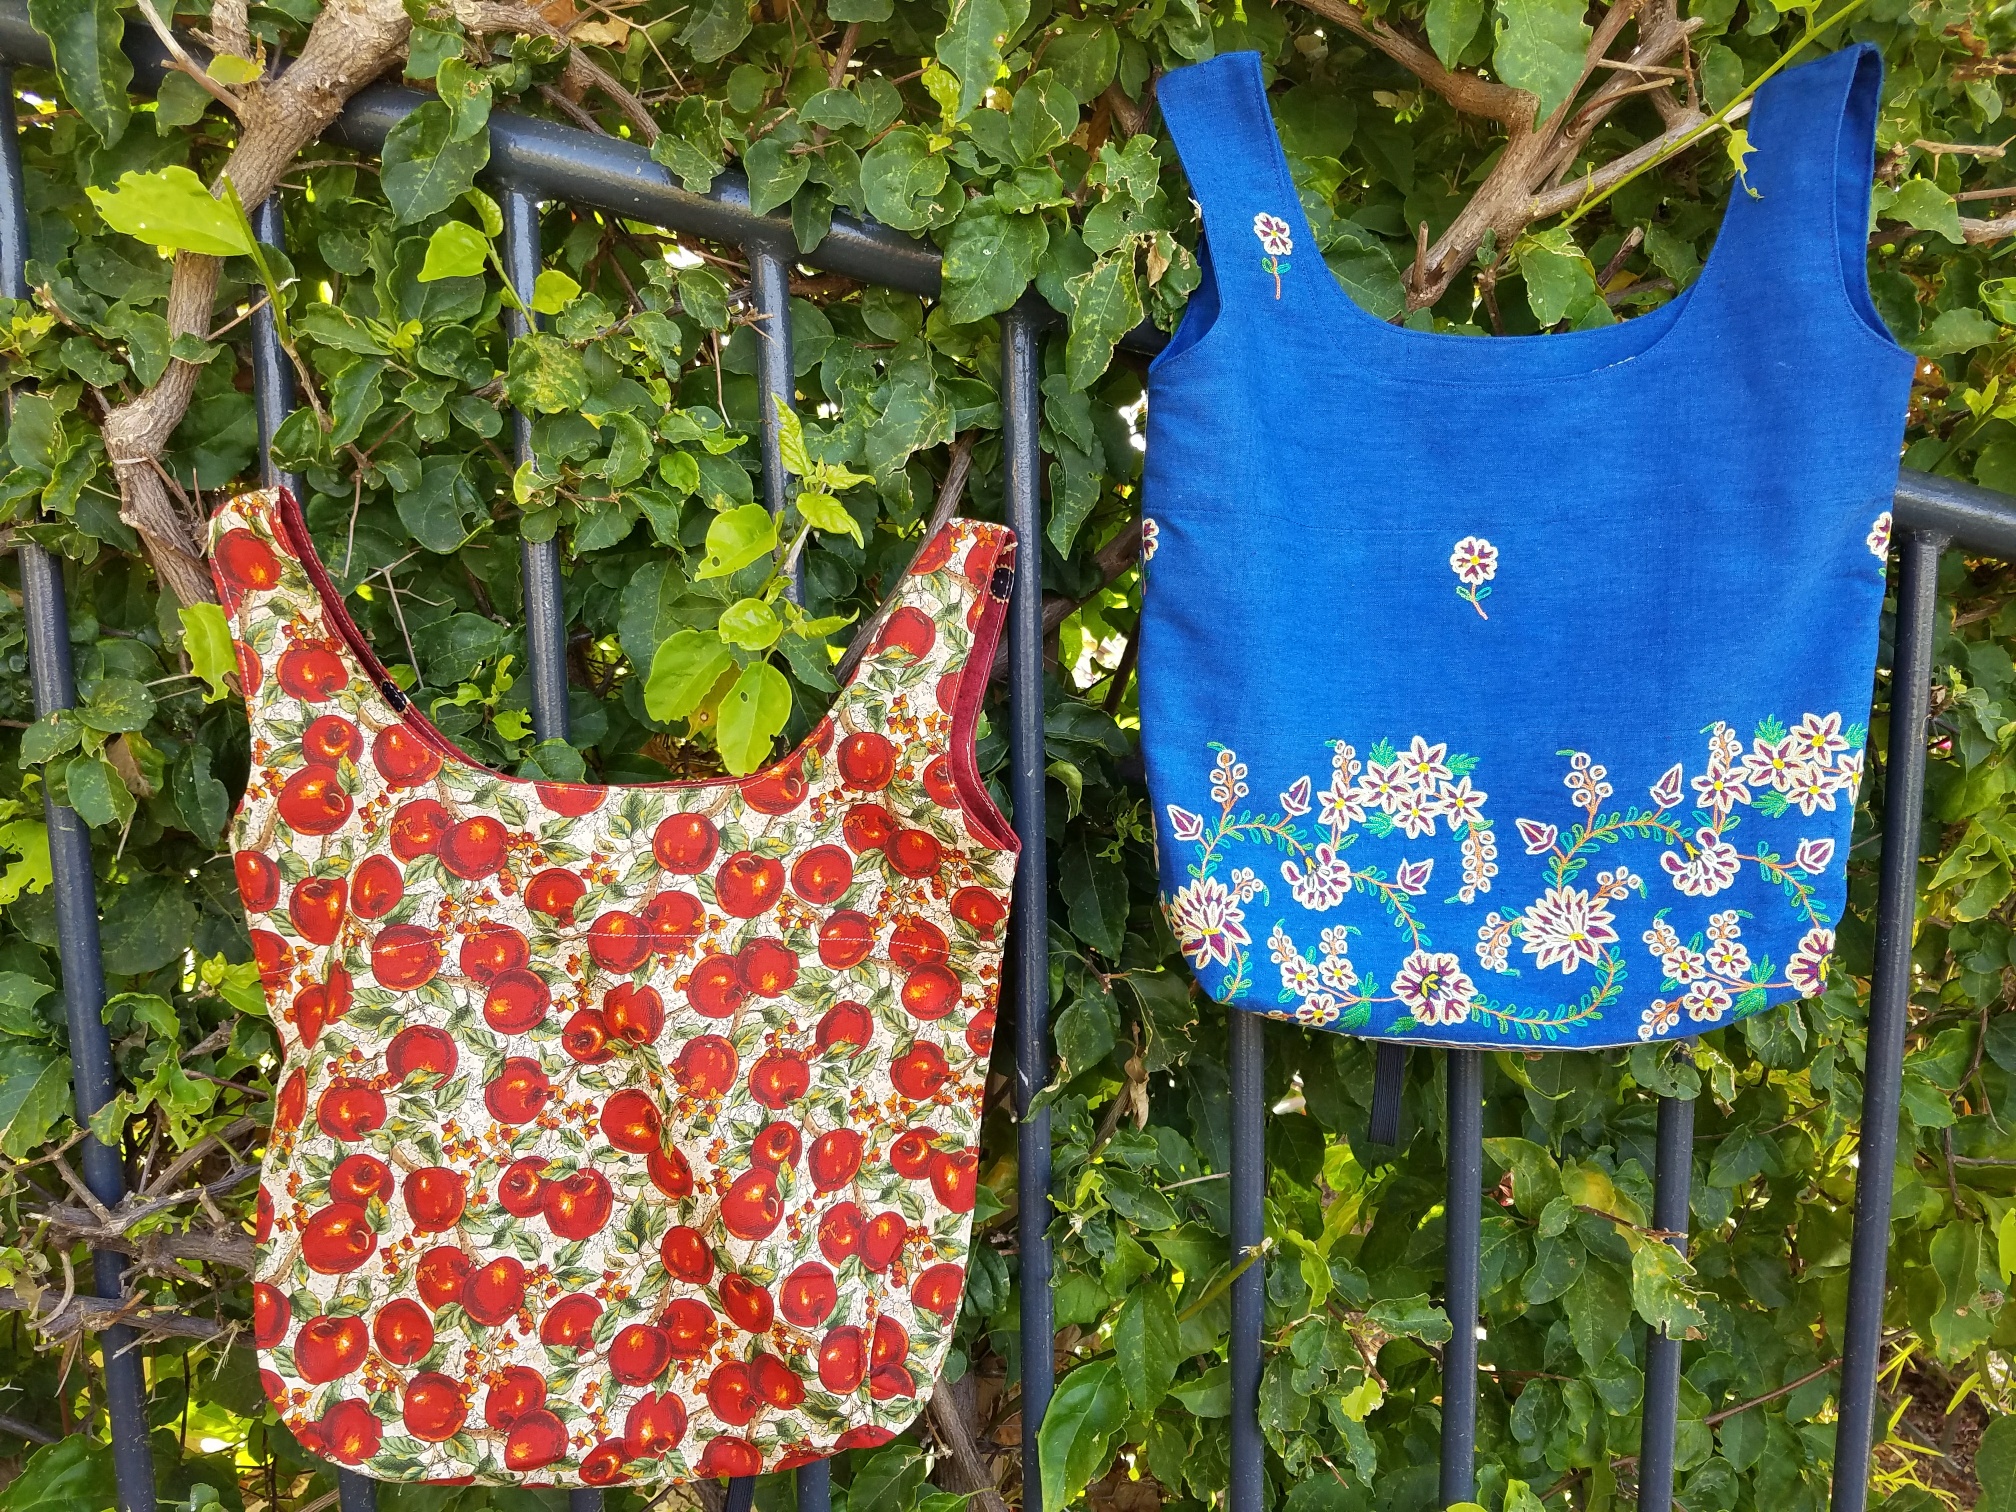

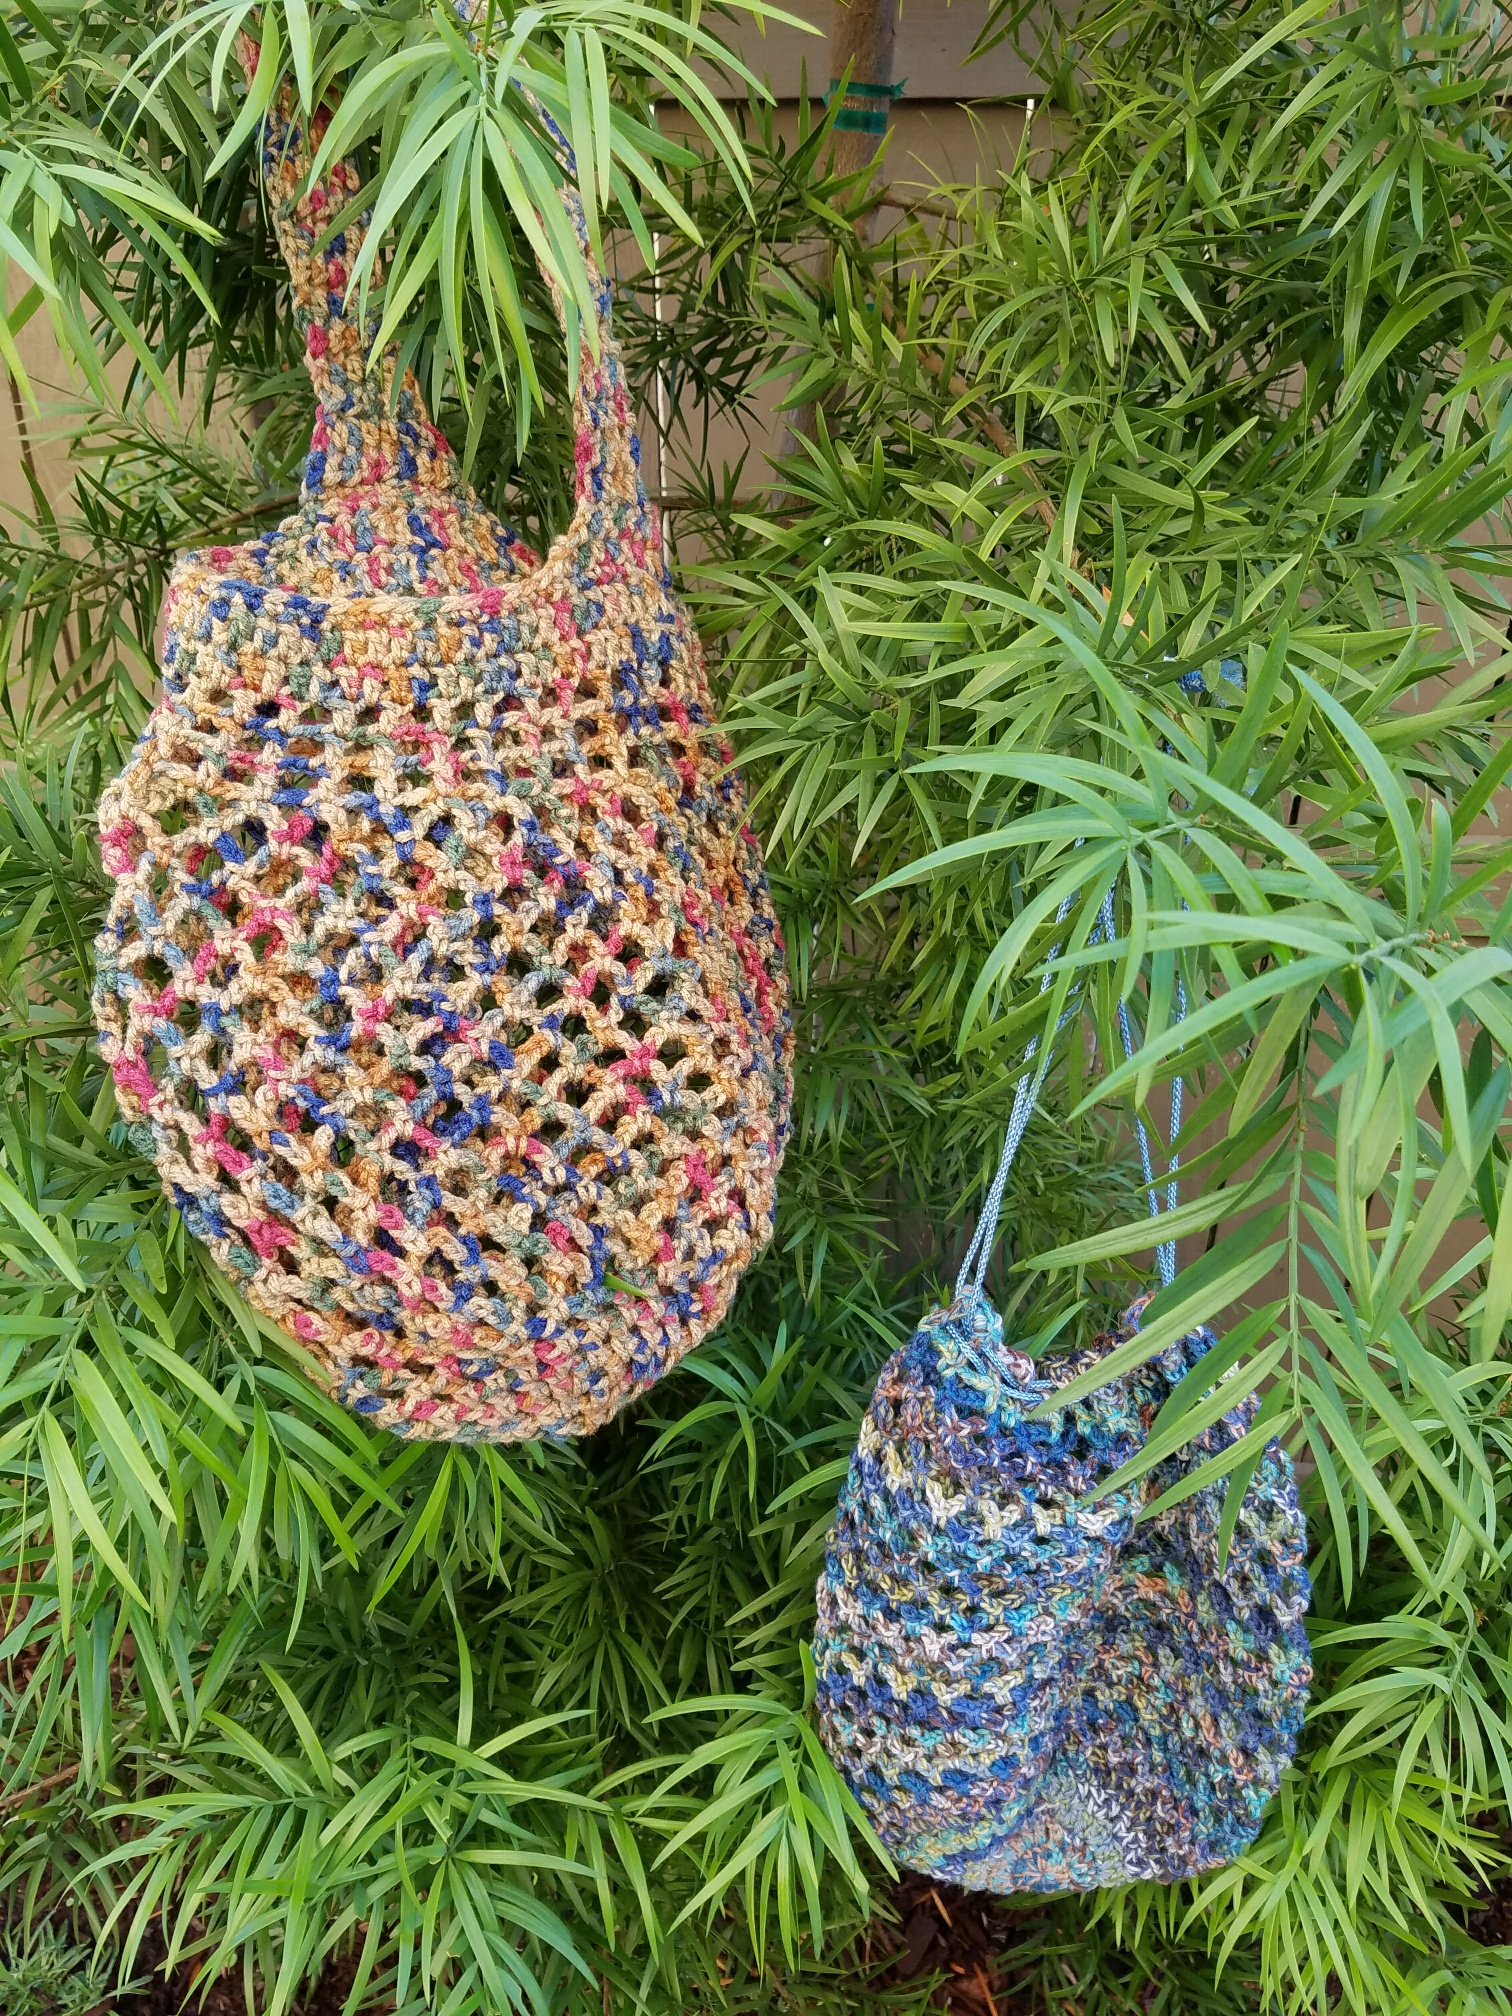
Yarn bags – $15
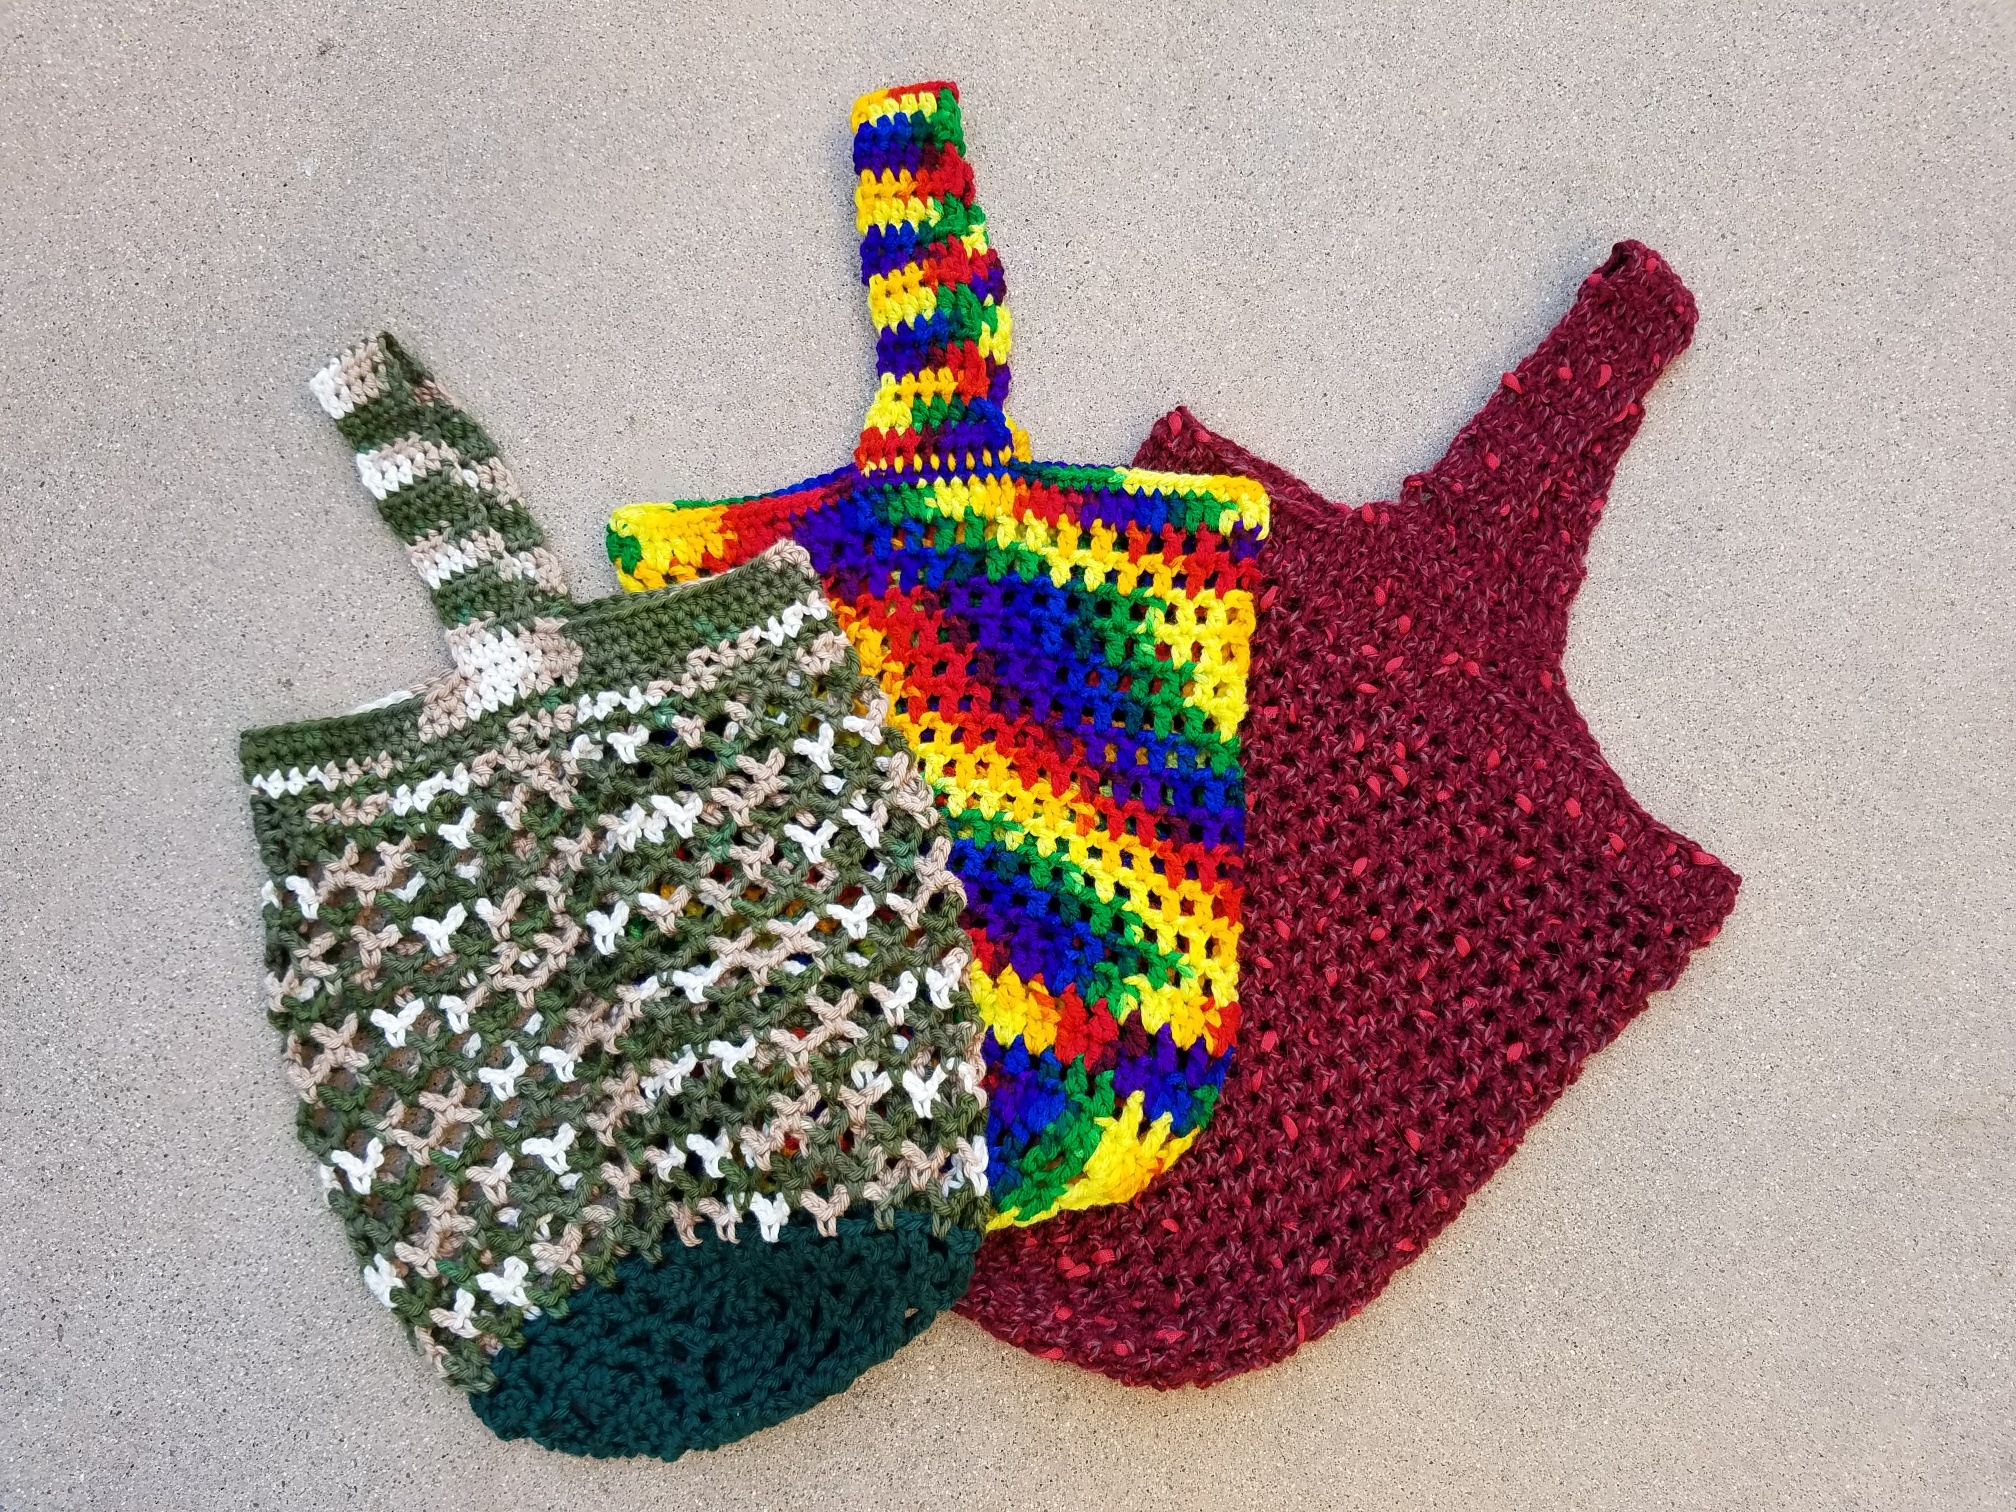
Wine bags – $4 or 3/$10

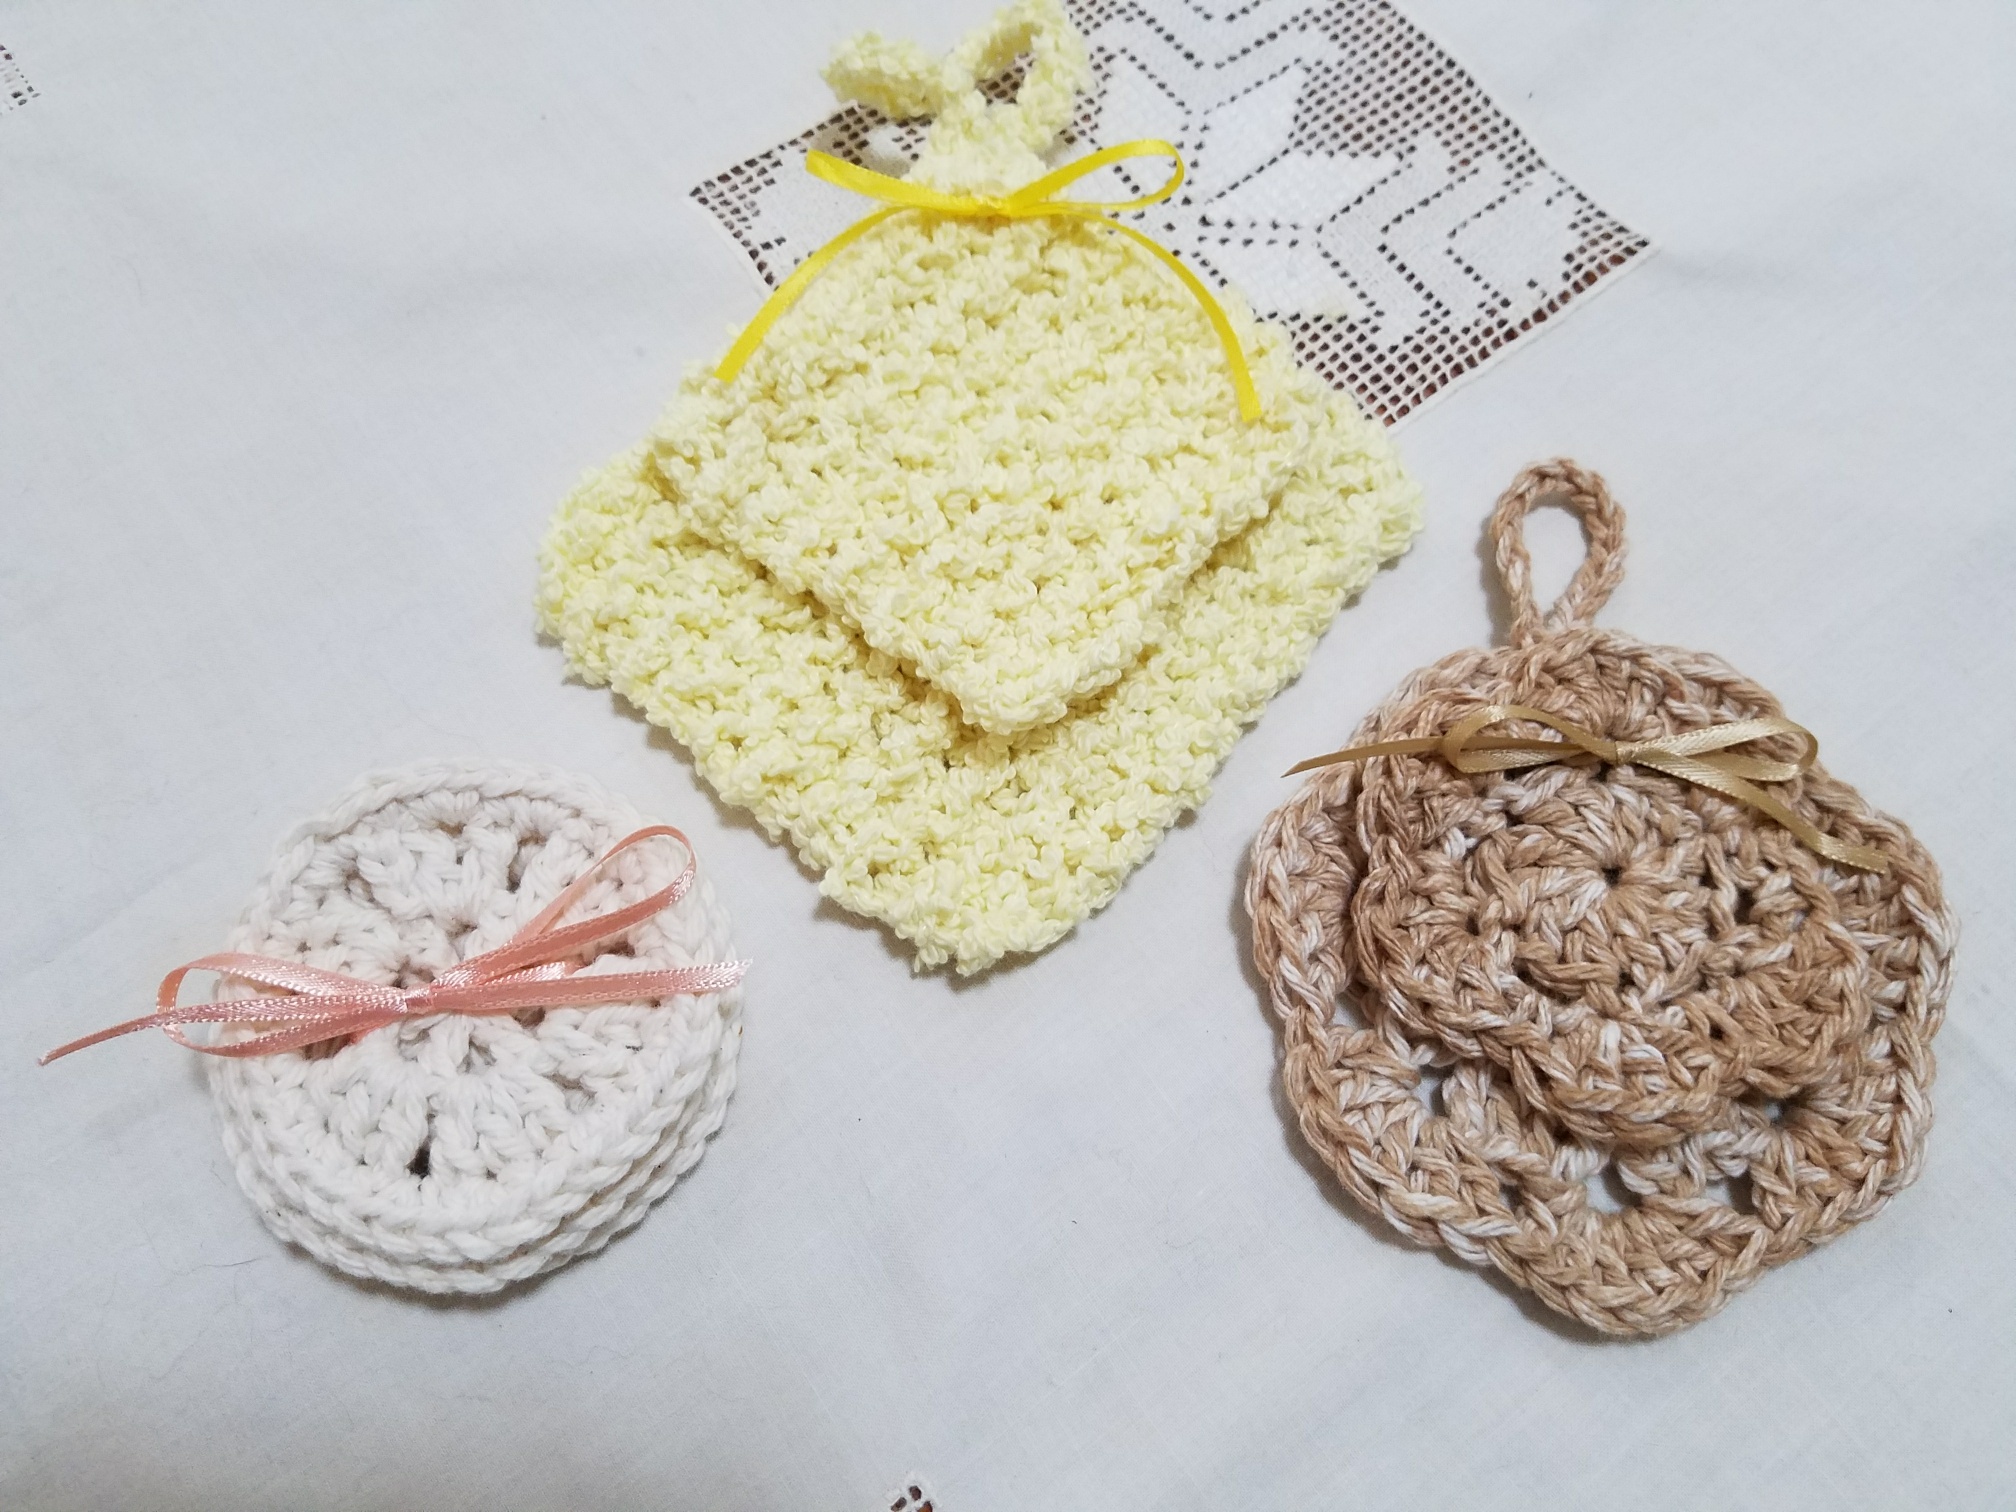
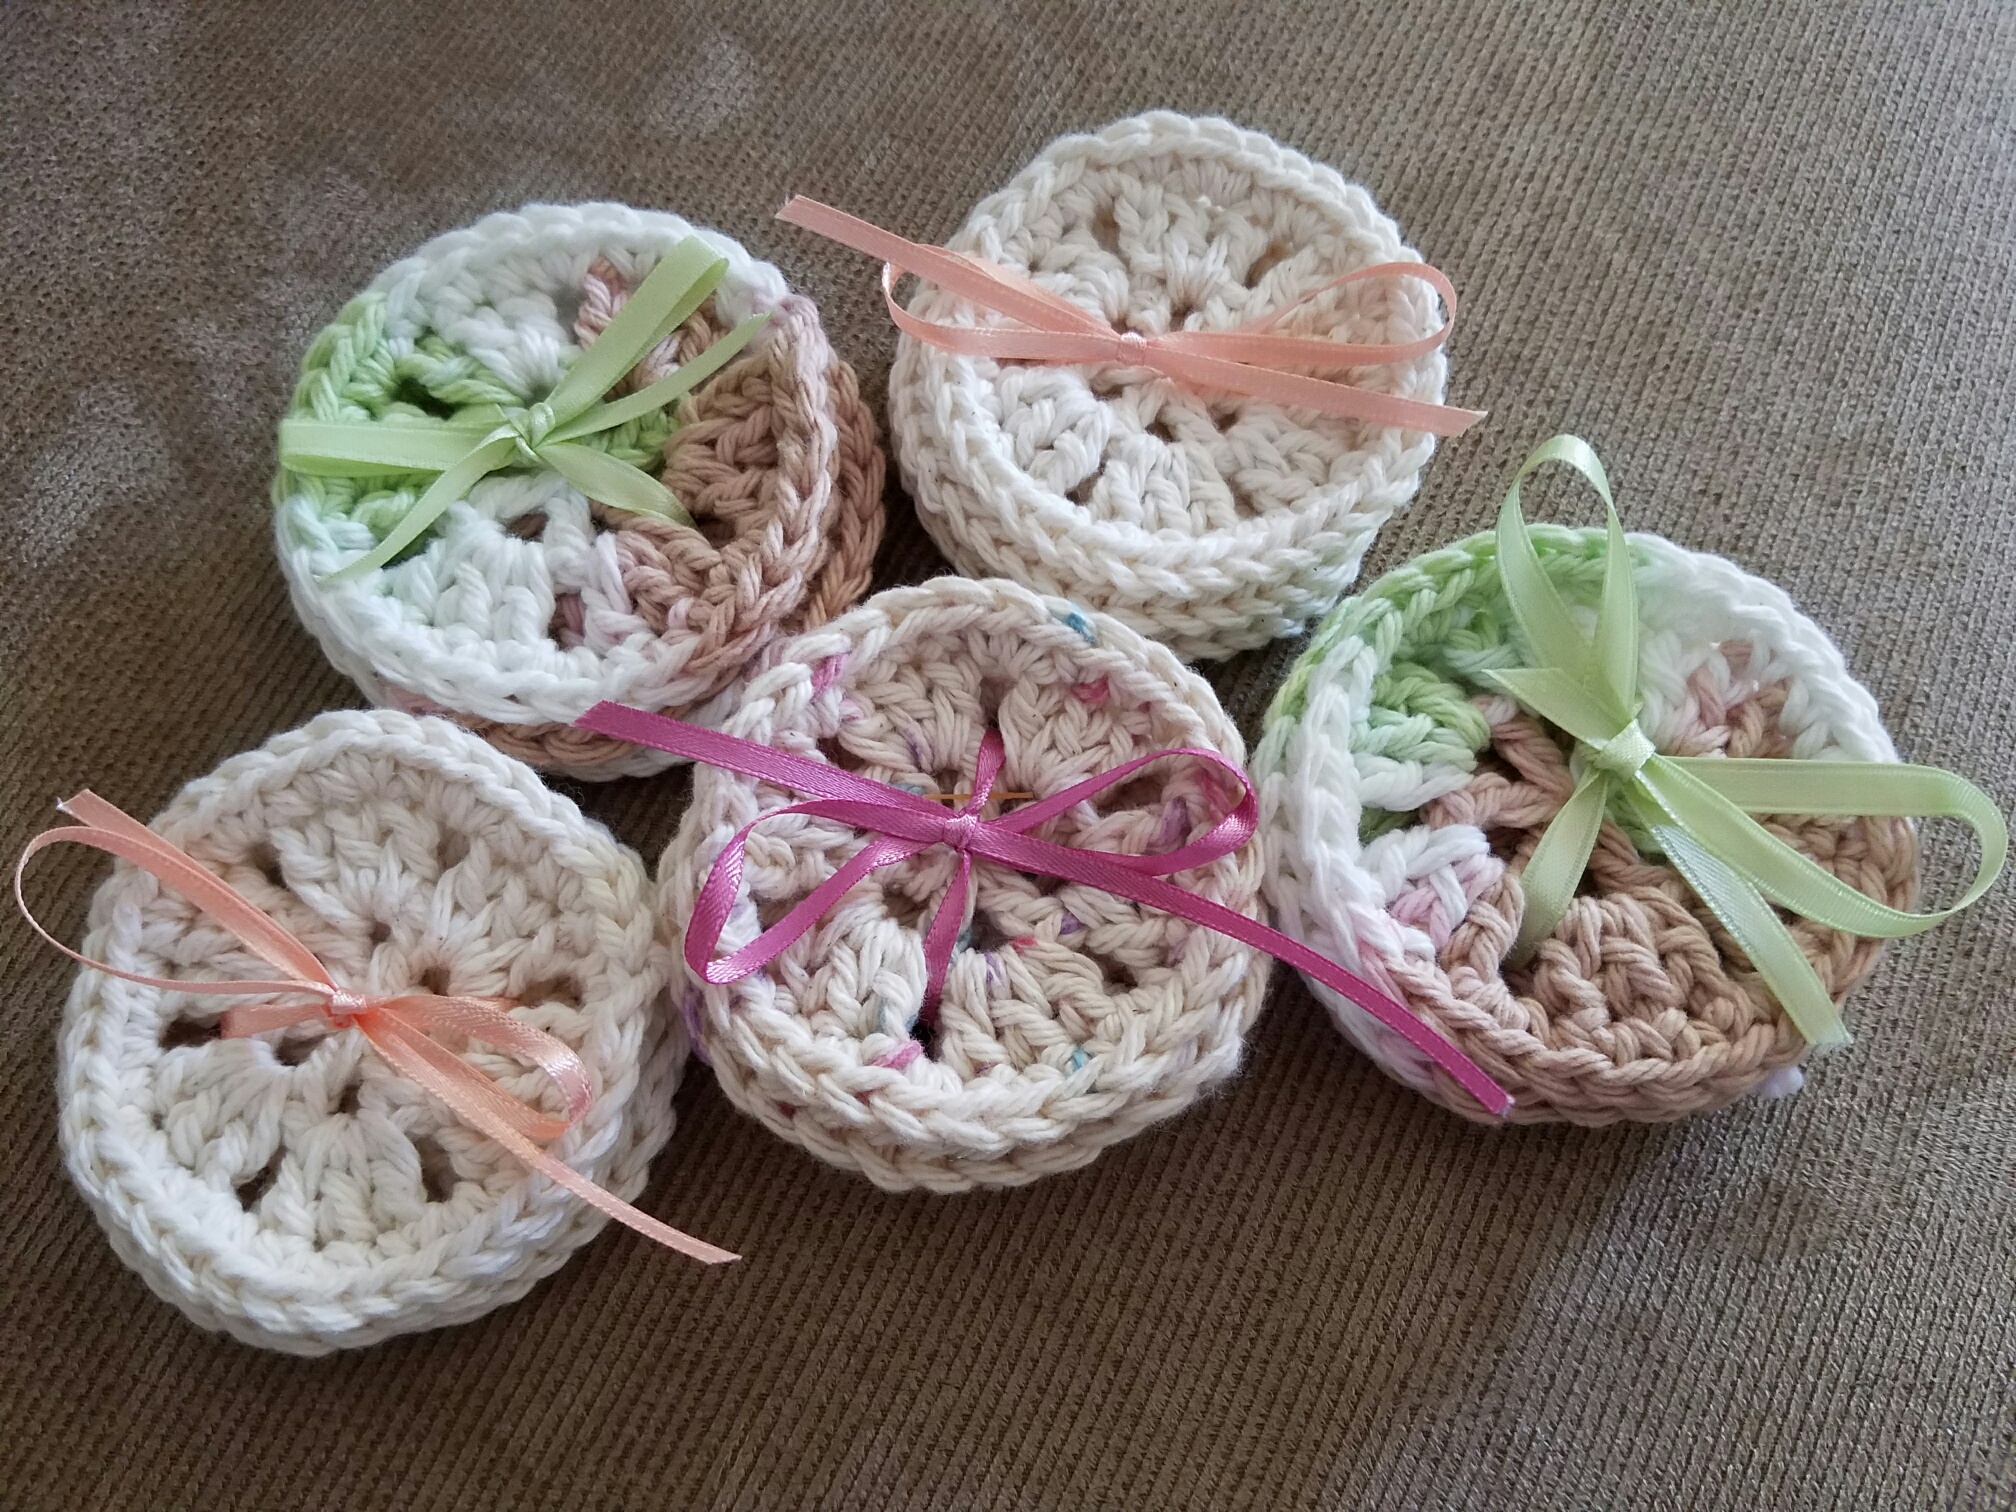
Facial scrubbies – all cotton, 3 styles – $5 set
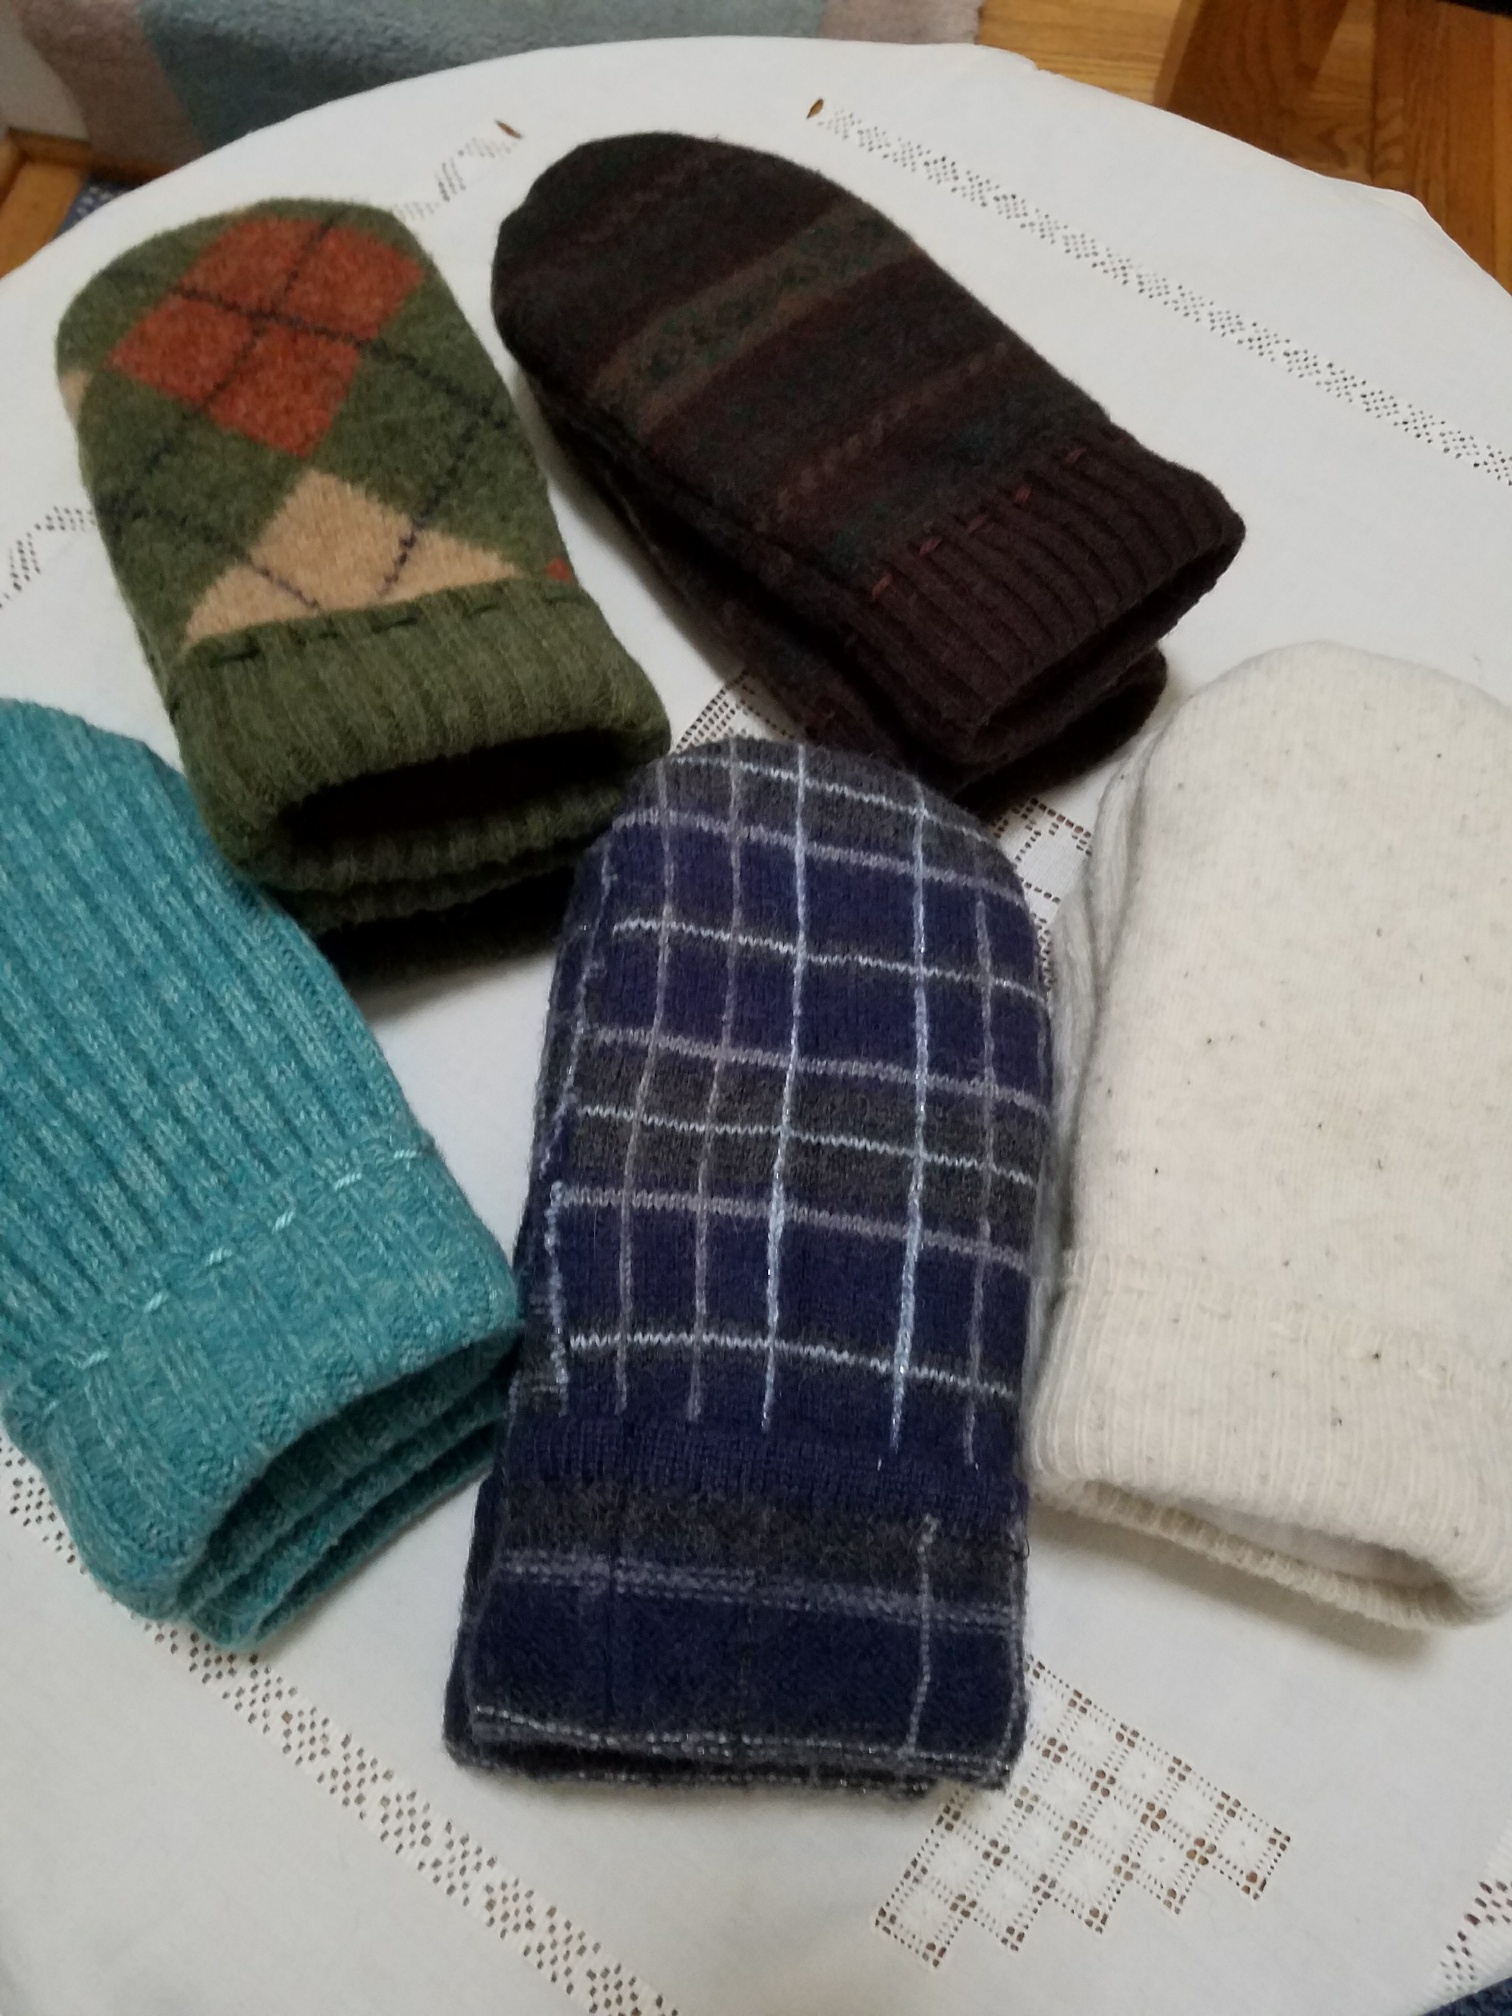
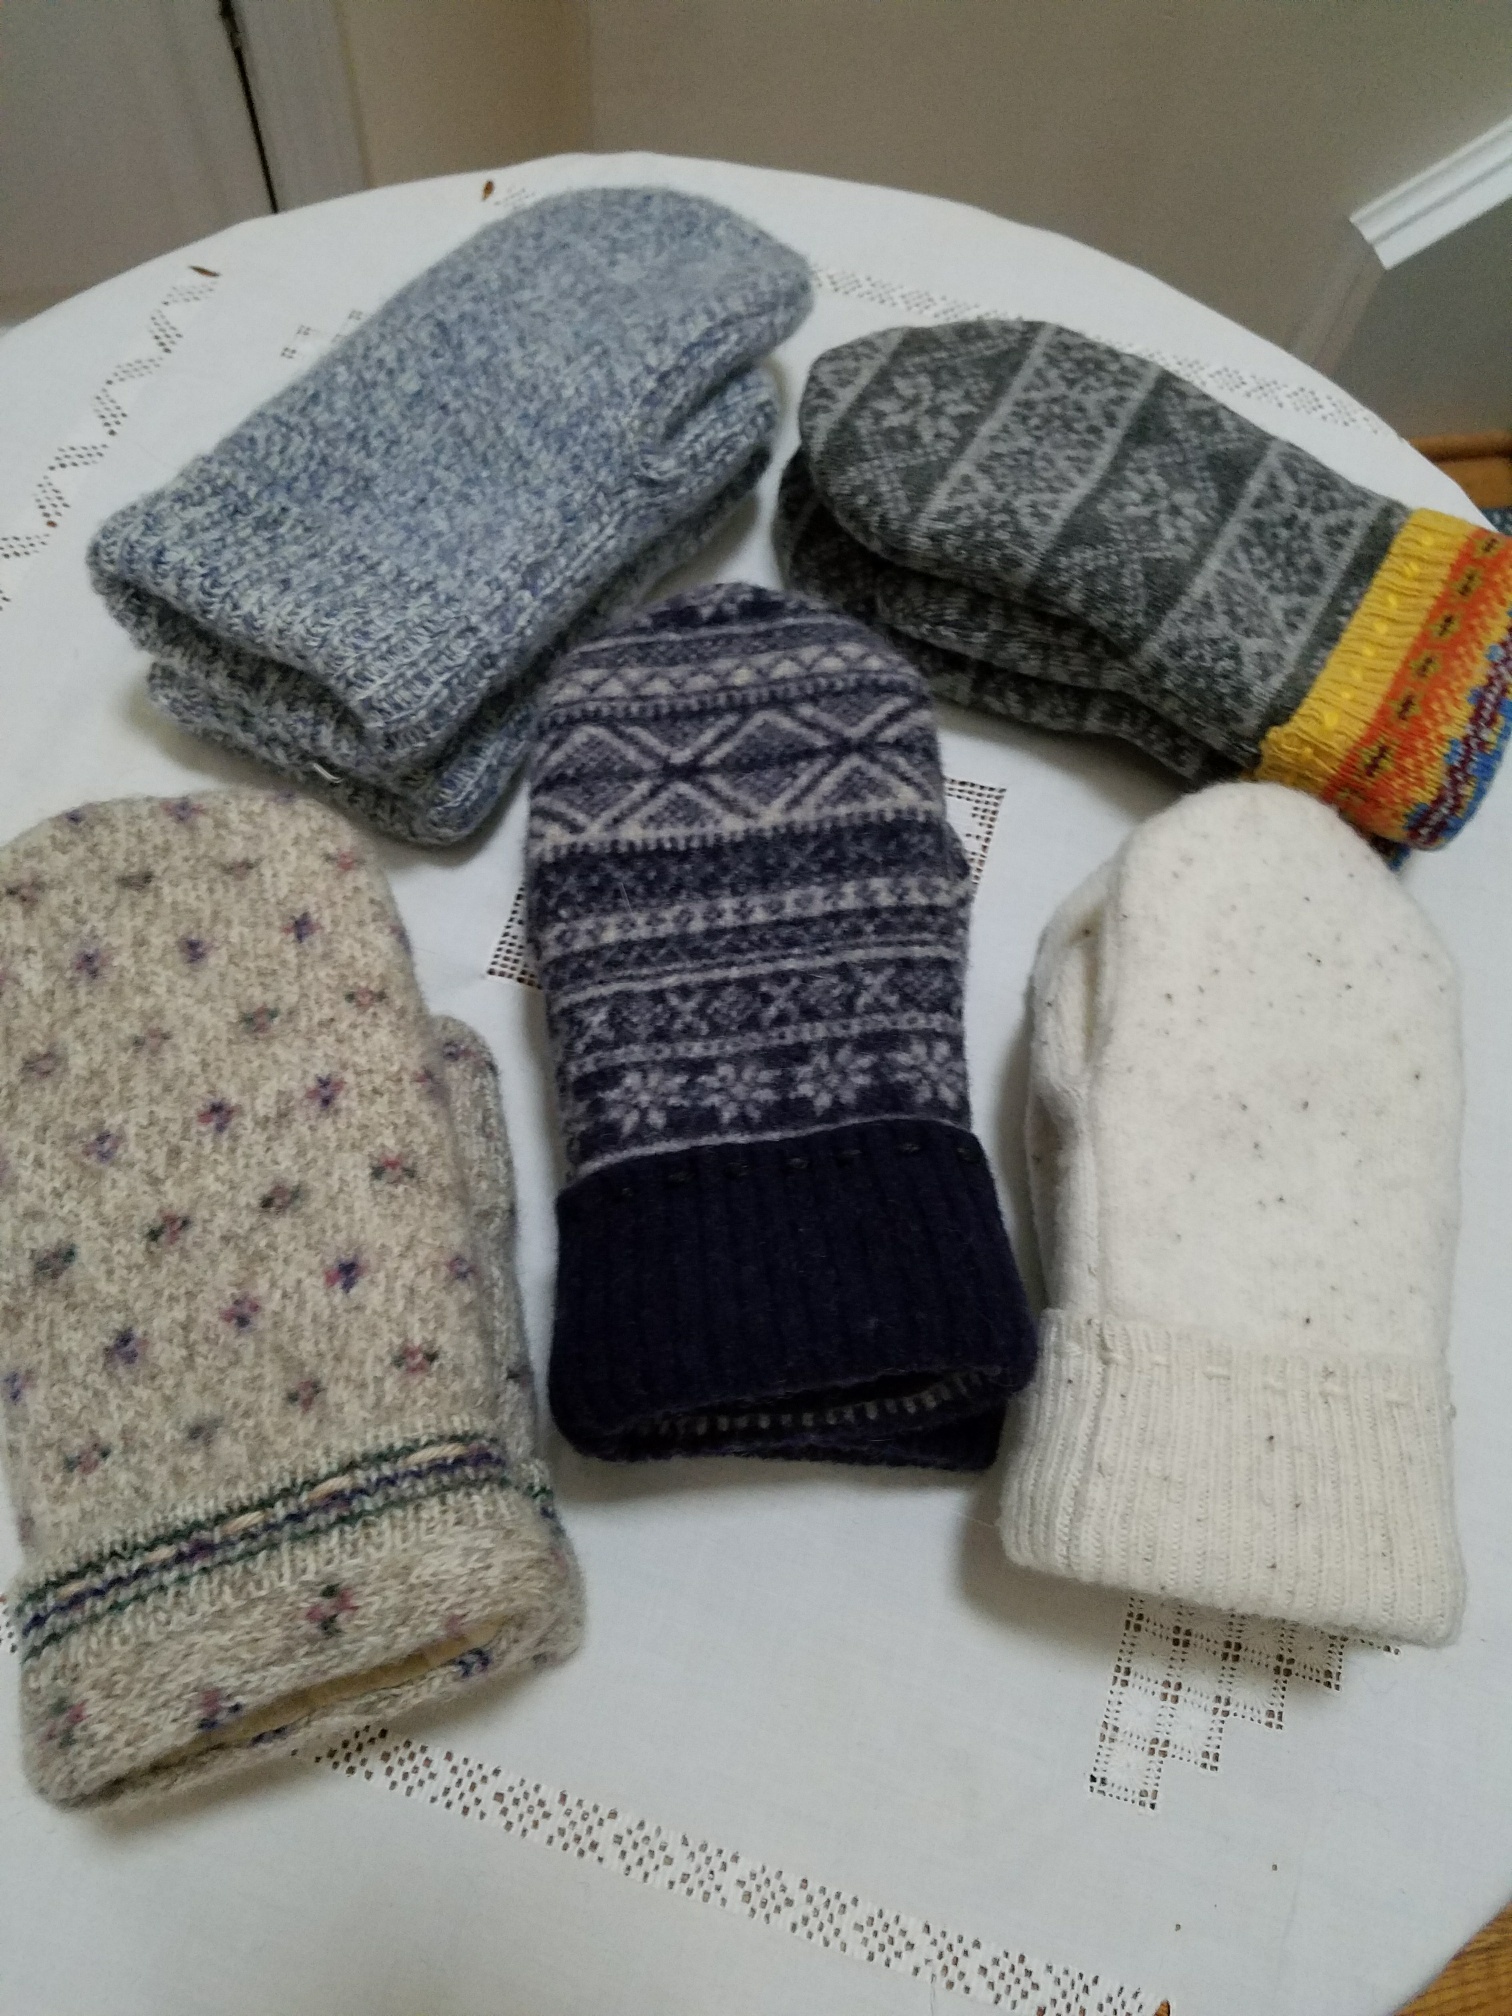
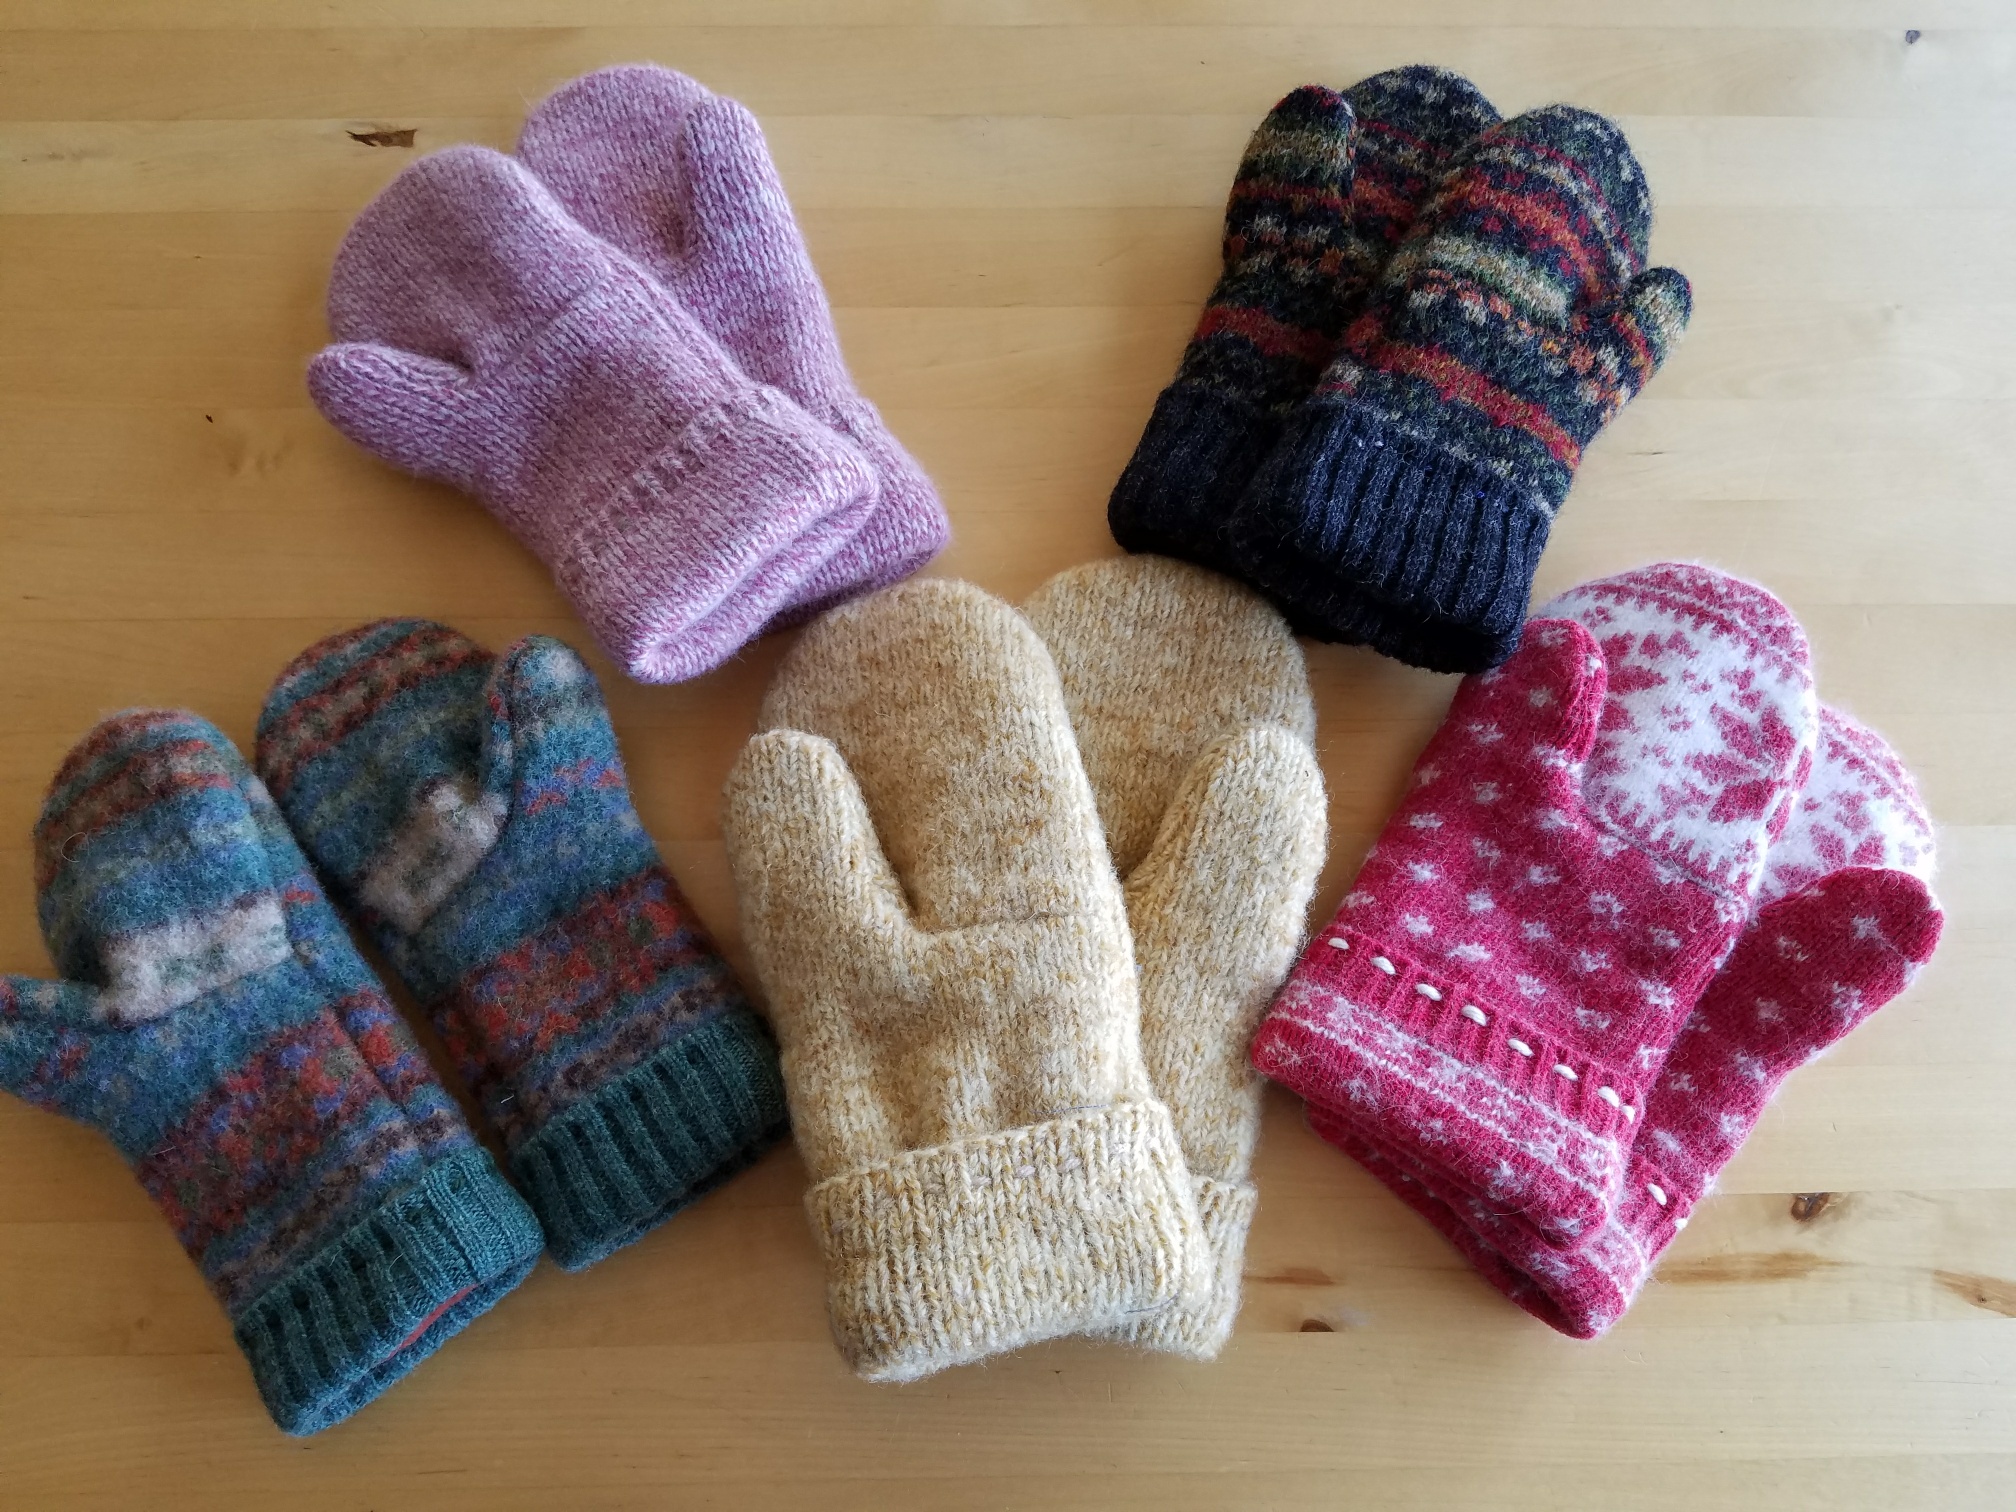
Smittens – $20
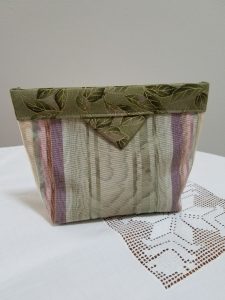
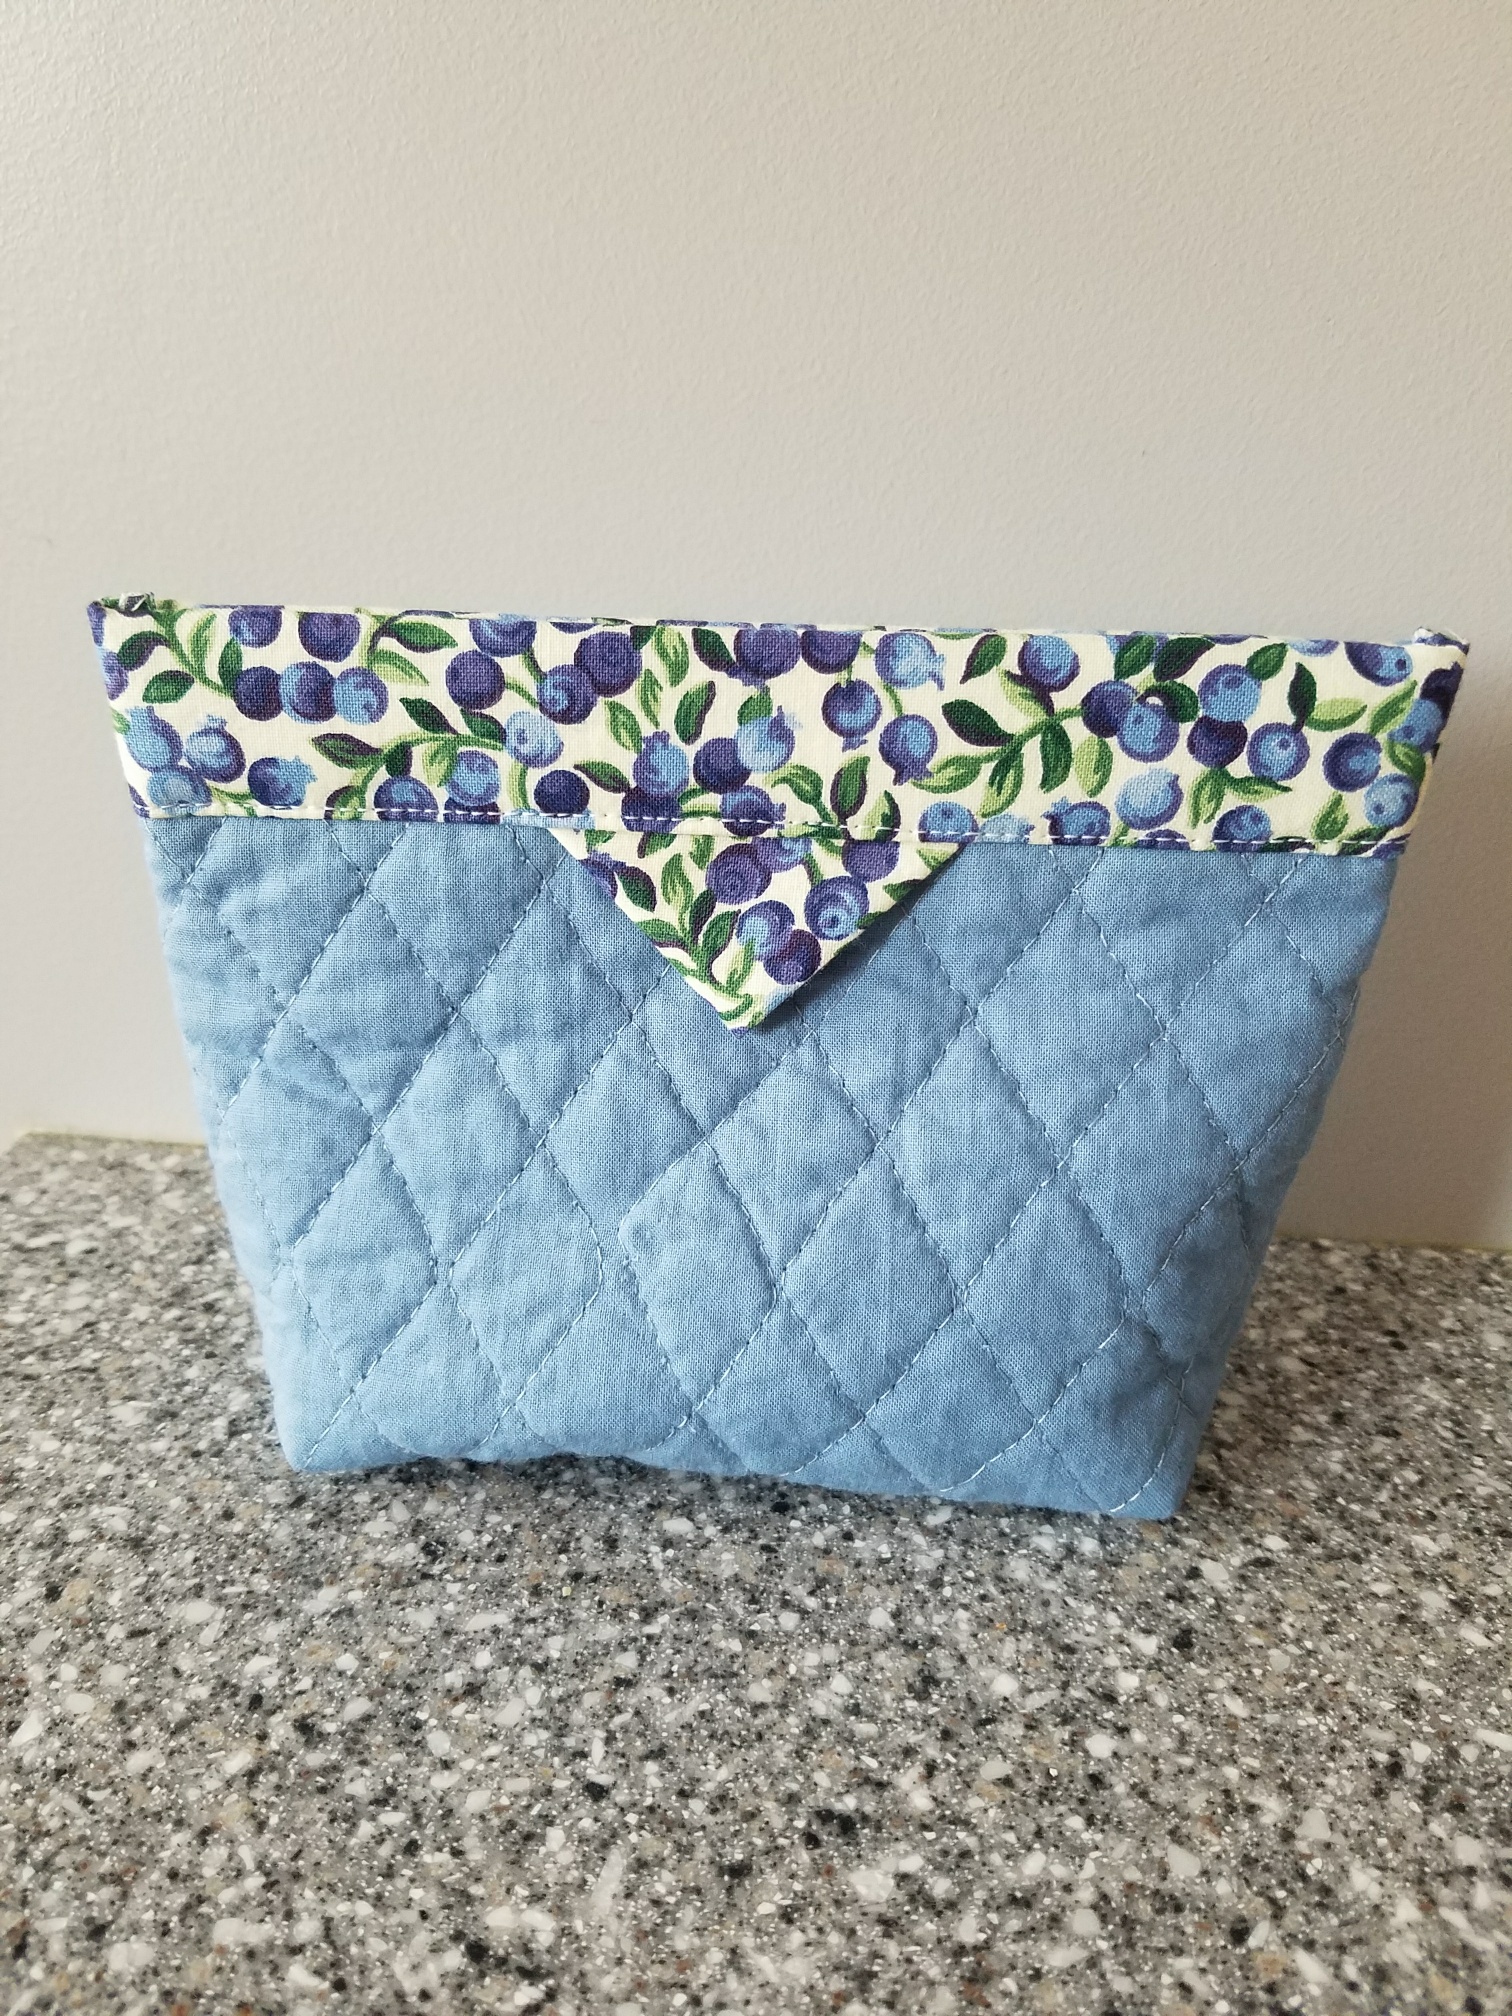
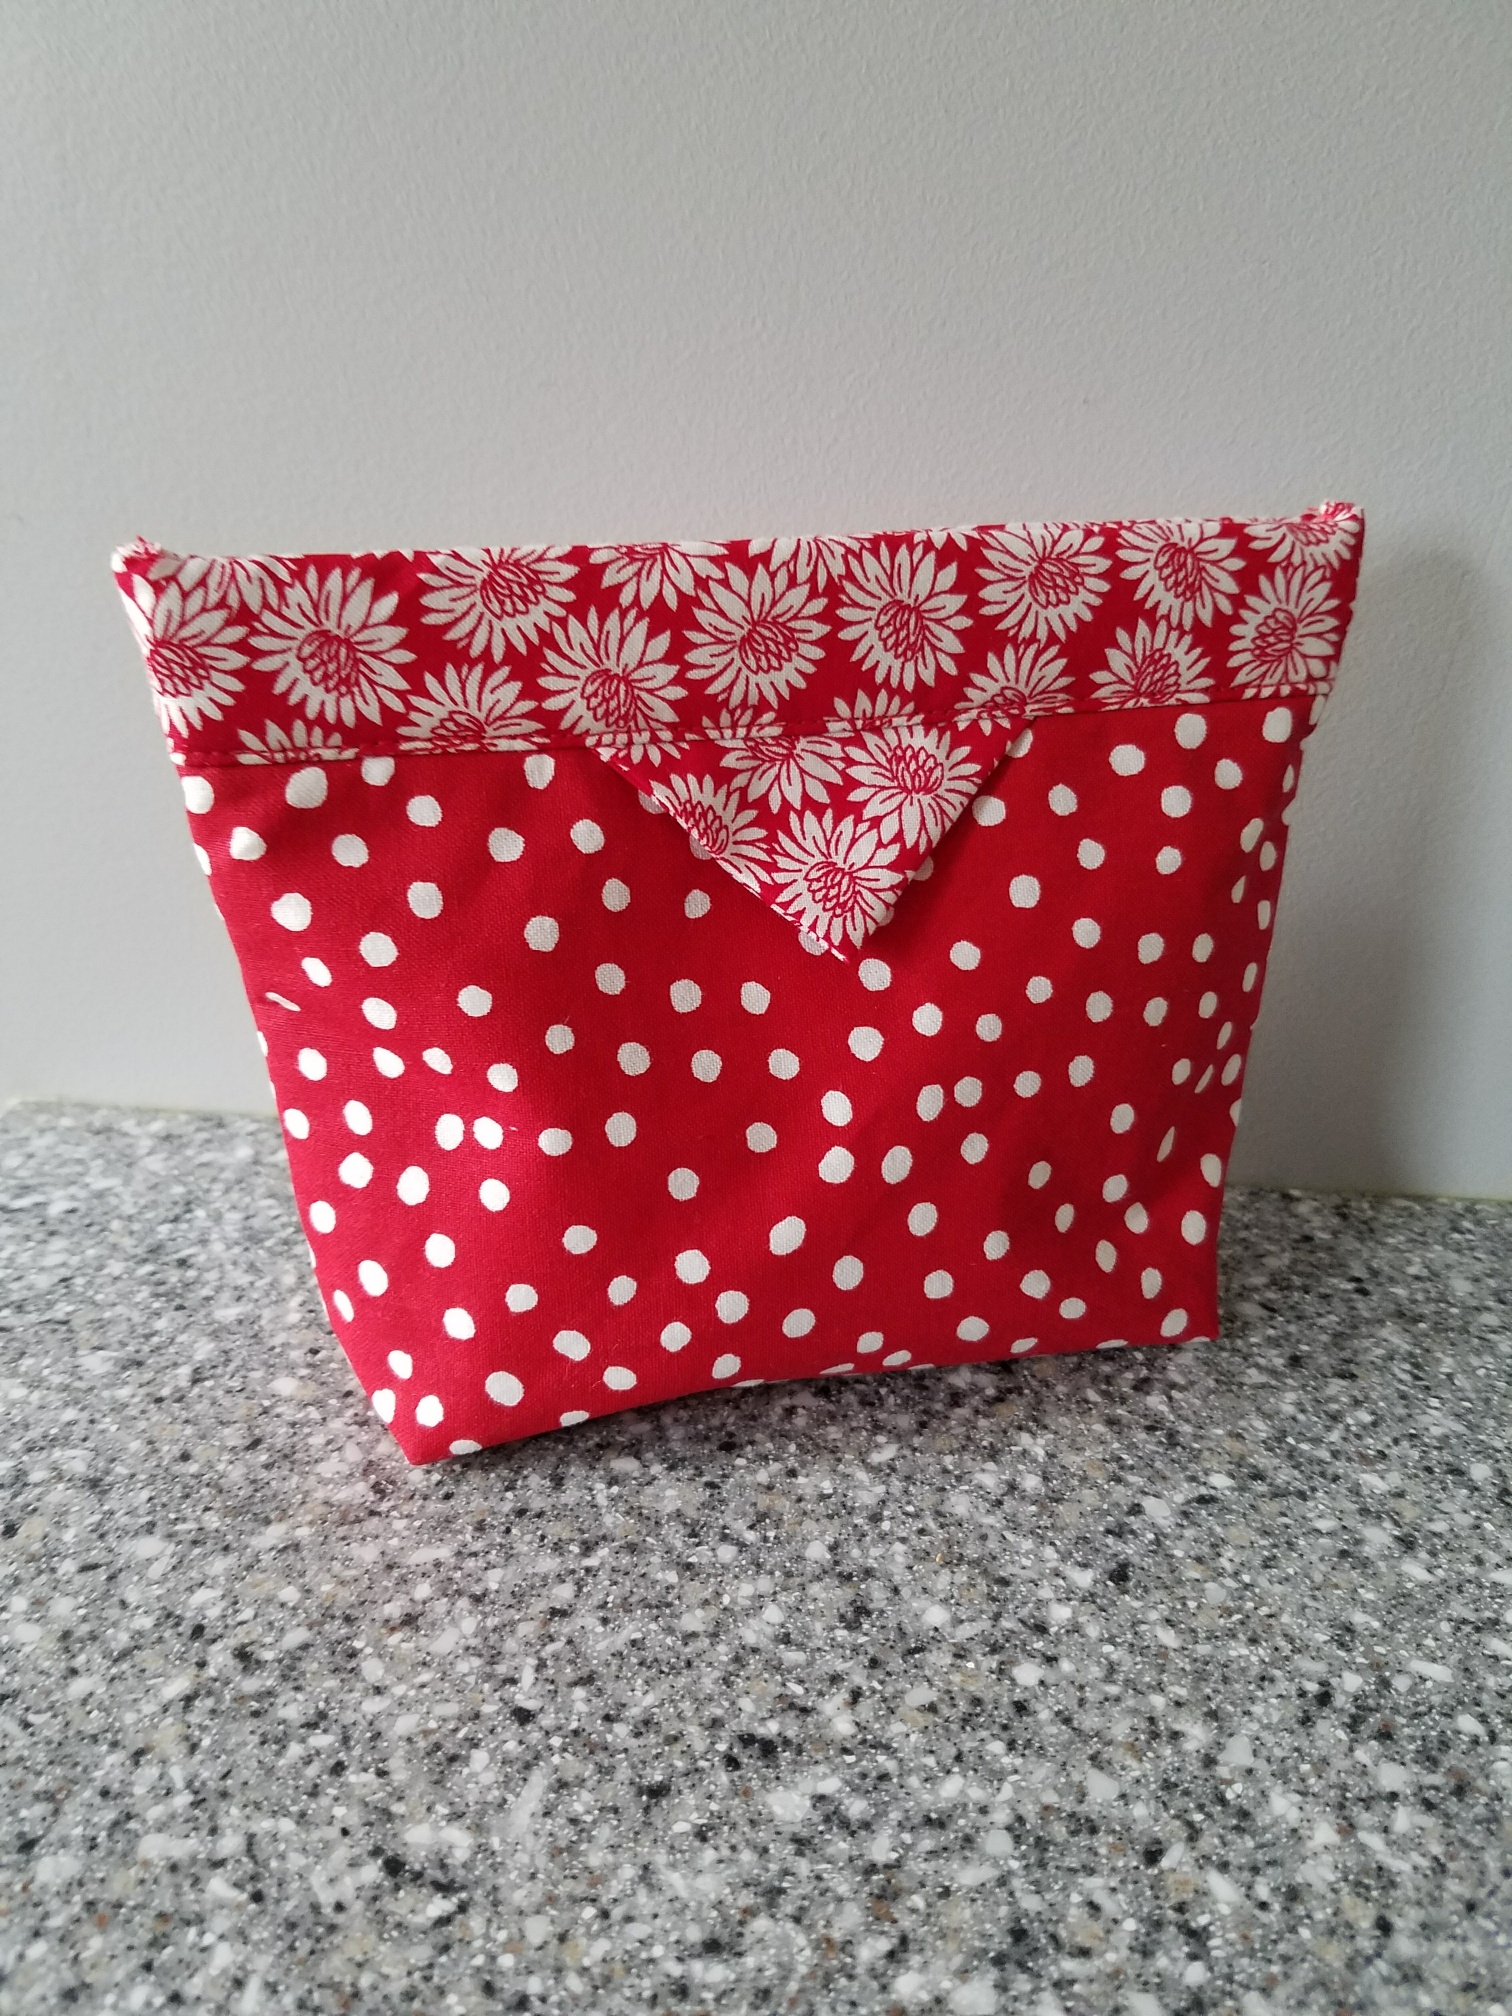
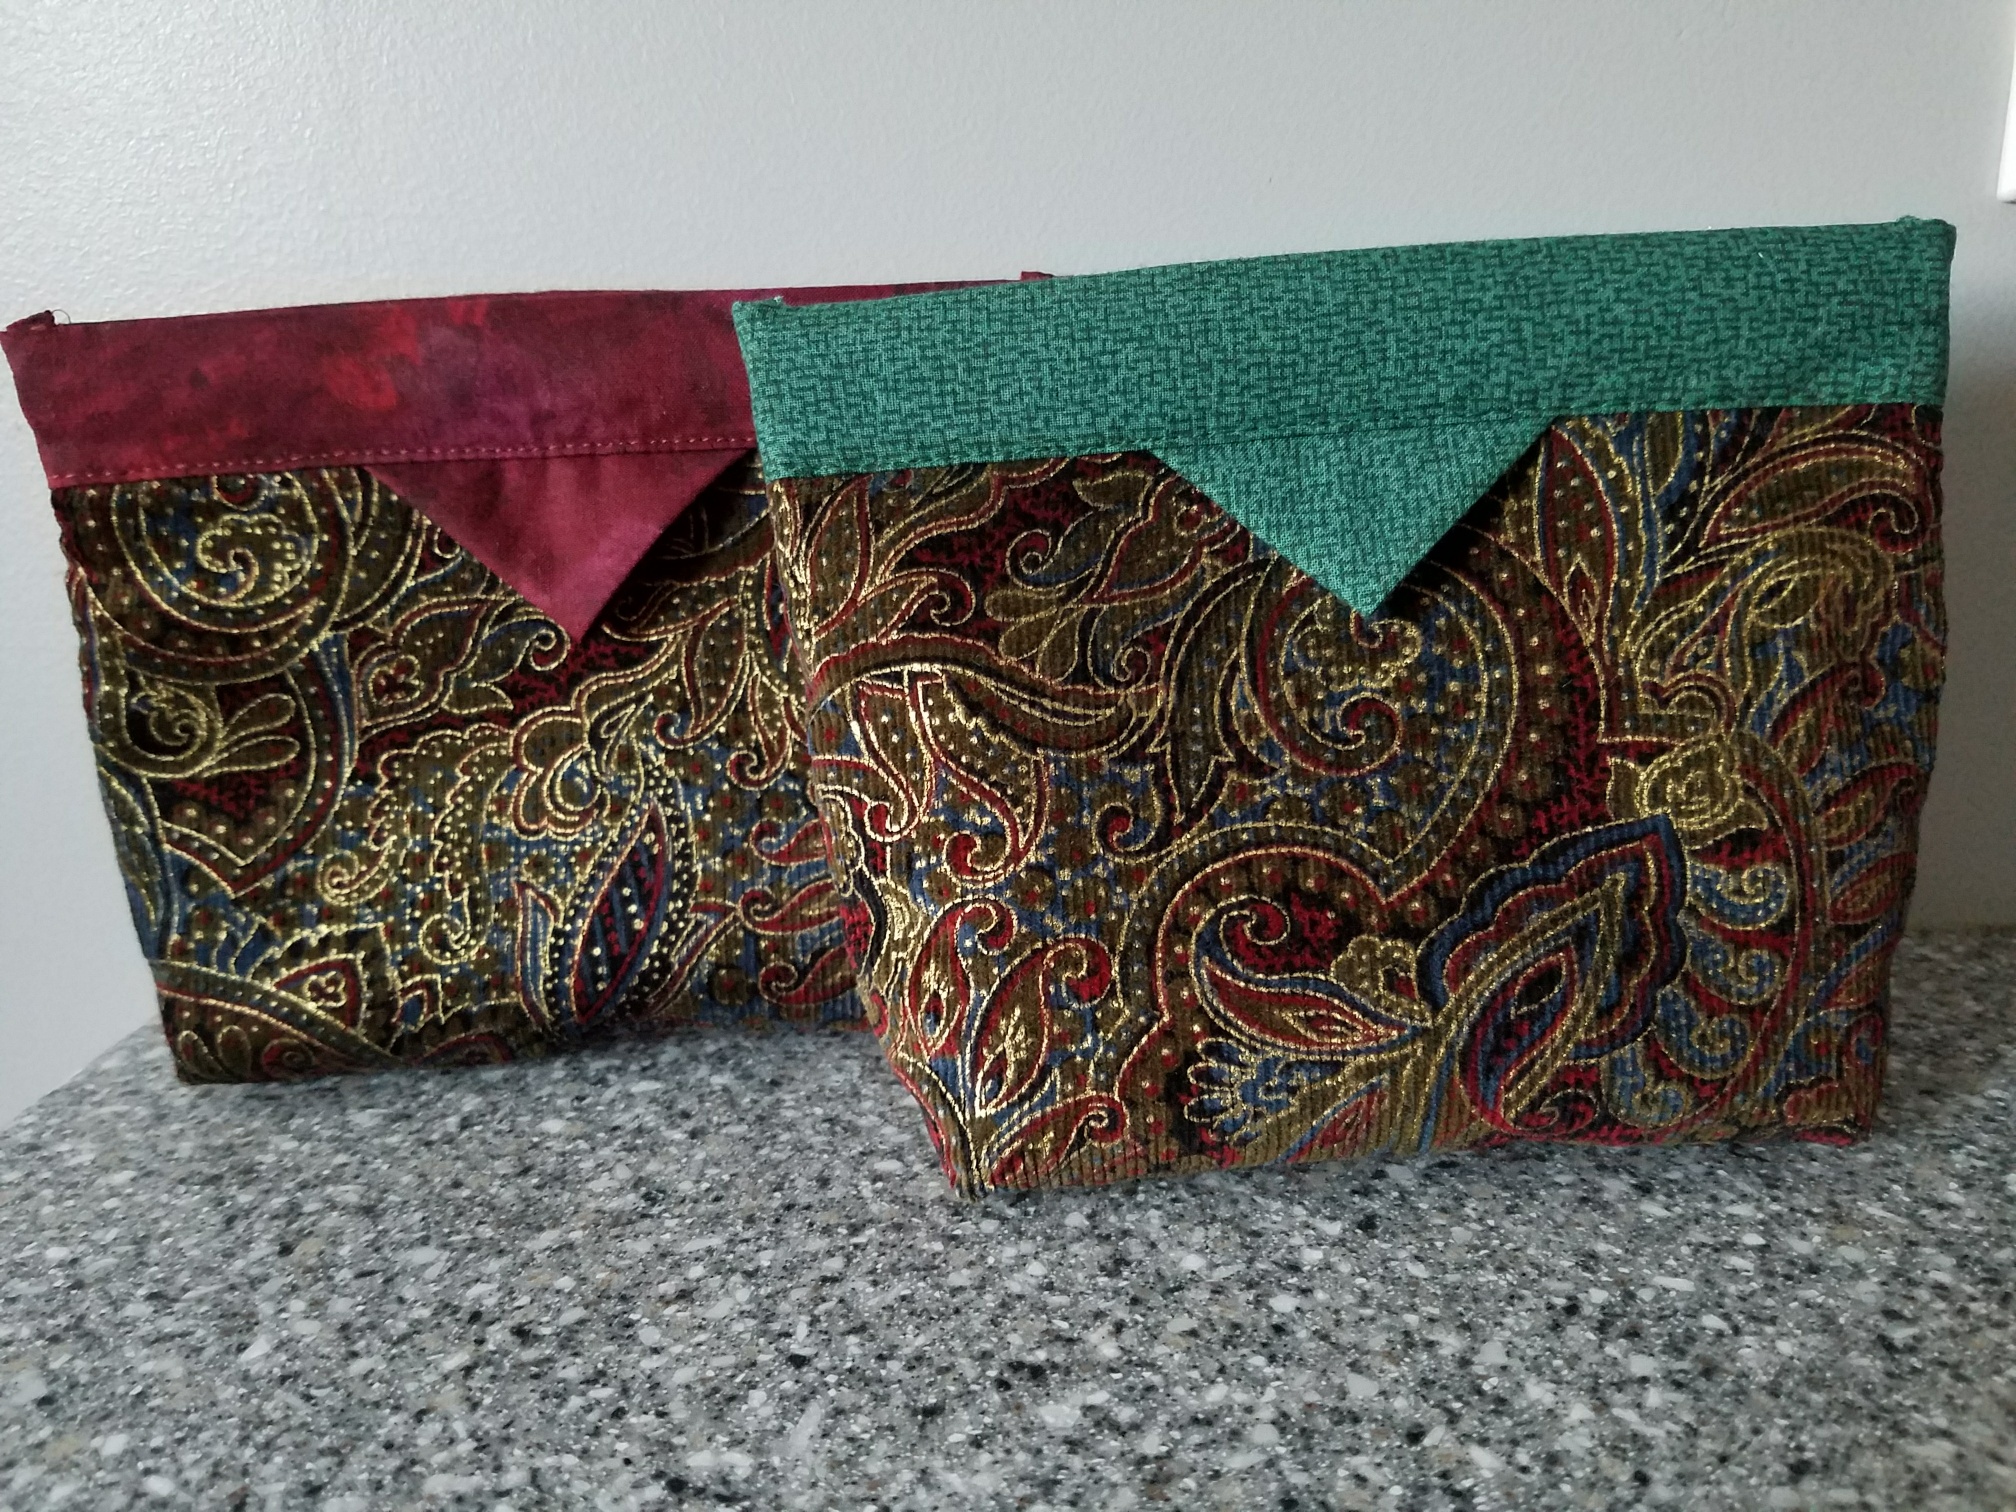
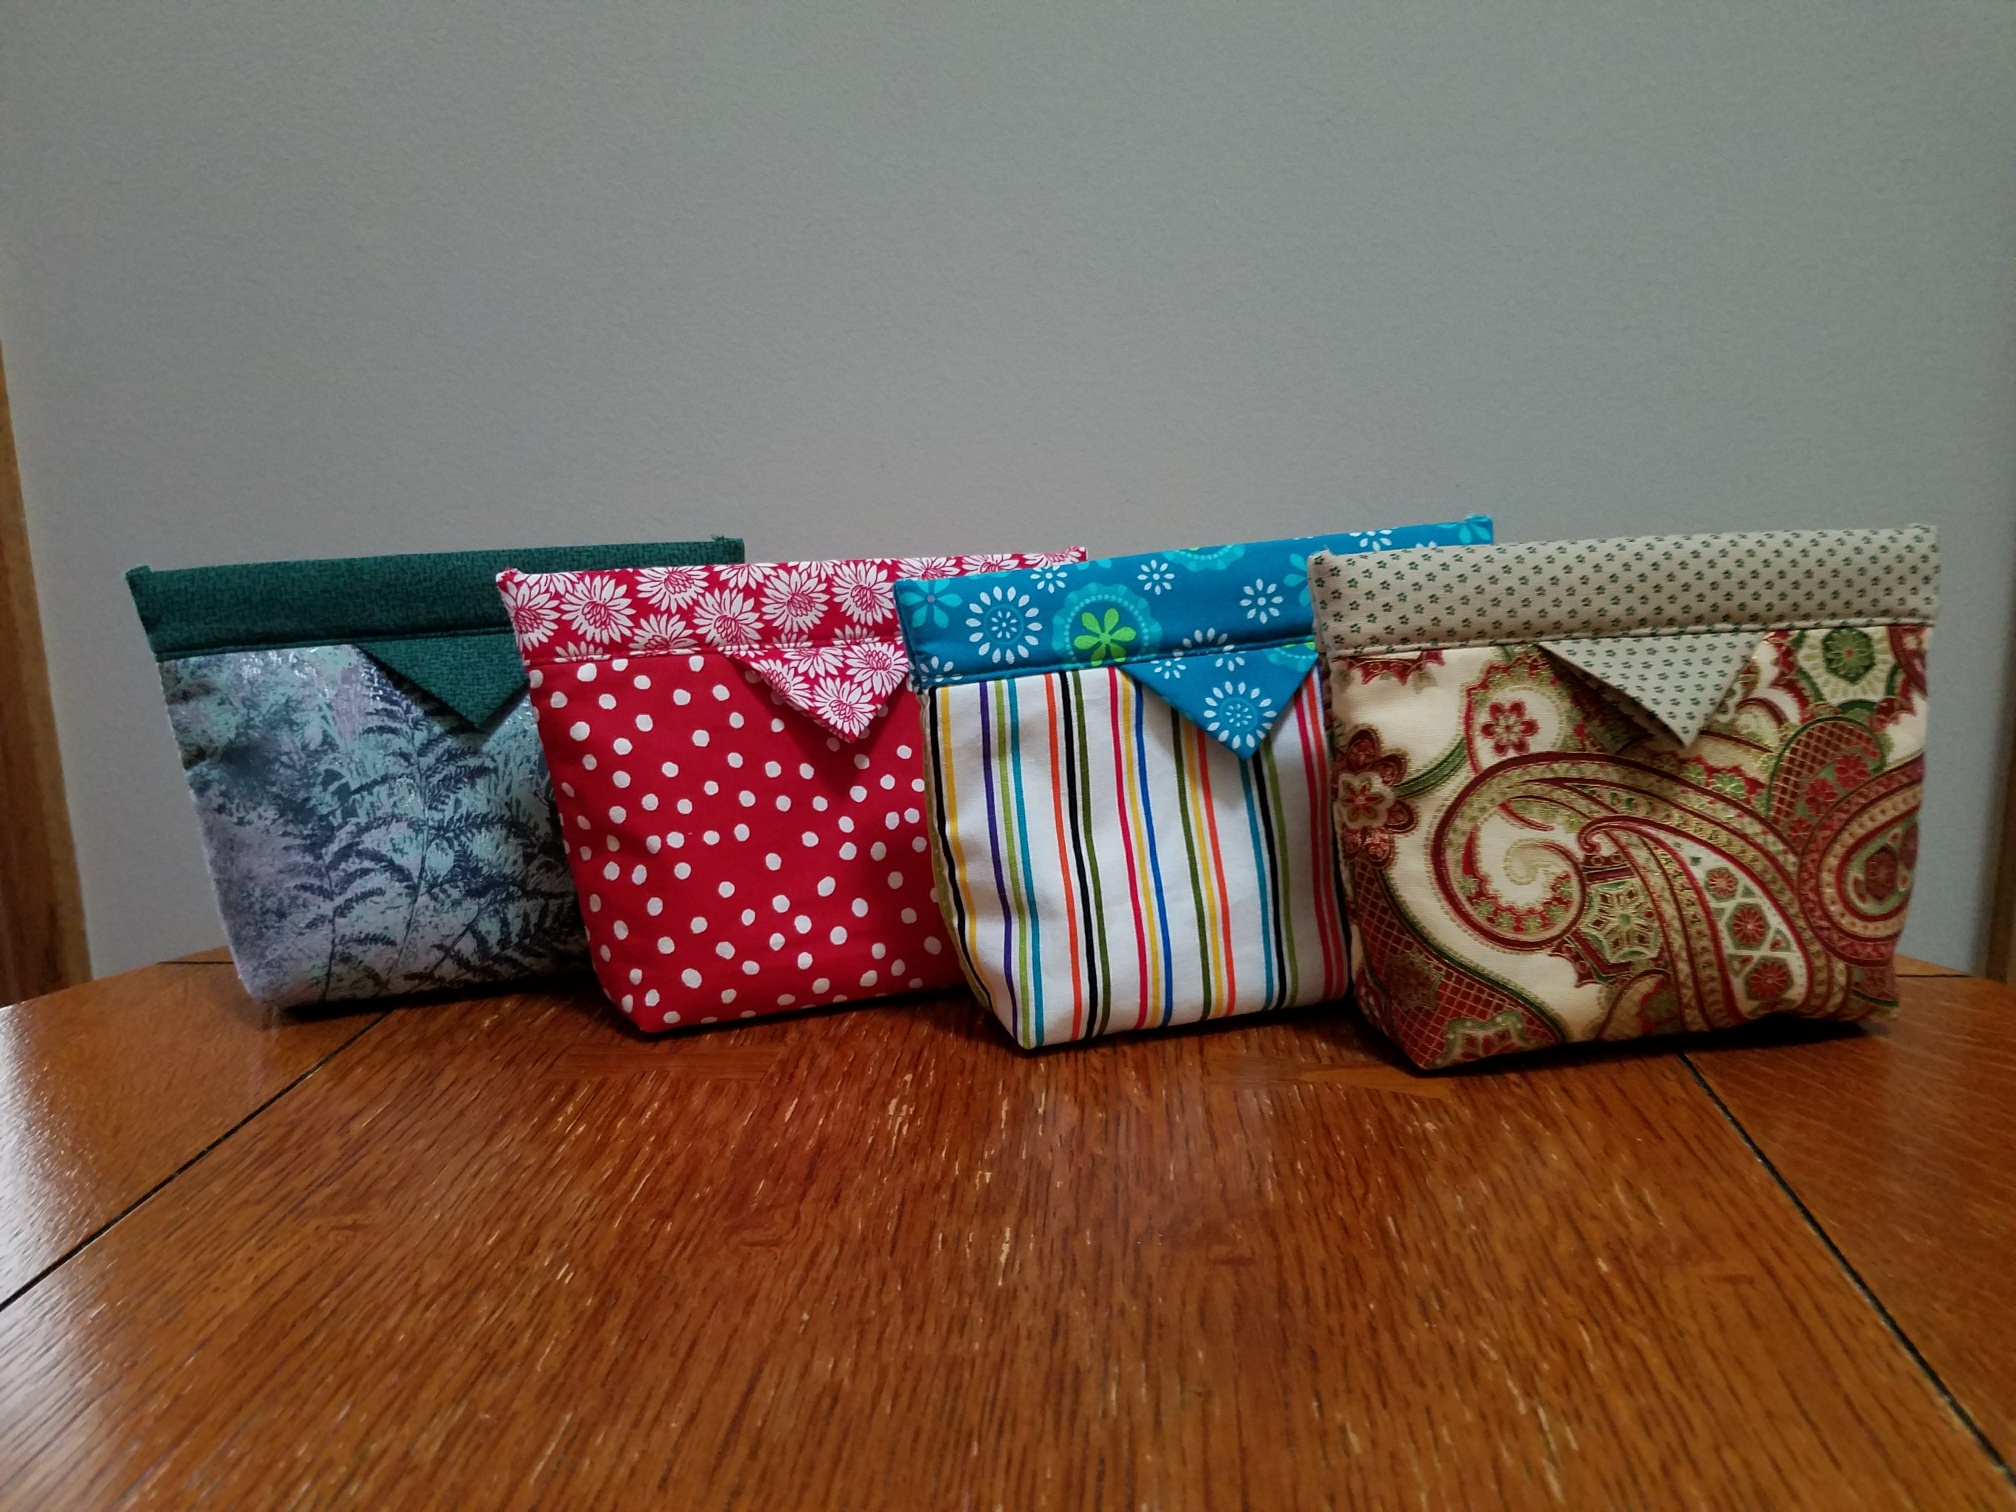
Snap purses – $5
(Perfect for cosmetics or other small sundries)


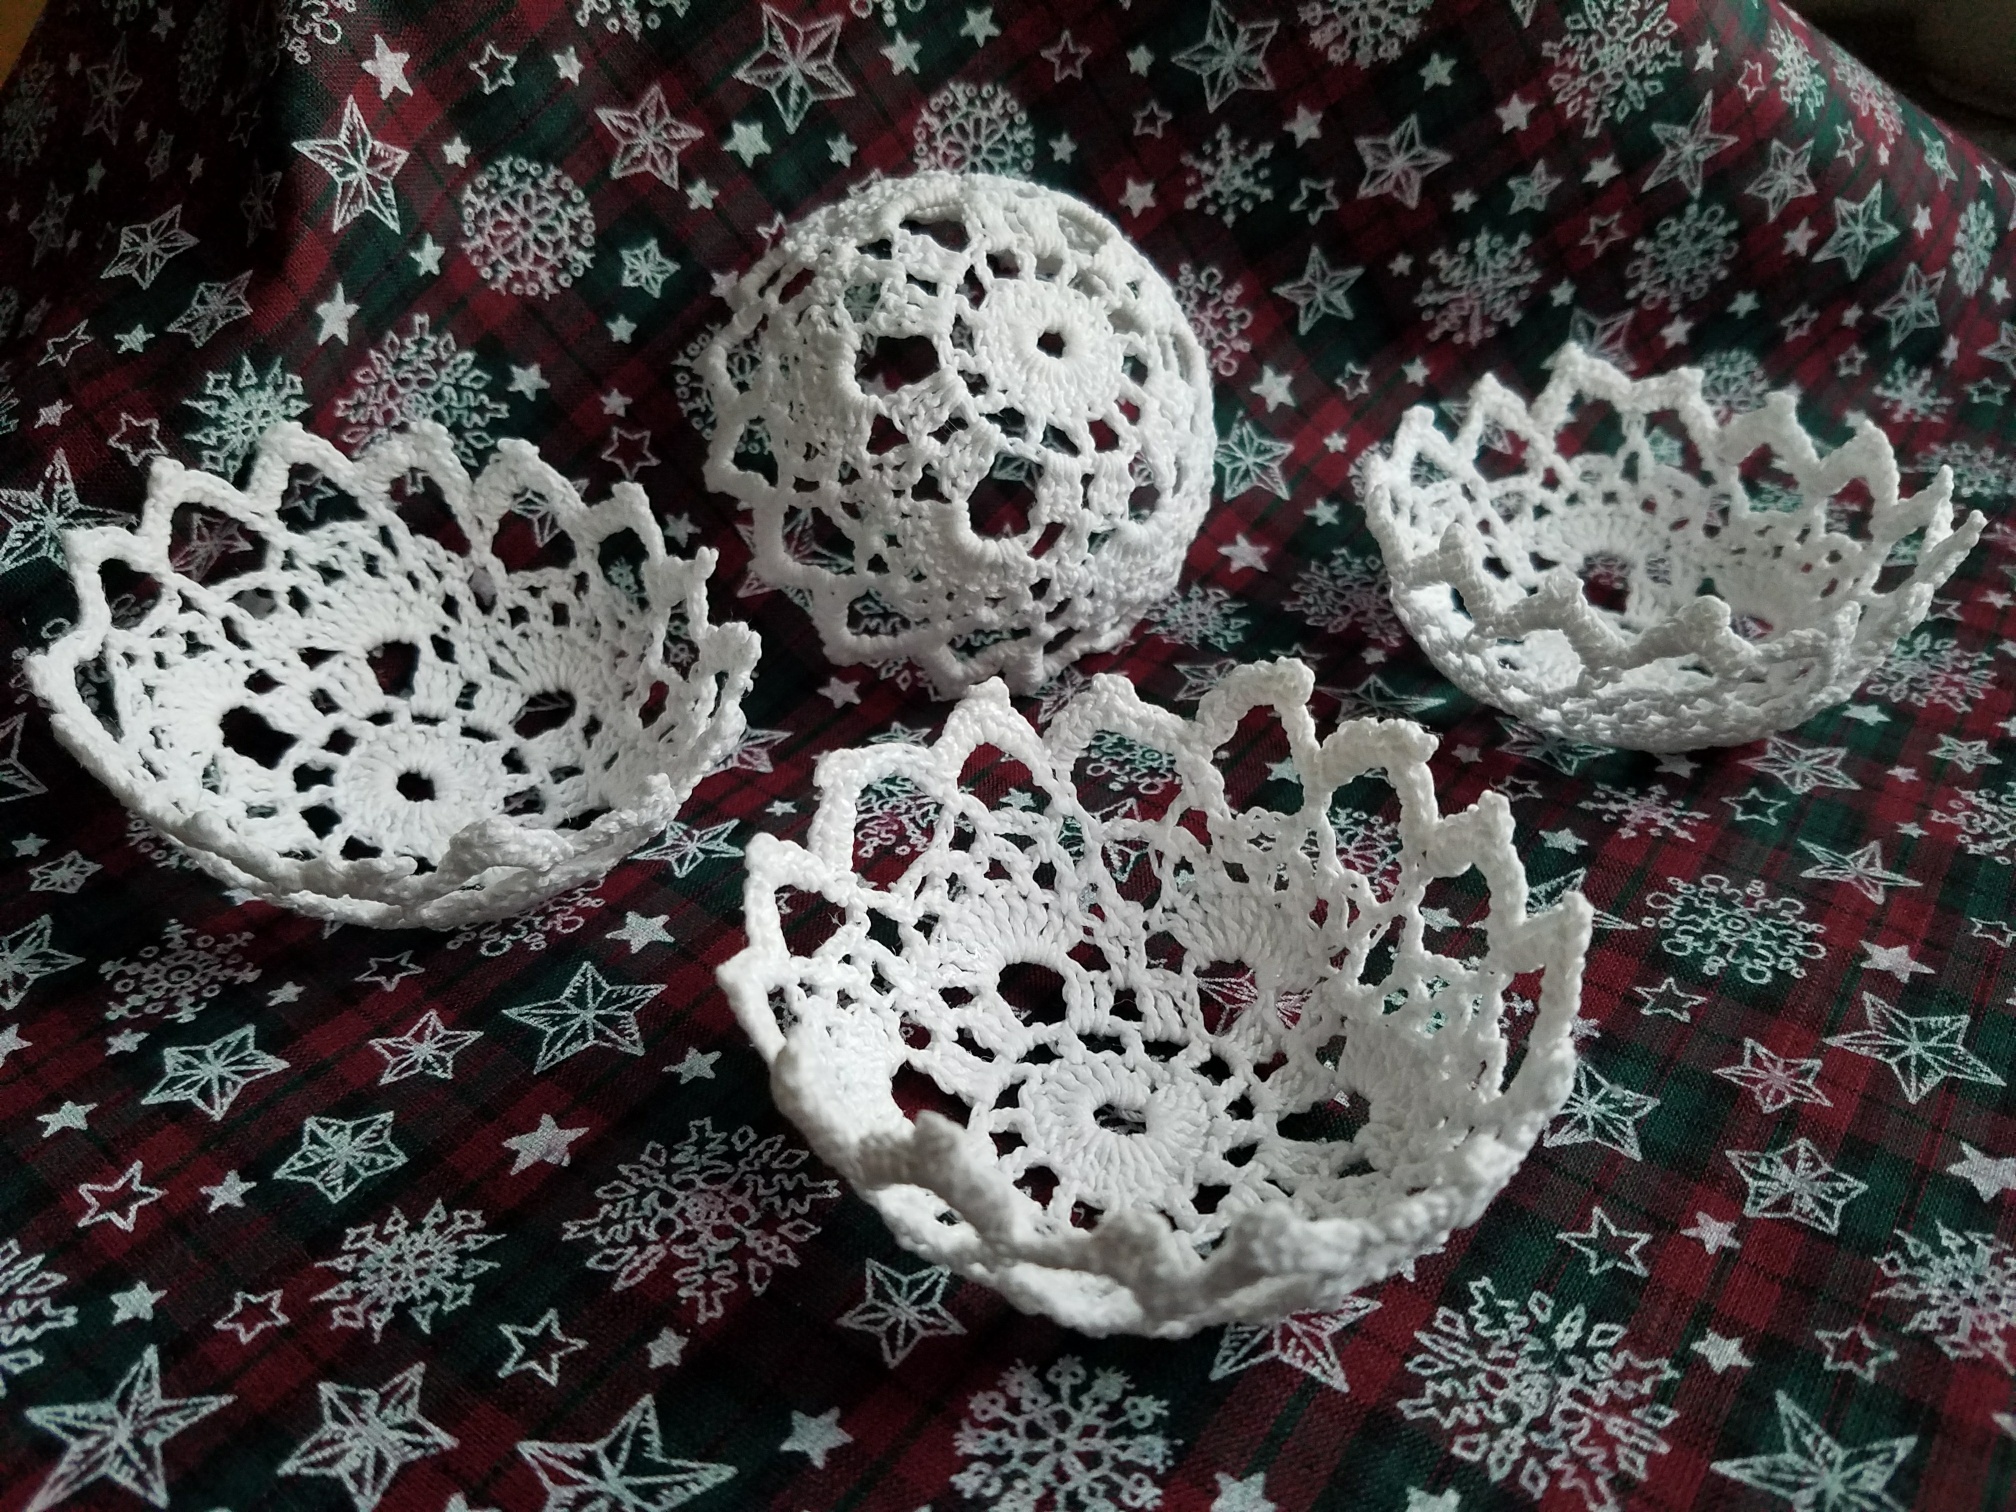
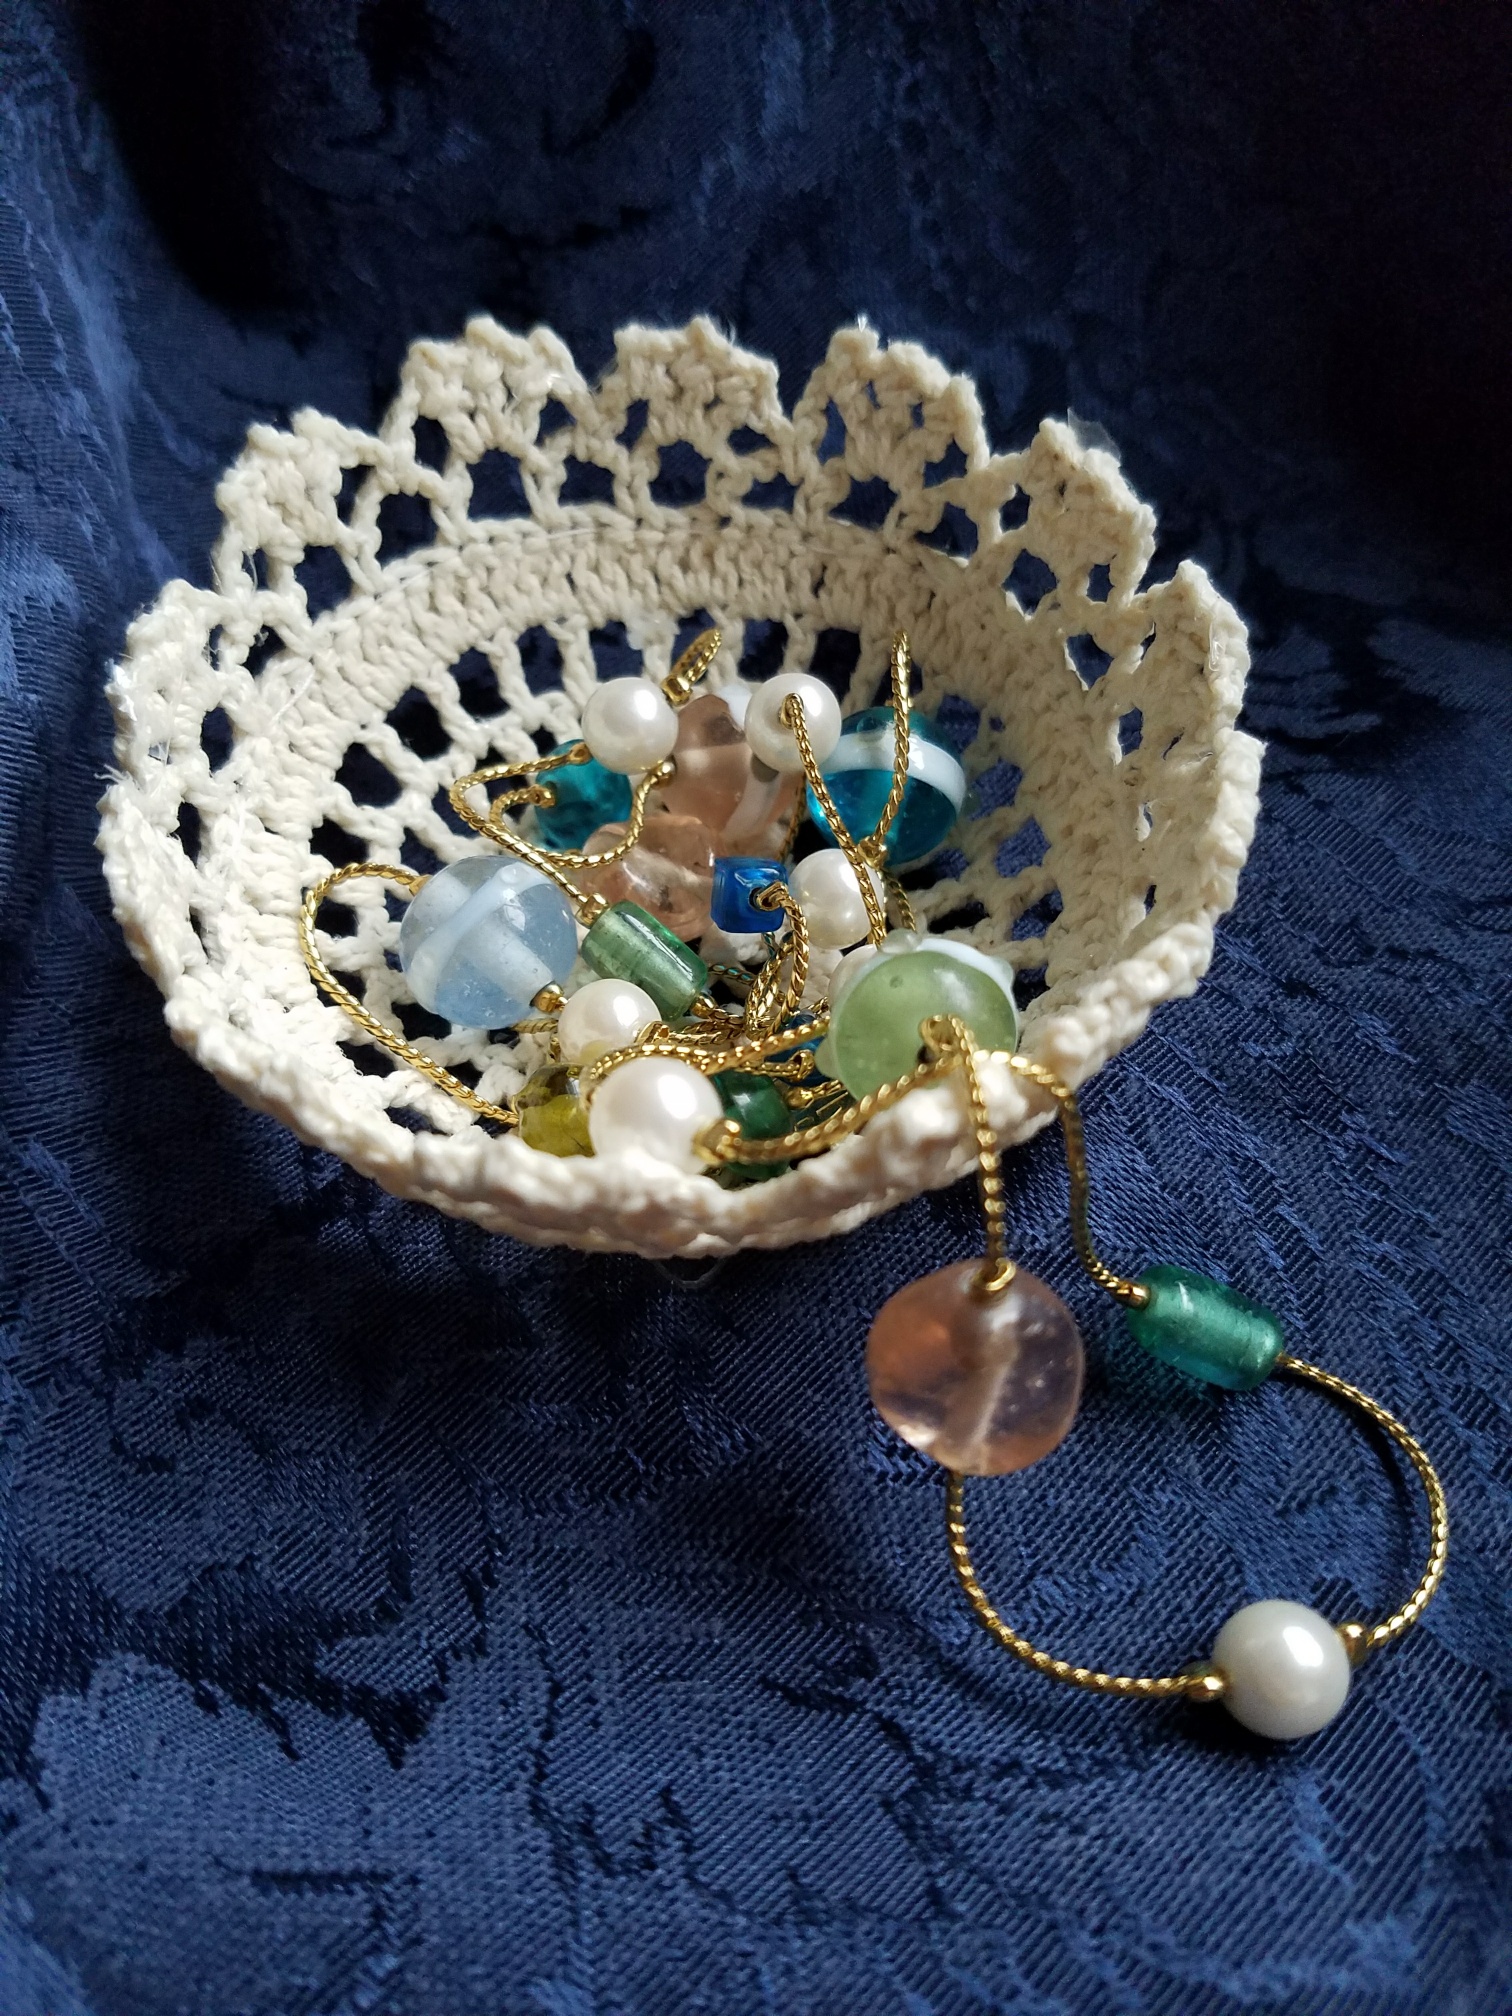
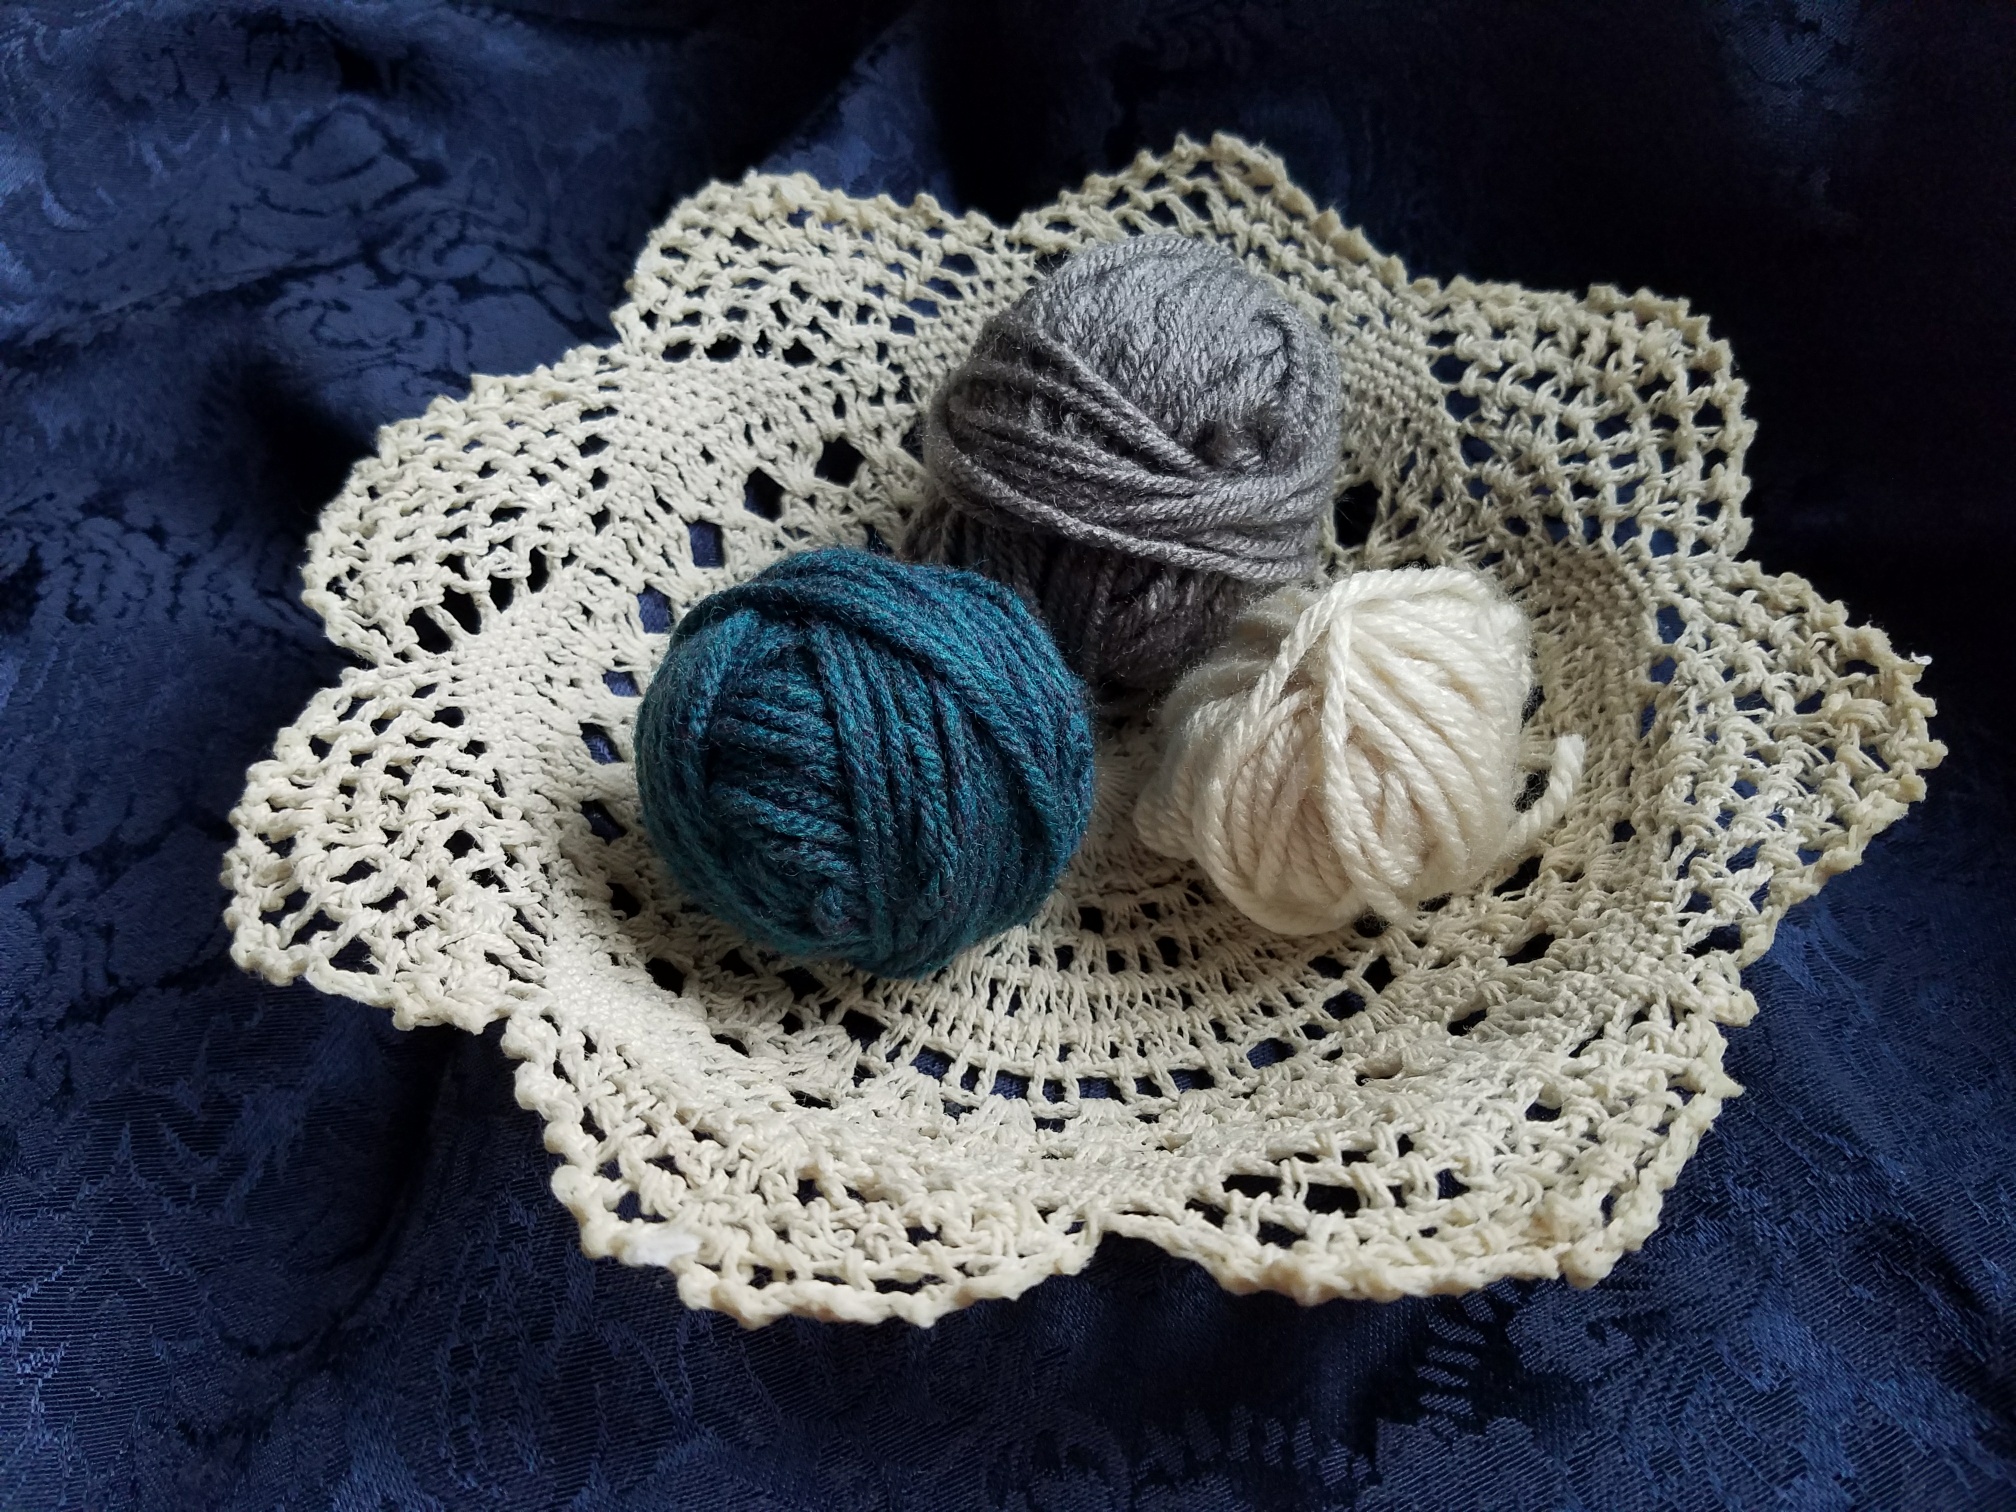
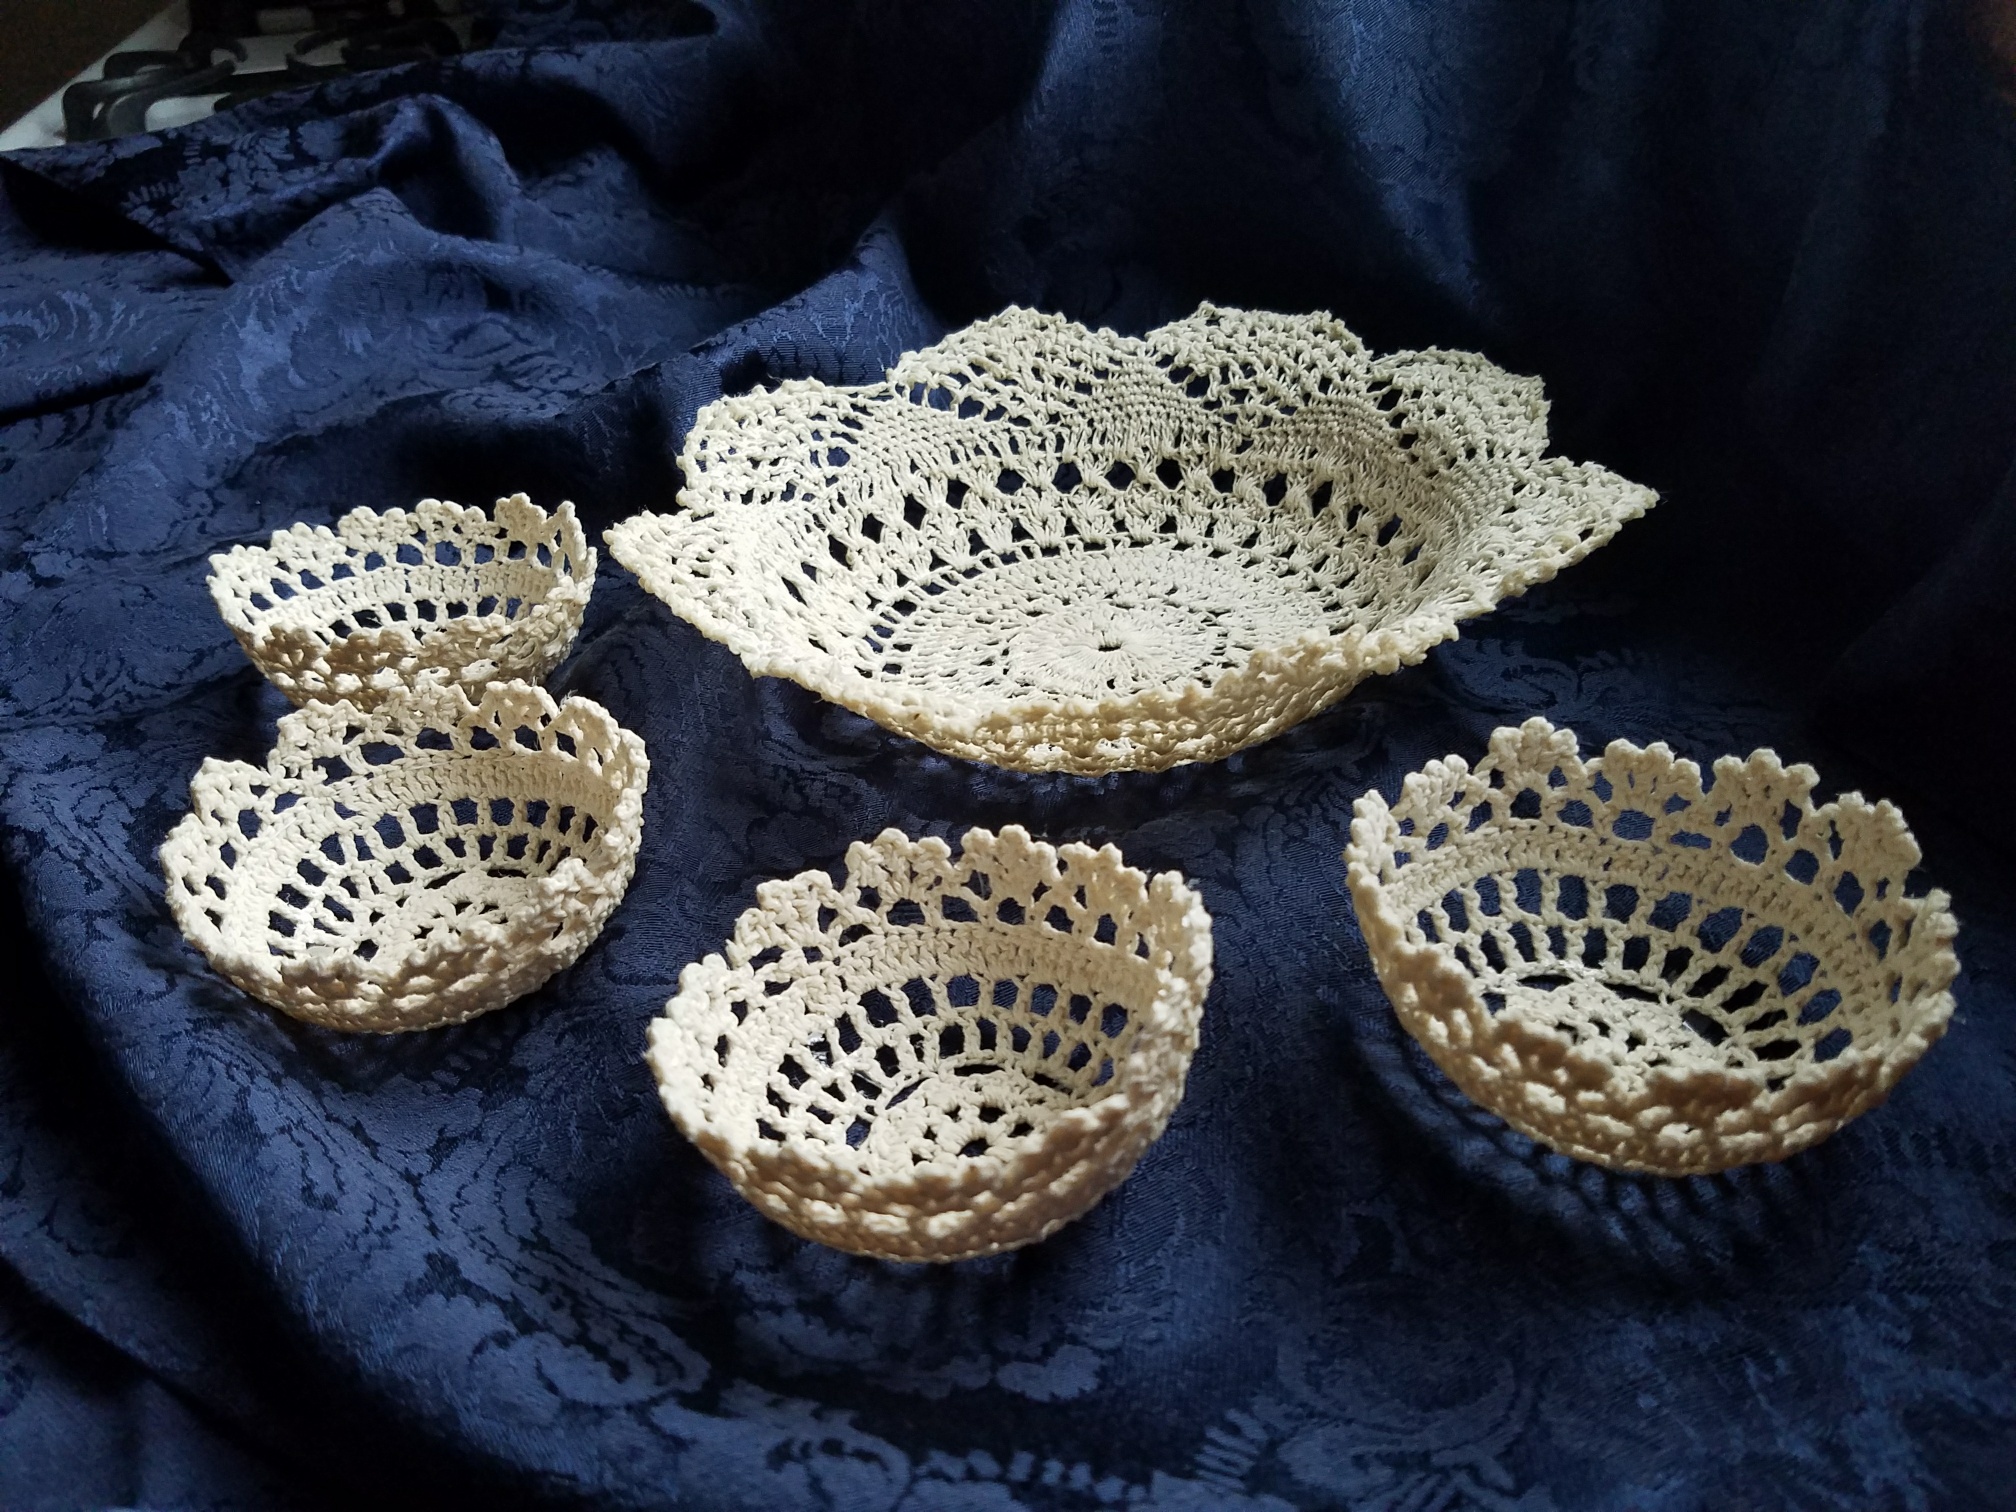
Crochet “bowls” – $3
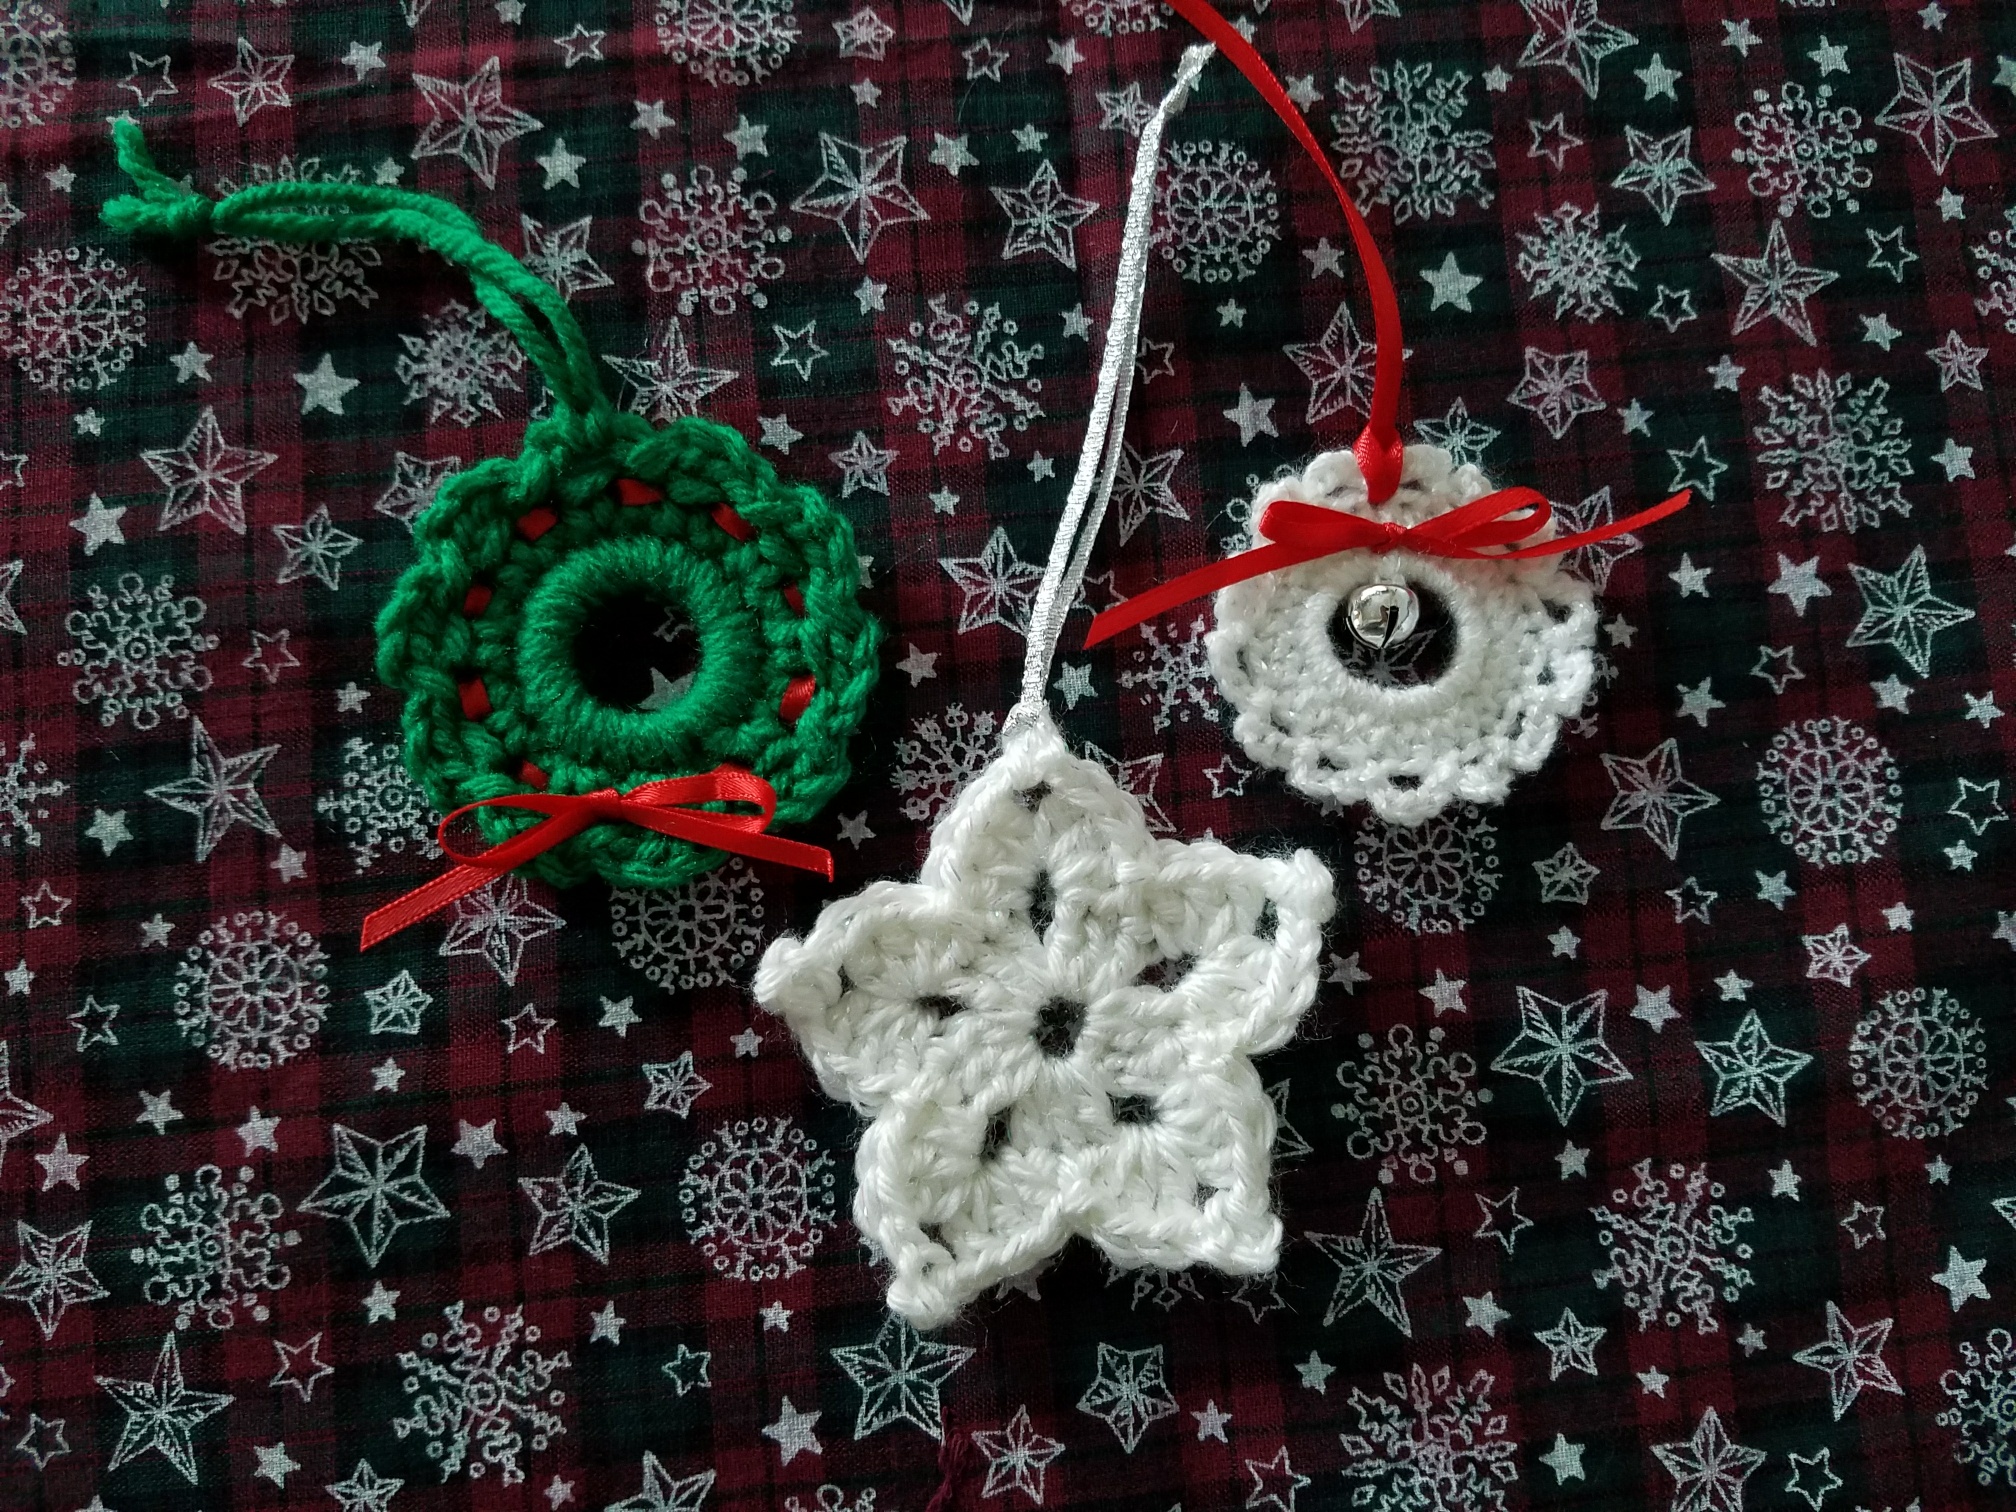
Crochet ornaments – $3 or 2/$5
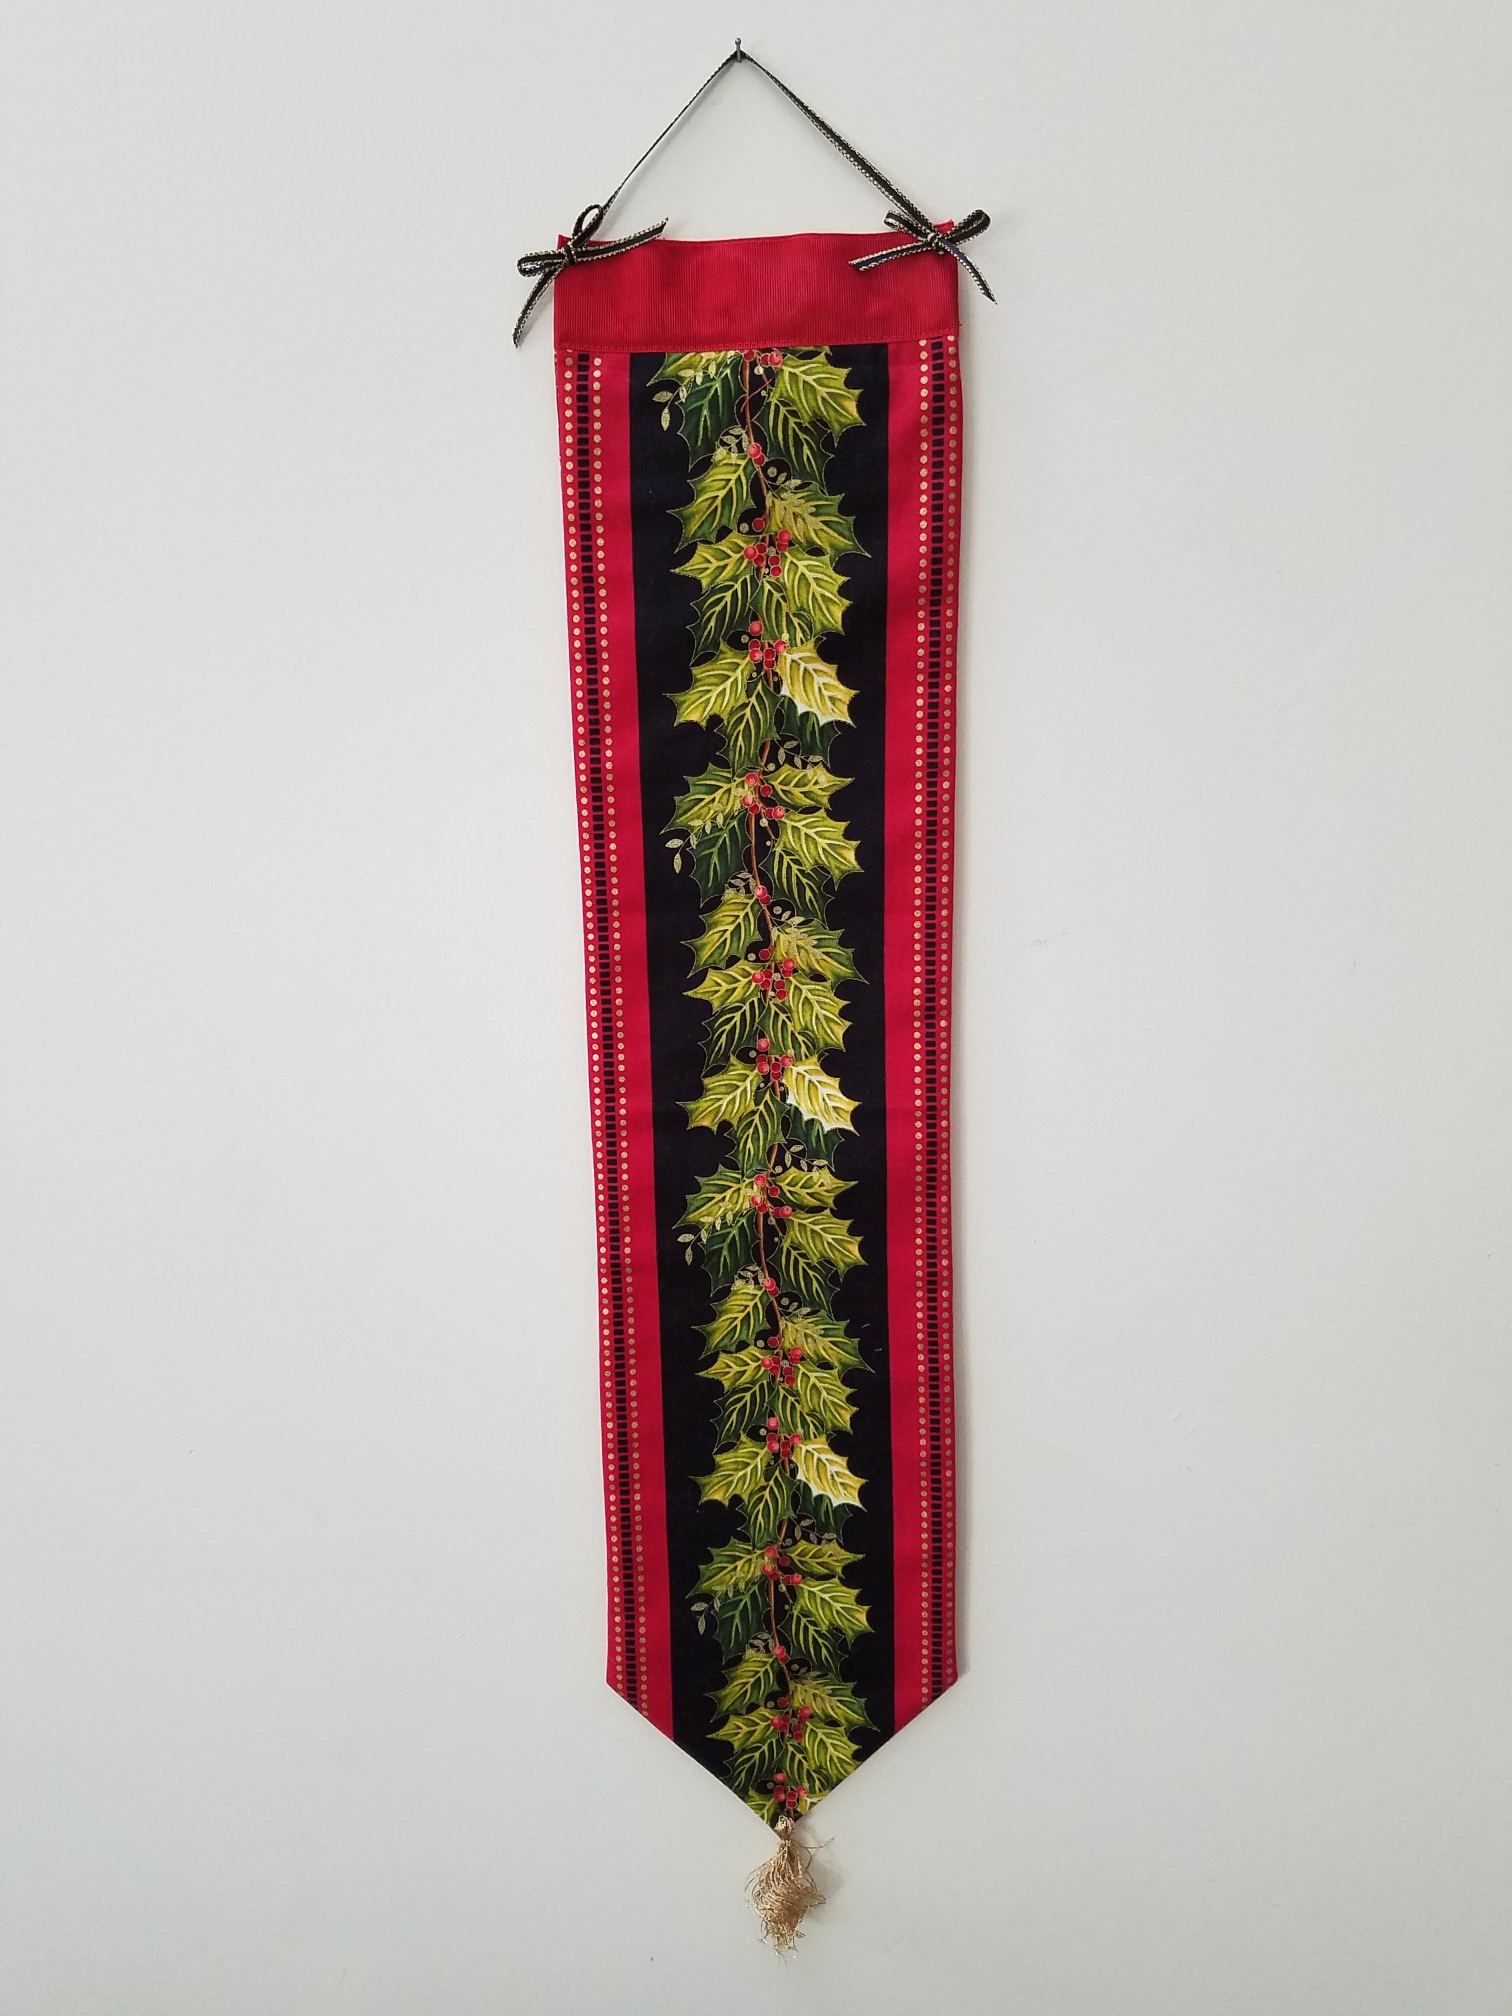
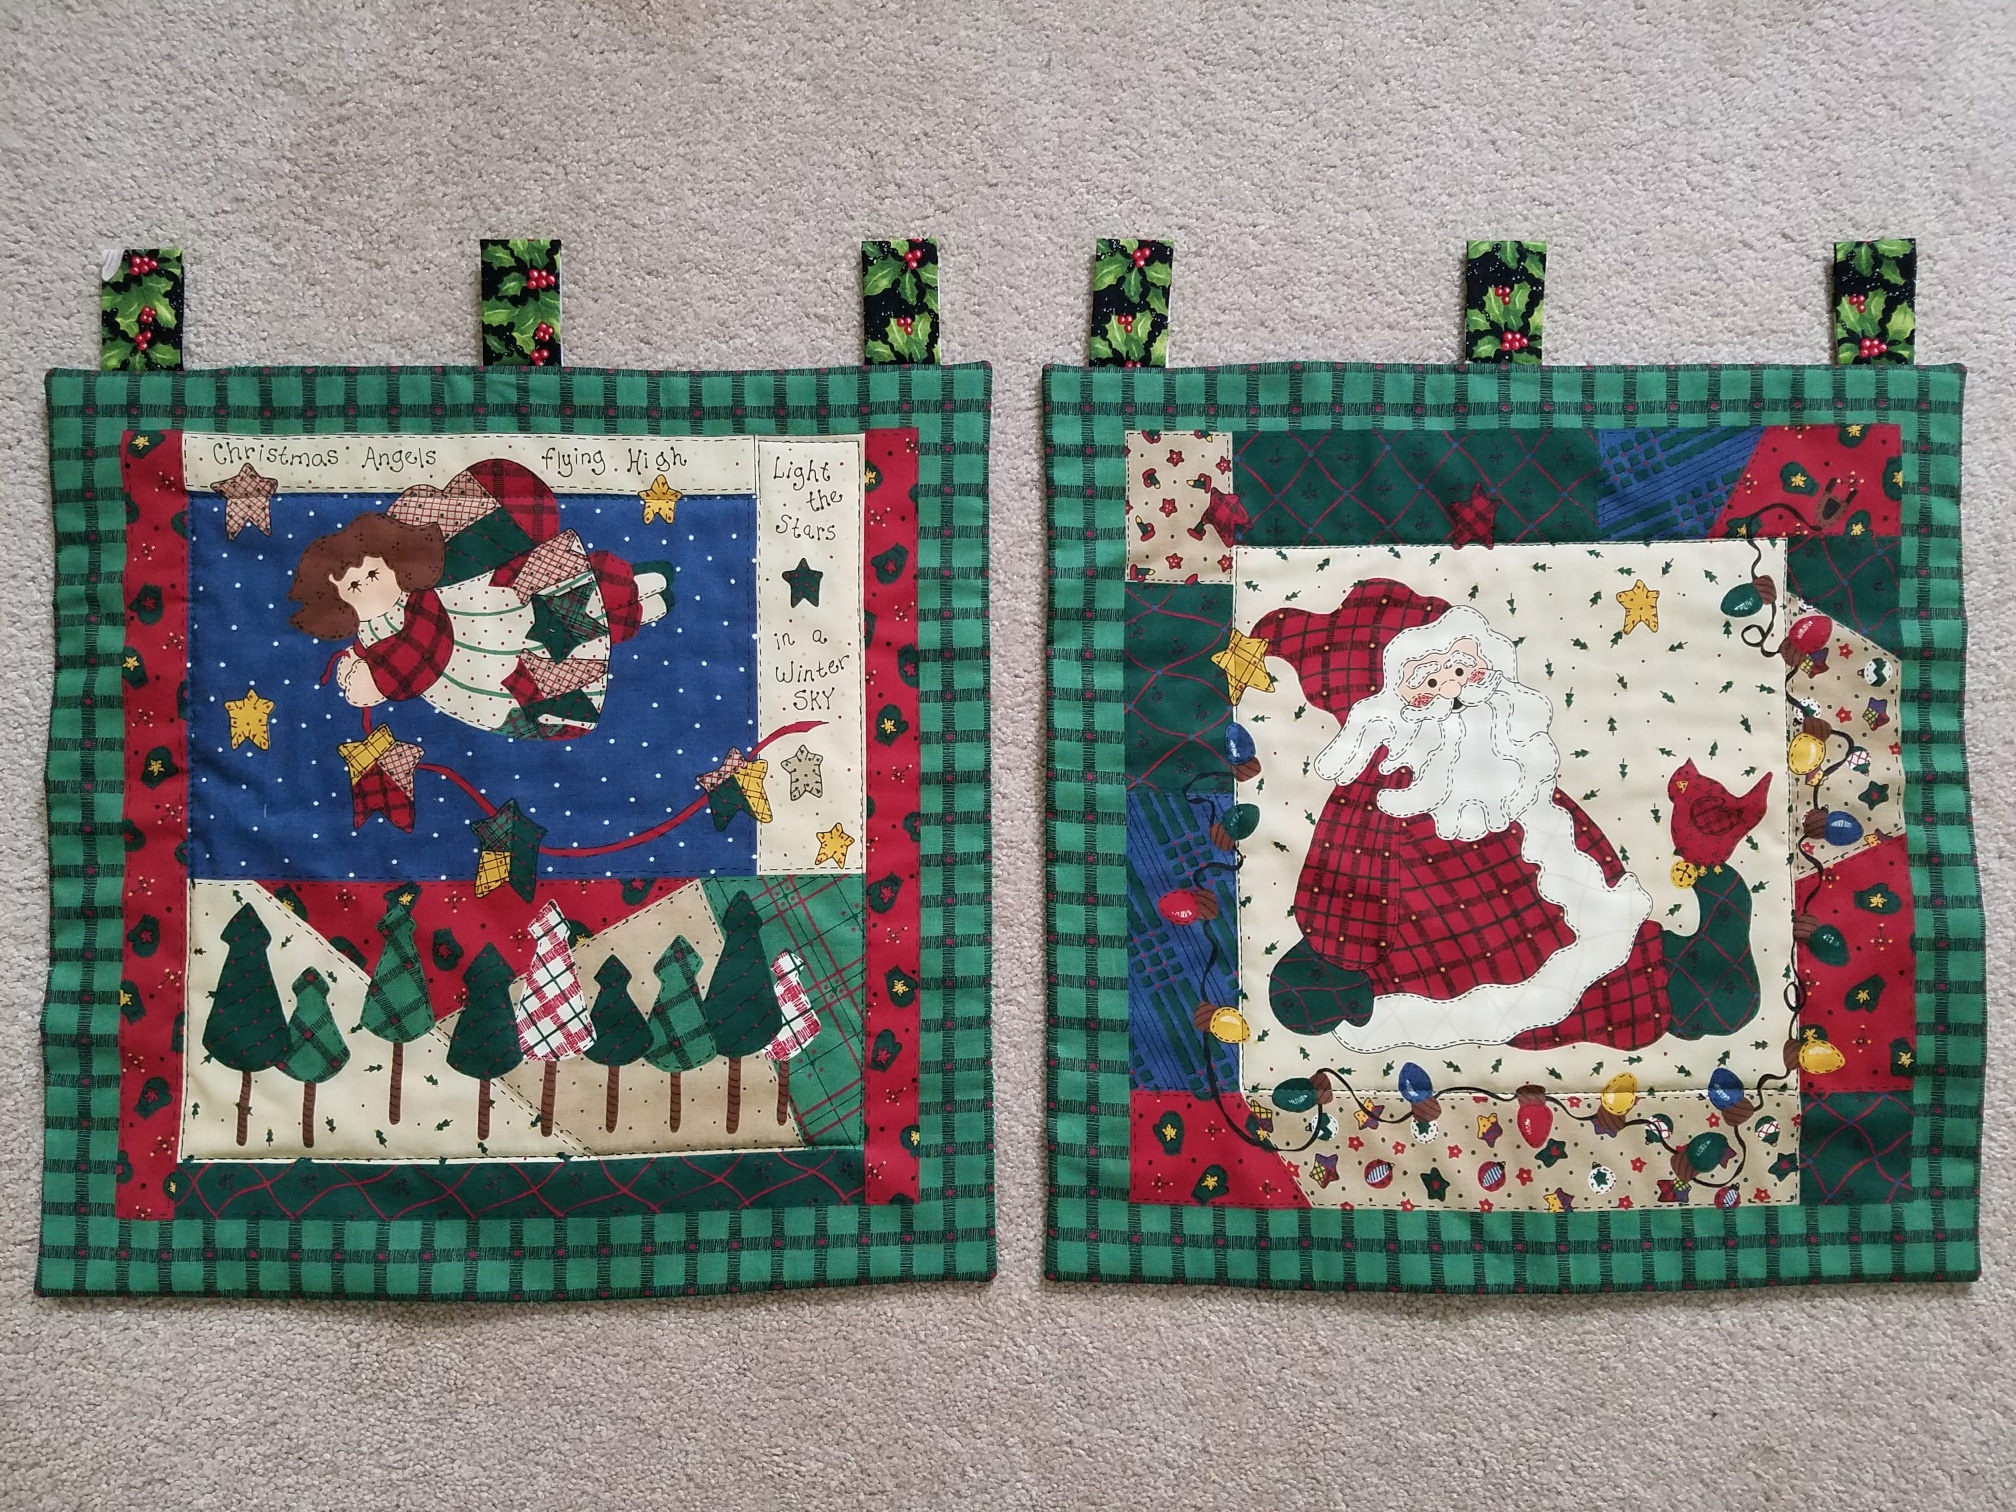
Christmas wall hangings – $10

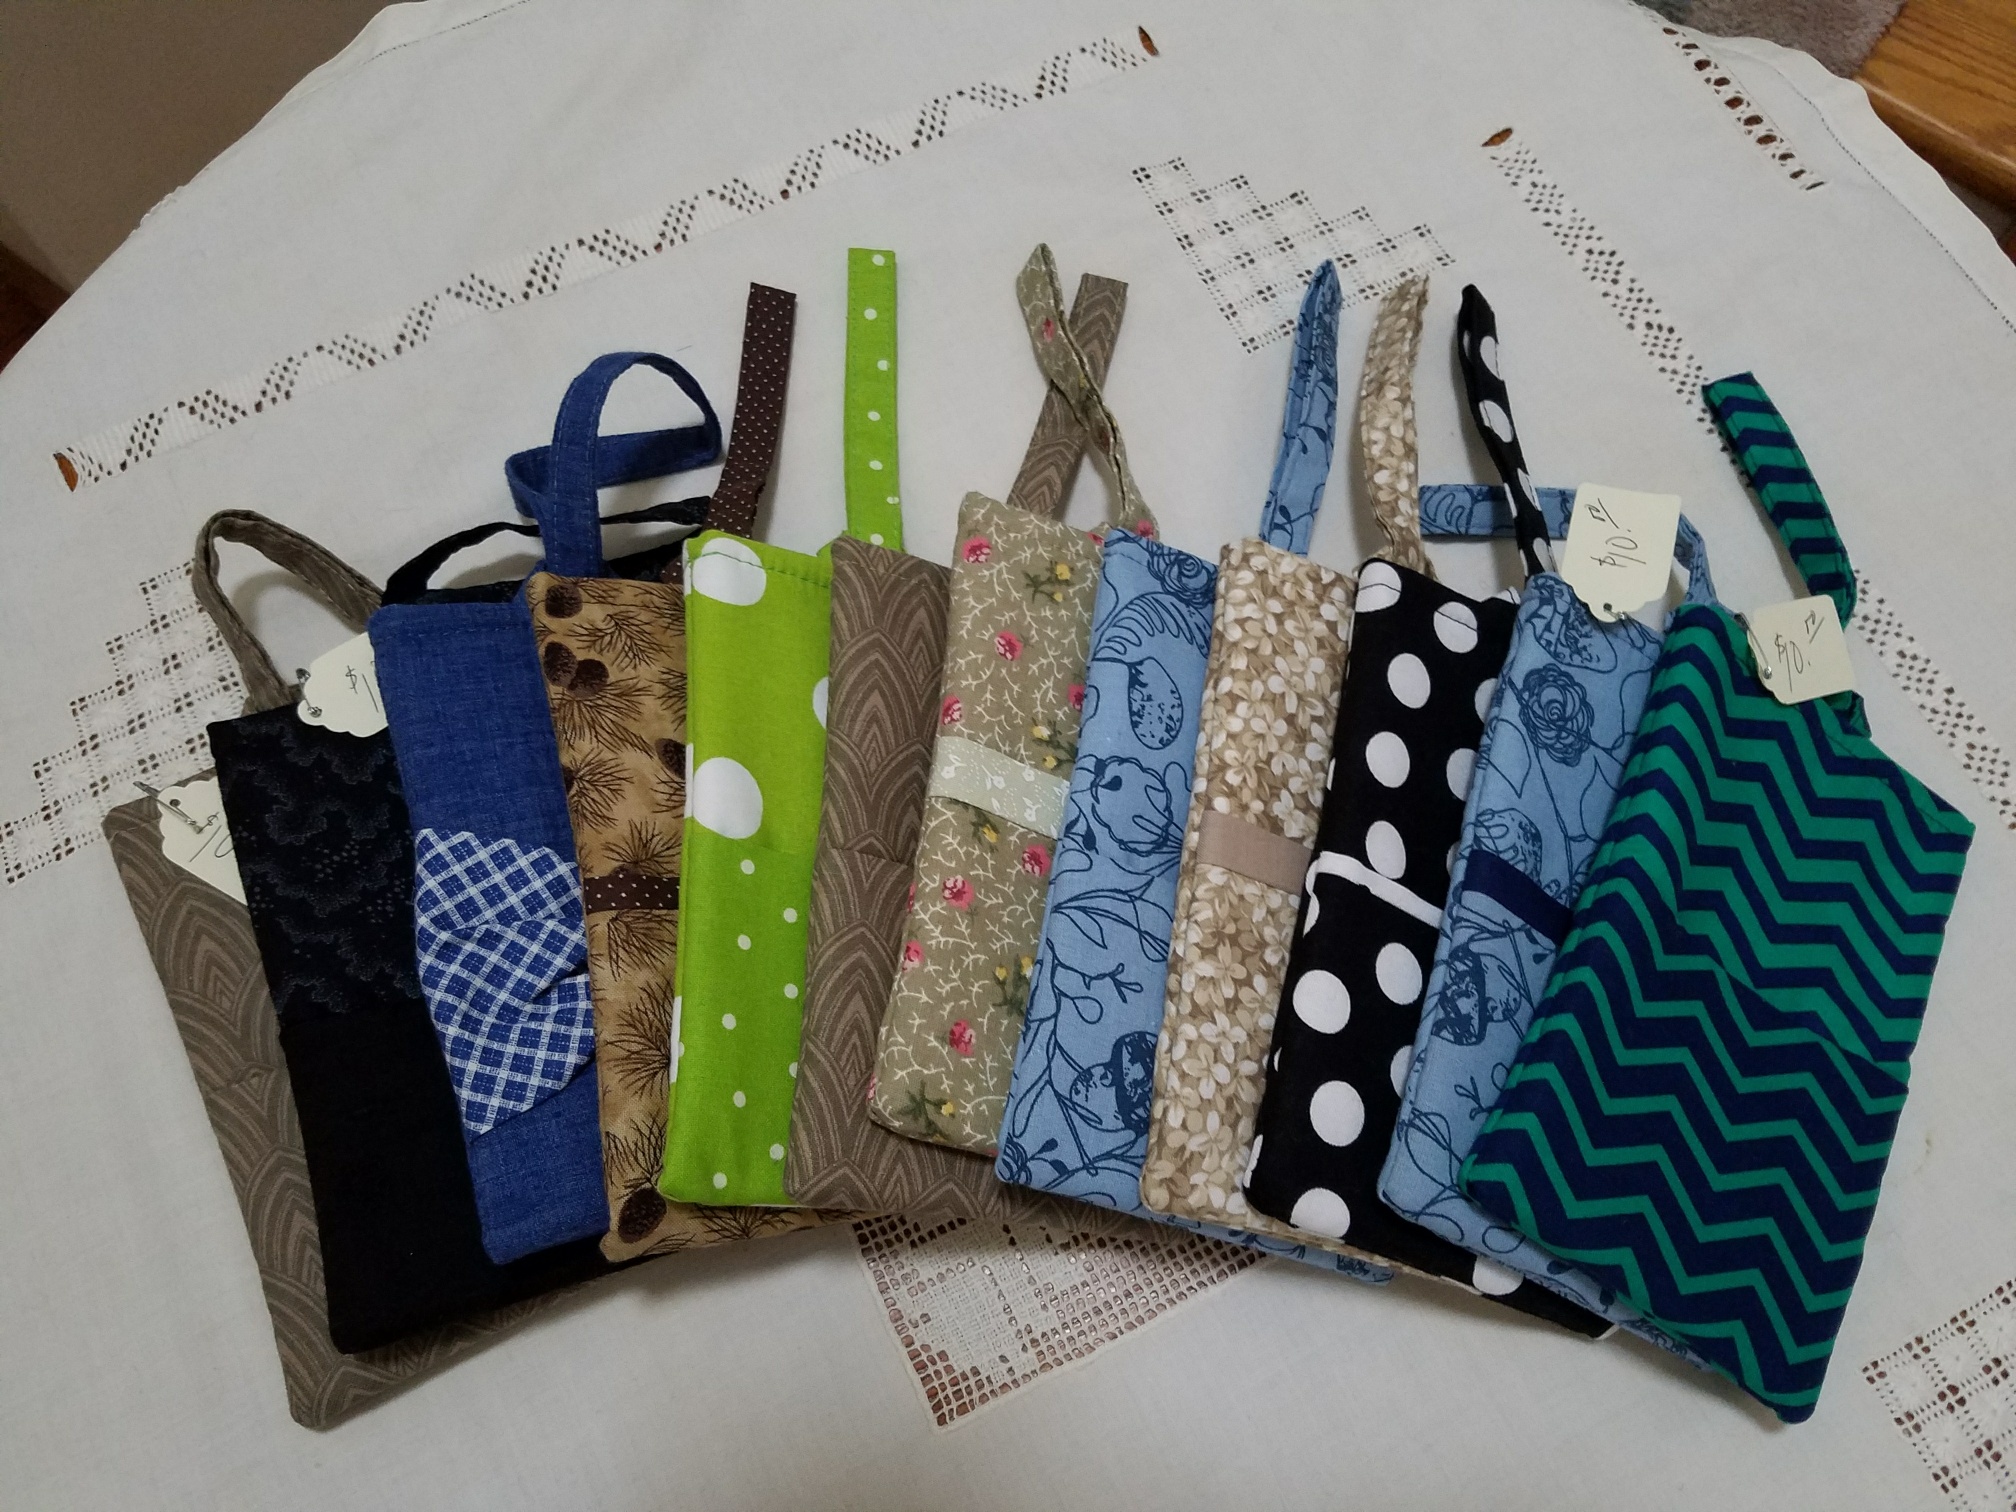
Cell phone wristlets – $10
Cork gnomes – $3

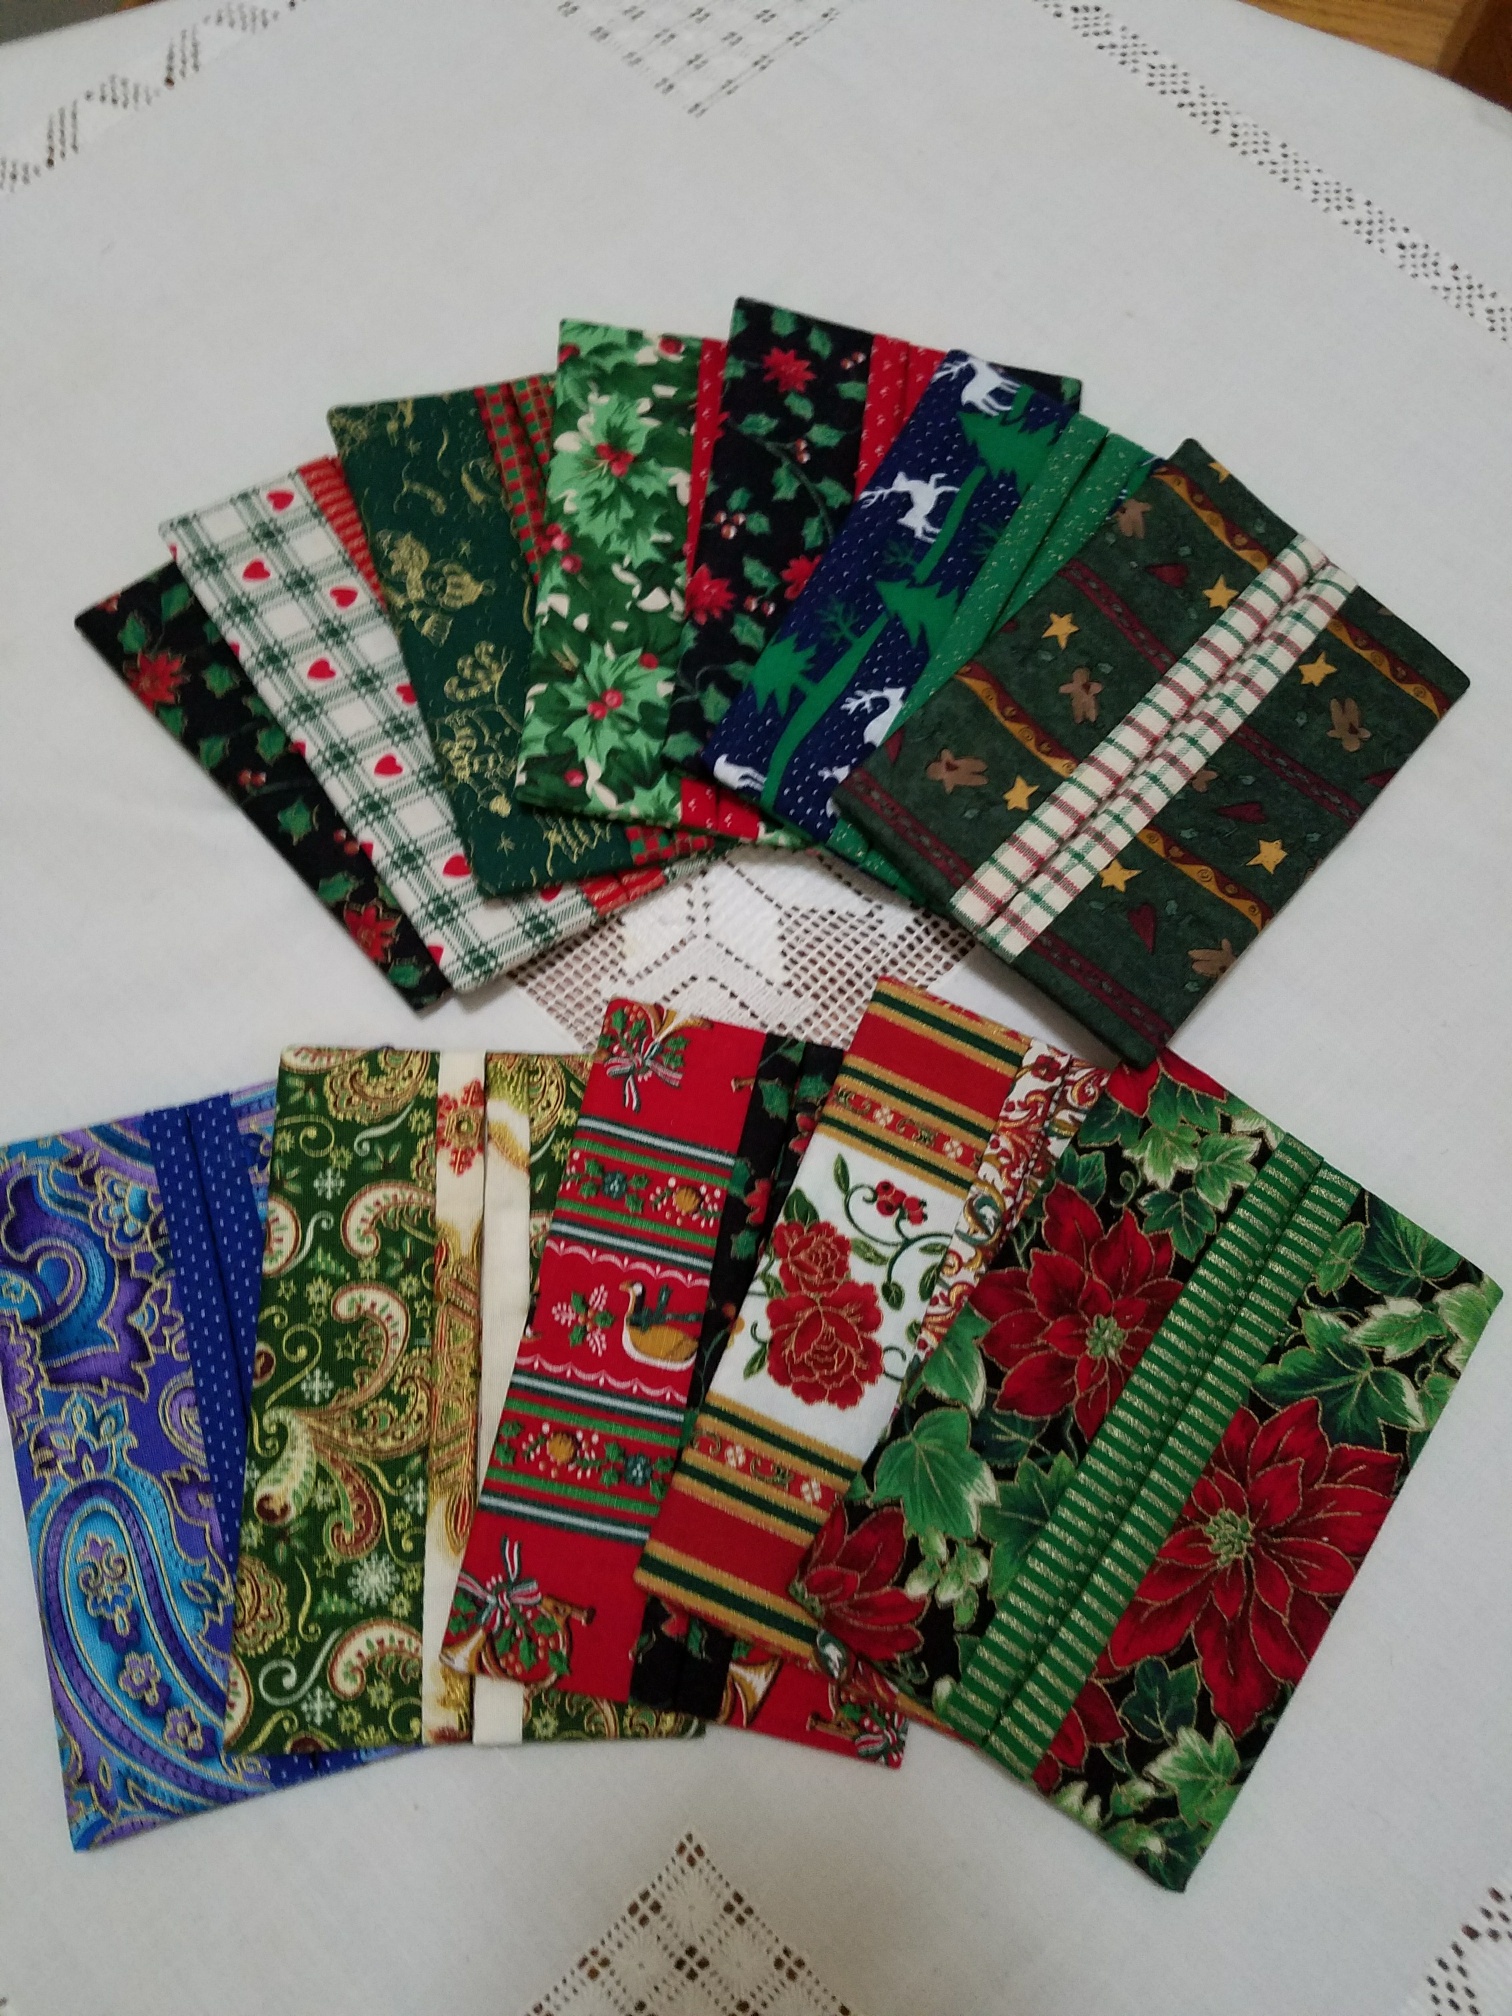
Pocket tissue packs – $3 or 2/$5
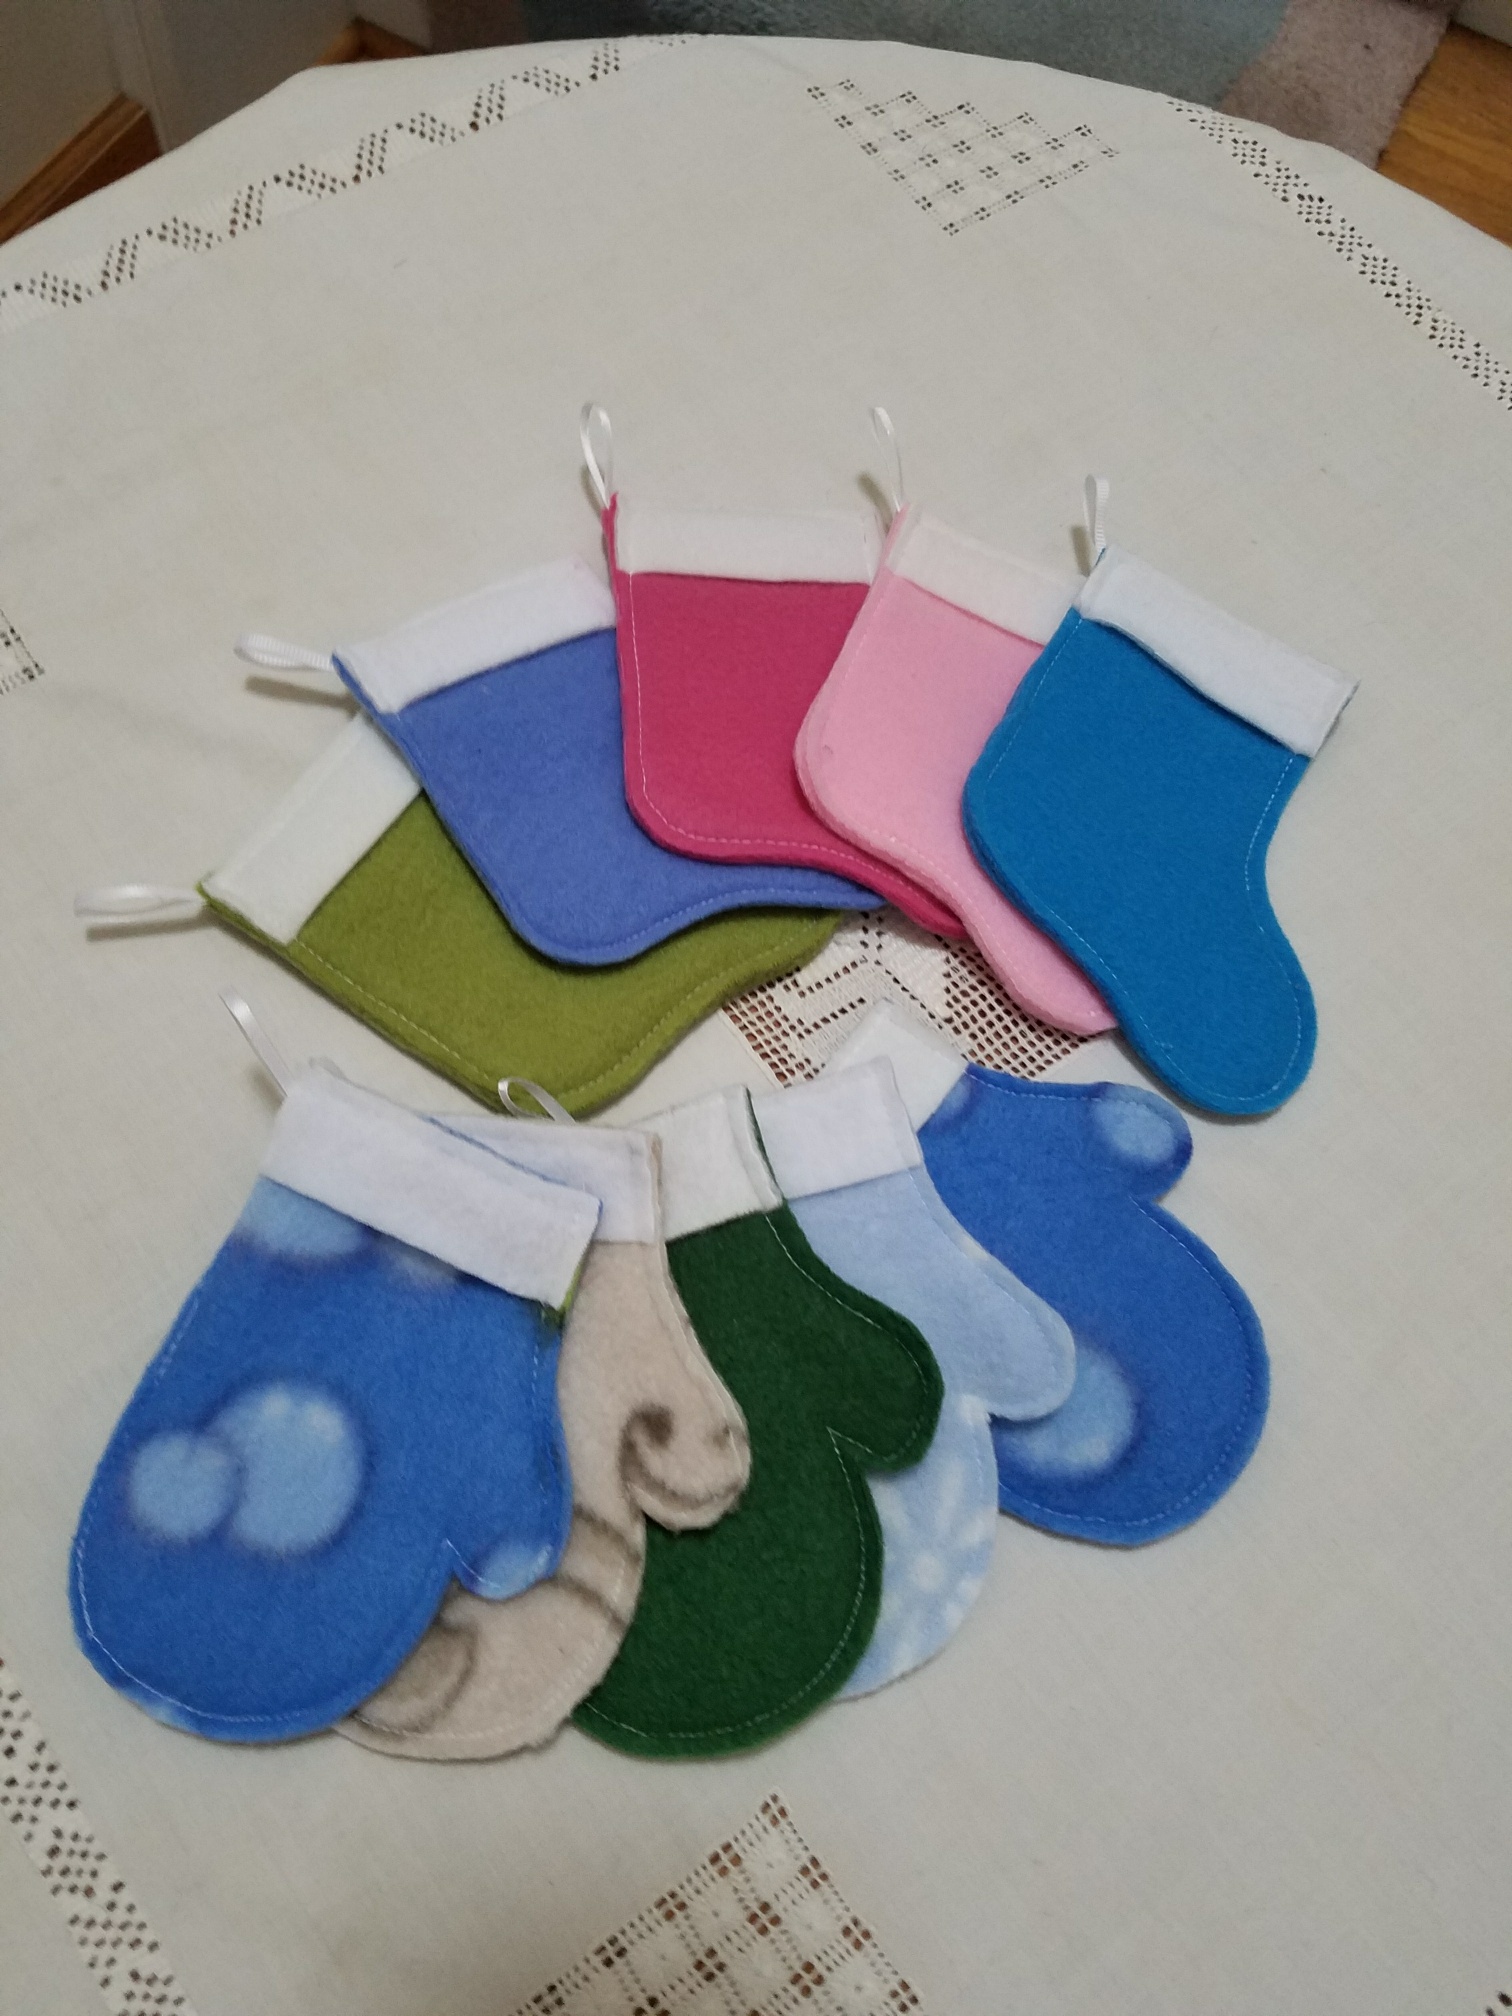
Fleece gift card holders – $1
Krista and I will again be bringing our wares, some made in sunny San Diego, and the rest in Buffalo, NY. Returning will be many different kinds of yarn scarves and fingerless mitts. Most items will be $20 or less. Much less for the small items that make the holidays festive and fun.
Here are some photos of the items which will be available…
KNIT AND CROCHET SCARVES
All of the scarves in this batch are priced at $17, or two for $30.
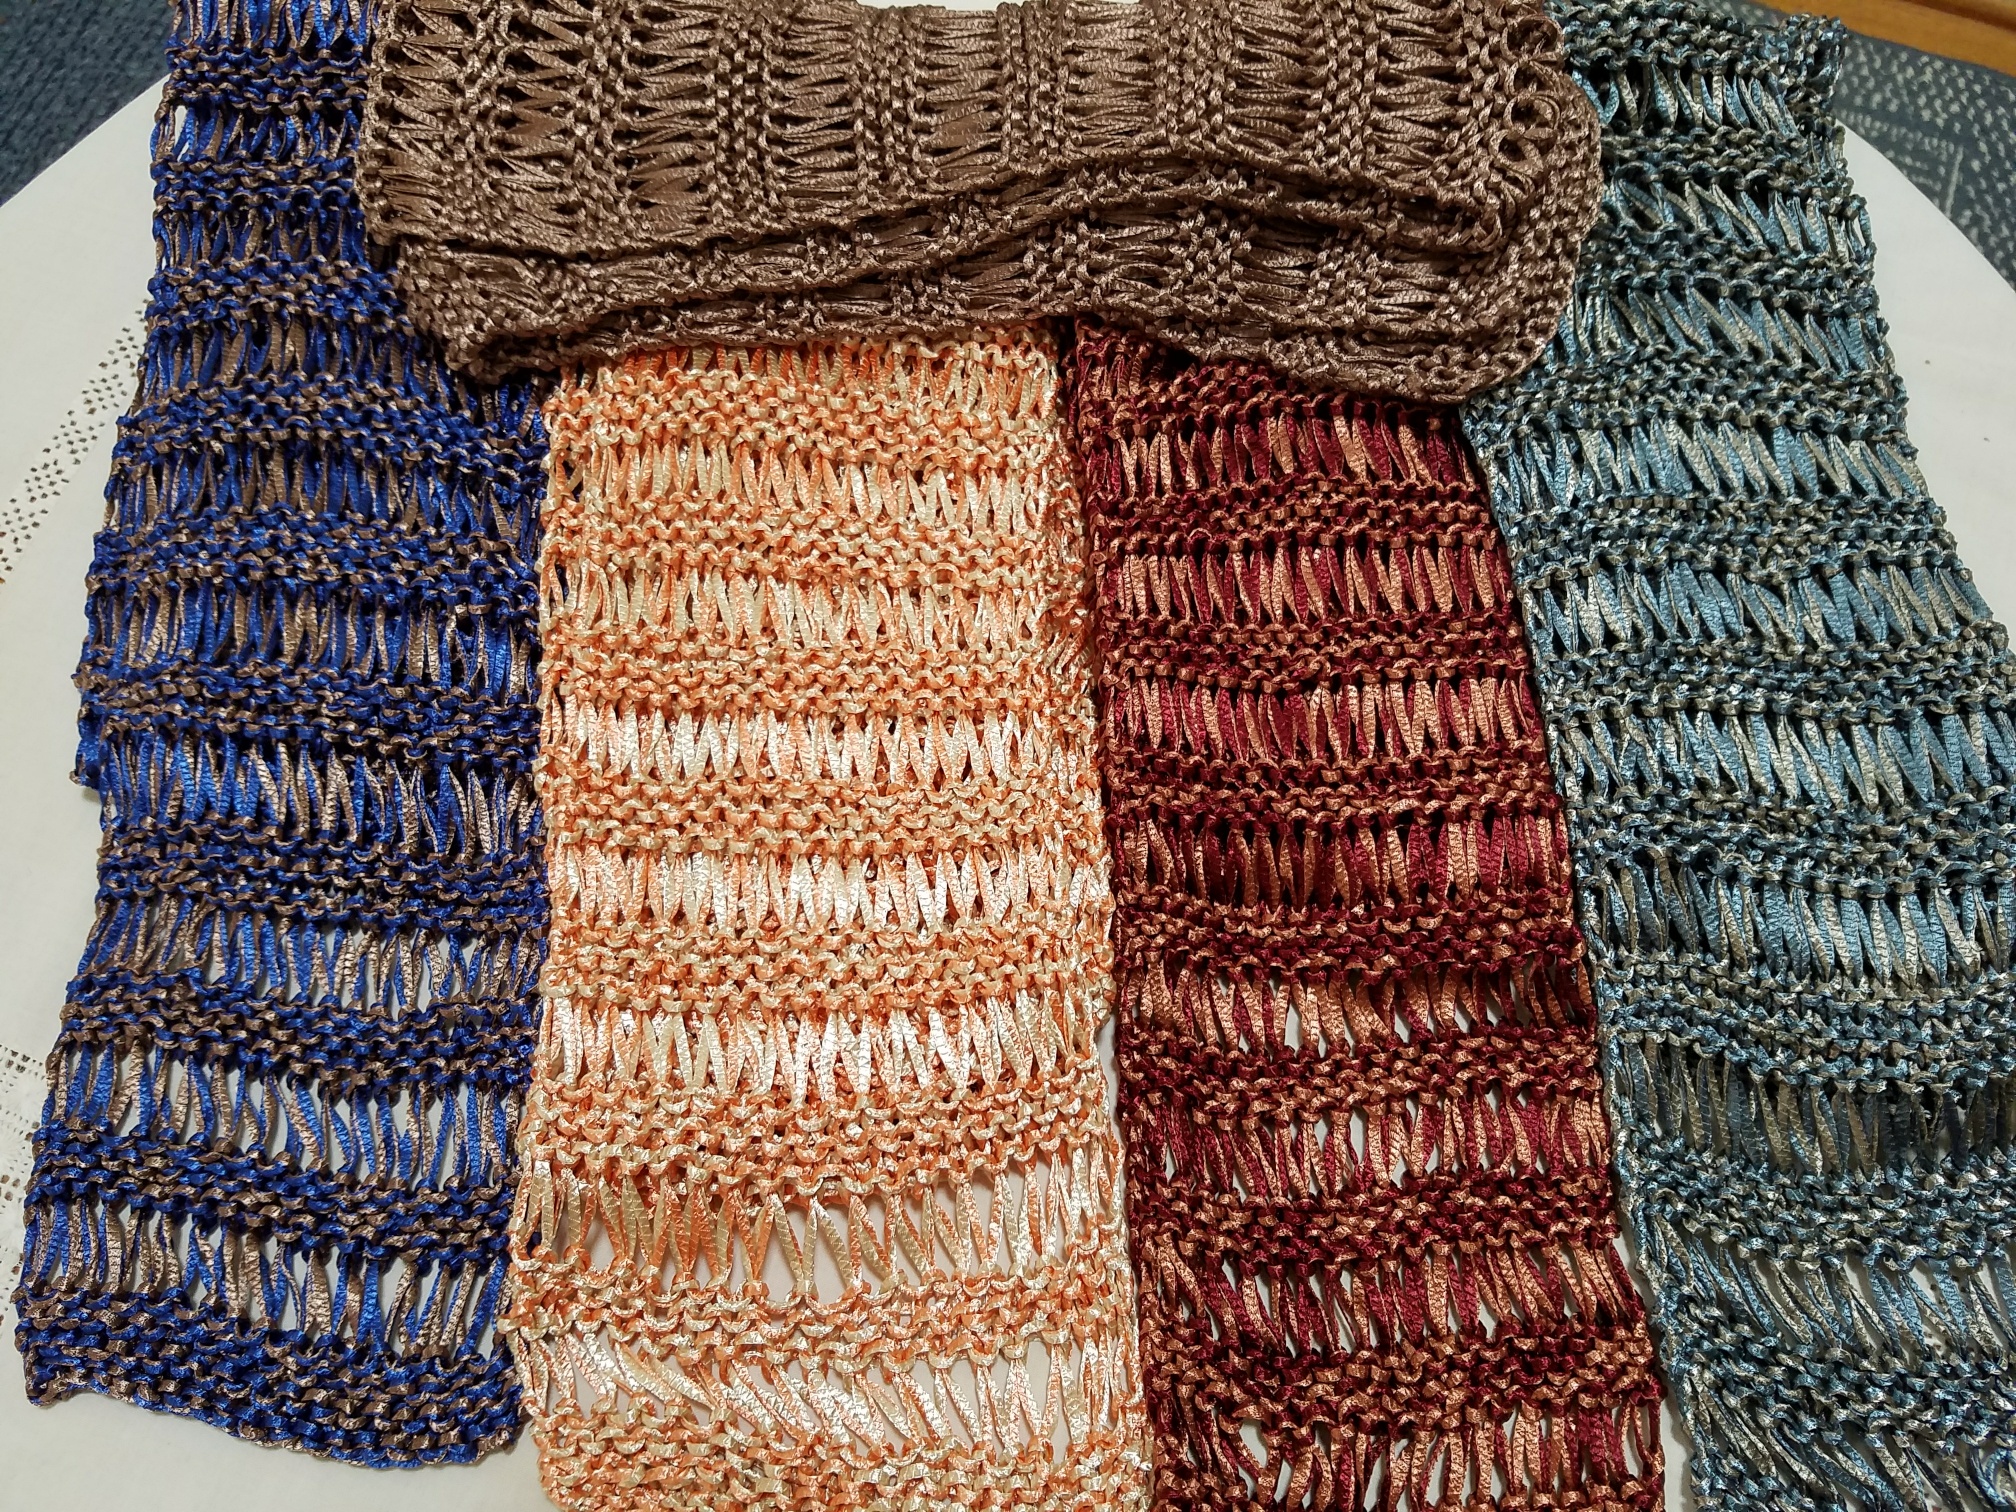
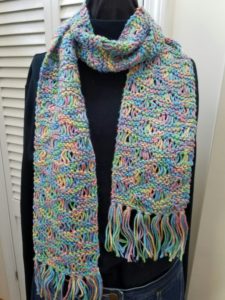
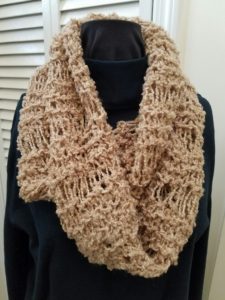
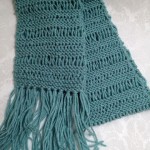
These two use a dropped stitch knit; on the left is a fringed scarf, the right is a double loop infinity.
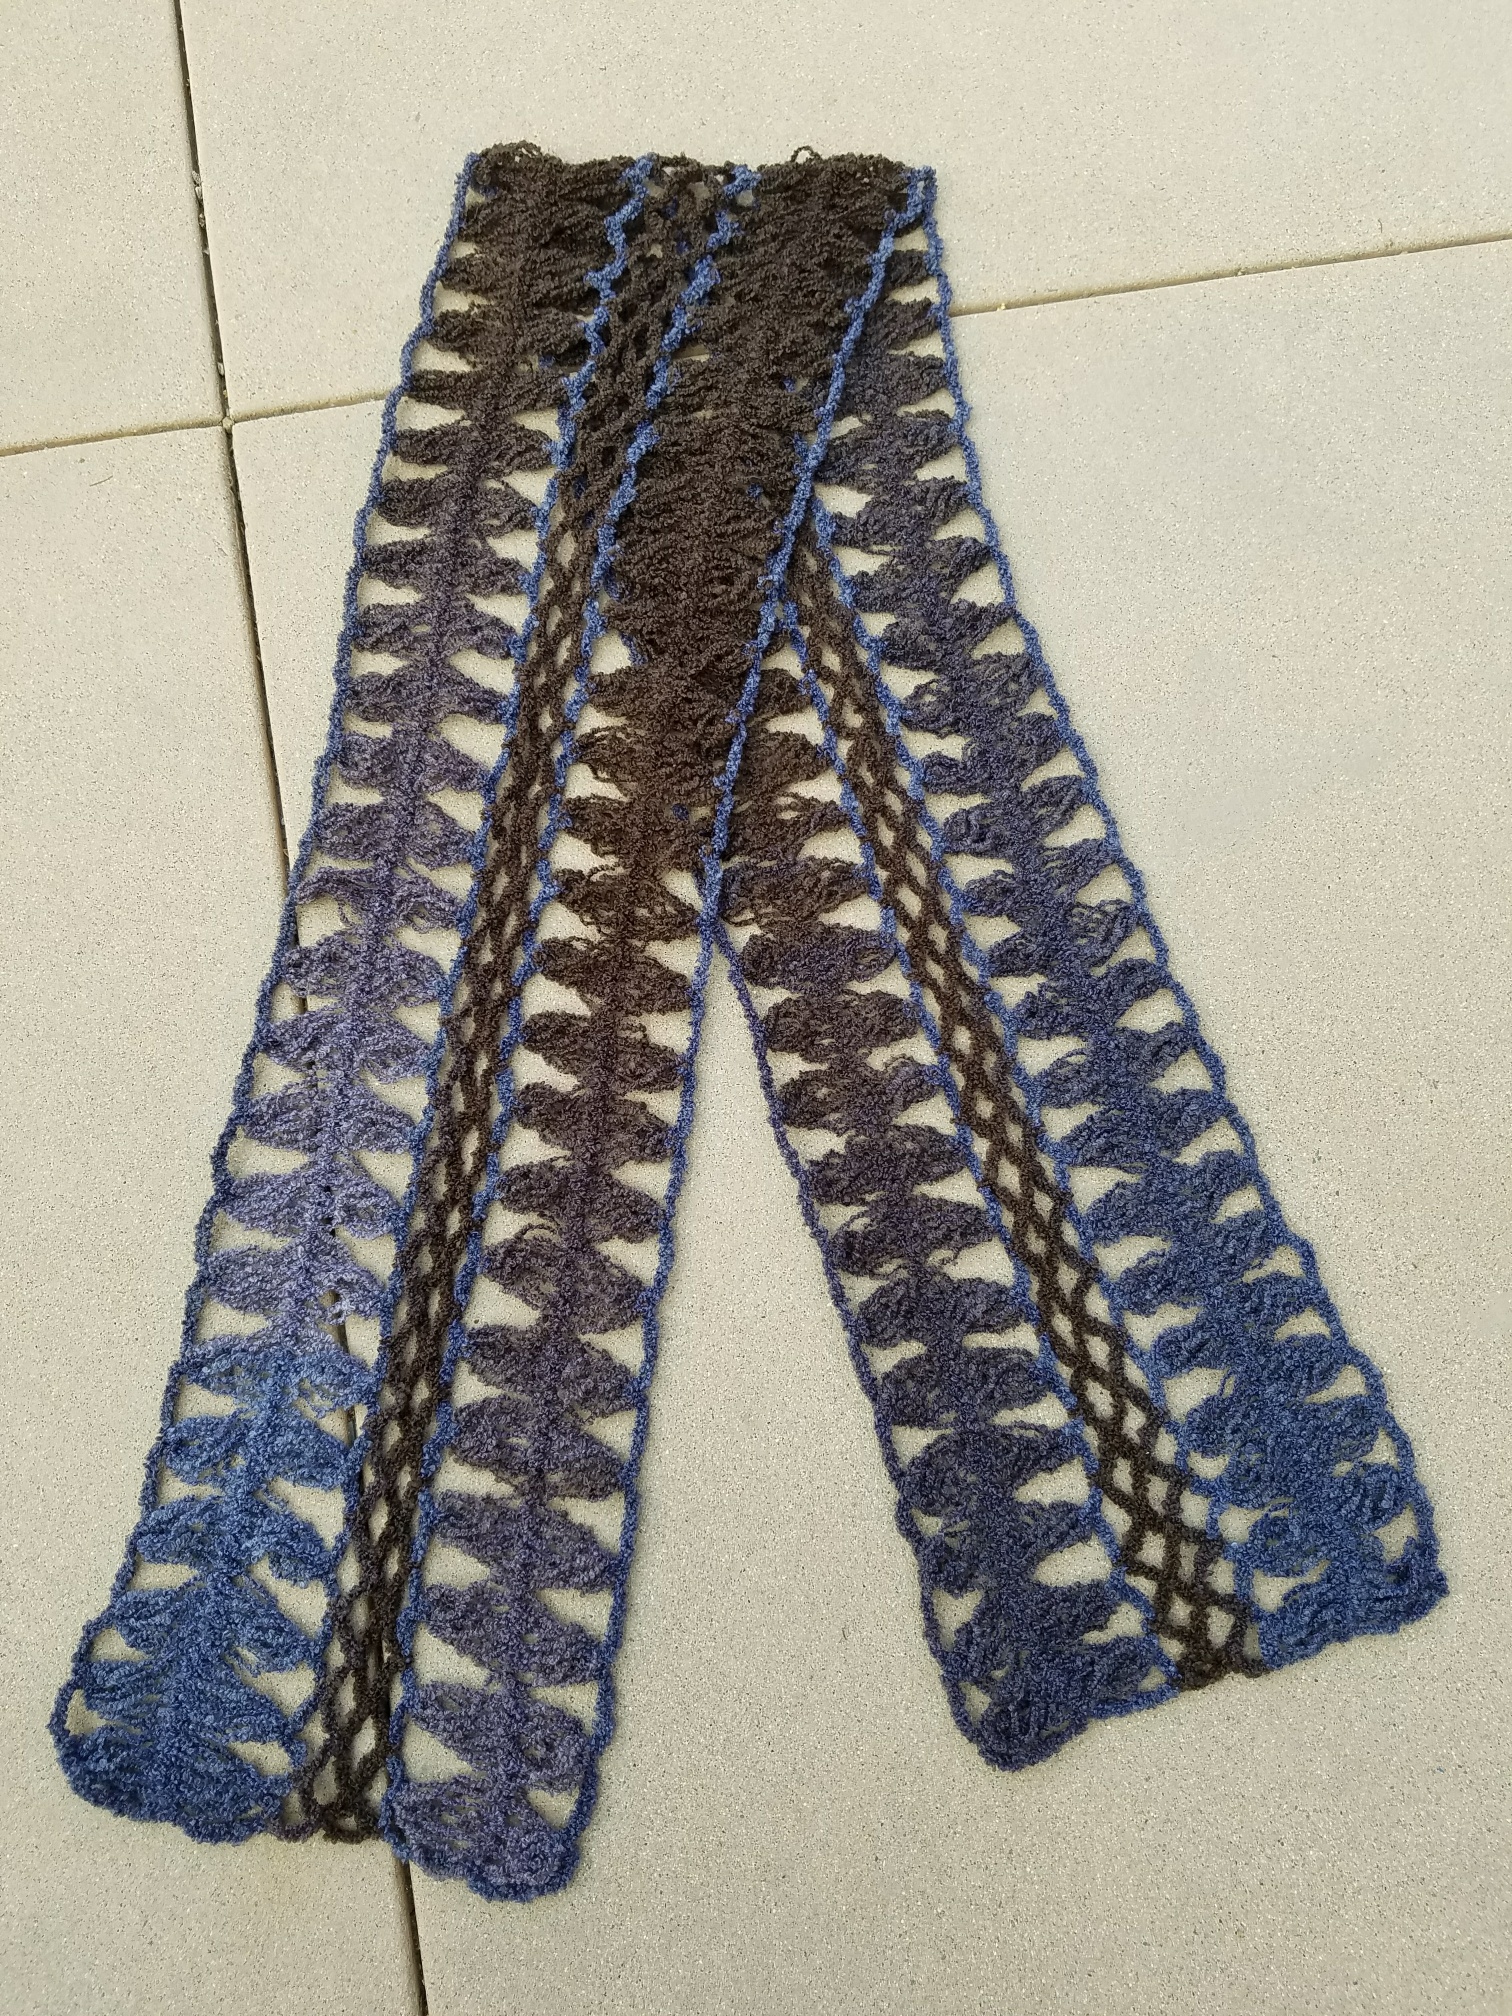
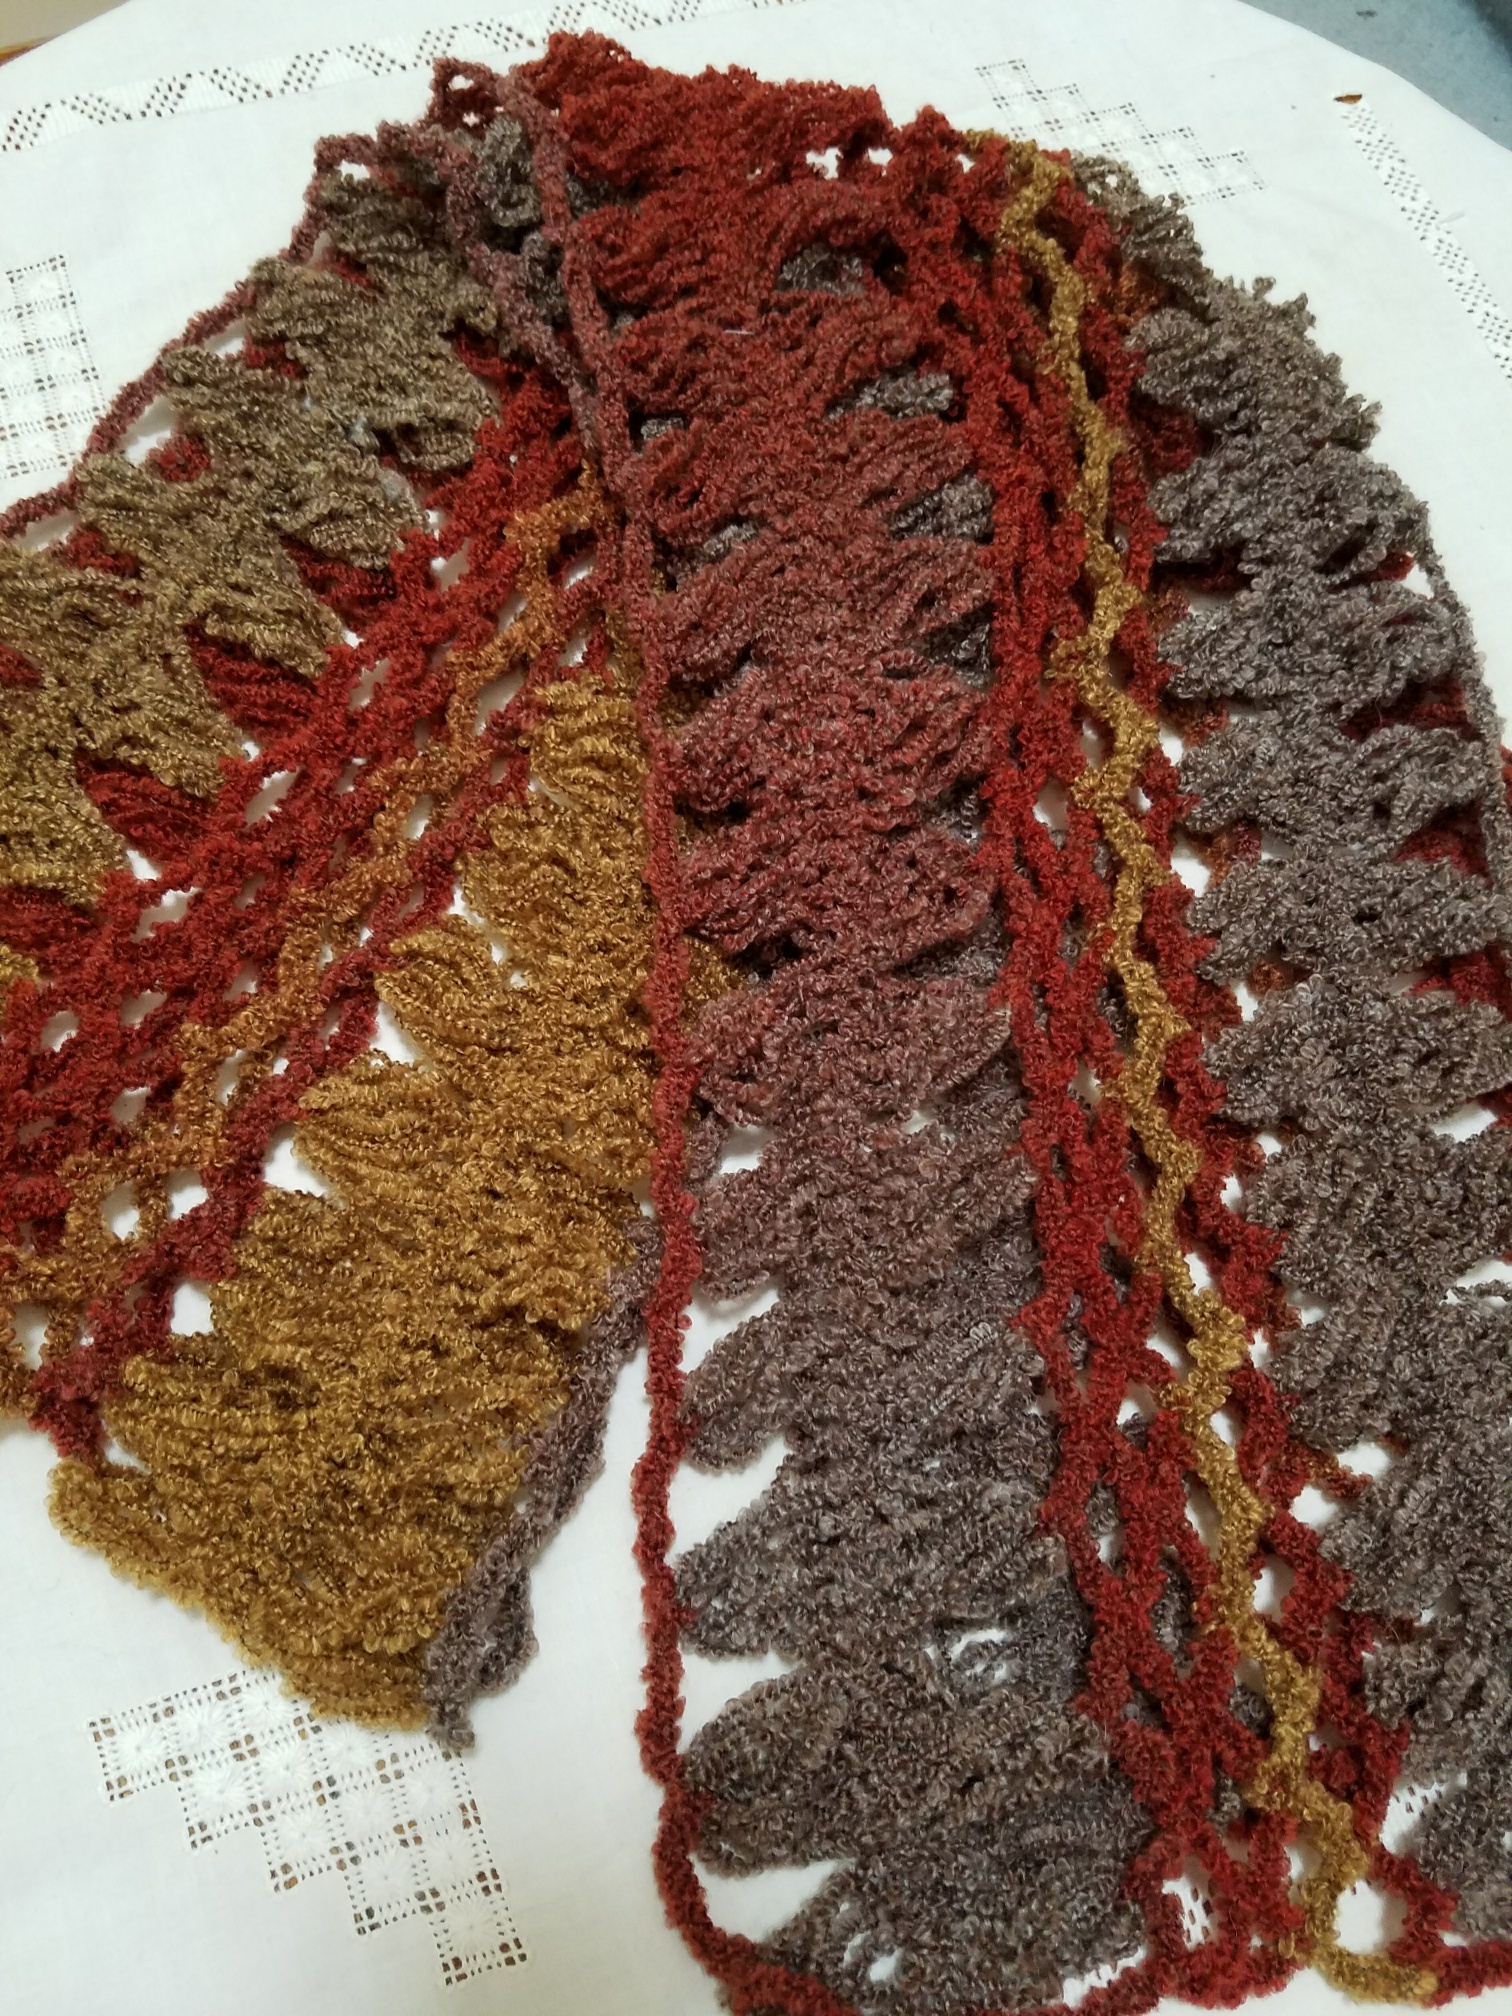
These two are hairpin lace, using boucle yarn, with fringe.
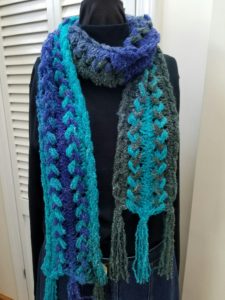
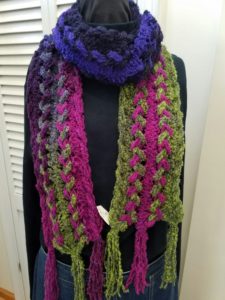
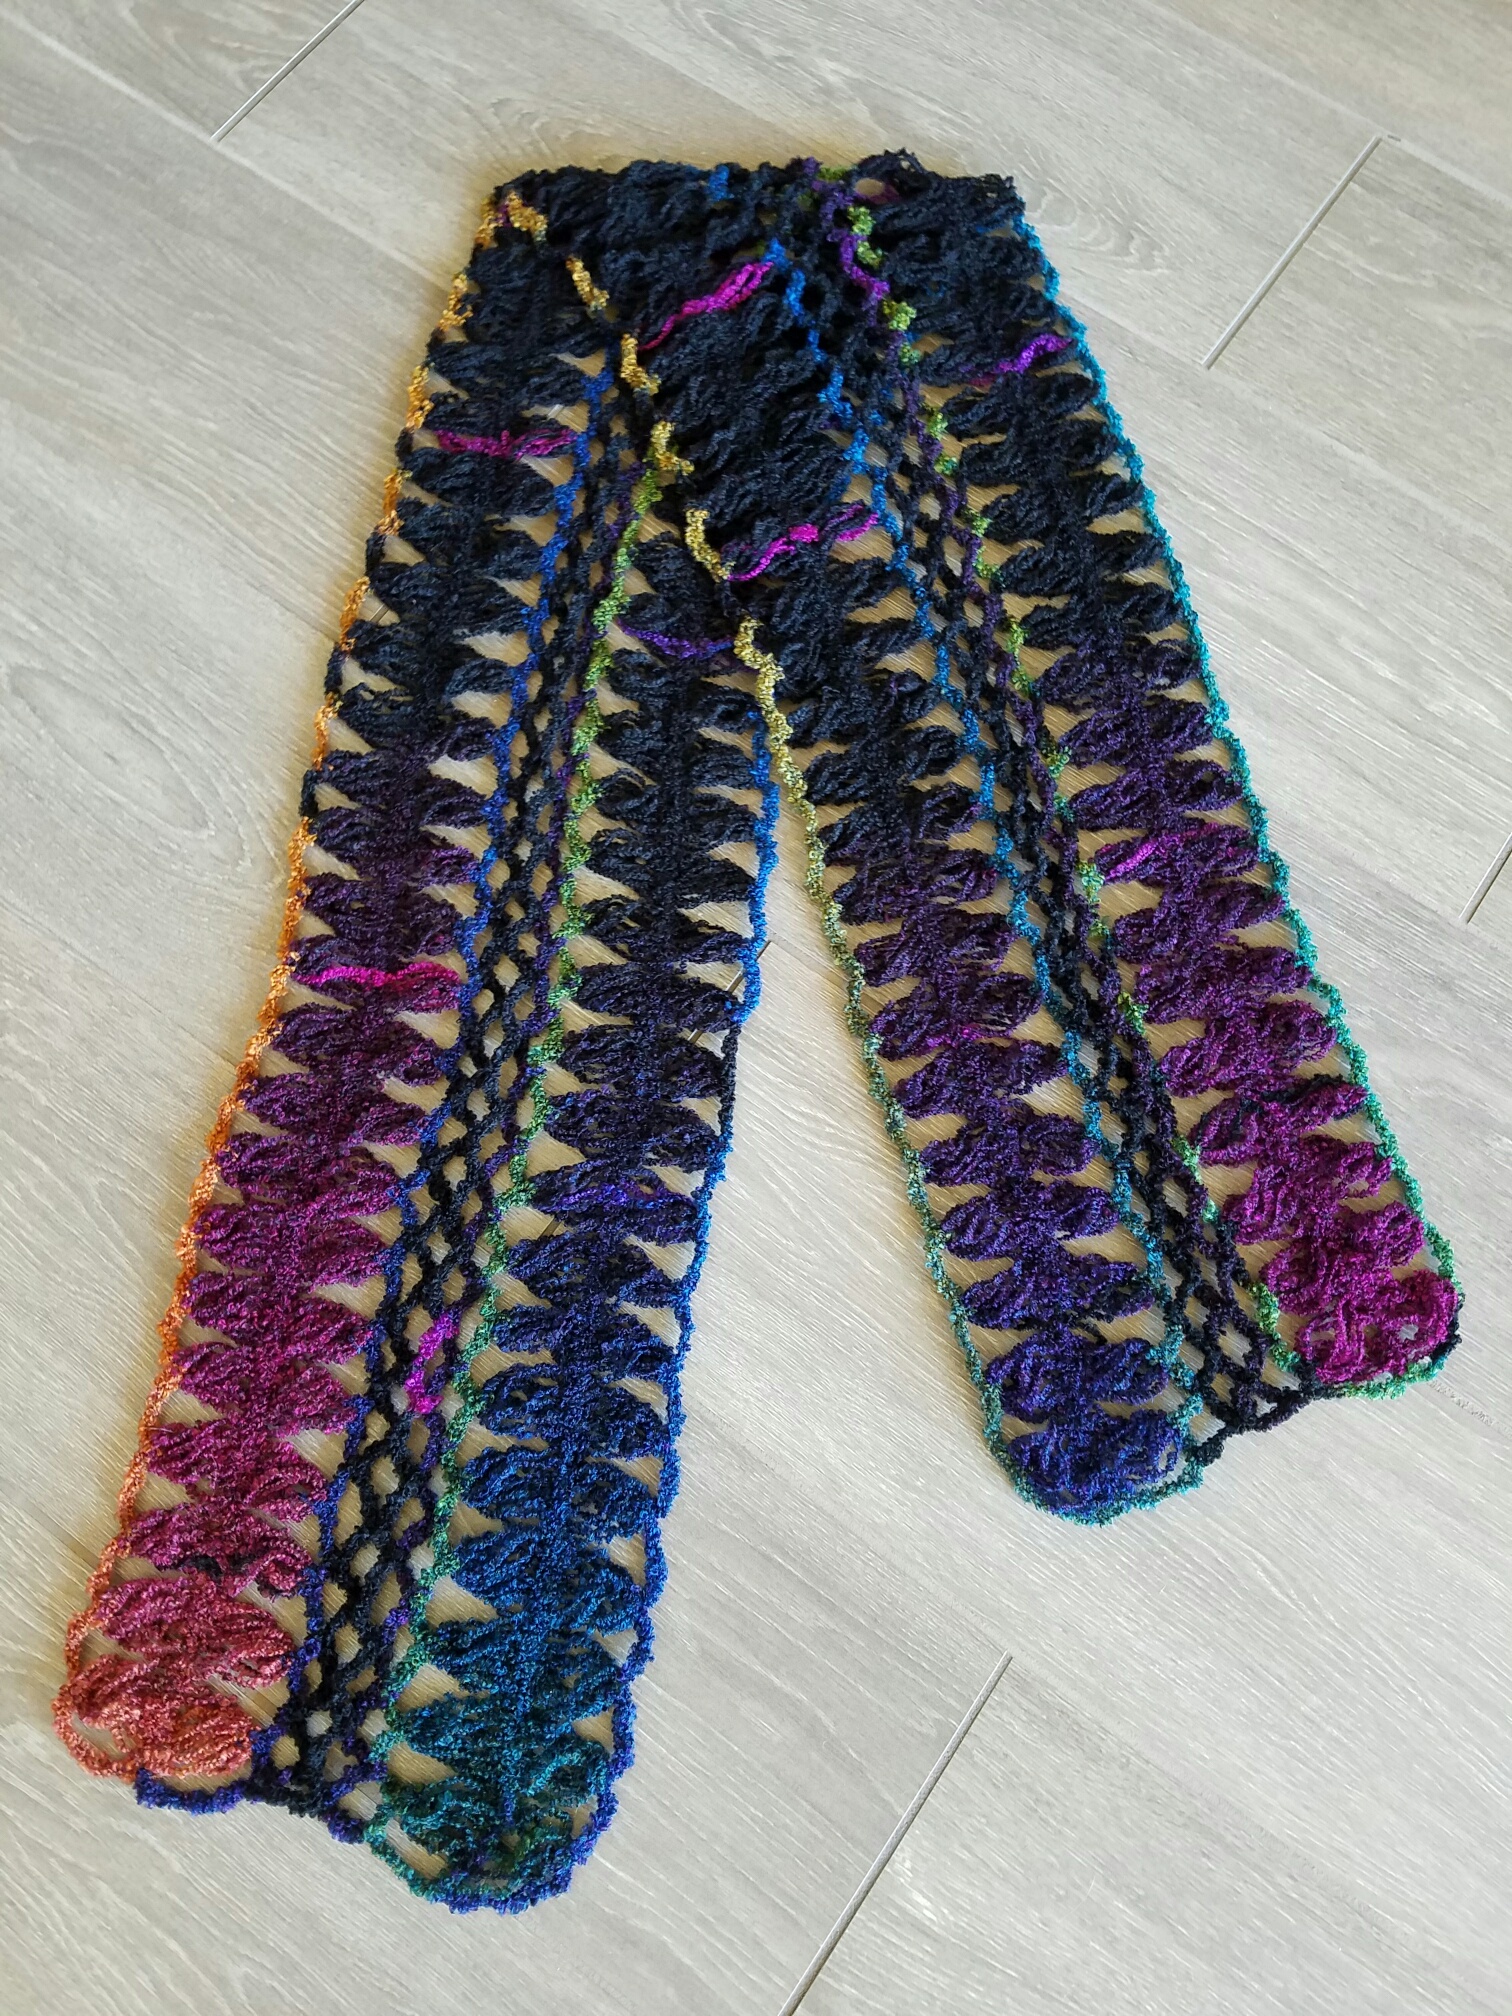
I also have a couple of these 60″ long new style hairpin lace scarves. The boucle yarn has an interesting color pattern, or rather, there is no pattern, just random splashes of black and various intense colors.
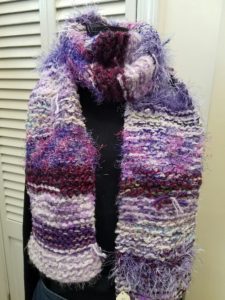
Below is what I call a “Messy” scarf, knit from many shades of purple and lavender. It’s the only color combo I have left from a very popular style. I use yarn ends, so it takes a while to get enough colors that blend.
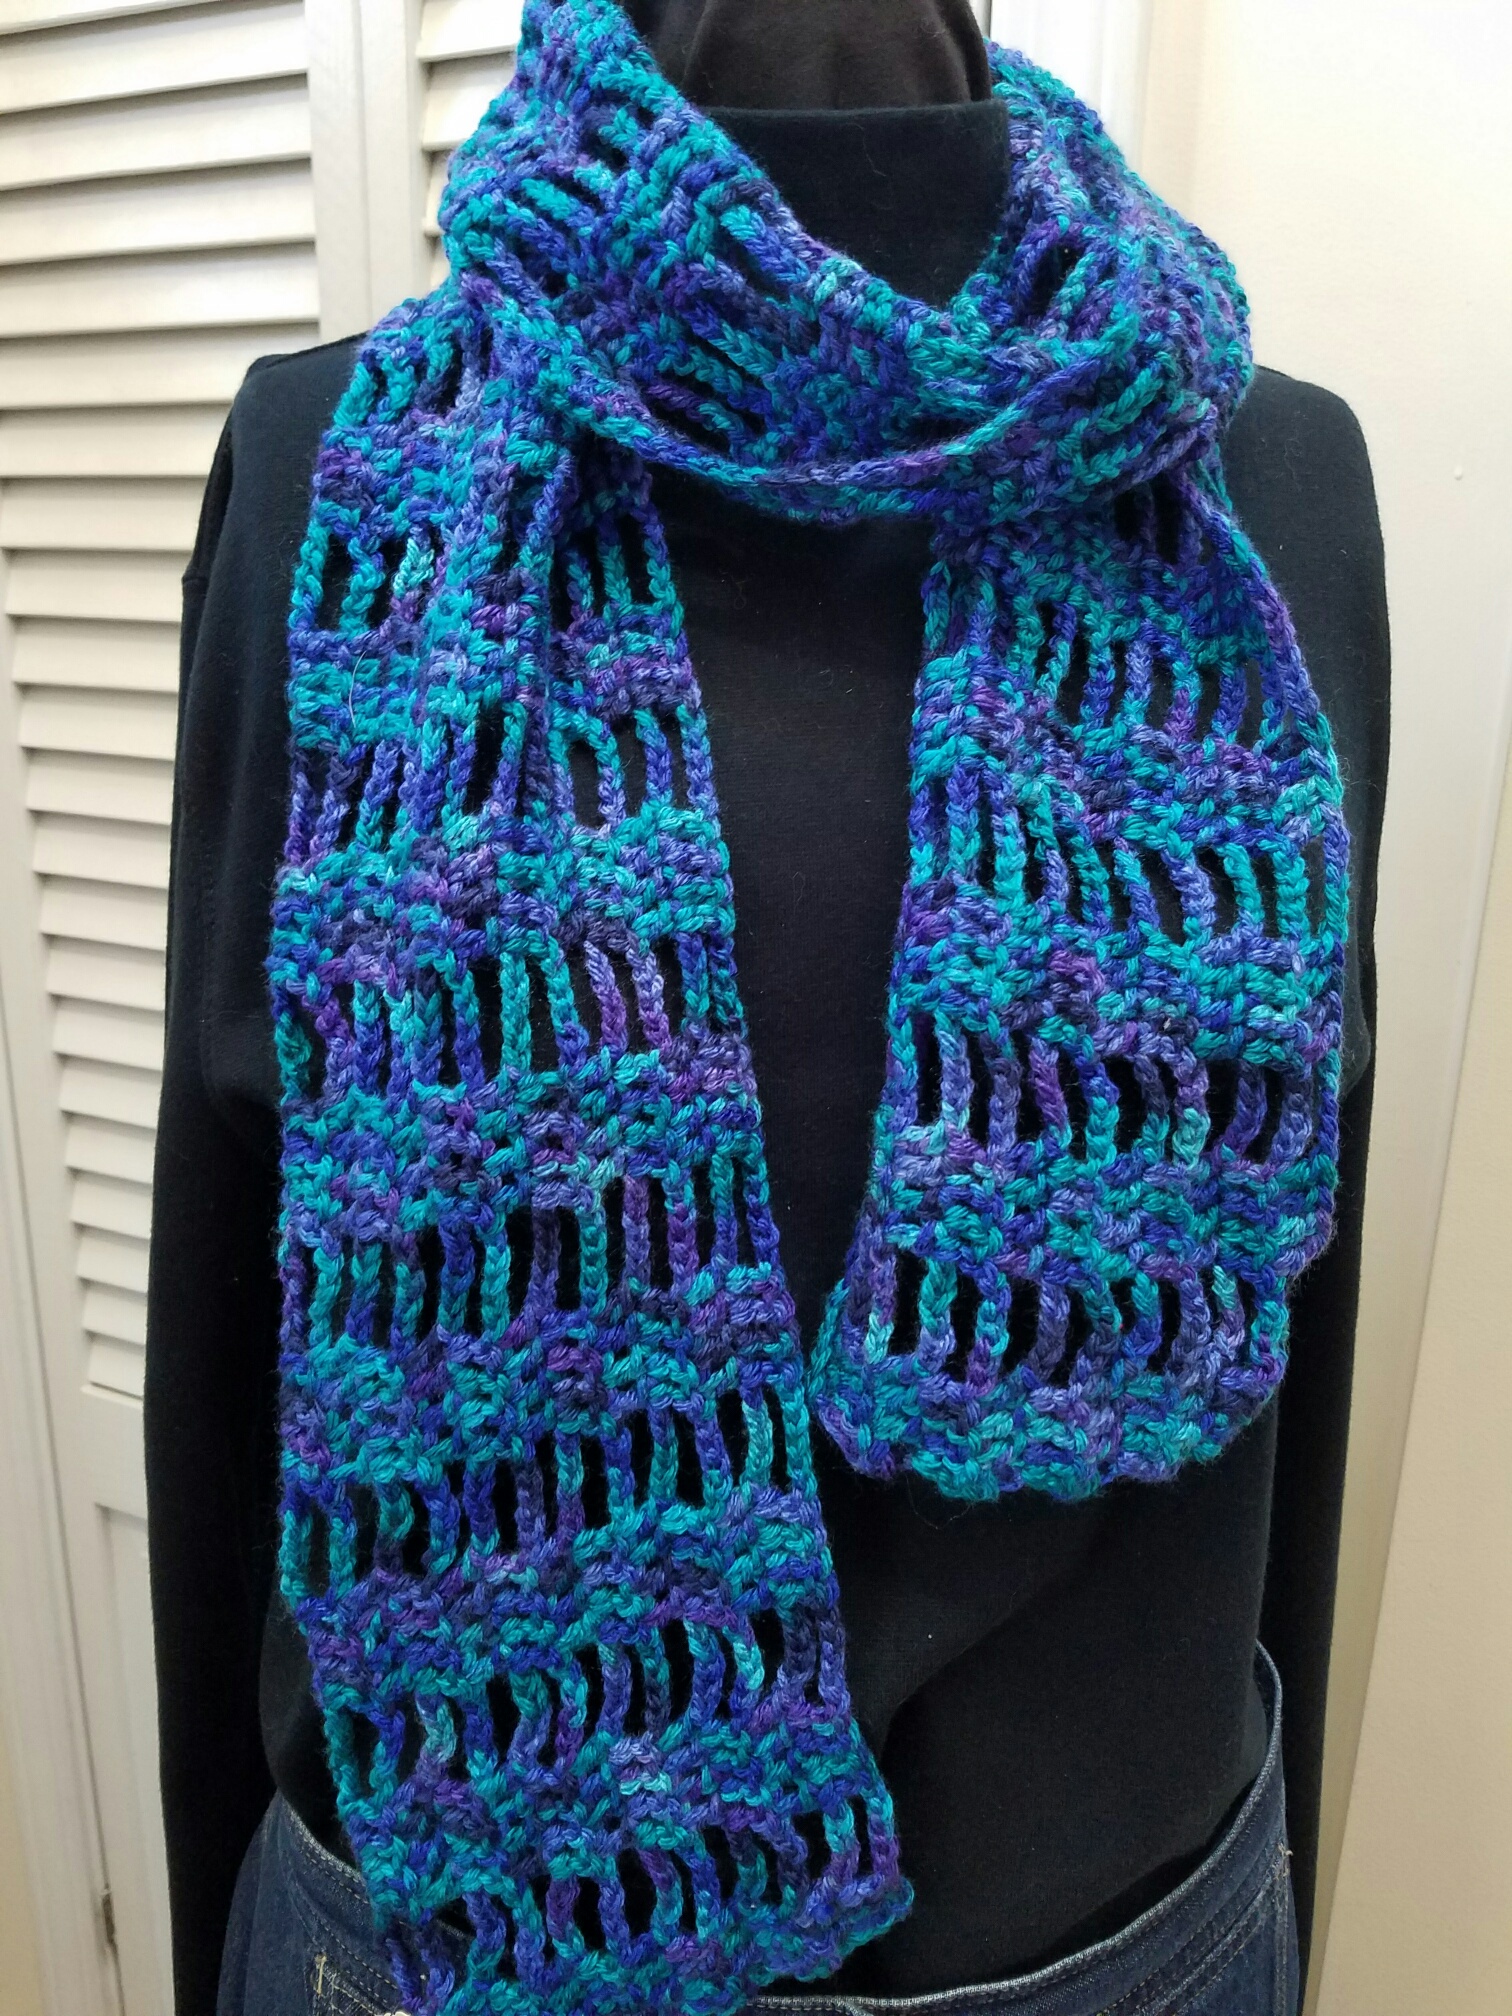
This is a crochet ladder in a variegated yarn. I have this one in three different color combintions.
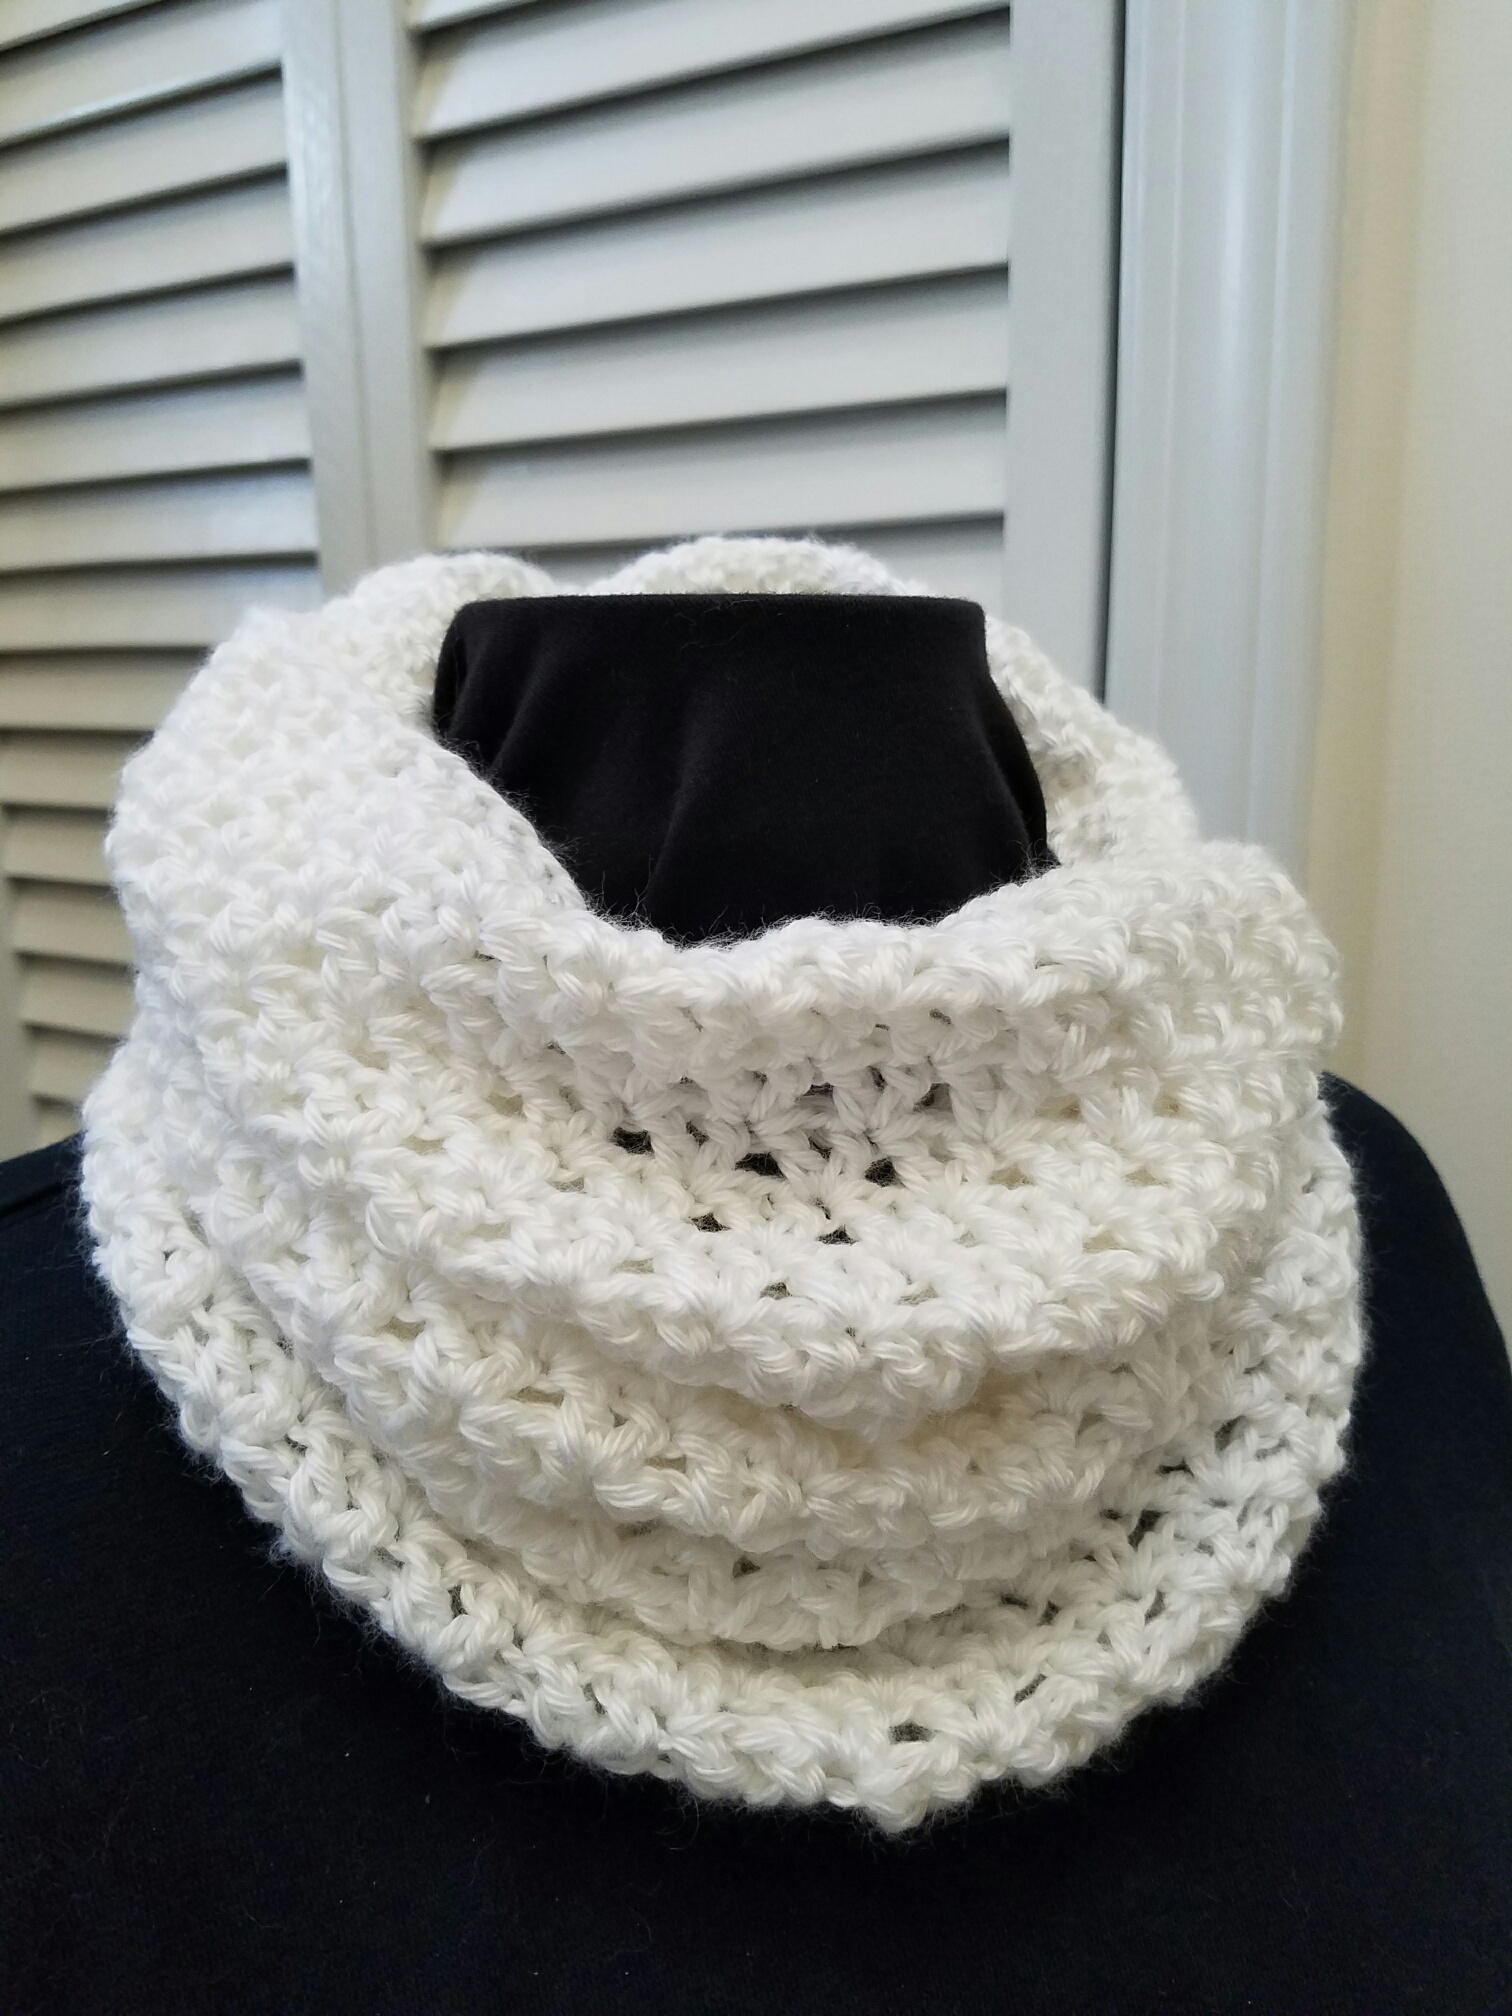
This white crochet is a very tall, bunchy cowl.
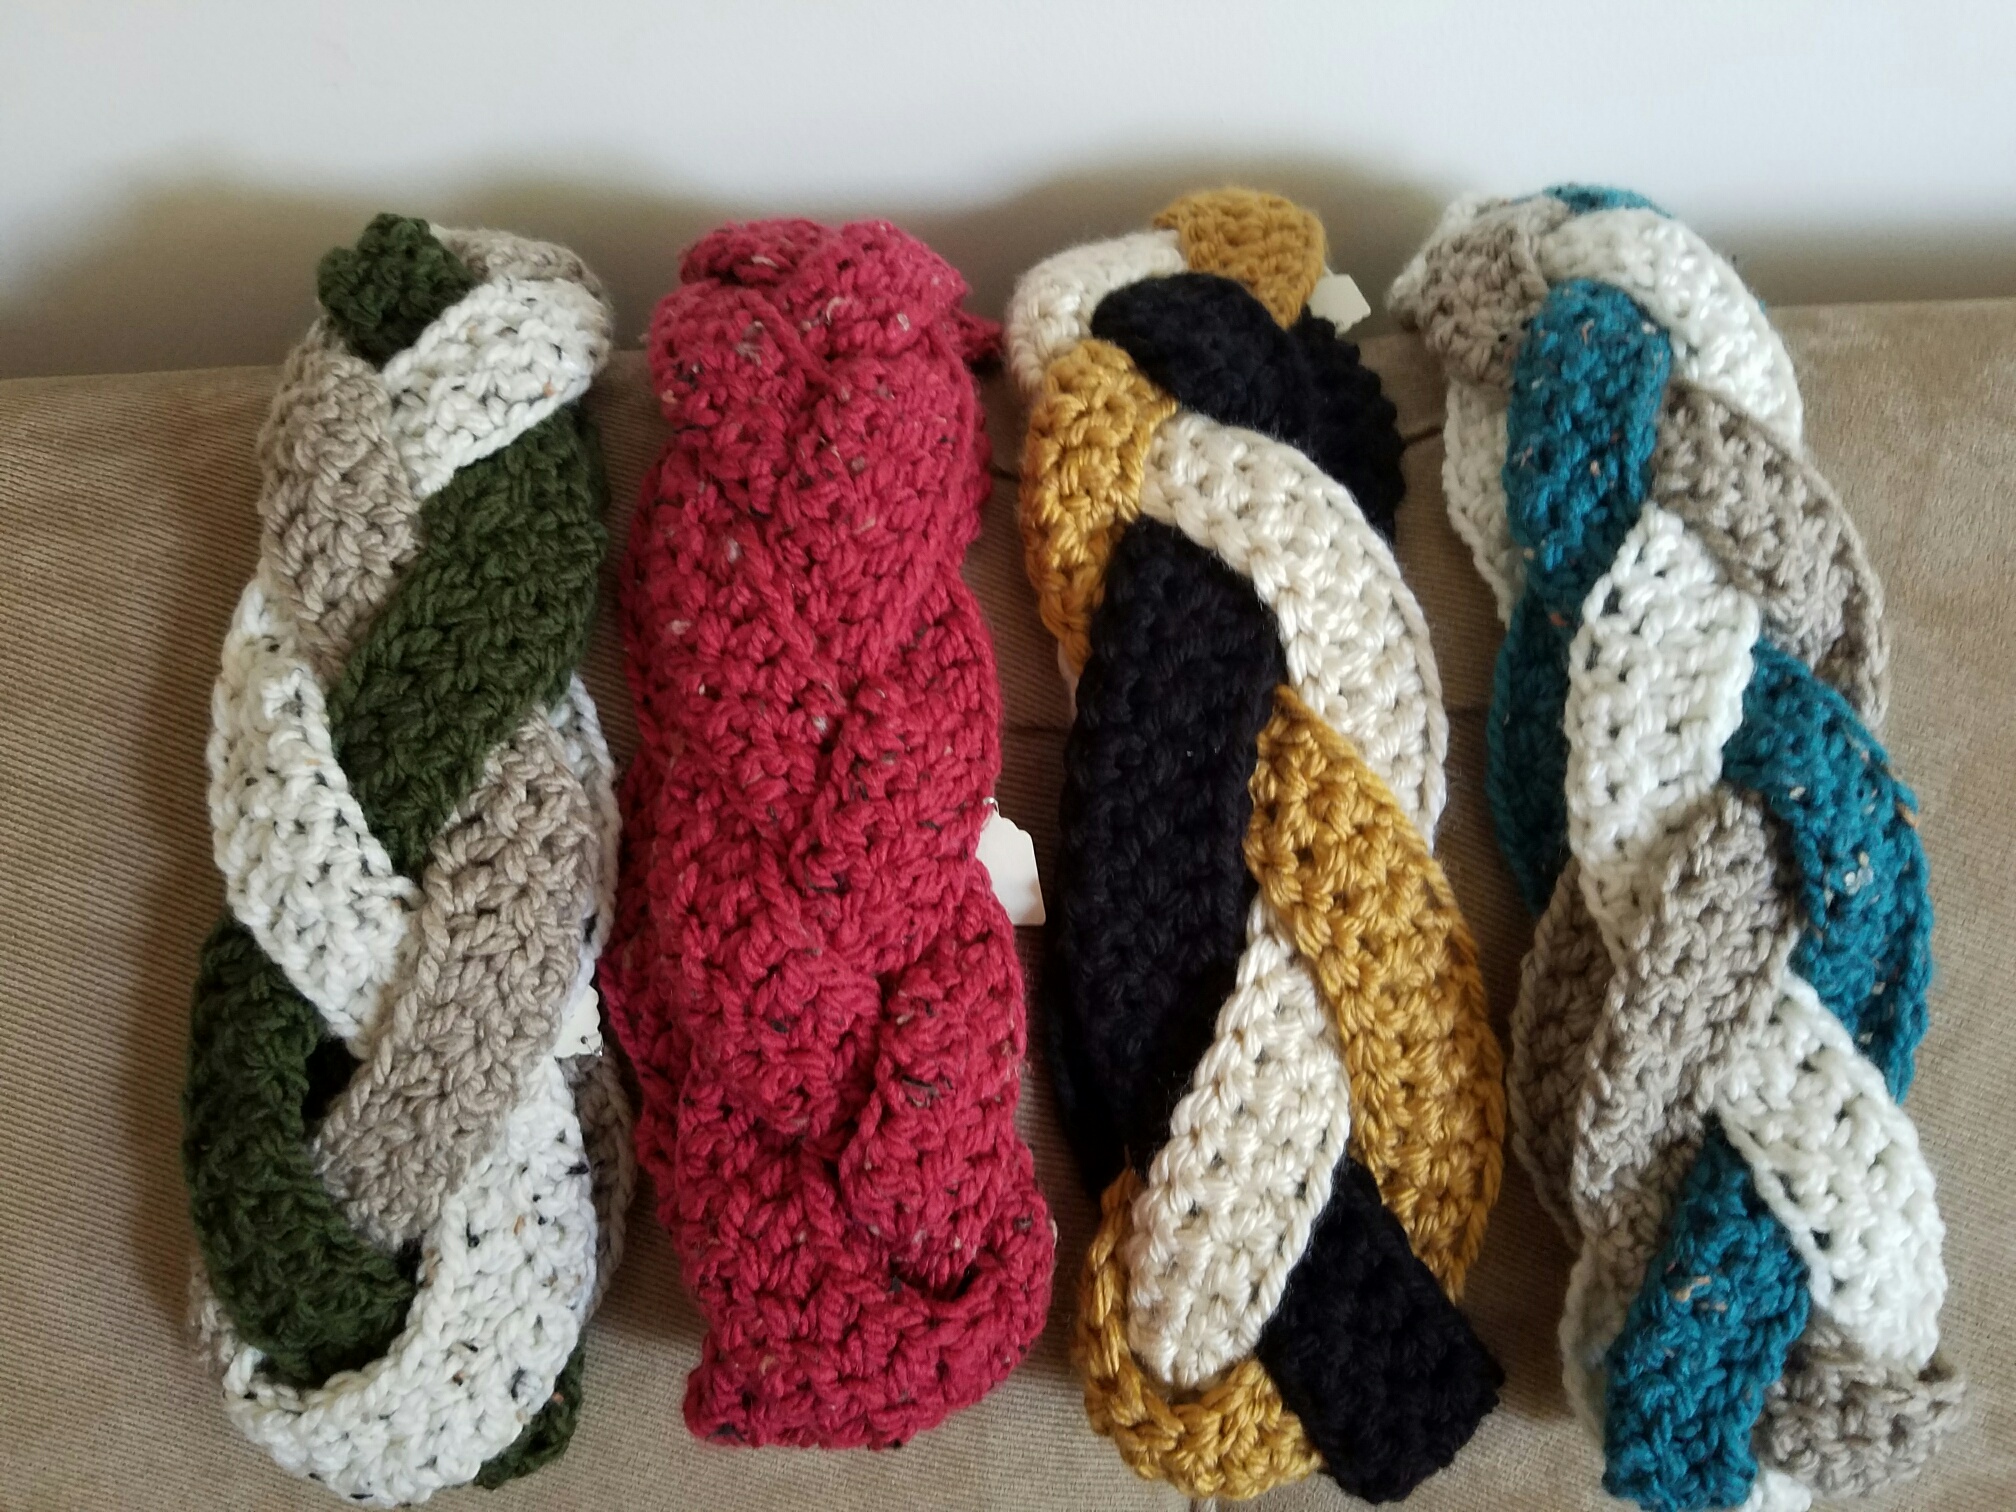
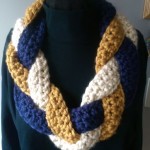
Below is a braided crochet “necklace” scarf, and the color combinations I have remaining with the exception of the teal one on the end.
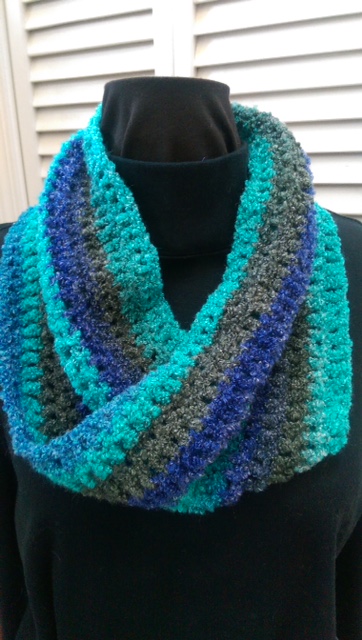
Below are crochet Moebius scarves. They are a single loop infinity scarf with a single twist in it. The advantage to wearing these is that you just slip it over your head, and there’s no fussing to get a nice drape. I charge $15 for them. Several of the styles use two different yarns together to give them some bulk. I recently picked up some interesting novelty yarns, which work up in a unique fashion.
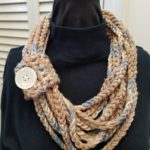
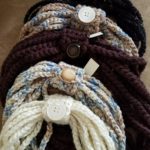
This last style is a chunky, single long crochet chain that is looped into a “necklace” and gathered into a buttoned cuff. This group is the last I have of these, priced at $10.
CELL PHONE POUCHES
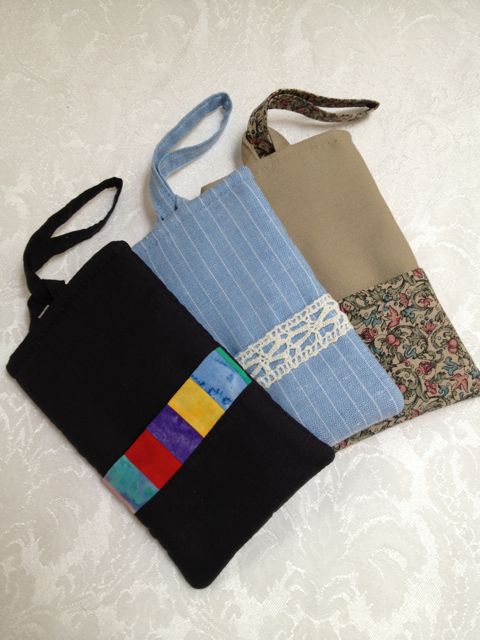
I have about 15 of these handy little pouches, including some with Christmas fabric. They are priced at $10.
CHRISTMAS ITEMS
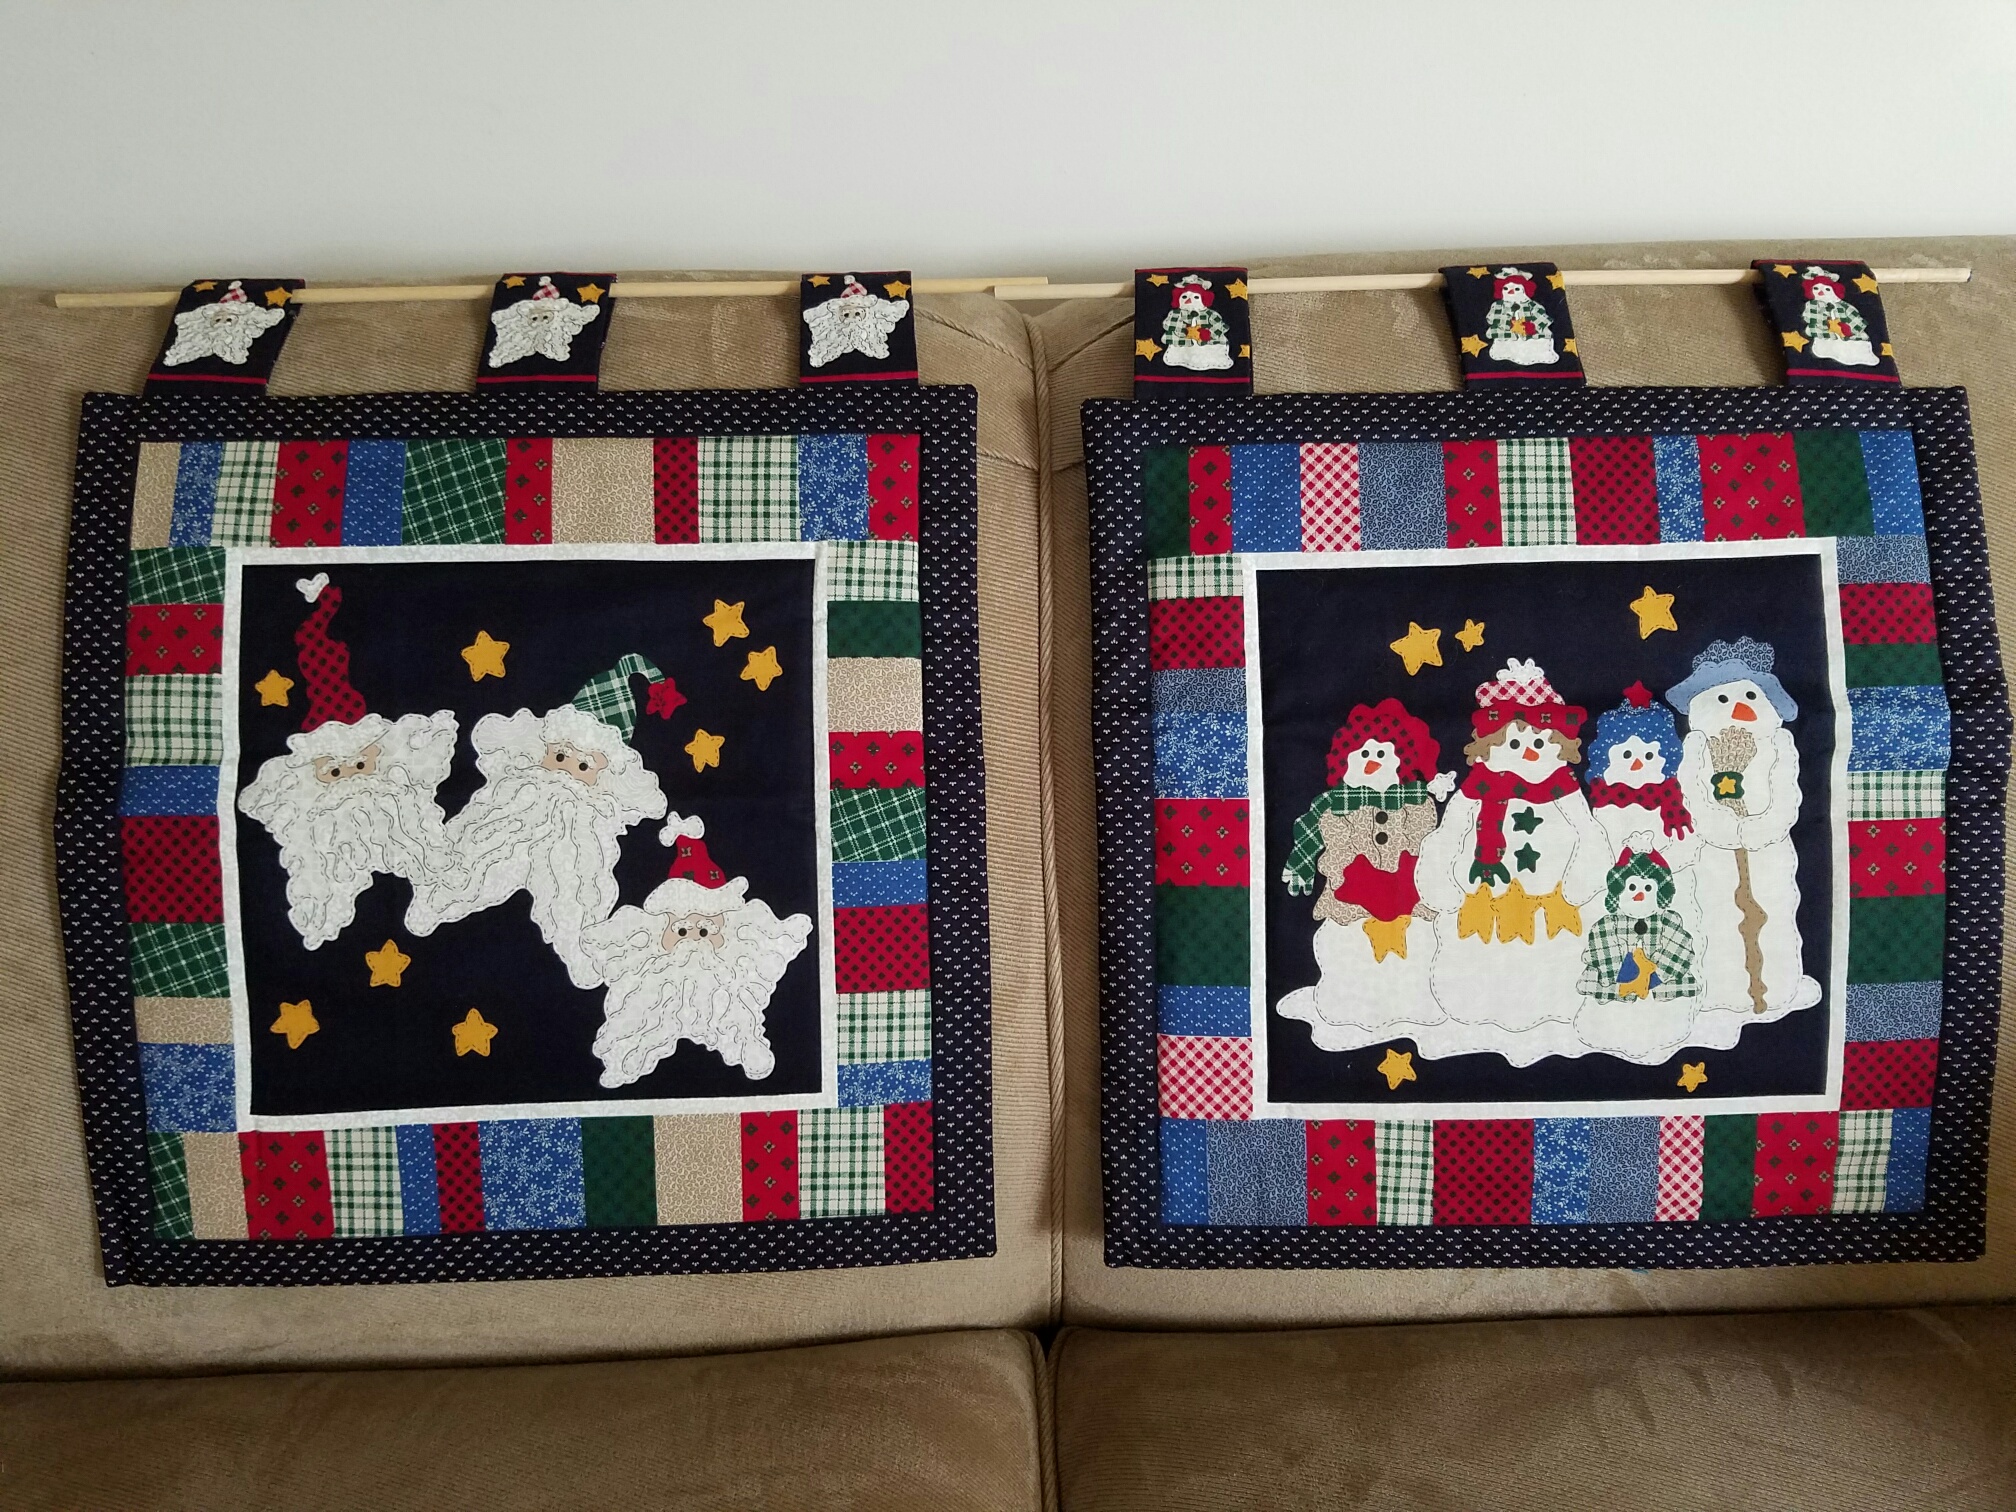
First, I have various wall hangings; these are only two samples. They measure roughly between 16″ to 25″ square, in a variety of prints, and they are priced at $10 each.
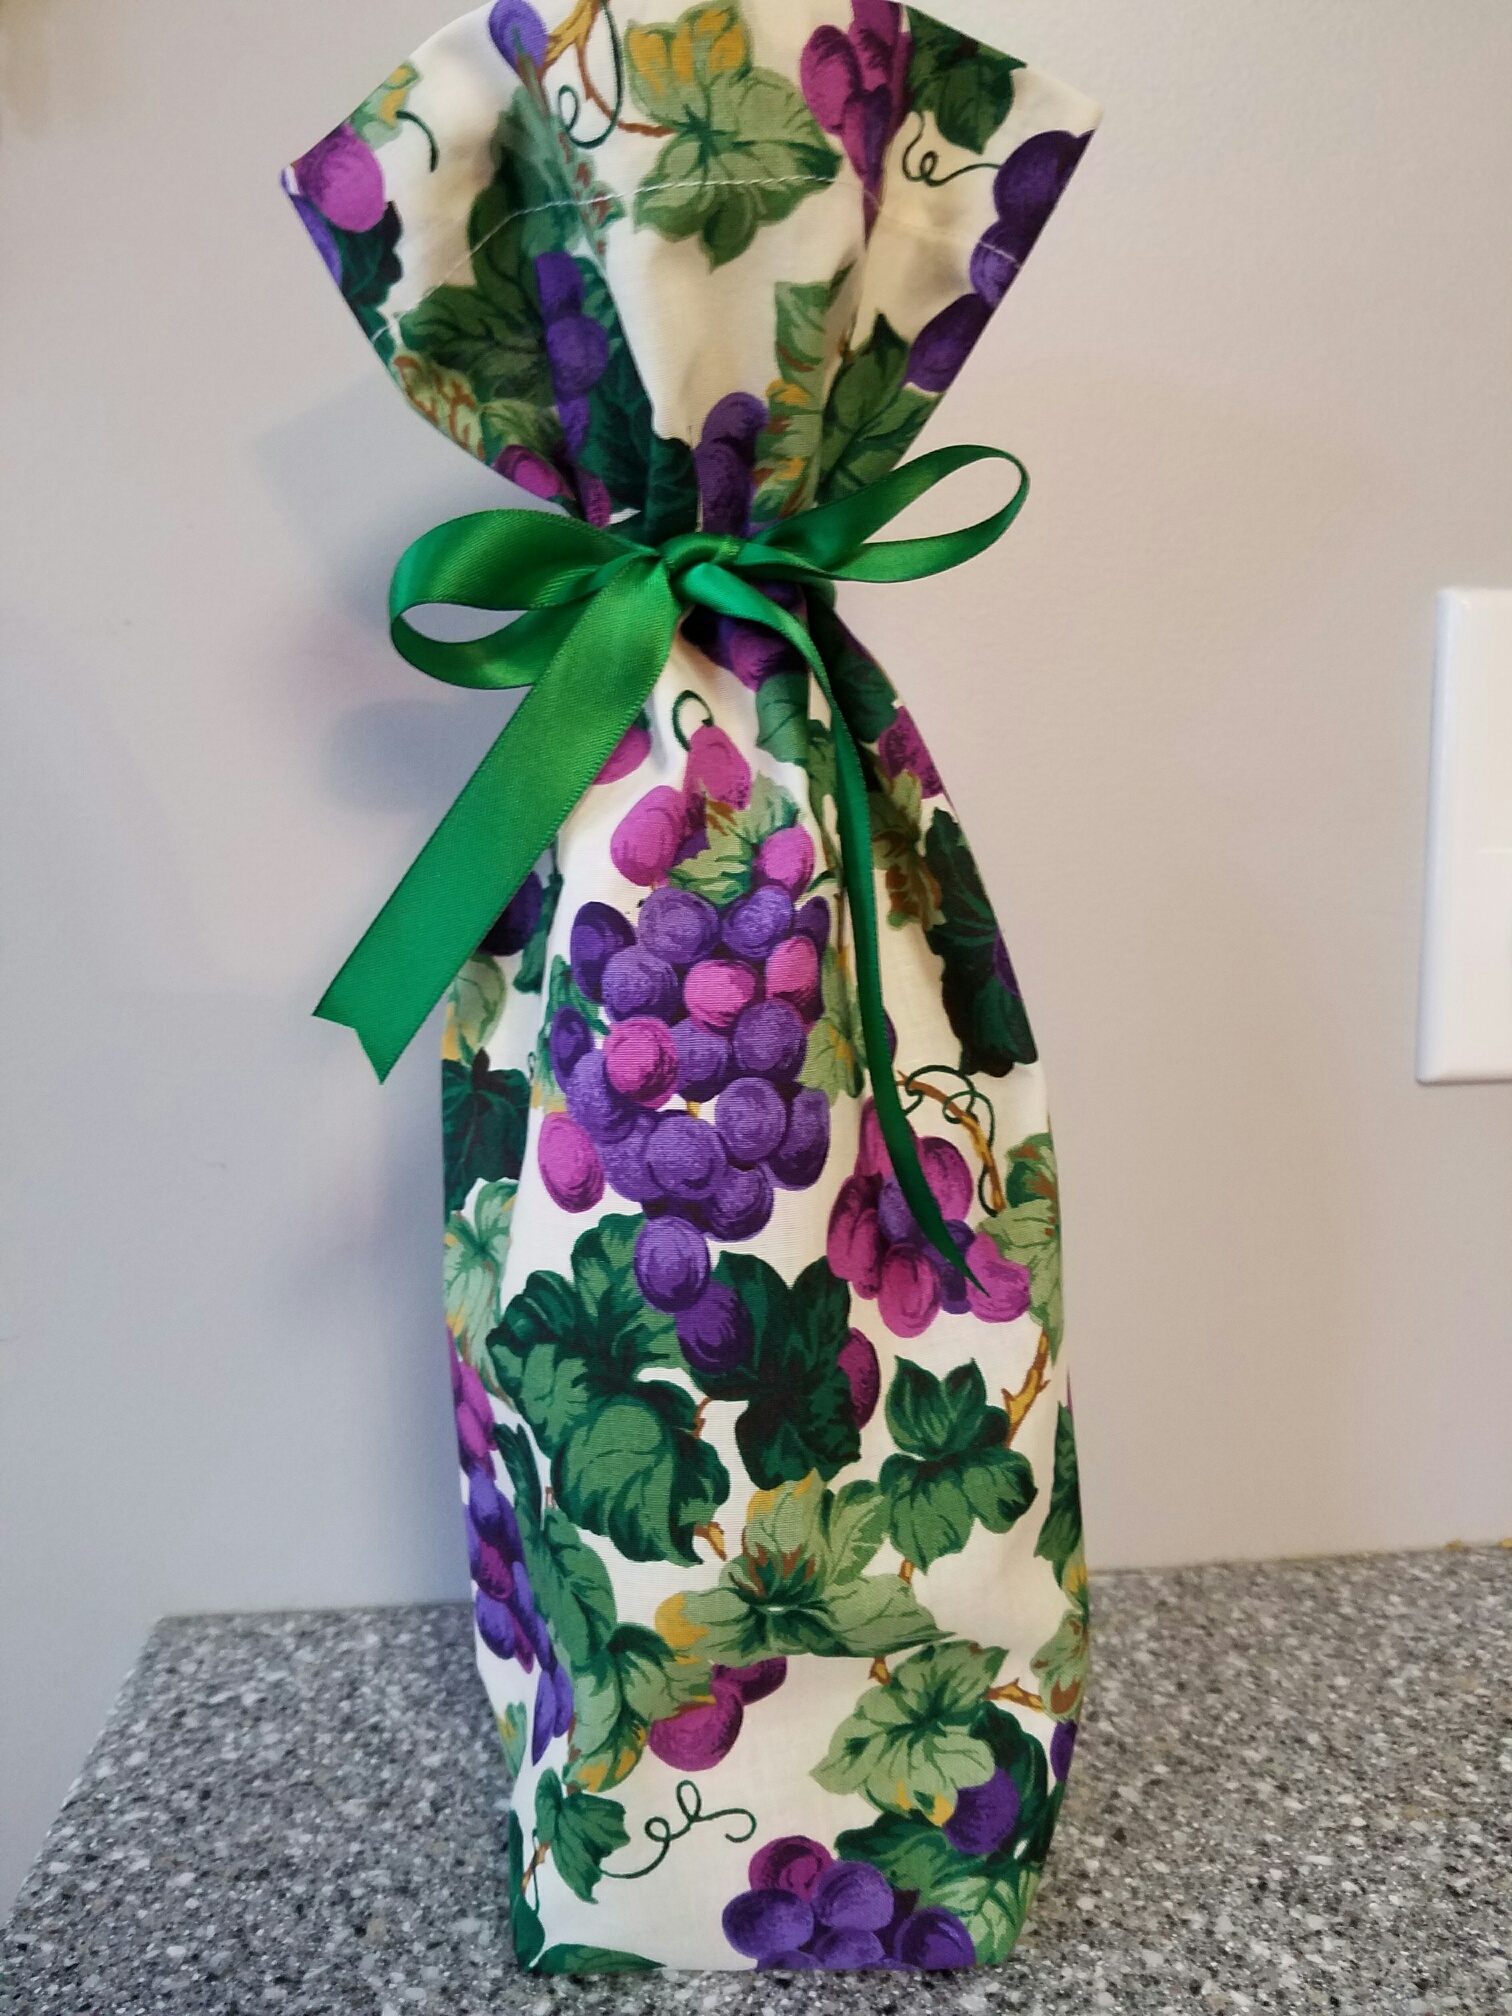
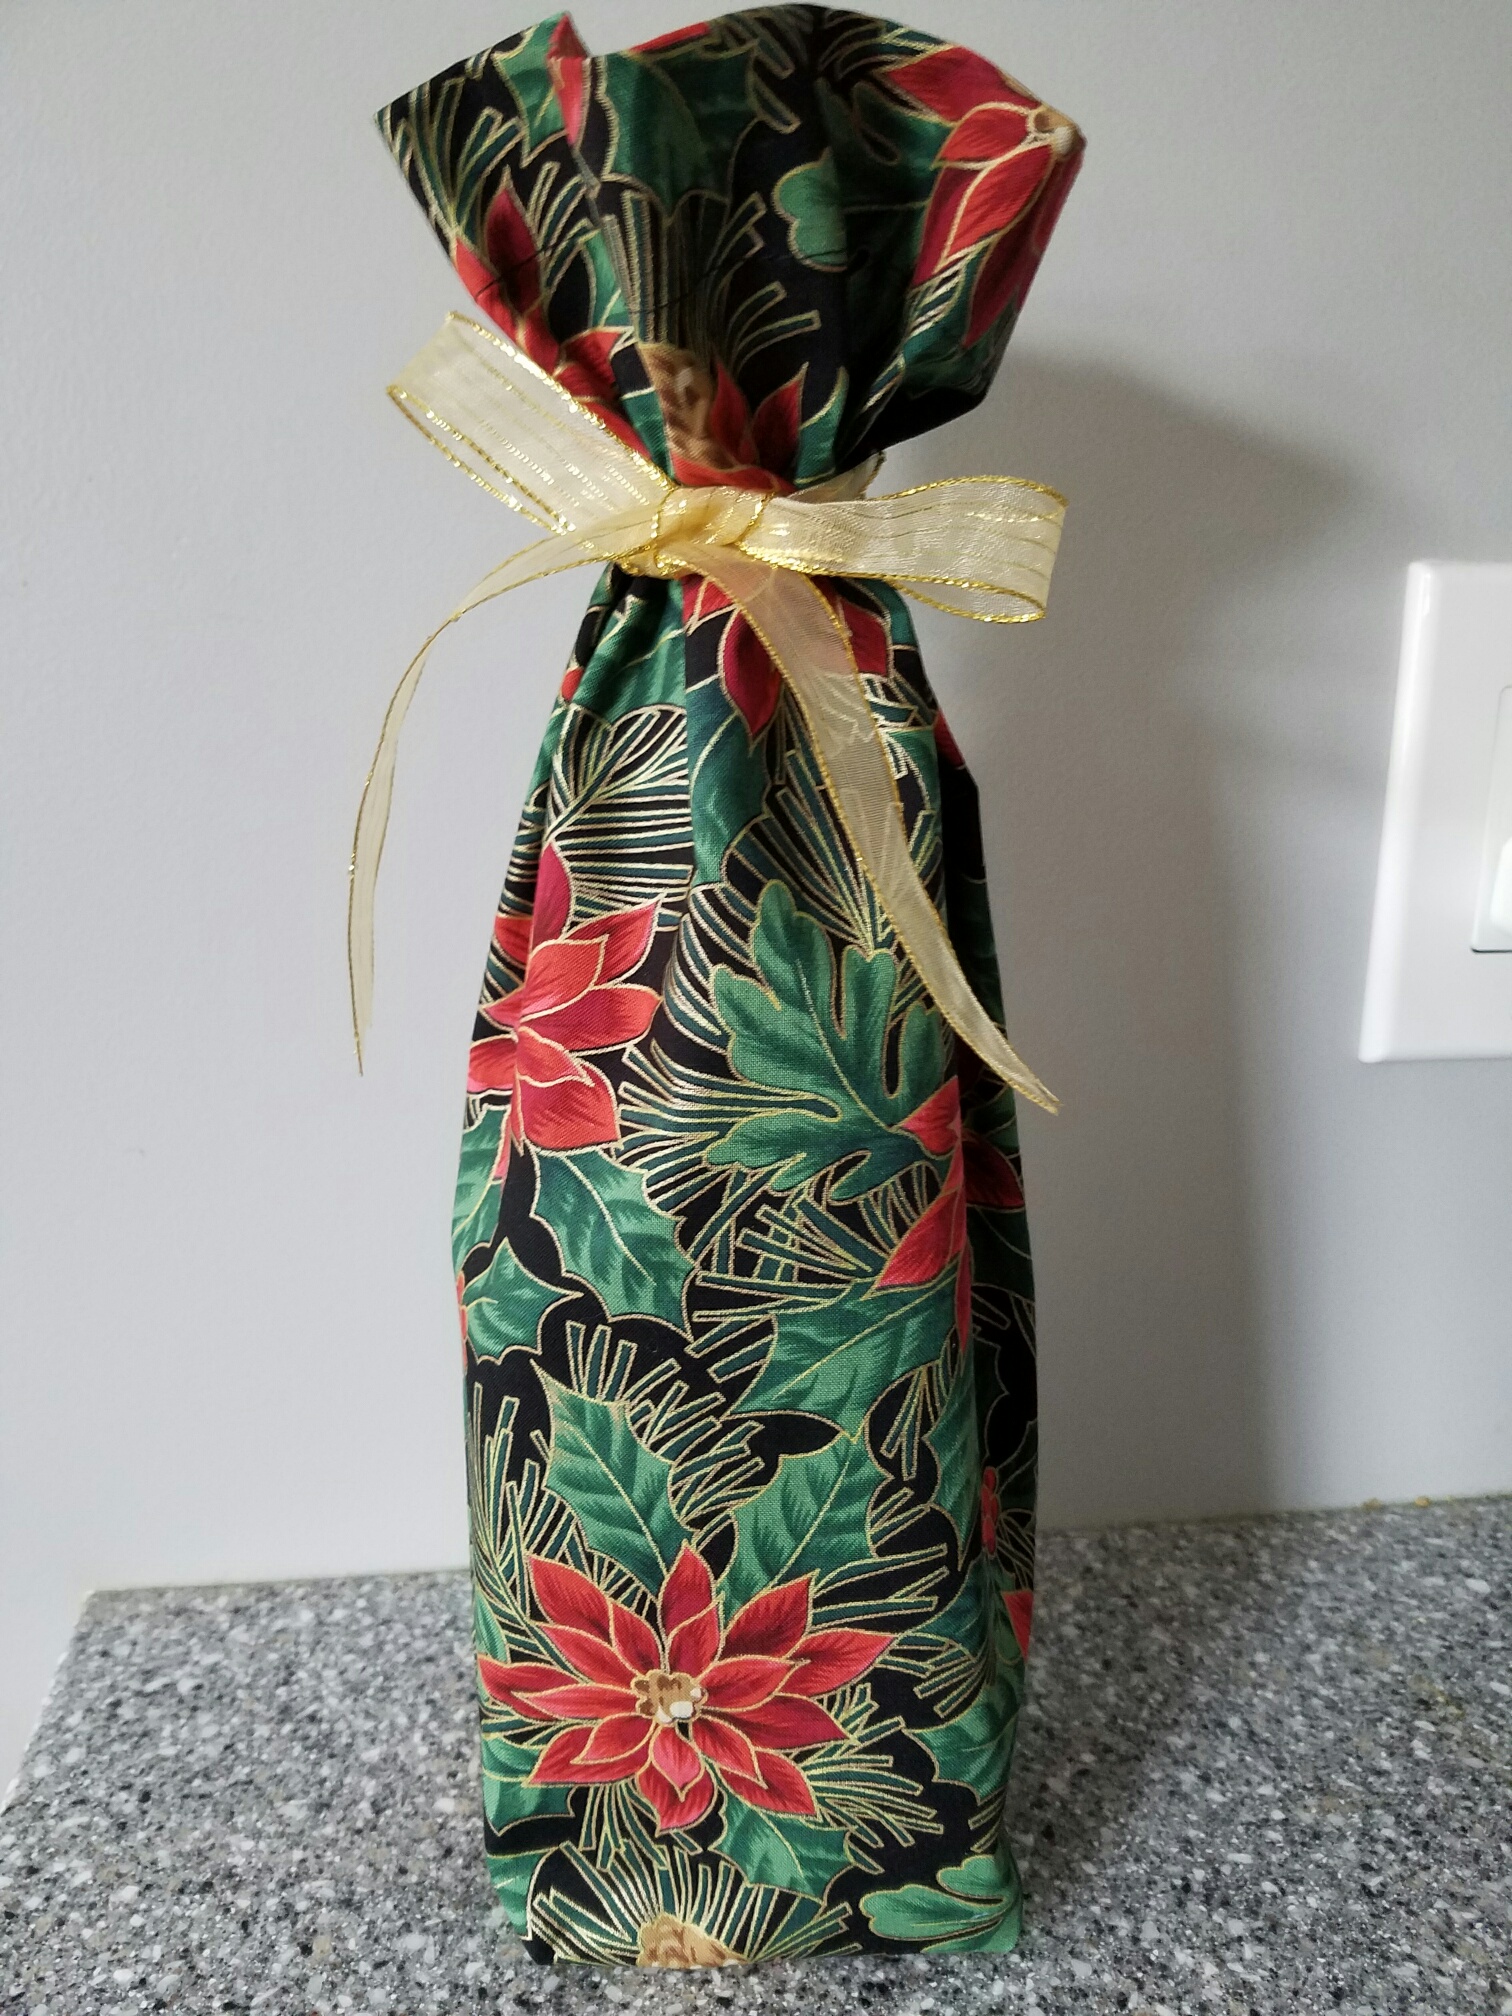
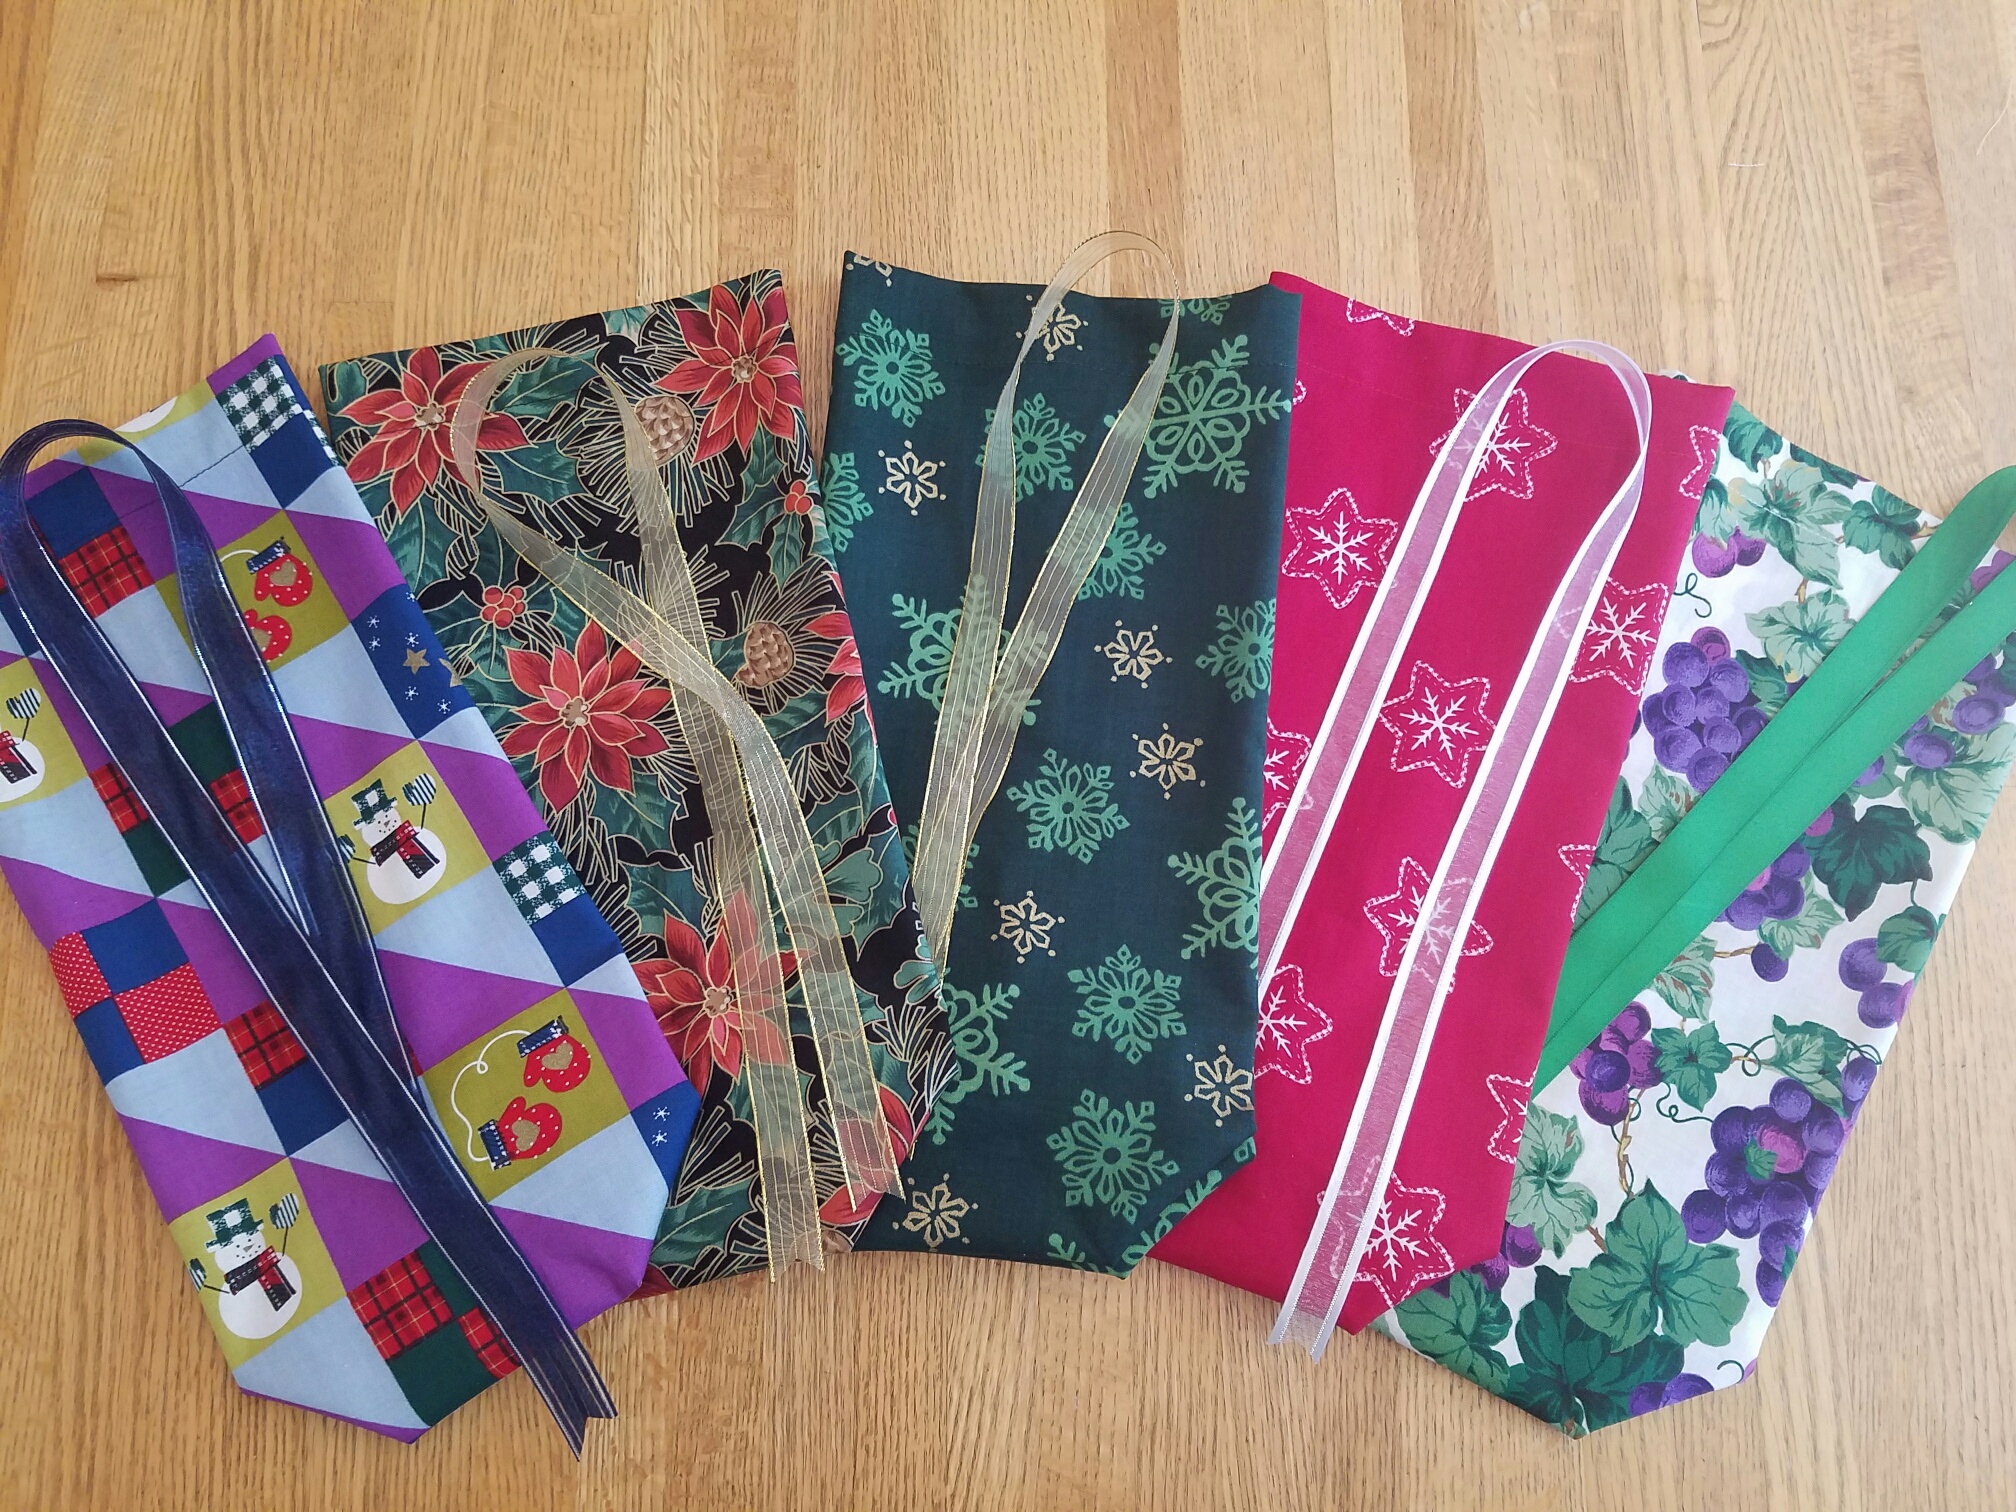
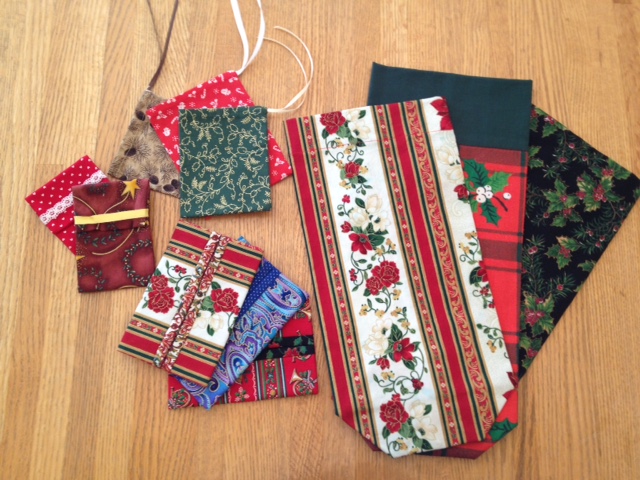
Who doesn’t bring wine to holiday parties? I used Christmas fabric to make the basic $4 bags, or 3 for $10. I’ve also included a grape print at this price point.
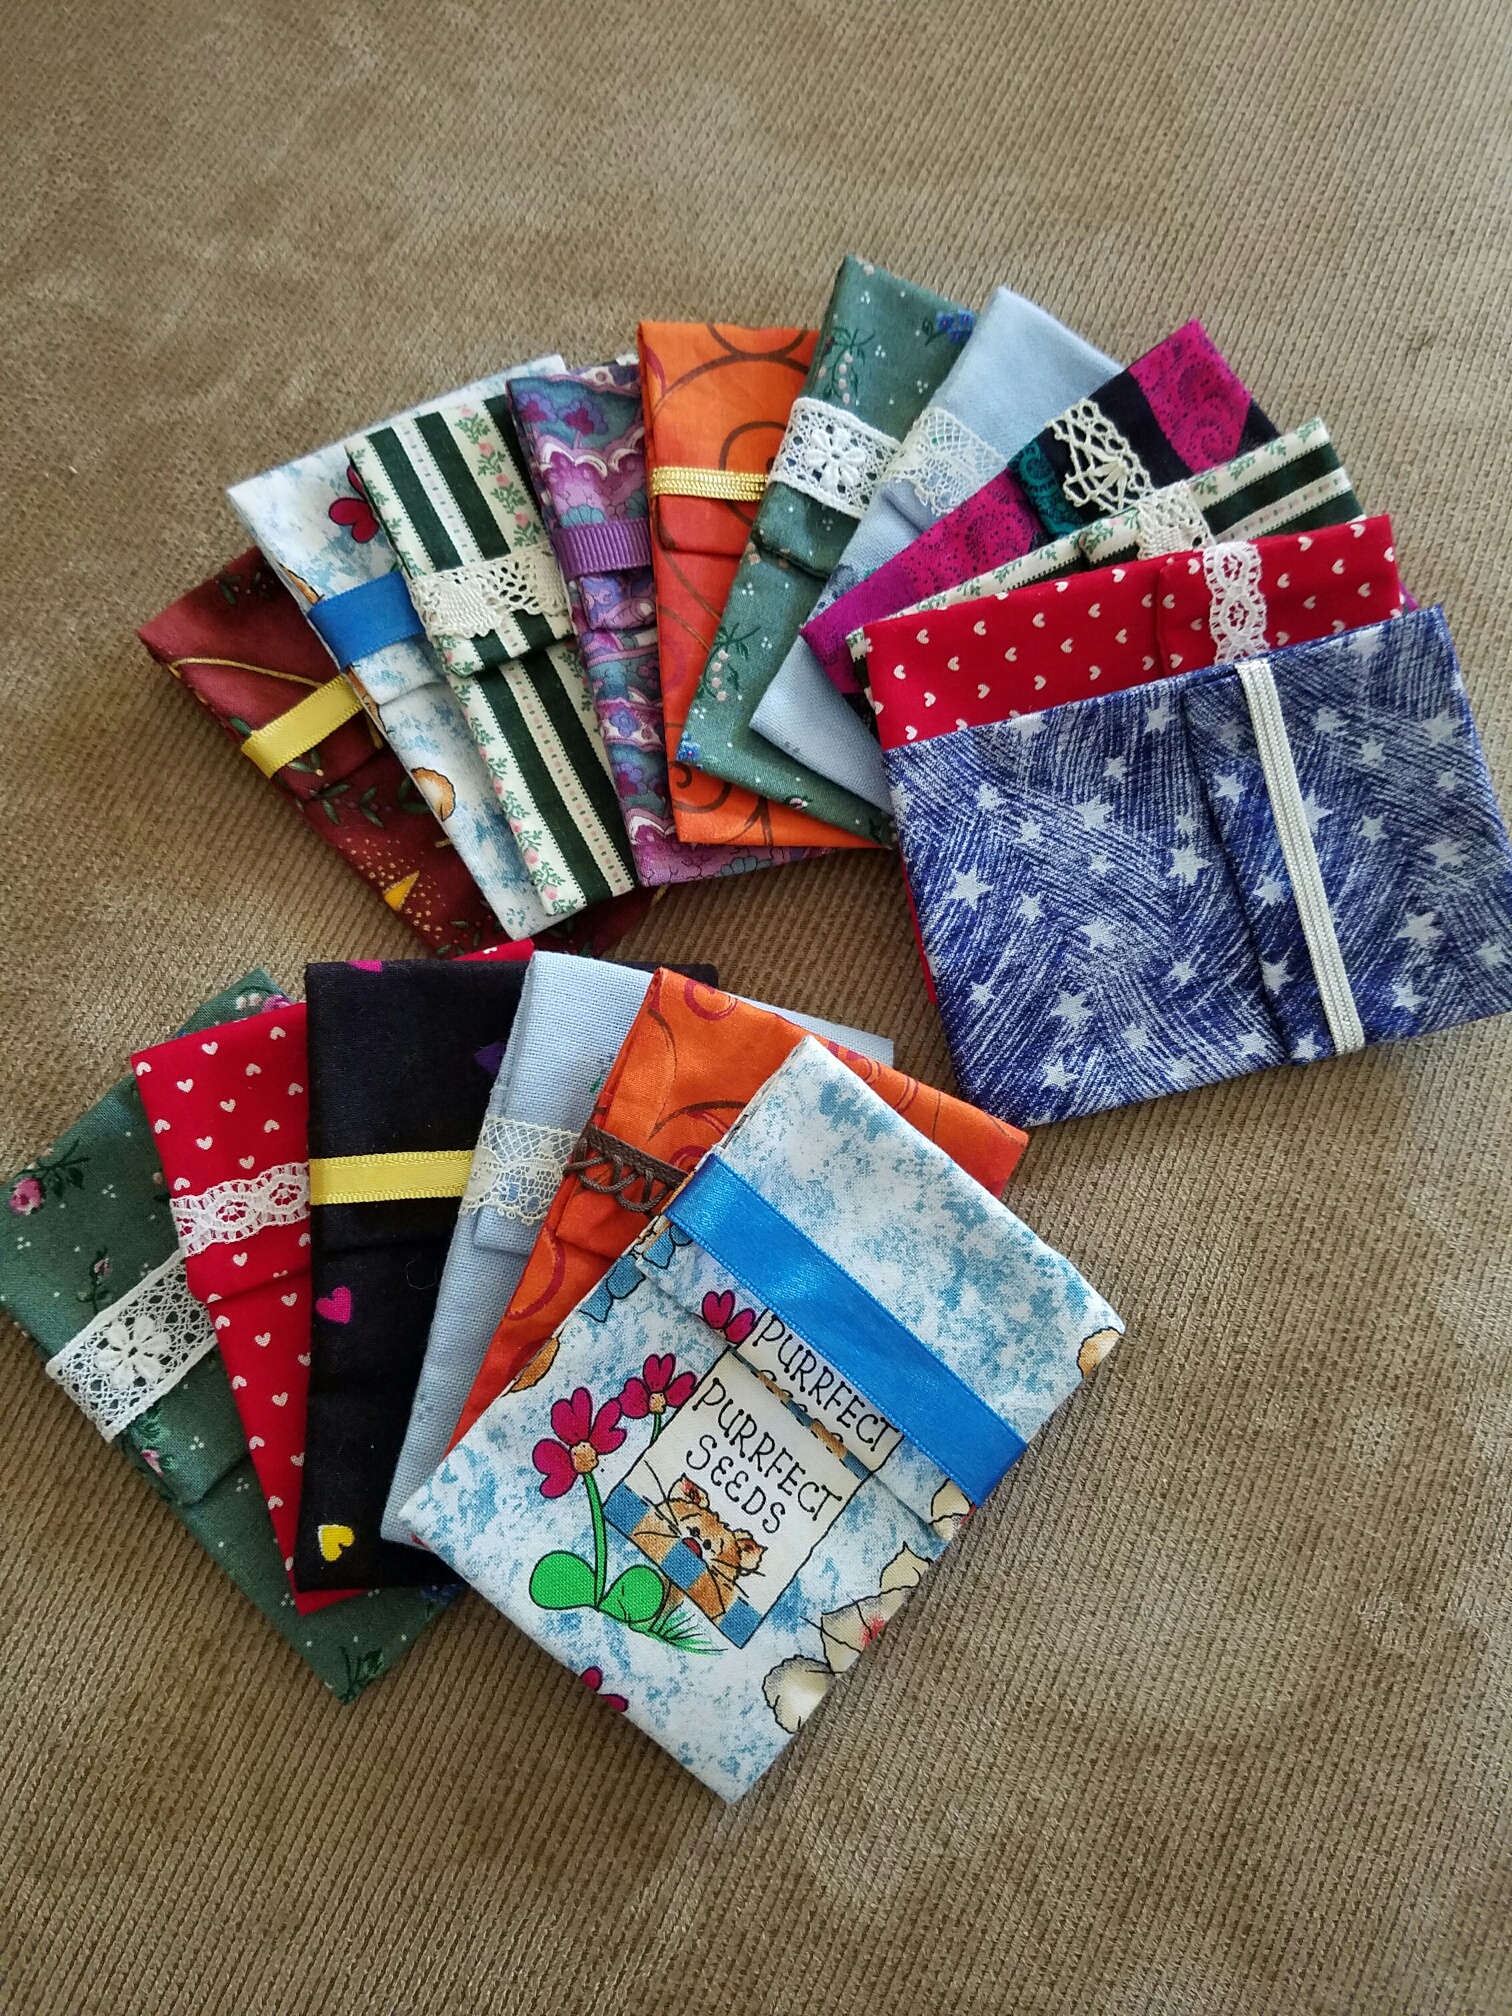
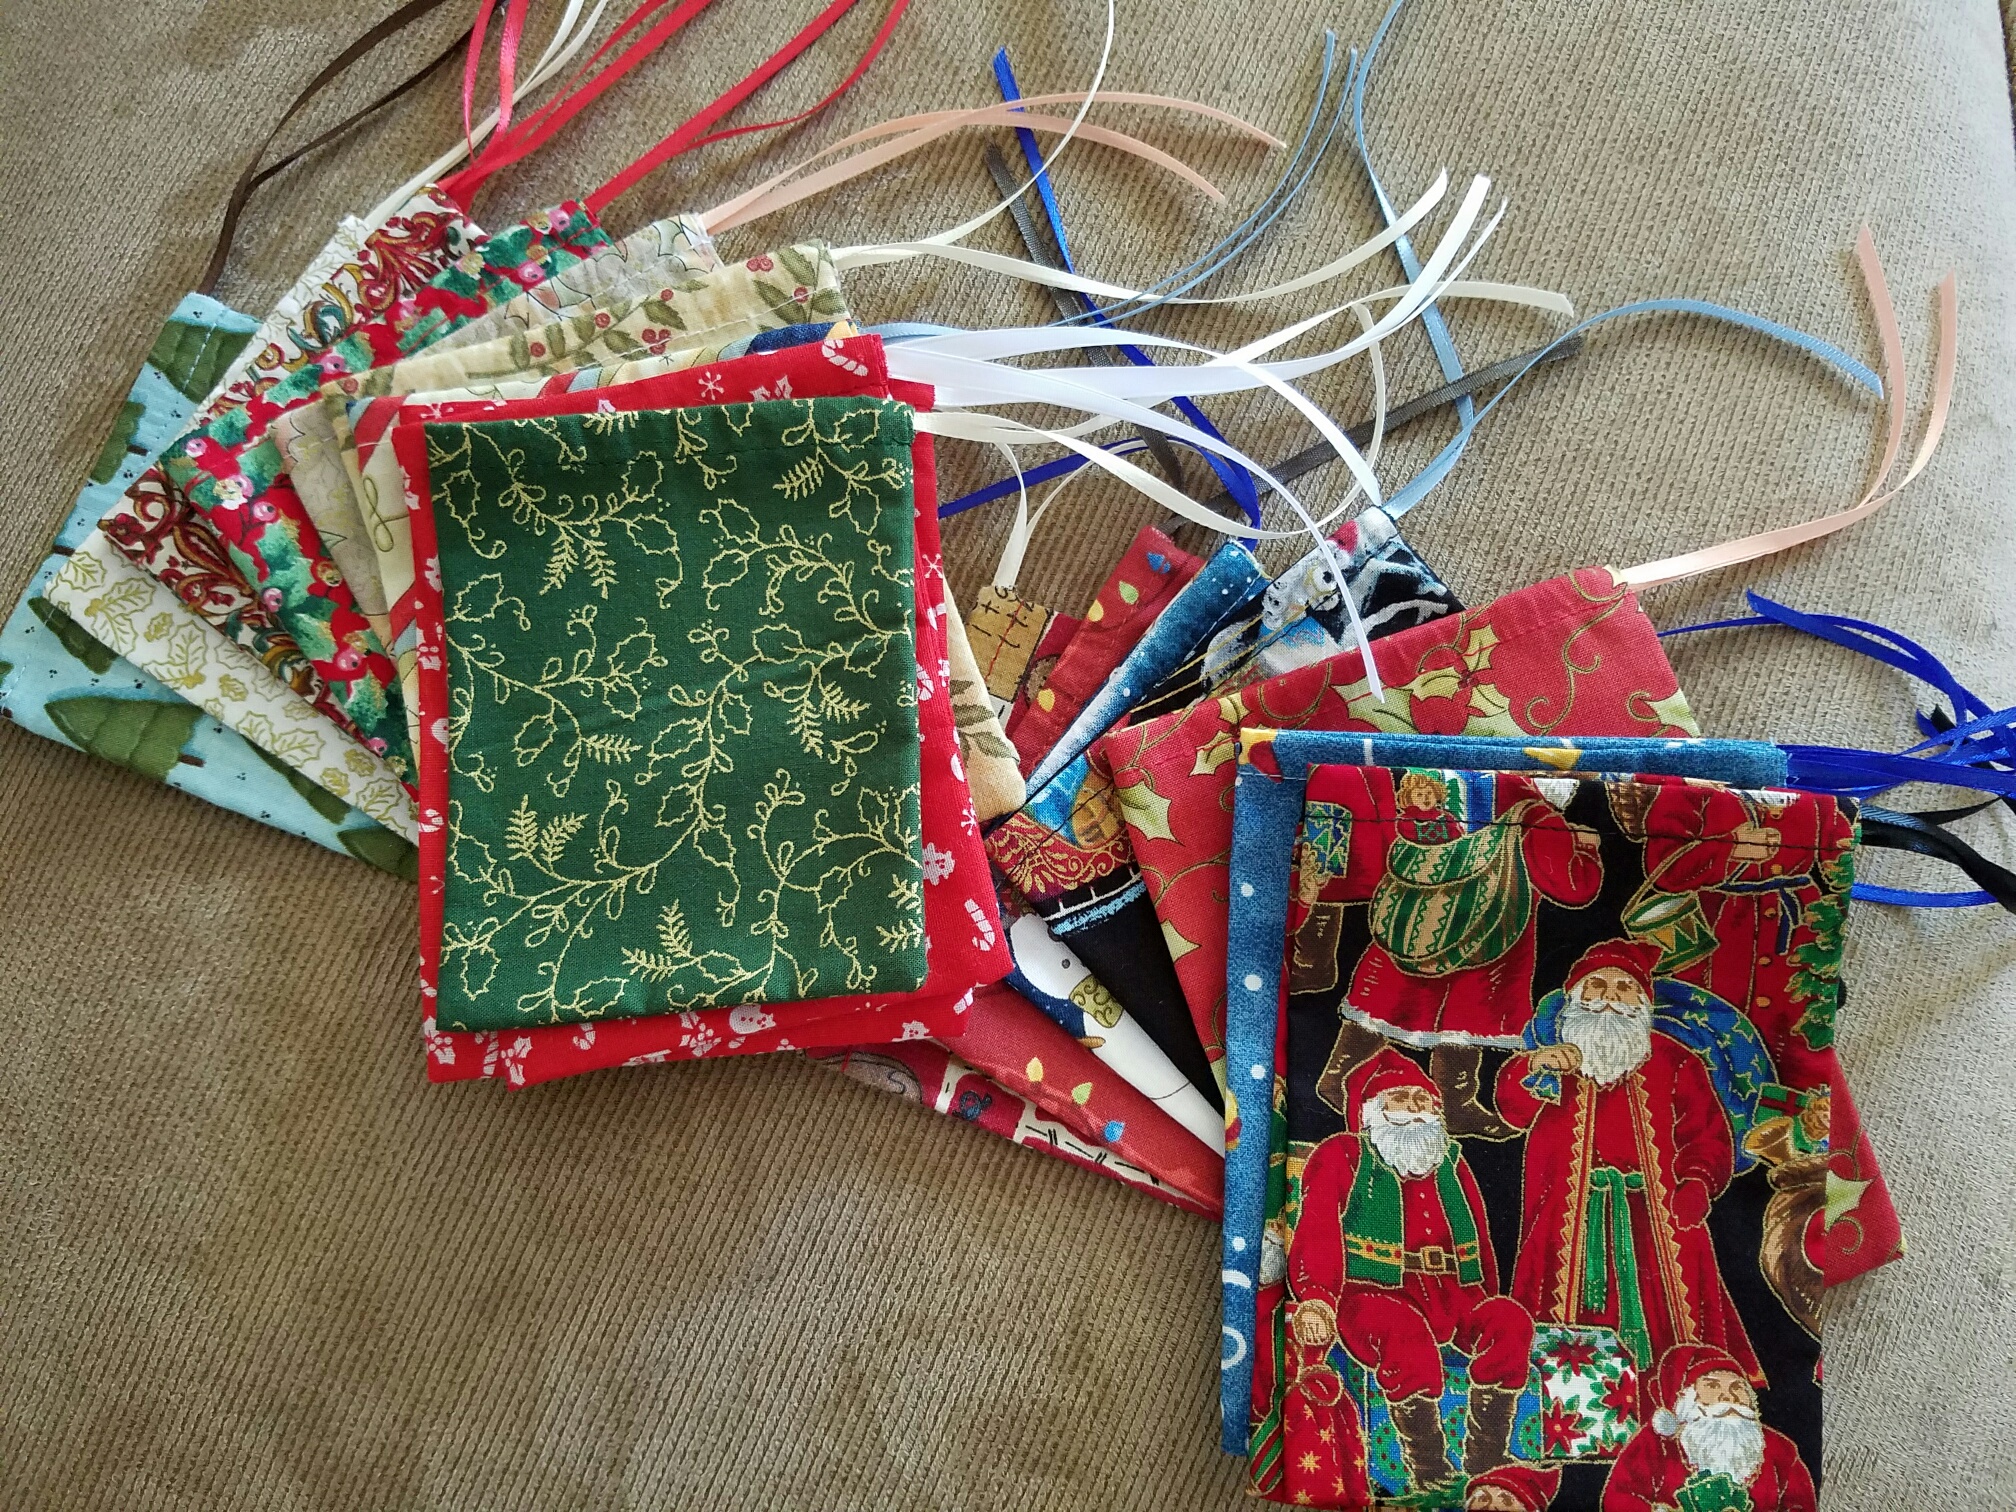
These little gift card holders always pretty much sell out, as well as the tiny (3″ X 5″) gift bags. I also make the small gift card holders in Christmas prints. They are $1 each.
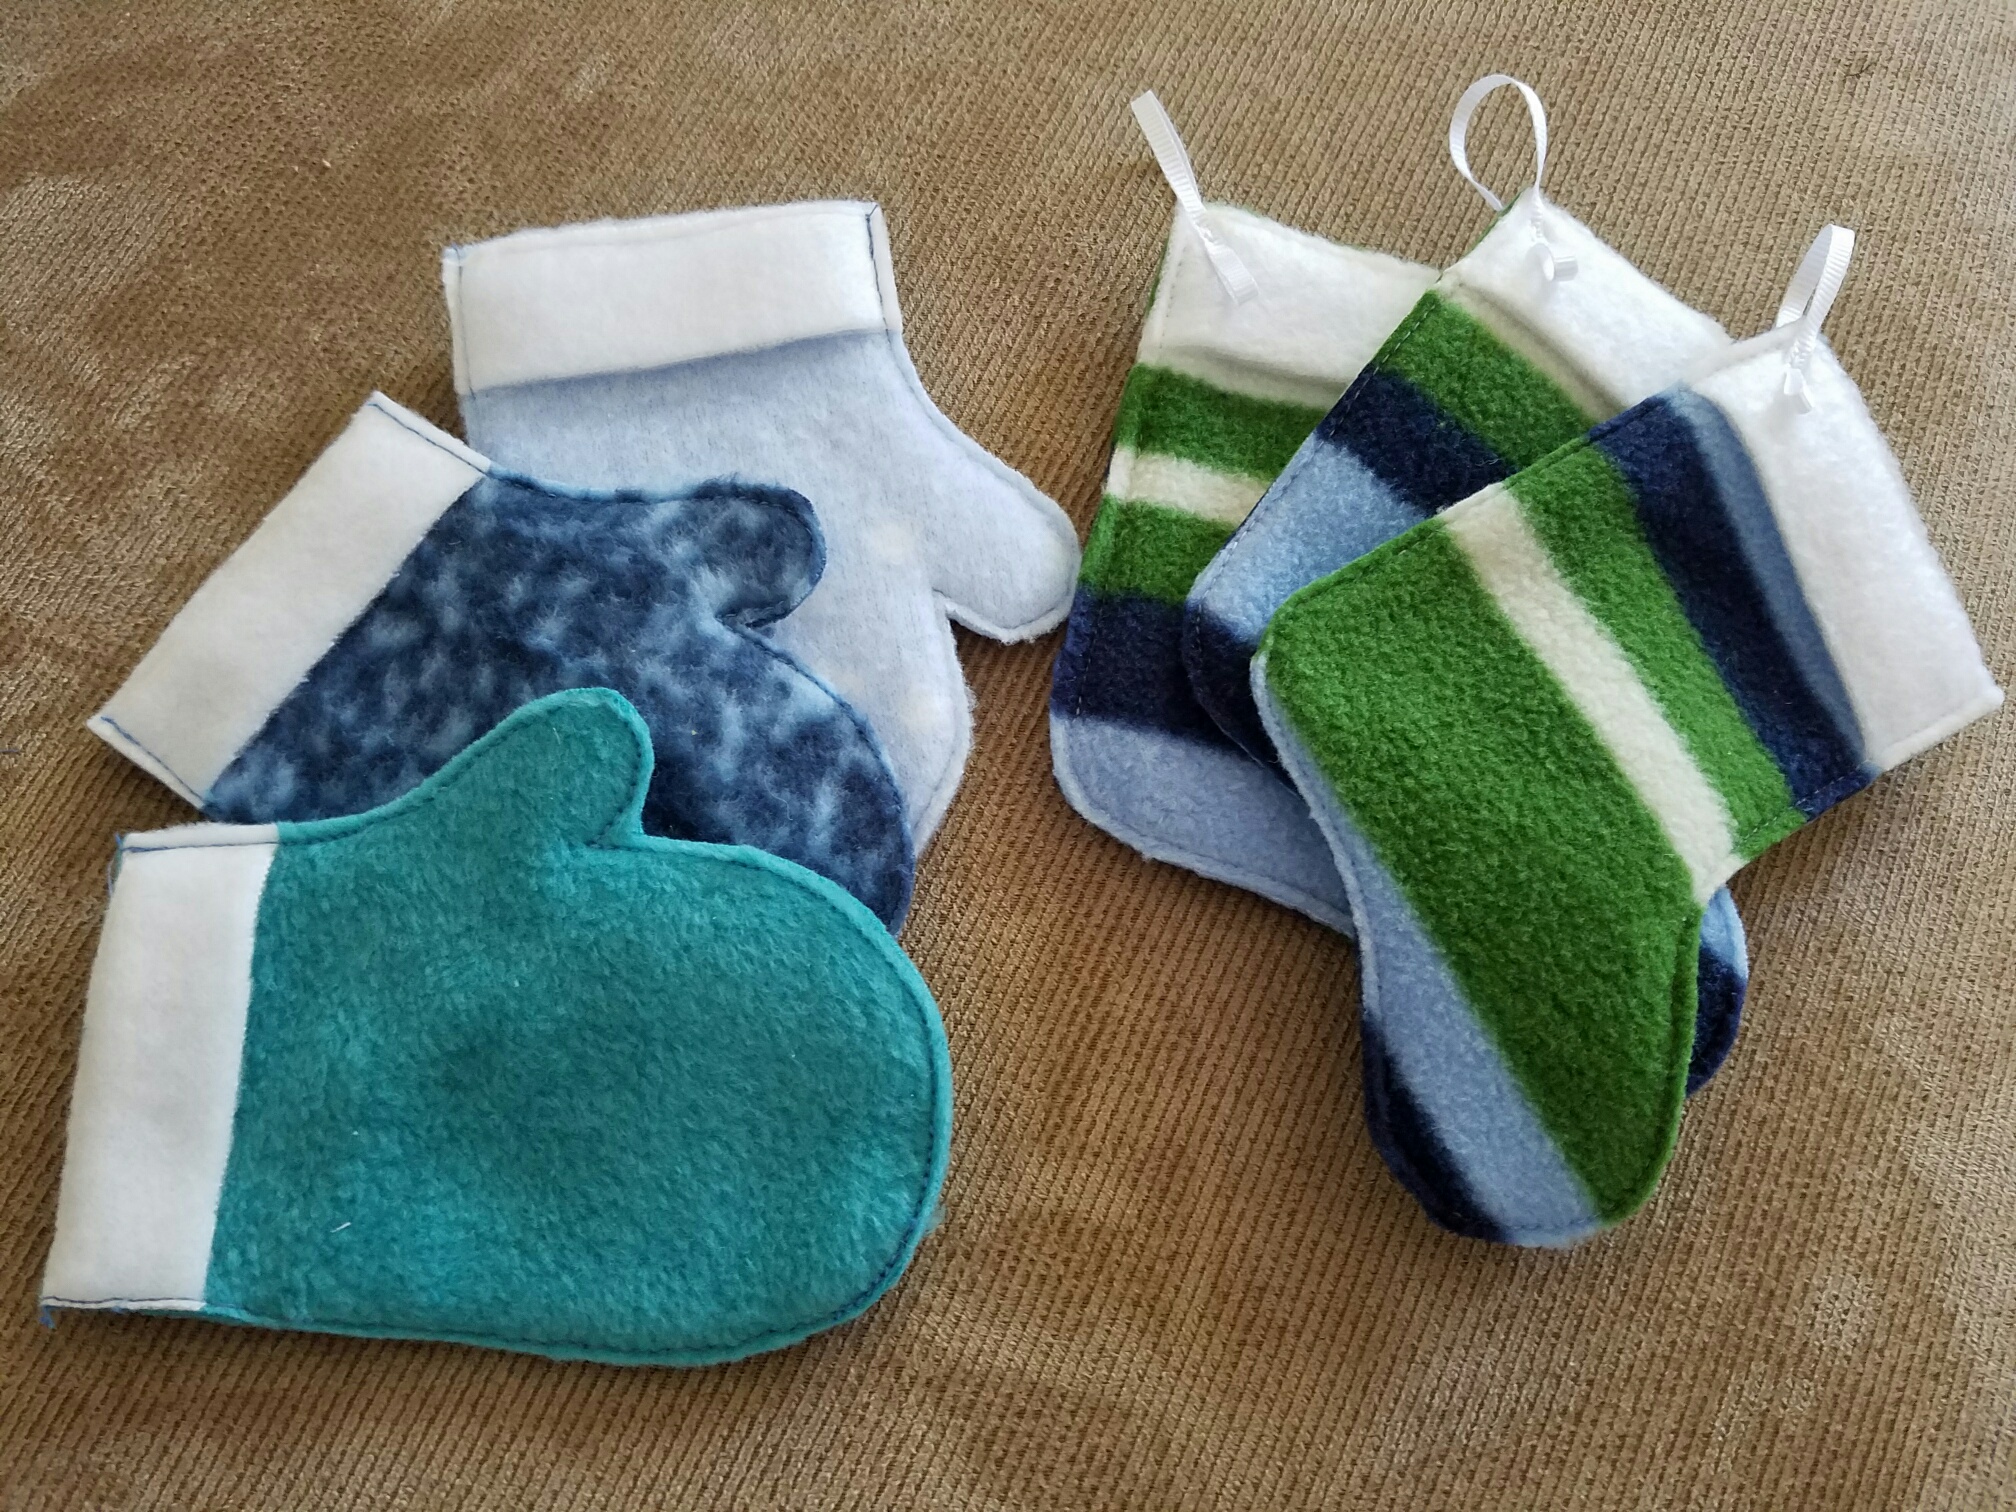
This year I’m also trying out fleece gift card holders, in stocking and mitten designs. Same $1 price.
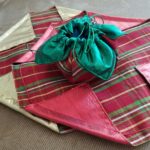
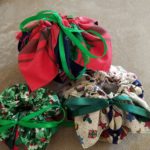
A totally new gift pouch will be for sale this year: a double sided square that draws into a cute little pouch with petals that stick outward from the top. They’re priced at $3 or 2 for $5.
KIDS’ ITEMS
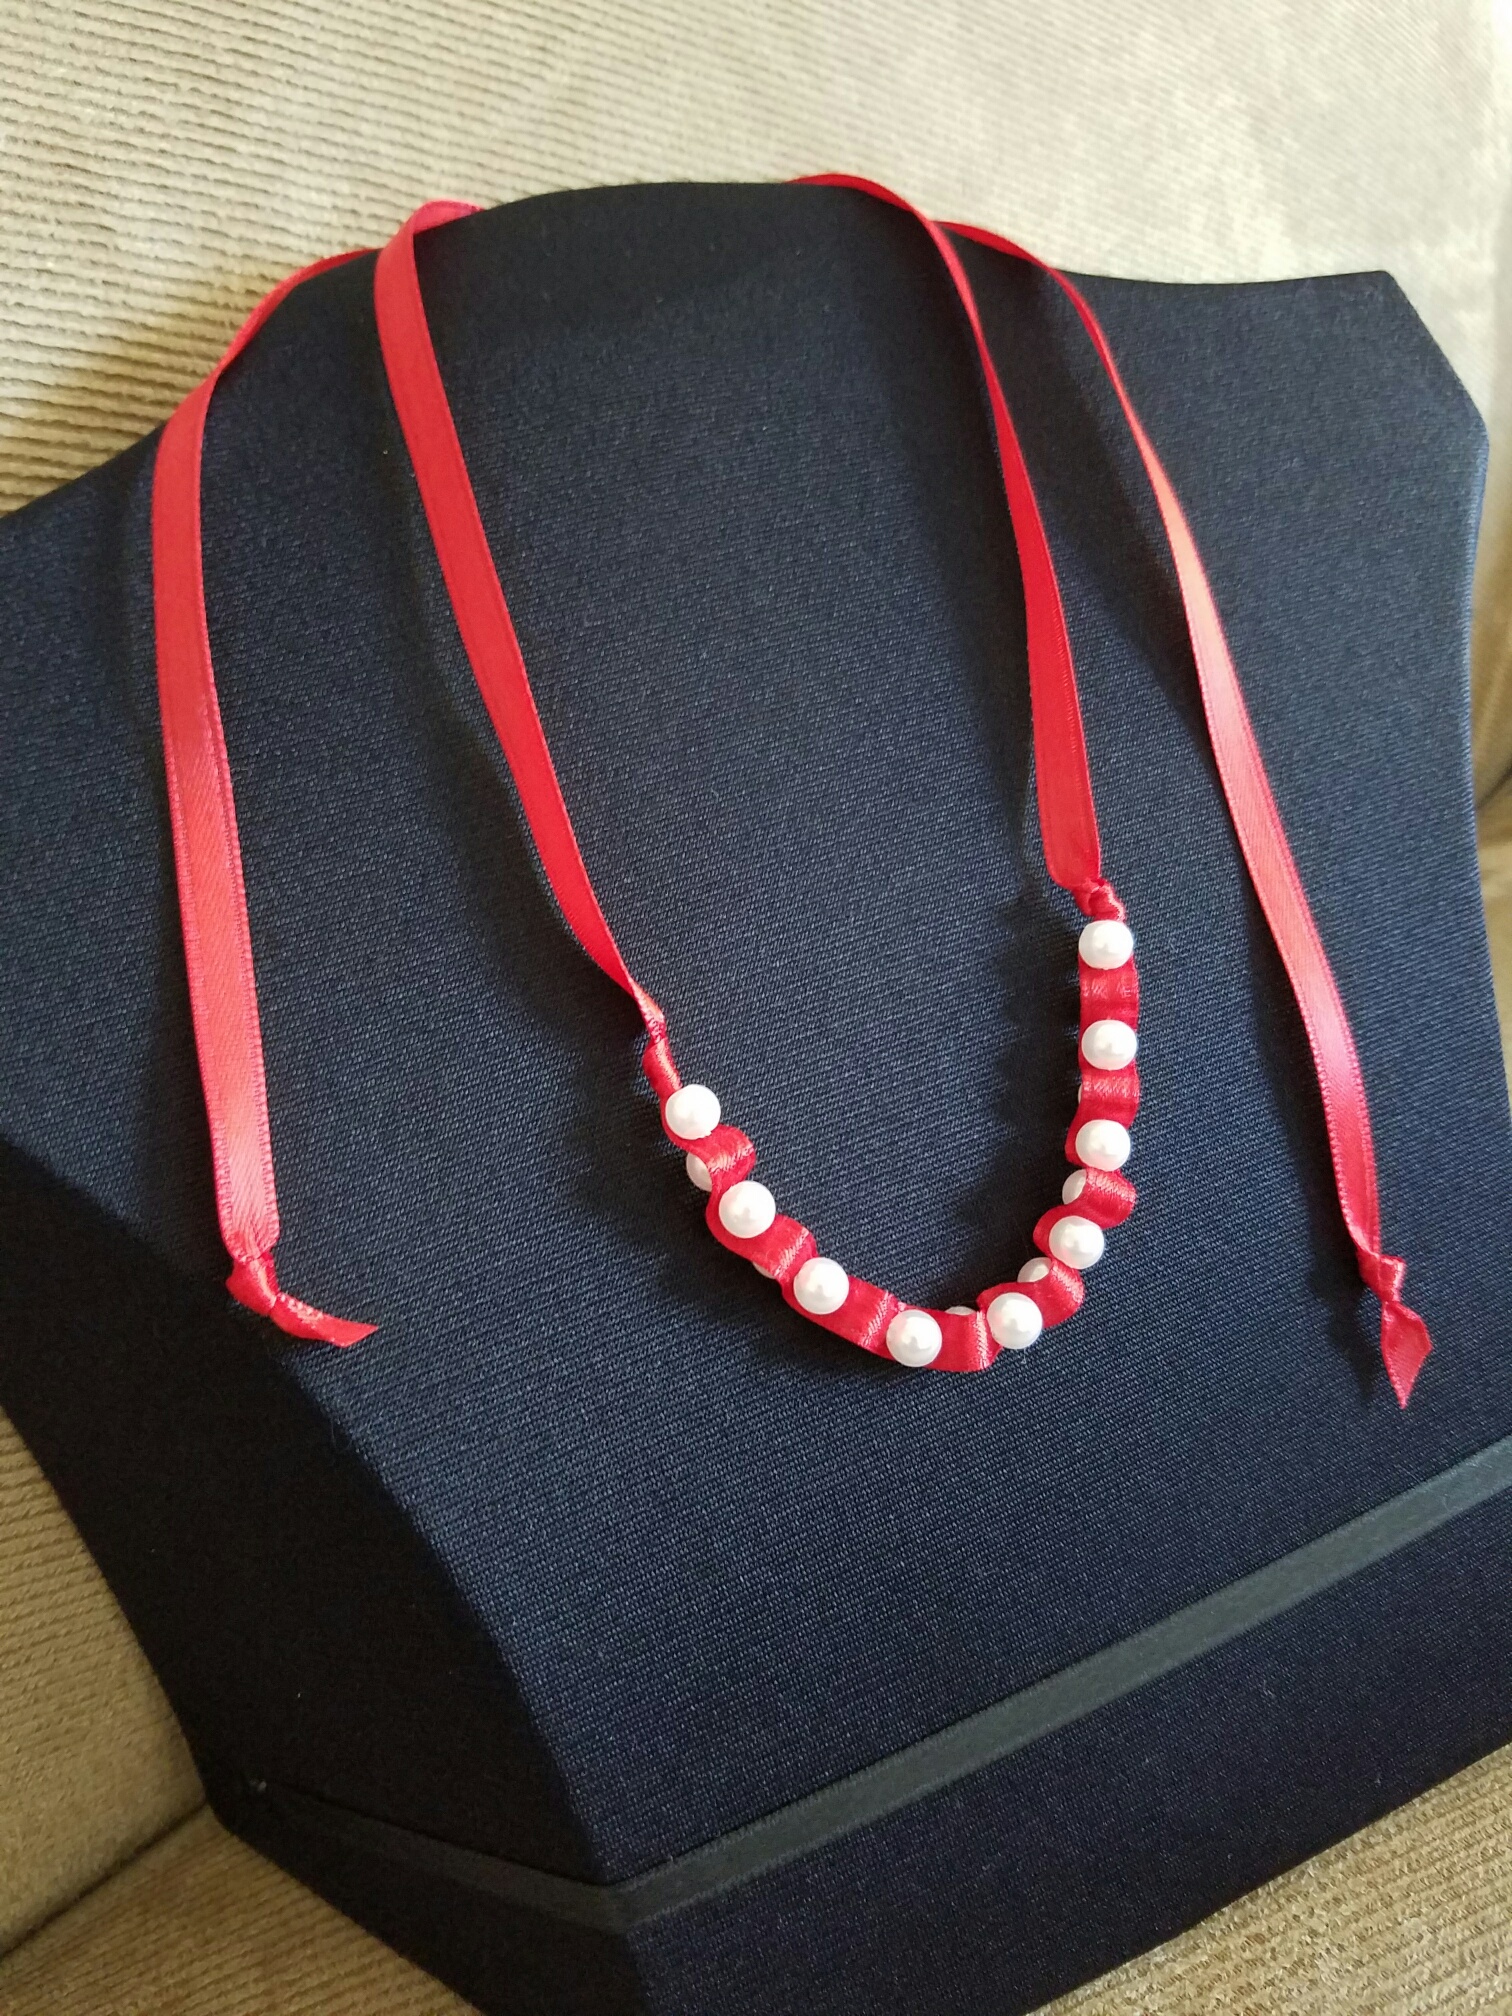
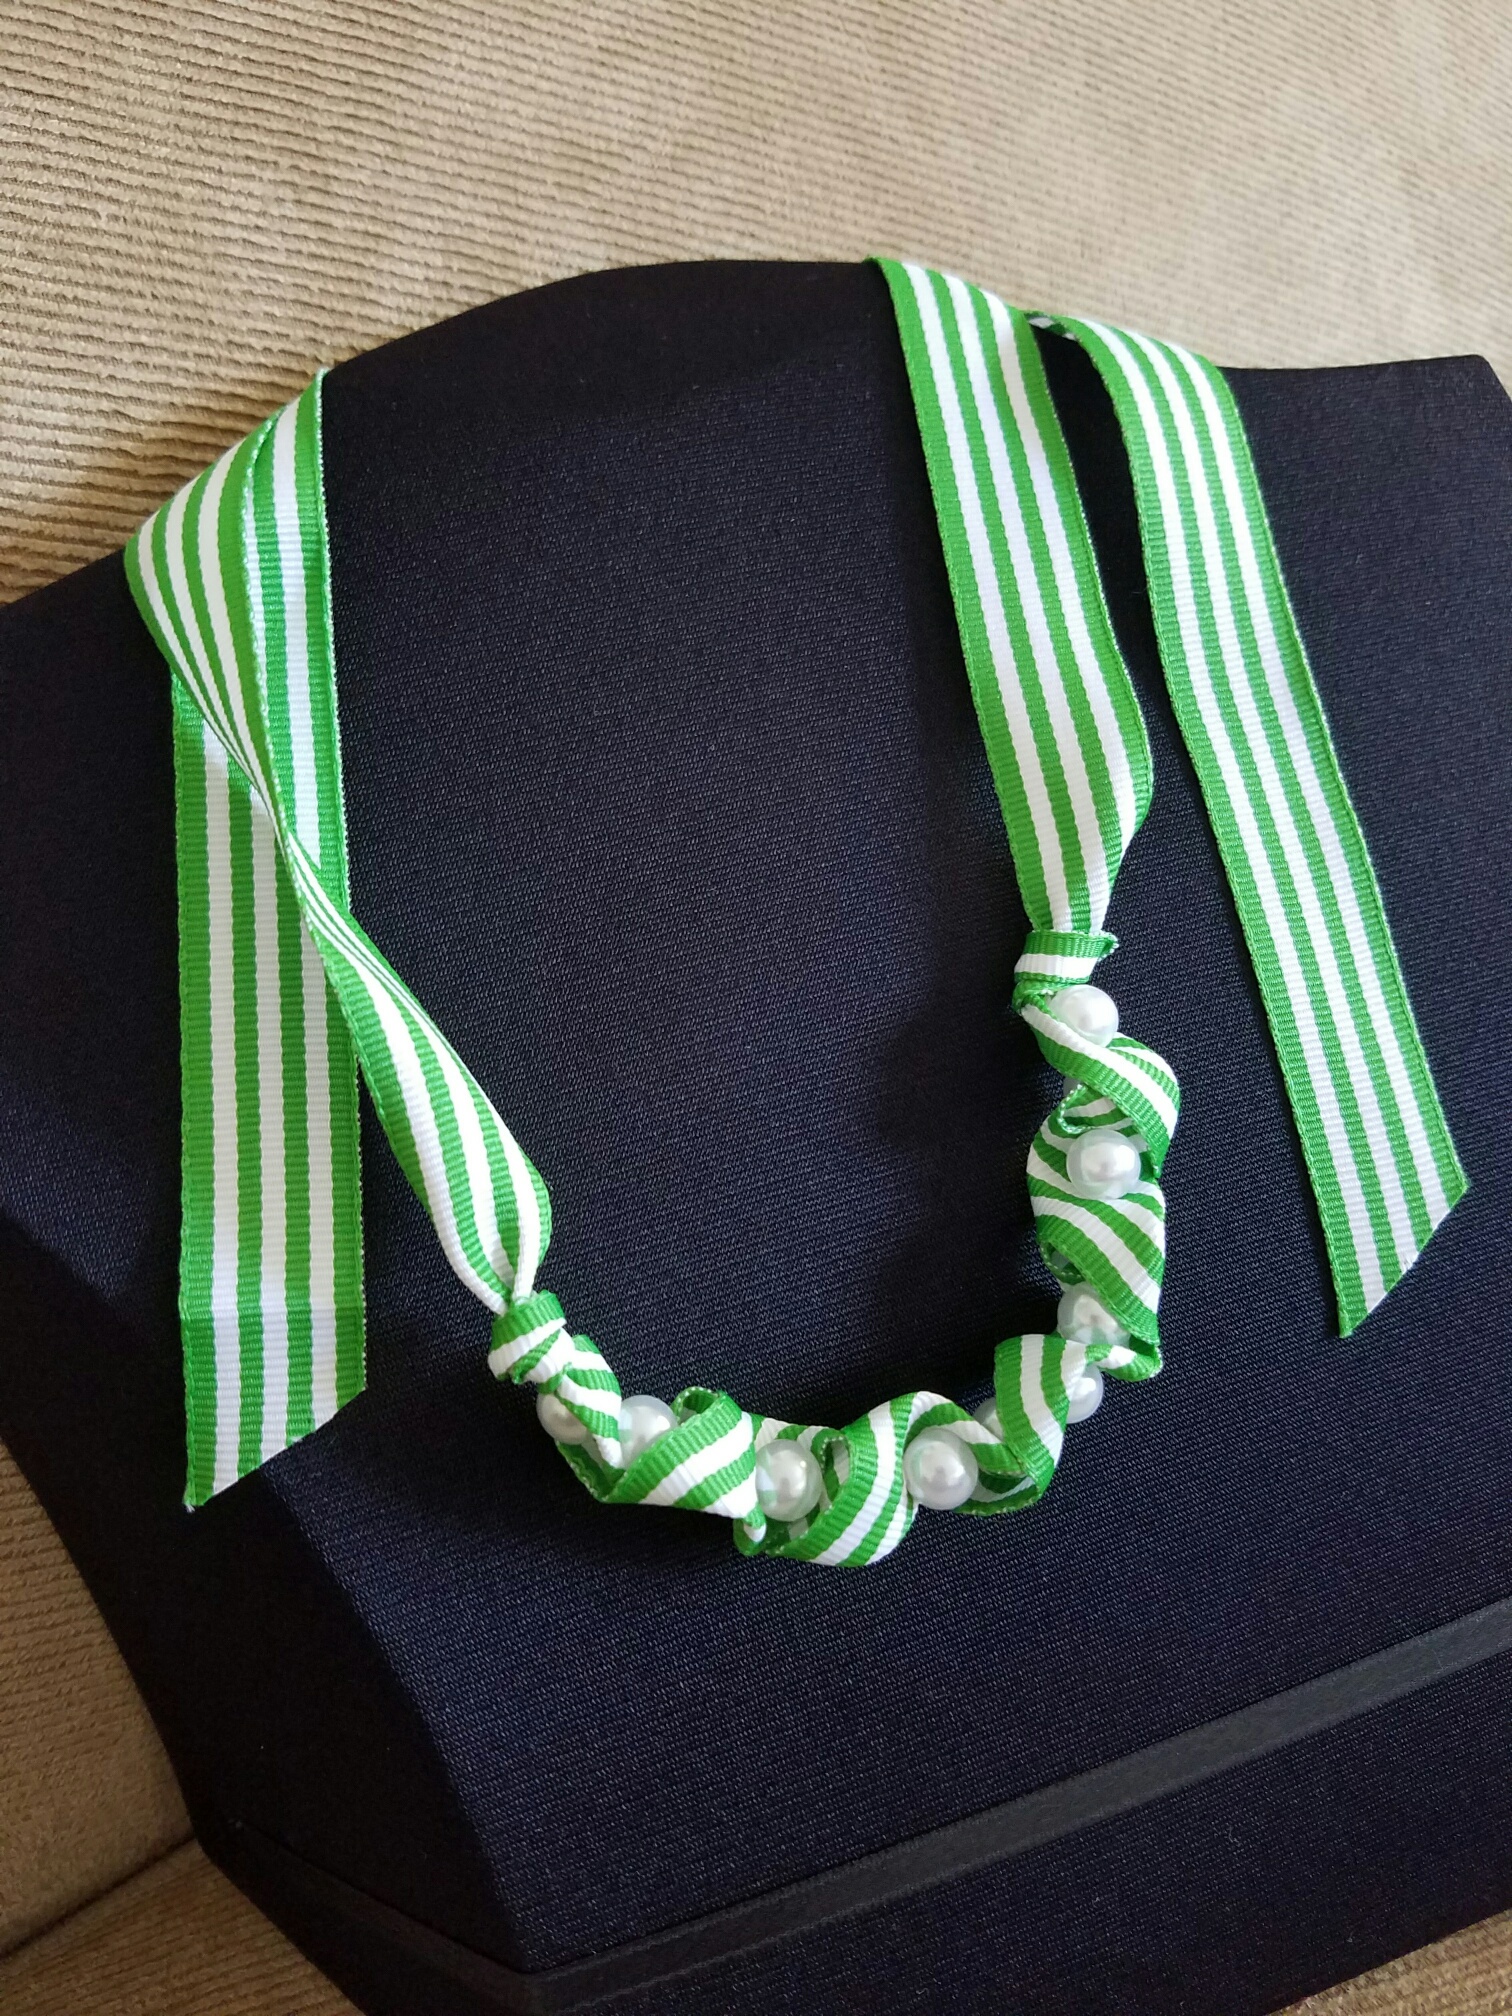
These ribbon and pearl necklaces are suitable for dressing up, or princess play. They sell for $4, or 3 for $10.
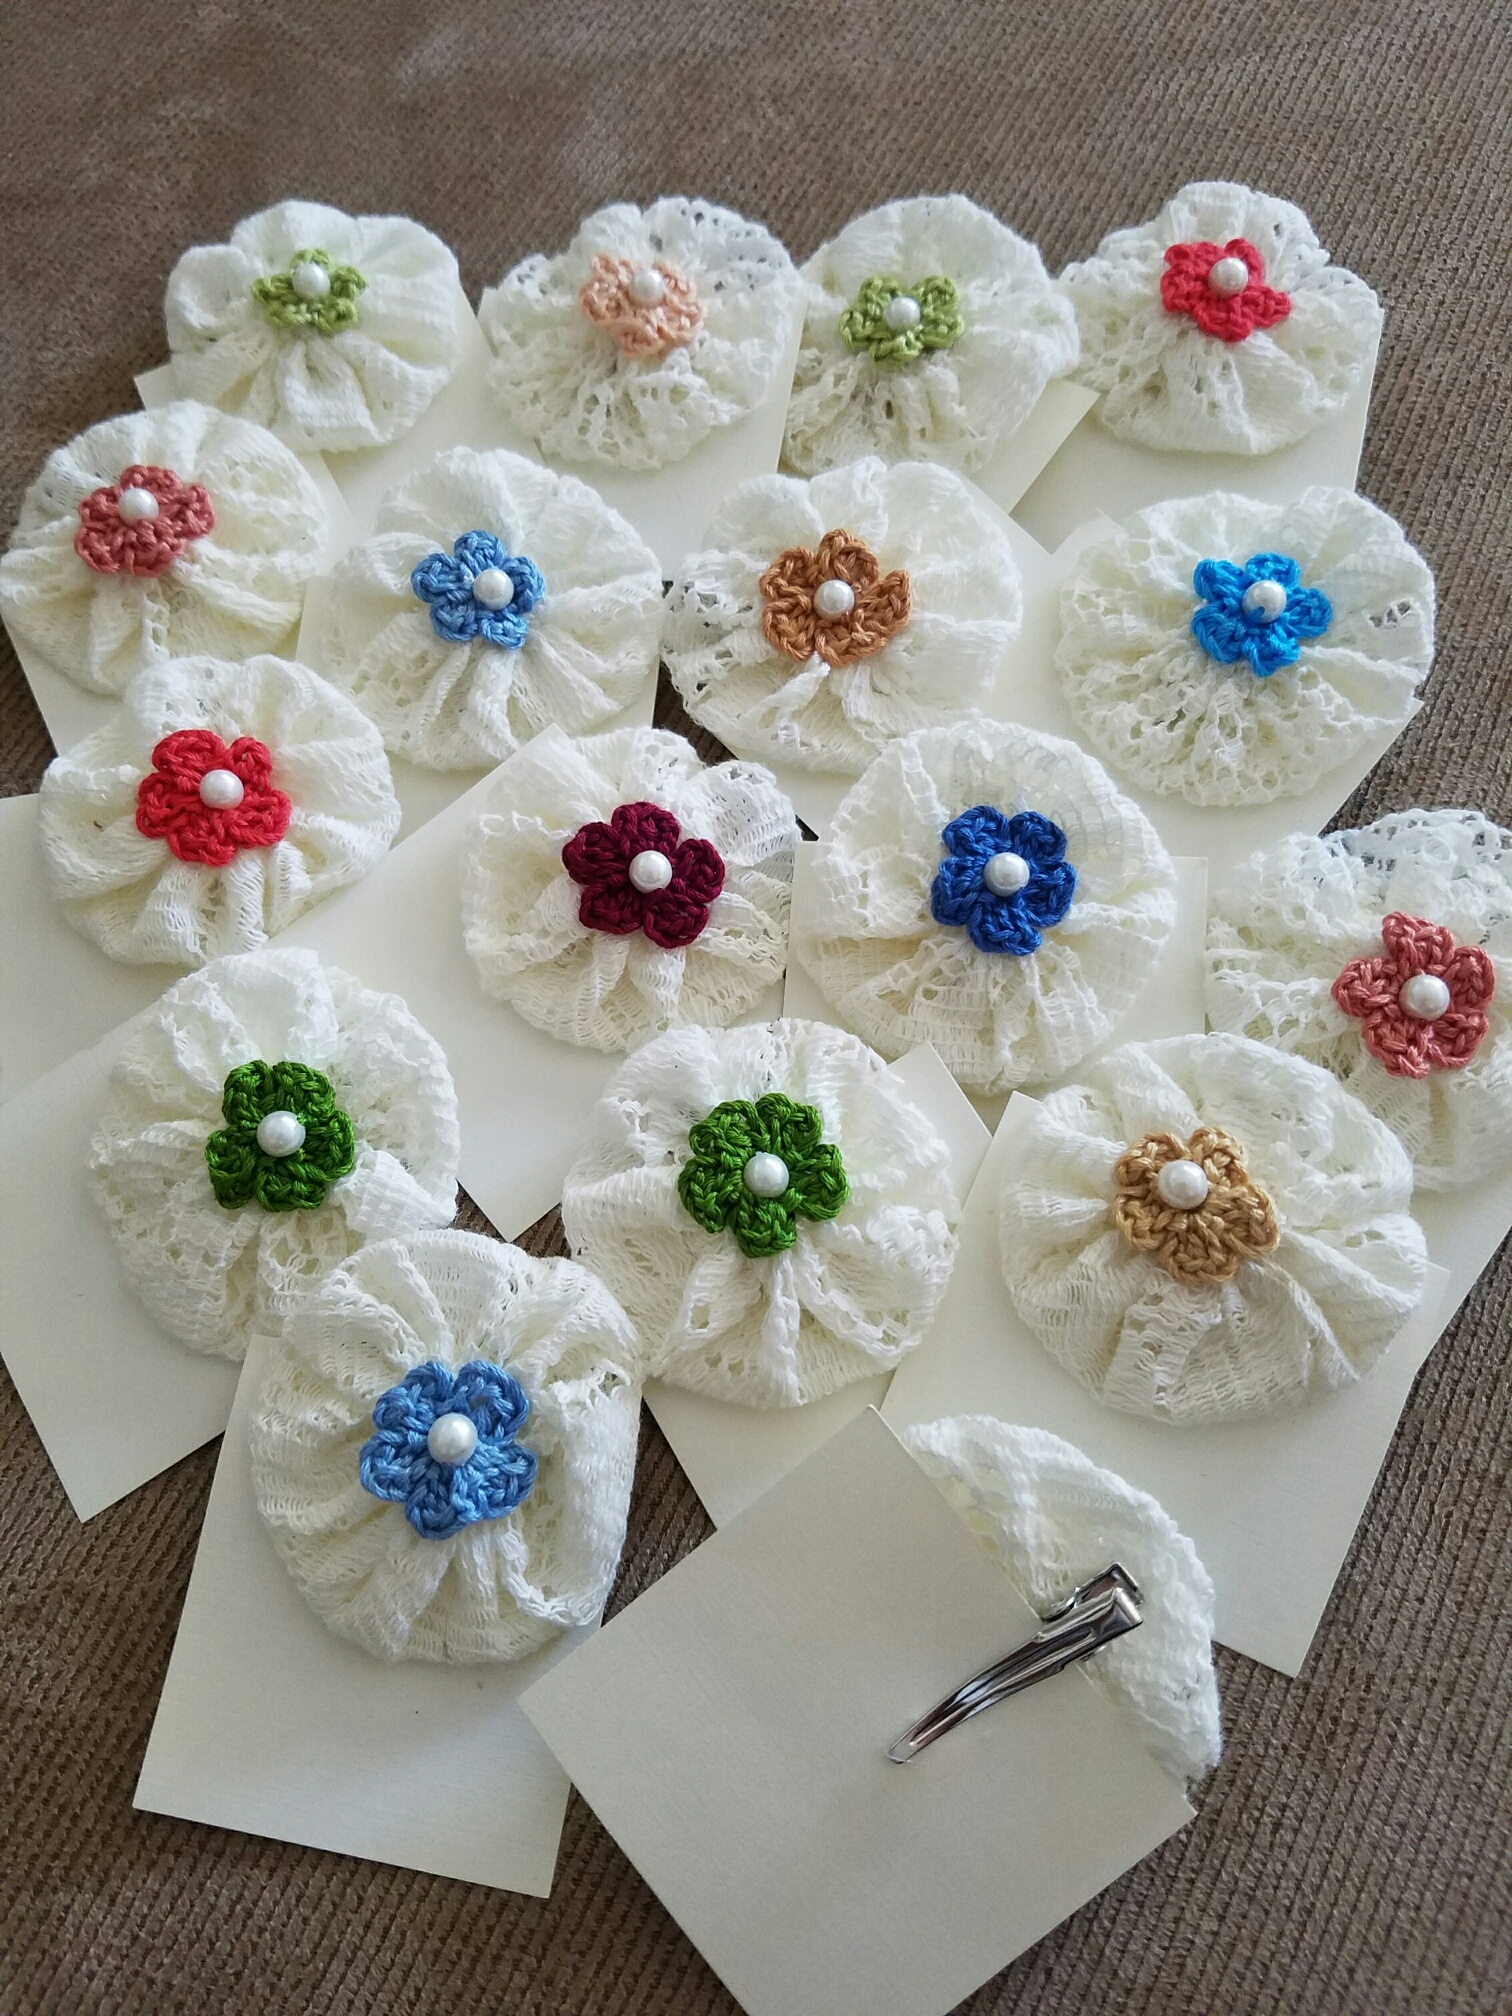
These lace and crochet flower hair clips sell for $1 each.
VARIOUS CROCHET ITEMS
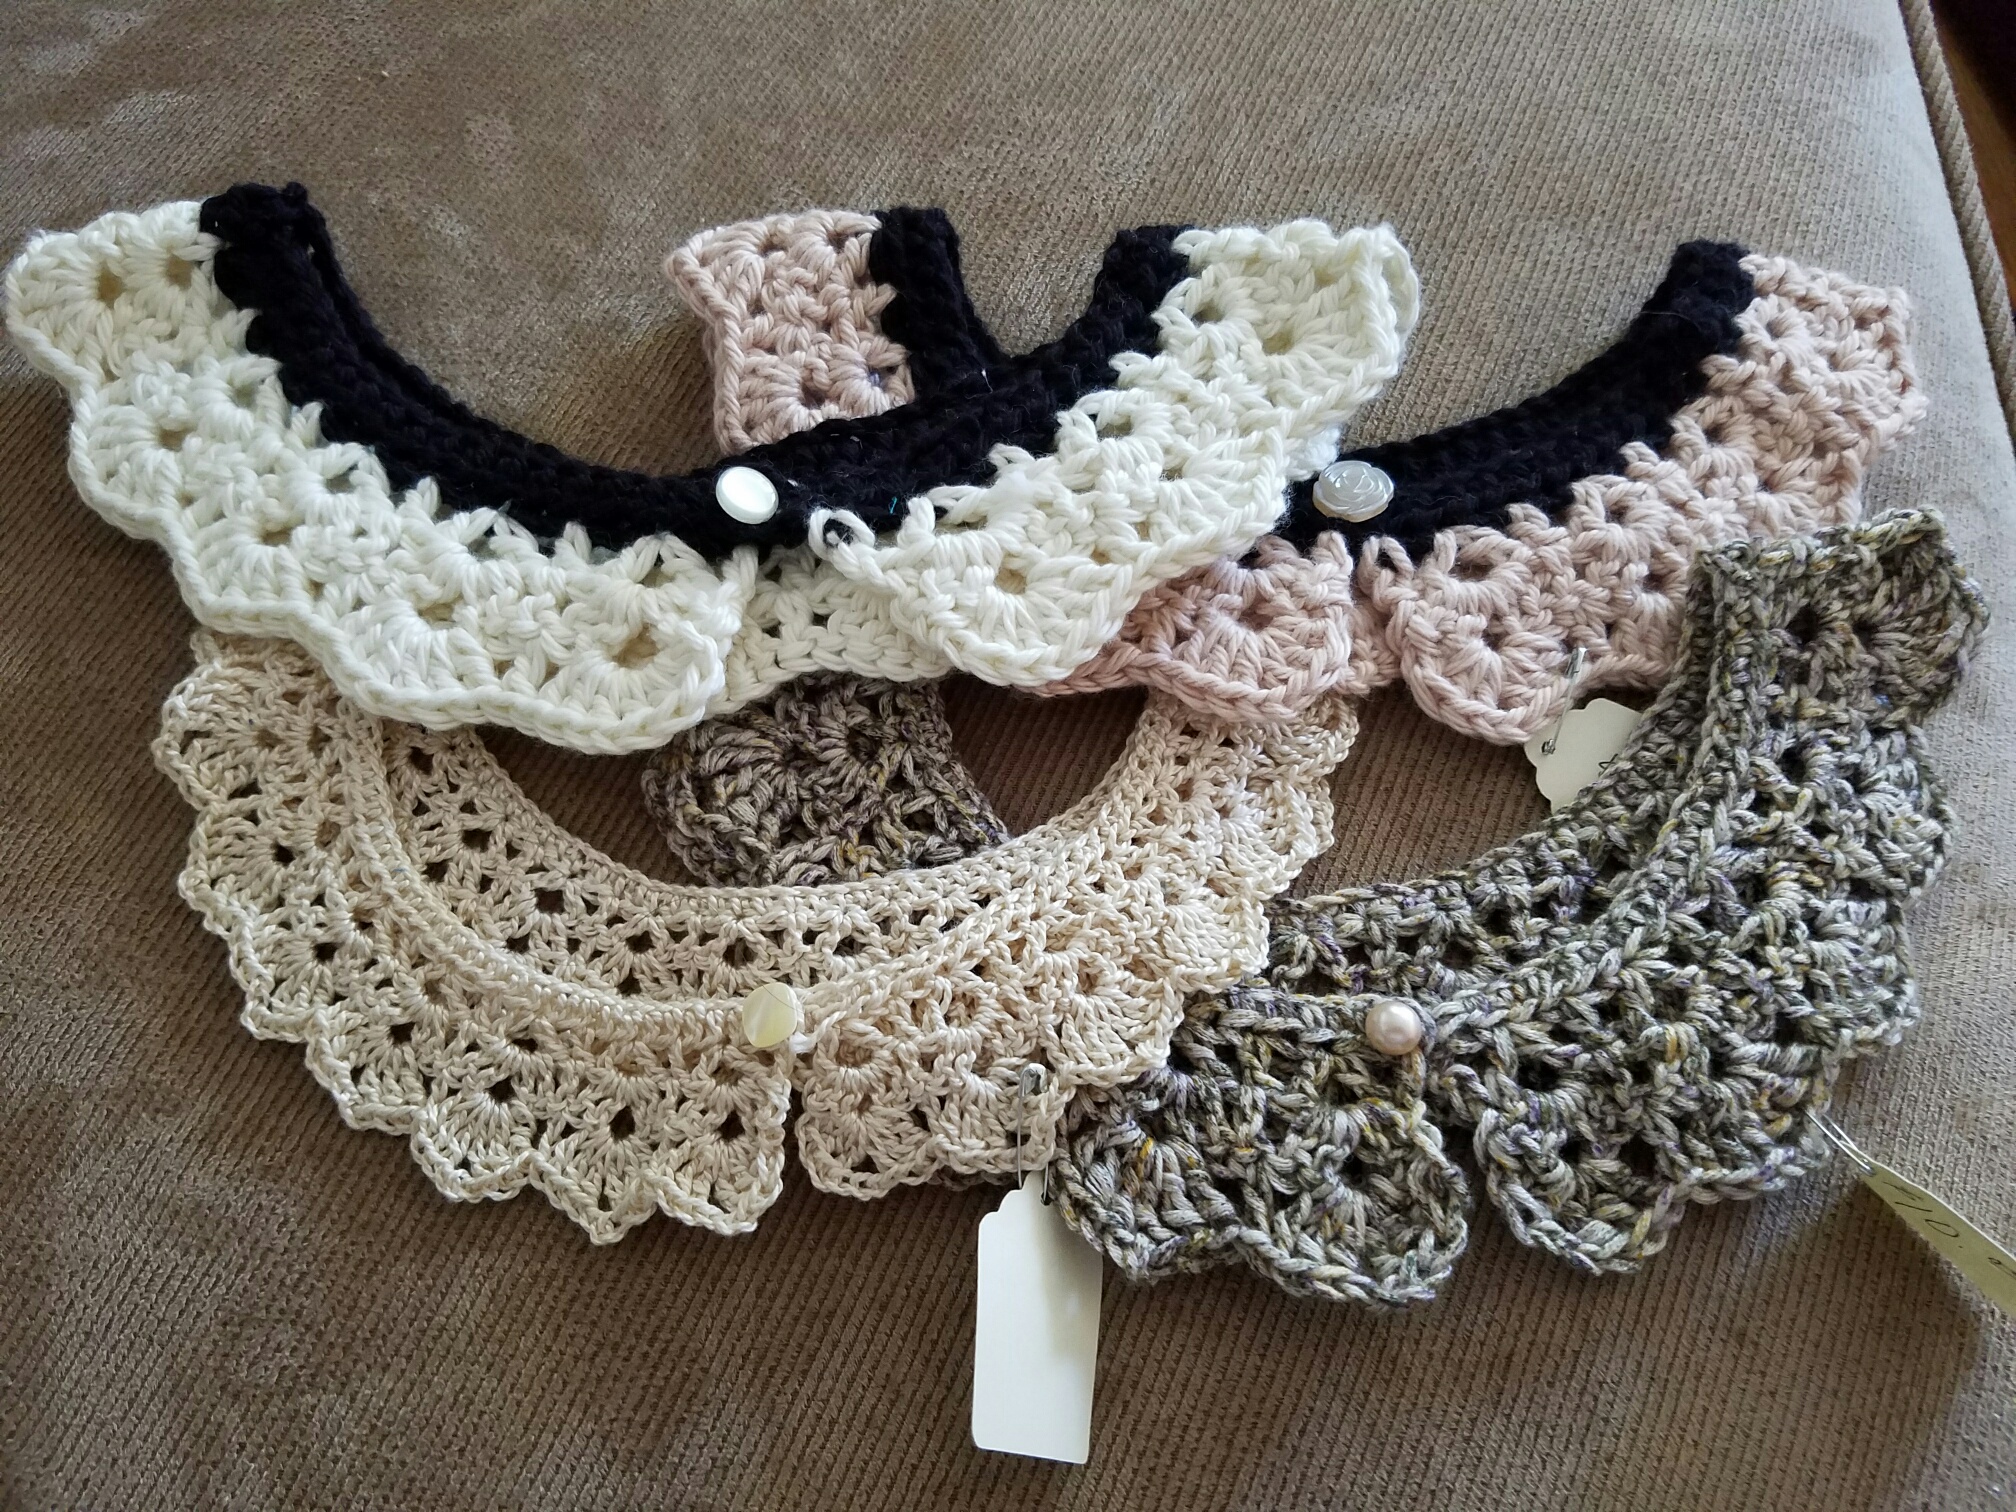
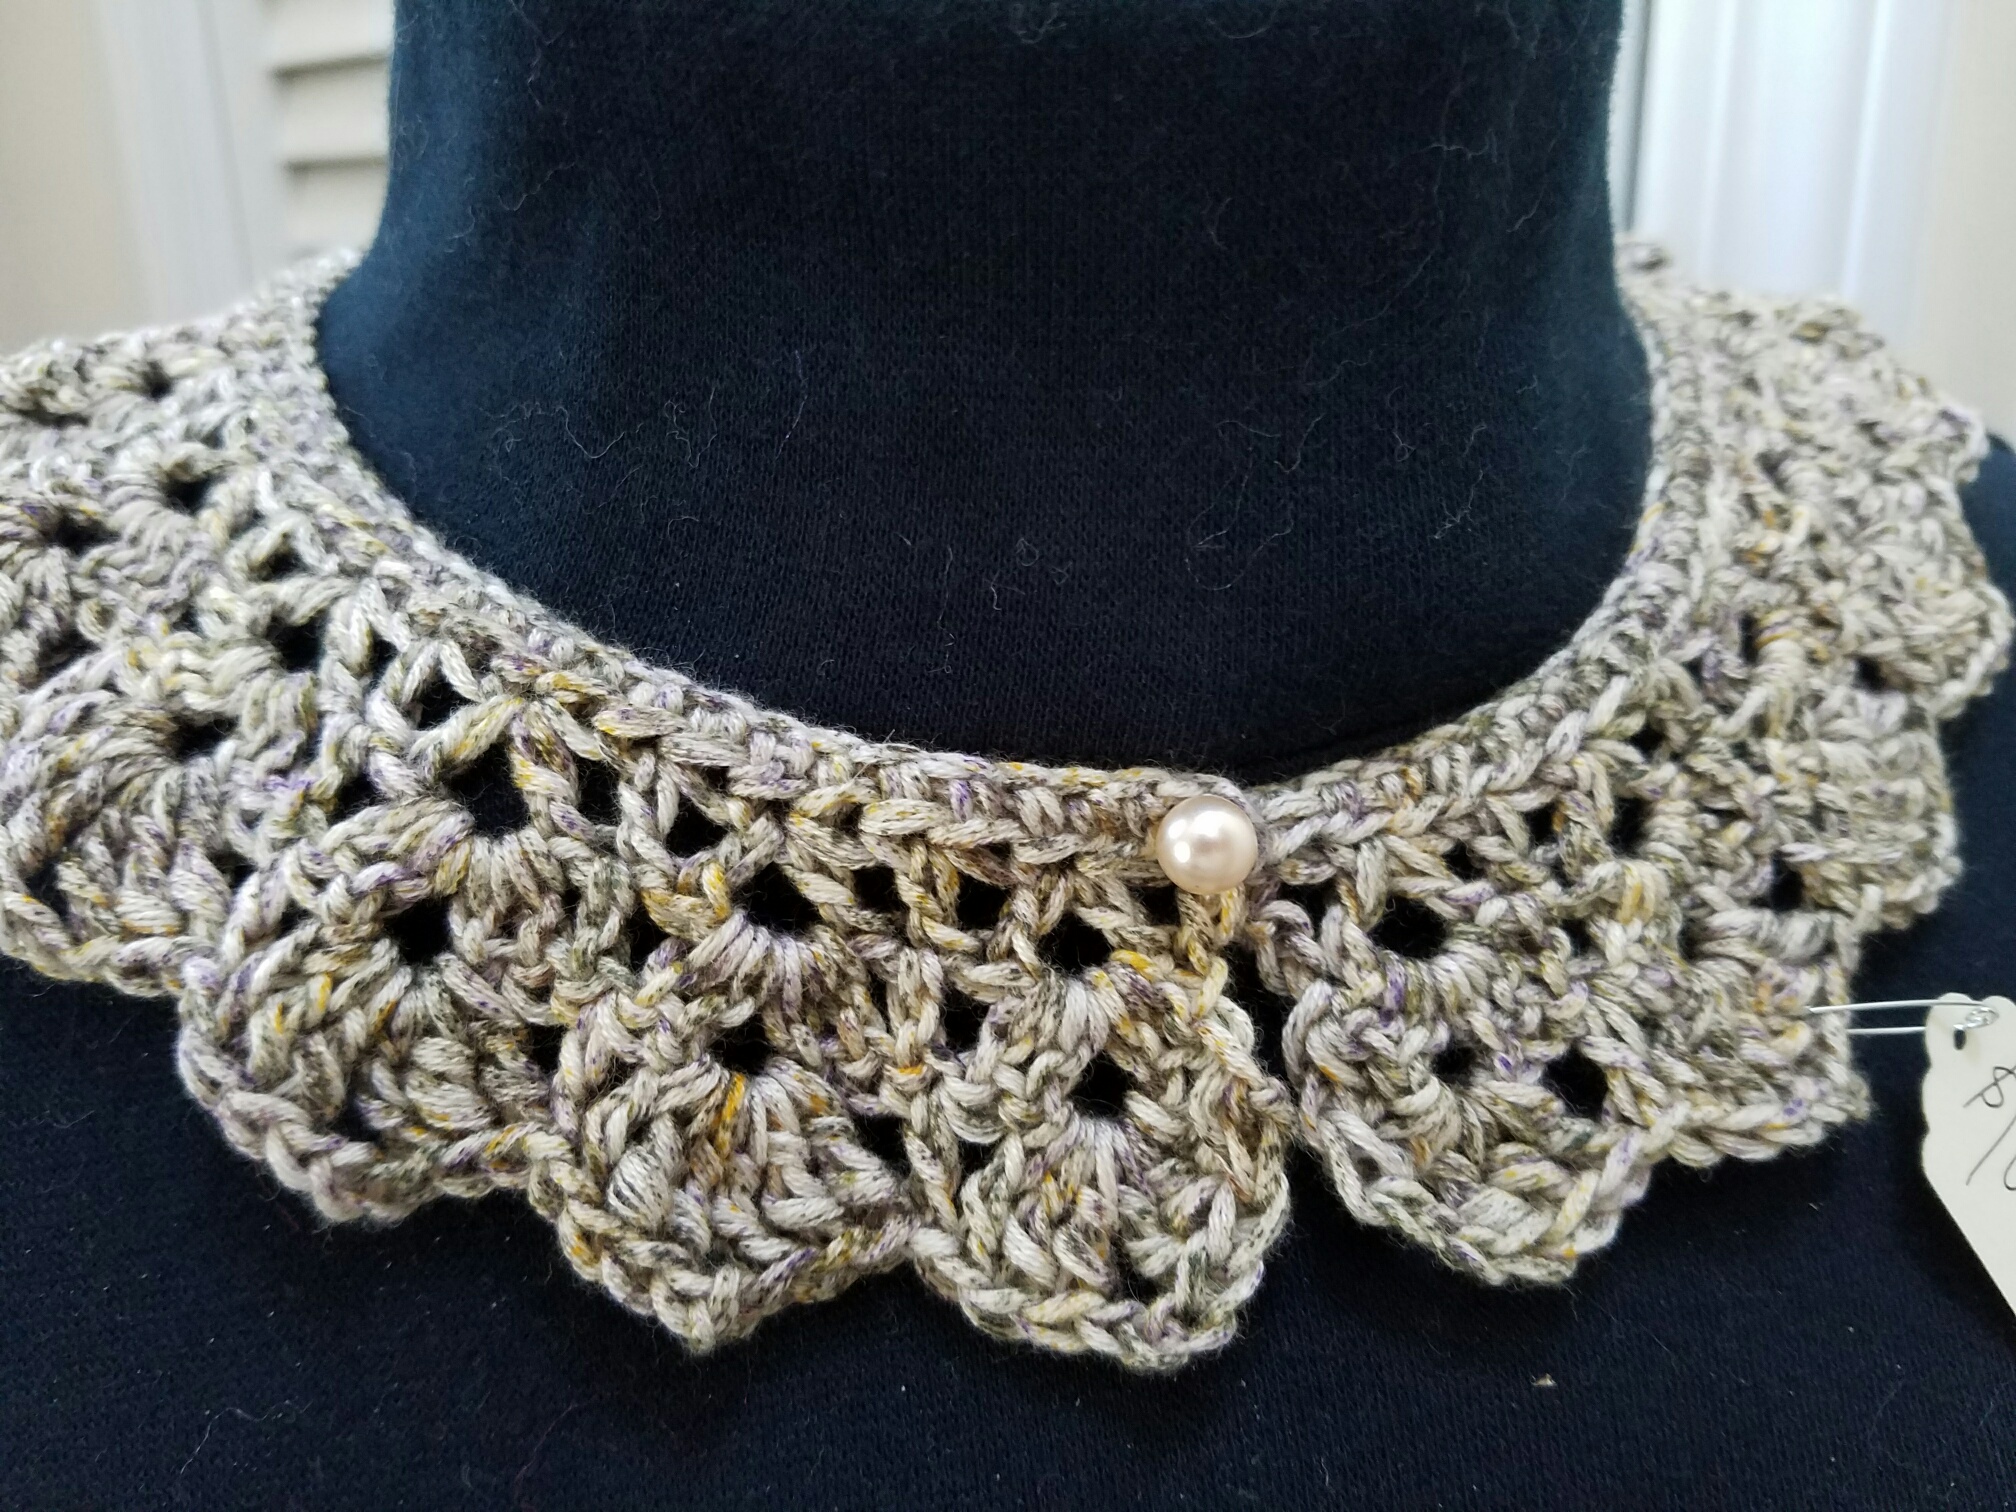
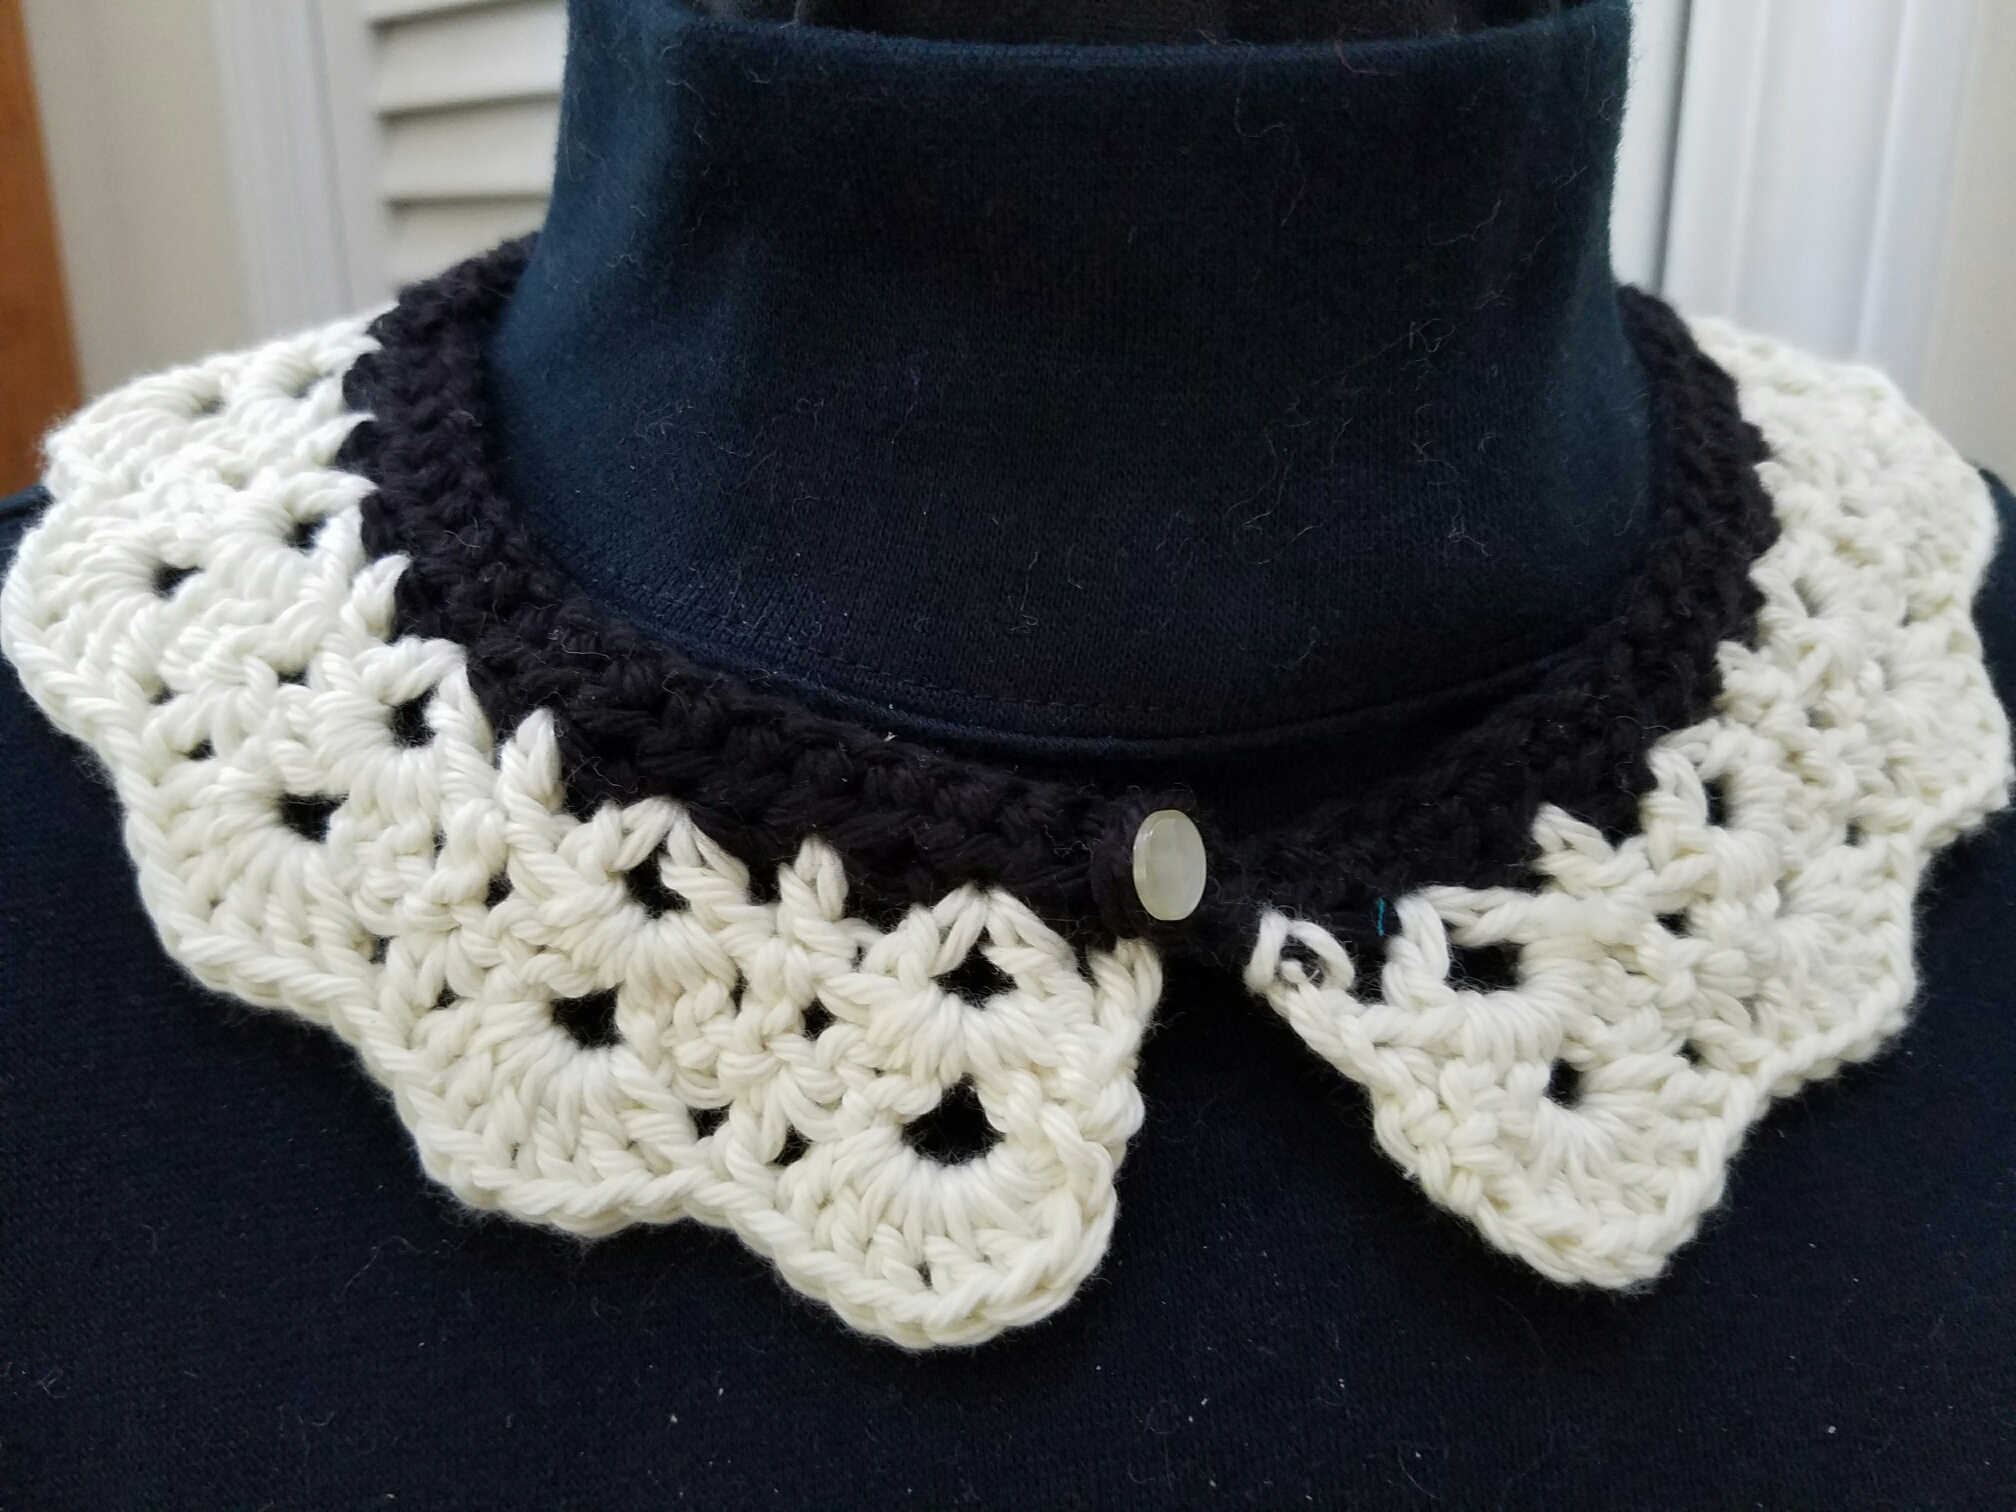
I copied a design I found at Anthropologie for these crochet collars. They look great on a cardigan, or even alone with a strapless top. I have several of the black and white design, but only singles of the other colors. They are priced at $10.
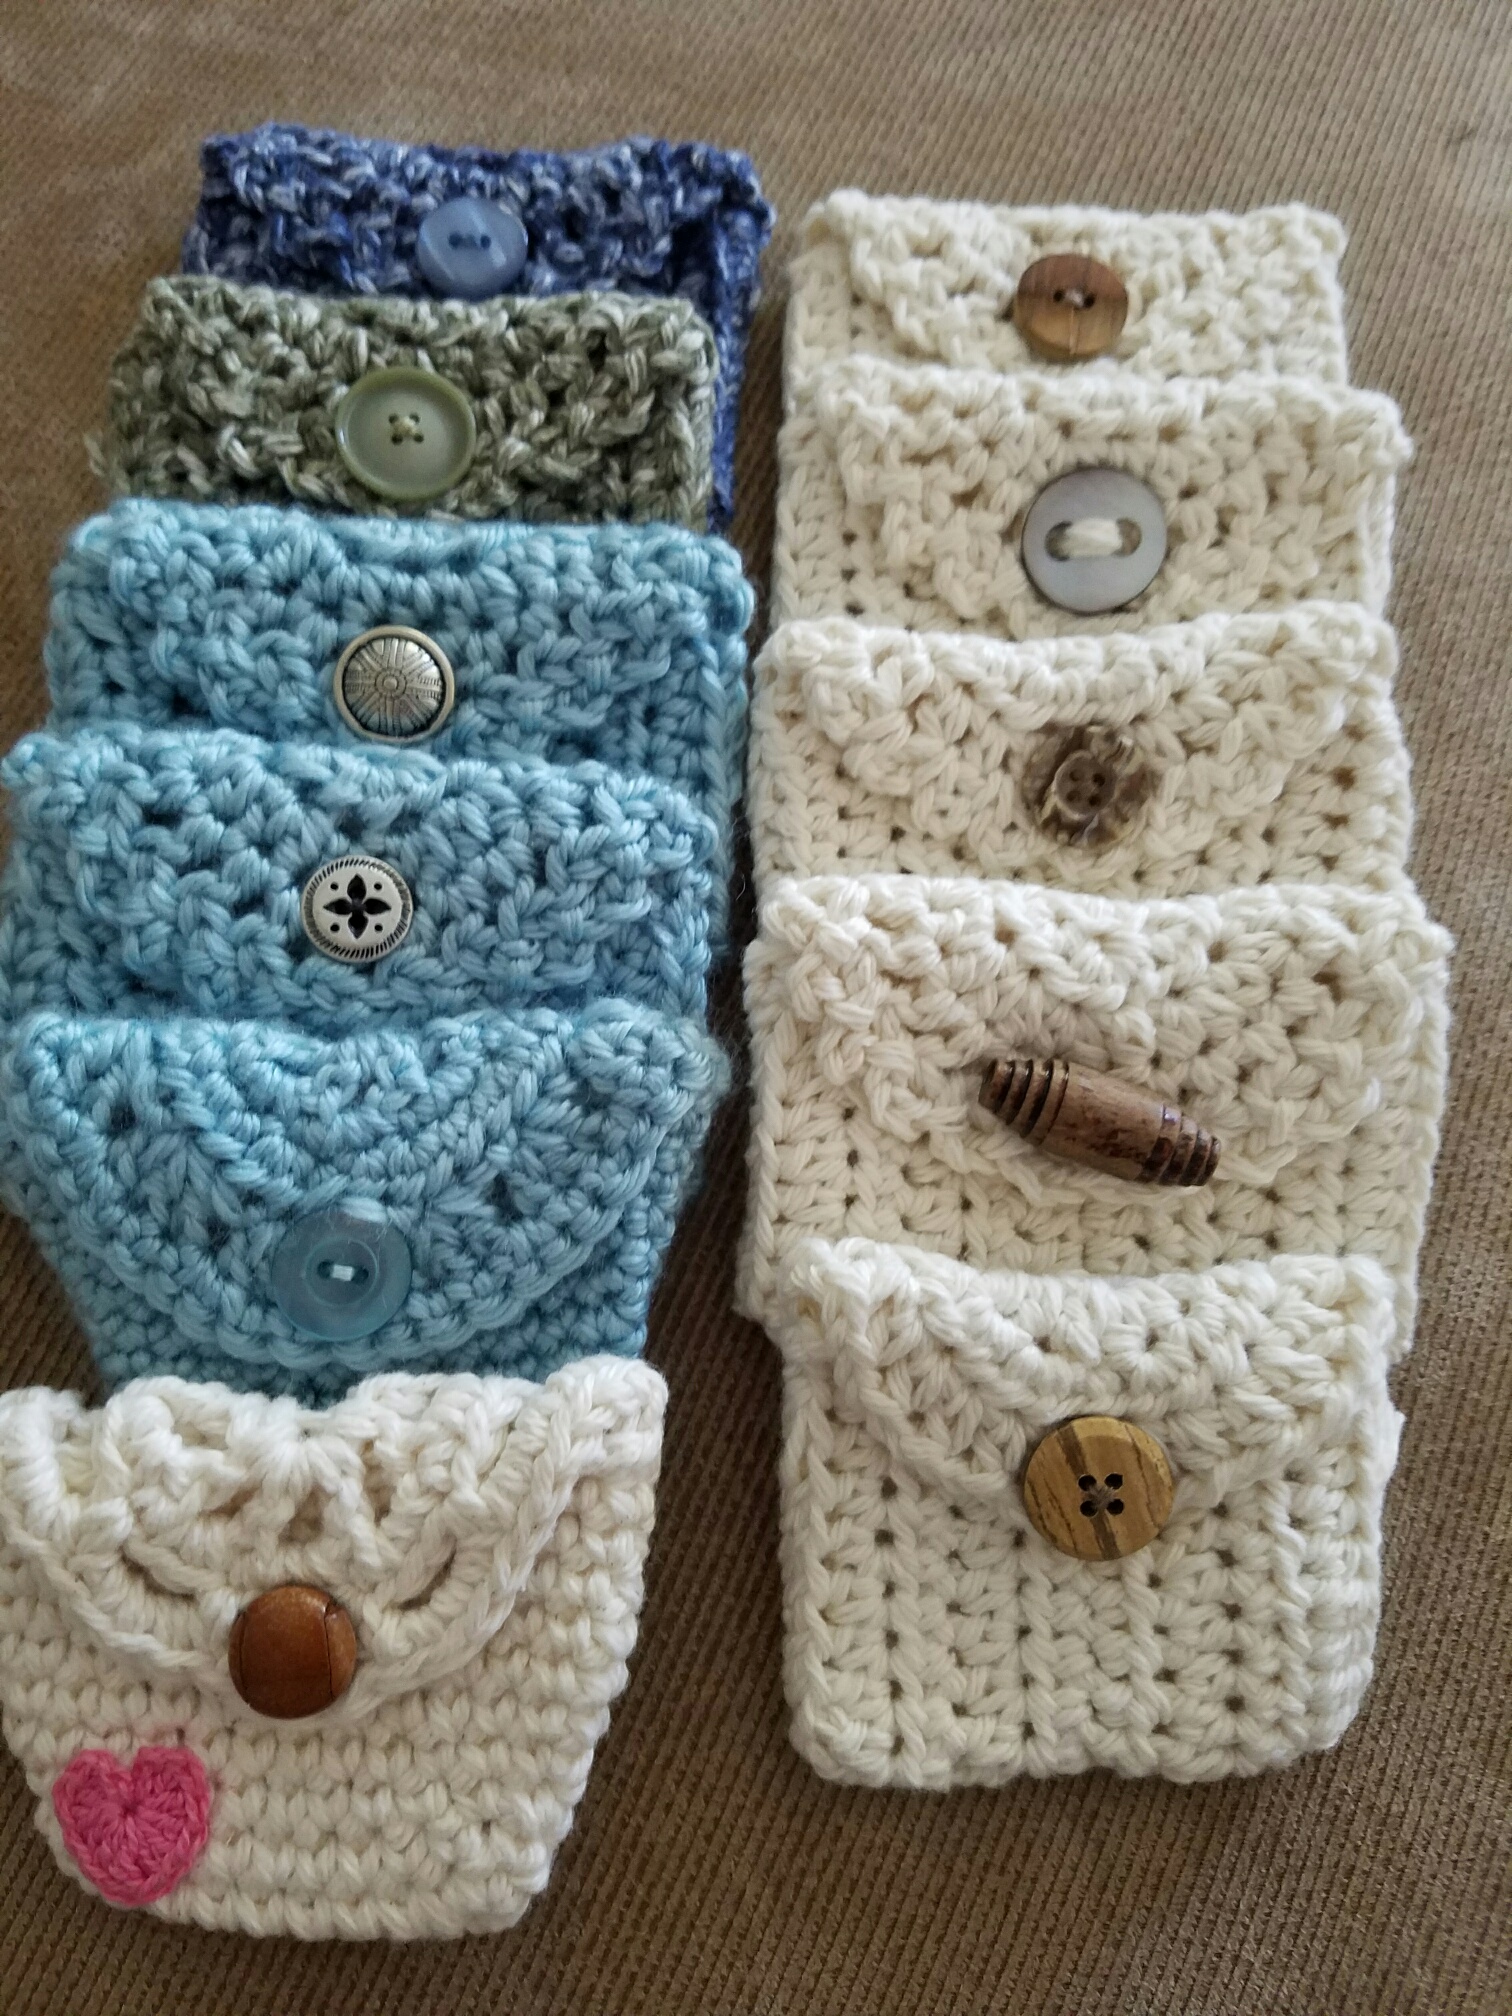
These little crochet coin purses are equally comfortable in a child’s purse as your own, priced at $3 or 2 for $5.
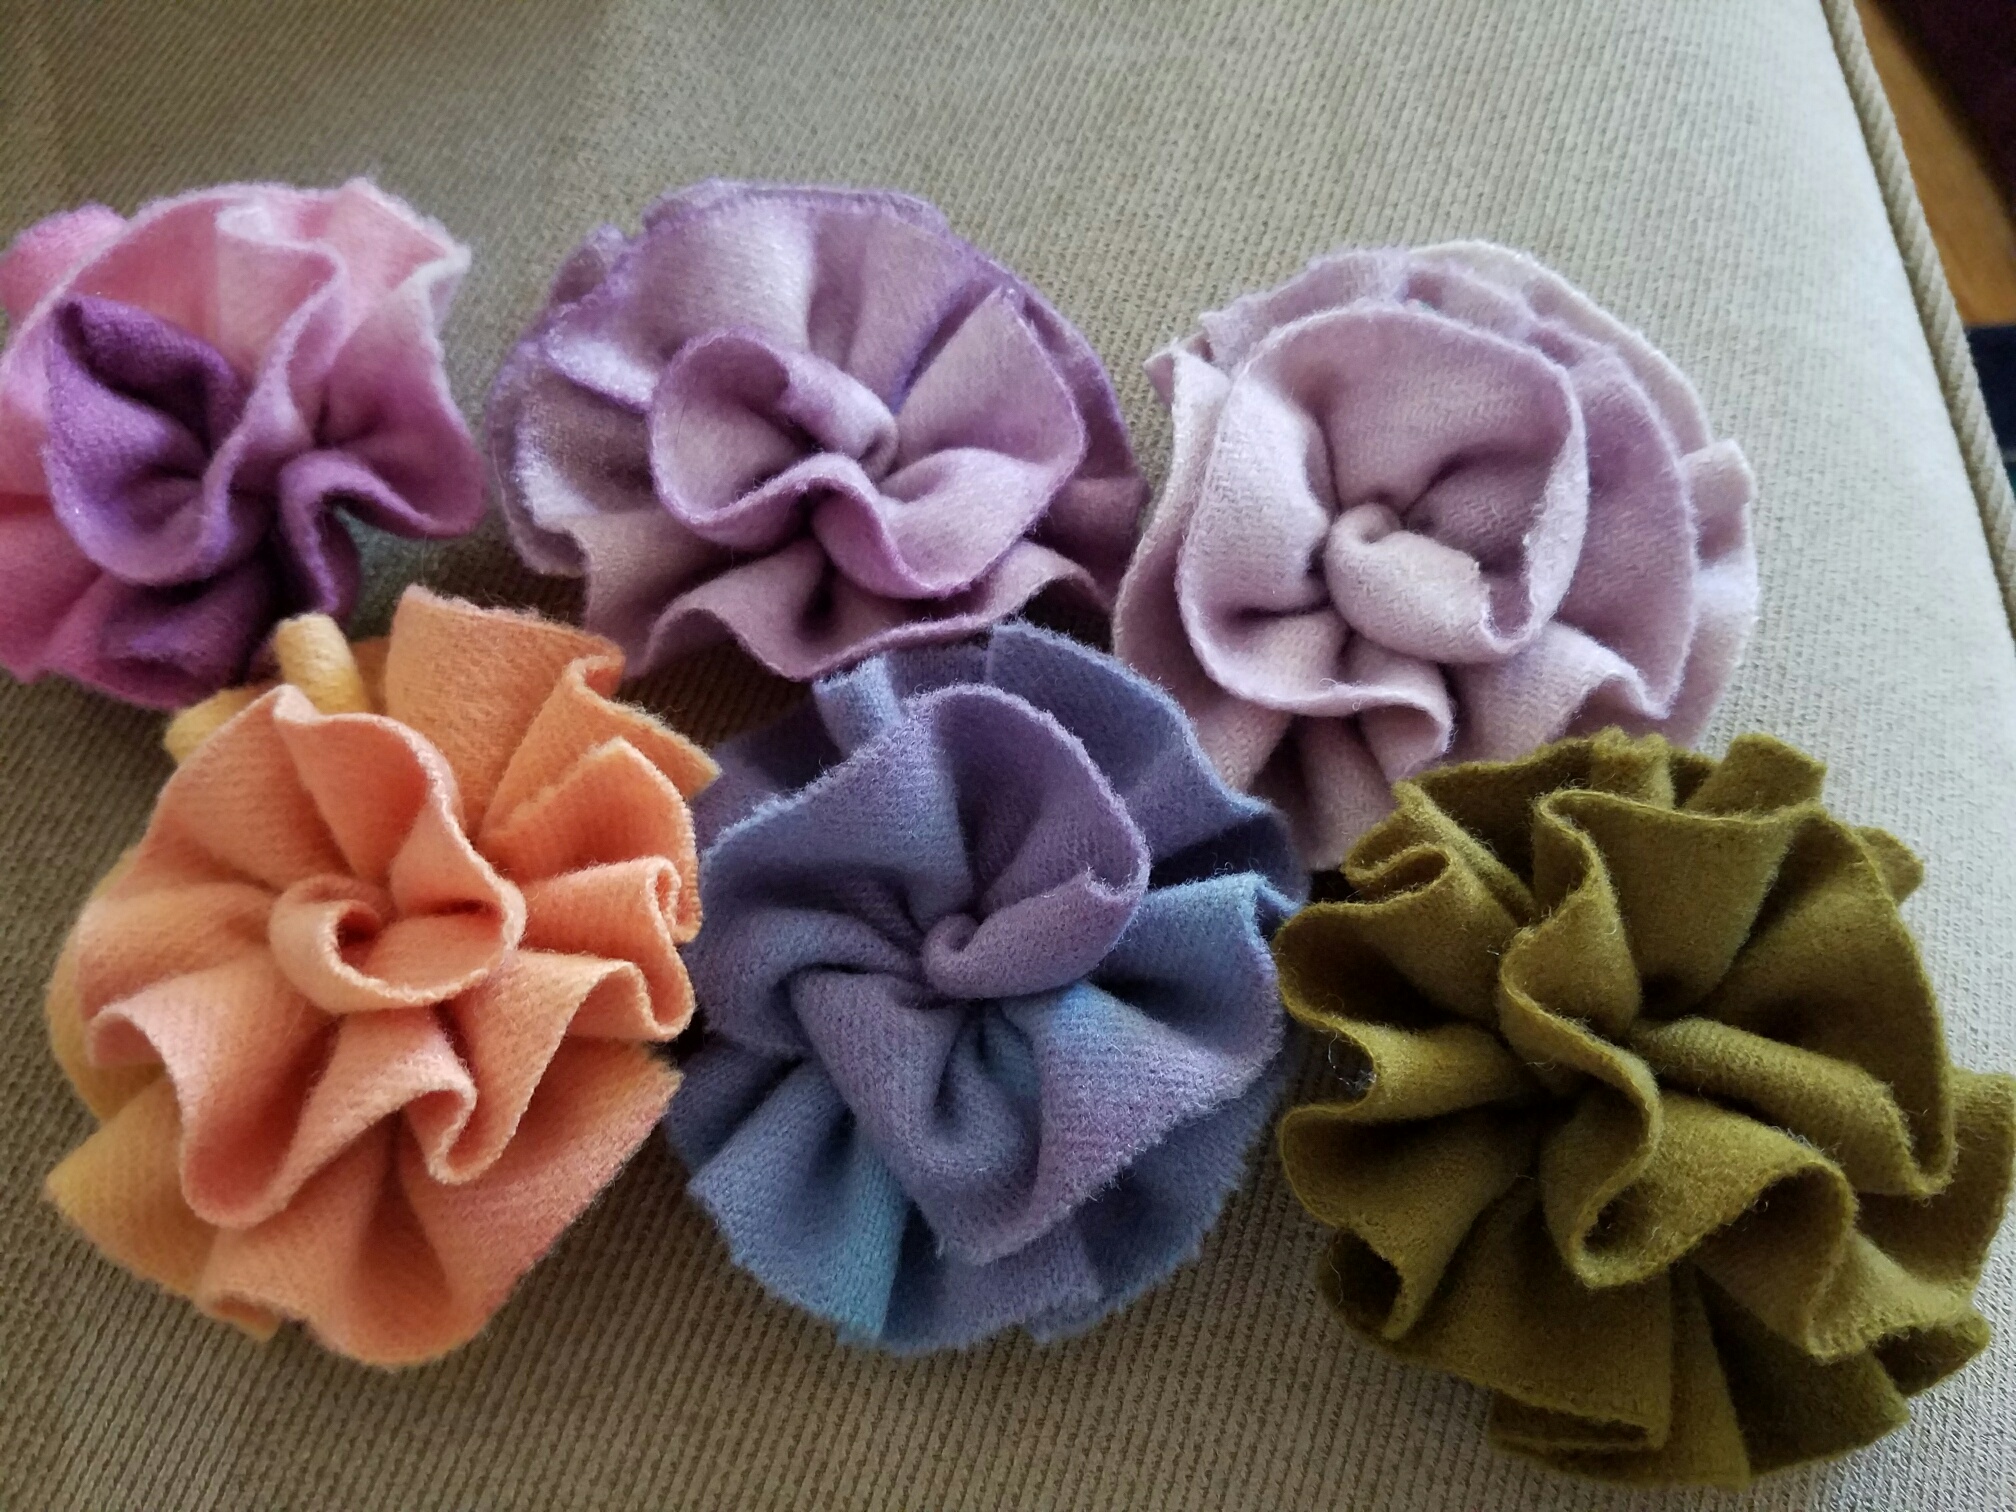
There are a couple of Krista’s coworkers who always look for what’s new in these crochet yarn or felted wool flowers. These brooches are perfect for the winter months on sweaters, scarves, or blazers., all priced at $4 or 3 for $10.
These are washable cotton face scrubbies. I sell them for $5 for a set of 3.
LAST BUT NOT LEAST
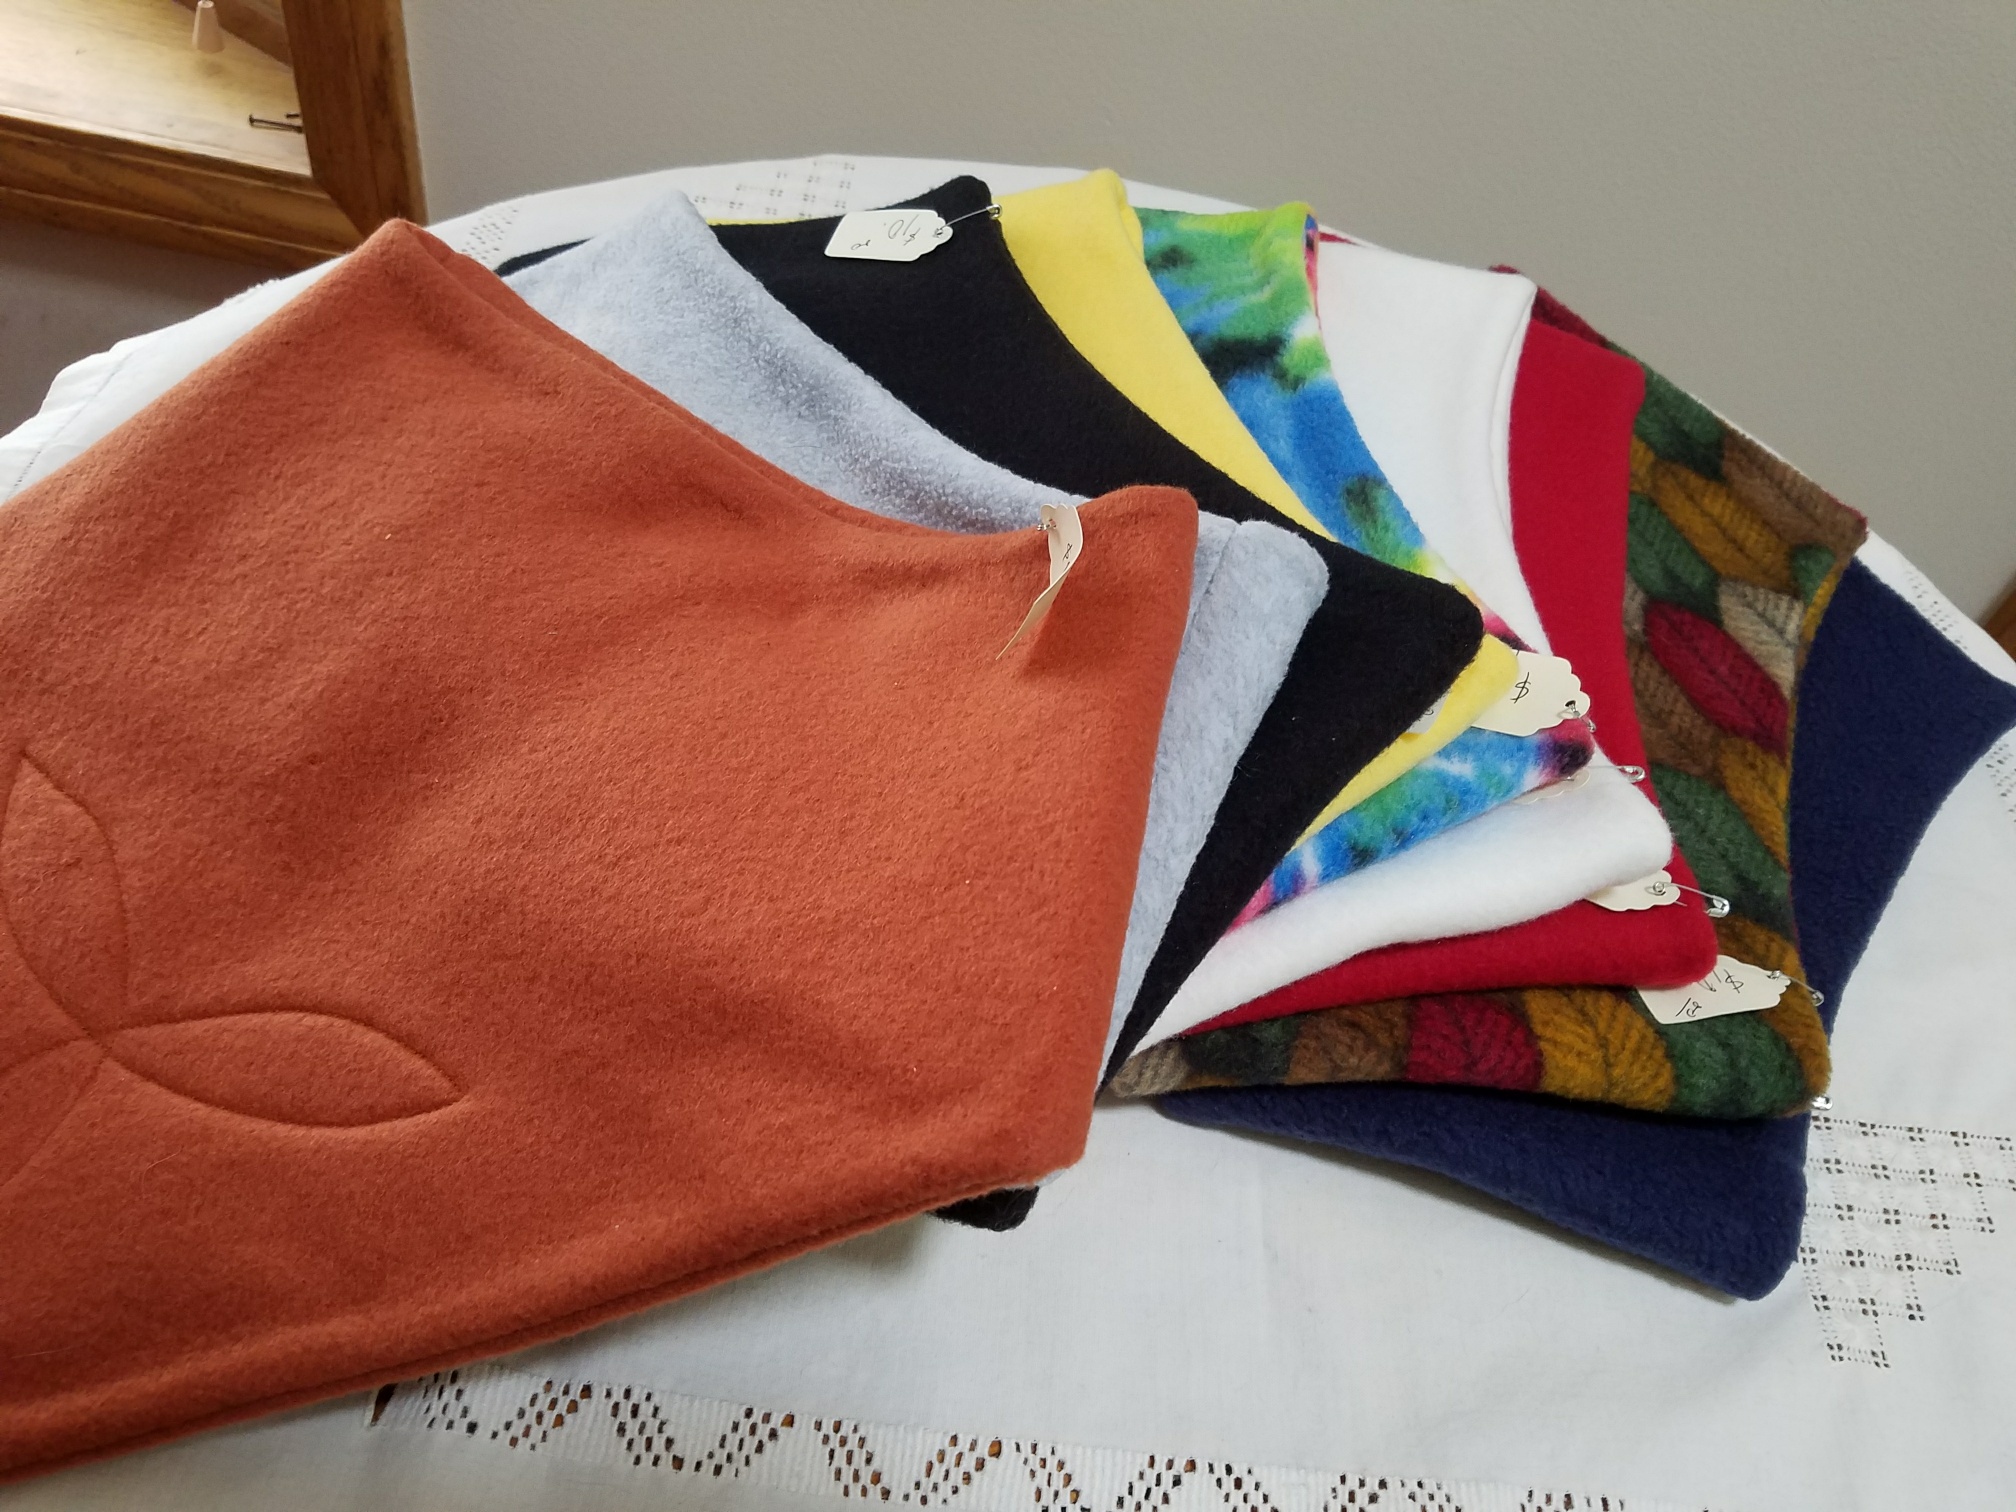
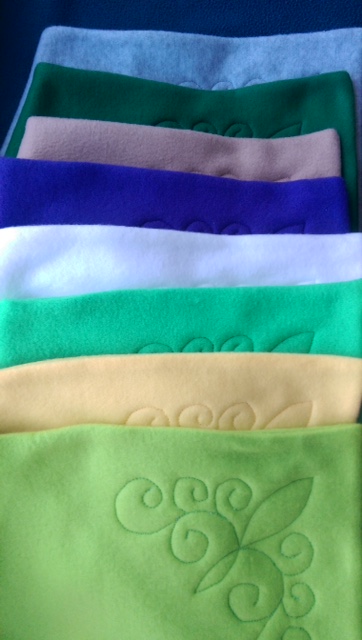
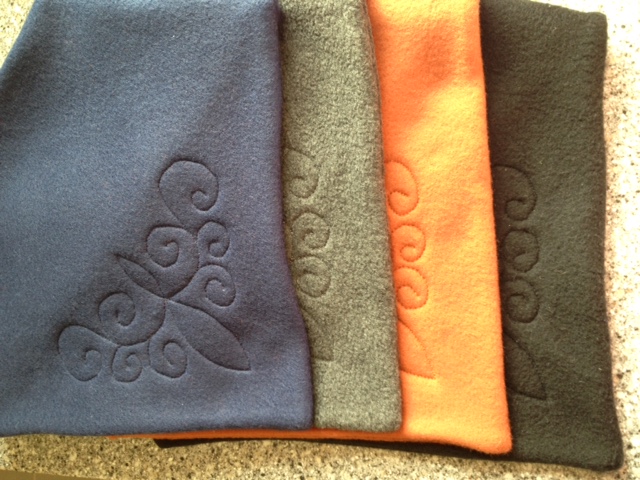
I made these washable fleece neckwarmers for a couple of friends, and soon I had a following. They are great for skiing or hiking, easily slipping over your head. It’s my original pattern. I have added solids in black, dark and light grey, navy, a few plaids, and a wild tie dyed print to the selection. They are priced at $10.
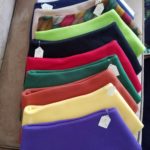
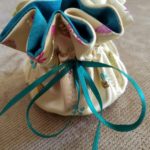
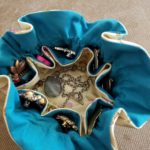
I don’t know if you have seen these jewelry travel bags in the craft stores, but they’re pretty awesome. I made some for my traveling friends, and I got great feedback. They are made with two circles, the inside one sectioned off into 8 parts and a bottom. Once you’ve placed your jewelry pieces into the sections, pull up the drawstring ribbon and tie it into a bow. Voila! Nothing shifts or gets tangled. I presently have five of these soft satin bags ready, for $8 each.
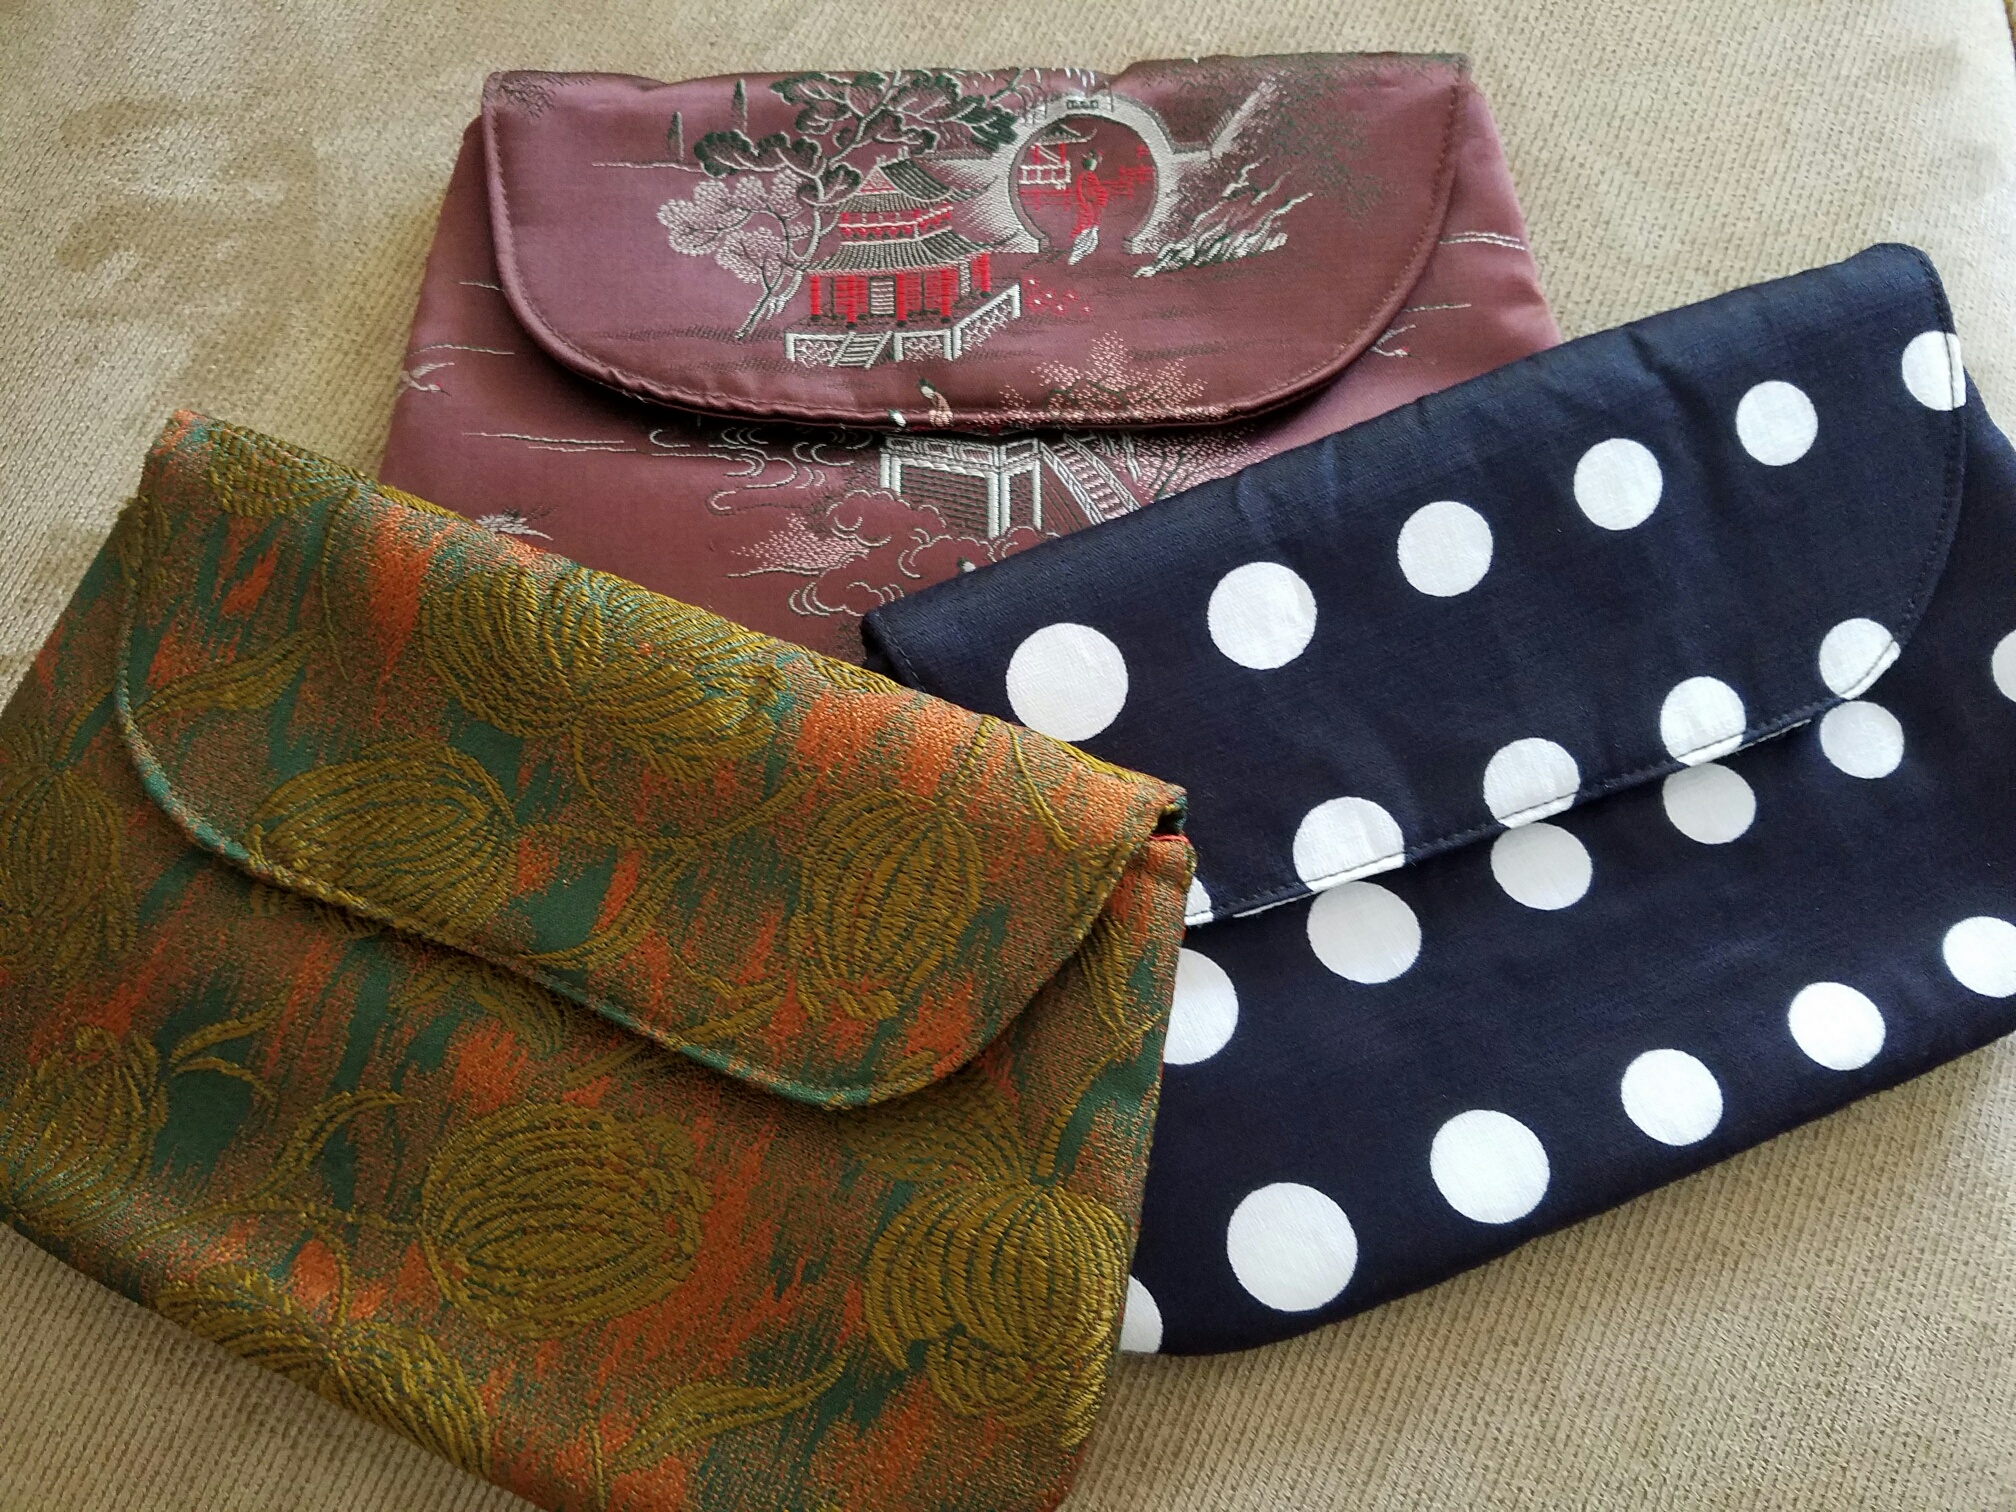
Having many older relatives, I have been blessed to acquire all kinds of vintage fabrics. These three clutches are fully lined, and have a magnetic closure. Each is priced at $15.
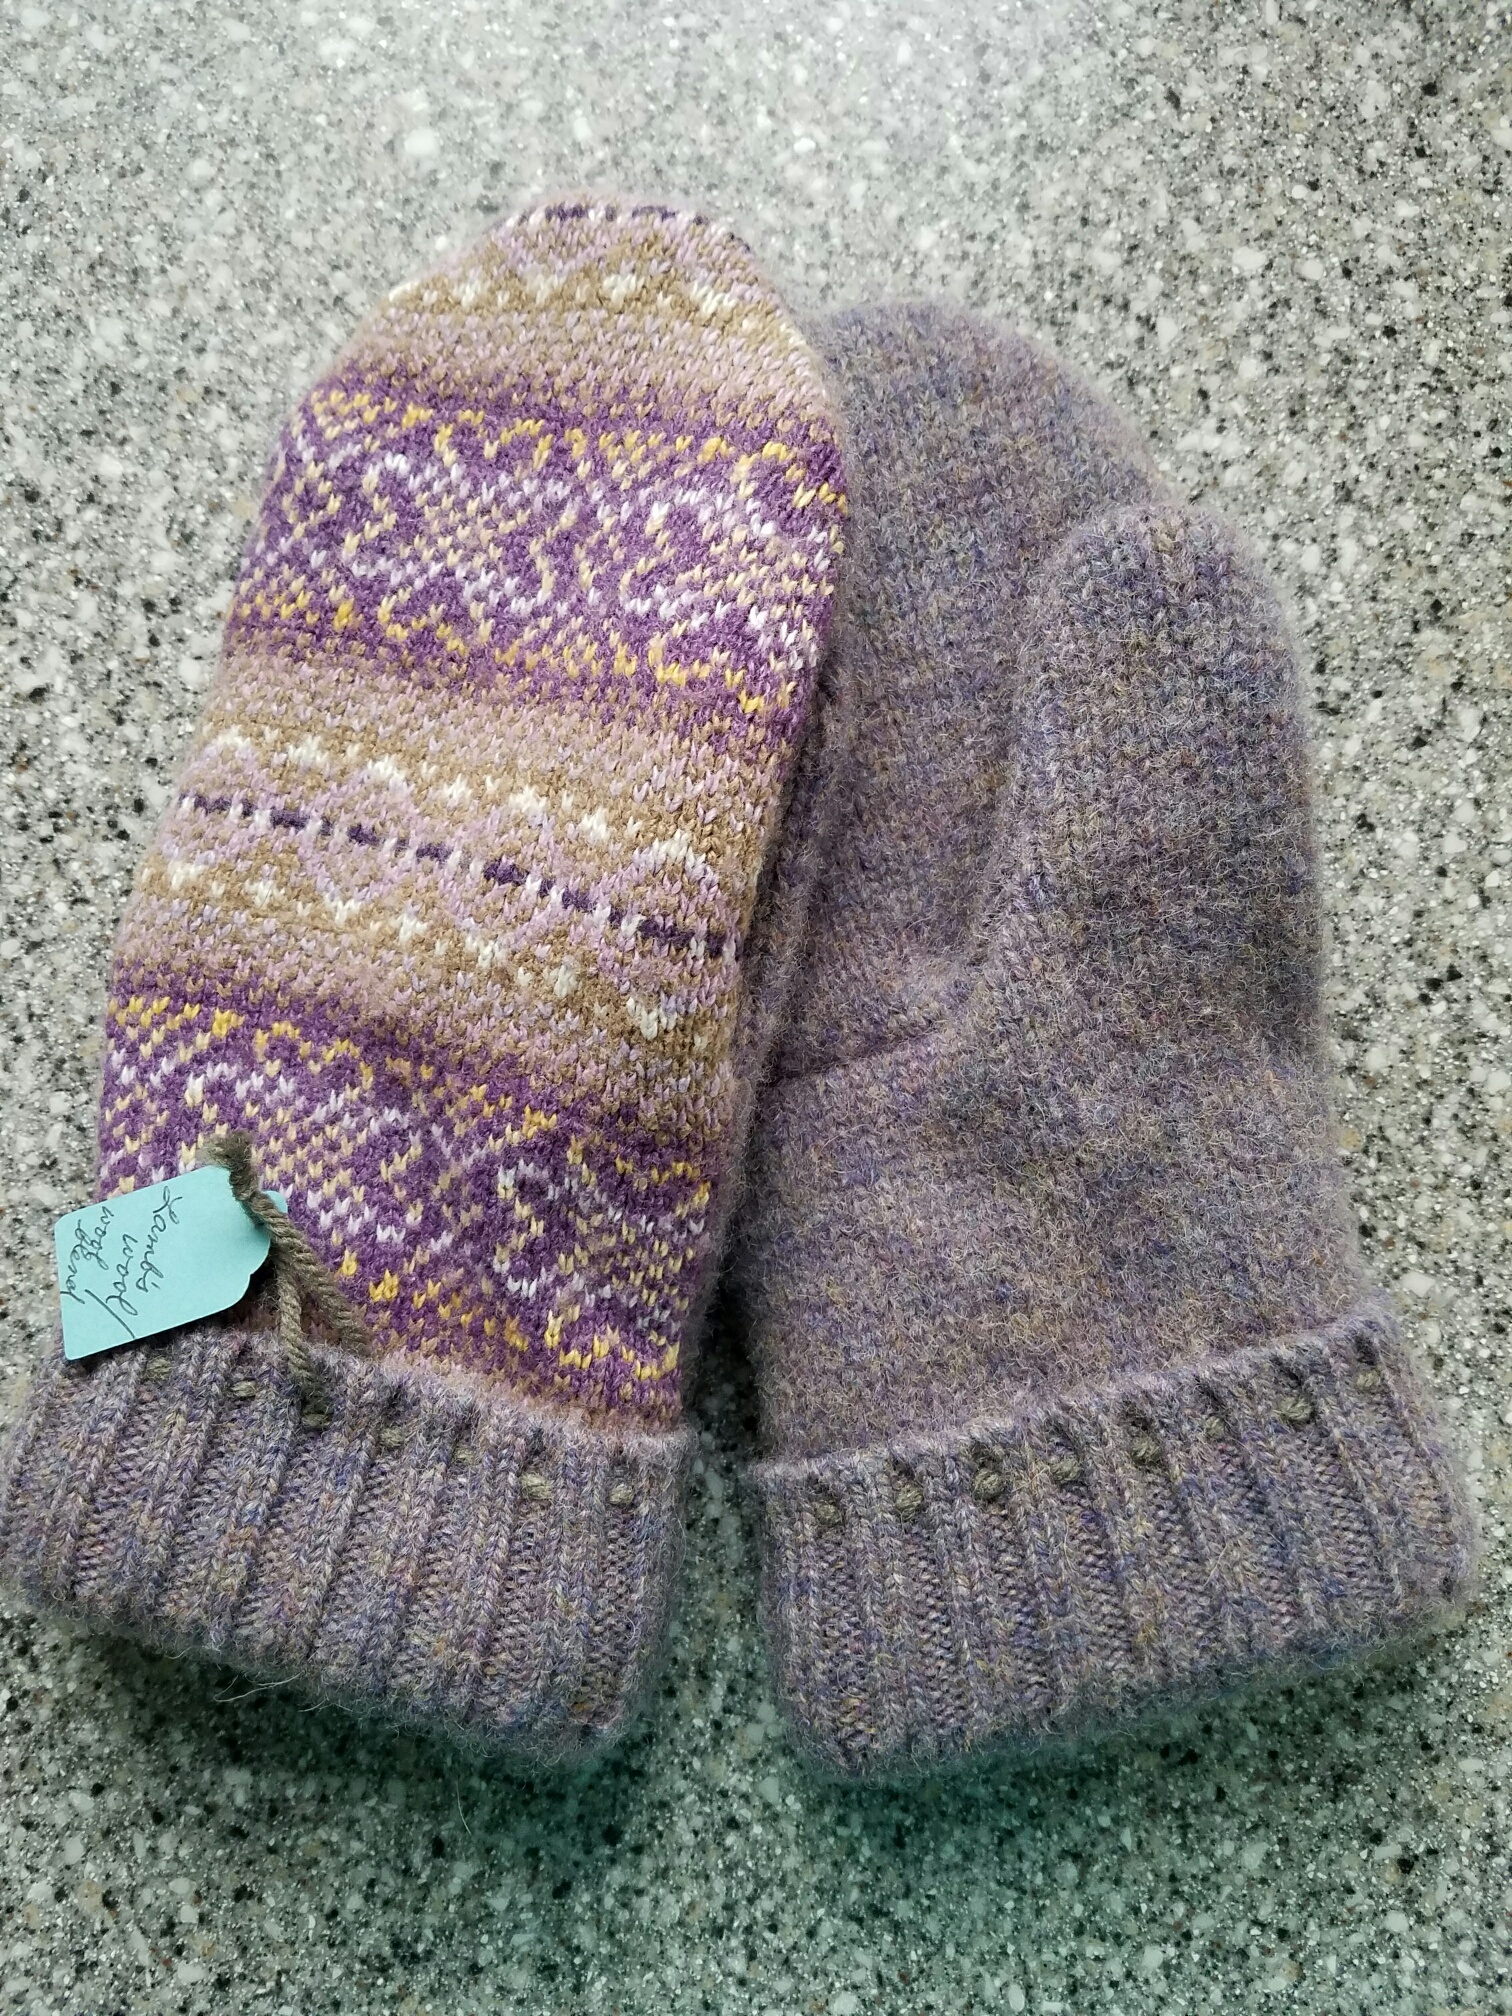
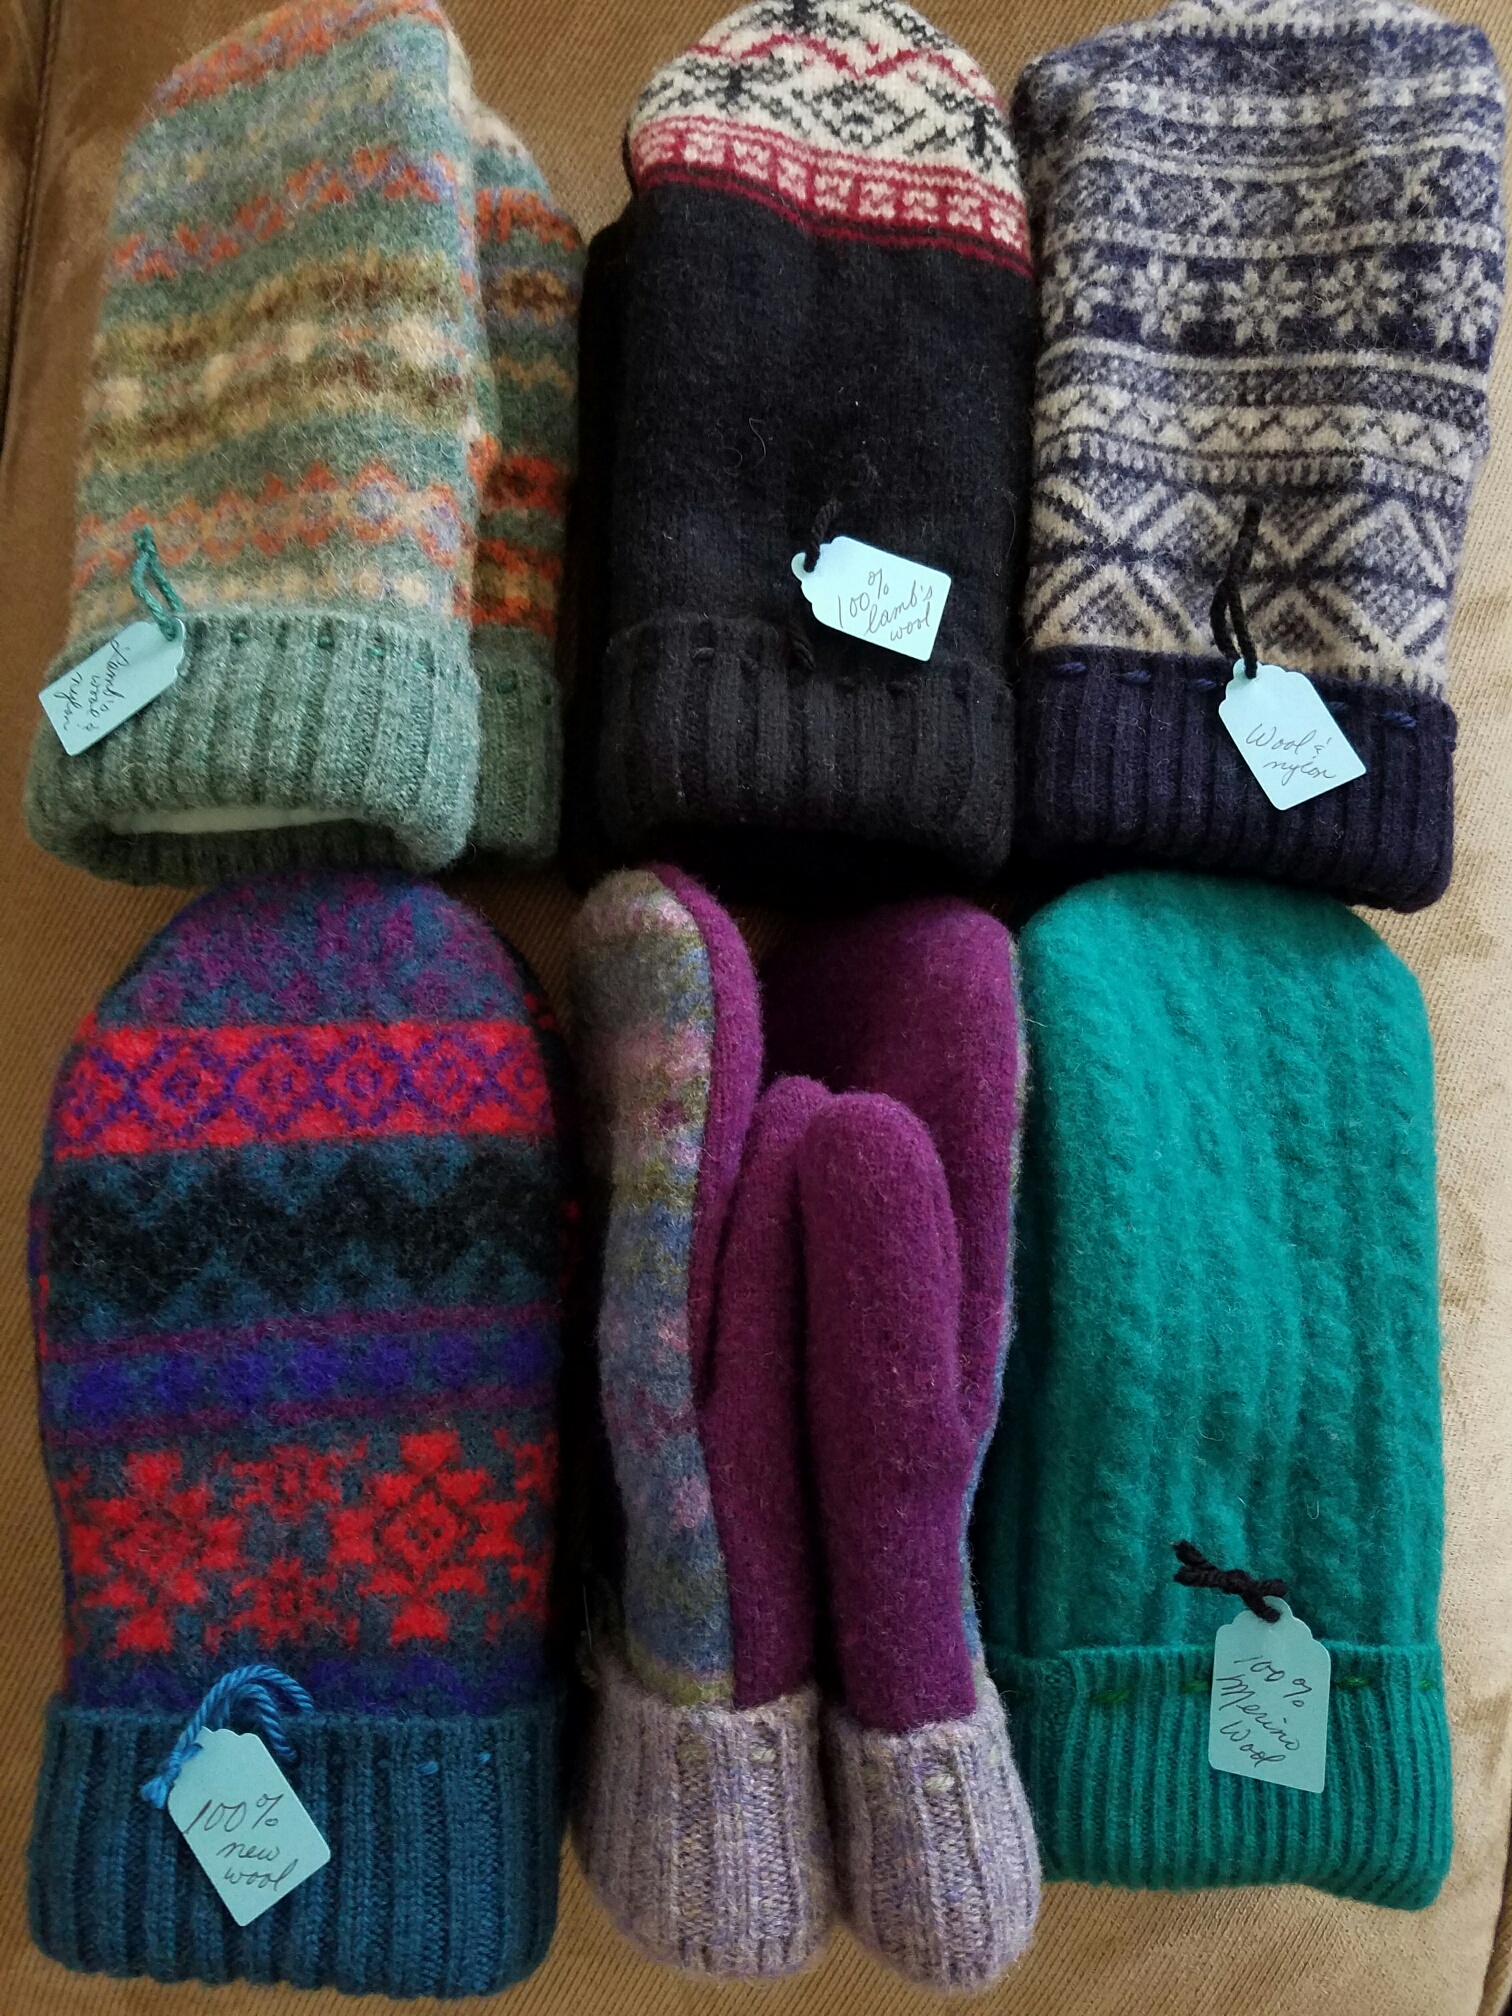
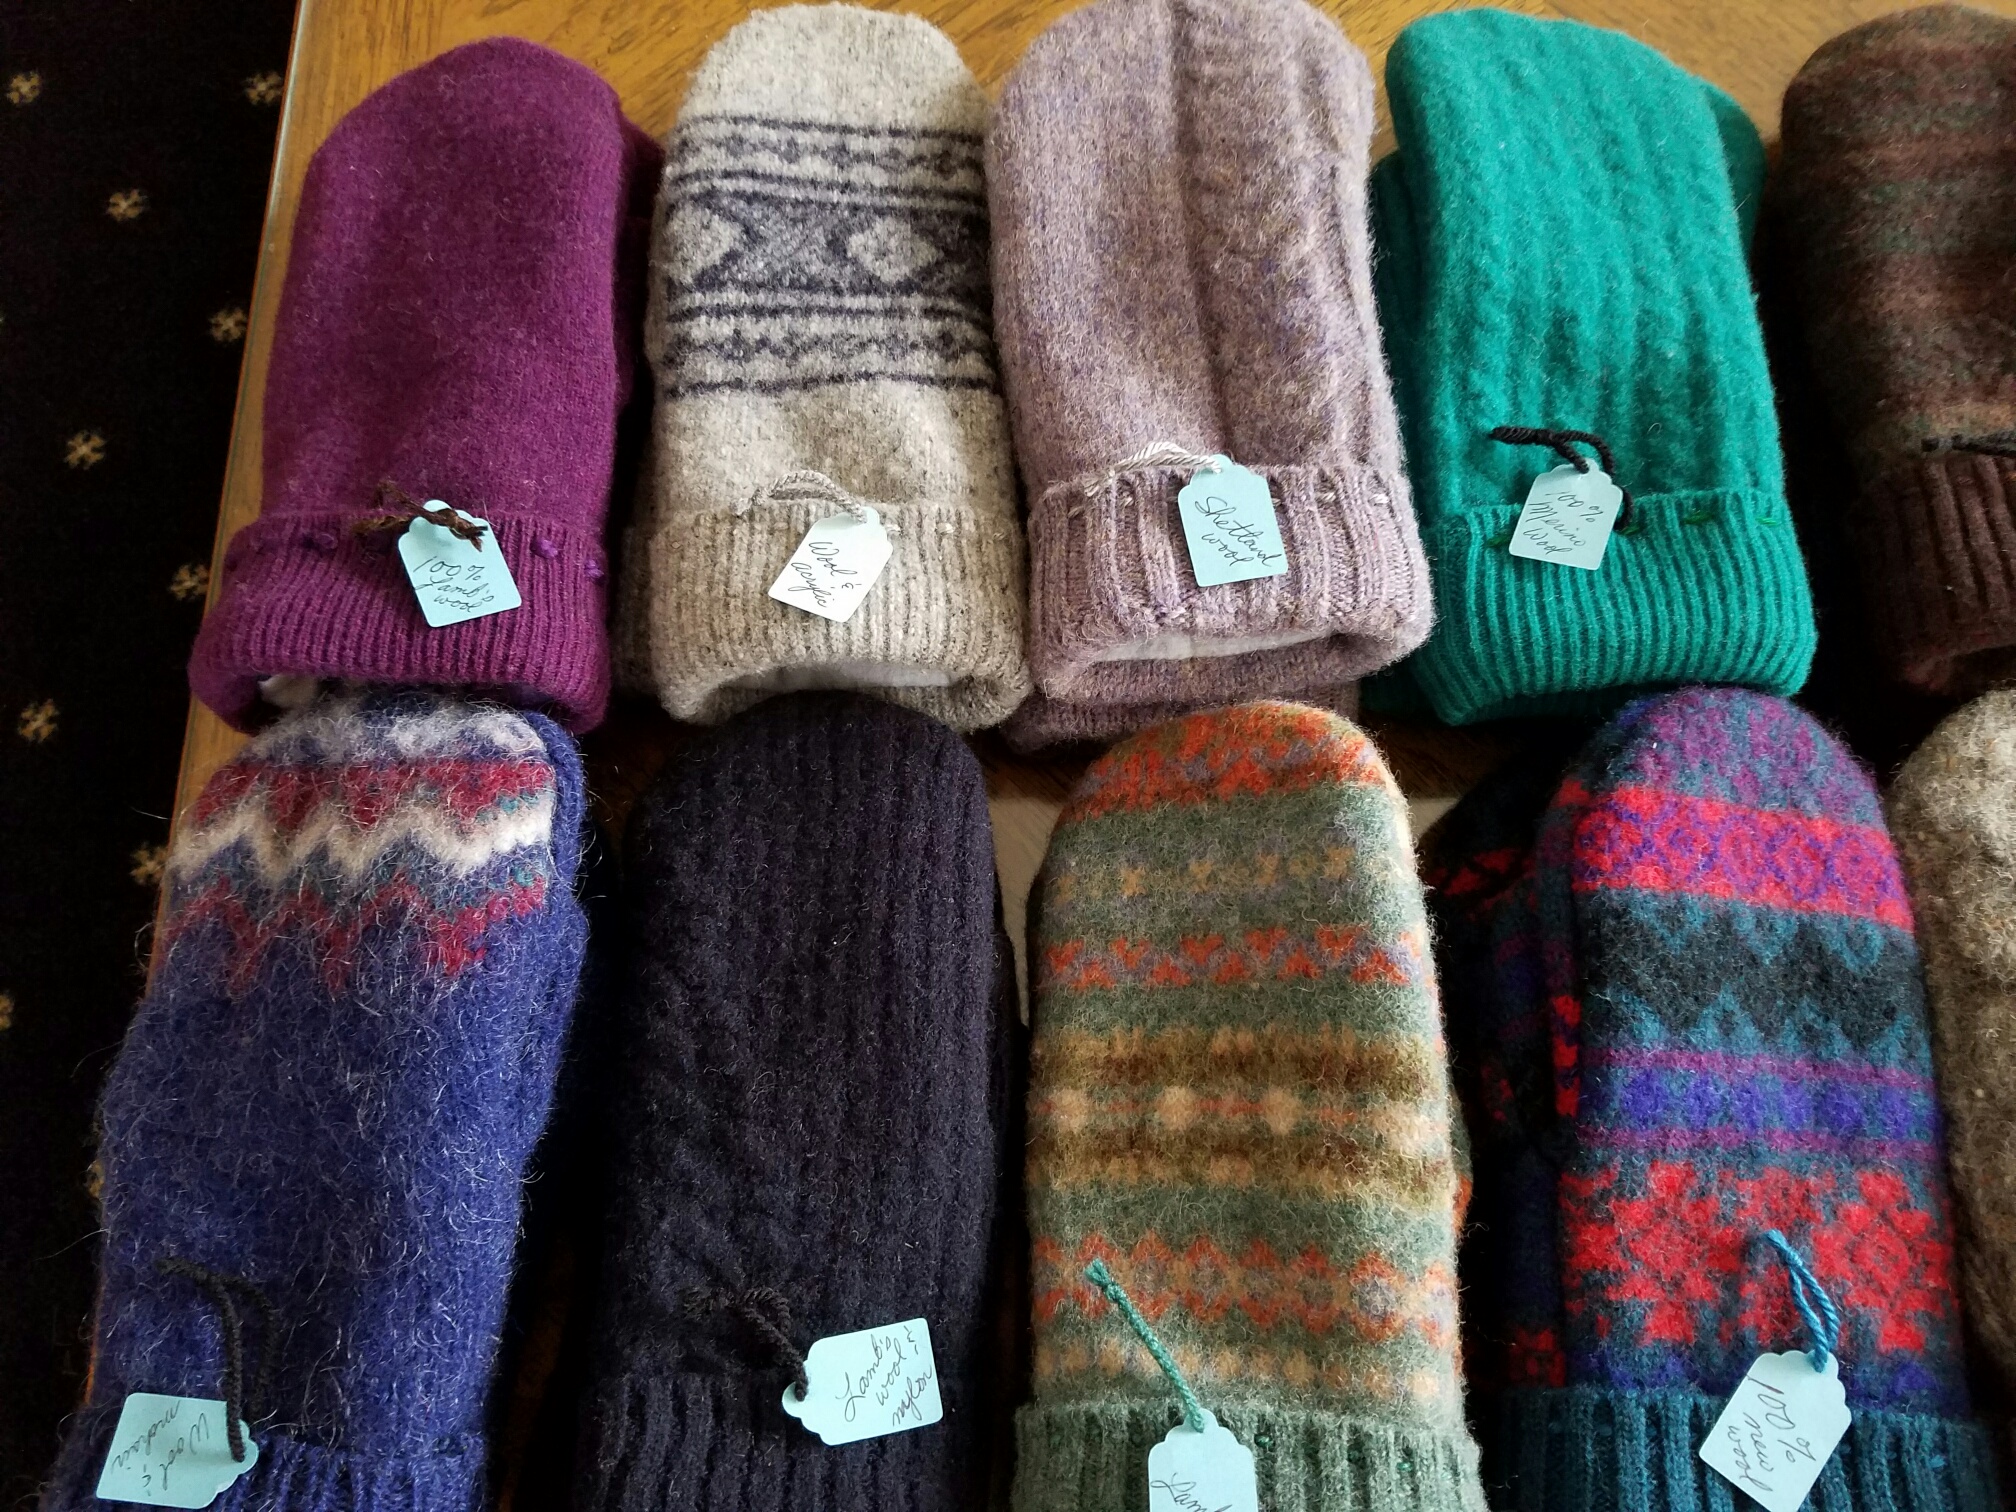
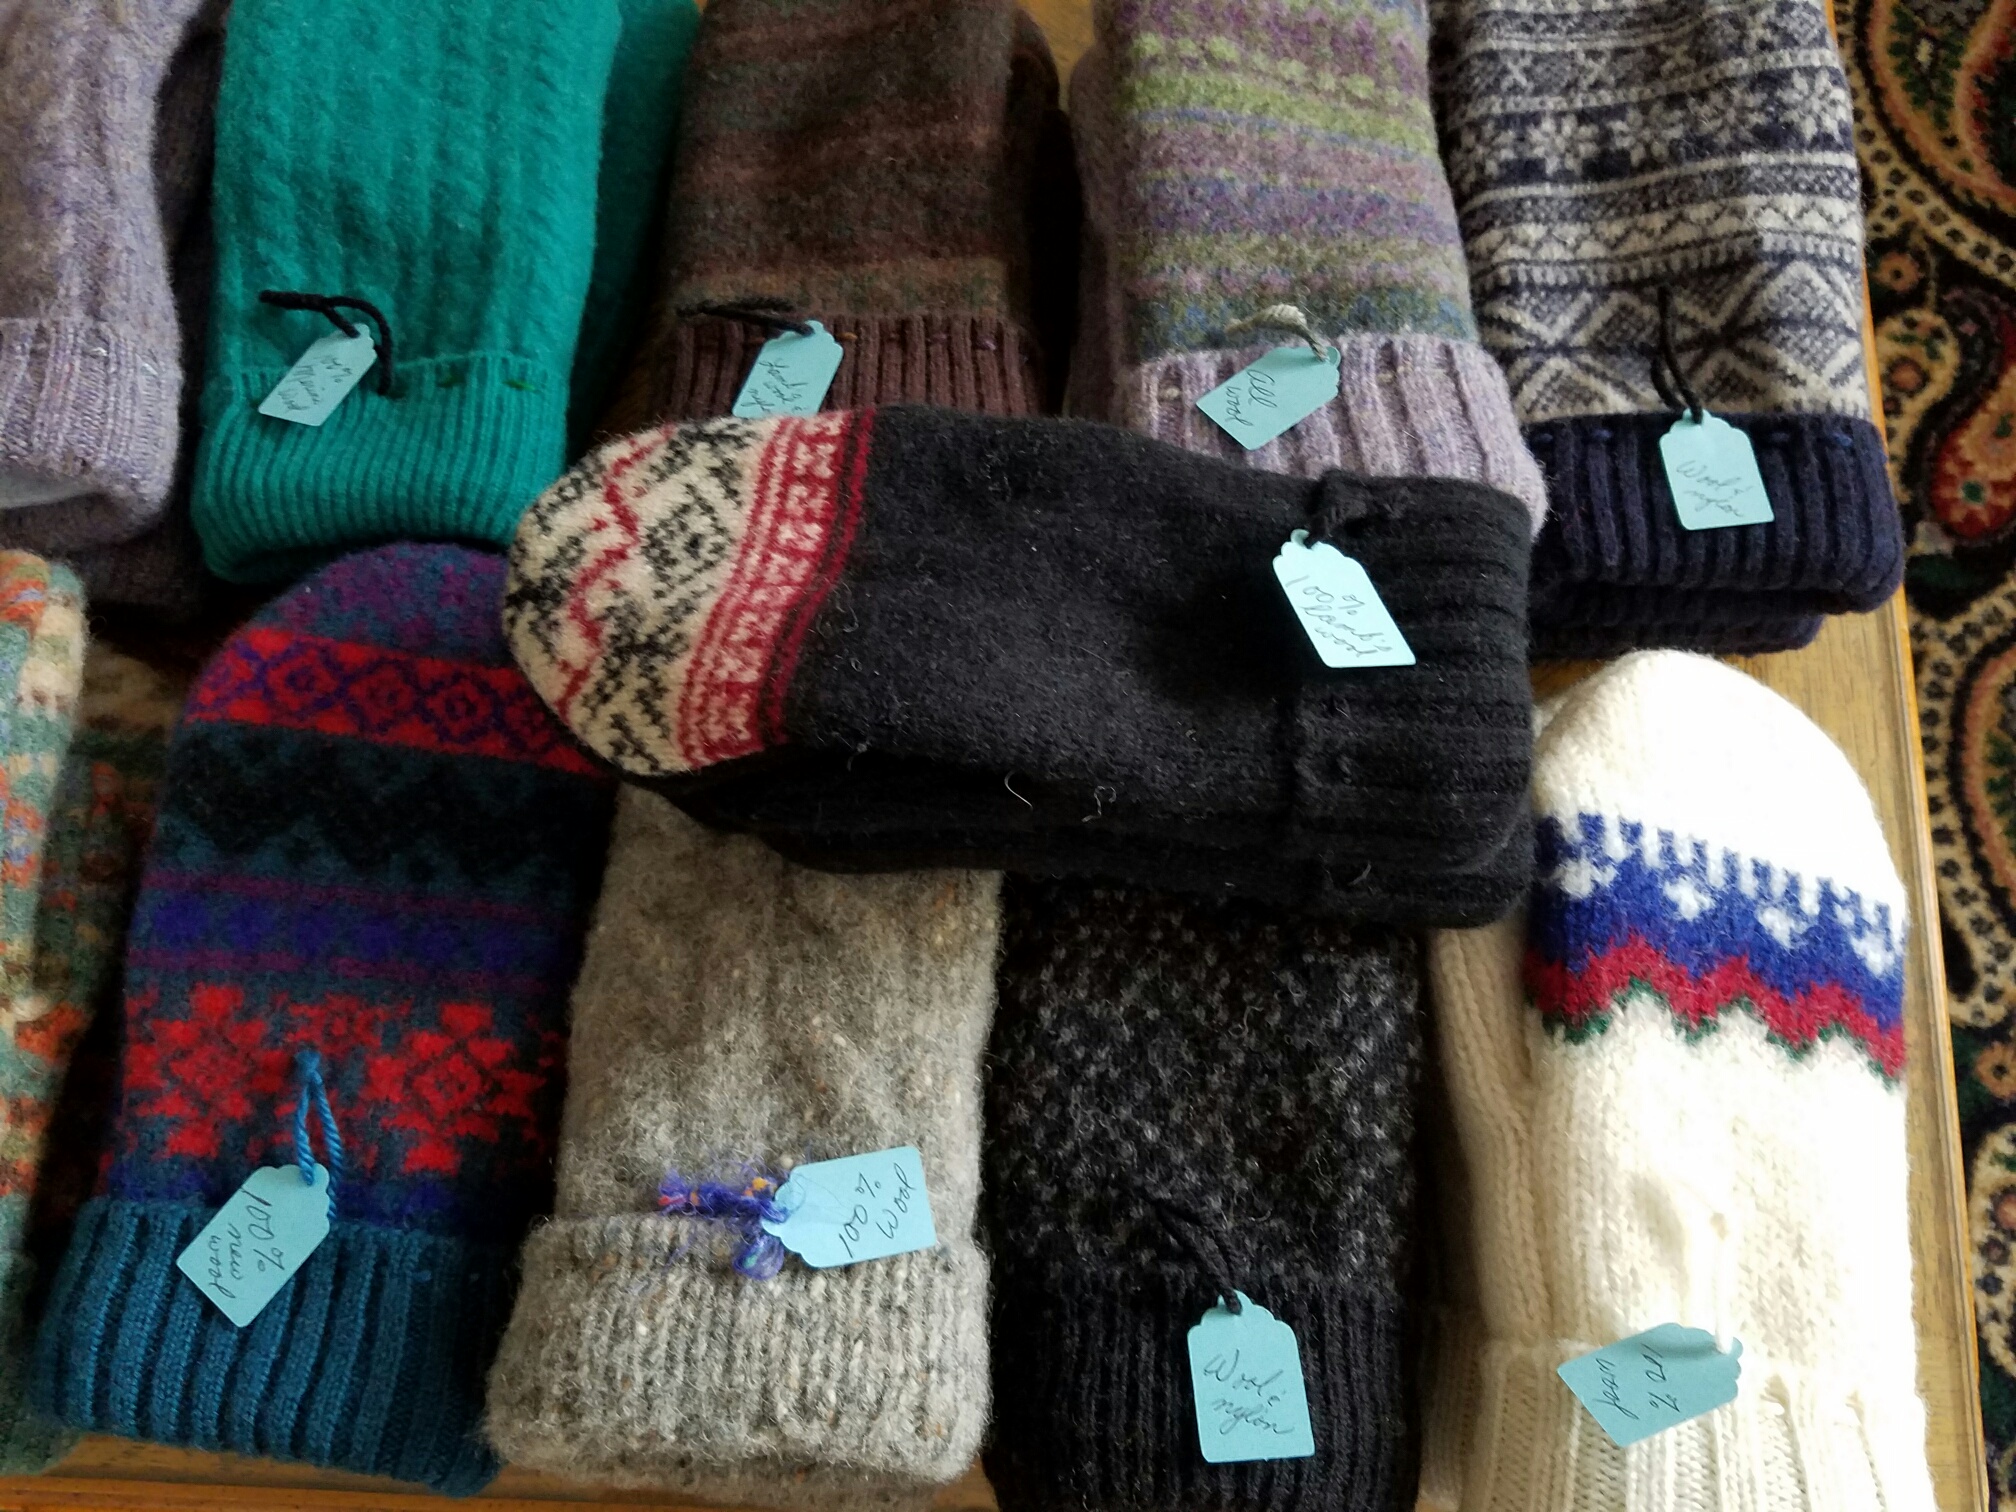
And, finally, my major project of this year are my “Smittens.” I buy wool sweaters at garage sales and thrift stores, felt them, cut them up and make them into mittens. They are lined with fleece and are the warmest mitts you will ever wear. (We need that here in Buffalo!) I have made over 30 pairs so far, but I’m not sure which ones I’ll have by the time I go to SD to see Krista. Some are one of a kind because of how much the sweaters shrank in the felting process. This photo gives you an idea of what they look like, all depending on the sweaters I find. They will be selling for $20.
There you have it! A few of these items are already on somebody’s wish list, so don’t hesitate to put in a special request! Please come to this fun event on Friday and maybe you’ll find just the right gift for that special, hard to buy for friend!
]]>I’ll again be selling many of my usual knit and crochet scarves, but I’ll be including lots of gifties and stocking stuffers for the upcoming holidays.
I have added a few new designs to my scarf collection, some knit, some crochet, even a few new yarn styles. I haven’t photographed all of them, but here are a few new designs I’ve tried out.
After making several simple designs over and over, I decided to go back to a technique my mother used many years ago, called hairpin lace crochet. First I made straight scarves which resemble braids. Long strips of double-sided looped crochet are joined by crisscrossing the loops between strips.
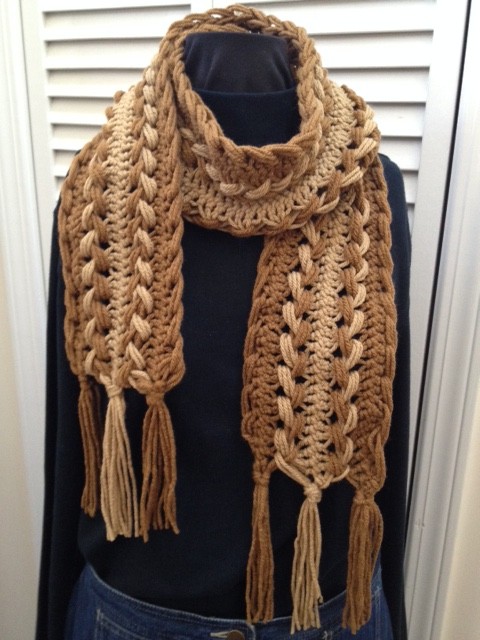
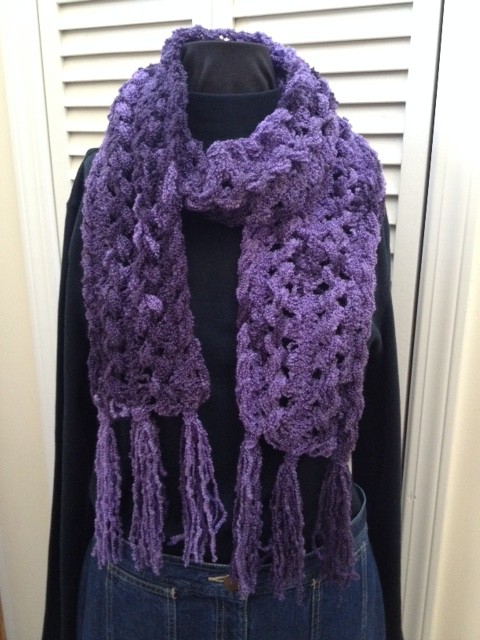
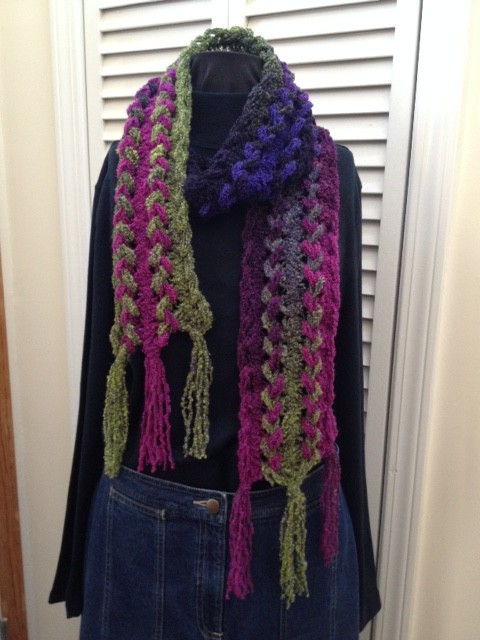
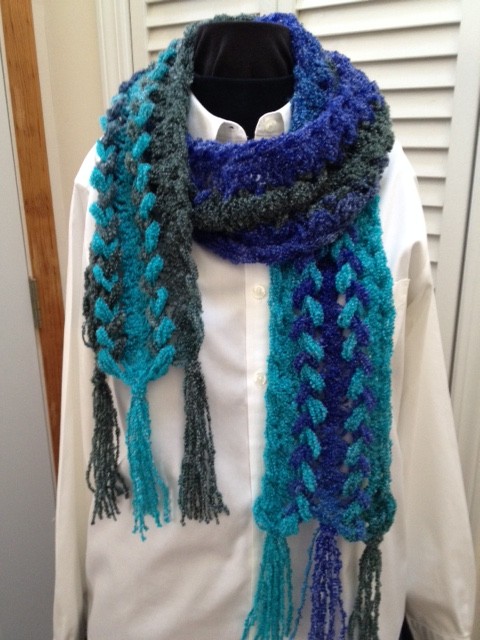
I also used the same technique to make infinity scarves which loop around the neck twice. The type of yarn used has so much to do with the final look – the second scarf has already sold and another request has been made.
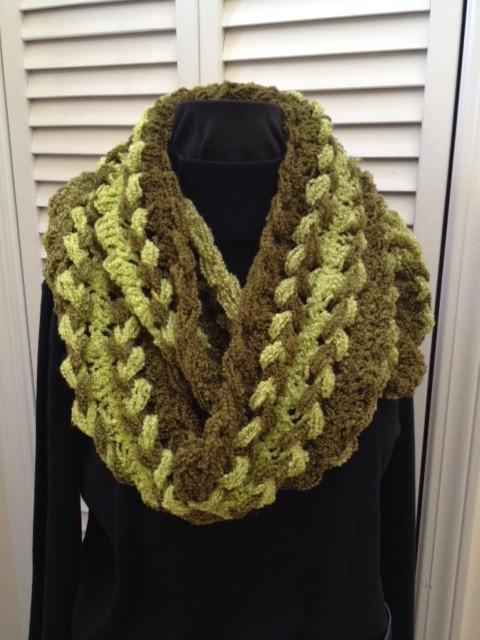
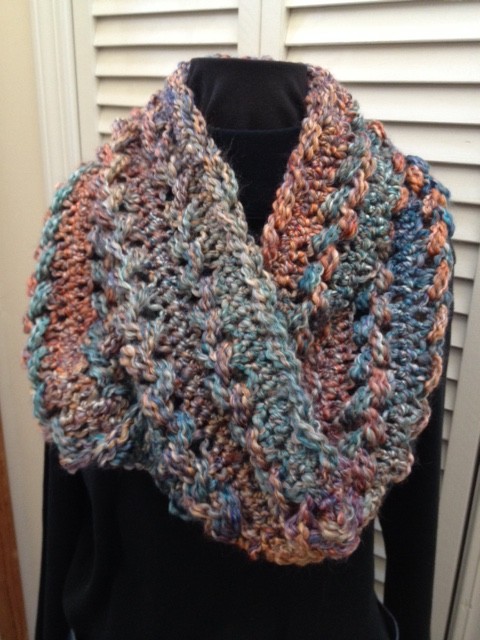
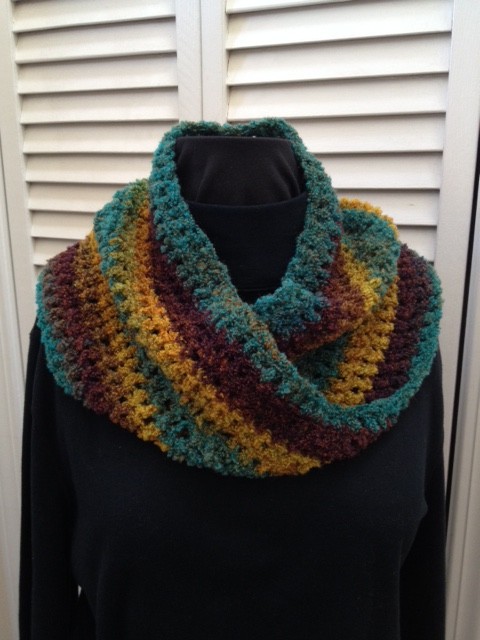
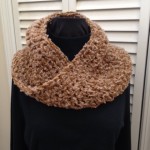
Some of the above scarves use a boucle yarn, which led me try it on my mobius scarves. They are super soft, and they only weigh just over one ounce!
I found another way to use this boucle yarn: lacy hairpin lace wraps. This method uses a different technique for joining the loopy strips. The loops are joined in small bunches and then the strips are joined with a kind of grid-work. The result is a long, very lacy, feminine wrap, perfect for a cool evening walk.
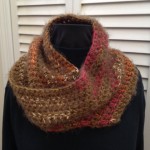
Other yarns are used in that same mobius style: two mohair designs and scarves that use two strands crocheted together to create a bulkier look.

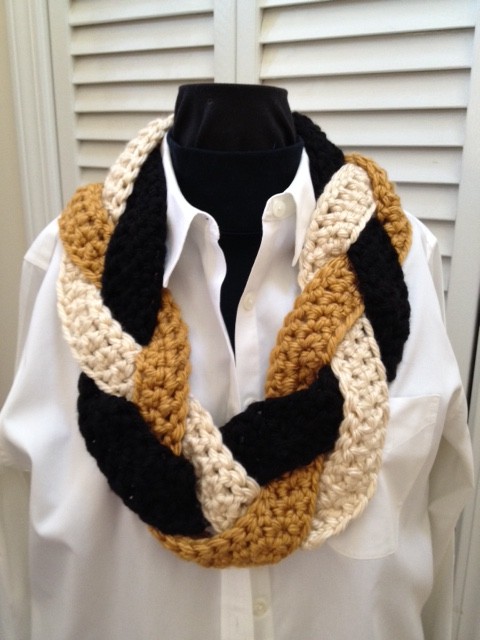
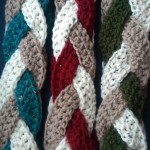
Another new style I’ve enjoyed putting together is the “bulky braid.” I use a bulky yarn to crochet three wide strips and then braid them together. Every color combination evoked a totally different look!

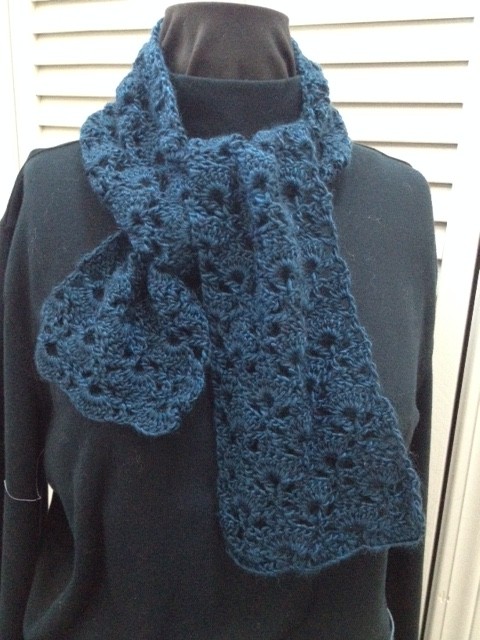
I had the opportunity to visit a humungous yarn store last year and couldn’t resist picking up this beautiful Peruvian wool and Tencel blend yarn. This crochet pattern I found seemed to fit the yarn perfectly. Its appeal is not just mine – it’s already spoken for!
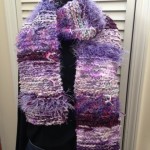
I can’t seem to get away from knitting these “messy” scarves! I have so many yarn ends from all my projects, and when a lot of any color family reaches epic proportions, I have to incorporate them into these fun scarves!
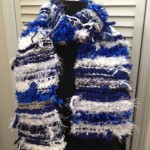
Besides these new designs, I also have added more colors in my usual basic double loop knit infinity scarves.

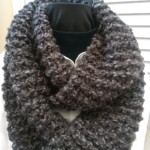
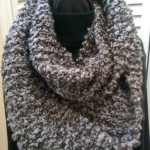
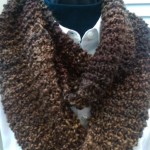
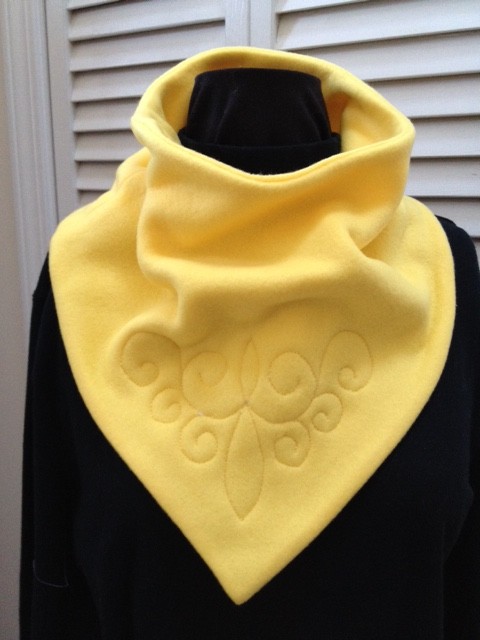
There are other ways to keep your neck warm! If you ski or snowboard, or just like to hike in the cold, these fleece neckwarmers might just fit the bill! I made these for my Buffalo friends (it gets mighty cold here!) and they found them to be quite toasty! I made them in some fun solids and even a few funky patterns.
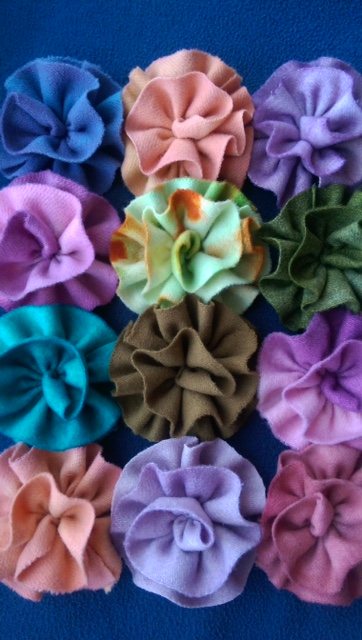
I inherited a box of felted wool that had been hand dyed – I simply couldn’t resist making these wool flower brooches. I think they look great pinned to a winter coat or scarf.
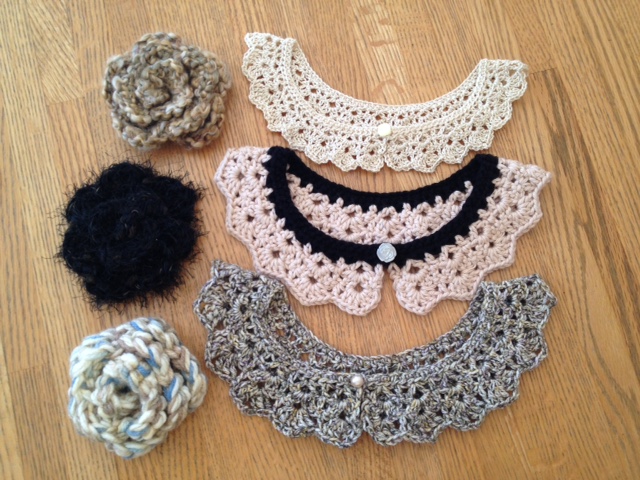
Other flowers that are pretty popular are the crochet roses brooches. While in the winter mode, another pretty accessory is a crochet collar, inspired by an anthropologie product.
Whenever I have smaller amounts of yarn left over from a large project, I try to find smaller items to use it up. Scanning Pinterest, I’ve found some pretty cute coin purses to use up those little balls.
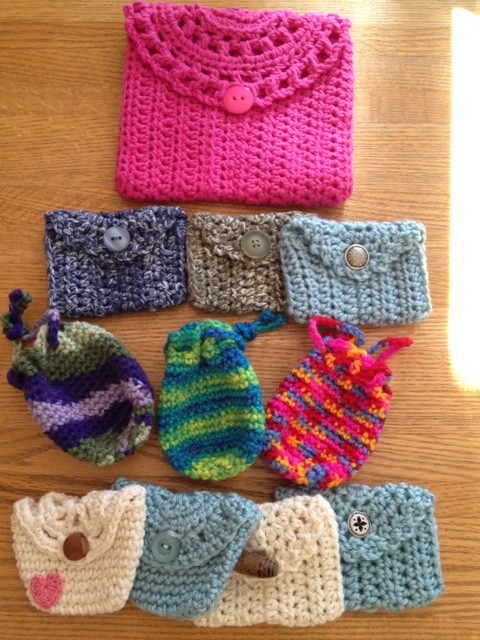
Another kind of little organizer I like to make is a cell phone pouch. Krista uses it as a purse insert that she can pull out when taking a quick run. A friend of mine carries it when she walks her dog. There are both wristlets and crossover styles.
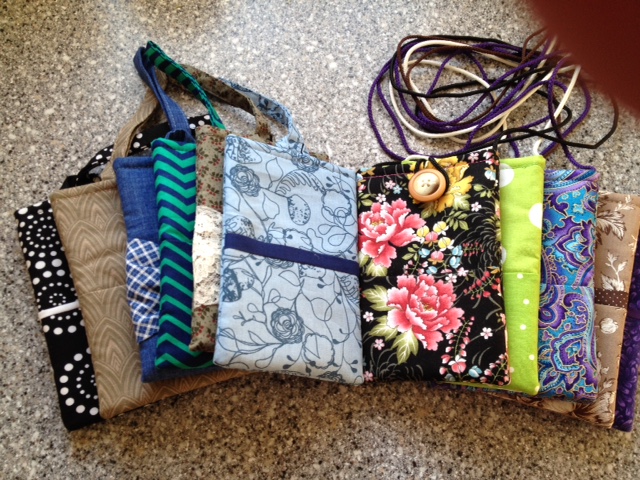
And if you need another kind of bag to put your wine into when popping in at a friend’s during the holiday, you can find it here! Also, there are little gift bags and gift card holders, and tissue holders.
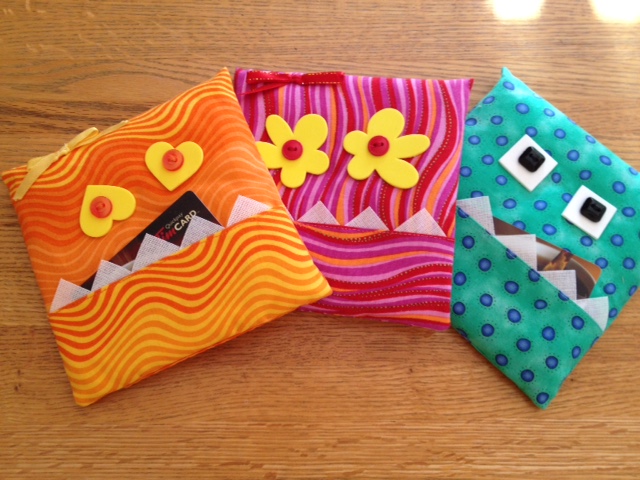
And if you have a tooth to leave for the tooth fairy, maybe a monster pocket will be the best delivery vehicle! Maybe you can even use these guys to deliver a gift card to a fun-loving friend!
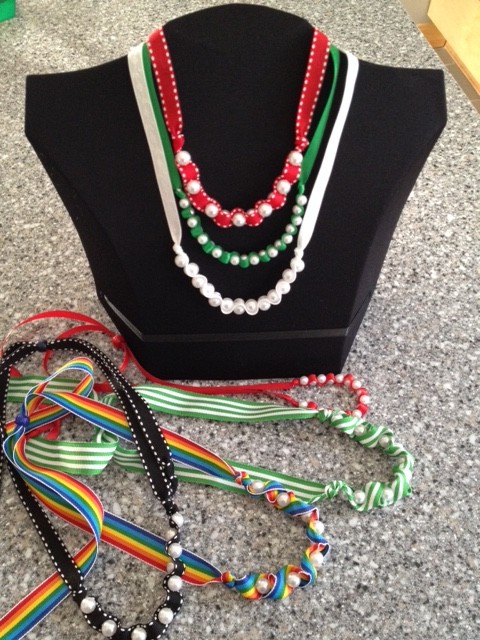
In the past, I’ve made ribbon and pearl necklaces to perk up a casual outfit. These were inspired by Lands End necklaces they featured two years ago.
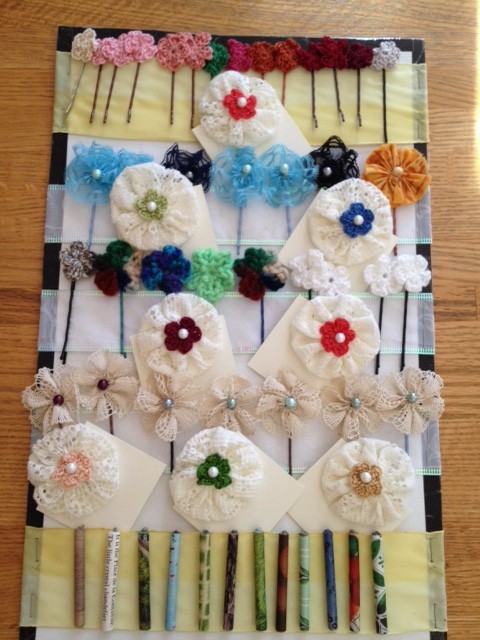
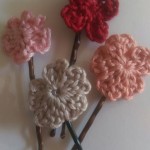
And finally, the tiniest additions can add a little femininity to your everyday outfits – either bobby pins or hair clips with a flirty look.
Whatever your holiday plans, I’m sure you will find something that will fit into those plans when you visit our table at the Arts and Crafts Festival!
]]>
Taking advantage of Southwest’s discount on travel using points, I decided to fly down to Florida to visit with my bestie, Cory, in Cocoa Beach. This time we planned to craft day and night using an Easter theme. Needless to say, Pinterest ideas led the way!
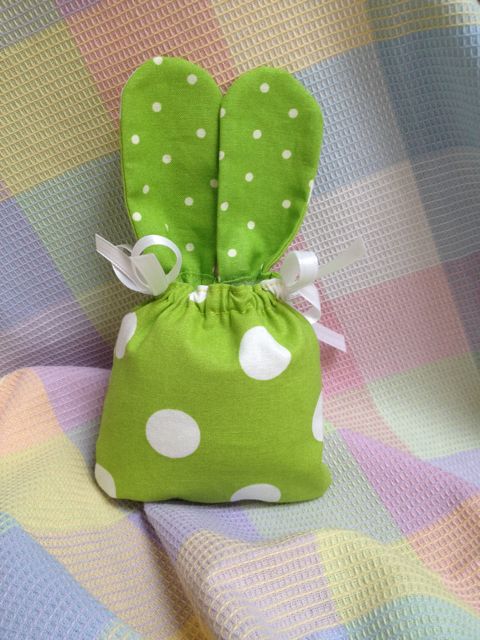
This was my first attempt at making a replica Easter treat bag from a photo I had seen. Cute, but there were a number of aspects to the design that I was not entirely happy with. I like pointy ears on bunnies, and I think they should tip to the sides. More importantly, the original bag wouldn’t stand on its own, so I added squared-off sides on the bottom. And the bow looked cuter in the front, not the sides. The following design emerged:
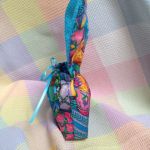
And so, many fabric scraps later, the bunnies reproduced, as they do!
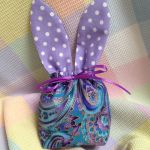
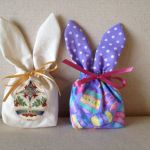
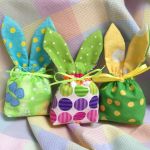
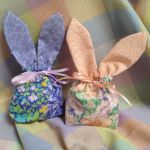
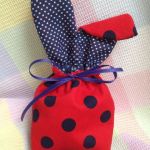
Color and pattern possibilities were endless! With help from my sister’s quilting remnant stash, so many different combinations came about! An appliqued egg on muslin made for a very classy bag that could be used for something shiny, not sweet! Before I left for Cory’s, I had cut out about 50 different bunnies, so that we could jump right into sewing them as soon as I arrived! We ended up making about 20 for her church’s spring sale, and a few for her grandchildren. We split up the remaining bunny sets to be completed on our own.
The last one, the red and navy bunny, may seem like an odd choice of colors, but my grandson, Torin’s, favorite color is red, so… red bunny!
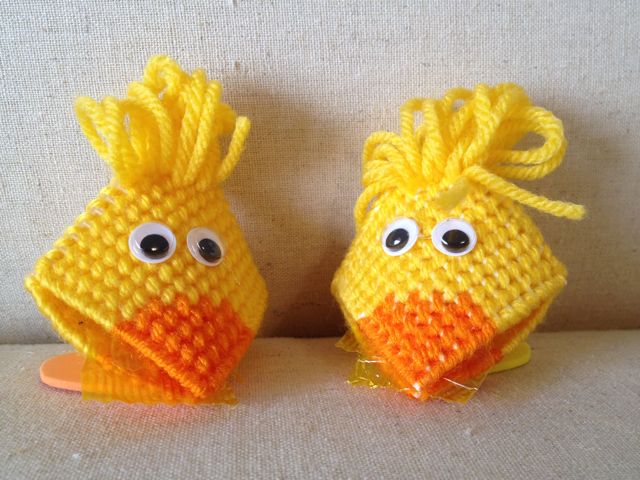
Cory had also done a lot of pre-crafting work: she is a pro at creating all kinds of adorable things from plastic canvas, and her little chick heads were priceless! All we had to add was googly eyes, and foamie hearts on the bottom to stand them up. By squeezing their cheeks, you can open their mouths! So we put a couple of butterscotch candies inside, leaving a little bit of cellophane sticking out – simply adorable!!!
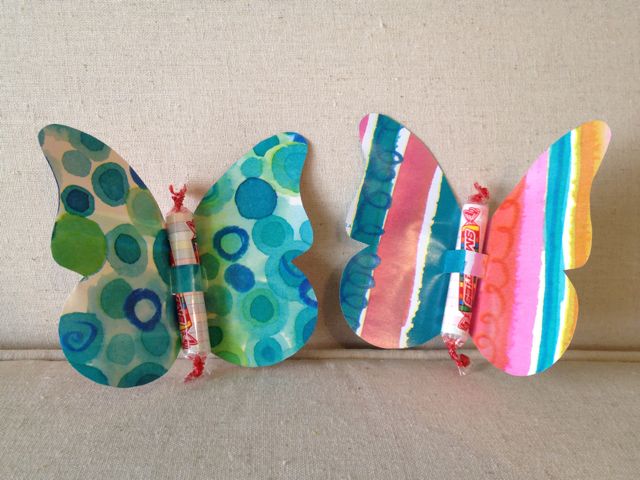
We wanted to make a few things that wouldn’t be time-intensive, and these paper butterflies fit the bill to a T. We cut a butterfly shape from a sturdy double-sided wrapping paper, snipped a couple of slits into the middle, and inserted a roll of Smarties to form its body. A little tape on the back kept the candy from sliding. Easy-peasy!
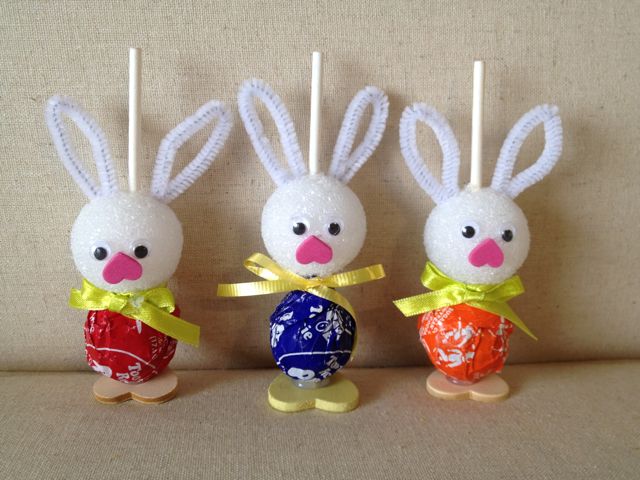
Another fast craft was a bunny made with a Tootsie Pop. The candy was glued onto a foamie heart (to look like feet, and to stabilize it), and a styrofoam ball was pushed onto the stick for a head. White pipe cleaners formed the ears, an upside down foamie heart made the nose, googly eyes were added, and a bow around the neck finished it off! Thank goodness for hot glue!
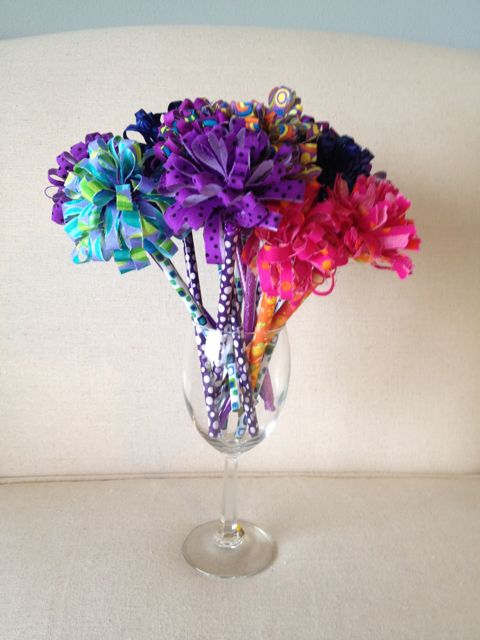
Another fairly easy craft was pencil toppers (I made a variation of this, making loops, not fringe.). I bought pretty, bright colored pencils at the dollar store. I had cut 3″ X 12″ strips of fabric ahead of time, and then we folded them over length-wise, and ran a gathering stitch along the cut side. Then we snipped along the folded edge, up to the stitching, about 1/4″ apart. We gathered the strips, and glued them onto the tops of the pencils, turning and gluing a spiral around the pencil. The glue did not want to stick to the eraser, so we broke off the erasers before gluing, making sure we put a BIG gob of glue on the very top, into the empty metal top. To finish off the bottom of the spiral, we glued a couple of inches of narrow ribbon around the gathered fabric where it meets the pencil top. The loops of fabric really do remind you of flower petals – pretty!
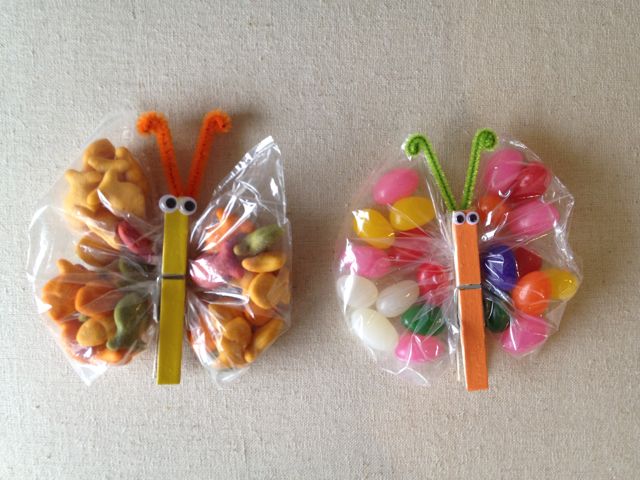
Something I had made before for Torin’s school snacks were snack butterflies. I painted some clothes pins some bright colors beforehand, so all that was left was to fill some snack bags with Goldfish or Jellybeans, make a couple pipe cleaner antennae and add googly eyes. We found that the snack bags were a bit too big, as my clothes pins were not full size. Cory has a Seal-a-Meal, so we filled the baggies to the amount we estimated to be good, and she ran the baggies under the Seal-a-Meal to the size we liked! I can’t provide the measurements, because we sealed them until we were satisfied. Then we just had to gather up the bags in the middle and pinch them into the clothes pin.
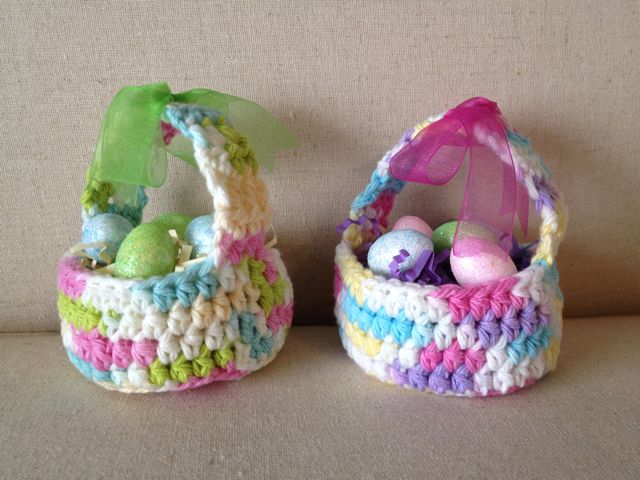
One other item I had made ahead of time was a little crochet Easter basket, using variegated cotton yarn. I picked up some tiny styrofoam eggs at the dollar store; we put a little Easter grass in the baskets, attached a few eggs to the grass with a dot of glue, and added a bright ribbon on the handle of the basket. Cute little decoration for Easter!
The only real break we took from crafting was spent rummaging at thrift stores – Cocoa Beach has a bazillion! We found all kinds of goodies to add to our craft stash (like we need more!!!!). One was a bunch of these little 3″ vine wreaths that we KNEW we’d use immediately. On Pinterest we had seen different wreaths wrapped with Fun Yarn, to look like grass. I had picked up some at a church rummage sale, again knowing that we’d need it! We used a variety of little Easter decorations to fill in the “grassy” parts of the wreaths.
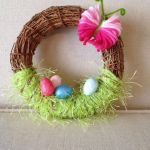
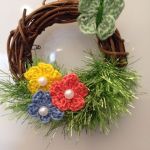
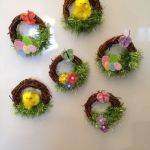
We used some of the tiny eggs that were used in the crochet baskets; they were perfect for a couple of wreaths. We added a super simple yarn butterfly at the top of those. Tiny crochet flowers and butterflies worked well on another couple. And Cory had two cute little fuzzy chicks to perch in the last two. We hot glued magnets to the back, knowing that craft sale customers are always attracted to anything they can put on their fridges!
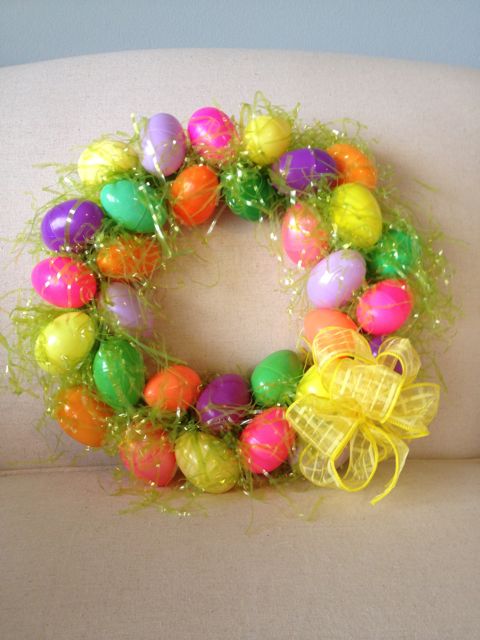
Speaking of wreaths, the most Easter-ish one was certainly the one made with plastic eggs. We had read on Pinterest that a styrofoam wreath can be sliced in half, which makes a nice flat back, making it rest against the door or wall nicely. It also gives you two wreaths! So we used one of these half-wreaths for our plastic eggs. We were concerned that the glue would not hold the eggs securely to the styrofoam, so we covered the wreath with strips of green fabric first, also making an appropriate background in case there were large spaces between eggs. From this point, it was a pretty simple process. We scraped together all the eggs we had collected over the years, and started hot gluing them to the wreath. Having the wreath sliced in half made it more economical as well, since the eggs didn’t have to cover so much area. After all the eggs were on, we started grabbing strips of cellophane Easter grass, folding them over, putting a dab of hot glue on the fold, and jabbing them into the spaces between eggs. A big, bright yellow bow completed the finished product.
While we were thift shopping, we came across some brand new TY Beanie Baby teddy bears in spring colors; we grabbed up a bunch. Cory had a pretty spring print fabric, from which she made a tube. She generously shirred the tube of fabric onto a (full) styrofoam wreath (similar to this idea, only on a styrofoam wreath), and then we seated one of the pastel teddy bears into the center of the wreath and placed a tiny bouquet of flowers in one hand. Sadly, I forgot to take a picture of the wreath that they were perfect in, but it was absolutely precious!!! If you zoom in on the final photo, you can see the turquoise wreath in the back left side of the display.
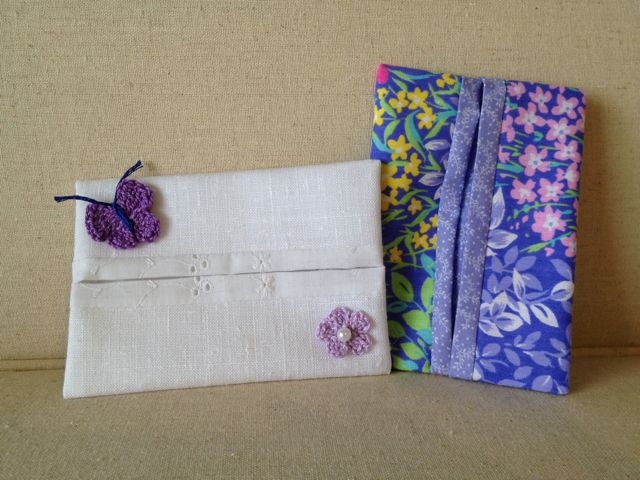
Another quickie craft that we made before Christmas worked equally well for Spring: pocket tissue holders. This is such a fast sewing craft – like 7 minutes total! This time we added some of those tiny crochet flowers and butterflies, or used pastel spring fabrics.
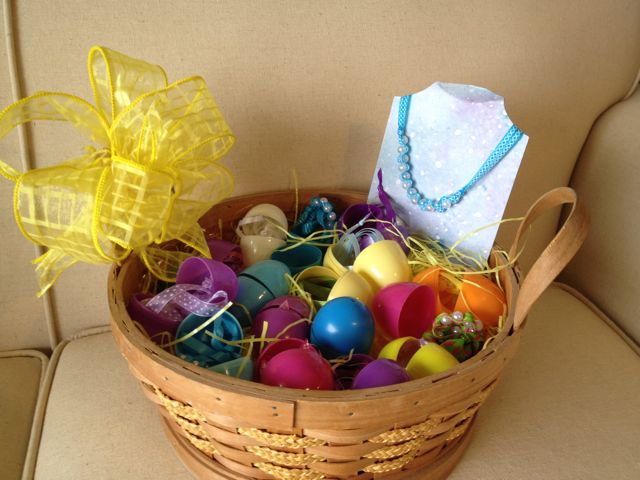
We were thinking of children when we planned items to donate to the church sale, and Cory came up with the idea of putting my ribbon and pearl necklaces into the plastic eggs. Putting them into hinged eggs, and then placing the eggs in a basket made for a nice display. Cory plans to come up with a small toy for boys to put in another basket – maybe balloon hacky-sacks?
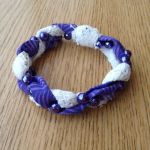
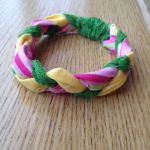
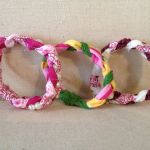
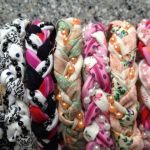
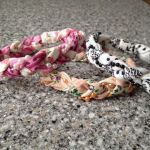
I’m not sure how they’ll be displayed, but we also included some braided fabric bracelets. These are a nice evening project – 1 1/2″ X 12″ strips of fabric are braided with trims, lace, pearls, shiny cord, anything girly. A small piece of any of the fabrics connect the ends, about 8″ around. There are so many examples of these on Pinterest – each is cuter than the last. They are a terrific way to use up quilting scraps and trims.
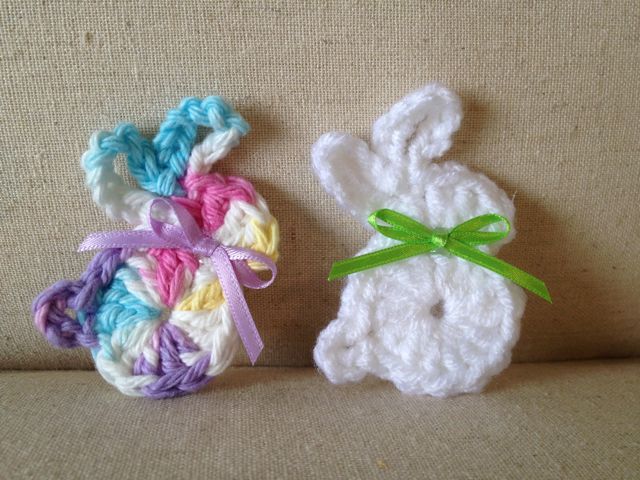
I tend to be an early riser, so I had some time in the mornings to crochet a bunch of bunnies. We made many of them into pins by gluing on purchased bar pins on the back, and others magnets glued to the back. We really like the ones with just bows at the neck; others like googly eyes and pom pom tails.
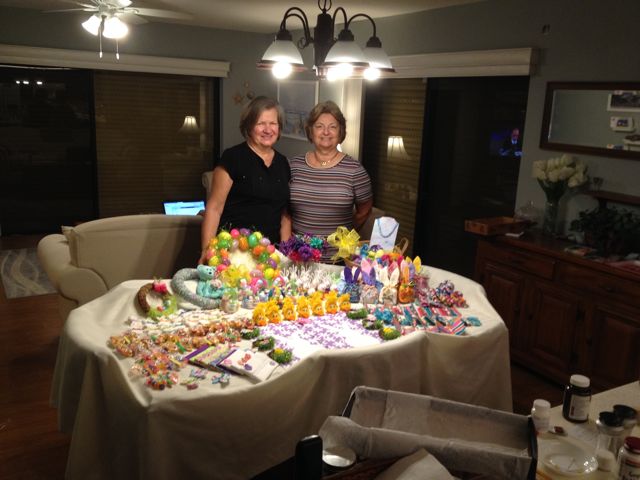
It’s hard to believe how much Cory and I completed over only four days! We filled her dining room table to overflow! I can’t wait to hear how well the items sell at her church’s sale!
]]>
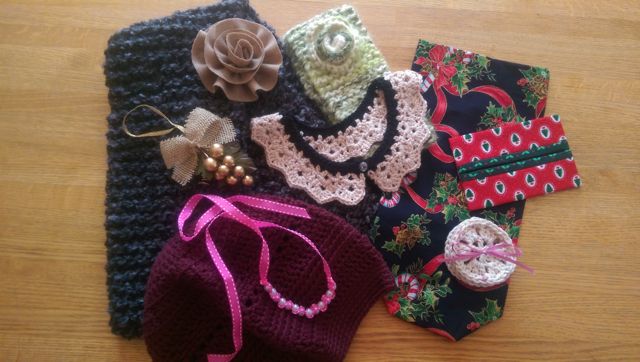
It’s that time of year again for fall craft shows, and my biggie of the year is right around the corner. Qualcomm’s annual Arts and Crafts Festival is coming up on Thursday, Nov. 13th, from 11 am until 1:30 pm. And, BONUS! I have another excuse to go visit Krista’s family in San Diego!
This year I’ll be selling many of my usual knit and crochet hats and scarves, but I’ll be adding lots of new gifties and stocking stuffers for the upcoming holidays. Being a wine lover myself, I’m also including many “accessories” for the well dressed wine bottle and glass!
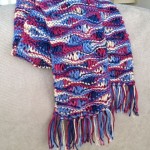
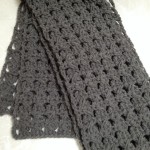
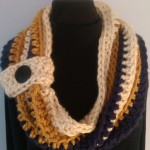
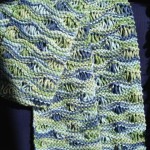
I have added a few new designs to my scarf collection, some knit, some crochet, even a few all-cotton styles. I haven’t photographed all of them, but here are a few new designs I’ve tried out.
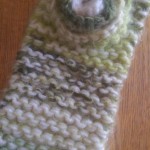
With smaller amounts of yarn, I’ve even managed to include a few headbands and hats – not photographed yet as I’m still working on them.
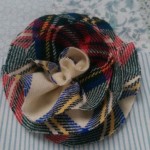
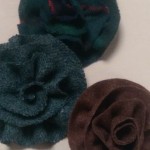
My yarn flowers are always popular, and will be back, but this year I’ve included some wool fabric flower brooches – great for adding to a sweater, a scarf, jacket or coat.
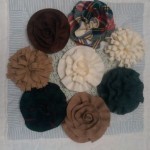
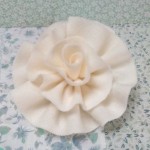
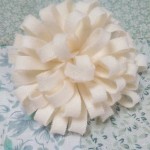
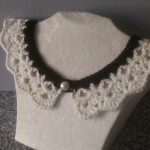
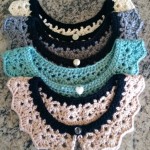
A totally new item this year will be an Anthropologie inspired crochet collar. I’ve made a few color and yarn variations to fit any style.
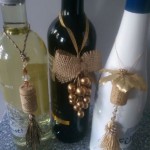
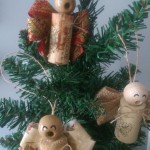
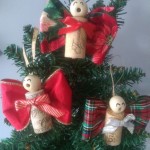
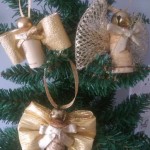
For the wine lovers among us, there are wine bags, wine glass slippers, wine bottle tags/ornaments, and even some cork angels and pine cone elves for the bottle or tree.
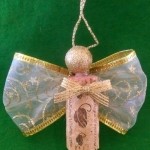
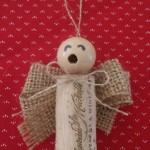
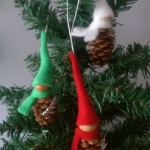
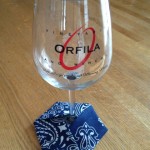
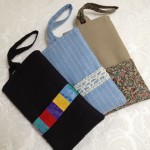
Cell phone pouches are back, and some with a strap for wearing as a crossover.
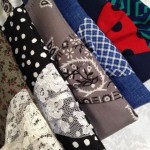
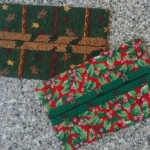
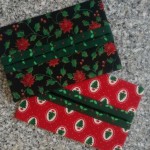
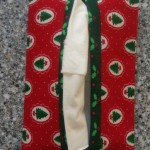
Lots of little gifties and stocking stuffers are included this year, adding to the usual monster pockets, mini gift bags and gift card holders.
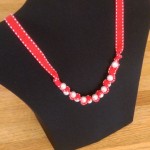
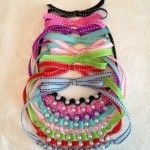
For the younger and young at heart set, I’m including my ribbon and pearl necklaces., inspired by a Land’s End offering last year. They come in a tremendous variety of colors, sure to please your princess.
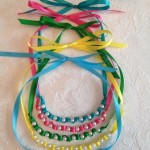
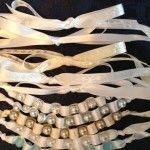
My dependable yo-yo vintage hair clips will return, and new styles have been added to the $1.00 bobby pin collection.
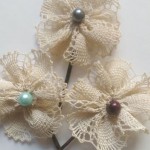
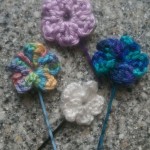
There’s LOTS and LOTS more, but I’ve tried to include the newest items I’m adding. I think there truly is, this year more than ever, something for everyone, including gifts for every pocketbook, from $1.00 to $25.00.
]]>
Back to Cocoa Beach to craft with my best friend, Cory! We both needed some buddy time, and lately, we’ve both found so many ideas on Pinterest to get ready for Christmas, that we just had to get together again to craft till we’re exhausted!
Pinterest is SO addictive! And so full of ideas that trigger more ideas we can use!
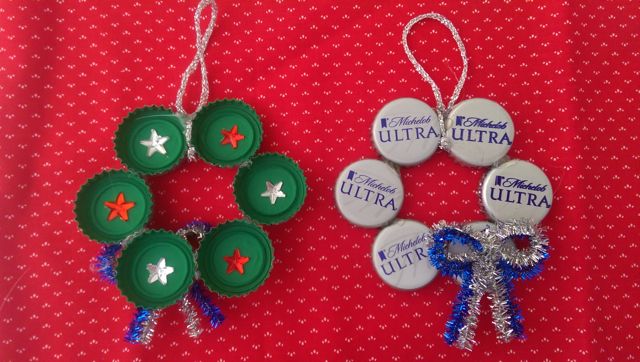
It all started with a silly ornament that we thought would be cute little gifties to give to our beer drinking friends. Cory had pre-painted the insides with green paint to make them a bit more “Christmasy.” Cory’s hubby helped getting us supplied with the beer bottle caps, which were hot glued into circles. We glued on glittery pipe cleaner bows onto the front or back, and on about half, we also glued on shiny stars to the green backs. A glittery tie for hanging was tied through the wreath and dabbed with a spot of glue for security.
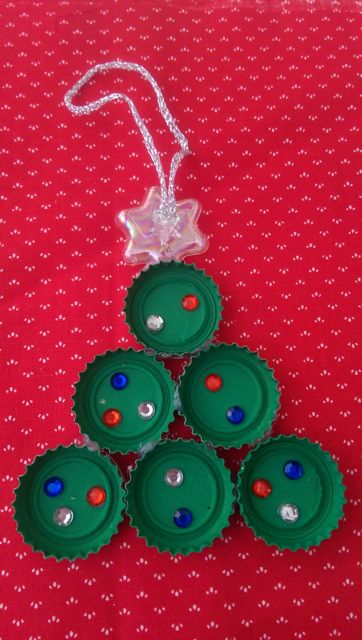
Cory was playing around with other shapes, and discovered a tree shape worked equally well.
We began in earnest with the materials Cory has LOTS of where she lives: shells!
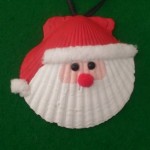
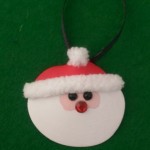
She first painted the fronts totally white, two coats, to cover the freckles we decided were distracting for a Santa beard. Then we lightly pencil drew the hat placement and face “opening.” Bright red acrylic paint was used for the hat, and soft pink for the face section. Note that the “bumpy” shells have hats that are tipped to the side, while the smooth shells have hats that end with the pompom at the top, due to the different shapes of the shells.
We had tiny black plastic domes which were great for the eyes. Only having a few tiny red pompoms for the nose, we improvised with tiny red “jewels” for the rest. These were glued on with E6000 via toothpicks. Krista had given me some leftover white fleece yarn from a baby blanket project, which served as perfect fur brim and pompom. This was applied with hot glue.
A 1/8″ black ribbon loop was hot glued to the back of the shell.
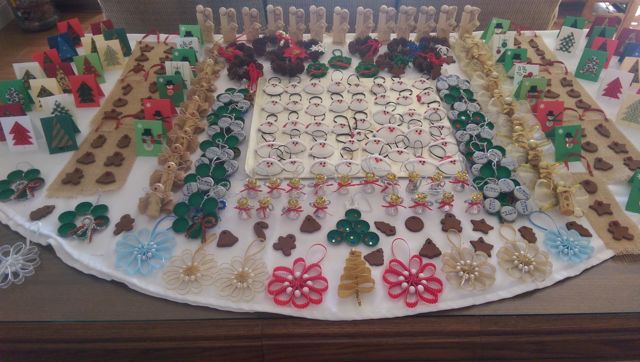
We made over 40 Santas!
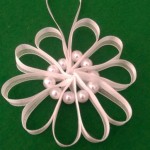
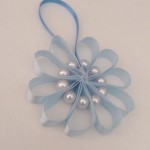
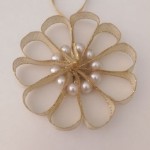
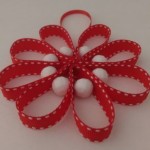
One of our mantras is “use what we have,” so we turned to ribbons and beads. The idea for this “snowflake” came from a Pinterest pin that used pieces of window screen and beads. We turned to the easier-to-use 3/8″ ribbons.
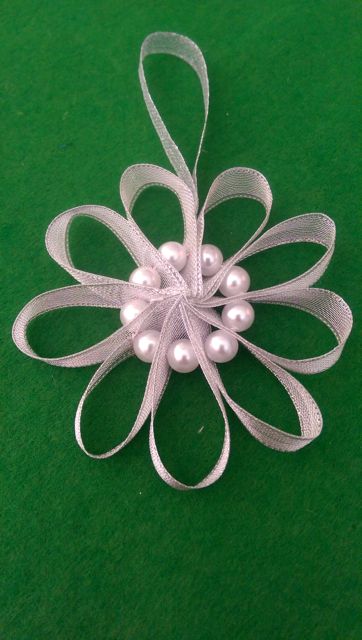
After trying various sizes of both ribbon and bead, we went with 3 1/2″ strips of ribbon. The bead size determined how many strips each one required. Smaller beads needed 10 strips, the larger beads only needed 8 strips.
Using thread, we strung alternating a loop and a bead, at about 1/2″ from the cut edge, connecting the ends to create a circle. One different hanging loop of 1/8″ ribbon was included between loops. Then we sewed the centers together, creating a small swirl of cut edges in the center.
It was a little tricky making the connecting stitches, but the knots pretty much disappeared between the loops and beads.
We kept saying, “Oh, let’s make —– because that’ll be so quick.” OK, NOT! Nothing was that fast. That includes our candy Kiss angels. I had received these for years, often attached to the gift. I never realized how fussy they were to make!
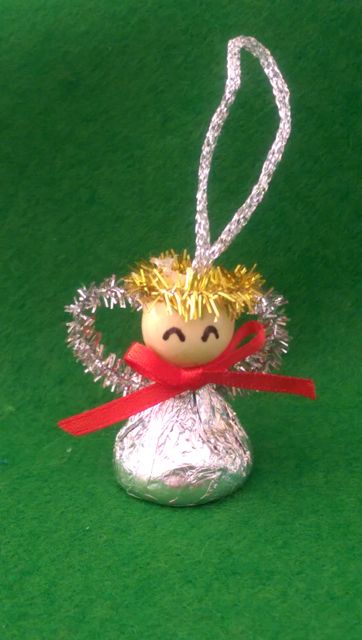
Cory came up with the efficient way to make the tiny halo: glittery gold pipe cleaner! Likewise for the wings, using silver. A tiny bow of 1/8″ ribbon for the front and a fine silver cord for the hanging loop. Draw on eyes with a Sharpie. Easy, right?
No.
The difficulty arises when you go to glue on these itty bitty parts. We decided that we need to invent a hot glue gun with a super fine applicator tip, and glue that doesn’t make strings. And, by the way, not too hot so the chocolate doesn’t melt and you don’t burn your fingers on the tip. Is that too much to ask???
We had admired these simple nativity sets for some time, so Cory had pre-cut some wooden blocks from leftover home projects as a starting point. We also had the twine and wooden balls that served as the two adult heads. But we had to buy (GASP!) a 1/4 yd. of burlap and the small wood “buttons” for the baby head. Assorted flat disks, wood and cardboard, served as stabilizing platforms.
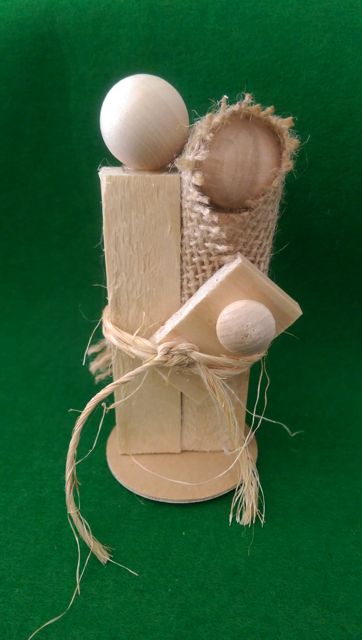
Ideally, the wood would have measured 3/4″ by 3/4″ in thickness, but we were using available scraps that were about 3/8″ by 5/8″ thick. Joseph’s body was cut to 3″ tall, Mary was 2 1/2″ and Baby Jesus’ body used a thin flat piece that was about 5/8″ wide by 1 1/4″ long.
Using hot glue, attach all three heads. Next we hot glued a rectangle of burlap (4 3/4″ by 2 1/4″) to Mary’s head, front and down her one side. Then line up the sides of the two adult bodies and glue those together. Baby Jesus comes next.
The burlap had to be smushed flatter before wrapping the twine around twice and square knotted in the front, where it is secured with a dot of glue. Hot glue the disks onto the bottom of the adult bodies.
We needed to add a bit more flavor to our crafting, so we mixed up a batch of Martha’s gingerbread cookie mix, using applesauce, cinnamon, and glue. They smell great, not overpowering, and super hard.
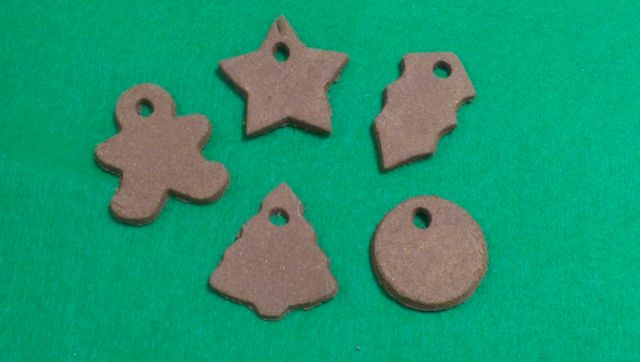
At first we thought we’d only use them individually, just attach ties for hanging. But, since we had used some very small cookie cutters, we came up with a couple of new ideas.
One night, Cory couldn’t sleep, but her creative juices kept on flowing. She came up with this adorable banner idea, using some of our leftover burlap.
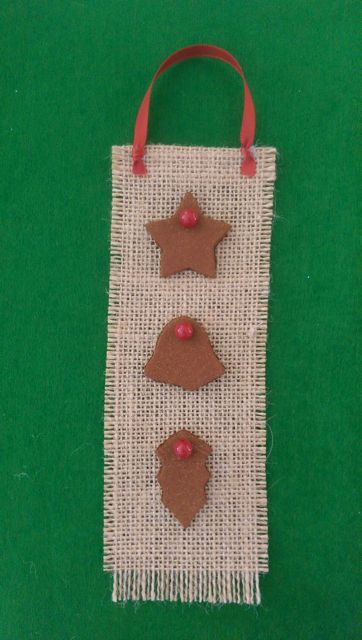
We cut the burlap into 8″ by 2 1/2″ rectangles, folded over the top about 1/2″, inserted a short length of wooden barbeque skewer, and hot glued it down. Red beads from an old necklace were glued into the holes (that were meant for inserting a hanging loop) of three cookie. These were then glued onto the burlap. A short strip of 3/8″ matching ribbon was knotted at each end and glued onto the front top ends.
In the spring, I had collected a huge box of lovely little pine cones that had blown into my backyard from the neighbor’s tree. I saved them for future use.
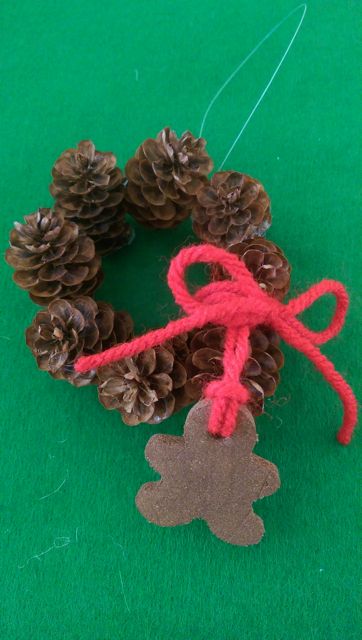
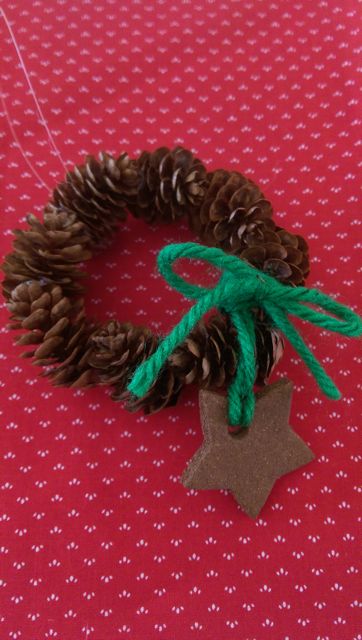
Before we started, I baked the pine cones for 40 minutes at 200 degrees. Then we glued them into circles with hot glue. Using yarn to attach one of the cookies, we then wrapped it around in the lower right corner of the wreath, ending in a bow.
Easy, yes, but just a bit tricky getting the pine cones to stick to each other due to their delicate structures. Making them uniformly round was helped by using a grippy circle of shelf lining under the cones as we glued.
Cory’s husband may take care of drinking enough beer to supply us with bottle caps, so Cory and I have to supply the wine corks.
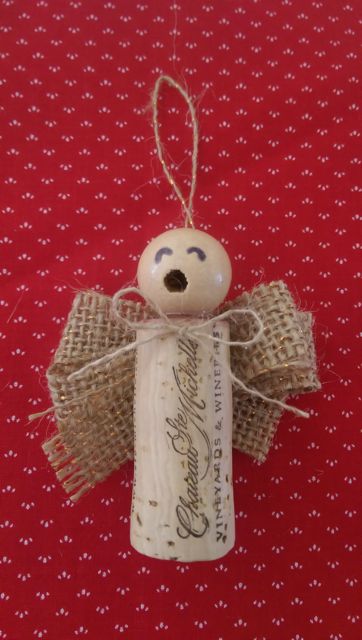
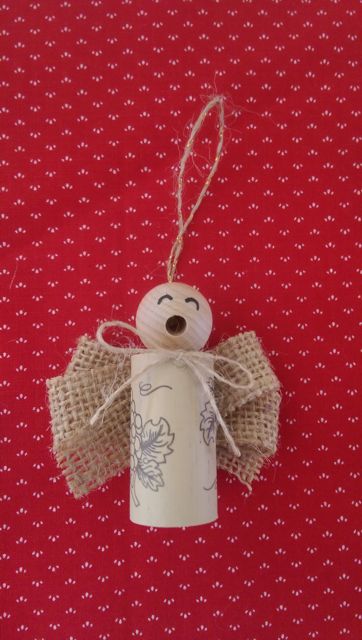
There are so many cute ideas for making cork angles, we chose the features that we liked the most. Since cork is natural, and burlap is natural-looking, we put that combination to work.
I cut the burlap into strips, criss-crossed them into flat bows which Cory stitched down the center with the sewing machine. These were hot glued on the stitching line and glued to the top of the corks to make wings. Using round wooden beads, we turned one of the holes toward the front, making a “singing mouth,” and glued them to the flat top of the cork. The other hole we used to glue in a tie for hanging. We used the unraveled threads from the burlap to make the delicate bows on the front.
Last year we had made some very pretty fancy angels, and had quite a lot of the delicate sheer ribbon that they were made from. So we chose that same wide ribbon to fancy up the cork angels.
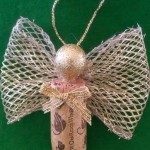
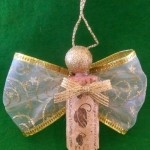
These were made in a similar fashion, only the ribbon was made into gathered bows before gluing, and the heads were made (believe it or not) out of glittered artificial grapes! A shiny 1/4″ ribbon was used to form the front bows. The hanging ties were glued to the cork backs before the wings went on.
While we had the shiny ribbon out, we went back to last year’s design for ribbon trees. And, instead of using pearls to separate the ribbon loops, Cory suggested making it a whole lot easier by using the glittery pipe cleaners for stringing the ribbon.
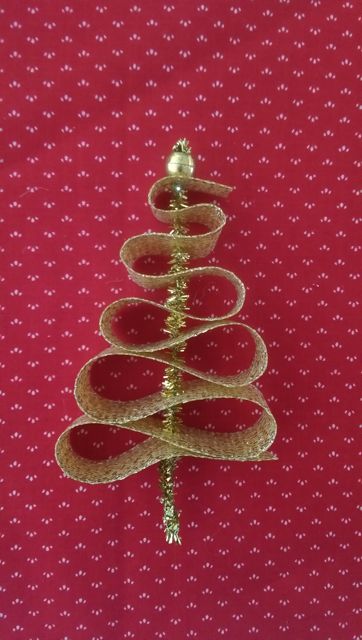
And, boy was it easier! The ribbon stays in place without using the pearls, and no more issues about finishing off the top and bottom: a shiny pony bead works at the top, and folding over the pipe cleaner at the bottom is sufficient. The ribbon can be just poked through; you need to make little snips so they don’t snag.
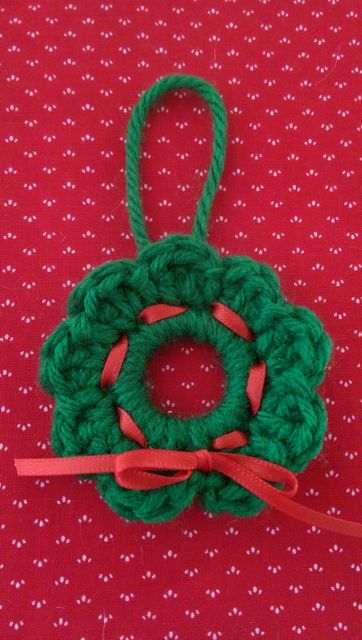
Here and there, we made some simple crochet wreaths. Cory is learning to crochet, so she was always writing notes to herself about technique. They are pretty basic – 16 stitches around a plastic ring, and 8 shells around with slip stitches in between. A red ribbon or yard is woven through to add color. They can be hung by a loop of the same yarn; Cory plans to add magnets for the church sale.
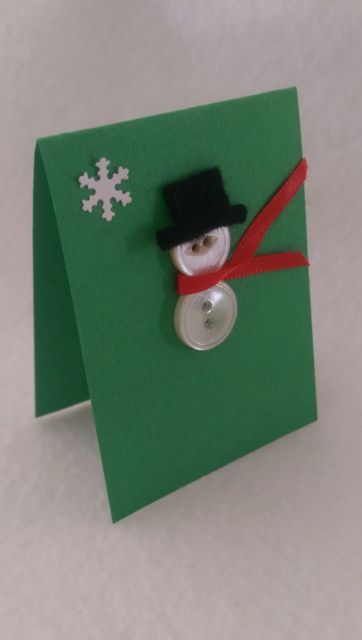
Our last big collection was made from card stock and fabric or buttons. These were made from small triangles that we sewed down the middle using the sewing machine.
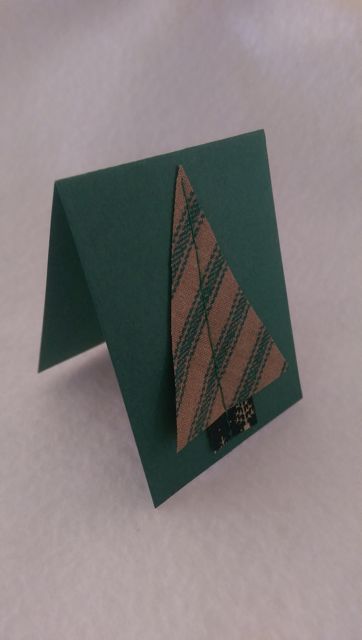
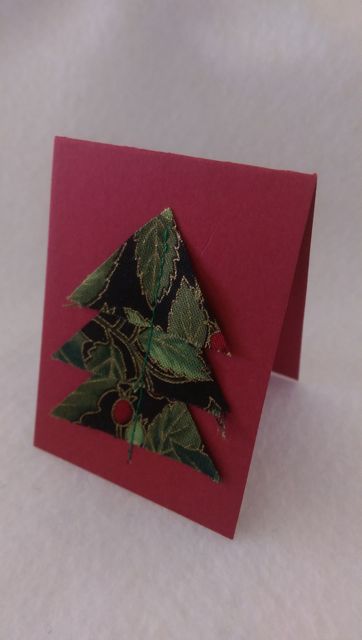
These used buttons, glued on, with felt hats and ribbon scarves, and a tiny punched paper snowflake.
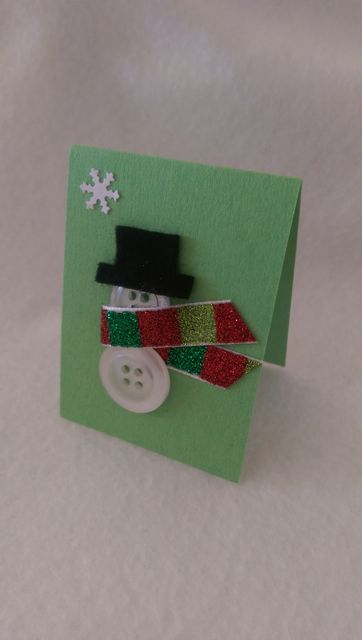
These were just buttons with Sharpie details.
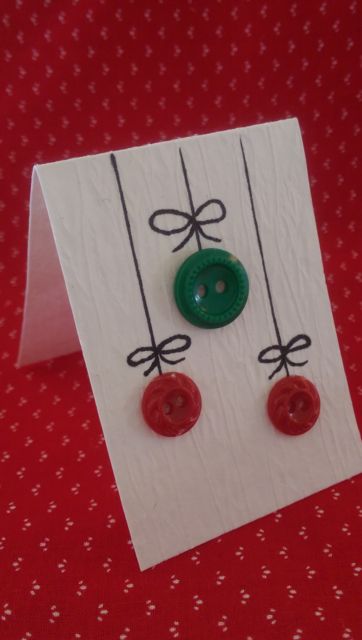
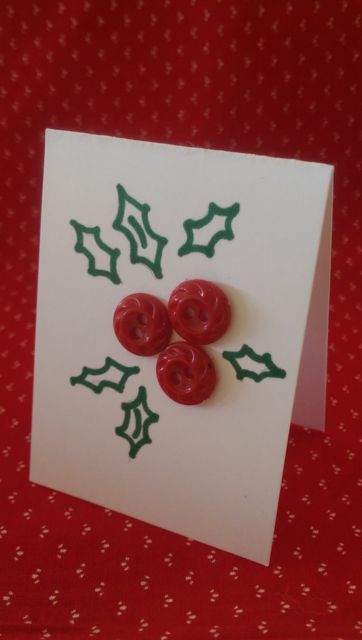
Since we have a mountain of Christmas fabric scraps, and lots of buttons, we ended up with LOTS of gift tags!
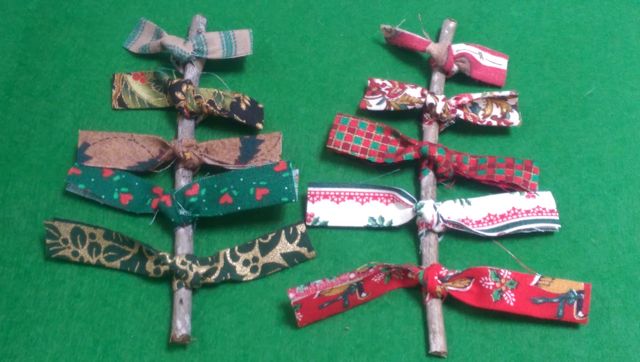
The last item we made on the last day of crafting, in between running errands, packing, and a relaxing dinner with hubby. They were probably the easiest craft of all.
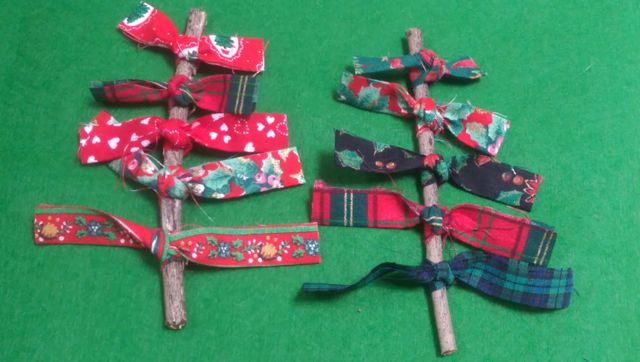
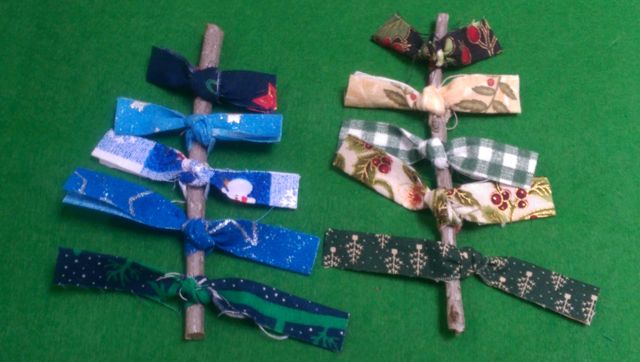
Cory and I clipped tiny twigs from the bushes bordering the condo’s property. We cut strips of Christmas fabric, a little over an inch wide and 9″ long, five for each tree. We tied them onto a 6″ twig, with a square knot. Then we trimmed off the ends to the shape of a tree: about 1 3/4″ at the bottom, tapering to 3/4″ at the top. Dabs of glue hold the knots in place, and fishing line is tied at the top for hanging.
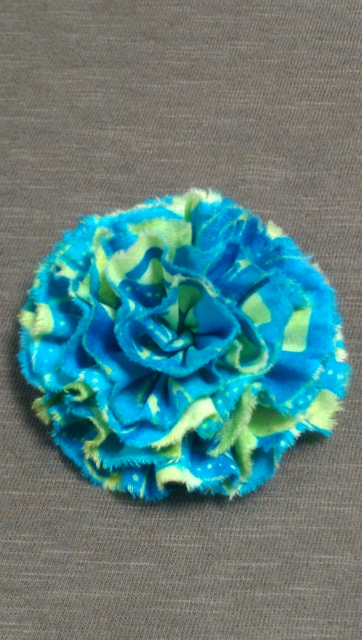
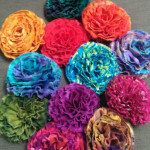
Having recently being given a large number of ripped batik fabric strips (don’t ask!), I was compelled to find a craft to utilize these beautiful materials.
My first idea was fabric bangles and friendship bracelets (post to follow later). They were cute, but mostly for the younger set. Then, after perusing Pinterest for a while, I decided on casual flowers that could be worn as pins or hair clips.
The process is fairly simple: gather, roll and stitch. The trick is finding just the right width of fabric and just the right amount of gathering.
The strips I was given were between 1 1/2″ and 2″. So for the first ones I made, I used the entire width. In order to save time, I used the ruffler attachment on my sewing machine, set to the greatest amount of gathering, and using the shortest stitch. The results were pretty attractive, if you are a person who likes large pins on your garments.
The fabric had different amounts of stiffness, so the ruffling results were also different. Sometimes the results were just fine, although the layers were kind of scarcely spaced.
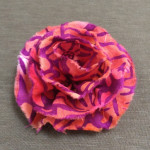
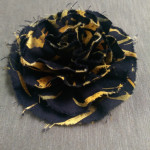
Other times, the maximum ruffling was still not enough. The outer edges tended to curl upward, not laying flat, and looking quite unnatural. So I curled under the middle “petals” to enhance the overall appearance.
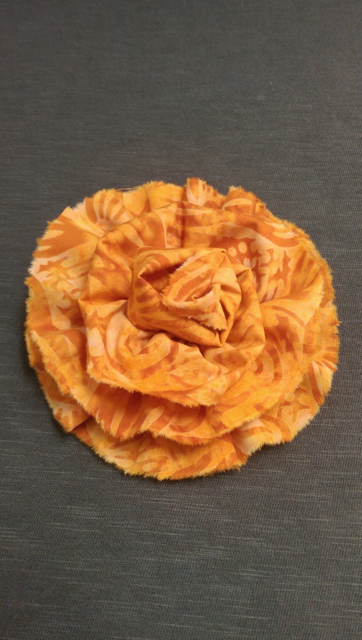
I was more interested in creating a more modest size flower, easily worn as a pin or hair clip. So I ripped the given strips in half lengthwise. This resulted in widths that ranged from 3/4″ to 1″. I think these made the prettiest, fullest flowers.
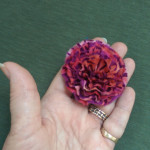
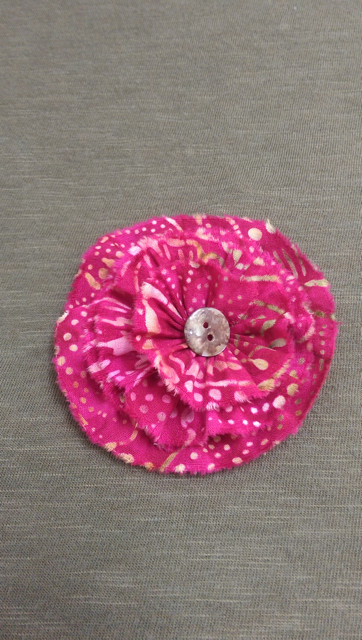
I had seen on Pinterest that some people prefer to use hot glue. I wasn’t thrilled with these; they laid down too flat, and seemed to call for a button or something in the middle. (Note that I didn’t even bother sewing this one down, because it just doesn’t float my boat.)
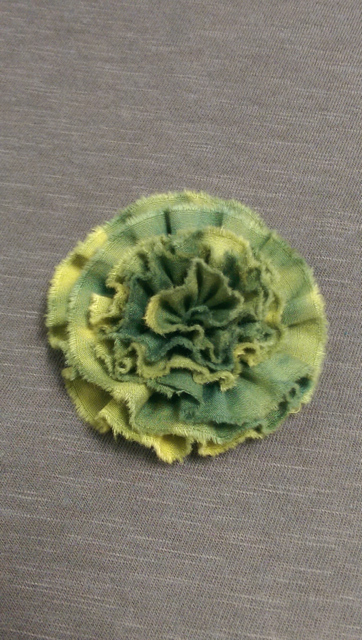
One of my strips didn’t get ripped quite down the exact middle, but the one wider layer on the bottom seemed to work alright.
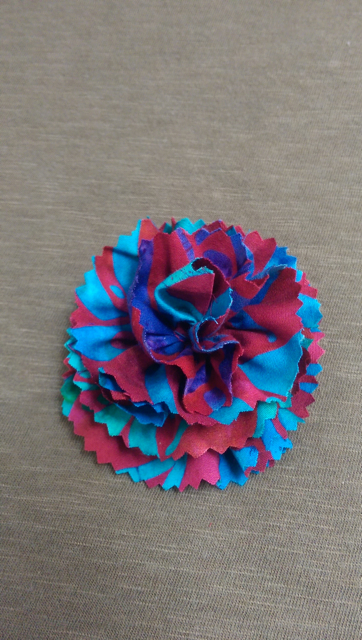
In my new stash, there were also some cut, not ripped, strips of fabric. I thought they might look okay with some stray threads along the straight edges, but didn’t care for that at all. So I used pinking shears to rough up the edges. It’s alright, but not the style I’ll use to make more.
In summary, if you like the summery look of these fabric flowers, all you’ll need is a strip of fabric, about 45″ long. If you like the shabby-chic edges, you’ll need to rip, not cut, the fabric. I’ve found that 1″ was the perfect width for me. (The ripping is done crosswise, or across the width of your purchased fabric.) It’s also preferable to made from a fabric that is dyed all the way through, like a batik. If the fabric is printed from one side, you’ll get a white-ish bottom side to the ruffled layers. I used a ruffling attachment, but you can also hand gather the fabric or use a long straight stitch on your machine, loosening the tension of your top thread. I tried the latter method, thinking I could get it fuller, but I wasn’t as pleased with those results and made the final hand-stitching more difficult.
To finish the back, just glue a circle of felt to the gathered center, and then glue on the brooch pin or alligator hair clip. The flowers can also be sewn onto a headband elastic, either singly or in threes.
]]>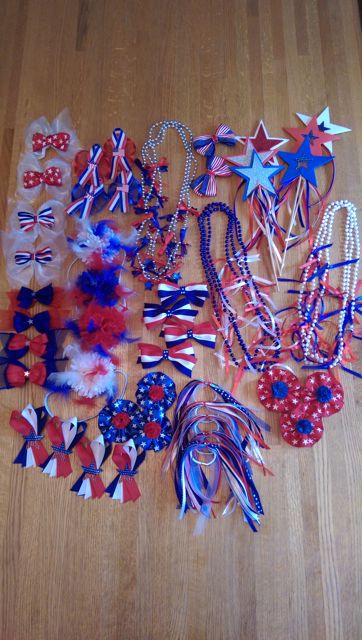
The July 4th holiday is just around the corner, so it’s time to get out the red, white and blue again! Some of these items may look familiar, but you can see new items added to this year’s selection of celebratory accessories.
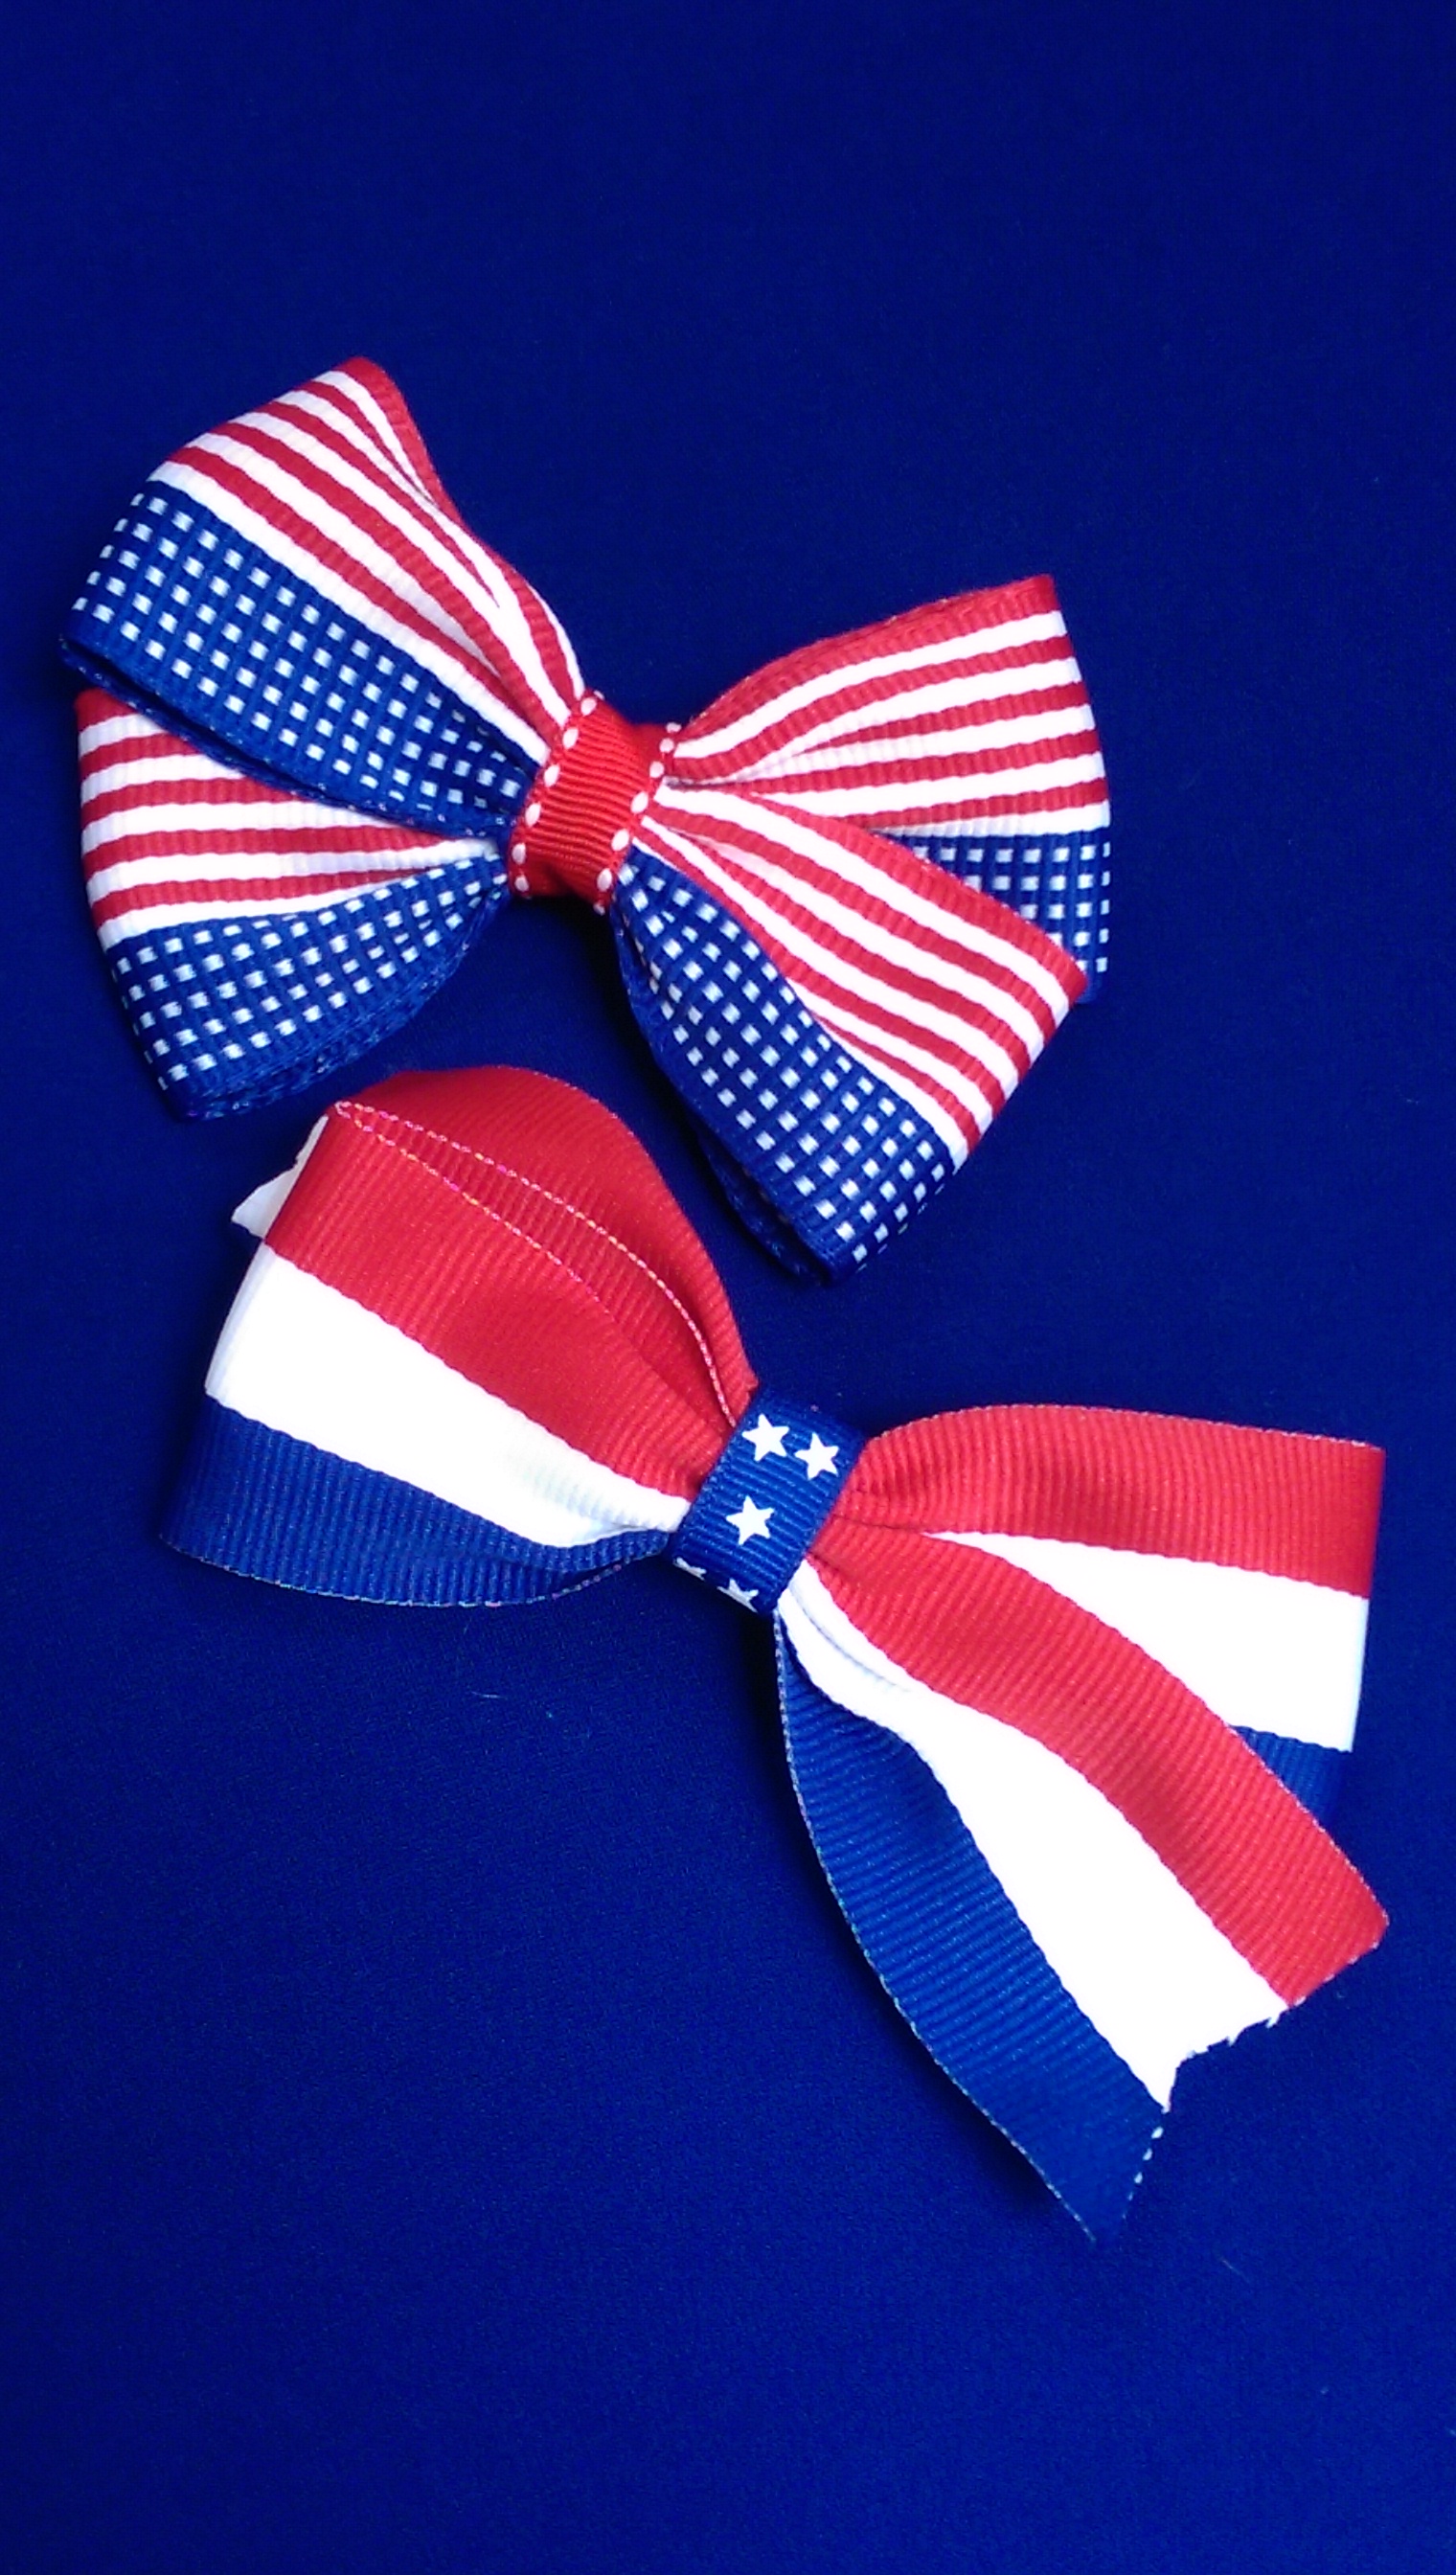
Bows are a big thing, and can be worn by girls of every age. Some are of a simple design, using a novelty ribbon. Alligator clips with teeth keep them secure in even the finest hair.
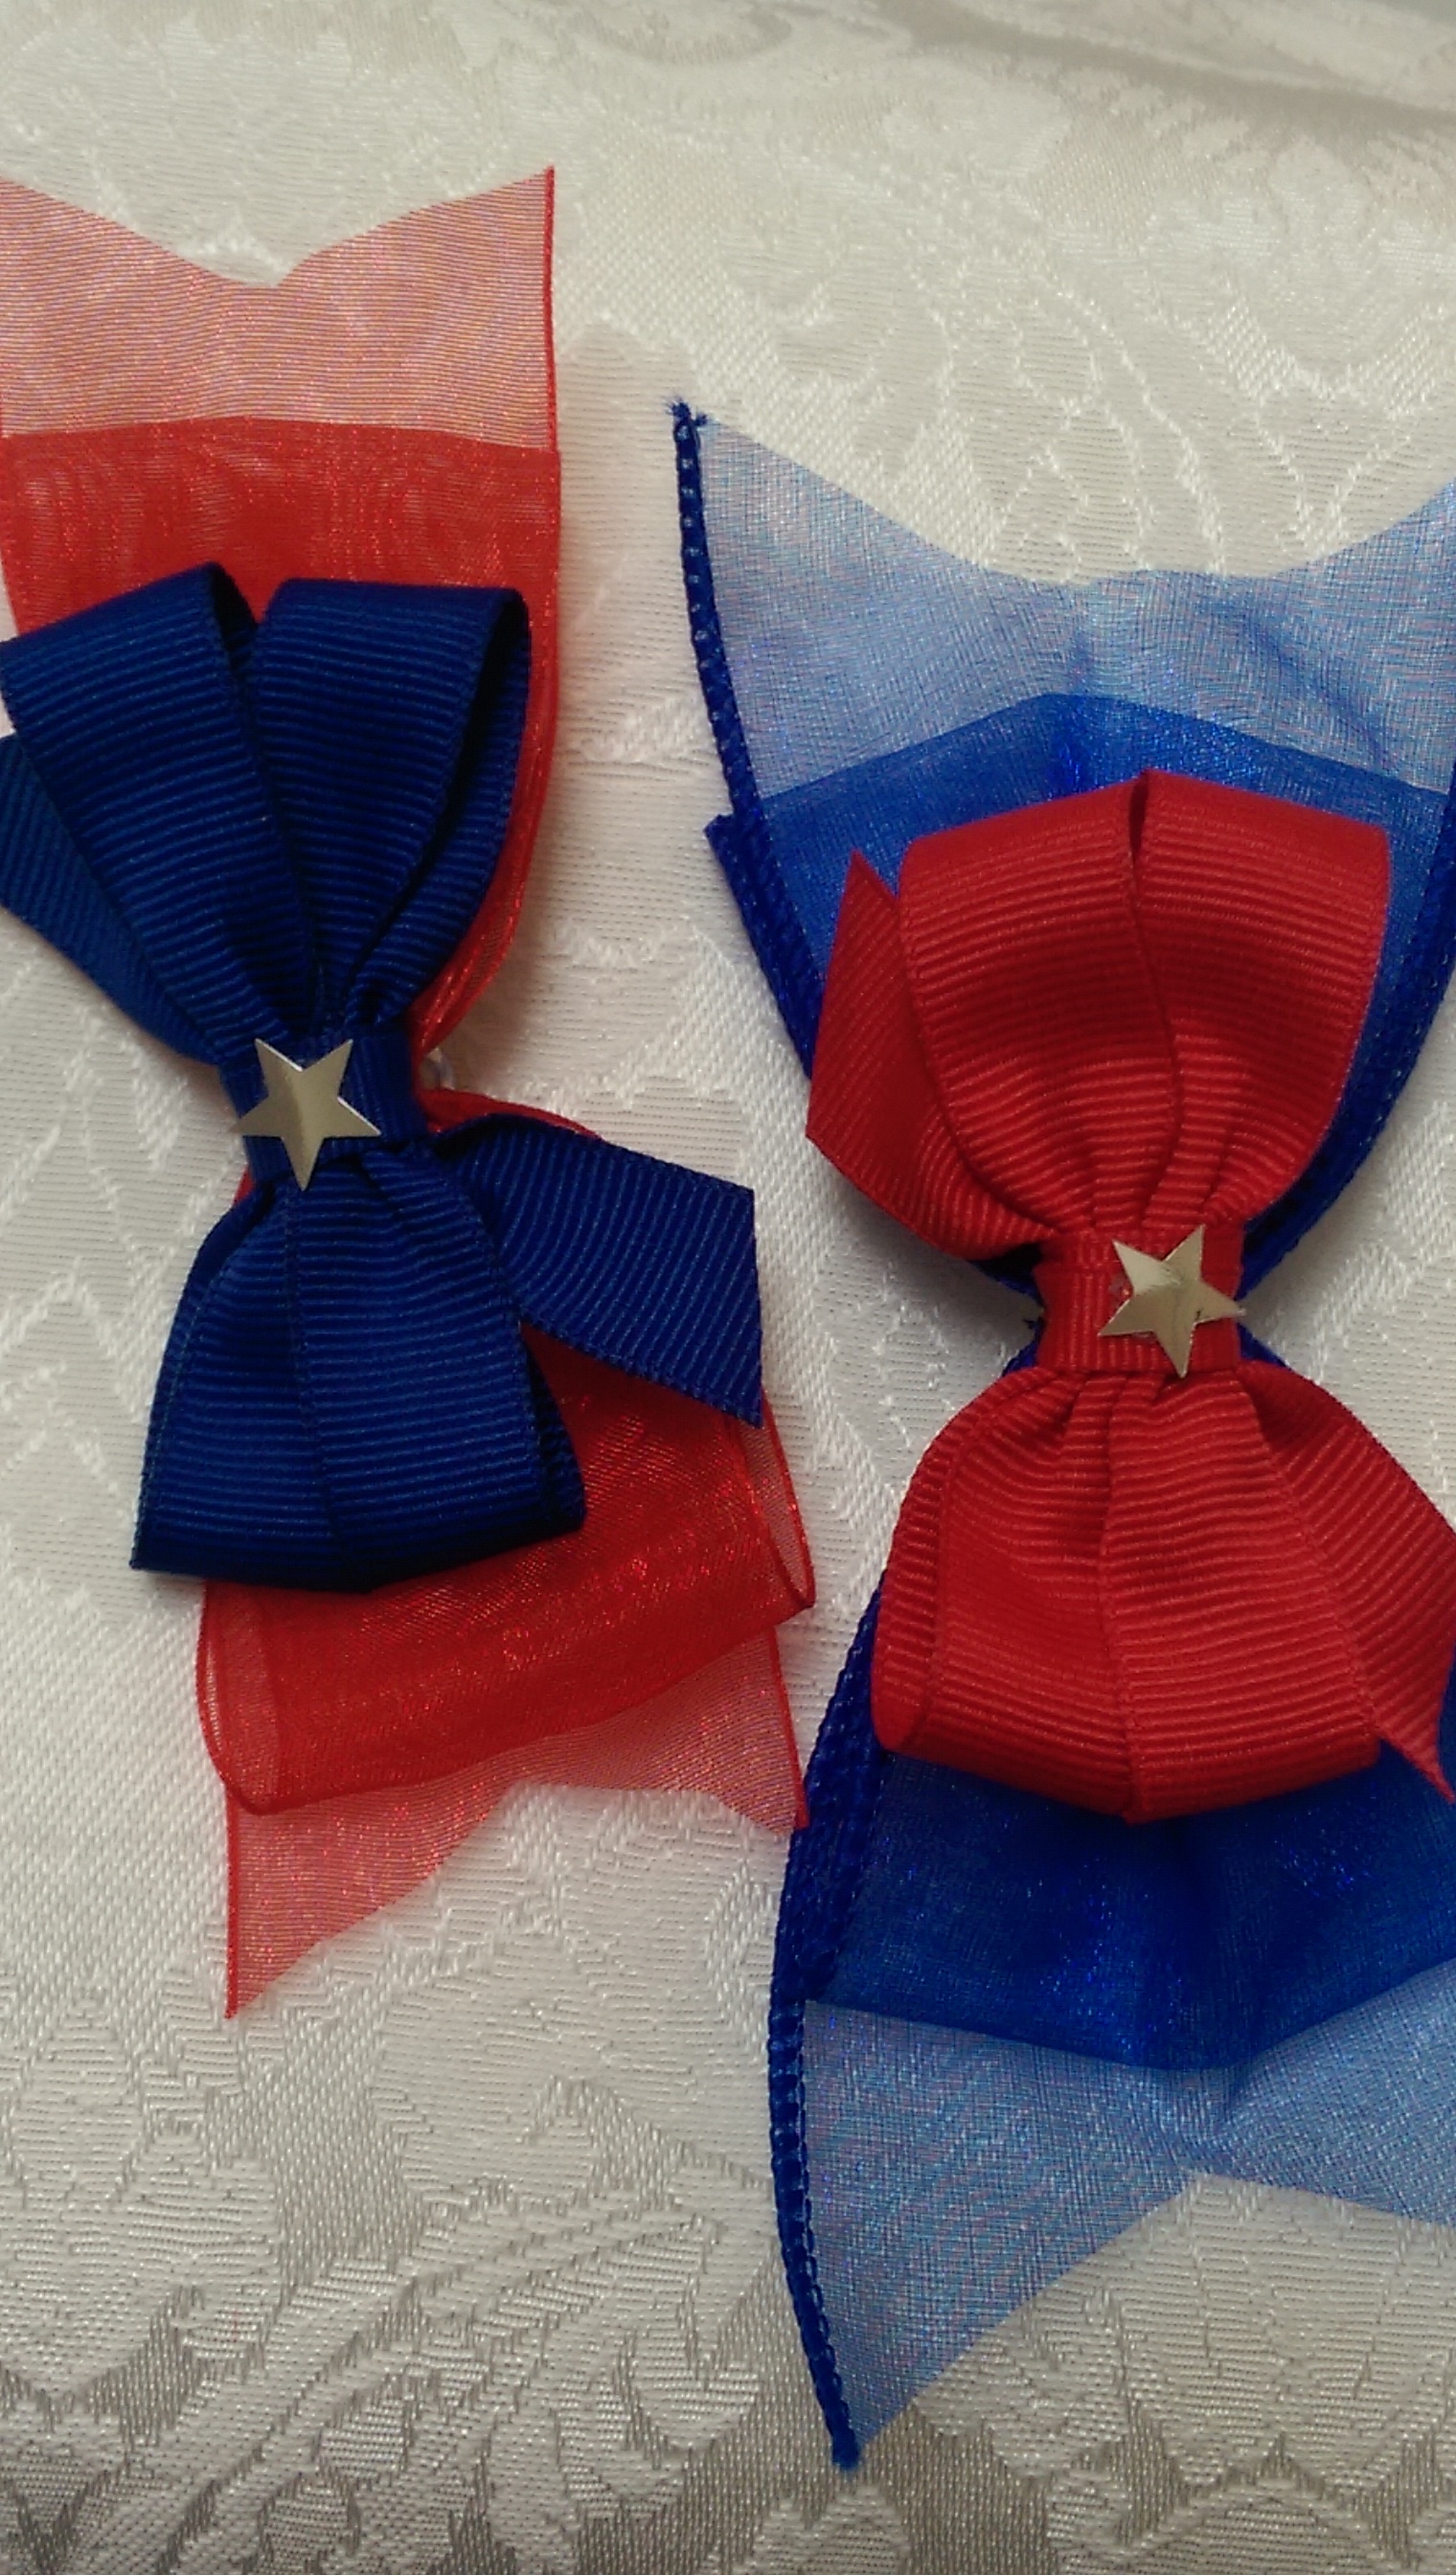
Others use a plain grosgrain ribbon, adding a sheer contrasting ribbon behind it. A tiny silver star accents the middle.
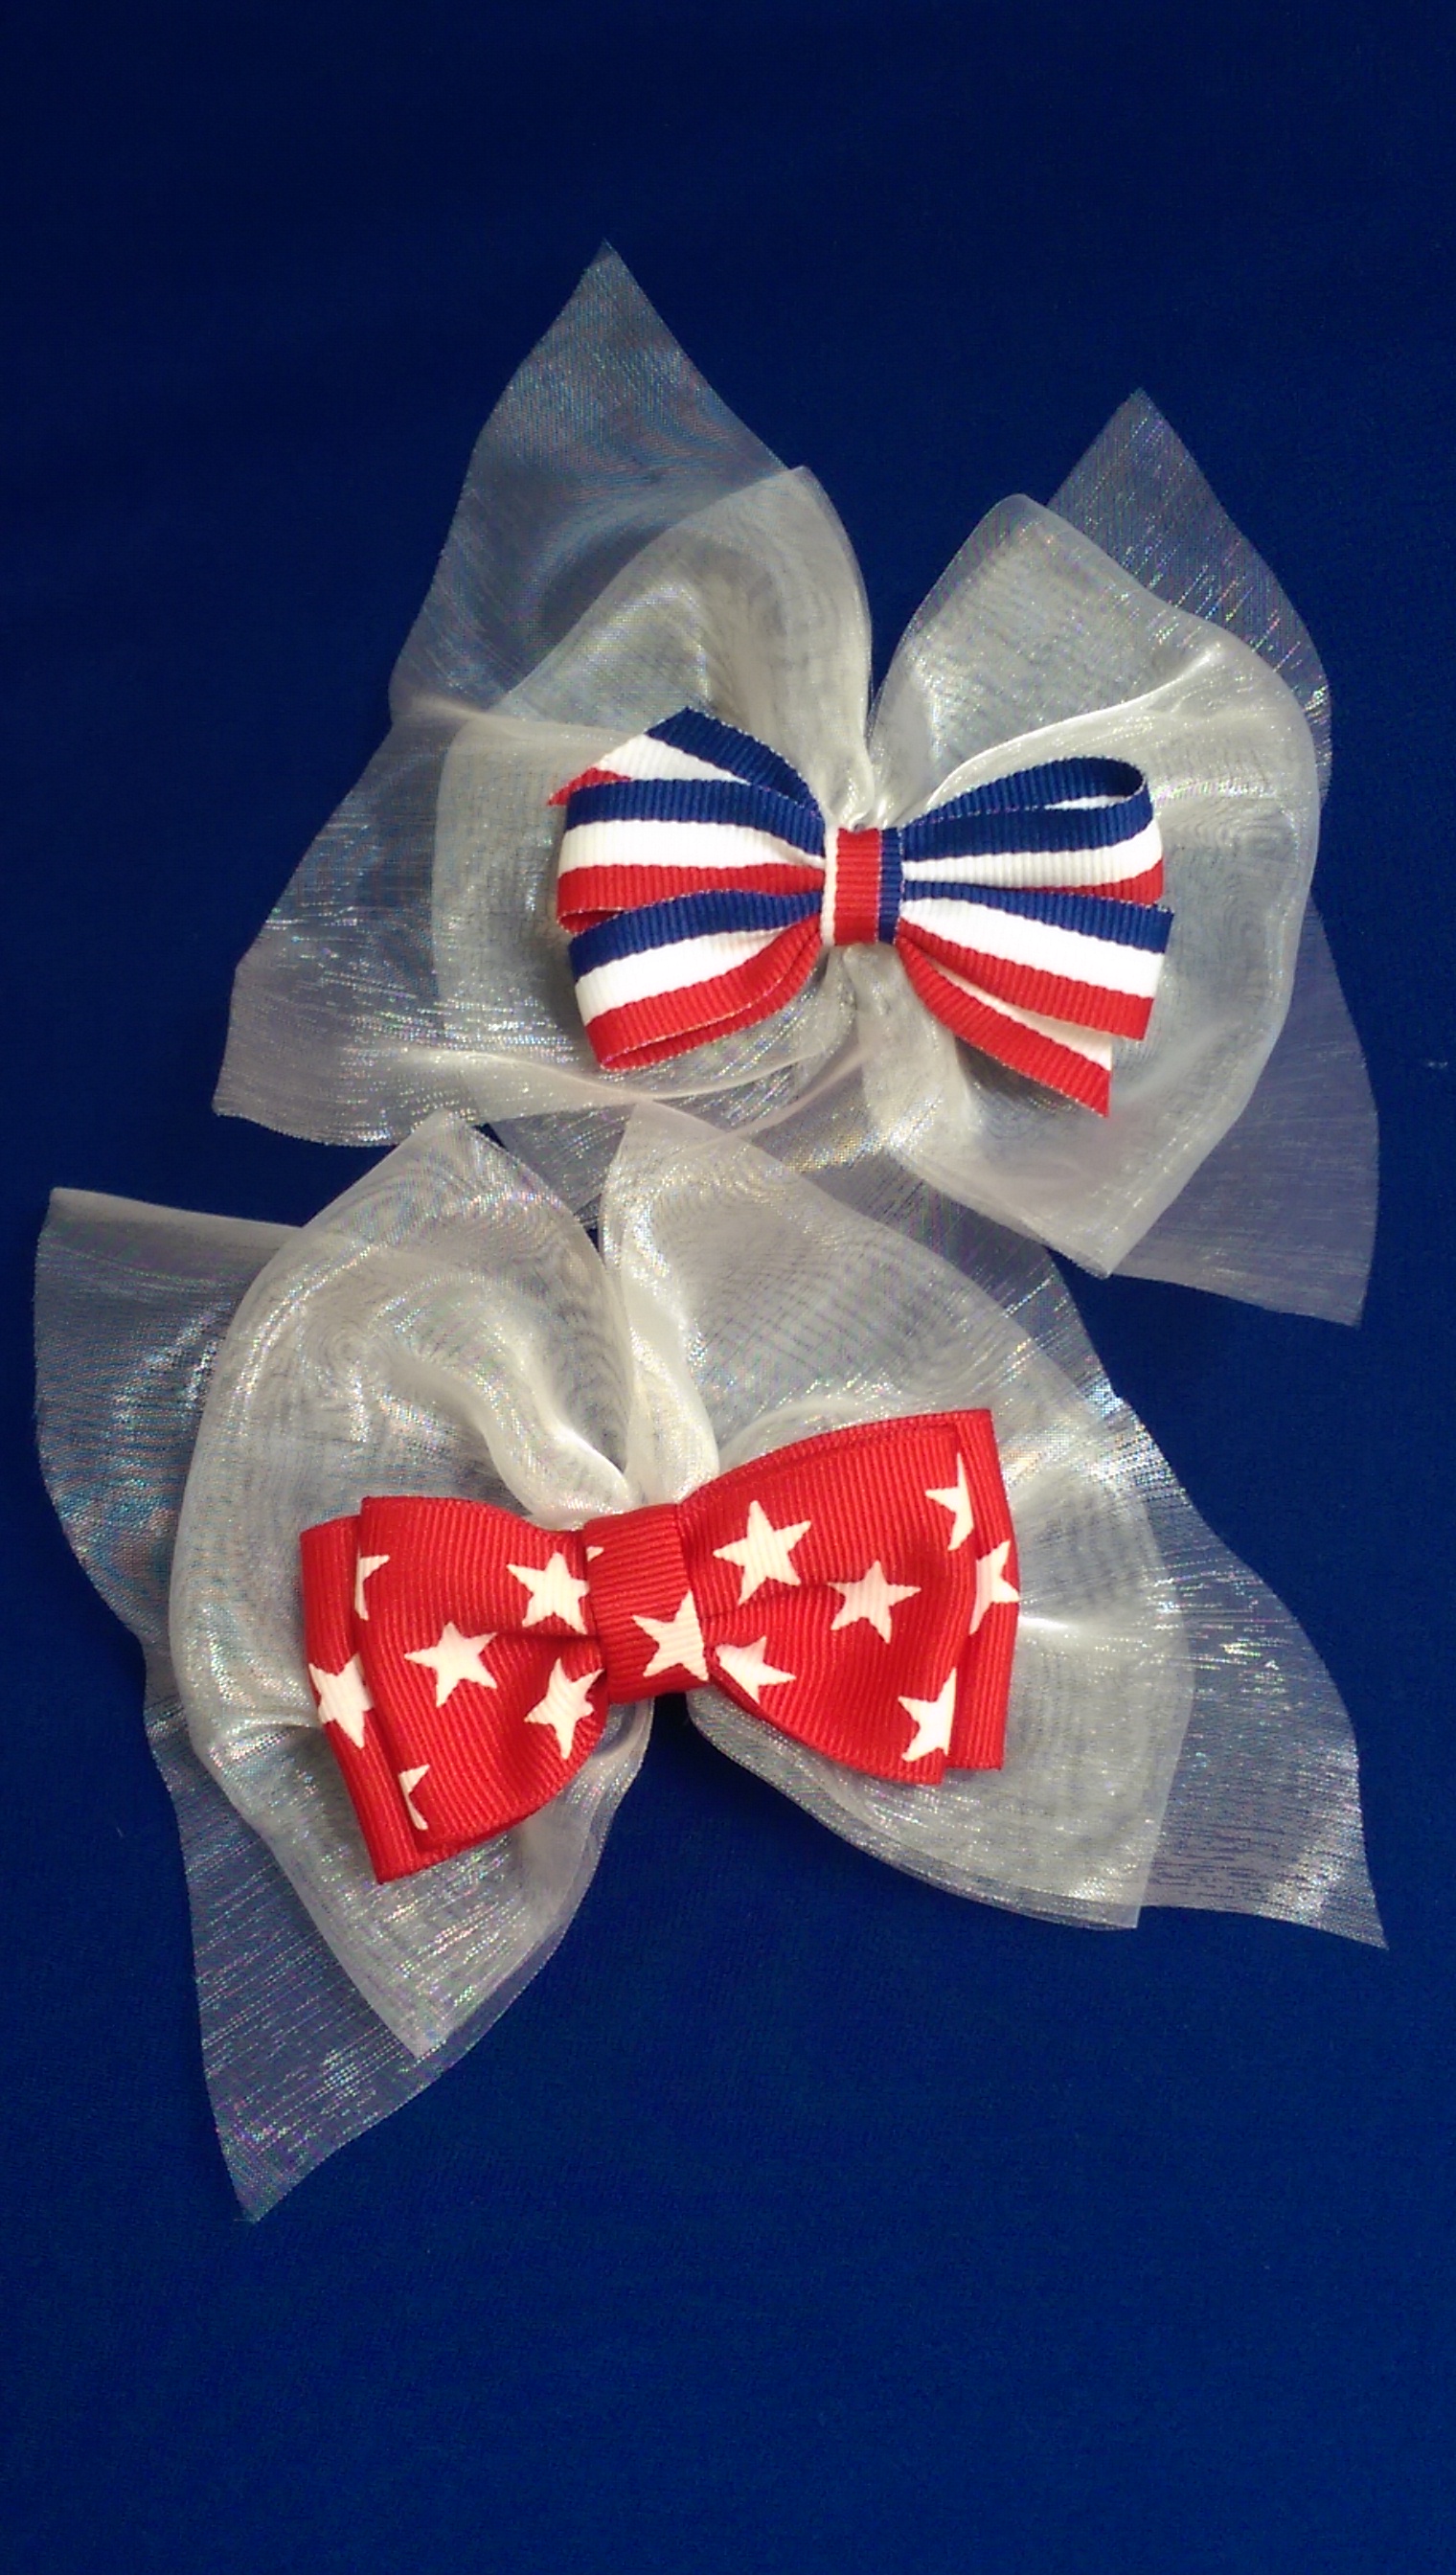
Then, for something a little more girly-girl, there’s a combination of both: a novelty ribbon with a big poof of a sheer bow.
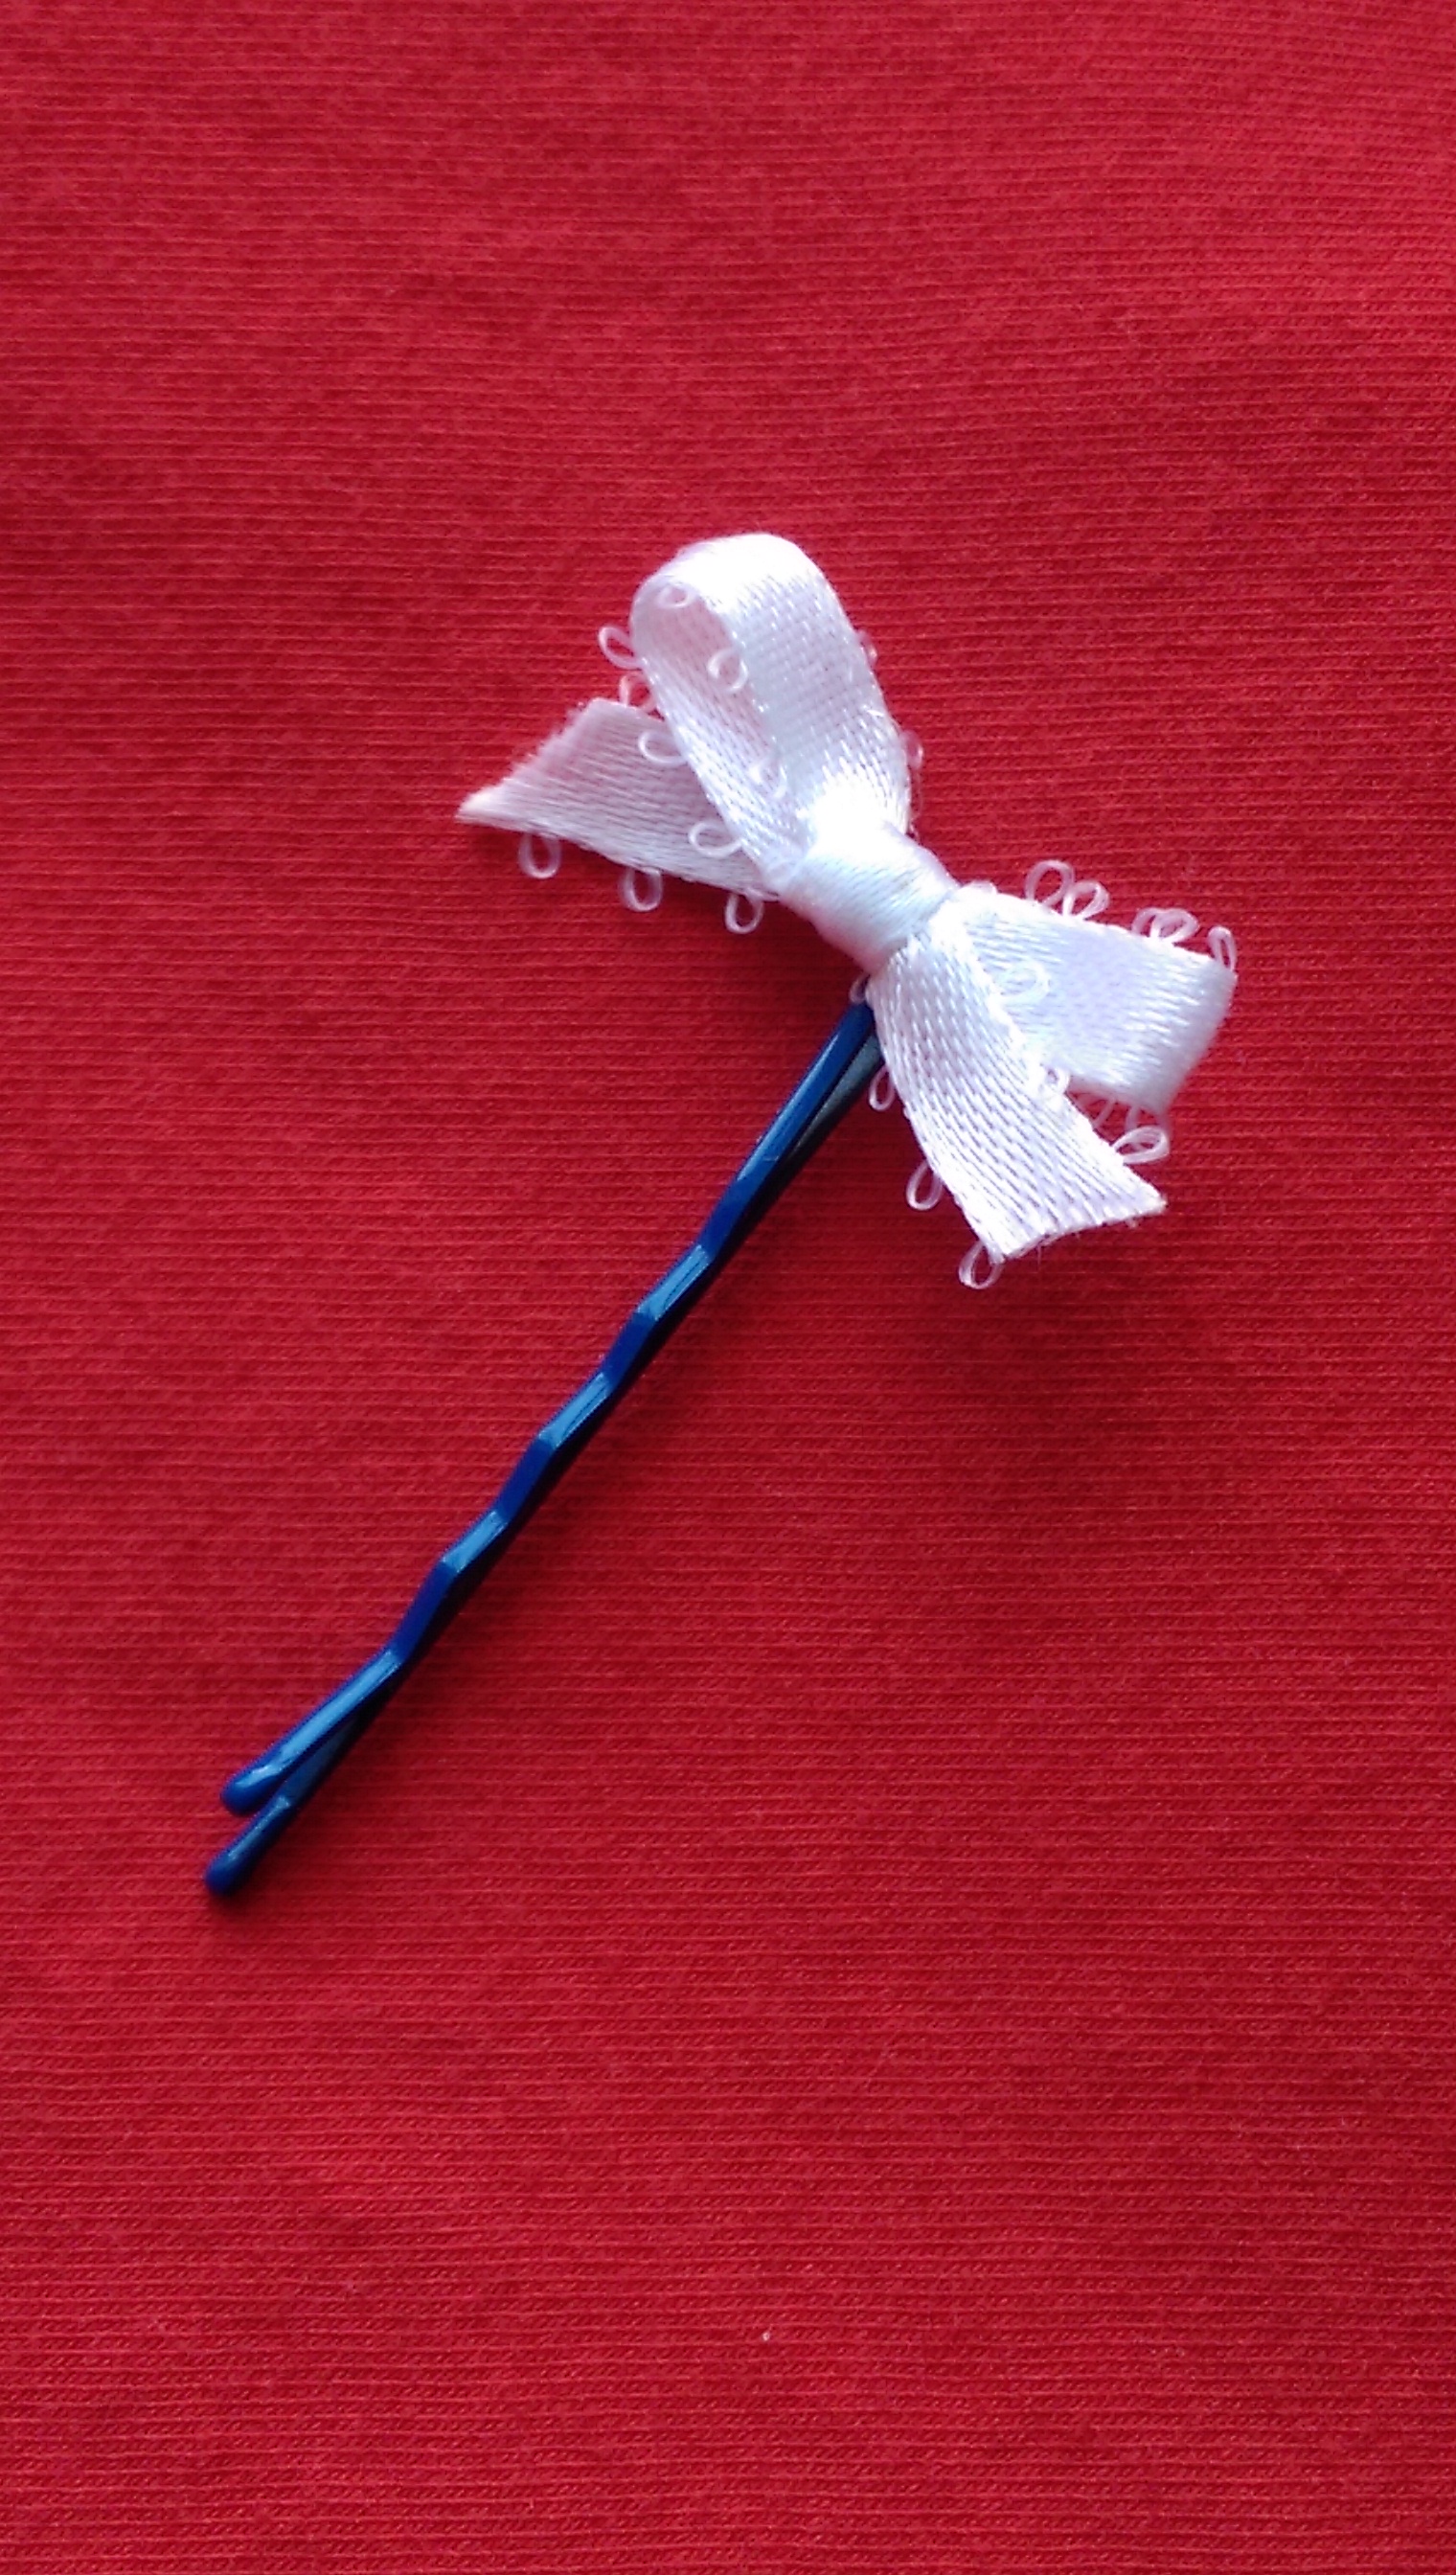
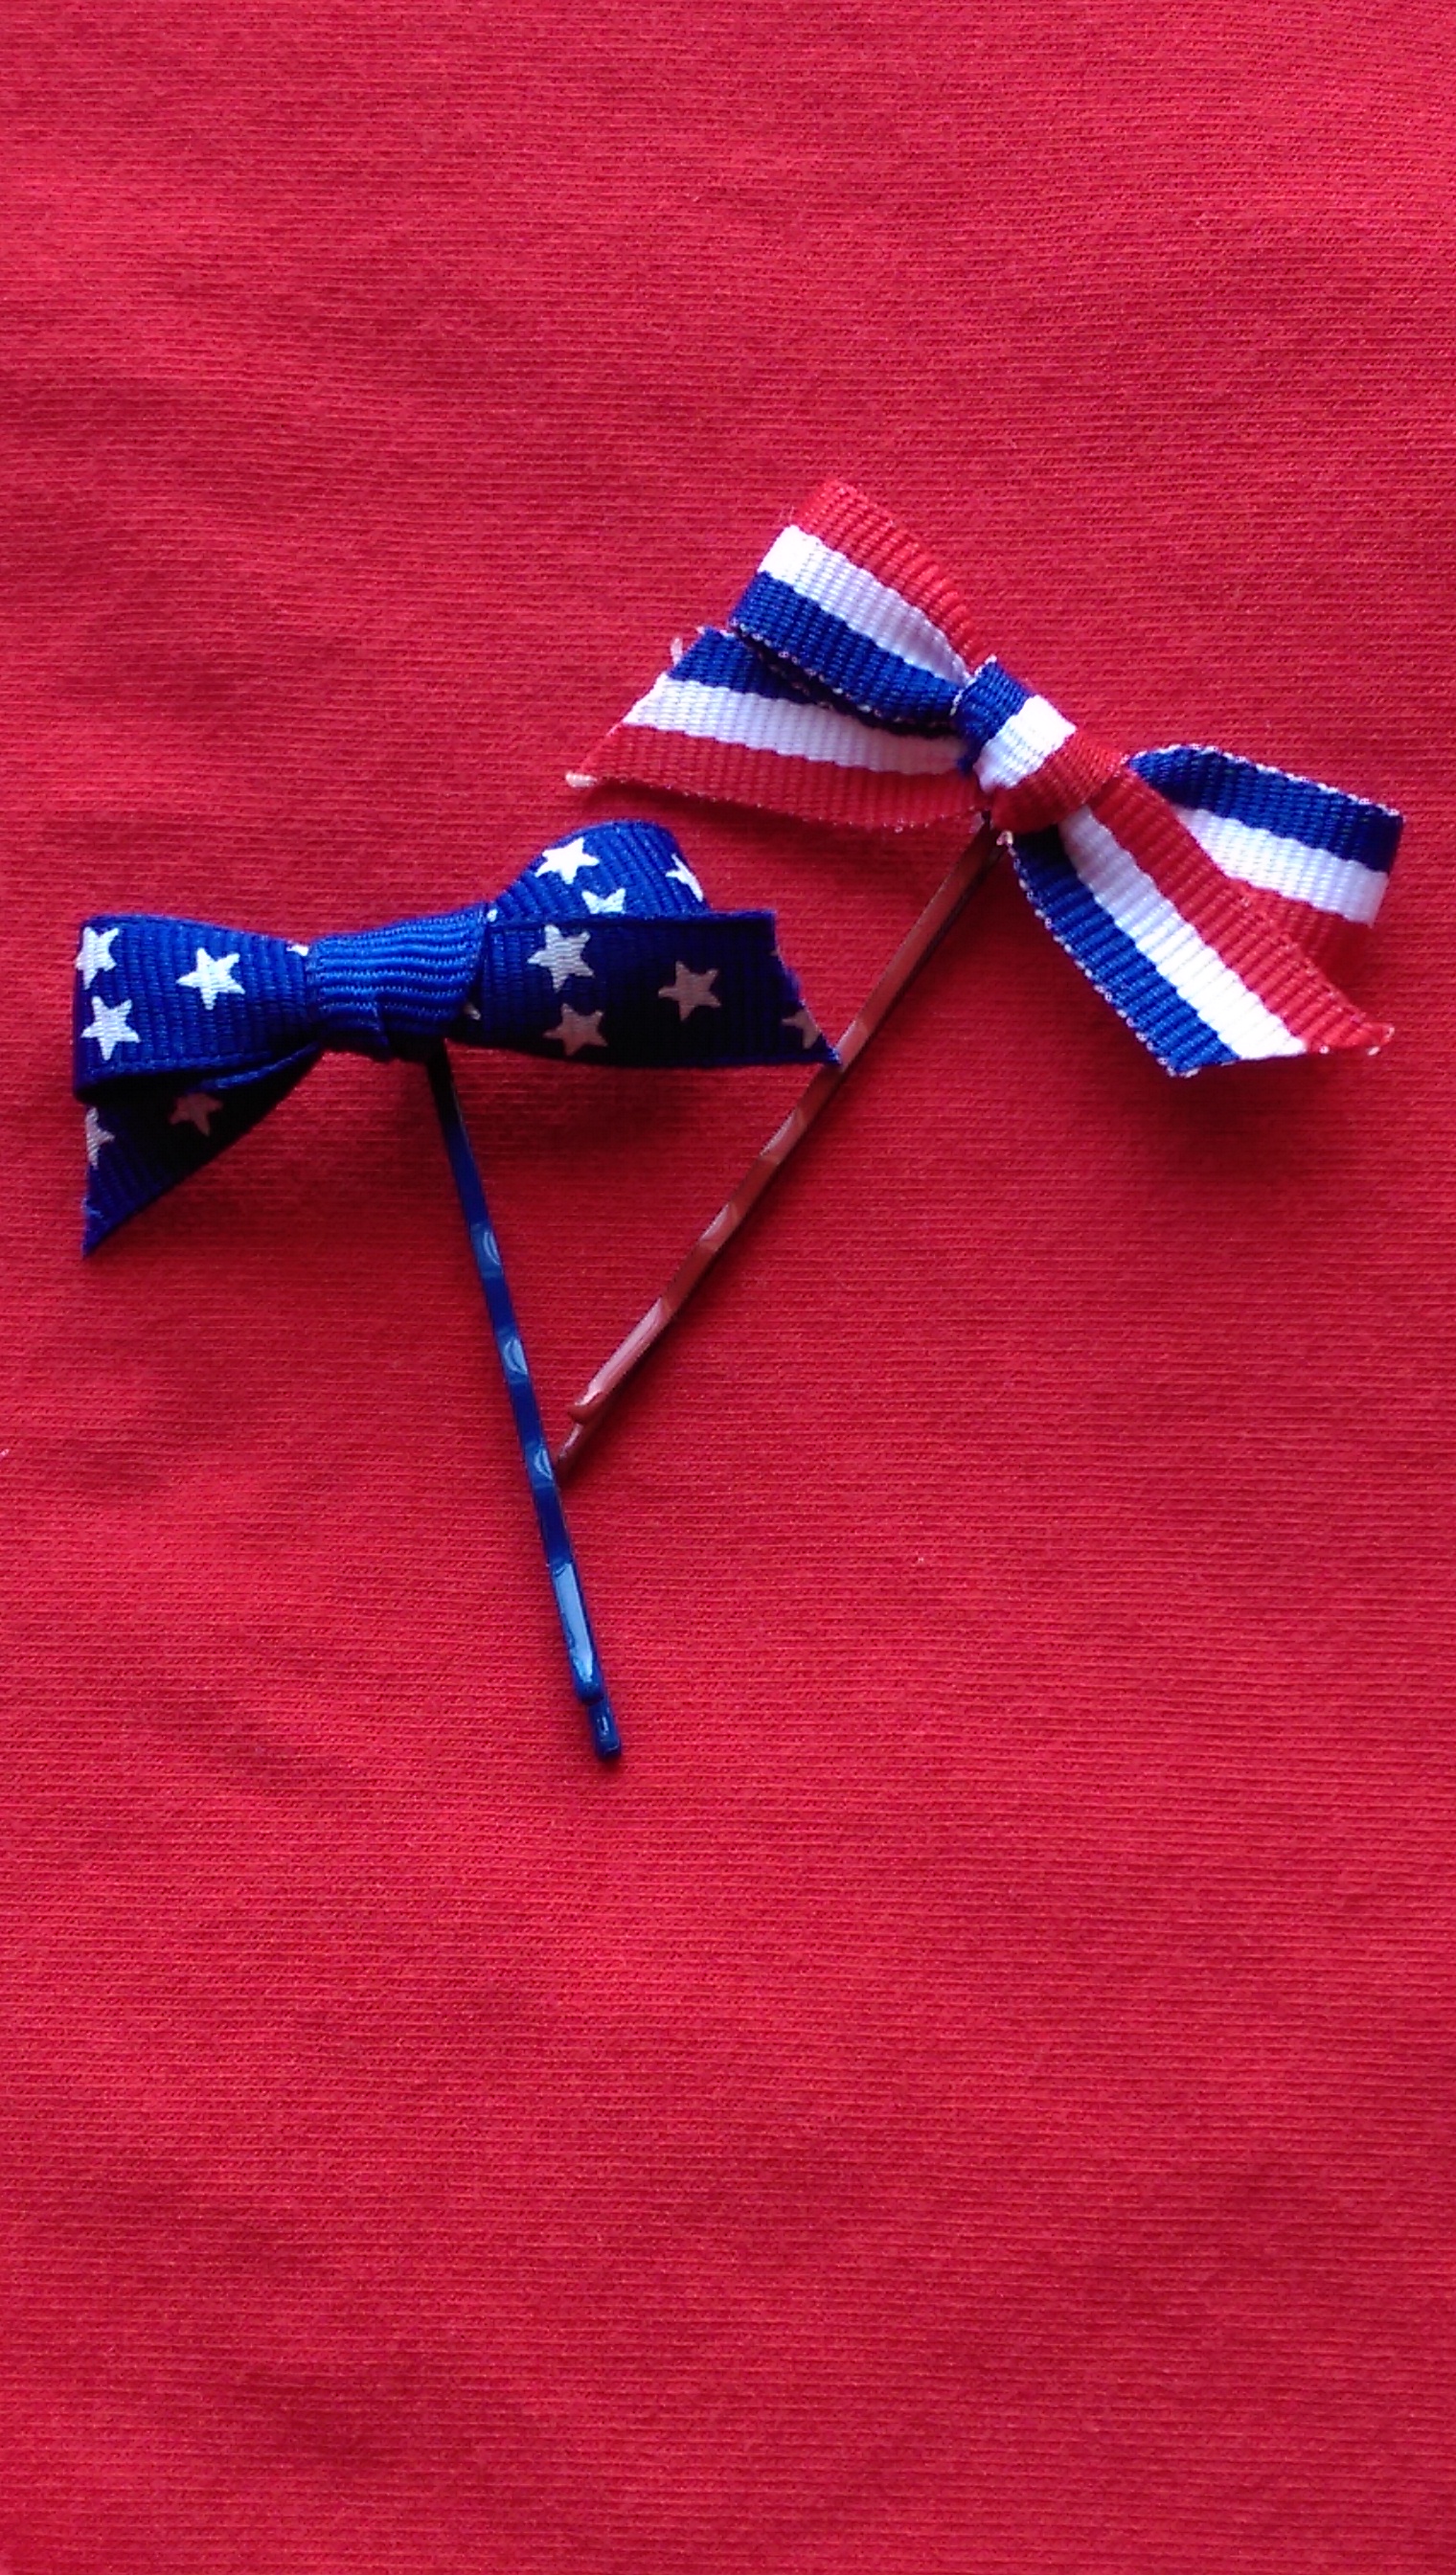
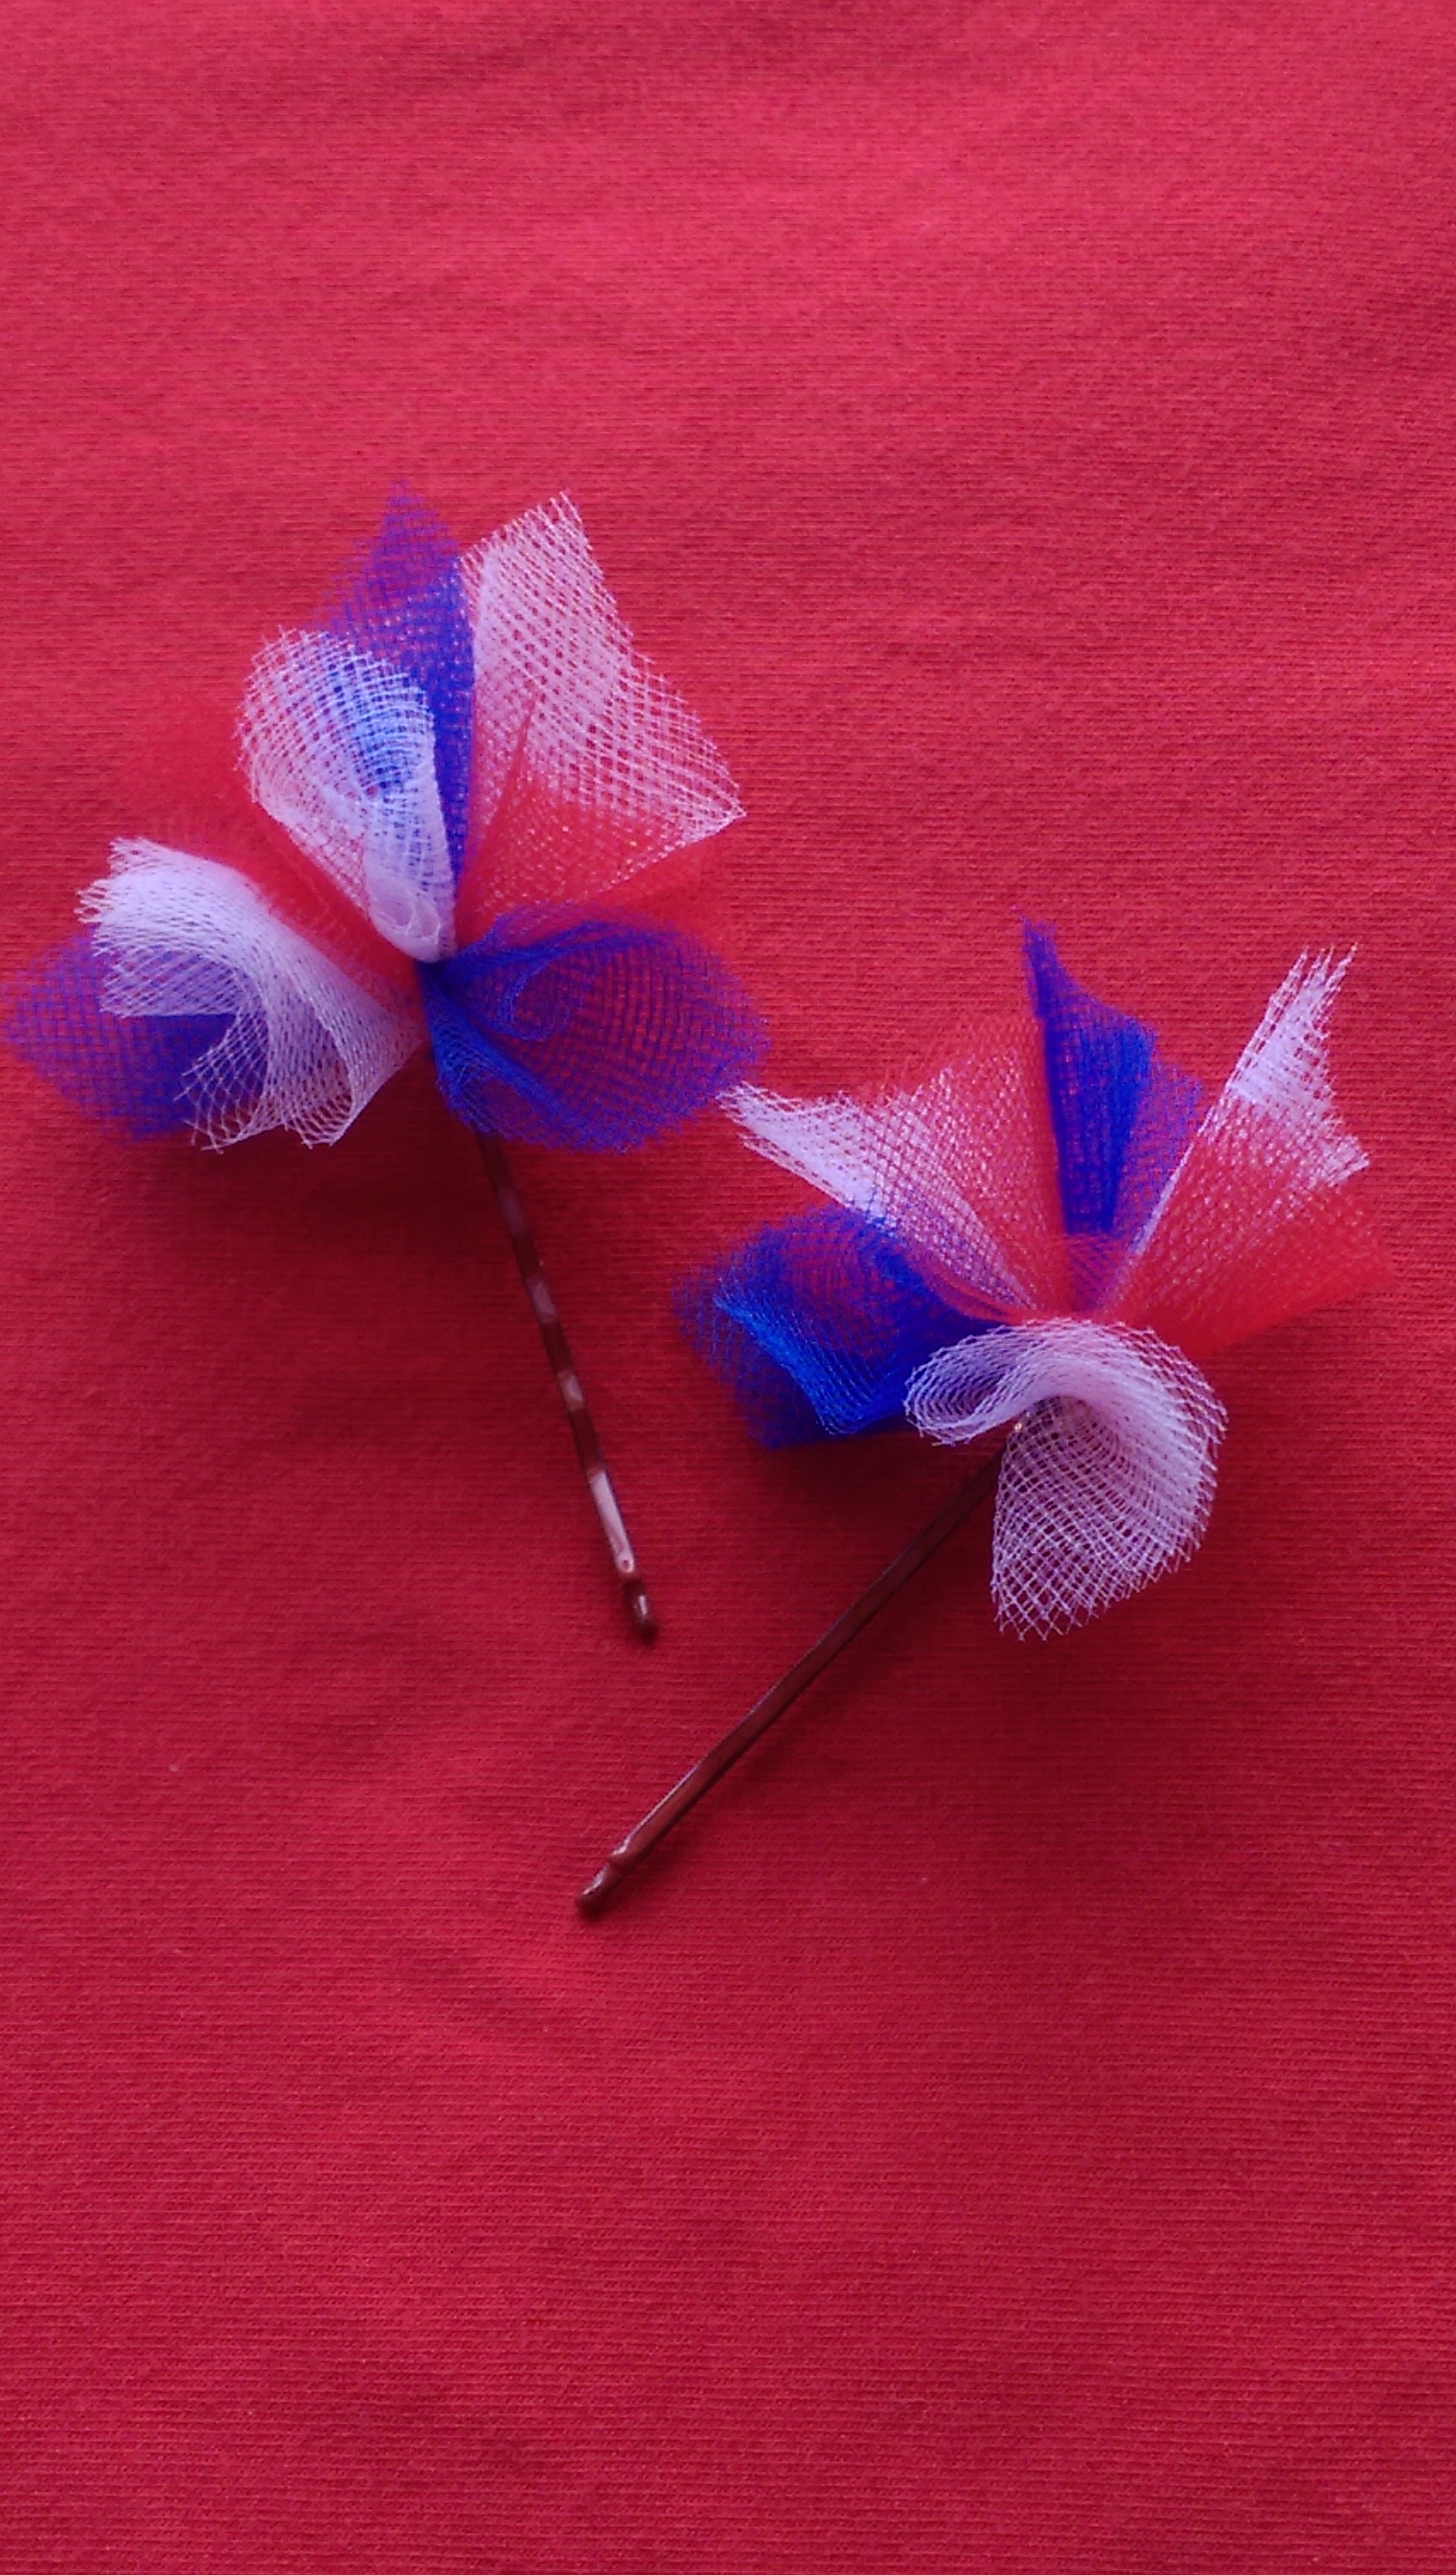
And, if all you want is a little bit of the red, white and blue, you can stick a bobby pin in your hair, with an itty-bitty little bow, made of leftover ribbon or tulle scraps.
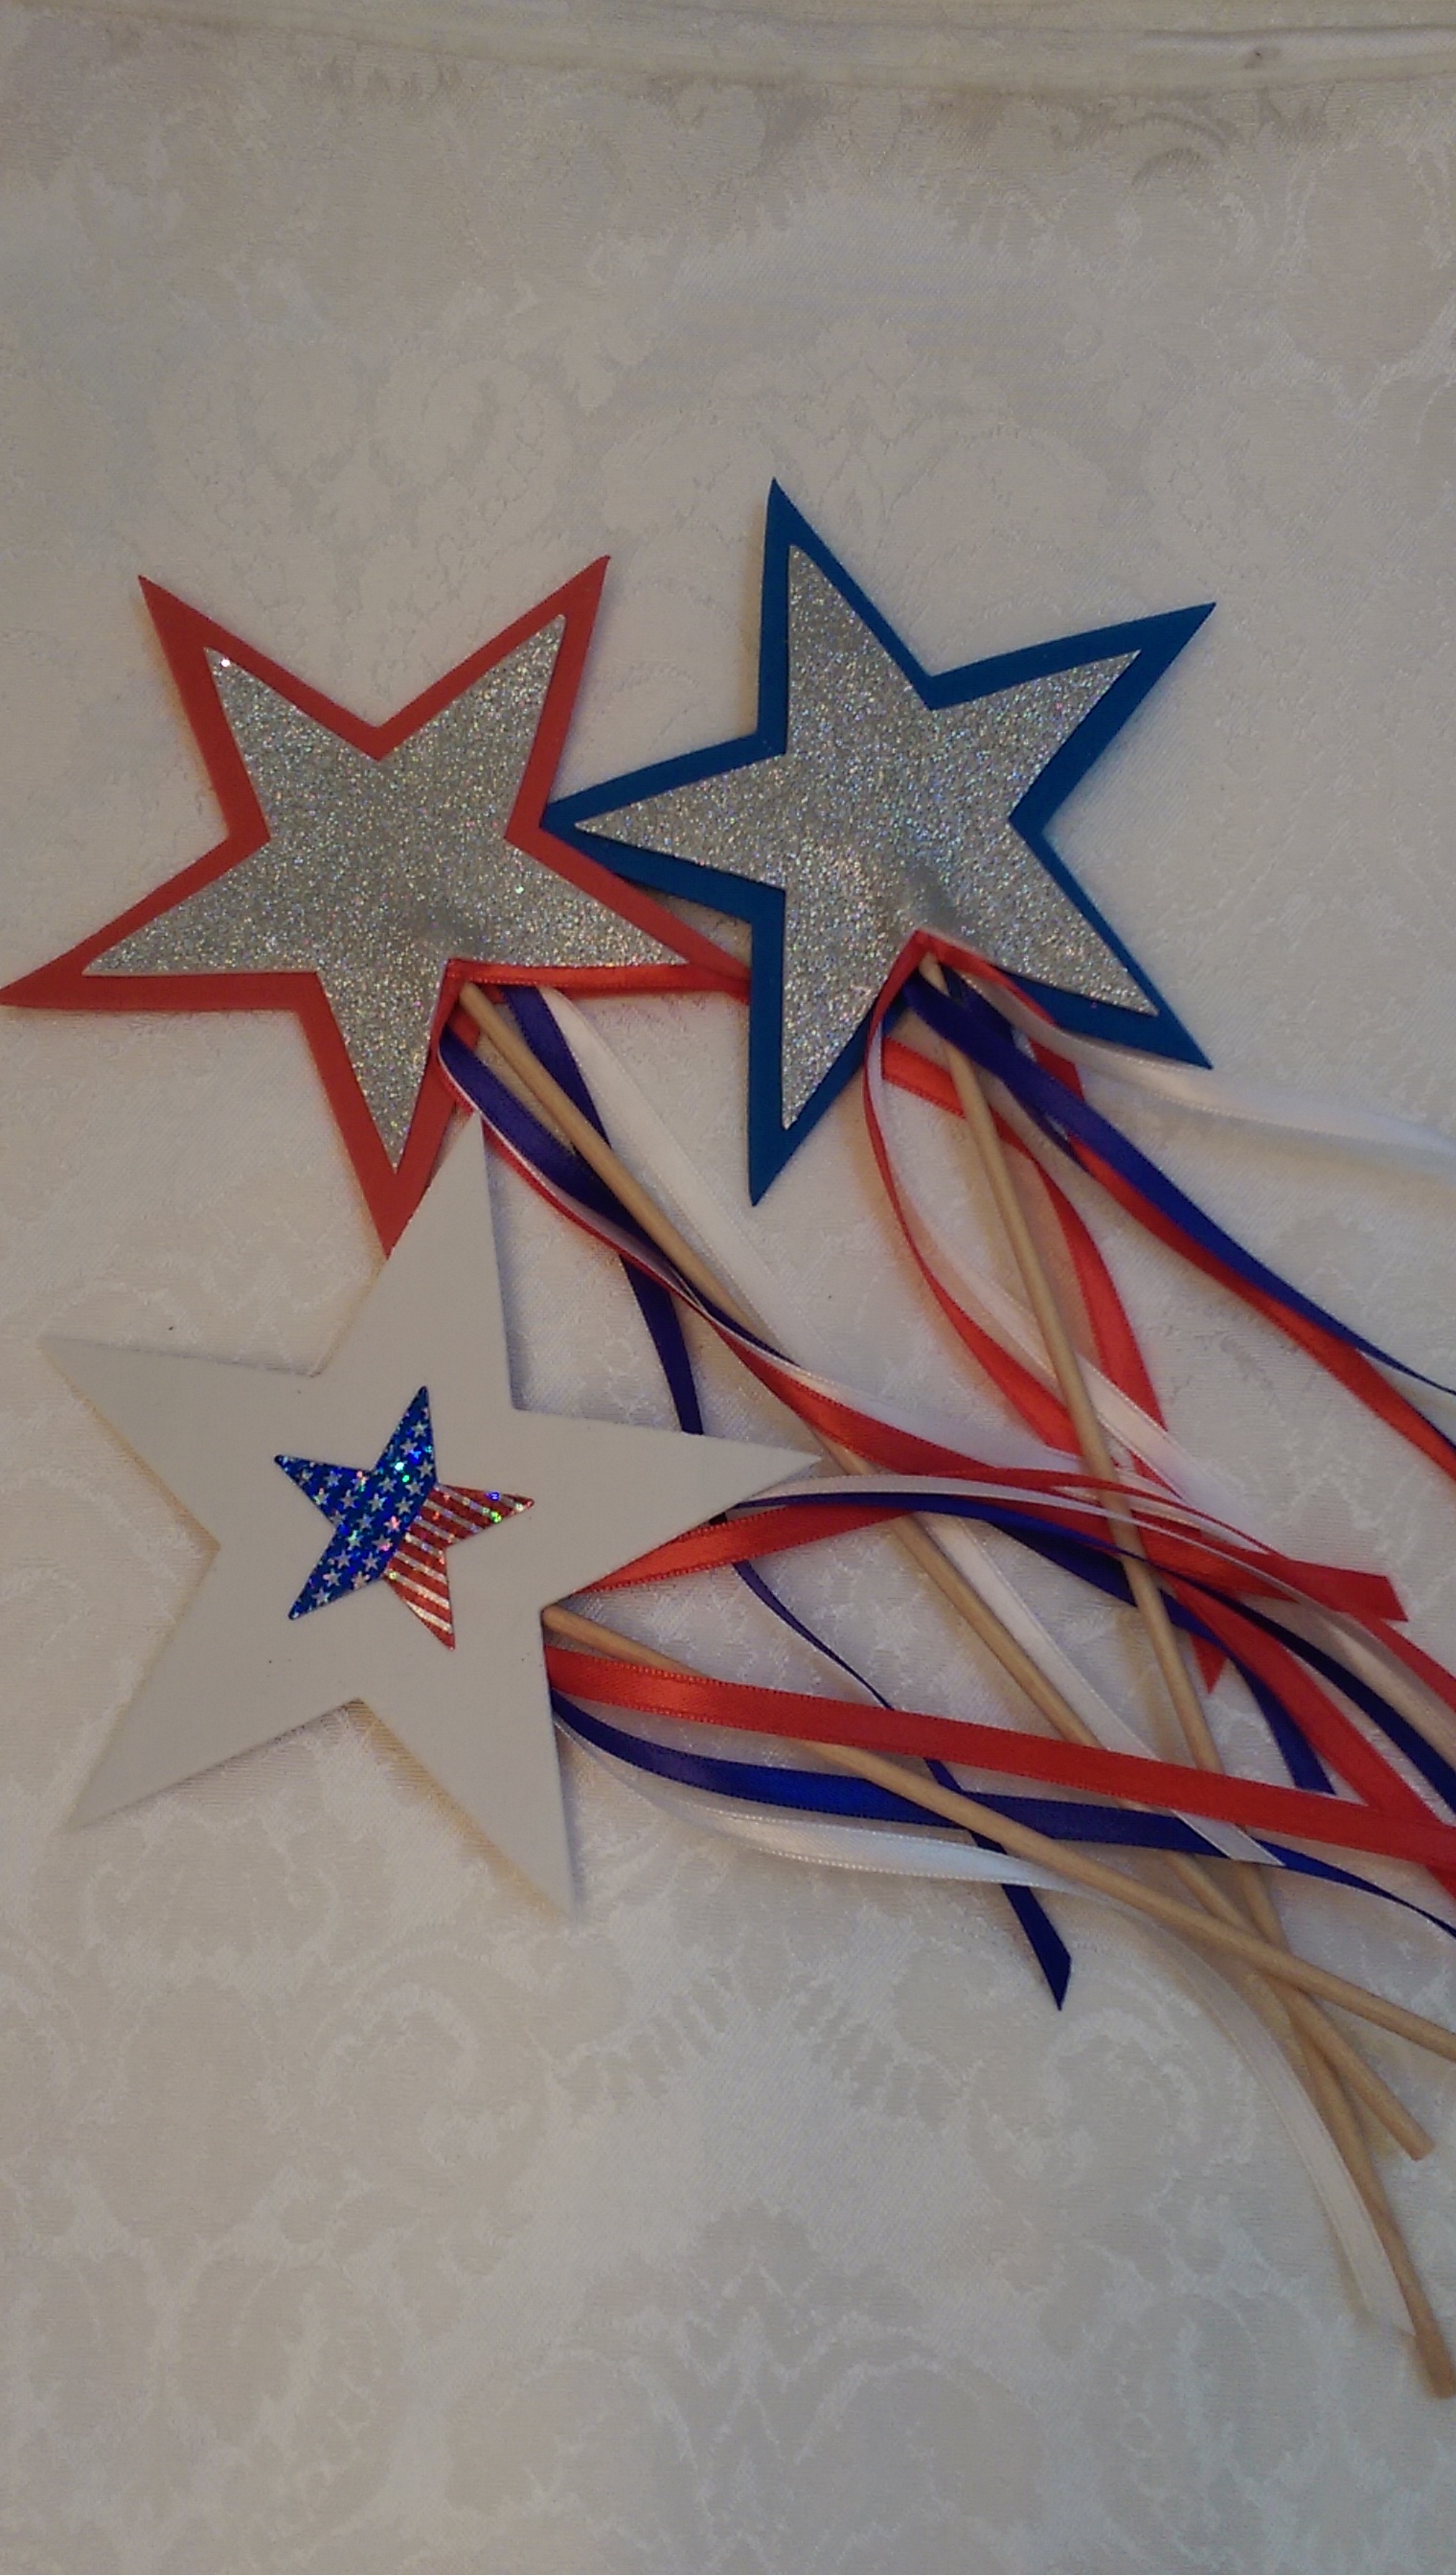
Girls aren’t the only ones who like to celebrate. These “wavers” can be used by anyone who wants to express their patriotic fervor! Glittery stars shine on one side, and a small holographic flag star accents the back. Red, white and blue satin ribbons serve as streamers.
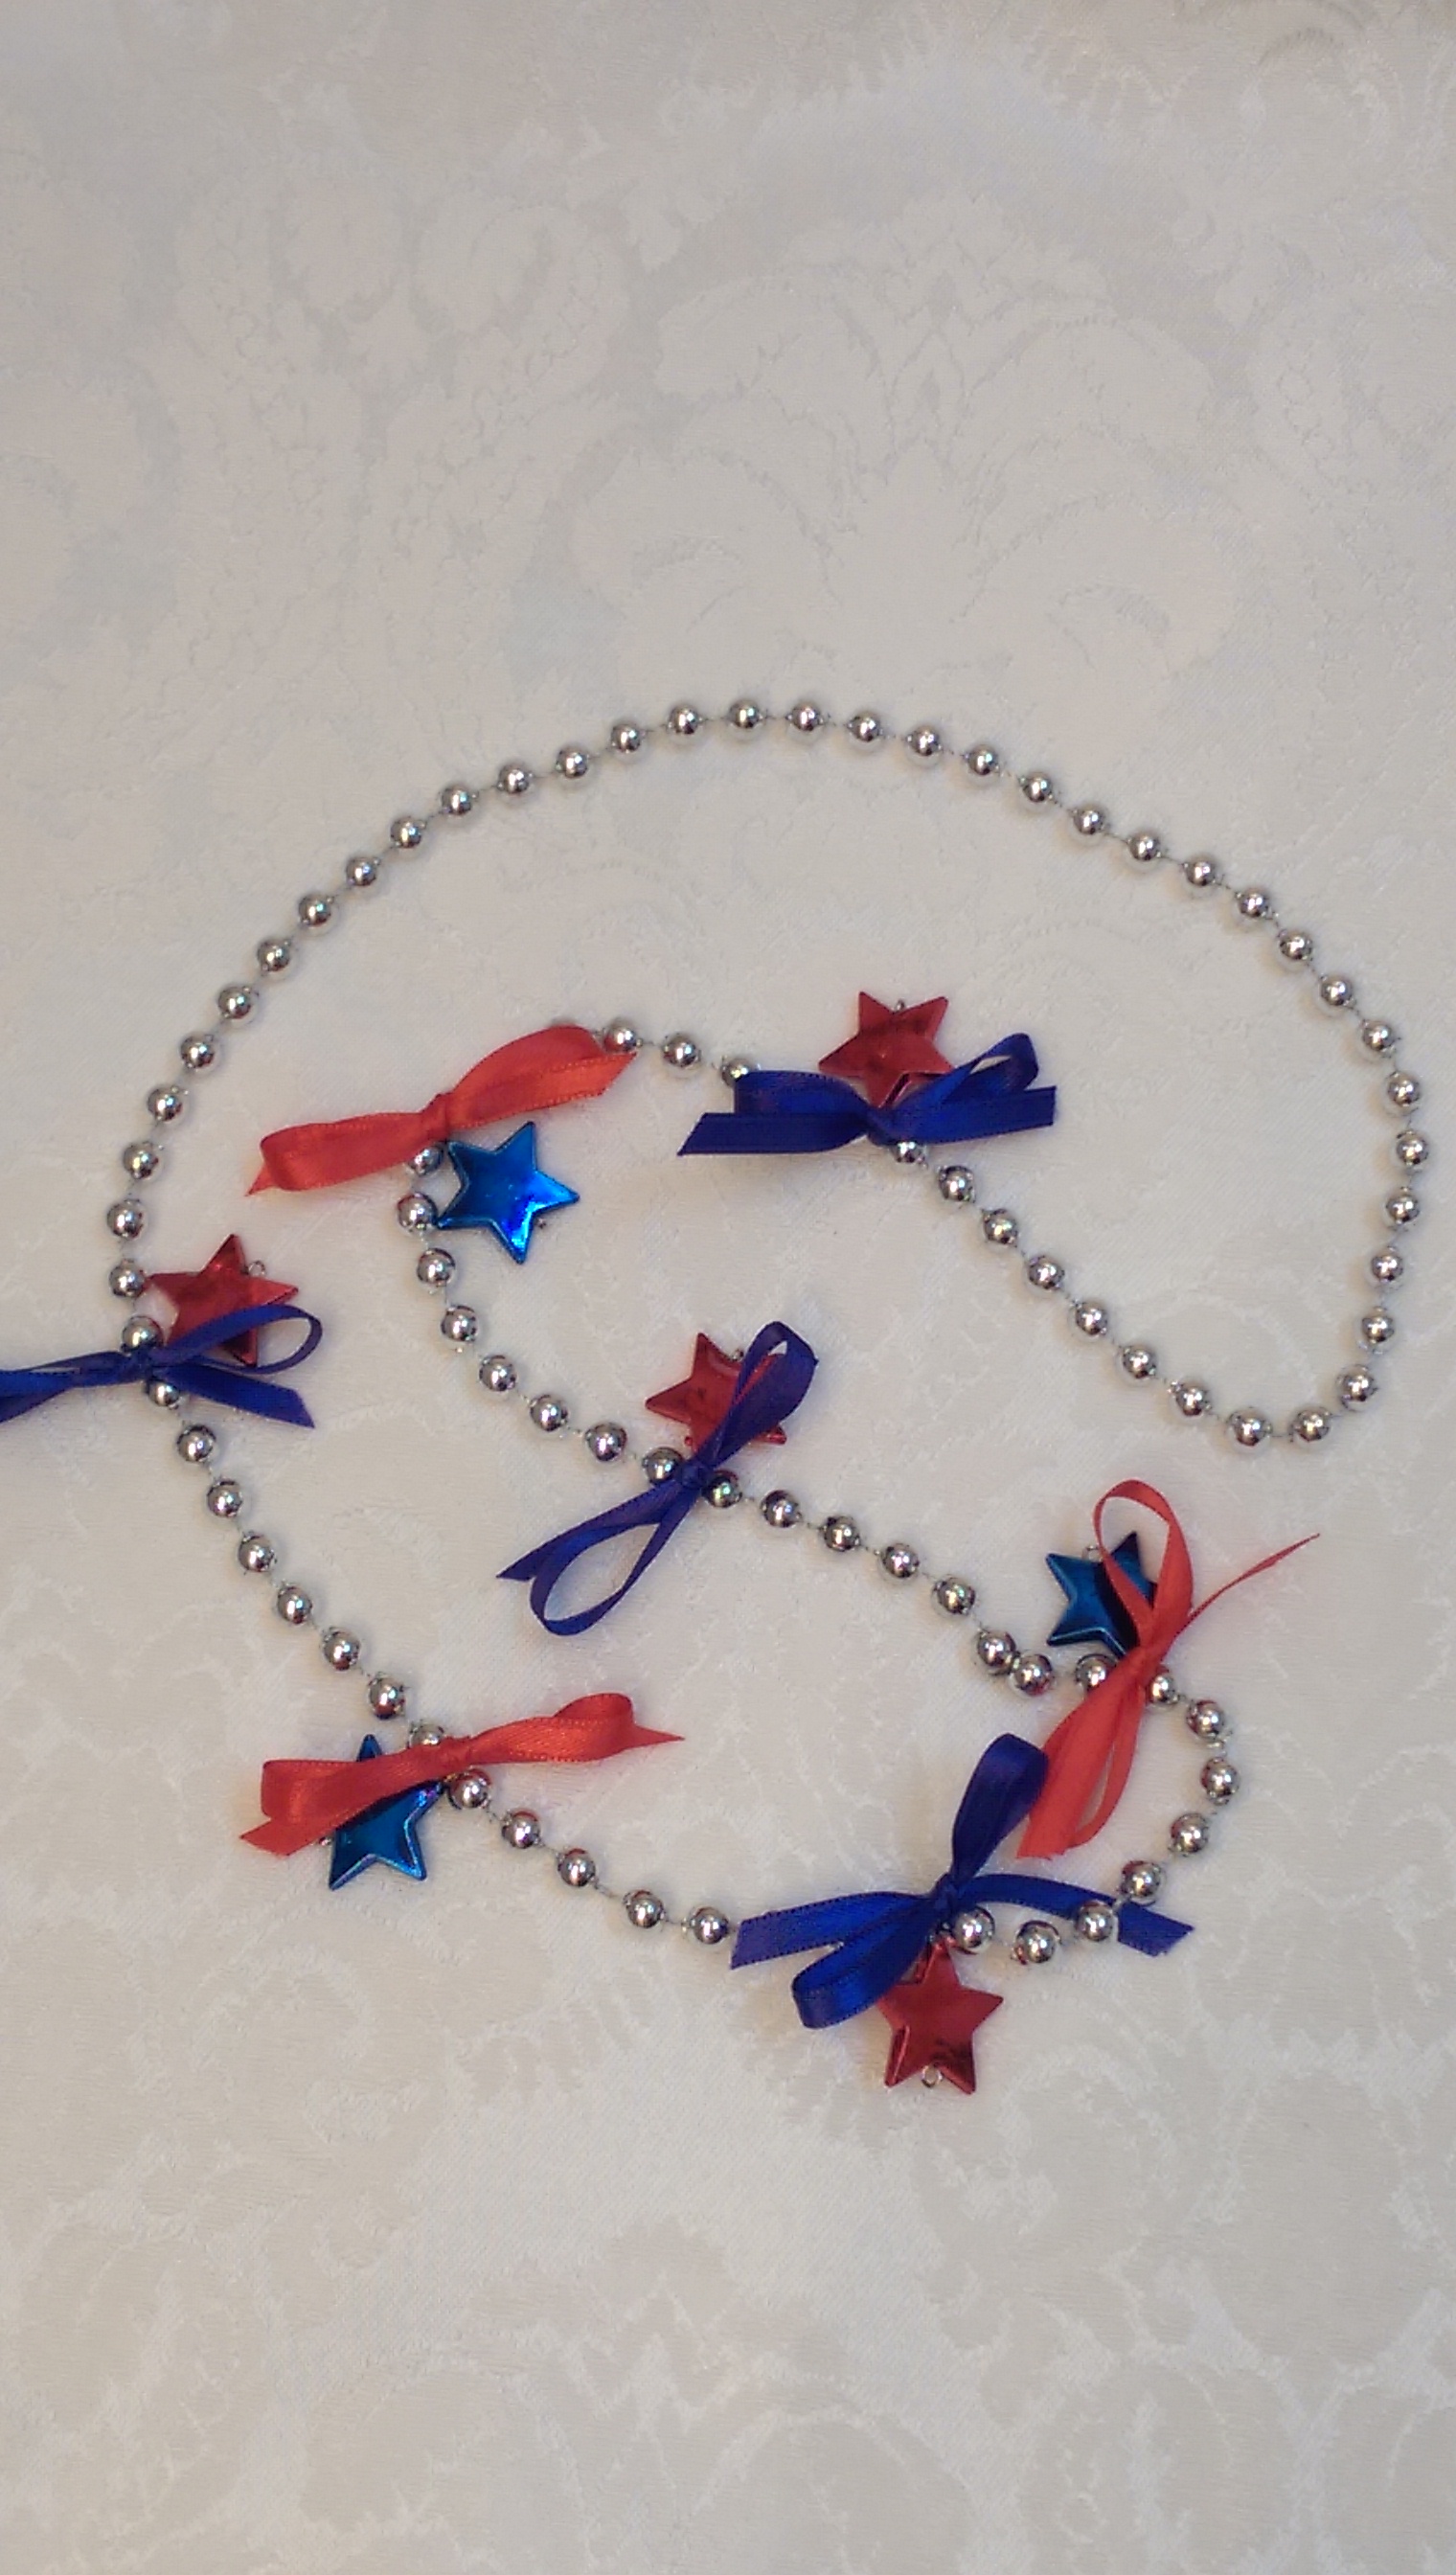
Although necklaces are traditionally worn by the ladies, these bead and star numbers are universally appropriate. Last year’s style used plain beads; this one has metallic stars accented with tiny satin ribbon bows.
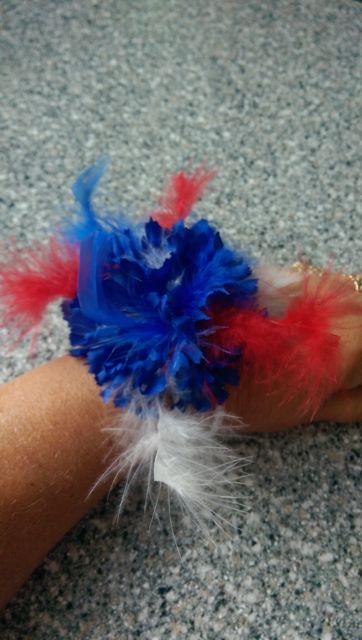
And, last but not least, and in the spirit of the recent Triple Crown races, how about a fascinator? These were made from silk carnations, adorned with novelty feathers, and fastened to an elastic headband. If wearing headgear is not to your liking, you can wrap the elastic one extra time and wear it as a wrist corsage!
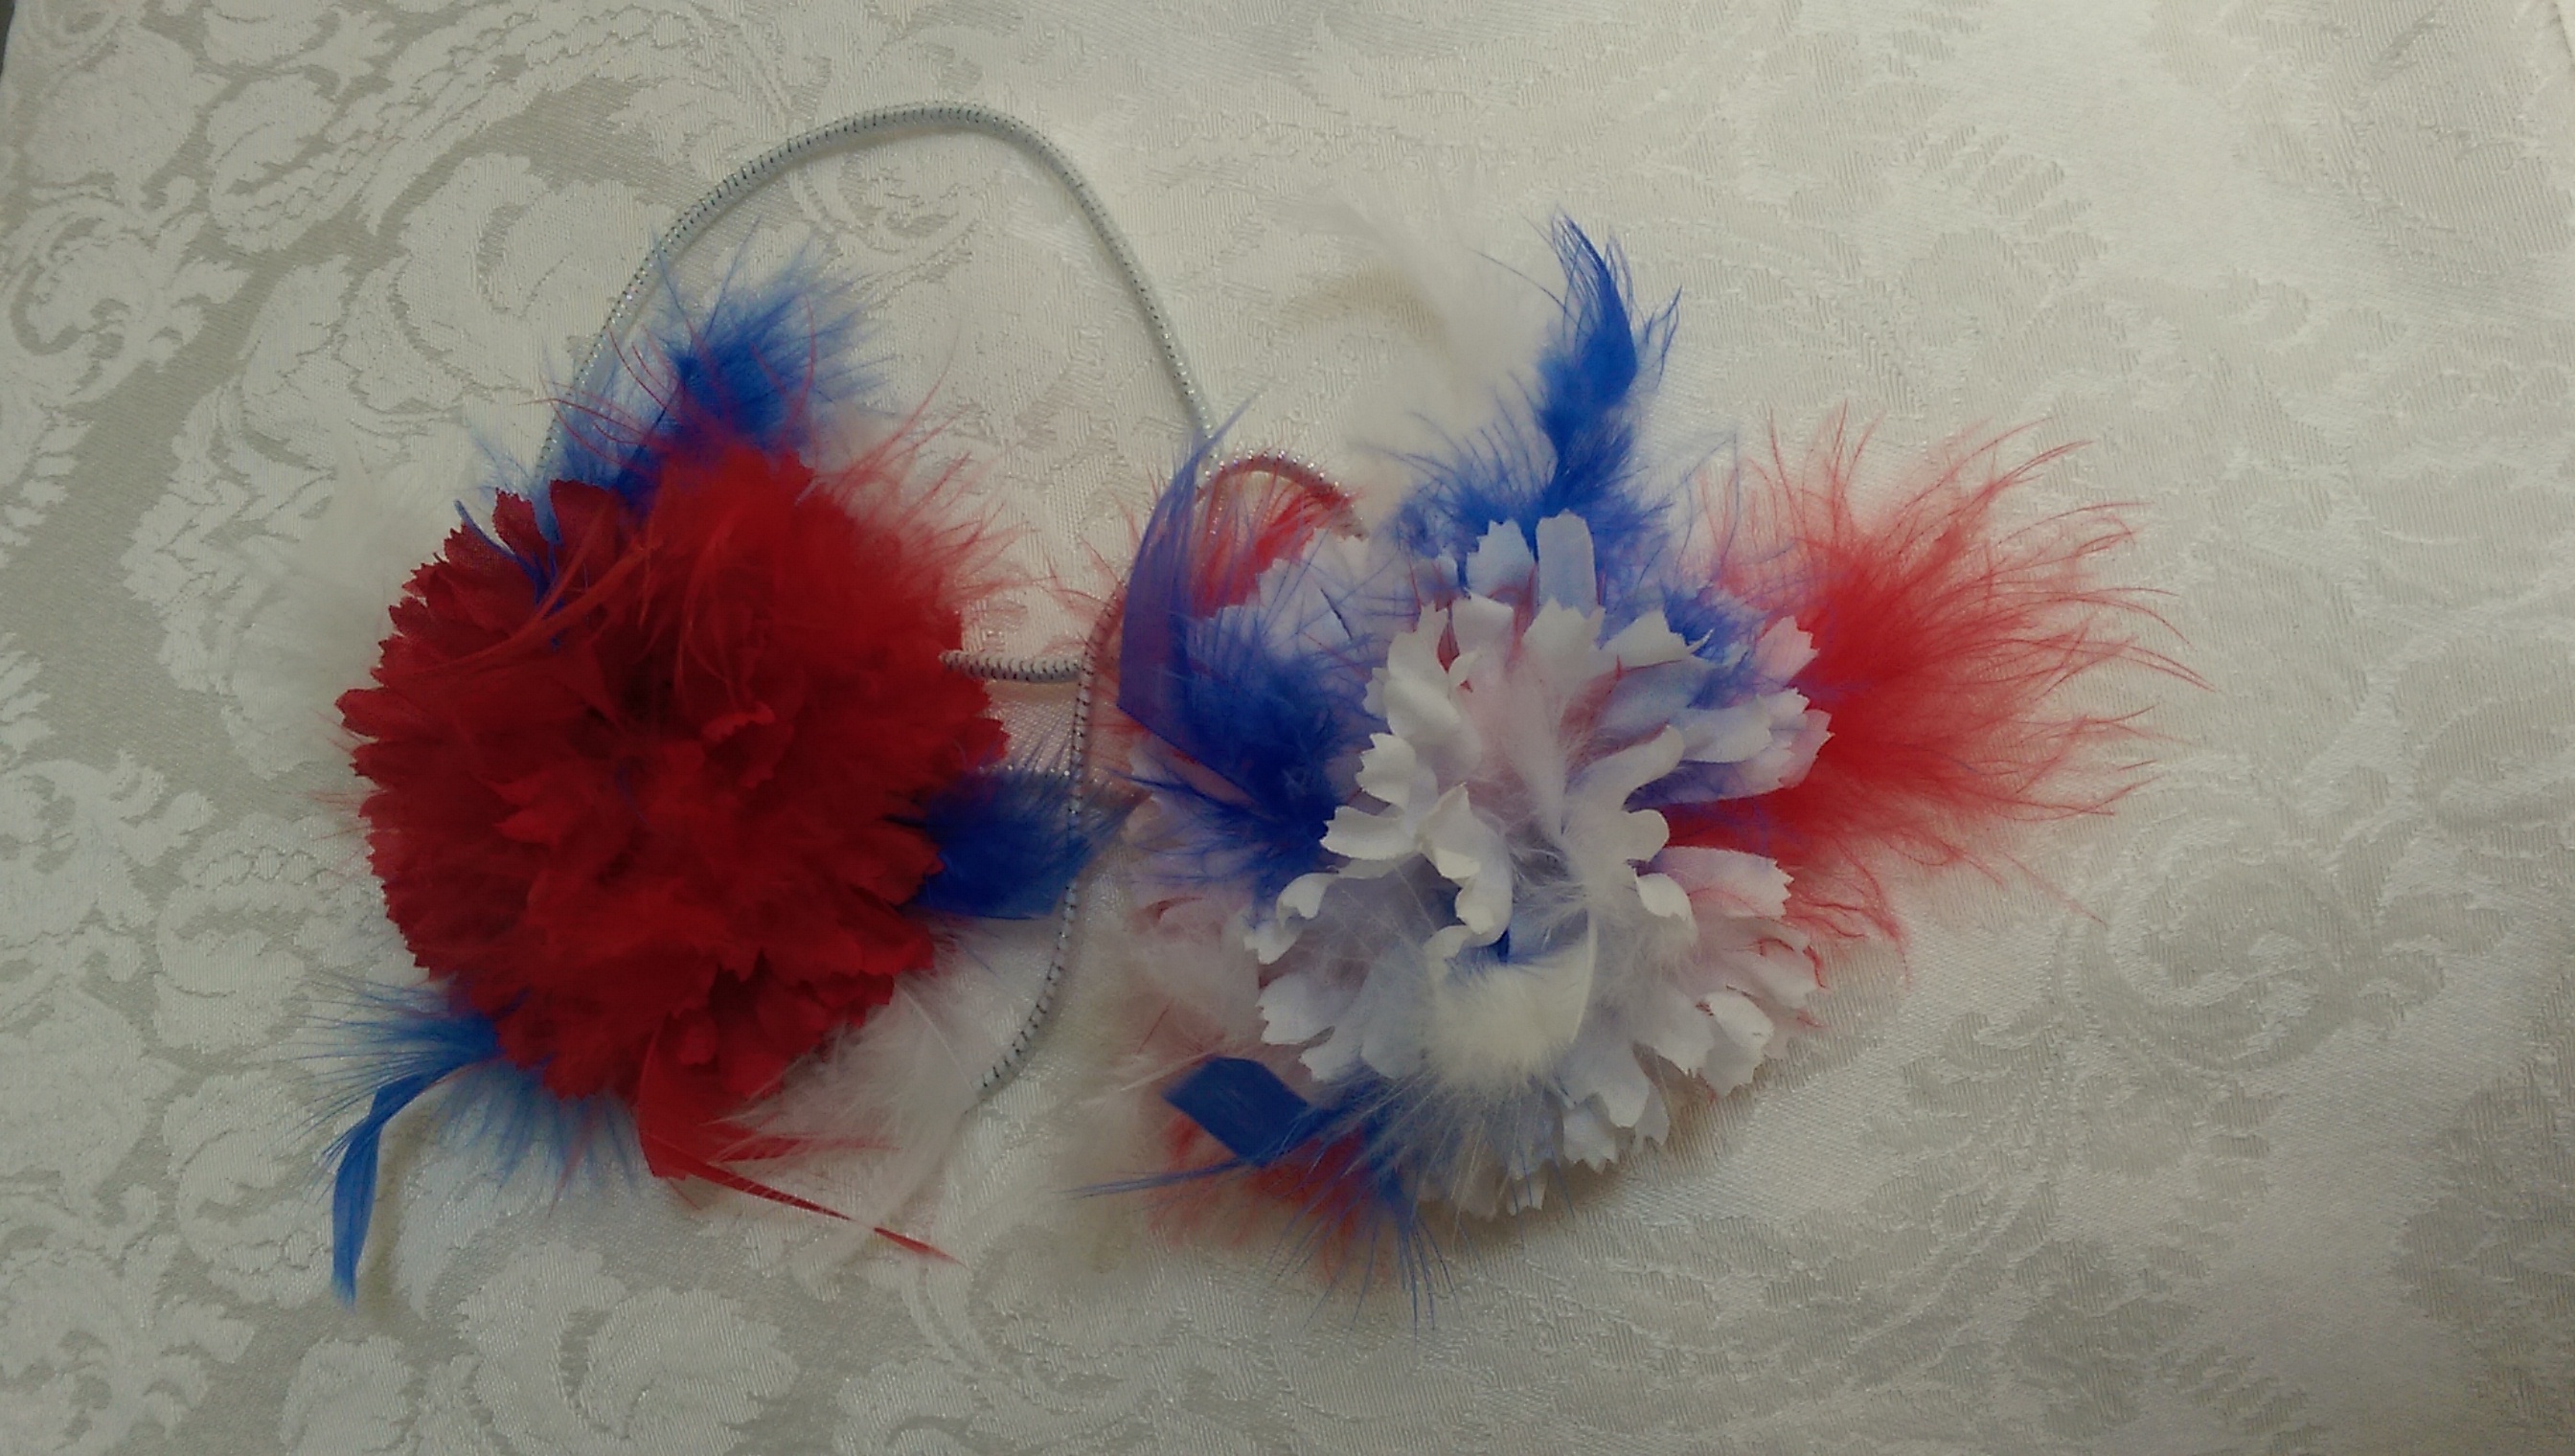

If you see an item in the top photo that is not featured in this post, please check last year’s post for the July 4th holiday.
]]>
Long, cold winter days lend themselves to Pinterest-surfing. Lo and behold, I found a new way to make fabric/ribbon flowers!
Perusing the “ribbon” section on Pinterest I came upon a lovely flower made from satin ribbon. I particularly liked the way the knots in the ribbon created the illusion of curling petals, so I embarked on duplicating that flower. I had only the photo to go by, so I estimated the length and width of each strip of ribbon, and how many strips were required. My first one came out okay, not much more than that. I think I may need at least 5 or 6 more petals. Maybe shorter strips? But the satin was so slippery to tie and the knots wanted to slip out!
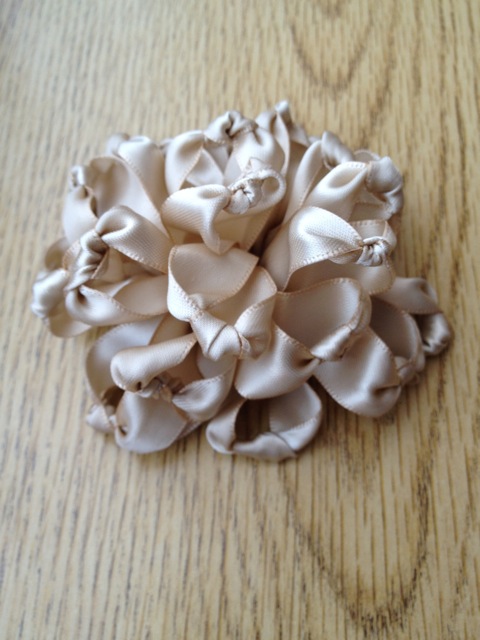
After completing this rose, I learned two things from the experience. First, if I wanted to make a lot of these, I’d need a whole lot of ribbon (each rose used over 3 yards). This would be quite expensive, as it really needs a double-sided satin ribbon. Also, this one turned out quite large, and I couldn’t see myself finding a home for it. Lovely, but what would I use it for?
In order to overcome the expense part of this endeavor, I thought of using fabric, as I have mountains of that. I also decided that I am not so much into the glamorous look as I am the everyday, pretty look. So I began with a blue chambray, and then a pastel striped batiste. Cute, but still not quite what I was looking for.
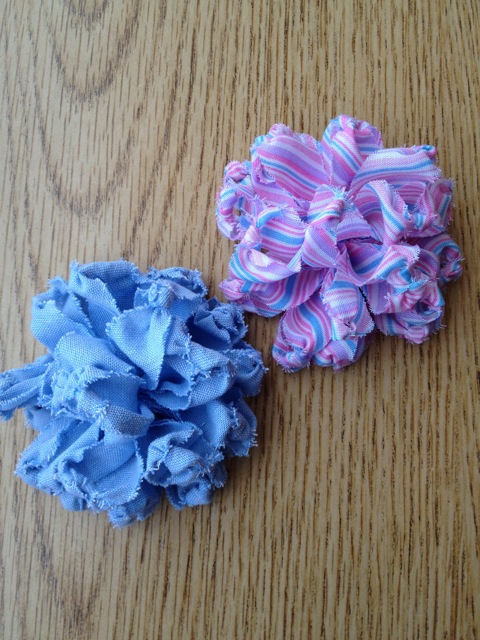
Somehow, they looked a bit unexciting to me. I liked the way the edges of each petal were a little shaggy, but something needed adjusting…
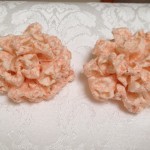
So then I tried a peach quilting fabric, increasing the width of the strip from 3/4″ to 1″. I think I’ve got it now!
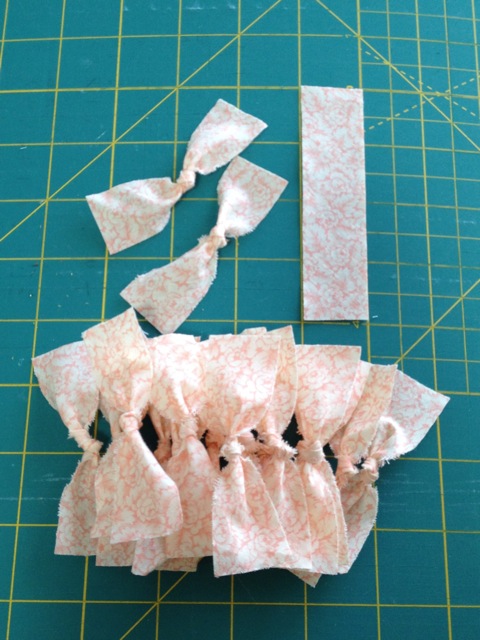
Each rose requires 20 strips of bias-cut fabric, 1″ X 4″. Then knot each strip right in the middle and pull taut. As you tighten the knot, try to twist the right side of the fabric to face up at both ends.
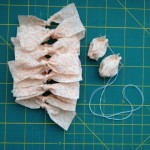
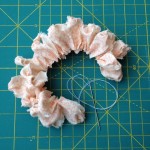
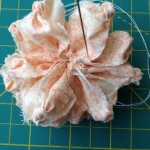
Fold each strip in half and gather onto heavy duty thread until you have a long chain of pieces. Tighten this long chain and tie off. Connect the ends, and…
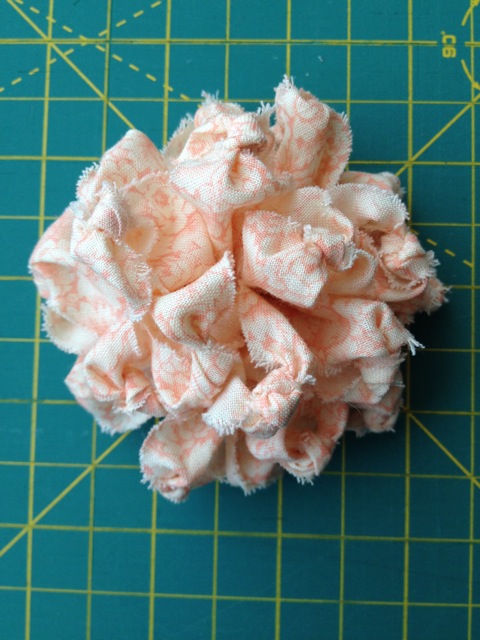
Ta-Da!! Tug a little at a few petals to fill in the top, and smush it around a little bit. The roses measure about 2 1/2″ across, so they are the perfect size for a shabby-chic shoe clip! Just glue a felt circle on the back and attach a metal shoe clip. (Note: don’t bother with the cheap ones – they break so fast. Invest in the French Bluette clips if you are serious about using these more than once. I buy mine on Etsy.)
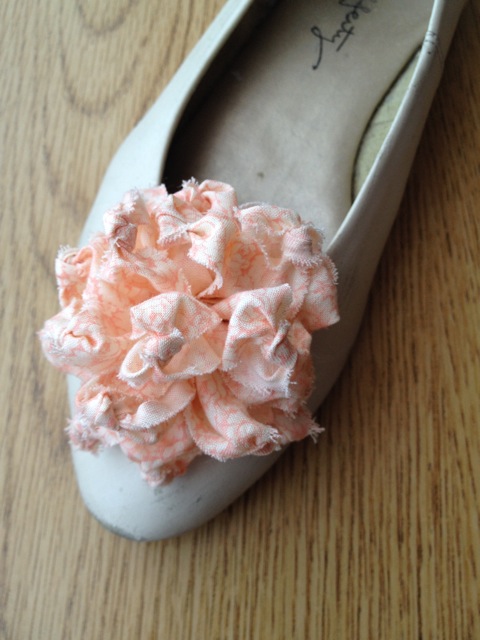
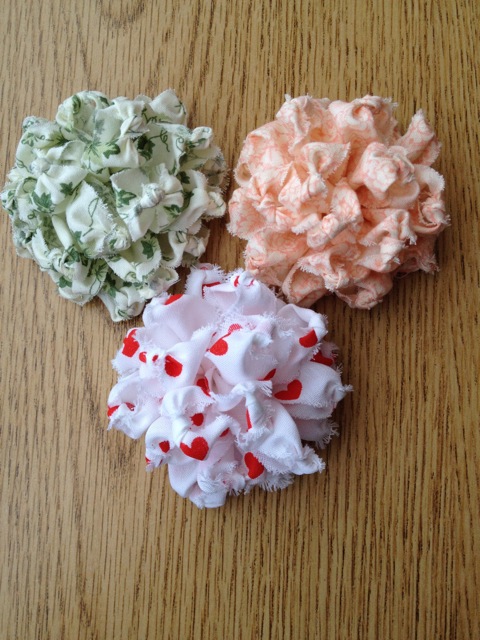
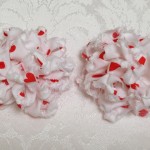
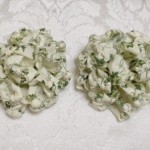
I absolutely love the result and have made up a couple more colors, one with hearts and the other with green ivy. And I’m convinced I am not finished yet!
]]>