The post Free Printable Official Nice List Certificate appeared first on The Crafty Blog Stalker.
]]>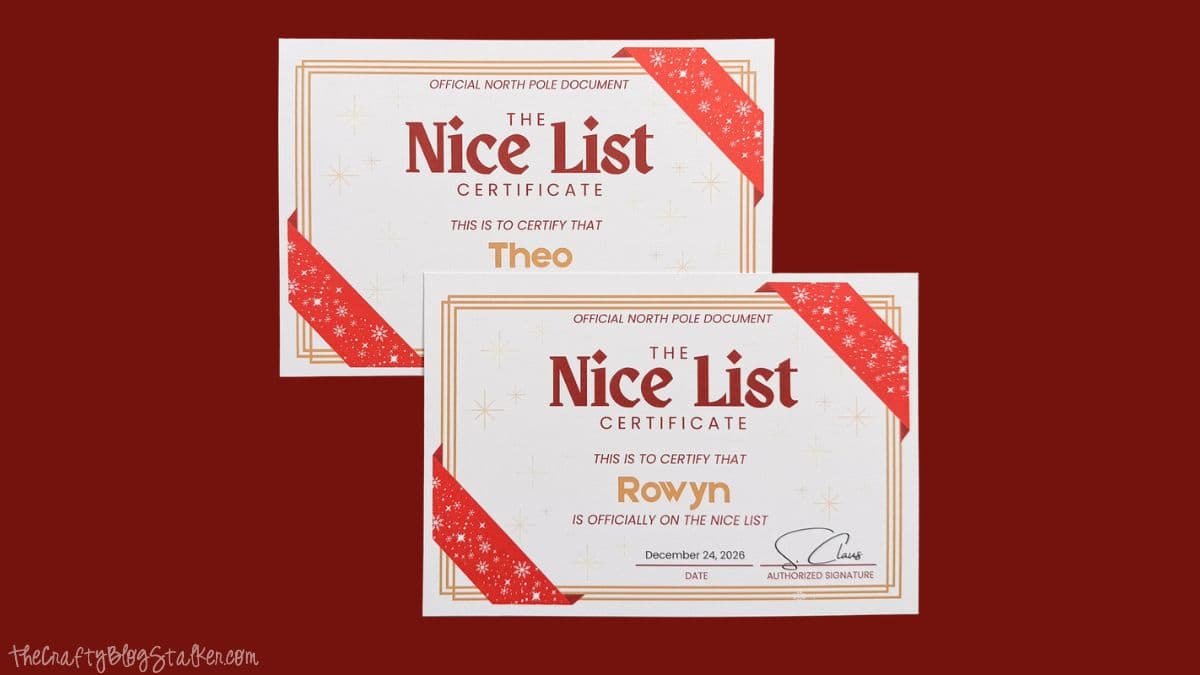
Nothing beats seeing your child's face light up when they find out they made Santa's Nice List!
This free printable Nice List Certificate adds a little Christmas magic to your home.
Give it as a surprise from Santa Claus, or have your Elf on the Shelf bring it from the North Pole.
In this tutorial, I'll show you how to add your child's name in Canva, print the certificate, and cut it out.
Skill Level: Beginner
Estimated Cost: Free if you have the supplies
Total Time: 10 minutes
Supply List
- Official Nice List Certificate Canva Template
- Home Printer
- White Cardstock or Printer Paper
- Paper Trimmer
Grab the Free Canva Template
Before you start, grab the free Nice List Certificate template from my shop.
You don't need to know much about Canva to make these. I'll walk you through each step!
How to Edit the Nice List Certificate in Canva
Once you get the free template, you'll get an email with a link to open it.
Click the link to open the template in Canva.
You do not need Canva Pro to use this template. A free Canva account works just fine.
If you don't have an account, Canva will ask you to make one.
When the template page opens, click View Template.
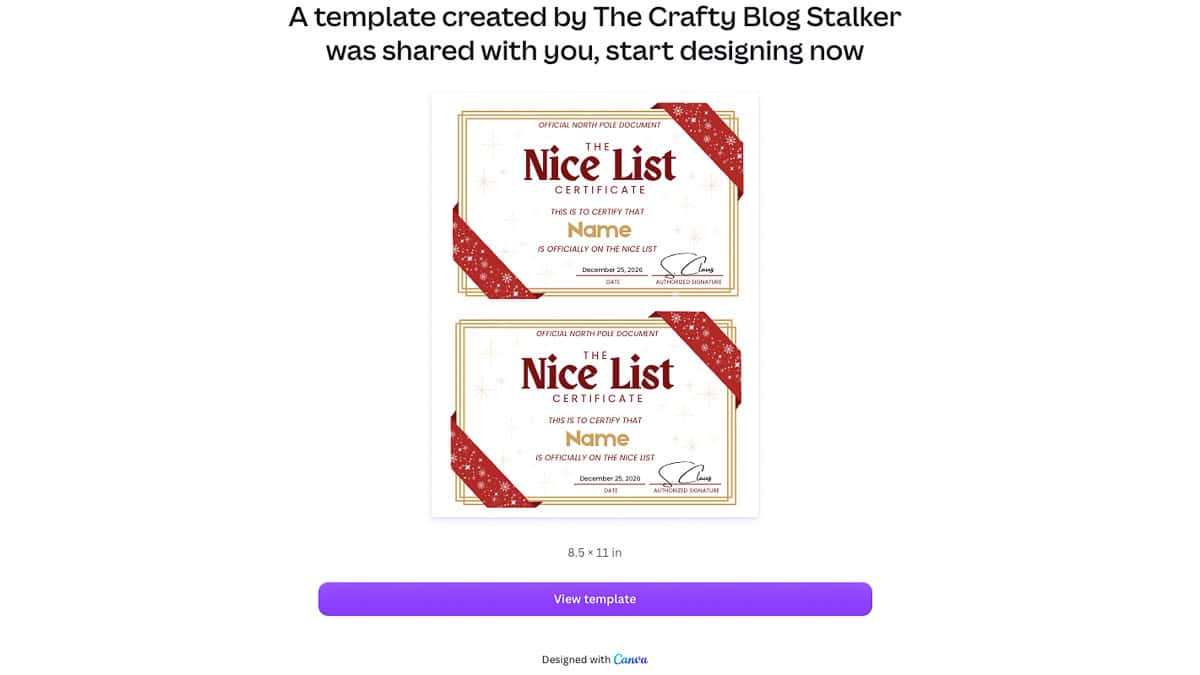
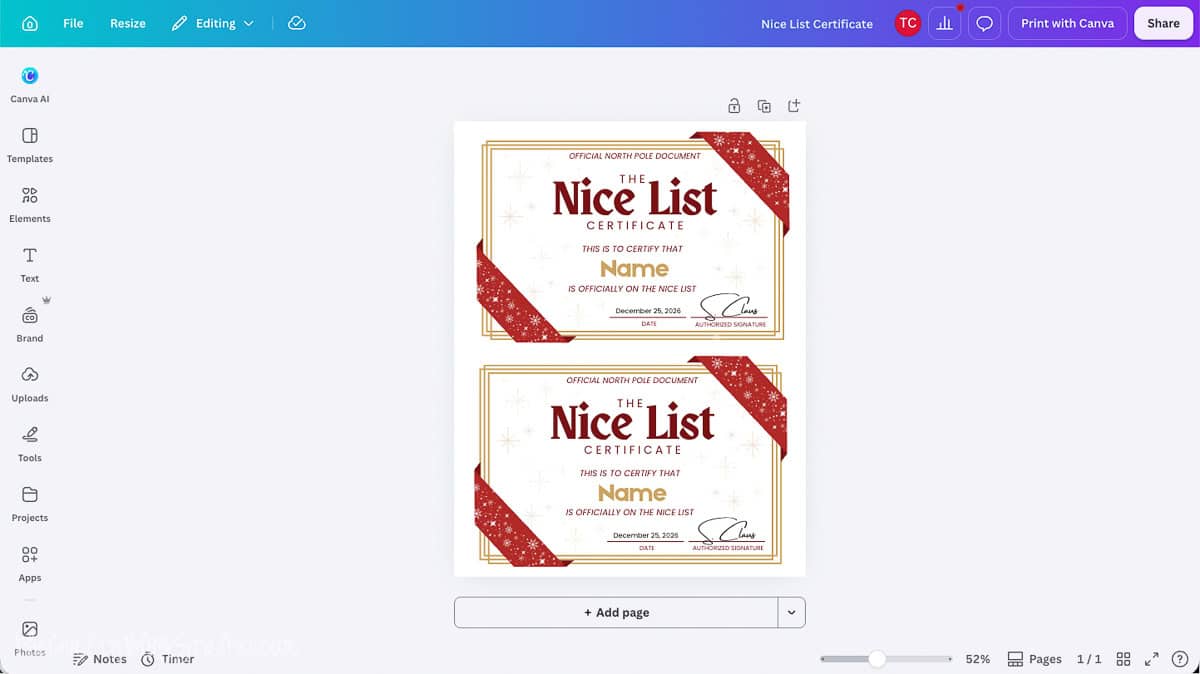
The design is ready for you to use. Most parts are locked, so you won't accidentally move them.
You can change the name and date on each certificate.
Add Your Child's Name
Click the name on the first certificate and type your child's name.
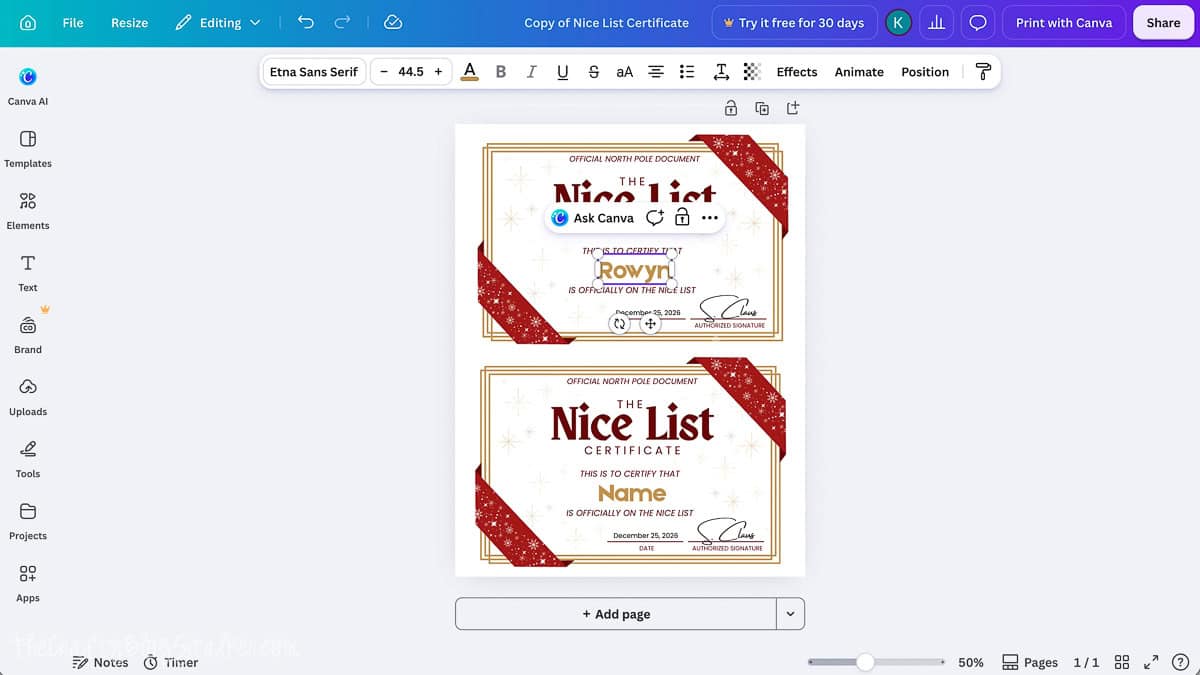
Next, click the date and type the date you want.
Use the day you plan to give the certificate to your child, or Christmas Day.
Do the same for the second certificate.
If you only need one, leave the other name as is. After you print, cut out the one you want.
I like to make a personalized letter or certificate for each child so they each get their own special gift from Santa.
Download Your Certificate
Once you've set the names and dates, save your file.
Click Share in the top-right corner of Canva.
Then click Download.
I choose PDF Print because it works well for home printing.
You can also save the file as a JPG or PNG, but I chose PDF for this project.
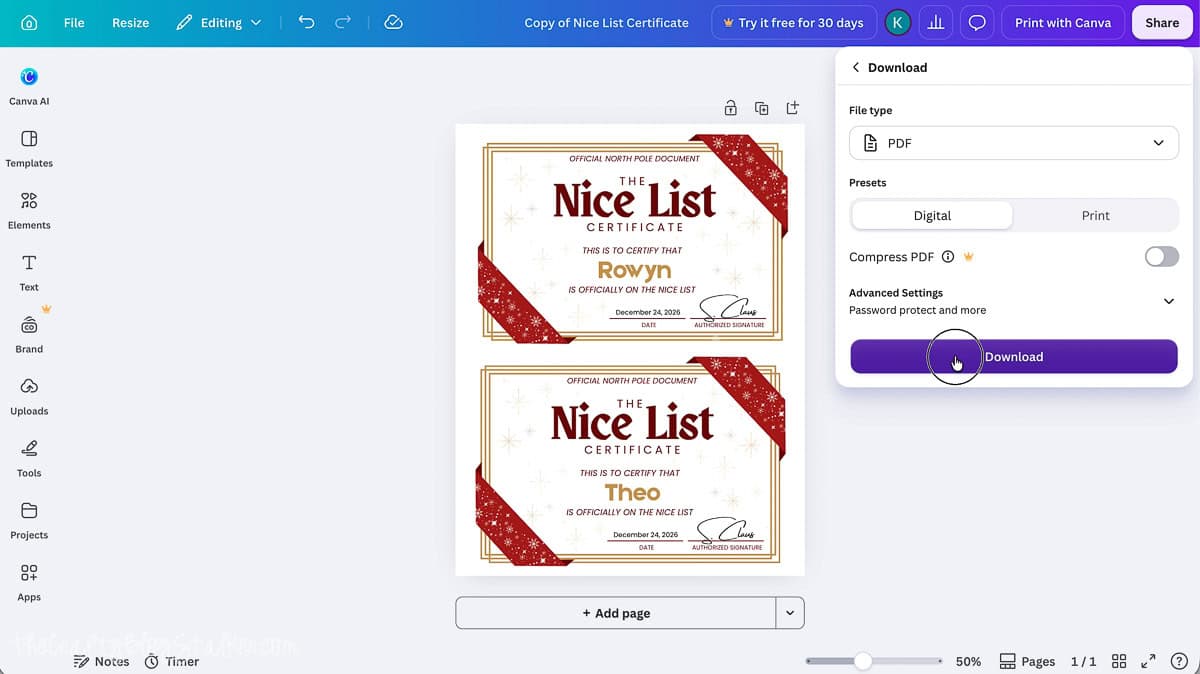
Click Download to save your file.
It will most likely go to your computer's Downloads folder.
Now you're ready to print!
How to Print Your Nice List Certificate
Find the PDF you just saved and open it.
On a Mac, press Command + P. On a Windows computer, press Ctrl + P.
This will open your print settings.
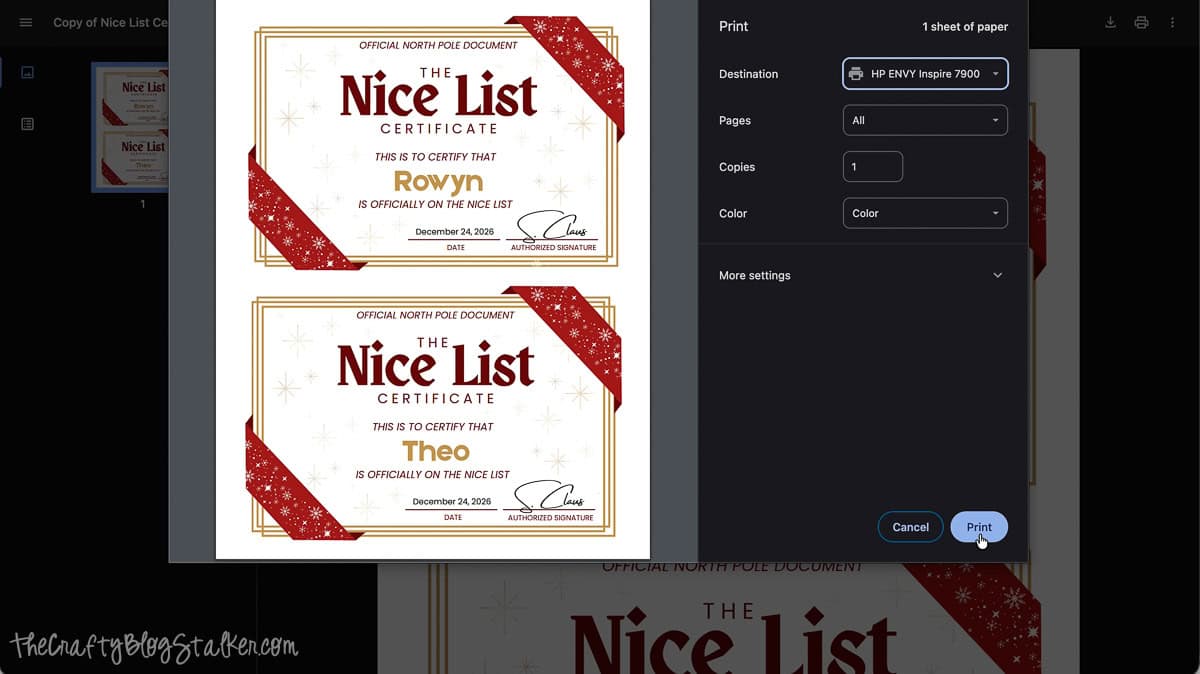
Make sure your printer is set to print in color.
Check the print preview to make sure both certificates fit on the page.
I like to use white or cream cardstock for this project. The thick paper makes the Nice List Certificate feel a bit more like a real award from the North Pole!
Regular printer paper works, too, if that's what you have.
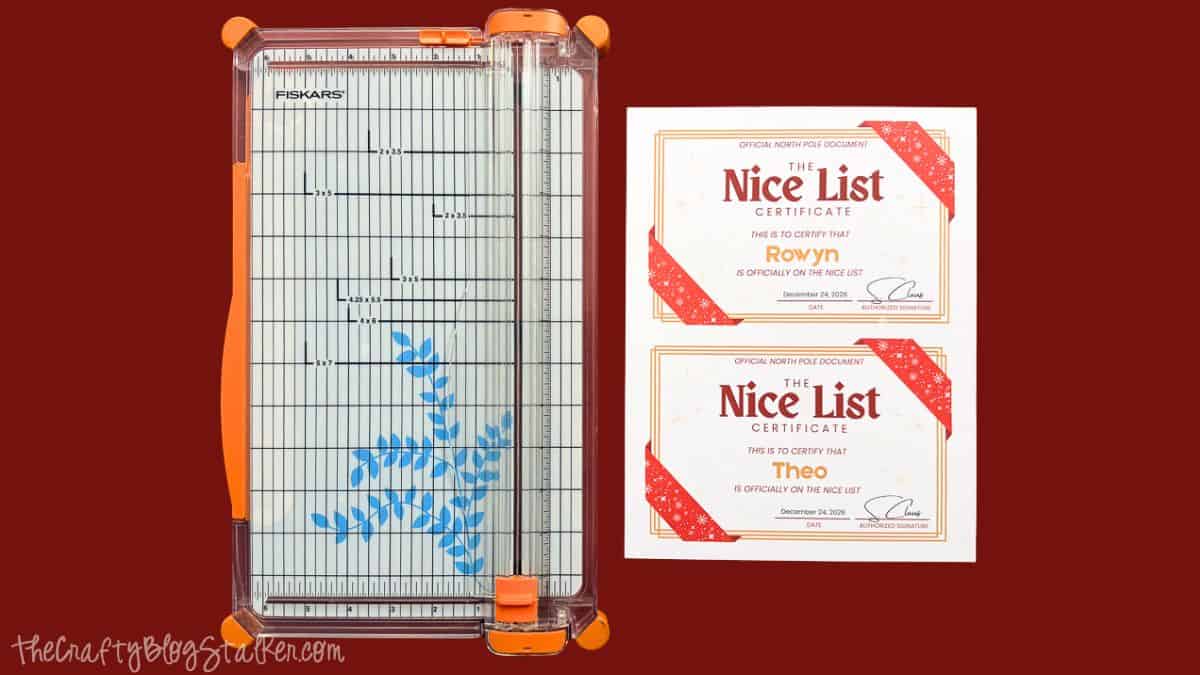
The template is made to print two certificates on one sheet. This template doesn't have a single-certificate option.
Once the settings look right, click Print.
Let the ink dry before you cut the page.
How to Cut the Certificates Apart
Now it's time to cut out your certificates!
I like to use a paper trimmer because it gives me nice, straight cuts.
Scissors will work, too.
Place the printed page on your paper trimmer.
Line up the blade with the space between the two certificates.
Make sure the paper is straight before you cut.
Then slide the blade down to cut the page in half.
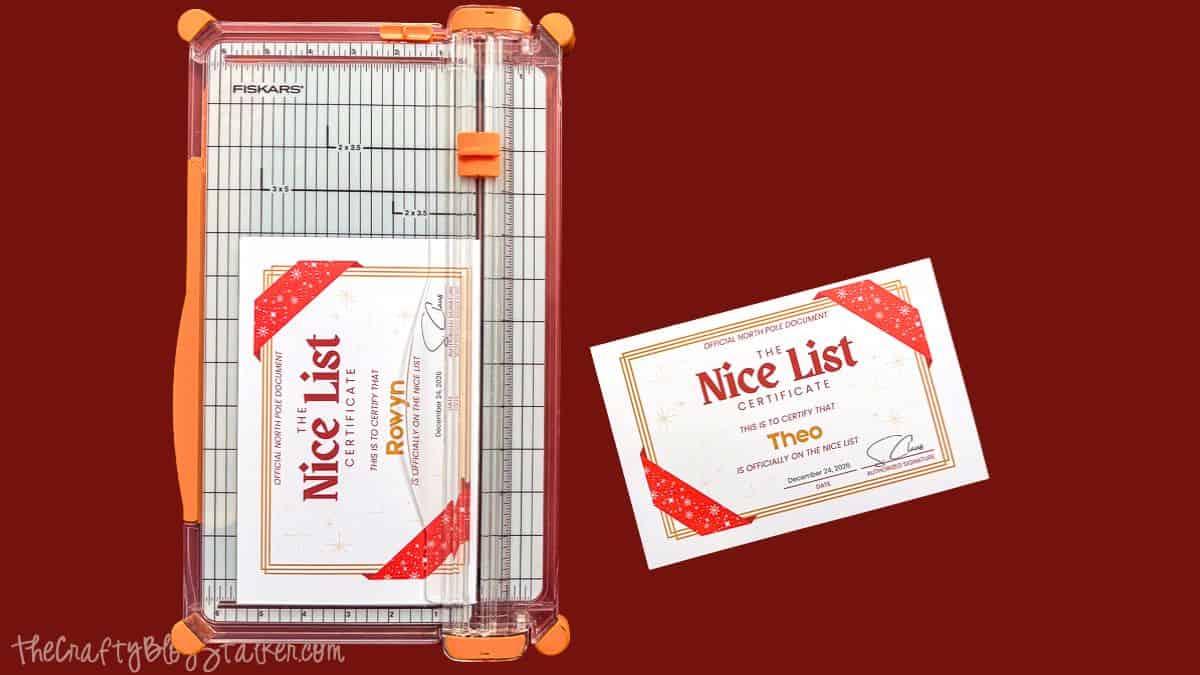
That's it! You now have two cute certificates ready to give to your kids.
I love the gold border, red bows, and Santa's name at the bottom. They make the certificates look so sweet!
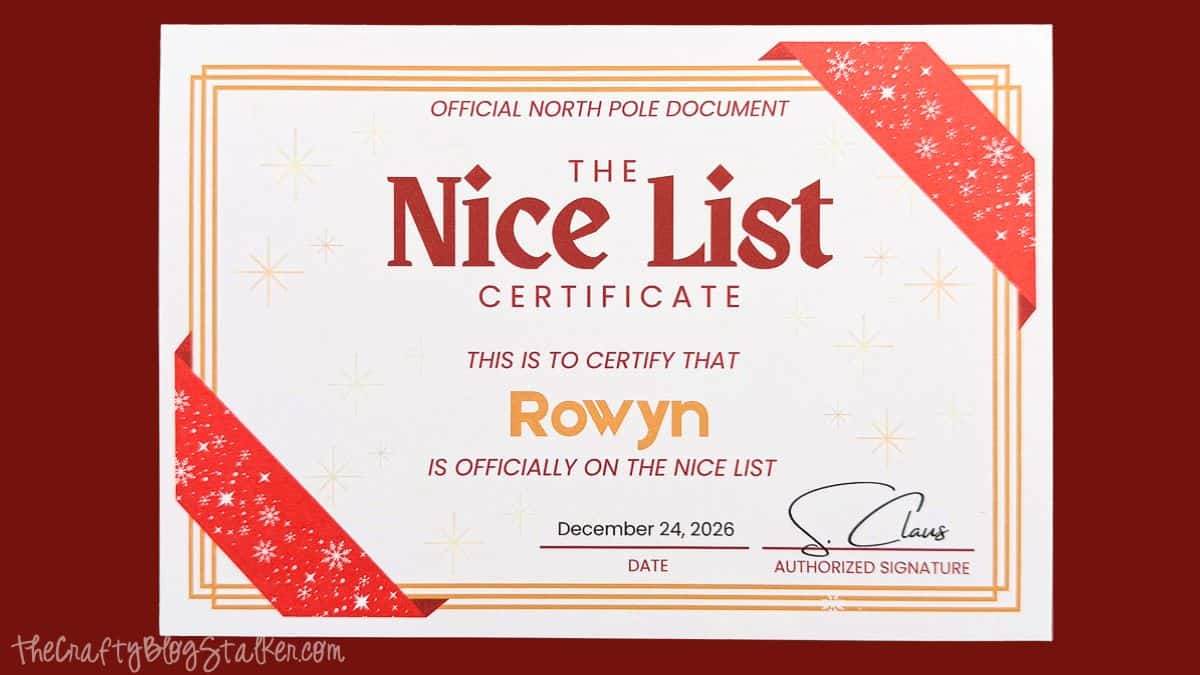
You can tuck the certificate into an envelope, leave it by the Christmas tree, or have your Elf on the Shelf bring it as a gift.
I think it would be so much fun to give these out in November or early December. That way, the kids can enjoy being on Santa's Nice List all season long!
Frequently Asked Questions
Yes! You can get the Canva template for free from my shop. You just need paper, a printer, and a free Canva account.
No. You can use Canva's free version to add your child's name and date.
Yes! You can change the name and date on each certificate. The rest of the design is locked to keep it in place.
The template has two certificates on one sheet, so both will print at once. You can cut out the one you need and save the other for later.
I like white or cream cardstock because it is thick and looks nice. You can also use regular printer paper.
Yes! Just change the names in Canva, then download a new file for each pair. You can print as many copies as you need for your own family.
Need help with this project?
Click a button below to ask AI how to print the certificate without cutting off the edges.
More Christmas Printables
I've teamed up with some blogging friends to bring you even more free Christmas printables! Grab them here.

Hi, I'm Katie!
I'm so glad you're here. Want to make something fabulous? I'm here to help!
The post Free Printable Official Nice List Certificate appeared first on The Crafty Blog Stalker.
]]>The post Best Homemade Foot Soak Recipe appeared first on The Crafty Blog Stalker.
]]>
After a long day, nothing beats sitting down and giving your feet a little care.
This homemade foot soak recipe is easy to make with Epsom salts, coconut oil, and your favorite essential oil.
I love how the warm water helps me relax while the oil leaves my feet feeling soft.
In this tutorial, I'll show you how to mix the foot soak, use it, and do a simple at-home pedicure.
Skill Level: Beginner
Estimated Cost: $2 - $5
Total Time: 25-30 minutes
Craft Tutorial Video
If videos are your thing, you're in luck-I've got a full tutorial ready for you!
Subscribe to my YouTube channel and stay inspired with every new project.
Recipe Ingredients
You only need three simple ingredients for this foot soak recipe.
- 1 cup Epsom Salt
- 1 tbsp Fractionated Coconut Oil
- 3 drops Essential Oils
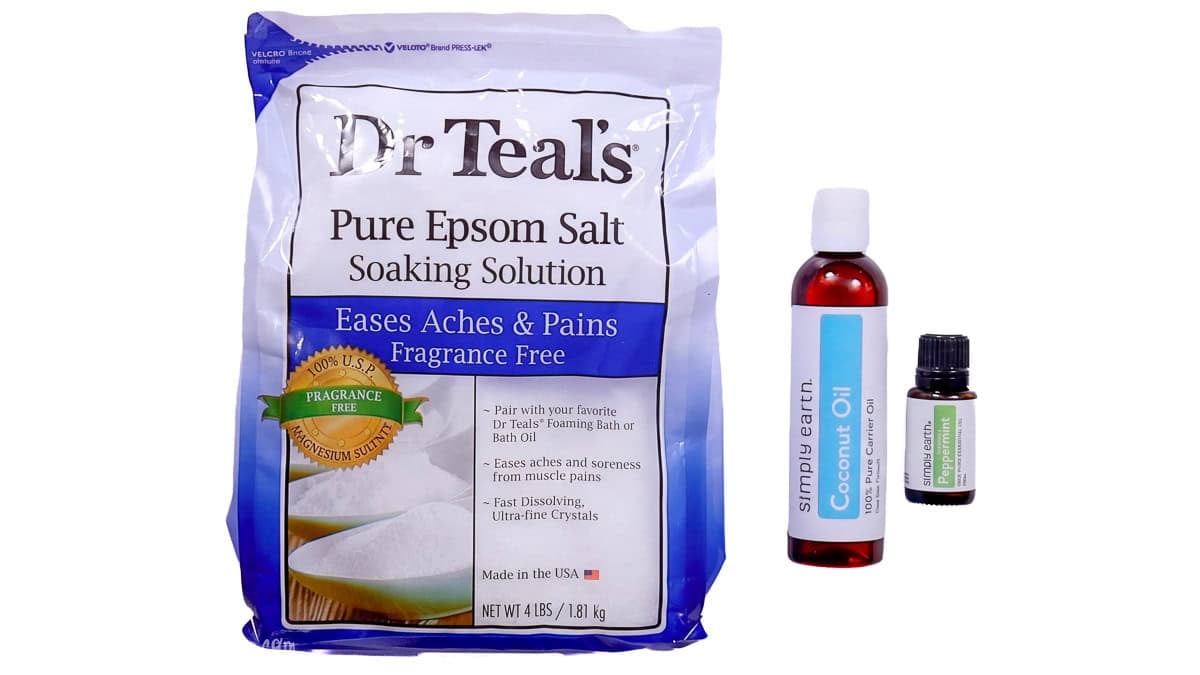
I love using peppermint essential oil in my foot soaks. It smells fresh and gives my feet a cool, tingly feel.
It's so nice after a long day when my feet feel tired!
You can also use lavender essential oil if you like a soft, calm scent.
Don't have peppermint or lavender? Use an essential oil you already have, as long as it is safe for use on skin.
You can also swap the coconut oil for another skin-safe oil, like sweet almond oil.
The oil helps add moisture to dry skin, while the warm water helps your feet feel clean and soft.
Use only a few drops of essential oil. If you have sensitive skin, you can skip it.
How to Make Homemade Foot Soak
This recipe is so easy to make! You can mix it up in just a few minutes.
Start by adding 1 cup of Epsom salt to a small bowl.
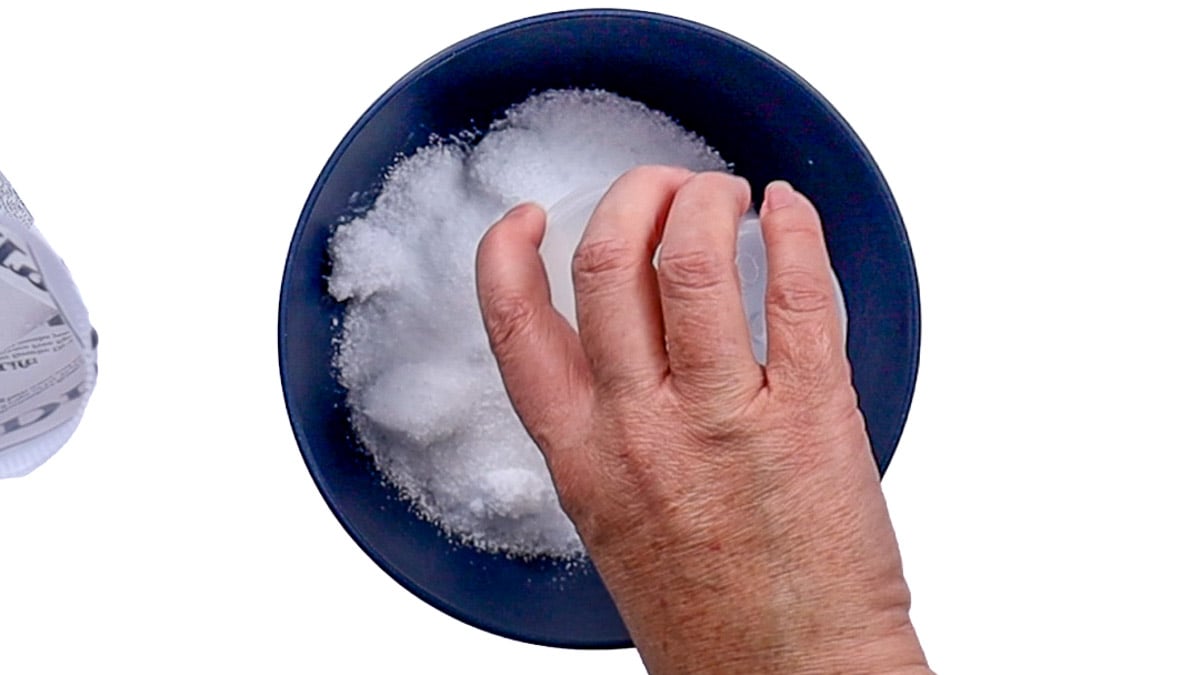
If there are any clumps, you can break them with your fingers.
Next, add 1 tablespoon of coconut oil to the bowl.
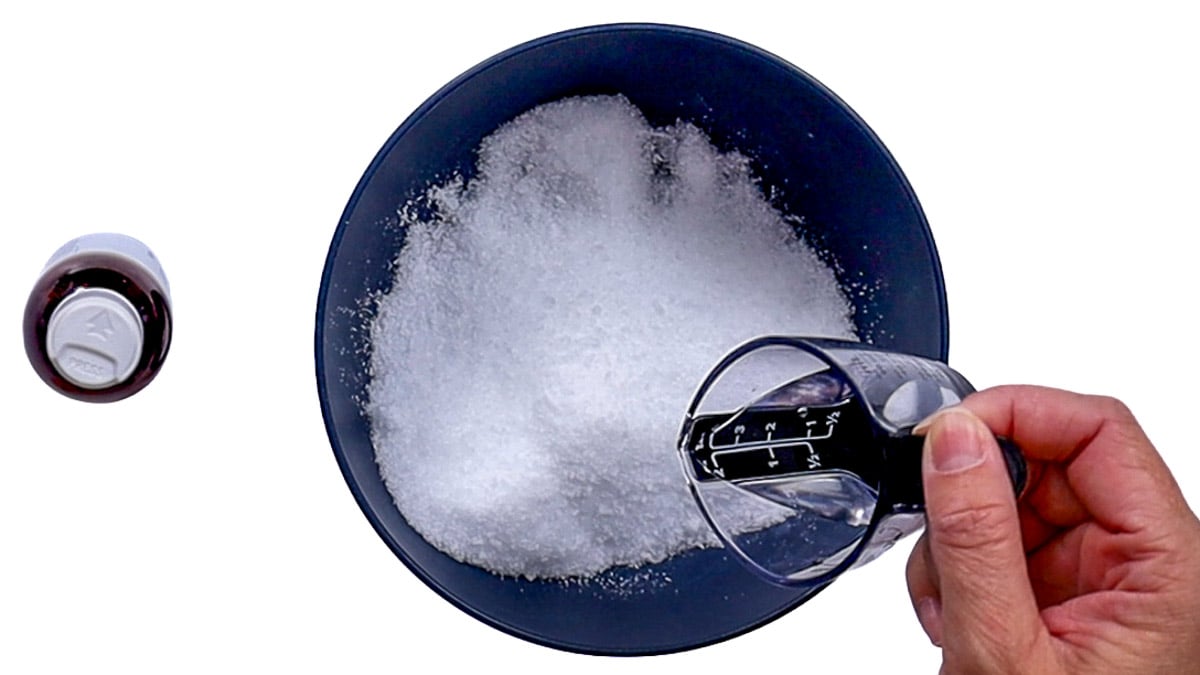
Then add 3 drops of your favorite essential oil.
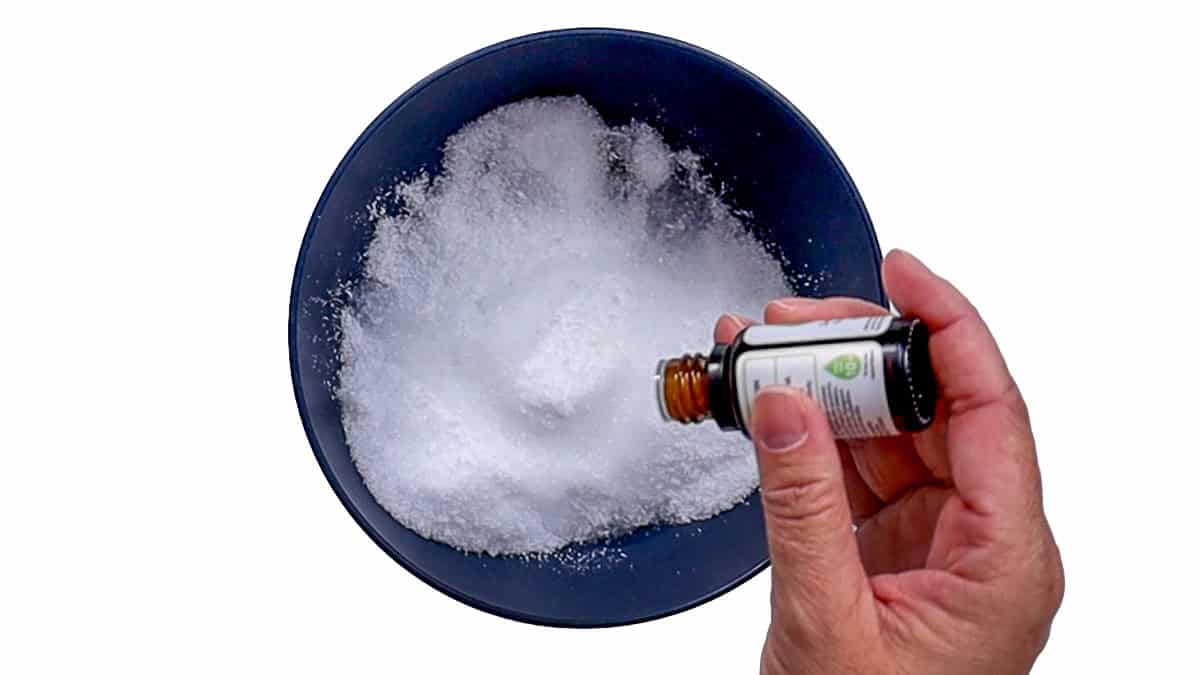
Use a spoon or spatula to stir the mixture until the oil is fully mixed in.
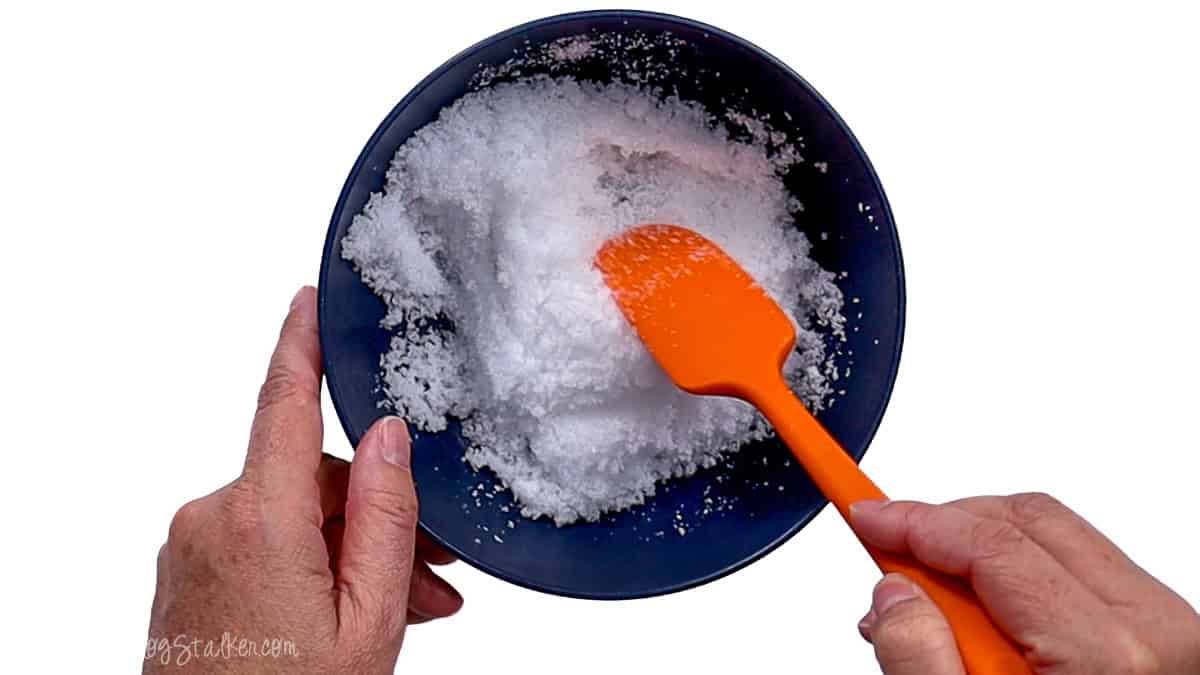
That's it! Your homemade foot soak is ready.
I like to make mine right before I use it. It only takes a minute, and I can pick a scent that fits my mood.
How to Use Your Homemade Foot Soak
Now for my favorite part!
I like using this 8-quart plastic tub for my foot bath. It is a nice size for both feet and is easy to put away when I'm done.
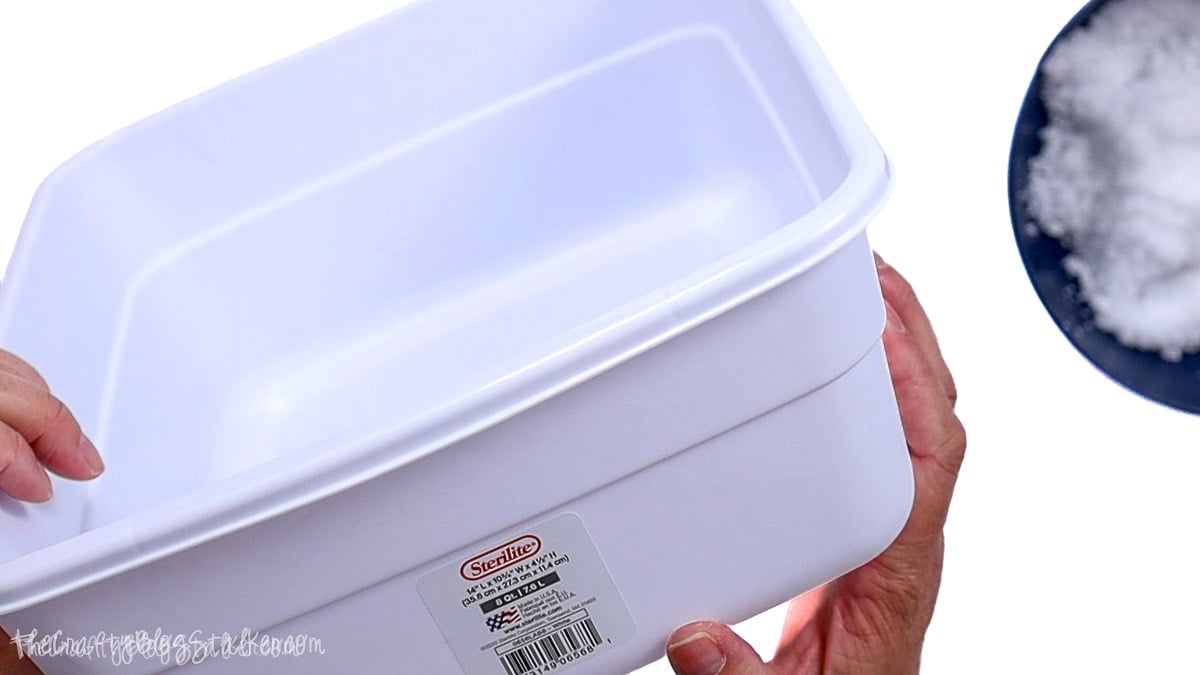
Place the tub on a flat floor where you can sit and relax.
Pour the salt mixture into the tub.
Next, add warm water until the tub is about halfway full.
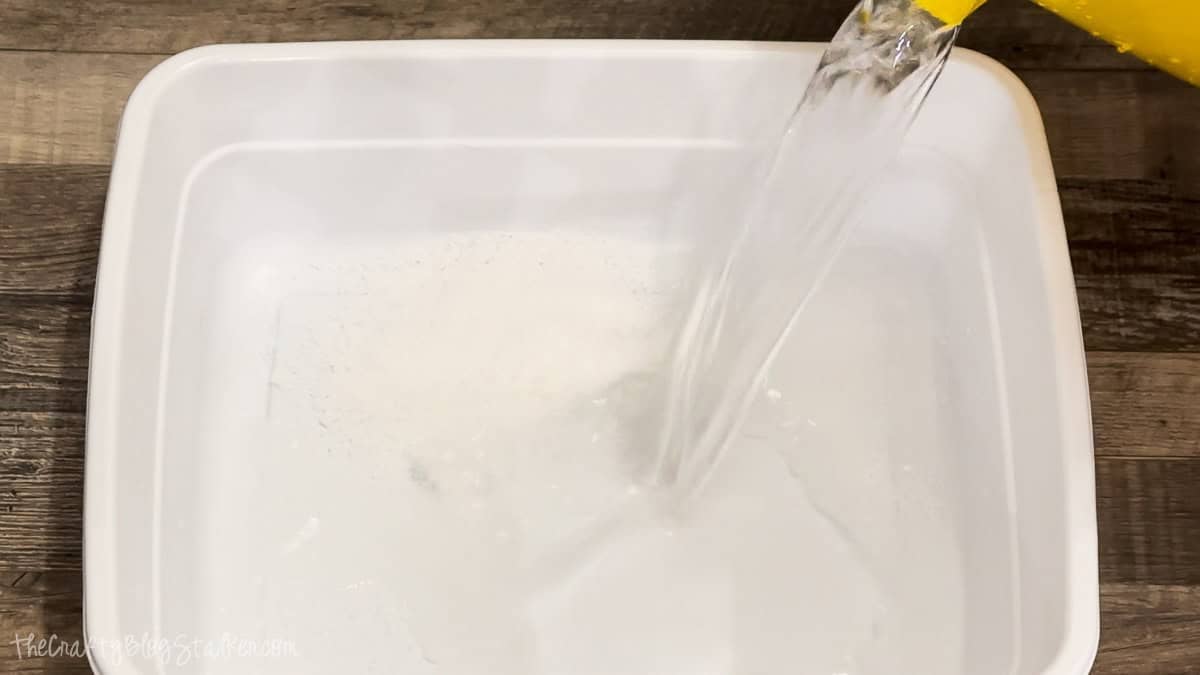
Give the water a quick stir to help the salt dissolve.
Check the water with your hand before putting your feet in. It should feel warm, not hot.
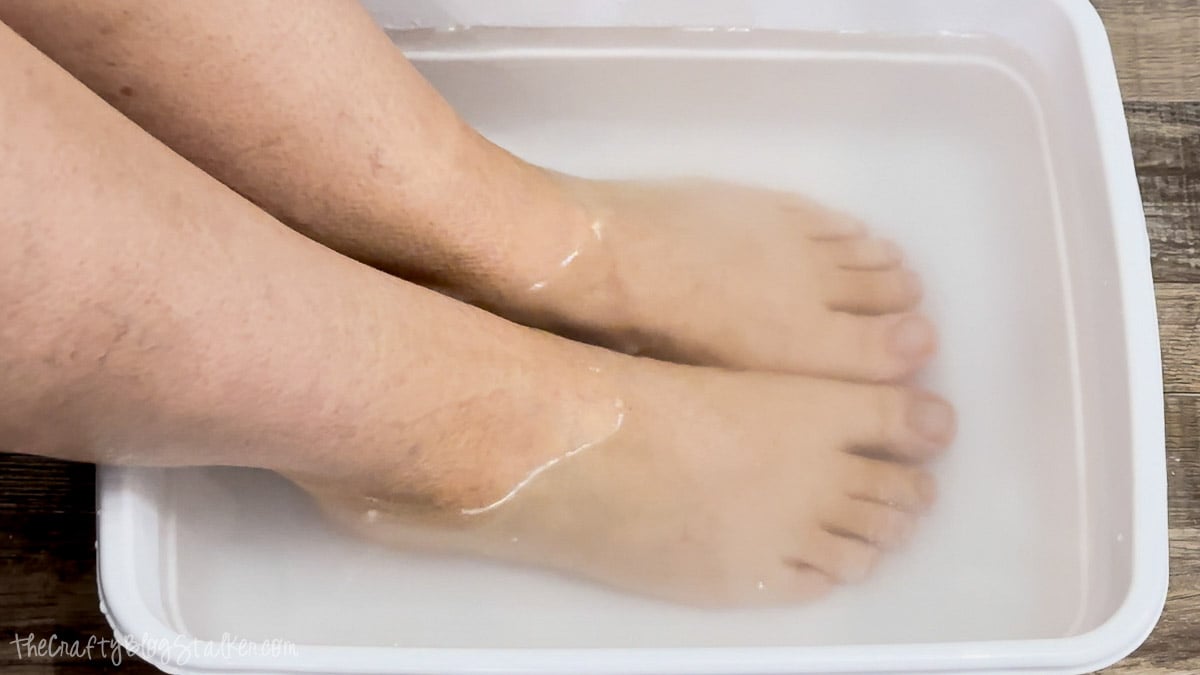
Carefully place your feet in the tub and enjoy your foot soak!
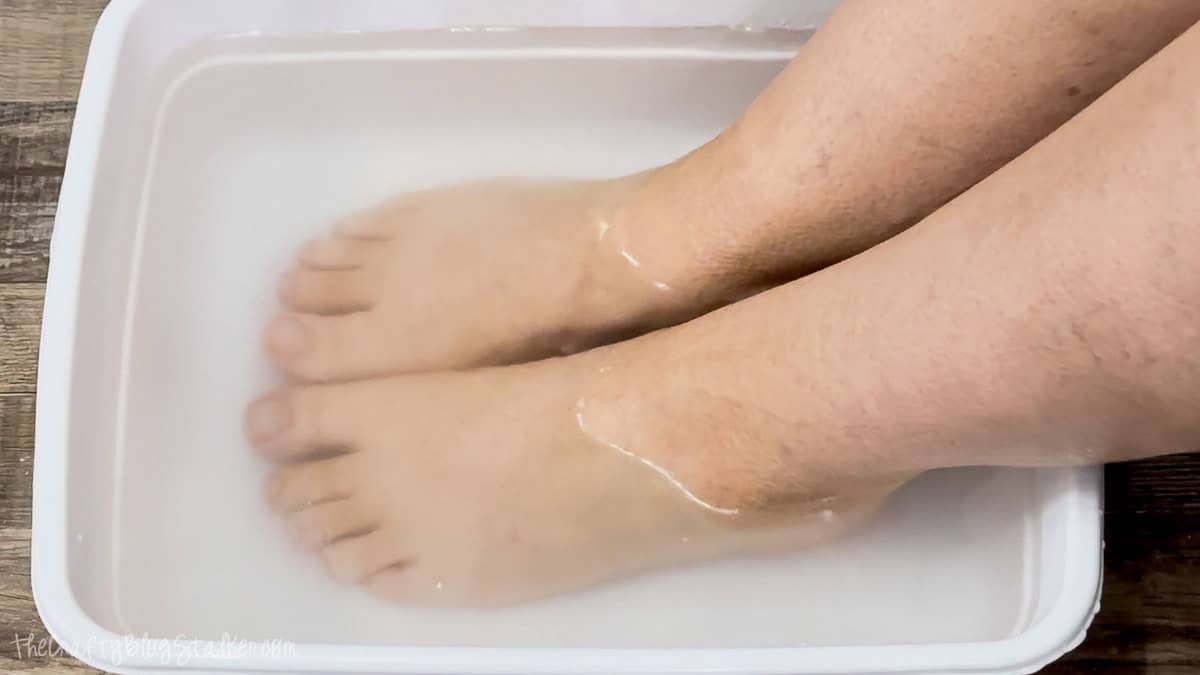
I like to soak my feet for about 15-20 minutes.
It's a great time to sit back, read a book, or just enjoy a few quiet minutes.
The warm water feels so nice on achy feet, and the coconut oil helps my skin feel soft.
Be careful when you step out. The oil can make your feet and the tub slick.
Give Yourself a Simple Pedicure
After soaking, dry your feet with a clean towel.
This is a great time to give your feet a little extra care!
I like to use a pumice stone to gently rub the rough skin on my heels.
Warm water helps soften dry skin, making it easier to remove dead skin.
Don't scrub too hard. A little goes a long way, and you don't want to hurt your feet.
You can also trim your toenails if they need it.
Next, rub some lotion on your feet to help hold in moisture.
I like to take a few more minutes to rub my feet and calves. It feels so good after a long day!
Then put on a comfy pair of socks to help keep your feet soft.
And that's it! Your feet will feel clean, soft, and ready for another busy day.
Tips for Soft Feet
You don't need a trip to the spa to care for your feet.
One of the best things you can do for dry skin is use lotion daily, especially after a bath or shower.
I like to put lotion on my feet before bed and wear soft socks.
If your heels are rough, you can use a pumice stone once in a while. Be gentle, and stop if your skin starts to hurt.
You can also change the scent of this foot soak recipe.
Peppermint is my favorite when I want a fresh, cool feel. Lavender is nice when I want to relax.
If you want to make foot soaks as gifts, you can put the dry Epsom salt in a cute jar with a tag. Keep the oil in a small bottle so you can add it right before use.
It's a sweet gift for someone who could use a little time to rest!
Do not use a foot soak on cuts, sores, or broken skin. If you have diabetes, poor blood flow, or loss of feeling in your feet, ask your doctor before soaking them.
Frequently Asked Questions:
Yes, you can make a simple foot bath with baking soda and warm water.
Baking soda is not the same as Epsom salt, so the foot soak will feel a bit different.
If you want to try it, start with a small amount of baking soda in a tub of warm water. Stop if it makes your skin feel dry or sore.
A warm foot bath may feel nice on tired feet, but it won't treat swelling.
If your feet are swollen, try resting with your feet up. If the swelling is new, painful, or does not go away, talk to your doctor.
Peppermint and lavender are two of my favorites.
Peppermint has a fresh scent and can make your feet feel cool. Lavender has a soft scent that I find calming.
You may also like eucalyptus, but some oils can bother the skin.
Always use a skin-safe oil in a small amount and mix it with a carrier oil first. Never add pure essential oil right to your skin.
Start by soaking your feet in warm water for about 15 to 20 minutes.
Then use a pumice stone to gently rub rough spots on your heels.
This helps remove dead skin.
Finish with lotion to help keep your feet soft.
You can add a little vinegar to water with Epsom salt, but vinegar may sting or dry out your skin.
Some people use vinegar foot soaks to help with foot odor, but they are not a sure way to treat a foot infection.
If foot odor won't go away, or you think you have a skin infection, it's best to see a doctor.
A short soak may help soften dry skin, but be careful if your heels have deep cracks.
Do not soak feet with open cuts or sores.
Use a thick foot cream to help keep the skin soft. If your heels are bleeding, sore, or have deep cracks, talk to your doctor.
Need help with this project?
Click a button below to ask AI how often to use this homemade foot soak.
More DIY Beauty Ideas
Can you have too many bookmarks? I don't think so! Here are a few more fun ideas.


Hi, I'm Katie!
I'm so glad you're here. Want to make something fabulous? I'm here to help!
The post Best Homemade Foot Soak Recipe appeared first on The Crafty Blog Stalker.
]]>The post 2026 Holiday Decorating Ideas appeared first on The Crafty Blog Stalker.
]]>
Does anyone else feel like the year just flew by?
I love this time of year, and decorating for Christmas is one of my favorite things to do.
You don't need all new decor to make your home feel fresh, just a few new touches mixed with old favorites.
I've put together some fun holiday decorating ideas to inspire you!
Christmas Samsung Frame TV Art
Do you have a Samsung Frame TV? These TVs are great for anyone who loves home decor.

The Frame works like a regular TV, but when you're not watching, you can use it to display art.
Instead of a large black screen on your wall, you get a pretty picture that looks like framed art.
It comes in many sizes, so you can pick one that fits your living room or any other room.
My favorite part is that you can change the art for each season!
For Christmas, you can show snowy trees, Santa, winter scenes, or even art that looks like an old painting.
This Etsy art bundle includes 500+ art prints for the Frame TV. It includes Christmas art and many other holidays, too.

Once you buy the bundle, download the art you like and add it to your TV.
It's a fun way to add Christmas decor to your home without storing more decorations!
You can even switch the art to match your tree or your room's colors.
Artificial Christmas Trees
The Christmas tree is one of the first things I think about when it's time to decorate!
I've picked out some of my favorite trees in a mix of sizes, styles, and prices.
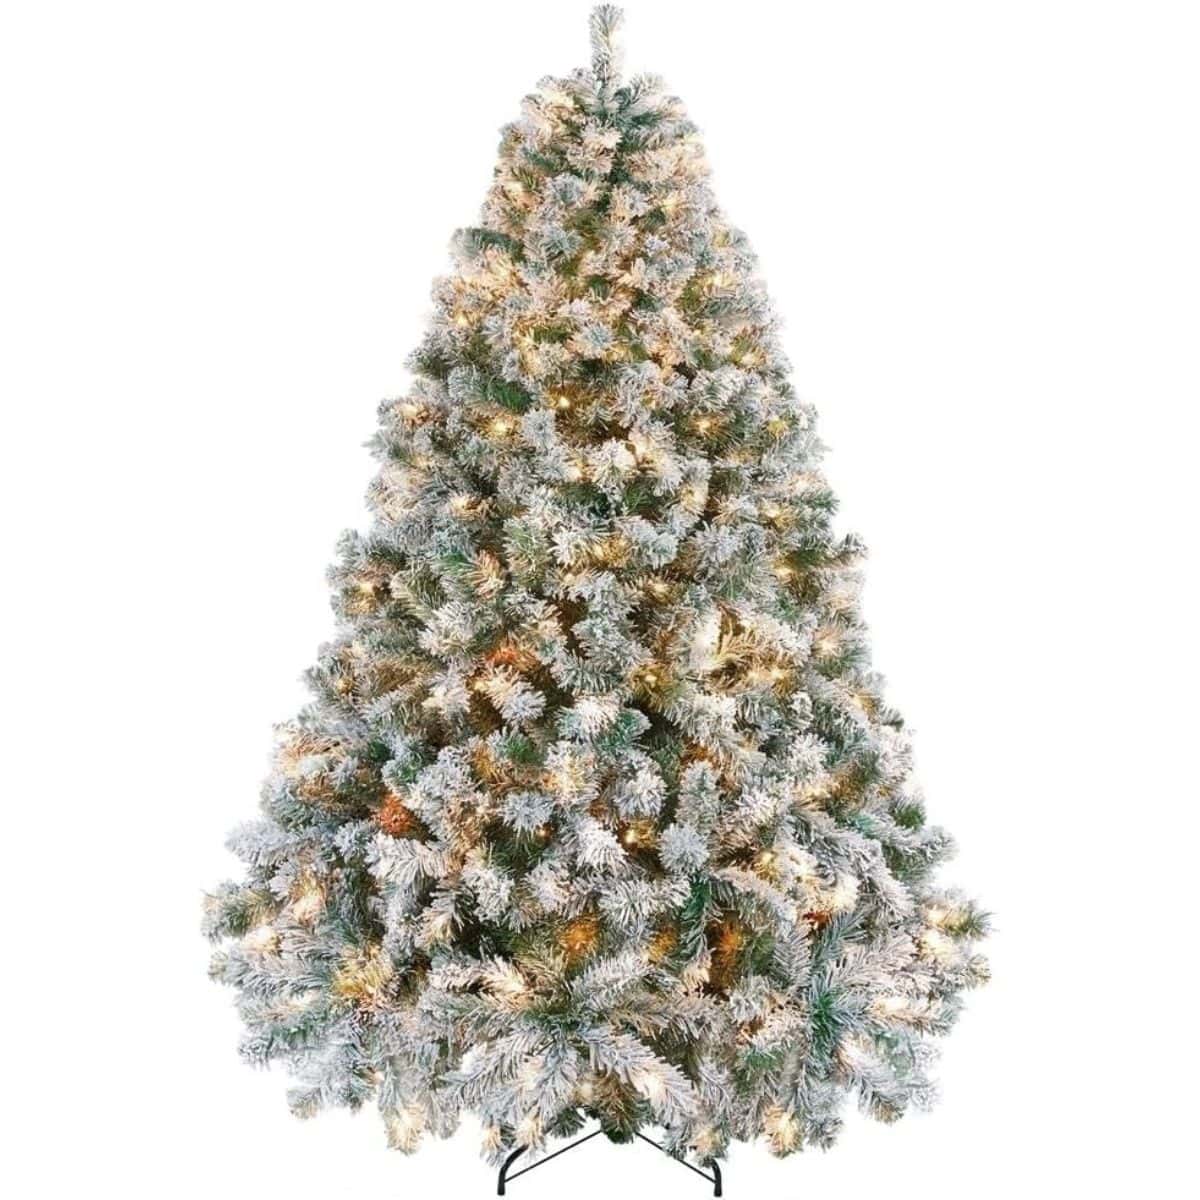
Some have soft white lights, while others have bright colors. You'll also find trees with snow on the branches and trees that look like real pine.
If you see one you love, don't wait. Some trees can sell out as Christmas gets close.
This is my Christmas tree, and I love how it looks in my home! You can see how I decorated it in my post on modern Christmas tree ideas.




How to Pick the Right Christmas Tree
Before you buy a new tree, think about where you want to put it.
Check your room height and leave space for a tree topper. You don't want to set up your tree and then find out your star won't fit!
It's also good to check how wide the tree is. A full tree looks great in a large room, but a slim tree may work better in a small space.
If you love lots of ornaments, choose a tree with strong branches and plenty of room to hang them.
You can also choose a tree with lights already on. This saves time when you're ready to decorate.
Don't forget the base! Tree skirts are a great way to hide the stand and add one more fun touch to your Christmas tree.
Christmas Wreaths, Tree Toppers, and Stockings
Once the tree is up, it's time for the rest of the Christmas decor!
I love adding wreaths, stockings, and a few small accents around the house.
Hang a wreath on the front door, over a mantel, or on a wall that needs a little Christmas cheer.
A mantel garland is another easy way to make your living room feel ready for the holidays.
You don't need to fill every space with decorations. Just a few pieces can make a big change.
I've picked out some pretty wreaths, tree toppers, and stockings to help you find a look you love.
Christmas Wreaths
A Christmas wreath is one of the easiest ways to dress up your home.
I love the look of plain green wreaths. They go with so many styles, and you can use them year after year.
For more color, try a wreath with red berries, gold accents, or a big bow.
Hang a wreath on your front door, over a mirror, or on a wall in your home.


Christmas Tree Toppers
I add a tree topper last to my Christmas tree.
It's the fun final touch that brings the whole tree together!
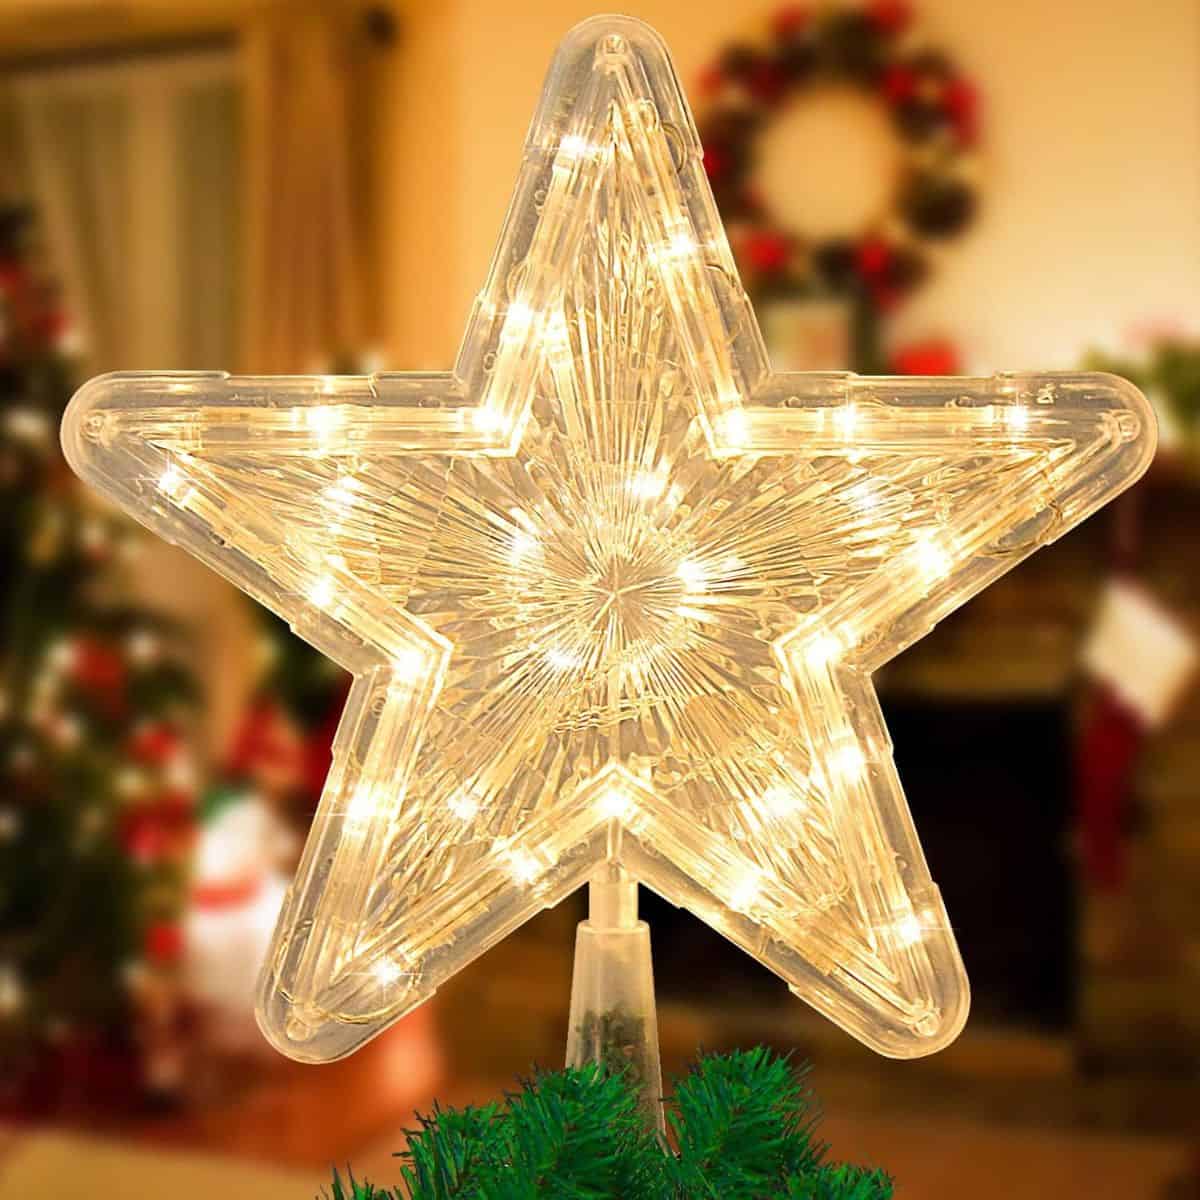
A star is always a great choice, but I also love the look of a big bow.
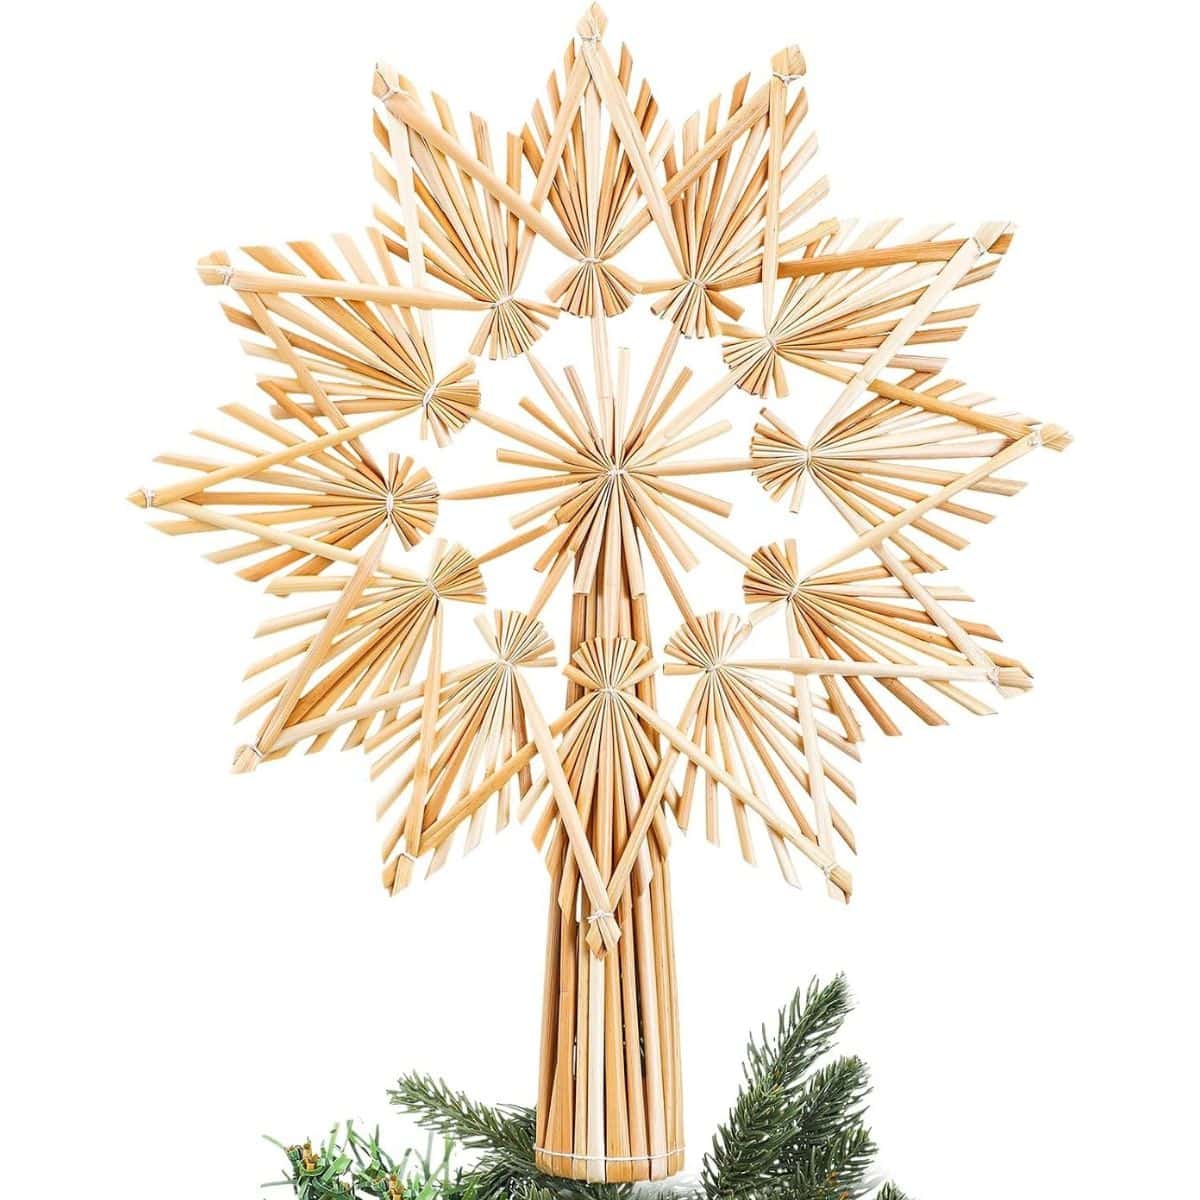
If you like a soft, warm look, a straw star is a great choice, too.
Try to pick a topper that goes with the colors and style of your ornaments.

Christmas Stockings
Christmas stockings are one of those things that make a home feel ready for Santa!
I love the look of knit stockings. They feel warm and cozy and look so pretty by the fire.
White fur stockings are another fun choice if you like a soft, simple look.
And if you love cute Christmas decor, a snowman stocking is hard to pass up!
Hang them on the mantel with stocking holders, or use hooks on a shelf or wall.
Add a little greenery or garland above them to tie the look together.


Easy Ways to Decorate Your Home for Christmas
You don't need much new holiday decor to make your home feel special.
I like to start with the Christmas tree and then add small touches around the room.
Try hanging a wreath on the wall or draping a garland over your mantel. You can also add a few small trees, candles, or Christmas signs to a shelf.
To make your home feel warm and cozy, use soft lights, knit stockings, and lots of greenery.
For a bright and fun look, try red bows, gold accents, and bright ornaments.
You can also keep things simple with white lights, wood decor, and soft colors.
One of my favorite things is picking two or three colors and using them in each room. This helps the whole house feel cohesive.
And don't forget the things you already own!
A bowl filled with ornaments can make a pretty table display. You can also add a bow to a plain wreath or use old Christmas cards as art.
It's a great way to refresh your home without spending a lot of money.
Save the money you don't spend on decor for Christmas gifts instead!
More Christmas Ideas
Looking for more ways to make your home feel Christmas-ready?


Hi, I'm Katie!
I'm so glad you're here. Want to make something fabulous? I'm here to help!
The post 2026 Holiday Decorating Ideas appeared first on The Crafty Blog Stalker.
]]>The post Christmas Gifts for Infants and Toddlers appeared first on The Crafty Blog Stalker.
]]>
Shopping for babies and toddlers is fun, but it can be hard to know what to buy.
You want to find the best gift, but you also want something they will use and love.
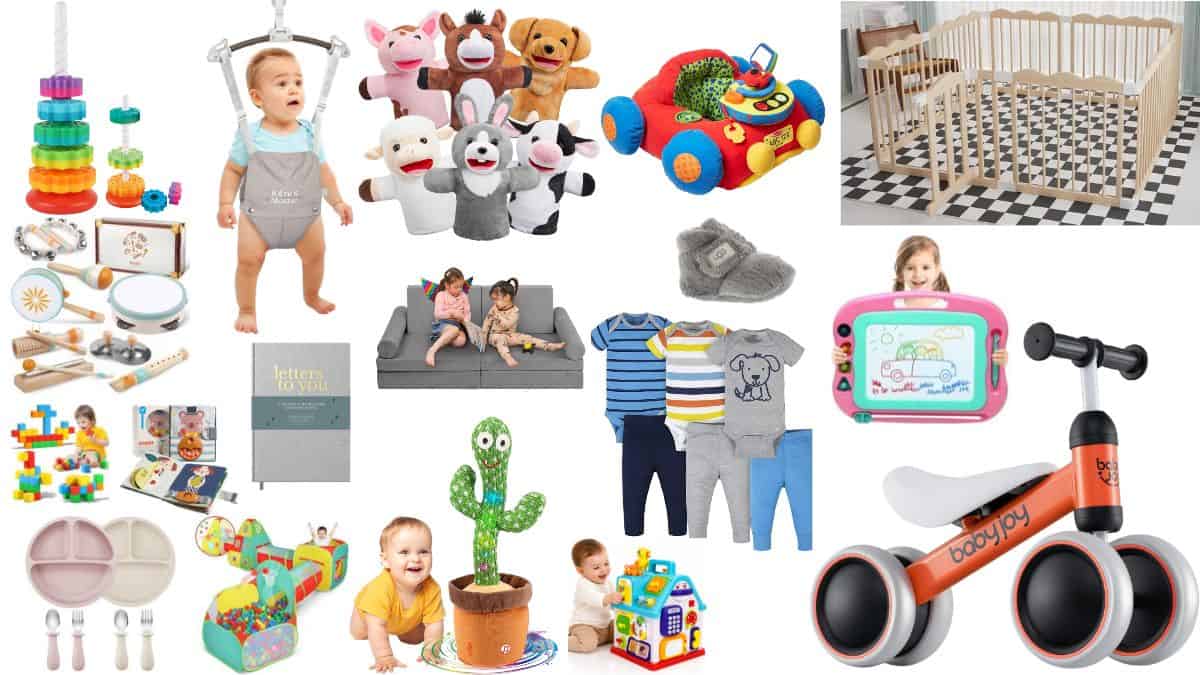
I've put together 18 Christmas gift ideas, including fun toys, cute clothes, and gifts new parents will love, too.
Whether you're shopping for your kids, grandkids, or a friend's little one, I hope this list makes your shopping a bit easier!
Christmas Gift Ideas for Infants and Toddlers
Babies may not know what Christmas is yet, but shopping for them is still fun!
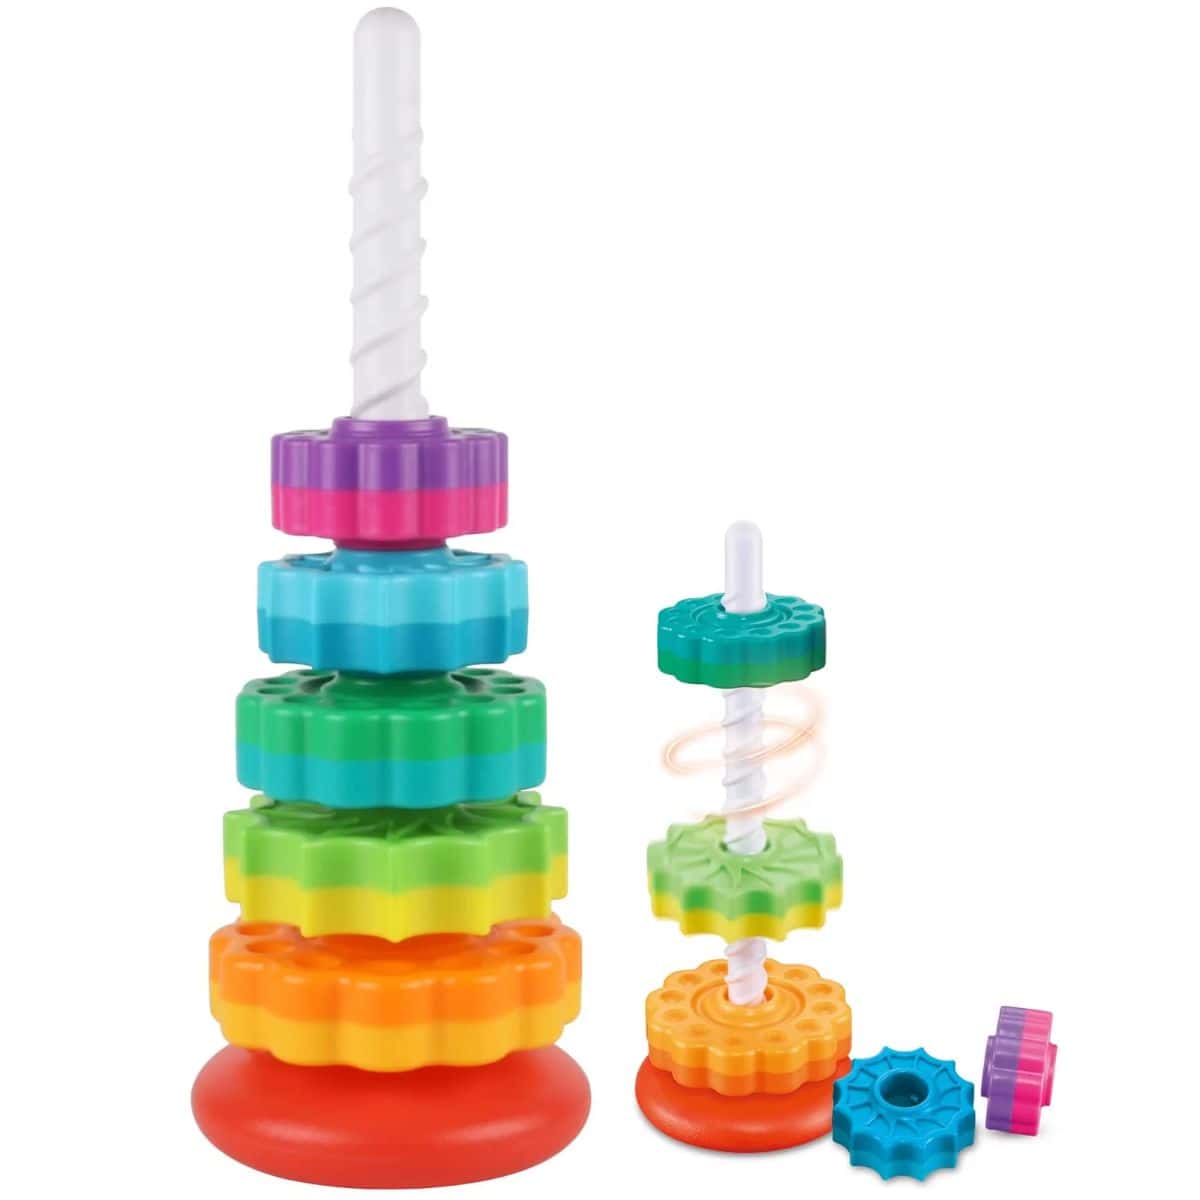
I love finding gifts that help kids learn as they play. Toys that spin, stack, or make sounds are fun for little hands to explore.
Some toys are great for infants who are just starting to play. Others are made for toddlers who love to move, build, and try new things.
I've also added a few gifts parents can use every day, like baby clothes and feeding sets.
Here are 18 Christmas gifts for infants and toddlers!










How to Pick the Best Gift for a Baby or Toddler
When I shop for little ones, I think about their age and what they like to do.
Babies grow fast! A toy that's fun for a one-year-old may not be right for a baby just a few months old.
For young infants, soft toys and books with fun textures can be a good choice. Tummy-time toys can also give babies something to look at and reach for while they play on the floor.
As babies grow, they may like toys they can grab, spin, and stack. These toys help them use their hands and eyes together. This is called hand-eye coordination.
Toddlers often love toys that let them move, build, and make noise. A classic toy, like a set of blocks, can be just as much fun as one with lights and sounds.
Always check the age on the toy box before you buy. Some toys have small parts that are not safe for babies or young kids.
It also helps to ask the parents what their child likes. That way, you can find a gift they will use and not one they already have!
Fun Toys That Help Babies and Toddlers Learn
Babies and toddlers learn so much while they play.
A stacking toy is a great way to help little hands learn to pick things up and put them in place. These small moves help build motor skills as kids grow.
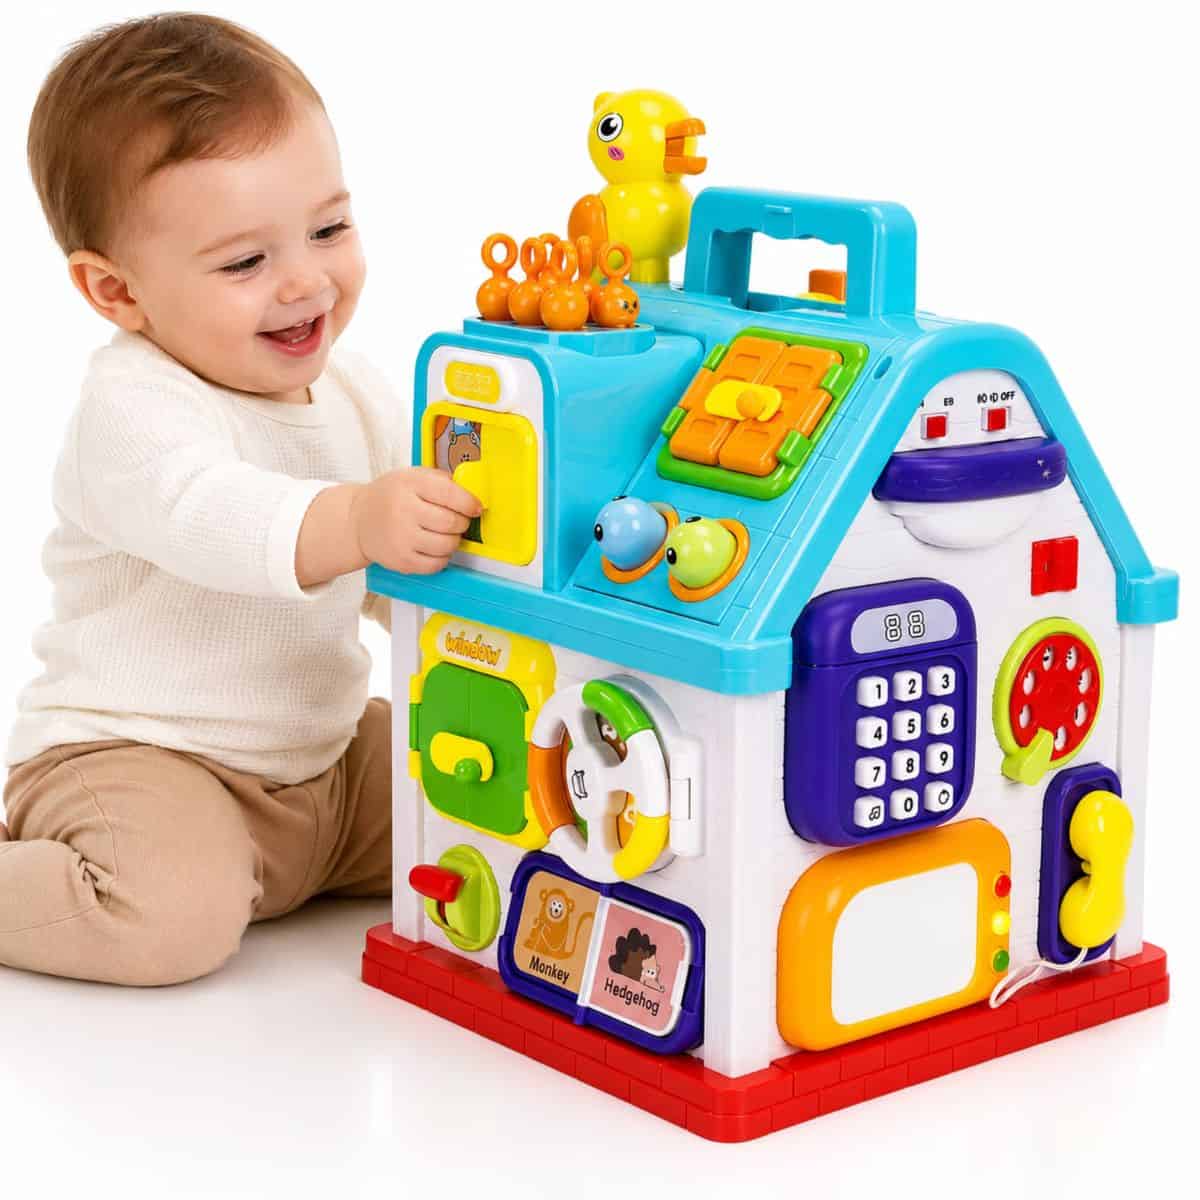
Busy books and activity cubes are also fun. They have parts kids can touch, turn, and move.
For toddlers who love to build, blocks are a great gift. They can stack them up, knock them down, and start all over again.
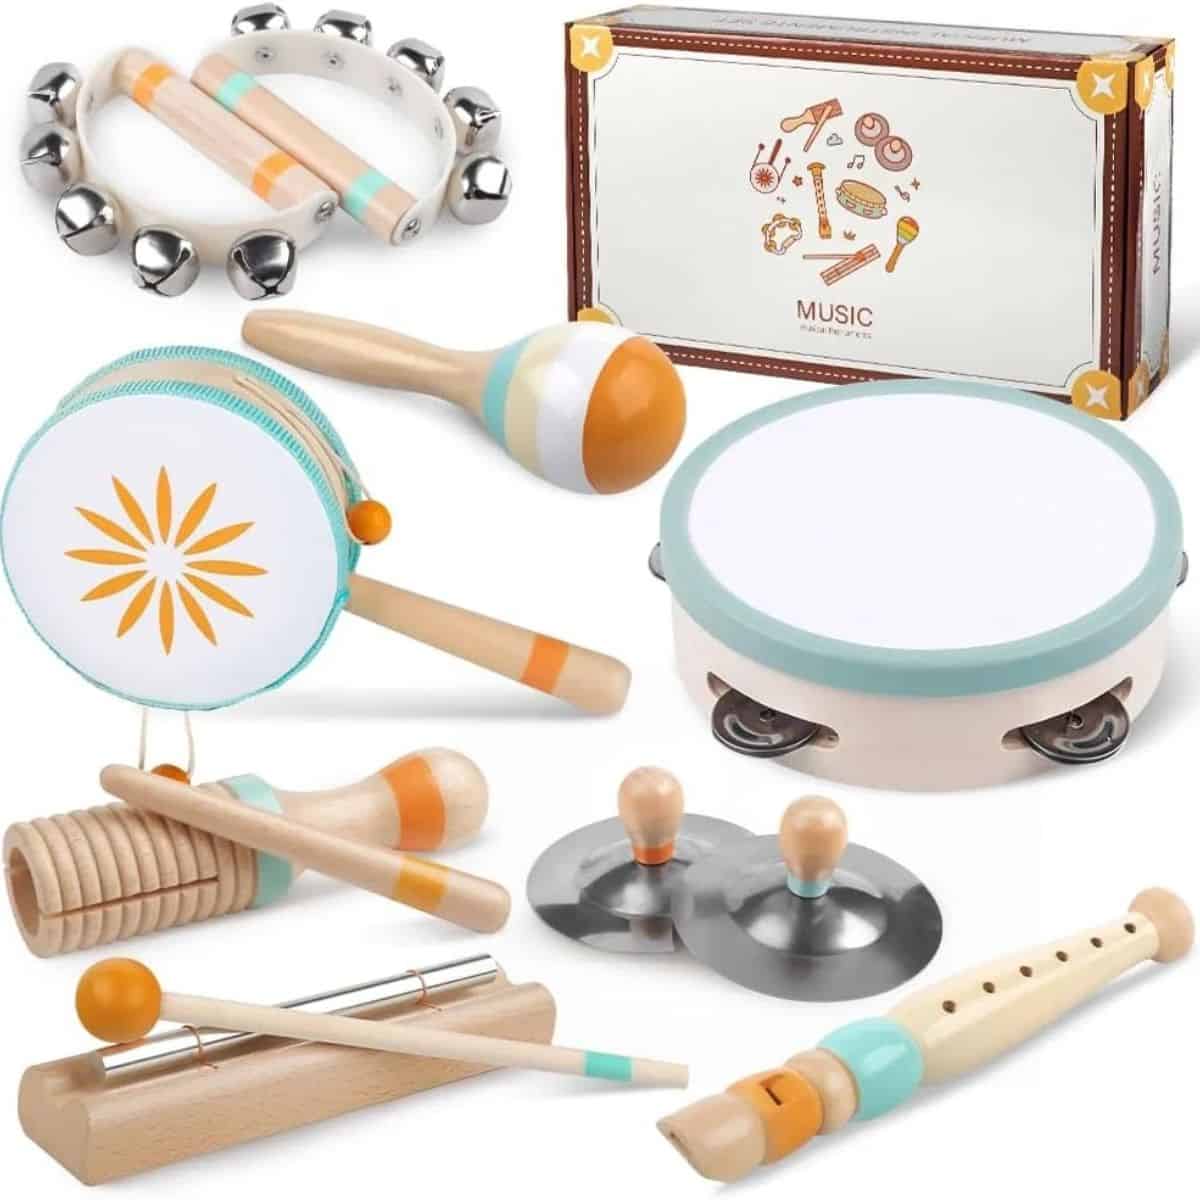
And if you have a little one who loves music, toy drums and shakers can be a big hit.
Just be ready for a bit more noise at home!
I also love hand puppets. Kids can use them to make up stories, play with family, and make silly voices.
For kids who like to move, play tents and soft play couches can be lots of fun.
Some toys have magnets, cords, or small parts. Check the age label and watch young kids while they play.
Useful Christmas Gifts for Babies and New Parents
Not all Christmas gifts need to be toys.
Some of the best gifts for infants are everyday items parents use.
Baby clothes are always a fun gift. A set with multiple outfits can be a great gift, too.
Just check the baby's size before you buy. Babies grow fast, and they may need a larger size soon.
Soft baby boots are another cute gift, most of all in the cold winter months.
For toddlers who are learning to eat on their own, a plate and spoon set can be very helpful. Small spoons and forks are easier for little hands to hold.
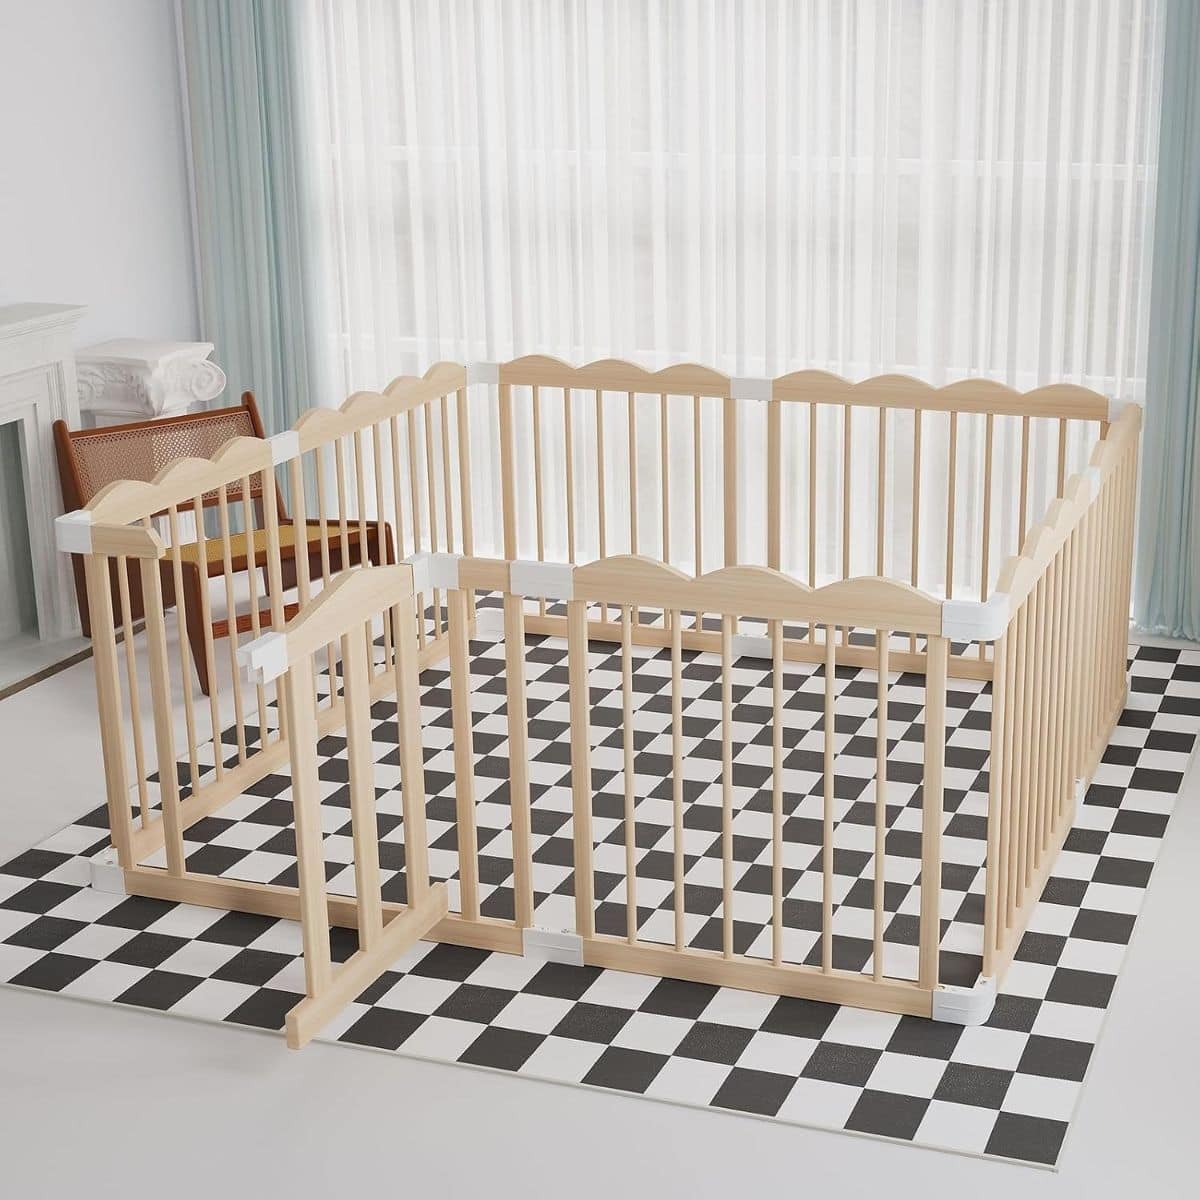
A playpen may also be useful, but it's best to ask the parents first. They take up space, so make sure the family has room for one.
I also love gifts that parents can save for years.
A book where parents write letters to their child is such a sweet idea. They can write about fun days, first words, and other special times.
One day, their child can read those notes and see how much they were loved.
Christmas Gifts for Toddlers Who Love to Move
Once toddlers start to walk, they seem to be on the move all day!
Toys that let them ride, crawl, and climb can be a lot of fun.
A small balance bike made for young kids can help them learn to balance and move on their own. Choose one that fits their age and size, and stay close while they ride.
Play tents with tunnels are also fun for kids who love to crawl and hide.
A soft play couch is another great gift. Kids can move the pieces to make forts, places to sit, and fun play spots.
For babies who aren't walking yet, some families may like a play seat or jumper. Check the age and size rules, and stay close while the baby plays.
Babies should not sleep in a jumper or play seat. If they fall asleep, move them to a safe, flat sleep space.
The best gift lets kids play, learn, and have fun while staying safe.
More Gift Guides
Still have more Christmas shopping to do? I've got more gift guides with fun ideas for kids, teens, and adults.
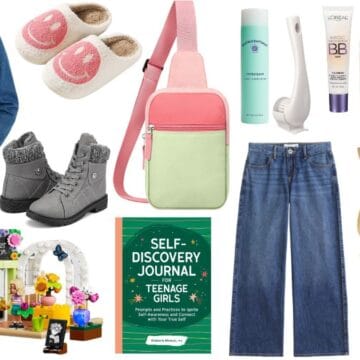
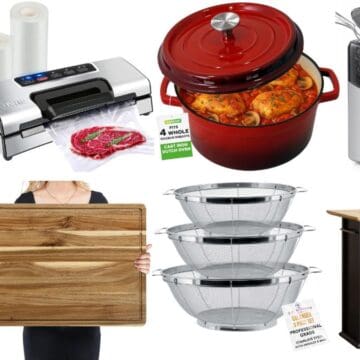
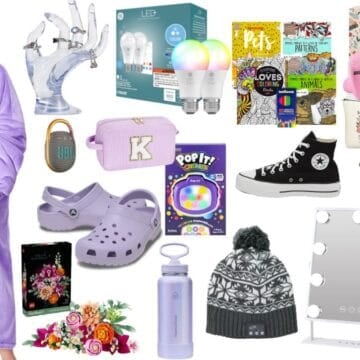

Hi, I'm Katie!
I'm so glad you're here. Want to make something fabulous? I'm here to help!
The post Christmas Gifts for Infants and Toddlers appeared first on The Crafty Blog Stalker.
]]>The post Layered Snowy Woods Christmas Card with Free SVG appeared first on The Crafty Blog Stalker.
]]>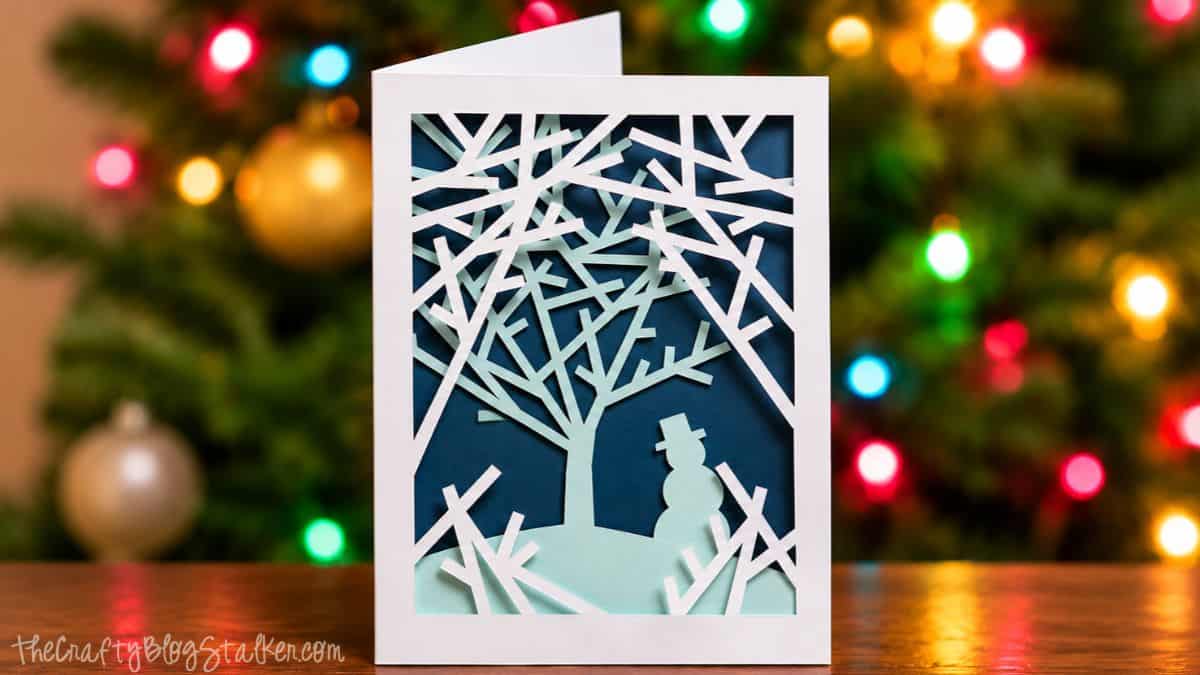
I love making Christmas cards with my Cricut, and this snowy woods card is one of my favorites.
It has white trees, a cute snowman, and layers of blue paper that make the scene pop.
The best part is that it looks hard to make, but it's quite easy!
I'm sharing a free Christmas card SVG so you can make one in about 30 minutes.
Skill Level: Beginner
Estimated Cost: $1 - $2 per card
Total Time: 30 minutes
Craft Tutorial Video
If videos are your thing, you're in luck-I've got a full tutorial ready for you!
Subscribe to my YouTube channel and stay inspired with every new project.
Supply List
- Cricut Cutting Machine
- Scoring Stylus or Scoring Wheel
- Snowy Woods Christmas Card SVG
- Cardstock (white, light blue, dark blue)
- Adhesive Foam Tape
- A2 Envelopes
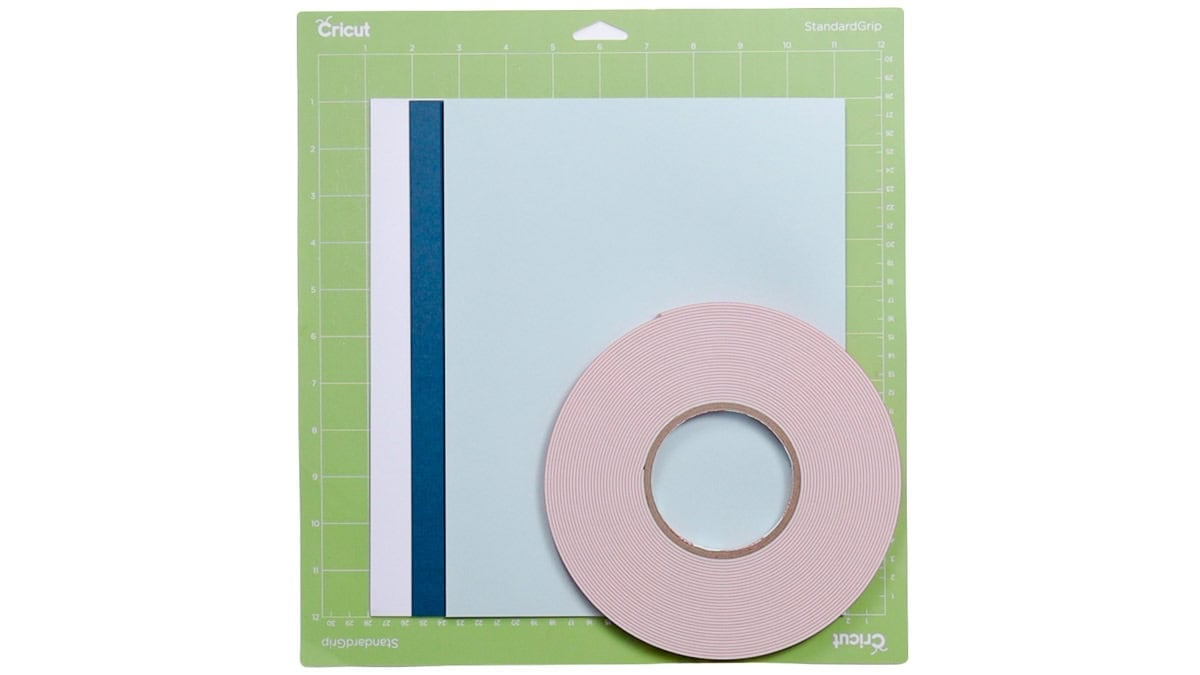
Grab the Free Christmas Card SVG
Get the free Snowy Woods Christmas Card SVG below.
The file includes all the pieces you need to make the card, so you don't need to draw or size each part yourself.
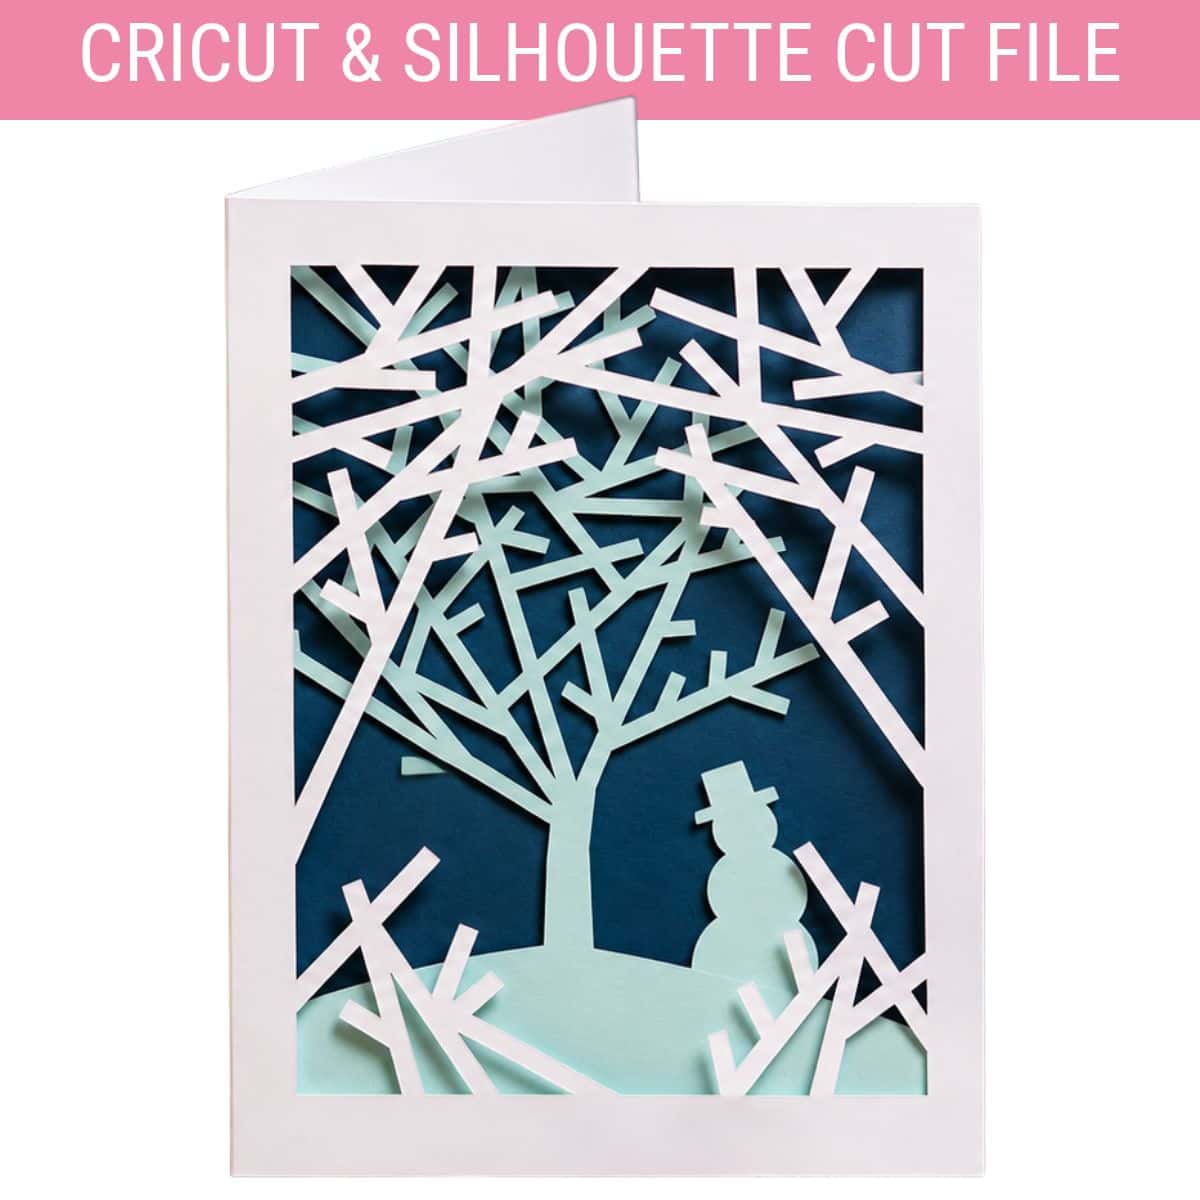
Set Up the Card in Cricut Design Space
This card is easy to make because your Cricut does most of the work.
The SVG is set to make an A2 card. When folded, the card is 4.25 x 5.5 inches, so it fits in a standard A2 envelope.
Open the SVG in Cricut Design Space to see all the parts of the card.
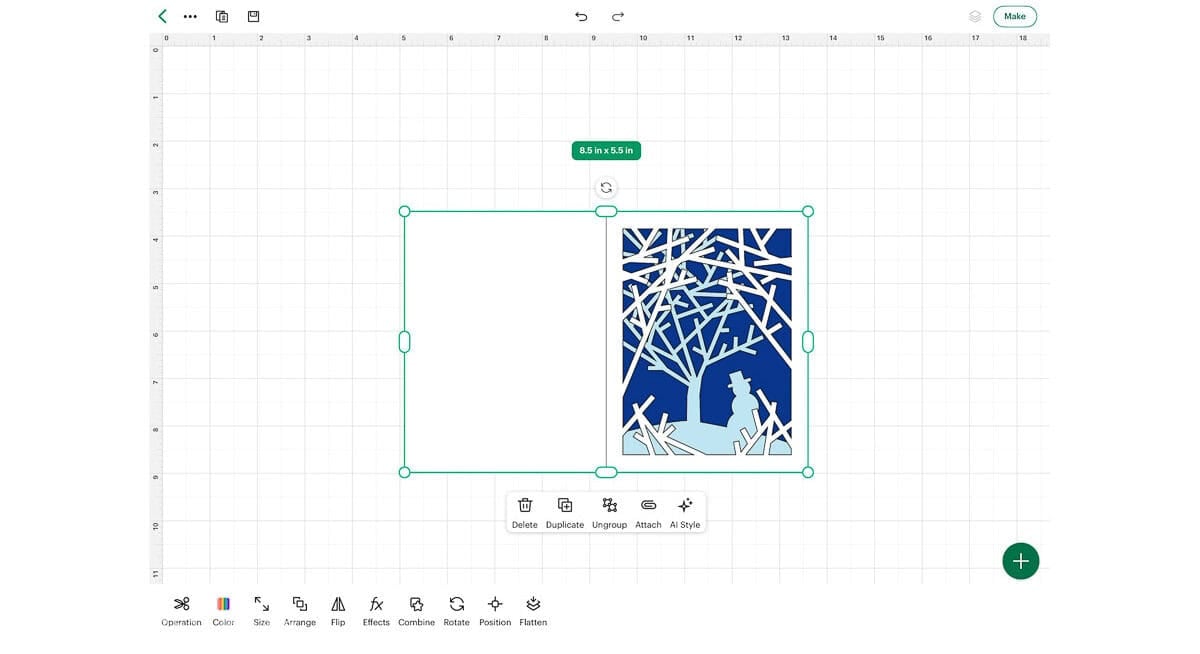
Ungroup the design so you can work with each part.
The main thing to check is the line in the center of the card base. This line needs to be set to Score, not Cut.
You'll also need to attach the score line to the card base, so Cricut knows where to fold.
If you skip this, your Cricut may cut the card in half. Oops!
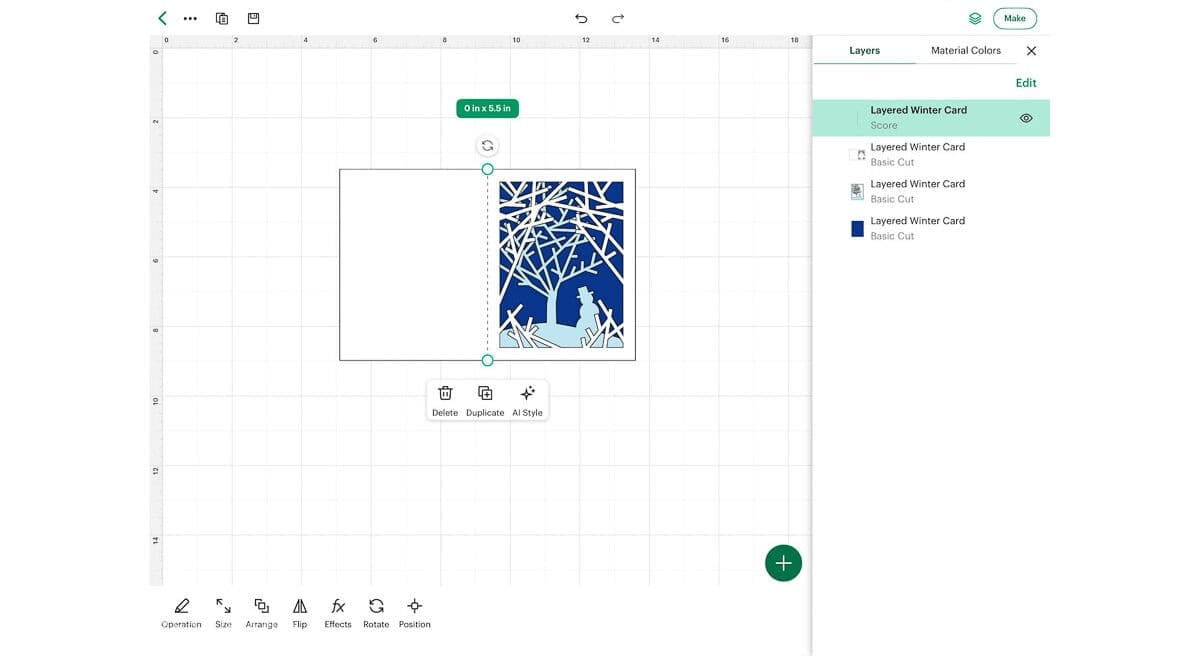
I use 8.5 x 11-inch cardstock for this project, so I set the paper size to match.
This helps make sure all the pieces fit on the mat.
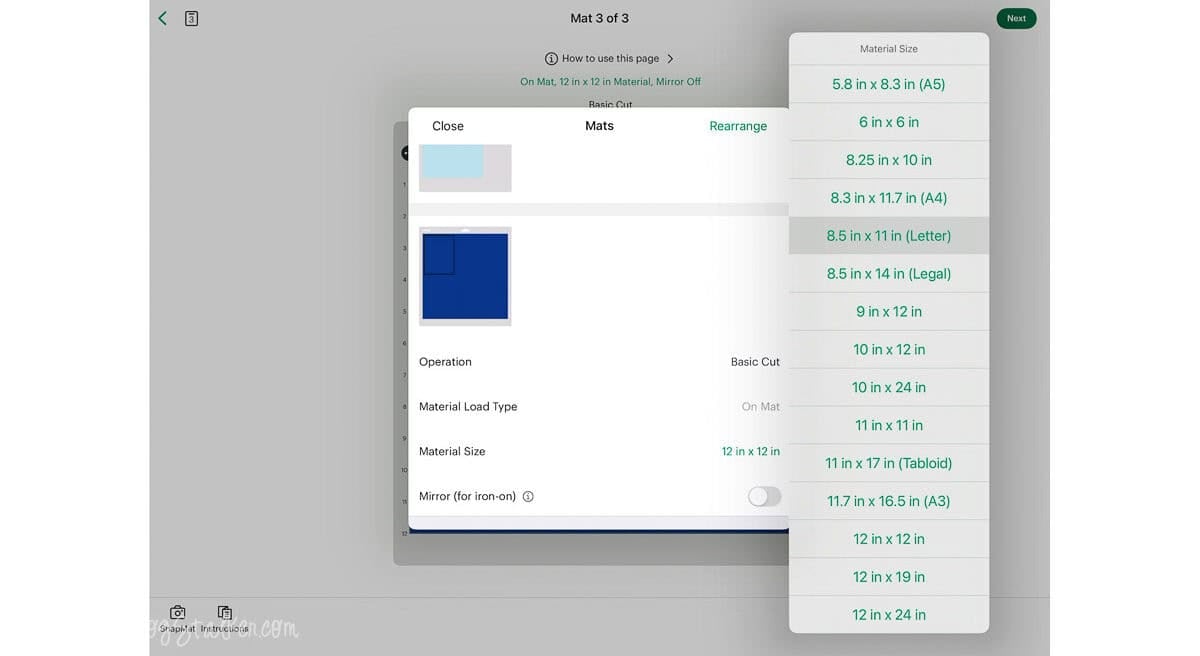
And since you're making one card, why not make two?
You can change the number of copies in Cricut Design Space. This is a great way to make more Christmas cards without setting up the file each time.
Keep an eye on the tool prompts as you cut. Cricut Design Space will tell you when to use the scoring tool and when to use the cutting blade.
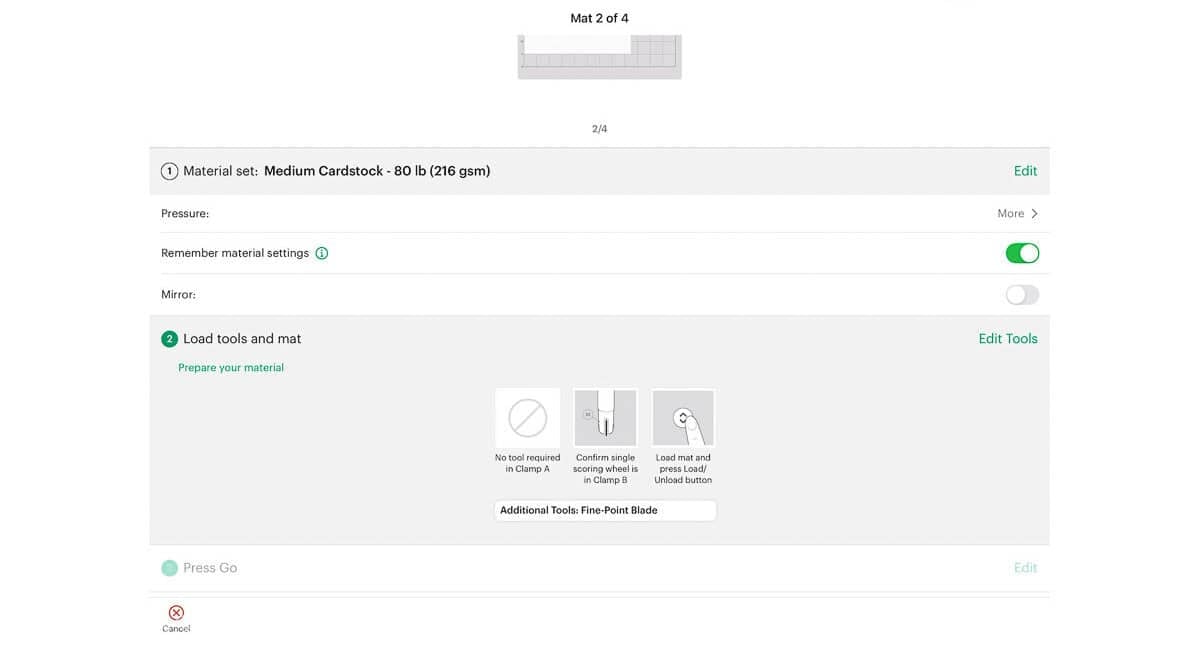
You'll use three cardstock colors for this card: white, light blue, and dark blue.
I love how the dark blue looks like the night sky, while the white trees look like they're covered in snow.
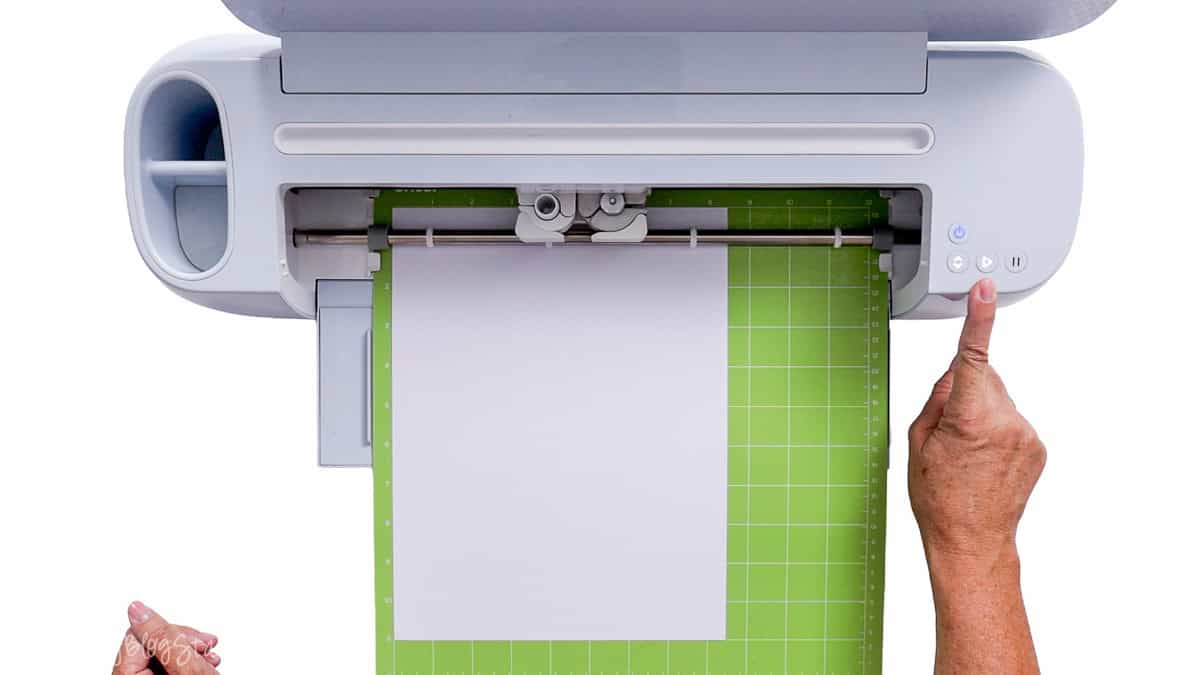
Once the Cricut is done, you'll have all the paper pieces ready to put together.
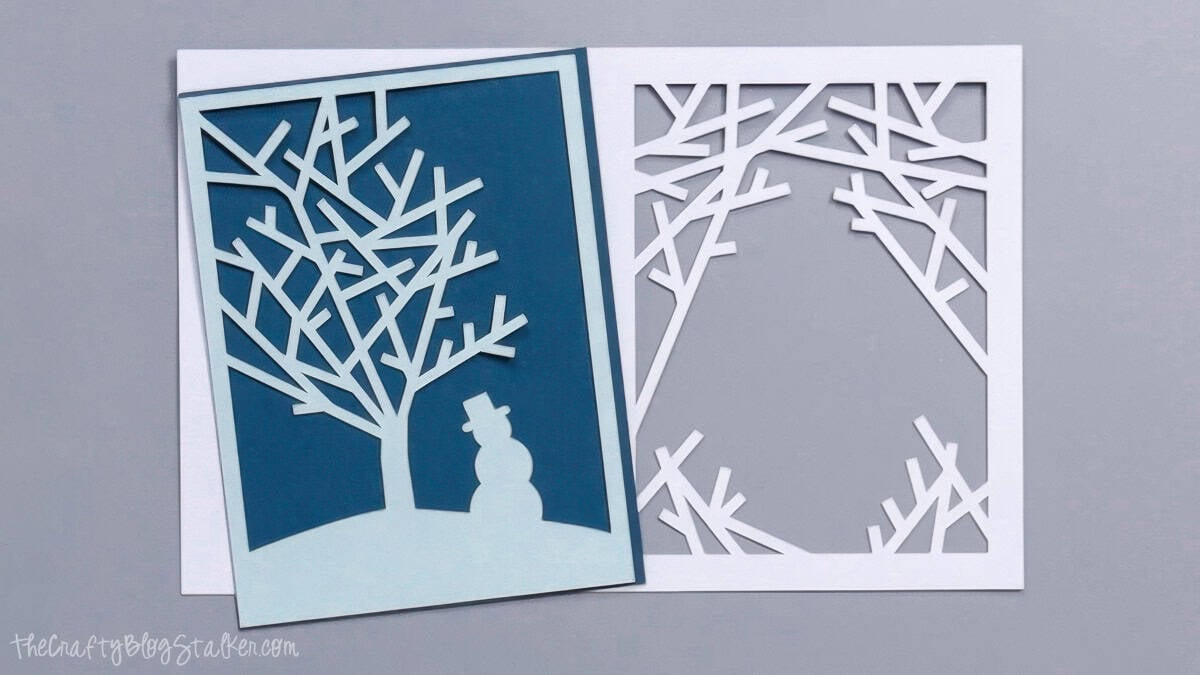
Put the Card Together
This is my favorite part! It's fun to see how a few flat pieces of paper can turn into such a pretty Christmas card.
I use foam tape instead of glue to hold the layers in place.
The foam tape adds a bit of space between each layer, which makes the trees and snowman stand out.
I like to place foam tape near the edges and behind the tree and snowman. This helps keep the paper from bending.
A weeding tool is great for peeling the paper off the foam tape. Those little bits can be hard to grab with your fingers!
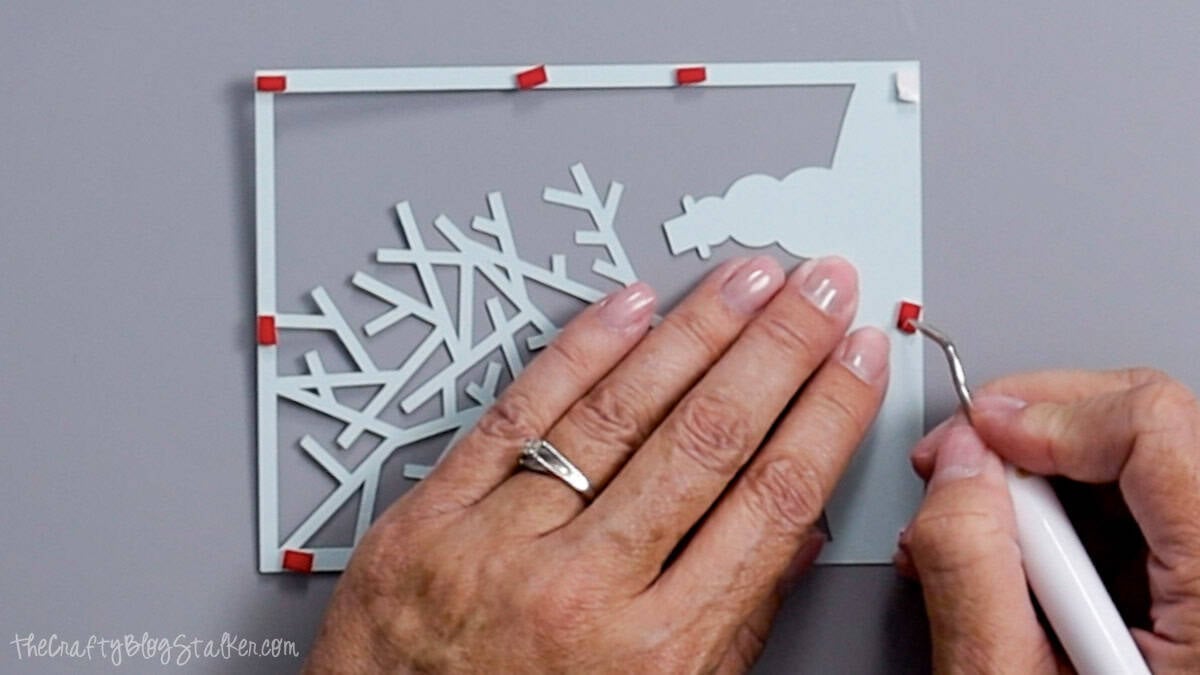
Open the card and center-align the light blue layer on the card's back base.
You want to see a nice, even white edge around the light blue paper.
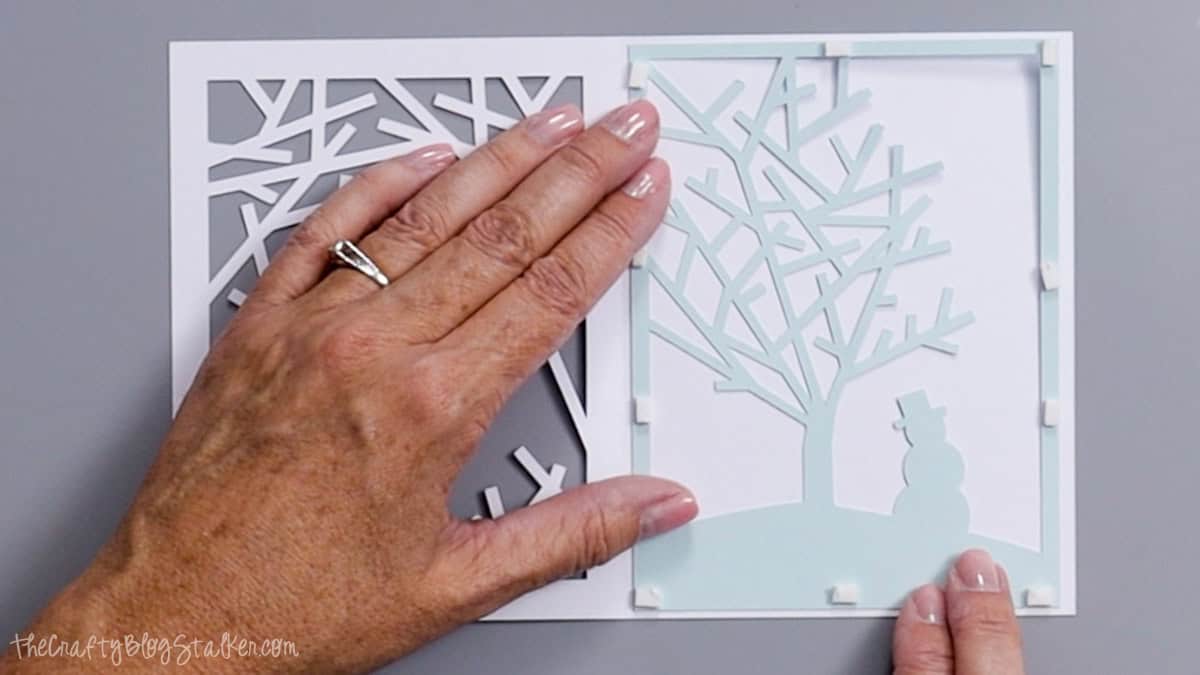
Close the card and press the front onto the light blue layer. This helps line up the pieces.
Add foam tape to the back of the light blue layer, just like you did on the front. Peel off the tape backing.
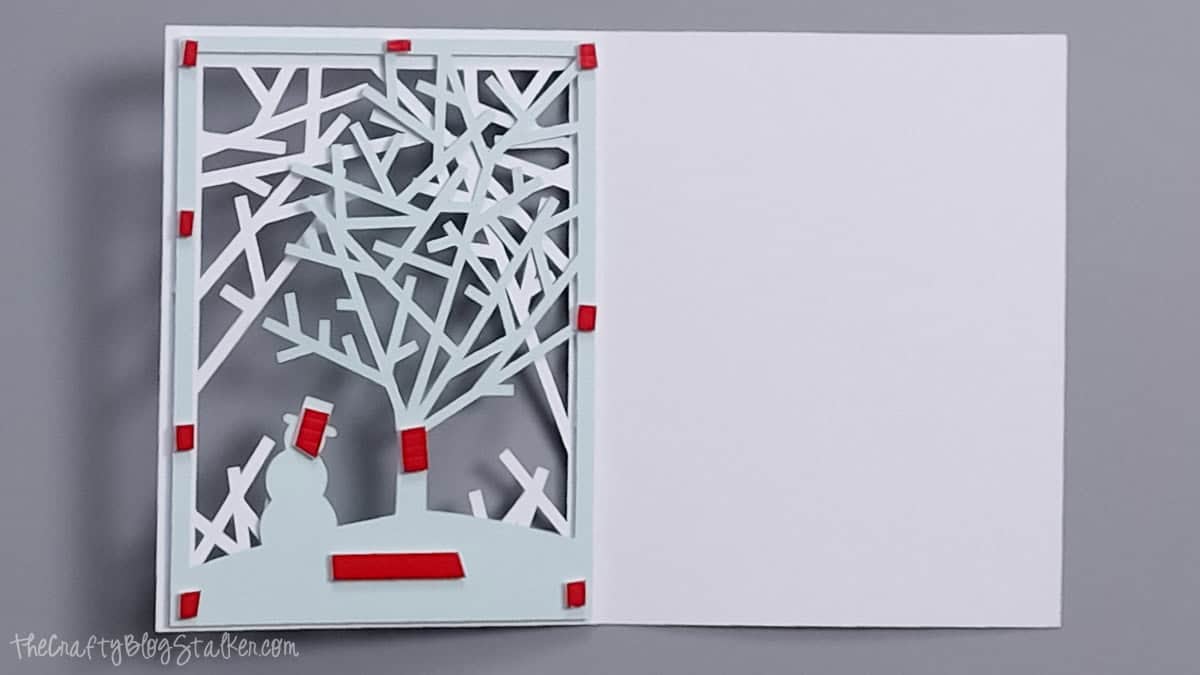
Open the card again and place the dark blue rectangle in the center of the card base.
Make sure the white border is even on all sides.
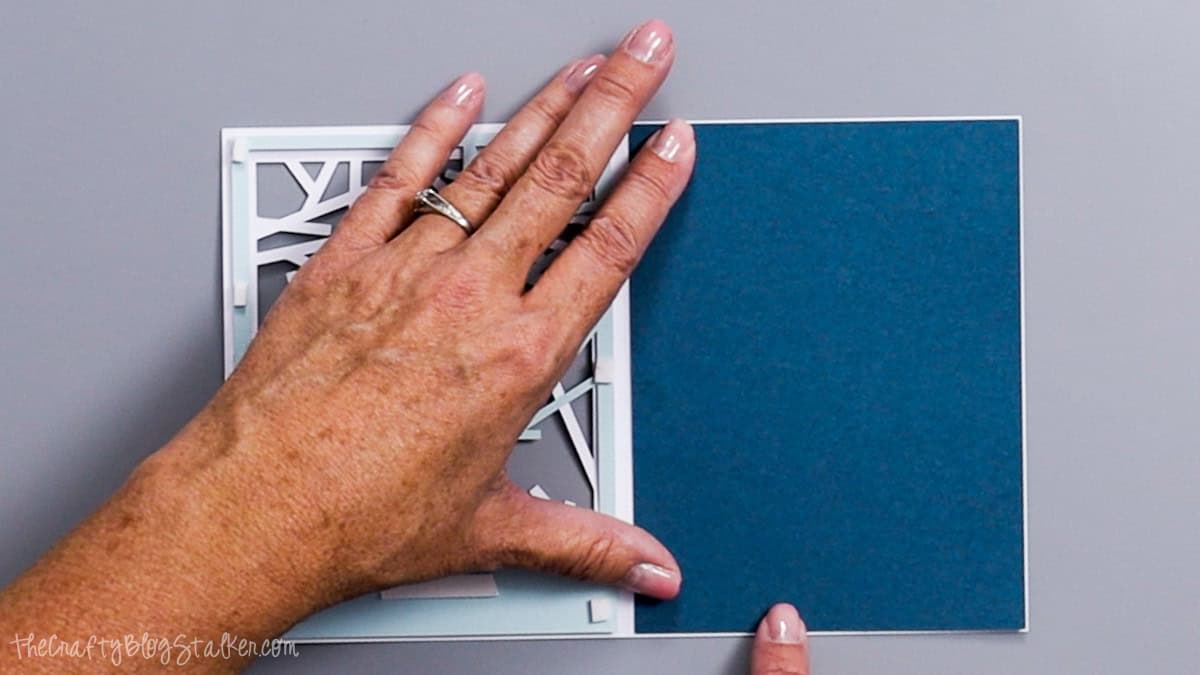
Fold the front of the card closed and press down all over to make sure the layers stick in place.
And that's it! You have a cute Christmas card that looks like it took much more time than it did.
Add a note inside, write "Merry Christmas," and it's ready to give to someone you love.
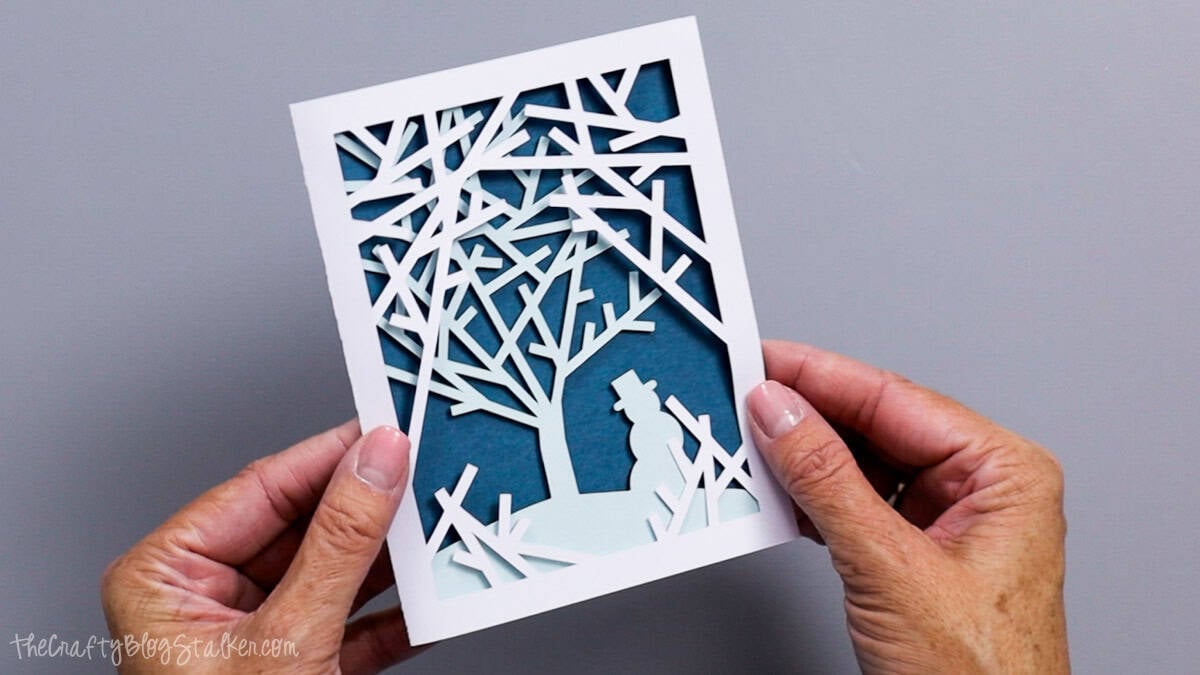
If you're mailing your Christmas cards, try to send them by December 15 to give them plenty of time to arrive before Christmas!
Tips for Making Cricut Christmas Cards
Use a clean cutting mat.
The tree branches have small, thin parts, so you'll want your paper to stay in place while the Cricut cuts.
A clean mat with good grip will help you get clean cuts.
Take care with the small pieces.
When you remove the paper from the mat, go slowly. I like to turn the mat over and bend the mat away from the paper.
This helps keep the small tree branches from tearing.
Hide the foam tape.
Make sure the foam tape stays behind the card's solid parts.
If the tape sticks out past the paper, you may see it through the tree branches.
Try new colors.
You don't have to use the same colors I did!
Try green, silver, or even pink for a fun new look. Just pick colors that let each layer stand out.
Make a few cards at once.
If you want to send lots of handmade Christmas cards, cut more than one set of pieces at a time.
Then you can assemble them while you watch a Christmas movie.
Check before you mail.
The foam tape makes this card thicker than a flat card.
Make sure it fits in the envelope, and check with the post office to see if you need extra postage.
It's also a good idea to mail your cards early, so they arrive before Christmas.
Frequently Asked Questions
The card is 4.25 x 5.5 inches when folded. This is called an A2 card, and it fits in an A2 envelope.
A scoring tool helps make a neat fold in the card base.
If you don't have one, you can fold the card by hand using a ruler. Just make sure you don't leave the score line set to Cut in Cricut Design Space.
Yes, you can use glue, but the card will look flatter.
Foam tape gives the layers space and makes the snow scene pop.
Of course! You can use any colors you like.
I love the blue-and-white look, but green, gray, and silver would also be pretty.
The card base is 8.5 inches wide before you fold it, which is too wide for the original Cricut Joy.
A larger Cricut machine is best if you want to make the card at full size.
Yes! These cards are great to make early.
Keep them flat in a clean, dry spot until you're ready to write your note and mail them.
Need help with this project?
Click a button below to ask AI how to resize the Christmas card SVG in Cricut Design Space.
More Cricut Christmas Crafts
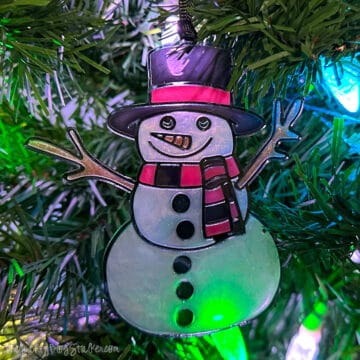
If you had fun making this card, you'll love trying more Cricut Christmas crafts!



Hi, I'm Katie!
I'm so glad you're here. Want to make something fabulous? I'm here to help!
The post Layered Snowy Woods Christmas Card with Free SVG appeared first on The Crafty Blog Stalker.
]]>The post Best Tween Girl Gifts for Christmas 2026 appeared first on The Crafty Blog Stalker.
]]>
Can you believe it's already time to start thinking about Christmas shopping?
If you've got a tween girl on your list, you know finding gifts that feel grown-up but still fun can be tricky.
Tween girls are developing their own sense of style, discovering new interests, and figuring out what they like, which makes shopping for them both exciting and challenging.
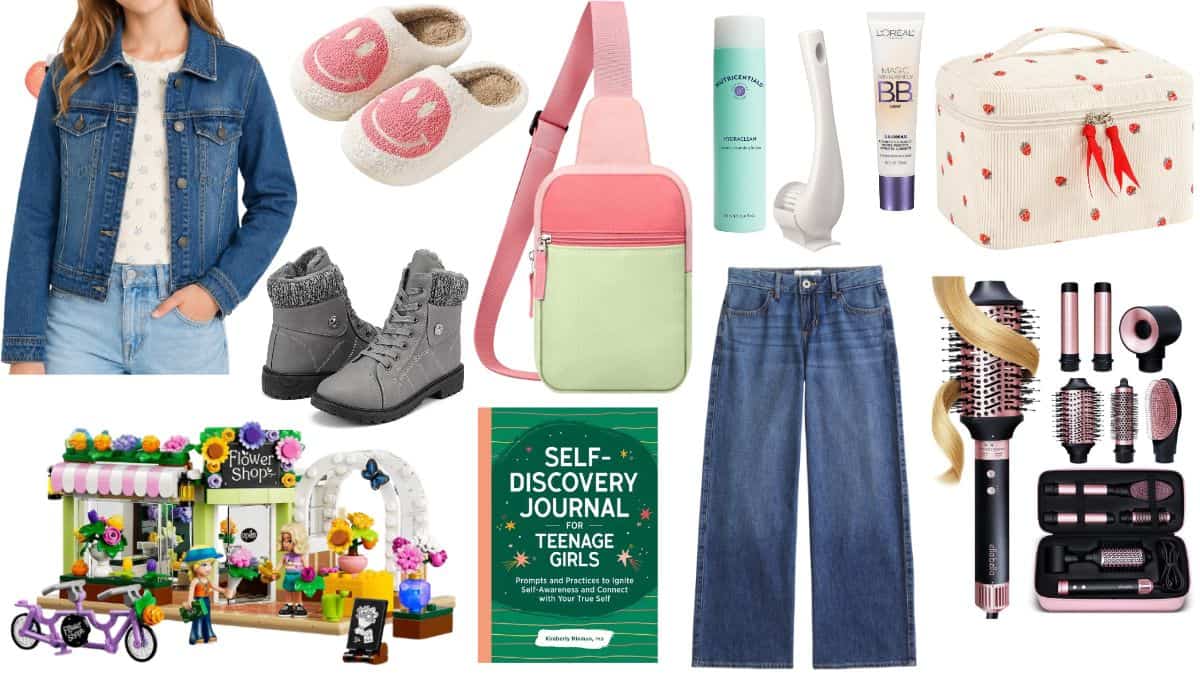
I've rounded up some of my favorite gift ideas for 2026, with everything from cozy clothes and beauty products to creative activities and fun accessories.
Tween Girl Gift Ideas
Shopping for tween girls can be a little unpredictable. One minute they're interested in toys and crafts, and the next they're asking for the same clothes and accessories as the teens they look up to.
That's why I love putting together a curated mix of gifts, including practical must-haves, trendy new finds, and a few things that are just plain fun.
Whether she's fashion-obsessed, loves creating things, or enjoys decorating her bedroom, there's something here for almost every personality type.
Here are 18 Christmas gift ideas to help you find something she'll be excited to unwrap!






How to Choose the Perfect Gift for a Tween Girl
The best way to choose a gift for a tween girl is to pay attention to what she's interested in right now.
Tweens are at that in-between age where their tastes can change quickly. Some still love building sets, drawing, and creative toys, while others are getting more interested in clothes, accessories, and beauty products.
If she has a strong sense of style, clothing and accessories might be a great choice. Just make sure you know her preferred sizes and colors before you buy anything.
For a girl who loves creating things, consider gifts that let her try something new. Drawing books, LEGO sets, and sticker-making supplies can keep her busy long after Christmas morning.
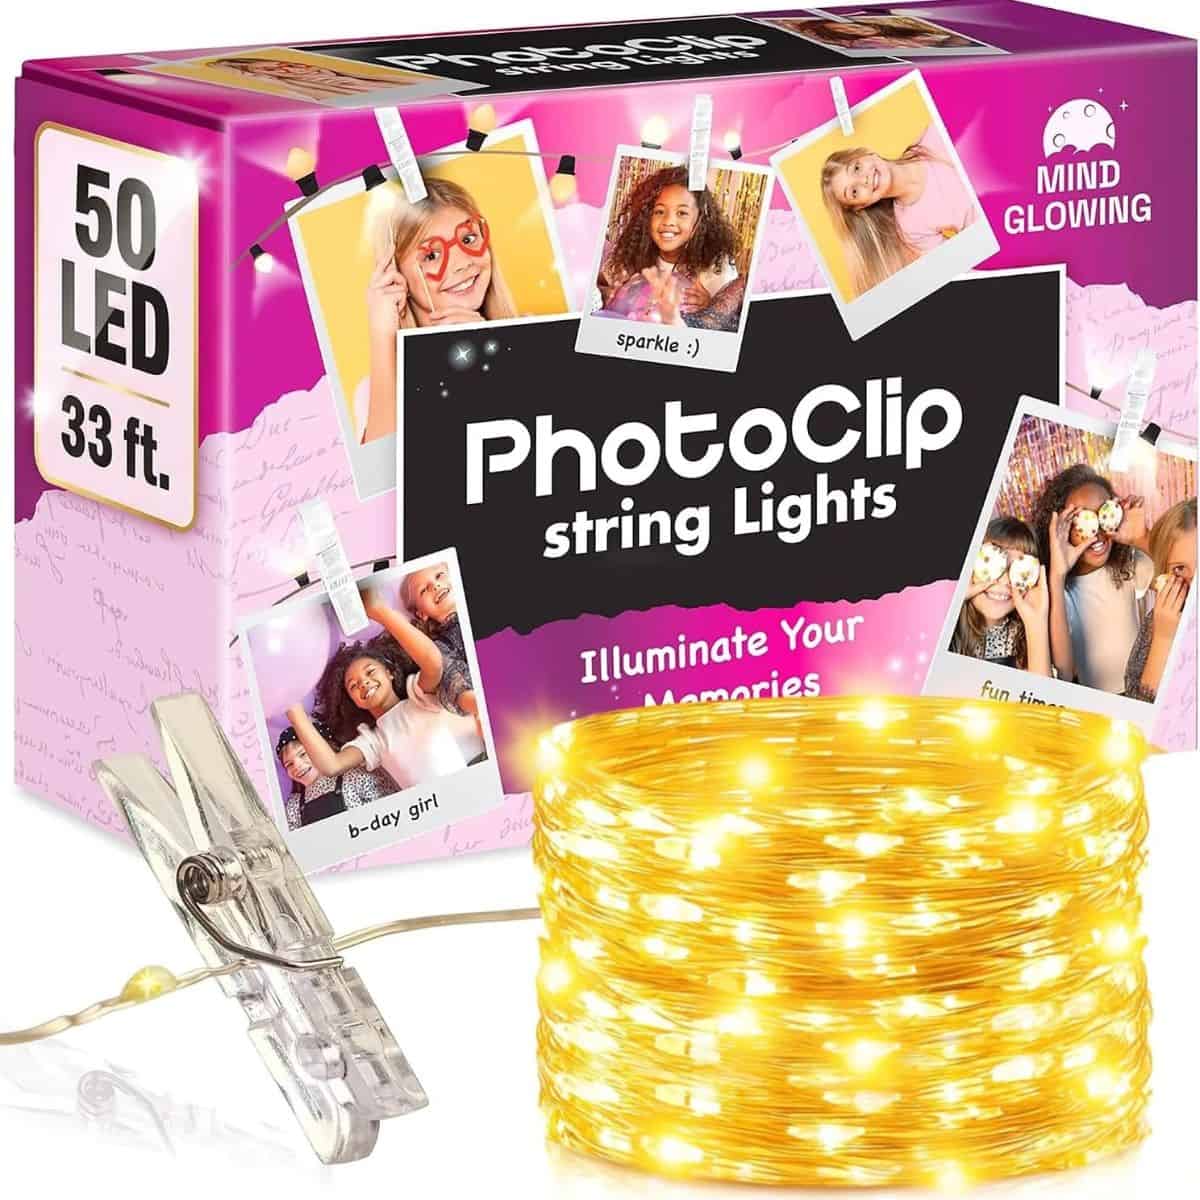
And if she's interested in decorating her bedroom, photo clip string lights or cute accessories can help her make her space feel more like her own.
When in doubt, I always choose something that fits her personality rather than something trendy.
Christmas Gifts for Tween Girls Who Love Fashion
For tween girls who enjoy putting together outfits, clothing and accessories can be especially fun gifts.
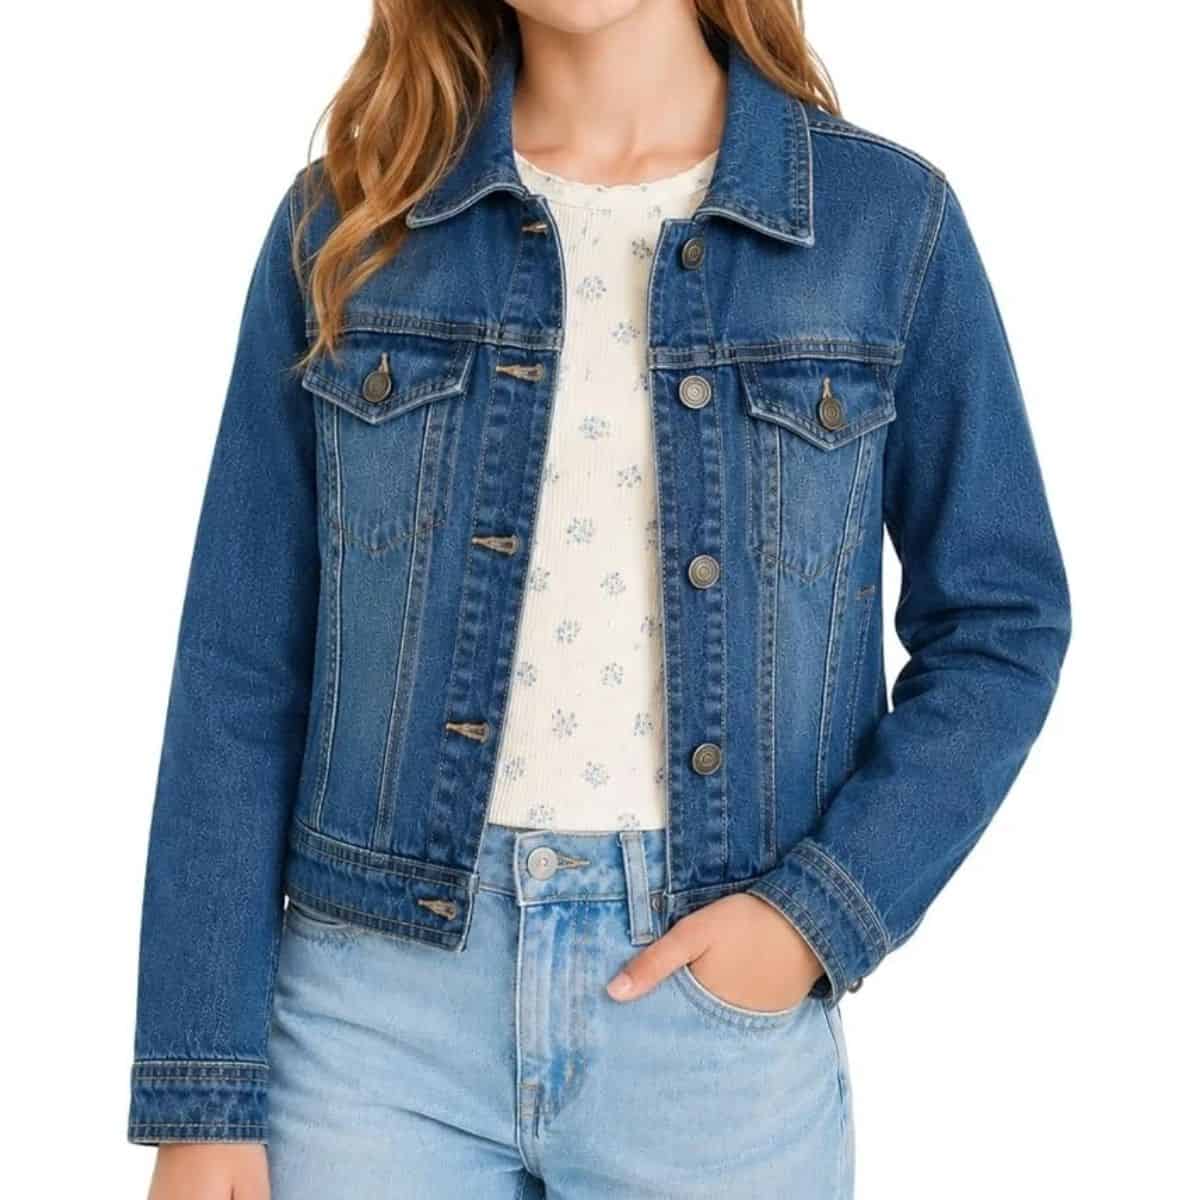
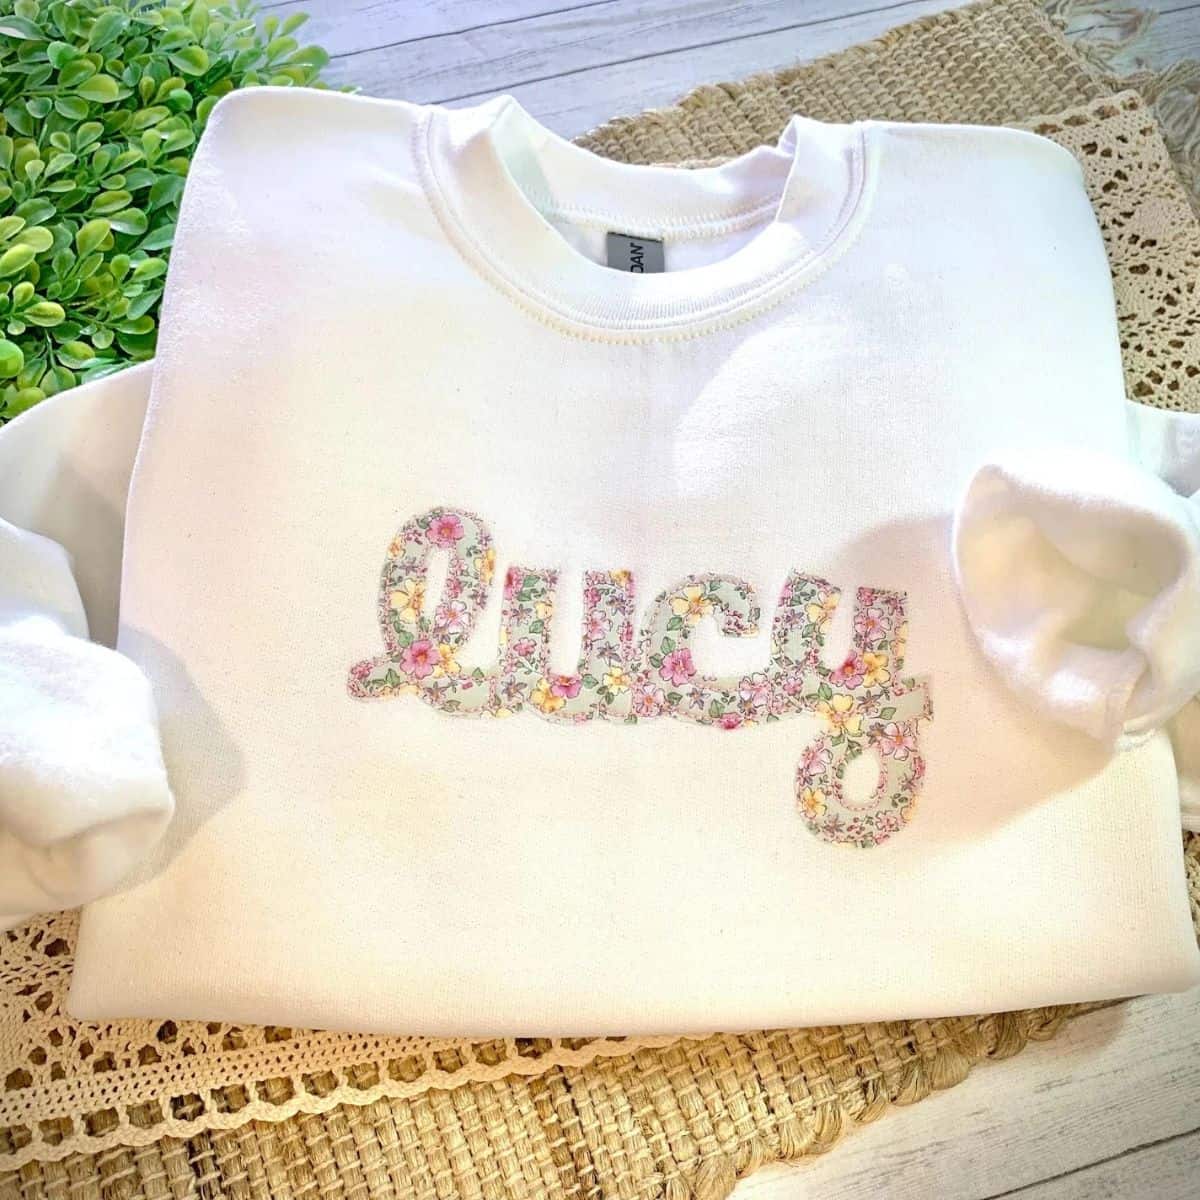
A denim jacket is a great layering piece, while a personalized sweatshirt adds something a little more special to her wardrobe.
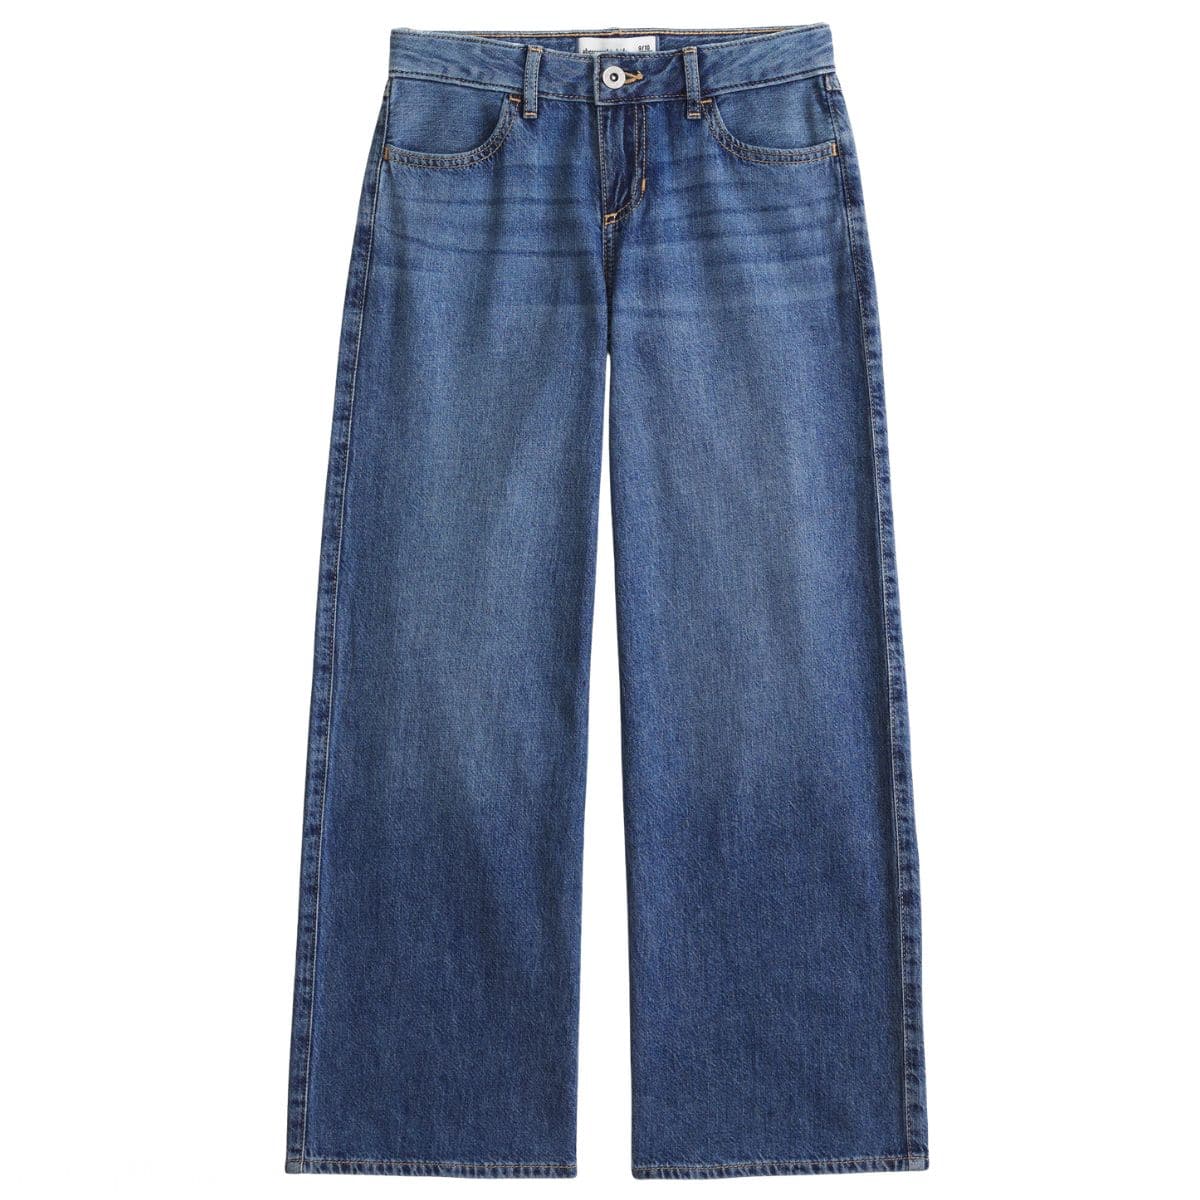
Cozy slippers, pajamas, and winter boots are practical gifts that can still feel exciting when they match her favorite colors or style.
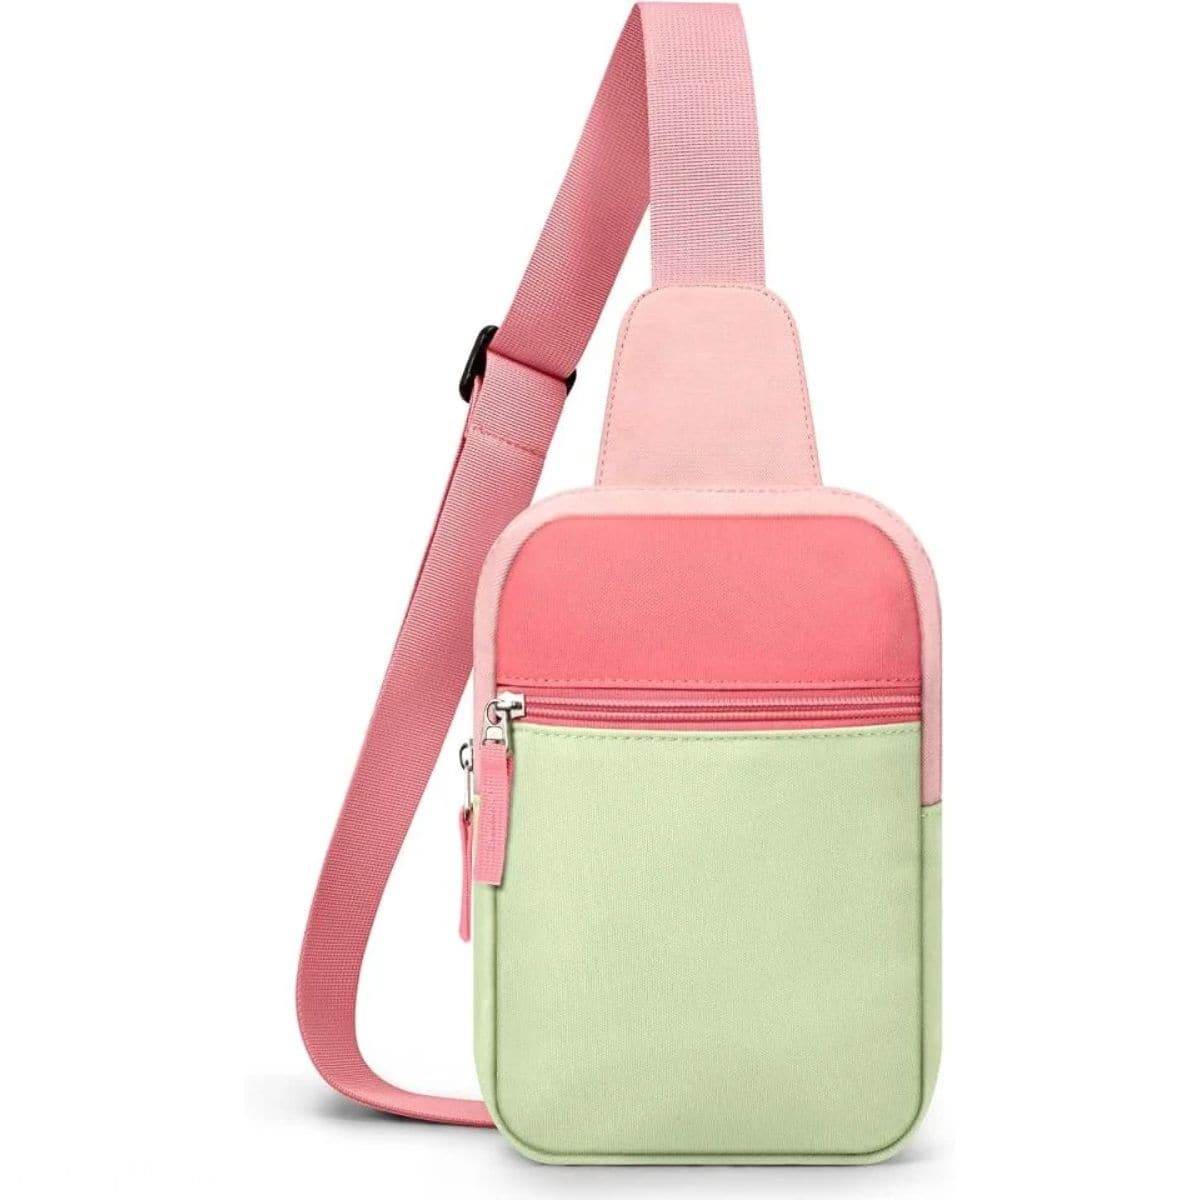
A crossbody bag is another fun option for girls who are starting to carry their own essentials.
Fashion can be pretty personal at this age, so if you're unsure about a particular style, ask a parent for suggestions or choose something with an easy return option.
Creative Gifts for Tween Girls
Not every tween wants more clothes or beauty products. Some would much rather spend an afternoon building, drawing, or making something with their hands.
That's where creative gifts really shine!
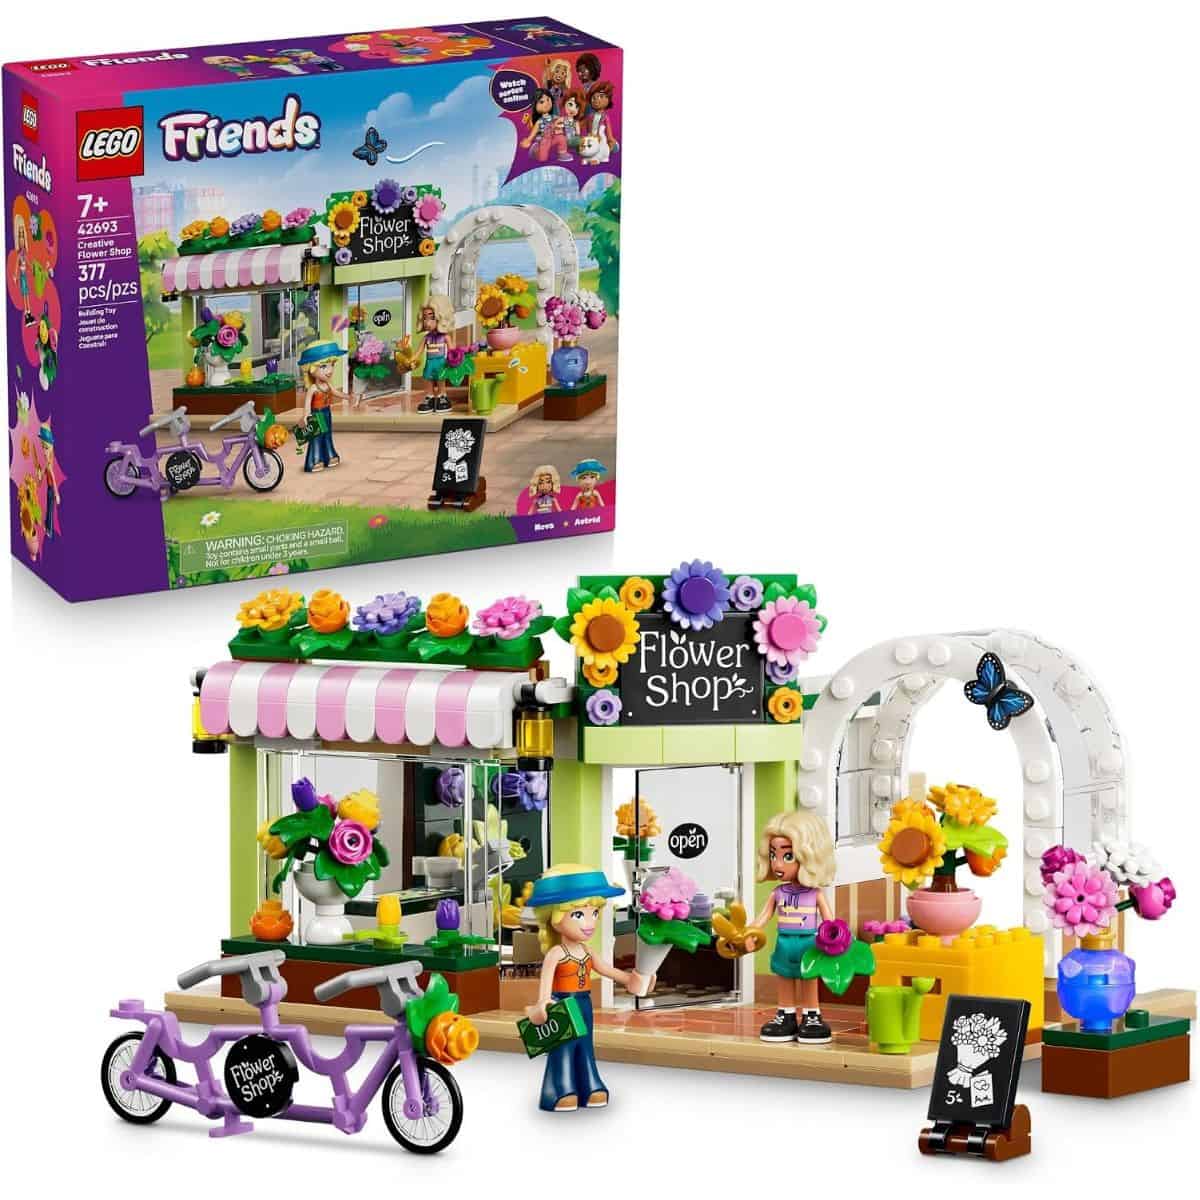
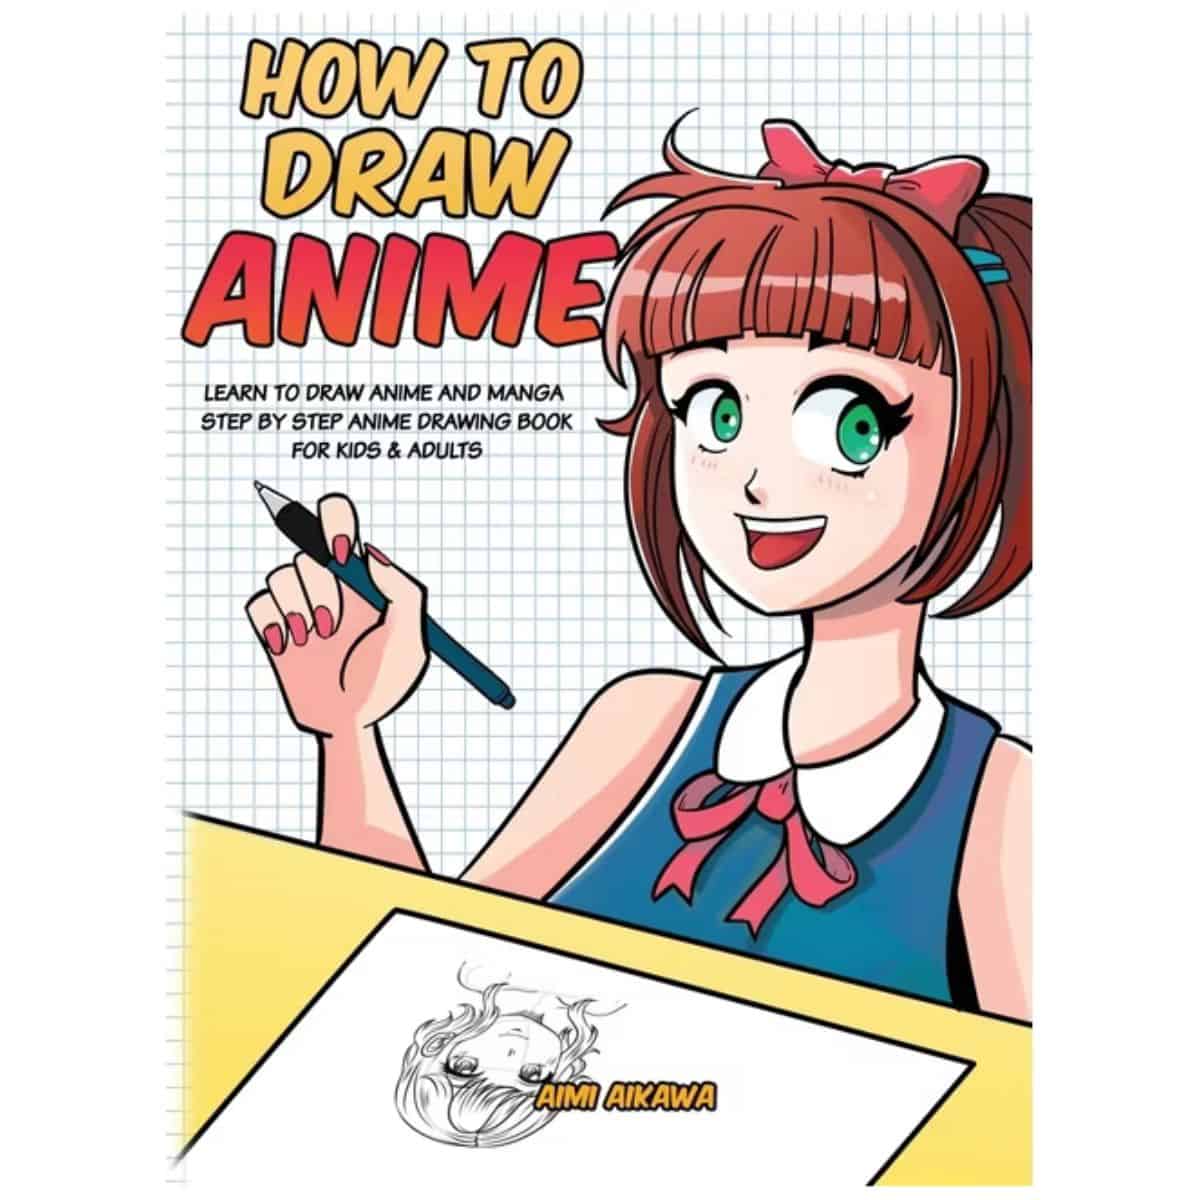
The LEGO Friends Creative Flower Shop is a fun choice for girls who enjoy building sets, while a How to Draw Anime book could be a great fit for someone who loves sketching characters.
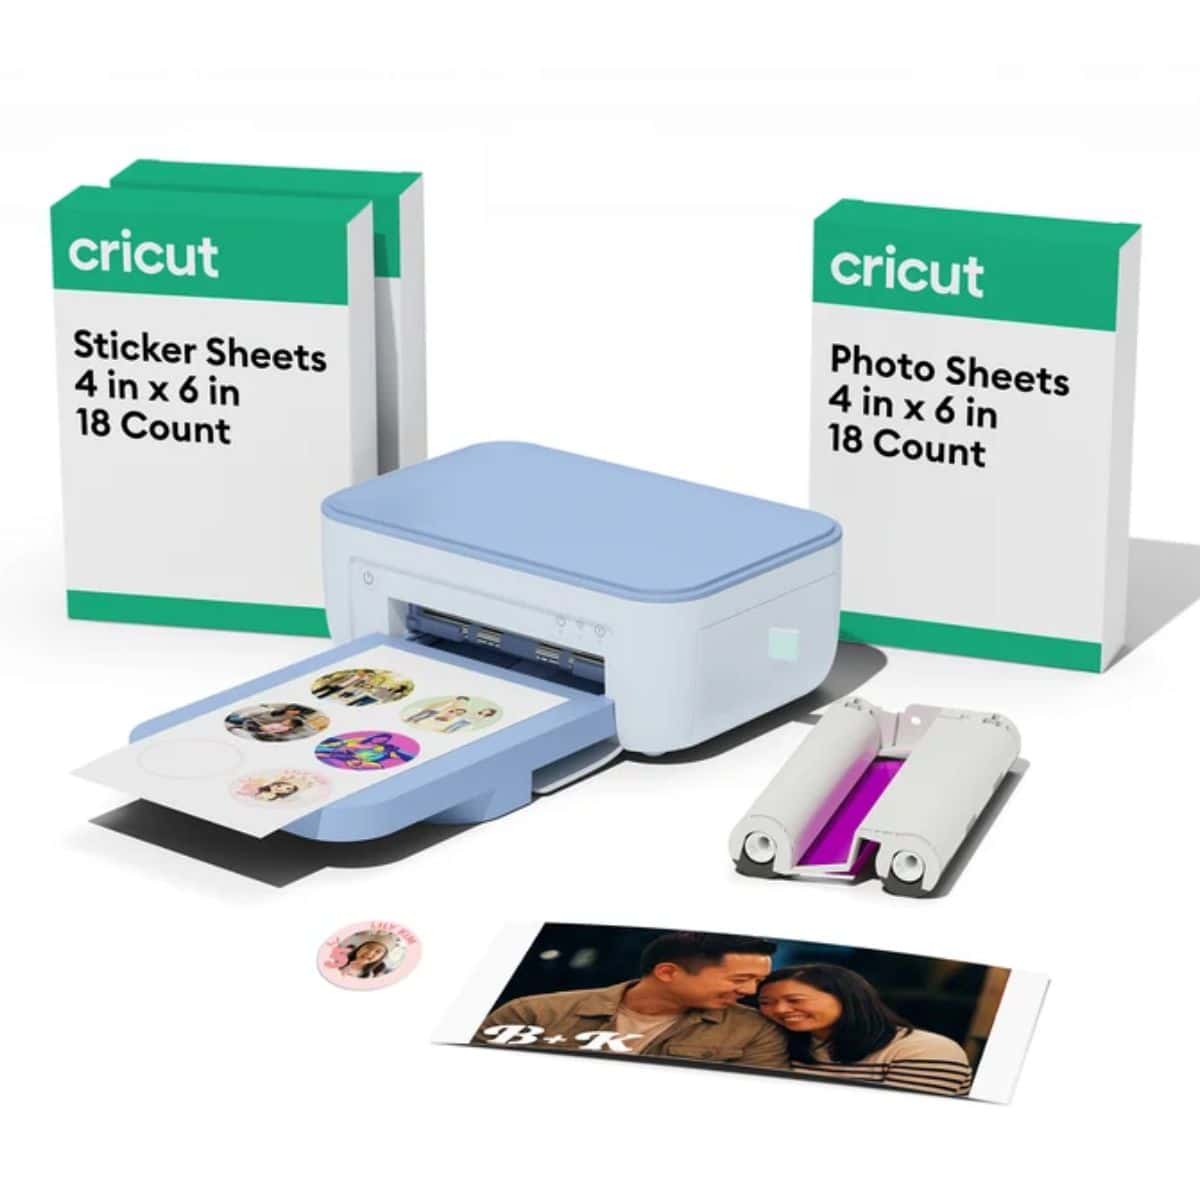
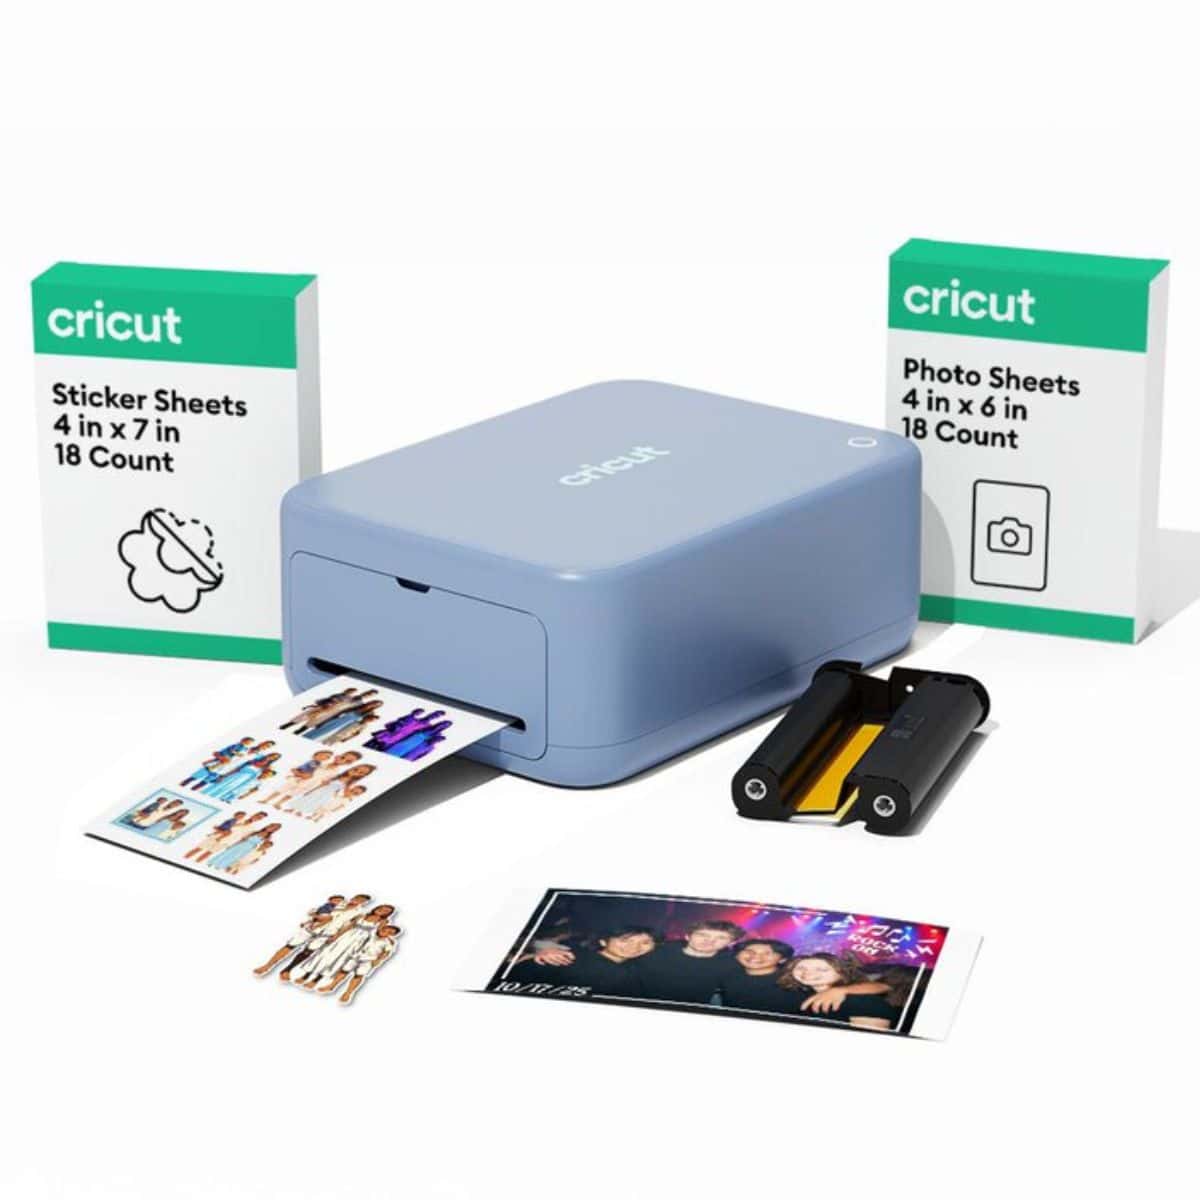
For girls who enjoy taking pictures and decorating their belongings, the Cricut StickerPix bundle offers another creative activity to explore.
A journal is also a thoughtful gift for a tween who enjoys writing, drawing, or having a private place to collect her thoughts.
I especially love gifts that encourage creativity because they give kids something fun to do beyond opening the package.
Beauty and Self-Care Gifts for Tweens
Beauty and skin care products can be popular with tween girls as they begin to explore their own routines.
If you're shopping in this category, keep things simple and age-appropriate. Gentle cleansers, a cute makeup bag, or lip gloss make fun gifts without needing an entire collection.
It's also a good idea to check with a parent before buying skincare or makeup, especially if the tween has sensitive skin or specific product preferences.
Hair styling tools can be another option for older tweens who enjoy experimenting with hairstyles, but it's important to consider whether the tool is appropriate for their age and experience. Use heated styling tools with adult guidance.
The goal is to choose something she'll enjoy using without complicating her routine.
More Shopping Ideas
Still have a few names left on your Christmas shopping list?
I've got plenty of other gift guides with ideas for kids, teens, adults, and everyone in between.

Hi, I'm Katie!
I'm so glad you're here. Want to make something fabulous? I'm here to help!
The post Best Tween Girl Gifts for Christmas 2026 appeared first on The Crafty Blog Stalker.
]]>The post The Best Kitchen Gifts for Every Budget and Cook appeared first on The Crafty Blog Stalker.
]]>
If you've ever struggled to find the perfect gift for someone who loves to cook, you're not alone.
Shopping for kitchen gifts can be tricky, especially when the person you're buying for already seems to have every gadget imaginable.
The good news is that there are plenty of useful, clever, and fun options that can make spending time in the kitchen even better.
Whether you're shopping for a serious home chef, a weekend baker, or someone who just loves a good kitchen gadget, I've rounded up some great ideas for every budget.
Best Kitchen Gifts for Home Cooks
I love giving gifts people will actually use, and kitchen gifts are some of my favorites because there's something for almost everyone.
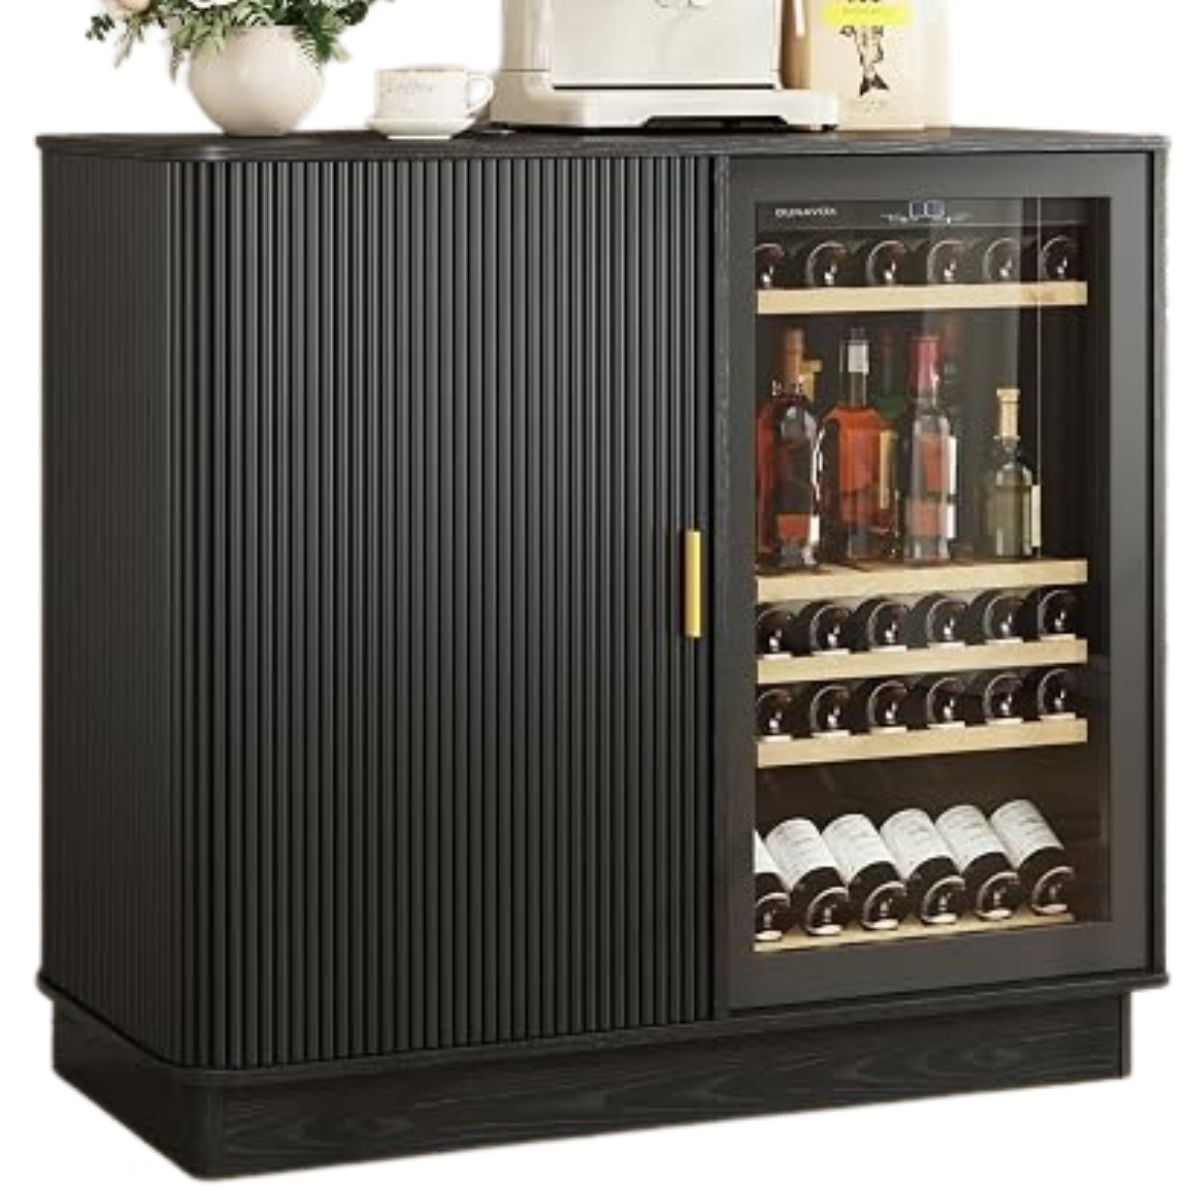
From everyday cooking essentials to fun gadgets and a few splurge-worthy appliances, these ideas cover a little bit of everything. You'll find practical tools for making favorite recipes, handy kitchen organizers, and appliances that make home cooking easier.
Here are 21 kitchen gift ideas worth checking out!









How to Choose the Right Kitchen Gift
When shopping for someone who enjoys cooking, I always think about how they actually use their kitchen.
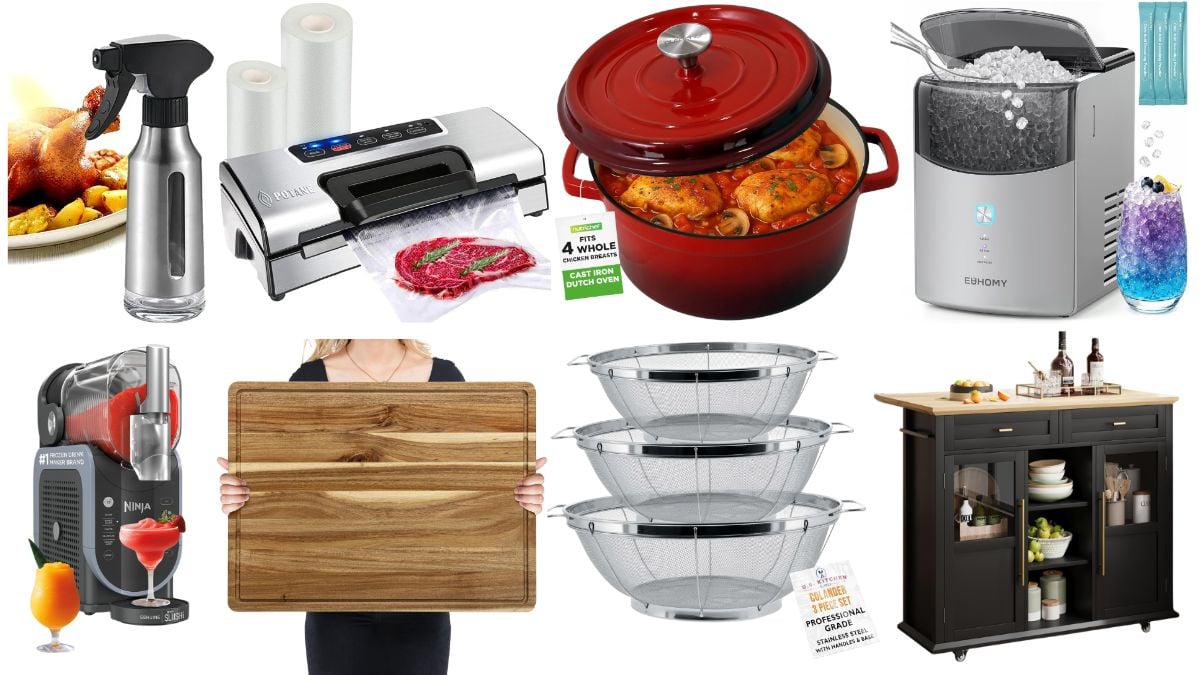
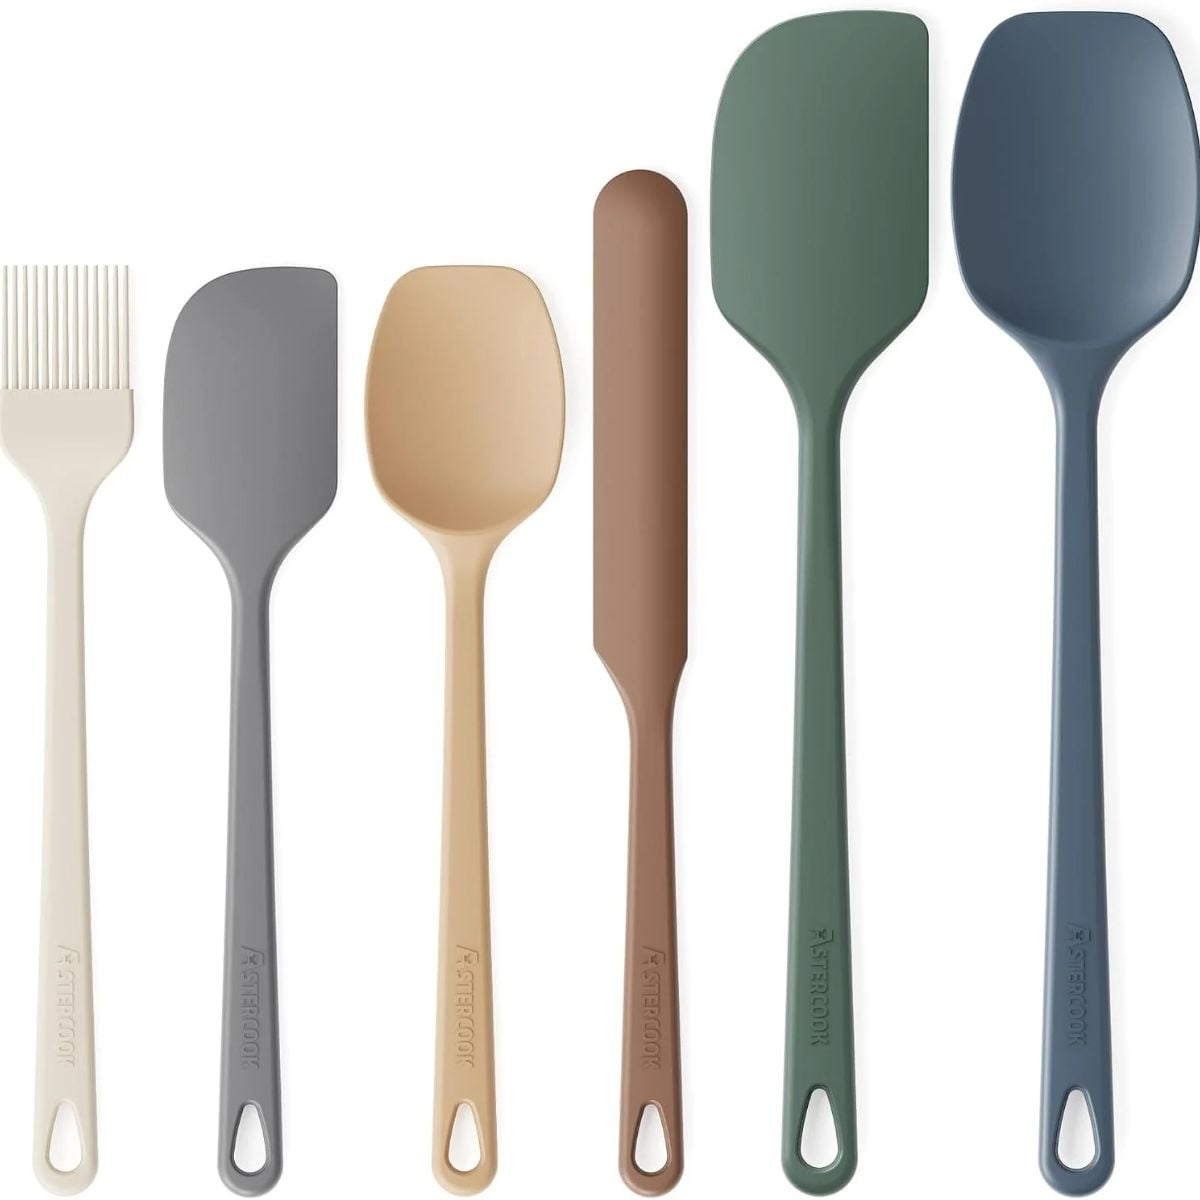
Someone who loves trying new recipes might appreciate a Dutch oven, a good knife set, or a smart food scale. A person who enjoys baking may get more use out of a silicone spatula set or stackable bakeware.
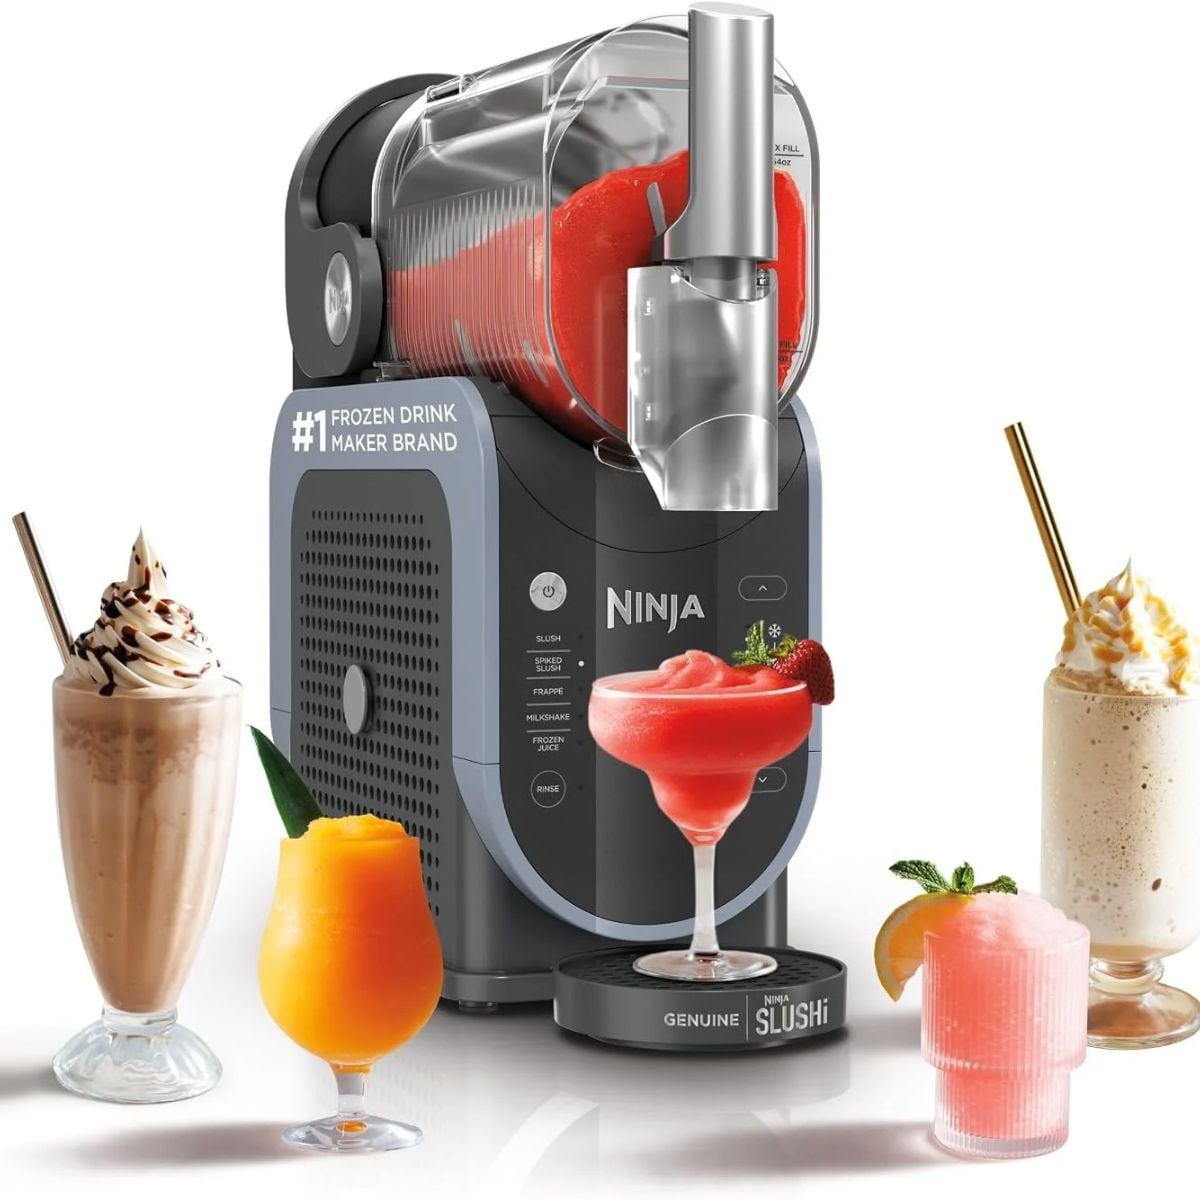
And if you're shopping for someone who loves entertaining guests, a nugget ice maker, coffee maker, or Ninja Slushie could be a fun addition to their kitchen.
Also consider how much counter and storage space they have. A large appliance might sound like a fantastic gift, but it's less exciting if they have nowhere to put it.
For smaller kitchens, I especially like practical gifts that help with organization. Drawer dividers, a pull-out spice rack, and a container lid organizer can make everyday cooking a little less frustrating.
Sometimes the most useful gifts aren't the fanciest ones.
Kitchen Gift Ideas for Every Budget
You don't have to spend a fortune to find a great kitchen gift.
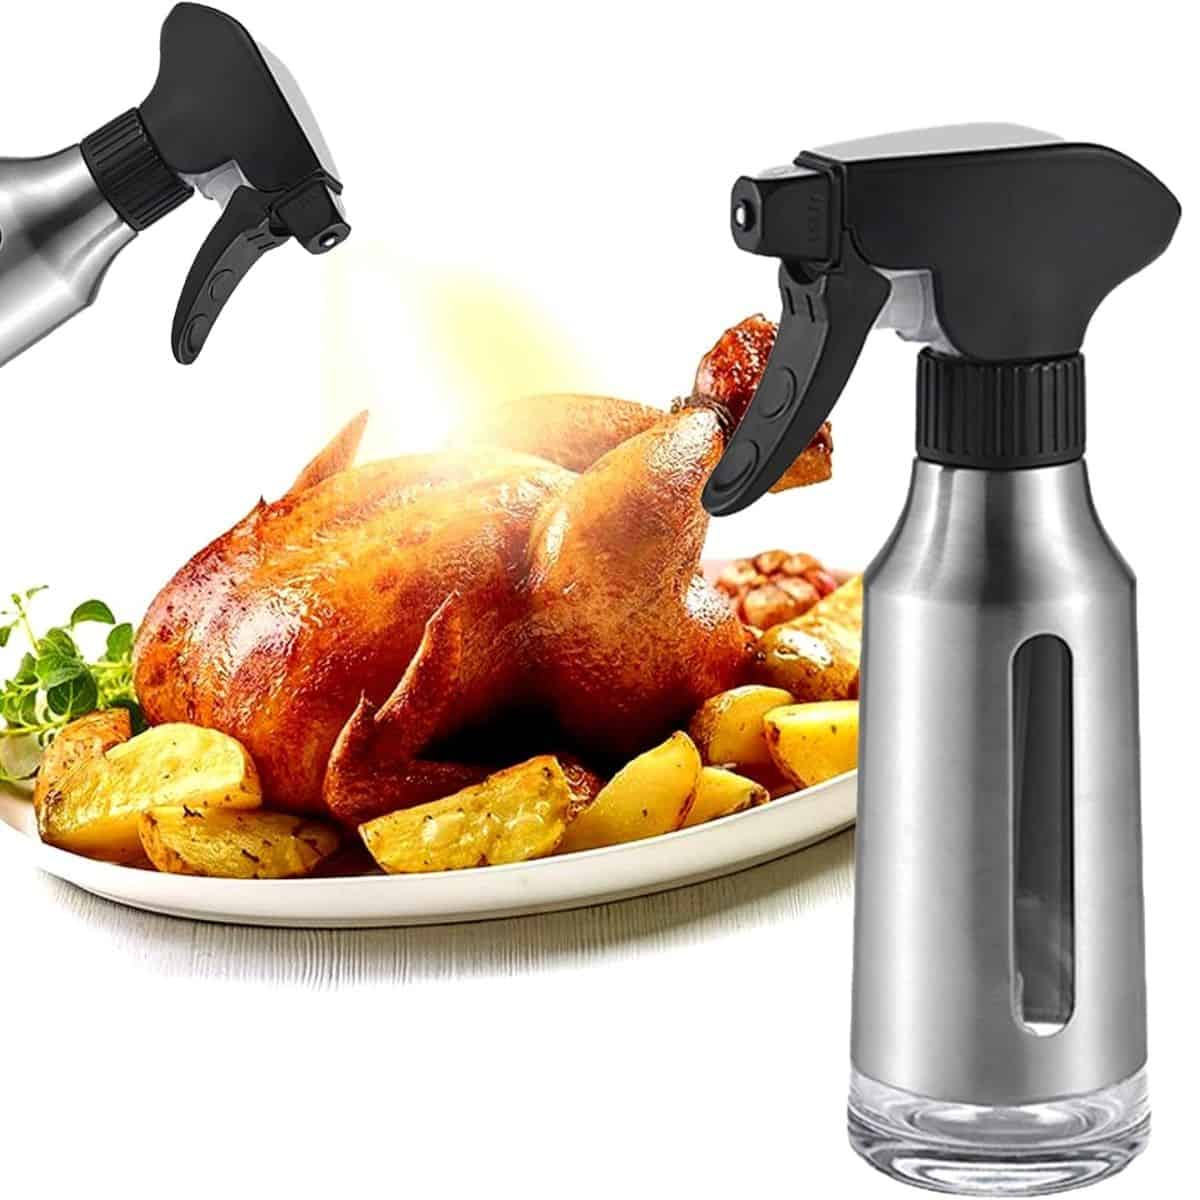
If you're shopping on a smaller budget, consider everyday essentials like silicone spatulas, stainless steel strainers, and oil sprayers. They're the kinds of tools you use regularly, which makes them especially practical gifts.
For a midrange gift, consider something that makes a favorite kitchen activity more enjoyable. A French press for a coffee lover, a cutting board for someone who enjoys meal prep, or a food sealer for someone who likes to stock the freezer could all be thoughtful choices.
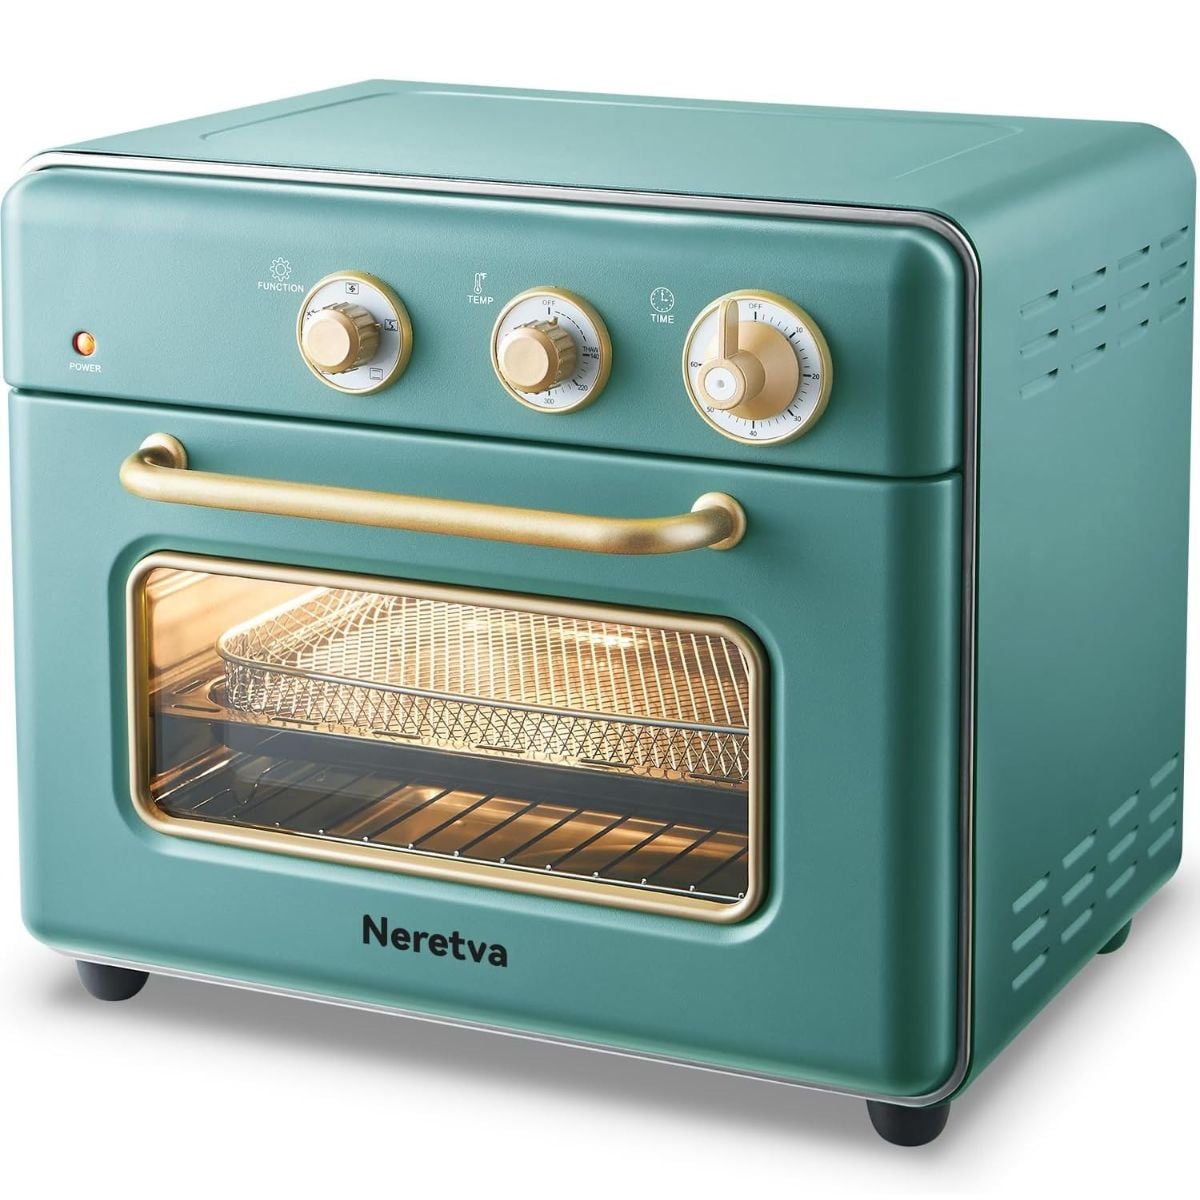
If you're planning to splurge, consider bigger appliances and cookware sets. A stainless steel cookware set, countertop nugget ice maker, or enamel cast iron Dutch oven can make a memorable gift for someone who spends a lot of time cooking.
When choosing a more expensive item, I recommend considering size, durability, cleaning requirements, and whether the recipient already owns something similar.
A great kitchen gift doesn't have to be expensive. It just needs to fit the person you're shopping for.
Practical Kitchen Gifts They'll Actually Use
Some of the best kitchen gifts solve little everyday problems.
A container lid organizer might not be the most glamorous present, but anyone who has opened a cabinet and been attacked by falling plastic lids can appreciate it!
The same goes for drawer dividers and pull-out spice racks. Keeping utensils and spices organized makes it much easier to find what you need, especially when you're in the middle of cooking dinner.
Kitchen tools can also be a great choice when you're not sure what to buy. A sturdy cutting board, useful strainers, or a quality spatula set can help beginners and experienced cooks alike.
For someone who loves trying new recipes, a food scale can be especially handy for measuring ingredients accurately.
These gifts might not get the biggest reaction when they're unwrapped, but they can become everyday favorites.
Fun Kitchen Gifts for Foodies
Of course, not every kitchen gift has to be practical. Sometimes it's fun to give someone something they wouldn't necessarily buy for themselves.
A countertop nugget ice maker is a fun choice for someone who loves ice-cold drinks. The Ninja Slushie could be a hit with a family that enjoys frozen beverages, especially during the warmer months.
Coffee lovers might enjoy experimenting with a French press or cold brew coffee maker, while someone who loves cooking hearty meals might appreciate a Dutch oven.
If you're shopping for someone who enjoys hosting family and friends, think about the foods and drinks they love to serve.
Someone who regularly fires up the grill may appreciate useful prep tools, while someone who loves homemade soups and stews might enjoy new cookware more.
The trick is choosing something that matches what they already enjoy doing.
More Gift Guides
Looking for more great gift ideas?


Hi, I'm Katie!
I'm so glad you're here. Want to make something fabulous? I'm here to help!
The post The Best Kitchen Gifts for Every Budget and Cook appeared first on The Crafty Blog Stalker.
]]>The post Target Hearth & Hand Holiday Collection Picks appeared first on The Crafty Blog Stalker.
]]>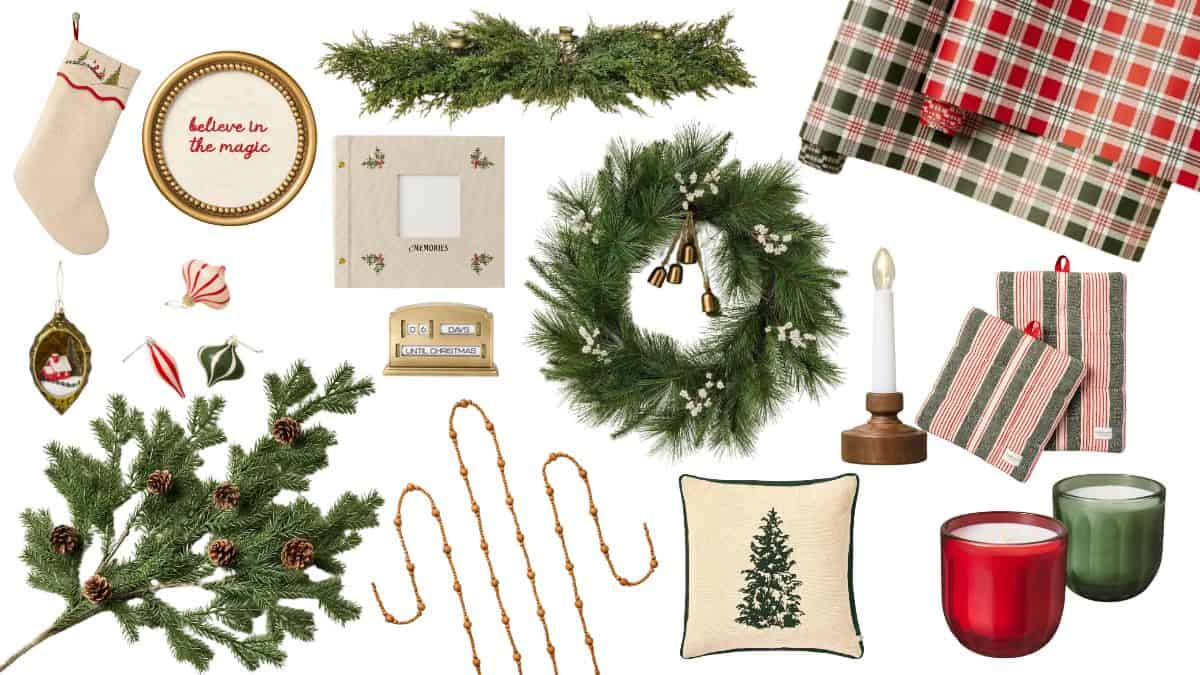
If you're a fan of Chip and Jo, you probably already know that Target's Hearth & Hand with Magnolia collection is full of beautiful holiday finds.
I stumbled across the collection while shopping for something completely different, and, well, you can probably guess how that went.
Between the cozy Christmas decorations, pretty greenery, and simple farmhouse touches, there were so many things I wanted to add to my cart.
I couldn't resist rounding up my favorite pieces to share with you!
Hearth & Home Holiday Shopping Guide
One of my favorite things about the Hearth & Hand collection is how easy it is to mix these pieces with decorations you already own.
The colors are classic, the designs are simple, and many items have that warm, welcoming look Chip and Joanna Gaines do so well.
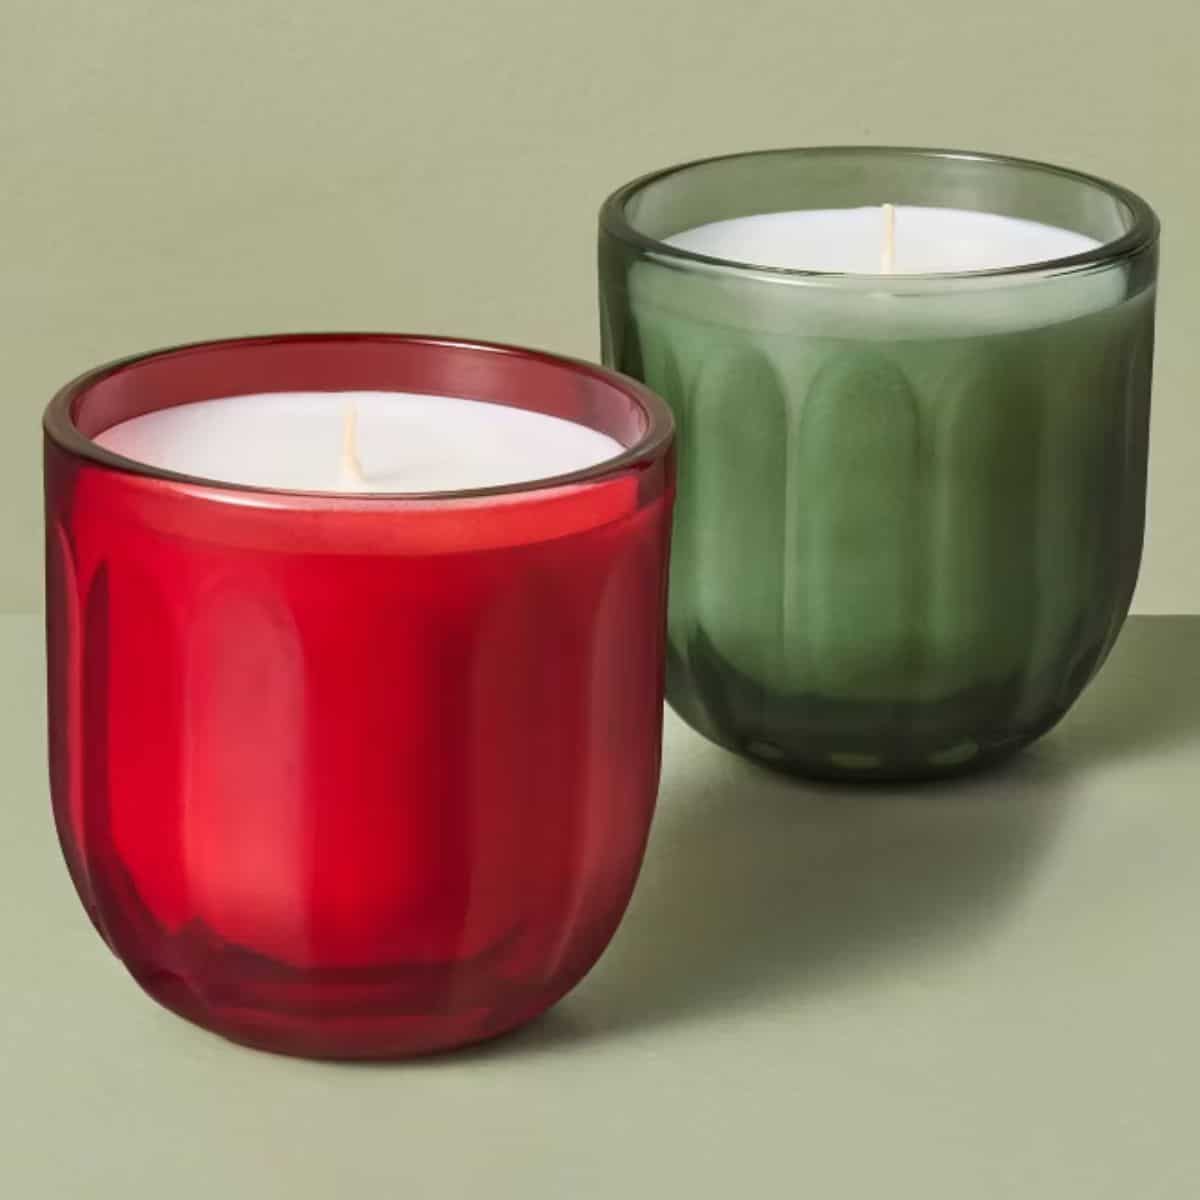
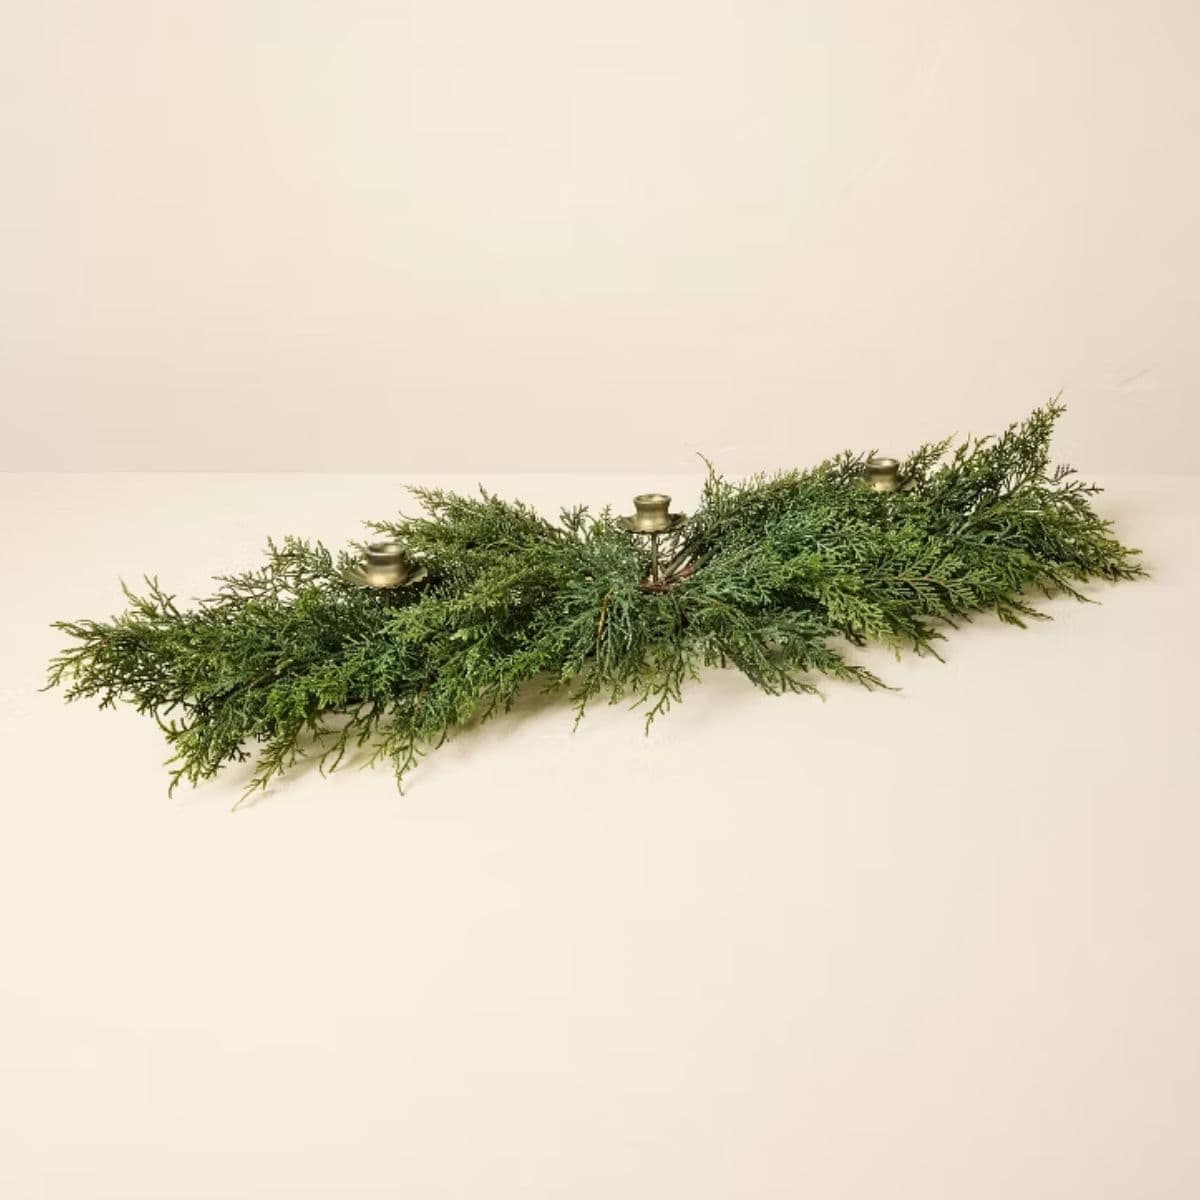
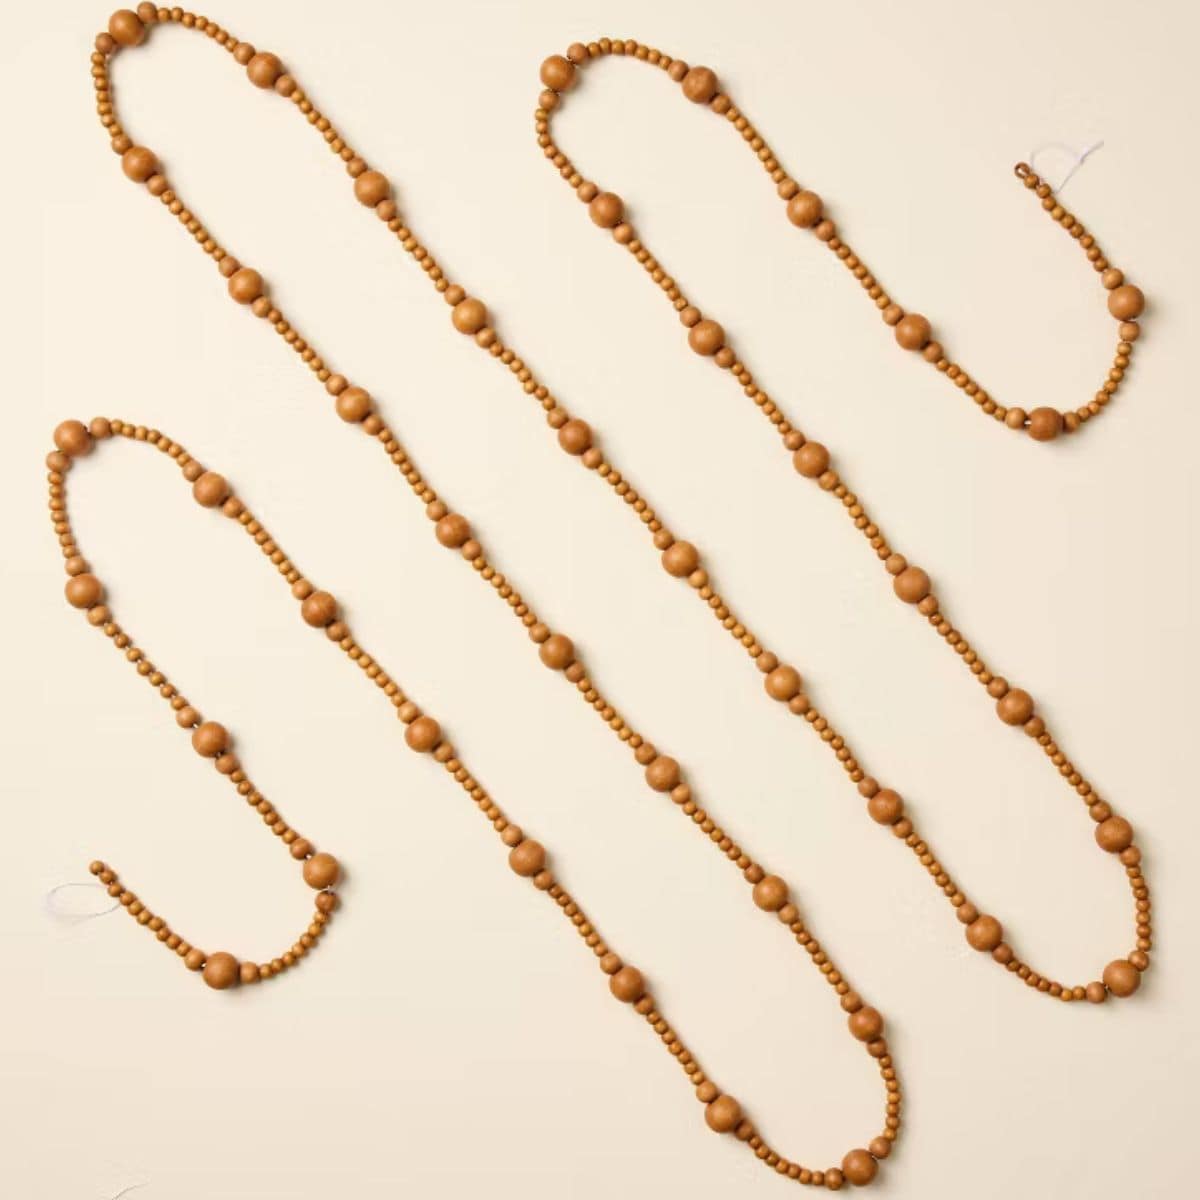
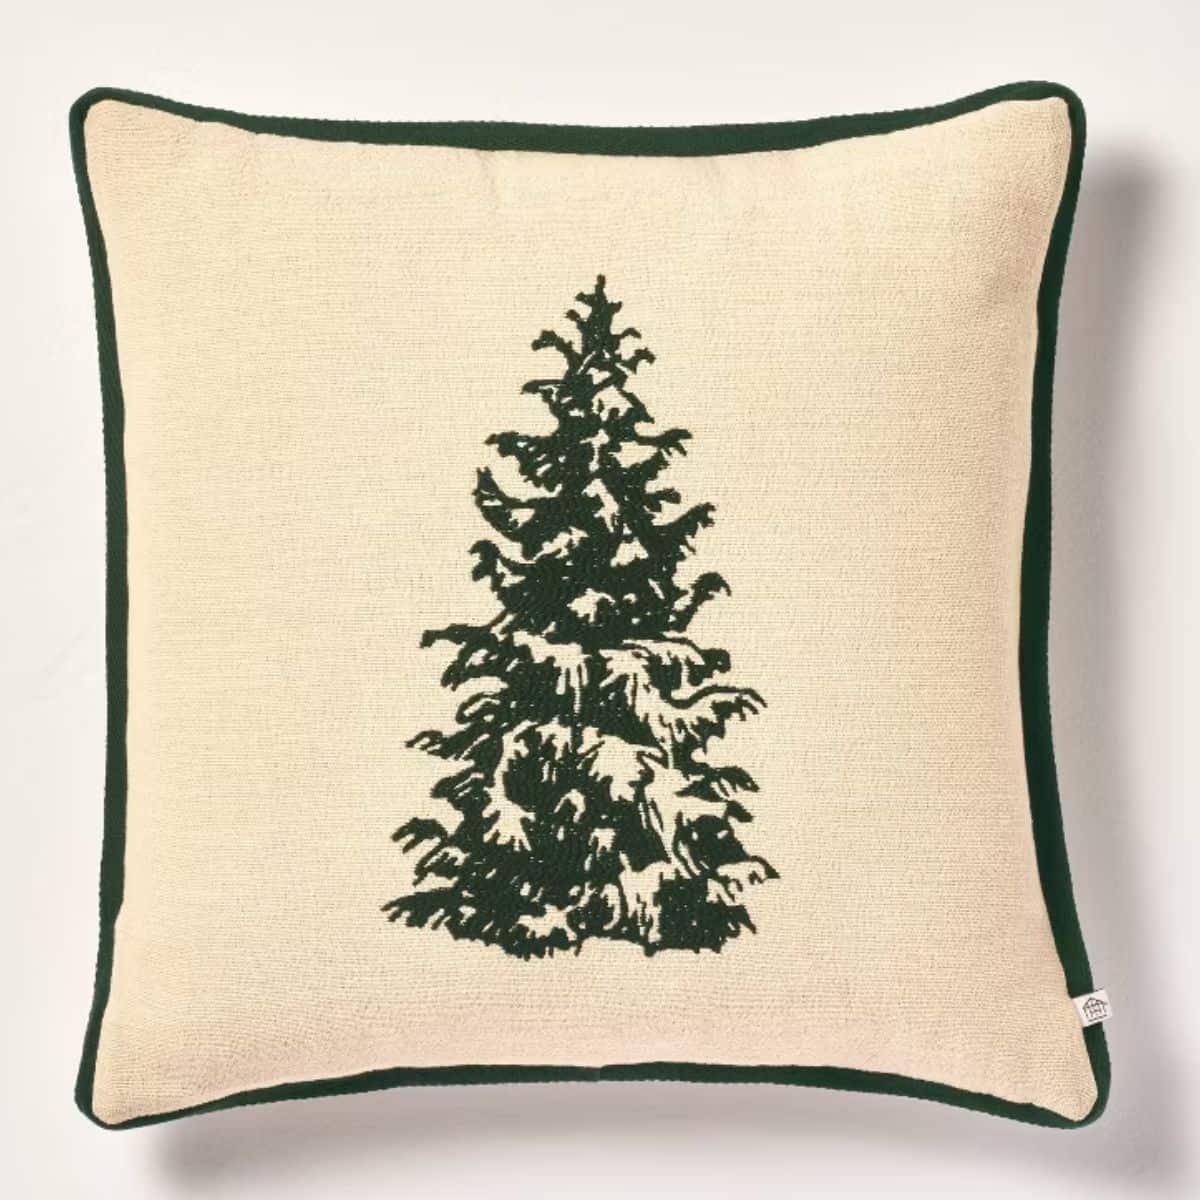
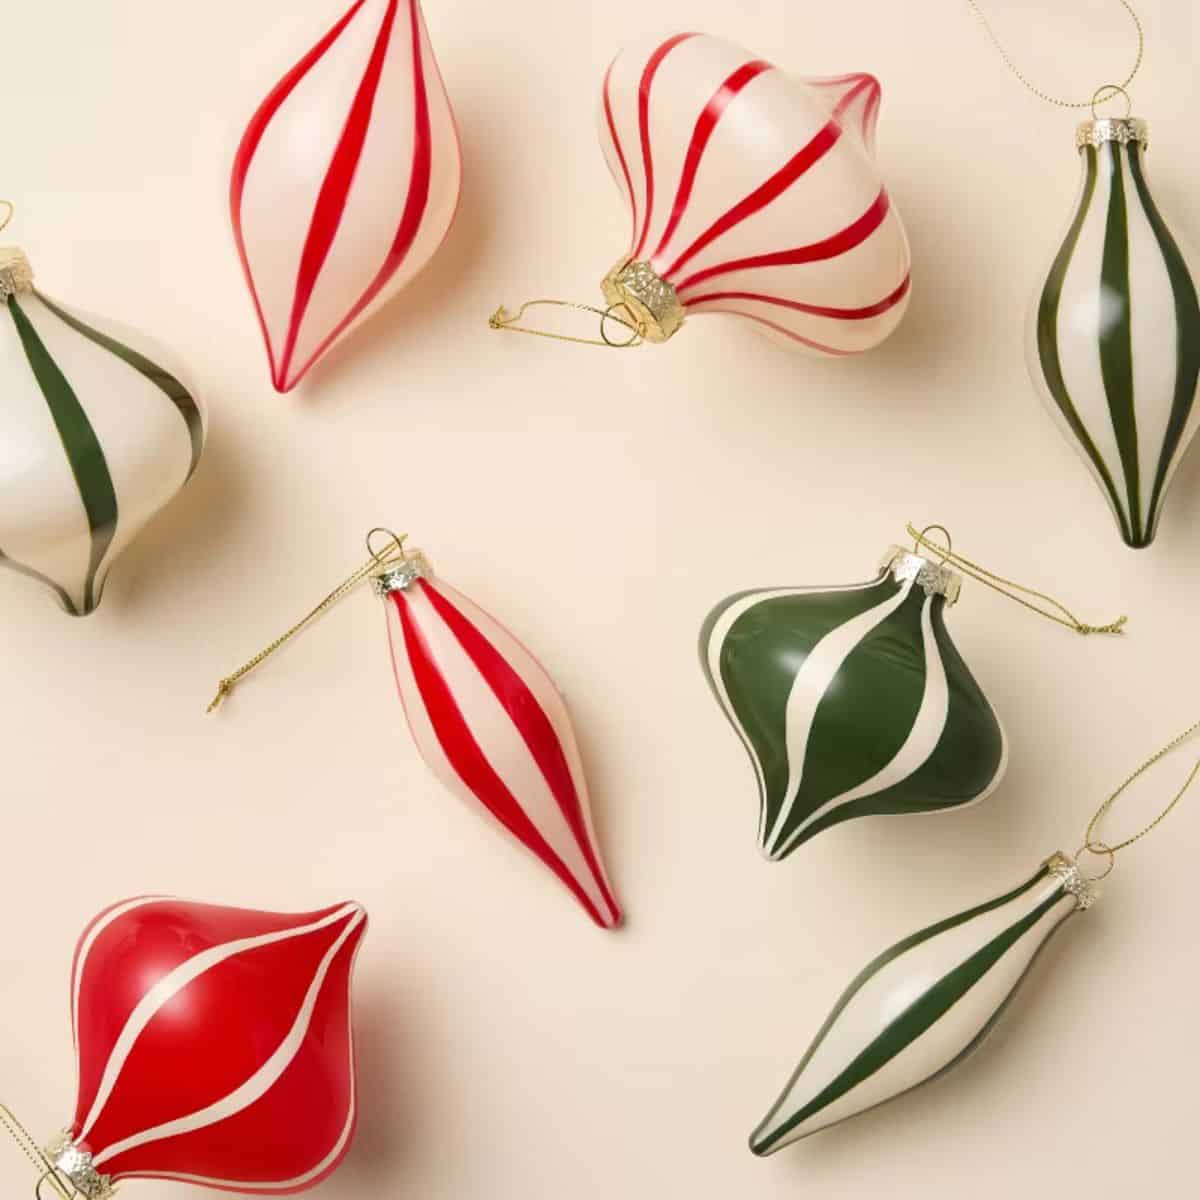
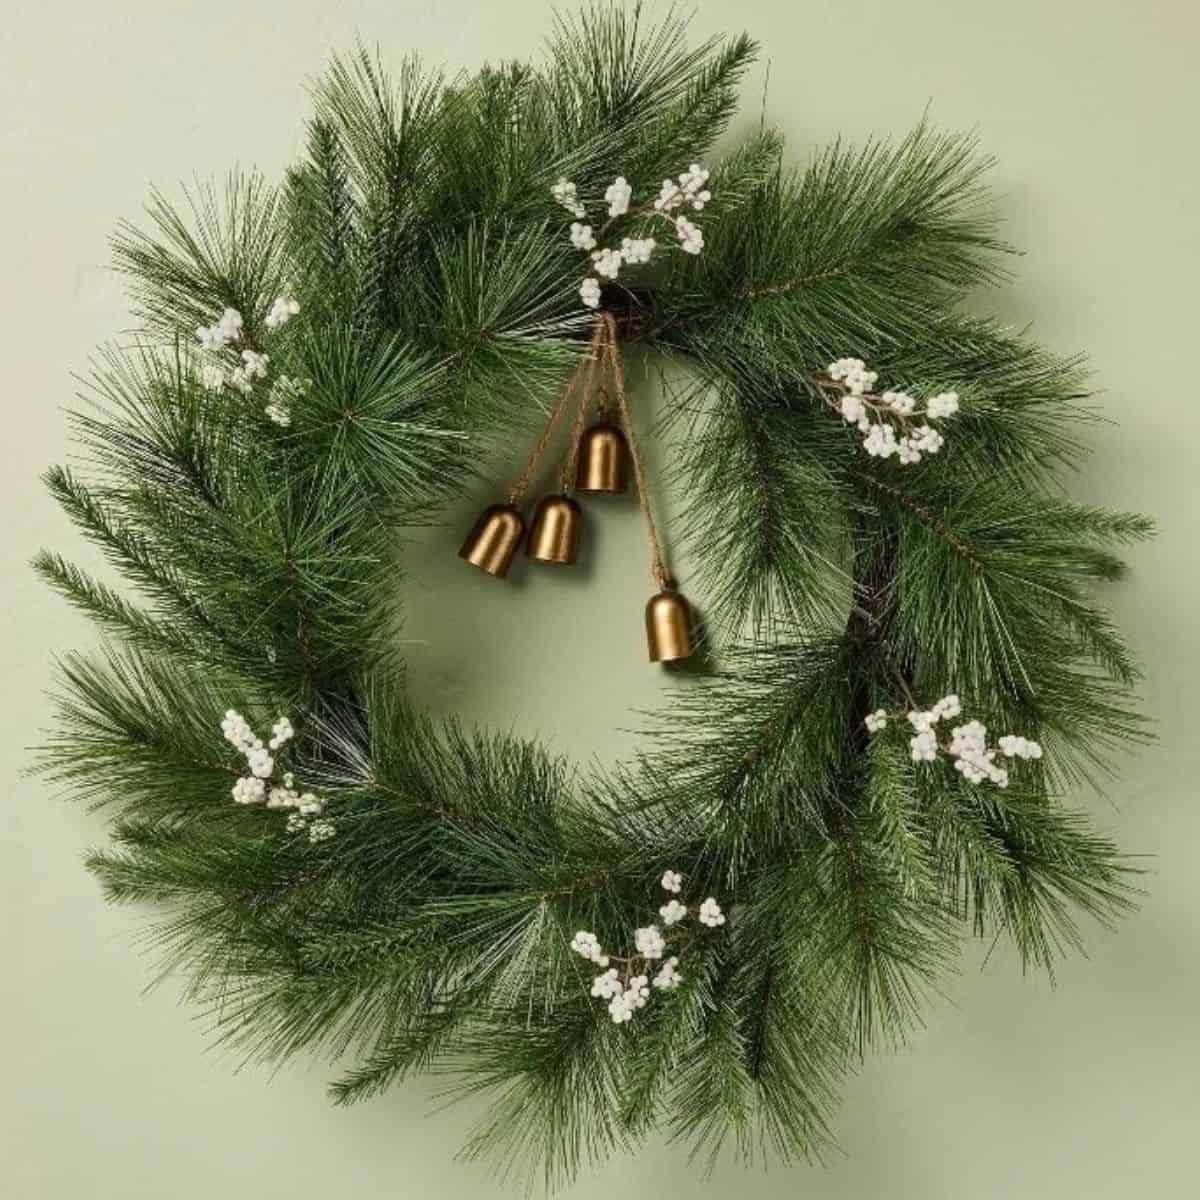
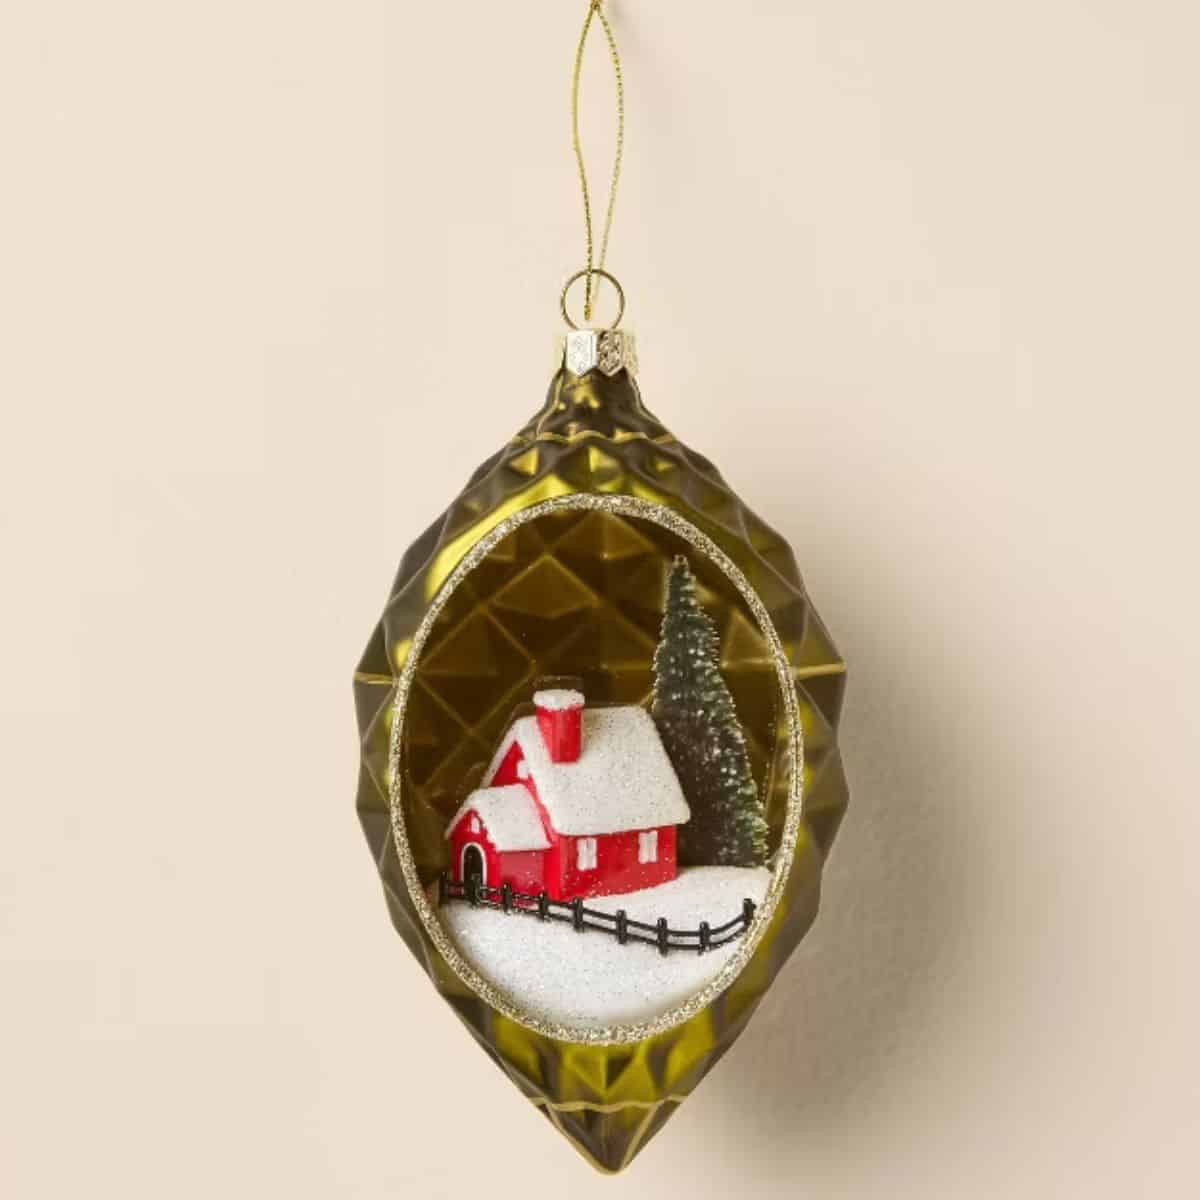
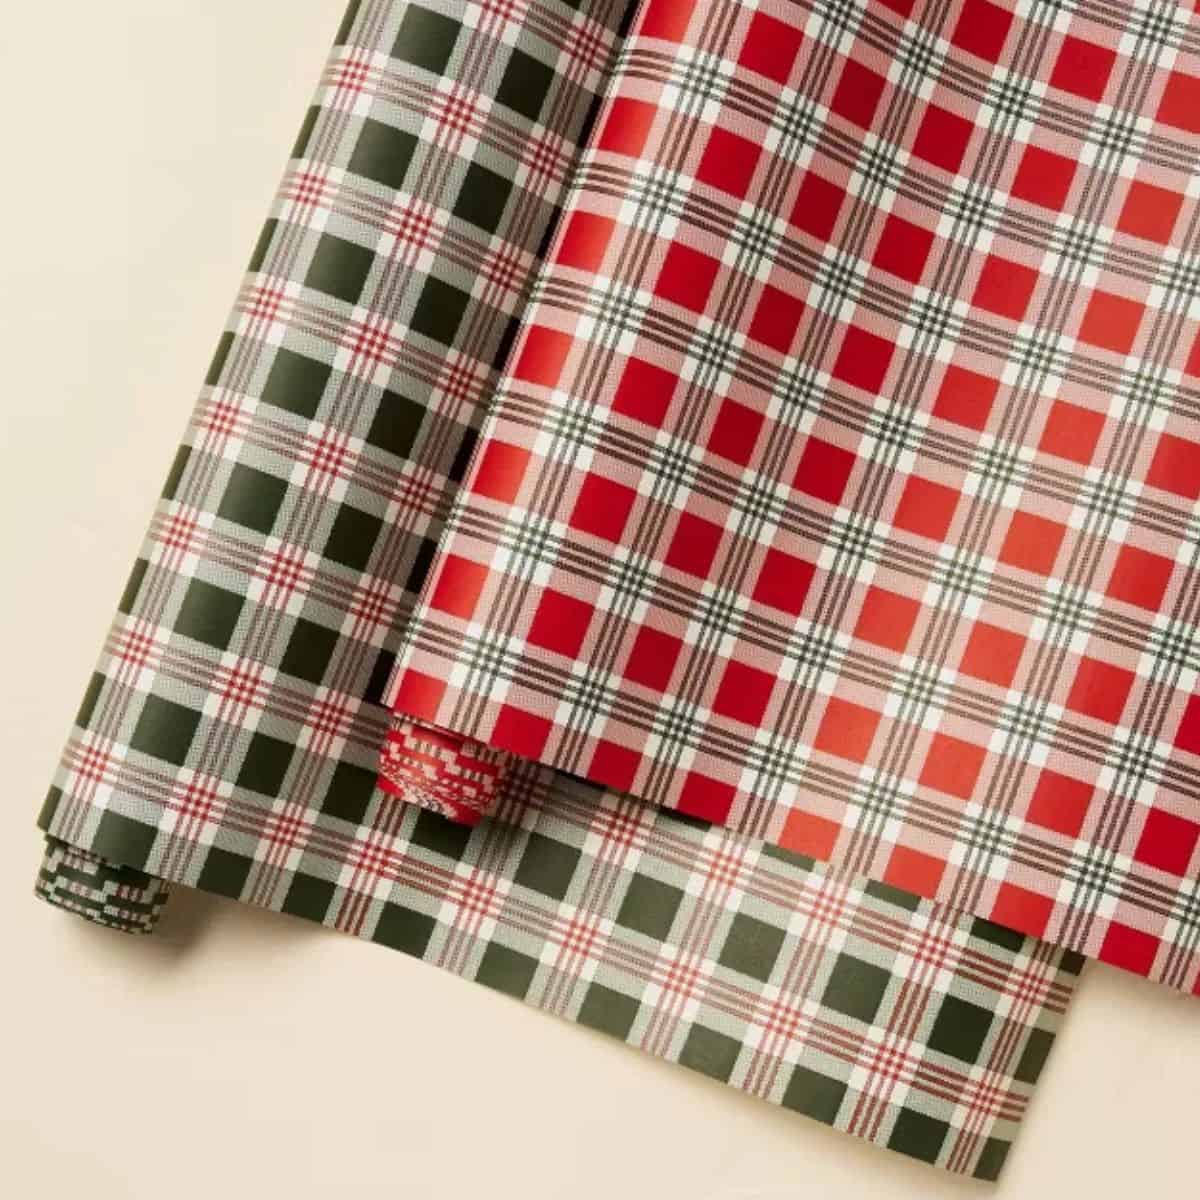
I've gathered 15 holiday favorites, including ornaments, candles, stockings, greenery, and a few little extras that would also make lovely gifts.

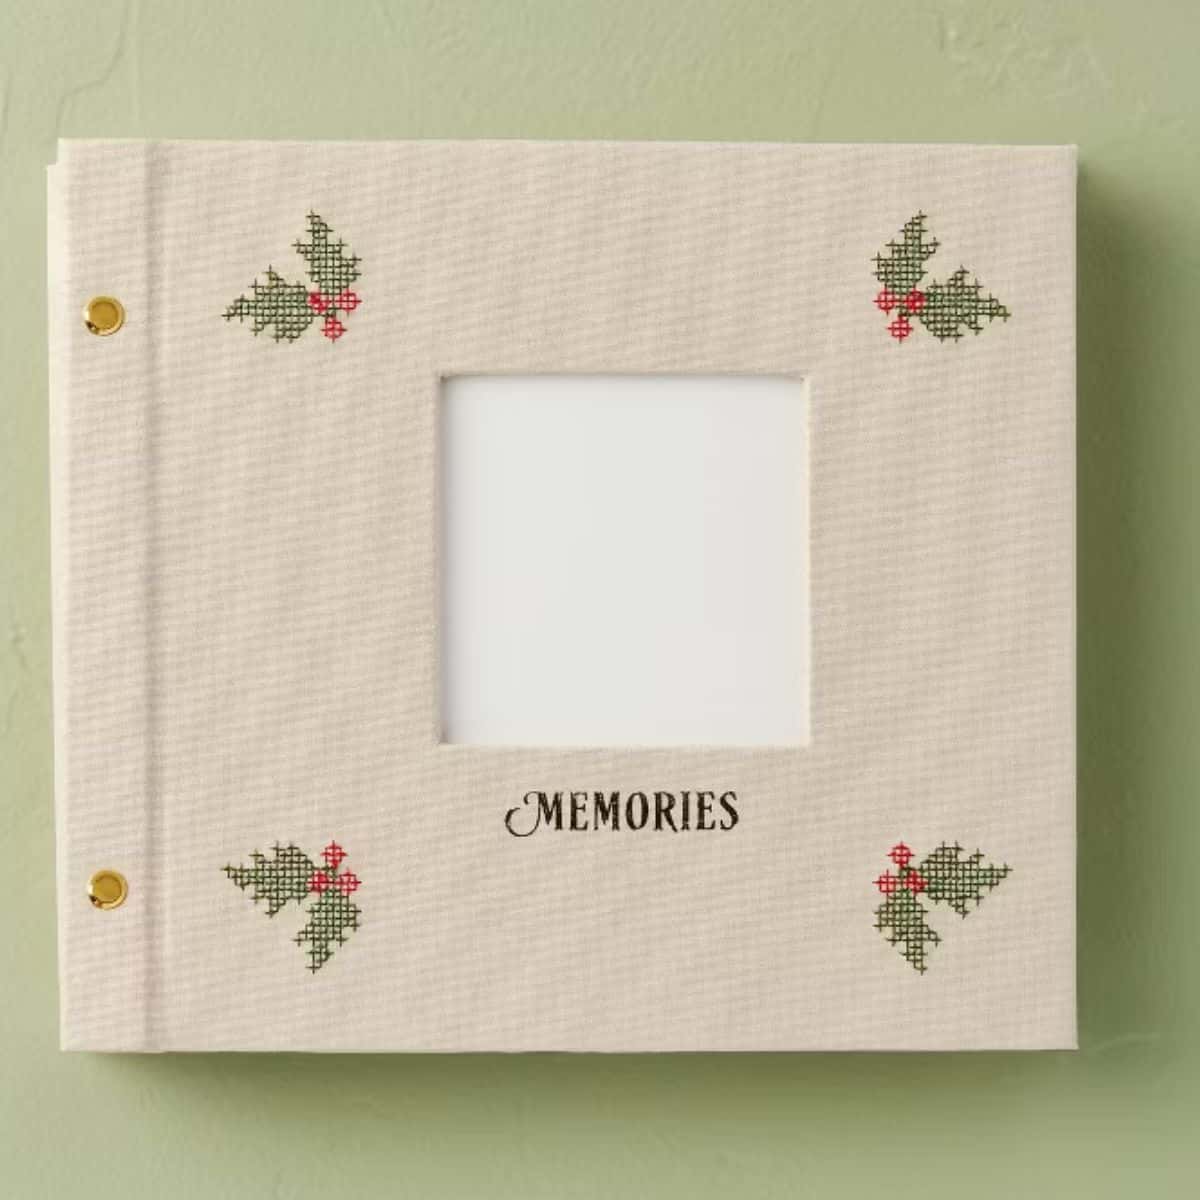
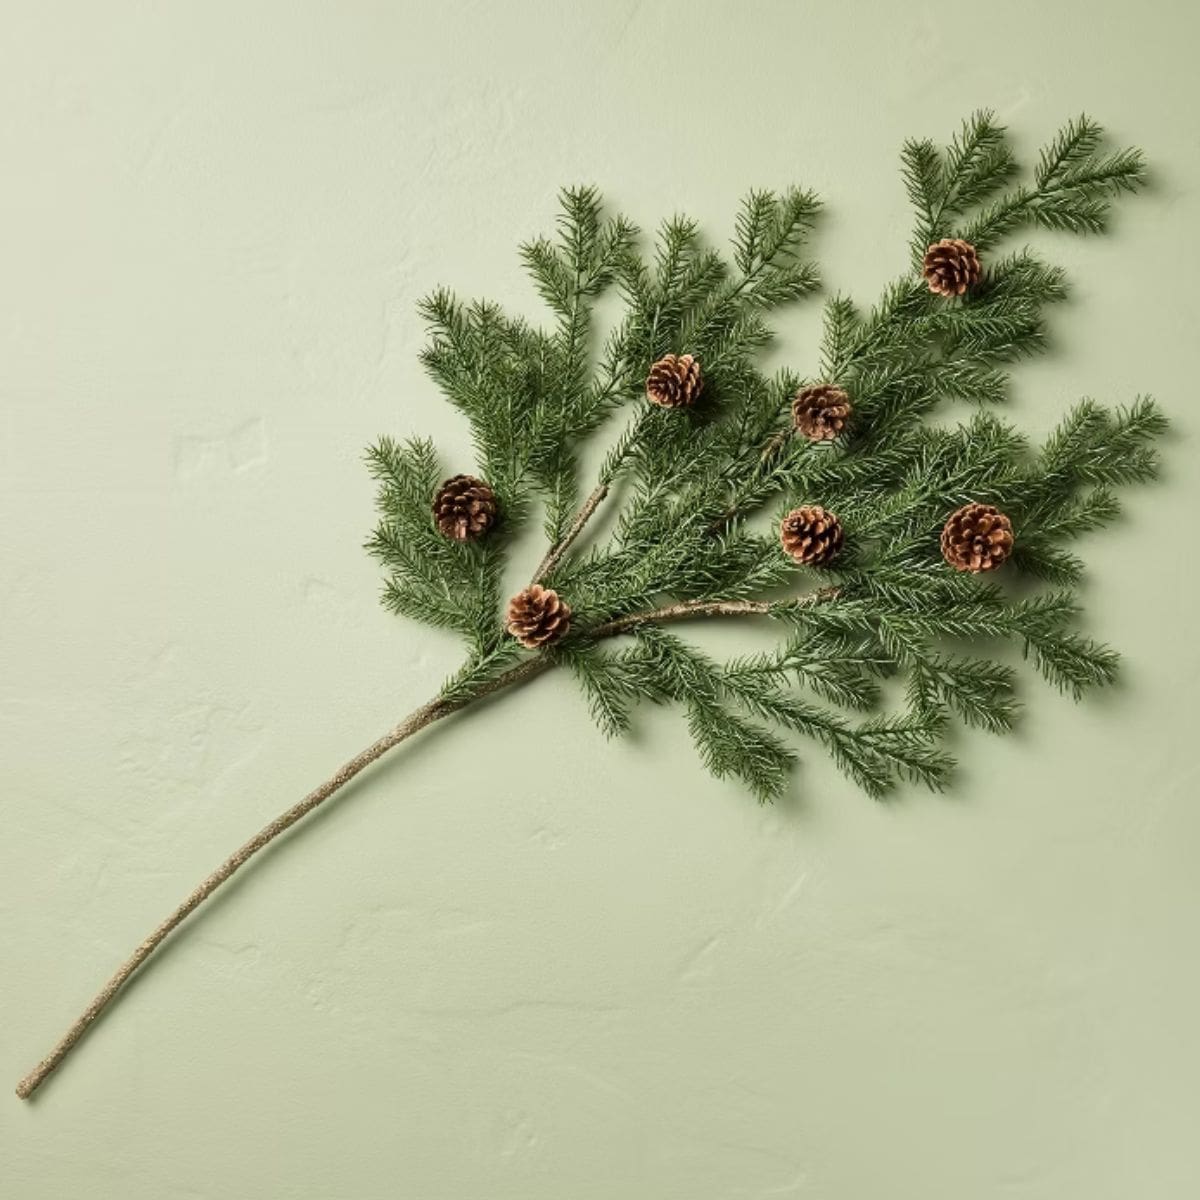
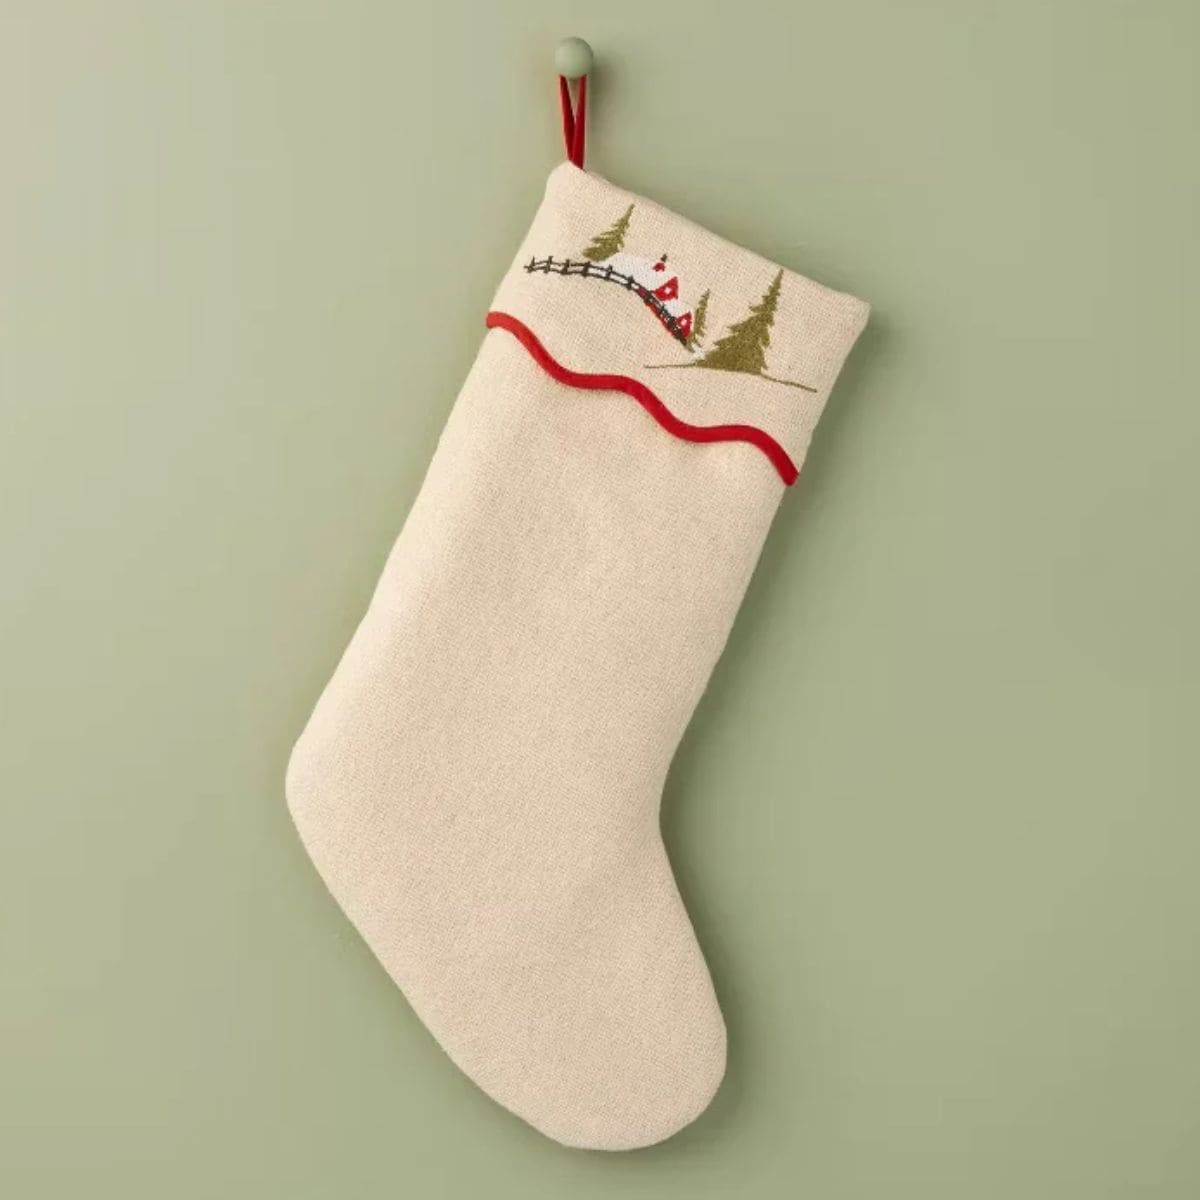
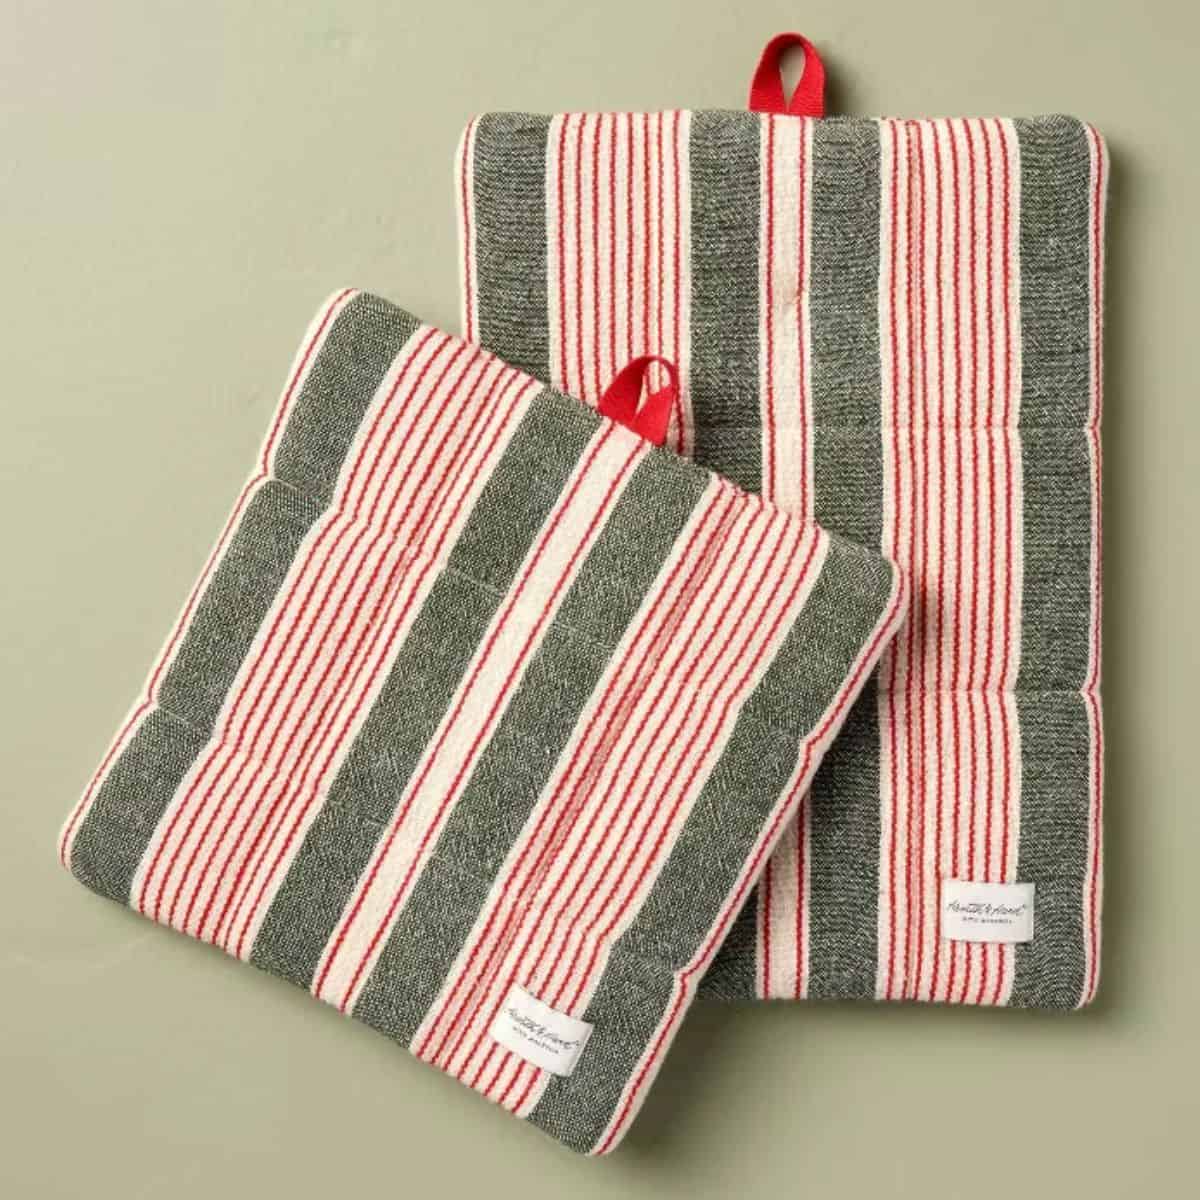

Decorating for Christmas with Hearth & Hand
You don't have to redecorate your entire house to enjoy a few new holiday pieces. Sometimes swapping out a throw pillow, adding a pretty wreath, or placing a little greenery on a shelf is all it takes to make a room feel ready for Christmas.
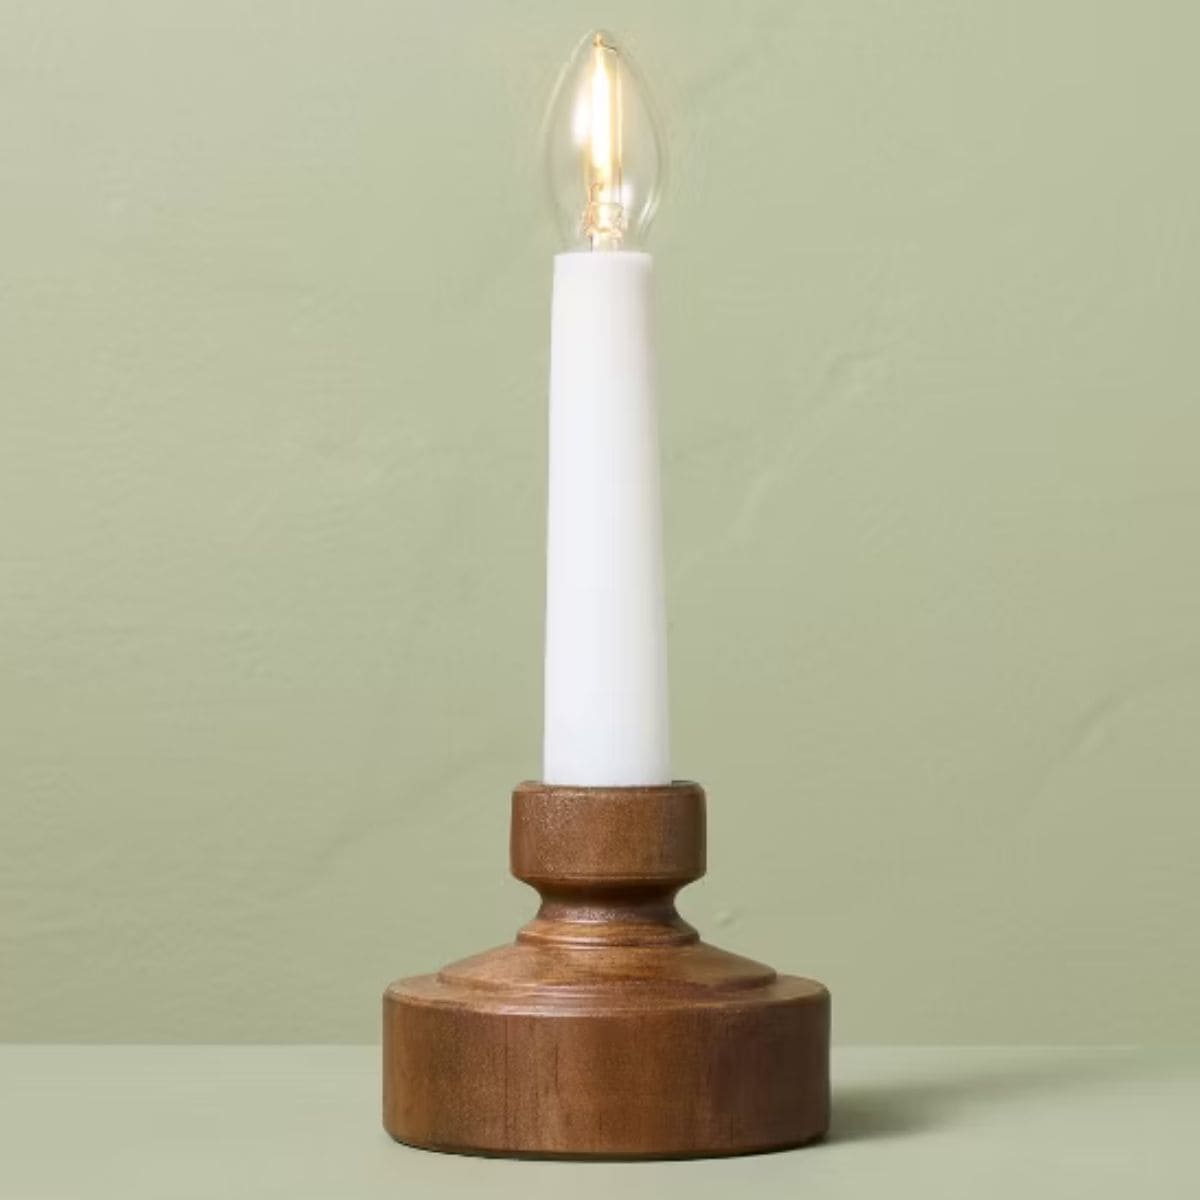
I especially love combining natural wood, greenery, and warm metallic accents. The wood bead garland, pine stems, and brass candle holders are great examples of pieces that work beautifully together without looking too matchy-matchy.
If you prefer a more traditional Christmas color palette, plaid wrapping paper, striped ornaments, and embroidered stockings bring in classic reds and greens.
And don't forget about the smaller spaces! A candle on the kitchen counter, a small framed Christmas saying on a bookshelf, or a festive centerpiece on the dining table can make everyday areas feel special all season long.
Choosing Christmas Decorations You'll Use Again
I love finding new Christmas decorations, but I also try to choose pieces that will work with what I already have. That way, I don't start from scratch every December.
Neutral decorations, simple greenery, and classic Christmas colors usually mix easily with different styles. A pine wreath can look beautiful with rustic decorations one year and more traditional ornaments the next.
Also consider where you'll store everything after the holidays. Smaller accents, fabric decorations, and versatile pieces can be easier to pack away than large seasonal displays.
If you see something you really love, check availability before making plans around it. Holiday collections are seasonal, and specific designs may sell out or change from year to year.
Hearth & Hand Holiday Gift Ideas
Christmas decorations aren't just for decorating your own home. Several of these pieces would also make thoughtful gifts for friends, neighbors, teachers, or anyone who loves a cozy home.
The candle gift set is a simple option for someone who enjoys seasonal scents, while the cross-stitch memory book is lovely for someone who likes to save family photos and special memories.
The Christmas potholders could make a cute little kitchen gift, especially paired with a favorite recipe or a few homemade treats.
And for someone who loves Christmas traditions, the brass advent calendar is a fun way to count down the days until Christmas each year.
If you're shopping for someone who loves the Magnolia style, keep an eye out for these gift ideas.
More Shopping Guides
Need some gift ideas? These are a great place to start!
Hi, I'm Katie!
I'm so glad you're here. Want to make something fabulous? I'm here to help!
The post Target Hearth & Hand Holiday Collection Picks appeared first on The Crafty Blog Stalker.
]]>The post Homemade Layered Piano Bookmarks with Cricut appeared first on The Crafty Blog Stalker.
]]>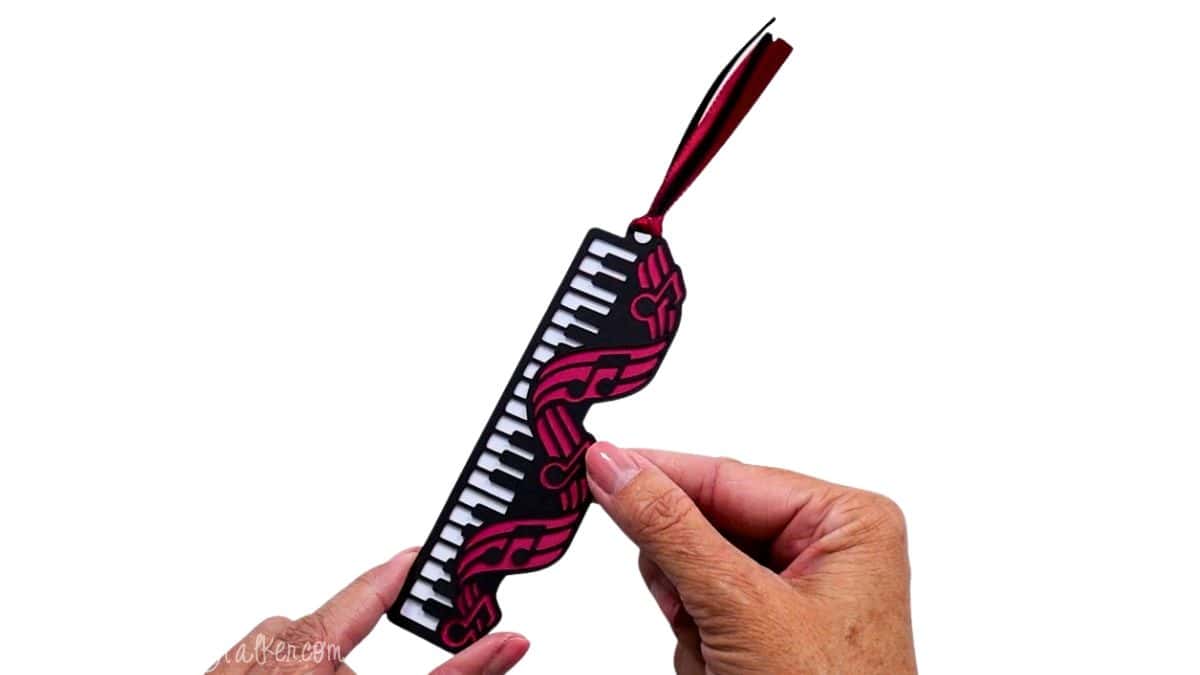
I love making homemade bookmarks with my Cricut, especially when they have a fun theme like these layered piano designs.
They're a cute little craft for music lovers, piano teachers, students, or anyone who enjoys a good book.
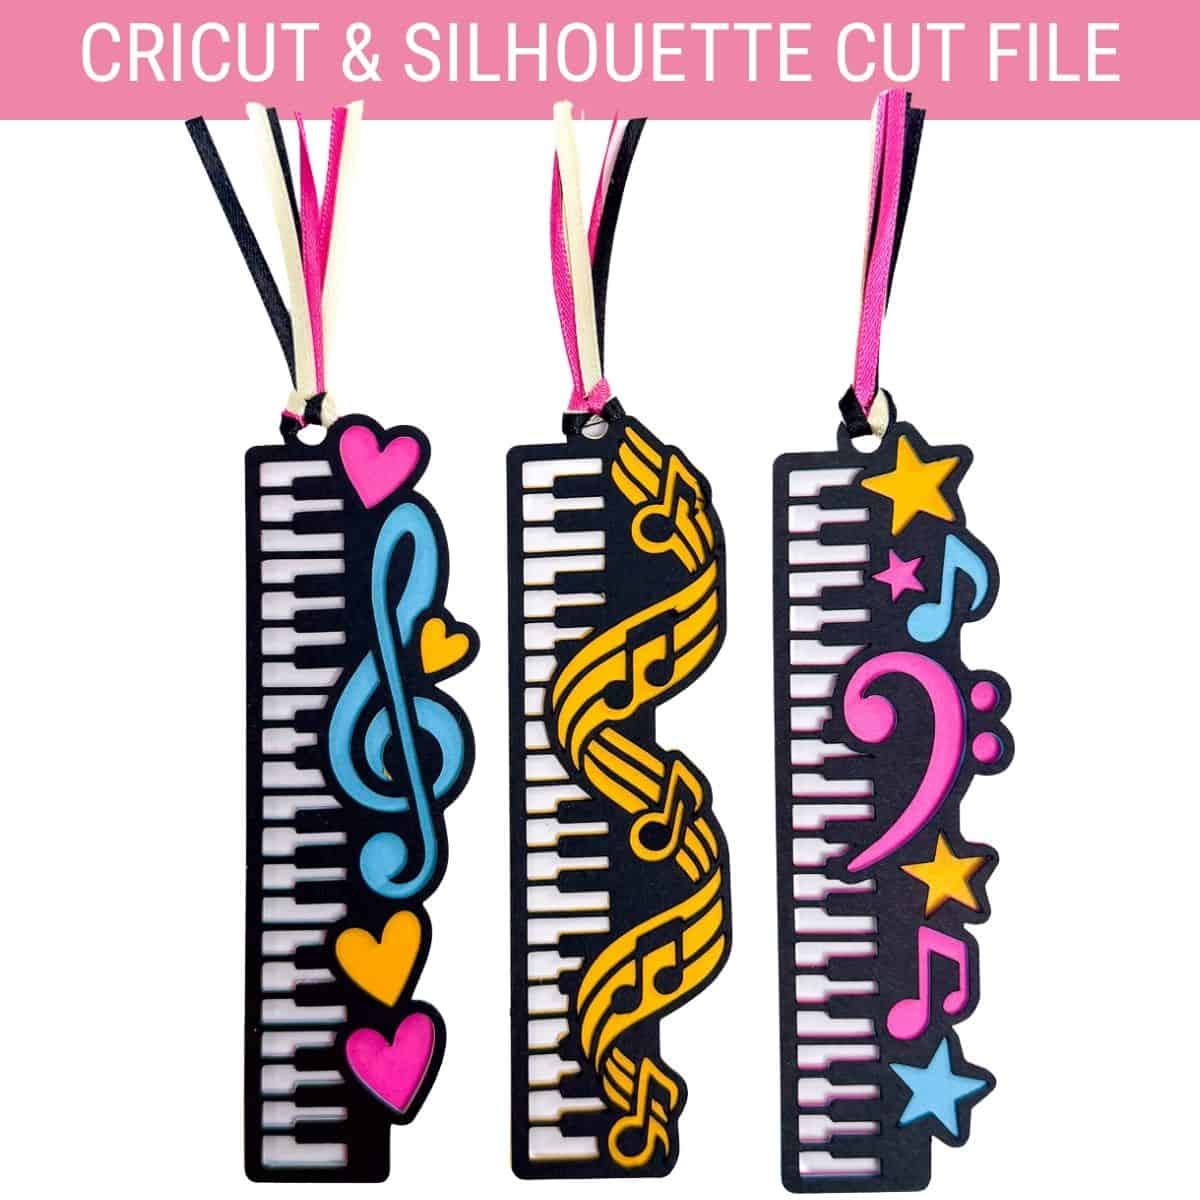
In this tutorial, I'll share a free piano bookmark SVG, or you can grab my bundle of three music-themed bookmarks if you want a few more designs to choose from.
All three are assembled the same way, so pick your favorite cardstock colors and let's make some bookmarks!
Skill Level: Beginner
Estimated Cost: 20 minutes
Total Time: $1-$2
Craft Tutorial Video
If videos are your thing, you're in luck-I've got a full tutorial ready for you!
Subscribe to my YouTube channel and stay inspired with every new project.
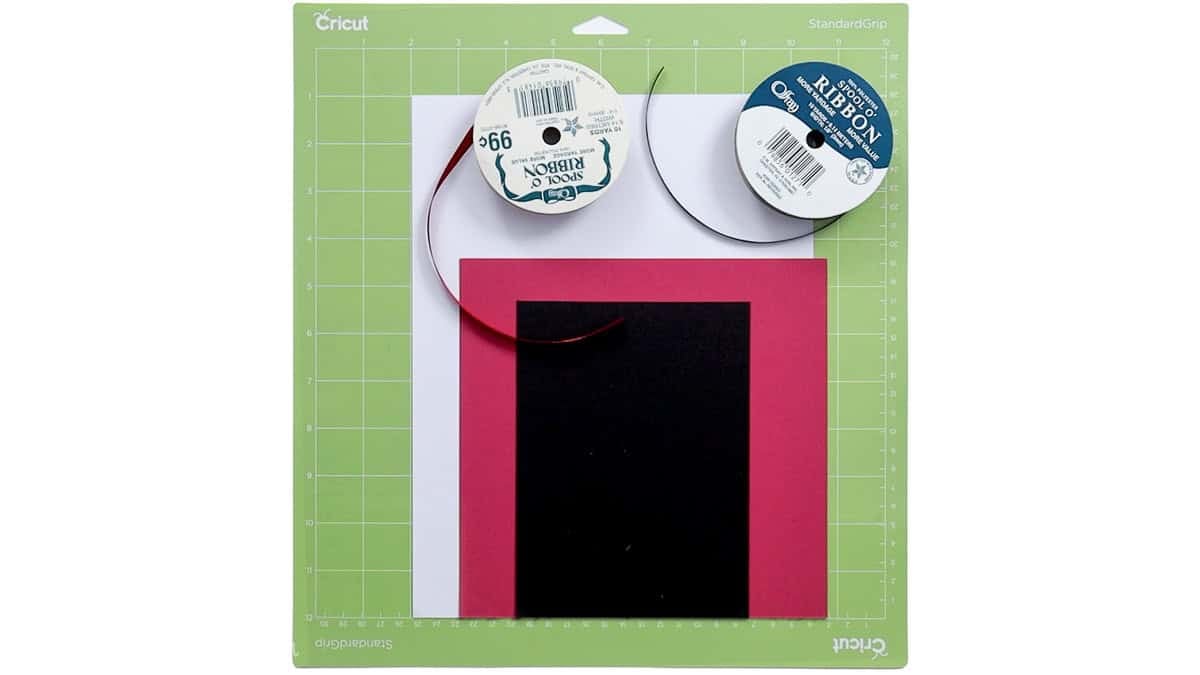
Supply List
- Cricut Cutting Machine
- StandardGrip Mat
- Free Piano Bookmark SVG
- Cardstock
- Spatula Tool
- ¼" Ribbon
- Glue (optional)
Grab the Piano Bookmark SVG
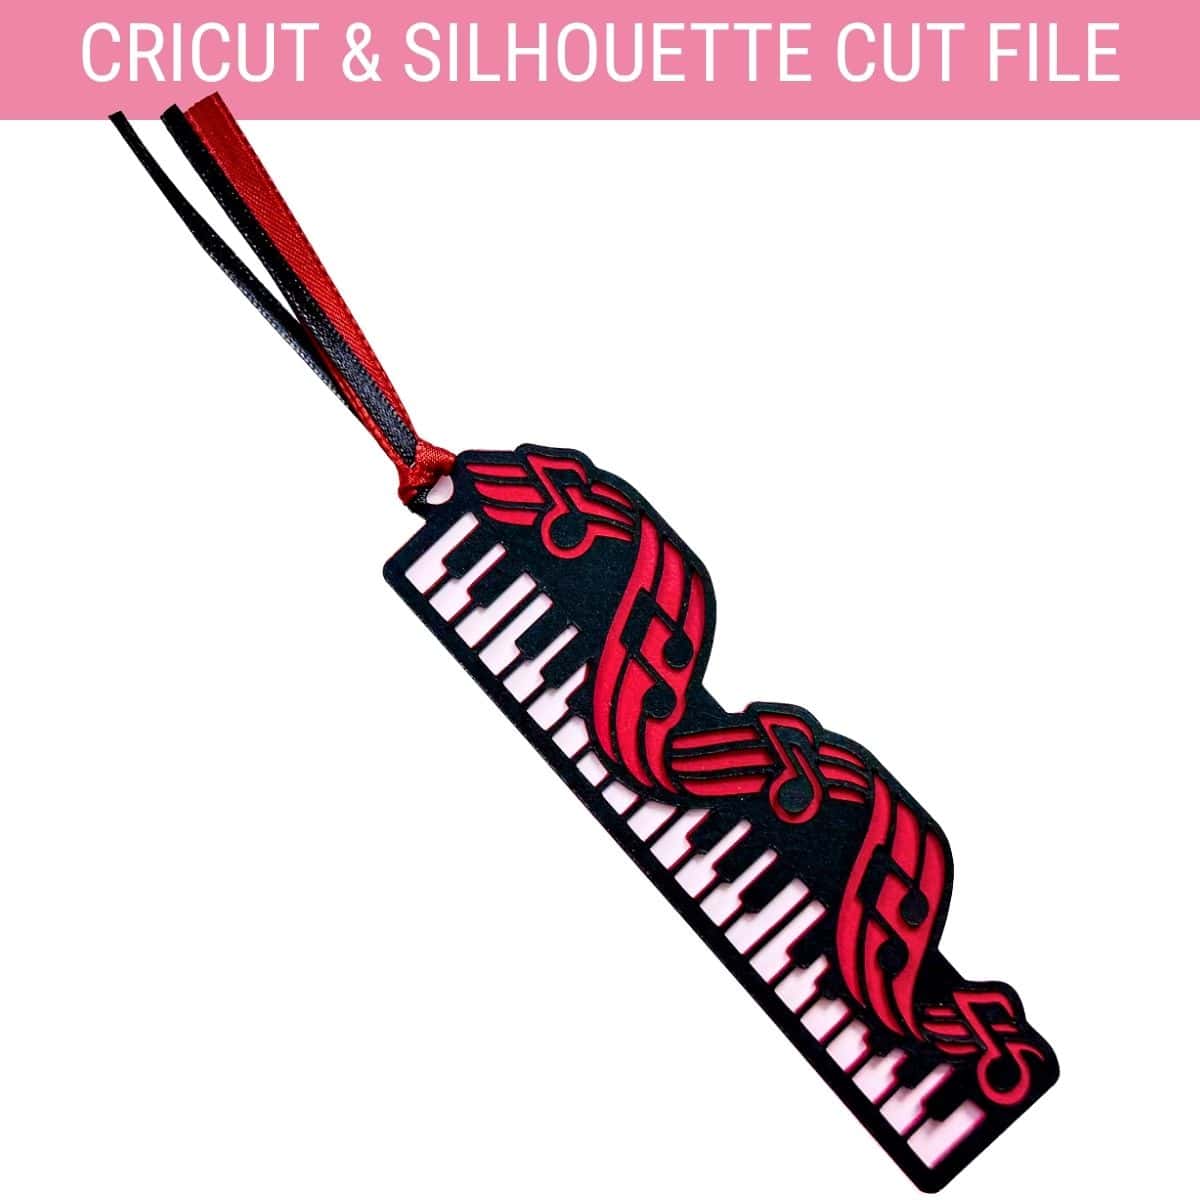
This project offers two SVG options. You can grab the single piano bookmark SVG for free or purchase the bundle of three music-themed bookmarks.
All three use the same basic layering technique, so once you've made one, you'll know how to assemble the others.
Preparing the Bookmark in Cricut Design Space
I'll be using the free piano bookmark SVG for this tutorial, but the same tips apply to the other designs in the bundle.
The bookmark measures about 1.5 x 5 inches, a nice size for most books. Y
You can make it larger if you'd like, but I don't recommend going smaller because some of the piano keys and musical details are pretty intricate.
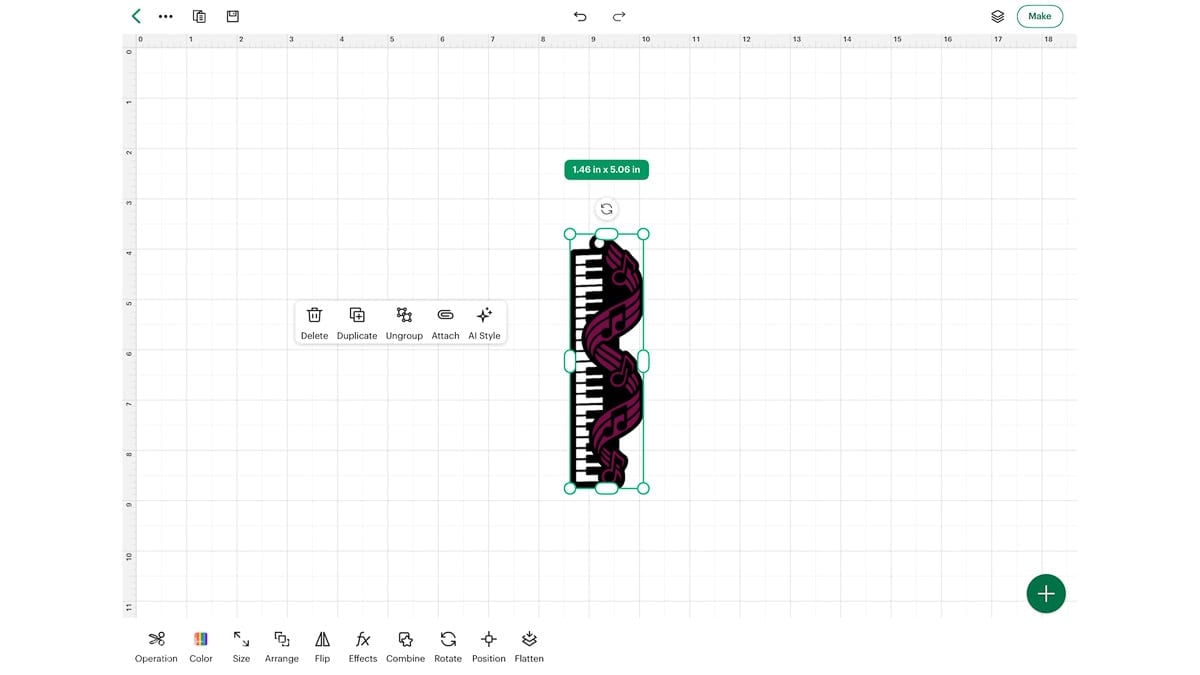
One thing I love about this SVG is that it's ready to cut as soon as you upload it into Cricut Design Space. No special operations or layers need to be added.
I used 60 lb. cardstock with the More Pressure setting. I've found that a little extra pressure often gives me cleaner cuts, especially on designs with smaller details.
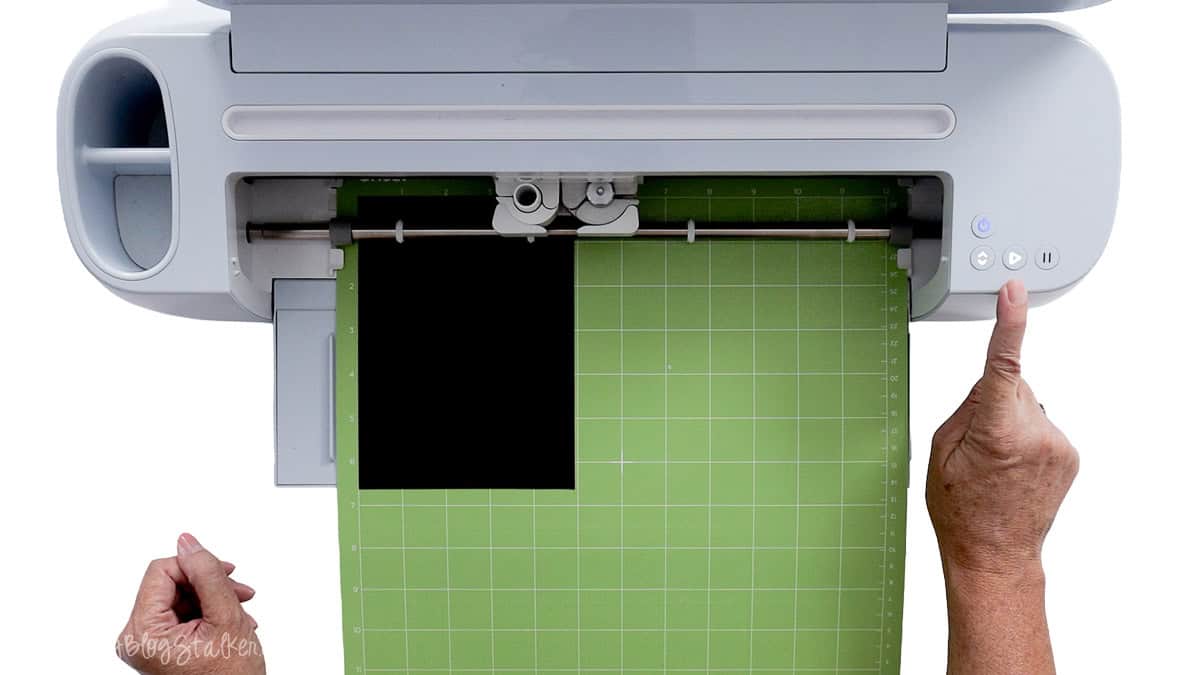
A clean, sticky cutting mat and a sharp blade make a big difference. If your Cricut drags the paper or tears the small details, check your mat and blade before trying again.
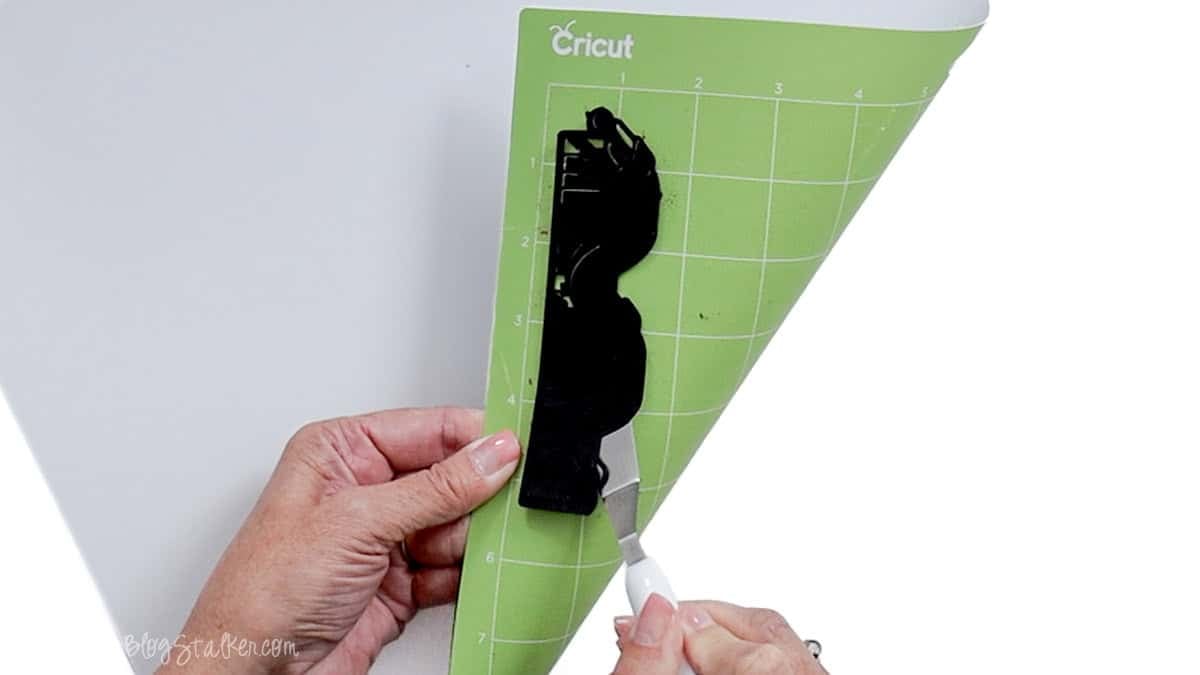
Carefully removing the cardstock is just as important as getting a clean cut.
I like to flip my mat over and gently bend it away from the paper. A spatula tool also helps lift delicate pieces without bending or tearing them.
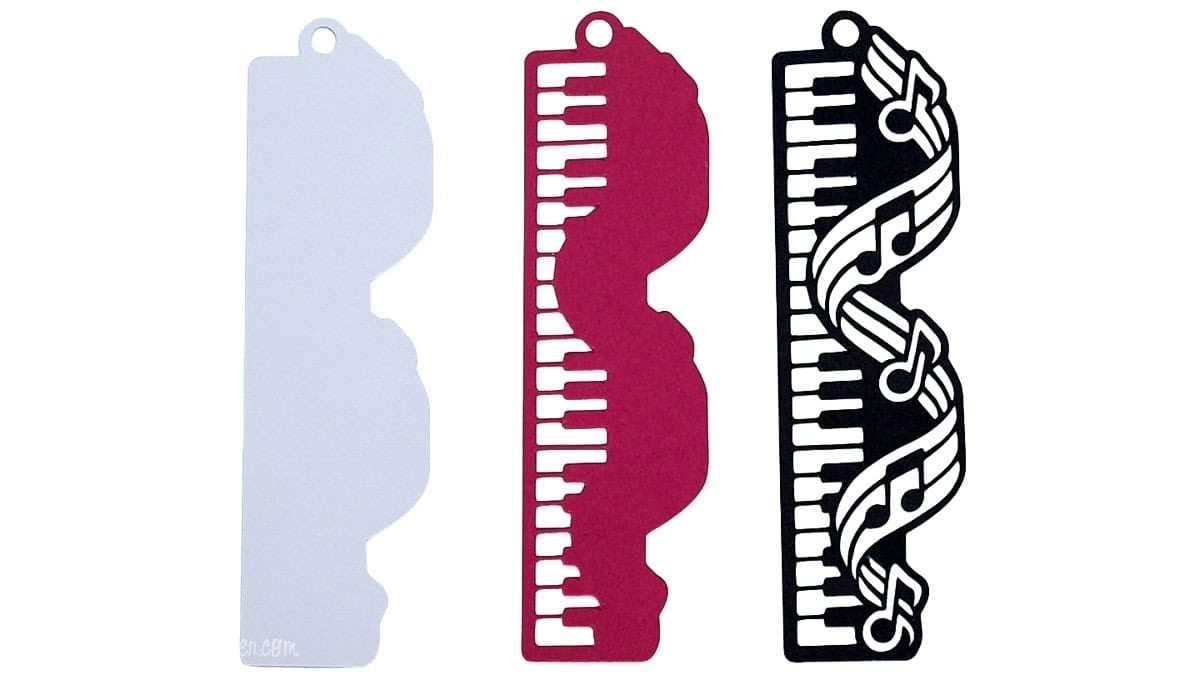
The free bookmark has three cardstock layers that come together to create the finished piano design.
Assembling Your Layered Piano Bookmark
The fun part is seeing all those little cardstock pieces come together into one design!
The layers line up along the outside edges, making it easy to position everything correctly. I like to check the alignment before deciding whether to secure the layers with glue.
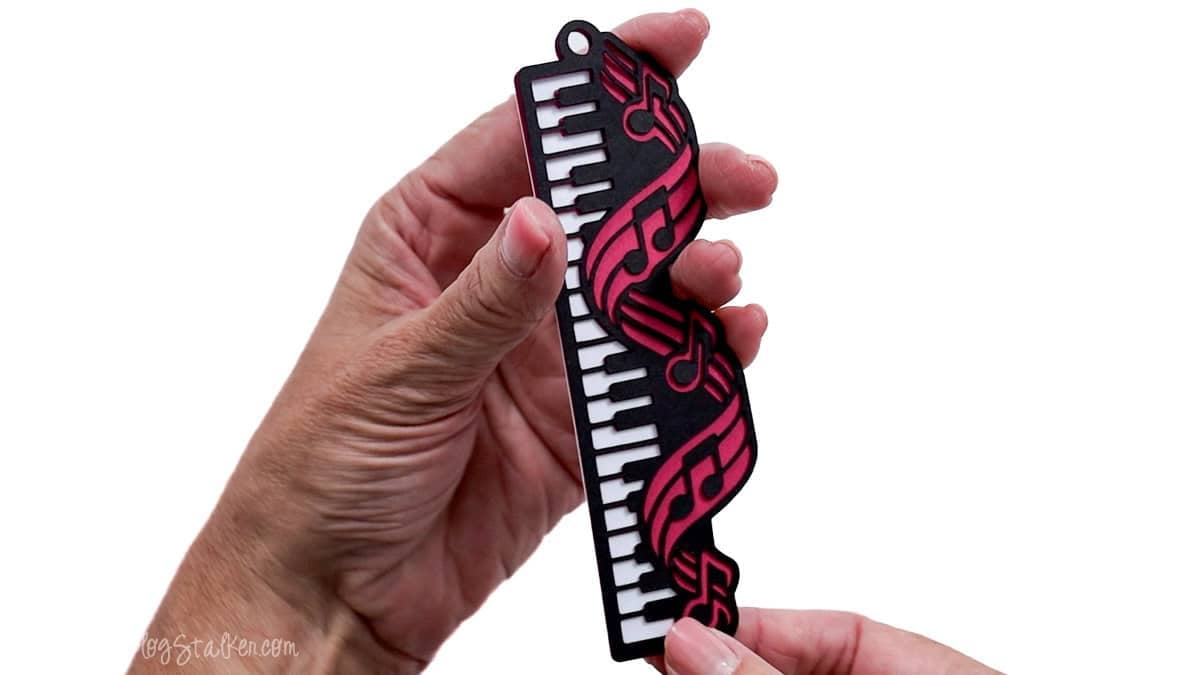
I used a few pieces of ¼-inch ribbon, each about 5-6 inches long, to make a little tassel at the top.
The ribbon adds a cute finishing touch and makes the bookmark easy to find between the pages.
Use one ribbon color or mix a couple of coordinating colors to match your cardstock.
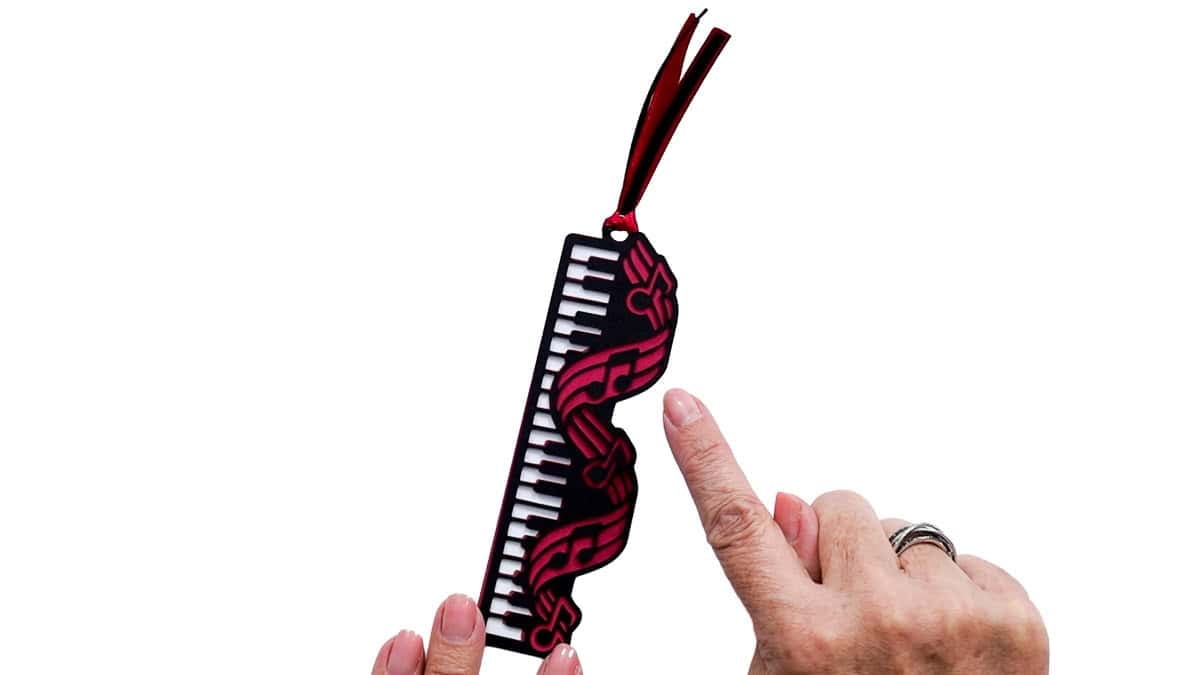
And that's it! Aren't these cute?
You can add a little glue between the cardstock layers if you want everything to stay together permanently.
Personally, I like leaving mine unglued so the layers can fan out a little, but either way works.
That's one of the fun things about making your own bookmarks. You get to decide exactly how you want them to look!
Tips for Making Homemade Bookmarks
Cardstock choice makes a difference when creating layered bookmarks. You want paper that's sturdy enough to hold its shape but not so thick that the finished bookmark becomes bulky.
I used 60 lb. cardstock, which worked well with the small details in this design. If you're using a different weight, you may need to adjust your Cricut cut settings.
Color is another easy way to personalize these bookmarks. Black and white are perfect for the piano keys, but the accent layer can be almost any color you like. Try school colors for a music teacher, a favorite color for a friend, or a few different combinations if you're making several gifts.
If you're giving these as presents, tuck one inside a new book, pair it with a bookstore gift card, or add it to a small gift for a piano teacher or music student.
These would also make cute little gifts for book lovers who enjoy music.
Frequently Asked Questions
The free piano bookmark measures approximately 1.5 x 5 inches. You can resize it in Cricut Design Space, but I recommend keeping it close to the original size or making it larger to preserve the small details.
I used 60 lb. cardstock for this project. It cuts nicely with my Cricut and provides enough structure for the layered design without making the bookmark too thick.
No. Glue is completely optional. I like leaving the layers loose so they can fan out, but you can glue them together if you prefer a more secure bookmark.
Absolutely! The ribbon is just a decorative finishing touch. You can leave it off or use a different ribbon color to match your design.
Yes. You can make the design larger, but I don't recommend making it smaller because the piano keys and musical details may become difficult to cut cleanly.
A dull blade, dirty cutting mat, or incorrect cut setting can cause problems with delicate paper designs. Make sure your cardstock is firmly attached to the mat and that your blade is clean and sharp. You may also need to adjust the pressure for your specific cardstock.
Yes! The free piano bookmark and both additional designs in the bundle use the same basic layering and assembly technique.
Definitely! They're a fun handmade gift for piano teachers, music students, musicians, and book lovers. You could even make several in different colors for a classroom or music recital.
Need help with this project?
Click a button below to ask AI how to prevent my Cricut from tearing small paper details.
More Free Music SVGs
If you love crafting with music-themed designs, here are a couple more free SVG projects to check out.
They're perfect for making something special for musicians, music teachers, or anyone who always has a favorite song playing.







Hi, I'm Katie!
I'm so glad you're here. Want to make something fabulous? I'm here to help!
The post Homemade Layered Piano Bookmarks with Cricut appeared first on The Crafty Blog Stalker.
]]>The post Halloween-Themed Skeleton Banner with Free SVG appeared first on The Crafty Blog Stalker.
]]>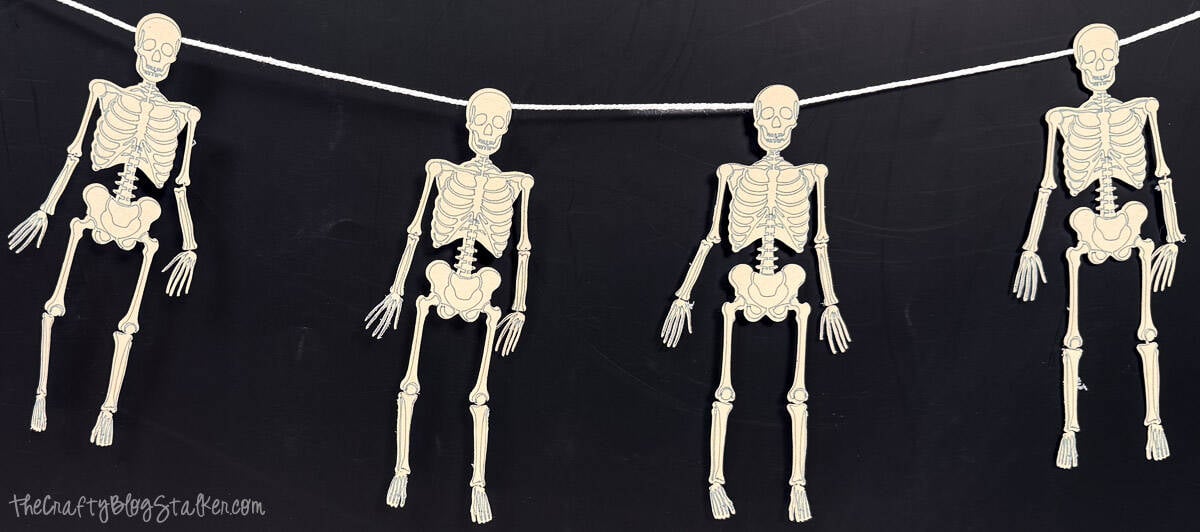
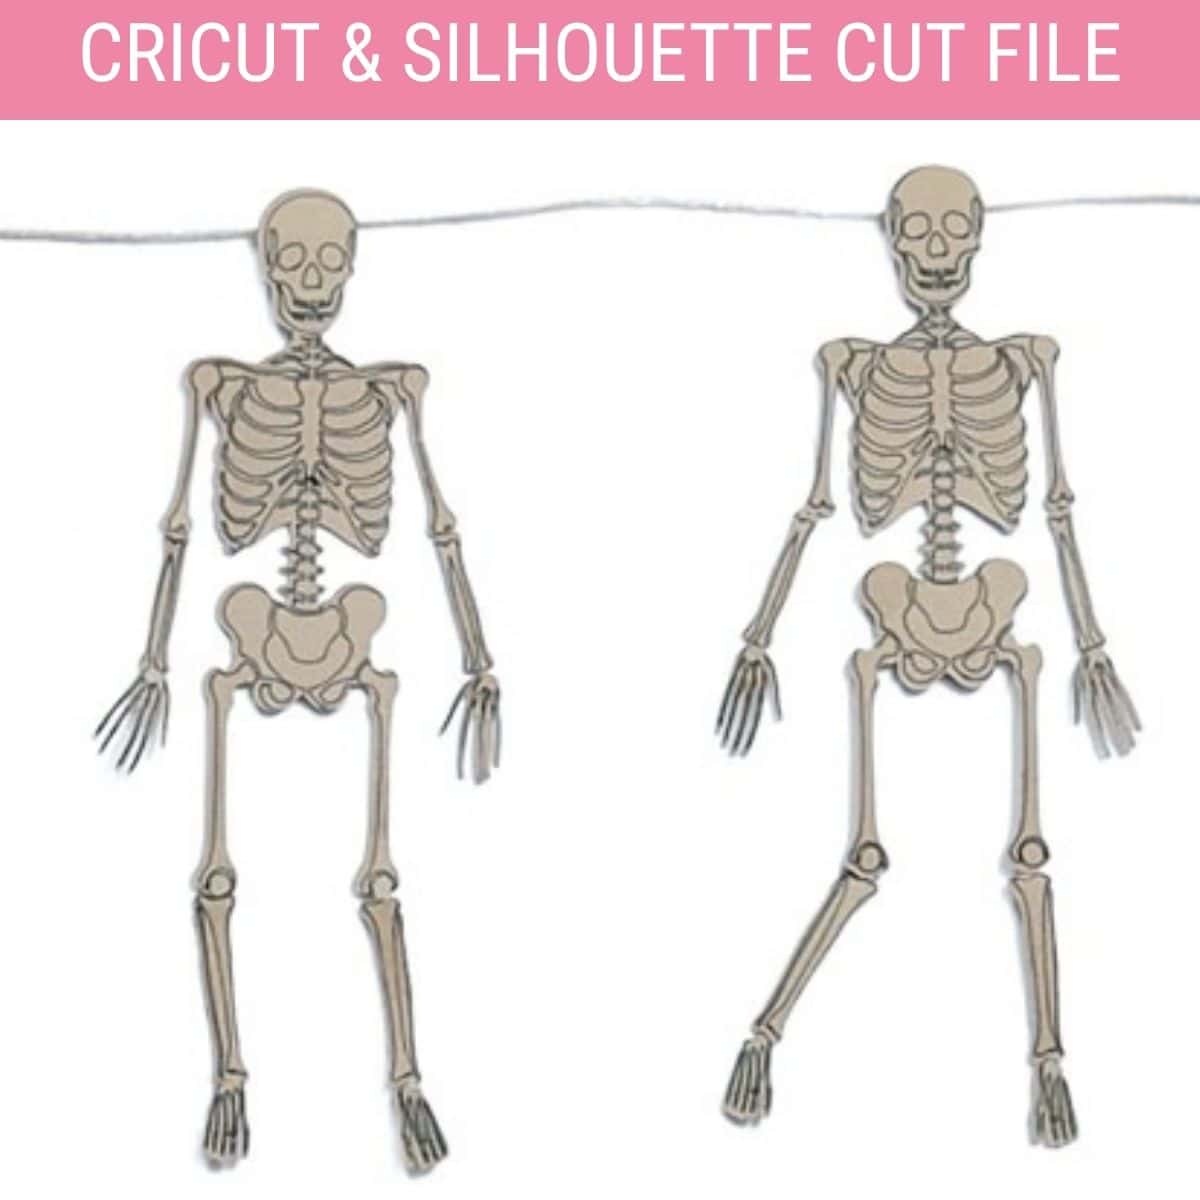
I love Halloween decorations that are a little spooky but still fun, and this skeleton banner fits right in.
I made the skeletons with my Cricut and a free SVG that includes drawn bone details, so each little skeleton has plenty of personality.
The arms and legs are connected with embroidery floss, which lets them dangle in different poses once they're hanging.
They're more friendly than frightening, making this an easy Halloween craft for your home, a party, or even a classroom.
Skill Level: Intermediate
Estimated Cost: $10 - $15
Total Time: 2 hours
Craft Tutorial Video
If videos are your thing, you're in luck-I've got a full tutorial ready for you!
Subscribe to my YouTube channel and stay inspired with every new project.
Supply List
- Cricut Cutting Machine
- StandardGrip Mat
- Posable Skeleton SVG
- Cardstock
- Pen
- DMC Floss
- Cord
- Scissors
- Glue
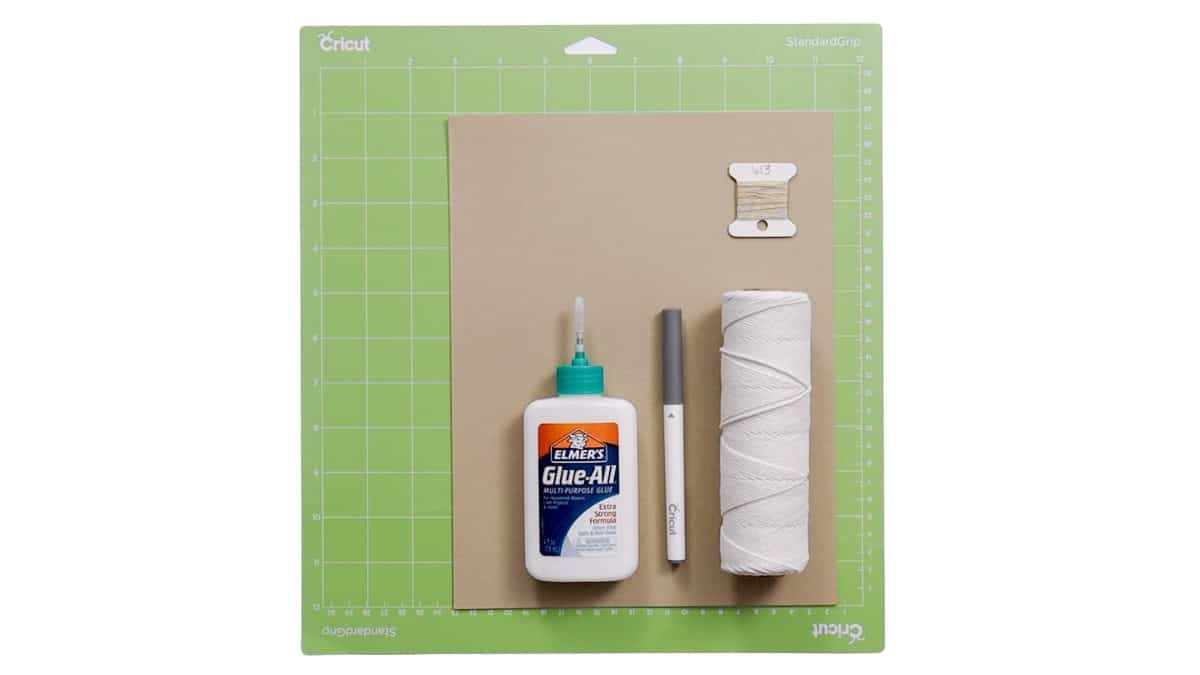
Grab the Free Posable Skeleton SVG
The Posable Skeleton SVG includes separate pieces for the head, body, arms, hands, legs, and feet, plus bone details drawn with your Cricut pen.
I made my skeletons about 5 inches tall, which worked well for the banner.
I don't recommend making them much smaller because there are several small pieces and details to cut, draw, and assemble. Going larger should be no problem and would be really fun for bigger Halloween décor.
Setting Up the SVG in Cricut Design Space
Upload the Posable Skeleton SVG into Cricut Design Space and add it to your canvas.
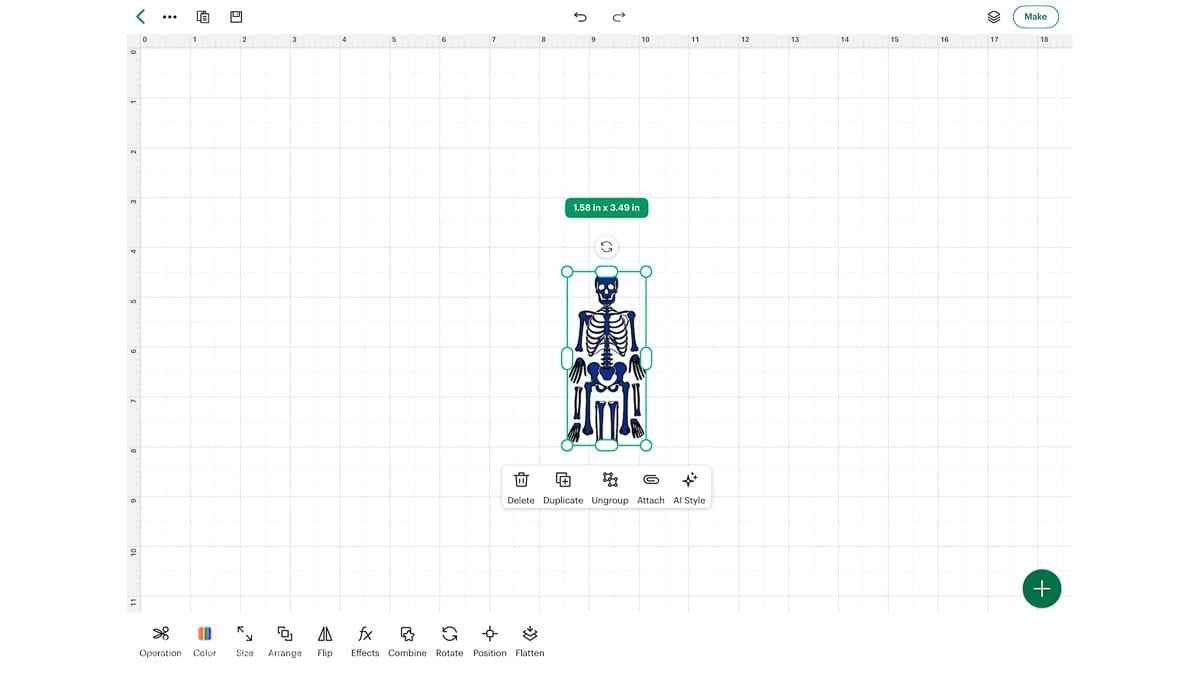
The SVG contains both cut and draw layers.
When you first upload the file, the draw details will appear in Design Space as cut lines, so you'll need to change those layers to the Draw operation before sending the project to your Cricut.
Highlight the design, open the layers panel, and ungroup.
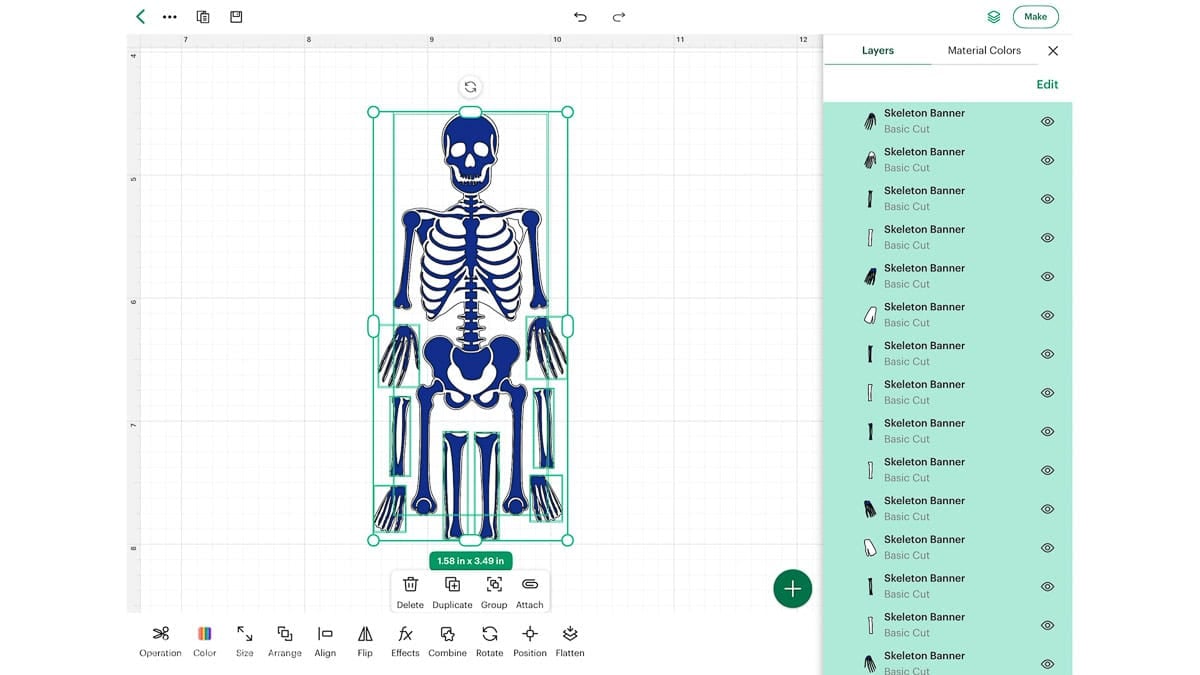
The blue layer is the line you need to change to Draw.
So, moving down the layers panel, highlight a blue shape, click Operation, and change it to Draw. Then attach it to the piece below.
Attaching them tells Design Space exactly where those details belong when the Cricut draws and cuts the cardstock.
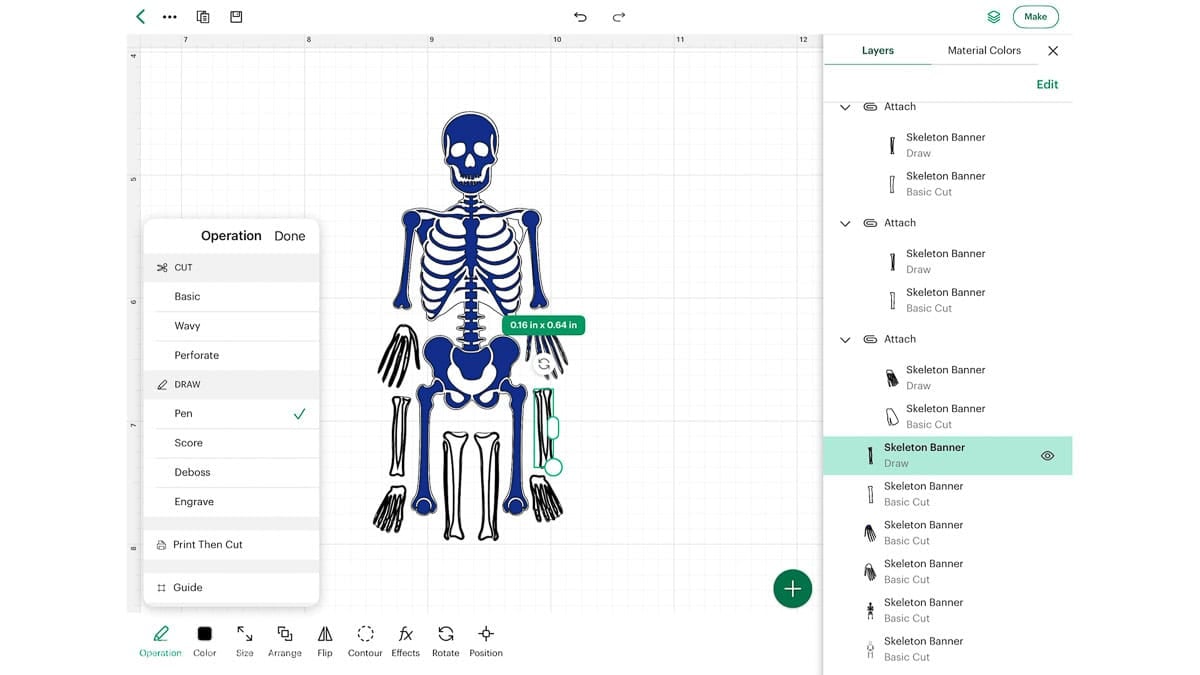
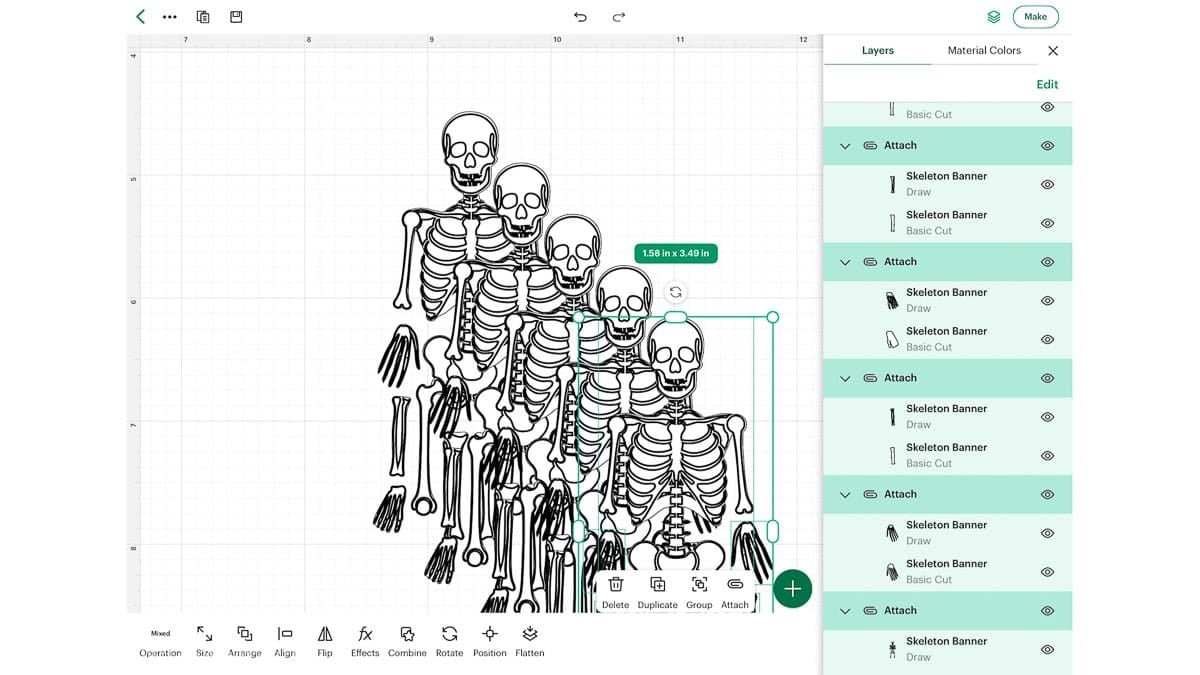
Once you've set up one skeleton, duplicate the finished design to make as many skeletons as you'd like.
I used five for my banner, so I duplicated my original four times.
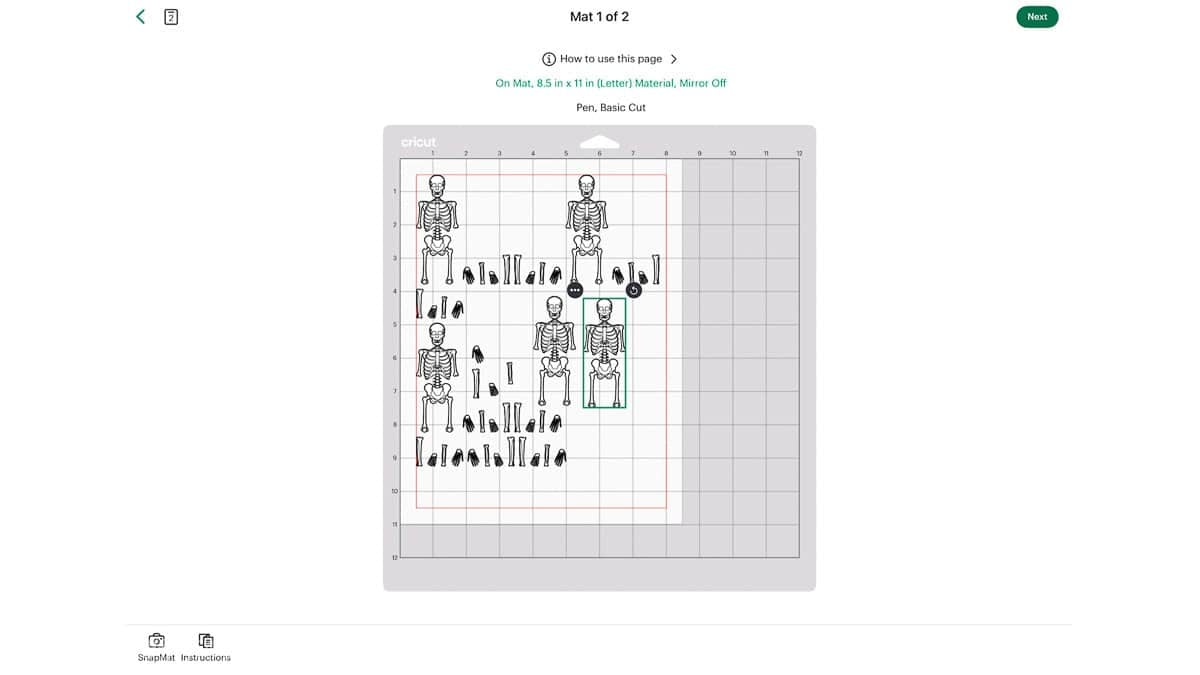
Before cutting, check the mat preview to make sure all of the pieces fit correctly on your cardstock.
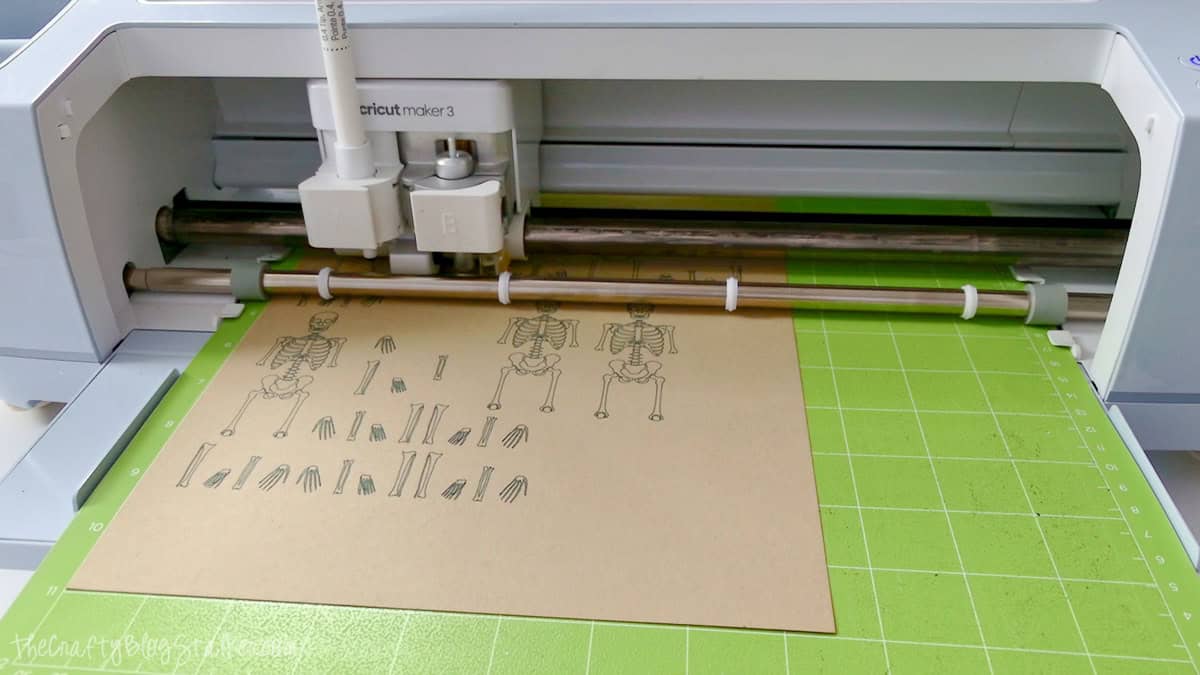
I used 60 lb. cardstock with More Pressure because I find the extra pressure gives me cleaner paper edges.
Follow the prompts in Design Space for loading the pen and Fine-Point Blade.
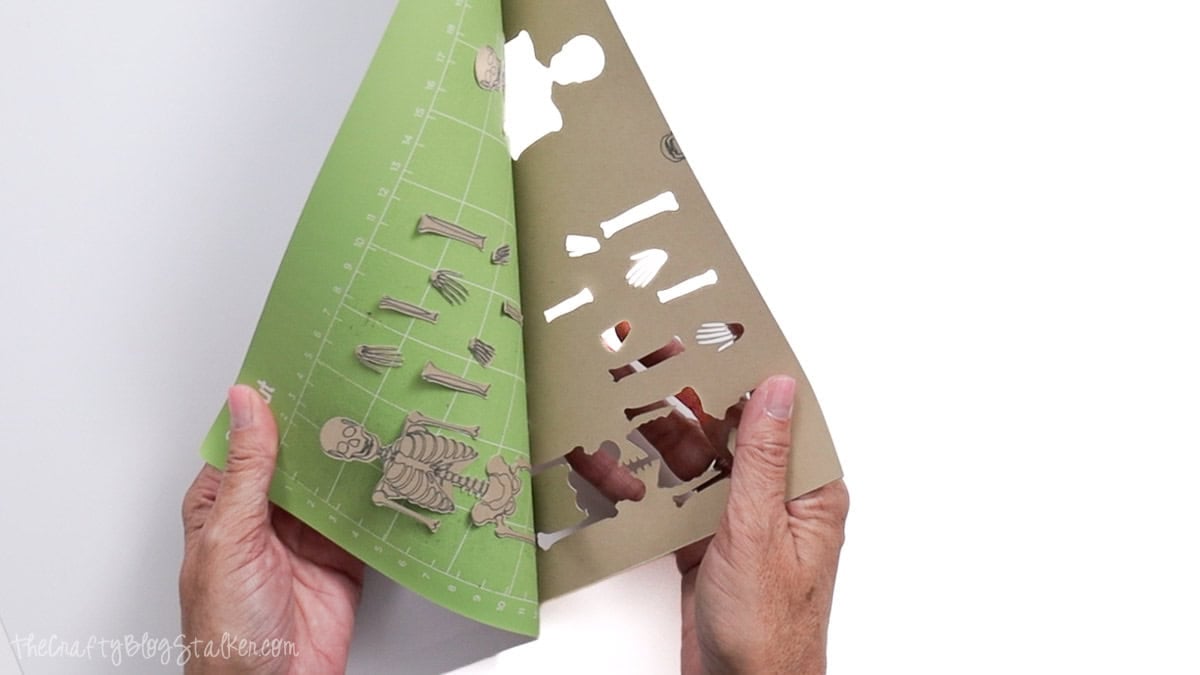
These pieces are small, so take your time removing them from the mat.
I like to turn the mat over and gently bend the mat away from the cardstock instead of pulling the paper up from the mat.
Tips for Assembling Your Skeletons
This project has quite a few little pieces, and once you have several skeletons cut out, things can get confusing quickly.
Before assembling anything, I like to arrange all the pieces into complete skeletons, so I know everyone has two arms, two hands, two legs, and two feet.
One easy way to check the placement is to look at the hands and feet. The thumbs should point inward toward the body, and the big toes should point inward too.
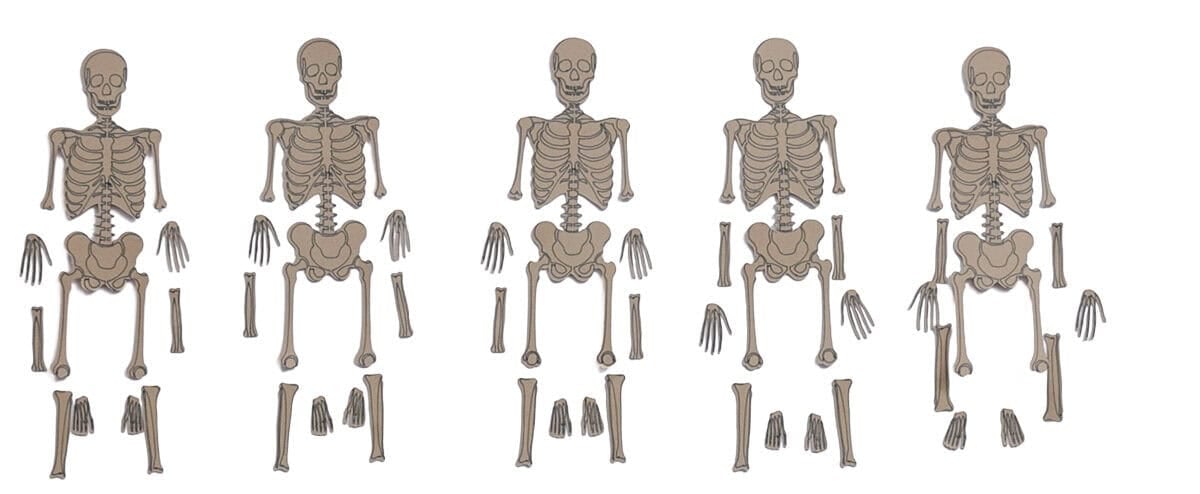
Assembling the smaller skeletons is a bit more tedious than with larger ones, but I love how the smaller skeletons look.
Work on one skeleton at a time, and turn all the pieces over so they face down.
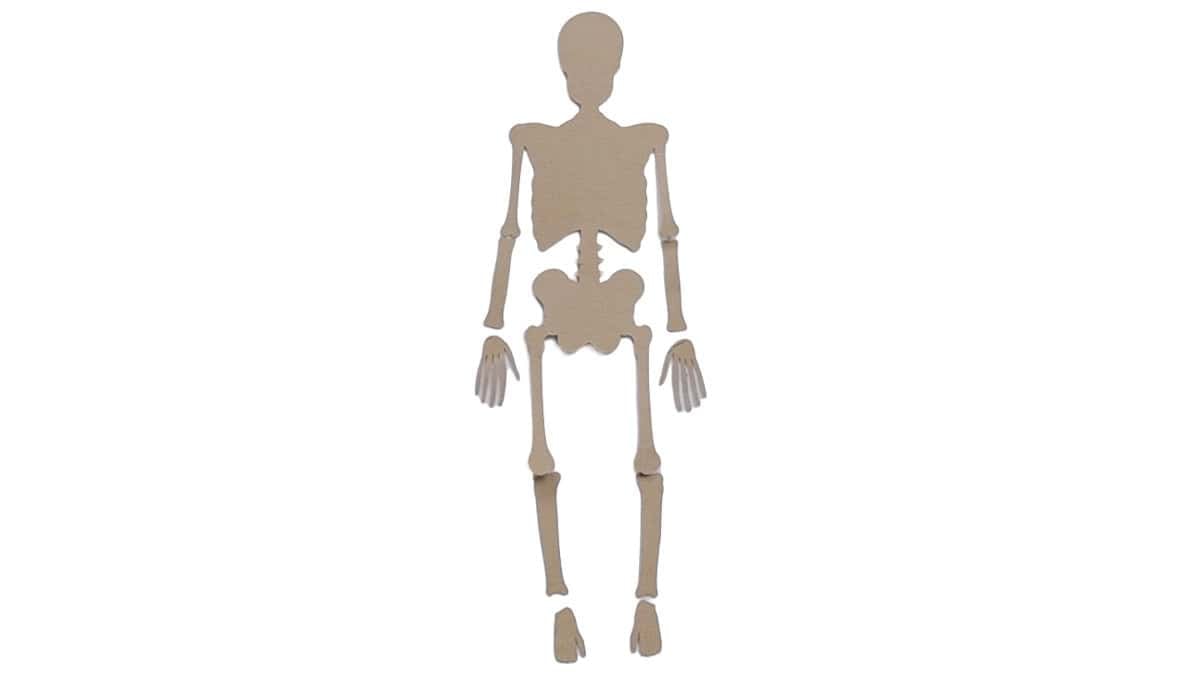
I used DMC embroidery floss to connect the pieces instead of gluing the joints directly together.
Leaving a little space between the connected pieces gives the arms and legs more movement, while placing the pieces closer together makes them move less.
DMC floss has six individual strands, and I separated mine into two groups of three. This keeps the connection lightweight while still giving the paper pieces something flexible to hang from.
A thin line of glue is all you need to hold the floss in place.
You can add a little more glue over the floss for extra security, but don't go crazy, or you'll be waiting even longer for everything to dry.
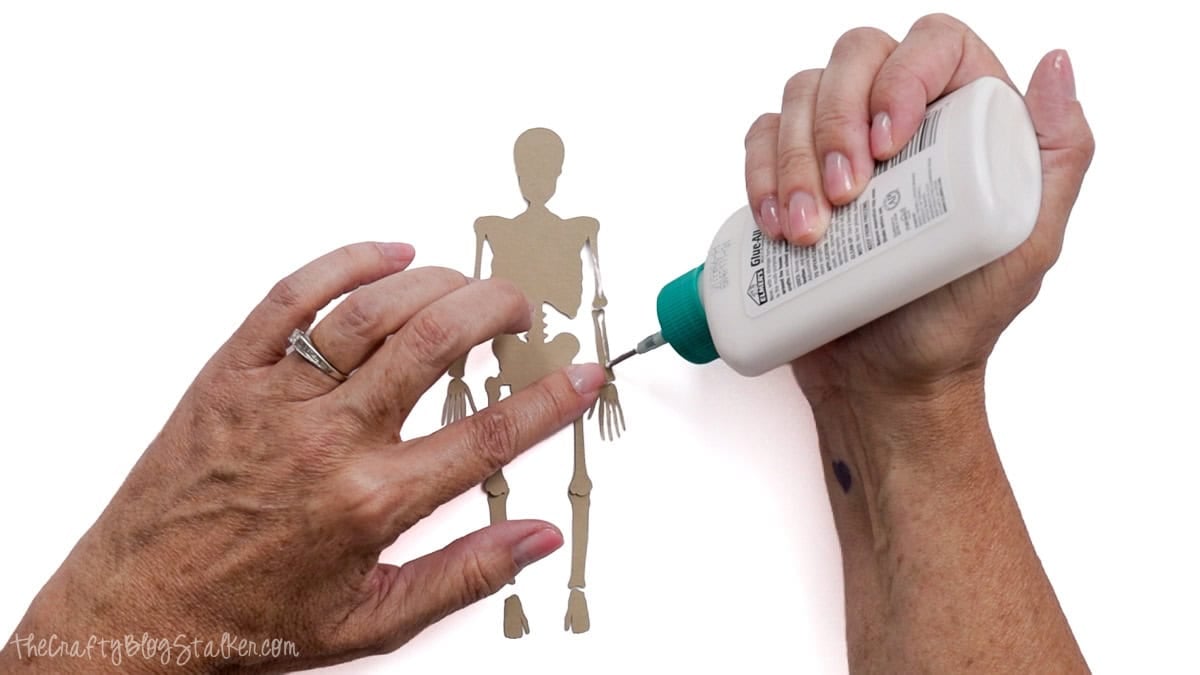
Fair warning, assembling five little skeletons is surprisingly tedious.
It isn't difficult, but it's a great project to work on while watching a scary movie or something equally festive.
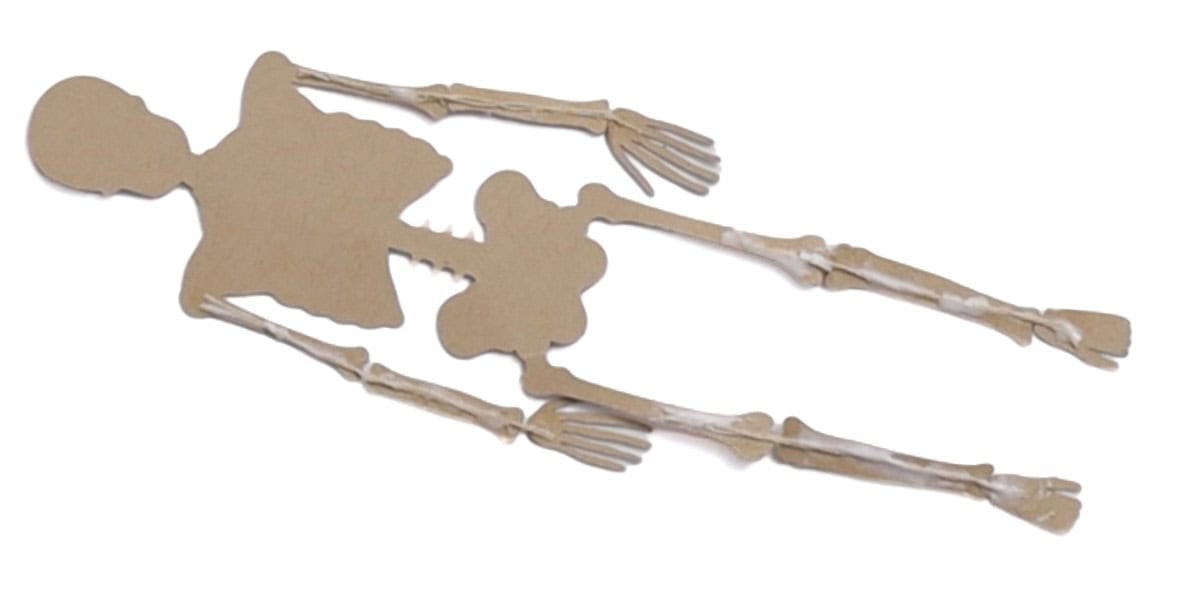
Once you turn them right side up, all that fiddly work is worth it. I love that every skeleton can be positioned a little differently.
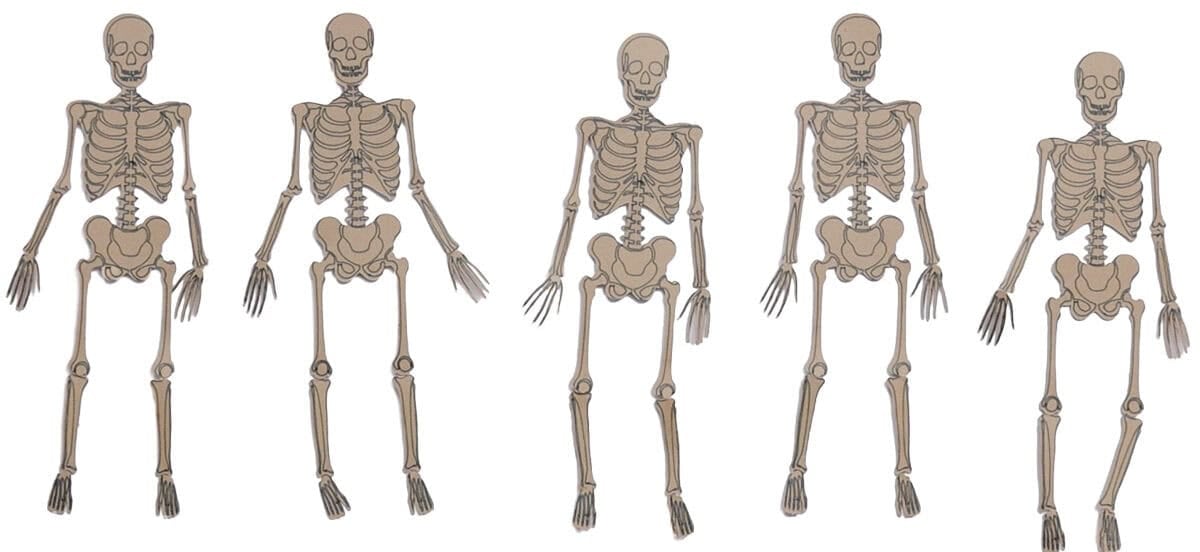
Creating and Displaying the Banner
Once the skeletons are assembled and completely dry, they're ready to turn into a banner.
Space them evenly along your cord before attaching anything so you can adjust the placement and decide how long you want the finished banner to be.
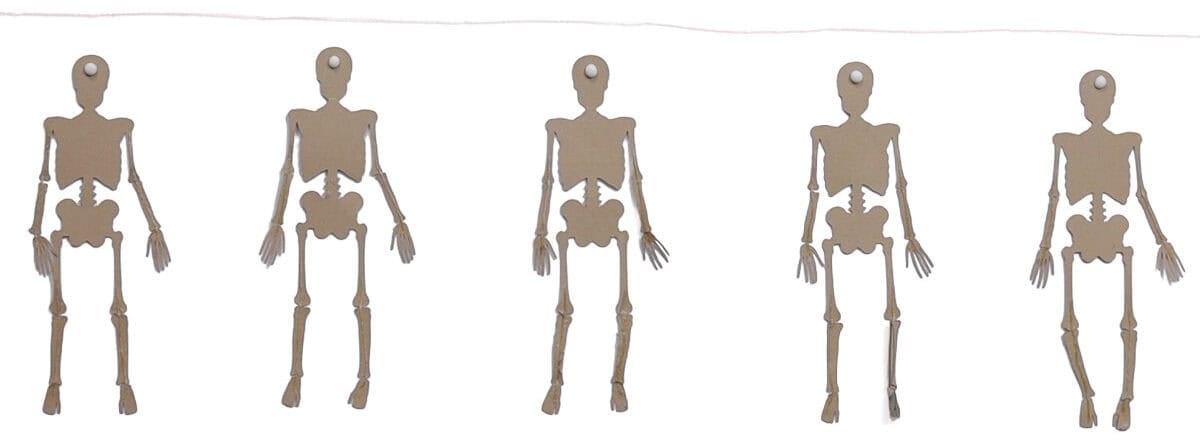
I attached mine with glue and waited for it to dry. In hindsight, hot glue would have made this part much faster, especially after I'd already spent plenty of time waiting for the skeleton joints to dry!
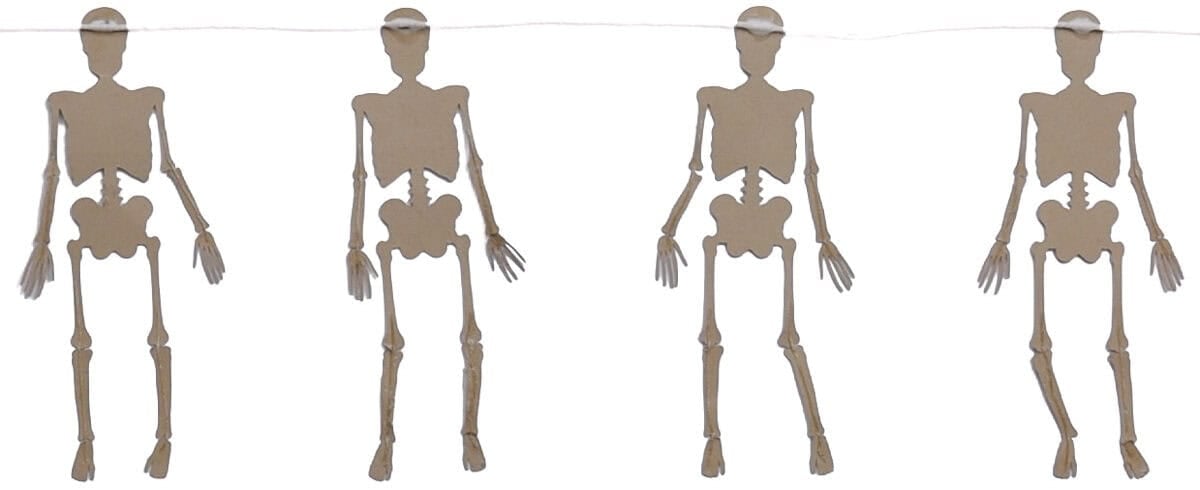
Whichever adhesive you choose, make sure everything is completely secure before picking up the banner.
The paper skeletons are lightweight, but you don't want one making a dramatic escape the first time you hang it.

This would also be a cute decoration for a Halloween party.
Add it near the candy or dessert table, use it with a spooky Halloween party theme, or hang it somewhere your guests can see all of those little skeletons showing off their best looks.
Frequently Asked Questions
Mine are about 5 inches tall. You can resize the SVG in Cricut Design Space, but I don't recommend making the skeletons much smaller because of the small pieces and drawn details.
Yes. Making them larger can actually make assembly easier because you'll have more room to work with the individual pieces.
The SVG contains details that are intended to be drawn with a Cricut pen. If those layers import as cut lines, change their Operation to Draw and attach them to the corresponding cardstock pieces before cutting.
Attaching keeps the drawn bone details in the right position on each skeleton piece when you send the project to the machine.
I used 60 lb. cardstock and selected More Pressure for the cut. A cardstock that is sturdy enough to hold its shape but not too heavy for the small details works well for this project.
You can experiment with another thin, flexible string, but keep it lightweight so the small cardstock pieces can still move freely.
Try it on a mantel, mirror, doorway, shelf, classroom bulletin board, or Halloween party table. Since it's made from cardstock, I recommend displaying it indoors where it won't be exposed to moisture.
Need help with this project?
Click a button below to ask AI how to make the skeleton arms and legs move more.
More Halloween Cricut Crafts
Once the skeletons are hanging, keep that Cricut going!
Here are a few more Halloween Cricut crafts to help you decorate, make party décor, or create something fun for the kids this Halloween.
Hi, I'm Katie!
I'm so glad you're here. Want to make something fabulous? I'm here to help!
The post Halloween-Themed Skeleton Banner with Free SVG appeared first on The Crafty Blog Stalker.
]]>The post 15 Fun Gift Wrapping Ideas appeared first on The Crafty Blog Stalker.
]]>
Maybe I'm a little weird, but I've always thought wrapping presents is almost more fun than shopping for them.
There's just something about pretty wrapping paper, ribbon, and a cute gift tag that makes even a simple present look extra special.
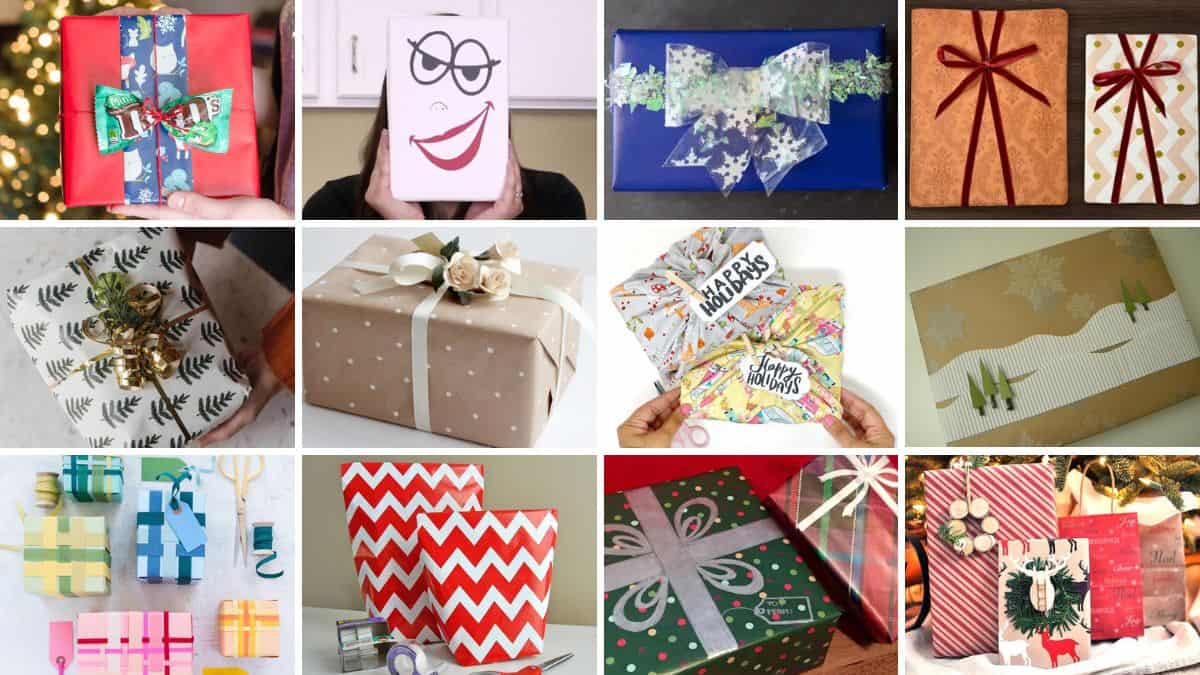
I've gathered 15 fun gift wrapping ideas that use everything from twine and fabric to handmade bows and unexpected gift toppers.
Pick a favorite wrapping idea or mix a few together to give your holiday gifts a little extra personality this year!
Fun Gift Wrapping Ideas
A beautifully wrapped gift doesn't have to be complicated or expensive. Sometimes a simple bow, a sprig of greenery, or a creative way of using materials you already have is all it takes to completely change how a present looks.
These ideas include options for traditional boxes, odd-shaped presents, last-minute gift bags, and packages that need a little something extra.
Visit the linked website for the complete tutorial and step-by-step instructions for each project.
1. Rustic Gift Wrap Ideas from The Crafty Blog Stalker
These rustic gift wrap ideas make Christmas presents feel extra special. Simple paper, ribbon, twine, and natural touches come together for a cozy holiday look.

2. Gift Wrapping with String from The Crafty Blog Stalker
Wrap gifts with yarn or twine instead of ribbon for an easy way to add color, texture, and a handmade touch to holiday packages.

3. DIY Sassy Gift Wrapping from The Crafty Blog Stalker
Use your Cricut and vinyl to add funny sayings to wrapped presents for a playful, personalized gift everyone will remember.

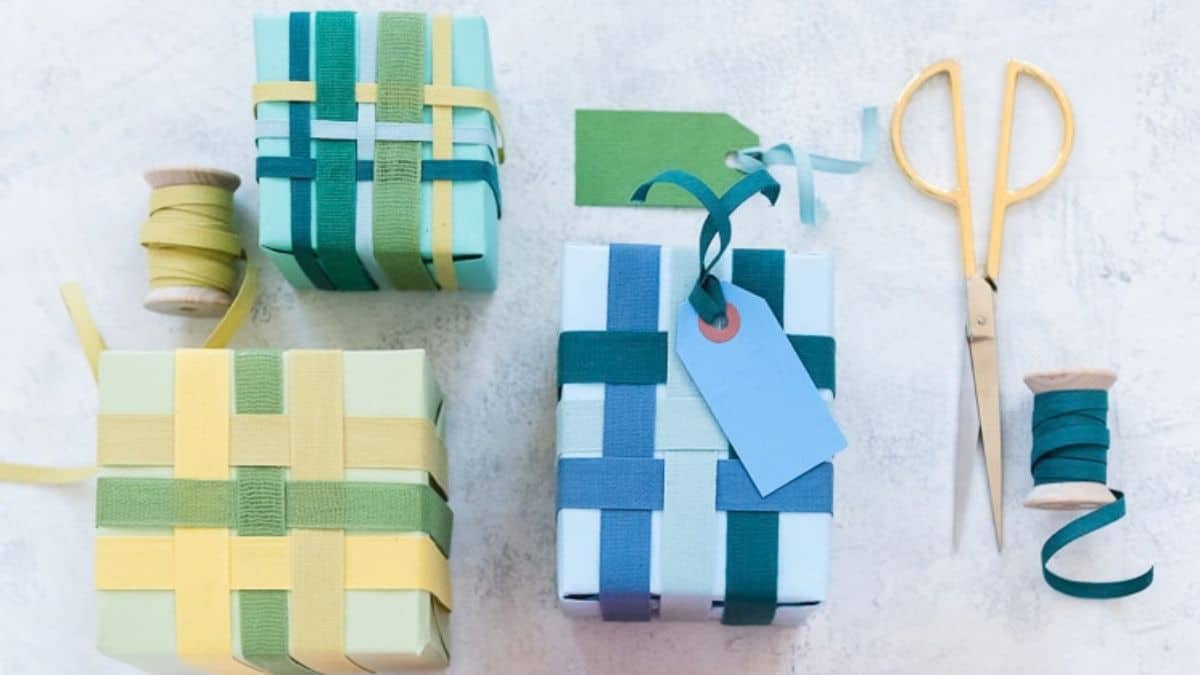
4. Ribbon Weaving Gift Wrap from The House That Lars Built
Weave coordinating ribbons across a wrapped gift for a colorful design that turns a simple package into something extra special.
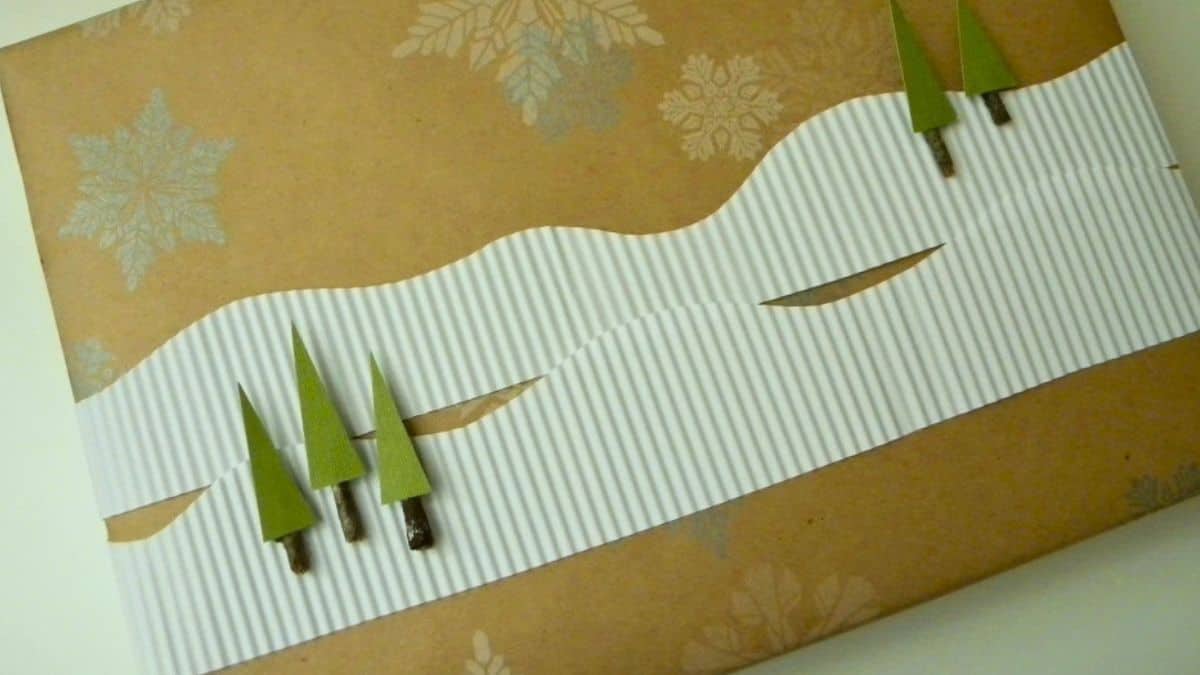
5. Snowy Mountain Scene from Homework
Turn a simple package into a snowy mountain scene with paper trees, snowflakes, and layered details for a creative holiday gift.
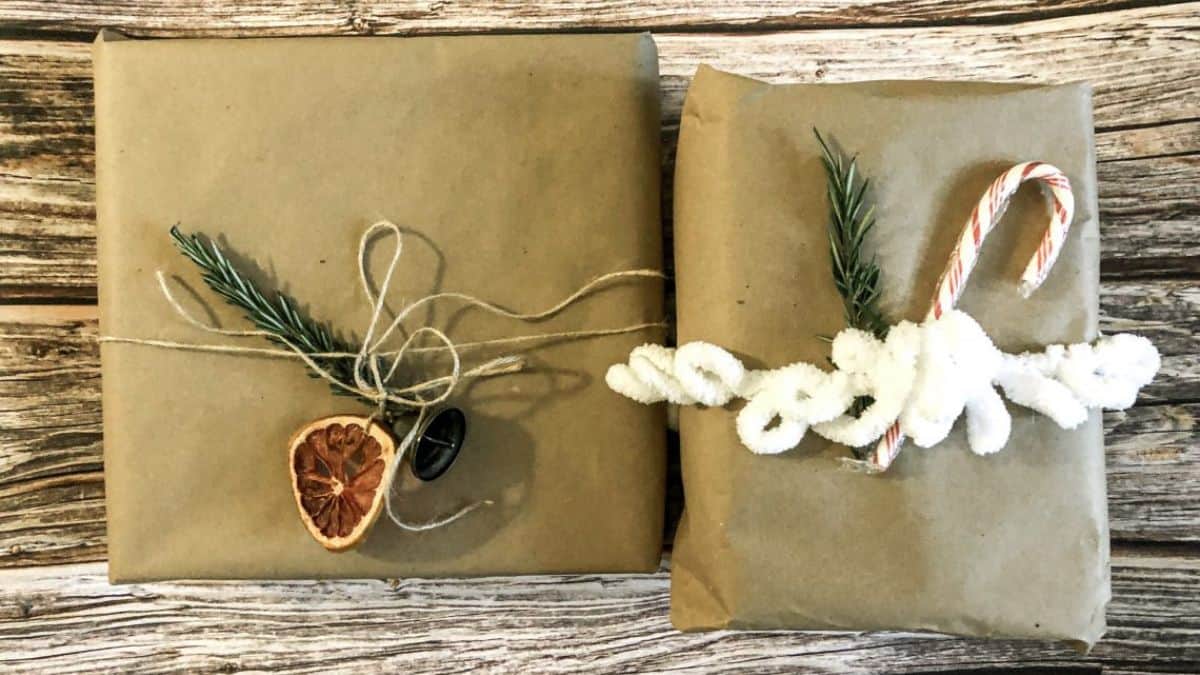
6. 4 Easy Gift Wrapping Ideas from Our Tiny Nest
Dress up kraft paper with greenery, dried citrus, candy canes, yarn, and twine for simple Christmas gifts with a natural look.
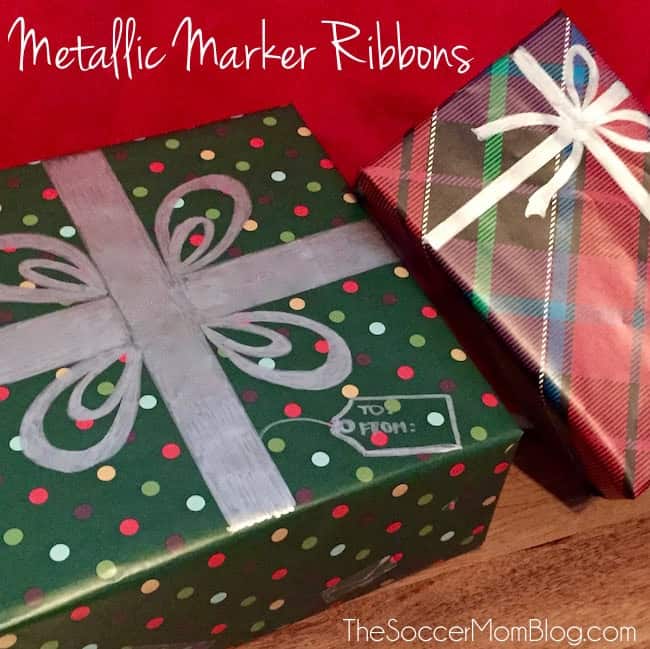
7. Easy Christmas Gift Wrapping from The Soccor Mom Blog
Draw ribbons and bows directly onto wrapping paper with metallic markers for an easy and creative way to decorate Christmas gifts.
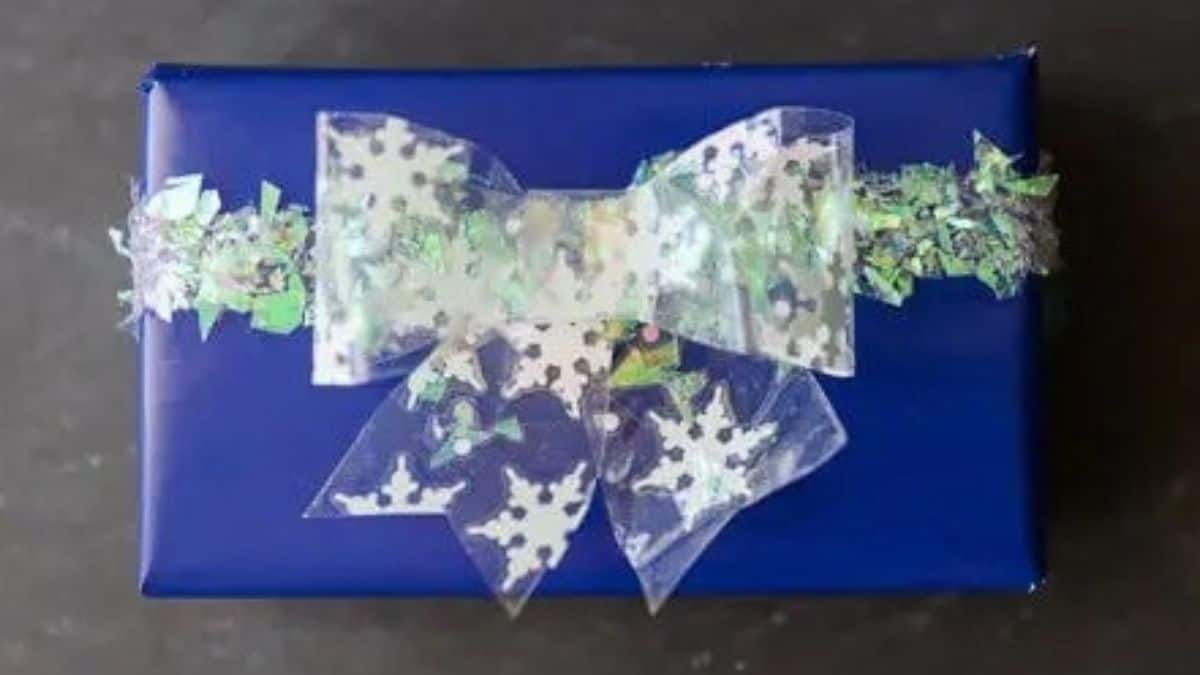
8. Snowy Tape Bow and Ribbon Gift Wrapping from Tikkiddo
Make a clear snowy bow filled with festive details for a creative Christmas gift topper that looks especially pretty on solid gift wrap.
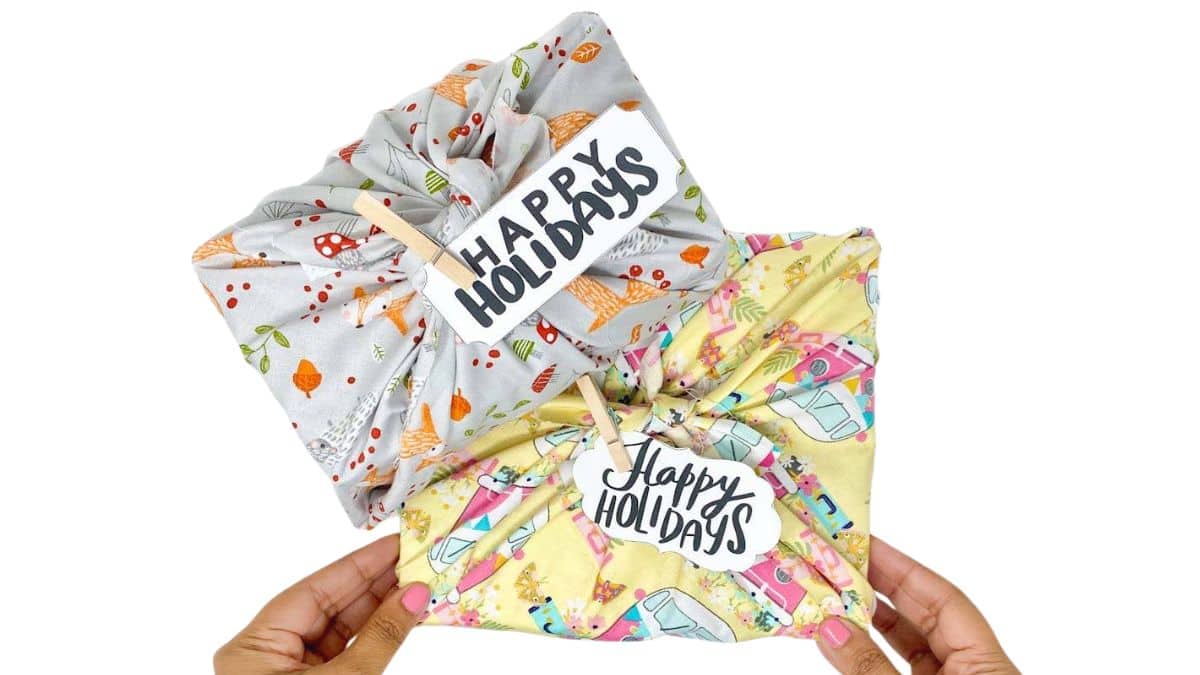
9. Wrapping a Gift with Fabric from Smiling Colors
Wrap presents with colorful fabric instead of paper, then finish with a cute gift tag for a reusable and creative alternative.
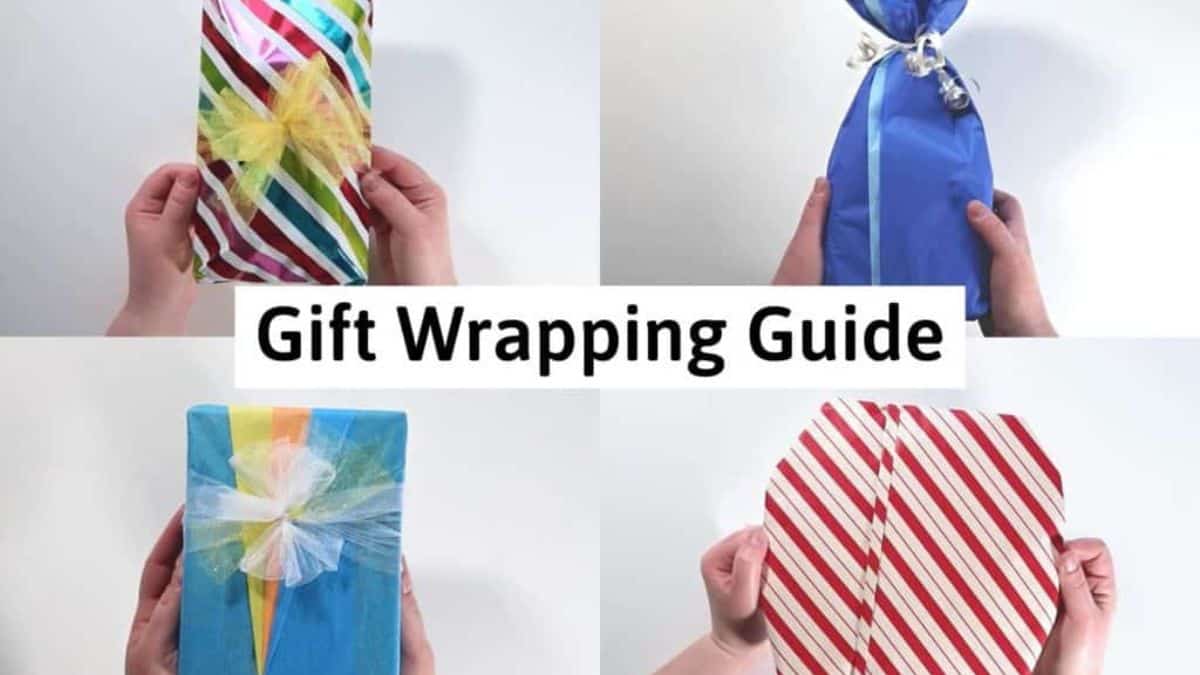
10. Gift Wrapping Ultimate Guide from AB Crafty
Learn helpful techniques for wrapping gifts in different shapes and sizes so even those tricky presents look neat and festive.
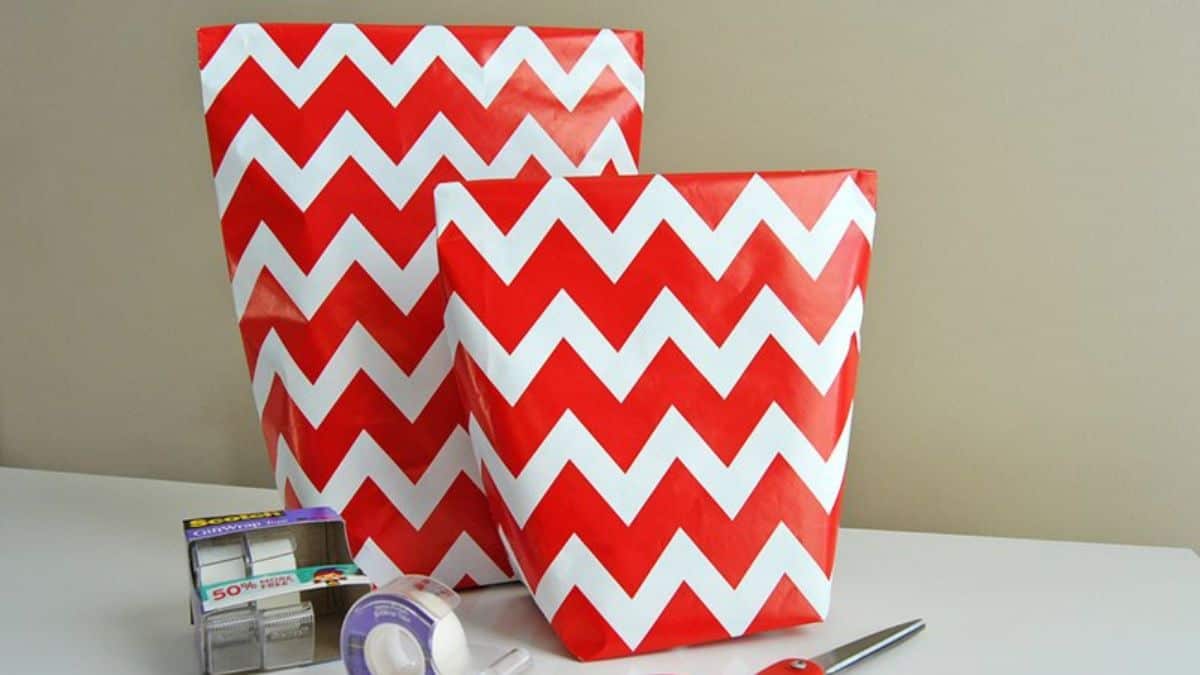
11. Make a Gift Bag from Wrapping Paper from Sparkles of Sunshine
Turn wrapping paper into a DIY gift bag for an easy last-minute solution when you've run out of bags but still have presents to wrap.
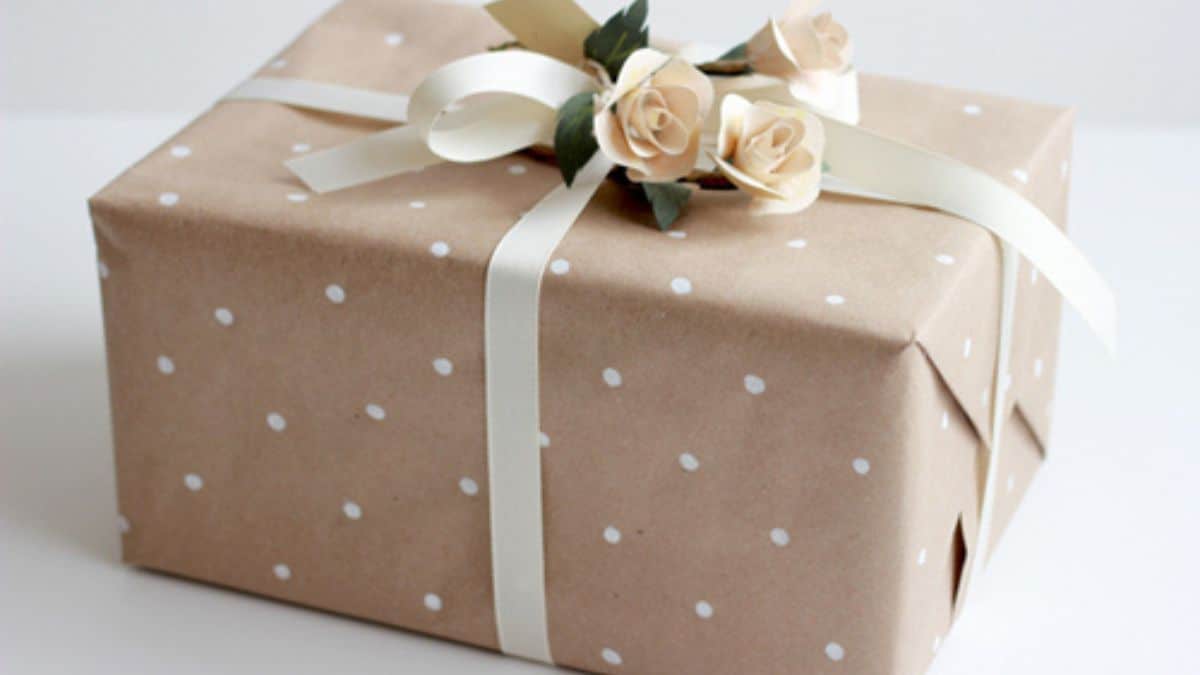
12. Polka dot your wrapping from The House that Lars Built
Add polka dots to plain kraft paper to create custom gift wrap, then finish your package with ribbon, flowers, or a favorite topper.
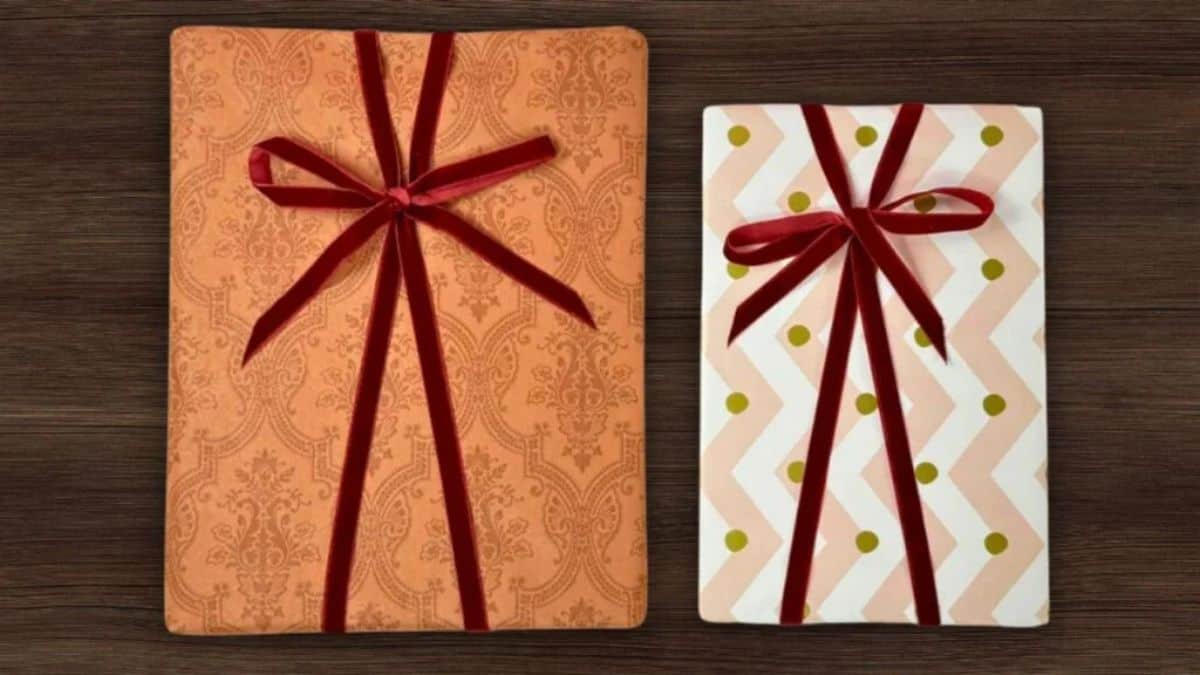
13. 5-Minute Ribbon Tying Hack from DIY Joy
Learn an easy ribbon-tying technique for creating neat, pretty bows that add the perfect finishing touch to wrapped gifts.
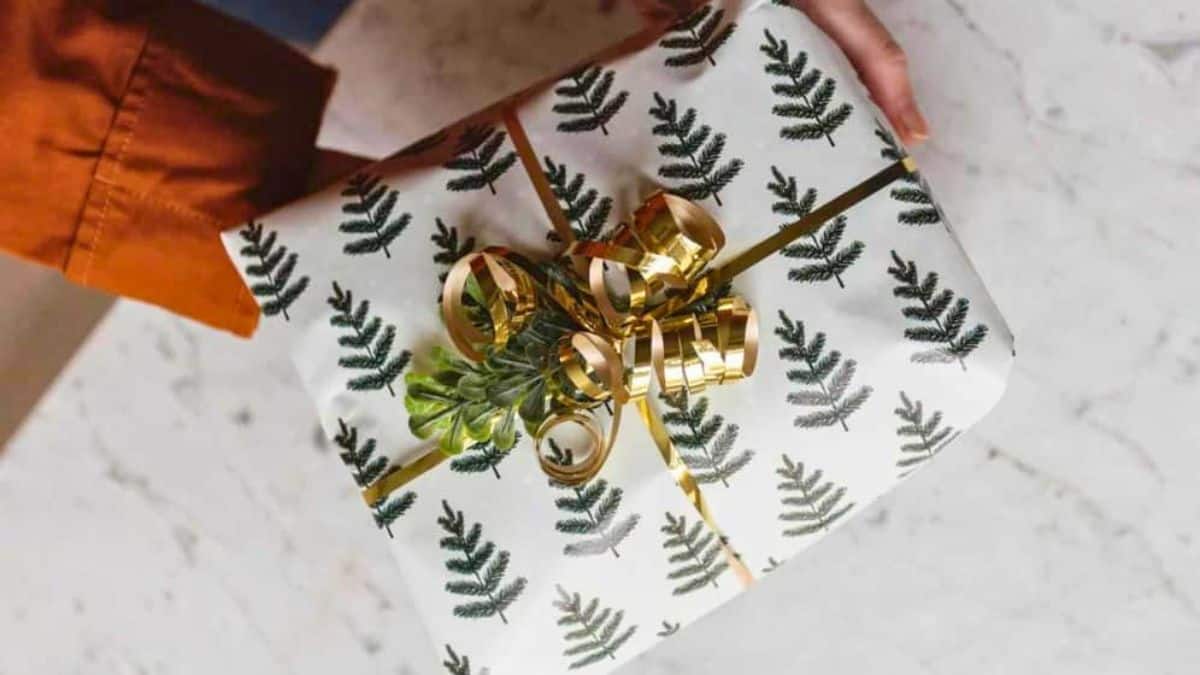
14. Tips for Wrapping Odd-Shaped Gifts from A Beautiful Mess
Learn helpful tips for wrapping odd-shaped gifts so those awkward presents can still look neat and pretty under the Christmas tree.
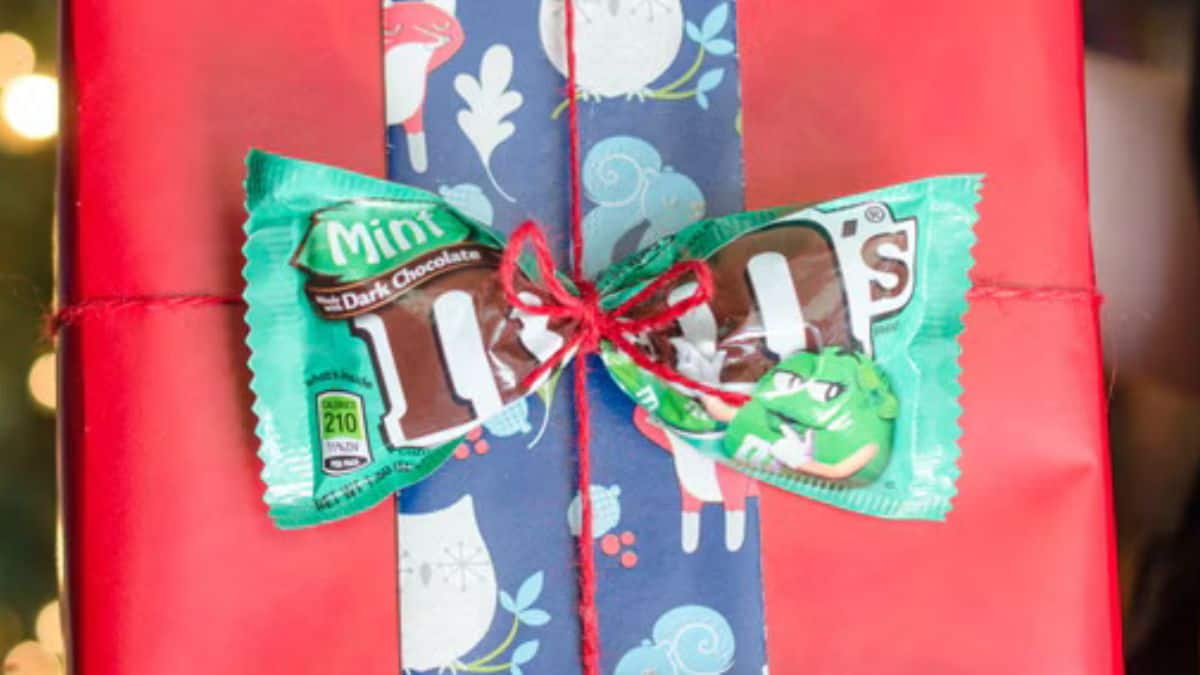
15. Candy Bows from The Krazy Coupon Lady
Use the recipient's favorite candy instead of a traditional bow for a fun gift topper that adds an extra surprise to the package.
Choosing a Gift Wrapping Style
Before you start wrapping, it helps to choose a general look for your gifts. You can keep everything coordinated with the same wrapping paper and change the ribbon or toppers, or use several papers that share similar colors.
For kids, bright colors, candy toppers, or playful designs can make the wrapping part of the fun. For a more rustic look, kraft paper paired with twine, greenery, or simple handmade tags works beautifully.
You also don't have to buy all-new supplies. Leftover ribbon, fabric scraps, yarn, kraft paper, and even small ornaments can become part of your gift wrapping.
Easy Ways to Make a Wrapped Gift Feel Special
The little details are usually what make a present look finished. A pretty bow, handwritten gift tag, greenery, candy, or another small topper can add a personal touch without requiring a complicated wrapping technique.
If you're wrapping several holiday gifts at once, choose two or three coordinating materials and repeat them in different combinations. You'll get a pretty collection of packages without making every single present exactly the same.
More Christmas Ideas
Once the presents are wrapped, there is still plenty of Christmas crafting to do!
Take a look through more of my holiday DIY projects, decorations, and handmade gift ideas for even more ways to get creative this Christmas.
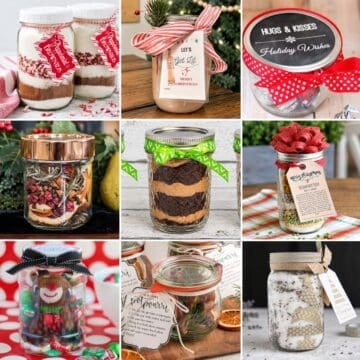


Hi, I'm Katie!
I'm so glad you're here. Want to make something fabulous? I'm here to help!
The post 15 Fun Gift Wrapping Ideas appeared first on The Crafty Blog Stalker.
]]>The post Teen Girls Holiday Gift Guide for 2026 appeared first on The Crafty Blog Stalker.
]]>
If you've ever tried shopping for a teenage girl, you know it's equal parts fun and slightly intimidating.
They're at that age where their interests and style can change faster than your shopping cart fills up.
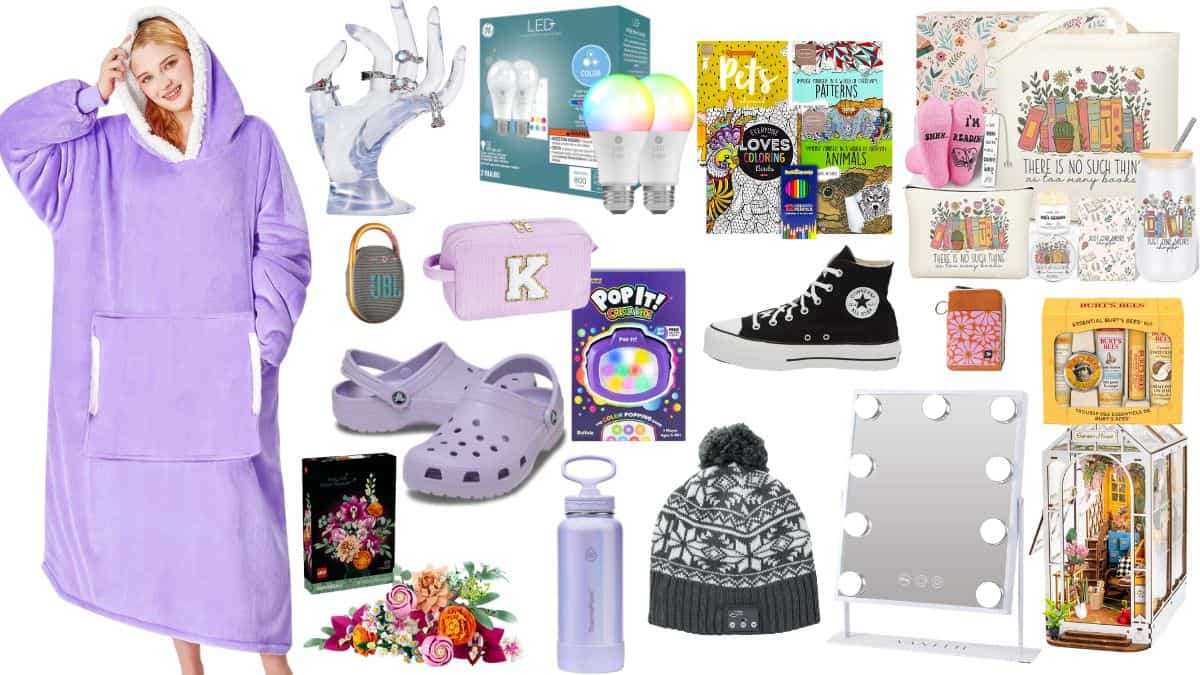
That's why I've put together this Teen Girls Holiday Gift Guide for 2026 with a mix of cute, practical, creative, and tech-inspired ideas they'll actually be excited to open.
Whether you're shopping for your daughter, granddaughter, sister, niece, or another teen on your list, hopefully this makes finding the right gift a little easier.
[feast_advanced_jump_to]Shop These Gift Ideas For Teen Girls
Shopping for a teenager is much easier when you start with what she already enjoys.
Think about how she spends her free time, what she's currently obsessed with, what she uses every day, and those little things she keeps mentioning when she thinks no one is listening.
I've included gifts for several different interests and budgets, so you don't have to rely on one type of present.
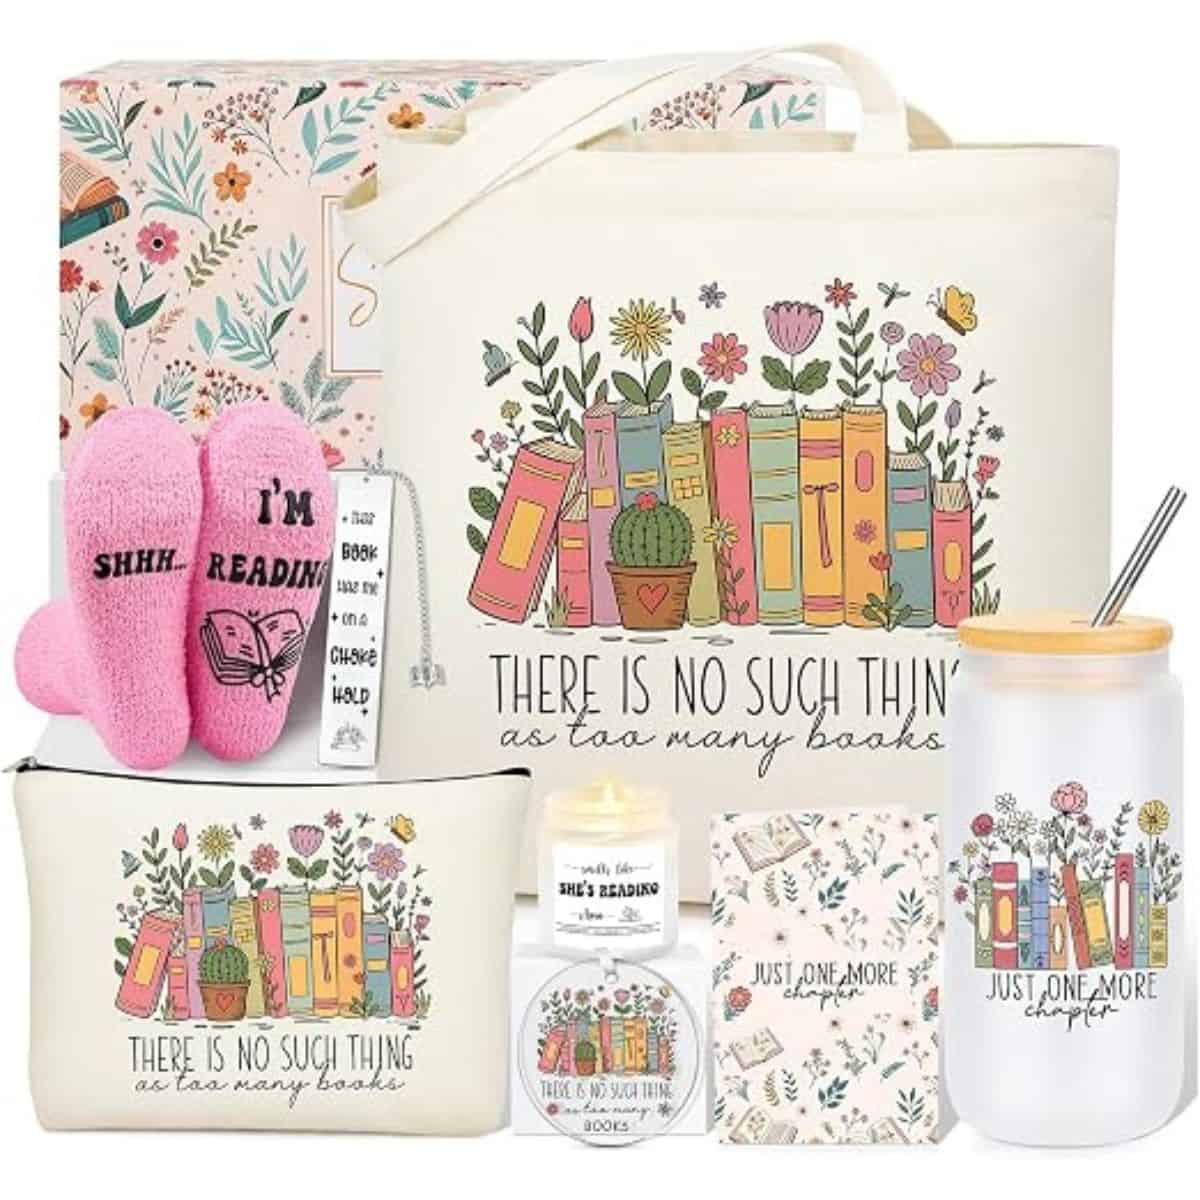
There are cozy finds, creative activities, room accessories, tech gifts, beauty favorites, books, and a few fun things she may not think to buy for herself.




How to Choose a Gift for a Teen Girl
The best gifts don't necessarily have to be the most expensive or the trendiest. Start with what she's into right now, whether that's reading, beauty, music, decorating her room, crafting, fashion, games, or spending time with friends.
It also helps to notice what she already owns. If she's constantly carrying a water bottle, listening to music, reading, or doing her makeup, an upgraded version of something she uses regularly can make a great gift.
For clothing, shoes, and accessories, double-check her current size and style preferences before ordering. Teenagers tend to know exactly what they like, and sometimes the difference between the right color and the wrong color is much bigger than we adults realize!
Gift Ideas for Different Budgets
You don't have to spend a fortune to give a teen something she'll be excited about. Smaller gifts are perfect for stocking stuffers, gift exchanges, or pairing together into a themed present, while larger items can work well as the main gift.
If you're working with a specific budget, decide how much you want to spend before you start shopping. It makes narrowing down all those tempting choices much easier and helps prevent the holiday shopping cart from getting completely out of control.
When You're Not Sure What She Wants
If you're still stuck, ask for a short wish list or have her send you a few ideas she already has saved. You can still choose the final gift yourself, so there's a little surprise left on Christmas morning.
You can also ask a sibling, parent, or friend what she's currently interested in. A little detective work can go a long way when you're shopping for a teenager.
More Gift Guides
Don't let holiday shopping become one more thing to stress about this season. Take a look through my other holiday gift guides for even more ideas for family, friends, and those people who are always a little harder to shop for.
With a few good ideas and a little planning, you can find some of the best gifts for everyone on your Christmas list and get back to actually enjoying the holidays.
Hi, I'm Katie!
I'm so glad you're here. Want to make something fabulous? I'm here to help!
The post Teen Girls Holiday Gift Guide for 2026 appeared first on The Crafty Blog Stalker.
]]>The post 2026 Christmas Gifts for the Family appeared first on The Crafty Blog Stalker.
]]>
Who's ready to start checking names off that Christmas list?
I like to shop a little early so the holiday season feels less hectic, and this guide is a great place to start.
I've rounded up some of my favorite family gifts, with ideas for mom, dad, kids, teens, and just about every family member on your list.
With practical gifts, fun surprises, and a few bigger splurges, you can find the right gift without spending hours searching.
Christmas Gift Ideas for Women
Finding the perfect gift for the women in your life doesn't have to be complicated. Think about what she enjoys, what would make everyday life a little easier, or something fun she probably wouldn't buy for herself.
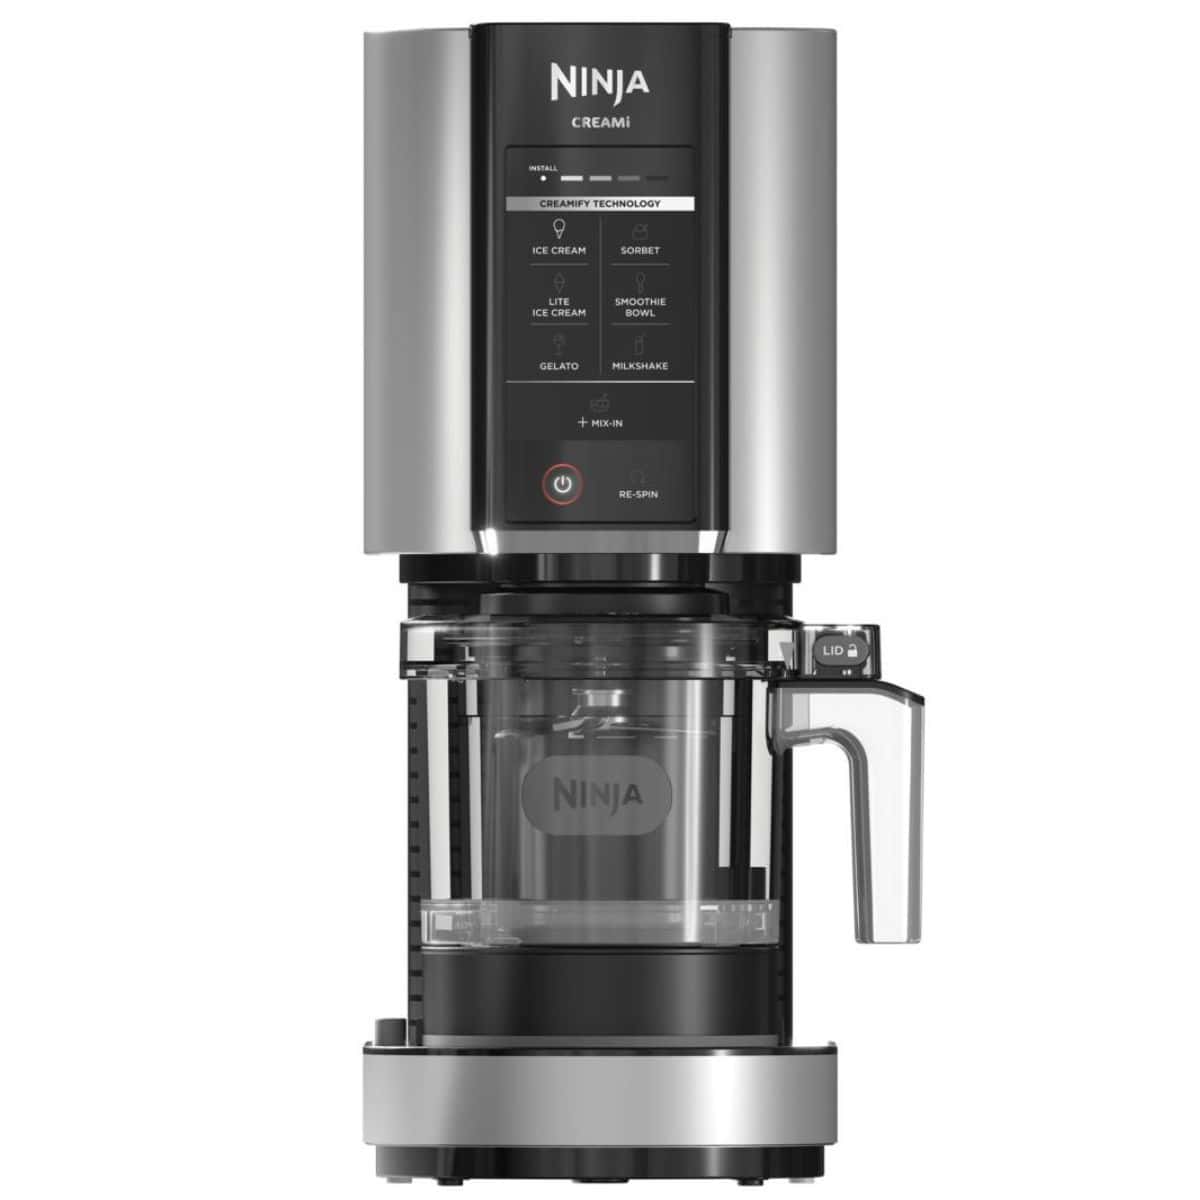
These gift ideas include cozy favorites, kitchen finds, tech, and practical picks that work for mom, your sister, daughter, wife, or another special woman on your Christmas list.
Options come in different price points, too, making it easier to find a great gift that fits your budget.


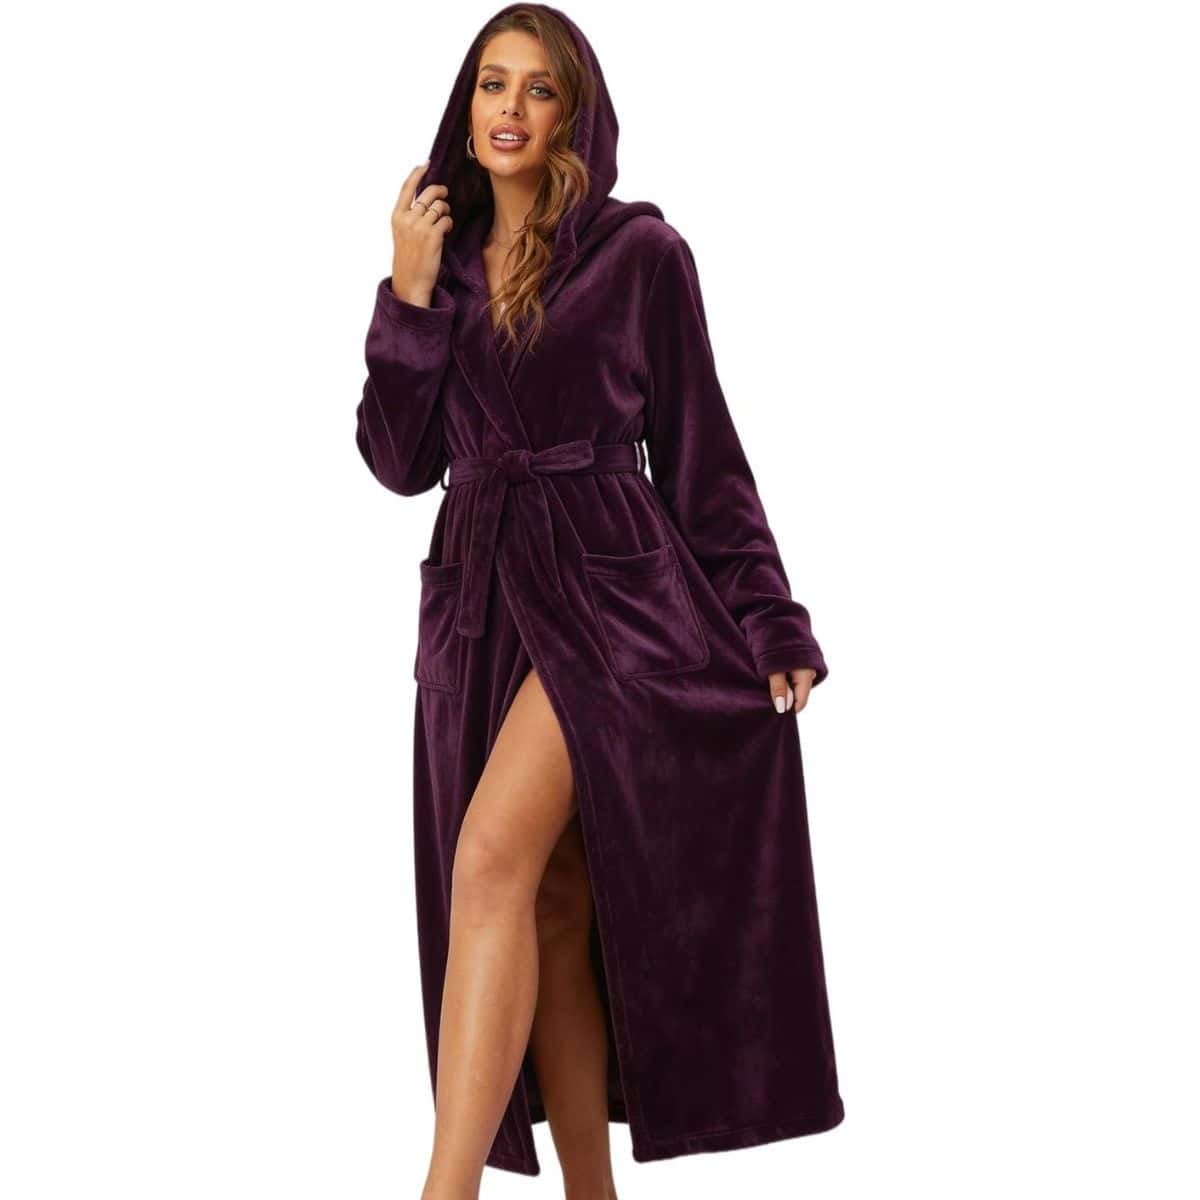


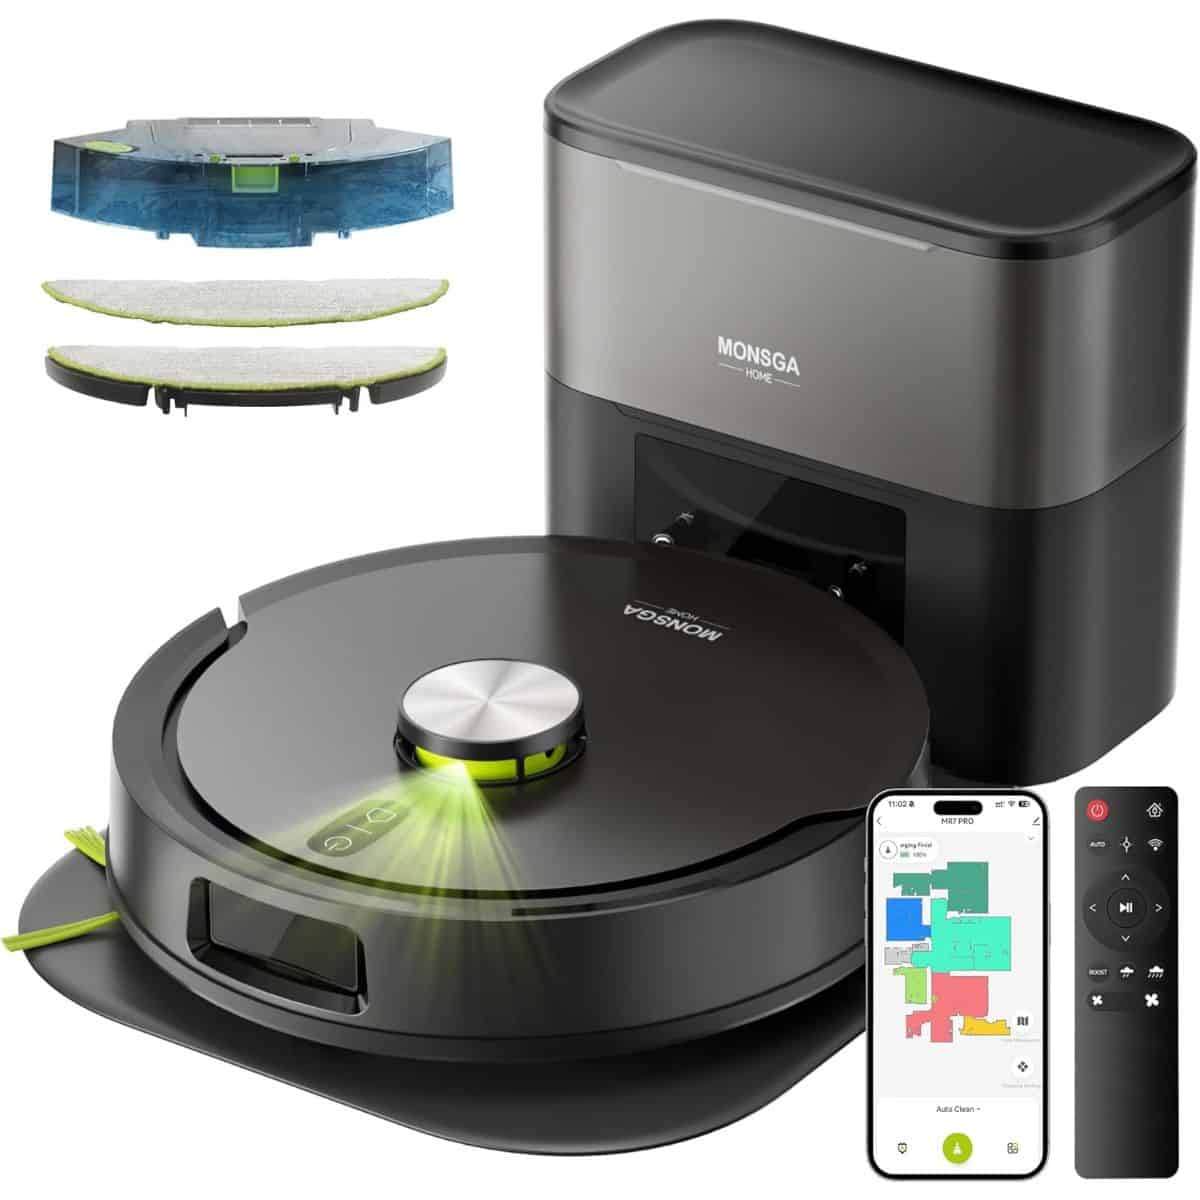




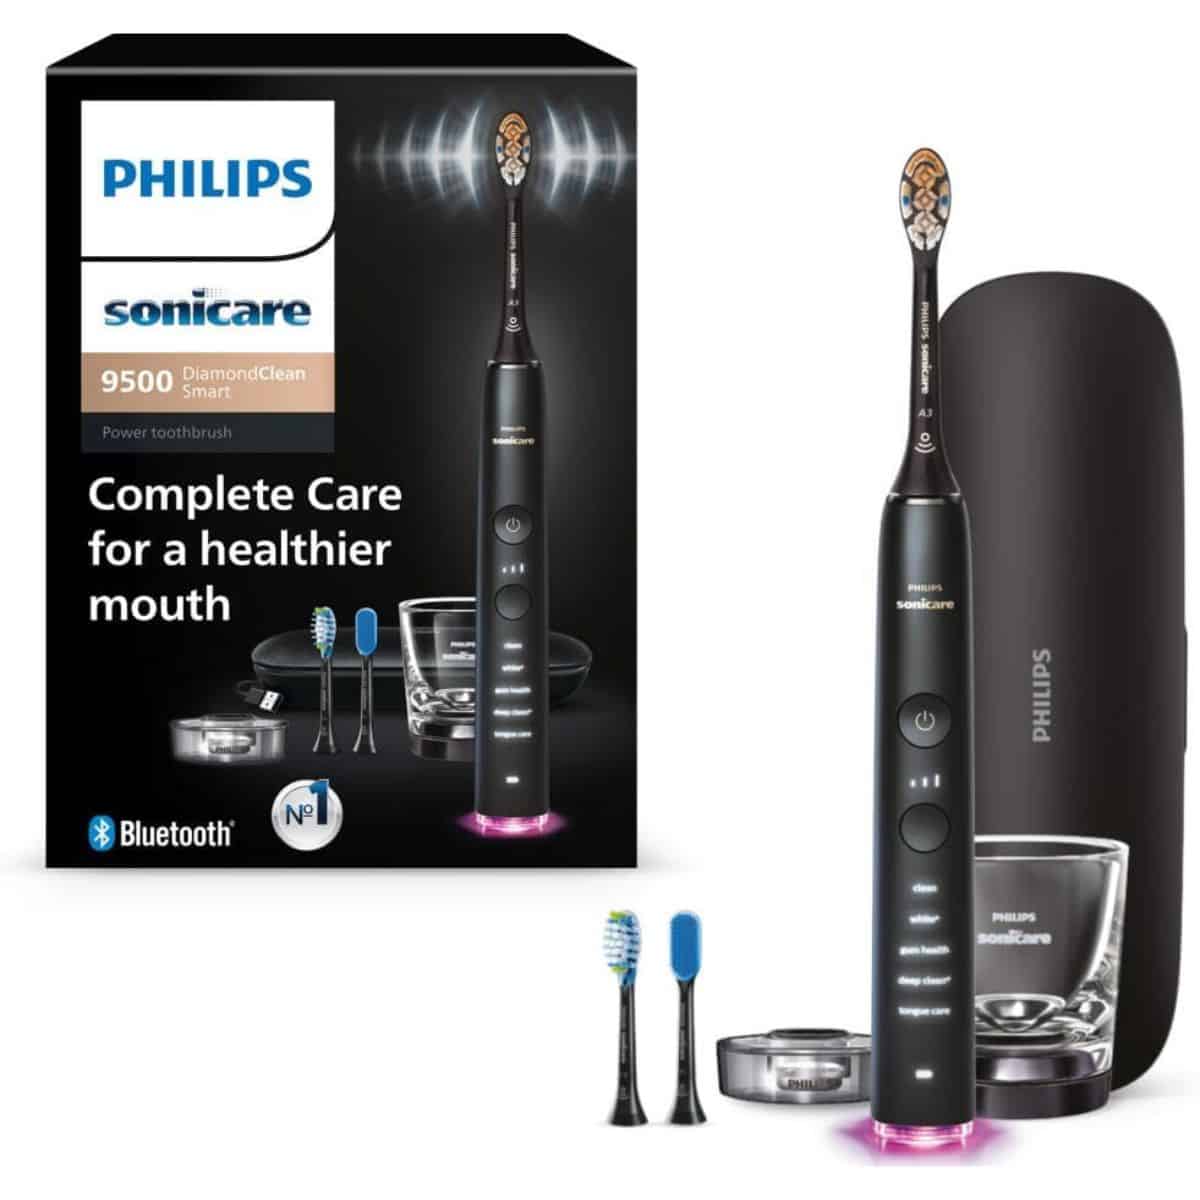

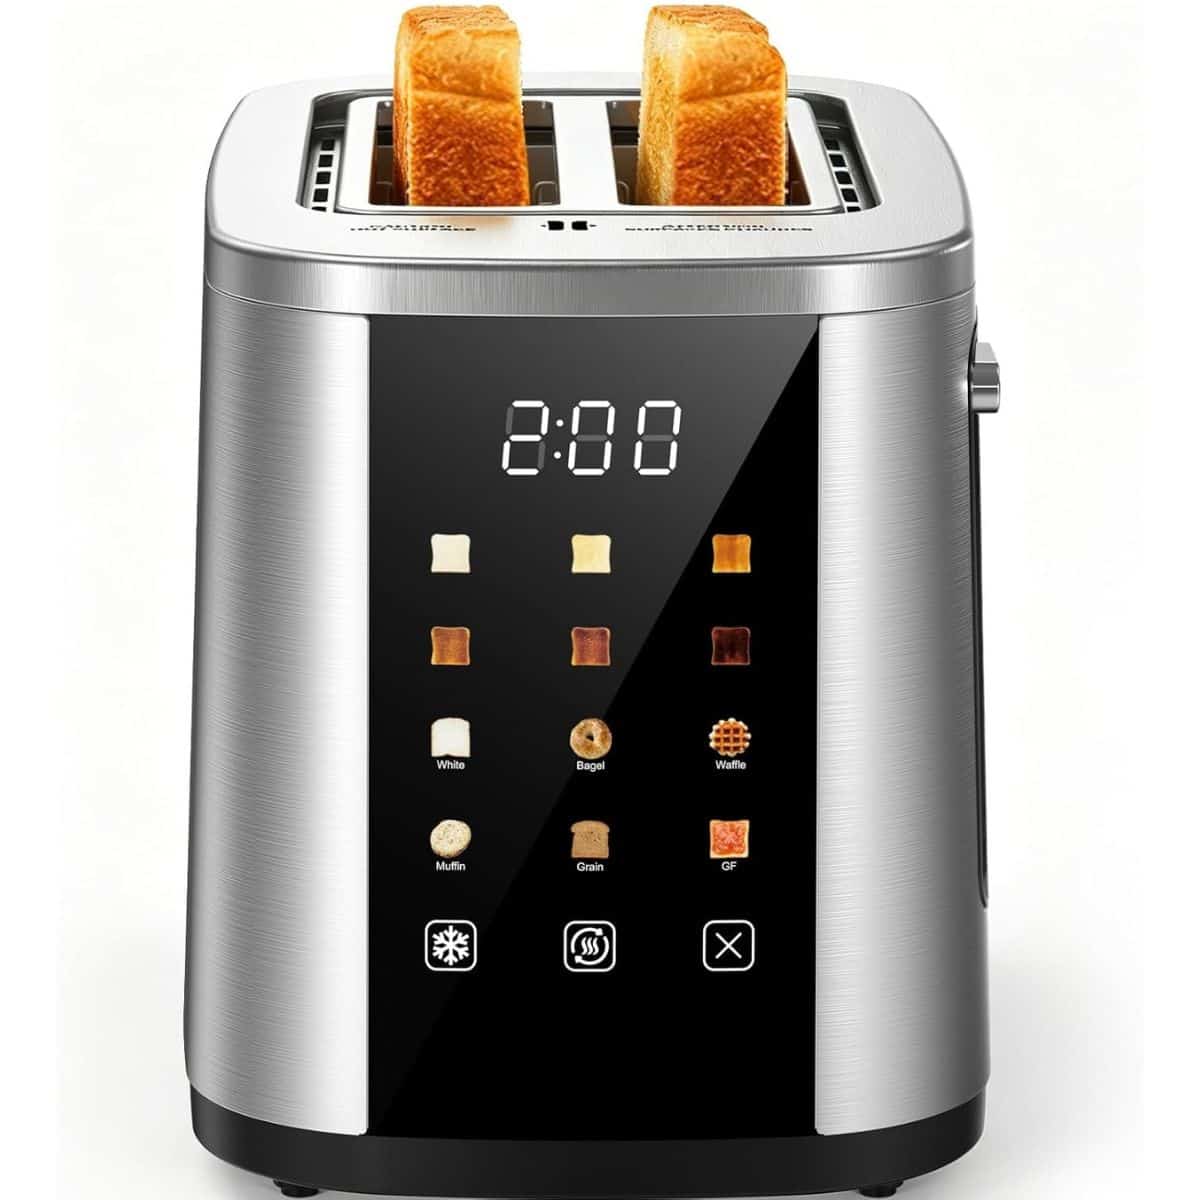


Christmas Gift Ideas for Men
Shopping for the men in your life can sometimes be tricky, especially when they claim they don't need anything. I like to start with hobbies, everyday routines, or something useful that feels like an upgrade from what they already have.
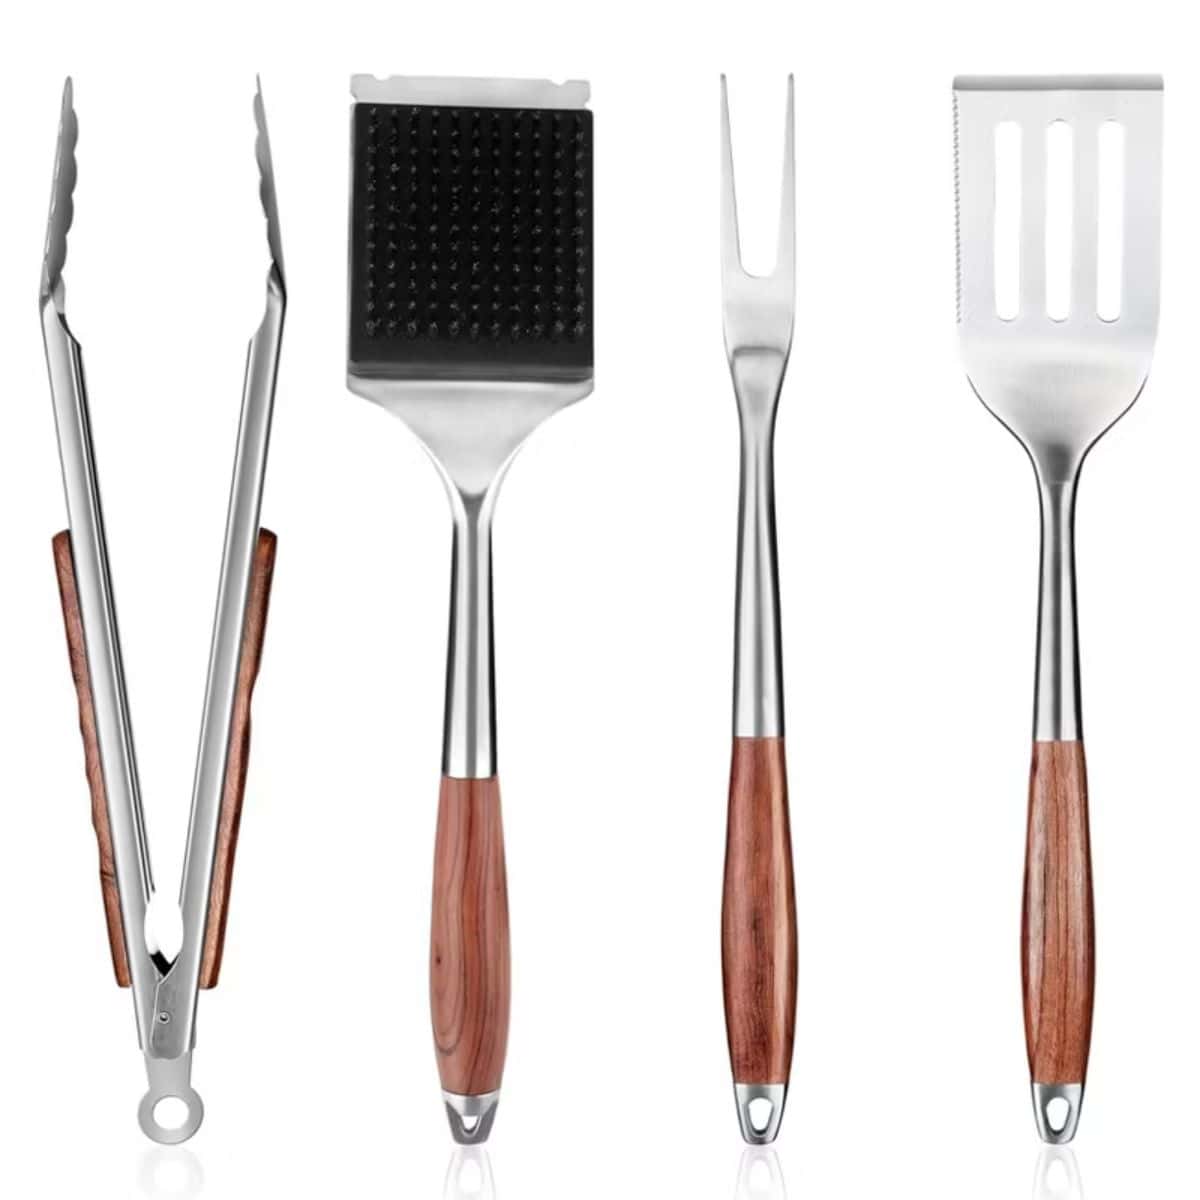
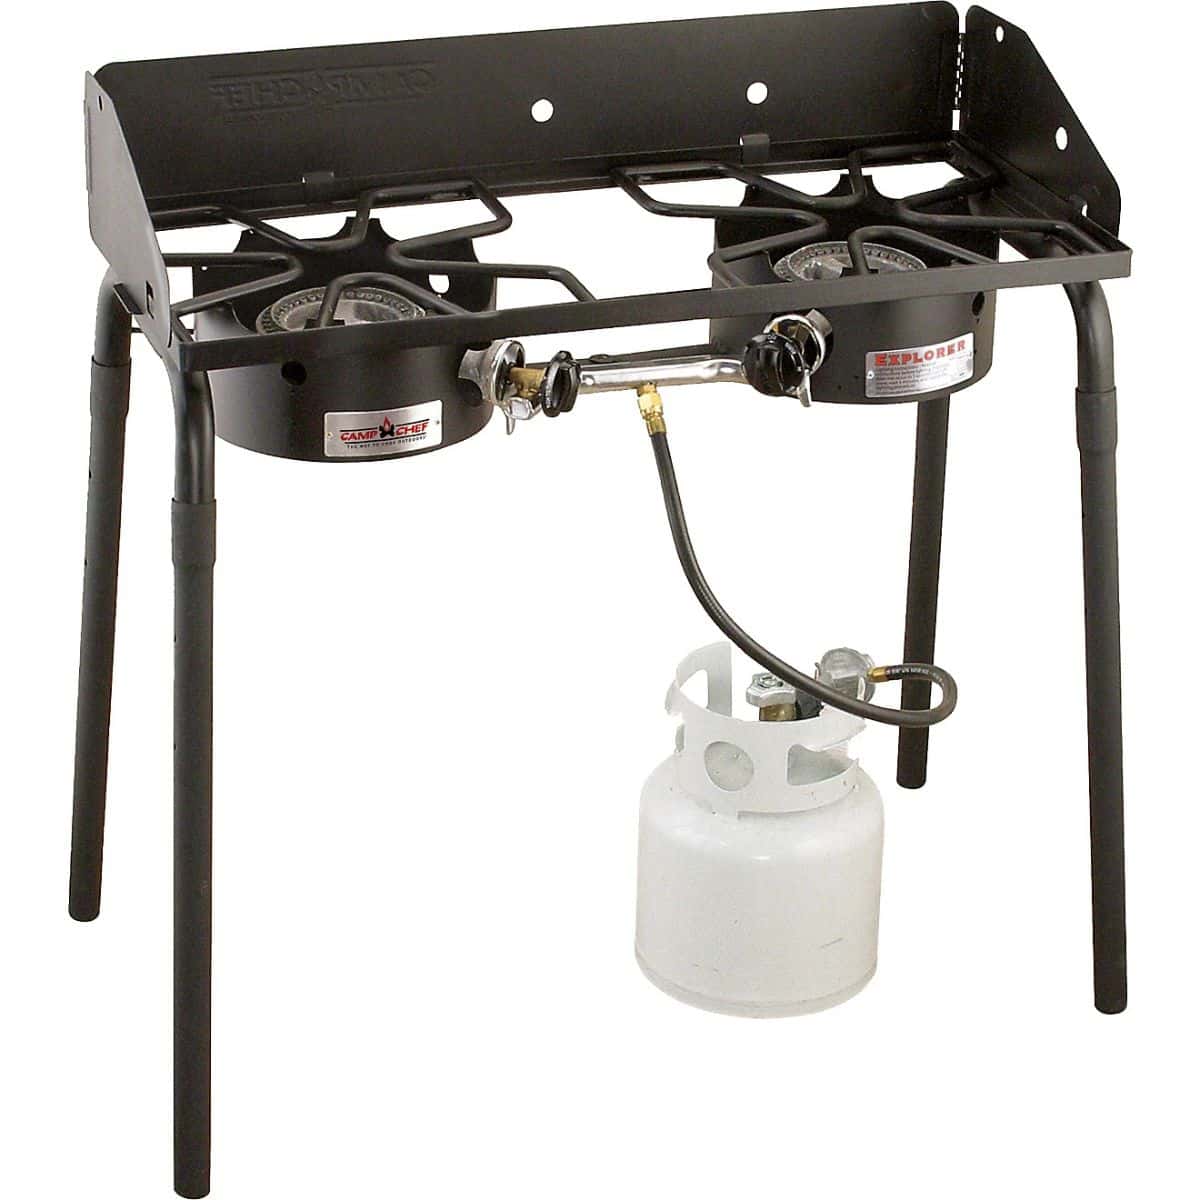
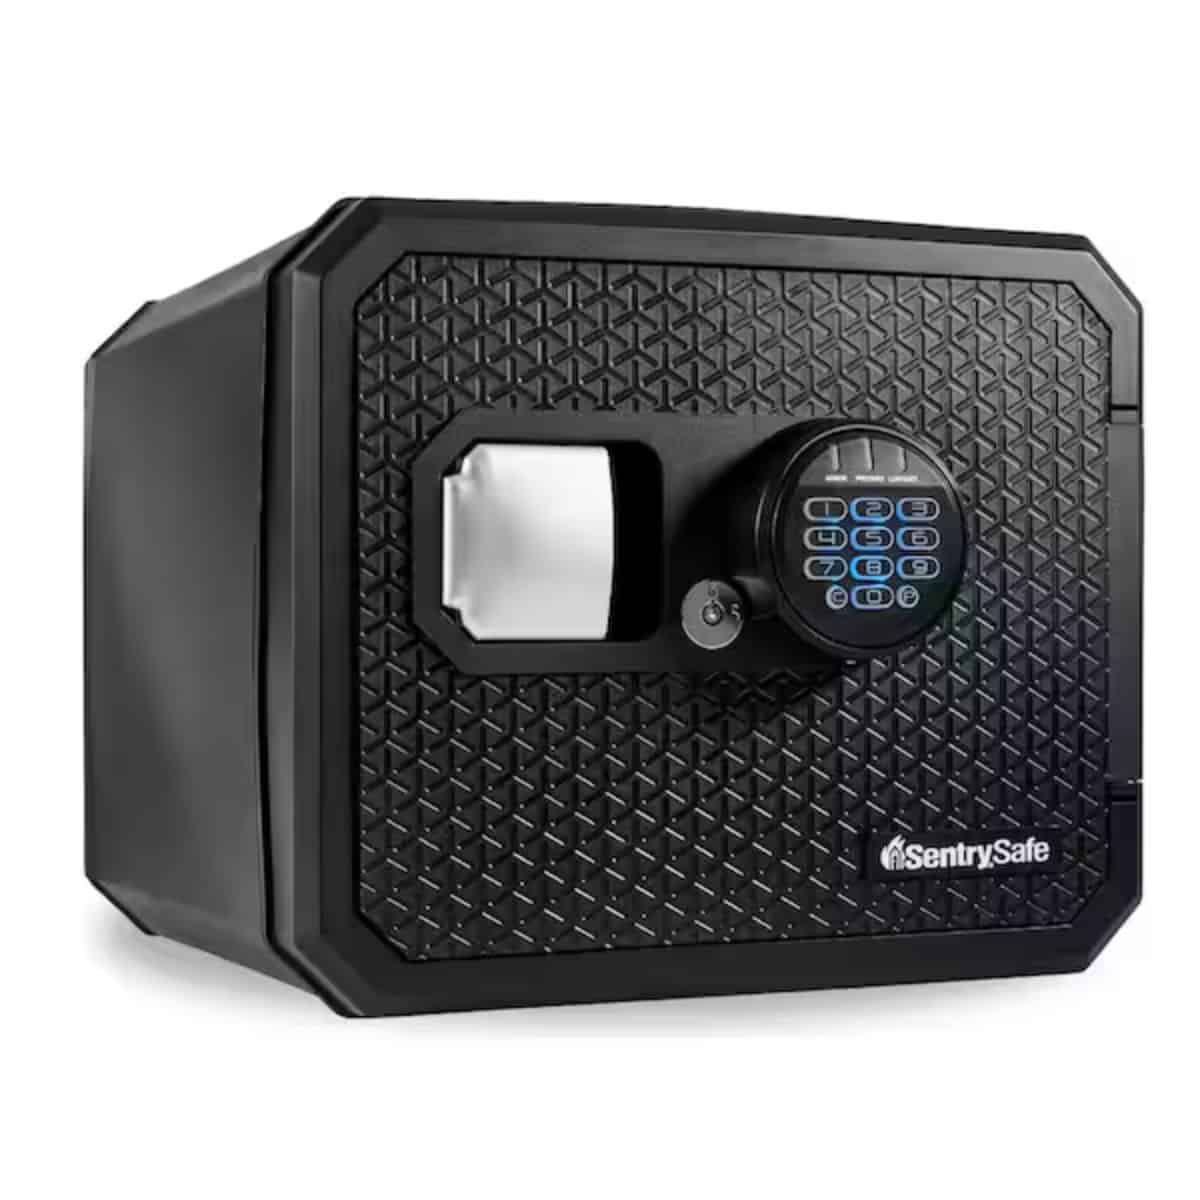
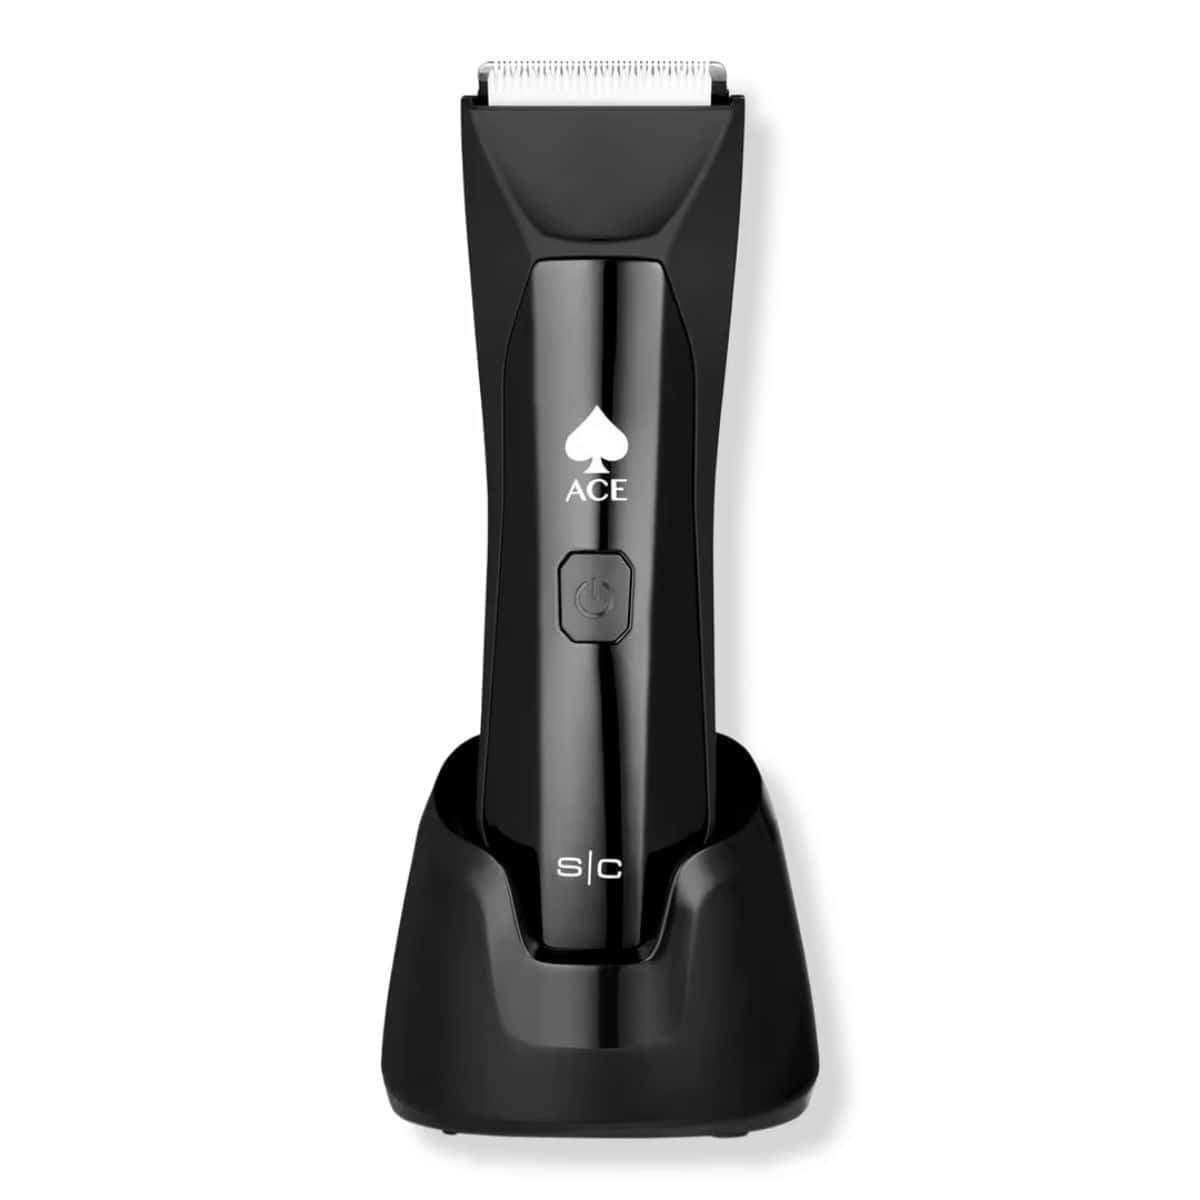
These Christmas gift ideas cover everything from outdoor cooking and tools to tech, fitness, and things for relaxing at home.
Whether you're shopping for your husband, dad, brother, son, or another family member, you'll find plenty of options to help you choose the perfect gift.










Christmas Gift Ideas for Kids & Teens
Kids and teens can be some of the most fun people to shop for, but their wish lists can also change approximately five minutes after you finish shopping.
A mix of toys, games, books, tech, and room essentials gives you plenty of options for different ages and interests.
You'll find ideas for quiet afternoons at home, family game nights, outdoor fun, music, reading, and hanging out with friends. Some of these picks can even be enjoyed by the whole family, which is always a bonus.



How to Choose the Right Gift
When you're shopping for a lot of people, it helps to think about each person's interests instead of trying to find one gift idea that works for everyone. A practical gift can be just as exciting as something fun when it fits the person you're buying for.
For someone who already seems to have everything, consider something they'll use up, an upgraded version of something they already own, or a gift connected to a favorite hobby. A gift card can also be a good option when you're shopping for teens or a family member who would rather choose something themselves.
You don't need to empty your bank account to make a Christmas gift feel thoughtful. Even an inexpensive gift can feel special when you choose something that suits the recipient and add a personal touch.
Gifts the Whole Family Can Enjoy
Not every present has to be for one person. Games, puzzles, cozy blankets, kitchen gadgets, and entertainment gifts can give the whole family something to enjoy together long after Christmas morning.
Family gifts are especially helpful when you're buying for a household instead of individual people. They're also a fun option for long-distance family members when you want to send one package everyone can enjoy.
More Gift Ideas
Still have a few difficult-to-shop-for names on your list? Take a look through my other gift guides for even more Christmas gift ideas, whether you're searching for a practical gift, a fun surprise, or something with a special touch.
Hopefully, you'll find the perfect Christmas gifts, finish that shopping list, and still have a few pennies left over when you're done. Merry Christmas!

Hi, I'm Katie!
I'm so glad you're here. Want to make something fabulous? I'm here to help!
The post 2026 Christmas Gifts for the Family appeared first on The Crafty Blog Stalker.
]]>The post How to Make a Yarn Ball Wreath appeared first on The Crafty Blog Stalker.
]]>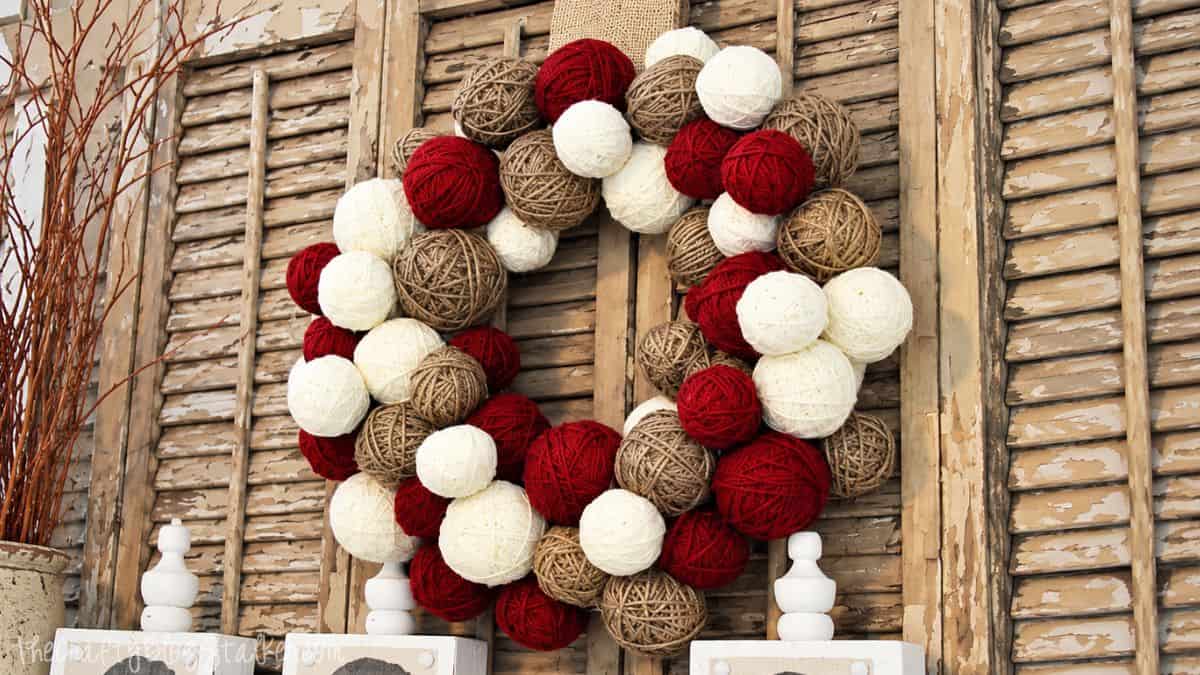
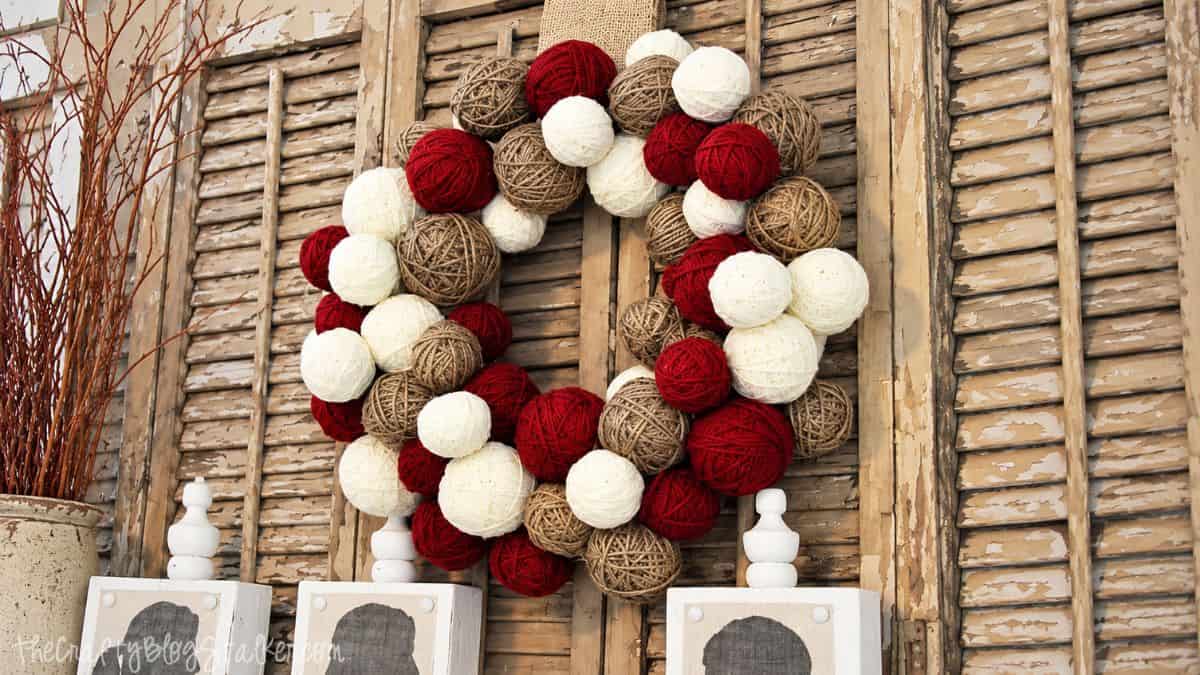
Christmas decorating is always more fun when I can add something handmade, and this yarn wreath was the perfect finishing touch for my mantel.
I love how the different yarn balls add cozy texture and color without requiring any knitting or crochet skills.
This is also a great project for using different yarn colors and textures to match your holiday decor.
It does take a little time to wrap all those yarn balls, but it's an easy project to work on while watching TV or hanging out with the family.
Skill Level: Beginner
Estimated Cost: $20-$30
Total Time: 2-3 hours
Supply List
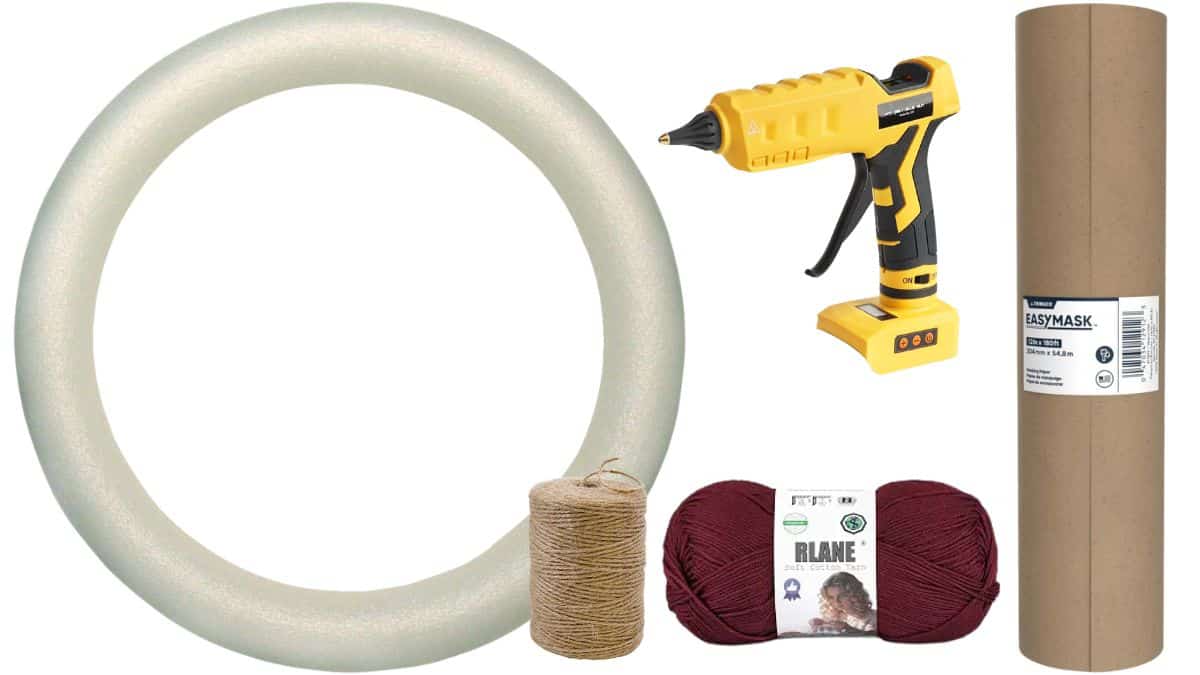
You don't need to knit or crochet for this project. If you can wrap yarn and use a hot glue gun, you've got this!
Choosing Yarn for Your Wreath
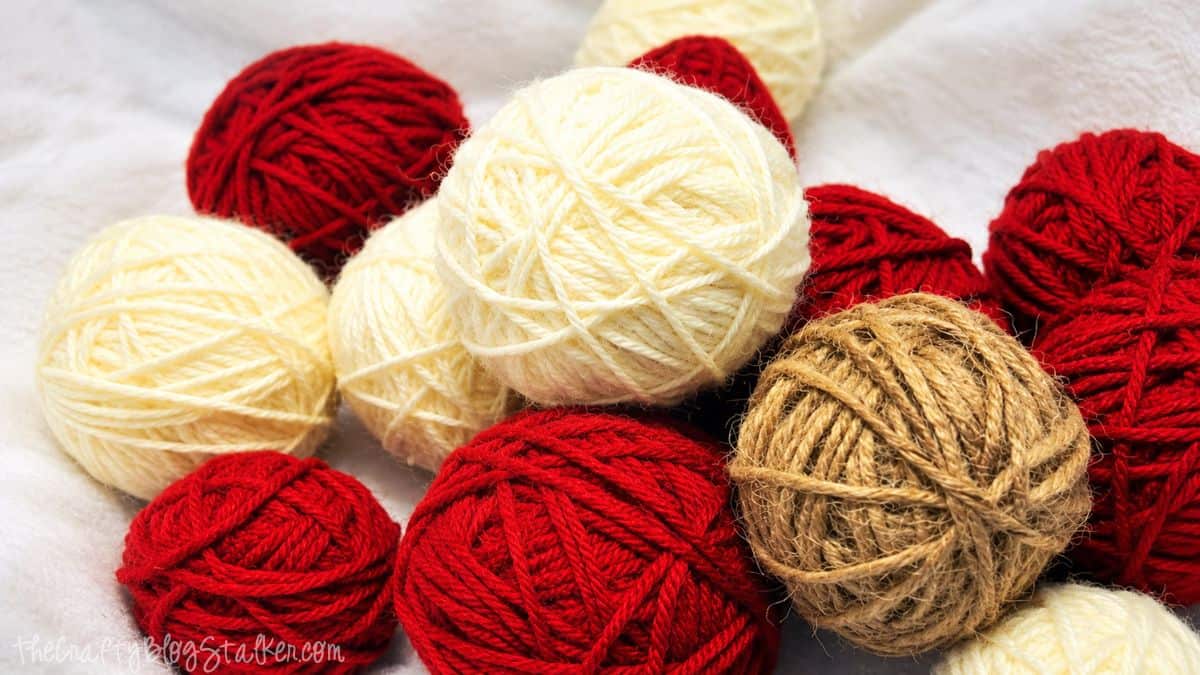
One of my favorite things about this wreath is how easy it is to customize. I used red, off-white, and neutral tones for a Christmas look, then added twine to bring in a different texture.
You can use yarn you already have or choose a few coordinating colors specifically for your wreath. Mixing colors, thicknesses, and textures keeps all those little yarn balls from looking exactly the same and gives the finished wreath more personality.
The paper inside each ball also means you don't have to use an entire skein of yarn just to make one decoration. You're simply covering the paper until none of it shows, which makes this a great project for leftover yarn.
Making the Yarn Wreath
Start with the wreath form as the base for your project. Wrapping the form in yarn covers the foam and creates a finished background wherever you can see between the yarn balls.
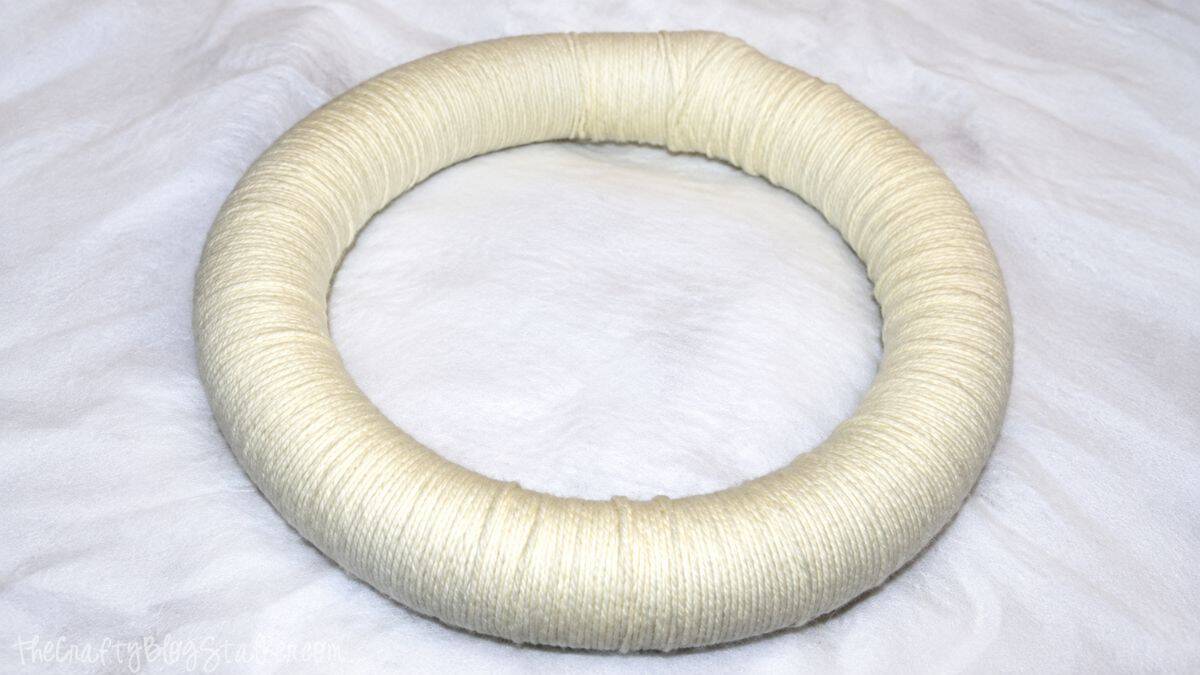
For the yarn balls, I used wadded-up paper as the center instead of making solid yarn balls.
Masking paper works well because you can crumple and shape it until you have the size you want, then continue wrapping yarn around it until the paper is completely covered.
Don't worry about making every ball perfectly round or exactly the same size. A mix of larger and smaller yarn balls makes it easier to fill the wreath and gives the finished project a more interesting look.
Before attaching the yarn balls, decide how you want to hang the wreath. I added my hanging strap first so it would sit behind the yarn balls instead of covering them.
Then arrange the yarn balls around the wreath form until you like the placement. Mixing the colors, sizes, and textures as you go helps keep any one section from feeling too heavy.
Once you're happy with the arrangement, secure the yarn balls to the wreath form and to neighboring balls with hot glue. Filling smaller gaps with little yarn balls helps hide the wreath form and gives you that full, cozy look.
Fair warning, it is very easy to keep making yarn balls because you'll always find one more little gap that could use something. Eventually, you just have to decide you're done!
This project is a little time-consuming because of all the wrapping, but none of it is difficult.
I worked on mine here and there while watching TV with the kids and hubby, which made it feel much less like a marathon yarn-wrapping session.
It was totally worth it because I love how it looks on my mantel. I may be ready to leave this one up long after Christmas!
Ways to Customize Your Yarn Ball Wreath
You can completely change this wreath's look by switching the yarn colors. Traditional red and cream are perfect for Christmas, while pink and red would make a cute February wreath for Valentine's Day.
Neutral cream, tan, and gray could work throughout winter, or you could choose colors that coordinate with a bedroom, craft room, or other space and display the wreath year-round.
You can also play with texture by mixing smooth yarn with chunky yarn, twine, or other fibers. Just keep the overall color palette coordinated so all those different textures still feel like they belong together.
Frequently Asked Questions
Crumpled masking paper or newspaper works well because it is lightweight and easy to shape. You can adjust the amount of paper to make several different sizes before wrapping each ball with yarn.
Nope! No knitting or crochet is involved. You simply wrap the yarn around the wreath form and paper balls.
The exact number will depend on the size of your wreath form and the size of the balls you make. I recommend making a variety of sizes so you can use the smaller ones to fill gaps as you arrange everything.
Absolutely. This is a great project for leftover yarn because you can mix coordinating colors and textures without needing a full skein of each one.
Yes, but I would keep it on an interior door or somewhere protected from moisture and harsh weather. The paper centers and yarn aren't designed to handle rain or snow.
Secure the end of the yarn when you finish wrapping each ball. Once you glue the balls into the wreath, neighboring pieces also help keep everything tucked neatly in place.
Need help with this project?
Click a button below to ask AI what to use instead of masking paper inside the yarn balls.
More Christmas Ideas
Handmade Christmas decorations are some of my favorites because they add personality to store-bought decor.
Here are a few more Christmas craft tutorials to help you add something handmade to your home this holiday season.


Hi, I'm Katie!
I'm so glad you're here. Want to make something fabulous? I'm here to help!
The post How to Make a Yarn Ball Wreath appeared first on The Crafty Blog Stalker.
]]>The post 2026 Holiday Gift Guide for Men appeared first on The Crafty Blog Stalker.
]]>
Shopping for men can sometimes feel like a guessing game, especially when they insist they don't need anything.
This Holiday Gift Guide for Men is filled with practical gadgets, cozy favorites, and fun surprises for husbands, dads, brothers, sons, and even a hard-to-shop-for co-worker.
I've included gift ideas at different price points, so you can find something whether you're looking for a smaller Christmas gift or something worth splurging on.
Take a look through the guide, and hopefully you'll find the right gift without spending all of November trying to figure out what to buy!
Gift Ideas for Men
I've gathered a mix of useful, fun, and splurge-worthy gifts, so there's a little bit of everything here.
Think about what he enjoys doing, what he uses every day, or something he probably wouldn't buy for himself, and start there.


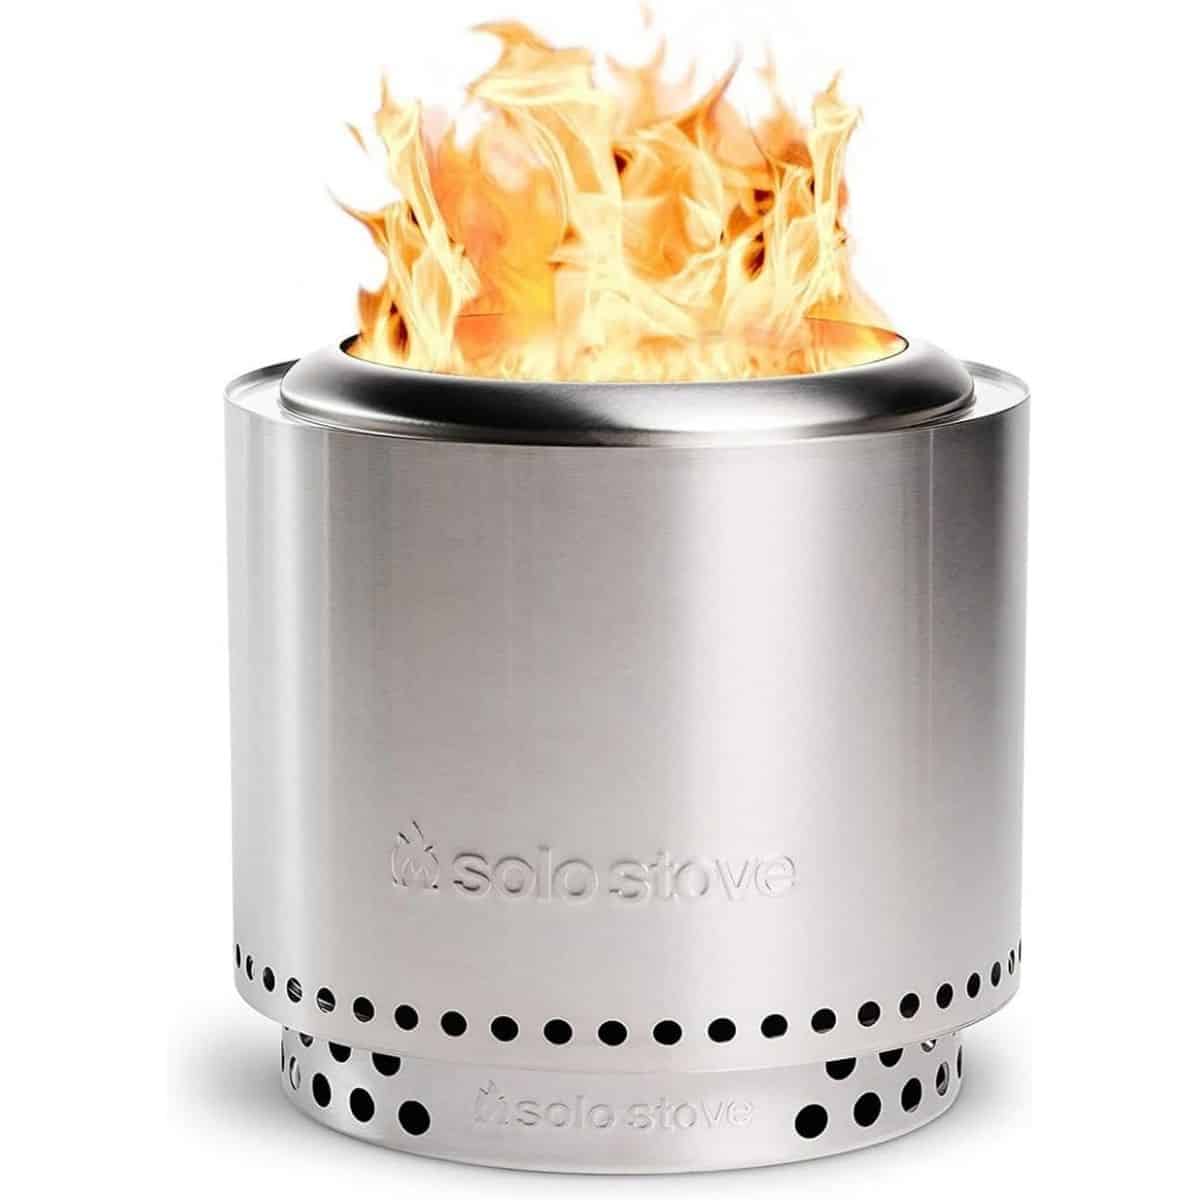


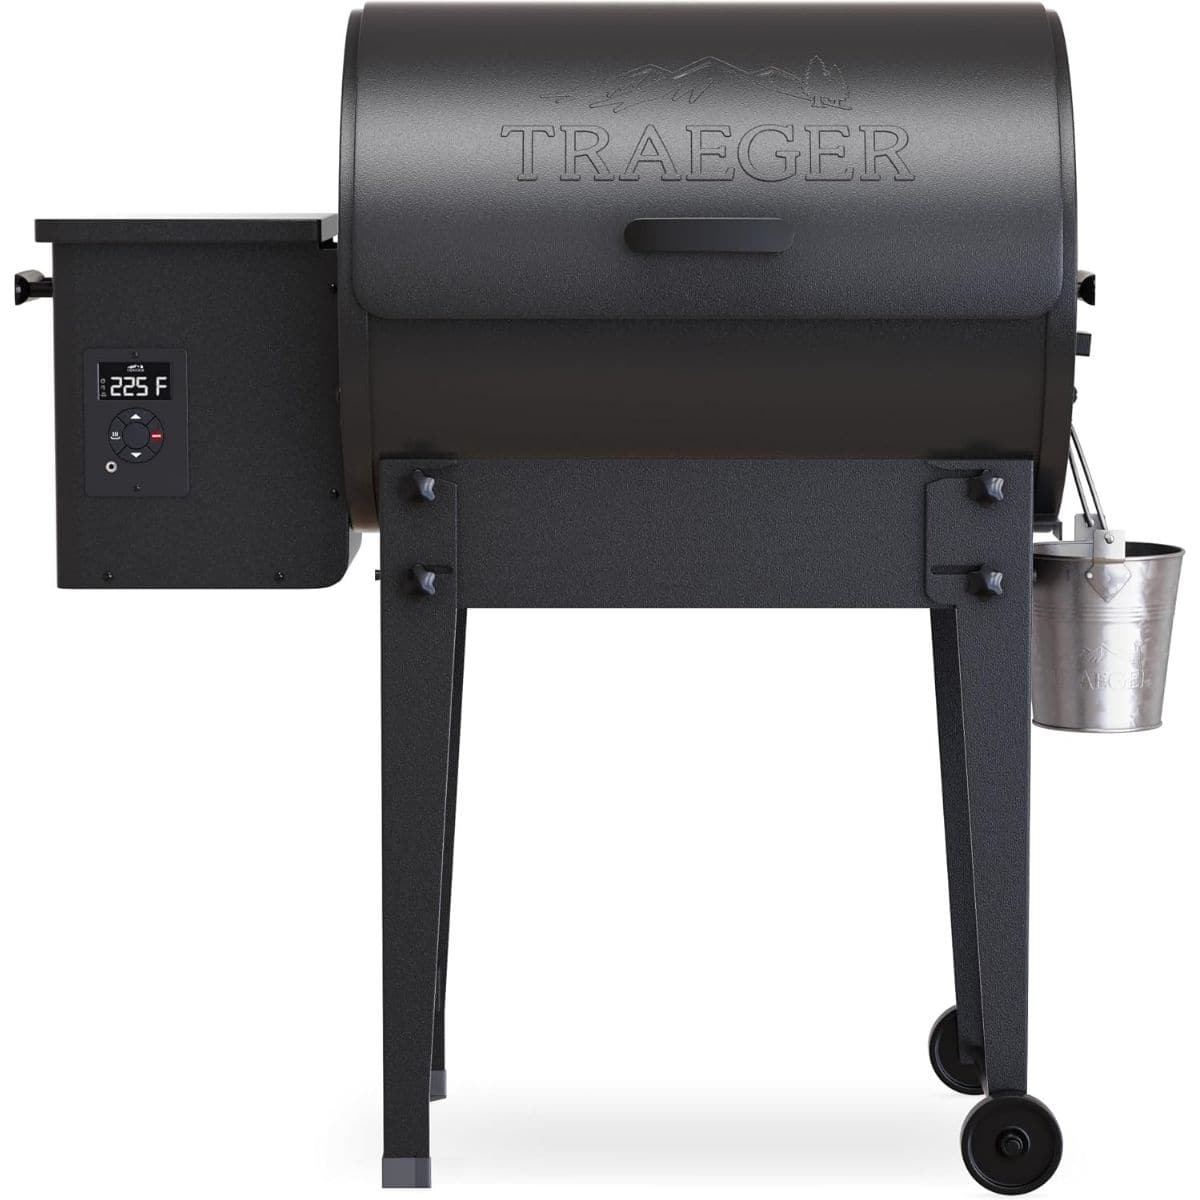


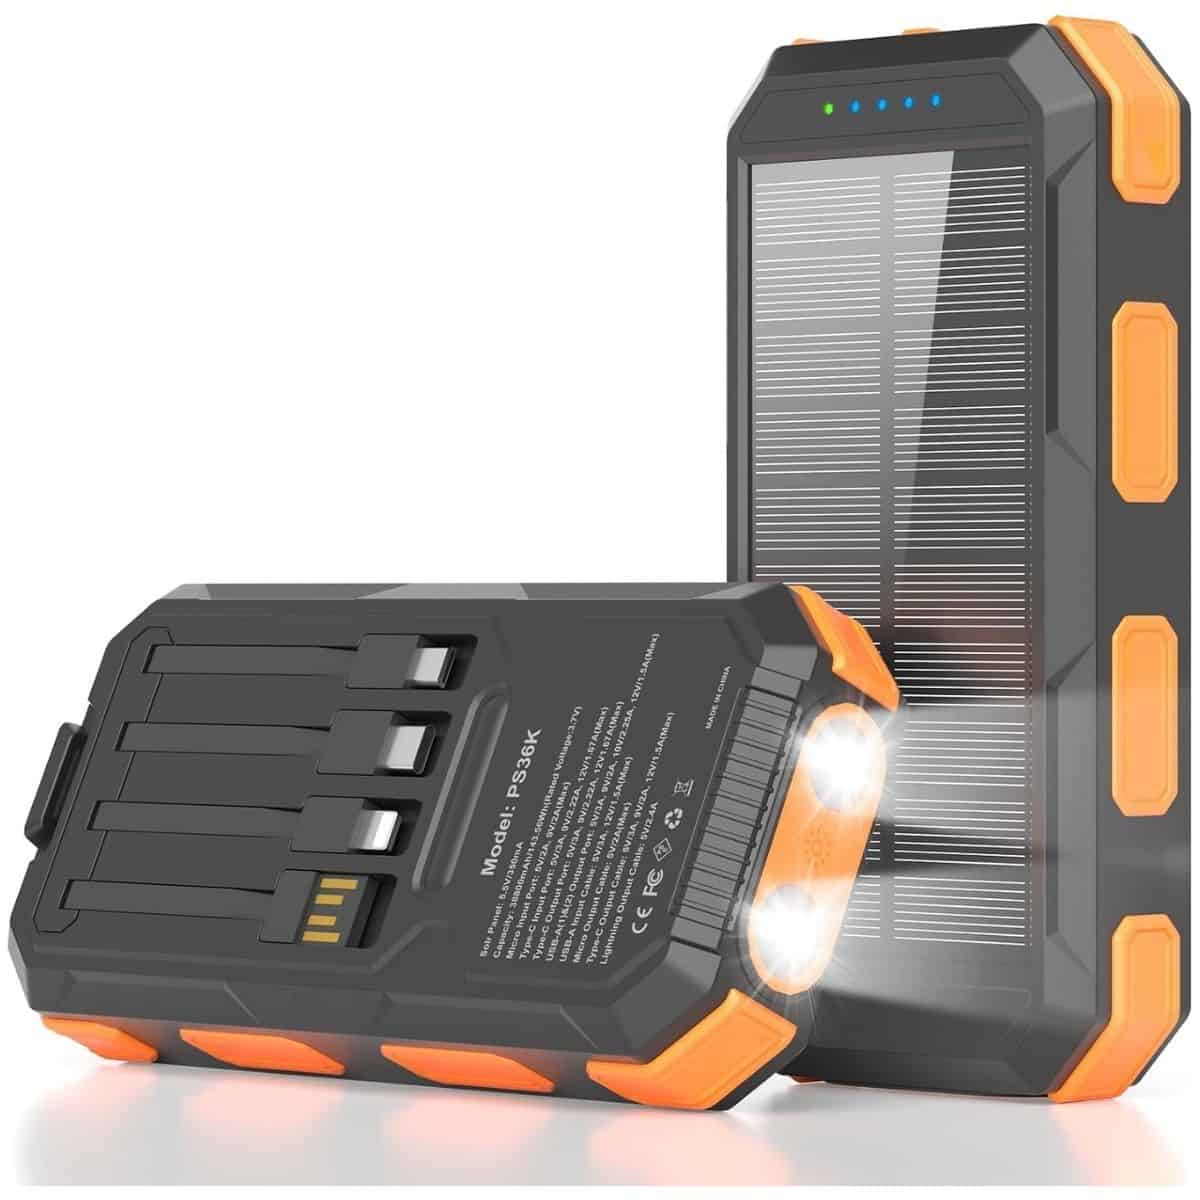

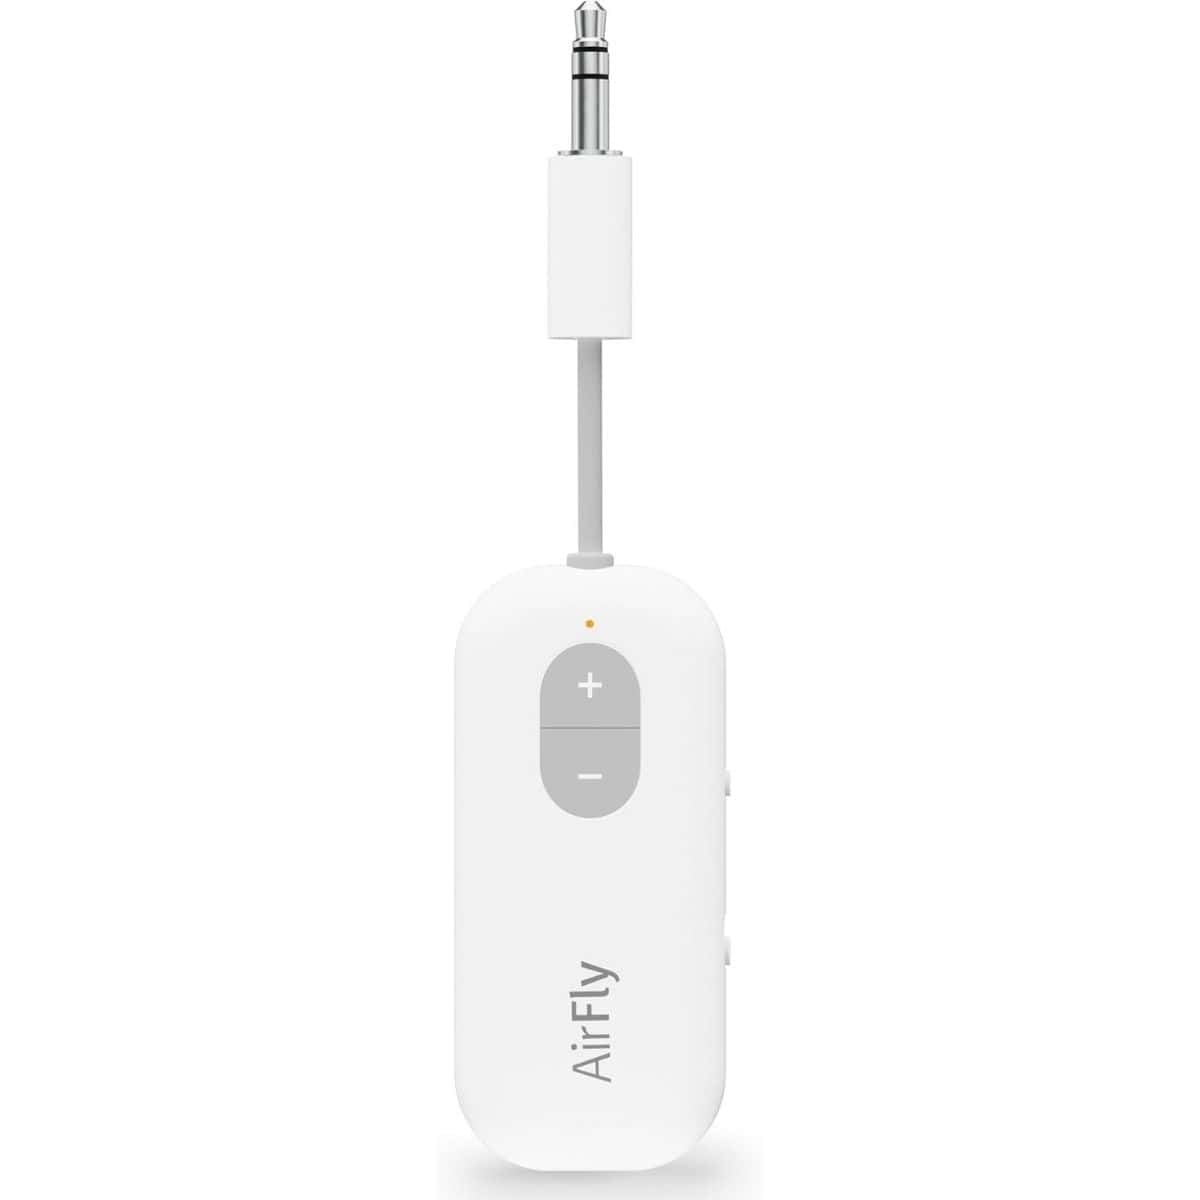


How to Choose the Right Gift
When I'm trying to find the right gift for someone, I usually start with what they already enjoy rather than searching for something completely unexpected.
Someone who loves grilling may appreciate something for cooking outdoors, while a traveler might get more use from a tech accessory or toiletry bag.
Practical gifts don't have to be boring either. Sometimes the best gifts are upgrades to things he already uses, especially if it's something nicer than he would normally buy for himself.
Budget can help narrow things down too. You don't need to spend a lot to find a thoughtful Christmas gift, and a smaller useful gift can be just as appreciated as one of the bigger-ticket items in the guide.
Who These Gifts Are For
These ideas aren't just for husbands or dads. You can use this guide when shopping for an adult son, brother, boyfriend, father-in-law, grandpa, or co-worker.
A few of the more playful gifts can also work well for a teen or older kid, depending on their interests and the product's recommended age.
If you're not sure what to buy, start with something tied to a hobby or everyday routine.
Need help with this project?
Click a button below to ask AI for some useful gift ideas for men under $50.
More Gift Guides
Still working your way through your Christmas shopping list?
Browse my other gift guides for more ideas for family, friends, teachers, neighbors, and anyone else you suddenly remember you need a gift for in December.
Hi, I'm Katie!
I'm so glad you're here. Want to make something fabulous? I'm here to help!
The post 2026 Holiday Gift Guide for Men appeared first on The Crafty Blog Stalker.
]]>The post Mirror Wall DIY Tutorial for a Stylish Home Update appeared first on The Crafty Blog Stalker.
]]>
A blank wall can feel a little boring, and this mirror wall DIY is a fun way to completely change your space.
I love how mirrors can make a room feel brighter and more open while adding plenty of personality.
I wanted a large mirror for this bathroom wall, but the price was way outside my budget, so I used small mirror tiles to create the same big impact for less.
The finished wall measures 4 x 6 feet, uses 24 mirror tiles, and took me about an hour to install!
Skill Level: Beginner
Estimated Cost: $75 - $100
Total Time: 1 hour
Supply List
Some links may lead to similar items when the exact item is unavailable.
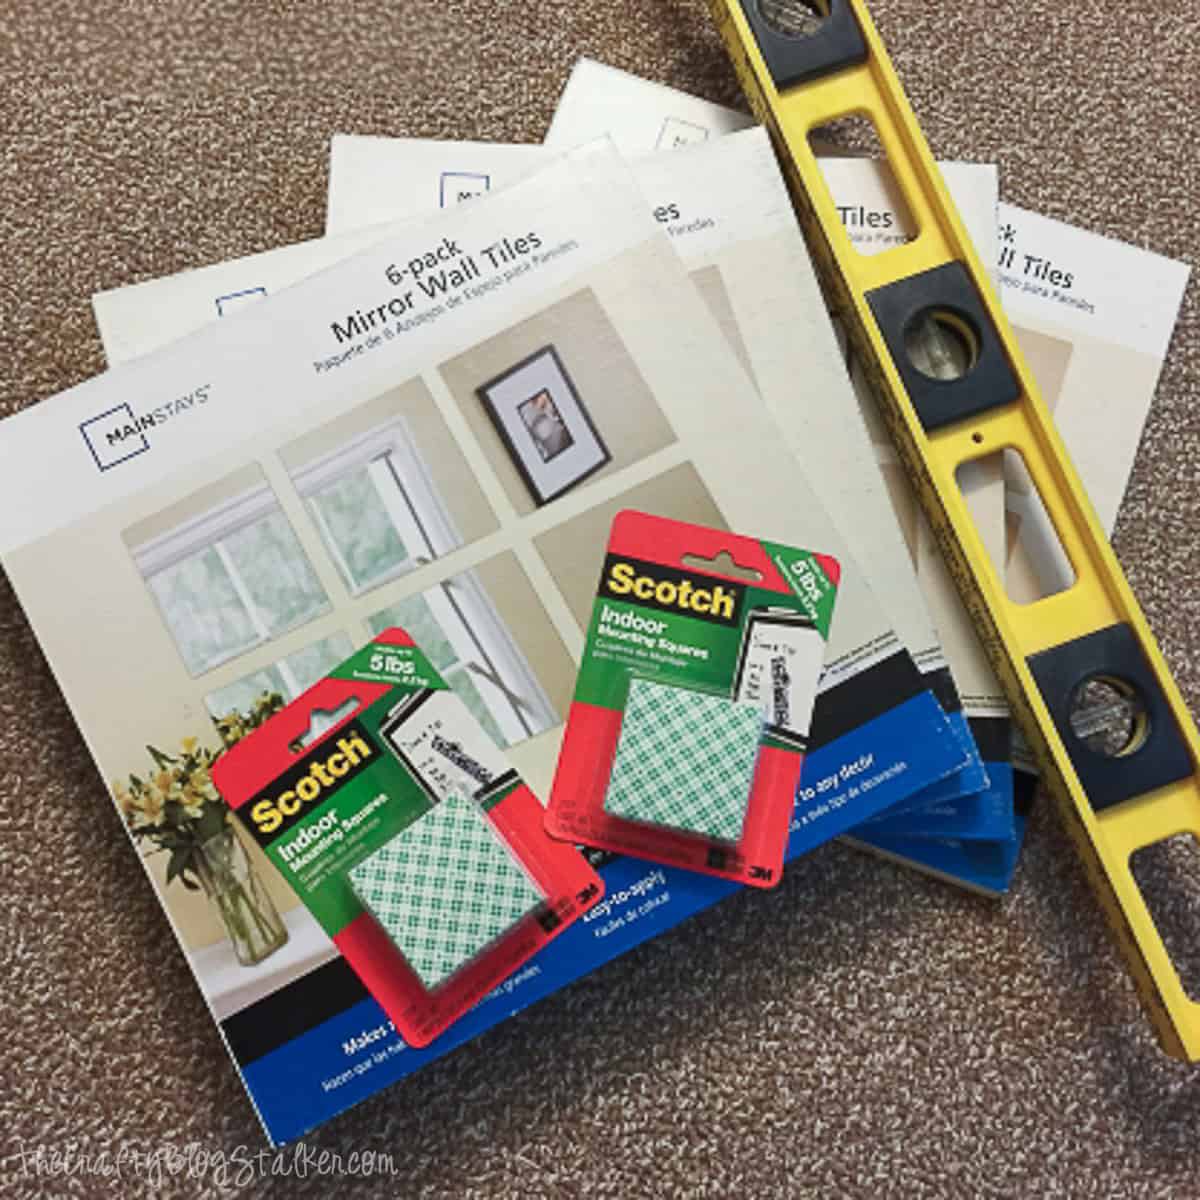
I chose mounting squares because I wanted the option of removing the mirror panels later if I got tired of them.
A strong adhesive like Liquid Nails is another option, but keep in mind that it creates a much more permanent installation and can damage the wall when removed.
Whatever adhesive you choose, make sure it is rated for the weight and materials you're attaching and follow the manufacturer's instructions.
Mirrors are heavier than regular wall decor, so don't grab whatever tape is hiding in the junk drawer.
Planning Your DIY Mirror Wall
This was my current bathroom mirror situation.
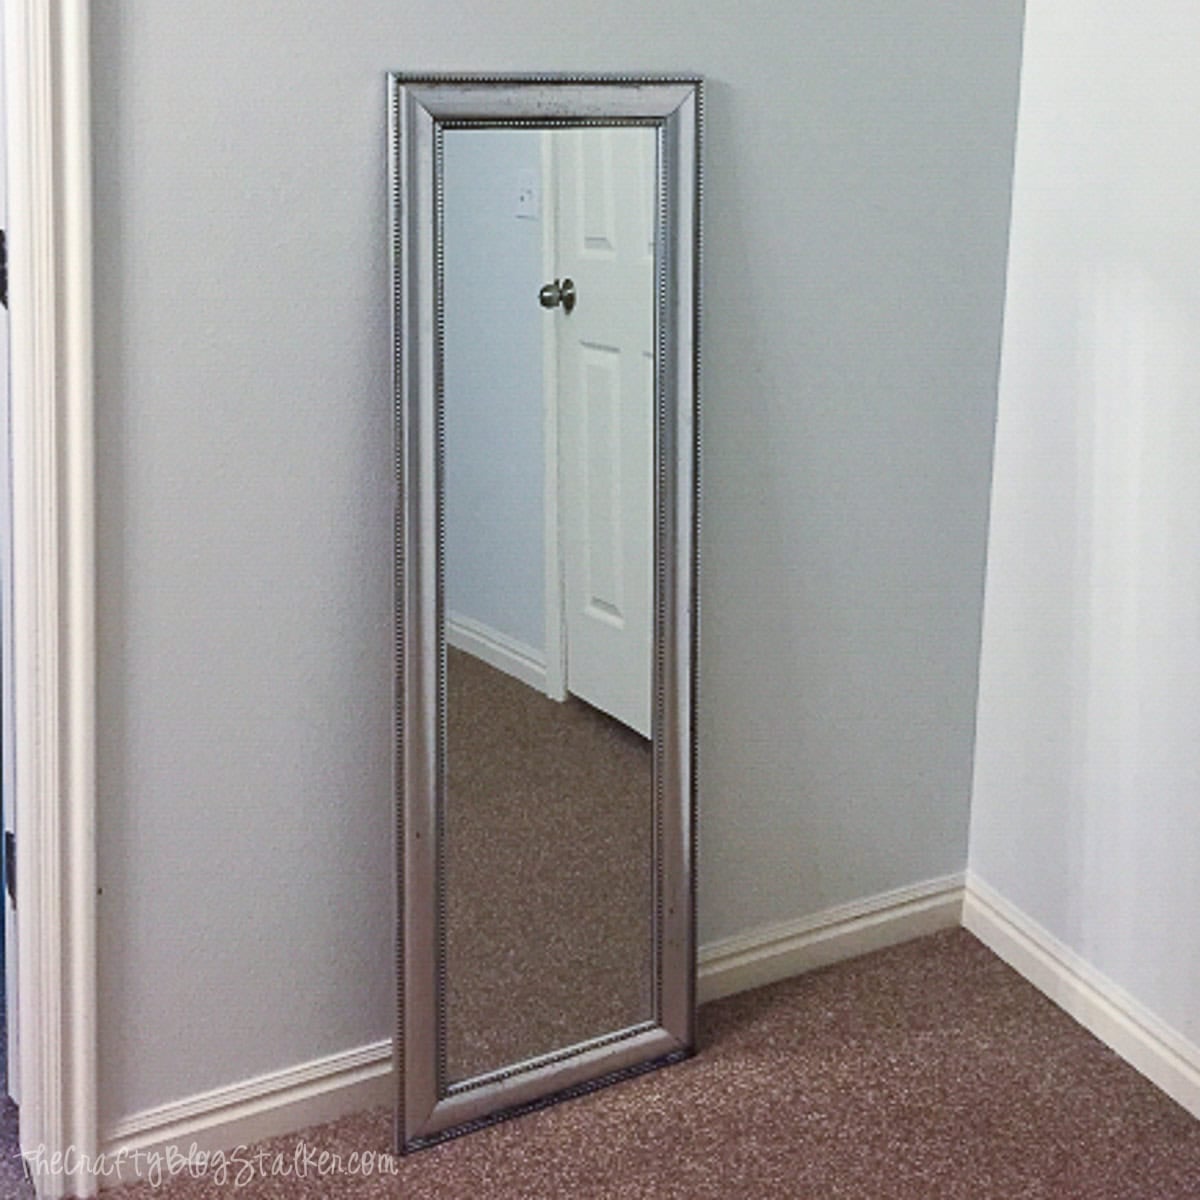
Yup. Pretty sad and pathetic. I knew I could do better than that!
I originally wanted one large mirror on this wall, but large mirrors can get expensive quickly.
Using 12-inch mirror tiles gave me the size I wanted while letting me build the mirror wall section by section.
Before installing anything, check the wall, floor, baseboard, and any nearby trim with a level. Since you're creating a grid, an uneven starting point can become much more obvious as you add the second row and continue up the wall.
My wall was straight enough that I could use the baseboard and door frame as my starting points.
If your baseboard isn't level, don't automatically line up your first row against it. Move the bottom row up slightly, then use a level to establish a straight starting line.
It's also a good idea to lay out your mirror tiles before attaching anything. This lets you see where the outside edges will land and whether you'll run into outlets, switches, trim, or other obstacles.
Choosing an Adhesive for Mirror Tiles
I used double-sided mounting squares, placing one in each corner on the back of every mirror tile.
I prepped one row at a time because 24 mirrors spread across the room take up more space than you'd think. Working in smaller batches also made it easier to keep everything organized as I installed the wall.
My walls are textured, and the mounting squares worked well for my project. Wall texture, paint, tile weight, humidity, and the adhesive itself can all affect how well something sticks, so use a mounting product rated for your particular surface and mirror weight.
For a more permanent installation, a mirror-compatible construction adhesive may be an option. Check the adhesive label before using it on mirrors because some products can damage the mirror backing.
If you're renting or know you'll eventually want to remove the wall, a removable mounting option may make more sense. Just remember that even removable adhesive products can sometimes affect paint or drywall, especially after they've been in place for a long time.
Mirror Wall Design and Placement
One nice thing about using individual mirror tiles is that you aren't limited to creating one solid rectangle.
You can change the layout to make the mirrors more of a statement piece or decorative mirror wall.
My design uses the mirror tiles side by side to create the look of one large mirror. As I added more rows, the entire bathroom felt brighter and much more open.
You could also leave a small, even gap between the mirrors for a more decorative look. Painter's tape can serve as a temporary spacer to keep consistent spacing between each tile.
Other creative ways to arrange small mirrors include a checkerboard pattern, vertical or horizontal strips, or a smaller grouping above a table or piece of furniture. A mirror wall could look just as good in a dining room, entryway, bedroom, living room, basement, or home gym.
My finished DIY mirror wall uses 24 12-inch mirror tiles and measures approximately 4 x 6 feet.
I loved the reveal. The simple grid fills the entire wall and makes it look like a much larger mirror without buying one giant piece.
But then I noticed something I somehow completely missed while planning the project.
The toilet is directly across from the new mirrors! 🤣
Oops! How did I not notice that before?
Oh well, I wasn't taking 24 mirrors back down. We'll just call it an unexpected feature of the bathroom design.
One thing to consider before creating your own wall is exactly what those mirrors will reflect. Stand in different spots around the room before you begin and check the view. Trust me on this one. 😆
What to Know About the Finished Reflection
One important difference exists between a wall of mirror tiles and one large mirror. Since the wall is made from separate mirror panels, the reflection can look slightly distorted where the edges meet.
You may notice that wonky reflection in some of my pictures. It's much less noticeable when you're standing directly in front of the wall, but the reflection still isn't completely seamless.
For decorative wall decor, to make a room feel larger, or to create a statement piece, I think individual mirror tiles are a fun option.
If you need the wall primarily for detailed makeup, getting ready, or another situation where an accurate reflection matters, I would choose a larger mirror instead.
To clean the finished mirror wall, use your favorite glass cleaner and a soft lint-free cloth or paper towel. I prefer spraying the cleaner onto the cloth rather than soaking the mirror, especially around the edges where the individual tiles meet.
Frequently Asked Questions
The mounting squares I used are heavy-duty adhesive, so I don't expect them to come off without affecting the wall.
For a less permanent option, consider Command Strips rated for the weight of your mirror tiles and compatible with your wall surface. Always follow the manufacturer's weight limits and removal instructions.
There are so many possibilities. A mirror wall can work in a bathroom, bedroom, dining room, living room, entryway, basement, or home gym. Before deciding on the final location, consider both the wall itself and what the mirrors will reflect.
Yes, you can use smaller dollar store mirrors to create a similar look. Since Dollar Tree mirrors may be a different size, shape, or weight than the mirror tiles I used, plan your layout first and choose an adhesive appropriate for those particular mirrors.
No. I placed mine together to create the look of a large mirror, but leaving a consistent gap between each tile can turn the project into more of a decorative feature. You could even experiment with different patterns instead of installing the mirrors in traditional rows.
Mirrors reflect light and more of the surrounding room, which can make a small space feel brighter and more open. A large grouping of mirror panels can create even more visual impact than a single small decorative mirror.
A construction adhesive can create a more permanent installation, but use only an adhesive that specifically states it is compatible with mirrors and your wall surface. Some adhesives can damage a mirror's backing, so check the product instructions before applying any glue.
Need help with this project?
Click a button below to ask AI how to plan a mirror wall around outlets or switches.
More Home Upgrade Ideas
I love DIY projects that can completely change a room without requiring a full renovation or a garage full of power tools.
Here are a few more home upgrade ideas to help you add personality, function, and style to your space.


Hi, I'm Katie!
I'm so glad you're here. Want to make something fabulous? I'm here to help!
The post Mirror Wall DIY Tutorial for a Stylish Home Update appeared first on The Crafty Blog Stalker.
]]>The post Easy Homemade Unsweetened Applesauce Recipe appeared first on The Crafty Blog Stalker.
]]>
Fall always puts me in the mood for apple recipes, and this unsweetened applesauce recipe is such an easy way to enjoy those cozy seasonal flavors.
You don't need freshly picked apples either, because I made mine with Gala apples straight from the grocery store, and they turned out delicious.
With just two ingredients and no added sugar, this homemade applesauce is perfect for lunches, afternoon snacks, or an easy side dish for the whole family.
Grab your favorite apples and an apple slicer if you have one handy, and let's make some homemade applesauce!
Why You'll Love This Recipe
Homemade applesauce is simple, naturally sweet, and easy to customize with your favorite apples. I used Gala apples, but Fuji, Golden Delicious, or a combination of varieties work well too.
I leave the apple skins on for less prep and a little extra texture, but you can peel them for a smoother applesauce. Enjoy it warm or chilled for an easy snack or side dish.
Ingredients
See the recipe card below for measurements and instructions.
- Apples (any variety)
- Simply Apple Juice

Really! That's it!
The apples are the star here, so choose a variety you already enjoy eating. Sweeter varieties such as Gala, Fuji, or Golden Delicious are great choices for an unsweetened applesauce recipe because their natural sweetness becomes even more noticeable as they cook.
Apple juice adds extra liquid and apple flavor as the fresh apples soften. Since we're keeping this recipe free of added sugar, check the label and choose an apple juice with no added sugar if that's important to you.

Unsweetened Applesauce Recipe
Equipment
Ingredients
- 3 lbs Apples any variety (I used Gala)
- ½ cup Apple Juice not from concentrate
Instructions
- Core the apples and cut them into wedges. Leave the peels on for added texture and fiber, or peel the apples if you prefer a smoother applesauce.

- Place the prepared apples in a medium saucepan and add the apple juice.

- Bring to a boil, then reduce the heat to low and cover.
- Simmer for about 1 hour, or until the apples are very soft and mash easily with a fork.
- Remove from the heat and mash the apples with a potato masher until the applesauce reaches your desired consistency.

- Serve warm or let cool and refrigerate until ready to enjoy.
Notes
Nutrition
How to Store Homemade Applesauce
Let the applesauce cool completely, then transfer it to an airtight container and store it in the refrigerator for up to 5 days.
For longer storage, freeze the applesauce in a freezer-safe container for up to 3 months, leaving a little room at the top for expansion.
Thaw frozen applesauce overnight in the refrigerator, then stir well before serving.
Enjoy it cold, let it come to room temperature, or warm it gently before eating.
Tips for the Best Homemade Applesauce
The apple variety you choose can change both the taste and texture of your applesauce. Sweet apples will give you a naturally sweeter result, while tart varieties will make the finished sauce a bit tangier. Mixing apple varieties is another easy way to add more depth of flavor.
Your preferred texture is completely up to you. A potato masher works well when you like some texture and small pieces of cooked apples in your sauce. For smoother applesauce, an immersion blender can help create a more even consistency.
If you leave the apple skins on as I do, the finished sauce will have more texture than applesauce made with peeled apples. You can always peel them first if your family prefers a smoother texture.
This recipe is delicious all on its own, but you can easily change the flavor after cooking. A sprinkle of cinnamon gives it that cozy apple pie flavor without turning a simple side dish into dessert.
Enjoy your homemade applesauce warm or cold, but in my opinion, it is best served warm!
Frequently Asked Questions
Gala apples work wonderfully, and I used them for this recipe. Fuji and Golden Delicious are also naturally sweet choices. You can use one variety or combine different apples to adjust the sweetness and flavor.
No. I leave the apple skins on, which saves prep time and gives the applesauce a little extra texture. If you don't care for the texture of the skins, peel the apples before cooking.
This recipe adds no granulated or brown sugar. The sweetness comes from the apples and apple juice, so choose juice labeled with no added sugar if you want to keep the entire recipe free from added sugars.
A potato masher gives you a more rustic texture. For smoother applesauce, use an immersion blender after the apples have cooked and softened.
Absolutely. Cinnamon isn't necessary, but it's an easy addition if you want a warmer fall flavor. Add it to taste.
Either works! I personally think it tastes best warm, especially during the fall, but you can chill it before serving if that's how you prefer your applesauce.
Need help with this project?
Click a button below to ask AI how to make the applesauce sweeter without adding sugar.
More Side Dish Recipes
Here are a few more easy recipes to serve alongside your family's favorite meals.


Hi, I'm Katie!
I'm so glad you're here. Want to make something fabulous? I'm here to help!
The post Easy Homemade Unsweetened Applesauce Recipe appeared first on The Crafty Blog Stalker.
]]>The post Free Printable Thanksgiving Trivia Game appeared first on The Crafty Blog Stalker.
]]>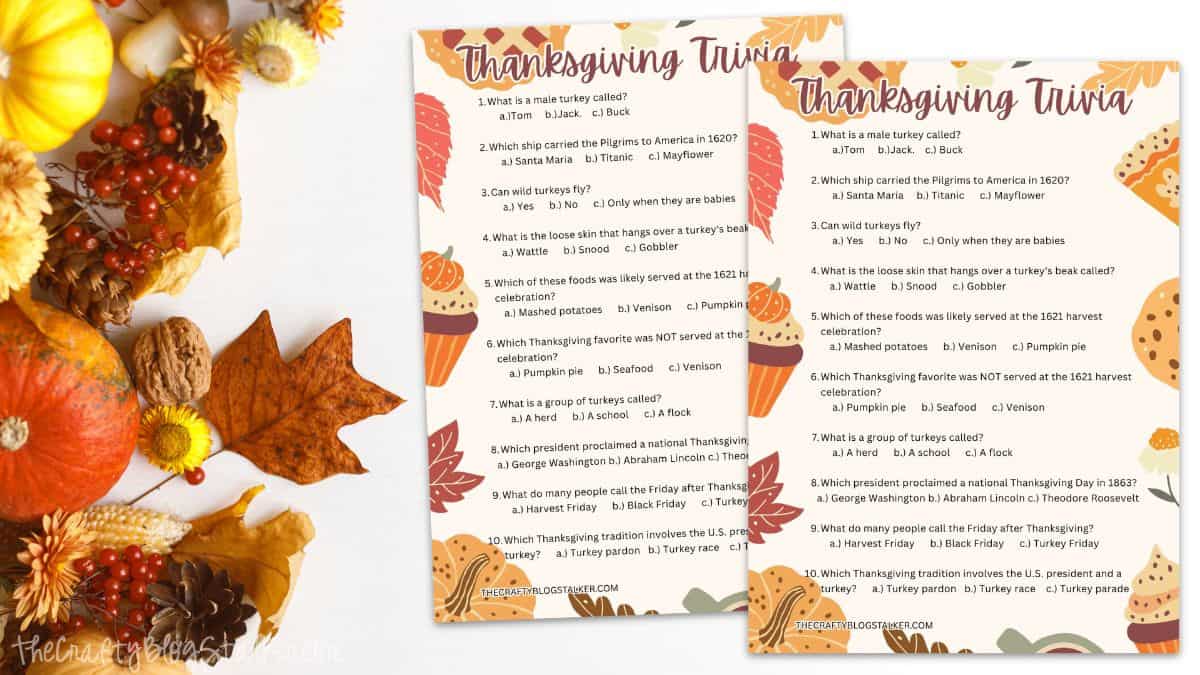
Thanksgiving is always more fun when there's a little friendly competition, and this Free Printable Thanksgiving Trivia Game is an easy way to get everyone playing.
I love simple activities like this because you can print it ahead of time, set it on the Thanksgiving table, and let family and friends test their knowledge while everyone is together.
It's perfect for Thanksgiving dinner, Friendsgiving, family gatherings, or keeping everyone entertained while the turkey finishes cooking.
Scroll to the bottom of the post for nine more fun fall and Thanksgiving printables to add to your holiday season!
Age Level: 10+
Activity Time: 10 minutes
What's Included in the Thanksgiving Trivia Game
This printable trivia game comes with two versions, so you can choose the one that works best for your gathering. One version includes the answers at the bottom of the page, while the other includes only the trivia questions so no one can sneak a peek.
The questions cover a mix of Thanksgiving topics and interesting facts, including holiday traditions, food, history, pumpkins, the Macy's Thanksgiving Day Parade, Black Friday, and more.
Because the game covers several different topics, it works well with a mixed group of players. Some questions may be easy for one person, while someone else knows those random little facts no one else remembers. Every family seems to have at least one of those people!
Grab the Free Printable
Once you have the printable, you can print as many game sheets as you need for your gathering. I like to have everything printed before Thanksgiving Day, so it's one less thing to think about when the kitchen gets busy.
Regular printer paper works perfectly for a one-time activity. If you'd like something a little sturdier, you can also print the game on white cardstock.
Ways to Play Thanksgiving Trivia
The easiest way to play is to give each person a copy and let everyone answer the questions on their own. When everyone is finished, read through the answers together and see who got the most correct.
You can also divide everyone into teams, which works especially well for larger family gatherings. Pair kids with adults and let each team work together to come up with its answers.
Another option is to read the trivia questions aloud instead of handing out individual sheets. This is a fun way to play around the Thanksgiving table after the feast, especially if family members of different ages are joining in.
If your family enjoys a little extra competition, add a small prize for the winner. It doesn't need to be anything fancy. First pick of the pie sounds like a perfectly respectable prize.
When to Play the Thanksgiving Trivia Game
You don't have to wait until everyone is sitting down for Thanksgiving dinner to bring out the game. Set copies on the table before the meal, leave them near the appetizers, or pull them out while everyone is waiting for the final dishes to come out of the oven.
It can also be a fun activity for a Friendsgiving celebration, classroom party, family game night, or another festive November event. Since it only takes about 10 minutes to play, it's easy to fit into the day without turning it into another big planned activity.
If you're hosting a large gathering, print the game ahead of time and place a copy at each seat. It gives everyone something to do while the meal is coming together and can be a fun conversation starter between family members who may not see each other very often.
Frequently Asked Questions
I recommend the game for ages 10 and up. Younger kids can still join the fun by playing with an adult or as part of a team.
Plan on about 10 minutes, although it may take a little longer if everyone starts debating the answers. And let's be honest, that's half the fun of family trivia.
You'll need a printed game sheet for each player or team and something to write with. Keep the included answer key nearby so you can check everyone's answers when the game is finished.
Absolutely. Team play is a great choice for larger groups or a mix of kids and adults. It also makes the game a little easier for younger players.
Yes! This trivia game works just as well for Friendsgiving as it does for a traditional Thanksgiving gathering. It's an easy activity to add while everyone eats, visits, or waits for dinner.
You can put a copy at each place setting, play after dinner, or use it to keep everyone entertained while the food is finishing. There really isn't a wrong time for a little friendly competition.
More Fall/Thanksgiving Free Printables
Can you have too many free printables? I don't think so! Here are nine more fall and Thanksgiving ideas to print, play, decorate with, and enjoy throughout the season.
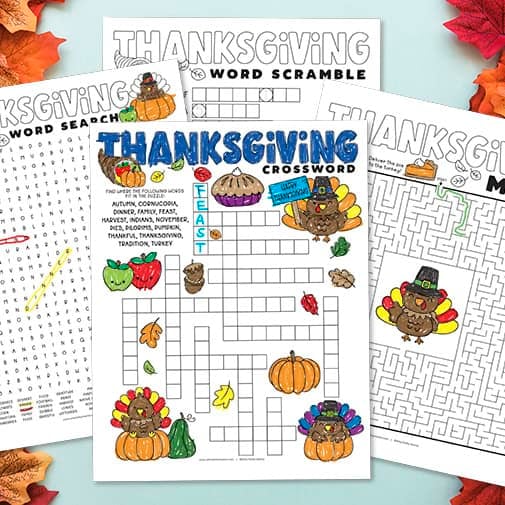


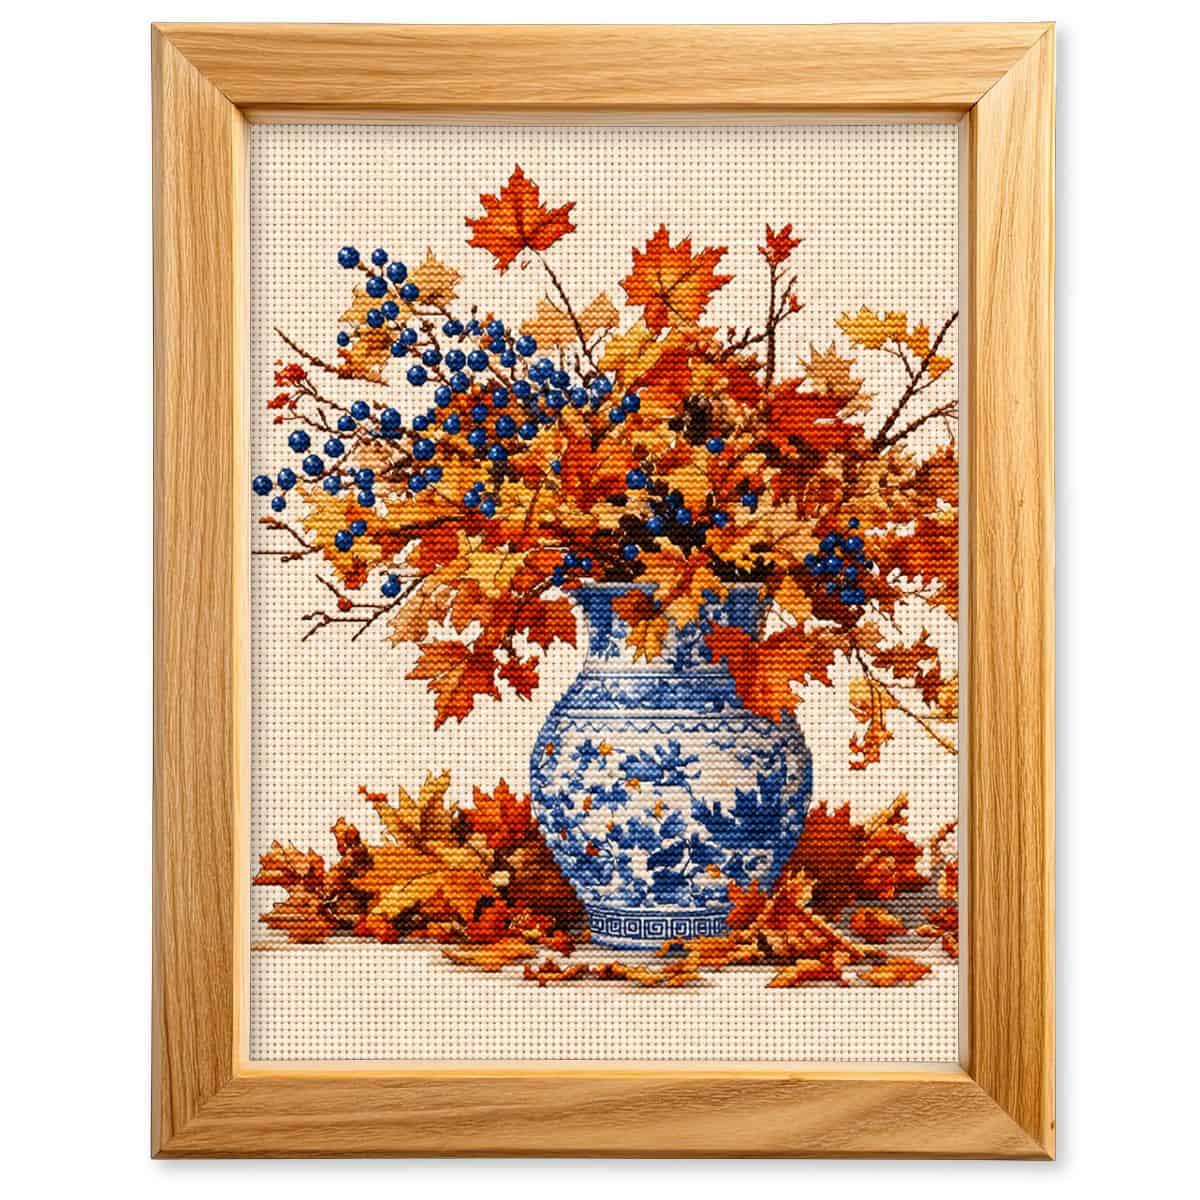
Hi, I'm Katie!
I'm so glad you're here. Want to make something fabulous? I'm here to help!
The post Free Printable Thanksgiving Trivia Game appeared first on The Crafty Blog Stalker.
]]>The post Hexagon Wooden Fall Wreath Tutorial appeared first on The Crafty Blog Stalker.
]]>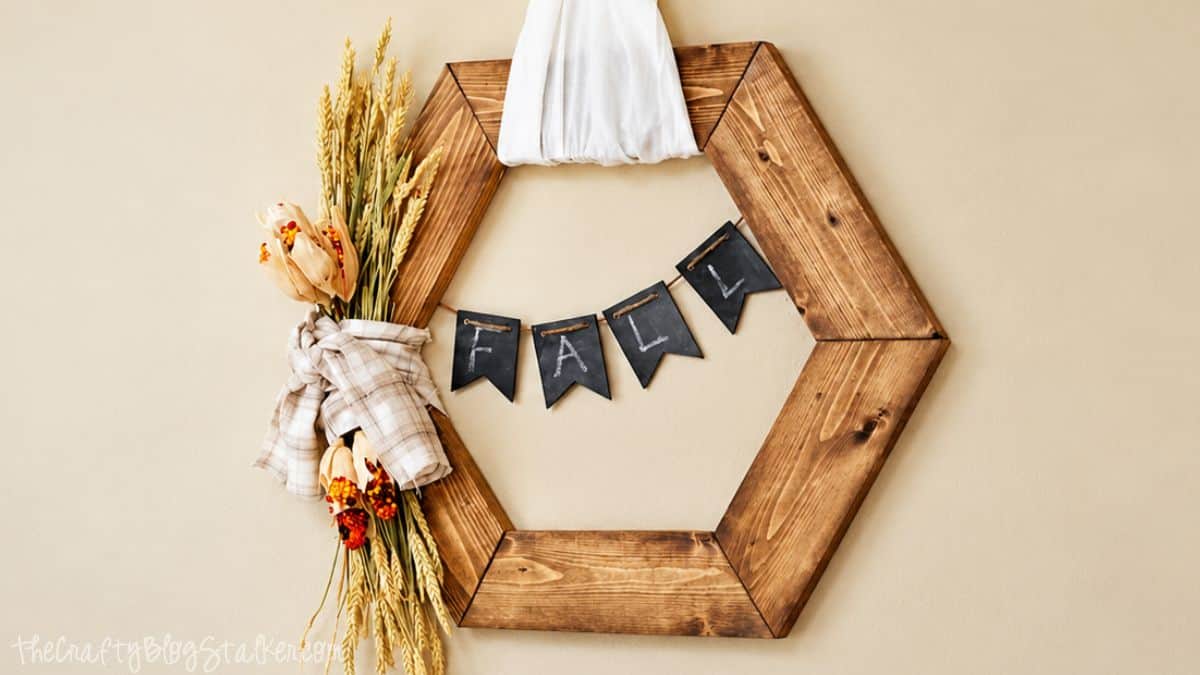
A cold front rolled in over the weekend, and the cooler weather immediately put me in the mood for coffee, baking, and pulling out the fall decorations.
After randomly bringing home a few 1x4s from Home Depot, because apparently that's something I do, I decided to put them to good use with this hexagon wooden fall wreath.
I originally planned to hang it on our front door, but the lines didn't look quite right with the door paneling, so I found the perfect spot on an empty living room wall instead.
If you love warm wood tones, simple fall decor, and wood wreath projects that are a little different from the traditional round wreath, this is such a fun one to make!
Skill Level: Intermediate
Estimated Cost: $20-$30
Total Time: 2 hours
Supply List
- 1x4 Wood Board
- Kreg Pocket Hole Jig
- Miter Saw
- Screws
- Impact Driver
- Minwax Special Walnut Wood Stain
- Foam Brush
- Wheat Grass
- Fabric
- Hot Glue Gun
- Chalkboard Banner (optional)
- Twine for Hanging Banner (optional)

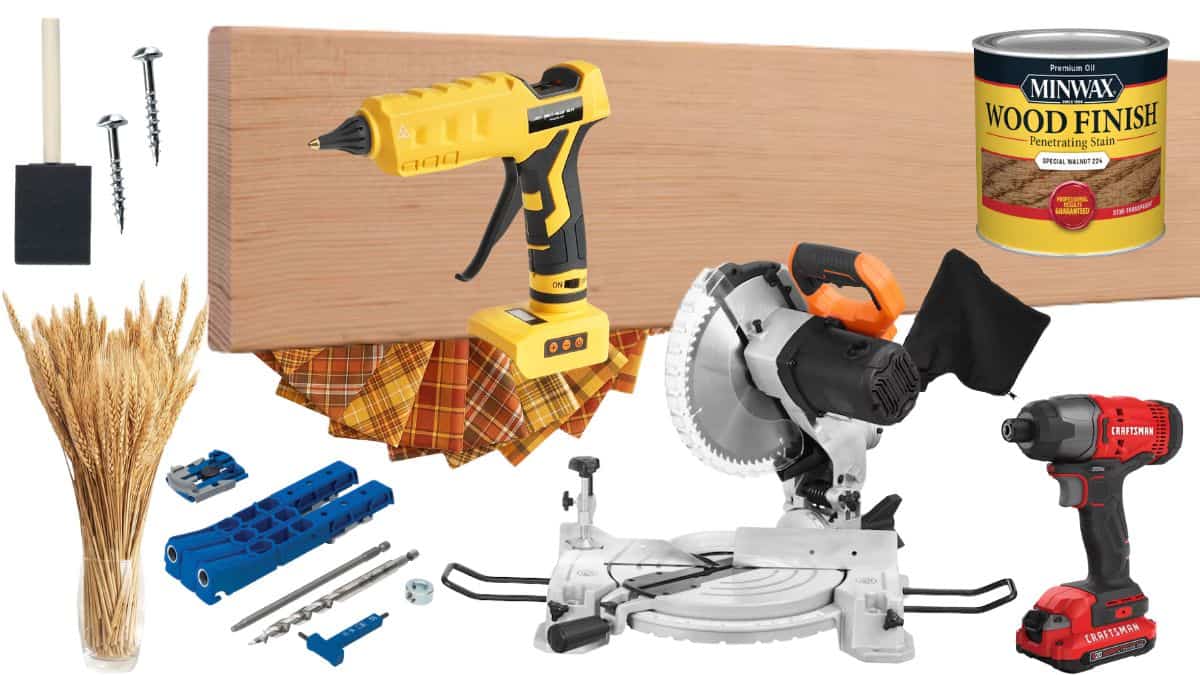
Before You Make Your Wooden Wreath
First, decide how large you want your wreath to be. Mine is pretty big, with each 1x4 piece measuring about 11 inches along the longest side.
The exact size matters less than consistency. All six pieces need to be the same length so they can come together evenly and create that clean hexagon shape.
And now we get to use that geometry we all swore we'd never need after high school. I was actually a nerd who liked geometry, so apparently I've been preparing for this wooden wreath DIY for years. 😆
A hexagon has six interior corners, and the wood pieces meet to form them. To create the shape with mitered joints, cut the ends of each board at 30-degree angles.
Accuracy matters because even a small difference between pieces becomes much more noticeable once you start joining everything together.
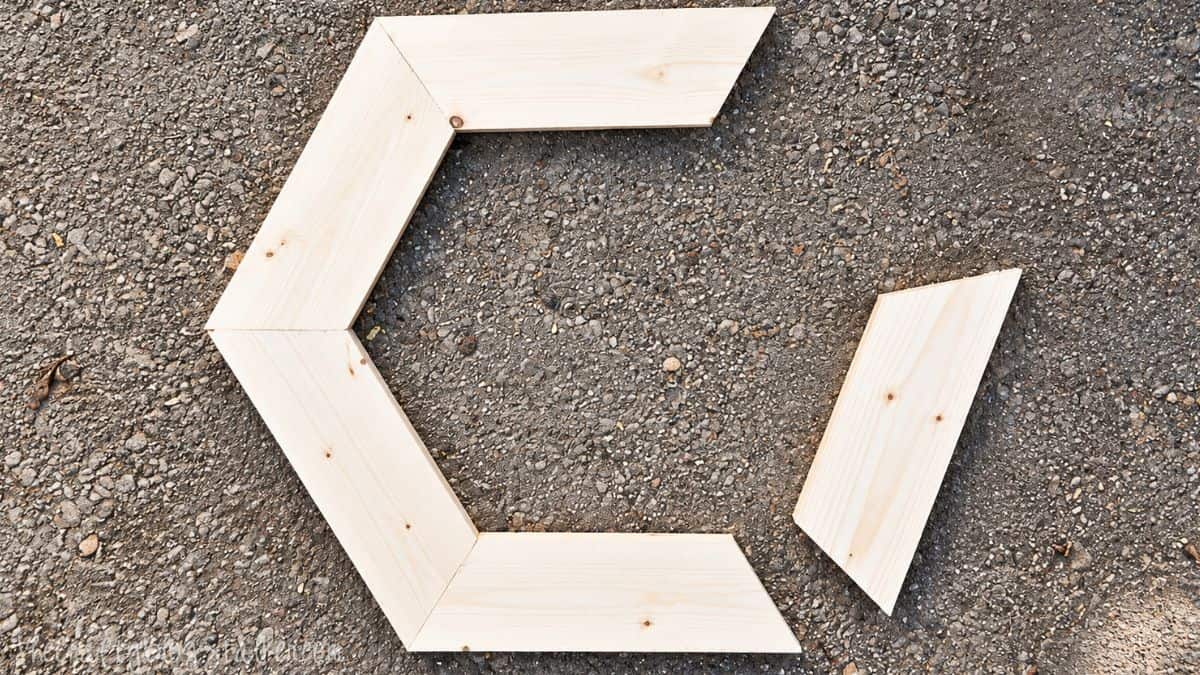
Don't be surprised if you need to make a tiny adjustment as you fit the final pieces together. I had to change the angle on my last piece by about half a degree to get everything to cooperate.
And just to keep it real, mine still isn't absolutely perfect. The top and bottom aren't completely level, and I'm pretty sure I'm the only person who's ever noticed. Handmade doesn't have to mean mathematically flawless!
Building and Decorating the Wreath
Once the wood pieces are cut, the Kreg Pocket Hole Jig makes it much easier to create strong joints without having screws showing across the front of the wreath.
Pocket holes pull the pieces together tightly, which is another reason those miter cuts need to line up as closely as possible.
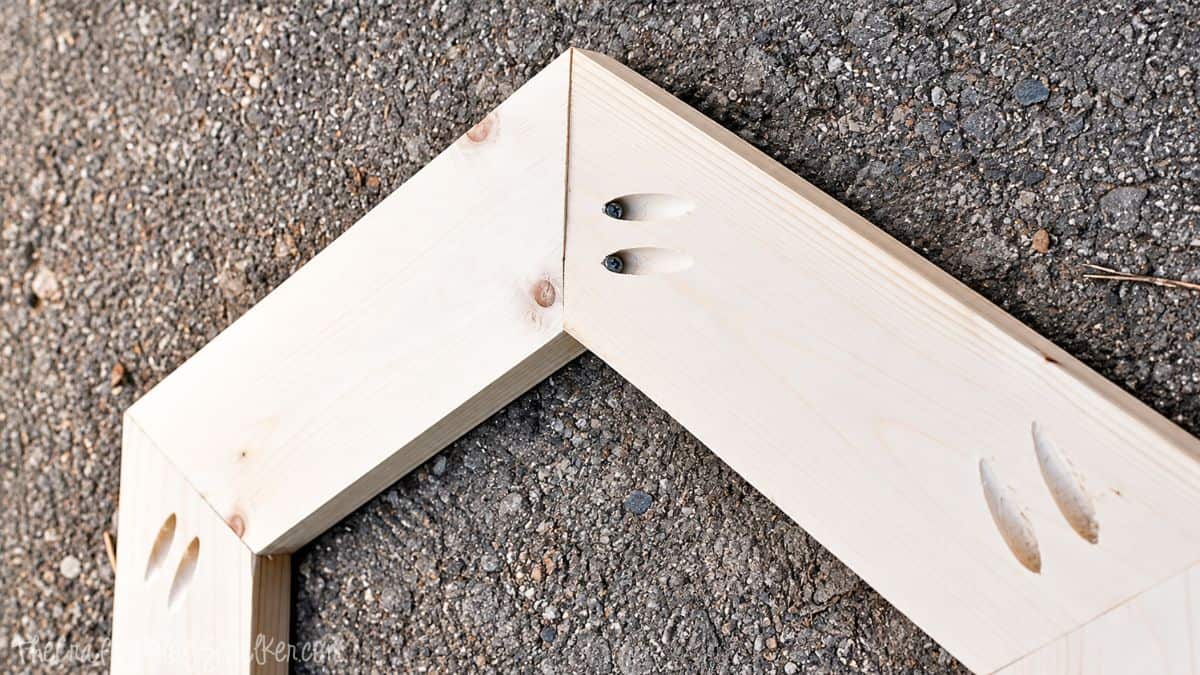
Gosh, I love pocket holes! They give the back a nice, clean connection while leaving the front ready for stain and all of the pretty fall decorations.
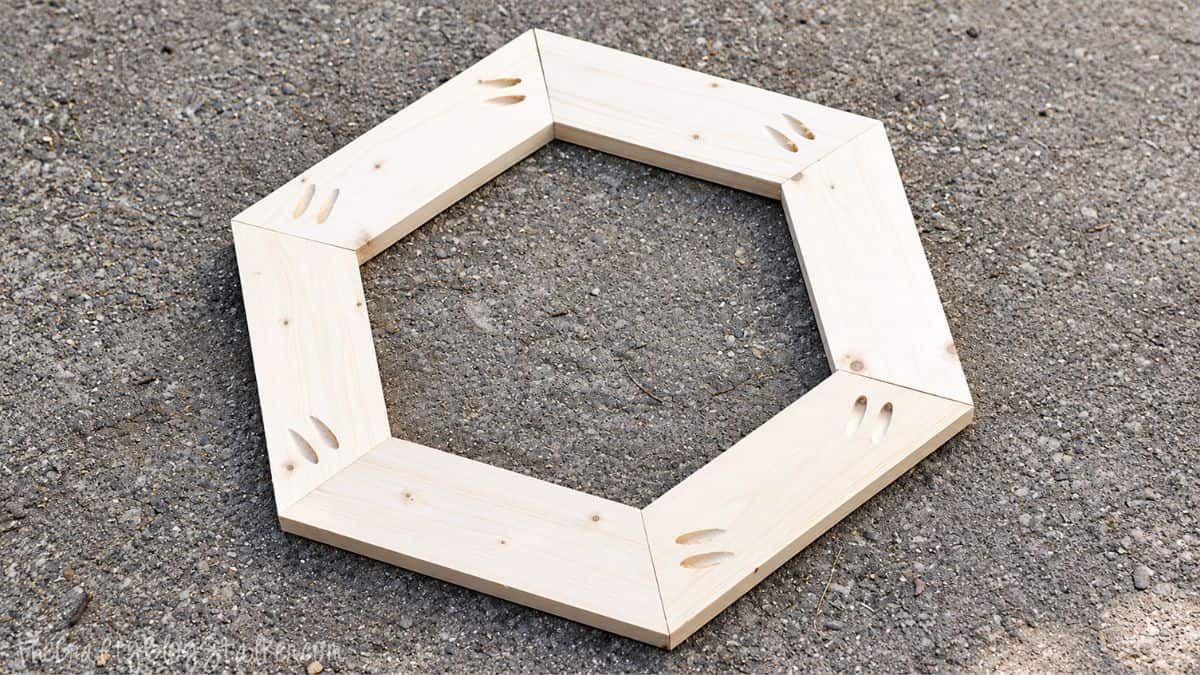
For the finish, I used two coats of Minwax Special Walnut Wood Stain. The darker stain brings out the wood grain and gives the wreath that warm, rustic look I wanted for my fall decor.
I didn't seal mine because, well, we all know how impatient I am. I was ready to decorate it and get it on the wall! If you plan to display yours outdoors, consider using a finish appropriate for your wood and the conditions where the wreath will hang.
The decorations are where you can really make this fall wreath your own. I used wheat grass and fall floral stems, then added flannel fabric around the arrangement to bring in more texture and, conveniently, hide the hot glue holding everything together.
I hung mine on the wall with white muslin and added a little chalkboard banner made with wooden pendants and twine. You could easily change the flowers, fabric, ribbon, or banner to coordinate with your own fall decor.
That's one of my favorite things about wreath making. Once you have the wooden hexagon base, you can decorate it differently each year or even switch it up for another season.
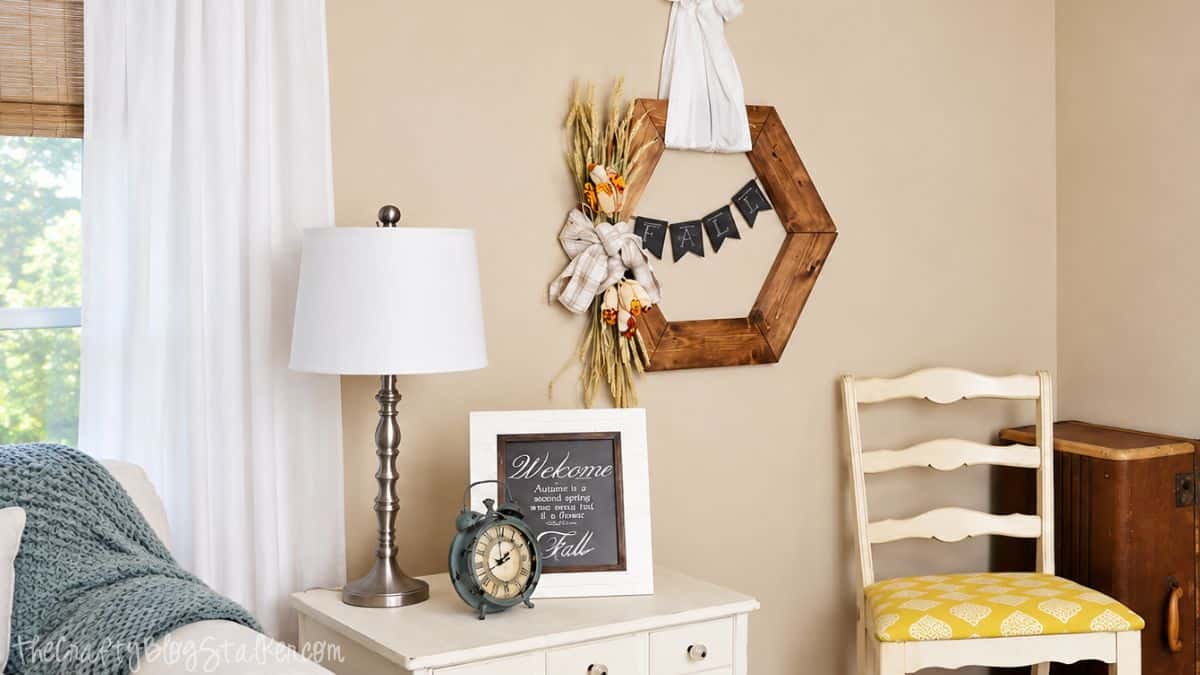
Frequently Asked Questions
For this six-sided wooden wreath, cut the ends of the wood pieces at 30-degree angles. Keeping the cuts consistent is important so all six pieces fit together properly.
The size will depend on the length of your wood pieces. For mine, each 1x4 measures approximately 11 inches along the longest side, which creates a fairly large statement wreath.
As close as possible. Small differences in length or angle can add up as you work around the hexagon and may leave a gap at the final joint.
I used a Kreg Pocket Hole Jig because it creates strong joints while keeping the screws on the back of the project. If you use a different joinery method, make sure it suits the wood and provides a secure connection.
I didn't seal mine because I displayed it indoors. If you're making your wreath for an exterior door or another area exposed to moisture and changing temperatures, choose a finish suitable for your wood and its intended location.
Absolutely! Wheat and fall florals give mine a rustic autumn look, but you can customize the greenery, flowers, fabric, ribbon, or banner. You could even keep the wooden base and update the decorations for different seasons.
Need help with this project?
Click a button below to ask AI what screws to use with the Kreg Pocket Hole Jig.
More Fall Wreaths
I love finding new ways to decorate a front door or an empty wall for fall, especially when I can make the decor myself.
Here are a few more wreath-making tutorials and fall wreath ideas to inspire your next project.
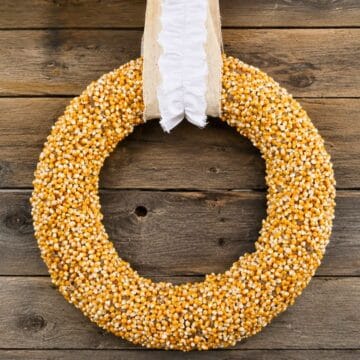
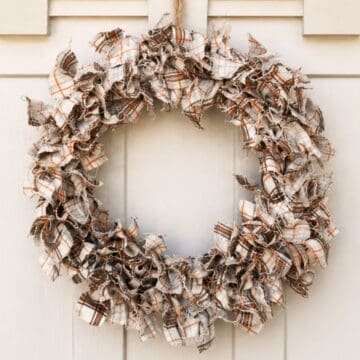
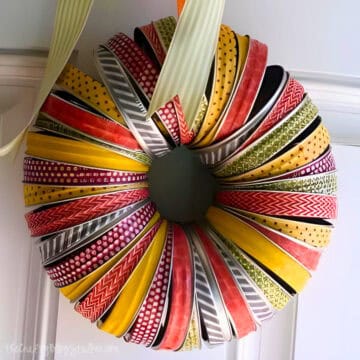
Hi, I'm Katie!
I'm so glad you're here. Want to make something fabulous? I'm here to help!
The post Hexagon Wooden Fall Wreath Tutorial appeared first on The Crafty Blog Stalker.
]]>The post 21 Popular Advent Calendars For Christmas 2026 appeared first on The Crafty Blog Stalker.
]]>
Counting down to Christmas is half the fun, and opening an advent calendar each day makes December feel even more special.
Whether you're a chocolate-before-breakfast kind of person or prefer little surprises like beauty products, toys, tea, or building sets, you'll find plenty of fun options for the 2026 holiday season.
I've gathered 21 advent calendars for kids, adults, and just about every interest, so you can find one that feels perfect for the recipient.
Pick your favorite, then enjoy having one little surprise to look forward to every day until Christmas!
How to Choose an Advent Calendar
The traditional advent calendar may have started with simple pictures or chocolates behind little doors, but today's versions come in just about every theme imaginable.
You can still find plenty of sweet treats, but you can also find calendars filled with beauty products, toys, collectibles, tea, puzzles, and hobby supplies.
When choosing one, think about who will be opening it and what they already enjoy. A child who loves building might be happiest with LEGO or MAGNA-TILES, while someone who loves a cozy cup of tea may appreciate a tea sampler much more than another box of chocolates.
Advent calendars can also make fun early Christmas gifts. Give one at the end of November so the recipient can begin the countdown on December 1 and enjoy it throughout the holiday season.
Christmas Advent Calendars

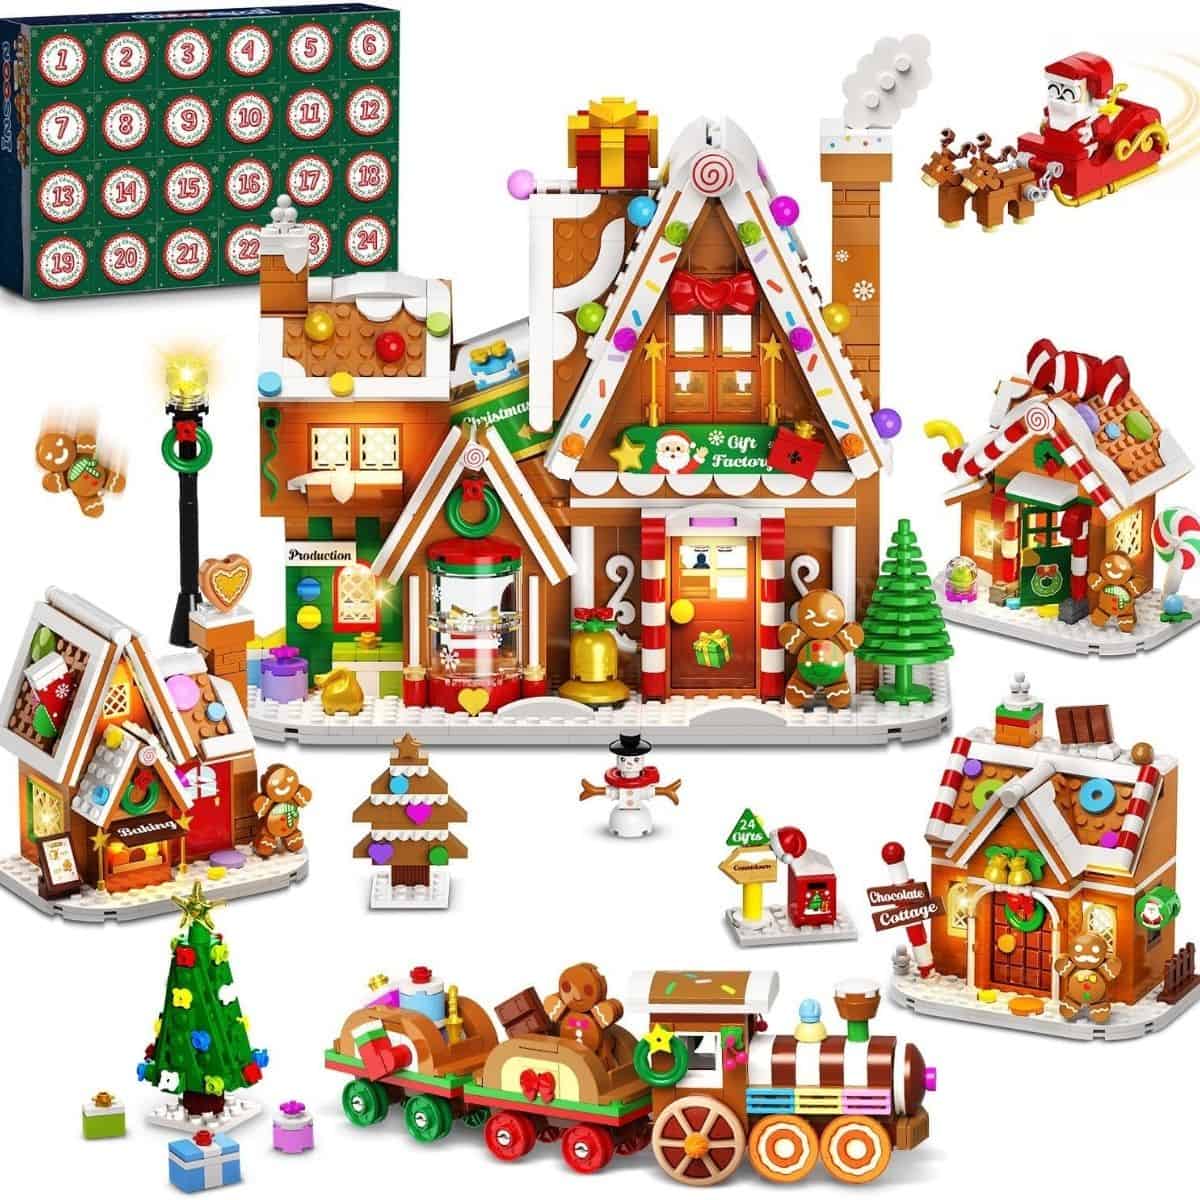
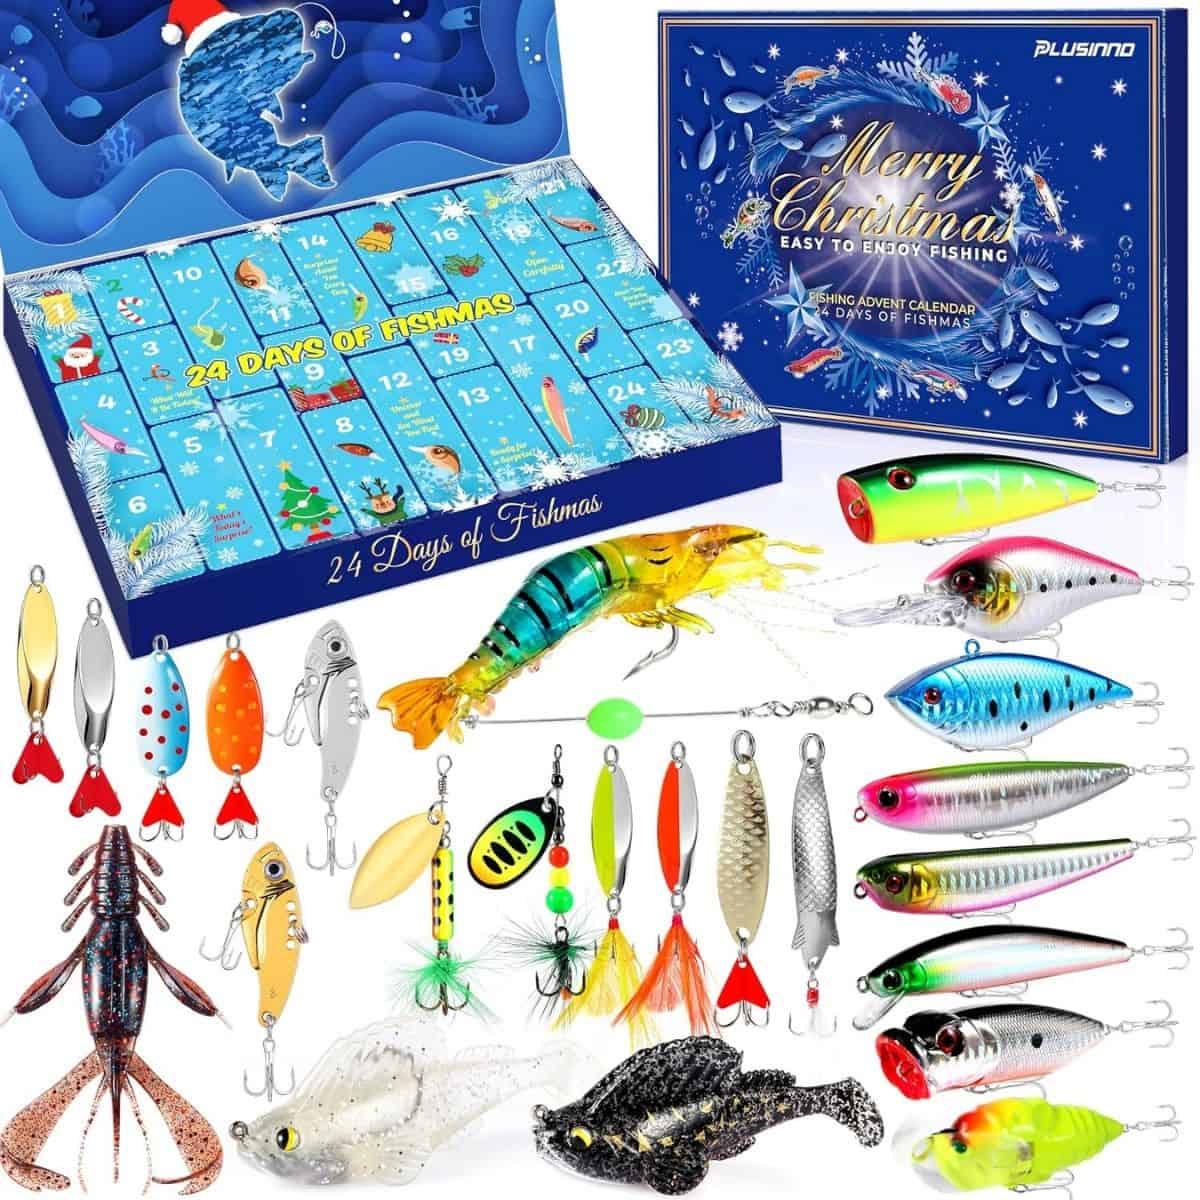
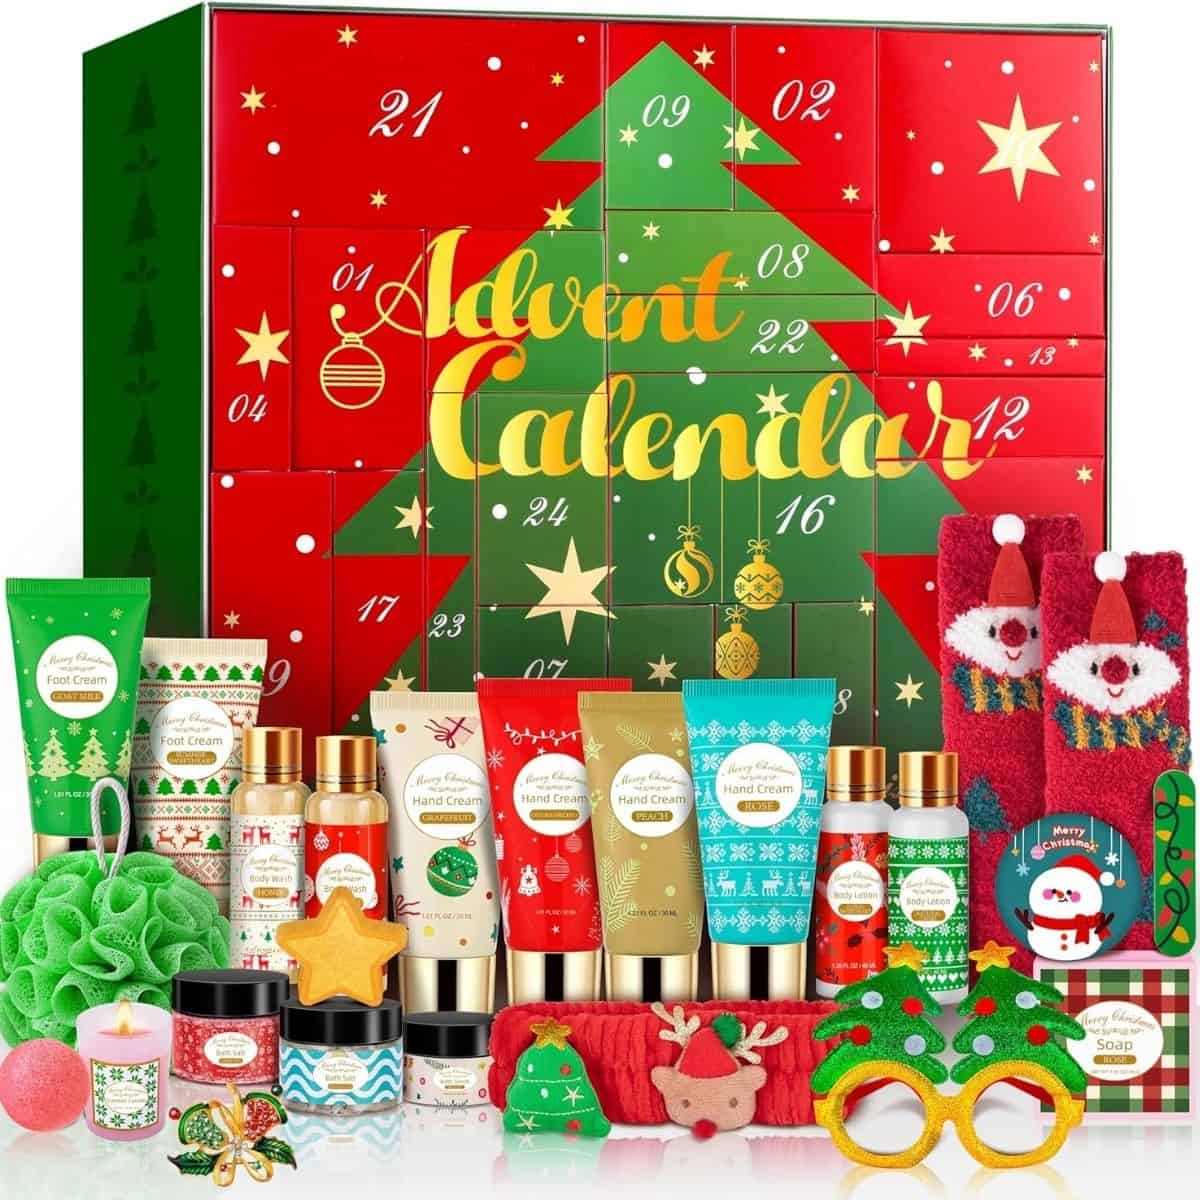
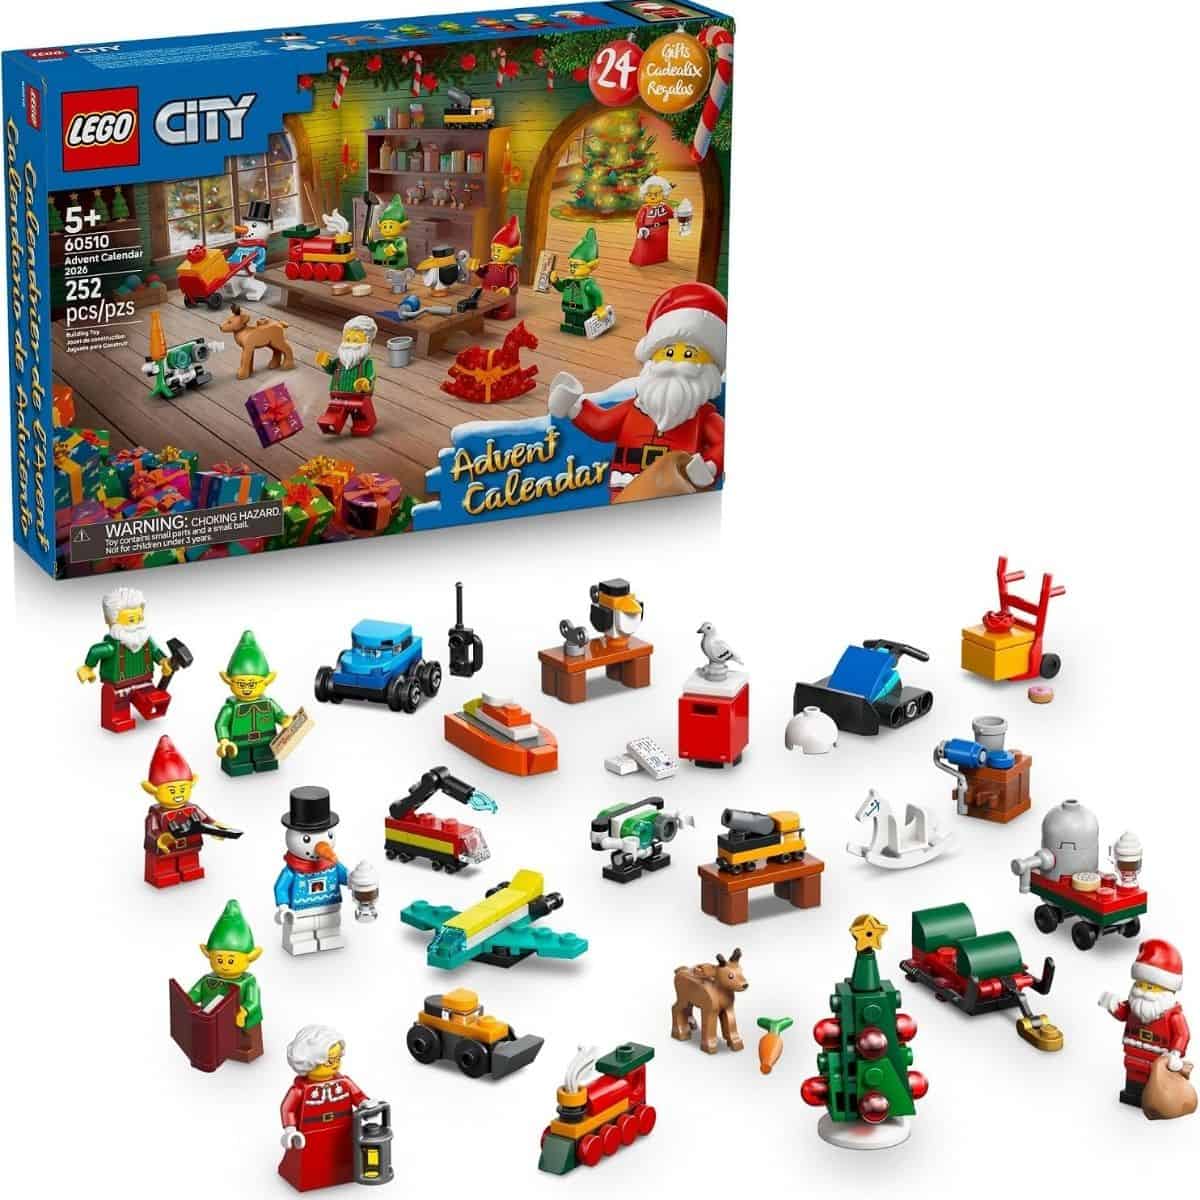
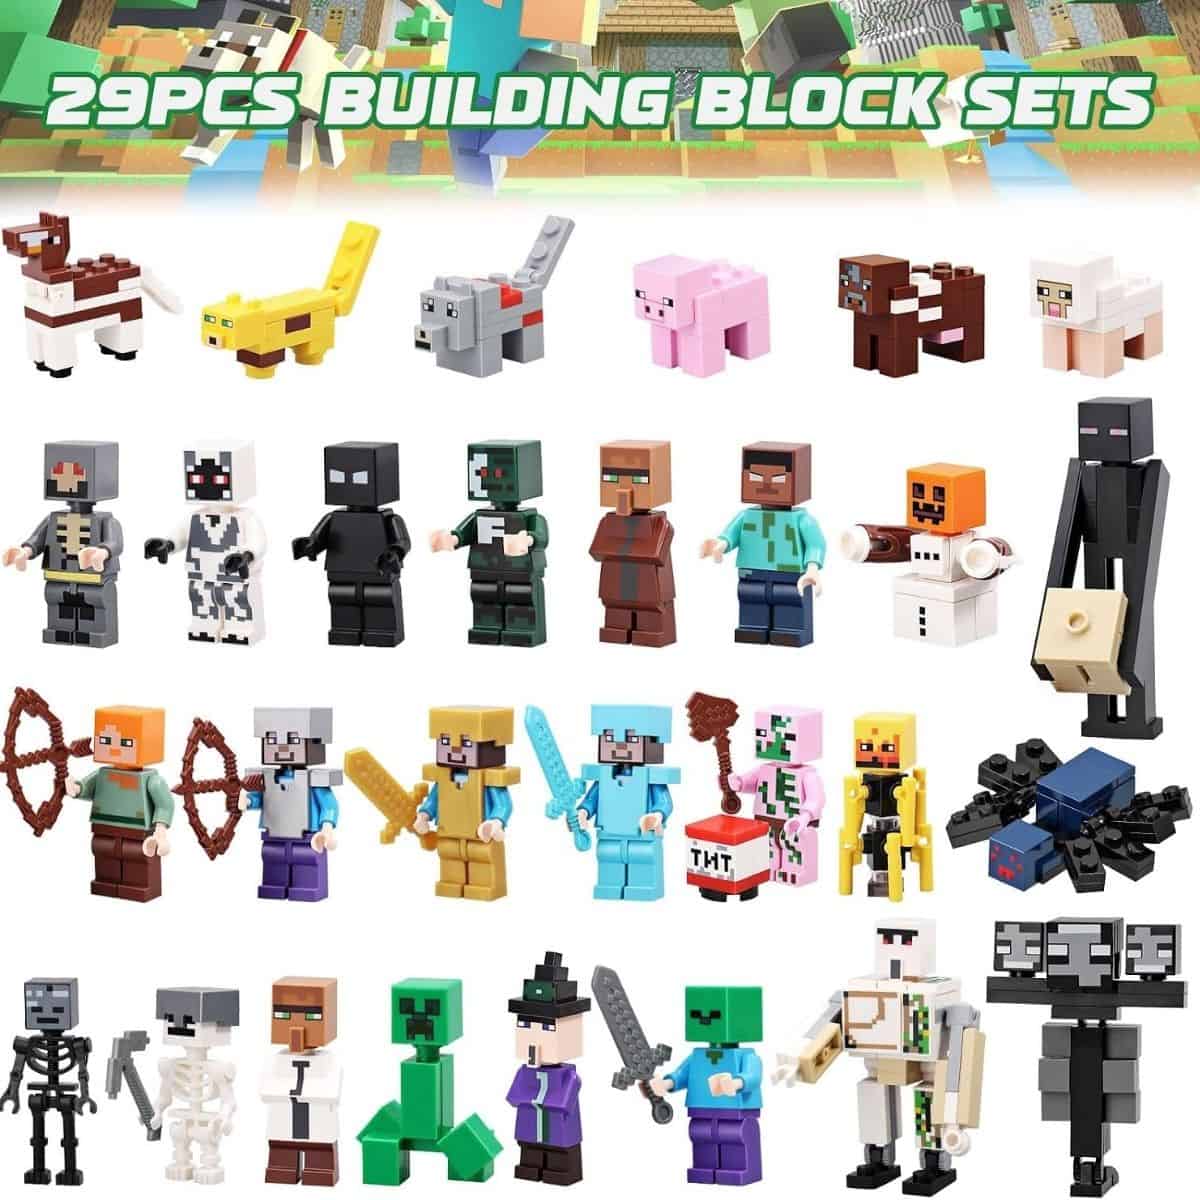
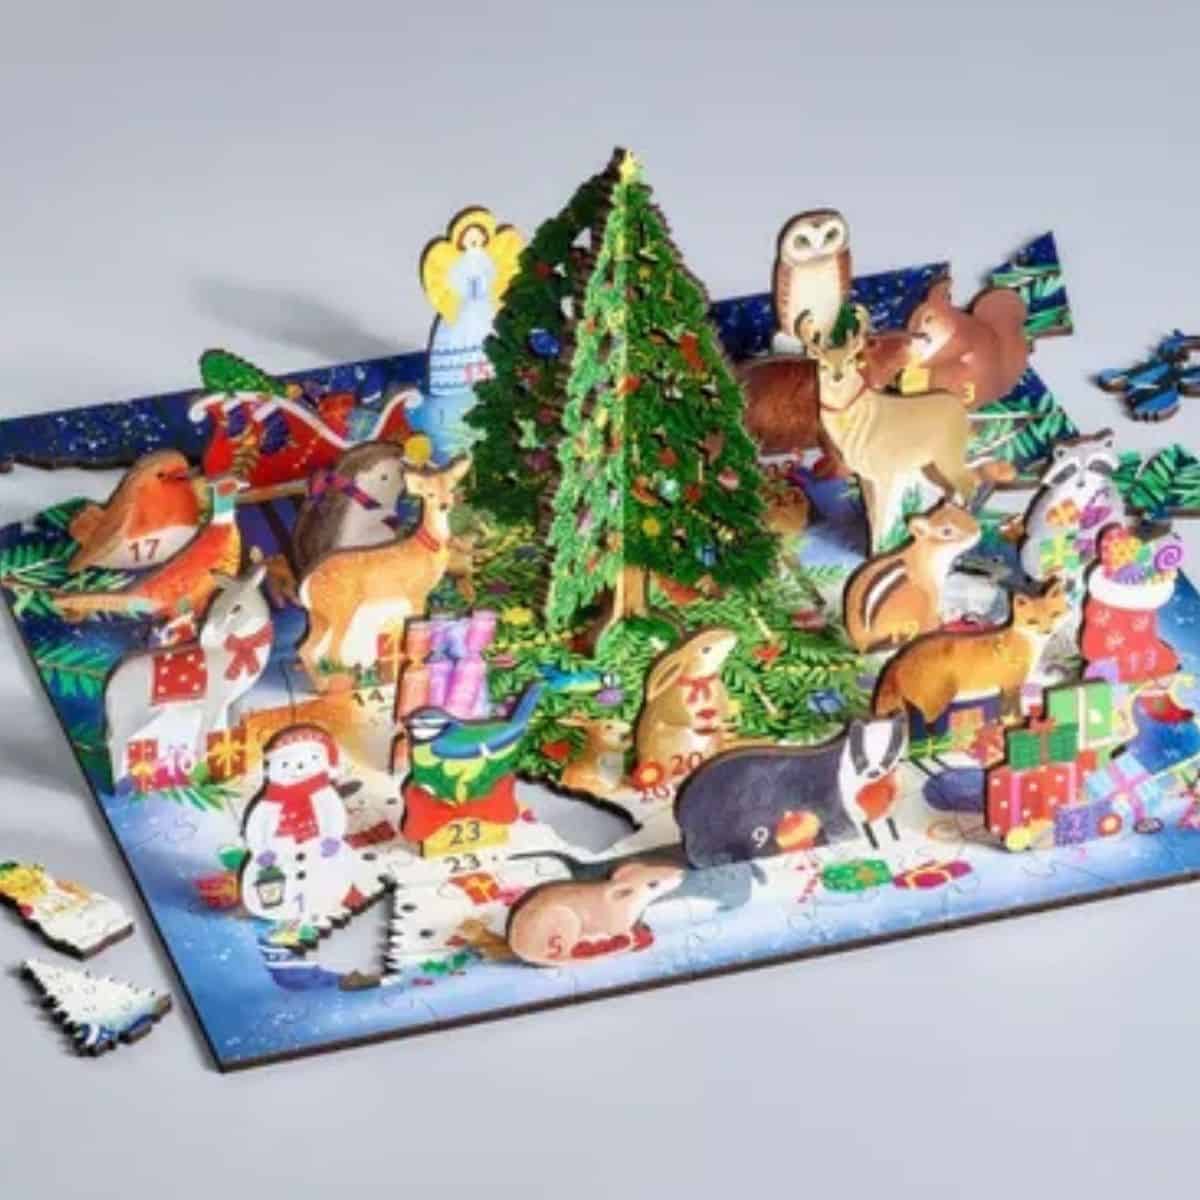
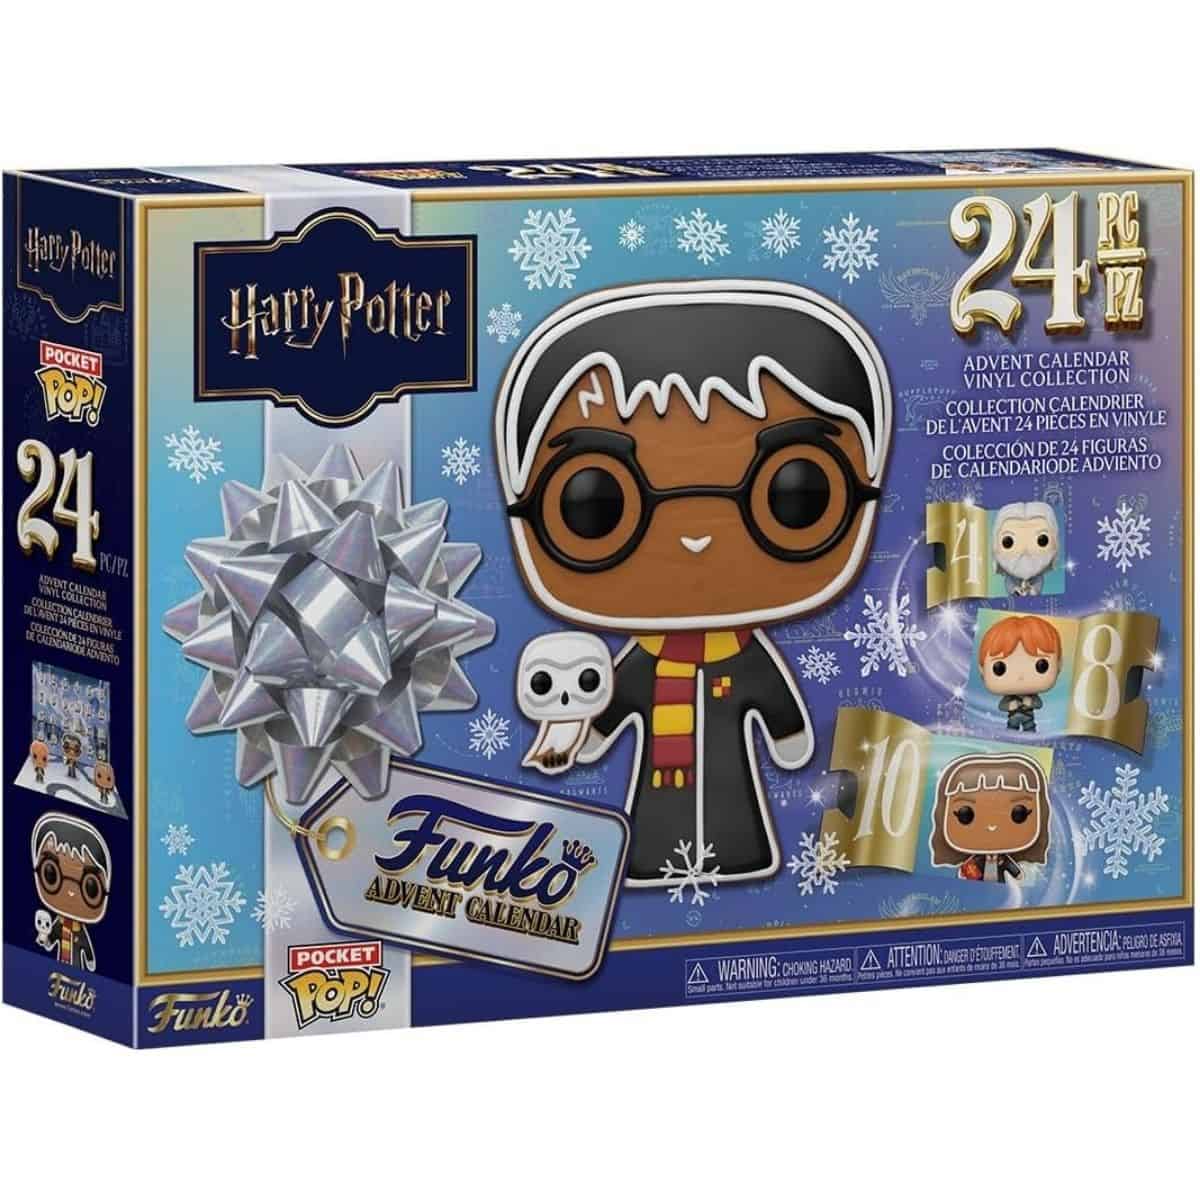


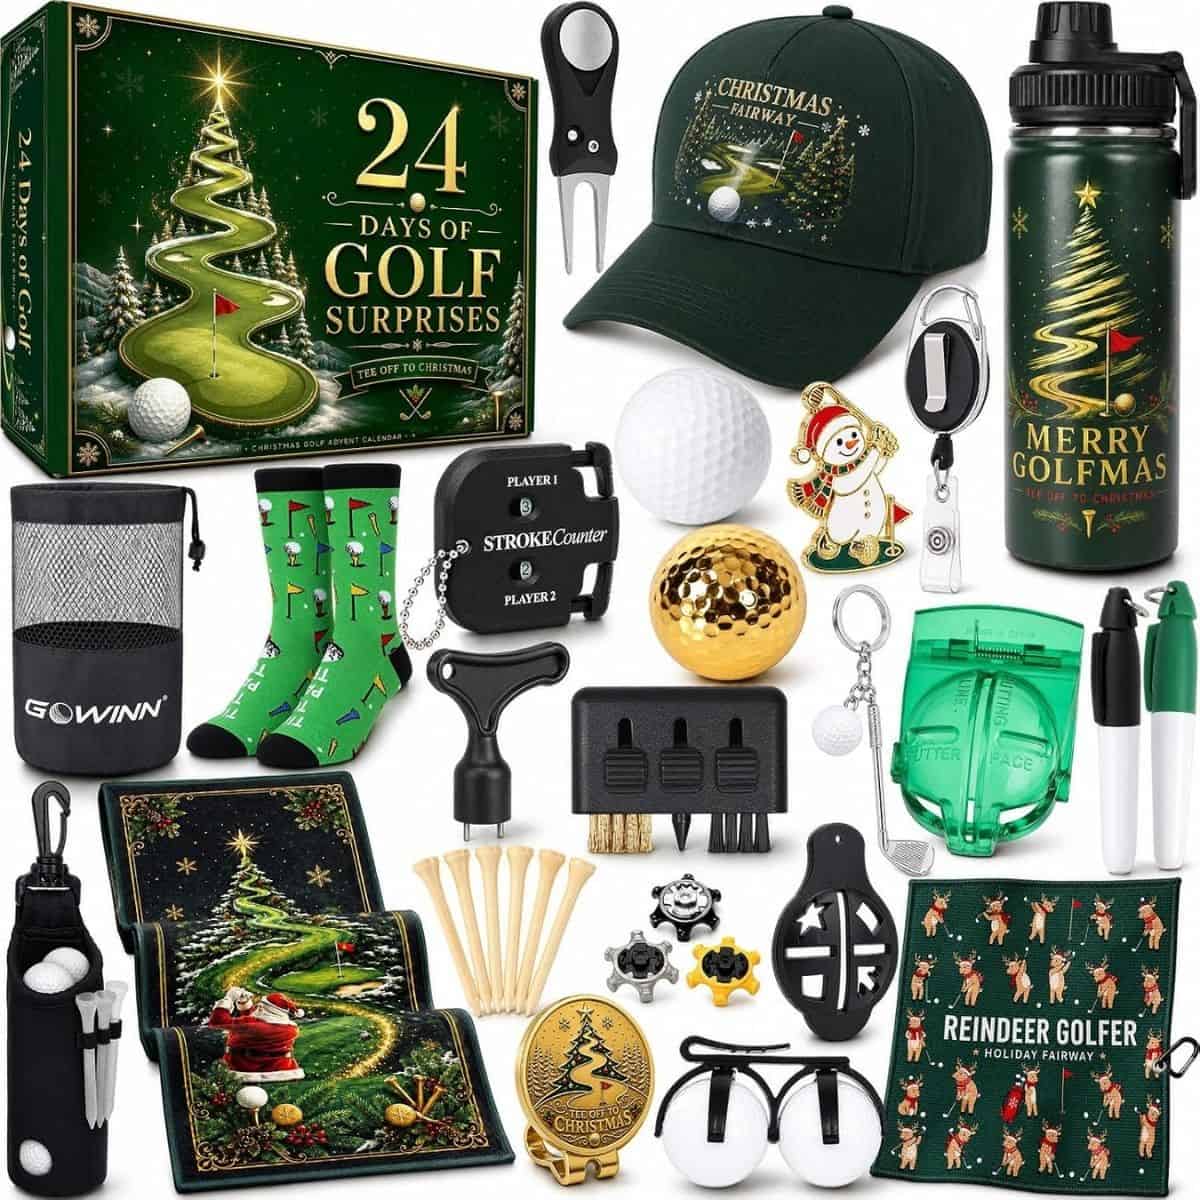
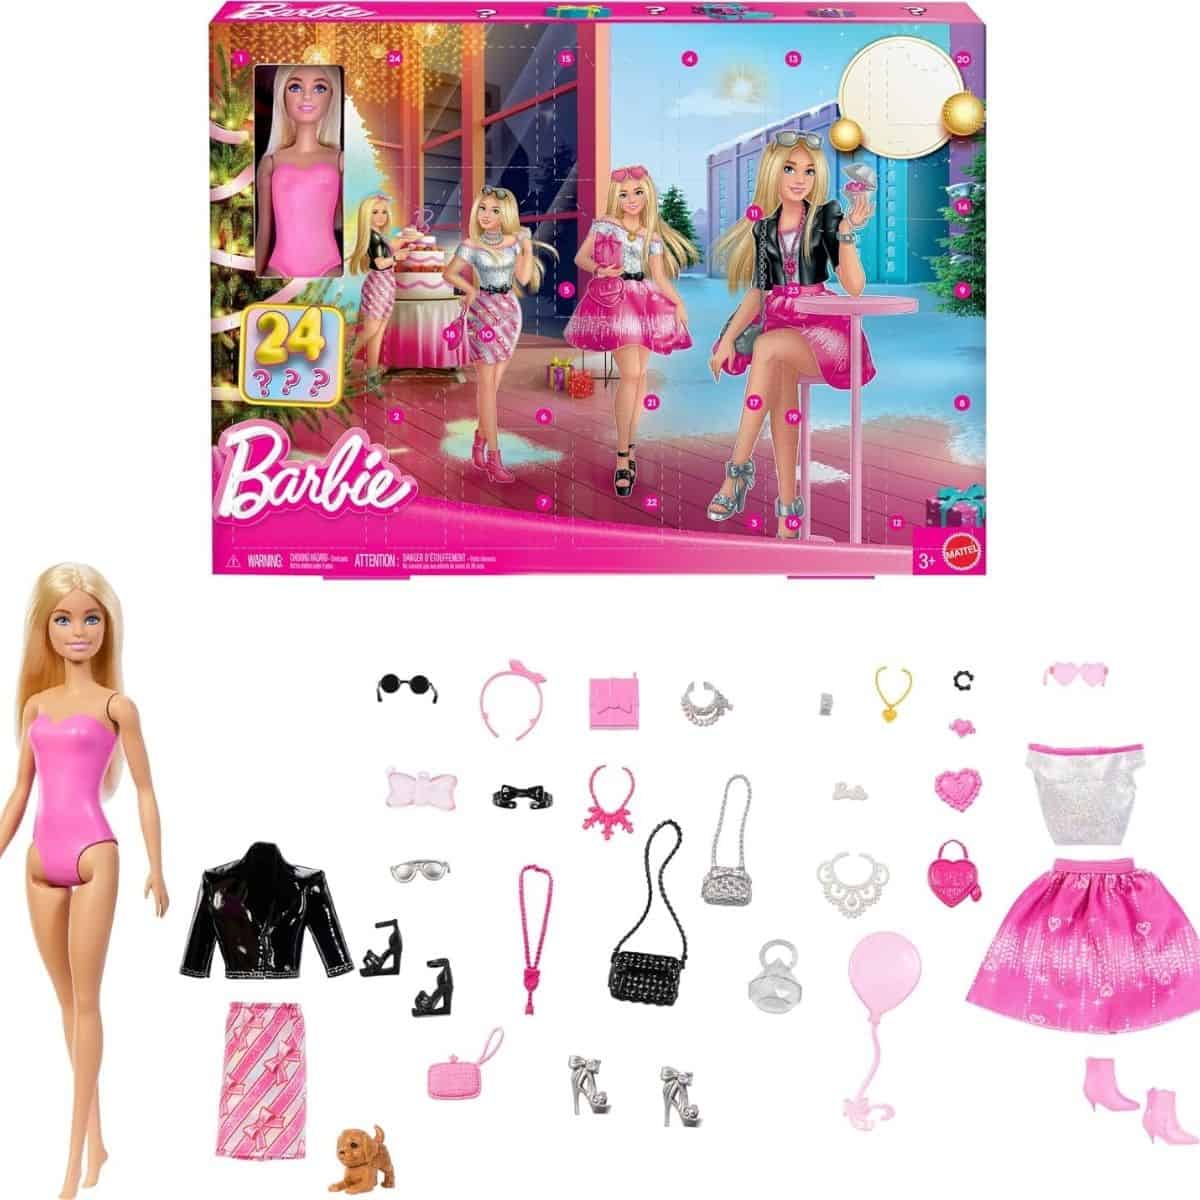


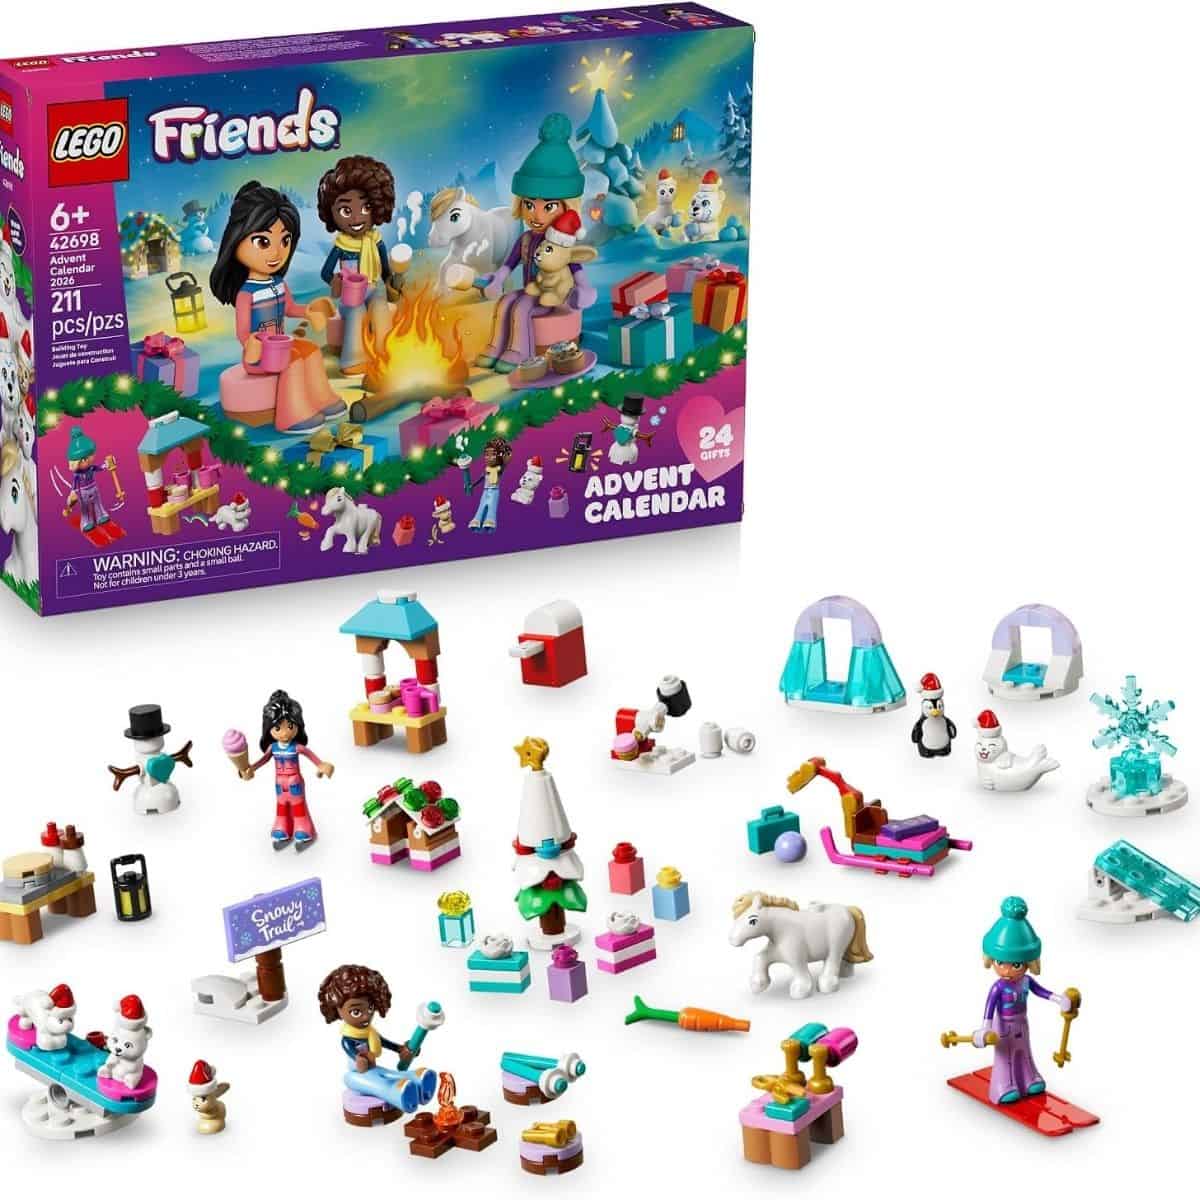

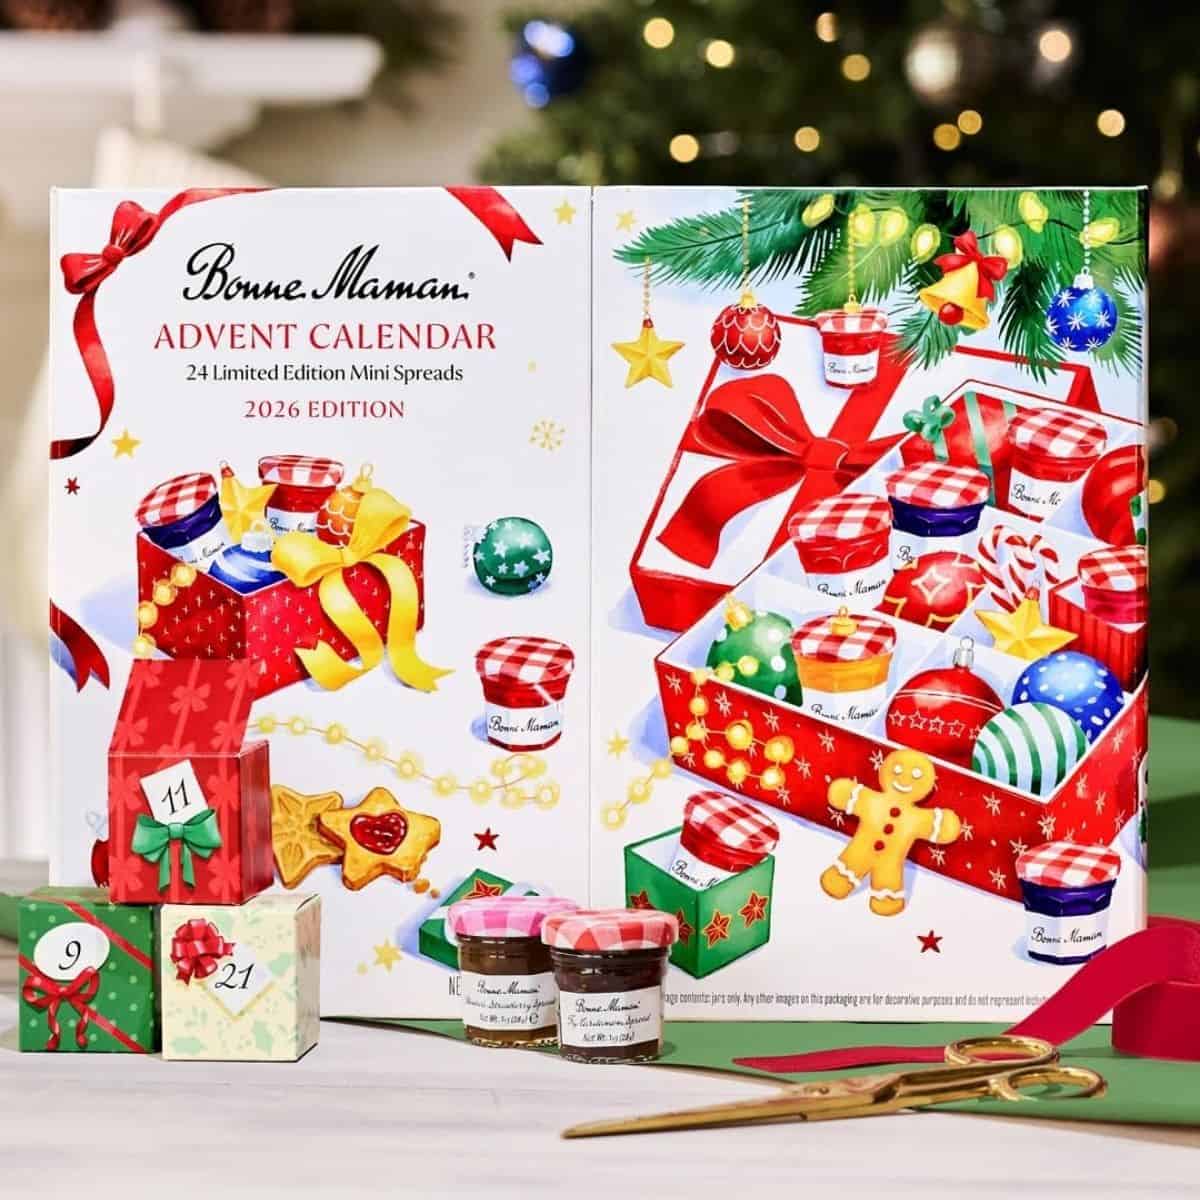
Advent Calendars for Kids and Adults
One thing I love about advent calendars is that they aren't just for kids anymore. Plenty of playful choices are out there for little ones, but adults can join the countdown with beauty, tea, food, fishing, golf, and collectible calendars too.
For kids, look for a theme that matches something they're already excited about, whether that's LEGO, Barbie, Bluey, Play-Doh, Disney, or superheroes. A calendar with pieces you can play with together after Christmas also helps the fun last longer than the countdown itself.
For adults, think of an advent calendar as 24 tiny gifts instead of one big present. Choosing something that matches the recipient's favorite hobby, treat, or daily routine makes each day's surprise feel a little more personal.
DIY Advent Ideas
Would you rather make your own advent calendar? A handmade version lets you choose every surprise, personalize it for the recipient, and turn the Christmas countdown into a tradition you can bring out year after year.
Here are a few of my favorite DIY advent ideas to help you get started!


Hi, I'm Katie!
I'm so glad you're here. Want to make something fabulous? I'm here to help!
The post 21 Popular Advent Calendars For Christmas 2026 appeared first on The Crafty Blog Stalker.
]]>The post How To Clean A Dryer Vent In 10 Minutes appeared first on The Crafty Blog Stalker.
]]>
When we bought our home, the dryer came with it, and we were thrilled until we realized every load seemed to take at least two cycles to dry.
We put up with it for way too long because the dryer still worked, and buying a new one felt unnecessary.
Once I finally took the time to clean the lint trap and the area underneath it, I couldn't believe what a difference such a simple job made.
If laundry day takes forever because your clothes aren't drying like they should, this quick cleaning job is a great place to start.
Supply List

The dryer vent cleaning kit I have is older than the one linked above, so it looks a little different in my pictures.
The newer kit has several attachments and an extra-long brush that's handy for reaching dust, lint, and debris in those awkward spaces around the dryer.
For this particular cleaning job, the narrow vacuum attachment is my favorite part of the kit because it can reach much farther into the lint trap opening than a regular vacuum hose.
How Often Should You Clean a Dryer Lint Trap?
The loose lint on the screen should be removed before or after every load of laundry. This keeps air moving through the lint trap and prevents all that fluffy lint from accumulating.
The lint screen itself can also collect residue over time, especially if you regularly use dryer sheets or fabric softener. Even when the screen looks clean, that residue can coat the mesh and restrict airflow.
For a deeper clean like the one I'm showing here, I clean the screen and vacuum the lint trap slot at least once a year. If you do a lot of laundry or notice clothes suddenly taking longer to dry, check it sooner.
This tutorial focuses on cleaning the removable lint screen and the compartment where it sits.
The dryer's exhaust vent and ductwork that carry air outside are separate areas that should also be inspected and cleaned as needed, especially if you suspect a clogged dryer vent.
Cleaning the Dryer Lint Screen
Here is my lint trap. You can judge me by how gross it is because it is bad. And yes, this is what it looked like after I removed the loose lint. EWWW!
I took it straight to the sink for a good cleaning.
When I turned on the water, I was surprised it wouldn't even pass through the mesh easily.
That was a pretty good clue that the screen had more buildup than I realized. A lint screen needs to allow air to pass through it, so a layer of residue covering that mesh isn't doing your dryer any favors.
My tool of choice for cleaning the screen is an old toothbrush. Mine is a freebie from the dentist, so no fancy equipment is required.
The small bristles work well to loosen residue and small pieces of lint caught in the mesh.
A small amount of dish soap also helps remove the film dryer sheets and fabric softener can leave behind.
I expected this part to require some serious scrubbing, but the buildup came off surprisingly easily.
The whole cleaning process only took me about 10 minutes.
Let the lint screen dry completely before putting it back into the dryer. Mine dried quickly, and the difference was pretty satisfying.
Oh my gosh, you can actually see through it!
Cleaning Inside the Lint Trap
Next, I tackled the compartment where the lint screen slides into the dryer.
It was difficult to get a good picture inside, but lint built up along the sides, and quite a bit of debris collected at the bottom.
This is exactly why I like using a dryer vent cleaning kit. A regular vacuum attachment is too large to reach very far into that narrow space.
The kit includes an attachment that connects to the end of the vacuum hose and creates a much smaller flexible hose. That narrow hose slides down into the lint trap compartment and reaches areas that are otherwise difficult to clean.
I moved the hose around inside the compartment to vacuum up as much loose lint, dust, and debris as possible.
It is so much easier than trying to fish everything out with a bent hanger or another makeshift tool.
When I finished, I could actually see the metal at the bottom again. It wasn't absolutely spotless, but it was so much better than where I started.
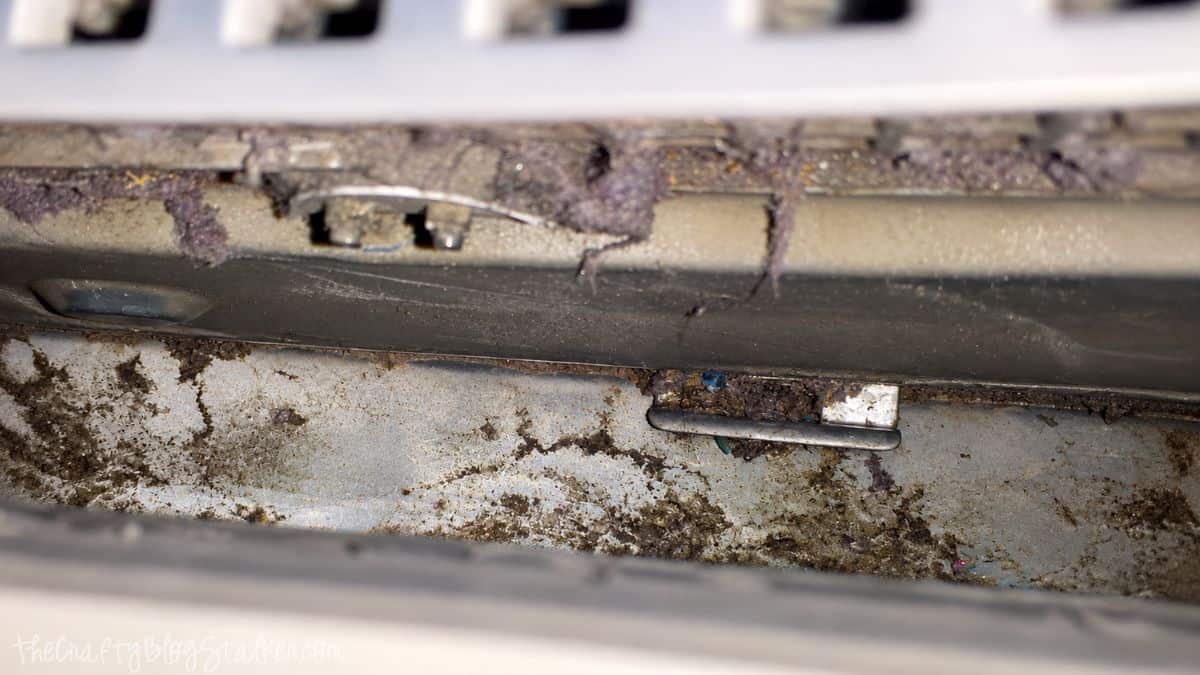
Cleaning the lint screen and the compartment underneath it made a noticeable difference for our dryer.
Clothes that had been taking multiple cycles were finally drying much more normally, which made me wish I had tried this simple fix a whole lot sooner.
If your dryer suddenly needs an extra cycle to finish a load, don't automatically assume you need a new appliance.
Checking for lint buildup and cleaning these areas is an easy place to start.
Frequently Asked Questions
There are several possible causes, but restricted airflow from lint buildup is one thing worth checking. Start with the lint screen and its compartment, and if the problem continues, the exhaust vent or another part of the dryer may need attention.
Remove the loose lint from the screen before or after every load. Keeping the screen clear helps maintain airflow while your clothes are drying.
Dryer sheets and fabric softener can leave a film on the mesh that doesn't come off when you peel away the lint. Washing the screen with a little dish soap can help remove that residue.
Try running a little water over the screen. If water pools on top instead of passing easily through the mesh, residue may have built up.
Not quite. This tutorial cleans the lint screen and the compartment where the screen sits inside the dryer. The exhaust vent and ductwork that lead from the dryer to the outside of your home are separate and may require additional cleaning.
Clothes taking longer than usual to dry, loads needing multiple cycles, or a noticeable drop in drying performance can indicate an airflow problem. Lint buildup is one possible cause, but you should investigate ongoing problems rather than simply adding more drying time.
You can still clean the lint screen, but any work involving moving a gas dryer, disconnecting it, or accessing the exhaust vent should follow the manufacturer's instructions and appropriate gas appliance safety precautions.
Need help with this project?
Click a button below to ask AI what to use if I don't have a dryer vent cleaning kit.
More Cleaning Ideas
There is always something around the house that could use a good cleaning. Here are a few more helpful cleaning ideas to save for your next productive day.
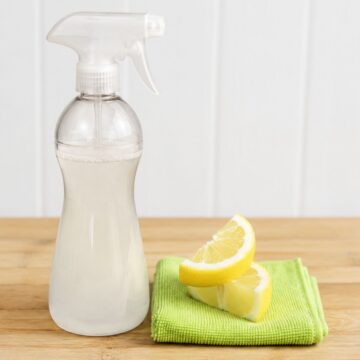
Hi, I'm Katie!
I'm so glad you're here. Want to make something fabulous? I'm here to help!
The post How To Clean A Dryer Vent In 10 Minutes appeared first on The Crafty Blog Stalker.
]]>The post Easy Pumpkin Spice Mug Cake Recipe appeared first on The Crafty Blog Stalker.
]]>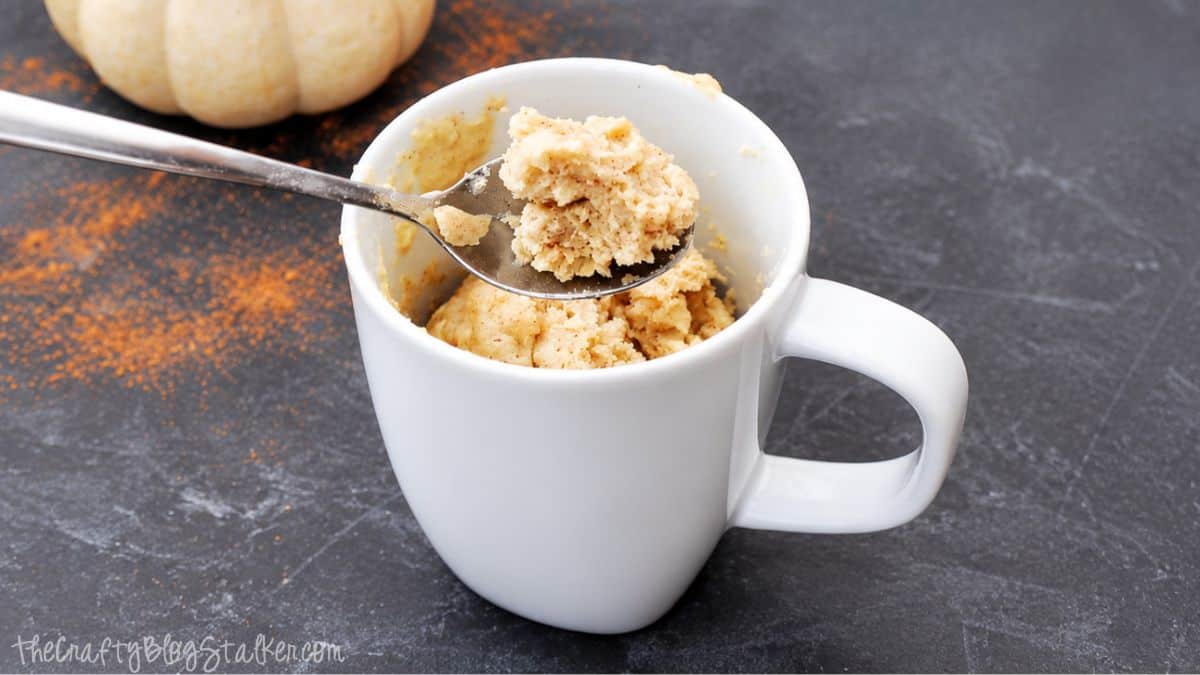
Pumpkin season is always a big deal around here, and my daughter and I definitely share a slightly ridiculous love for anything pumpkin-flavored.
This pumpkin spice mug cake came to life one afternoon while I was sipping coffee with pumpkin spice creamer and decided I needed that same cozy flavor in cake form.
You can use your favorite store-bought creamer, or make my homemade pumpkin spice coffee creamer if you want to make it extra special.
It's a quick, single-serving dessert that comes together in minutes, so grab your favorite mug and let's make some pumpkin goodness!
Ingredients
See the recipe card below for measurements and instructions.
- All-Purpose Flour
- Granulated Sugar
- Baking Powder
- Pumpkin Pie Spice
- Egg
- Pumpkin Spice Coffee Creamer
- Vegetable Oil
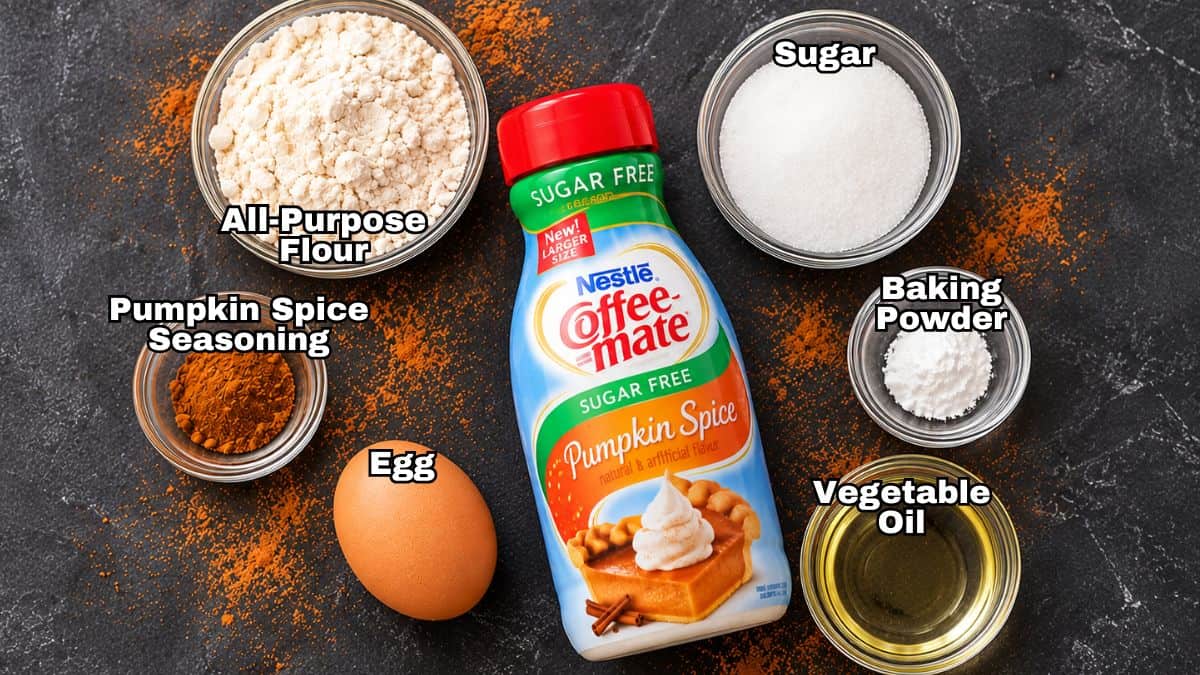
Why You'll Love This Recipe
Mug cakes are perfect for those times when your sweet tooth wants cake, but the rest of you has absolutely no interest in baking an entire one.
Everything comes together in a microwave-safe mug, so you get a warm dessert without pulling out a cake pan or creating a sink full of dirty dishes.
Another thing I love about this pumpkin mug cake is how easy it is to keep the ingredients on hand. Flour, baking powder, spices, an egg, oil, and coffee creamer are all you need when that pumpkin cake craving suddenly hits.

Pumpkin Spice Mug Cake
Equipment
Ingredients
- 5 Tablespoons All-Purpose Flour
- 4 Tablespoons Sugar optional
- ⅛ Teaspoon Baking Powder
- ¼ Teaspoon Pumpkin Spice Seasoning
- 1 Egg
- 4 Tablespoons Nestle Pumpkin Spice Coffee Creamer I used sugar free
- 2 Tablespoons Vegetable Oil
Instructions
- Add the flour, sugar, baking powder, pumpkin pie spice, egg, coffee creamer, and oil to an extra-large microwave-safe mug.
- Whisk the ingredients together with a fork until well combined and no dry pockets remain.
- Microwave on high for 1 minute 30 seconds.
- Check the cake for doneness. If needed, continue microwaving in 15-second intervals until cooked through.
- Let the mug cake cool slightly before serving. Enjoy warm.
Notes
Nutrition
Tips for the Best Mug Cake
Choose an extra-large microwave-safe mug rather than a standard coffee cup. The cake rises as it cooks, and the extra room helps keep the batter safely inside the mug instead of all over your microwave.
The cake will be very moist when it first finishes cooking, so give it a moment to cool before deciding it needs more time. It will continue to set and thicken as it cools, and overcooking can quickly turn a soft mug cake dry.
Microwaves vary quite a bit in power, so cooking time may differ slightly in your kitchen. Start with the time listed in the recipe card, then add additional time only if needed.
The sugar is also optional. If your pumpkin spice coffee creamer is already sweetened, you may find that the cake has plenty of sweetness without the additional tablespoons of sugar. If you're using a sugar-free creamer or simply like a sweeter dessert, you can add it.
Serving Ideas
This pumpkin spice mug cake is delicious warm straight from the mug, which is usually how I eat it. That's half the fun of a mug cake!
For a little something extra, add a spoonful of whipped cream and a light sprinkle of pumpkin pie spice. A small scoop of vanilla ice cream would also be pretty amazing as it melts into the warm cake.
And since coffee inspired the whole recipe in the first place, I think a hot cup of coffee alongside it is pretty much perfect. It's an easy little fall dessert when you want something cozy without making a full batch of cookies or a whole cake.
Frequently Asked Questions
No. This recipe gets its pumpkin flavor from pumpkin spice coffee creamer and pumpkin pie spice, so you don't need to open a can of pumpkin puree.
The cake will be quite moist when it first comes out of the microwave and will firm up as it cools. Give it a moment before adding more cooking time so you don't accidentally overcook it.
Yes. The sugar is optional, especially if you're using a sweetened pumpkin spice creamer. If you're using sugar-free creamer, you may prefer the additional sweetness.
An extra-large microwave-safe mug is best. The batter needs room to rise while cooking, and using a larger mug reduces the chance of it overflowing.
You can, but the finished cake won't have as much pumpkin spice flavor. Since the flavored creamer provides part of the flavor in this recipe, replacing it will change the overall taste.
It was most likely cooked a little too long. Microwave wattage varies, and even an extra 15 or 30 seconds can affect the texture of a single-serving cake. Cook only until the cake is set, then let it finish firming up as it cools.
Need help with this project?
Click a button below to ask AI how to know when my mug cake is done.
More Easy Pumpkin Recipes
If pumpkin season is your favorite too, here are a few more easy pumpkin recipes to add to your fall baking list. Because apparently there is no such thing as too much pumpkin spice.


Hi, I'm Katie!
I'm so glad you're here. Want to make something fabulous? I'm here to help!
The post Easy Pumpkin Spice Mug Cake Recipe appeared first on The Crafty Blog Stalker.
]]>The post Candy Turkey Treats with Free SVG appeared first on The Crafty Blog Stalker.
]]>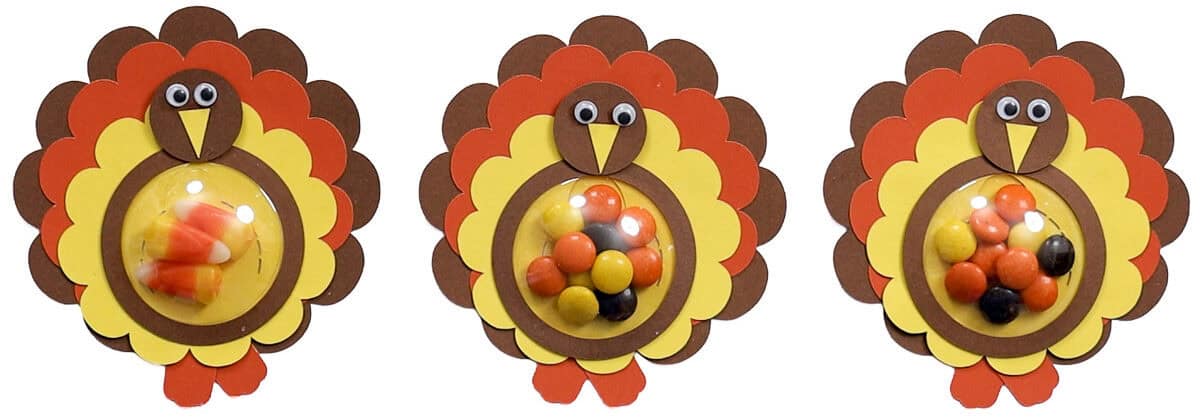
Thanksgiving will be here before we know it, and I'm already looking forward to the wild, crazy, and very loud time we always have with family.
With 46 people on my side of the family, there's never a dull moment, even when we can't all be together in one place.
This year, I'm hoping to lock in my spot as the favorite aunt with these adorable turkey treats filled with candy and made with my free SVG.
They're easy to make with your Cricut and perfect for kids, nieces, nephews, friends, or anyone who deserves a little Thanksgiving surprise!
Skill Level: Beginner
Estimated Cost: $2-$3 each
Total Time: 20 minutes
Craft Tutorial Video
If videos are your thing, you're in luck-I've got a full tutorial ready for you!
Subscribe to my YouTube channel and stay inspired with every new project.
Supply List
- Cricut Cutting Machine
- Turkey Treats SVG
- StandardGrip Mat
- Brown, Orange, and Yellow Cardstock
- Wiggly Eyes
- Plastic Shaker Domes
- Glue
- Adhesive Foam Tape
- Food Safe Gloves
- Candy
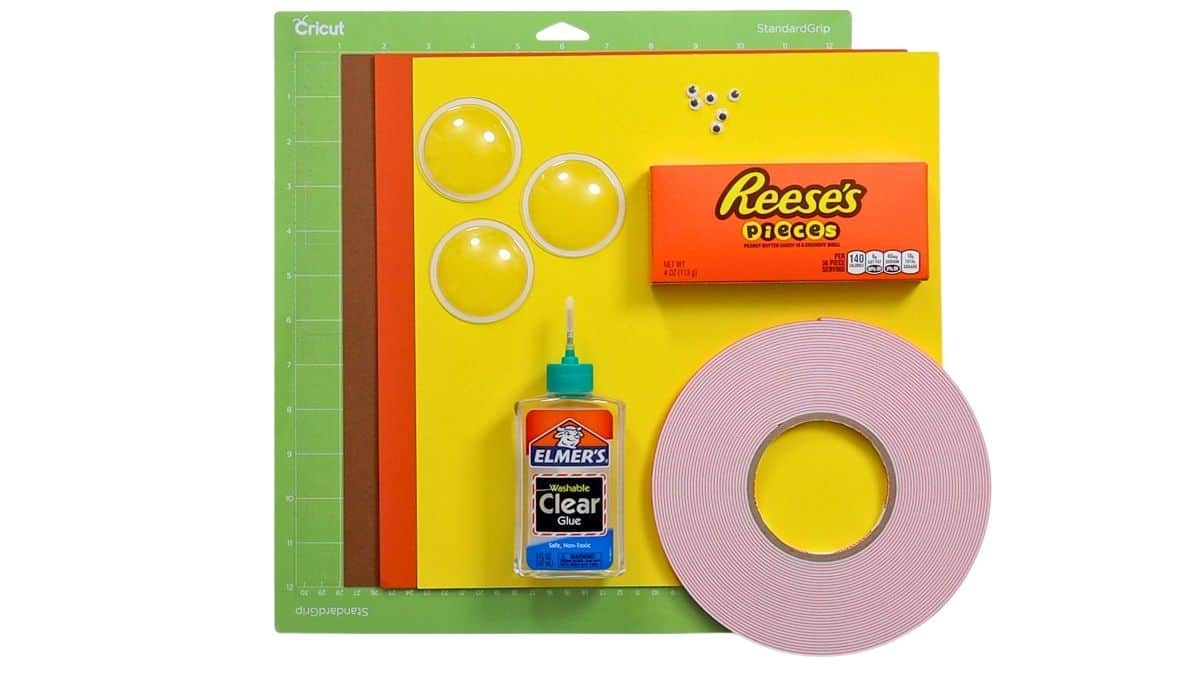
Grab the Free SVG
The Turkey Treats SVG includes everything you need to cut the layered paper pieces for this cute little candy turkey.
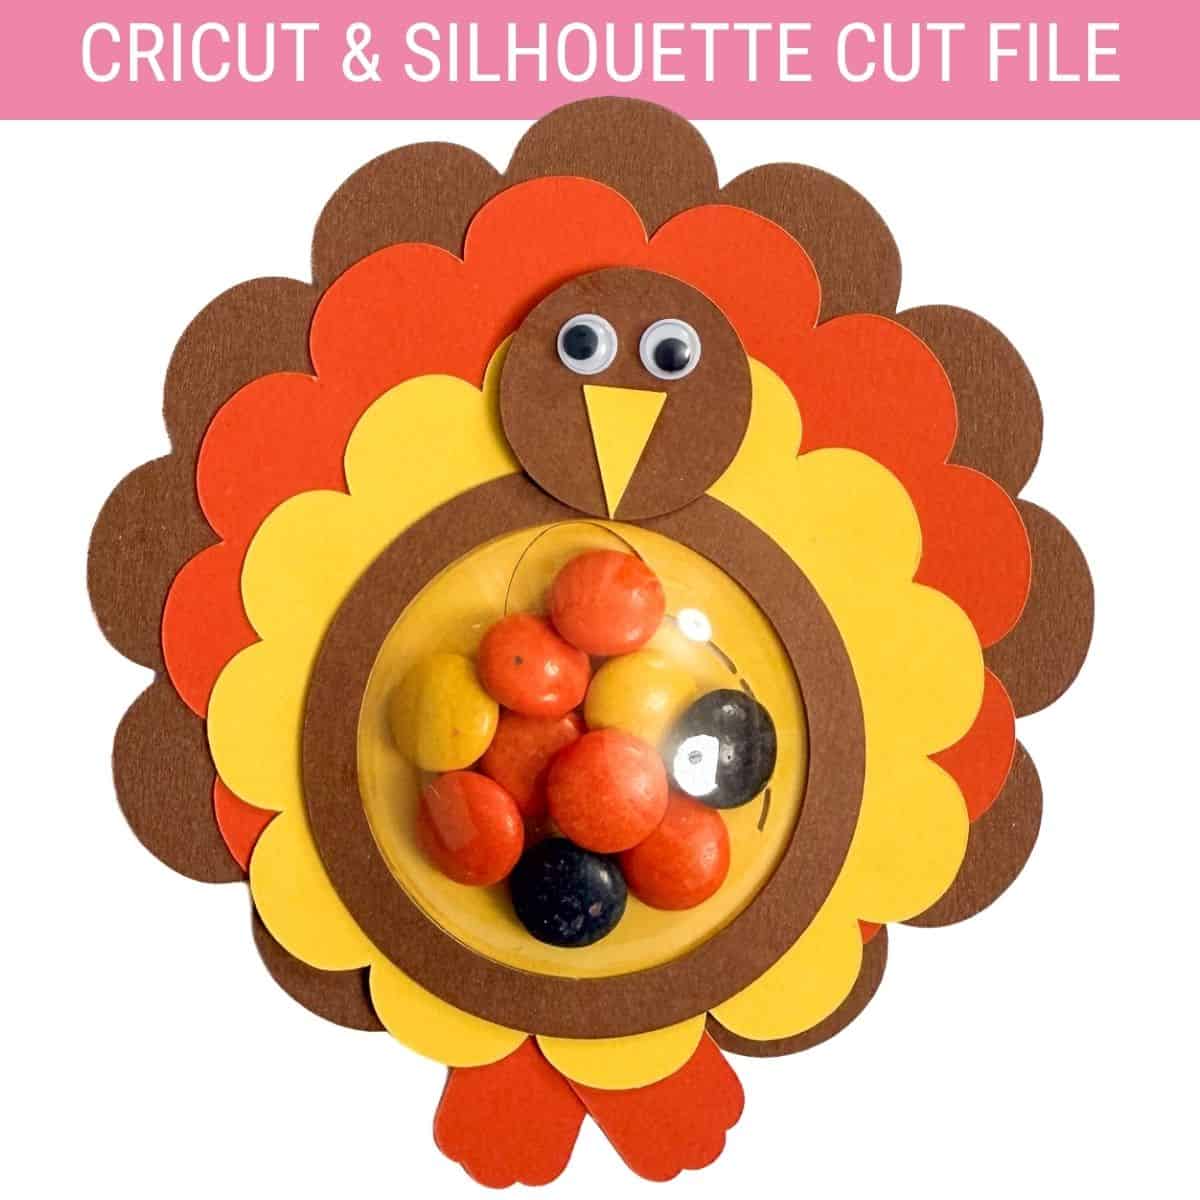
Cricut Design Space
Upload the Turkey Treats SVG into Cricut Design Space and add it to your canvas.
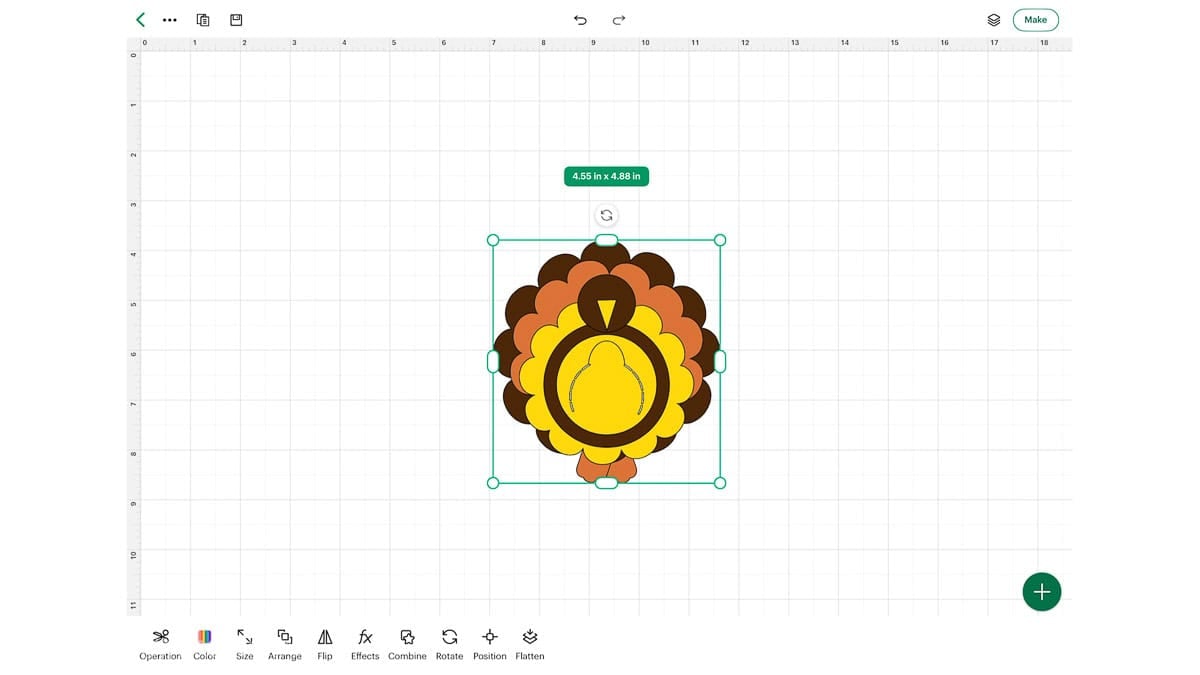
The SVG is already sized to fit the plastic shaker domes I used, so you won't need to resize anything if you're using the same ones from the supply list.
If your domes are a different size, you can easily adjust the design in Cricut Design Space.
Open the shapes and add a circle to the canvas. Change the circle's measurement to the diameter of your circle cups.
Resize the Turkey Treat design, keeping everything grouped so the feathers, face, opening, and other pieces stay in proportion.
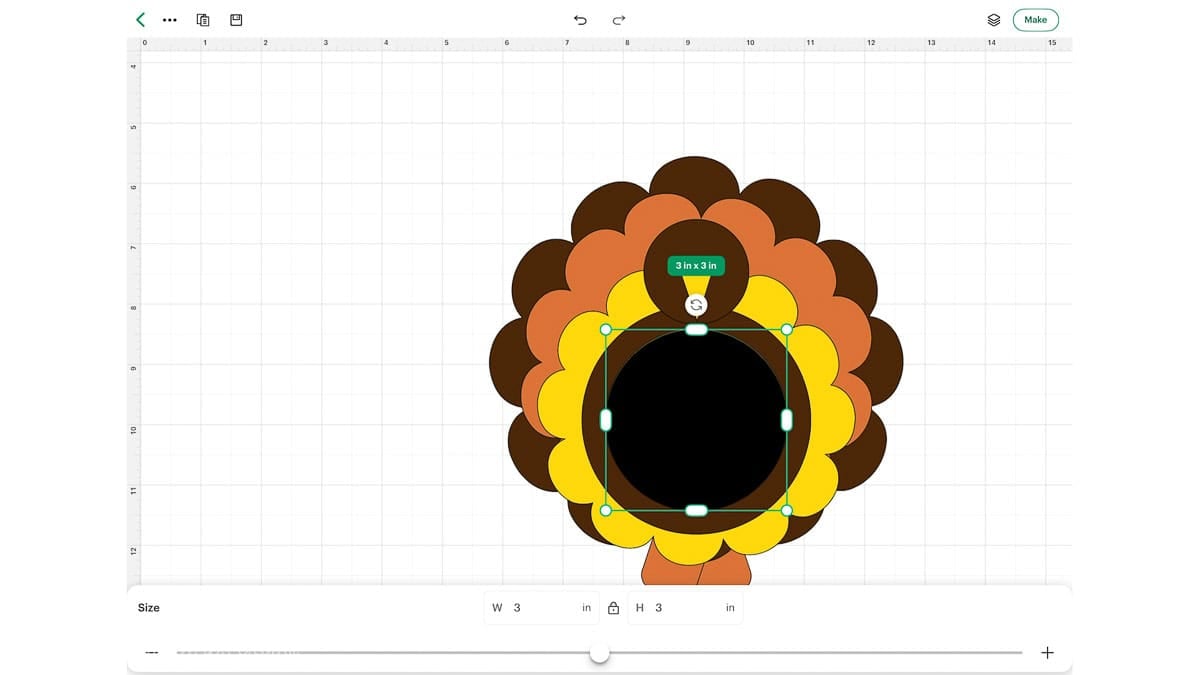
The next screen is the Mat Preview.
I wanted to make three turkey treats, so I clicked the mat icon in the top left corner and changed the project copies to 3.
This automatically adjusts the mats to cut three, so I don't have to duplicate while on the canvas screen.
Select Cardstock as the material. Then I like to choose More Pressure and Remember Material Settings, but this is just personal preference.
Apply the cardstock to the StandardGrip Mat, load it, and click the Start button when it begins to blink to start the cut.
Watch Cricut Design Space, as it will tell you which cardstock color to load next.
Assembling Turkey Treats
This project has quite a few small cardstock pieces, so it helps to keep everything together once it comes off the cutting mat.
Lay out the pieces for one turkey before assembling anything so you can easily see how the colors and layers work together.
I use two types of adhesive for these turkey treats.
Regular glue works well for assembling the cardstock layers, while adhesive foam tape gives the turkey's face a little dimension and helps it stand out from the candy-filled dome.
To start, apply a dot of glue to the back top of each foot, then place it on the bottom of the thin side of the brown layer. Don't go past the open hole.
Apply glue to the back of the orange layer, and place it on top of the brown layer, aligning the center hole.
If your shaker domes have a protective plastic layer, remove it before putting everything together.
It can be surprisingly easy to miss, especially when you're making several turkeys at once.
Since the candy is going directly into the shaker dome, I also recommend wearing food-safe gloves anytime you're handling it. That way, the treats stay clean and ready to give.
Pour a little bit of candy onto the plastic shaker domes.
Before sealing the candy inside, make sure the dome isn't too full. You want the candy to move around a little and the dome to sit flat.
If the dome feels overfilled, simply remove a few pieces.
My shaker domes have an adhesive strip around the edge. Use a weeding tool to remove that strip.
Place the yellow layer on top of the cup, making sure the pullout tab is in the shaker dome area.
Then turn over and press around the edged to adhere the dome to the paper.
Apply glue around the back edge of the yellow layer, keeping the pull tab in the circle of the other layers.
Apply a line of glue around the circle brown border layer and place it on top of the shaker dome. This should hide that plastic edge.
Last is the cute turkey face. Glue the beak and wiggly eyes onto the smaller brown circle to create the turkey face.
In this last step, use the adhesive foam tape. Cut a small strip and place it on the back of the turkey face.
Then center the face at the top of the turkey treat. He is so cute!
What Candy Works Best?
You can fill the shaker domes with all kinds of candy, but smaller pieces definitely work best. You want enough candy inside to make the turkey look full without packing the dome so tightly that the pieces can't move.
I really like Reese's Pieces for this project because the brown, orange, and yellow colors are perfect for Thanksgiving. M&M's would also work well and come in plenty of colors if you want your turkey treats to look a little brighter.
Candy corn is another cute option, especially if you want classic fall colors. I tried it and loved the way it looked, but only three pieces fit inside my dome because candy corn is quite a bit larger.
These would be adorable waiting at each place setting for Thanksgiving dinner, tucked into a little gift for neighbors, or handed out to kids as a Thanksgiving treat.
They're small enough to make several at once but still feel like a special handmade surprise.
Frequently Asked Questions
Absolutely. Reese's Pieces, M&M's, and other small candies work especially well because you can fit several pieces inside the shaker dome. Candy corn works too, but you won't fit as many pieces.
No. You can use a different size, but you'll need to resize the SVG so the opening fits your dome. Resize the entire grouped design rather than changing individual pieces so everything stays in proportion.
Yes, and that's how I prefer to make them. Change the number of project copies in Cricut Design Space before cutting so the mats are automatically arranged for multiple turkeys.
There may be too much candy inside. Remove a few pieces and test it again before sealing the dome to the cardstock.
A medium-weight cardstock works well because it is sturdy enough to hold its shape while still cutting cleanly with a Cricut. You can also change the cardstock colors to give your turkeys a completely different look.
The SVG includes a pull tab on the back of the turkey. This gives the recipient access to the candy without pulling apart all those cute paper layers.
Need help with this project?
Click a button below to ask AI how to resize the SVG for my shaker dome.
More Cricut Crafts with Free SVG
Find even more fun Cricut crafts with free SVGs to download and use for your next creative project.
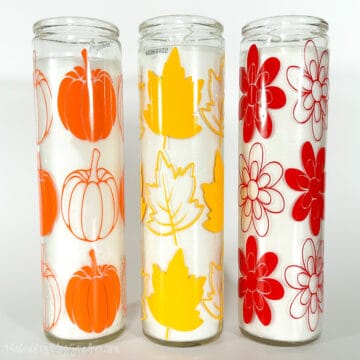
Hi, I'm Katie!
I'm so glad you're here. Want to make something fabulous? I'm here to help!
The post Candy Turkey Treats with Free SVG appeared first on The Crafty Blog Stalker.
]]>The post 16 Christmas Gifts in Jars appeared first on The Crafty Blog Stalker.
]]>
There's something extra fun about turning a simple jar into a cute homemade gift, especially when you can fill it with almost anything.
These Christmas gifts in jars are perfect for neighbors, coworkers, teachers, friends, or any family member you want to surprise with a little holiday cheer.
I love that you can tuck in treats, a gift card, money, or a small surprise and make each jar feel completely different.
I've gathered 16 of my favorite jar gift ideas to make your Christmas gift-giving a little easier and a lot more fun!
Gifts in Jars
One reason I love jar gifts is how easy they are to personalize for the recipient. Fill a glass jar with something delicious, turn it into a cute Christmas character, or layer the dry ingredients for a recipe they can make later.
They also work for just about everyone on your Christmas list. Below are ideas for teachers and colleagues, homemade gifts for friends and neighbors, and fun treats kids will love too.
Visit the linked website for the complete tutorial, recipe, or instructions for each project.
1. Elf Jar from The Crafty Blog Stalker
Turn a mason jar into a cute Christmas elf and fill it with candy, a gift card, or a small surprise for an easy homemade gift.
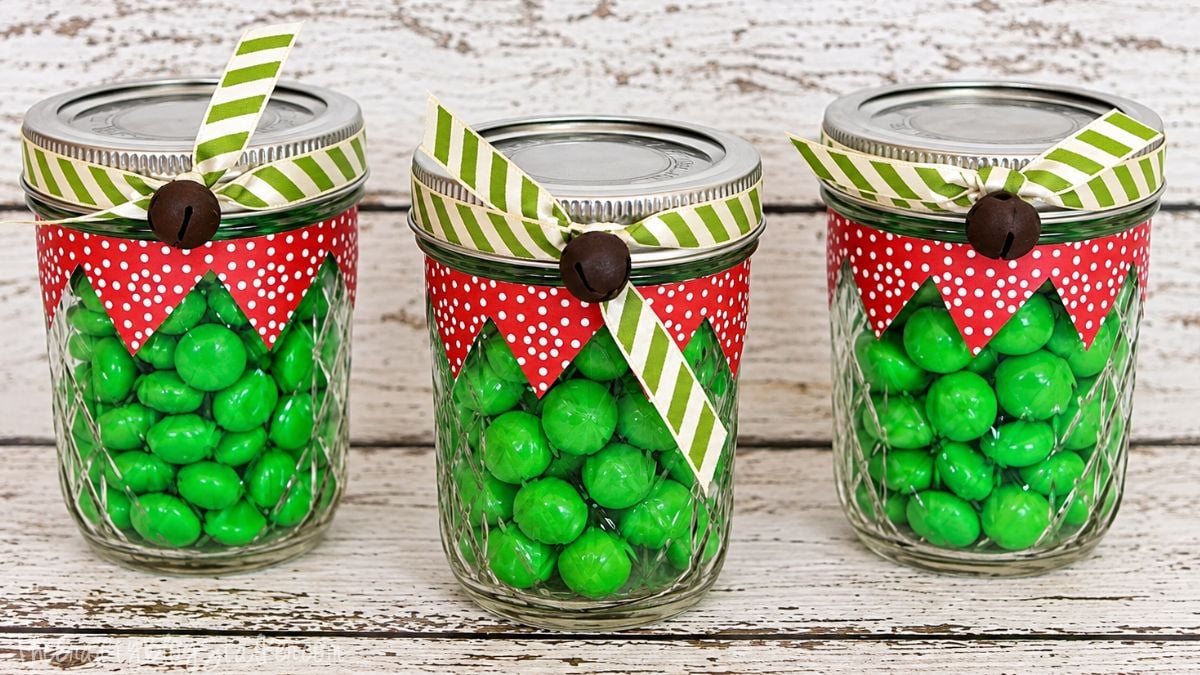
2. Christmas Potpourri Homemade Gift from The Crafty Blog Stalker
Fill a jar with oranges, cranberries, cinnamon, and rosemary to create a beautiful homemade gift filled with cozy Christmas scents.

3. Santa Mason Jar from The Crafty Blog Stalker
Turn a mason jar into Santa and fill it with candy or small treats for a festive homemade Christmas gift that's almost too cute to give.

4. Gift Desserts in a Jar from The Crafty Blog Stalker
Layer brownies and creamy chocolate filling in individual jars for a delicious homemade dessert that's perfect for Christmas gift-giving.

5. Mason Jar Snow Globe from The Crafty Blog Stalker
Turn a mason jar into a snowy Christmas scene with this handmade snow globe that's fun to personalize and display year after year.
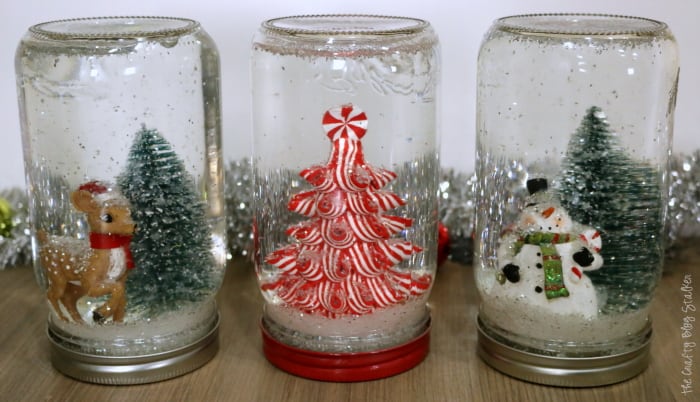
6. Peppermint Scrub from The Crafty Blog Stalker
Make peppermint sugar scrub and package it in a cute jar for a festive homemade Christmas gift that smells as good as it looks.

7. Mason Jar Gift Card Holders from The Crafty Blog Stalker
Make a gift card feel more special by tucking it inside a decorated mason jar finished with festive fabric, twine, and a handmade tag.

8. Chocolate Brownie Trifle Jar Gift from The Crafty Blog Stalker
Layer brownies and creamy chocolate filling in a glass jar for a delicious homemade Christmas gift that's ready to share.
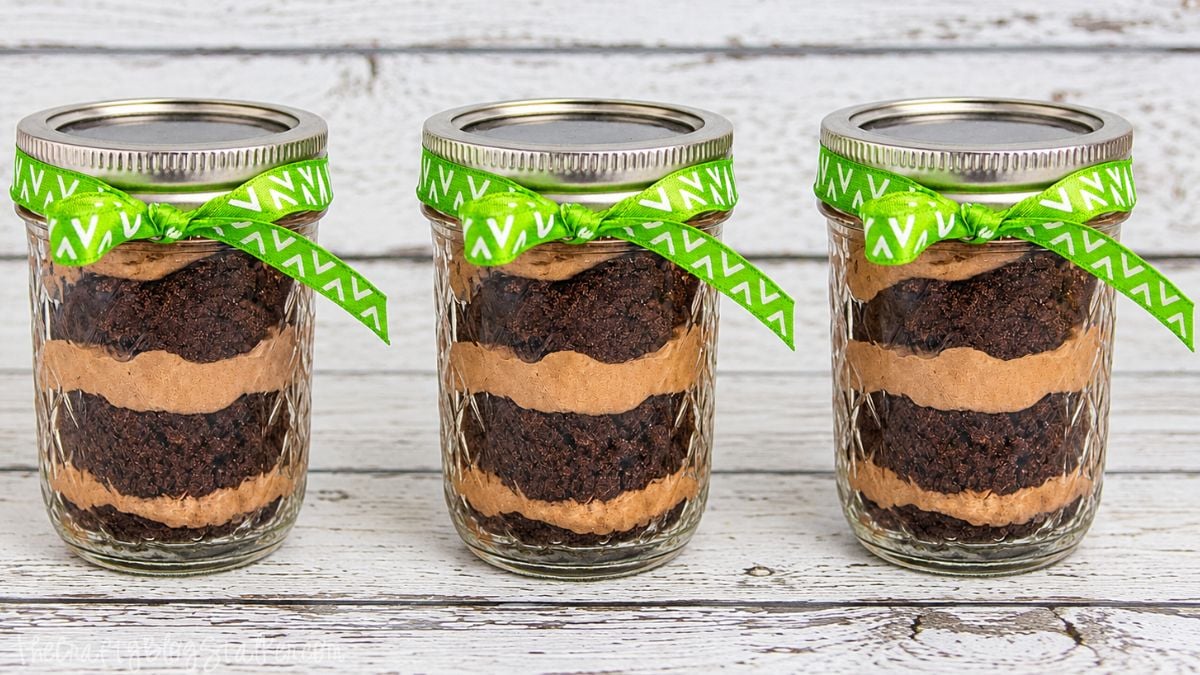
9. Lavender Bath Salt Gift in a Jar from Tator Tots and Jello
Fill a mason jar with homemade lavender bath salts and add pretty Christmas details for a simple gift that's perfect for a little relaxation.
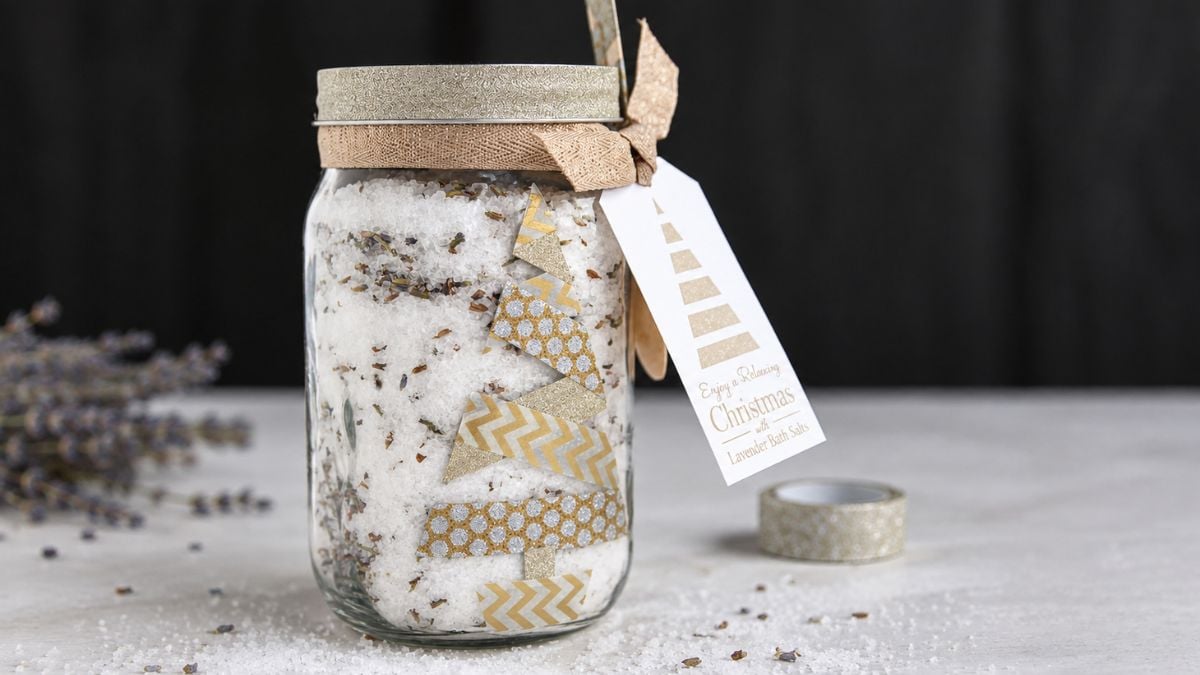
10. Christmas Mason Jar Treat and Printable Tags from Uncommon Designs
Fill a mason jar with chocolate treats, then add festive ribbon and a printable tag for a quick and easy Christmas gift.
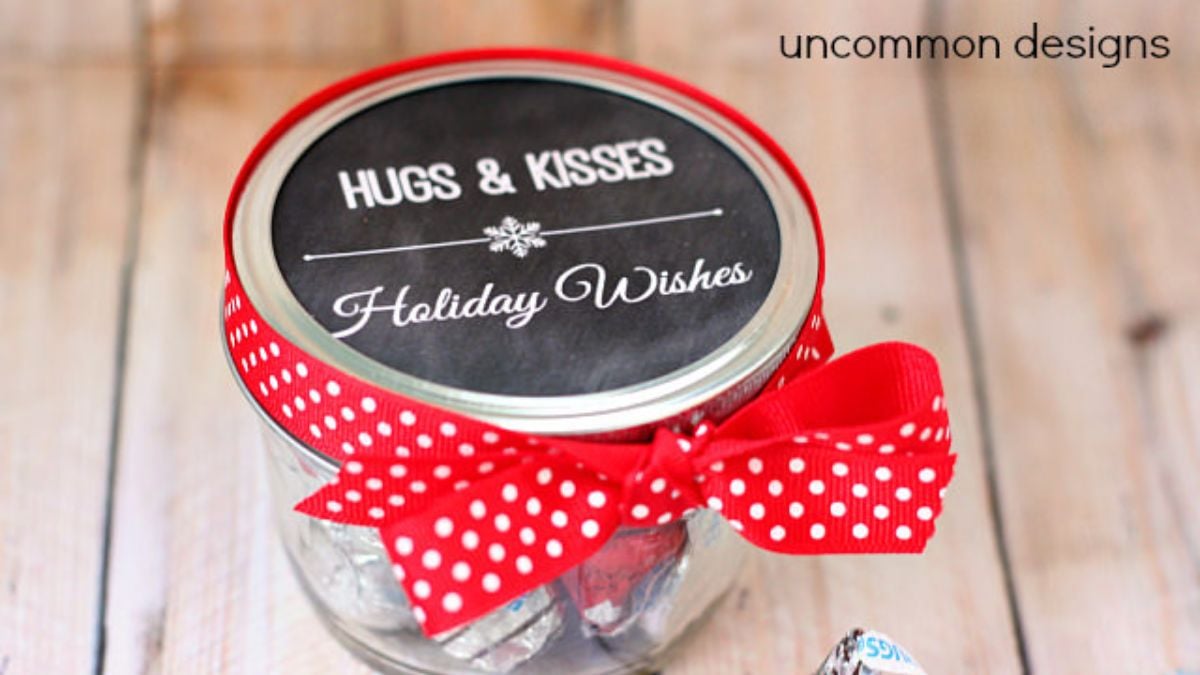
11. Friendship Soup in a Jar from Oh My Creative
Layer the ingredients for a cozy friendship soup in a jar and add the recipe instructions for a thoughtful and useful homemade Christmas gift.
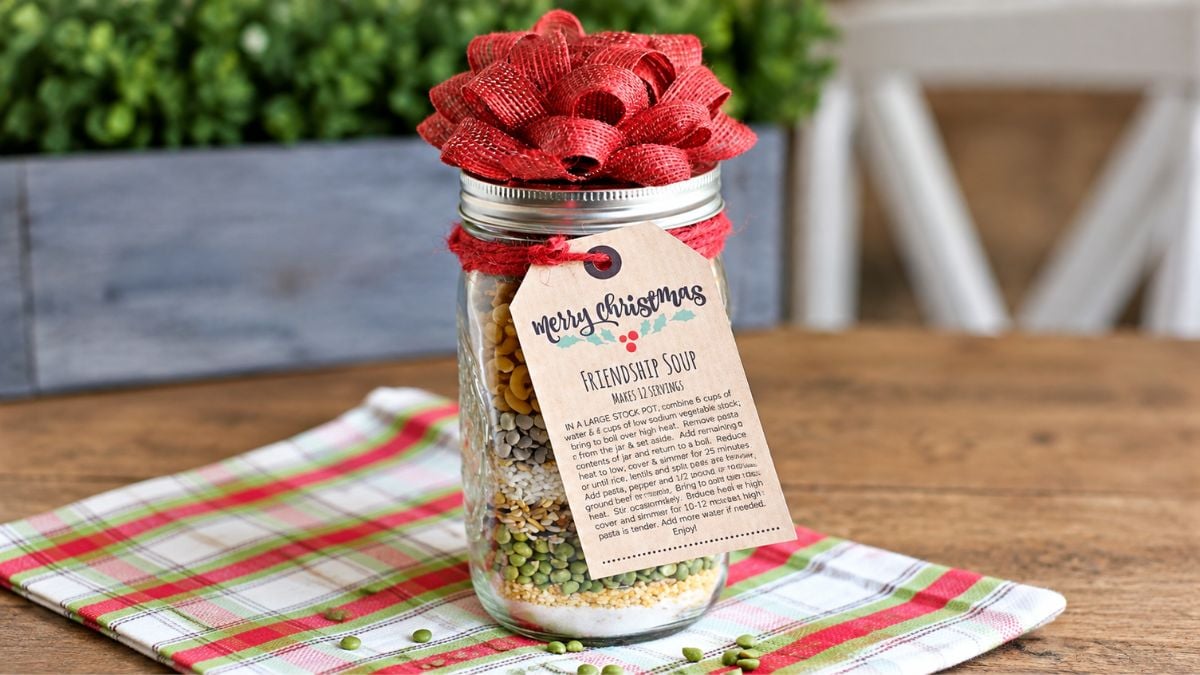
12. DIY Stovetop Potpourri Simmer Pot Gift Jar from XOXO Bella
Fill a jar with dried fruit, cinnamon, pine, and warm spices for a beautiful simmer pot gift that brings the cozy scent of Christmas home.
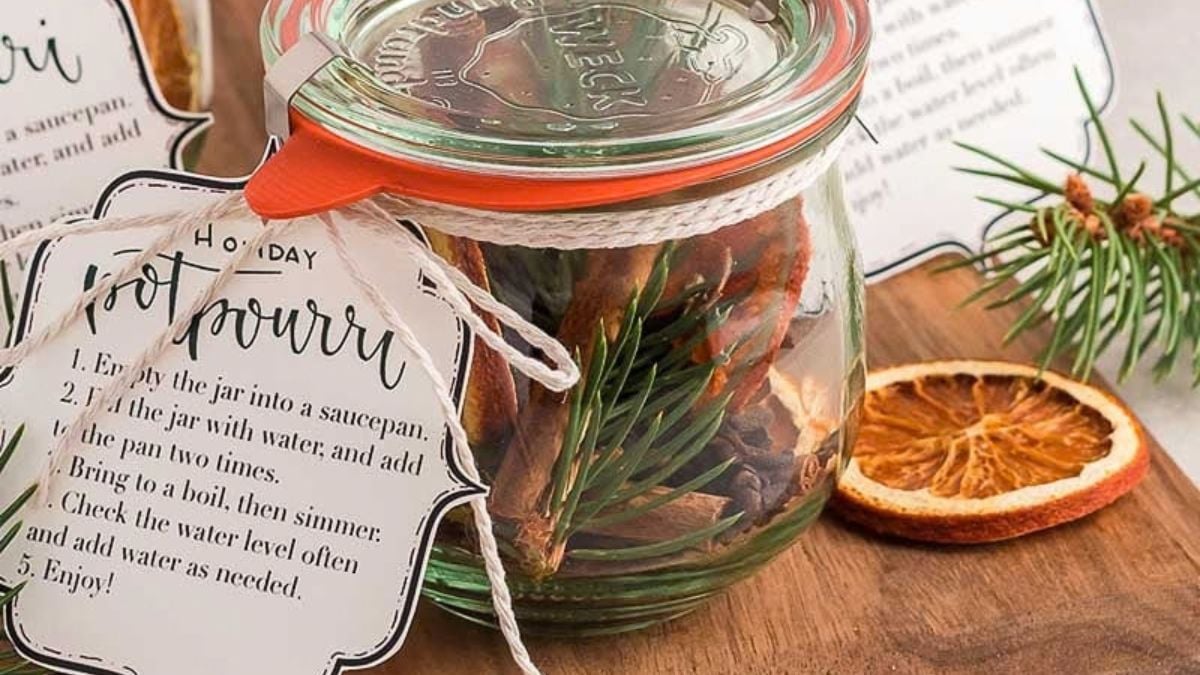
13. Homemade Irish Cream Recipe from Our Tiny Nest
Package homemade Irish cream in a jar with festive ribbon and greenery for a delicious Christmas gift the adults on your list can enjoy.
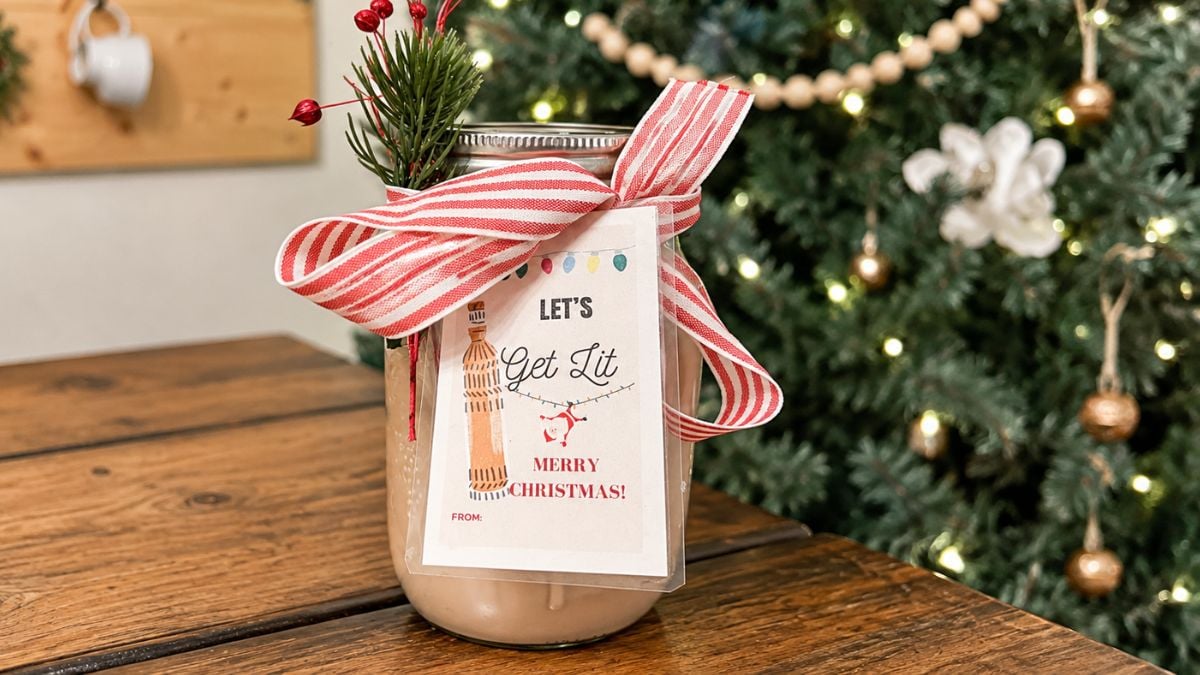
14. Countdown to Christmas Jar for Kids from Gluesticks
Fill a jar with 24 candies and add a cute plush reindeer for a Christmas countdown gift that gives kids a sweet treat each day.
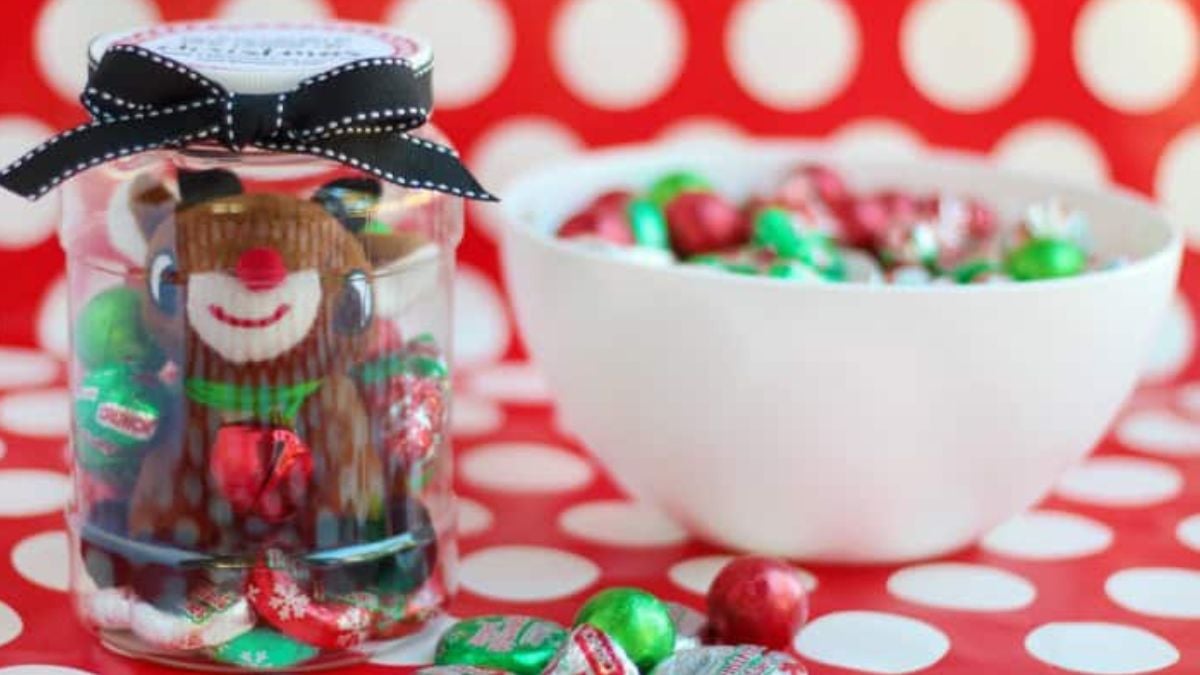
15. Snowman Pretzel Jars from Moms Who Save
Fill snowman-decorated mason jars with white chocolate pretzels for a cute Christmas gift that combines a festive craft with a sweet treat.
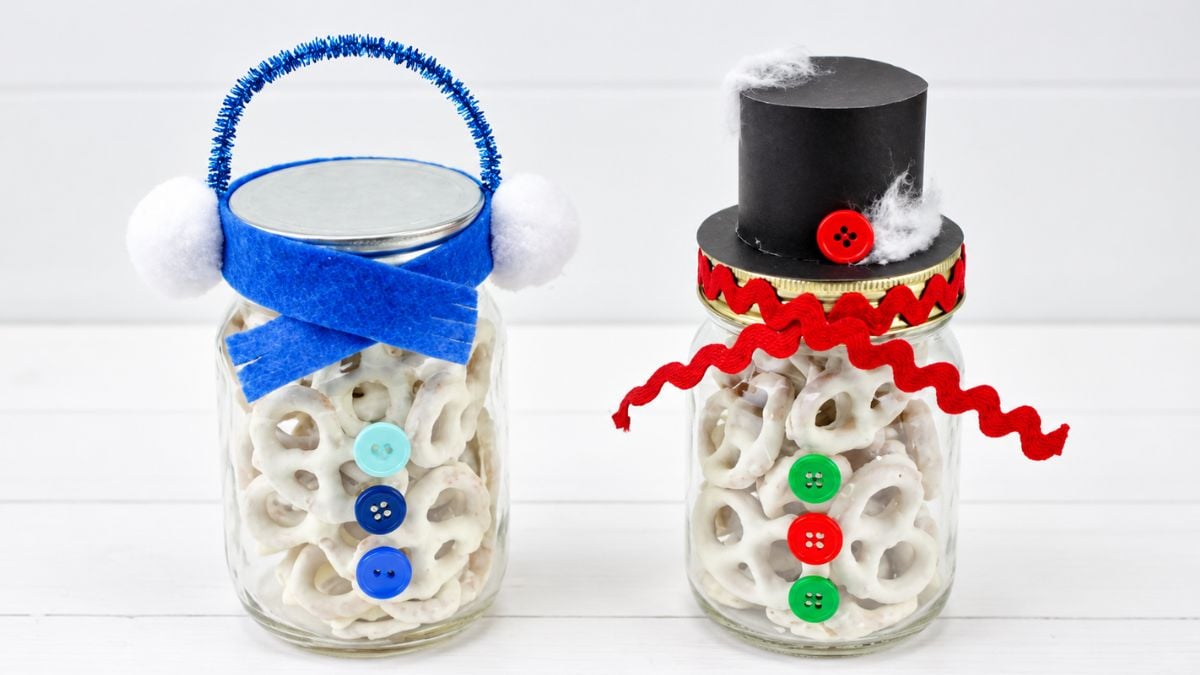
16. Peppermint Brownie Mix in a Jar from I Heart Naptime
Layer peppermint brownie mix ingredients in a mason jar and add baking instructions for an easy homemade Christmas gift.
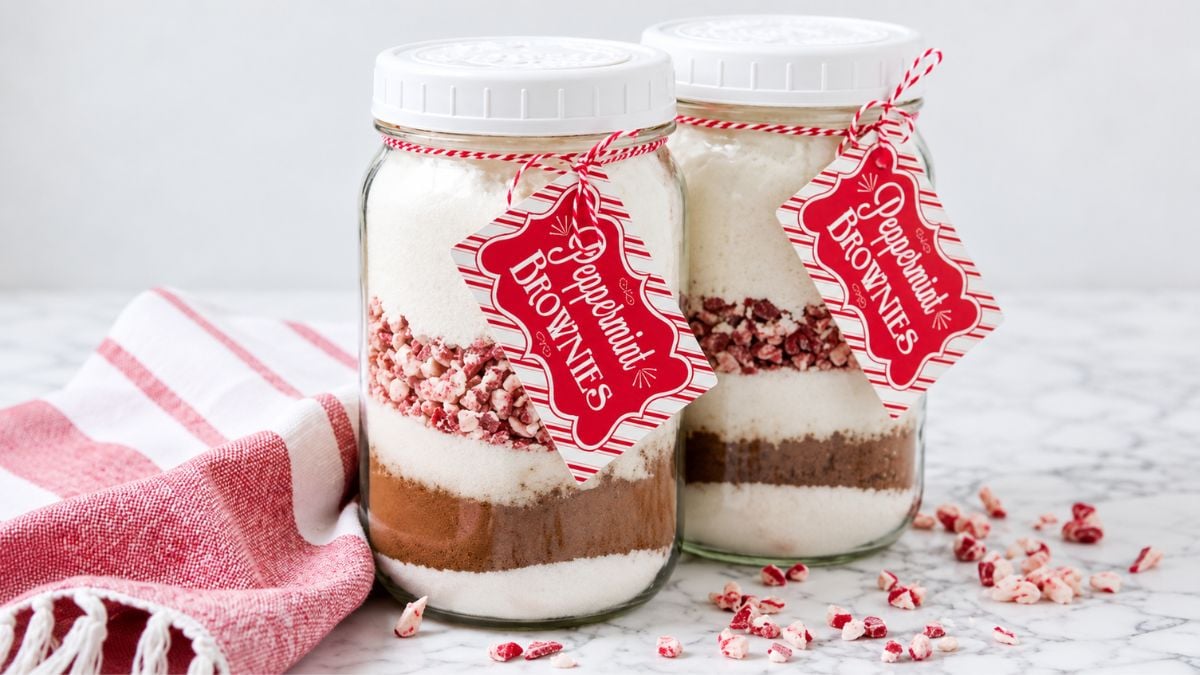
Tips for Giving Christmas Gifts in Jars
One of the best things about jar gifts is that they can be as simple or elaborate as you want. A glass jar filled with someone's favorite candy can be just as thoughtful as a layered recipe mix or handmade bath product.
Think about the person you're giving the gift to and choose something they'll actually enjoy. Someone with a sweet tooth may love brownies or cookies, while another recipient might prefer bath salts, potpourri, or a gift card.
Presentation doesn't need to be complicated either. A little ribbon, twine, fabric, or a cute gift tag can make a simple jar feel ready for Christmas.
If you're giving an edible jar mix, make sure the instructions are easy to read and include any additional ingredients the recipient will need. That way, they won't have to guess when they're ready to make it.
Frequently Asked Questions
You can fill a jar with candy, cookies, dessert, recipe mixes, gift cards, bath products, potpourri, or small favors. The best filling depends on the recipient and how you want them to use it.
The best size depends on what you're putting inside. Smaller jars work well for bath salts, candy, and small treats, while quart-size jars give you more room for layered jar mixes and larger gifts.
Ribbon, twine, fabric, gift tags, bells, greenery, and cardstock are all easy ways to decorate a jar. You can also turn the jar itself into a Christmas character like Santa, an elf, or a snowman.
Yes. Jar gifts are especially useful when you need several affordable gifts during the holiday season. You can make a batch at once and still personalize the tag, filling, or decoration for each recipient.
That depends on the recipe. Dry jar mixes can often be assembled well ahead of time when all ingredients are shelf-stable, while prepared desserts and other perishable foods need to follow the storage instructions provided with the individual recipe.
Include clear preparation instructions and list any wet or additional ingredients that aren't already in the jar. A gift tag tied around the lid is an easy way to keep the instructions with the gift.
Need help with this project?
Click a button below to ask AI what to put in your Christmas gift jar.
More Christmas Gift Ideas
Can you have too many bookmarks? I don't think so! Here are a few more fun ideas.


Hi, I'm Katie!
I'm so glad you're here. Want to make something fabulous? I'm here to help!
The post 16 Christmas Gifts in Jars appeared first on The Crafty Blog Stalker.
]]>The post Printable Fall Decor with 3 Cozy Autumn Designs to Print appeared first on The Crafty Blog Stalker.
]]>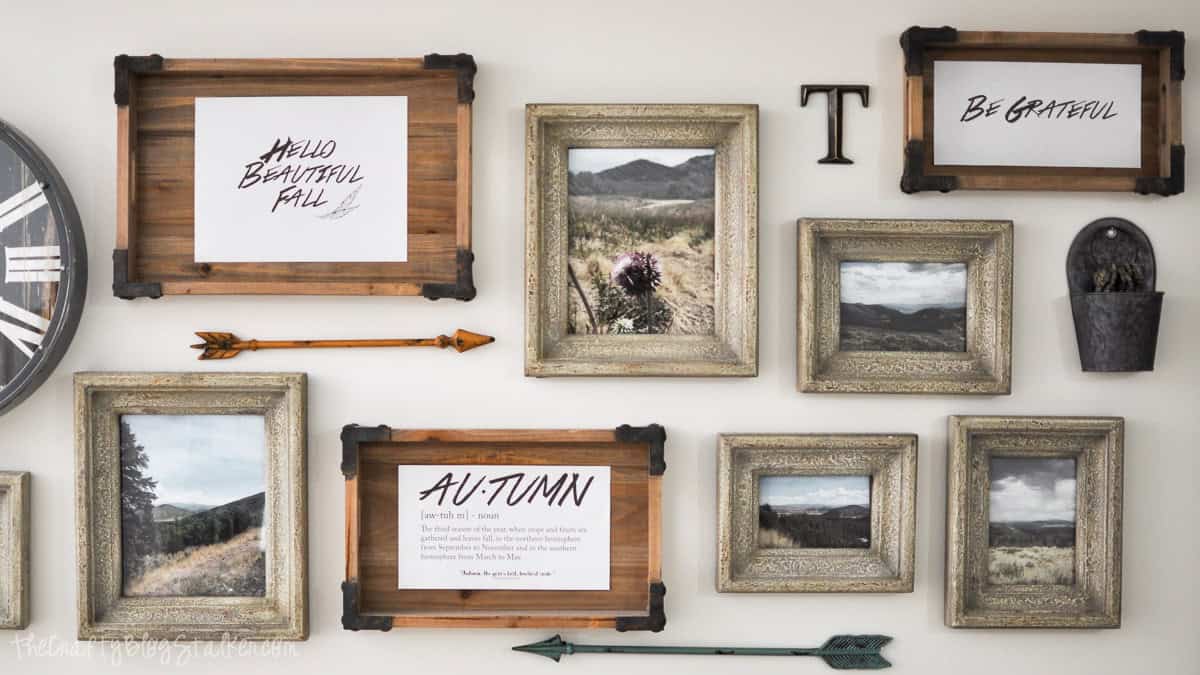
I have something fun for you today, three cozy printable fall decor designs that make it easy to give your home a seasonal update.
Fall is my favorite season to decorate for because the cozy colors and textures seem to carry us through multiple holidays, and of course, pumpkin spice lattes make everything better.
If you love simple seasonal decor, just print your favorite artwork, pop it into a frame, and you're ready to enjoy a little more autumn around your home.
Scroll to the bottom of the post for 20 more free fall printables to help you decorate for the season!
Grab the Free Printables
This bundle includes three different PDF designs in several sizes, giving you options for frames and spaces you may already have around your home.
- Hello Beautiful Fall PDF: 8 x 10 inches
- Be Grateful PDF: 8 x 10 inches and 5 x 10 inches
- Autumn Definition PDF: 8 x 10 inches and 6 x 11 inches
Once you download the files, you can print them at home or send them to your favorite local or online print shop.
For the best results at home, I recommend using a good-quality white cardstock or heavyweight matte paper rather than regular printer paper.
Decorating With Printable Fall Decor
I used all three designs in my Gallery Wall. I had always intended the wooden trays to be a place where I could swap out seasonal decor, and printables make that incredibly easy.
Instead of changing the entire gallery wall every few months, I can switch out a few pieces of artwork and instantly give the space a seasonal touch.
It's one of my favorite decorating tricks because I can use the same frames year-round and just change what's inside.
I made the Hello Beautiful Fall printable because I love to say hello to fall. Yes, I'm a total dork, and I'm completely okay with that!
While I was putting the rest of the gallery wall together, I drew a blank on what else to add. Then my kids asked me what fall means, and that conversation inspired the Autumn Definition printable.
I love how this one looks tucked among family photos and other decorations because it feels like part of the gallery wall, not a big piece of themed fall decor.
The Be Grateful design is a simple reminder that works especially well in the autumn.
I'm always reminding my kids to be grateful for what we have, but really, it's a reminder I need too.
It's easy to get caught up in everything that needs to be done and lose sight of all the good things already around us.
I love having that little reminder displayed where we'll see it every day.
Easy Ways to Display Fall Printables
The easiest option is to place your printable in a frame and swap it with your existing fall artwork. You don't have to redo an entire room to make your home feel a little cozier.
You can also display these designs on a mantel, bookshelf, entryway table, or kitchen counter. Try leaning a smaller frame against the wall instead of hanging it, or layer it in front of larger artwork for a more relaxed look.
If you already have a gallery wall, swap one or two pieces for seasonal artwork instead of replacing everything.
Add a few pumpkins, fall branches, or other simple decorations nearby, and you've got a cozy fall update without buying a whole new collection of home decor.
More Free Fall Decor Printables
I've teamed up with some talented bloggers to bring you even more fall printables for the season. Pumpkins, autumn quotes, watercolor artwork, and plenty of other designs can mix into your fall home decor.
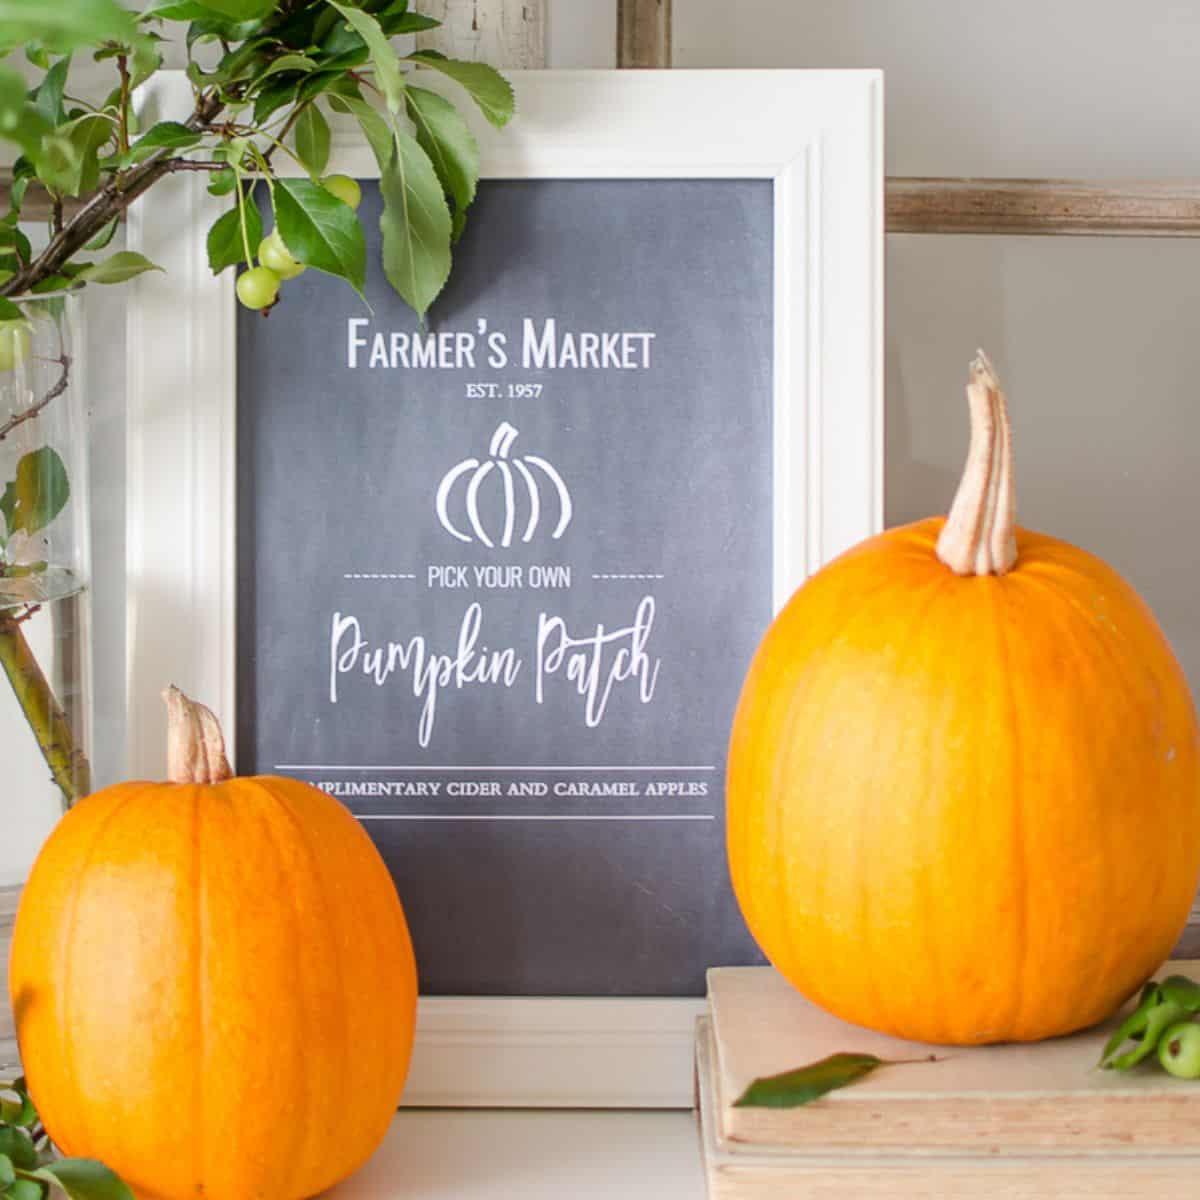
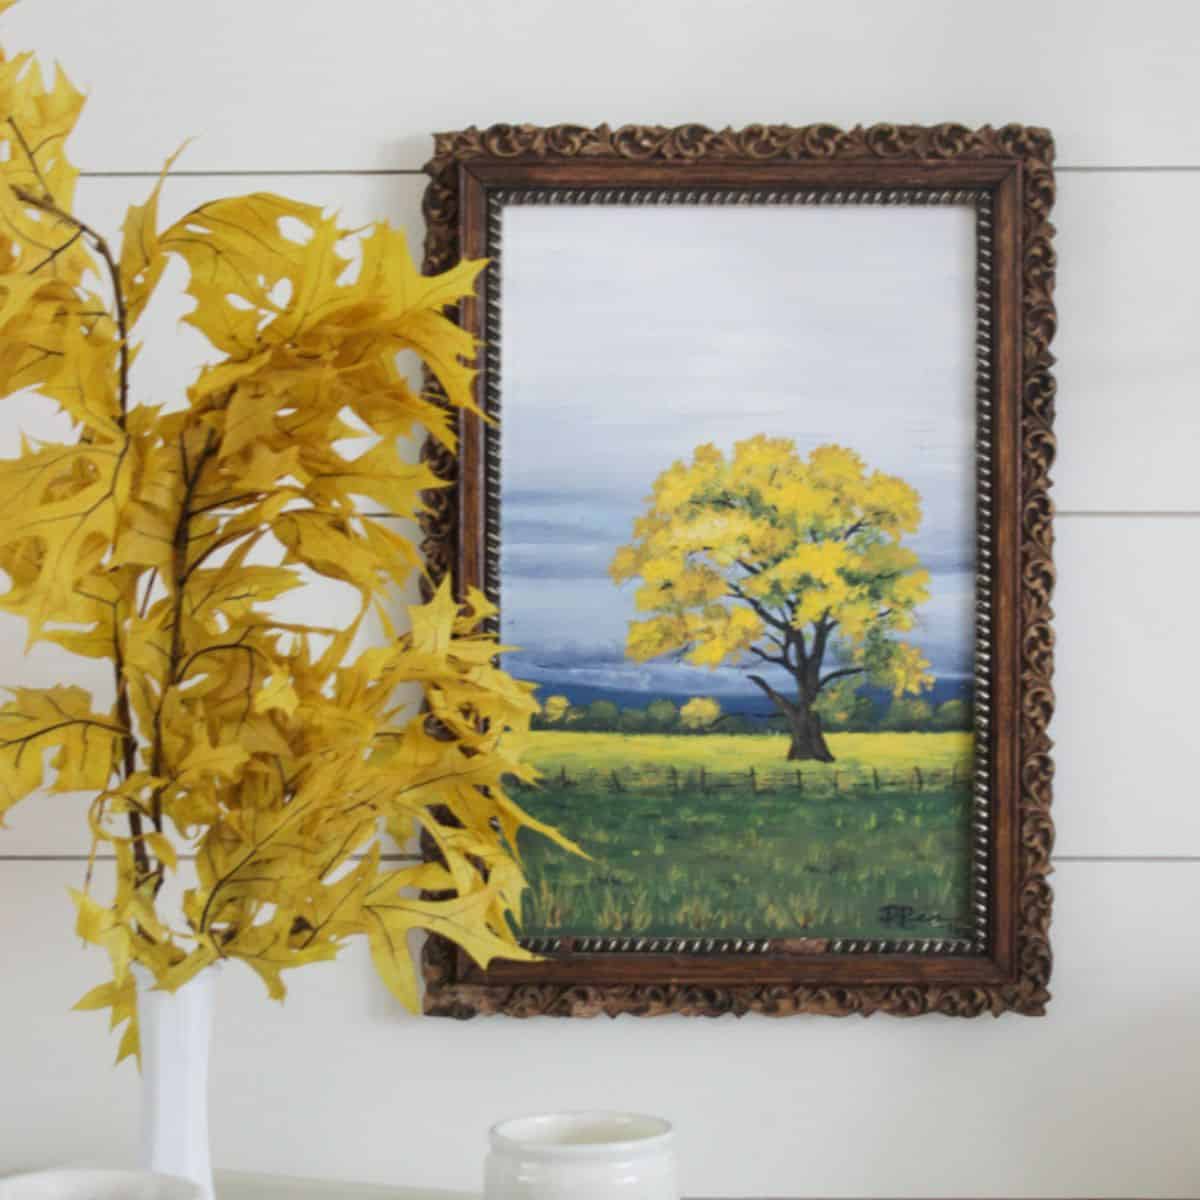
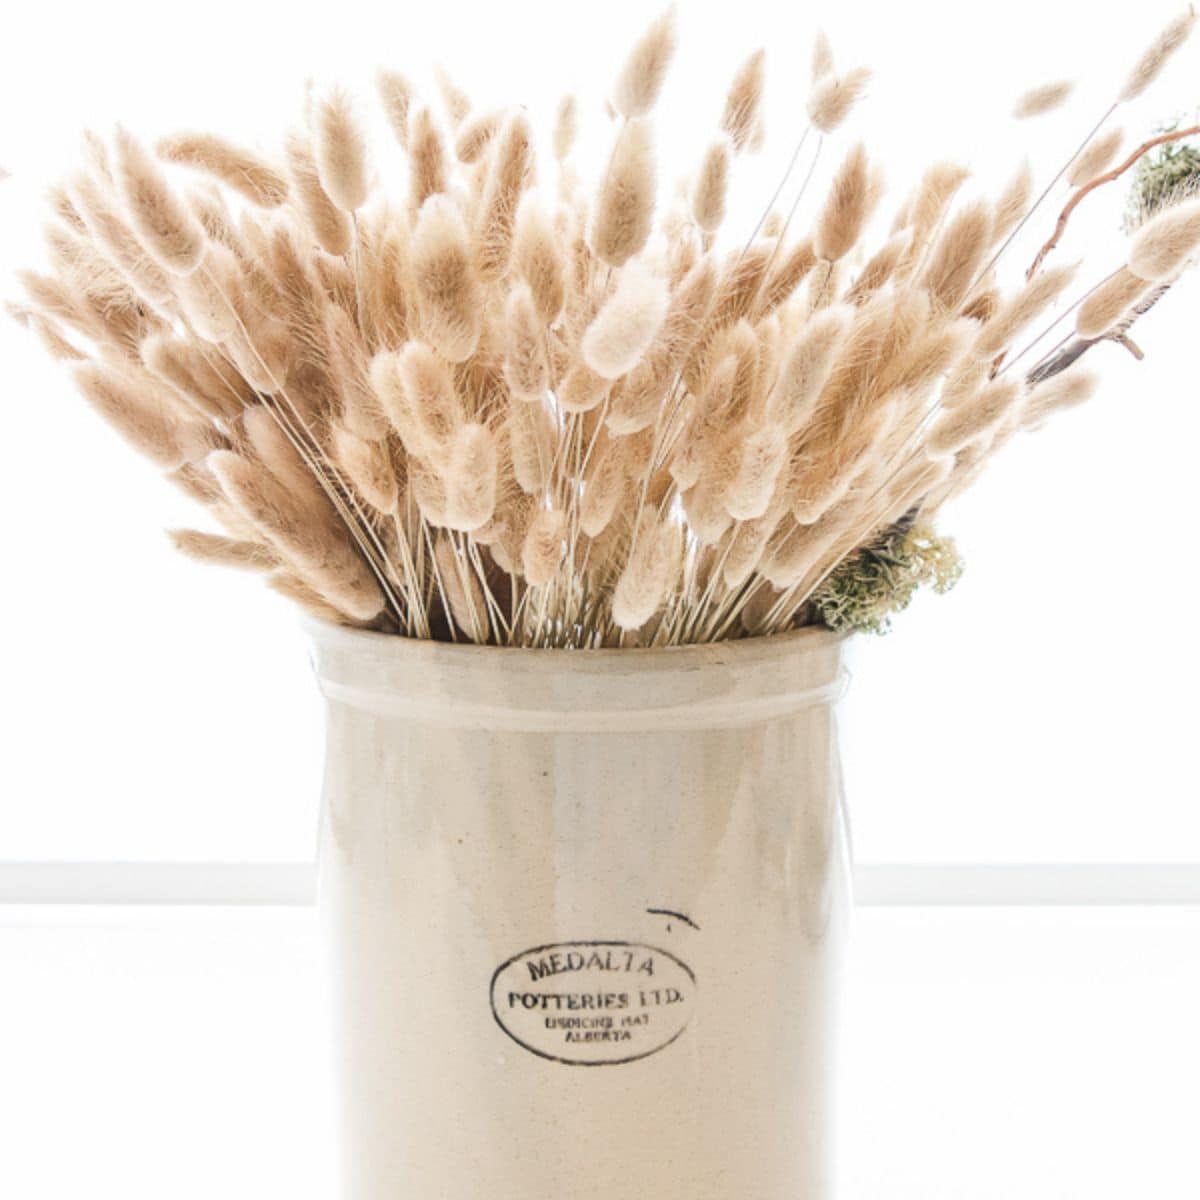
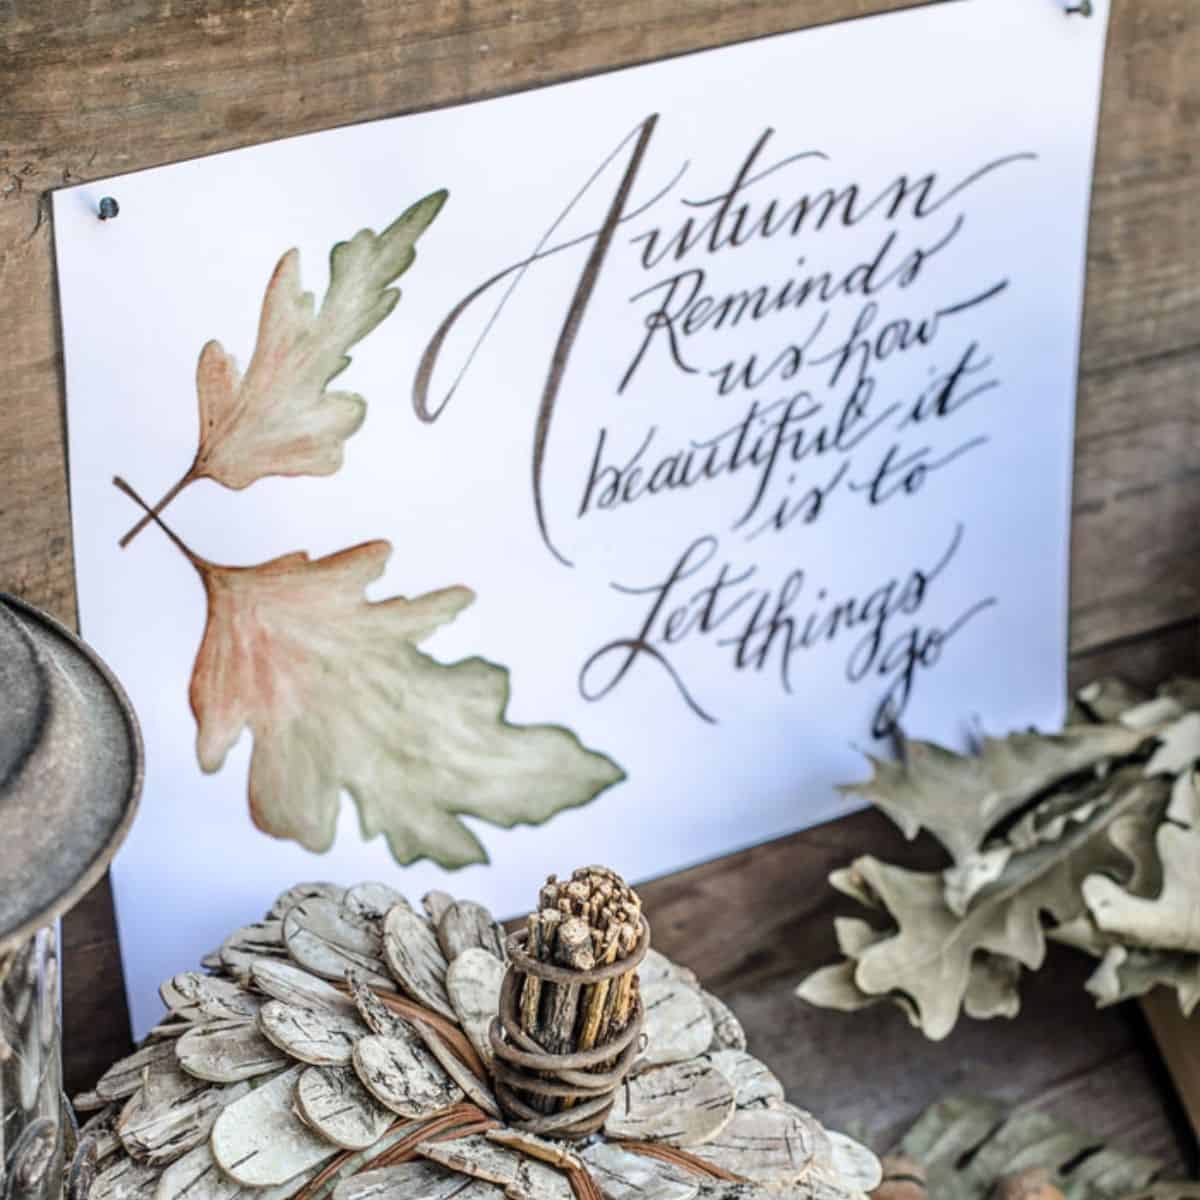

Hi, I'm Katie!
I'm so glad you're here. Want to make something fabulous? I'm here to help!
The post Printable Fall Decor with 3 Cozy Autumn Designs to Print appeared first on The Crafty Blog Stalker.
]]>The post Make a Thank You Cricut Card with Free SVG appeared first on The Crafty Blog Stalker.
]]>
There's something extra special about giving a handmade card, especially when you want someone to know how much you appreciate them.
This thank you Cricut card is easy to make with my free SVG and is perfect for teachers, friends, neighbors, colleagues, or anyone who deserves a little gratitude.
I love having simple card designs like this ready to go because I always seem to need a thank you card when I don't have one on hand.
Keep reading to the bottom of the post for nine more free gratitude-themed SVGs you can use for your next Cricut project!
Skill Level: Beginner
Estimated Cost: $3 per card
Total Time: 30 minutes
Craft Tutorial Video
If videos are your thing, you're in luck-I've got a full tutorial ready for you!
Subscribe to my YouTube channel and stay inspired with every new project.
Supply List
- Cricut Cutting Machine
- Floral Thanks Card
- Scoring Wheel or Stylus
- StandardGrip Mat
- Cardstock in 6 colors
- Pen
- Glue
- Adhesive Foam Tape
- Scissors
- Craft Tweezers (optional)
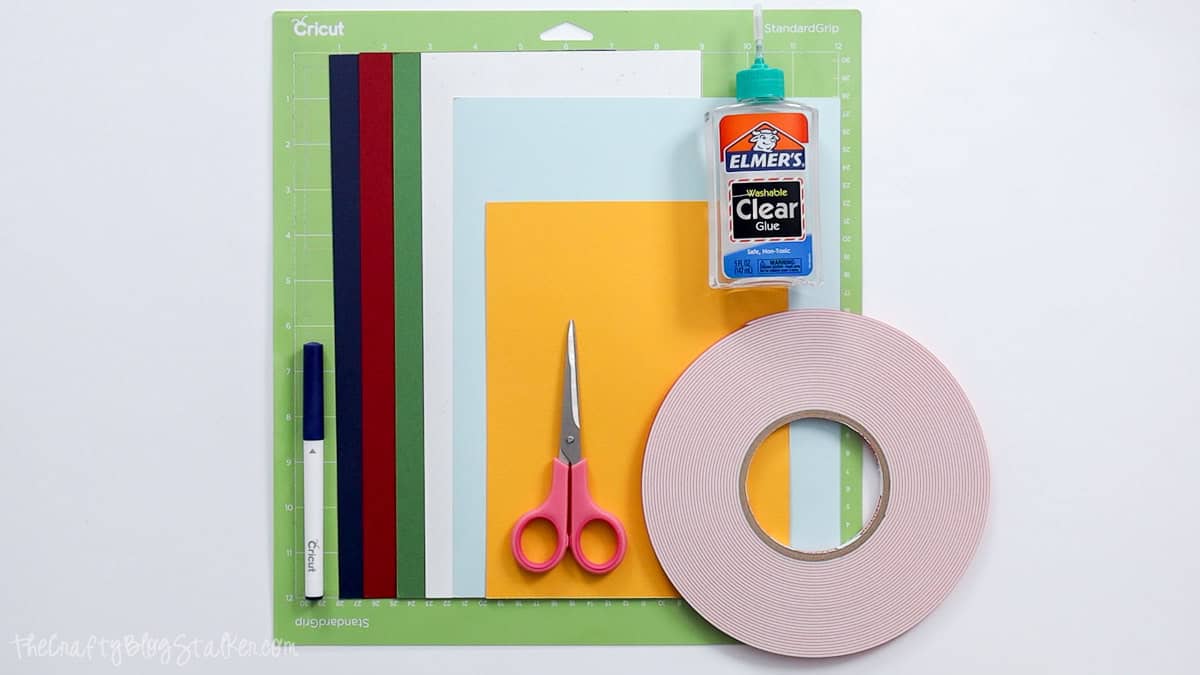
Grab the Free SVG
The Floral Thanks Card SVG includes all of the layers you need to create the card, including the floral pieces, layered "Thanks" design, card base, written sentiment, and score line.
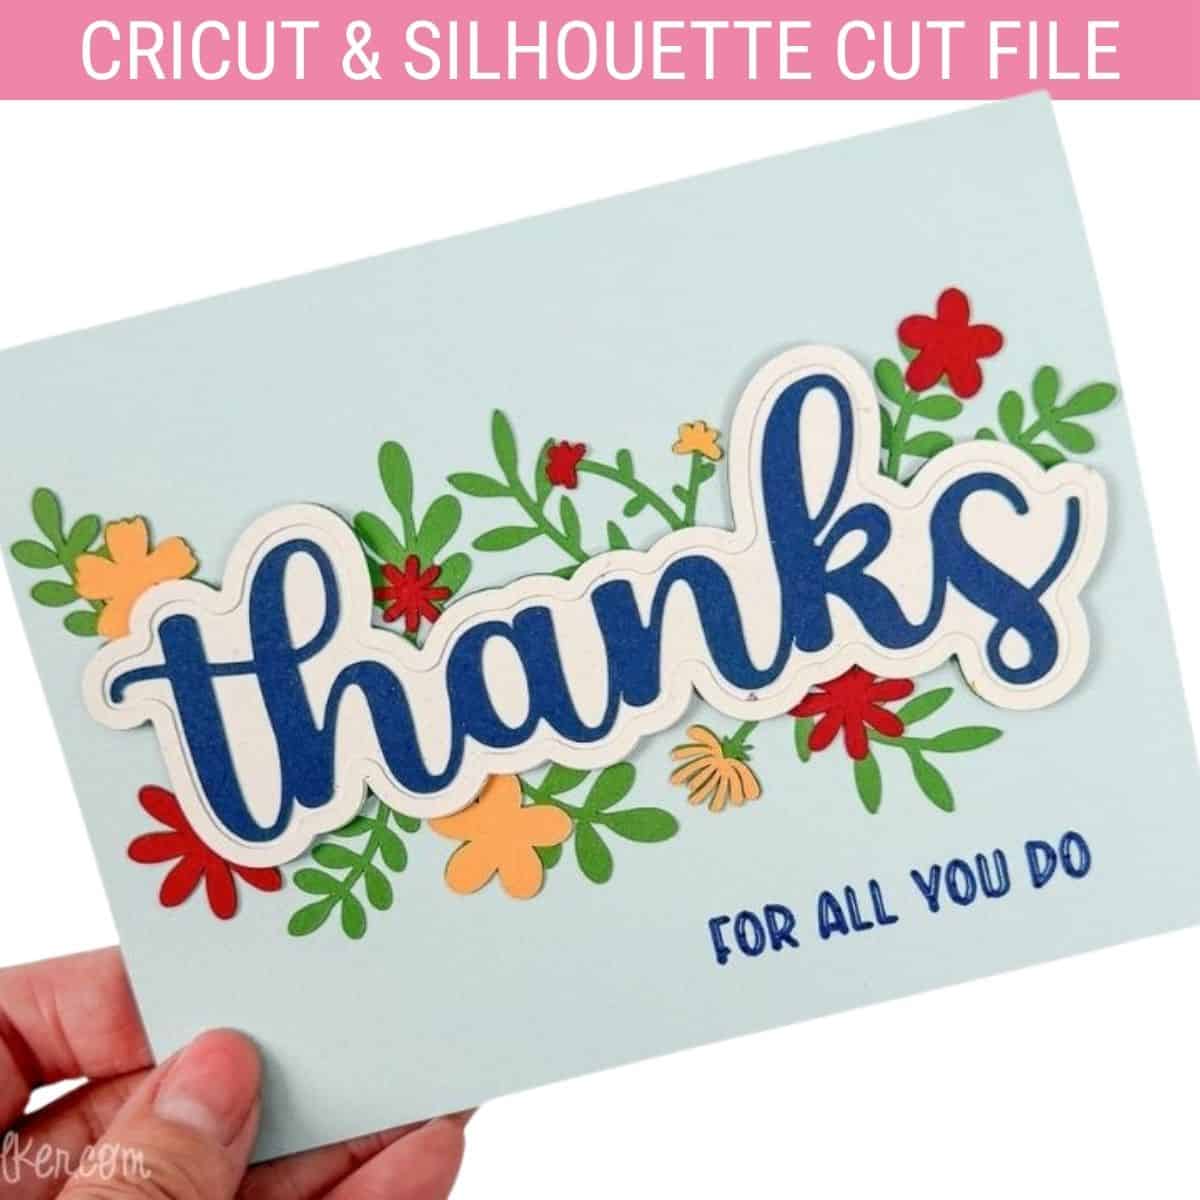
Prepare the Card in Cricut Design Space
Open Cricut Design Space and start a new project.
Upload the Floral Thanks Card SVG and add it to your canvas.
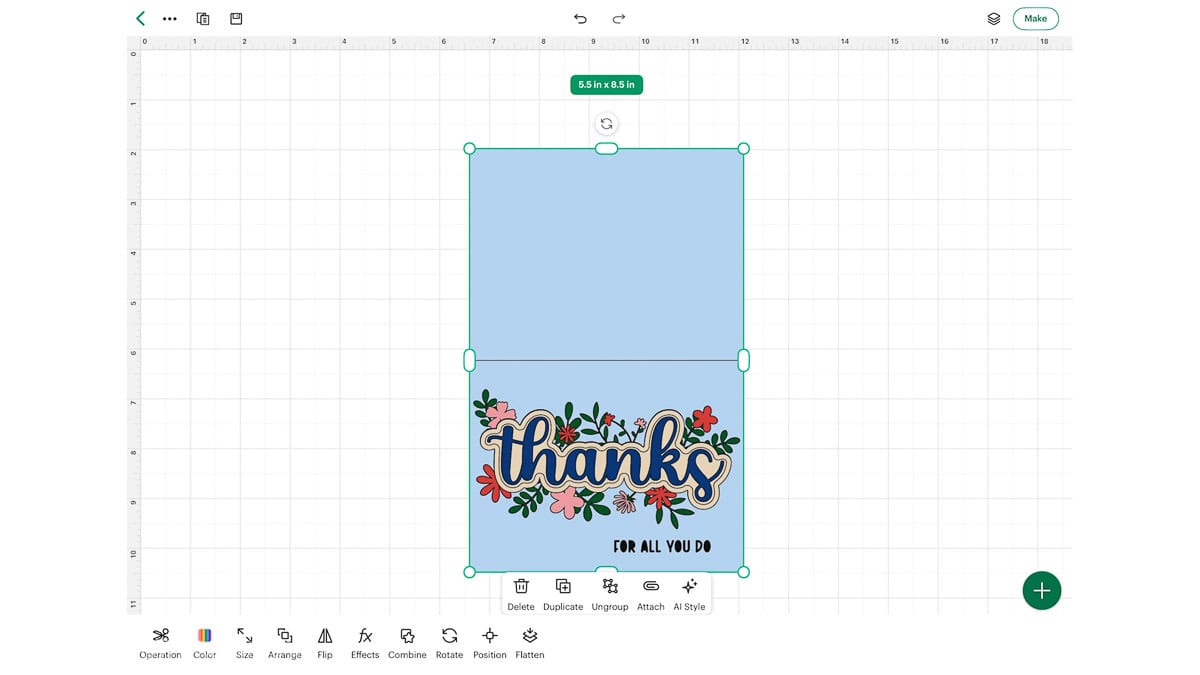
There are a couple of changes you need to make before sending the design to your Cricut.
Ungroup the design and open the Layers panel. Change the "For All You Do" sentiment from a cut operation to Draw, and change the line through the center of the card to Score.
To change either element, select it, open the Operation menu, and choose the correct operation.
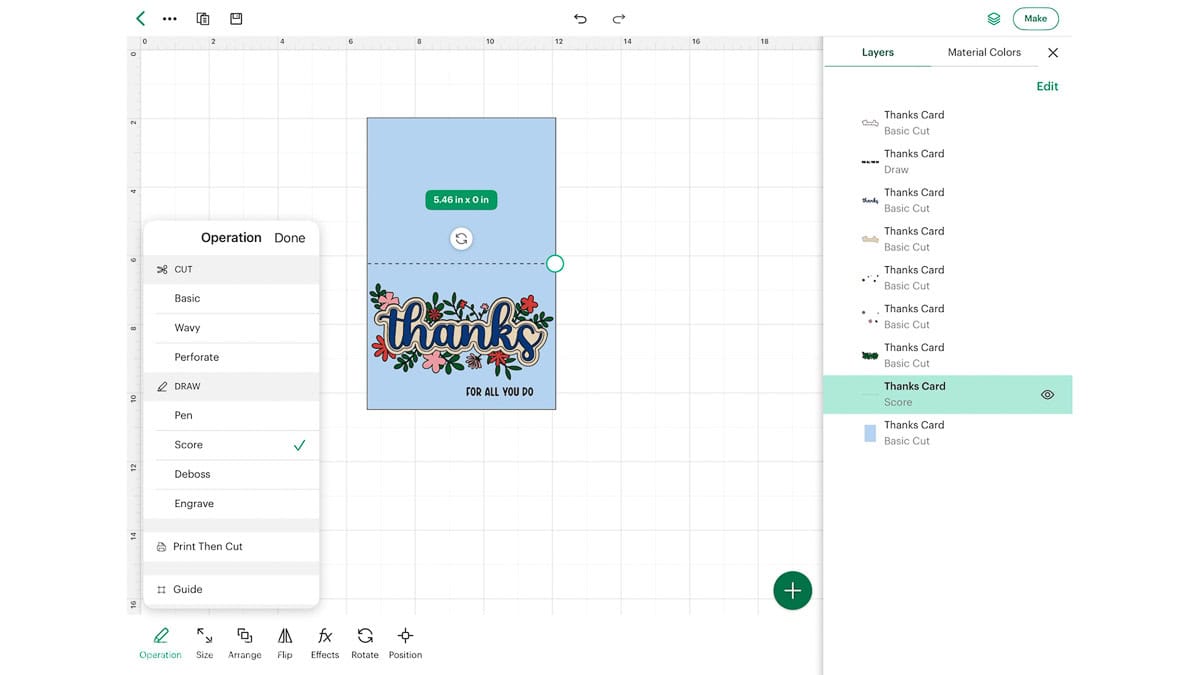
Next, select only the written sentiment, score line, and card base, then click Attach.
Attaching these three layers tells Design Space to keep everything in the correct position when your Cricut draws the sentiment, scores the fold line, and cuts the card.
Once you've made those changes, click Make.
Check the mat preview to make sure everything looks correct, then click Next and select your material settings.
I'm using 60 lb. cardstock with More Pressure, and I like to save my material settings so I don't have to select them again between every mat.
Pay attention to the Load Tools and Mat section in Design Space. Your Cricut will tell you when it needs the pen and when to load your Scoring Wheel or Scoring Stylus.
Place the appropriate cardstock on a StandardGrip Mat and follow the prompts to cut each color.
Some of the flower pieces are tiny, so take your time when removing the cardstock from the mat.
I like to keep all of the little pieces together until I'm ready to assemble the card because those tiny flowers have a way of disappearing.
Once everything is cut, you'll have all of the pieces ready for assembly.
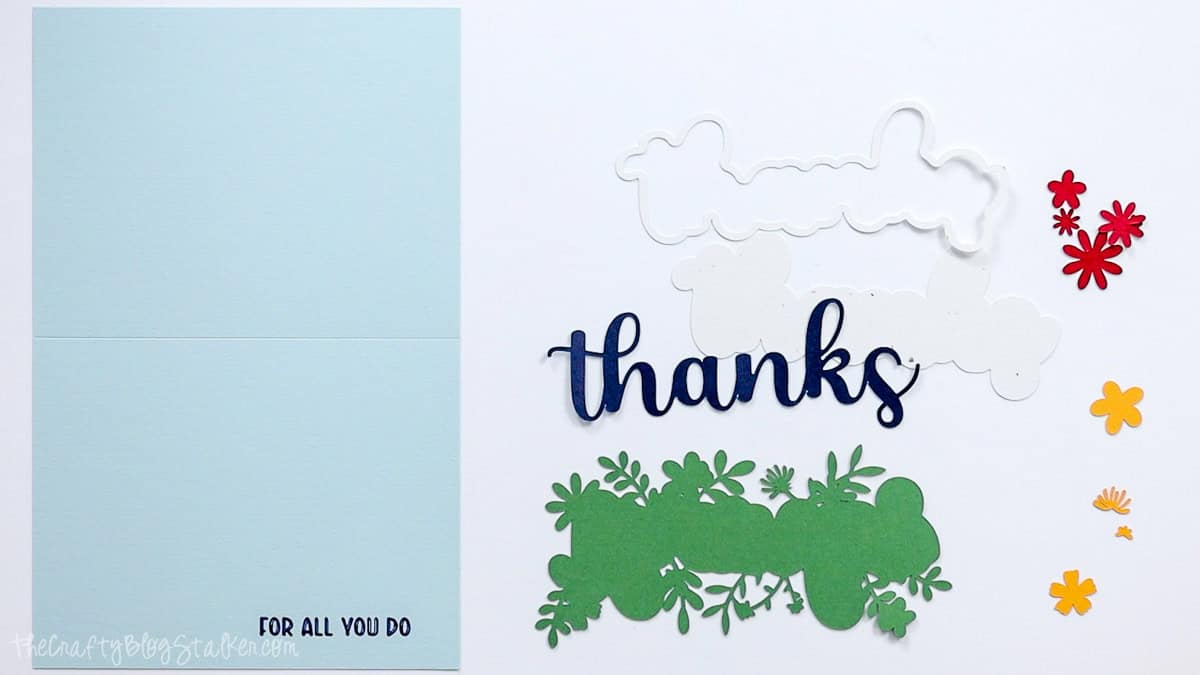
Assemble the Thank You Card
Start by gluing the white frame onto its matching background piece.
Small dots of glue around the back of the frame are plenty. Too much glue can squeeze out around those narrow edges.
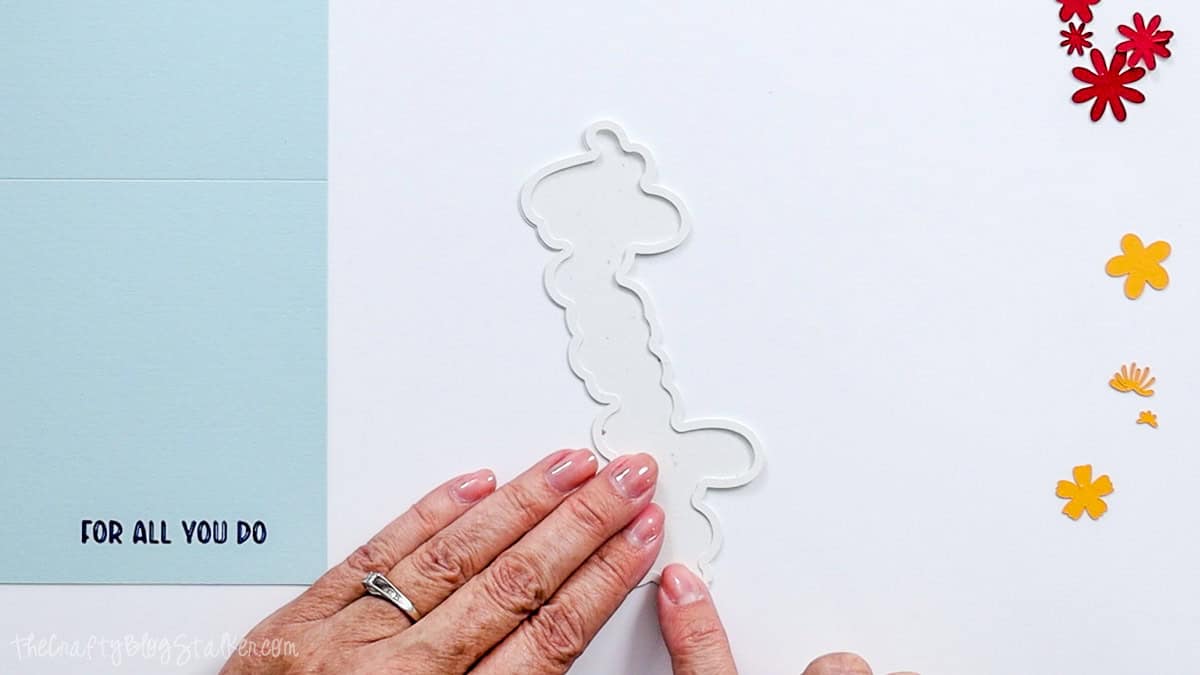
Next, glue the blue "Thanks" script inside the frame.
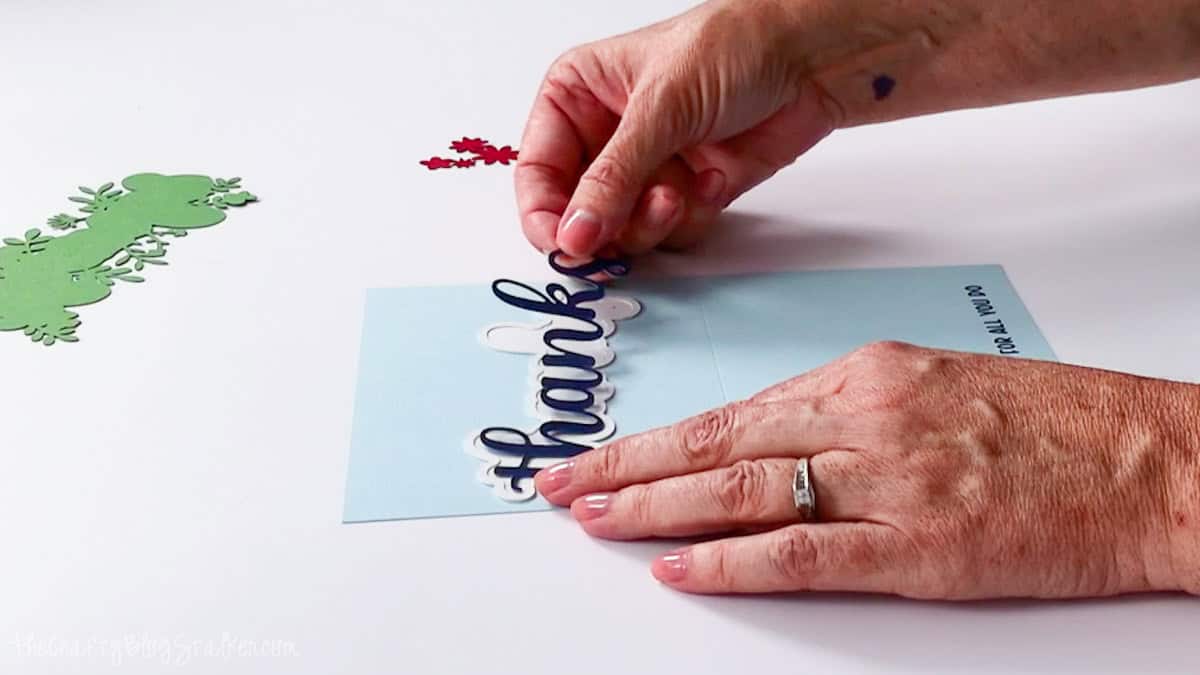
For the floral layer, match each flower with its corresponding shape on the green background piece and glue it into place.
Craft tweezers are really helpful here because some of these flowers are pretty small.
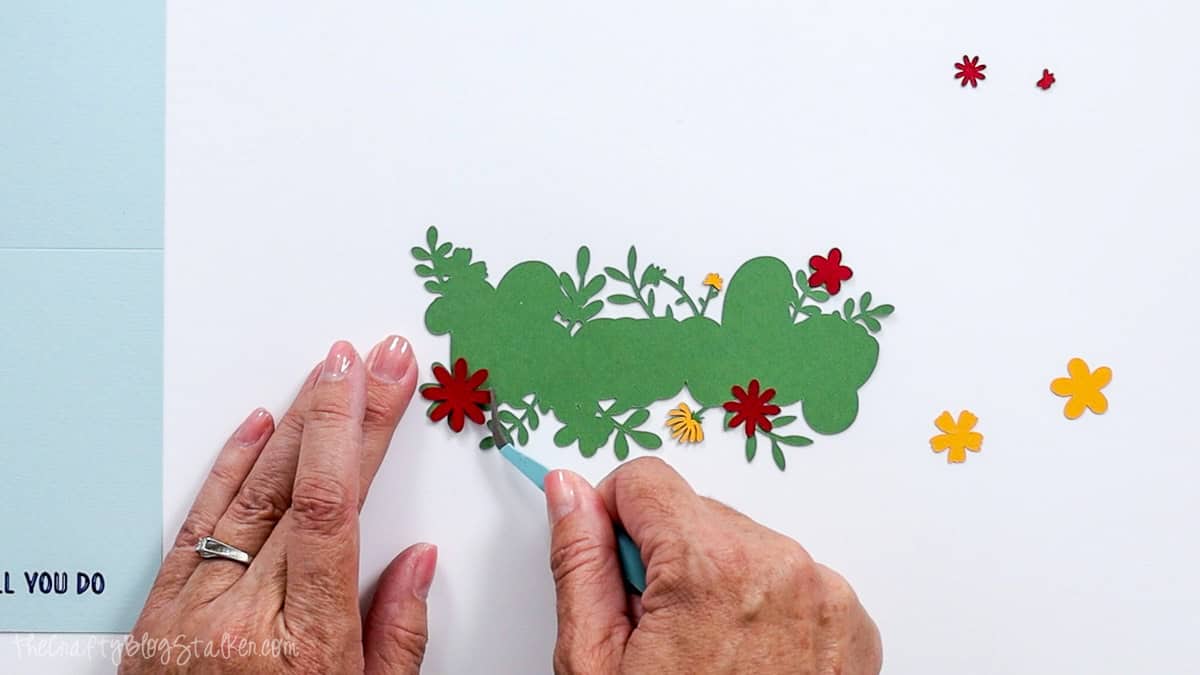
Cut strips of adhesive foam tape and place them on the back of the layered "Thanks" piece.
Center it over the green floral layer and press it into place.
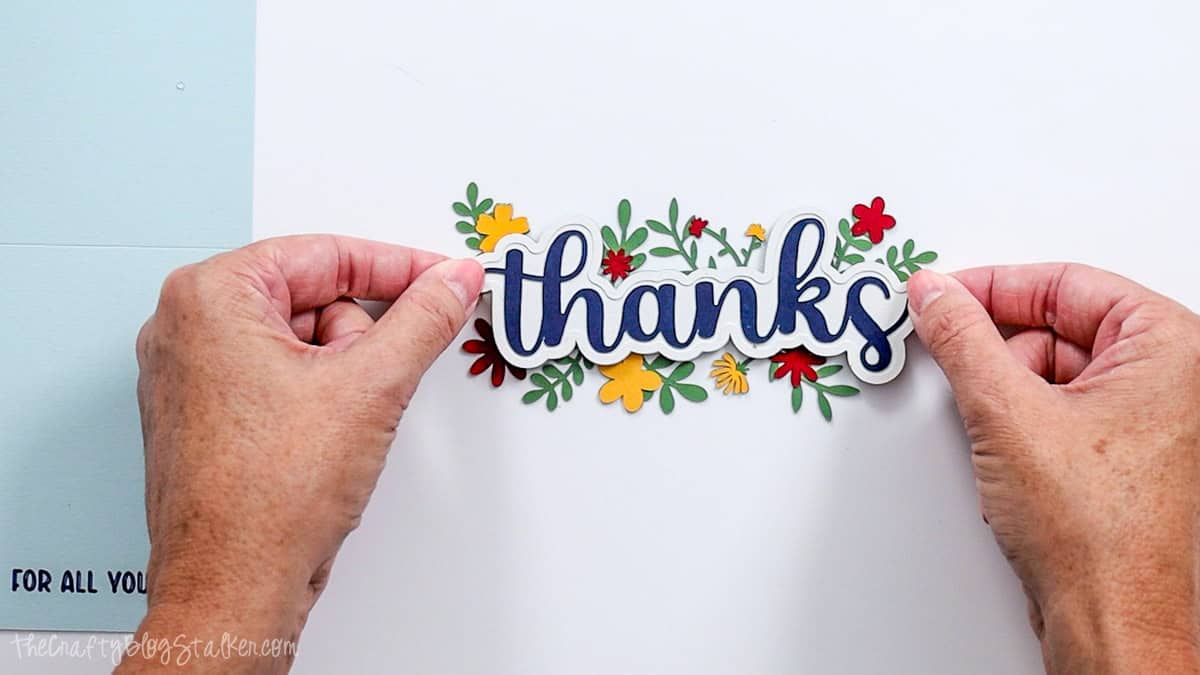
I love using adhesive foam tape on cards because it adds just enough dimension to make the layers stand out without adding much bulk.
The finished card still fits nicely in an envelope and is easy to mail.
Apply glue to the back of the completed green floral piece and center it on the front of the card above the "For All You Do" sentiment.
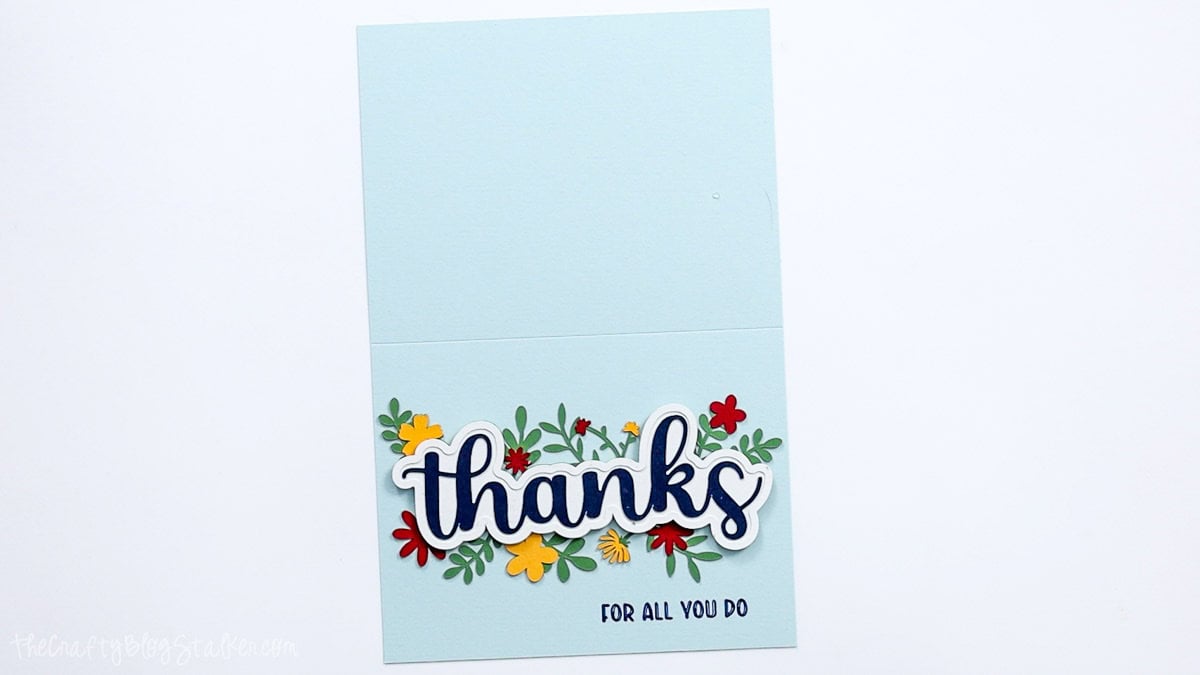
Fold the card along the scored line, and it's ready to give!

A handmade card is such a simple expression of gratitude, whether you're thanking someone for a thoughtful gift, small favors, extra help, or simply letting them know their kindness didn't go unnoticed.
It works just as well for friends and family as it does for colleagues or more formal situations.
Whenever I make a card like this, I like to cut a few at once. It doesn't take much more work once everything is set up in Design Space, and then I have a little stash ready for the next thank-you emergency!
Frequently Asked Question
The card base in the SVG is 5.5 by 8.5 inches before folding. Once folded in half, the finished card measures approximately 4.25 by 5.5 inches.
I used 60 lb. cardstock for this card. You can use another cardstock weight you prefer, but you may need to adjust your Cricut material settings to get a clean cut.
No. You can use either a Cricut Scoring Wheel or Scoring Stylus, depending on your Cricut machine and the tools you have available.
Attach keeps the score line and drawn sentiment positioned correctly on the card base. Without attaching them, Design Space may move those elements when you send the project to the mats.
Absolutely. The six cardstock colors I used are only one option. Try the recipient's favorite colors, school colors for a teacher card, or a more neutral color palette for a different look.
Yes, and that's one of my favorite ways to make this project. Once the design is ready in Cricut Design Space, making a few cards at once is an easy way to build a stash for future thank-yous.
Need help with this project?
Click a button below to ask AI for different color combination ideas.
More Free Gratitude SVGs
A handmade card isn't the only way to show a little appreciation. I've teamed up with some of my crafty friends to bring you nine more free gratitude-themed SVGs for shirts, cards, home decor, and more.






Hi, I'm Katie!
I'm so glad you're here. Want to make something fabulous? I'm here to help!
The post Make a Thank You Cricut Card with Free SVG appeared first on The Crafty Blog Stalker.
]]>The post DIY Jack O'Lantern Candy Gifts for Halloween appeared first on The Crafty Blog Stalker.
]]>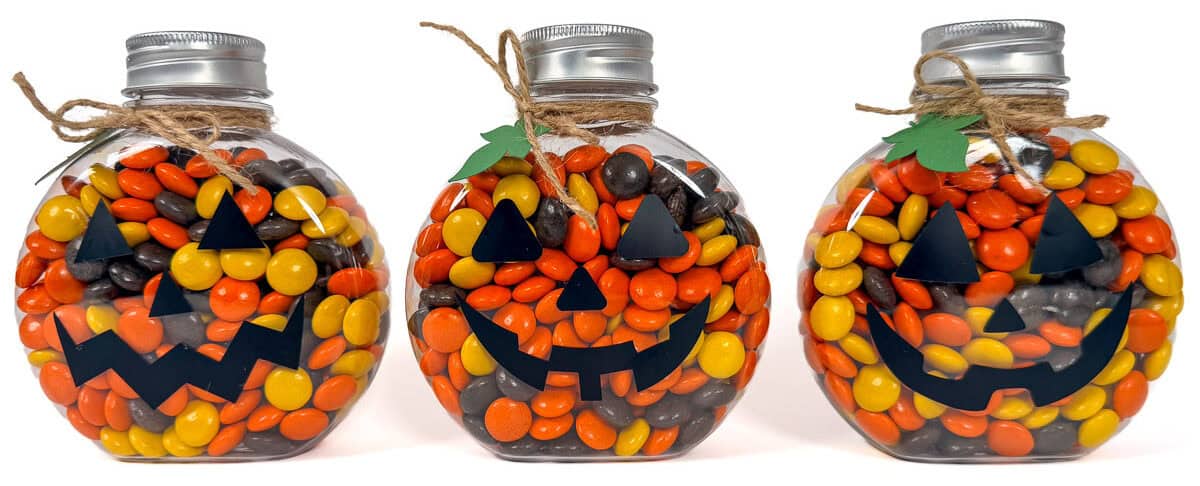
Halloween is one of my favorite holidays because I love that perfect mix of cute, fun, and just a little spooky.
These candy gifts for Halloween are easy to make with your Cricut, turning simple sweets into adorable Jack-O'-Lanterns using my free SVG.
I originally made them for my coworkers and my kids' teachers because I love giving little gifts that let people know they're appreciated.
If you need an easy Halloween treat for teachers, friends, neighbors, or coworkers, grab some candy and let's make a few!
Skill Level: Beginner
Estimated Cost: $5
Total Time: 20 minutes
Craft Tutorial Video
If videos are your thing, you're in luck-I've got a full tutorial ready for you!
Subscribe to my YouTube channel and stay inspired with every new project.
Supply List
Some links may lead to similar items when the exact item is unavailable.
- Cricut Cutting Machine
- Jack-O-Lantern Faces SVG Bundle
- StandardGrip Mat
- Green Cardstock
Black Vinyl
- Weeding Tools
- Transfer Tape
- Round Plastic Food-Safe Bottles
- Food-Safe Gloves
- Twine
- Candy

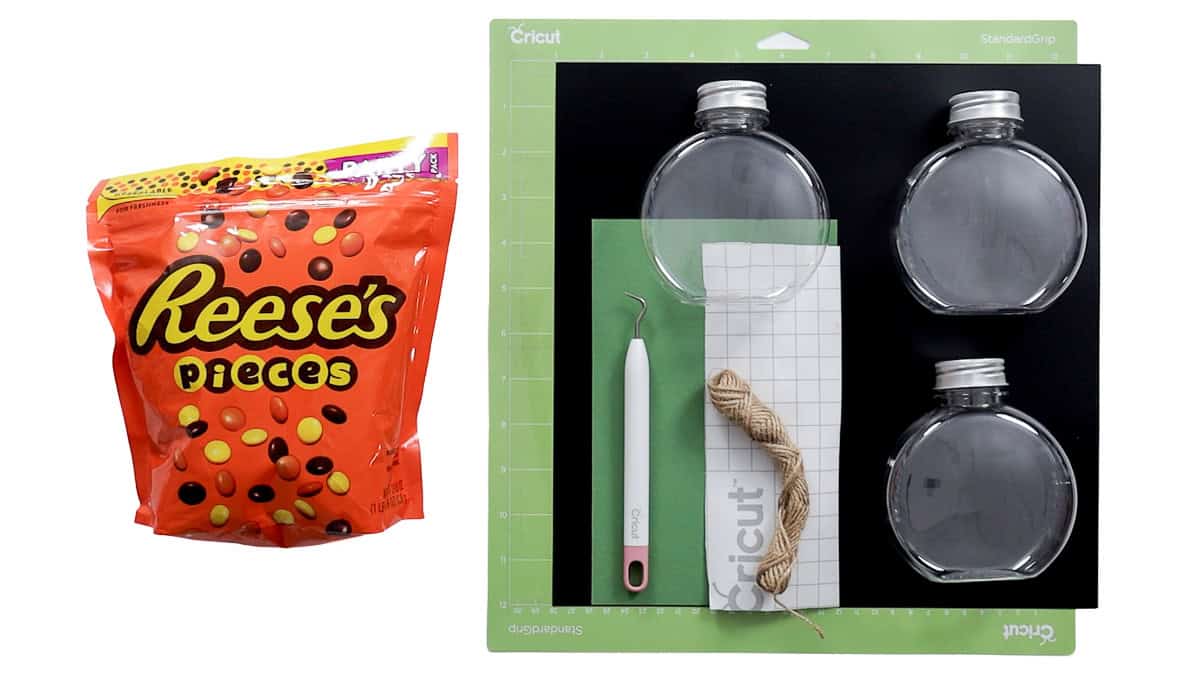
Grab the Free Jack-O'-Lantern SVG
The SVG bundle includes nine different Jack-O'-Lantern faces, so you can give each candy container a different expression. There is also a leaf design to add that final little pumpkin detail.
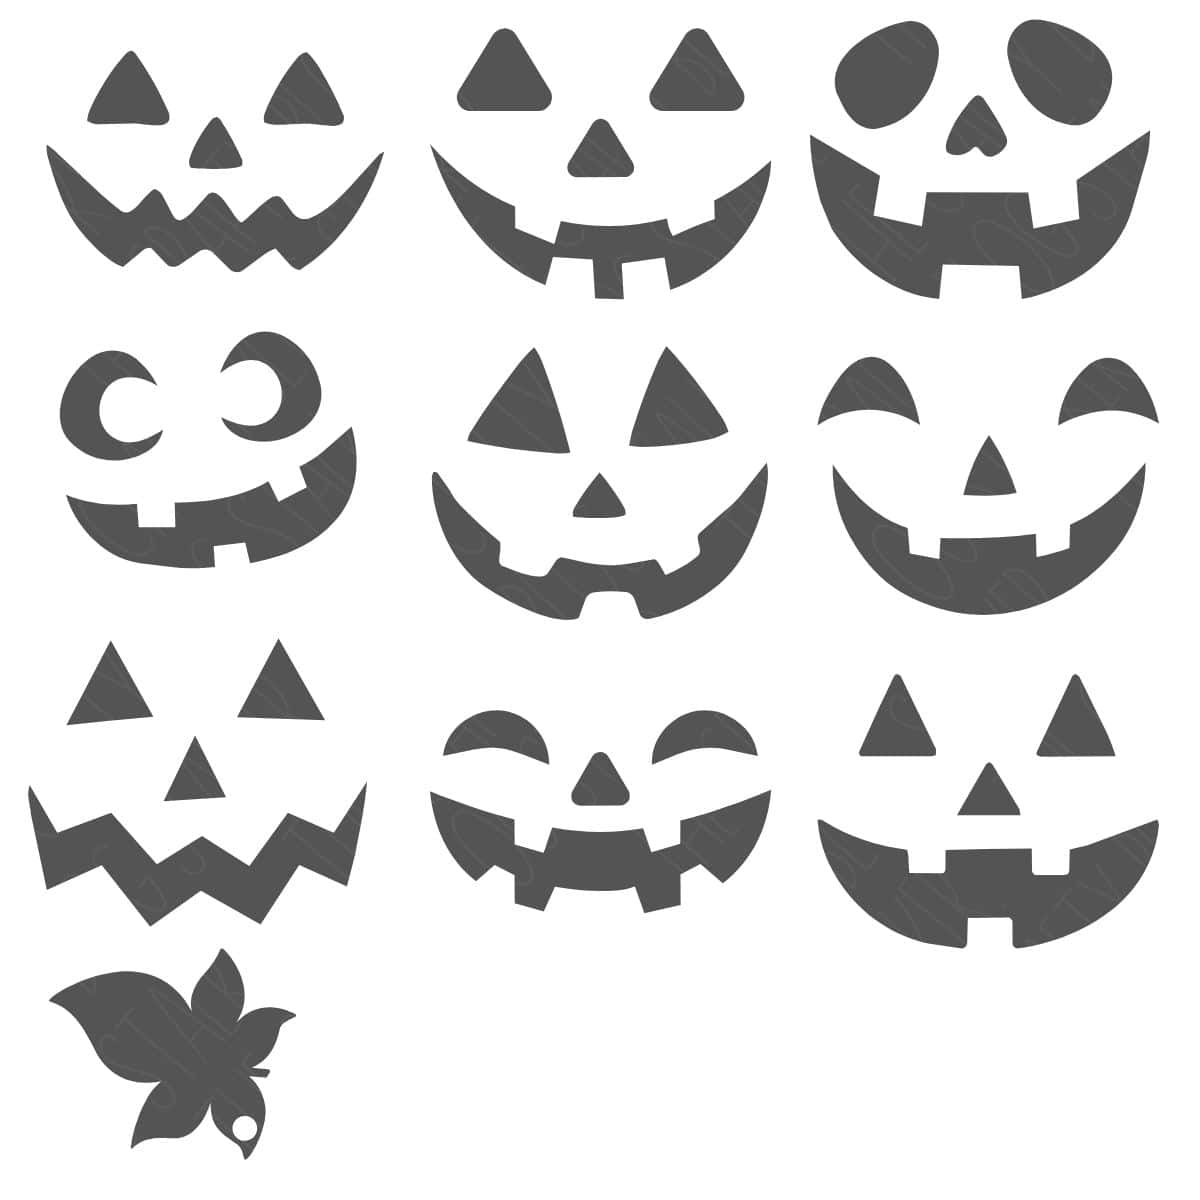
Make the Jack-O'-Lantern Candy Containers
Before opening Cricut Design Space, measure the front of your candy container so you know how large to make the vinyl face.
A container with a fairly flat front works best because adhesive vinyl can wrinkle or pucker when you try to apply it over a strongly curved surface.
The usable area on the front of my bottles measures about 3.75 by 3.5 inches, so I sized each Jack-O'-Lantern face to about 2.75 inches.
This leaves enough room around the design so the face doesn't feel crowded.
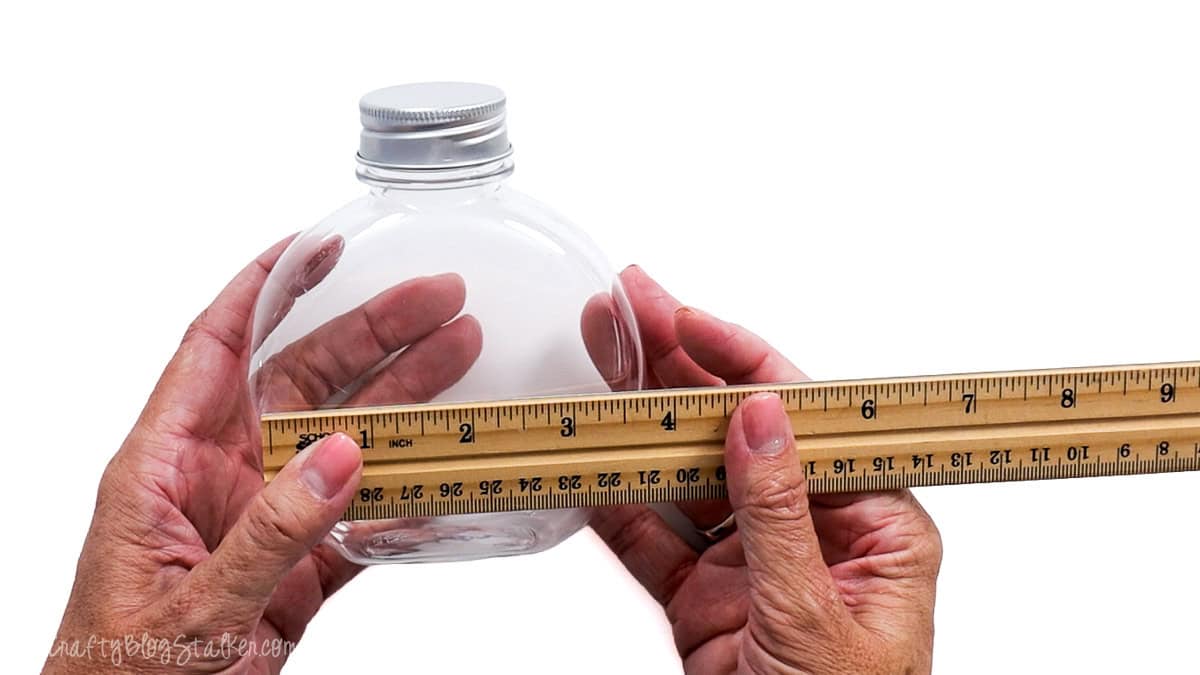
Open a new project in Cricut Design Space and upload the Jack-O'-Lantern Faces SVG Bundle.
Ungroup the designs so you can work with each face individually.
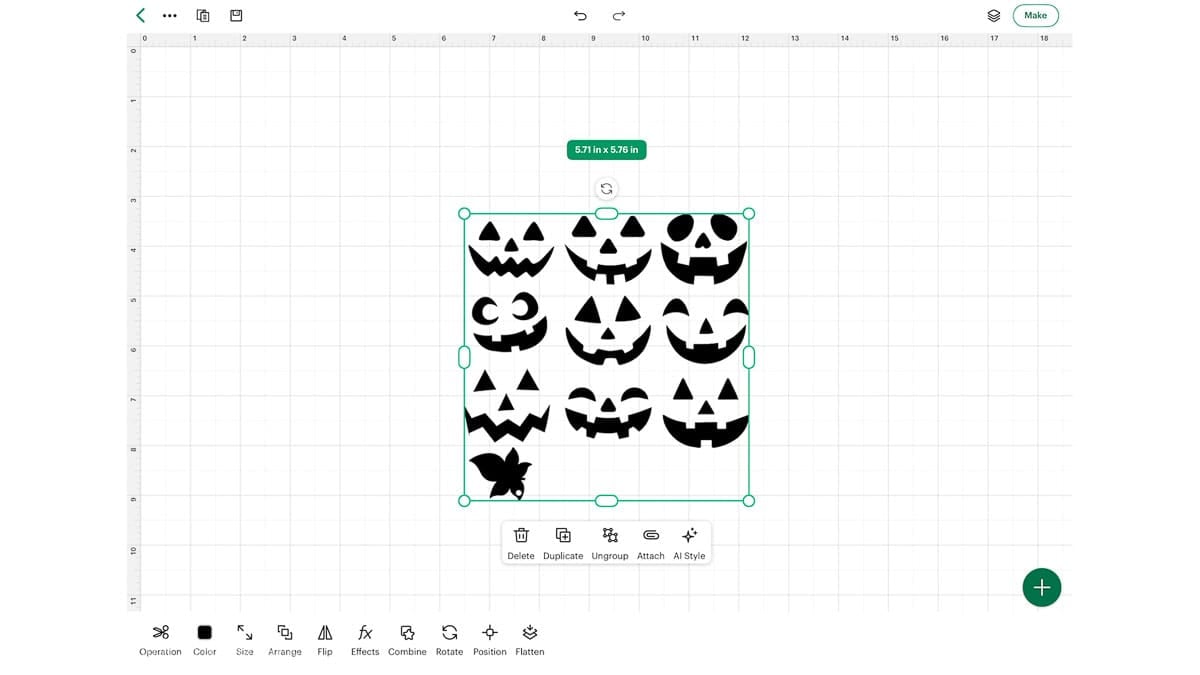
Choose the face or faces you want to use and resize them to fit your containers.
I'm making three Halloween gifts, so I picked my three favorite faces and deleted the designs I wasn't using.
Change the leaf to a different color in Design Space so Cricut places it on a separate mat.
Since I'm making three gifts, I also duplicated the leaf until I had one for each container.
When everything is sized and ready, click Make and follow the prompts in Design Space. Cut the leaves from green cardstock and the Jack-O'-Lantern faces from black adhesive vinyl.
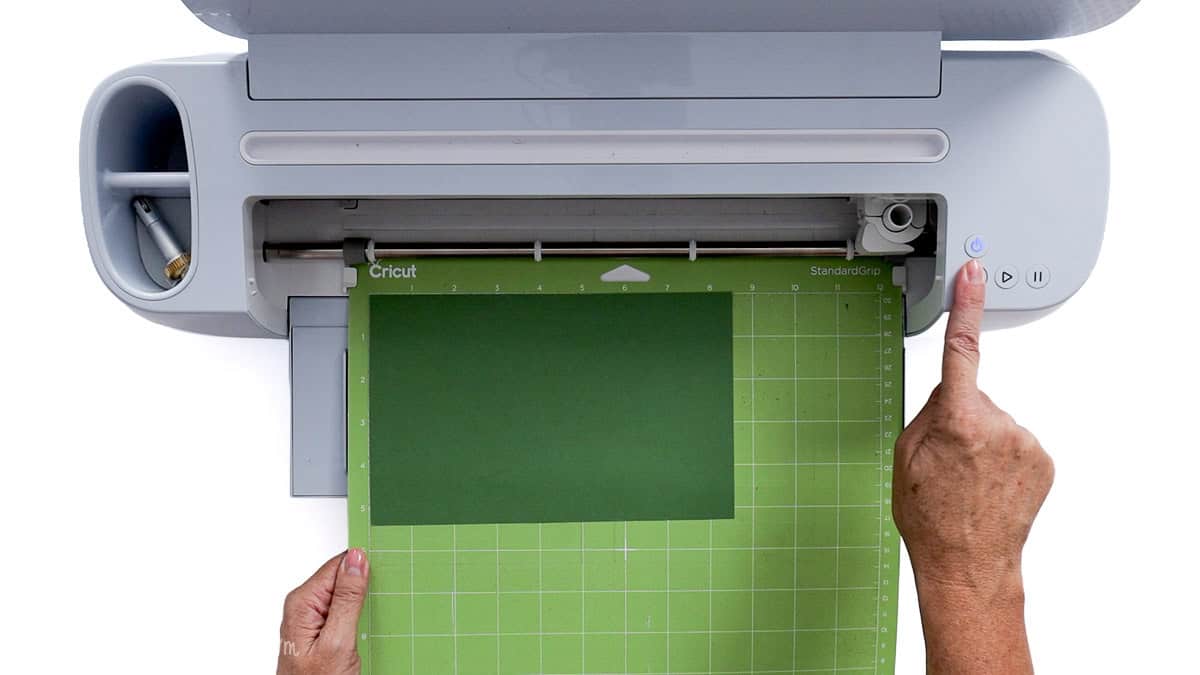
After cutting the faces, use a weeding tool to remove the excess vinyl from around and inside each design.
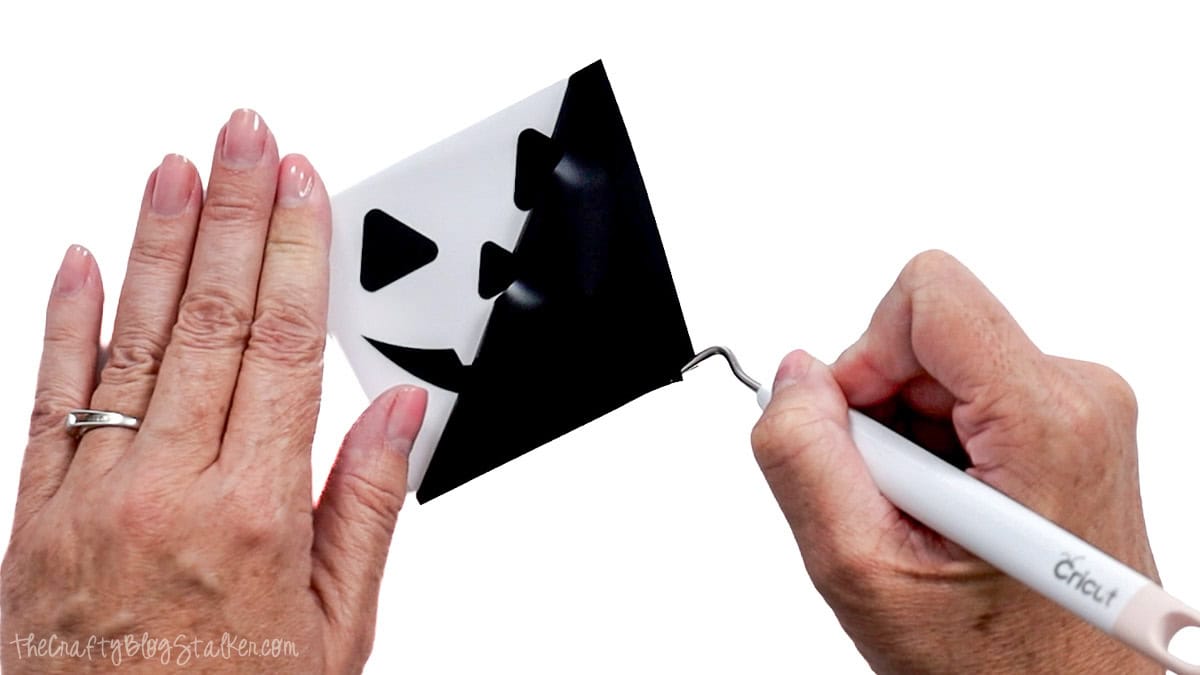
Cover each vinyl face with transfer tape slightly larger than the design.
Scrape over the transfer tape to help the vinyl stick, then peel away the paper backing.
Center the face on the front of the container and press it into place.
Go over the design again with your scraper before carefully peeling away the transfer tape.
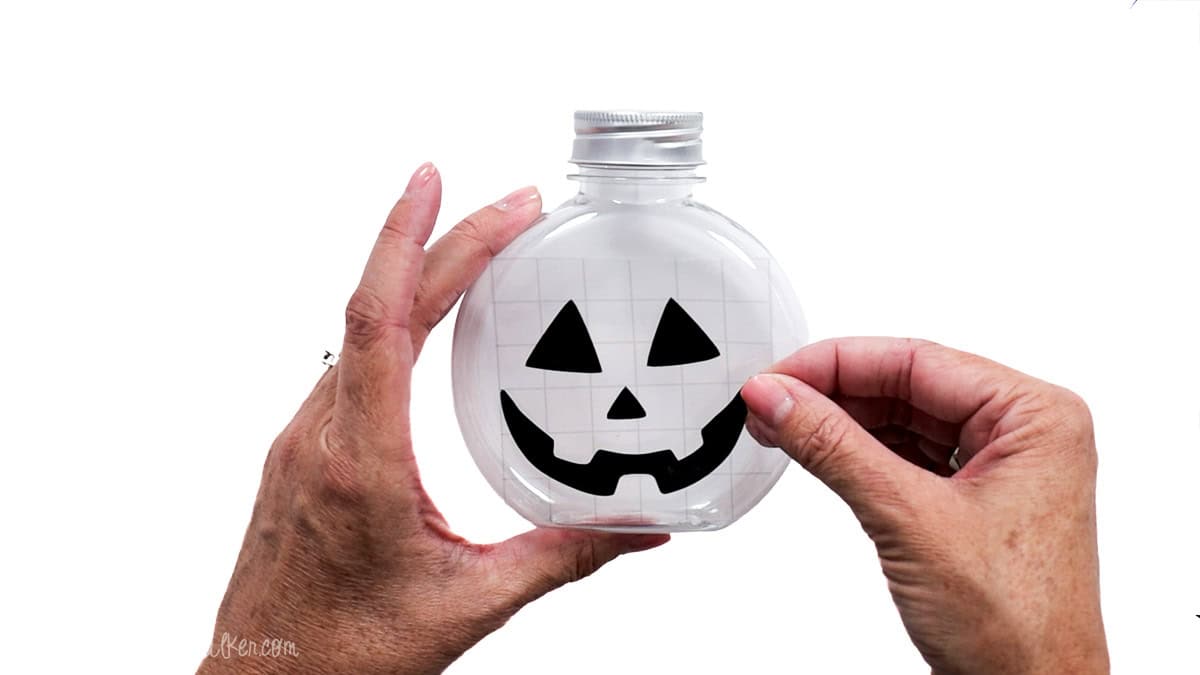
Take your time applying the vinyl, especially if your container has a slight curve.
Working from the center outward can help keep the design smooth.
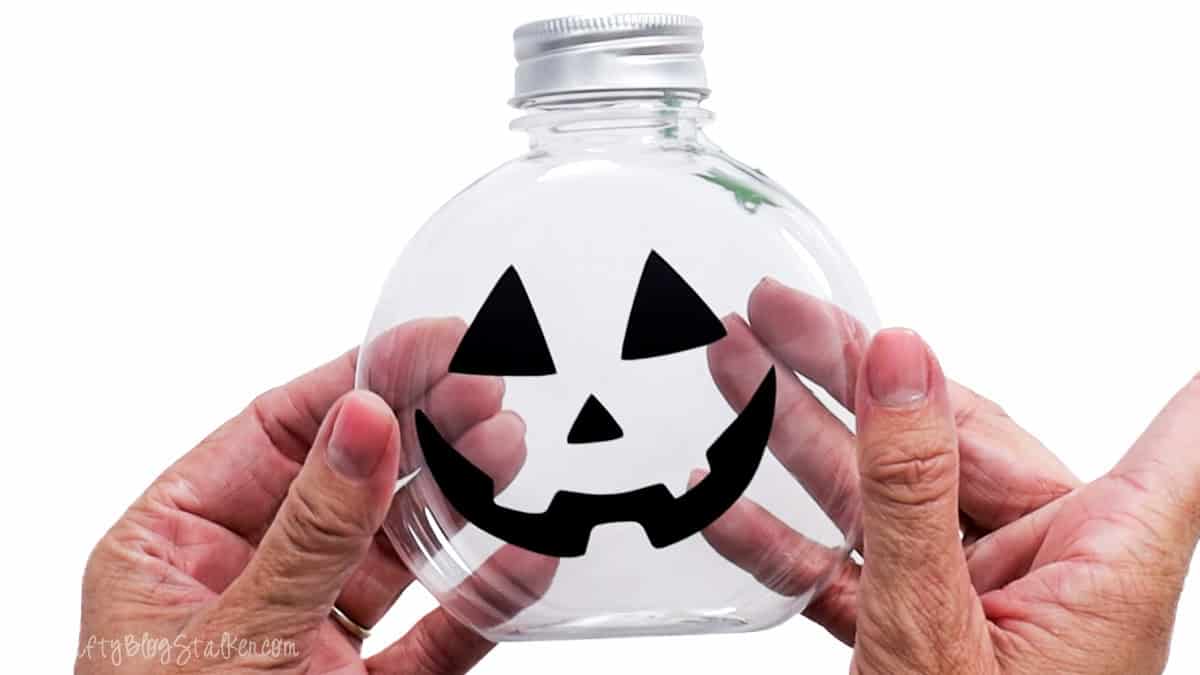
Cut a piece of twine about 14-15 inches long.
Wrap it around the top of the container just below the lid, thread the cardstock leaf through, and tie the twine into a bow.
Trim the ends as needed for a neat finish.
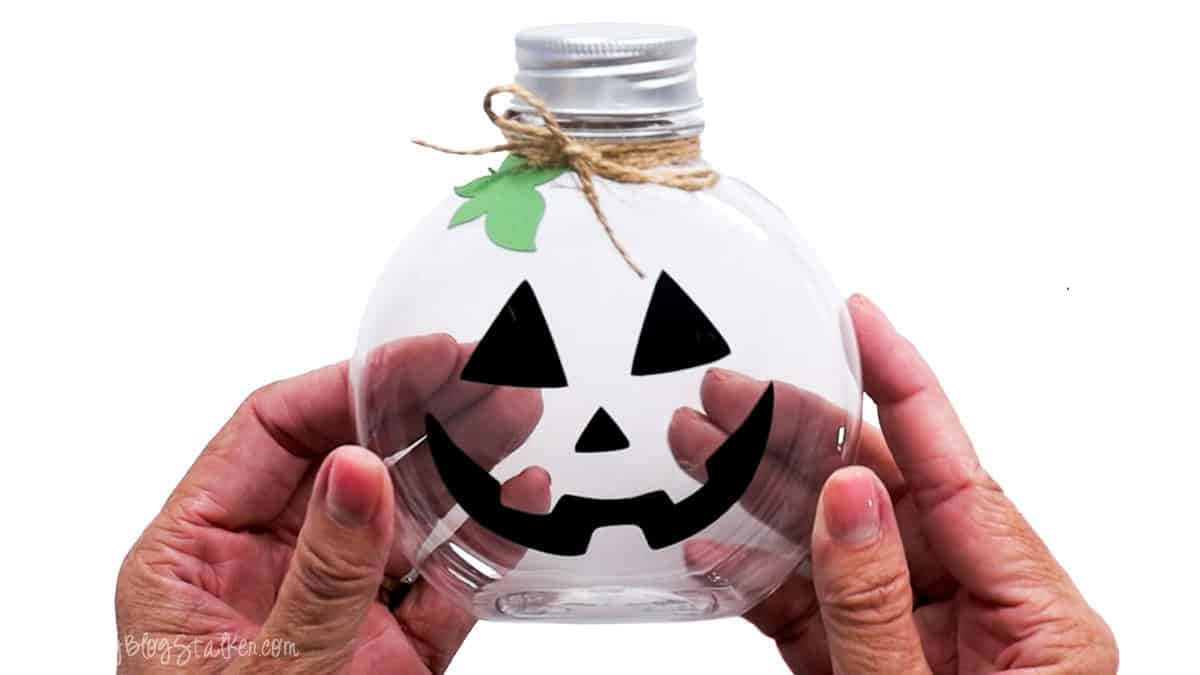
Fill Your Halloween Candy Gifts
For the candy, I chose Reese's Pieces because the orange, yellow, and brown colors look so good inside the little pumpkins.
You can use any candy that fits through the opening, though, so this is an easy project to customize around someone's favorite flavor or treats.
Small wrapped candies are a great option for teachers, neighbors, coworkers, or party guests. You could also fill the containers with milk chocolate pieces or other colorful Halloween candy.
If you're using unwrapped sweets like I did, put on food-safe gloves before handling the candy. Since these are gifts for other people, I don't want to touch their food with my bare hands.
To make filling the narrow bottles easier, I rolled a clean piece of paper into a simple funnel and poured the candy through the top. Once they're full, screw the lids back on, and they're ready to give

These are such a fun alternative to handing someone a regular bag of Halloween chocolate.
Set several out as favors for a Halloween party, make them for your kids' teachers, or surprise friends and neighbors with a little something sweet.
Frequently Asked Questions
Choose candy that easily fits through the opening of your container. Reese's Pieces are perfect for the pumpkin look, but you can use colorful Halloween candy, chocolates, wrapped treats, or whatever sweets the recipient likes best.
Absolutely. The container doesn't have to be pumpkin-shaped for the idea to work. Look for a clear, food-safe container with a flat or only slightly curved front so the vinyl is easier to apply.
Regular adhesive vinyl works well for the Jack-O'-Lantern faces. Since the vinyl is applied to the outside of the container and doesn't touch the candy, it's used only as decoration.
You could cut simple Jack-O'-Lantern faces from adhesive vinyl by hand, but a Cricut makes it much easier to get clean, detailed designs and make several matching gifts at once.
Yes! Make several faces from the SVG bundle and fill the containers with your favorite treats. They're cute enough to use as Halloween party decorations before guests take them home.
Kids can help choose their favorite Jack-O'-Lantern faces, select the candy, and add the finishing touches. Depending on their age and Cricut experience, an adult may want to handle the cutting and vinyl application.
Need help with this project?
Click a button below to ask AI for other container ideas for this project.
More Halloween Ideas
Looking for more cute Halloween projects and treats? Here are a few more fun ideas to make for your home, family, and friends.
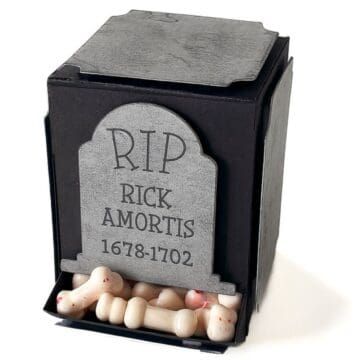
Hi, I'm Katie!
I'm so glad you're here. Want to make something fabulous? I'm here to help!
The post DIY Jack O'Lantern Candy Gifts for Halloween appeared first on The Crafty Blog Stalker.
]]>The post How to Make a Vampire Pumpkin for Halloween Decor appeared first on The Crafty Blog Stalker.
]]>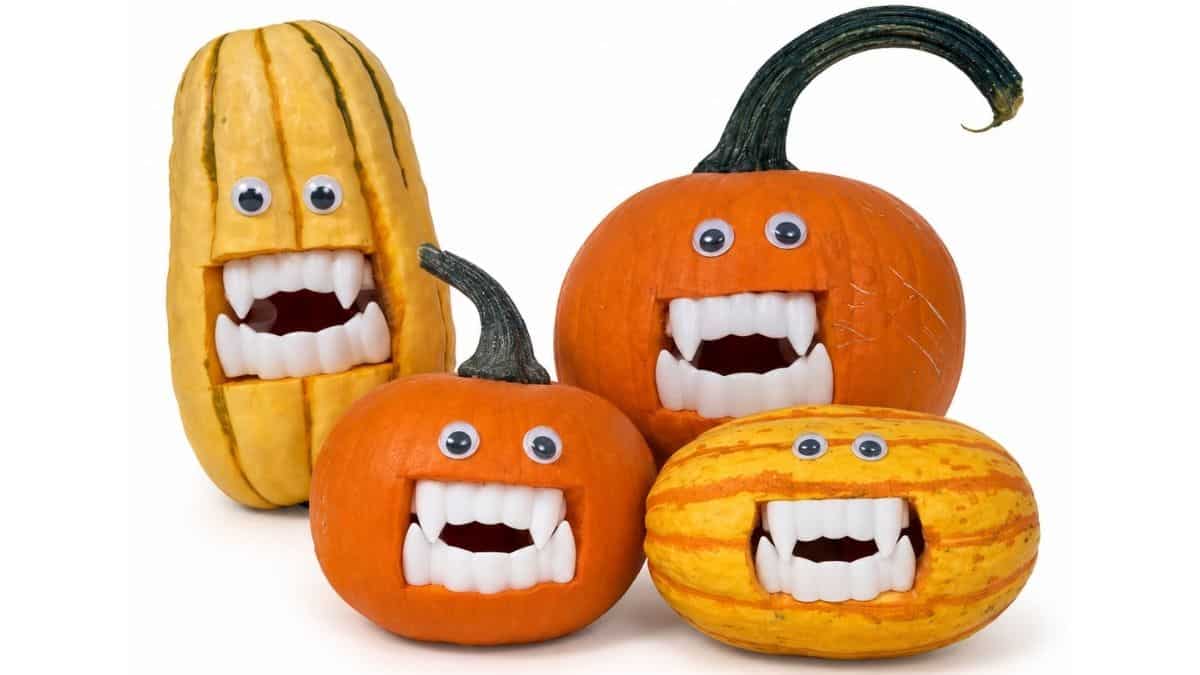
I kept seeing silly little vampire pumpkins pop up online and knew I had to make a vampire pumpkin of my own.
Using a small pumpkin or decorative gourd and adding plastic fangs gives each one so much personality without making it scary.
They're a fun project for anyone who likes Halloween decorations that lean more cute and quirky than creepy.
Grab a few little gourds, and let's turn them into an adorable group of vampires!
Skill Level: Beginner
Estimated Cost: $10
Total Time: 20 minutes
Craft Tutorial Video
If videos are your thing, you're in luck-I've got a full tutorial ready for you!
Subscribe to my YouTube channel and stay inspired with every new project.
Supply List
- Small Decorative Gourds
- Printable Mouth Template
- Plastic Vampire Teeth
- Small Knife
- Spoon
- Hand Towel
- Masking Tape
- Embossing Stylus
- Googly Eyes
- Hot Glue Gun
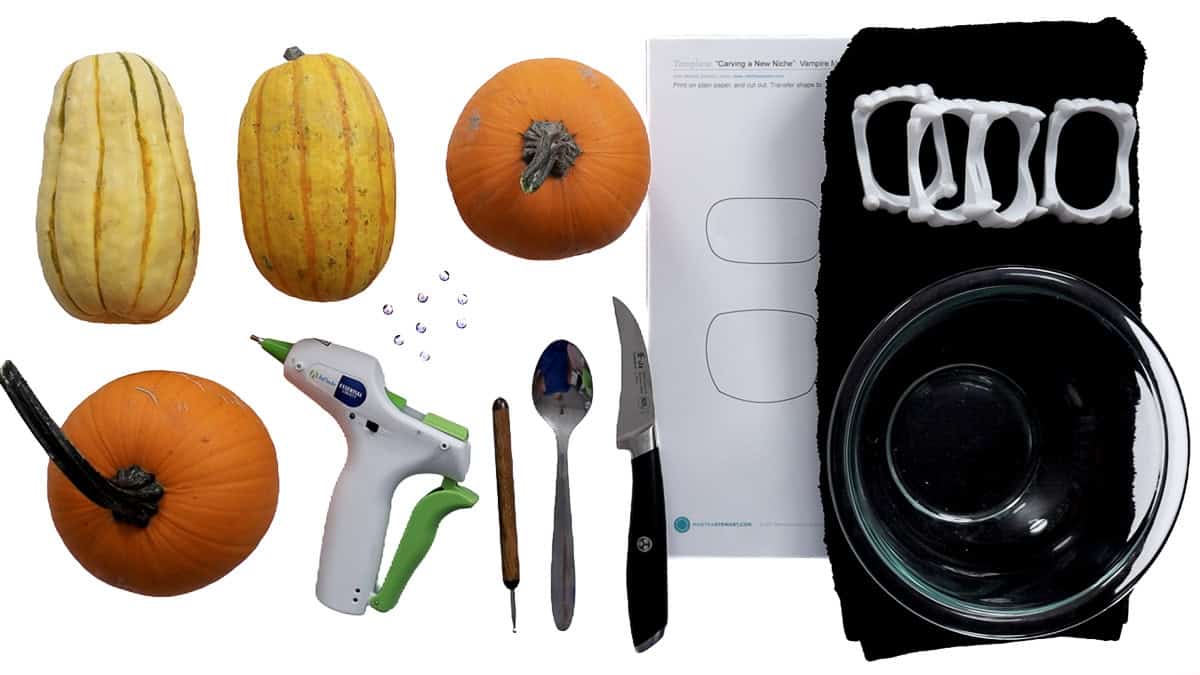
Prepare the Pumpkins
When selecting your pumpkins or gourds, look for ones that sit securely on their bottom or side. It's hard to display a silly vampire pumpkin when it won't stay in place. 😆
You can also have fun with the different shapes. A tall, skinny gourd or a squat little pumpkin can give each vampire a completely different personality. There really isn't one perfect pumpkin for this project, which makes choosing them part of the fun.
Start by printing the free mouth template. It includes two different mouth sizes, one for closed teeth and another for open teeth.
The mouths on the template were wider than my plastic fangs, so I used a pencil to mark new lines and adjusted the width to fit my teeth better.
Before carving, hold the teeth against the template and make any adjustments you need.
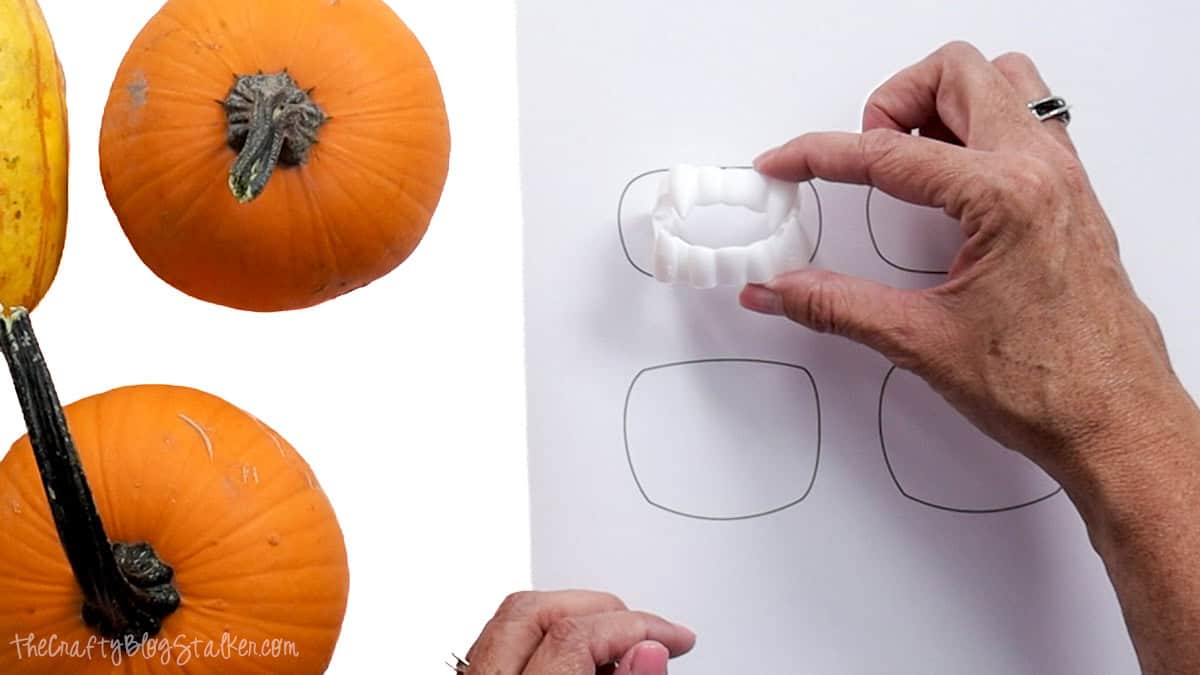
I'm creating four vampire pumpkins, so I decided to make two with closed teeth and two with open teeth.
The two larger gourds will get the open vampire teeth.
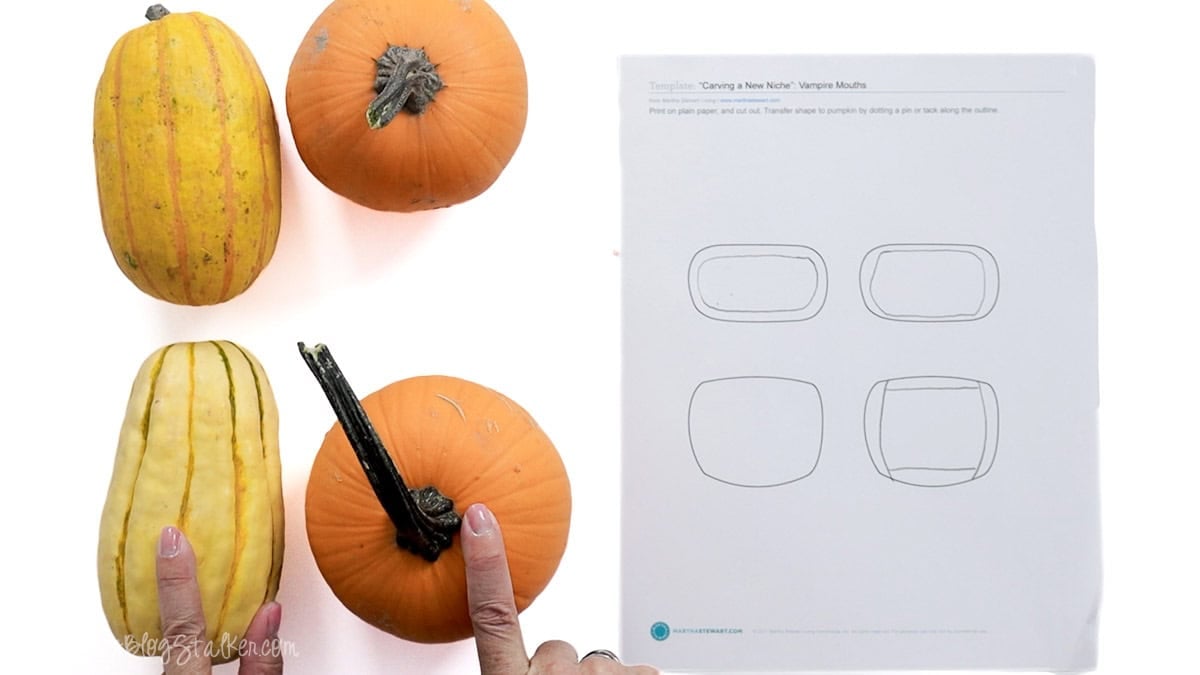
While I made four different vampire pumpkin faces, I'm only showing the process on one since the steps are the same for each.
Before carving, I gave each gourd a good bath to remove any remaining dirt and then dried them completely.
Pumpkins and gourds are technically fruits, even though we often think of them alongside fall vegetables.
Then I rolled both ends of a hand towel toward the center and nestled the pumpkin between them.
This creates a little cradle that keeps the pumpkin from rolling around while you work, which is especially helpful when you're using sharp objects.
Carve the Vampire Mouth
Cut around the mouth template, leaving some paper around the outside of the design. You don't need to cut directly on the mouth lines.
Tape the template where you want the mouth, then use an embossing stylus to trace the shape, pressing firmly enough to leave an impression in the pumpkin.
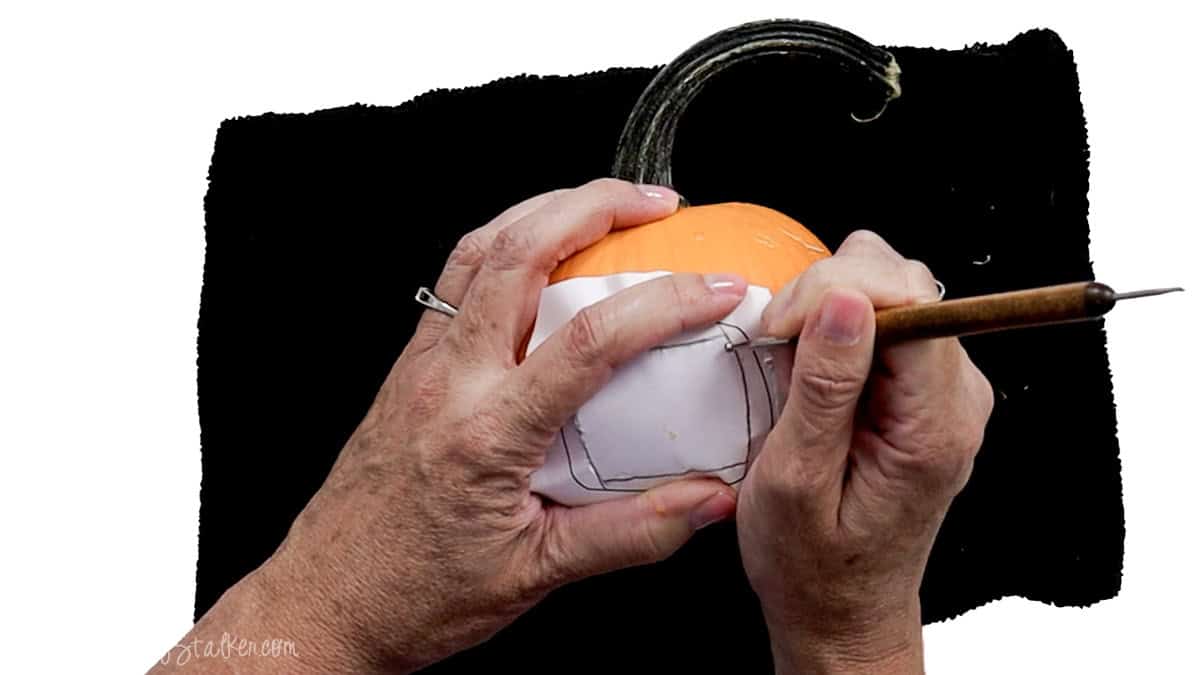
Remove the paper and trace over the impression again with the stylus if you need to make the outline easier to see.
For the mouth opening, start small. You can always remove a little more pumpkin, but you can't put it back once it's gone.
Carefully use a small knife to carve out the mouth. Keep the blade straight up and down instead of cutting at an angle so the opening has straight edges for the teeth.
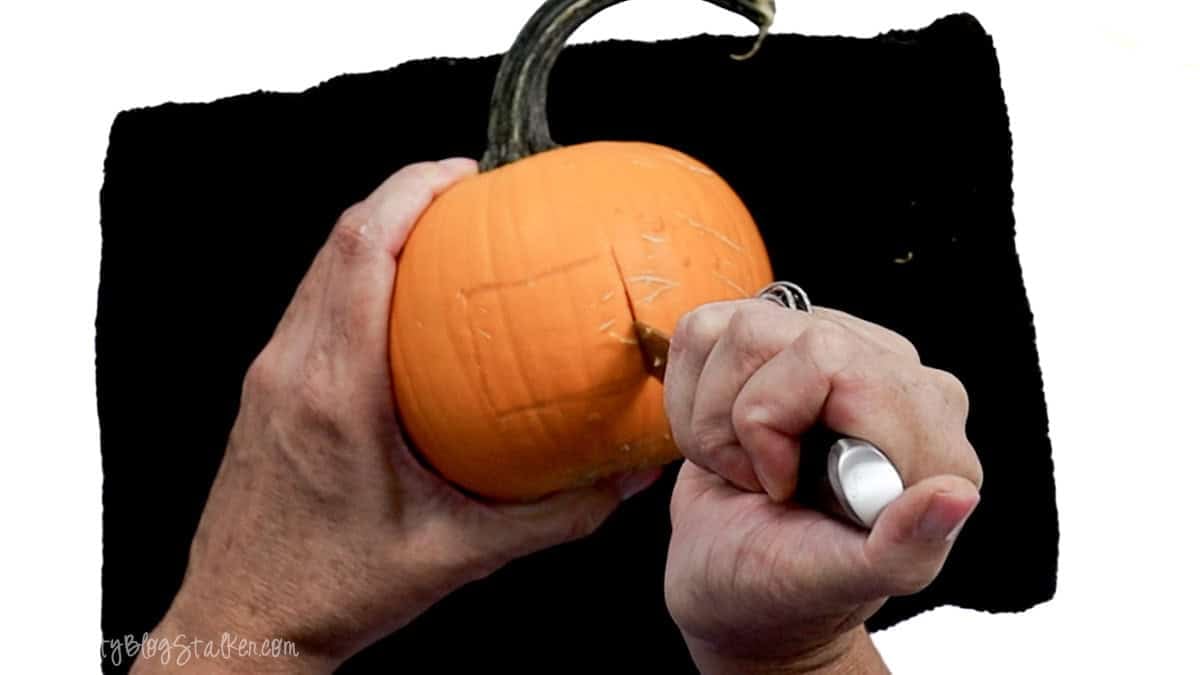
Once the mouth is open, use a spoon to scoop out as many of the seeds and stringy pumpkin guts as you can reach.
Since I'm not turning these into traditional pumpkin lanterns or putting a candle inside, the entire pumpkin doesn't need to be perfectly clean.
I just remove as much as I reasonably can through the mouth opening.
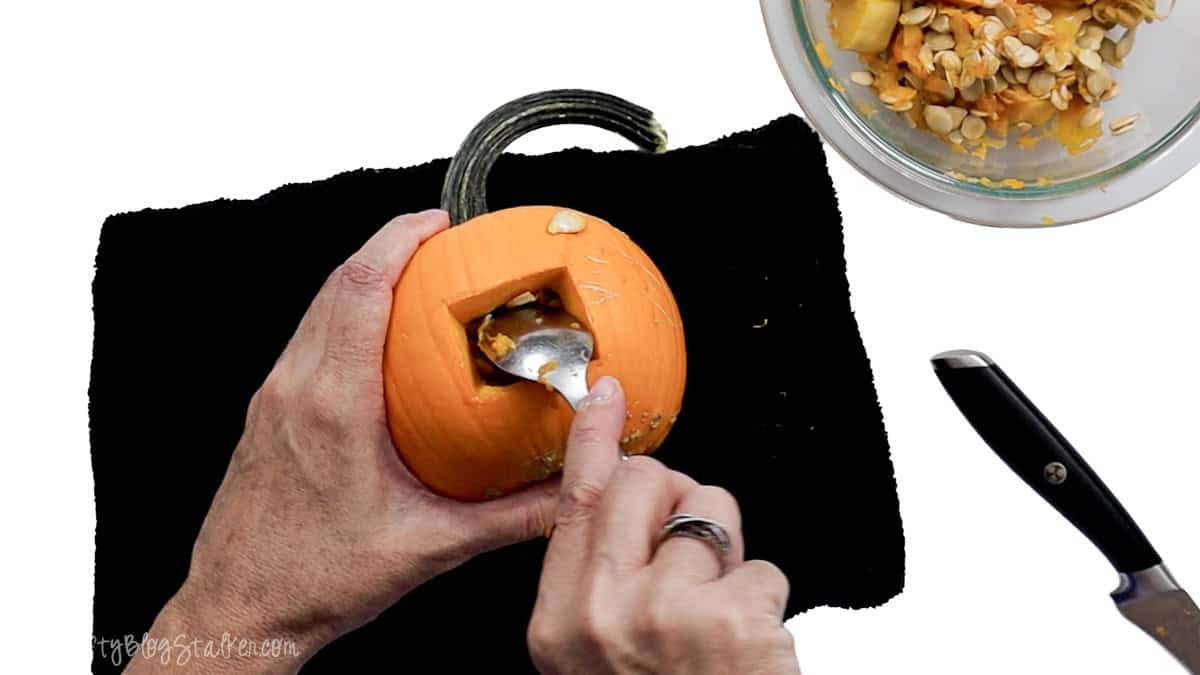
Now comes the fun part. Try inserting the vampire teeth into the opening.
If they don't fit, take note of exactly where the opening needs to be larger. Instead of making one big cut, trim away a little at a time and test the teeth again.
This is one of those times when going slowly really does make things easier.
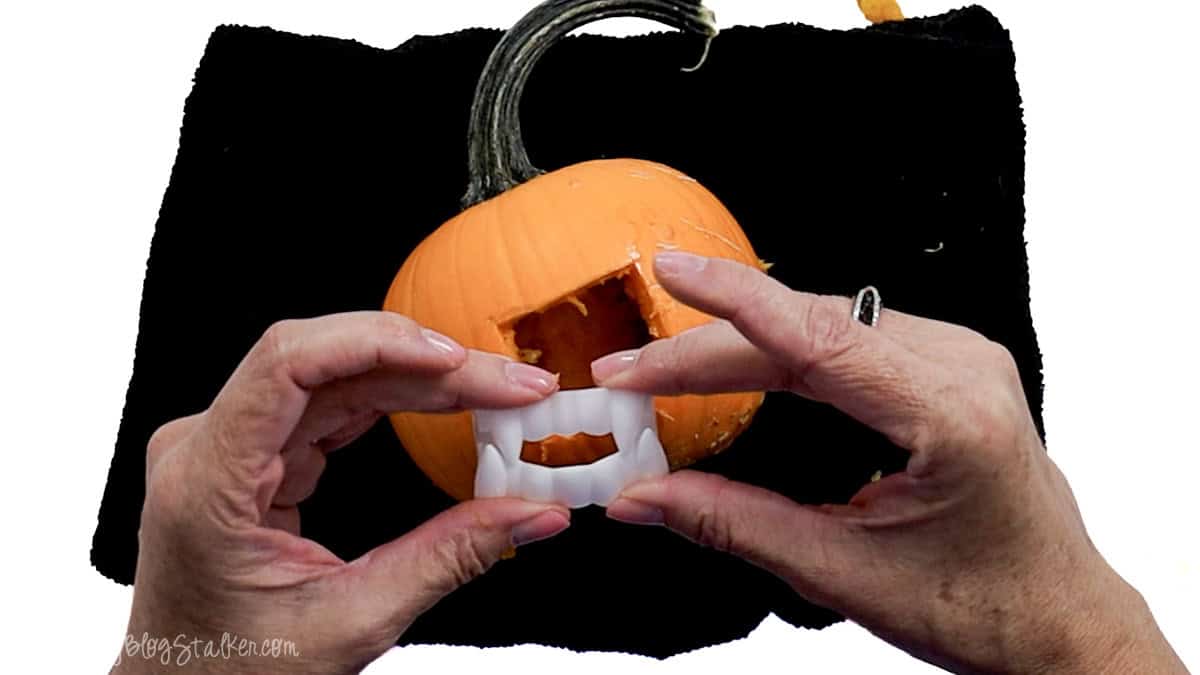
It took me about three rounds of fitting and trimming before my teeth fit perfectly.
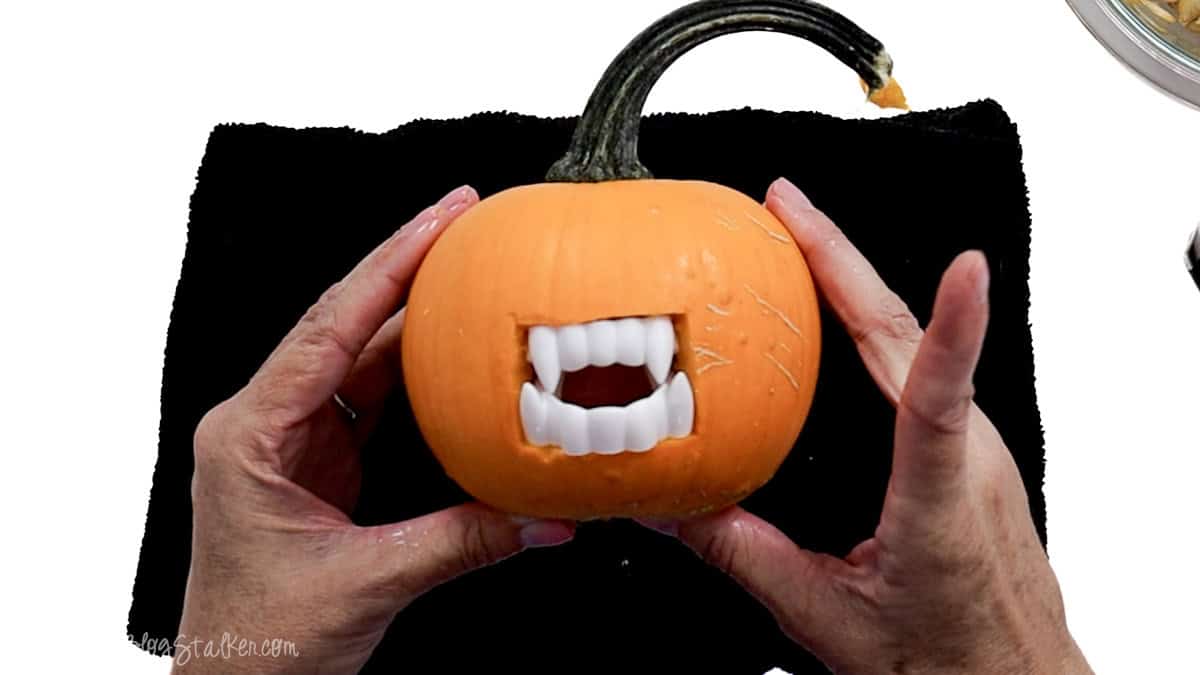
Add the Googly Eyes
I wanted my vampires to look silly instead of scary, so I used googly eyes. The different eye sizes and slightly crooked placement give each vampire its own expression.
Heat your hot glue gun, then roll a small piece of masking tape between your fingers, sticky side out.
Use the tape to pick up the googly eye so you can position it without holding the tiny edges close to the hot glue. Add a small amount of glue to the back of the eye and press it onto the pumpkin, then repeat with the second eye.
And just like that, he looks much more menacing. 😂
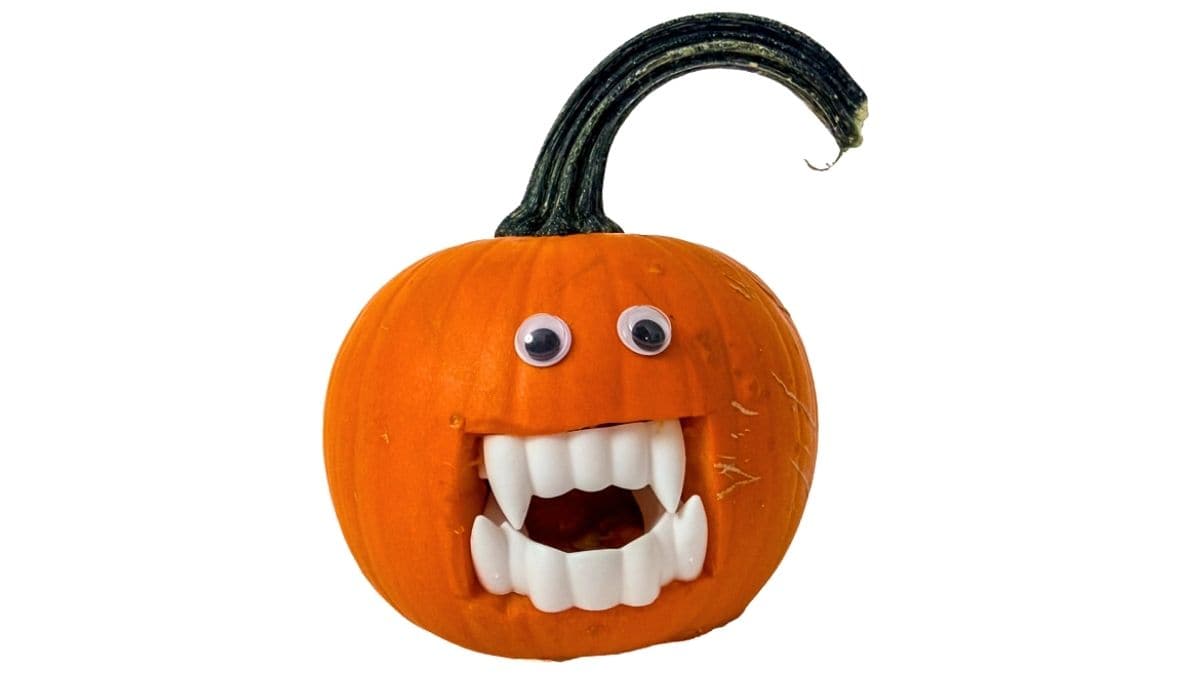
All four of my vampire pumpkins turned out a little different, which is exactly what makes them so much fun.
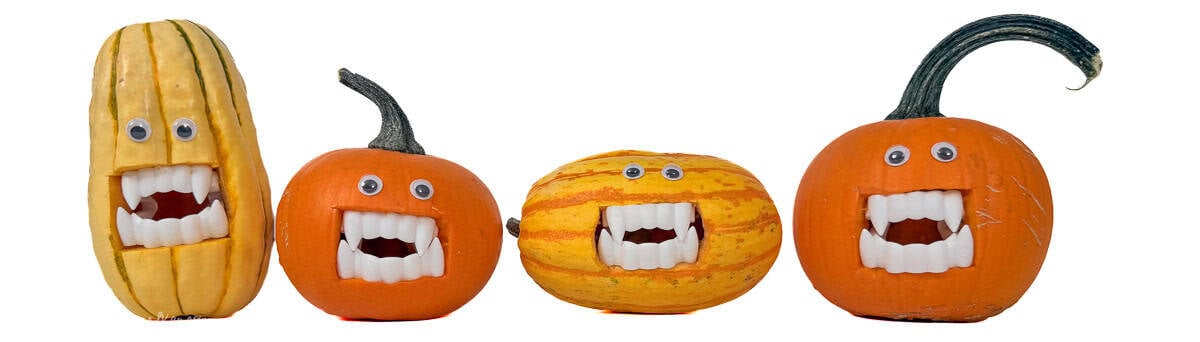
Set several together to make a funny Halloween centerpiece, or tuck individual pumpkins onto shelves and tabletops with the rest of your Halloween decor.
You can change the look by choosing different pumpkin shapes, mixing up the googly eyes, or changing the fang position. Even though these designs are simple, each little vampire ends up with a personality of its own.
Frequently Asked Questions
Small decorative pumpkins and gourds work really well for this project. Look for firm pumpkins without soft spots, and make sure they can sit securely on their bottom or side before you start carving.
No, but the template gives you an easy starting point for the mouth. You can also use a pencil to create your own outline based on the size and shape of your plastic teeth.
Start with an opening slightly smaller than you think you'll need. Test the teeth, remove a tiny bit more pumpkin where needed, and test them again. Gradually enlarging the opening gives you much more control than cutting it too large at the beginning.
If the mouth is cut to fit the teeth snugly, they should stay in place without glue. If yours feel loose, you may need to adjust the opening slightly or secure the teeth depending on the type you're using.
Because these are real carved pumpkins and gourds, they won't last forever. How long they stay fresh depends on the pumpkin, temperature, humidity, and where you display them. Keep them somewhere cool when possible and discard them if they become soft, moldy, or start to smell.
Kids can have fun choosing the pumpkins, picking out silly eyes, and deciding where everything should go. An adult should handle the knife, hot glue gun, and other sharp objects, but that still leaves plenty of important vampire-design decisions for the kids!
Need help with this project?
Click a button below to ask AI how to decorate even more!
More Pumpkin Crafts
Here are a few more fun pumpkin crafts to add to your Halloween decorating list.
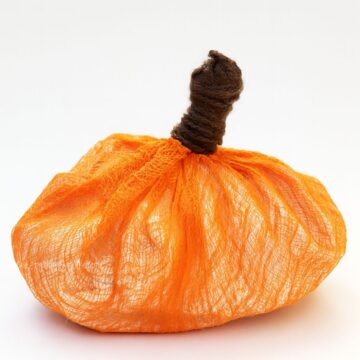

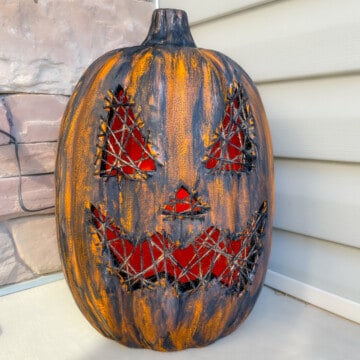
Hi, I'm Katie!
I'm so glad you're here. Want to make something fabulous? I'm here to help!
The post How to Make a Vampire Pumpkin for Halloween Decor appeared first on The Crafty Blog Stalker.
]]>The post Home Sweet Haunted Home Sign DIY Laser Cut Tutorial appeared first on The Crafty Blog Stalker.
]]>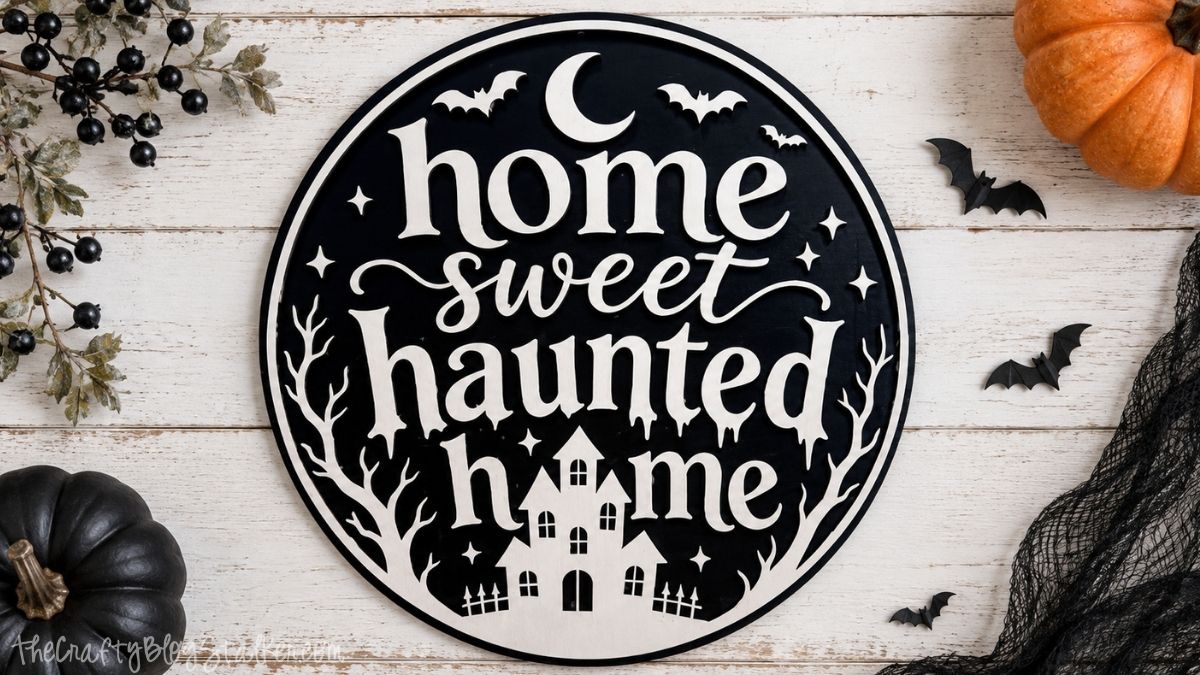
If you love Halloween decor that feels spooky without being too scary, this Home Sweet Haunted Home sign is such a fun project to make.
I love how the layered laser-cut pieces come together to create a detailed design while still being easy to assemble.
It's a great project for anyone with a laser cutter who wants to add a handmade touch to a front door, front porch, mantel, or Halloween display.
Grab your supplies, and I'll show you how to make your own haunted house sign from start to finish!
Skill Level: Beginner
Estimated Cost: $20
Total Time: 2 hours
Craft Tutorial Video
If videos are your thing, you're in luck-I've got a full tutorial ready for you!
Subscribe to my YouTube channel and stay inspired with every new project.
Supply List
- Laser Cutting Machine
- Home Sweet Haunted Home Sign Laser SVG
- 3mm MDF
- White Paint
- Black Paint
- Cosmetic Sponge
- Sponge Brush
- Wood Glue
- Easel Paper (optional)
- Masking Tape (optional)
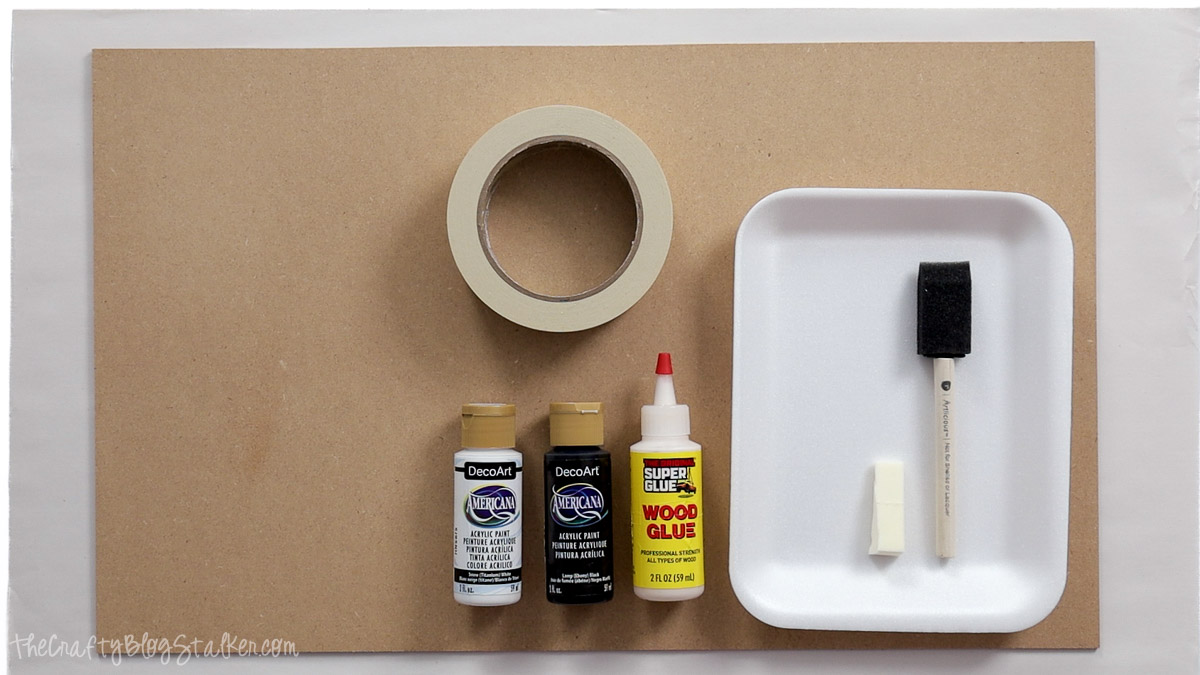
Grab the Laser File
Download the Home Sweet Haunted Home Sign Laser SVG to your computer or device before opening your laser software.
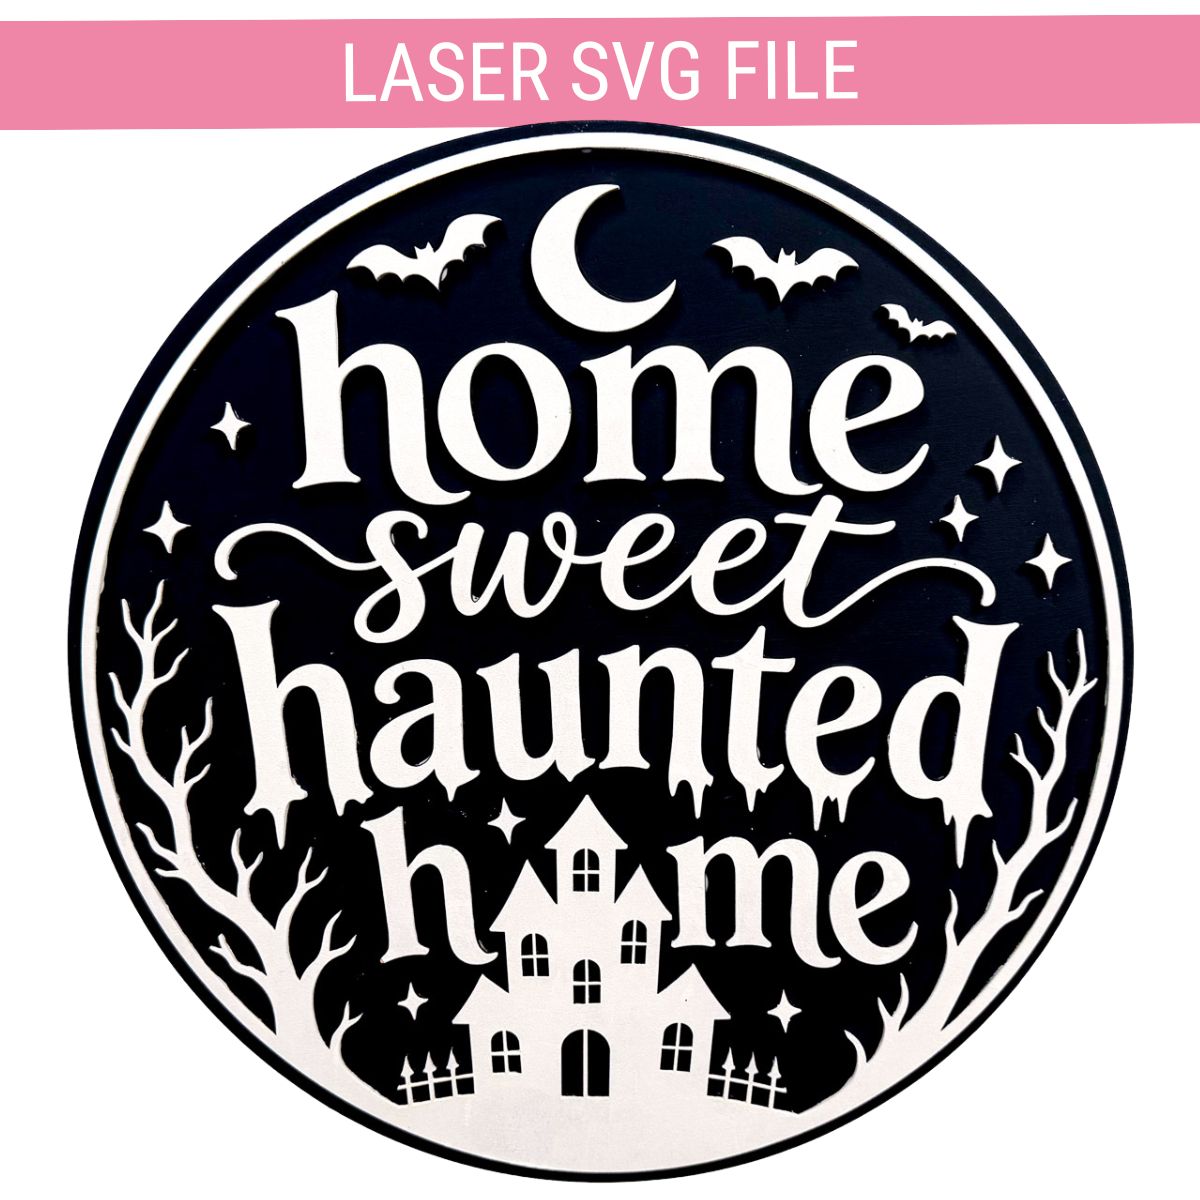
Cut and Prepare the Sign
Upload the SVG into your laser-cutting software. I use LightBurn, but these instructions may look a little different depending on your machine and software.
The file uses two line colors to make setup easier. The black lines are the cut lines, while the red lines are engraving lines.
The engraved lines are optional, but I highly recommend using them. They act as placement guides when it is time to assemble the sign, making it much easier to keep the letters, haunted house, bats, and other pieces exactly where they belong.
The engraved lines are slightly smaller than the pieces placed over them, so they disappear completely once the sign is assembled.
I cut my sign on my OMTech 50-watt laser using 3mm chipboard. You can use another laser-safe wood or MDF material and resize the design if you want a larger or smaller finished sign.
Always adjust your laser settings for the exact machine and material you're using rather than relying on settings from another machine.
Once everything is cut, gather all of the pieces and keep them together. There are several smaller pieces in this design, and you don't want a little bat or star disappearing before you're ready to assemble!
Here are all of my cut pieces. You can also see the engraved placement lines on the round sign base.
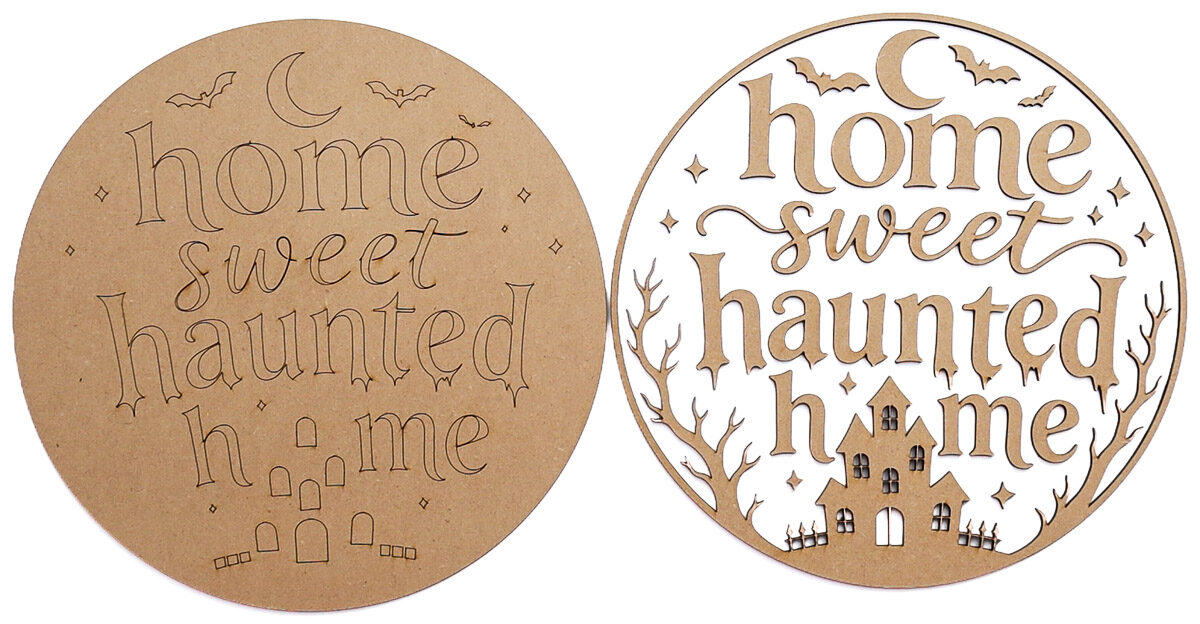
Paint and Assemble the Sign
Before painting, I like to cover my countertop with a large piece of paper. Then I take a long strip of masking tape, connect the ends to create a loop with the sticky side facing out, and press it onto the paper.
The smaller laser-cut pieces stick right to the tape, which keeps them from sliding around while I paint. It's a simple trick, but it makes painting small wood crafts much easier and keeps paint off my fingers.
I also lay the letters out in order before taping them down. This helps me make sure everything is facing the right direction and that I'm painting the correct side.
I didn't tape down the large circle base, but I did secure all of the smaller pieces.
For my sign, I went with classic Halloween colors, black paint for the base and white paint for the layered pieces. I love the contrast, especially because all of those little details really stand out against the black background.
You definitely don't have to stick with black and white, though. This would be a fun way to get creative with your Halloween decor. Orange and black would be cute, or you could go in a completely different direction with light pink, purple, or whatever colors fit your Halloween style.
I used a sponge brush to paint the large base because it covers a bigger area quickly.
For the smaller pieces, I used a cosmetic sponge. Makeup sponges are one of my favorite inexpensive tools for painting small laser-cut pieces because they're easy to control and much cheaper than using a new sponge brush every time.
My black base needed two coats of paint, while the white pieces needed three coats for good coverage. The number of coats you need may vary depending on your paint color and the material you're using.
Let all of the painted pieces dry completely before you begin assembling the sign. It's much easier to work with everything when you aren't worrying about fingerprints or smudged paint.
I started with the inner frame of the circle because it gave me a good reference point for the rest of the design.
Instead of squeezing wood glue directly onto the pieces, I like to brush a thin layer of glue onto the back. This gives me more control and helps prevent glue from seeping out around the edges when I press the piece into place.
I even have a designated glue paintbrush for projects like this so I don't accidentally ruin one of my good brushes.
Continue brushing glue onto the back of each piece and placing it over the corresponding engraved lines on the base.
This is where those engraved guides really come in handy. They make it easy to get nice straight lines and keep all of the small details properly positioned without constantly measuring and adjusting.
Once everything is glued in place, let the sign sit flat until the glue is completely dry.
I love how it looks when it's fully assembled!
You can display the finished sign on an easel, shelf, table, or mantel.
If you'd rather use it as a Halloween hanger on your front door, you can easily add ribbon to the back with a popsicle stick and hot glue. Here is my full door hanger tutorial.
Frequently Asked Questions
I used 3mm chipboard for my sign, but you can use another laser-safe wood or MDF material that works with your laser cutter. Just remember that different materials and thicknesses may require different laser settings.
No. The engraved lines are optional, but I think they're worth adding because they make assembly so much easier. They show exactly where each layered piece belongs and are completely covered when the pieces are glued in place.
Yes. You can resize the SVG in your laser software to fit your space or material. Make sure all design elements are selected and resized together so the layered pieces still fit the base correctly.
Absolutely! Black and white give this sign a classic spooky look, but you can try so many fun Home Sweet Home sign ideas. Orange, purple, green, pink, or even metallic paints could completely change the finished look.
Add a ribbon hanger to the back using a popsicle stick and hot glue. This turns the finished piece into one of those cute wooden door hangers that is easy to display throughout the Halloween season.
If you want to use the sign on a front porch or exterior door, consider how protected it will be from rain and moisture. MDF and similar wood products can be damaged by water, so an outdoor-rated protective finish and a covered location will help protect your finished project.
Need help with this project?
Click a button below to ask AI how to customize your colors.
More Laser Cut Ideas
Want more spooky laser crafting inspiration? Here are a few more fun Halloween projects to make with your laser cutter.

Hi, I'm Katie!
I'm so glad you're here. Want to make something fabulous? I'm here to help!
The post Home Sweet Haunted Home Sign DIY Laser Cut Tutorial appeared first on The Crafty Blog Stalker.
]]>The post 15 Beautiful Neutral Fall Decor Pillows Under $85 appeared first on The Crafty Blog Stalker.
]]>
When fall arrives with cooler temperatures and changing leaves, I can't help but get excited to make our home feel a little cozier.
I'm not really one to grab all things pumpkin, but I do love bringing in warmer colors, soft textures, and a few seasonal touches.
Don't get me wrong, I love a good pumpkin, but I don't necessarily want our house to scream the fall section of Hobby Lobby.
If you prefer more subtle seasonal decor, I've rounded up 15 beautiful neutral fall pillows that make it easy to give your space a cozy update.
Decorating with Neutral Fall Pillows
One of my favorite things about decorating with pillows is how quickly they can change a room's look. You don't have to completely redecorate for fall to make your home feel ready for the season.
Instead, look for warm browns, creams, rust tones, muted greens, plaids, and interesting textures that add a little more warmth to your sofa or favorite chair. Mixing patterns with solid or textured pillows also helps everything feel collected rather than too perfectly matched.
The best part is that most of these pillows aren't specifically fall-themed, so you can use them well beyond autumn. When the seasons change, simply swap out a few accessories around them for a completely different look.
Shop These Neutral Fall Pillows
Let's take a look at all the different options below. I've included everything from simple textured covers to plaid, floral, geometric, and vintage-inspired patterns, with options for a variety of decorating styles and budgets.
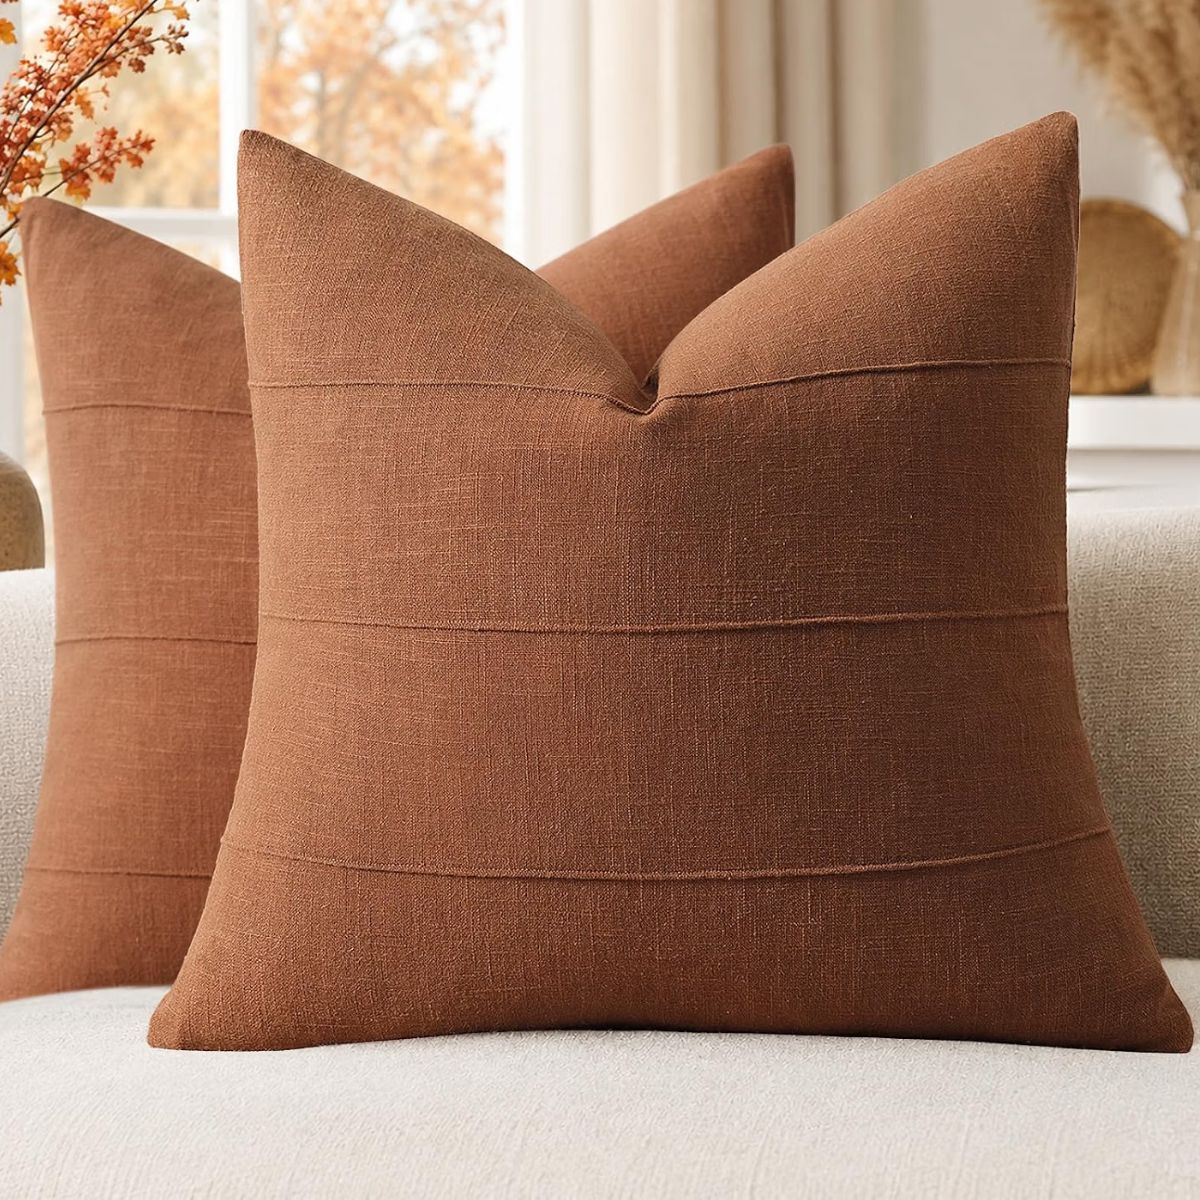
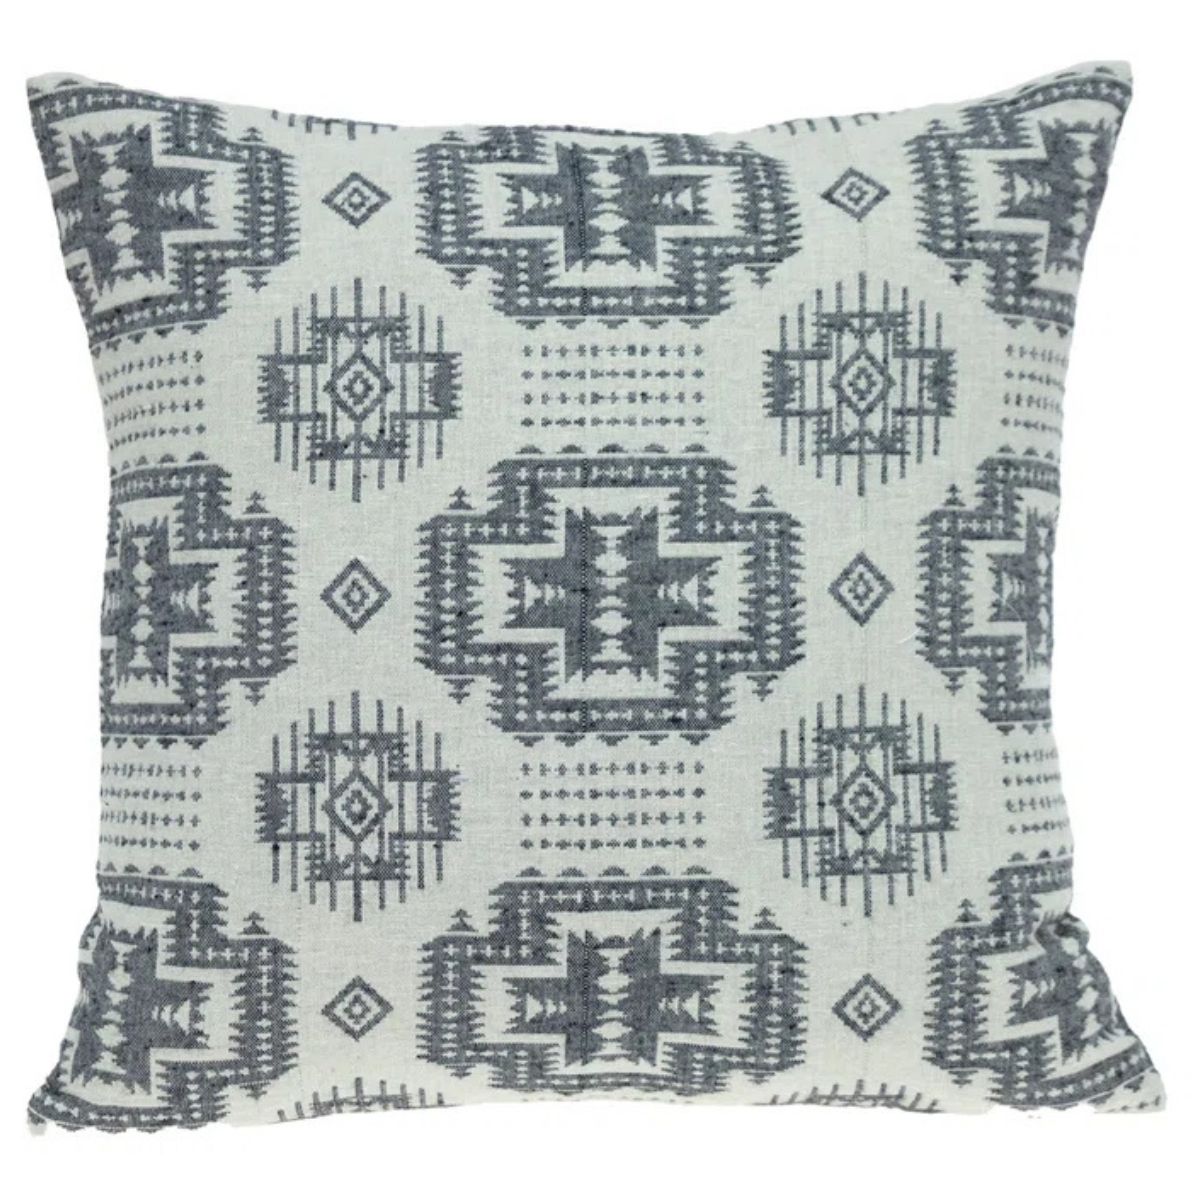
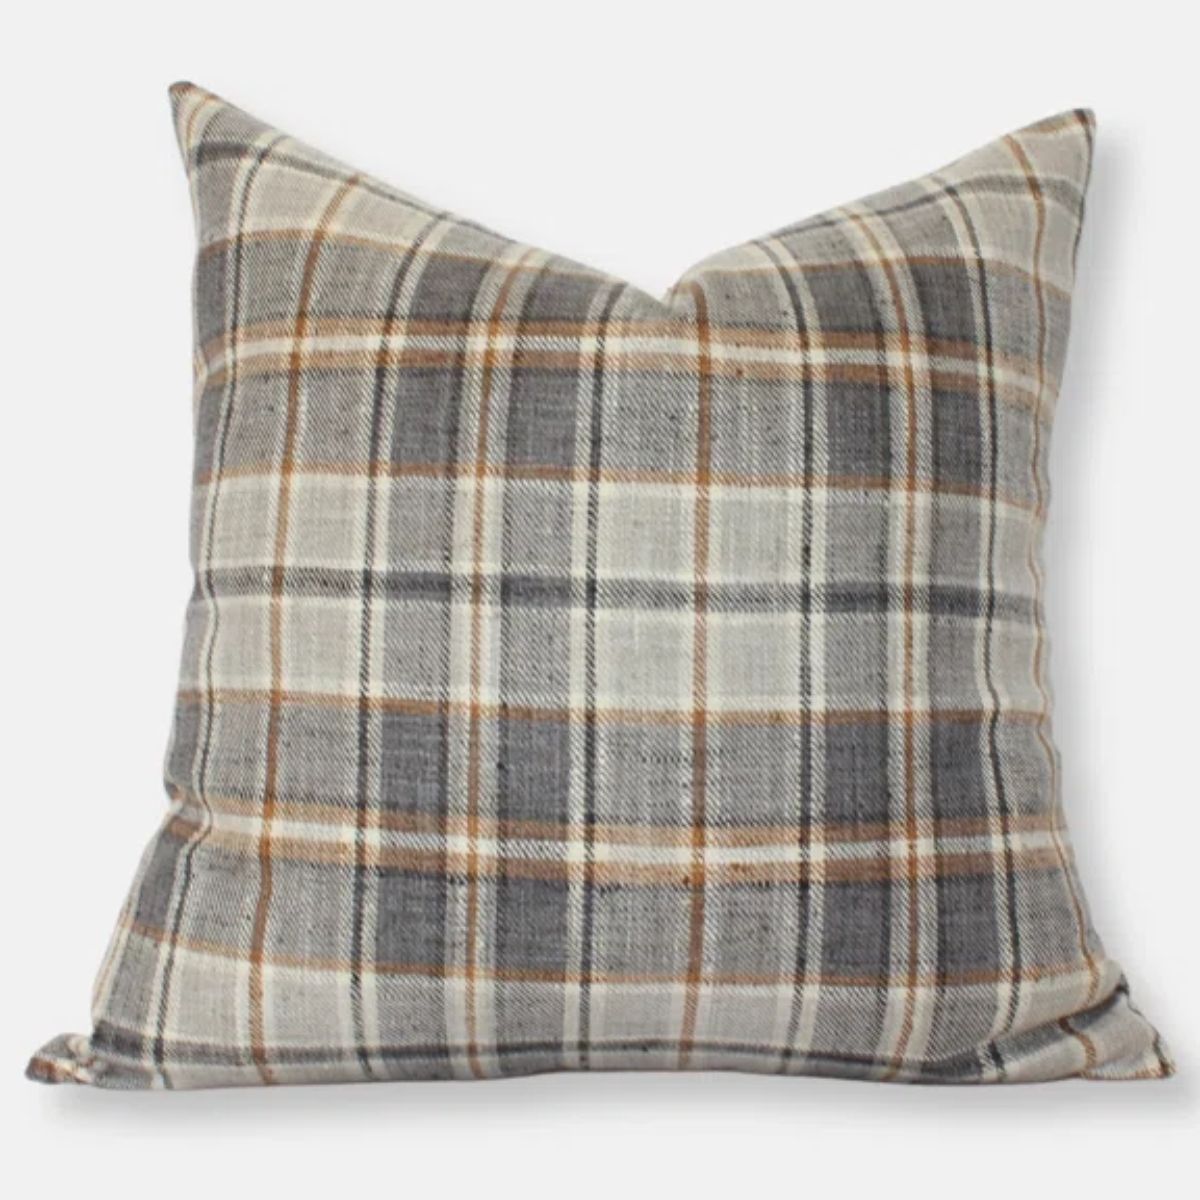
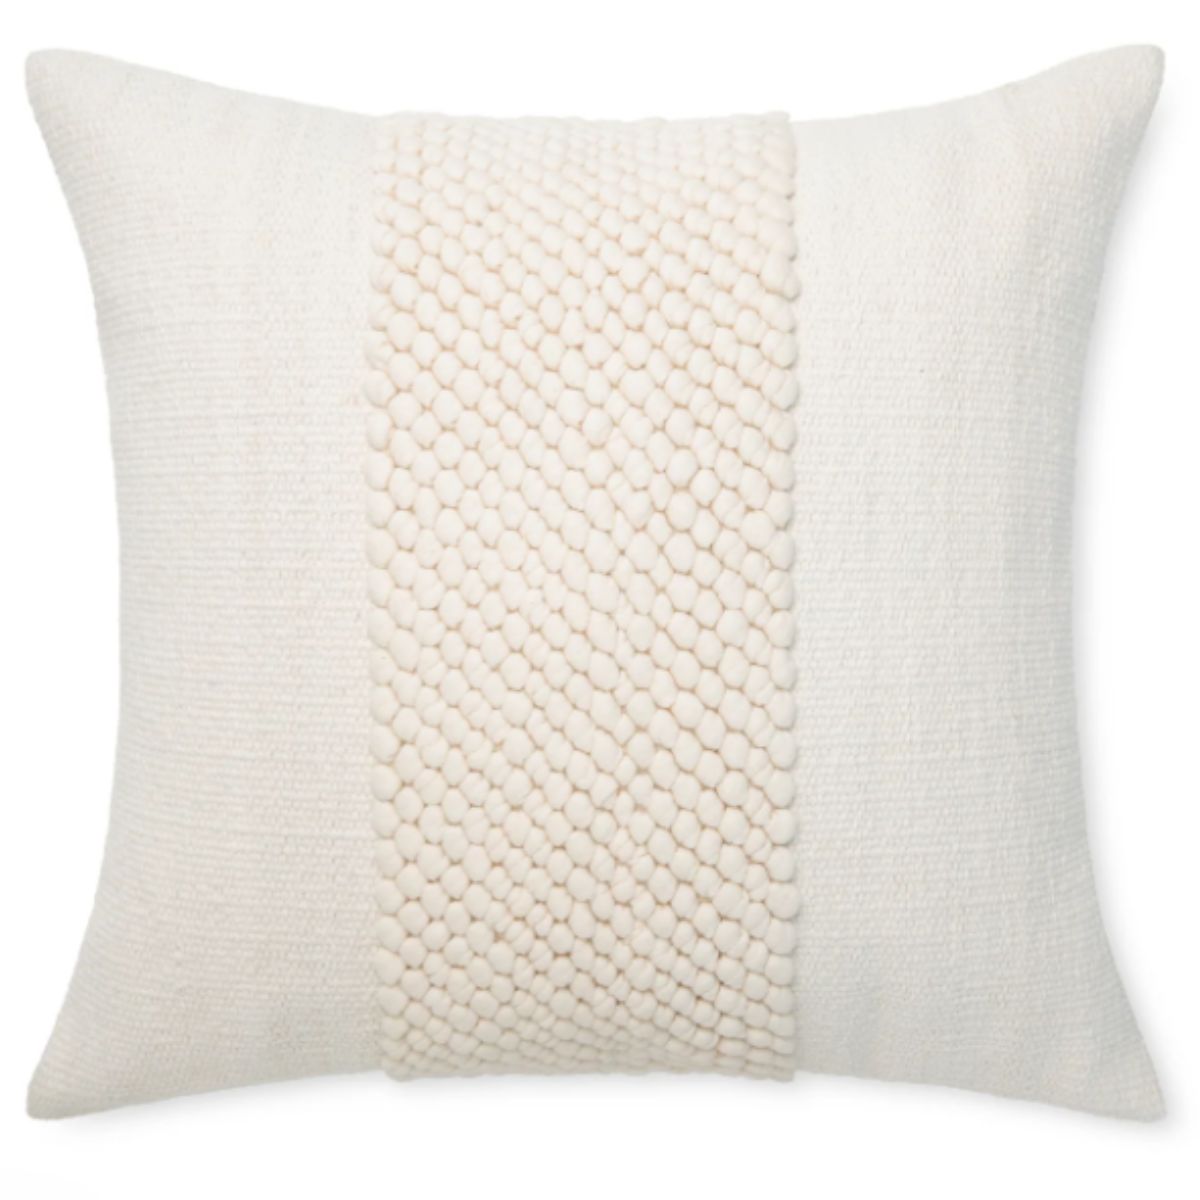
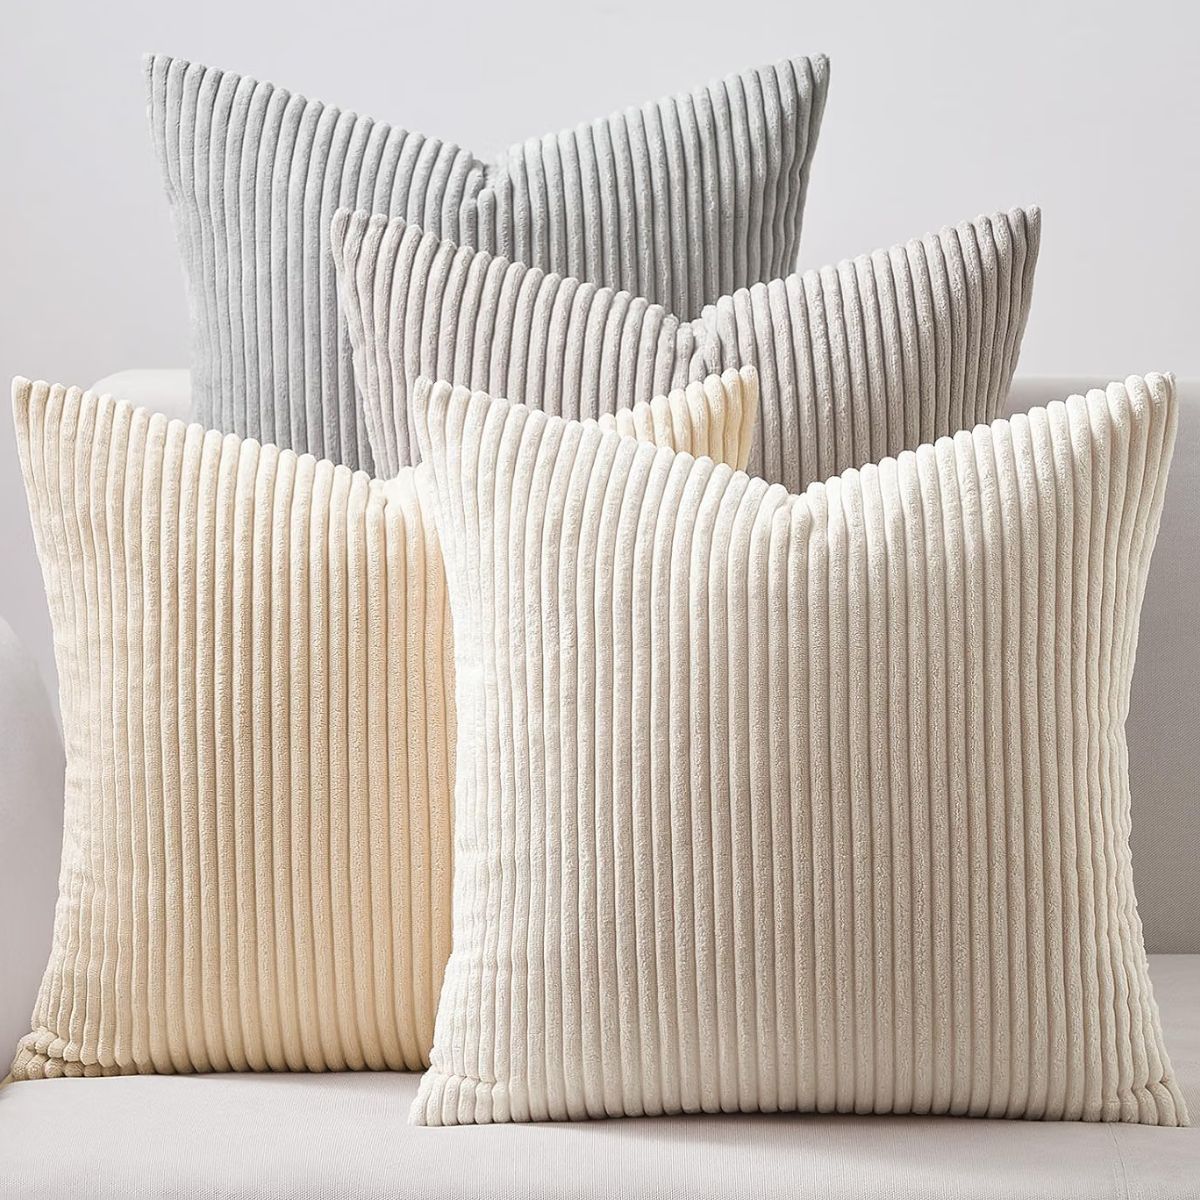
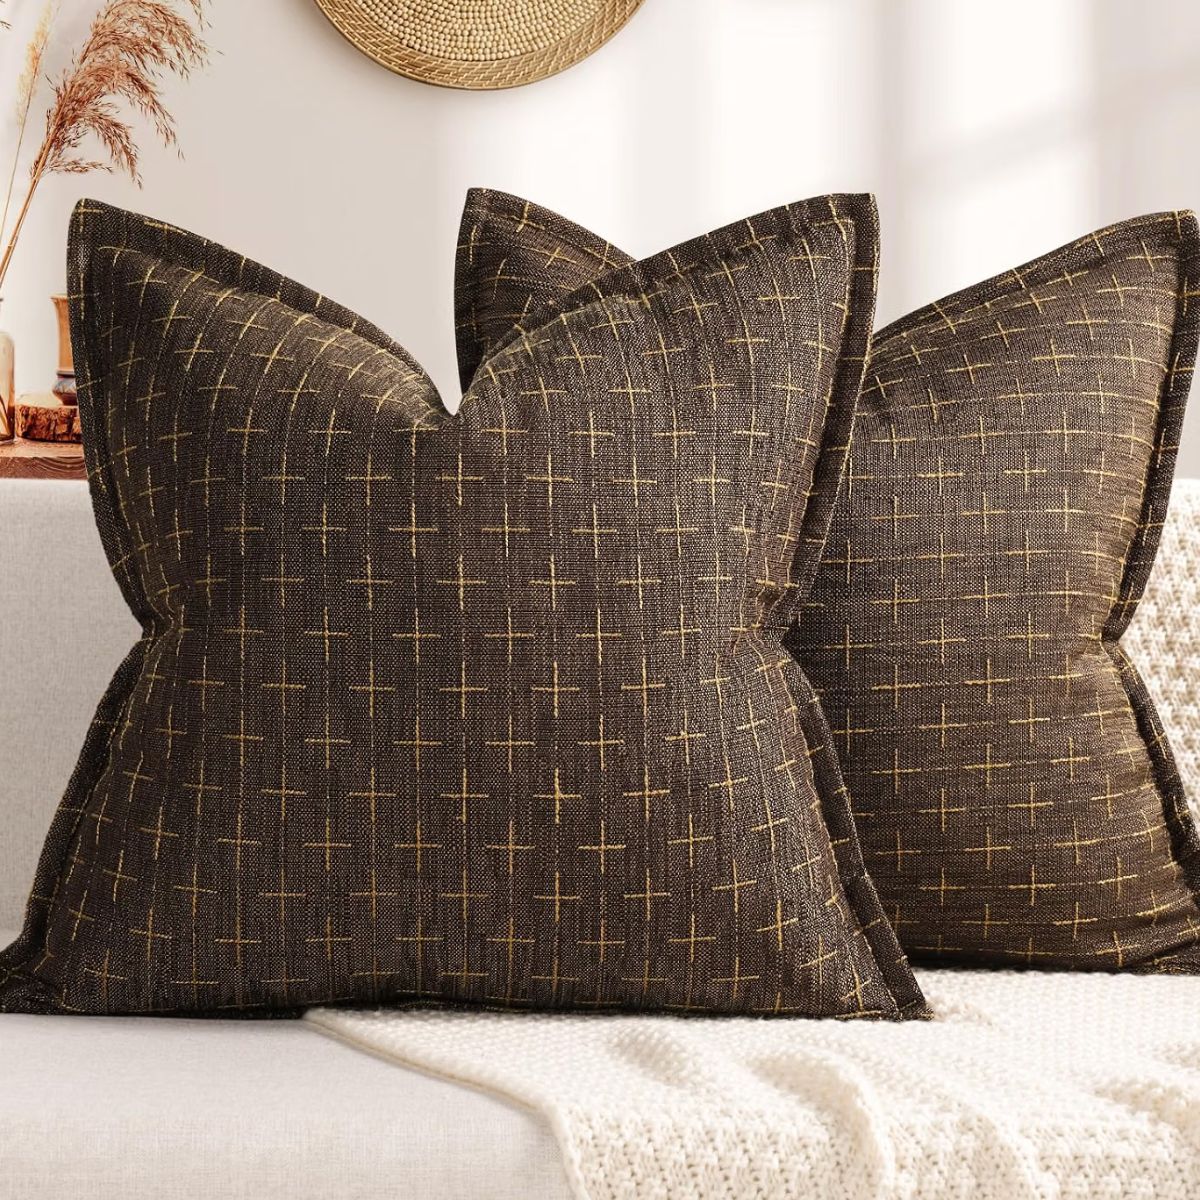
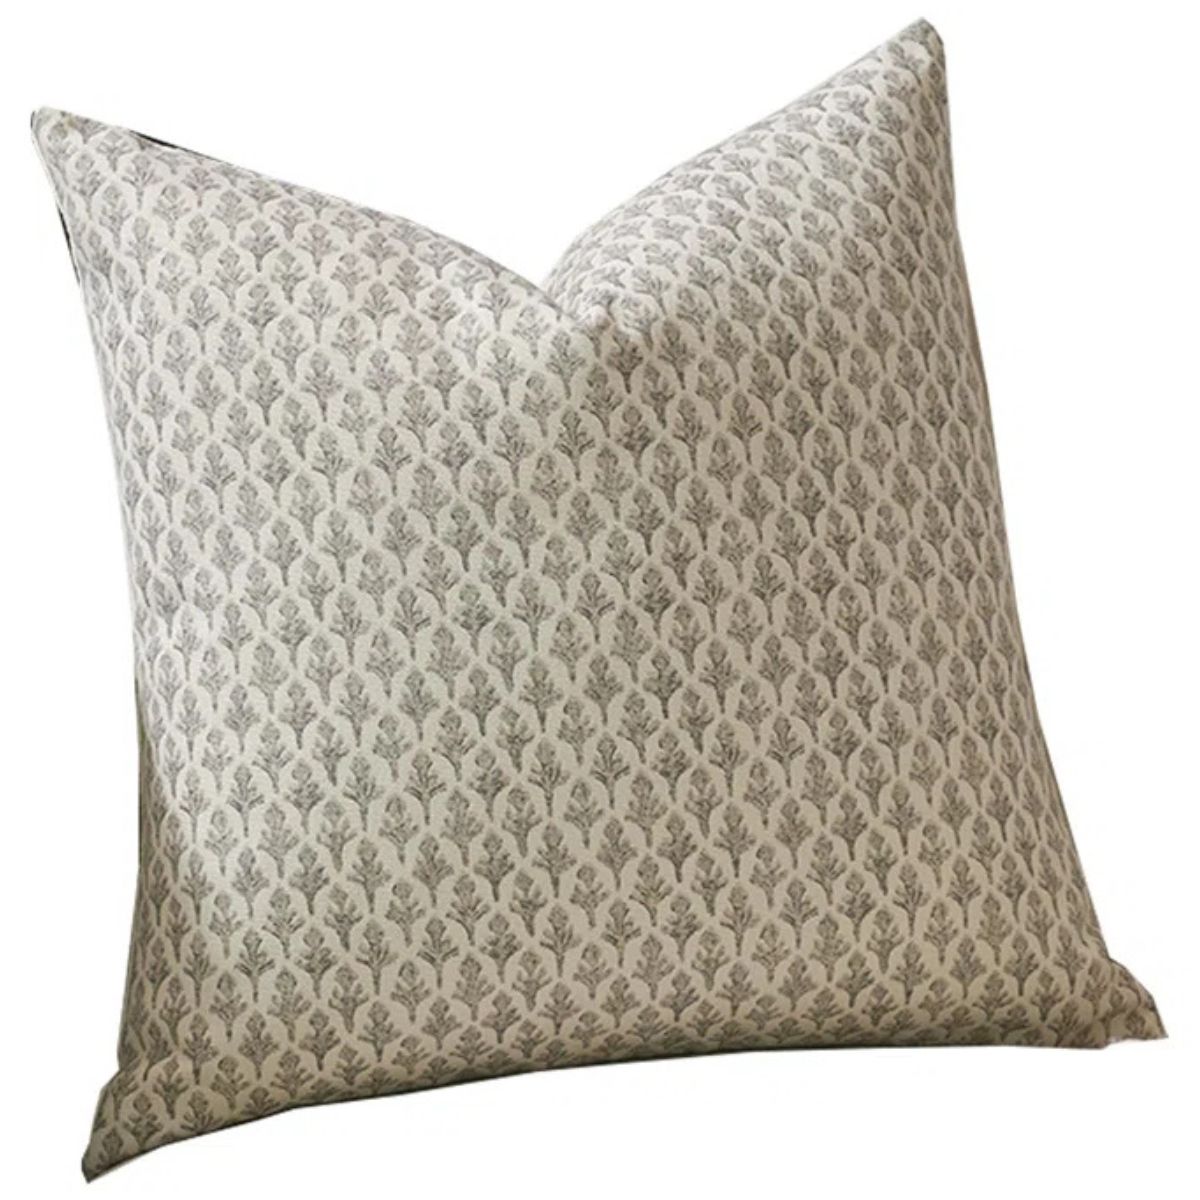
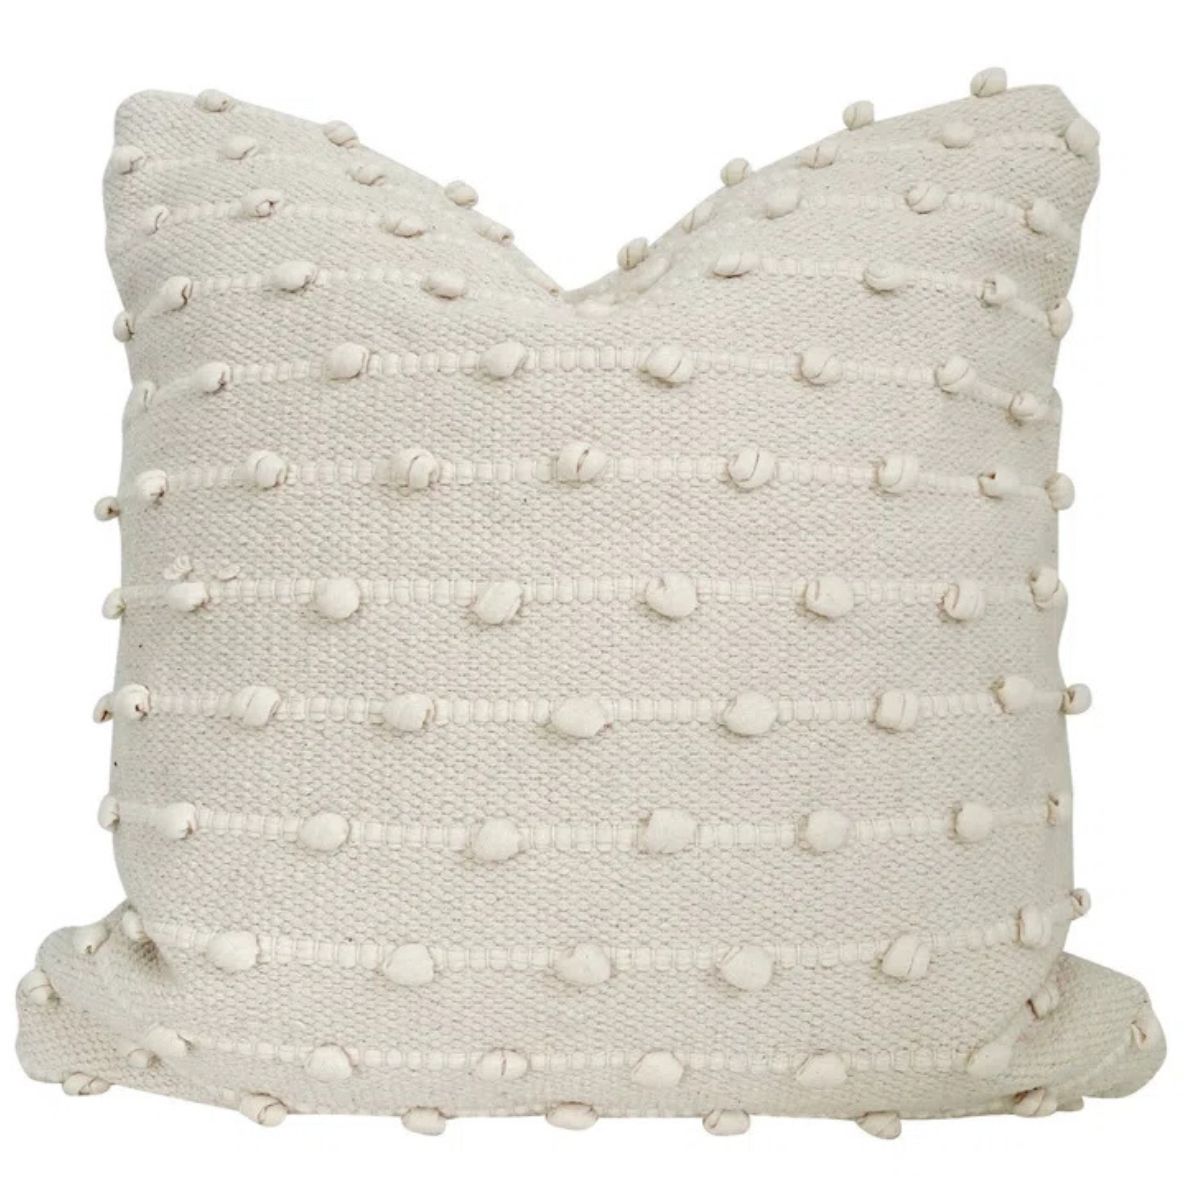
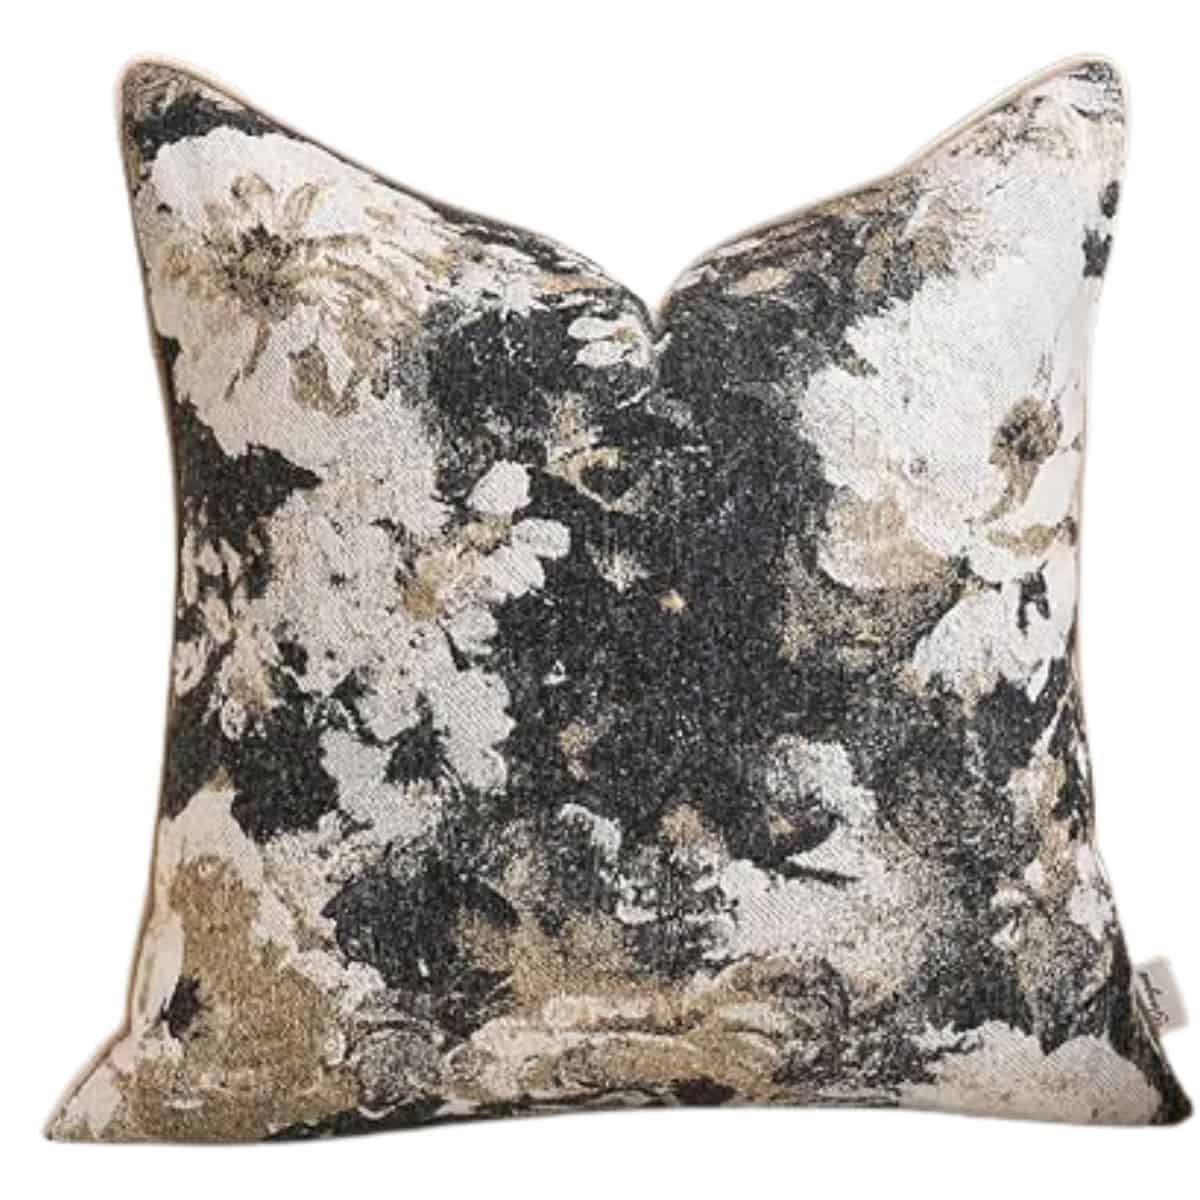
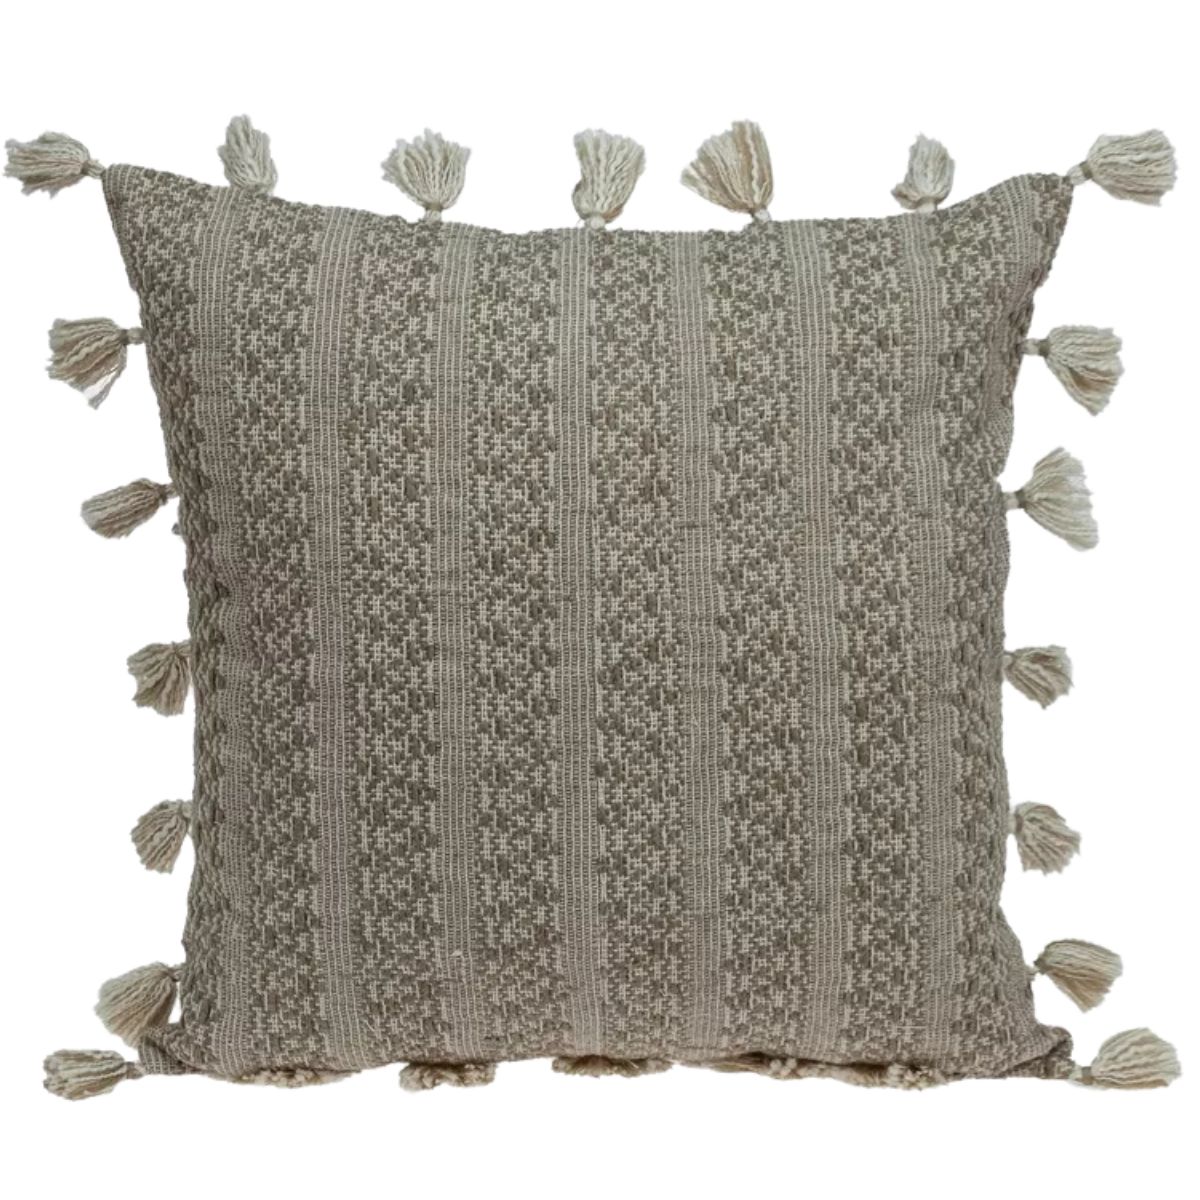
How to Mix and Match Fall Pillows
You don't need a perfectly matched set to make your pillows look good together. In fact, I think a mix of colors, patterns, and textures makes a sofa look much more inviting.
Start with a simple color palette of two or three neutral fall colors, then vary the patterns and textures. For example, pair a plaid or floral pillow with a solid rust-colored pillow and a chunky cream or corduroy pillow. Keeping the colors connected allows you to mix different styles without making the arrangement feel too busy.
If you already have neutral pillows you love, you don't need to replace them all. Adding just one or two warmer fall pillows may be enough to give the entire room a seasonal update.
Choosing the Right Pillow Inserts
Most of the options above are pillow covers, which I actually prefer for seasonal decorating. Covers take up much less storage space than complete pillows, and you can easily switch them throughout the year while reusing the same inserts.
My favorite trick is to buy a pillow insert one size larger than the pillow cover for a fuller, more finished look. For example, if you have an 18 x 18-inch pillow cover, try a 20 x 20-inch insert. You can shop a few good options below, but this pillow insert is my favorite!
More Decor Guides
Changing a few pillows is one of the easiest ways to refresh a room without completely redecorating. Here are a few more decorating ideas for your home.


Hi, I'm Katie!
I'm so glad you're here. Want to make something fabulous? I'm here to help!
The post 15 Beautiful Neutral Fall Decor Pillows Under $85 appeared first on The Crafty Blog Stalker.
]]>The post Neutral Fall Decor for the Living Room under $25 appeared first on The Crafty Blog Stalker.
]]>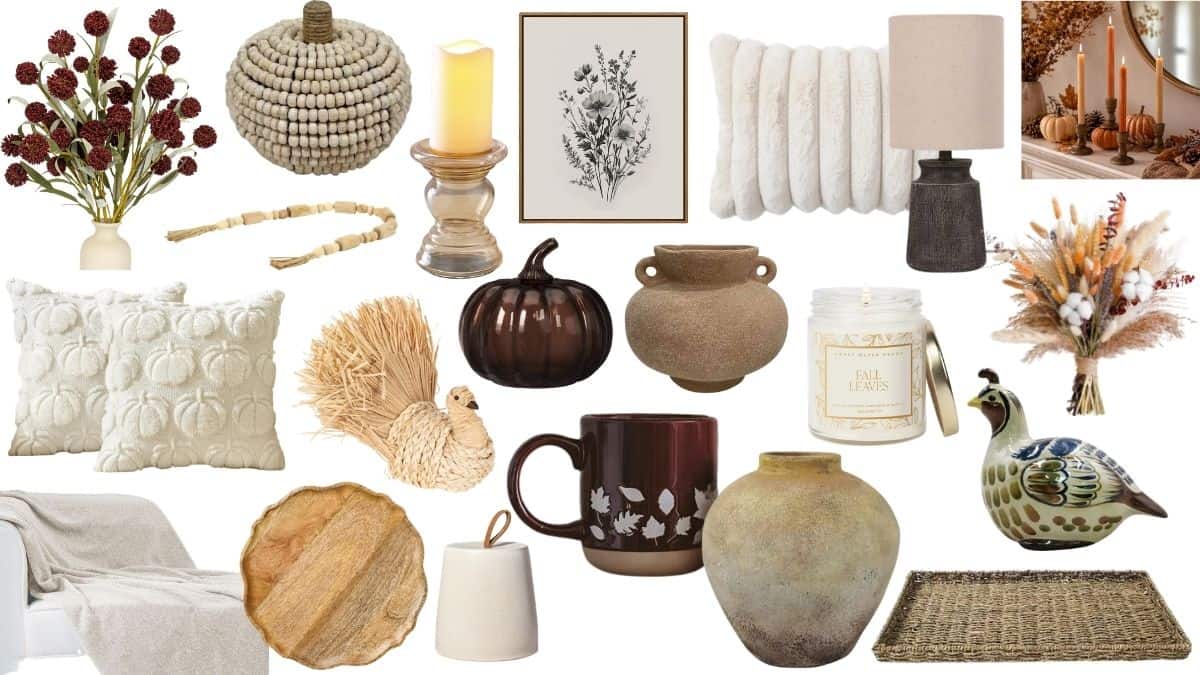
Fall always feels like the perfect time to make the house a little cozier, especially after a long, hot summer.
Over the years, I've changed how I decorate and now prefer fall decor for living room spaces that adds warm colors and textures without covering every surface in pumpkins.
I still love a pumpkin-filled porch, like my Easy Fall Porch Decor, and Boxwood Avenue is another favorite for beautiful seasonal inspiration.
If you love a cozy neutral look too, I've rounded up some budget-friendly fall decor under $25 that can easily work in your home beyond autumn.
Fall Decor for Living Room
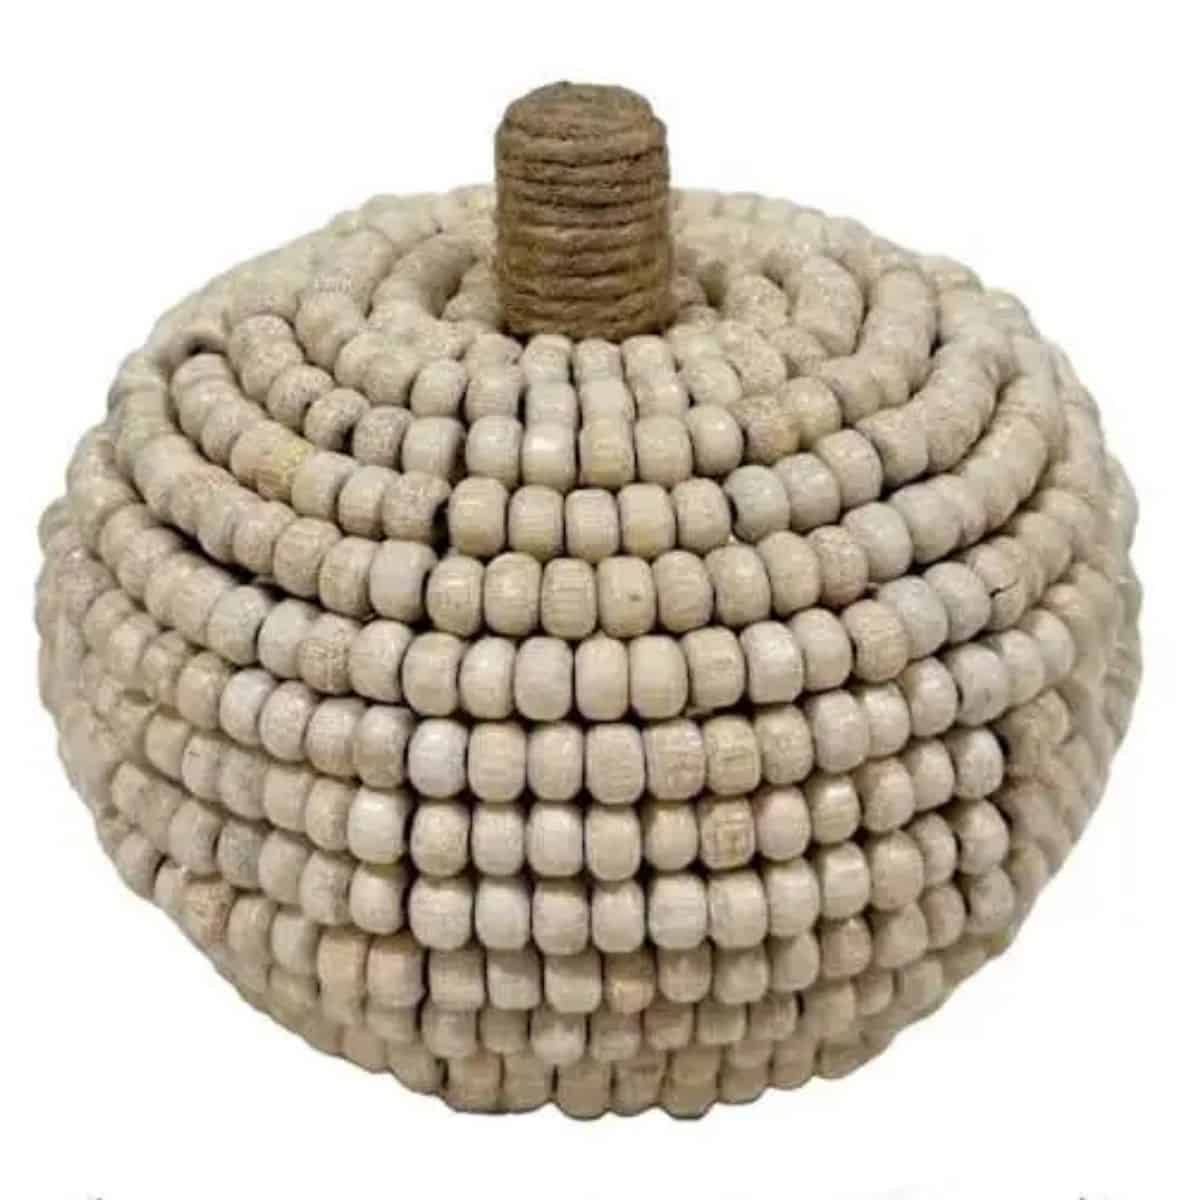
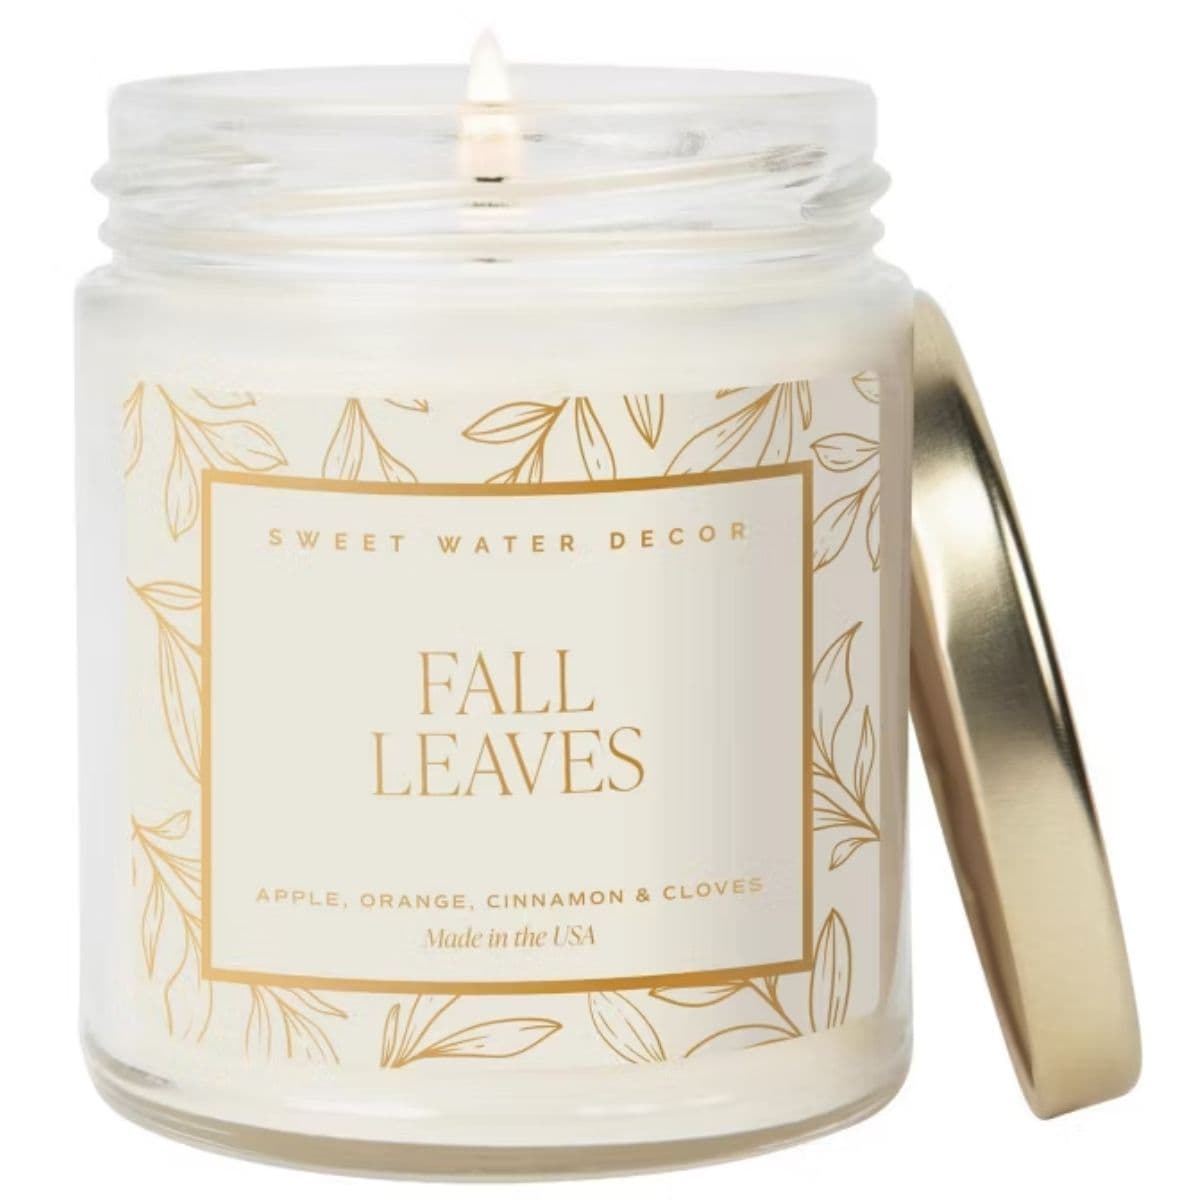

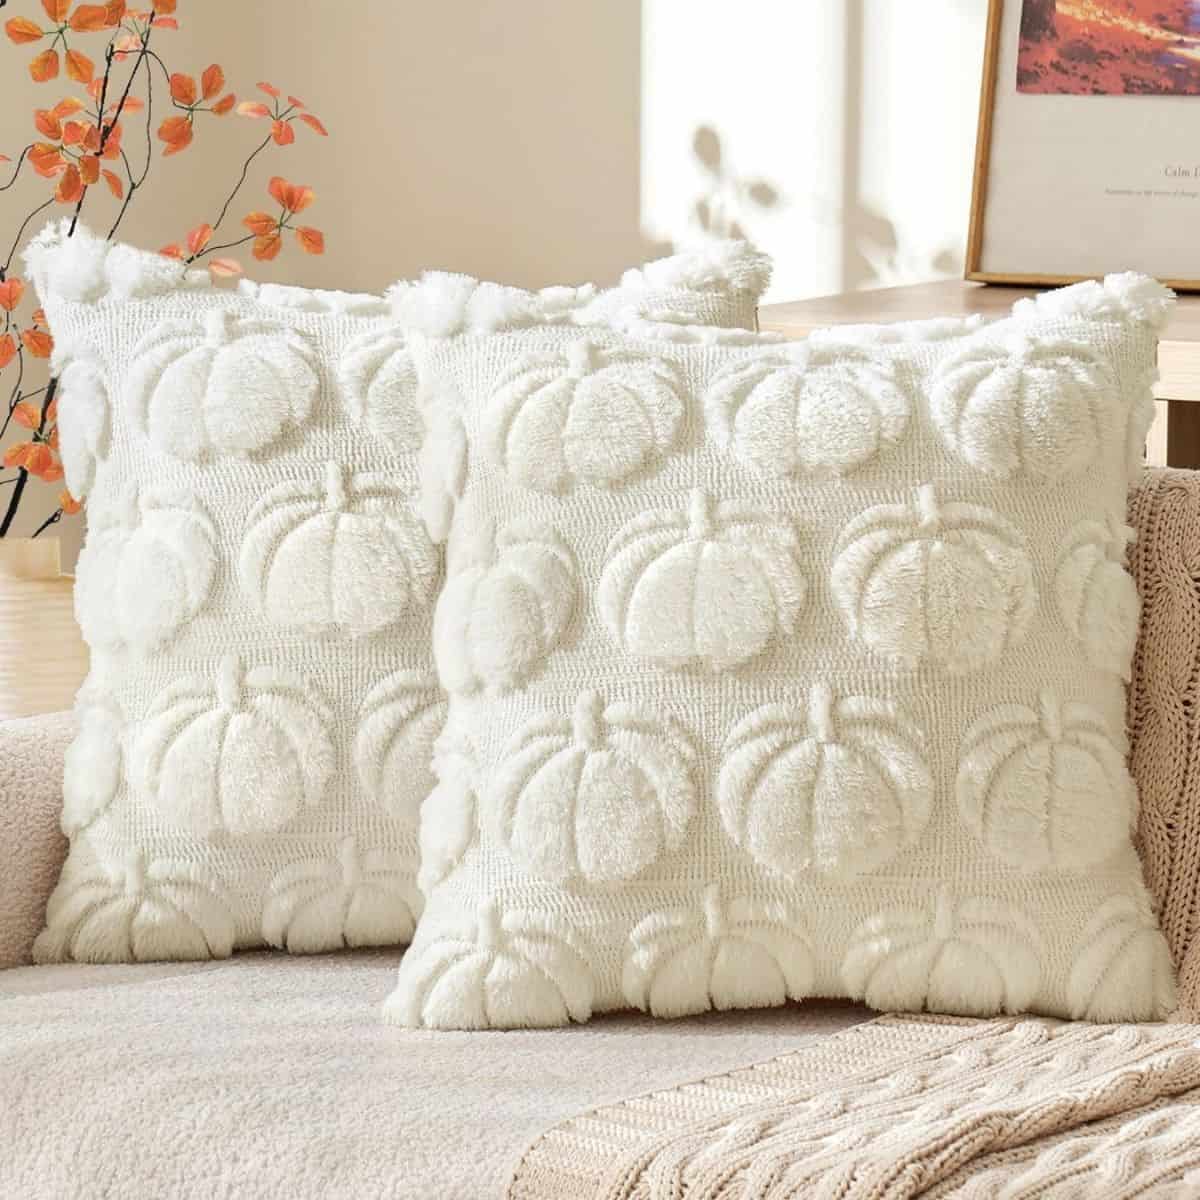
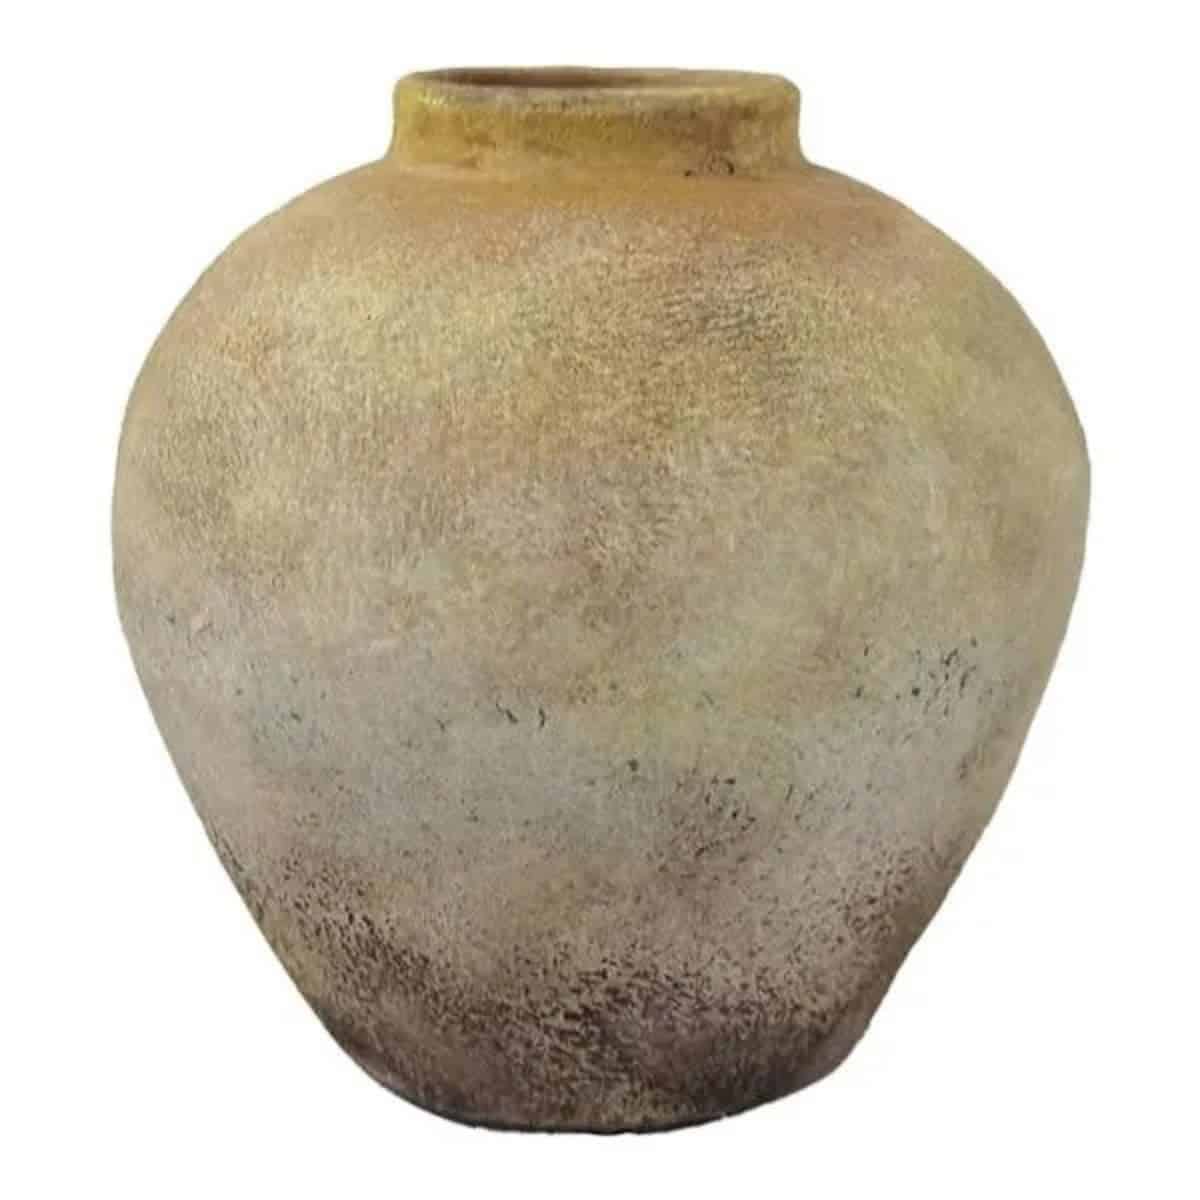
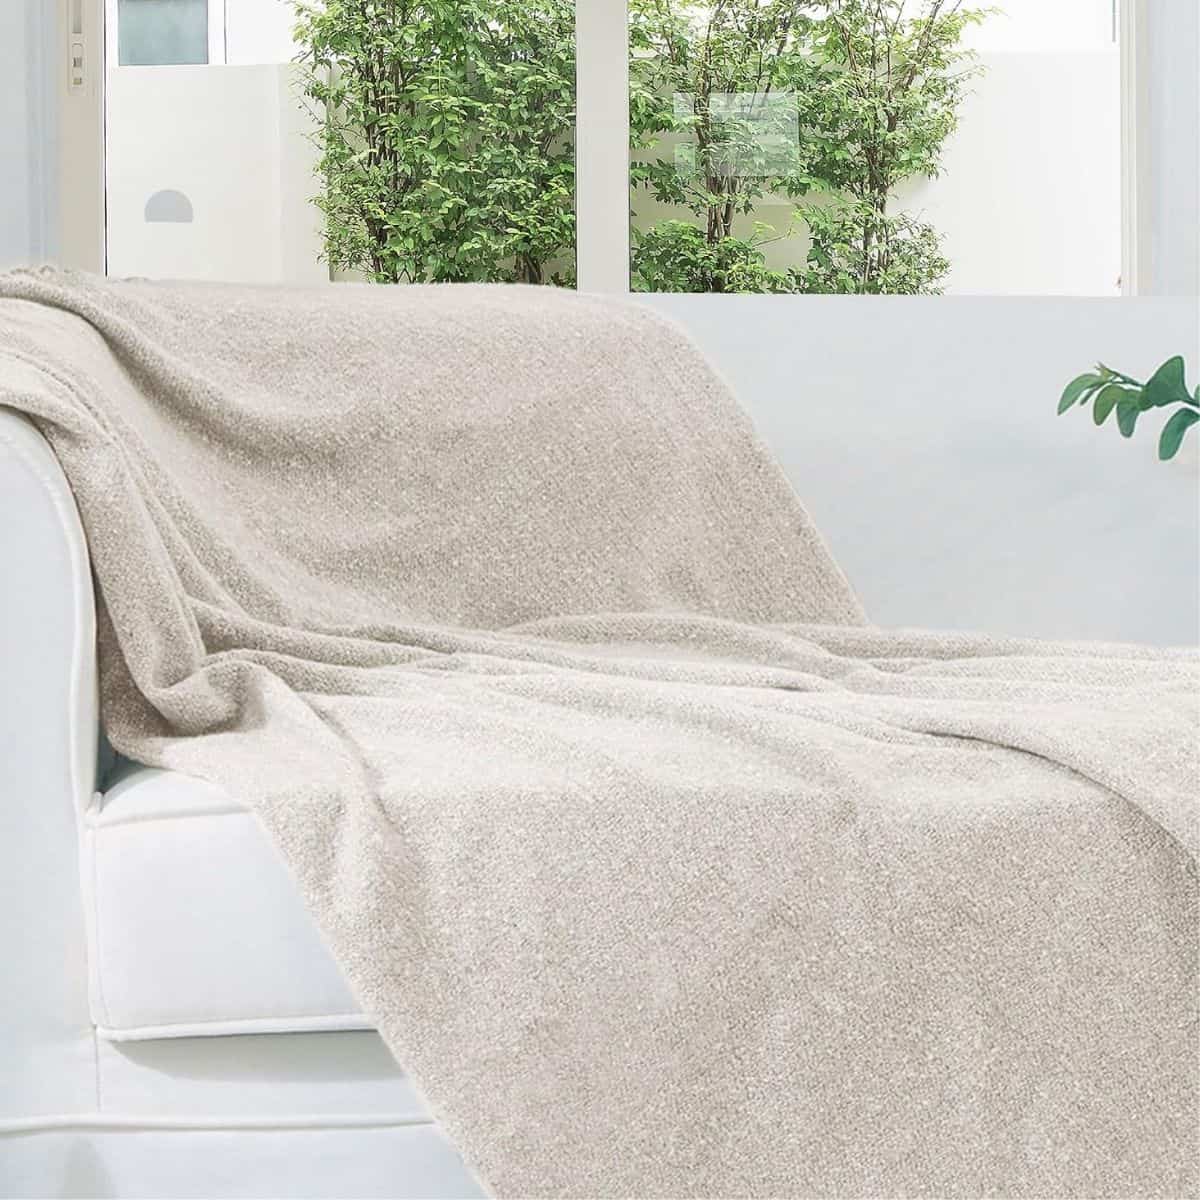
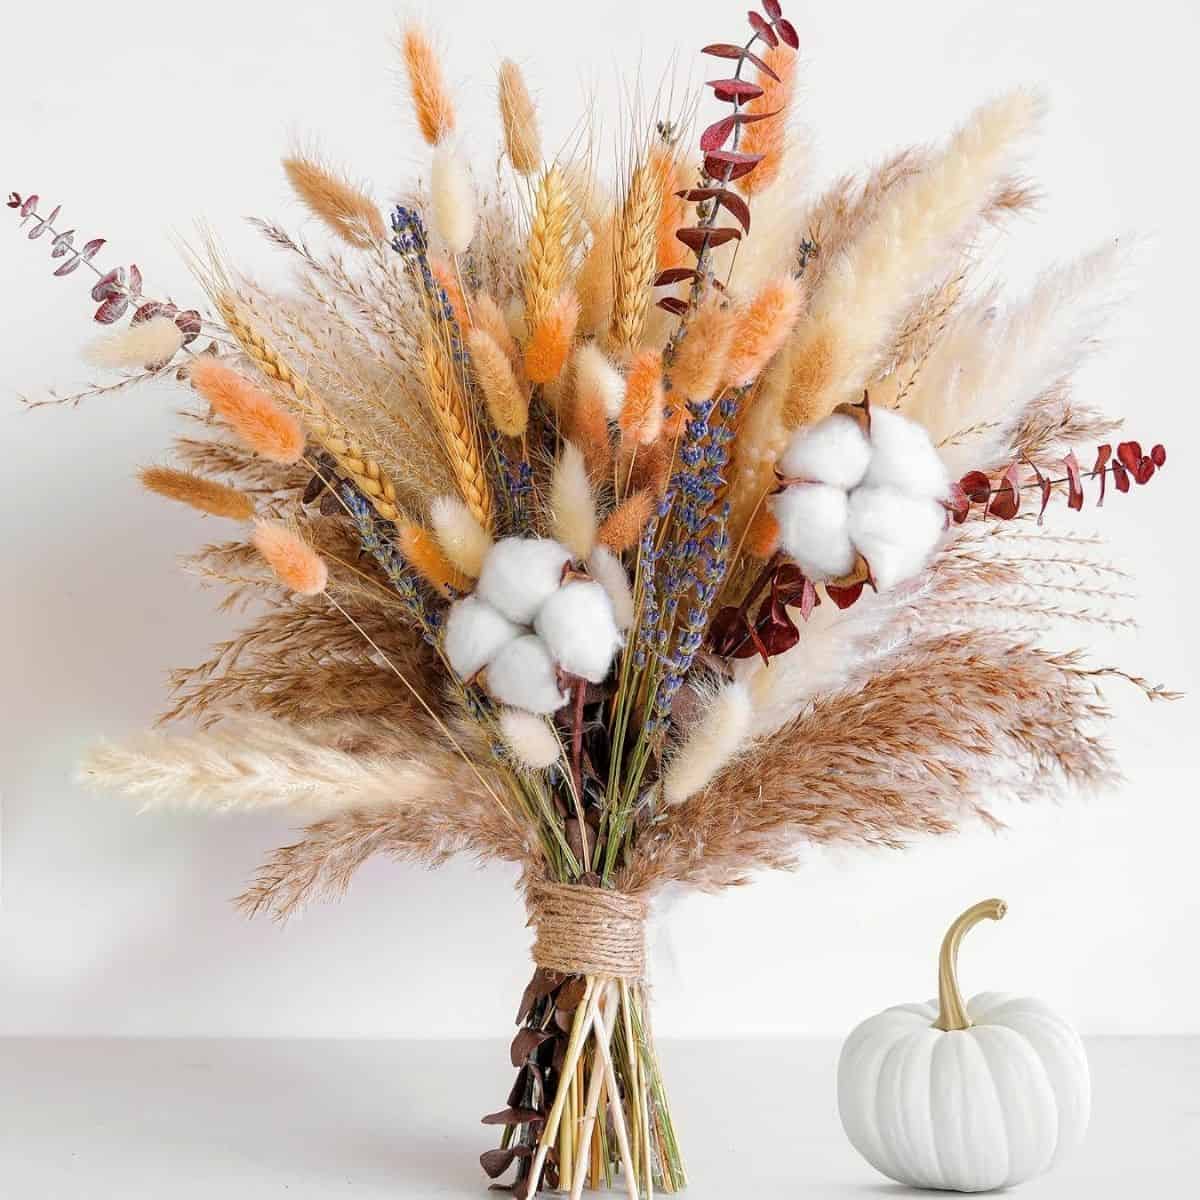
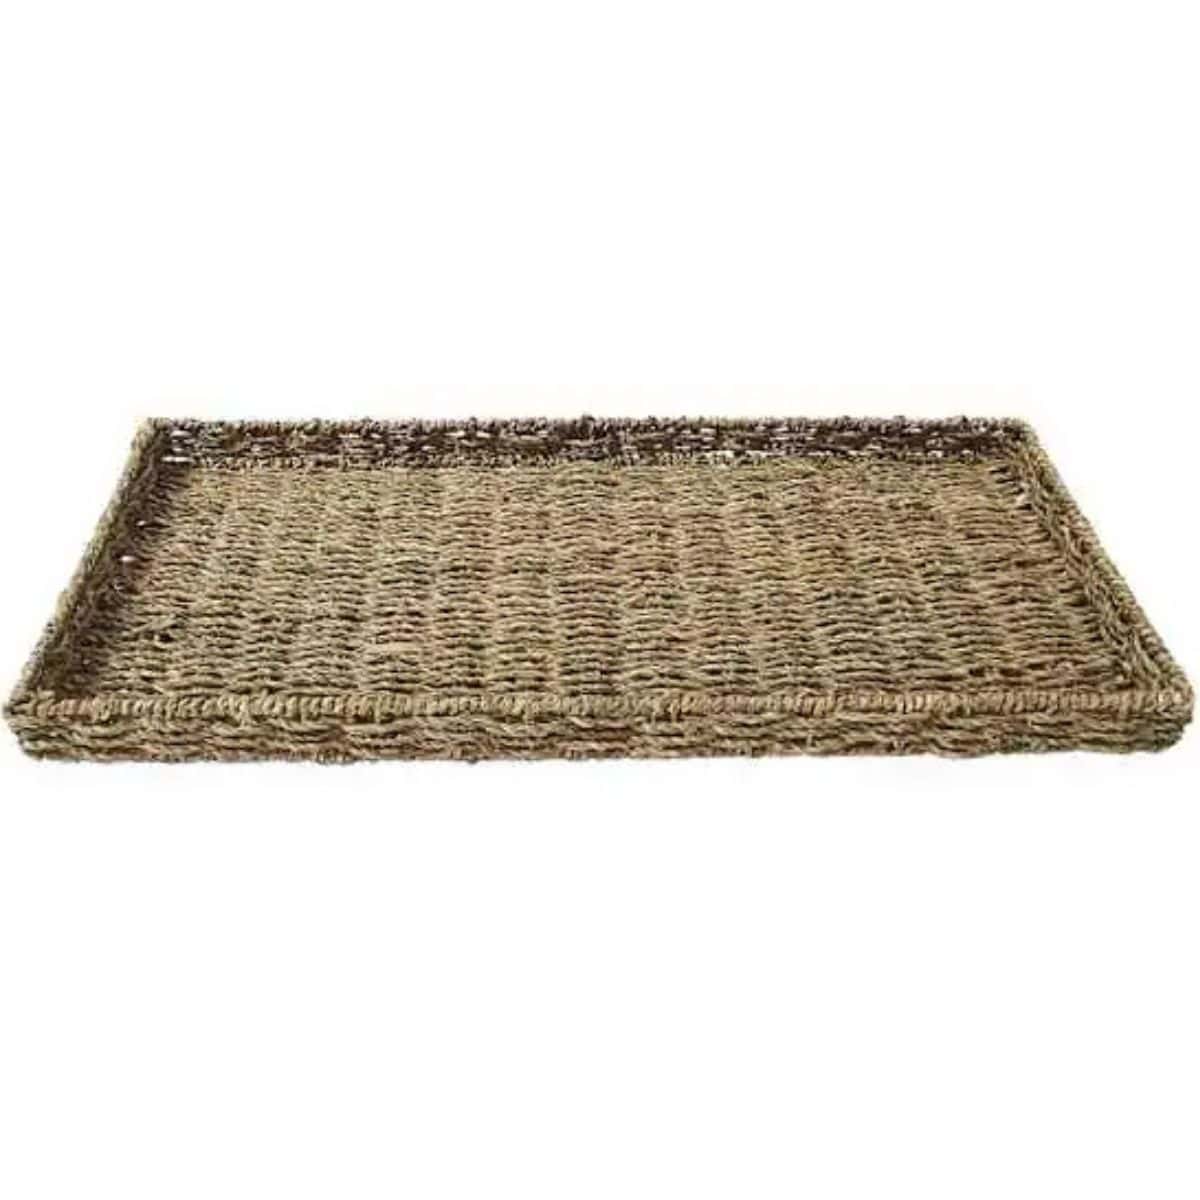
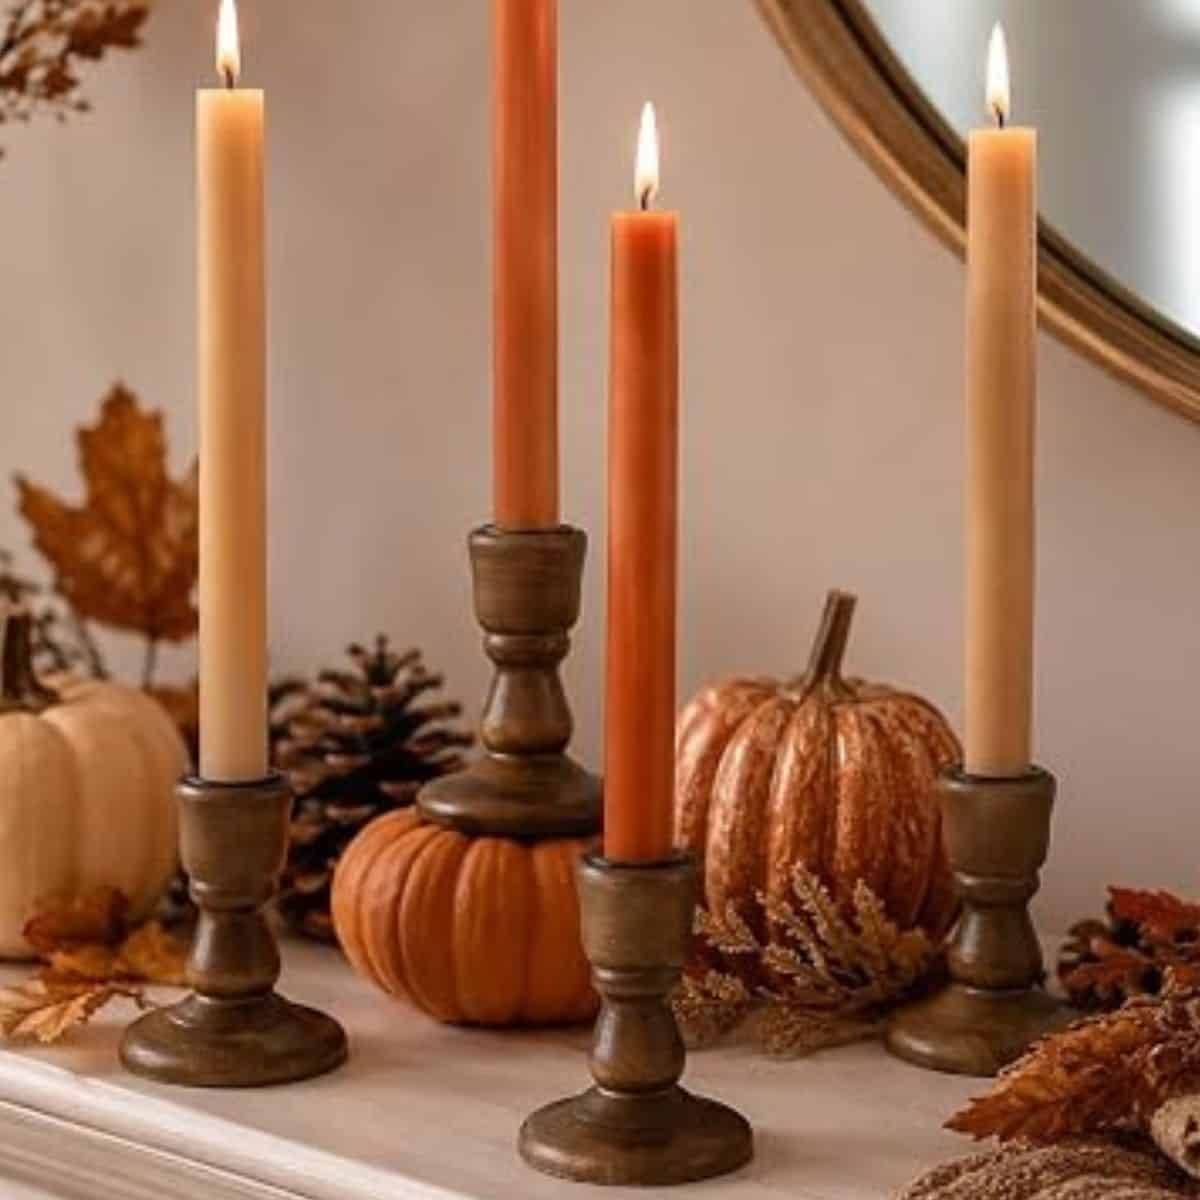
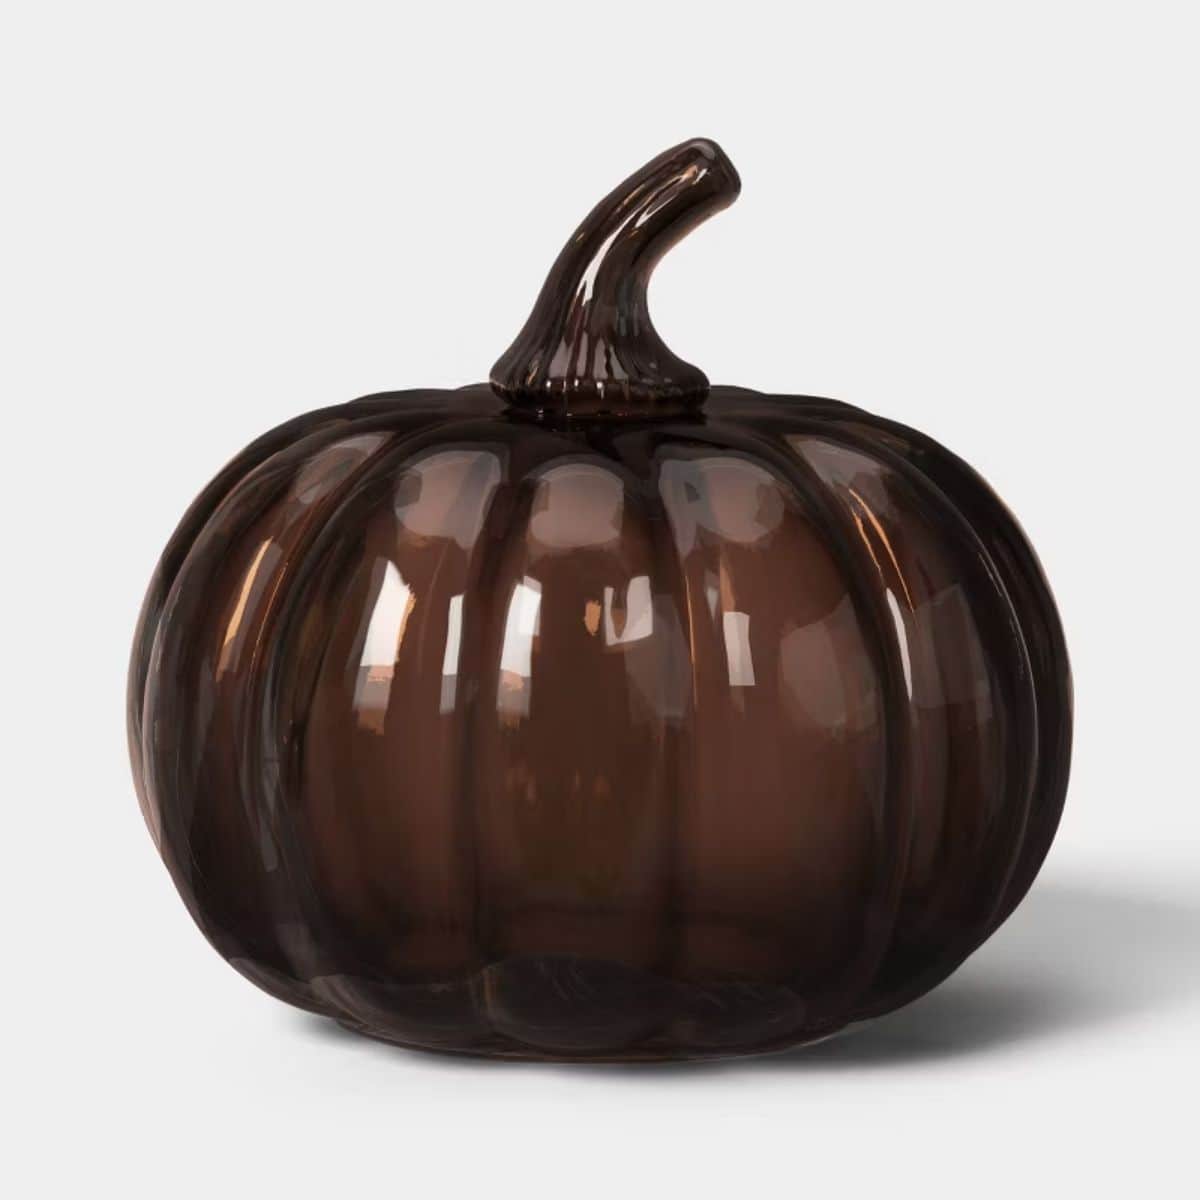
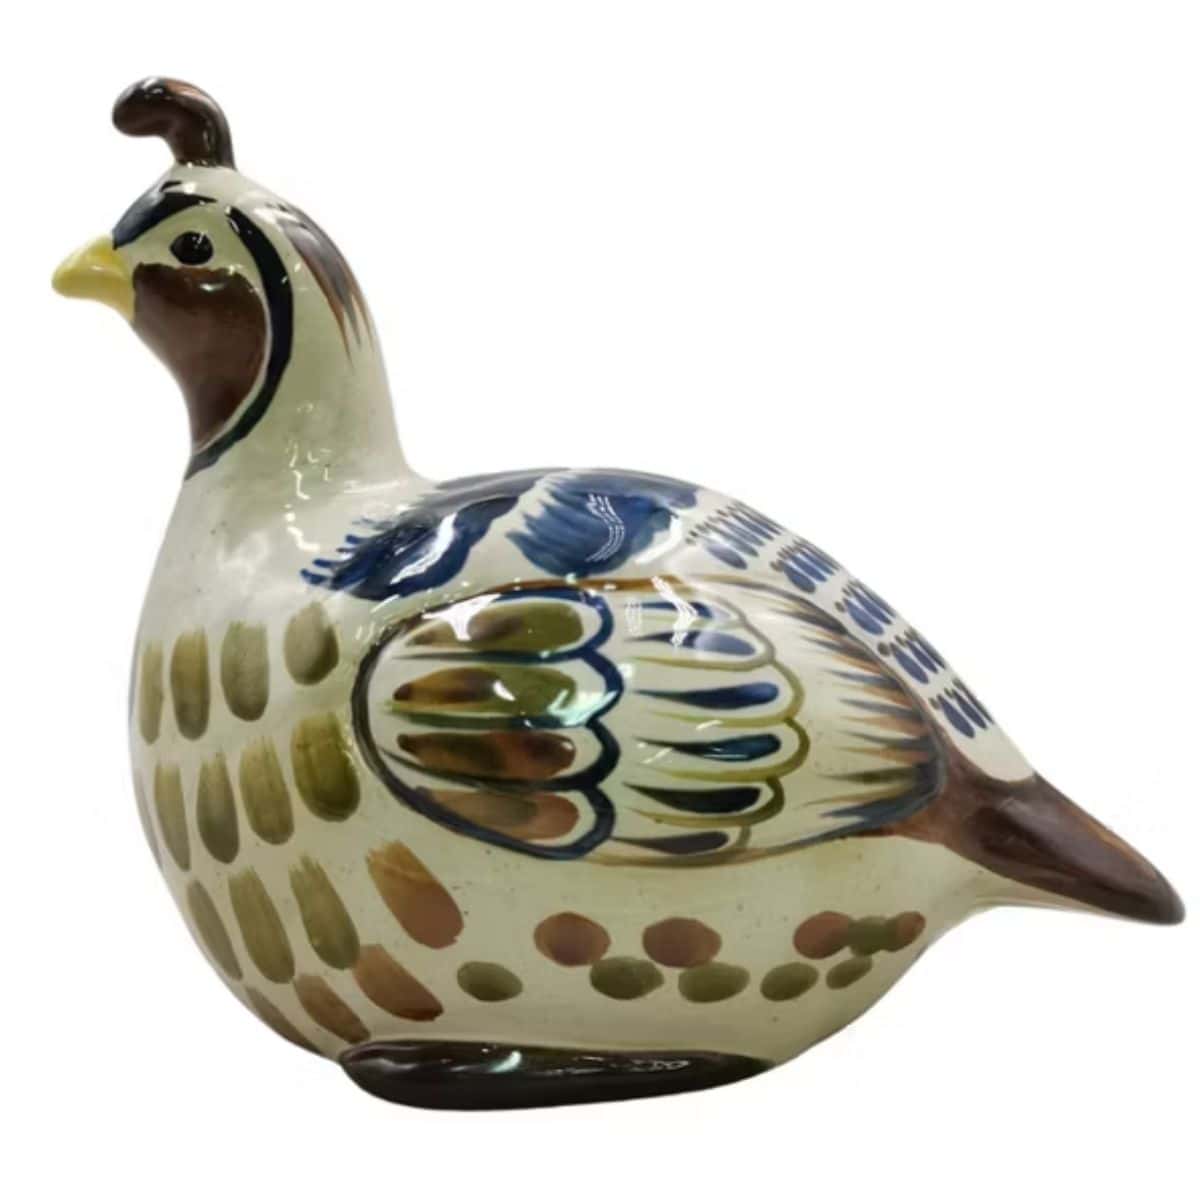
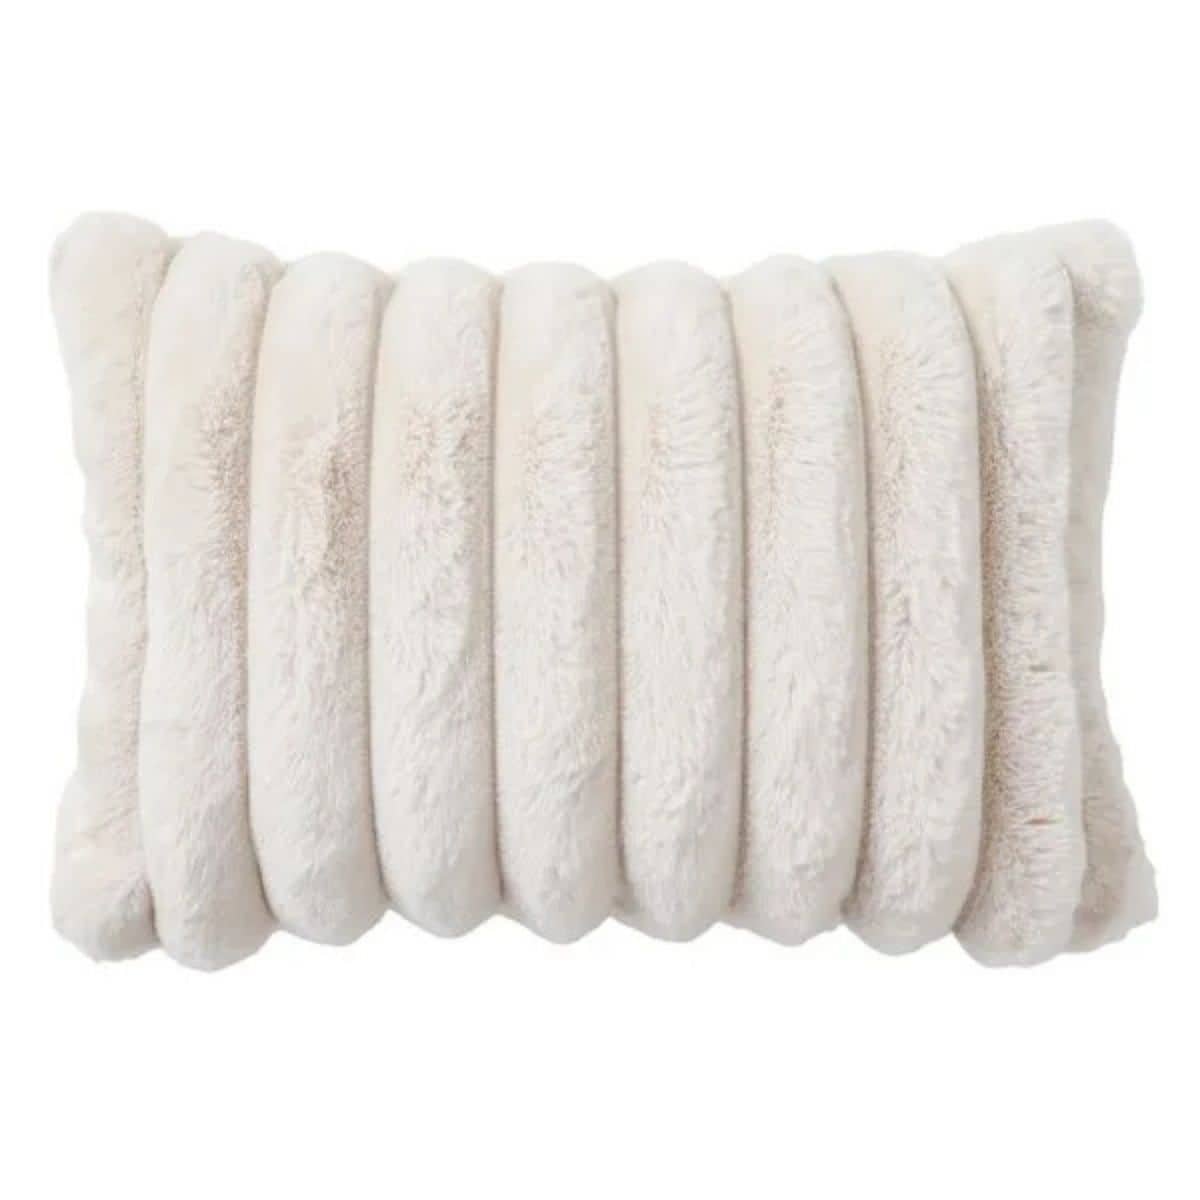

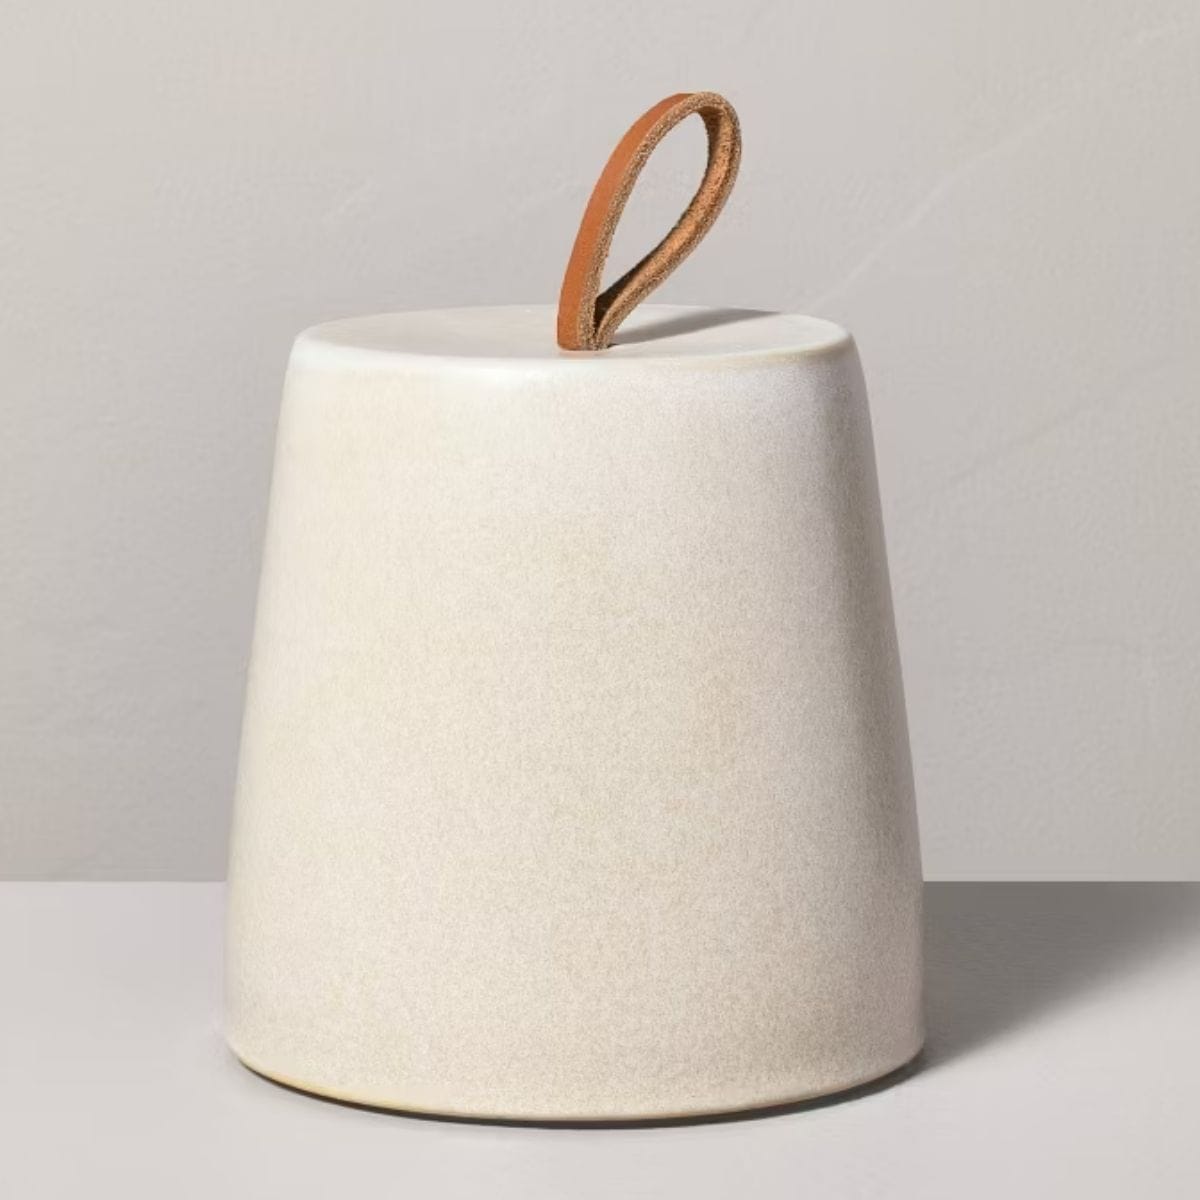
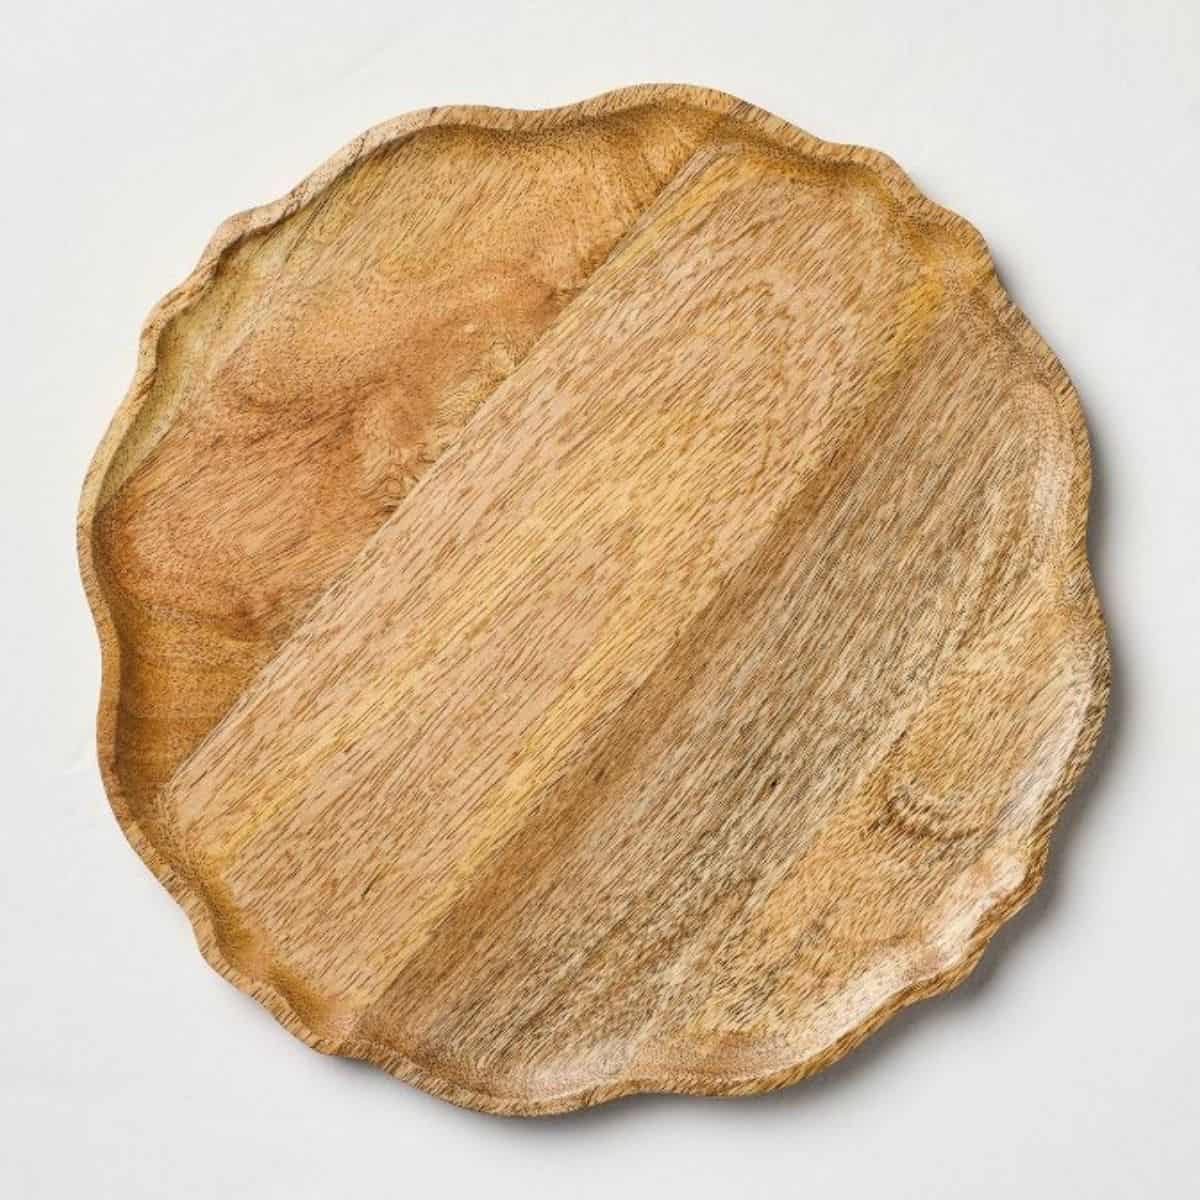
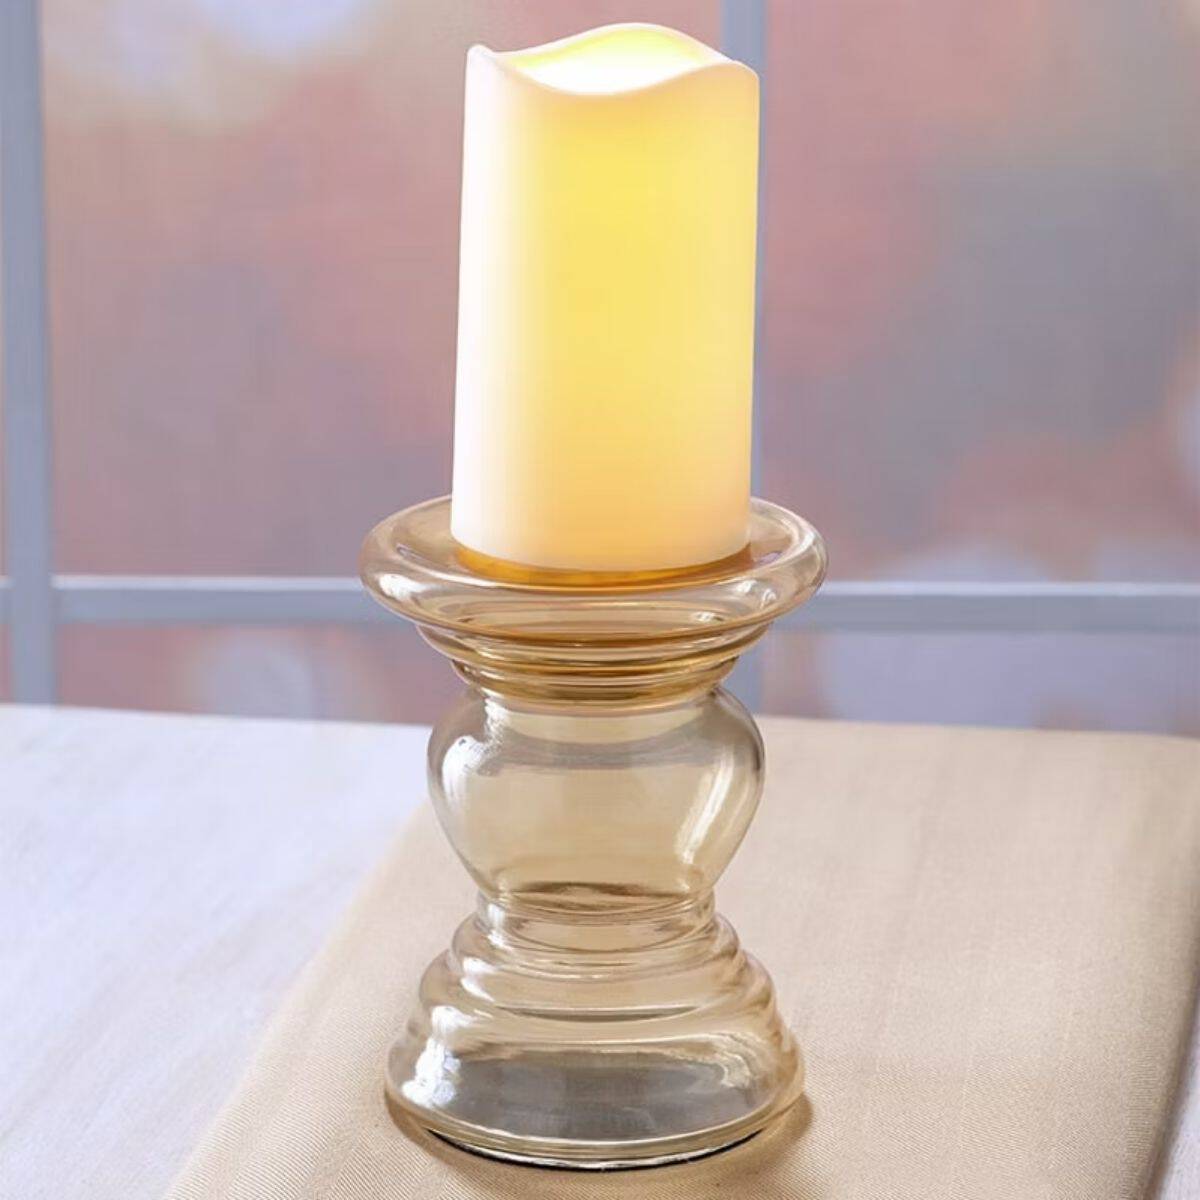
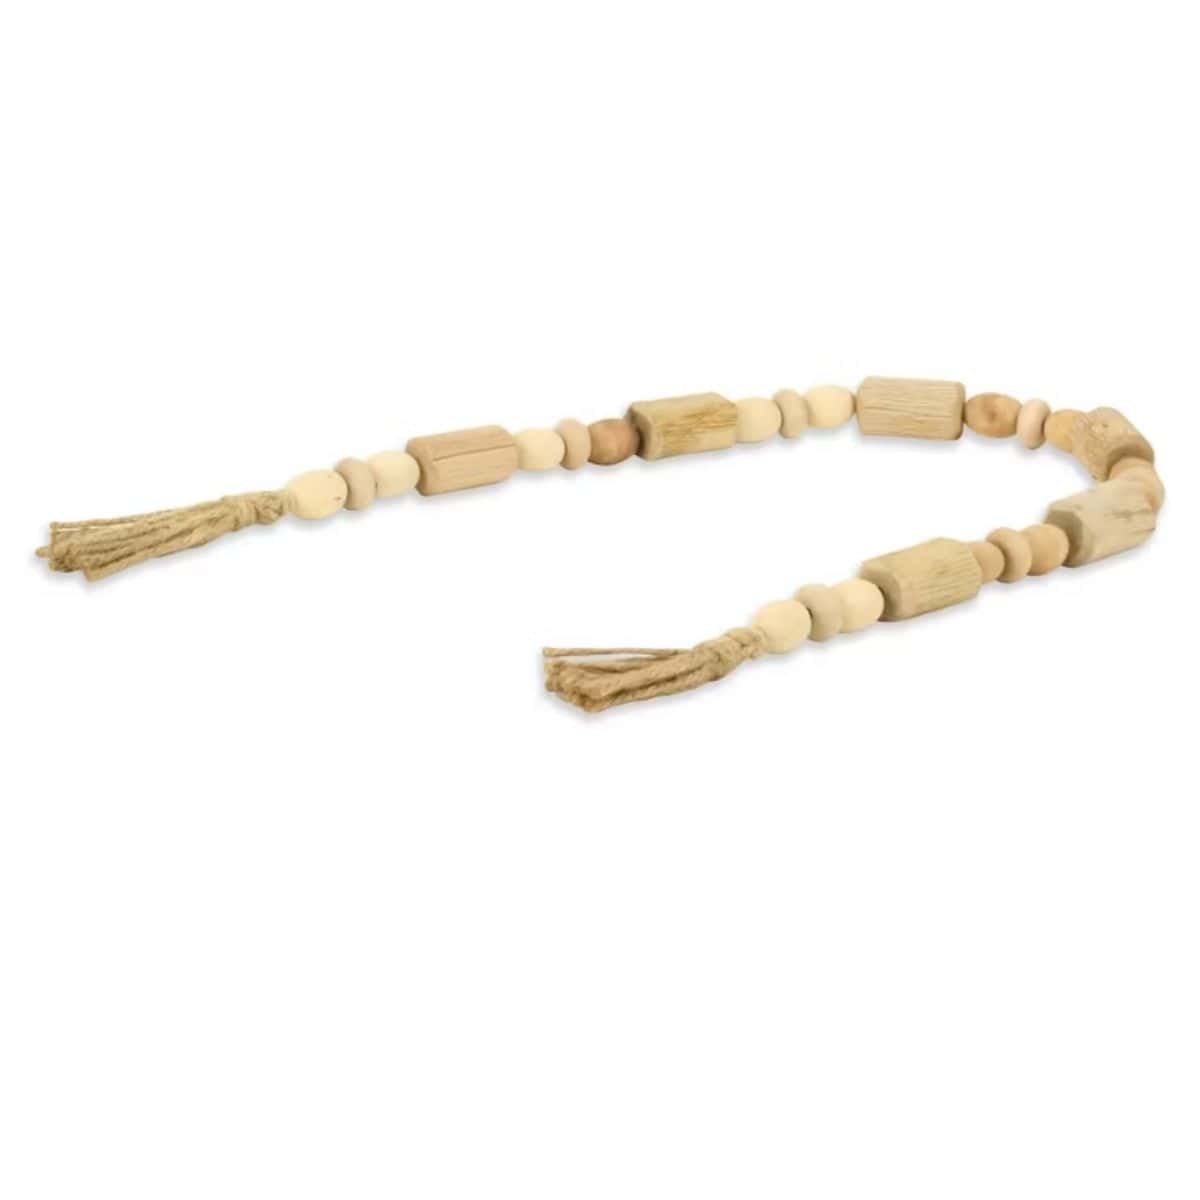
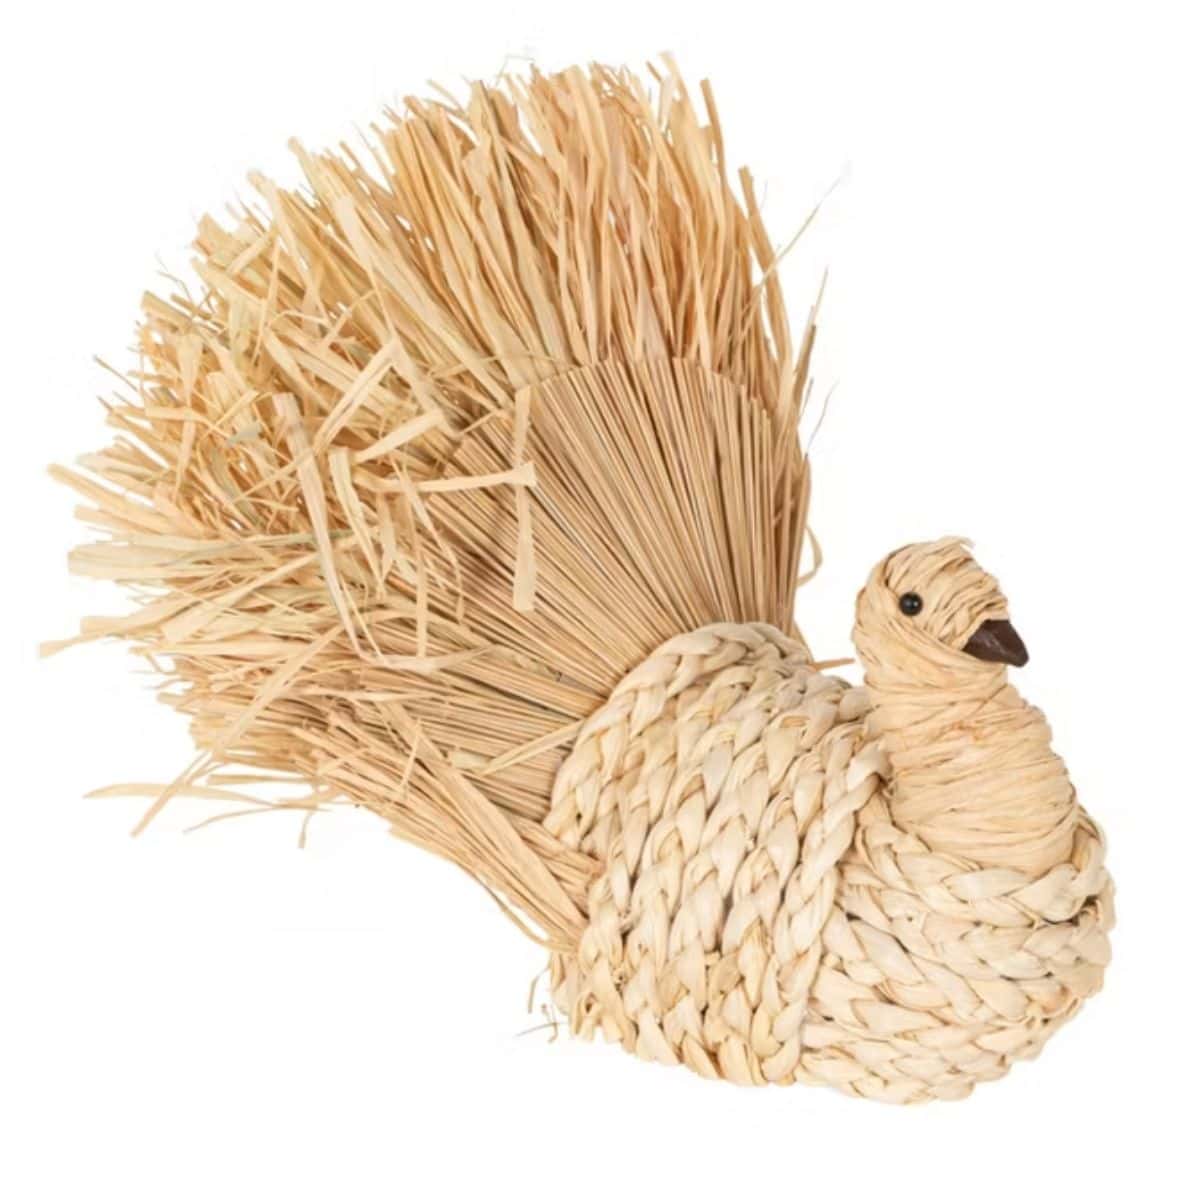
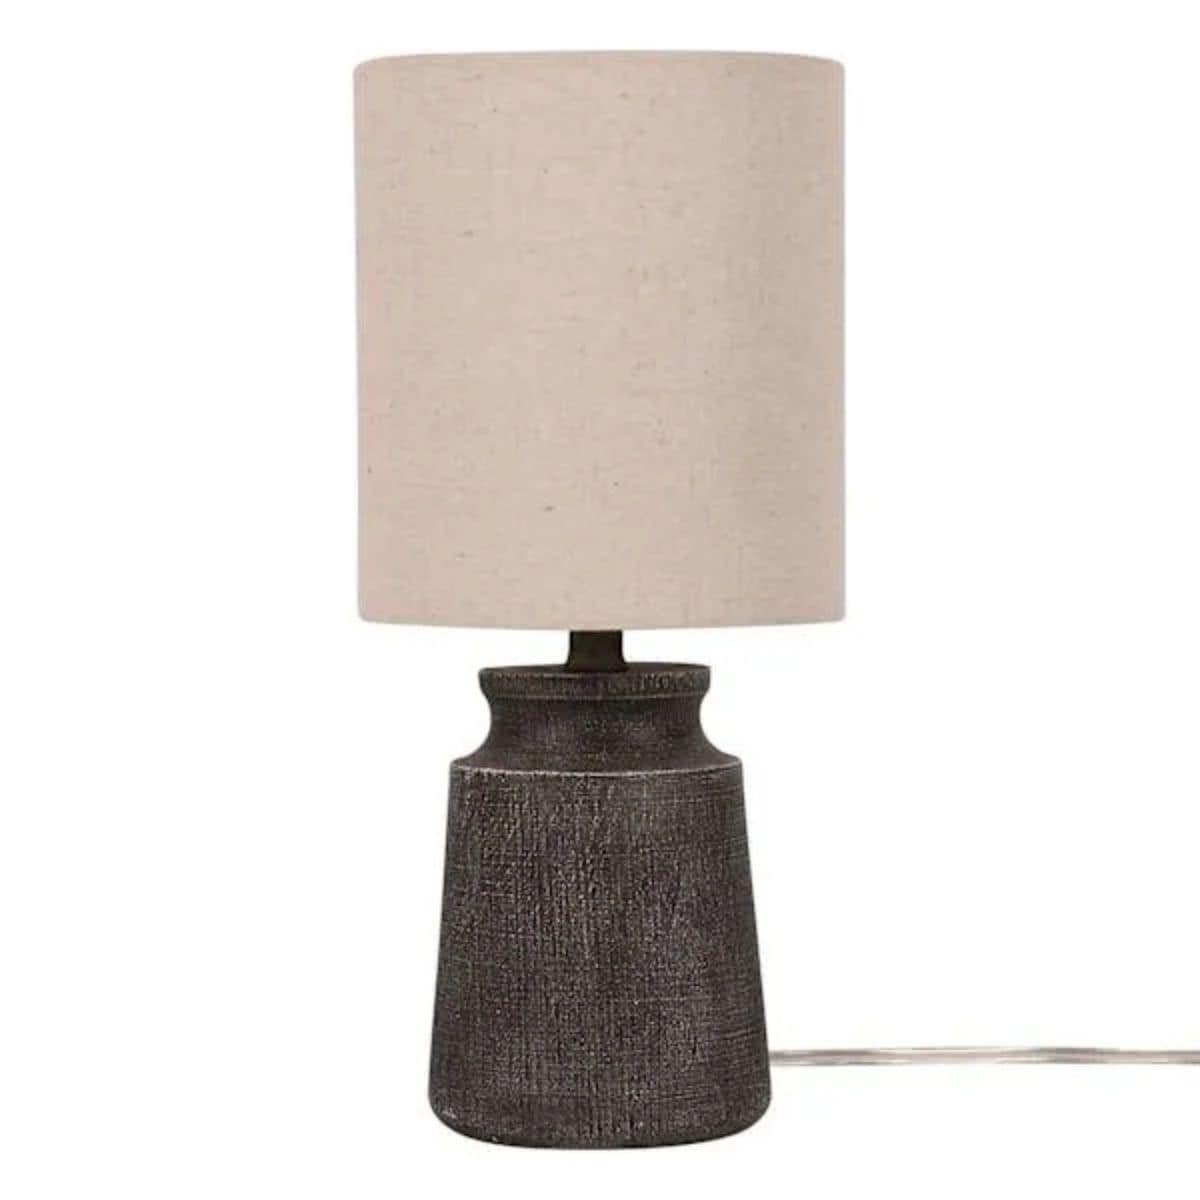
More Fall Decor Ideas
Are you looking for some ways to decorate for Fall? Check out these posts below.

Hi, I'm Katie!
I'm so glad you're here. Want to make something fabulous? I'm here to help!
The post Neutral Fall Decor for the Living Room under $25 appeared first on The Crafty Blog Stalker.
]]>The post Homemade Crispy Apple Chips appeared first on The Crafty Blog Stalker.
]]>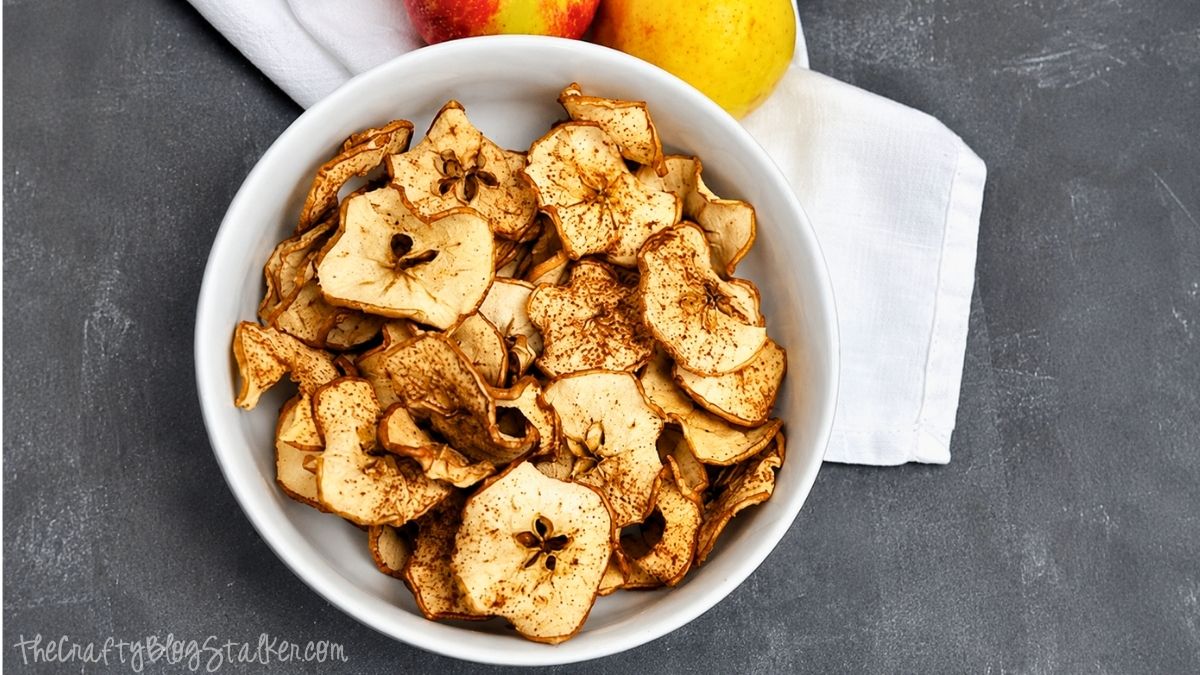
Fall may get a lot of attention for pumpkin everything, but I think crisp, fresh apples deserve their moment too.
These homemade apple chips are an easy snack for the whole family, with plenty of crunch and just the right touch of cinnamon.
I can tell you from experience that a batch never lasts long around here, especially when everyone can smell them baking.
If you're looking for a simple way to enjoy apple season, grab a few apples and let's make a batch!
Ingredients
See the recipe card below for measurements and instructions.
- Apples
- Cinnamon
- Sugar
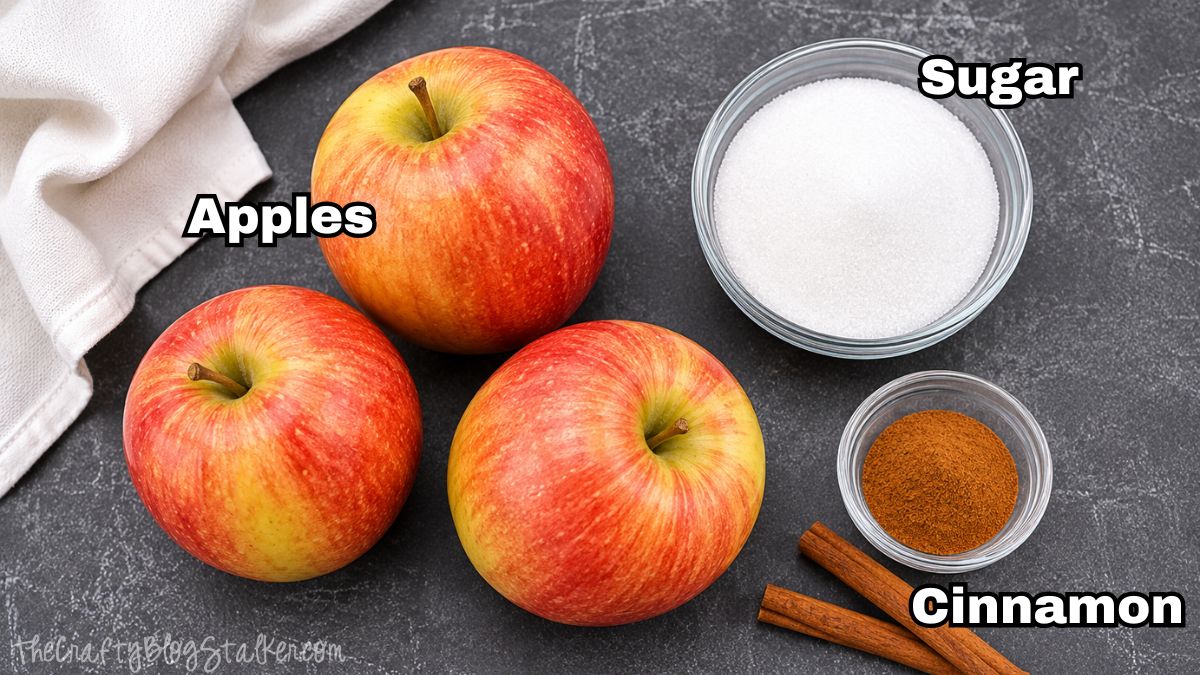
Why You'll Love These Homemade Apple Chips
With just three simple ingredients, these homemade apple chips are an easy snack with plenty of crisp fall flavor.
Baking brings out the apples' natural sweetness, while a little cinnamon and sugar make them extra delicious.
Use Honeycrisp or Fuji for a sweeter chip, Granny Smith for something tart, or Pink Lady for a little of both.

Apple Chip Recipe
Ingredients
- 3 Medium Apples unpeeled
- Sugar to taste
- Cinnamon to taste
Instructions
- Preheat the oven to 225°F.
- Thinly and evenly slice the apples using a mandoline slicer. Remove any seeds from the slices.
- Line two baking sheets with parchment paper.
- Arrange the apple slices in a single layer on the prepared baking sheets without overlapping.
- Lightly sprinkle the apple slices with cinnamon and sugar.
- Bake for 2 to 2½ hours, flipping the apple slices halfway through the baking time.
- Remove the baking sheets from the oven and allow the apple chips to cool completely on the pans. They may still feel slightly soft when warm but will continue to crisp as they cool.
Notes
Nutrition
Tips for Crispy Apple Chips
The biggest secret to getting apple chips crisp is keeping your slices thin and consistent. A mandoline makes this really easy because every slice comes out about the same thickness, which helps everything bake at roughly the same rate.
If you don't have a mandoline, you can slice apples with a sharp knife. Just take your time and try to keep the slices as even as possible. If some are much thicker than others, you'll end up with a mixture of crisp chips and slices that are still chewy in the center.
Don't crowd the baking sheet, either. Arrange the apples in a single layer so the moisture can escape while they bake. If you have more apple slices than will fit comfortably on your pans, make another batch rather than squeeze them all together.
Your cooking time can also vary depending on the apple variety, slice thickness, and your oven. The apple chips may still feel slightly soft when you first remove them, so don't assume they need more time right away. Let them cool on the pan before deciding if they're crisp enough.
Frequently Asked Questions
Firm apples work best because they hold their shape while baking. Honeycrisp, Fuji, Pink Lady, and Granny Smith are all great choices. Sweeter apples naturally create a sweeter chip, while tart apples provide more contrast with the cinnamon and sugar.
No. I leave the apples unpeeled because the peel adds color and makes this recipe even easier. Just wash and dry the apples well before slicing.
You can, but I usually don't. Slicing the whole apple creates a pretty star shape through the center of some of the chips. Simply remove any seeds from the slices before baking.
They may have been sliced too thick, placed too close together, or simply need a little more time. Keep in mind that the chips will continue to crisp as they cool, so let them cool completely before putting them back into the oven.
Yes. A mandoline makes it easier to get consistently thin slices, but a sharp knife will work too. The important thing is keeping the slices as close to the same thickness as possible.
This particular recipe was developed for the oven, so the cooking time and temperature won't transfer directly to an air fryer or dehydrator. If you use either method, follow your appliance's instructions and watch the apples closely.
More Snack Recipes
Looking for another easy homemade snack? Here are a few more tasty recipes to try when you need something everyone can grab and enjoy!


Hi, I'm Katie!
I'm so glad you're here. Want to make something fabulous? I'm here to help!
The post Homemade Crispy Apple Chips appeared first on The Crafty Blog Stalker.
]]>The post Halloween T-Shirt Design with Glitter Iron-on Vinyl appeared first on The Crafty Blog Stalker.
]]>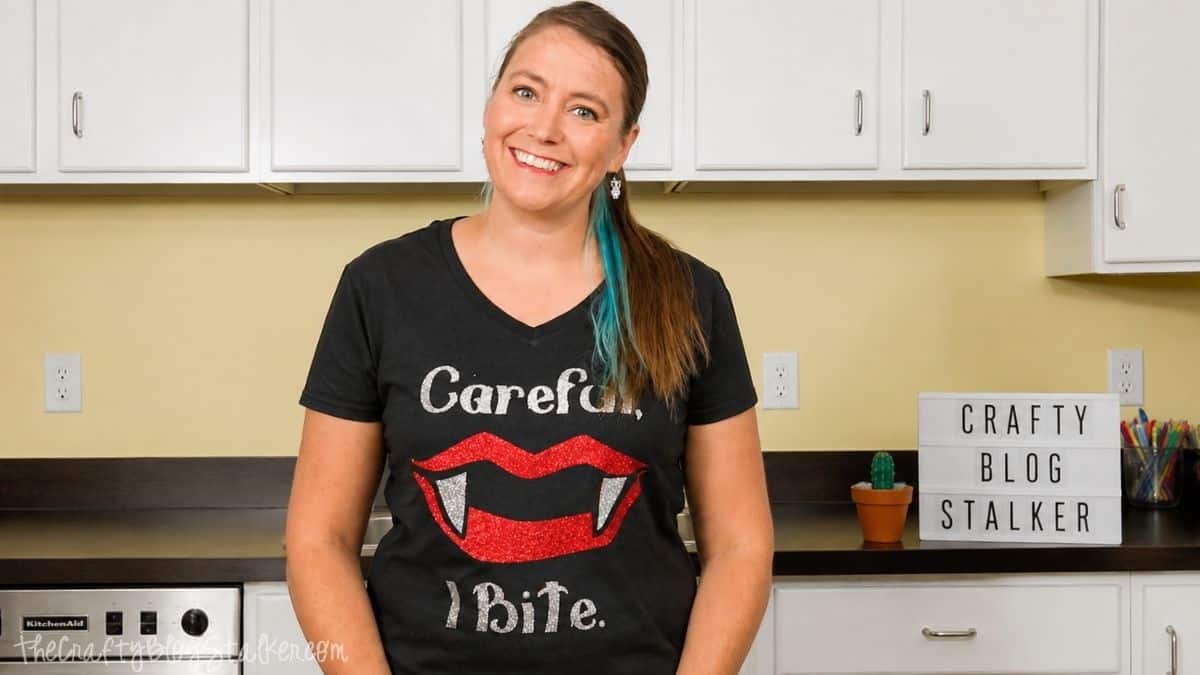
Do you dress up for Halloween, or are you more of a festive T-shirt person?
I don't usually go all out with a costume, but I still like to show a little Halloween spirit.
This year, I made myself a vampire T-shirt with glitter heat transfer vinyl, and I love how it turned out.
Honestly, I could wear this shirt all year long, not just for Halloween!
Skill Level: Beginner
Estimated Cost: $15-$20
Total Time: 45 minutes
Craft Tutorial Video
If videos are your thing, you're in luck-I've got a full tutorial ready for you!
Subscribe to my YouTube channel and stay inspired with every new project.
Supply List
Some links may lead to similar items when the exact item is unavailable.
How to Make a Halloween Shirt with Glitter Iron-On
Start by laying your T-shirt flat and deciding how large you want the finished design to be. I like my shirt designs to fill a good portion of the front without looking oversized.
Use a ruler to measure the available space before sizing the design. I used a black adult large T-shirt and made my design 11 inches wide.
Keep the cutting limitations of your specific Cricut machine, mat, and material in mind when choosing the size.
Measuring first saves you from creating the perfect design only to discover it's too large to cut or doesn't look right on the shirt.
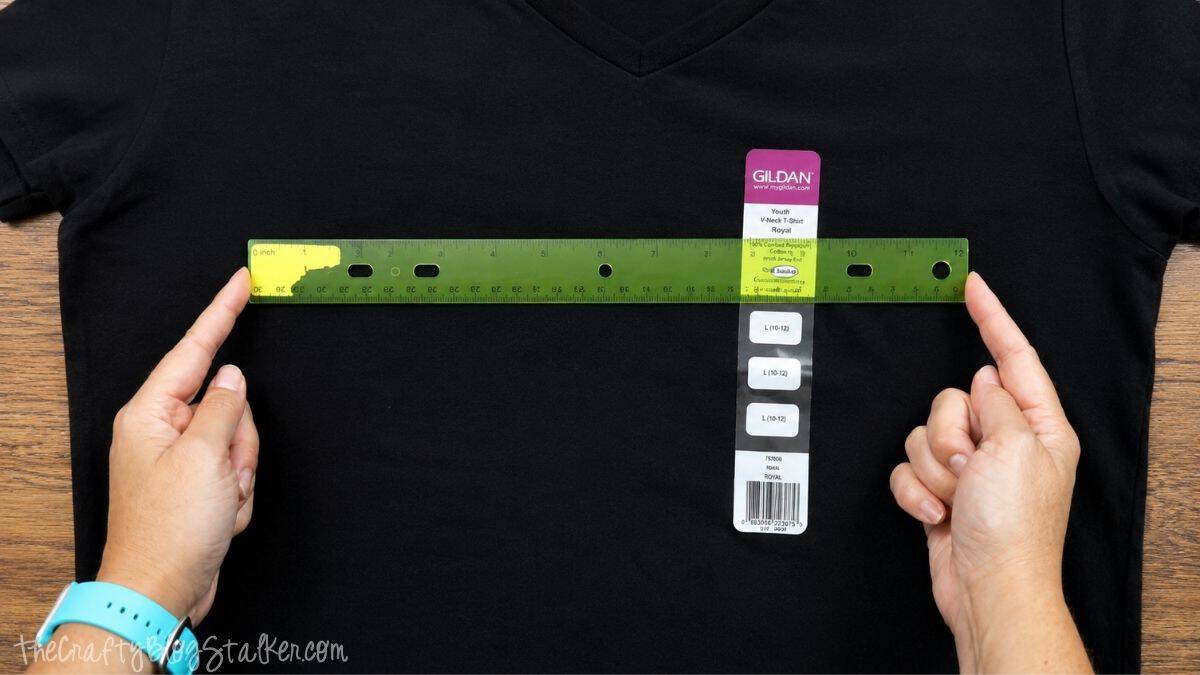
Prepare the Design in Cricut Design Space
I created my "Careful, I Bite" design in Cricut Design Space. You can use my Careful, I Bite Cricut Design Space project to make the same shirt.
My project is already sized at 11 inches wide. If you need a different size for your T-shirt, open the project and adjust the dimensions before cutting.
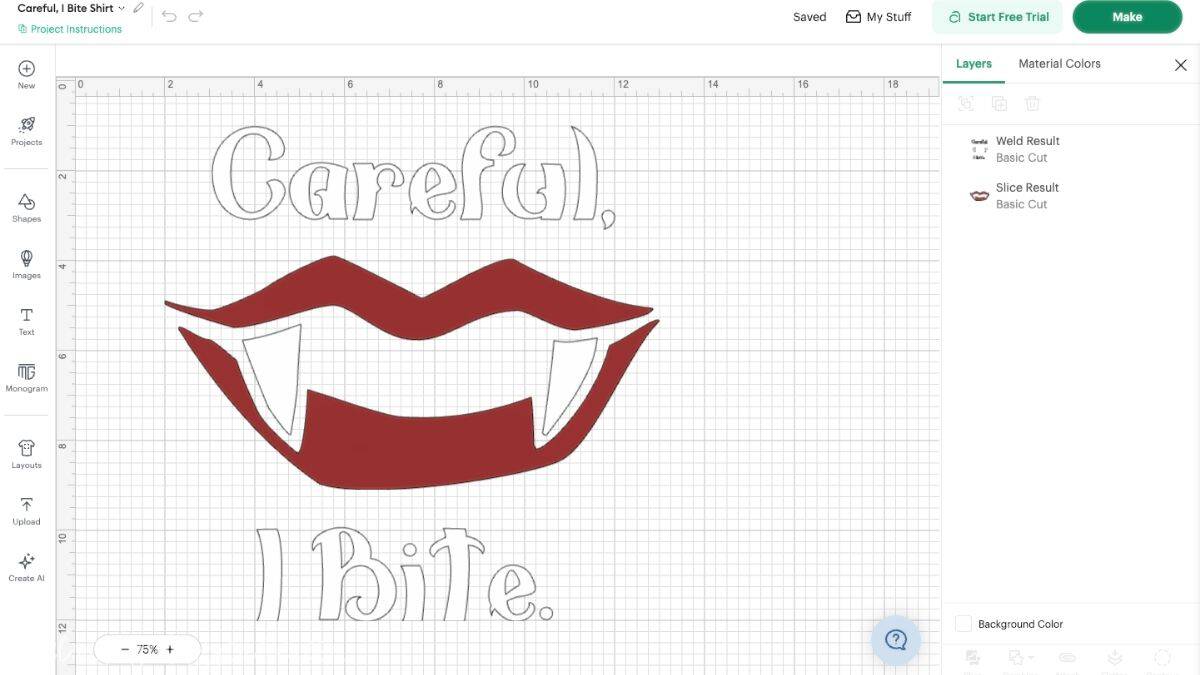
When your design is sized correctly, select Make It and follow the prompts in Design Space.
Since you're working with iron-on vinyl, make sure the design is mirrored before cutting. This is an important little step that's easy to forget until it's too late. Ask me how every Cricut crafter learns that lesson at least once!
I cut the lips from red glitter iron-on and used silver glitter iron-on for the words and vampire teeth.
Place the glitter iron-on onto the cutting mat with the shiny carrier side facing down, then load the mat and cut each color.
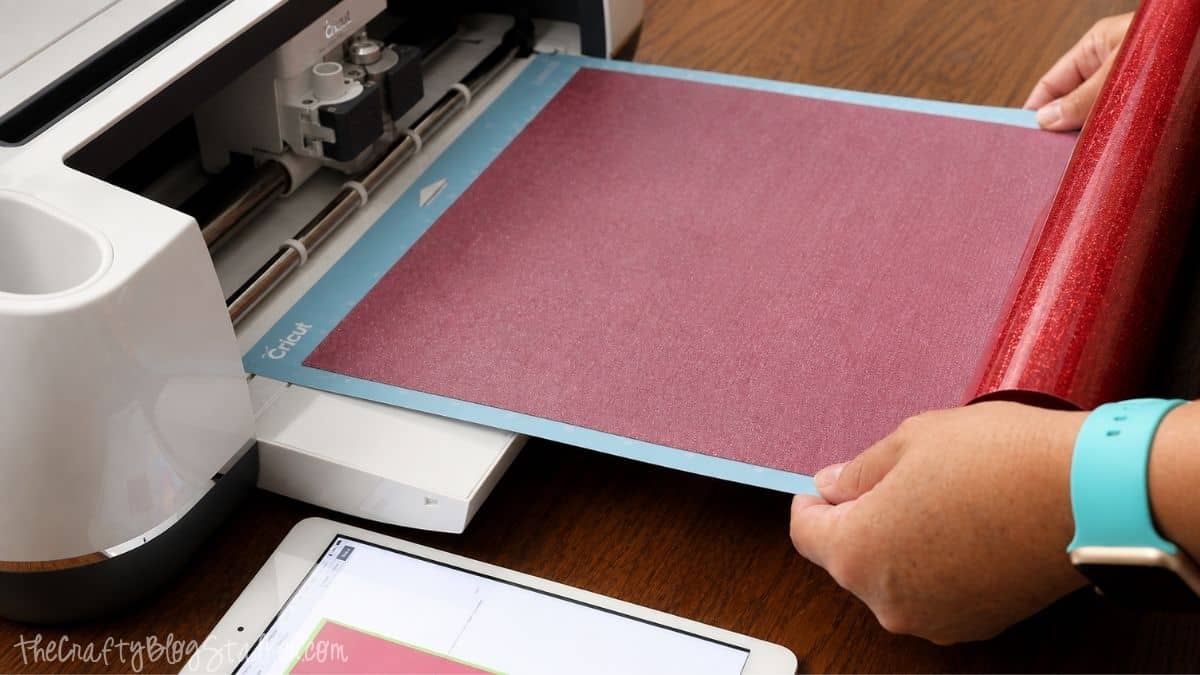
When the Cricut is finished cutting, remove the glitter iron-on from the mat.
Replace the protective plastic sheet on your mat when you're finished to help keep dust and debris off the adhesive surface.
Weed the Glitter Iron-On Vinyl
Next, weed both colors of glitter iron-on by removing all of the vinyl that isn't part of the finished design.
A BrightPad can make the cut lines easier to see, especially when you're working with glitter materials where those little cut lines sometimes like to hide.
Take your time around the smaller details, especially the lettering and teeth.
When you're finished, look over the entire design before moving to the heat press so you can catch any tiny pieces you may have missed.
Apply the Glitter Iron-On
Once both colors are weeded, it's time to put everything together.
Start by positioning the silver layer on the front of the shirt. Take a moment to make sure the design is centered and straight before pressing.
The carrier sheet is slightly sticky, so it should hold the design in place while you make small adjustments.
Heat settings can vary by the exact iron-on material, shirt fabric, and heat press you're using, so always check the current instructions for your products before pressing.
When I originally made this project, the recommended setting for my shirt and Cricut Glitter Iron-On was 340°F for 20 seconds.
After pressing, allow the material to cool as directed before removing the carrier sheet.
Next come those sparkly vampire lips!
Center the red lips around the silver teeth and lightly press the carrier sheet into place.
Before pressing the second color, make sure all previously applied glitter iron-on is protected. I reused the carrier sheet from the silver layer to cover the exposed design.
Don't let the heat plate sit directly on the glitter heat transfer vinyl, as it could damage the finished surface.
Press the red glitter iron-on according to the recommended settings for your materials.
Once the iron-on has cooled as directed, carefully remove the carrier sheet and check that every part of the design has adhered securely.
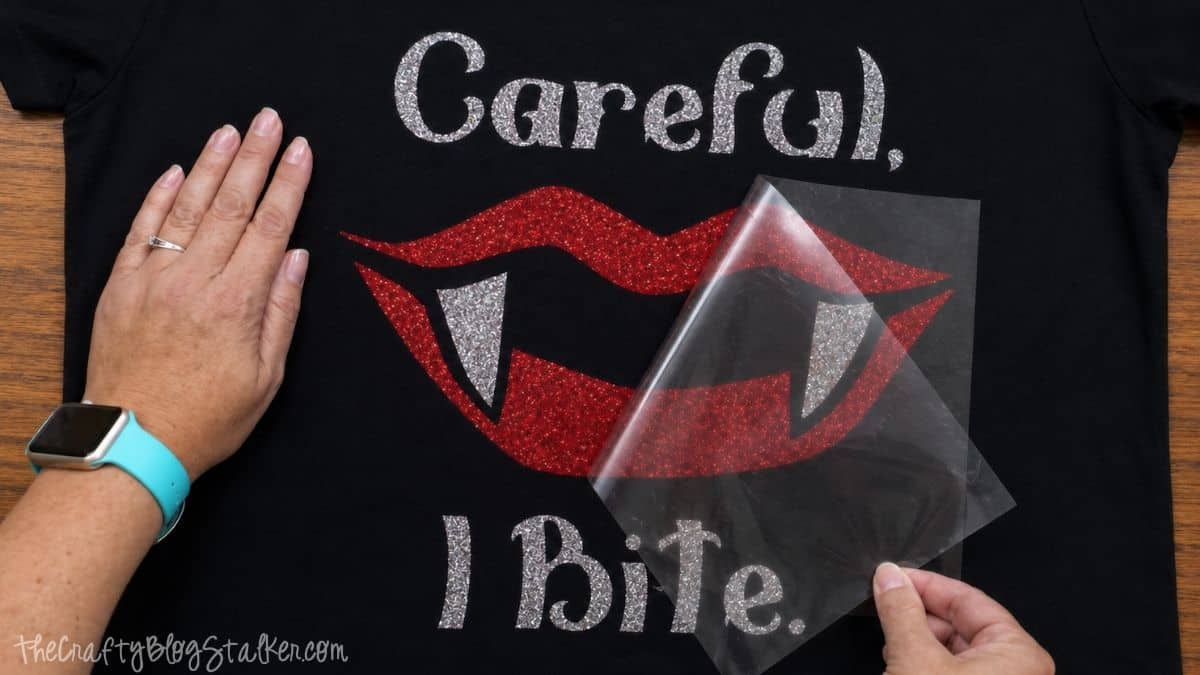
Didn't it turn out so cute?!
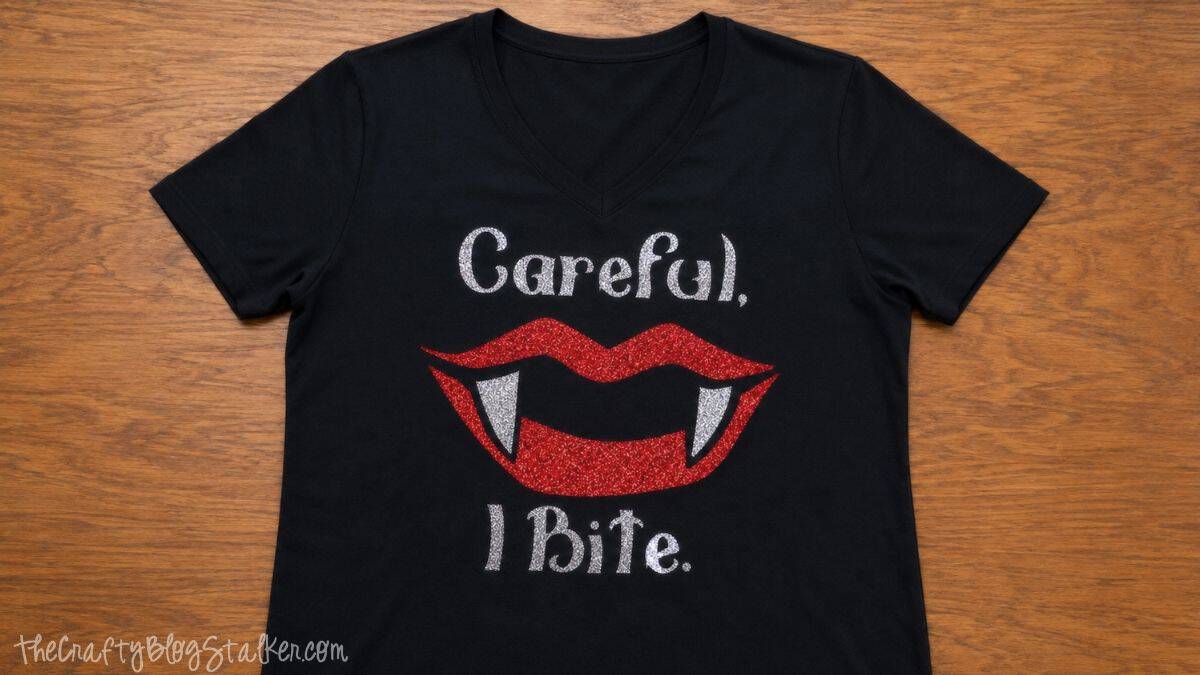
This is such a fun alternative to a full Halloween costume. Pair it with jeans, and you've got something festive to wear while handing out sweets, going to a party, or taking the kids trick-or-treating.
It would also make a cute handmade gift for someone who loves Halloween shirts but isn't necessarily interested in dressing up as a witch, skeleton, or vampire from head to toe.
Frequently Asked Questions
Yes. The finished shirt won't have the same sparkle, but you can use another compatible heat transfer vinyl. Always follow the cutting and pressing instructions for the specific material you're using.
No. You can use another heat tool approved for your heat transfer vinyl, such as a Cricut EasyPress. The important part is using the correct temperature, time, and pressure recommended for your particular vinyl and fabric.
Iron-on designs are cut from the back because the clear carrier sheet stays on top during application. Mirroring ensures that your words and images face the correct direction once they're pressed onto the shirt.
For this project, the red and silver pieces are positioned next to each other rather than stacking one glitter layer directly on top of another. Check the manufacturer's instructions before layering any heat transfer vinyl because not every material is designed to be used as a bottom layer.
Absolutely! Just resize the design to fit the smaller T-shirt before cutting. Measuring the shirt first will help you choose a size that looks proportional.
Follow the care instructions provided by the manufacturer of your heat transfer vinyl. Let the adhesive cure for the recommended time before the first wash to help your design last.
Need help with this project?
Click a button below to ask AI what size to make the design for my T-shirt.
More Halloween Cricut Crafts
Can you have too many bookmarks? I don't think so! Here are a few more fun ideas.
Hi, I'm Katie!
I'm so glad you're here. Want to make something fabulous? I'm here to help!
The post Halloween T-Shirt Design with Glitter Iron-on Vinyl appeared first on The Crafty Blog Stalker.
]]>The post Printable Halloween Decorations for a Gallery Wall appeared first on The Crafty Blog Stalker.
]]>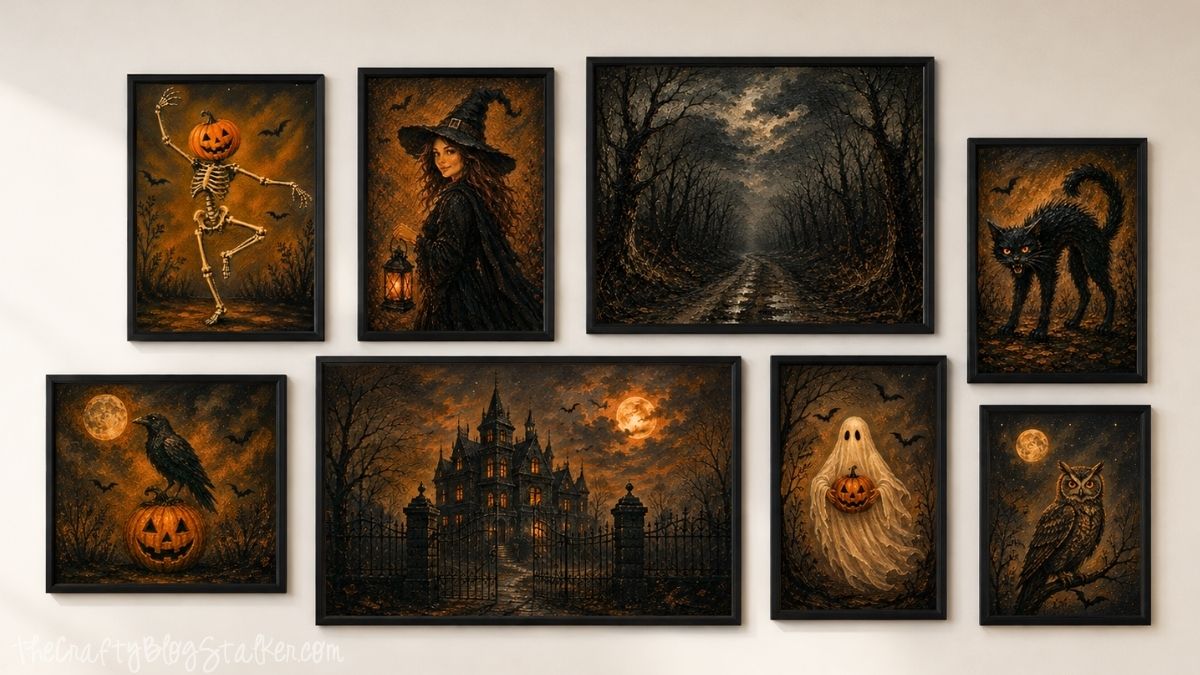
If you love decorating for spooky season, these printable Halloween decorations make it easy to give your walls a festive makeover.
I love a good gallery wall because you can mix and match your favorite designs and completely change the look of a room without taking on a big project.
Simply print your favorites, pop them into frames, and arrange them for Halloween decor that feels fun and pulled together.
Be sure to scroll to the bottom of the post for five more free Halloween printables you can download and enjoy!
Skill Level: Beginner
Estimated Cost: $10-$30
Total Time: 30 minutes
What's Included in the Halloween Printable Bundle
The Halloween Printable Decor Bundle includes 10 spooky designs, with five vertical images and five horizontal images.
That gives you plenty of options to mix and match when creating a gallery wall or decorating different areas throughout your home.
The collection includes a witch, ghost, haunted house, black cat, owl, skeleton, pumpkins, raven, cemetery, and spooky forest.
I love that the designs coordinate without looking exactly the same, so the finished display feels collected rather than overly matched.
You certainly don't have to use all 10 prints at once.
Choose the designs that work best with your space, or swap them around throughout the season when you want to change things up.
Printing Your Halloween Decorations
All designs can be resized and cropped to fit different frame sizes, making them easy to use with frames you already own.
For the best results at home, I recommend printing on cardstock or matte photo paper.
The heavier paper gives the artwork a nicer finished look, and I prefer matte paper because you get less glare once the print is behind glass.
Before printing, size the artwork to match your frame. If your frame includes a mat, size the artwork to the mat opening rather than the outside dimensions of the frame.
For larger artwork that your home printer can't handle, send the file to a professional printing service.
This is an easy way to add one or two larger pieces to your gallery wall without piecing together multiple sheets of paper.
Creating a Halloween Gallery Wall
One of the best things about printable artwork is that you can completely change the look depending on the frames and arrangement you choose.
For a more coordinated gallery wall, use frames in the same color but mix several sizes and orientations. Black frames work especially well with these designs and give the entire collection a finished look without competing with the artwork.
Before putting holes in the wall, lay all of your framed prints on the floor and play with the arrangement. Start with one of the larger pieces near the center and work outward, mixing vertical and horizontal artwork as you go.
Don't worry about making everything perfectly symmetrical. A little variation in frame sizes and spacing gives a gallery wall more personality.
These printable Halloween decorations aren't limited to one big wall, either. Use a single framed print on a shelf, add a few to a fireplace mantel, lean one against the kitchen backsplash, or group several together on an entry table.
That's one of my favorite things about printable decor. You can use the same designs in completely different ways depending on your space and the Halloween decorations you already have.
Frequently Asked Questions
You can resize and crop the designs to fit a variety of frames. For the best print quality, avoid enlarging an image significantly beyond its original dimensions.
I recommend cardstock or matte photo paper. Both give the artwork a more finished appearance than regular printer paper, but matte photo paper is my favorite when I want the colors and details to look especially nice.
Yes. If you want a size larger than your home printer can accommodate, a professional printing service is a great option.
Not at all. Matching frames create a clean, coordinated look, while mixing frame styles can give your display a more collected, vintage feel. Use whichever style works best with your Halloween decor.
Nope! Frame one or two designs for a smaller display, or spread the prints throughout your home. They work just as well individually as they do grouped together.
Absolutely. Store the prints flat after Halloween, or leave them inside the frames and swap the artwork seasonally. When October rolls around again, your Halloween decor is practically ready to go.
More Ideas
Looking for even more Halloween inspiration? Here are five free printables with games, crafts, and activities to add a little extra fun to spooky season.
Hi, I'm Katie!
I'm so glad you're here. Want to make something fabulous? I'm here to help!
The post Printable Halloween Decorations for a Gallery Wall appeared first on The Crafty Blog Stalker.
]]>The post DIY Scavenger Hunt In The Woods for Kids appeared first on The Crafty Blog Stalker.
]]>
We recently had a camping family reunion, and I was put in charge of coming up with a game for the kids.
Well, you know me. There was no way Duck, Duck, Goose was going to cut it, so I made a scavenger hunt they could take exploring with them.
The kids had so much fun searching for natural treasures that they played with these little scavenger hunt boxes all weekend.
Skill Level: Beginner
Estimated Cost: $5-$10
Total Time: 1 hour
Supplies List
- Large Pillboxes
- Pure Acetone
- Colored Cardstock
- Printer Paper
- Glue Stick
- E6000 Glue
- Cricut (optional)
- Adhesive Vinyl (optional)

I purchased the pill boxes from Dollar Tree. They are much cheaper there than on Amazon.
How to Make a Nature Scavenger Hunt
The fun part about this outdoor scavenger hunt is that the container does double duty.
Each little compartment has a clue inside the lid, and when the kids find that item, they can tuck it right into the compartment.
Instead of simply checking things off a scavenger hunt list, they end up with a tiny collection of their discoveries.
It makes the hunt feel a little more like a treasure hunt, which was a big hit with our group.
Prepare the Containers
I started with large seven-compartment pillboxes.
The individual lids make them perfect for this project because each compartment can hold a different scavenger hunt item.
Mine had the days of the week printed across the lids, so I used pure acetone to carefully remove the lettering.

This tip is also included in my 25 Helpful Tips and Tricks post.
If you use acetone, test it on a small area of your container first. Different plastics can react differently, and you don't want to discover halfway through that your particular container doesn't like acetone.
Once the printing was removed, I had nice clear lids ready for my scavenger hunt clues.

Create the Scavenger Hunt Clues
Next, I measured the inside of each lid. This told me exactly how large to make the individual labels.

Then I started thinking about the kinds of things the kids would realistically find while we were camping. My list of items included things like a flat rock, leaves, pine needles, sticks, seeds, a soda can tab, and even a piece of trash.
Yes, trash counts! If they're going to be exploring anyway, we might as well leave the area a tiny bit cleaner than we found it.
I created my labels in an Excel sheet, but you can make yours in whatever program you're comfortable using. I don't have a printable template for this particular scavenger hunt because the best items will depend on where you're exploring.
A scavenger hunt in the woods might include a pinecone, twig, different types of leaves, or an interesting rock. A backyard version could include a flower petal, feather, seed, or piece of bark.
This is also a great way to customize the game for kids of different ages. Younger children can search for simple objects, while older kids can work from more specific clues or look for signs of wildlife and different habitats.
Make the Labels More Durable
Once my clues were printed, I glued the sheets onto colored cardstock using a glue stick.
Then I covered the sheets with clear laminate contact paper before cutting the individual squares apart.
This made the labels more durable, which was important since I knew these little boxes would be carried all over the campground.

I also made each scavenger hunt a little different. That way, the kids could play several times without searching for the exact same things over and over again.
Once everything was cut apart, I used E6000 to attach one clue inside each compartment lid.

Allow the adhesive to dry completely before handing the containers over to the kids.
Here's what the inside looked like when all of the labels were in place.

Add the Find It! Lettering
For the finishing touch, I grabbed some scraps of brown adhesive vinyl and used my Cricut to cut the words Find It!
I applied the letters across the outside lids, and that was it. Our little nature scavenger hunt boxes were ready for an adventure.
Of course, the Cricut lettering is completely optional. You could use stickers, permanent vinyl letters, or leave the outside plain.

I love how they turned out, but more importantly, the kids loved them too!
Ideas for Your Scavenger Hunt
The best part about making your own scavenger hunts is that you can change the clues to fit wherever you're going.
For a nature scavenger hunt in the woods, look for small objects that can safely fit inside the compartments, such as a tiny pinecone, smooth rock, seed, twig, pine needles, or fallen leaves.
Avoid asking kids to collect living insects, wildflowers, anything from protected areas, or objects that shouldn't be removed from their natural environment.
You can also turn some clues into things the kids simply need to spot instead of collect.
Animal tracks, a bird, interesting tree trunks, signs of wildlife, or reflections on water can all become part of the adventure. If you want to include those, give each participant a small spotter sheet or have them take a picture with a camera instead.
Think about where you'll be exploring when creating your clues. The natural treasures you find on a mountain trail will be different from those found in a backyard, campground, or picnic area.
And don't make the scavenger hunt so difficult that everyone gets frustrated. A successful scavenger hunt should include enough easy finds to keep kids excited, with a few trickier discoveries mixed in for extra challenge.
Frequently Asked Questions
Choose items that are common in the area you'll be exploring. Rocks, fallen leaves, pinecones, seeds, twigs, and pine needles are easy places to start. You can also include things to spot rather than collect, such as animal tracks, birds, insects, or different types of trees.
Yes, and it's easy to adjust the difficulty. Younger kids can look for simple items based on shape or color, while older kids can search for more specific plants, textures, wildlife clues, or features in different ecosystems.
Absolutely. You don't need a camping trip or woodland trail to play. Customize the clues around natural items the kids can find in your backyard, neighborhood, or local park.
Turn it into a "spot it" clue instead. The kids can show an adult what they found, mark it on a separate sheet, or take a photo. This works especially well for things like tree trunks, animal tracks, flowers, and wildlife.
For a longer outdoor adventure, plan for the location and weather. A water bottle, sunscreen, appropriate shoes, and other basic outdoor supplies can make exploring much more comfortable. If you're heading onto a trail, adults should also prepare for local conditions, including ticks and changing weather.
Yes! That's one reason I made several versions. You can create new clues for your next camping trip, nature walk, picnic, or backyard adventure and use the containers again.
Need help with this project?
Click a button below to ask AI for some scavenger hunt ideas for a camping trip.
Hi, I'm Katie!
I'm so glad you're here. Want to make something fabulous? I'm here to help!
The post DIY Scavenger Hunt In The Woods for Kids appeared first on The Crafty Blog Stalker.
]]>The post Homemade Slushies with Orange Juice in a Blender appeared first on The Crafty Blog Stalker.
]]>
There's nothing better than an ice-cold treat on a hot summer day, and homemade slushies have become a favorite around here.
One afternoon, my daughter asked if we could make slushies with orange juice, and of course, we had to try it.
They turned out cold, fruity, and delicious, making them perfect for kids and adults who want a quick frozen treat.
Grab your blender and some orange juice, and you'll be sipping your own frosty orange slush in no time!
Why You'll Love This Orange Juice Slushie
This slushie recipe couldn't be much easier. You only need three simple ingredients, and there's no slushy machine or special slushie maker required.
The frozen orange juice concentrate gives the drink a stronger orange flavor without watering it down, while the ice creates that frosty slush consistency. Everything goes straight into the blender, so you can make a refreshing frozen drink whenever the craving hits.
I also love that this recipe doesn't require drink mix, powders, club soda, or a cup of sugar. The orange juice and concentrate bring plenty of sweetness and flavor all on their own.
Ingredients
See the recipe card below for measurements and instructions.
- Orange Juice
- Orange Juice Concentrate
- Ice Cubes
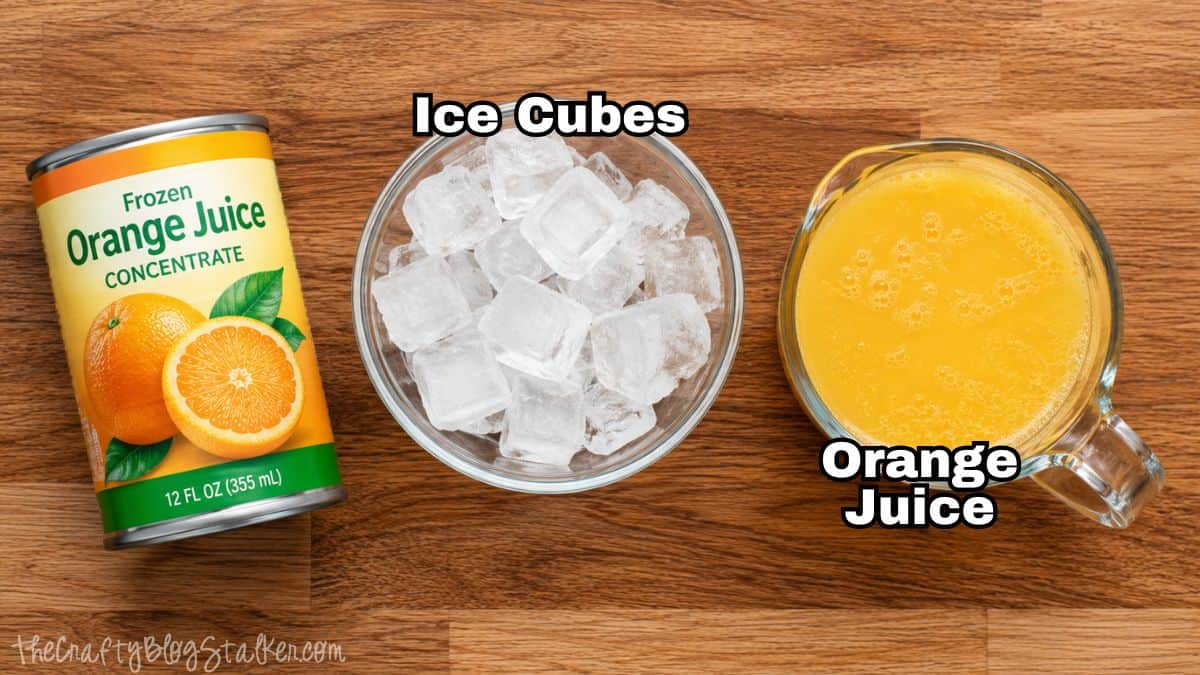
That's it! Three ingredients are all you need.
The exact measurements and instructions are included in the recipe card below, so you can easily save or print the recipe when you're ready to make it.

Orange Juice Slushies Recipe
Equipment
Ingredients
- 1 ½ cups Orange Juice
- ¼ cup Frozen Orange Juice Concentrate
- 2 cups Ice Cubes
Instructions
- Add the orange juice, frozen orange juice concentrate, and ice cubes to a blender.
- Blend on the icy drink or high-speed setting for 30 seconds to 1 minute, or until the ice is crushed and the slushie reaches your desired consistency.
- Pour into two glasses and serve immediately.

Notes
Nutrition
Tips for the Best Homemade Slushies
The amount of ice you use can change the consistency quite a bit. If you prefer a thicker slush, add a little more ice. If the mixture becomes too thick for your blender, add a small splash of orange juice to help it move again.
This is also one of those recipes that's easy to play around with. Once you know how simple homemade slushies are, you can experiment with other juice flavors or combinations.
Watermelon would be especially delicious during the summer. You could even freeze juice in an ice cube tray and keep the cubes in the freezer for an extra-flavorful frozen drink later.
Just keep in mind that different liquids have different amounts of sugar and water, so you may need to adjust the ice slightly to get the slushy consistency you like best.

Frequently Asked Questions
Nope! A regular blender works great for this recipe. You just need a blender powerful enough to crush ice into a smooth, slushy texture.
The concentrate adds more orange flavor and sweetness without adding too much additional liquid. That helps keep the finished drink flavorful instead of becoming watered down as the ice melts.
These are best enjoyed right after blending. If you put the finished slush in the freezer, it can freeze solid instead of keeping that soft, icy texture.
Luckily, the recipe comes together so quickly that it's easy to make a fresh batch whenever you want one.
Absolutely! You can adapt this basic idea with other juices and frozen fruit. Just remember that changing the ingredients may also change how much ice or liquid you need to get the right consistency.
Add a few more ice cubes and blend again. Add them gradually so you don't make the mixture so thick that your blender has trouble moving it around.
Add a small splash of orange juice and blend again. A little liquid goes a long way, so start small and add more only if needed.
Need help with this project?
Click a button below to ask AI what other juices can be used to make slushies.
More Frozen Drink Recipes
Ready for another icy treat? Here are a few more refreshing frozen drink recipes, perfect for cooling down on a hot day.


Hi, I'm Katie!
I'm so glad you're here. Want to make something fabulous? I'm here to help!
The post Homemade Slushies with Orange Juice in a Blender appeared first on The Crafty Blog Stalker.
]]>The post How to Use Puff Vinyl on a T-Shirt appeared first on The Crafty Blog Stalker.
]]>
If you grew up in the 90s, this puff vinyl T-shirt is about to bring back some fun memories.
I'll show you how to use puff vinyl to give a simple design a raised, dimensional finish that really stands out.
Whether you're new to HTV or just want to experiment with a new material using your Cricut, this is an easy project you can make right along with me.
Keep going to the end of the post for 7 more free 90s-themed SVGs you can use for your next nostalgic craft!
Skill Level: Beginner
Estimated Cost: $10-$20
Total Time: 30 minutes
Craft Tutorial Video
If videos are your thing, you're in luck-I've got a full tutorial ready for you!
Subscribe to my YouTube channel and stay inspired with every new project.
Supply List
- HTVRont Heat Press 2 (Code Katie10 for $50 off)
- Cutting Machine
- Tshirt Blank
- Better In The 90s SVG
- Ruler
- Super Puff Heat Transfer Vinyl
- Weeding Tools
- Lint Roller
- T-Shirt Ruler (optional)
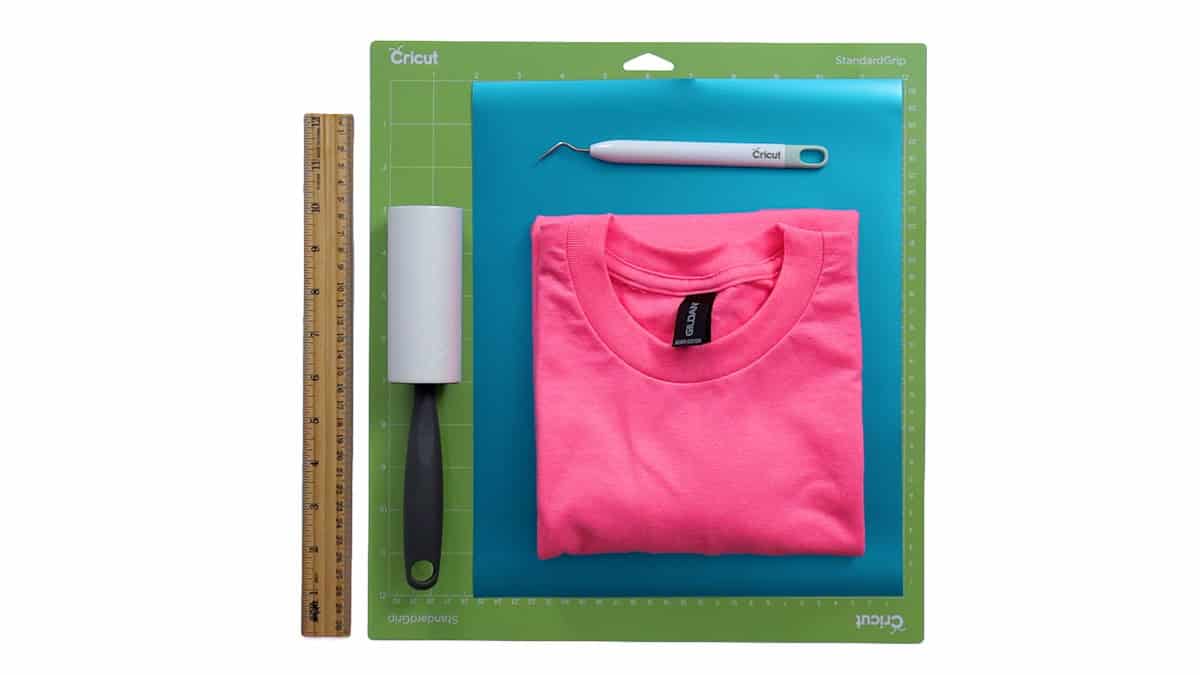
Grab the Free SVG
I'm using my It Was Better In The 90s SVG for this shirt. The bold lettering is perfect for showing off the raised texture of puff HTV.

Prepare and Cut the Puff Vinyl
Before opening Cricut Design Space, measure your shirt so you know how large to make the design.
I'm applying mine to a small T-shirt and decided on a finished width of 9.5 inches.
Your size may be different depending on the shirt and the look you're going for, so don't automatically use my measurements.
Holding a ruler across the shirt before cutting is an easy way to visualize the finished size and avoid wasting vinyl.
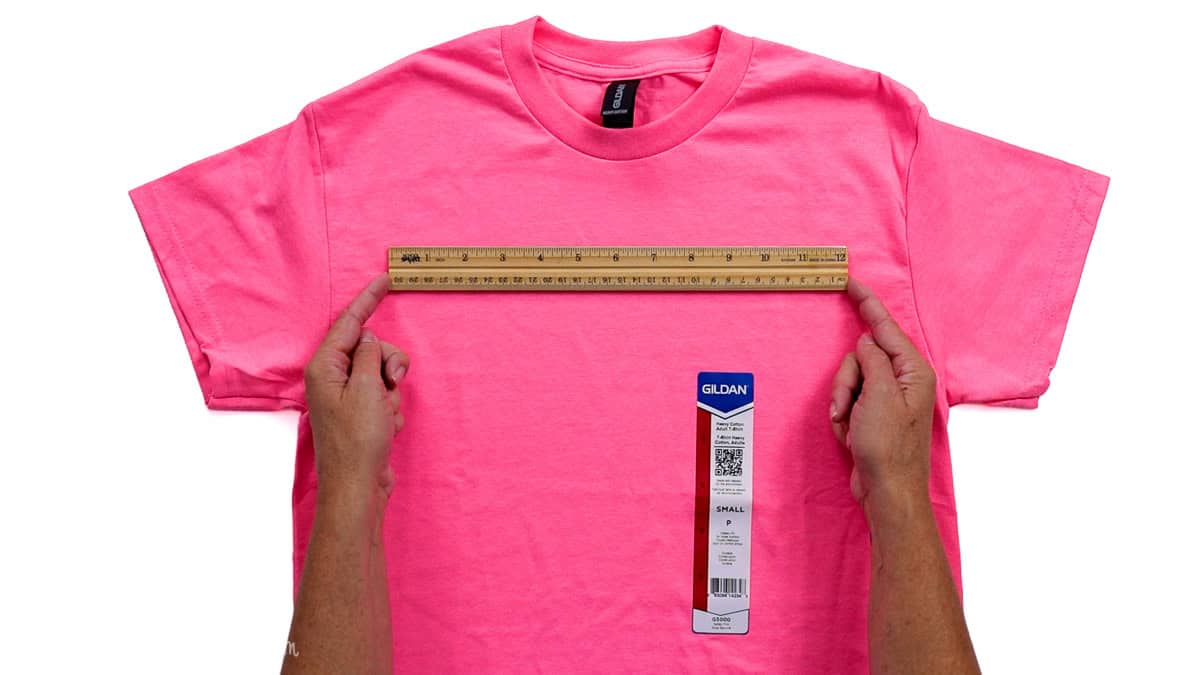
Set Up the T-Shirt in Cricut Design Space
Open a new project in Cricut Design Space.
For this project, I selected a Men's T-shirt as my canvas and set the size to 12 inches. I later realized I didn't actually need the full 12 inches, but that's okay. The important measurement is the finished width of the design.
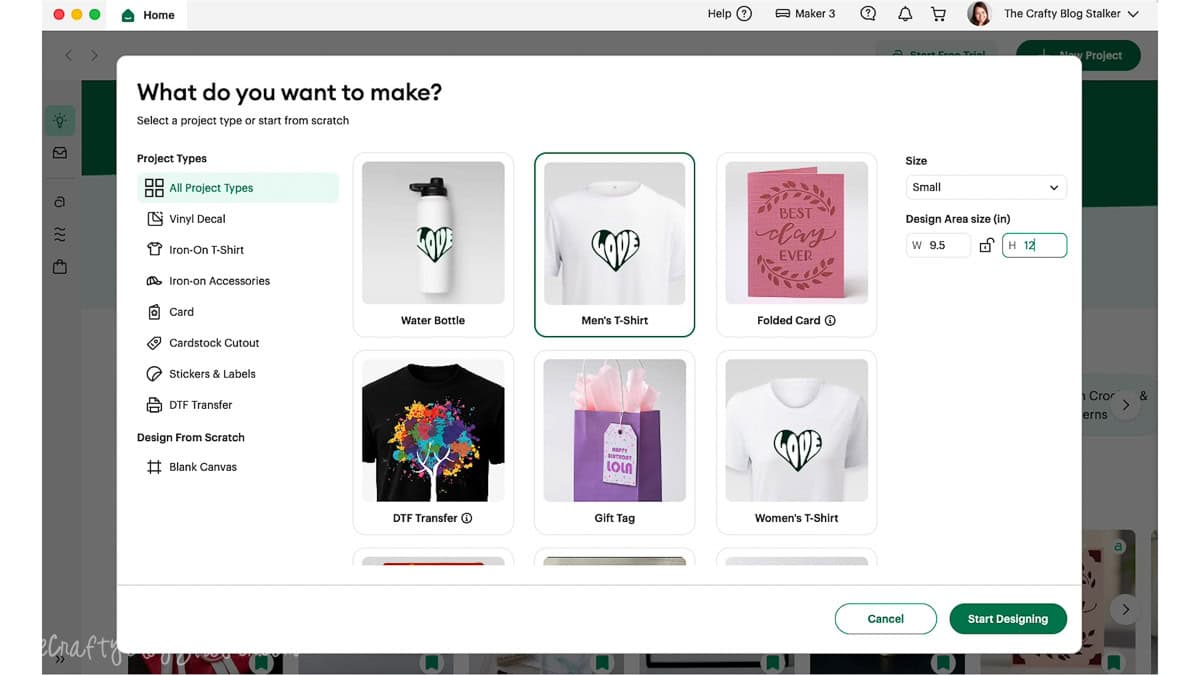
Using a T-shirt template gives you a visual reference for sizing and placement, which is especially helpful when you're deciding how large the design should be.
Click Upload, select Upload Design, and drag and drop the SVG file into Design Space.
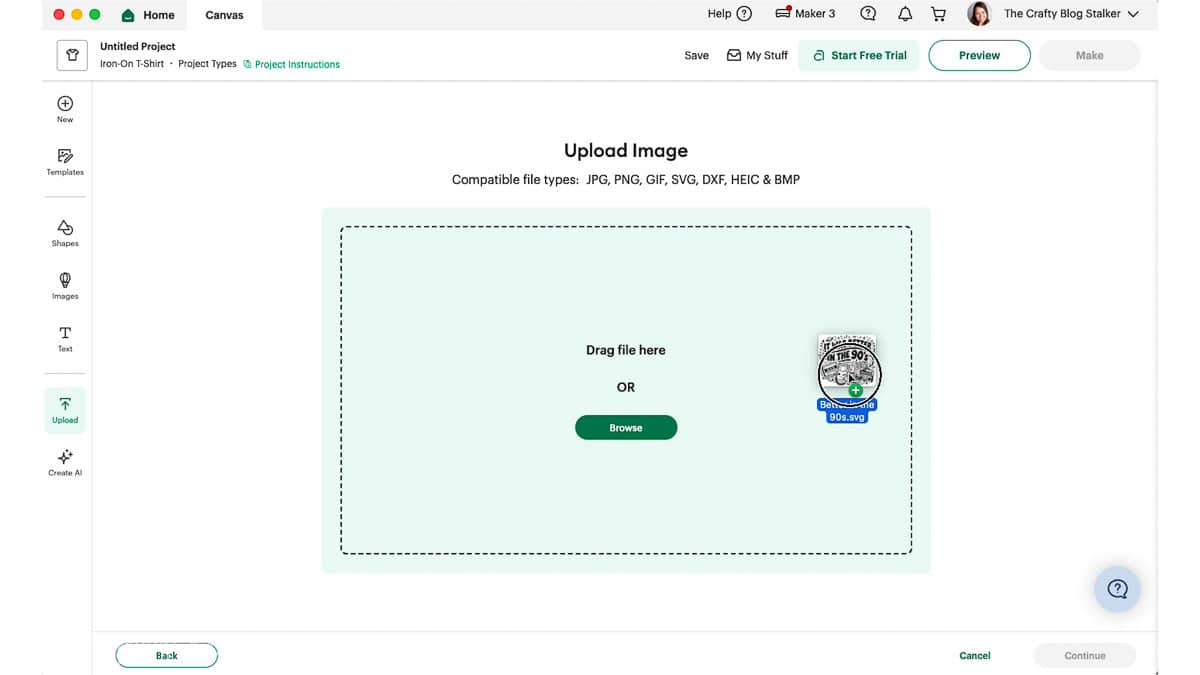
Add the SVG to the canvas and resize the entire design to 9.5 inches wide.
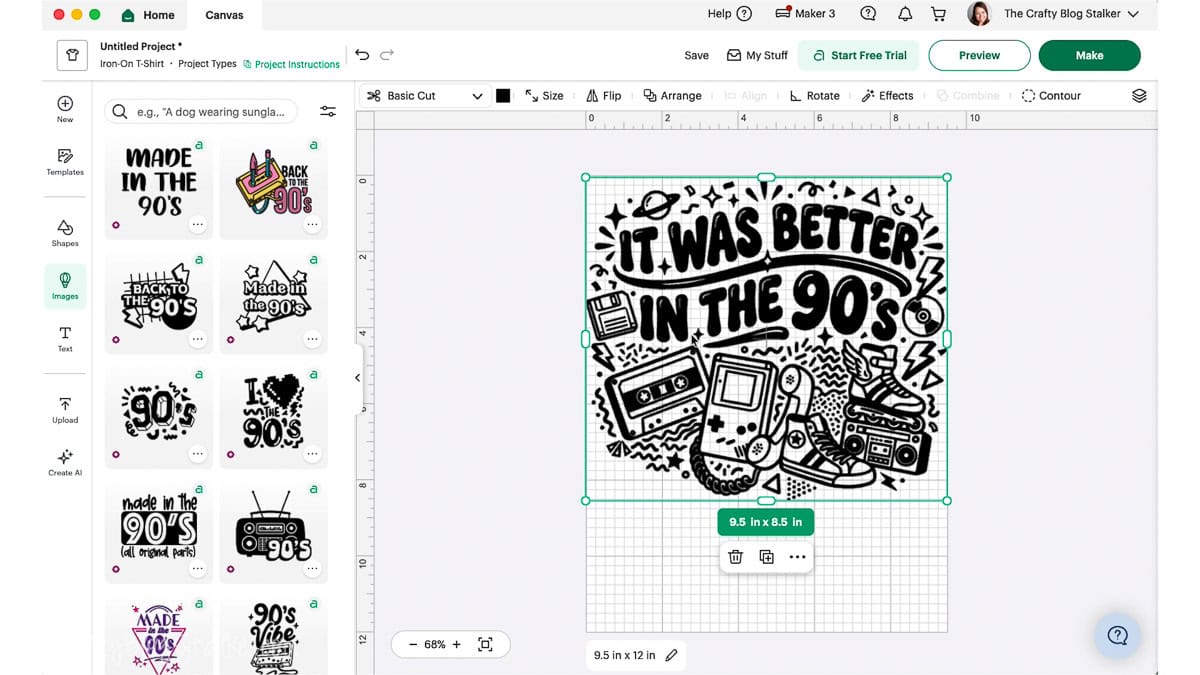
Prepare the Design for Cutting
Once the size looks right, click Make.
On the mat preview screen, make sure the design is mirrored before cutting. Iron-on vinyl needs to be cut in reverse because the design is flipped over when it's pressed onto the fabric.
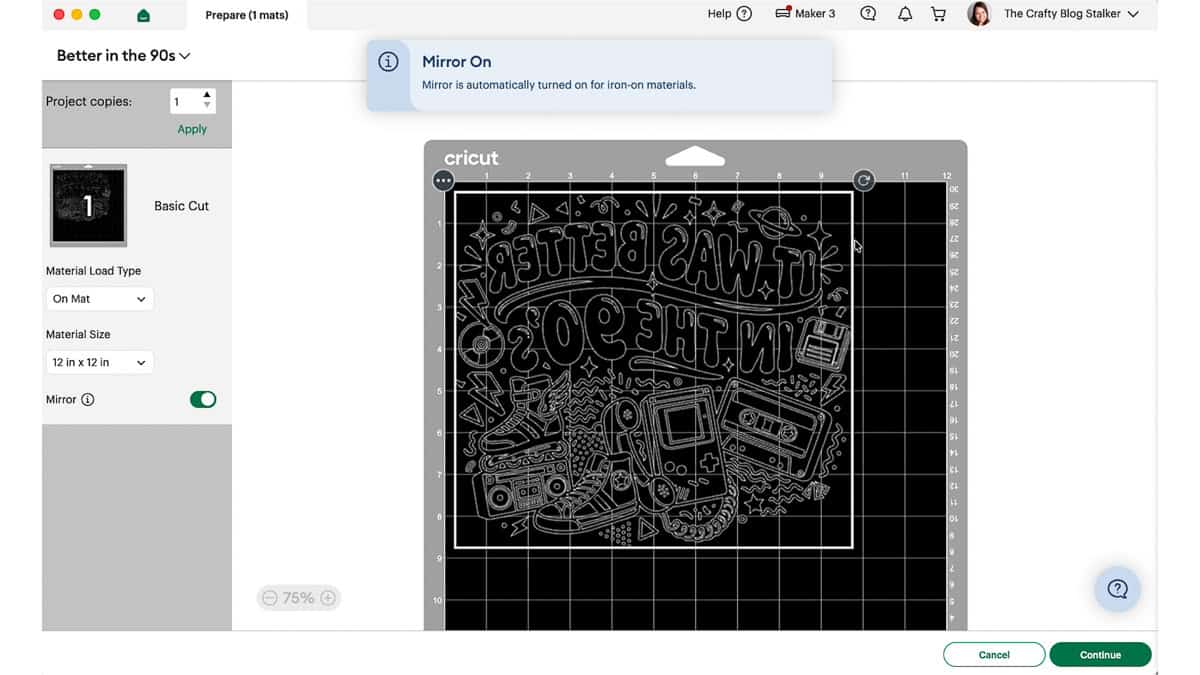
Select Continue and choose your material.
Cricut Design Space has a Puff Iron-On material setting. To find it, search the material list for Puff and select the appropriate setting for your vinyl.
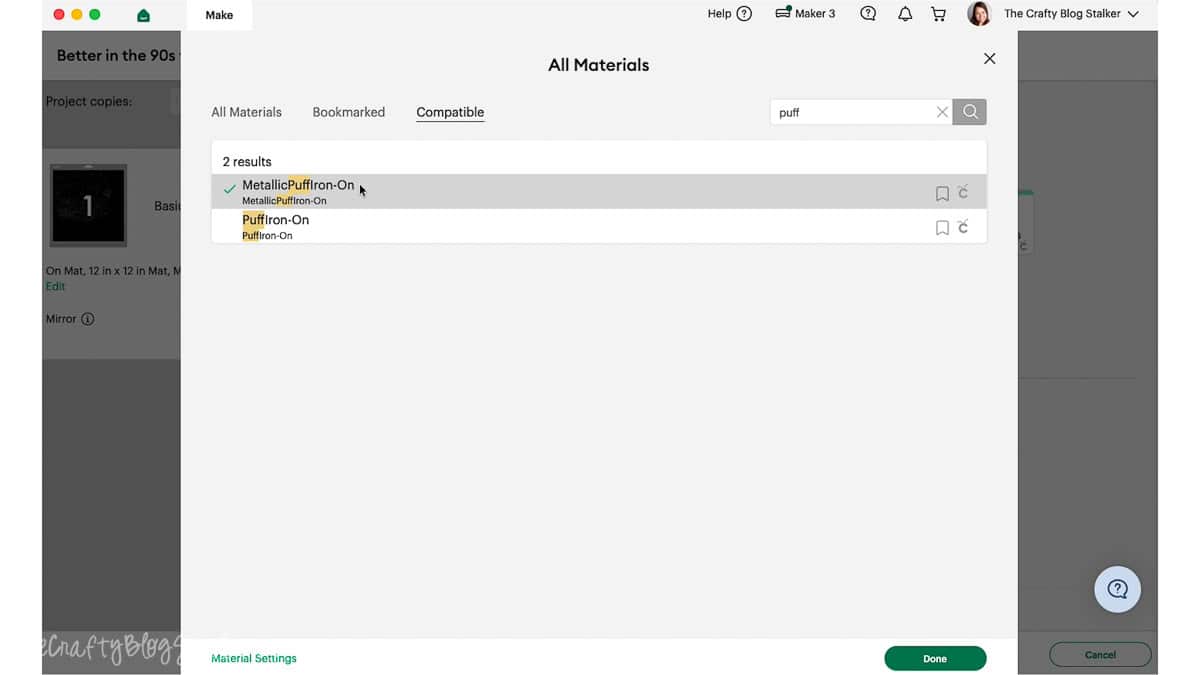
Always check the recommendations for the specific puff heat transfer vinyl you're using. Different brands can require different cut, heat, pressure, and peel settings.
Place Puff HTV on the Mat
Place the puff HTV onto your Cricut mat according to the manufacturer's directions. For the material I'm using, the shiny side faces down against the mat.
Smooth the material onto the mat to prevent bubbles or wrinkles.
Load the mat into the cutting machine and start the cut when the Cricut prompts you.
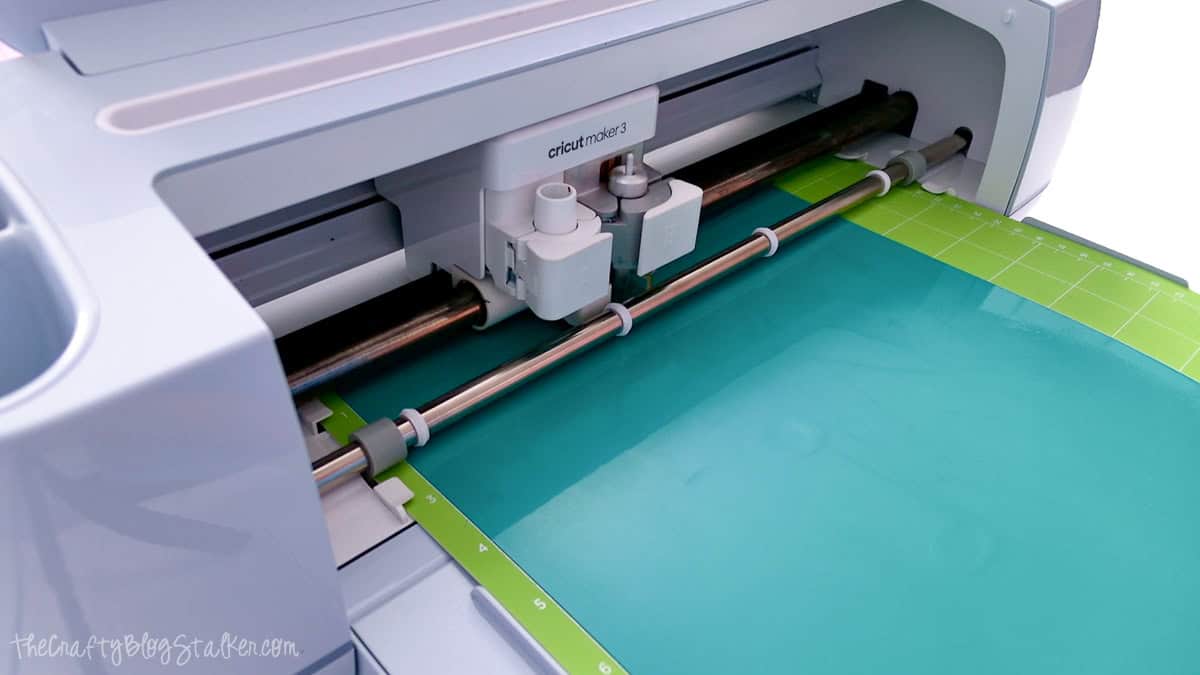
Once cutting is complete, unload the mat and remove the vinyl.
Weed the Design
Start in one corner and slowly peel away the excess puff vinyl surrounding the design.
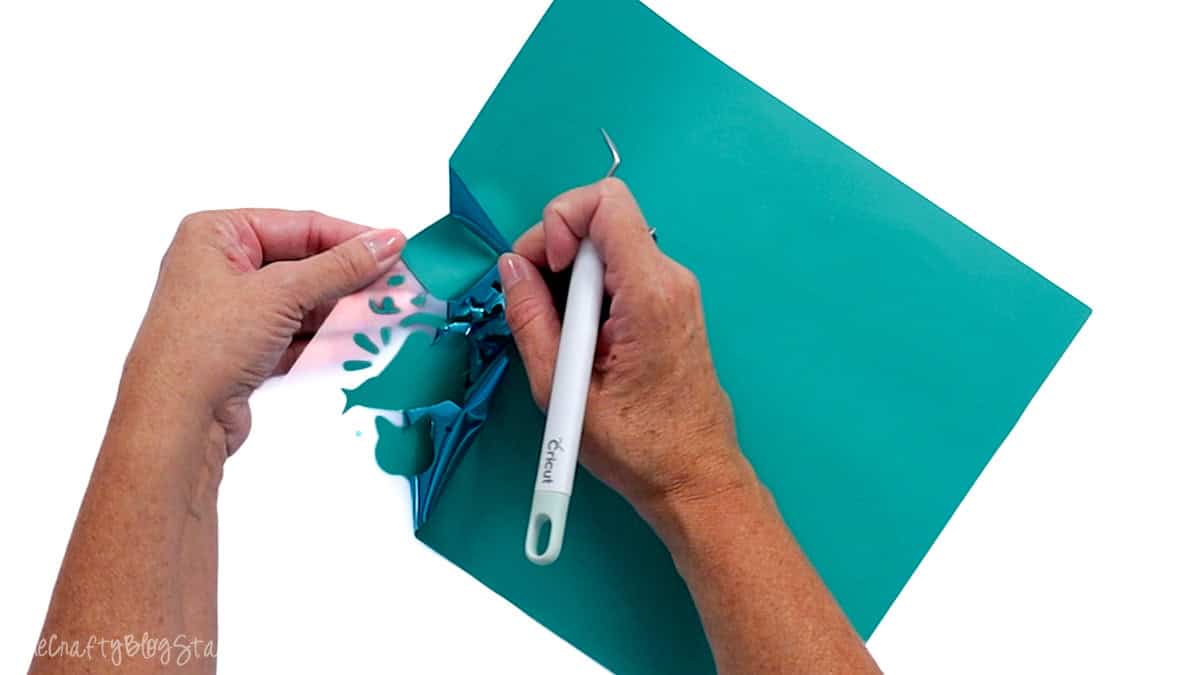
Then use a weeding tool to remove the smaller pieces from inside the letters.
When you think you're finished, turn the design right side up and look over the entire thing.
This is my favorite little weeding trick because missed pieces are often much easier to spot when you're looking at the design the way it will appear on the finished shirt.
Take your time here. It's much easier to catch a forgotten piece now than after it has been pressed.
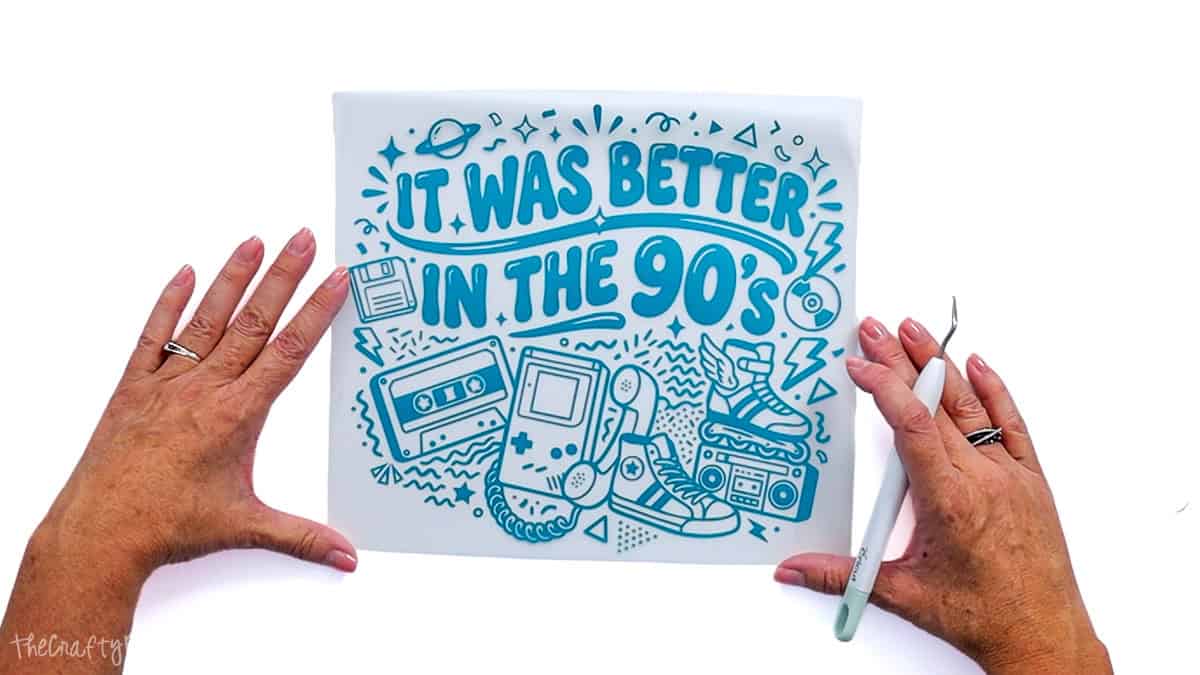
Prepare the T-Shirt for Pressing
I'm using the HTVRONT Auto Heat Press 2 for this project because I can adjust the pressure, which is important when working with this particular puff HTV.
Unlike regular HTV, puff vinyl expands when it's heated. The combination of heat, time, and pressure activates the material and creates that raised effect.
That also means you shouldn't guess at your settings.
Always follow the manufacturer's instructions for your specific material.
Set the Heat Press
My metallic puff iron-on is from Vinyl and Tulle Supply. The manufacturer's instructions call for 265°F to 280°F for 10 seconds with heavy, firm, even pressure.
For my project, I set the heat press to 280°F for 10 seconds with the pressure set to 170 pounds.
Your settings may be different if you're using another brand or style of puff HTV, so check those instructions before pressing.
Prepress the Shirt
While the heat press is warming, place the shirt on the press and give it a quick prepress.
This removes wrinkles and any moisture trapped in the fabric, giving the vinyl a nice, smooth surface to adhere to.
Next, run a lint roller over the front of the shirt.
Even when a shirt looks clean, tiny pieces of lint, hair, and other debris have a sneaky way of showing up exactly where you don't want them.
A quick pass with a lint roller takes only a few seconds and gives you a cleaner finish.
Position and Press the Puff HTV
Now we're ready for the fun part.
Before placing the design on the shirt, find the center of both the design and the T-shirt. This makes positioning so much easier.
Find the Center of the Design
Lightly fold the left and right sides of the clear carrier sheet together without creasing the puff vinyl itself.
Make a small pinch at the top and bottom of the carrier sheet to mark the center.
Now you have an easy guide for lining up the design with the center of your shirt.
Position the Design
For an adult T-shirt, I generally like the top of the design to sit about 3 to 4 inches below the collar.
I use a T-shirt ruler because it makes placement quick and helps me double-check that everything is straight. A regular ruler works perfectly fine too.
Position the design with the carrier sheet facing up, then take a moment to look at the entire shirt before pressing.
Is it centered?
Is it straight?
Is it the right distance from the collar?
This is the time to make adjustments. Once you press it, we're committed!
Press the Puff Vinyl
With the design positioned, slide the tray into the HTVRONT Auto Heat Press 2.
My press automatically lowers and starts the timer. After 10 seconds, it lifts again.
The puff HTV I'm using calls for a warm peel, so I let it cool just enough to comfortably handle the clear carrier sheet.
My highly technical cooling method is to pick up the shirt and flap it a couple of times. It works!
Then I carefully peeled away the carrier sheet.
And this is when you get the first peek at that puff.
Press the Design Again
For the material and method I used in this project, I pressed the design a second time.
I placed the liner back over the design, returned the shirt to the heat press, and pressed it again using the same settings.
After the second press, I warm peeled the liner again.
This time, the design had even more depth, and that raised puff texture was really noticeable.
Because puff HTV products can have very specific application instructions, don't assume every brand should receive multiple presses. Follow the directions for the exact material you're using.
Back Press the Shirt
I like to back press my T-shirt designs as a final step.
Place the liner back over the design for protection, then turn the shirt so the front of the design faces down.
Press from the back of the shirt one final time using the settings appropriate for your vinyl.
Then let the T-shirt cool completely.
Once mine was cool, I obviously had to put it on and model it.
I love how it turned out! The puff vinyl takes a simple SVG and gives it so much more personality and texture. It was definitely the right material for this 90s design.
Frequently Asked Questions
Puff vinyl is a type of heat transfer vinyl that expands when heated. Instead of remaining flat against the fabric, it rises to create a soft, dimensional finish.
That extra depth makes it fun for bold lettering, simple graphics, and designs where you want the vinyl to stand out.
The basic process is very similar. You'll create or upload your design, mirror it, place the vinyl on the mat according to the manufacturer's directions, cut it with your cutting machine, and weed away the excess.
The biggest differences come during pressing because puff vinyl can require specific temperatures, times, and pressure settings.
For the puff HTV I used, the shiny side goes down on the cutting mat.
Don't assume that's true for every product, though. Check the manufacturer's directions for your specific material before cutting.
A heat press is ideal because puff HTV can require firm, even pressure across the entire design.
Whatever heating tool you use, make sure it can provide the temperature and pressure recommended by the vinyl manufacturer.
Check your heat, pressing time, and pressure first. Puff HTV needs the right combination of all three to activate properly.
Also make sure you're following the instructions for your specific product rather than using settings intended for regular HTV.
Follow the care instructions provided by your HTV manufacturer. In general, allow the vinyl to fully cure before washing, and avoid anything that could damage the raised texture.
Turning the shirt inside out before washing can also help protect the design.
Need help with this project?
Click a button below to ask AI why your puff vinyl isn't puffing.
More Free 90's SVG files
Ready for another throwback craft? Here are 7 more free 90s SVG files!


Hi, I'm Katie!
I'm so glad you're here. Want to make something fabulous? I'm here to help!
The post How to Use Puff Vinyl on a T-Shirt appeared first on The Crafty Blog Stalker.
]]>The post How to Make a Framed Chalkboard Menu Board appeared first on The Crafty Blog Stalker.
]]>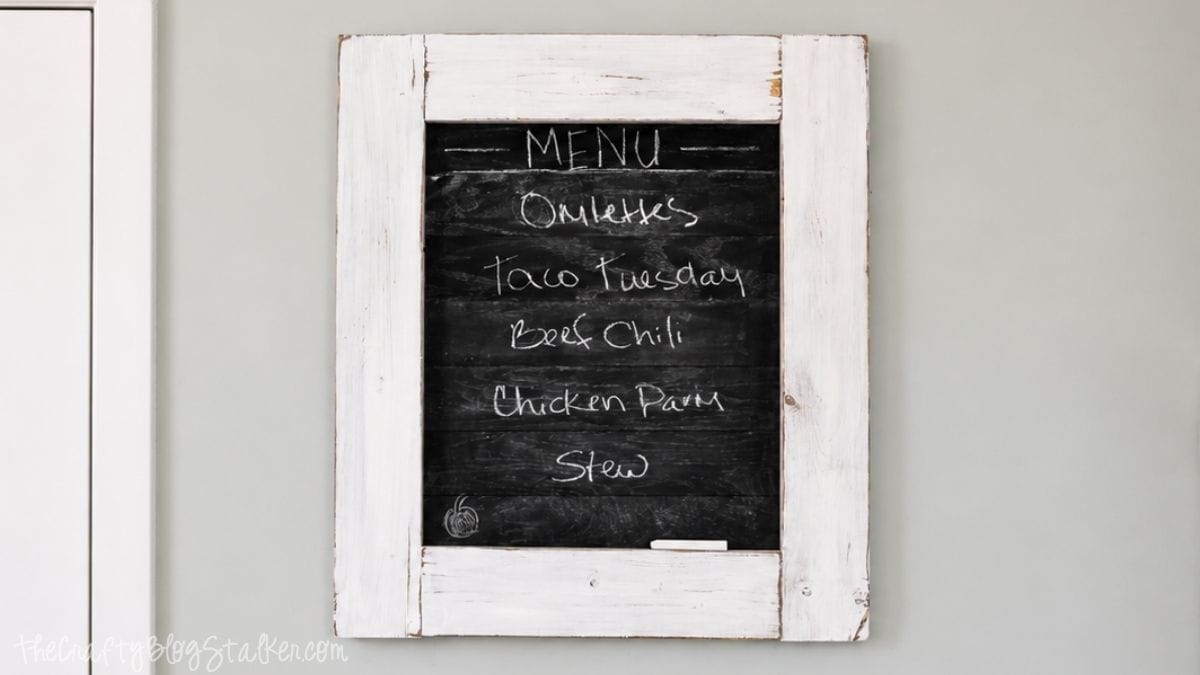
Now that my kitchen remodel is finished, I can finally share some of the smaller projects that gave the room its personality.
After tackling big updates like the countertops, I realized the kitchen still needed a little of that distressed, vintage character I love.
This framed chalkboard menu board was the perfect solution, and it gave me a cute spot to keep our weekly meals organized.
If your kitchen could use a little more personality and function too, grab your supplies and I'll show you how to make one!
Skill Level: Intermediate
Estimated Cost: $30-$50
Total Time: 3-4 hours

Build and Distress the Wood Frame
The first step is building a basic wood frame using 1x4 boards and a Kreg Jig. You can customize the finished size to fit the wall where you plan to hang your menu board.
I wanted mine to look like it was made from old reclaimed wood. Since I'm apparently not one of those lucky people who happens to find piles of gorgeous reclaimed lumber, I had to fake it!
I wanted little splits and imperfections around the joints to give the frame a more aged appearance. Mine developed some splits while I was assembling it, and instead of seeing that as a problem, I decided they were exactly what the frame needed.
I wouldn't intentionally use incorrectly sized hardware to recreate the effect, though. If you'd like to add cracks, dents, or other imperfections to new lumber, distress the wood separately before assembly so the frame itself remains sturdy.
Stain the Frame
Once the frame is assembled, apply Minwax Special Walnut stain according to the manufacturer's directions.
The stain creates the darker base that will eventually peek through the white paint. That's what gives the finished frame that worn, layered look instead of making it look like freshly painted lumber.
Allow the stain to dry before moving on to the paint.
Add the White Paint
Paint the stained frame white and let it dry.
Once the paint is dry, lightly sand around the edges, corners, and other areas that would naturally show wear over time.
Don't try to make every side match. A little variation makes distressed furniture and decor look much more believable.
As you sand through the white paint, the walnut stain underneath begins to show, giving the frame that aged look I wanted.
Keep going until you're happy with it. You can always distress it a little more, but it's much harder to put the paint back once you've sanded too far!
Make the Chalkboard Strips
While the frame is drying, prepare the plywood strips that will become the writing surface.
My plywood strips are 2 ½ inches wide. Your strips will be the same length as your finished frame.
If you don't have the tools to rip a sheet of plywood into narrow strips, check with your local home improvement or lumber store to see if cutting services are available.
Paint the Plywood
Cover the front of each plywood strip with chalkboard paint.
I used spray chalkboard paint and applied about four coats, letting each coat dry as directed.
Don't forget about the edges!
I skipped them the first time around and quickly realized you could see the unfinished plywood from certain angles. So yes, I got to go back and paint those too. Learn from me and save yourself the extra step!
Continue applying light, even coats until you have a durable, consistent finish across all of the strips.
Let the chalkboard paint dry completely according to the manufacturer's directions before assembling the menu board.
Assemble the Chalkboard Menu Board
Turn the frame over so you're working from the back.
Find and mark the center of the frame.
Instead of starting with the first strip at one edge and hoping everything ends up centered, begin in the middle. Find the center of one plywood strip and line it up with the center of the frame.
This gives you a nice visual starting point and helps keep the finished arrangement balanced.
Place the remaining strips next to the center piece and work outward in both directions.
Push the strips tightly together and check that everything is straight and level before attaching anything.
Take a minute to look at the board from the front, too. It's much easier to move a slightly crooked strip now than after the nail gun comes out!
Attach the Plywood Strips
Once you're happy with the placement, attach each plywood strip to the back of the frame using a brad nailer.
I used my Ryobi Brad Nailer for this project, and it's one of those tools that makes DIY projects so much easier. There's no air compressor to drag around, and I can grab it whenever I need to quickly attach trim, boards, or small pieces.
It's basically the hot glue gun of my DIY tools.
Just make sure the brad nails you use are an appropriate length for your frame and plywood. You don't want a nail unexpectedly poking through the front of your beautiful new chalkboard.
Continue securing the strips until the entire opening of the frame is covered.
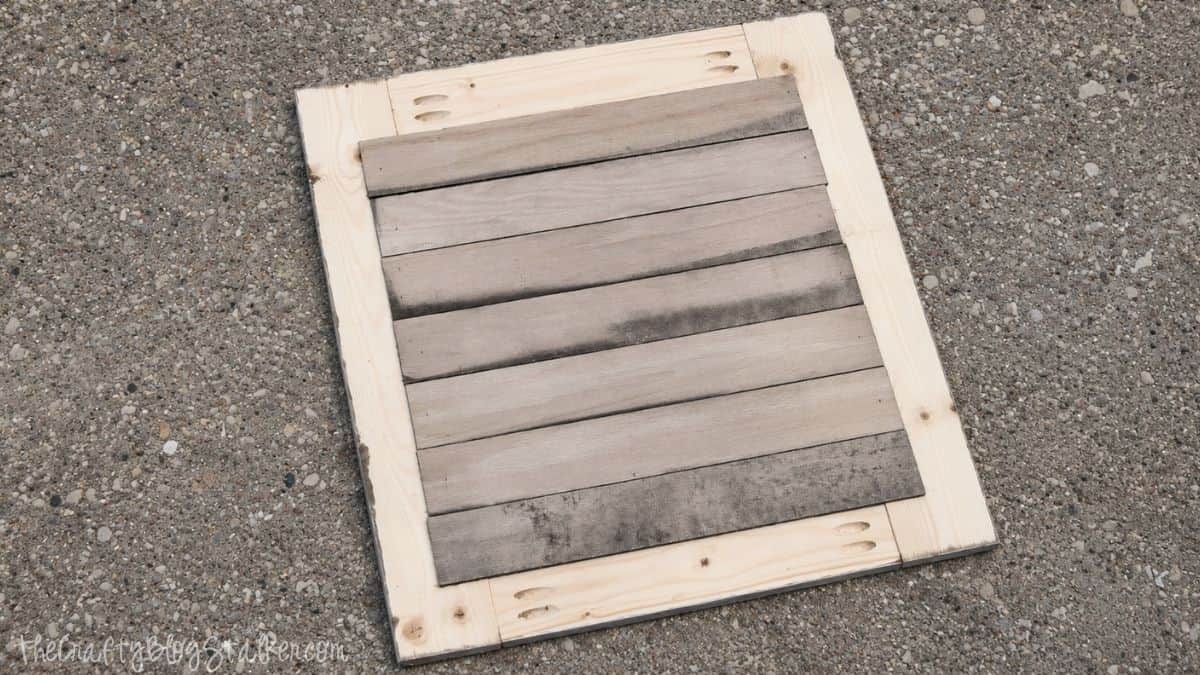
Season and Use the Chalkboard
Before writing out your first weekly menu, check the instructions on your chalkboard paint to see if the finished surface needs to be seasoned.
If it does, wait until the paint has fully cured. Rub the side of a piece of chalk across the entire writing surface to cover it with a light layer of chalk.
Then erase it.
Seasoning helps prevent the first words you write from leaving permanent-looking marks behind.
Now you're ready to write out your weekly menu!
You can also use the finished chalkboard for grocery reminders, family notes, appointments, or little messages. I made mine for our meals, but there are plenty of ways to use it in a busy kitchen.
And if you can create gorgeous chalk art, you're already one step ahead of me! 😂
Traditional chalk works beautifully for a casual menu board. If you prefer the crisp look of chalk markers, test them in an inconspicuous area first and make sure they're compatible with your particular chalkboard paint.
I love how the separate chalkboards give the finished piece a little extra texture, while the distressed frame adds exactly the vintage character my kitchen was missing.
I hope you enjoyed this little spin on a chalkboard menu! If you would like to see my full kitchen remodel, you can do that here.
Frequently Asked Questions
You can customize the frame to fit your space. Before cutting the lumber, measure the wall where you'd like to hang it and decide how much room you need for writing.
If you're using yours as a weekly menu, make sure each plywood strip is tall enough to comfortably write a meal or short note.
Absolutely. A solid piece of plywood painted with chalkboard paint would create a smoother, more traditional writing surface.
I used individual strips because I liked the character and dimension they added to the finished piece.
No, but the stain helps create the distressed finish.
When you sand through the white paint, the dark walnut stain underneath shows through and makes the frame look naturally worn.
That depends on your chalkboard paint. Chalk markers can behave differently from regular chalk and may not erase cleanly from every surface.
Test the marker in a small, inconspicuous area first before writing across your entire menu board.
Choose hanging hardware that's appropriate for the weight of your finished board and the type of wall where you're installing it.
Since wood, plywood, and the frame can make the finished project heavier than it looks, don't rely on lightweight picture-hanging hardware unless it's rated for the weight.
Need help with this project?
Click a button below to ask AI what to use instead of a brad nailer.
More DIY Decor Ideas
Can you have too many bookmarks? I don't think so! Here are a few more fun ideas.

Hi, I'm Katie!
I'm so glad you're here. Want to make something fabulous? I'm here to help!
The post How to Make a Framed Chalkboard Menu Board appeared first on The Crafty Blog Stalker.
]]>The post 28 Different Types of Paper Flowers appeared first on The Crafty Blog Stalker.
]]>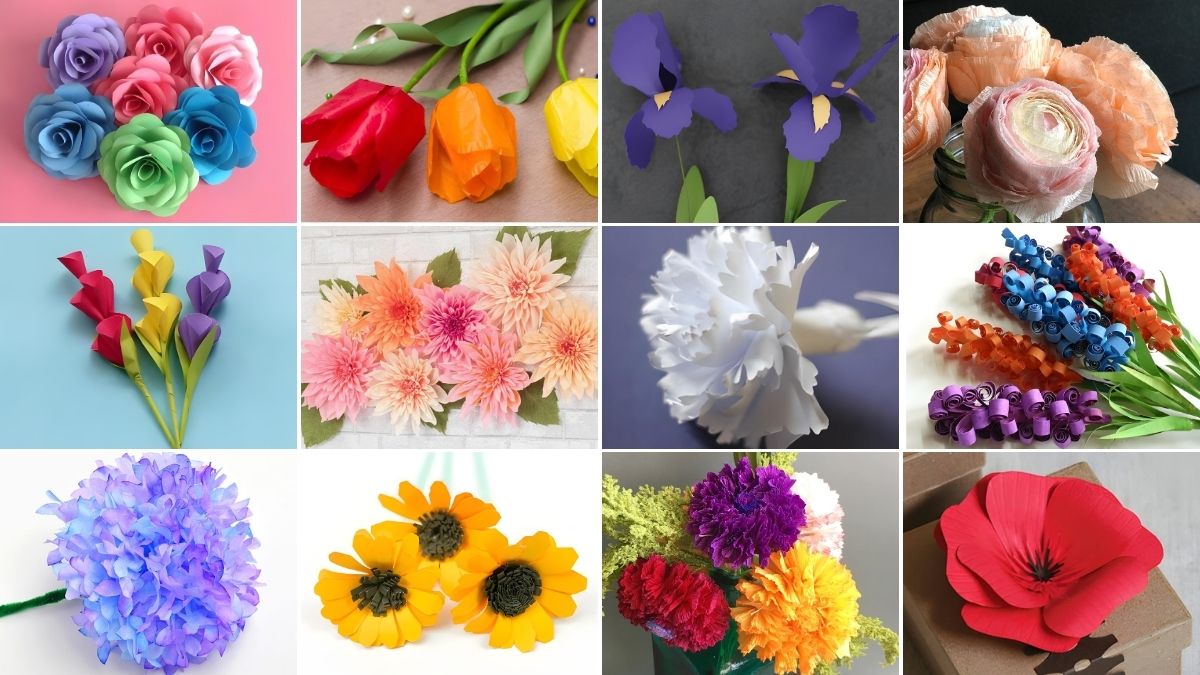
If you love crafting with paper, you're going to have so much fun exploring these 28 different types of paper flowers.
I'm always amazed by how a simple sheet of paper can turn into something so pretty, especially when you start layering, folding, and shaping it.
Whether you want flowers for home decor, parties, gifts, or a fun afternoon of crafting with the kids, you'll find ideas here for every skill level.
Take a look through the tutorials, pick your favorite, and let's make some flowers that never need watering!
DIY Paper Flower Tutorials
Visit the website for step-by-step instructions. All links will open in the same tab.
1. Paper Flowers at Home from The Crafty Blog Stalker
Craft stunning paper flowers at home with the We R Memory Keepers Flower Punch Board. Perfect for creating beautiful bouquets and home decor!

2. Chrysanthemum Flower from The Crafty Blog Stalker
Make a paper flower with this chrysanthemum tutorial. Use strips of patterned paper to create a fun and easy DIY flower.

3. Tissue Paper Flowers from The Crafty Blog Stalker
Learn how to make beautiful tissue paper flowers! Perfect for enhancing cards, scrapbook layouts, and various craft projects.

4. Easy Flowers with Paper Loops from The Crafty Blog Stalker
Create fun and easy paper flowers with our step-by-step tutorial! Perfect for papercraft embellishments.

5. Rolled Paper Flowers from The Pioneer Woman
Learn how to make stunning Rolled Paper Flowers! Perfect for adding a touch of creativity to your crafts and decor.

6. Magazine Paper Flowers from Christine's Crafts
Transform old magazines into stunning flowers! Quick, easy, and eco-friendly, this tutorial guides you through creating gorgeous blooms for your home.

7. Large Paper Flowers from 100 Layer Cake
Create stunning DIY paper flowers for your home decor or special events! Easy to make and perfect for adding a whimsical touch to any space.

8. Tissue Paper Peonies from Christine's Crafts
Add beauty to any room or event with DIY tissue paper peonies! Detailed yet easy to make, they're perfect for gifts or centerpieces.

9. Paper Succulents from The Happy Scraps
Create stunning Paper Succulents for a vibrant centerpiece! Despite life's twists, this DIY project is finally here to add beauty to any space.

10. Paper Hyacinth Flowers from The Craftaholic Witch
Bring spring indoors with beautiful Paper Hyacinth Flowers! Enjoy crafting colorful papercrafts with this easy tutorial.

11. Paper Flower Baby's Breath from Dreamy Posy
Craft stunning 3D baby breath paper flowers with ease! Versatile and realistic, perfect for bouquets, arrangements, and weddings.

12. Paper Ranunculus Flower from The Shabby Creek Cottage
Create everlasting beauty with DIY paper ranunculus! Follow our detailed video tutorial for stunning floral creations that last.

13. Paint Chip Flower from Off Beat Wed
Transform paint chips into beautiful flowers for your wedding or home decor! Get creative with colors and make stunning paint chip flower arrangements.

14. Marigold Paper Flowers from The Paper Heart
Craft your own long-lasting small sun at home with DIY Marigold Paper Flowers! Learn how to make them and brighten up any space.

15. Paper Lavender Flowers from Nerdy Mama
Craft adorable DIY Paper Lavender Flowers with just a few sheets of paper! Perfect for adding a charming touch to your crafts and decorations.

16. Folded Paper Flowers from Go Origami
Discover the beauty of Folded Paper Flowers! Follow this tutorial to create stunning carambola flowers using cardstock.

17. Carnation Paper Flower from Dreamy Posy
Create beautiful carnation paper flowers with this quick and easy tutorial! Perfect for beginners, with a free template provided.

18. Paper Iris from Domestic Heights
Craft stunning paper irises with our free template! These simple yet elegant flowers are perfect for adding flair to any craft or DIY project.

19. DIY Paper Flower Bells from The House That Lars Built
Learn to craft beautiful DIY Paper Flower Bells! Versatile in color and shape, perfect for centerpieces or home decor.

20. Paper Cherry Blossoms from Happy Happy Nester
Craft your own cherry blossoms with this delightful paper flower tutorial! Perfect for adding a touch of spring to your crafts and decor.

21. Paper Flower Gift Toppers from A Little Hut
Learn how to make a beautiful paper flower without any fancy equipment! Perfect for adding a handmade touch to your projects.

22. Sunflower Paper Flower Craft from Leap of Faith Crafting
Create stunning DIY paper sunflowers with basic craft supplies! No template is needed, just construction paper and a few tools.

23. The Easiest Paper Rose from Sew Crafty Me
Learn to create stunning paper roses in minutes with minimal supplies! Perfect for adding a touch of elegance to any occasion.

24. Tissue Paper Tulip Flower from Dreamy Posy
Create realistic tissue paper tulip flowers with our free template and tutorial! Perfect for adding a pop of color to your crafts and decor.

25. Oversized Crepe Paper Dahlia from Sweet Red Poppy
Craft stunning oversized crepe paper dahlia flowers with our step-by-step tutorial, free printable pattern, and SVG cut file!

26. Construction Paper Flowers from Made with Happy
Discover how to create adorable construction paper flowers with minimal supplies! A fun and easy paper craft suitable for kids of all ages.

27. Paper Foxglove from The House That Lars Built
Craft stunning paper foxgloves inspired by the beauty of spring blooms! Add a touch of elegance to your space with these exquisite flowers.

28. Coffee Filter Hydrangeas from One Little Project
Transform ordinary coffee filters into stunning hydrangea flowers! Easy DIY project for beautiful, realistic blooms.

More Paper Ideas
Looking for more ways to get creative with paper? Here are a few more fun paper projects to try!


Hi, I'm Katie!
I'm so glad you're here. Want to make something fabulous? I'm here to help!
The post 28 Different Types of Paper Flowers appeared first on The Crafty Blog Stalker.
]]>The post The Best Pumpkin Spice Creamer Recipe appeared first on The Crafty Blog Stalker.
]]>
Coffee and good conversation just seem to belong together, especially when your cup tastes like fall.
My sister and I may live miles apart now, but we still talk most mornings with coffee in hand, so a good creamer matters.
This homemade pumpkin spice creamer combines real pumpkin, cream, and warm spices, and you can adjust the sweetness to your liking.
Plus, the way it smells while warming on the stove makes it worth making all on its own!
Ingredients
See the recipe card below for measurements and instructions.
- Heavy Whipping Cream
- Milk
- Canned Pumpkin Puree
- Cinnamon
- Nutmeg
- Ginger
- Cloves
- Vanilla Extract
- Sugar
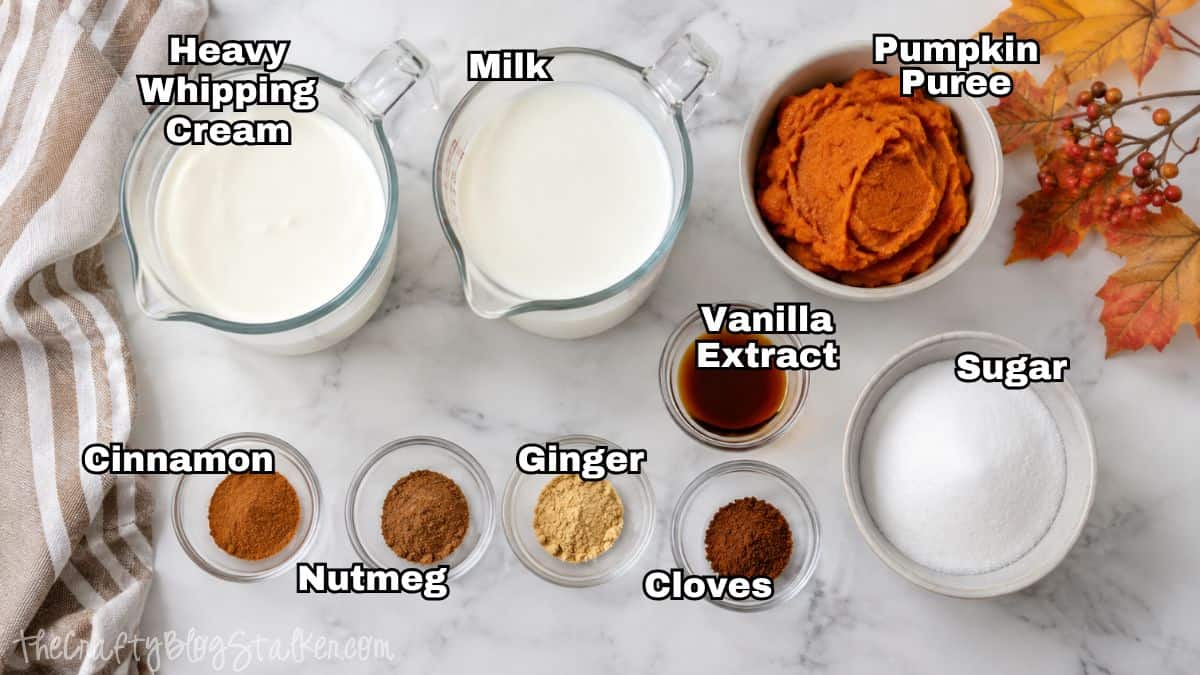
The combination of cinnamon, nutmeg, ginger, and cloves gives the creamer its classic fall flavor.
If you've ever wondered what makes pumpkin spice taste so cozy, those spices are doing most of the work.
Why You'll Love This Recipe
This easy homemade creamer uses real pumpkin and warm spices for a cozy fall flavor without artificial flavorings.
You can adjust the sweetness to your taste. It comes together in one saucepan, and it's delicious in both hot and iced coffee.

Pumpkin Spice Creamer Recipe
Equipment
- Pourable Container for storage
Ingredients
- 1 cup Heavy Whipping Cream
- 1 cup 1% Milk
- 4 tablespoons Pumpkin Puree
- ½ teaspoon Cinnamon
- ½ teaspoon Nutmeg
- ¼ teaspoon Ginger
- ¼ teaspoon Cloves
- 1 teaspoon Vanilla Extract
- ¼ cup Sugar
Instructions
- Add the heavy whipping cream, milk, pumpkin, cinnamon, nutmeg, ginger, cloves, vanilla, and sugar to a small saucepan.
- Whisk everything together over medium heat until smooth.
- Continue heating, stirring often, until the sugar has completely dissolved and the creamer is hot. Do not bring it to a boil.
- Remove from the heat and serve warm, or allow the creamer to cool before transferring it to an airtight container and refrigerating.
- Stir or shake well before each use, then add to your favorite hot or iced coffee.
Notes
Nutrition
Frequently Asked Questions
Store the creamer in an airtight container in the refrigerator and use it within about four to five days. Since this recipe contains real cream, milk, and pumpkin, it needs to stay refrigerated.
Give it a good shake or stir before each use because some separation is completely normal.
Yes. Pumpkin pie spice usually contains a combination of cinnamon, nutmeg, ginger, cloves, and sometimes allspice.
Since blends can vary, start with a smaller amount and taste the creamer before adding more. This gives you better control over the final flavor.
You can experiment with other types of milk, but replacing the dairy will change the flavor and texture.
Oat milk has a naturally creamy consistency that works nicely with fall spices, while almond milk generally creates a thinner creamer. Coconut milk can add richness, but it will also add a noticeable coconut flavor.
If you're specifically looking for a dairy-free pumpkin spice coffee creamer, replace both the milk and heavy whipping cream with dairy-free alternatives rather than swapping only the milk.
I consider about two tablespoons one serving, but coffee is personal! Start with a small amount, taste your coffee, and add more until you have the creaminess and sweetness you like.
More Pumpkin Recipes
If pumpkin is one of your favorite fall flavors, don't stop with your morning coffee!


Hi, I'm Katie!
I'm so glad you're here. Want to make something fabulous? I'm here to help!
The post The Best Pumpkin Spice Creamer Recipe appeared first on The Crafty Blog Stalker.
]]>The post Painting Accent Walls with Frog Tape appeared first on The Crafty Blog Stalker.
]]>Get clean, professional-looking results when painting accent walls with Frog Tape and add a fresh pop of color to any room.
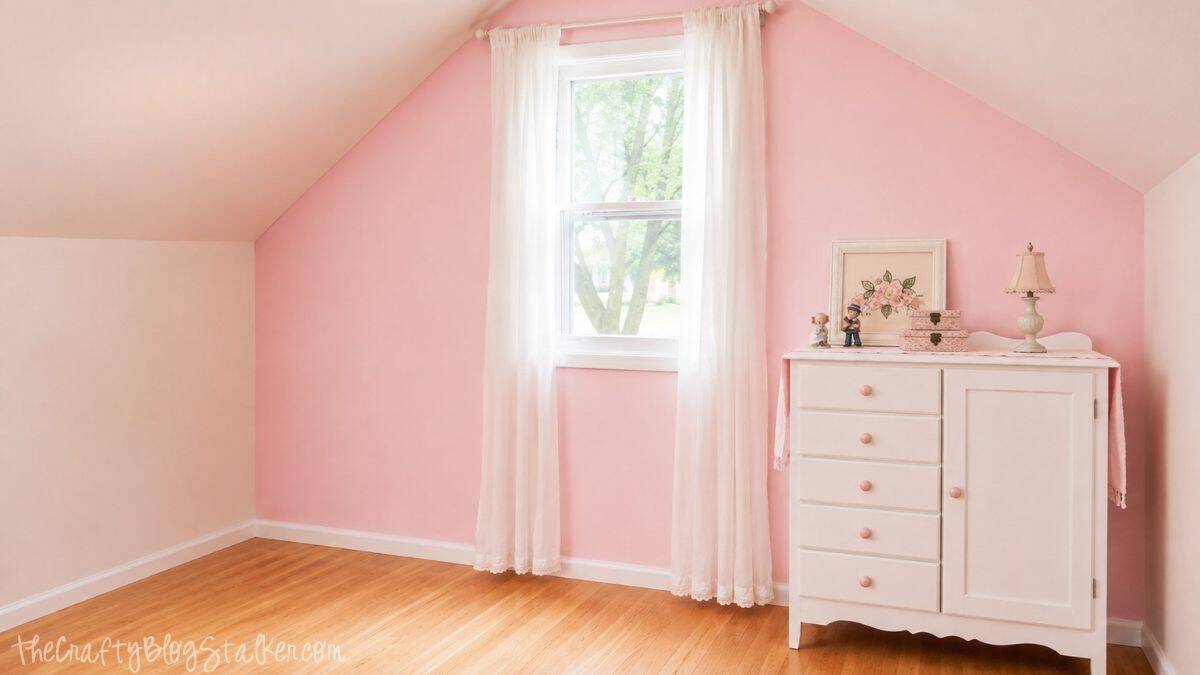
If you love adding personality to a room, painting an accent wall is one of the easiest ways to make a big change without repainting the entire space.
This project started after I painted my son's chalkboard wall, and naturally, my daughter decided she needed a special wall of her own.
I chose a bright pink paint color and used Frog Tape to create a clean edge around the wall without getting paint on the surrounding surfaces.
There's still plenty left to do in this room, but for now, you and I can admire that pretty pink wall!
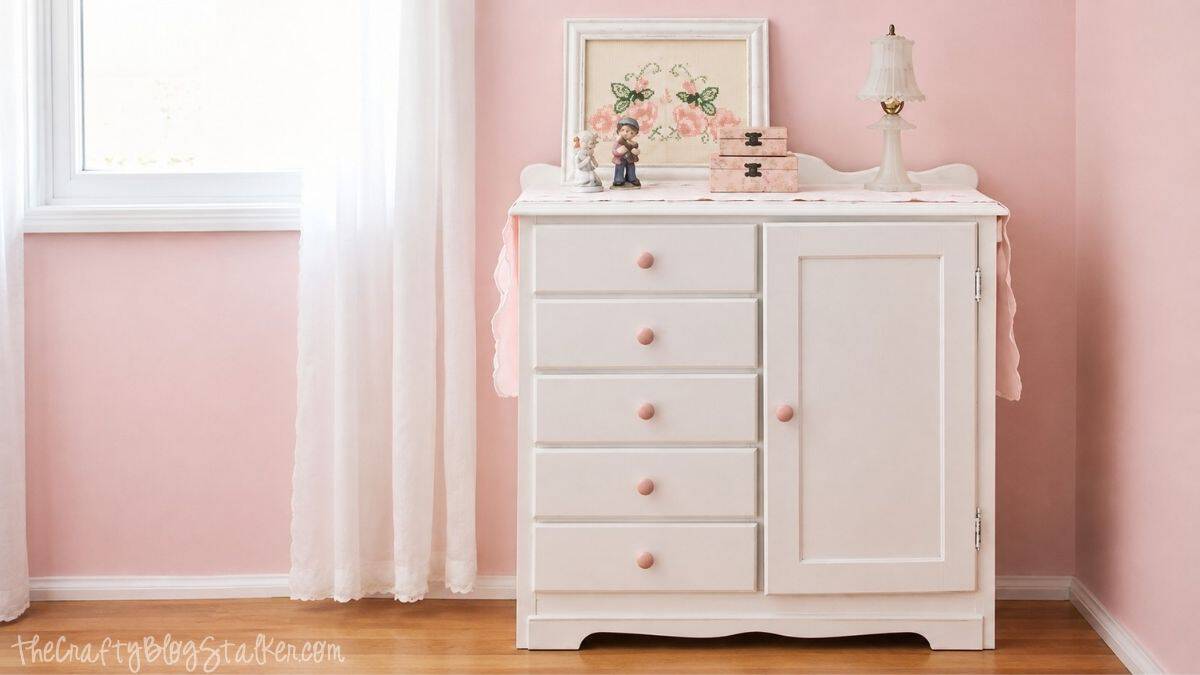
Skill Level: Beginner
Estimated Cost: $40-$75
Total Time: 3-4 hours
Supply List
- ProGrade Orange Painter's Tape
- Paint (I used Sherwin-Williams Impatiens Petal)
- Paint Brush and Roller
Prepare the Accent Wall for Paint
Before you open the paint can, take a few minutes to prepare the room. It's not the exciting part, but good prep makes painting go much faster.
Move furniture away from the wall and remove artwork, outlet covers, switch plates, and any hardware that could get in your way.
Cover the floor and anything nearby that you don't want accidentally decorated with pink paint. Not that I've ever done that. 😉
Wipe down the wall, baseboard, and any moldings or trim where you'll be applying painter's tape. The surface should be clean, dry, and free from dust so the tape can adhere properly.
If you have nail holes or other small imperfections, this is also a good time to fill and sand them.
A bold color can make small flaws more noticeable, so starting with a smooth wall gives you the best finish.
Choose the Right Wall
A feature wall works best when there's already a natural reason for your eye to land there.
That might be the wall behind a bed, a dining room wall, the wall surrounding a fireplace, or another area with an interesting architectural detail. Even in small spaces, one carefully chosen wall can add color without making the entire room feel busy.
In my daughter's bedroom, this wall was the perfect candidate. The room is pretty large and a little boxy, so adding a strong color gave this area more personality.
I chose Sherwin-Williams Impatiens Petal, a cheerful pink that definitely isn't afraid of being noticed.
When you're choosing paint colors, bring home samples from the paint store and look at them on the actual wall throughout the day. Natural and artificial light can change a color quite a bit, especially with a bright shade.
Tape the Wall
Now we're ready to tape everything off.
For this project, I used FrogTape ProGrade Orange Painter's Tape. It has high adhesion and is designed to stick quickly to a variety of surfaces.
According to FrogTape, ProGrade Orange does not contain the PaintBlock Technology found in several of its other painter's tapes, so I've updated this older tutorial to reflect the current product information.
Apply the tape anywhere you need to protect an adjoining surface, including along the ceiling, baseboard, corners, window trim, or other moldings.
Take your time and keep the tape as straight as possible. You can work in shorter sections if that makes it easier to control.
Once the tape is positioned, firmly press along the edge to make sure it is completely attached to the surface. FrogTape recommends going over the edge with a firm plastic tool, such as a putty knife or plastic card, to help eliminate gaps.
Don't stretch the tape as you apply it. Just smooth it into place and pay special attention to corners where two pieces overlap.
This little bit of prep is worth it. There's nothing quite like pulling painter's tape away and seeing that beautiful, straight line underneath.
Paint the Accent Wall
Once the room is protected and the tape is secure, it's finally time for the fun part.
Cut In Around the Edges
Start with a paintbrush and paint around the perimeter of the wall anywhere your roller won't easily reach.
Brush along the ceiling, corners, baseboard, and any trim or architectural detail you're working around. You don't need much paint on the brush.
A controlled coat makes it easier to work near the taped edges without creating drips.
Continue around the entire wall until you've painted all the edges.
Remove the Painter's Tape
For FrogTape Pro Grade Orange, the manufacturer recommends removing the tape while the paint is still wet for the best results.
Slowly pull the tape back on itself at about a 45-degree angle, rather than pulling it straight away from the wall.
If the paint has already dried and begins pulling up with the tape, FrogTape recommends carefully scoring along the painted edge before continuing to remove it.
Roll the Wall
Next, pour your paint into a tray and use a roller to fill in the large areas.
Work across the wall in manageable sections, keeping a wet edge as you go. Don't overload the roller. Several controlled passes will give you a smoother finish than trying to put too much paint on the wall at once.
Allow the first coat to dry according to the paint manufacturer's instructions, then apply another coat if needed.
Pink was definitely the right choice for this room. As soon as that bold color went onto the wall, the space felt completely different.
And yes, Addison was pretty excited about finally getting her pink wall!
Accent Wall Ideas and Painting Tips
You definitely don't have to go pink to make this project work in your home.
A deep navy or green can turn the wall behind a bed into a dramatic focal point. A warm neutral can add depth without feeling too bold, while a saturated color can bring life to a guest room, office, or dining room.
Accent wall ideas also don't have to stop with paint. You could combine a painted wall with picture-frame moldings, shiplap, wood trim, shelves, or another architectural detail to create even more interest.
If you're nervous about using a bold color, remember that you're only painting one wall. That's one of my favorite things about a DIY accent wall. You can experiment with a color you might not want on all four walls without committing the entire room to it.
And if you decide a few years from now that you're ready for something different? It's paint. Grab a roller and change it again!
Frequently Asked Questions
Choose a wall that already feels like a natural focal point. Bedroom accent walls often work beautifully behind the headboard, while living rooms may have a fireplace wall that naturally draws attention.
Try not to choose a wall simply because it's empty. Think about what you want people to notice when they first enter the room.
Not necessarily. An accent wall simply needs enough contrast to feel intentional. That could mean darker, lighter, brighter, or even a completely different tone from the surrounding walls.
It can, but it doesn't have to. Choosing the right wall and color can actually add depth to small spaces. If you're worried about overwhelming the room, try a softer shade rather than the darkest color on the paint strip.
It depends on your wall's condition and the paint you're using. Primer can be helpful when covering a very dark color, painting new drywall, dealing with stains, or making a dramatic color change. Check the instructions for your specific paint before beginning.
Need help with this project?
Click a button below to ask AI what accent wall color would look good in your room
More Home Ideas
Can you have too many bookmarks? I don't think so! Here are a few more fun ideas.


Hi, I'm Katie!
I'm so glad you're here. Want to make something fabulous? I'm here to help!
The post Painting Accent Walls with Frog Tape appeared first on The Crafty Blog Stalker.
]]>The post DIY Halloween Boo Laser Cut Front Door Hanger appeared first on The Crafty Blog Stalker.
]]>
If you love decorating your front door for Halloween, this Boo door hanger is such a fun way to welcome trick-or-treaters.
You'll use your laser cutter to create a layered sign with engraved details that give the background a little extra personality.
It's a great project whether you're new to laser cutting or already have a growing collection of handmade Halloween decor.
Grab your supplies, and let's make a door hanger you'll be excited to pull out every October.
Skill Level: Beginner
Estimated Cost: $15-$25
Total Time: 2 hours
Craft Tutorial Video
If videos are your thing, you're in luck-I've got a full tutorial ready for you!
Subscribe to my YouTube channel and stay inspired with every new project.
Supply List
- Laser Cutting Machine
- Boo Door Hanger Laser Cut File
- .25" White Melamine Board
- Black Acrylic Paint
- Cosmetic Sponge
- Hot Glue Gun
- Easel Paper (optional)
- Masking Tape (optional)
- Sandpaper (optional)
- Ribbon (optional)
- Popsicle Stick (optional)
- Clear Sealer (optional)
Grab the Laser File
Download the Boo Door Hanger laser cut file to your computer or device before opening your laser software.
Laser Cut the Halloween Door Hanger
The first step is to cut all the pieces for the door hanger.
This design includes a round background with engraved details and separate Boo letters that will be layered on top.
Upload the Laser File
Open the laser cut file in the software you use with your laser cutting machine.
The file is already set up so the black lines are cut lines and the blue lines are engraved.
Before starting, double-check that your software recognizes each line correctly and select the appropriate settings for your machine and material.
I'm cutting my sign from .25-inch white melamine board. I really like melamine for this project because the finished white surface works perfectly as the sign's background.
The engraved pattern is another reason I chose this material. I was worried that if I used a material that needed to be painted white, the paint could fill in some of those engraved lines and make the pattern less noticeable.
With the white melamine, the laser does all of that work for me. I get a clean white background with the engraved pattern already visible, and I don't have to paint the entire base.
Cut and Engrave the Pieces
Place the melamine board in your laser cutter and adjust the settings to match your machine and the material you're using.
Send the project to the laser and let it engrave the pattern before cutting the circle base and letters.
When the laser is finished, carefully remove all of the pieces.
Laser cutting can leave a little residue around the edges, especially on lighter materials. I use a wet wipe to clean around the cut edges and remove any residue before moving on.
Give the engraved portion a quick wipe as well, but don't scrub aggressively. Clean the surface without damaging the finished melamine.
Once everything is clean and dry, you're ready for paint.
Paint the Boo Letters
The black letters really pop against the white background, but melamine has a very smooth finish. A little prep work makes painting much easier.
Sand the Letters
Lightly sand the front of each Boo letter before painting.
You aren't trying to remove the melamine finish completely. The goal is simply to scuff up that smooth surface enough to give the acrylic paint something to grip.
Wipe away any sanding dust before applying the paint.
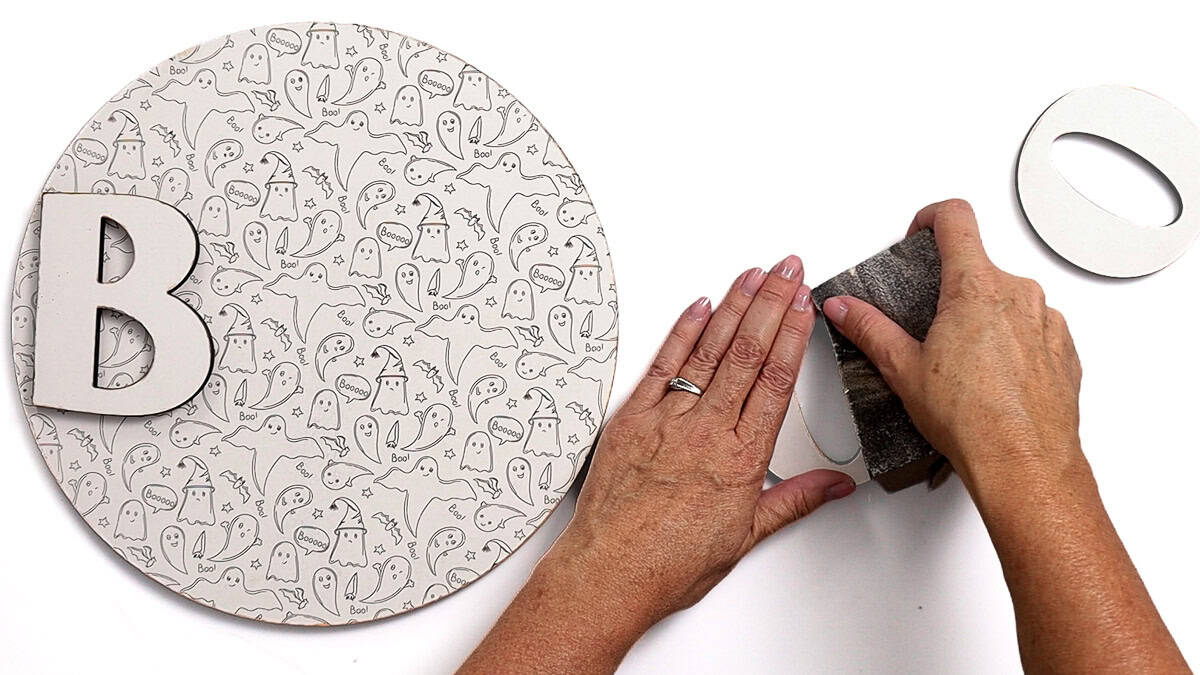
Secure the Pieces for Painting
Small laser-cut pieces have a funny way of moving exactly when you don't want them to. Instead of holding each letter while I paint and ending up with black paint all over my fingers, I tape the pieces to my work surface.
First, cover the table with easel paper or another protective covering.
Roll pieces of masking tape so the sticky side faces out, then use the tape to hold each letter securely to the paper.
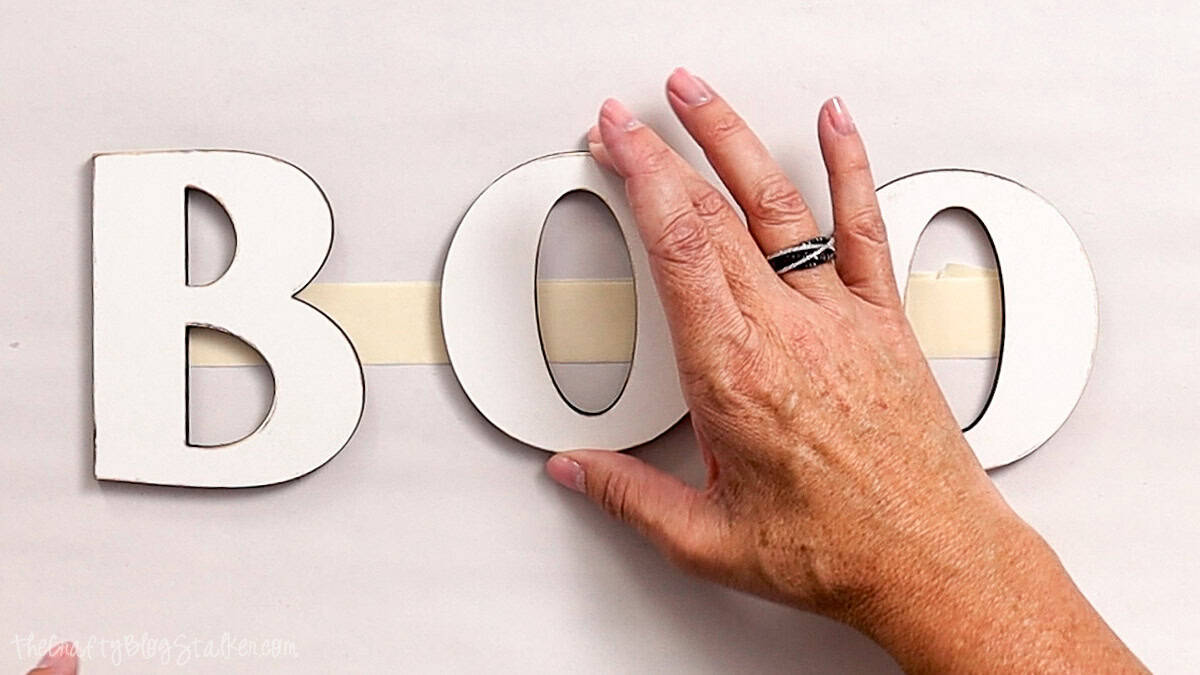
Now you can dab on the paint without chasing the letters around the table. It's a simple trick, but it makes painting small pieces so much easier.
Paint With a Cosmetic Sponge
I like using cosmetic sponges for small projects like this instead of traditional sponge brushes. They're inexpensive, easy to hold, and work really well for applying light coats of acrylic paint.
Dab the black acrylic paint onto each letter rather than brushing it across the surface.
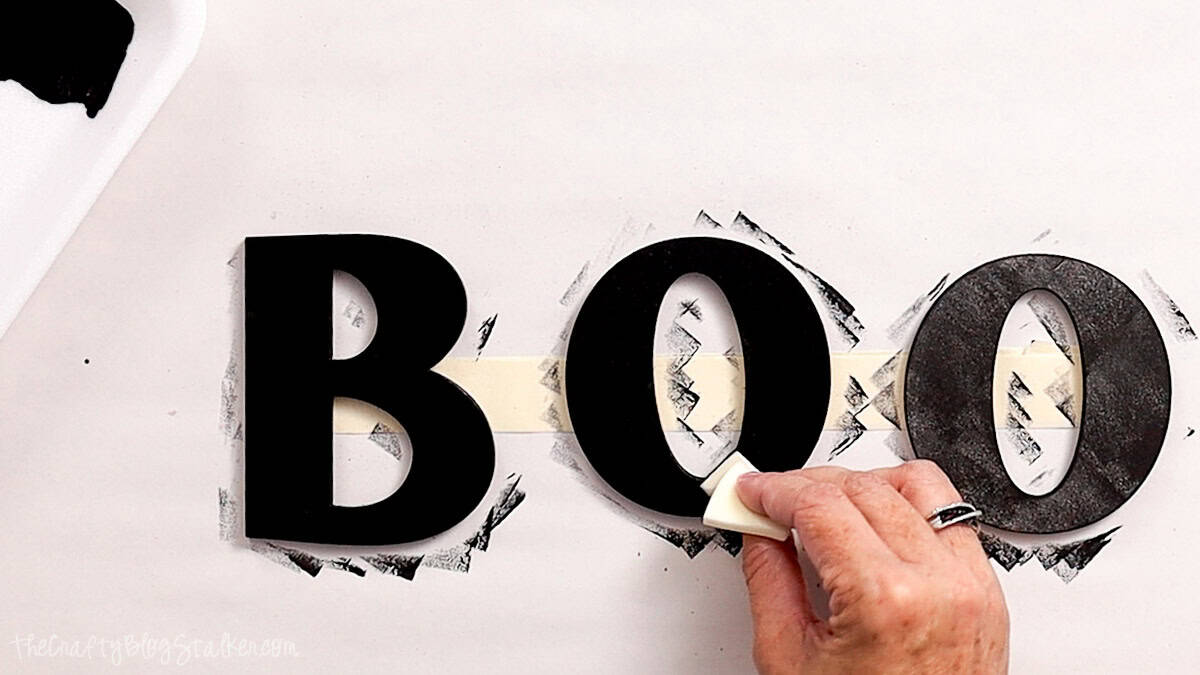
I applied three light coats of black paint, letting each coat dry completely before adding the next.
Several thin coats give you much better coverage than trying to get everything completely black with one heavy coat.
Add a Distressed Edge
I wanted the background to look slightly spookier, so I used the same cosmetic sponge to lightly dab black paint around the outer edge of the circle.
Go lightly here.
It's much easier to add more black paint than it is to take it away. I wanted just enough around the edge to give the sign some dimension while keeping the white engraved pattern as the focus.
You could skip this step completely if you prefer a crisp black-and-white look.
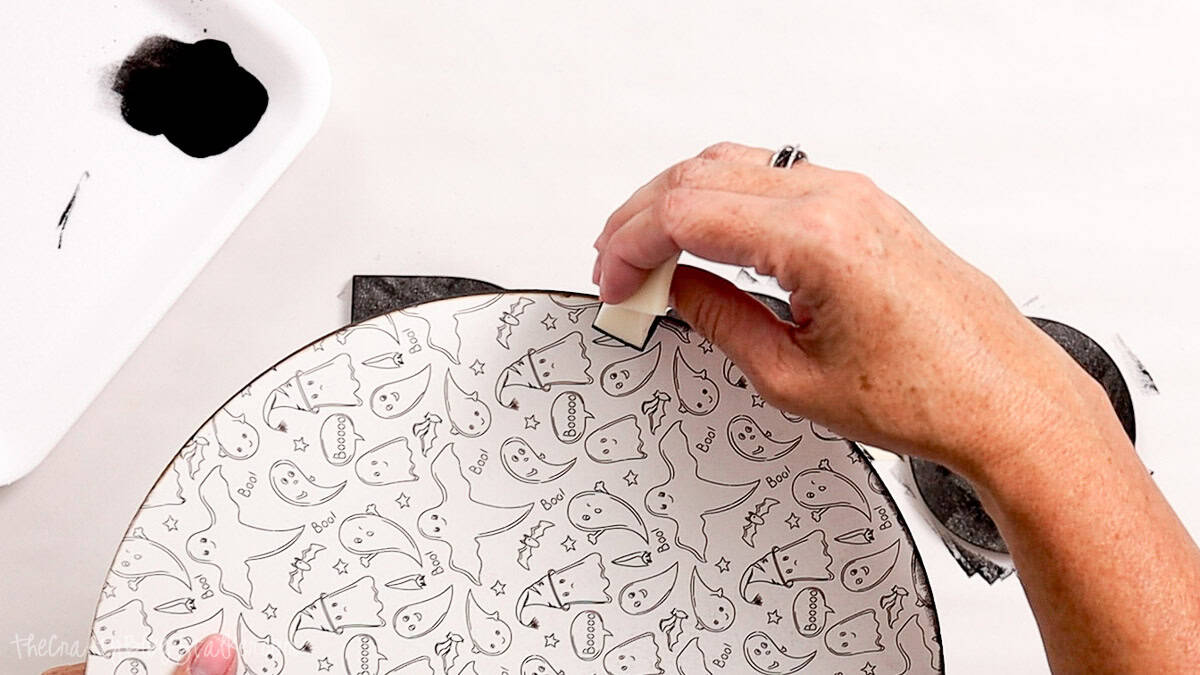
Seal the Painted Pieces
Once all of the paint is completely dry, apply a clear sealer over the painted letters and around the painted edge of the circle.
Because melamine is so smooth, the sealer gives the painted finish a little extra protection against scratches.
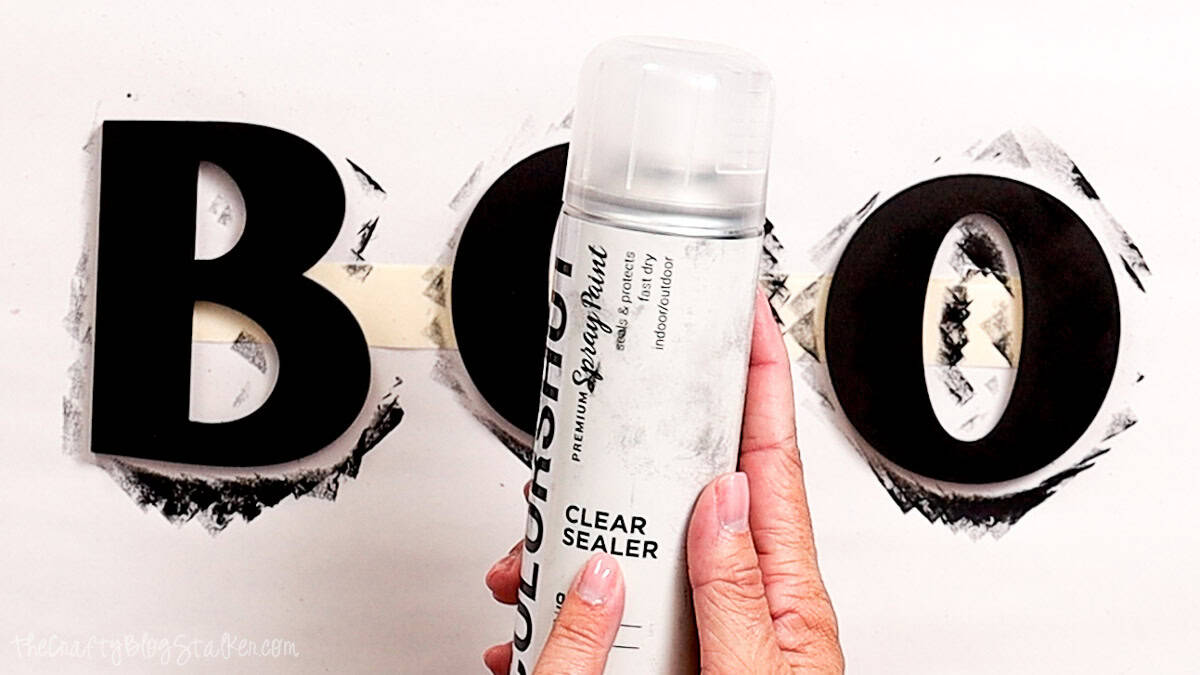
Allow the sealer to dry completely before assembling the sign.
Assemble the Boo Door Hanger
There aren't many pieces to this project, so assembly goes really quickly.
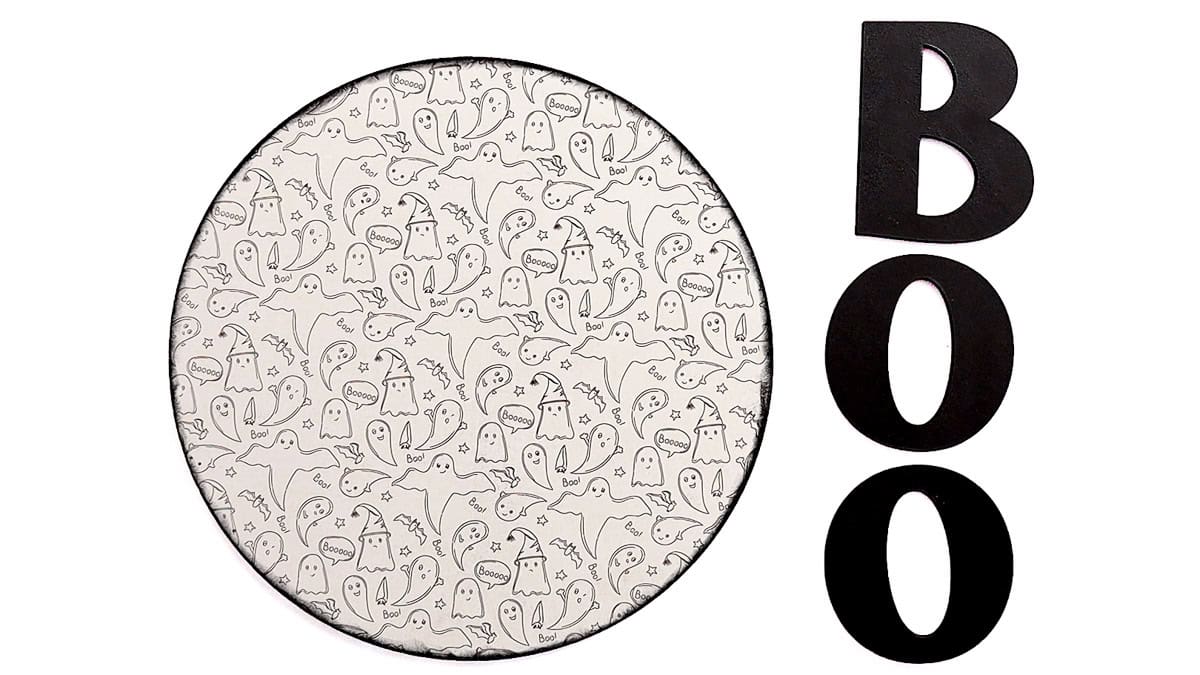
Before adding any glue, lay the letters onto the circle base and make sure you like their placement. Also check that the engraved pattern is facing the correct direction.
Once you're happy with the layout, pick up one letter at a time, apply hot glue to the back, and return it to its position.
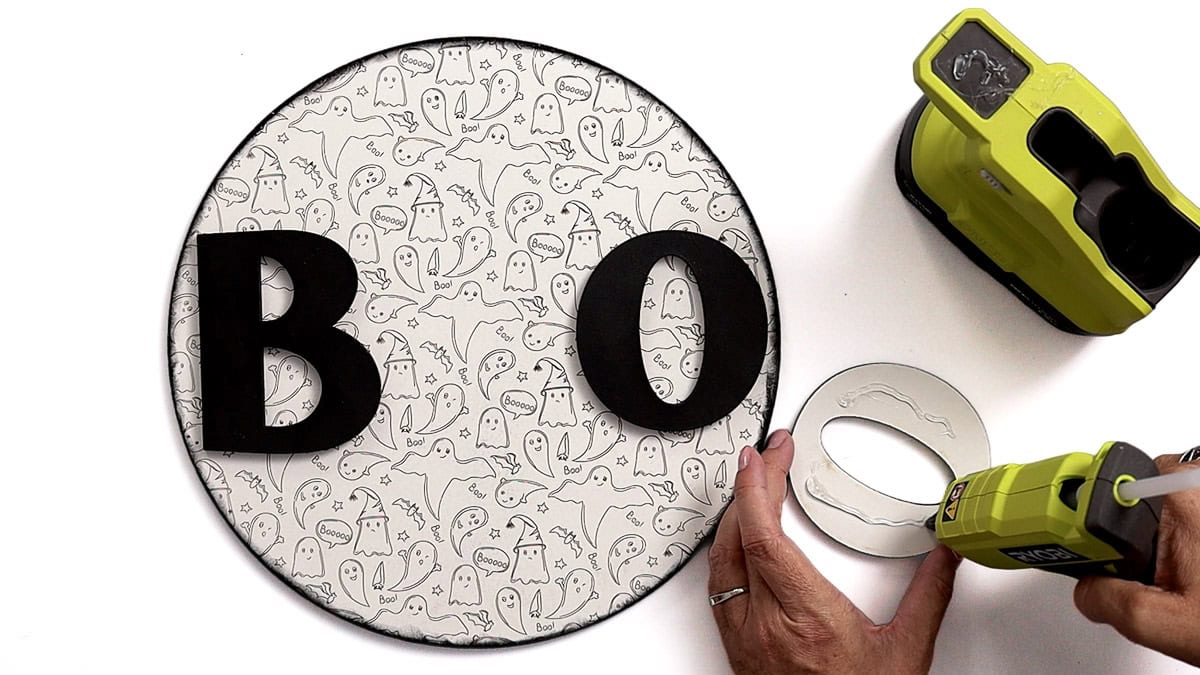
Press gently for a few seconds while the glue sets.
Repeat with the remaining letters until the entire Boo design is attached.
Hot glue works well for this project because the letters are lightweight. If you substitute a heavier material, choose an adhesive that's appropriate for both materials and where you plan to display the sign.
Add the Ribbon Hanger
You could stop here and display the finished sign on an easel, but I made mine specifically for the front door, so it needs a hanger.
Cut a piece of ribbon about 12 inches long. Adjust the length depending on how far down you'd like the sign to hang.
Tie a knot near each end of the ribbon.
Turn the sign over and position the ribbon in the center of the back with the knotted ends pointing down.
Before gluing anything, make sure the top is in the right place. Ask me how easy it is to attach a hanger and then realize the sign is upside down!
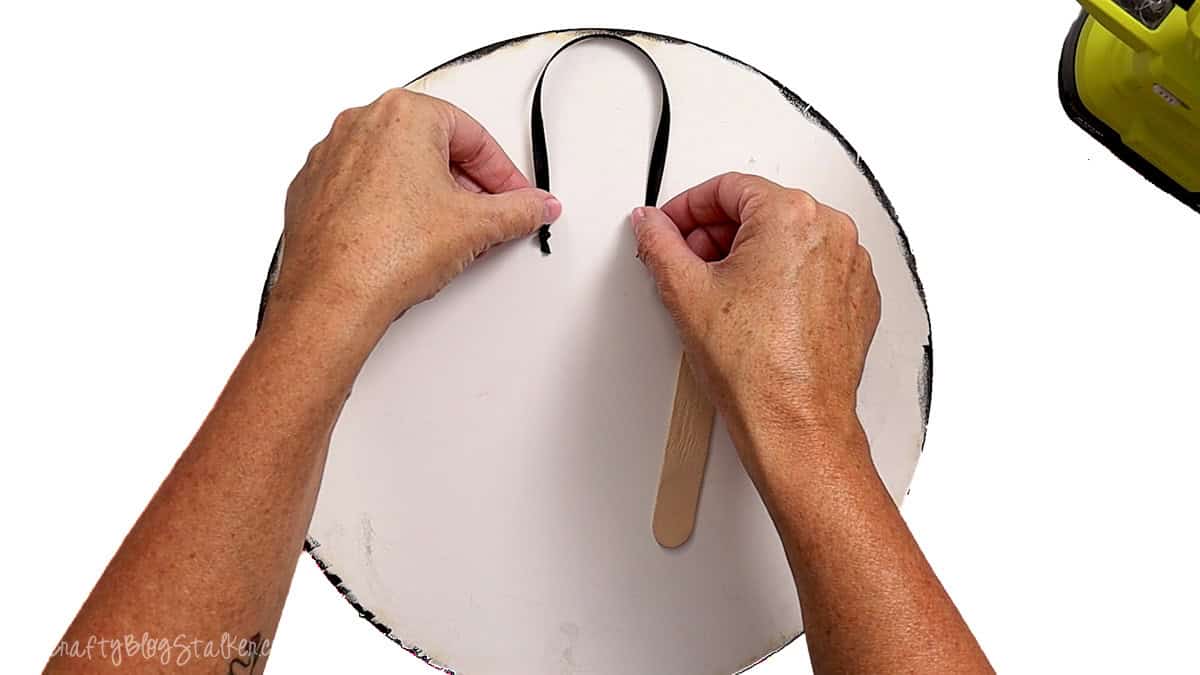
Place the ribbon where you want it and position a popsicle stick horizontally over the two ends.
Apply a line of hot glue to the popsicle stick and press it firmly over the ribbon, just above the knots. The stick creates a larger glued surface, and the knots help keep the ribbon from slipping out.
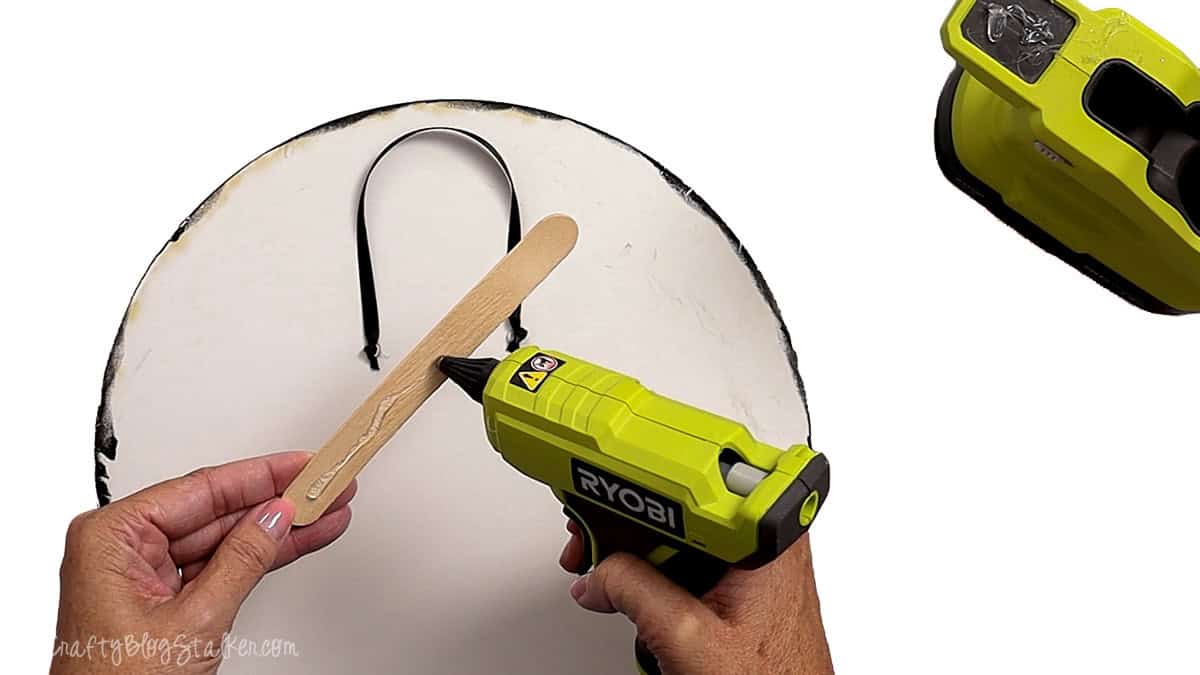
Let the hot glue cool completely before picking up the sign by the ribbon.
Your Halloween Boo door hanger is ready for the front door!
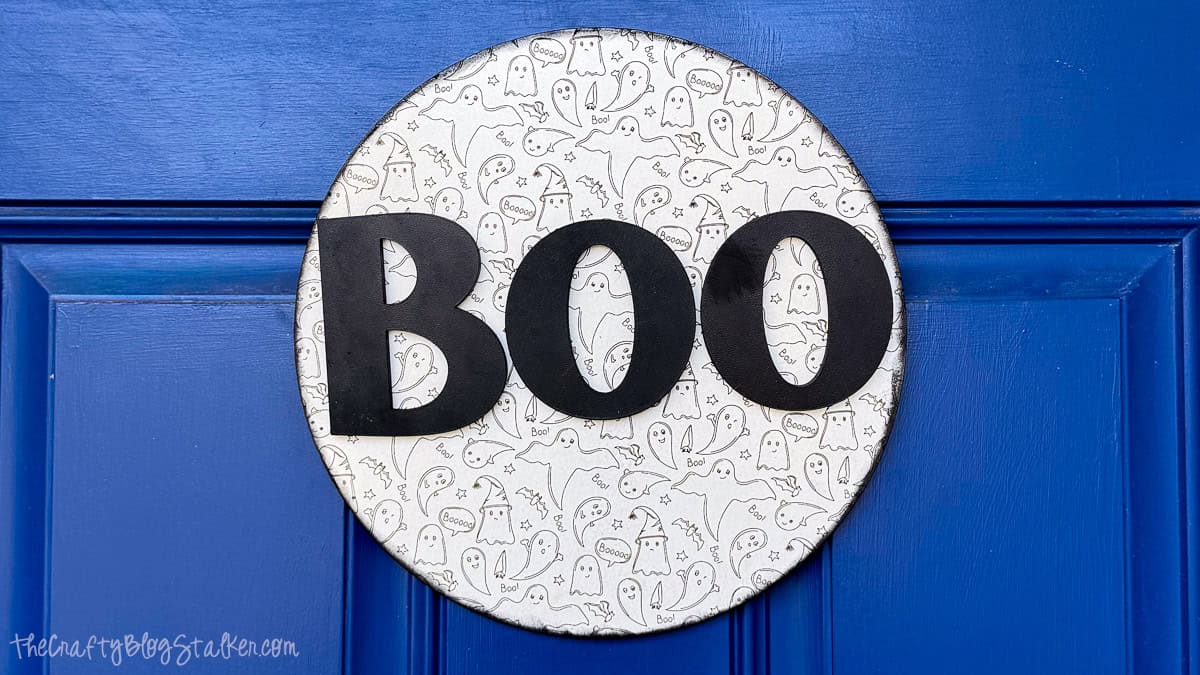
Frequently Asked Questions
I used .25-inch white melamine board because I wanted a finished white surface without painting the entire background. It also lets the engraved details remain visible, which is a big part of this design.
No. You can use another laser-safe material that works with your machine, but your finishing instructions may need to change. For example, you can paint or stain unfinished wood before assembly.
Always verify that a material is safe to use with your specific laser before cutting or engraving it.
Melamine has a slick surface, so acrylic paint doesn't have much texture to grab onto. Lightly sanding the areas I'm painting gives the surface a little tooth and helps the paint adhere better.
Absolutely! Black and white give this sign a classic Halloween look, but you could easily add orange, purple, green, or another favorite Halloween color.
Yes, but keep the entire design selected and resize everything together so the letters remain proportional to the circle base.
Also make sure the finished size fits both your laser's working area and the space where you plan to hang the sign.
Need Help With This Project?
Click a button below to ask AI what to use instead of melamine.
More Laser Cut Ideas
Ready for more spooky crafting? Here are three more laser cut Halloween projects to help you add a handmade touch to your seasonal decor.

Hi, I'm Katie!
I'm so glad you're here. Want to make something fabulous? I'm here to help!
The post DIY Halloween Boo Laser Cut Front Door Hanger appeared first on The Crafty Blog Stalker.
]]>The post Layering Iron-On Vinyl Happy Camper Design appeared first on The Crafty Blog Stalker.
]]>
There's something so satisfying about making your own custom shirt with heat transfer vinyl, especially when the finished design looks like something you could buy in a store.
Layering different colors can seem a little intimidating at first, but once you understand the pressing process, it's actually pretty simple.
The trick is knowing which layer goes down first, how long to press each one, and how to keep everything perfectly aligned.
Today I'm walking you through the entire process with this Happy Camper design, plus sharing a few tricks that make layering HTV so much easier.
Skill Level: Beginner
Estimated Cost: $10 - $20
Total Time: 30 minutes
Craft Tutorial Video
If videos are your thing, you're in luck-I've got a full tutorial ready for you!
Subscribe to my YouTube channel and stay inspired with every new project.
Supply List
Some supplies were gifted at no cost. When the exact items aren't available online, links may point to comparable products.
- Tshirt Blank
- Cutting Machine
- Happy Camper SVG File
- Heat Transfer Vinyl
- Weeding Tools
- Teflon Sheet
- Heat Press Mat
- HTVRont Heat Press
Grab the Free SVG

Measure, Cut, and Weed the HTV
Before cutting anything, measure your shirt. This helps you determine how large to make the entire design so it looks proportional once it's pressed.
I'm using a men's large T-shirt and sized my Happy Camper design to 9 inches wide.
Your measurements may differ depending on your shirt size, so don't automatically use mine.
Hold a ruler across the front of your shirt and decide what looks best before cutting your vinyl.
Prepare the Design
Upload the Happy Camper SVG into your Cricut software and size the design for your shirt.
This design uses several layers, which means each color will be cut from a separate piece of vinyl.
I used navy, black, forest green, and silver gray, but it is also fun to customize with your favorite HTV colors.
Once you're happy with the size and colors, send the design to your cutting machine.
Don't forget that iron-on vinyl needs to be mirrored before cutting.
Place the HTV on your mat with the shiny carrier sheet facing down, then cut each color separately using the appropriate material setting.
Weed Each Layer
After cutting, weed away all excess vinyl so that only the pieces that belong in the finished design remain on the clear carrier sheets.
Take a moment to look at each layer before moving on. It can help to loosely stack the layers on your work surface so you understand how the complete design fits together before you start pressing.
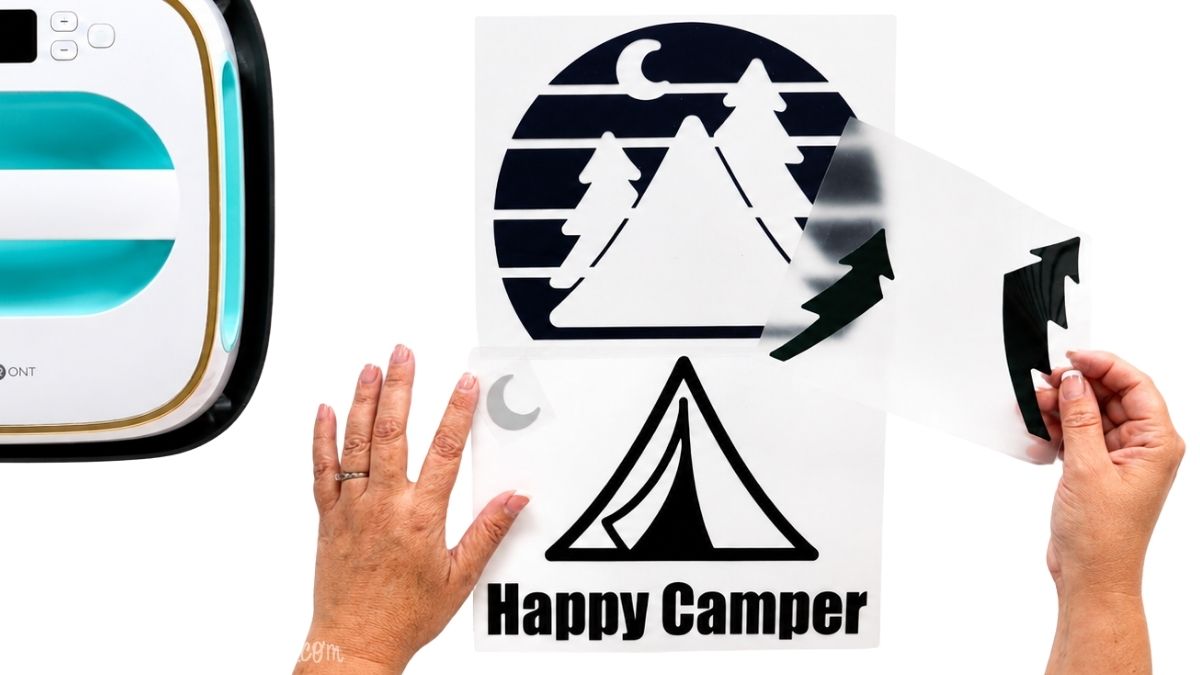
This is also a good time to trim away extra carrier sheet around each piece of vinyl. Just be careful not to cut into the actual design.
Center the Design on the Shirt
Before applying the first layer of HTV, we need to find the center of both the shirt and the design.
Luckily, there's a really easy trick for doing this.
Find the Center of the Shirt
Fold the shirt in half lengthwise, lining up the sleeves and side seams.
Lightly press the folded shirt for just a few seconds. You don't need to create a deep crease. You only want a faint center line to use as a placement guide.
Open the shirt and lay it flat on your heat press mat.
For an adult shirt, I generally place the top of the design about 2 to 3 inches below the collar.
You can measure this distance with a ruler, but I love using a T-shirt ruler. It helps with both placement and alignment, so I spend a lot less time staring at my shirt, wondering if the design is actually straight.
Find the Center of the Design
Now we need to find the center of the HTV.
Gently fold the carrier sheet in half without creasing the vinyl. Lightly pinch the carrier sheet at the top and bottom to create small center marks.
When you're ready to place the bottom layer, line up those marks with the fabric's center crease.
It's such a simple trick, but it takes nearly all of the guesswork out of centering a design.
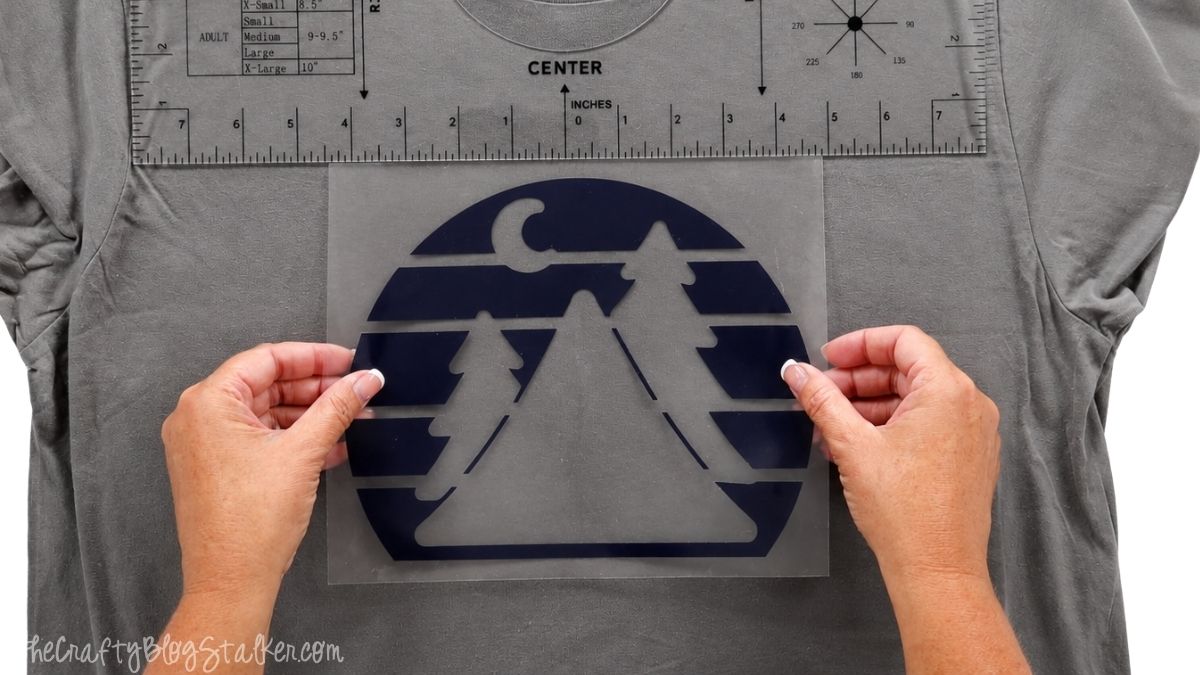
How to Layer Iron-On Vinyl
Now for the fun part!
Before pressing anything, check the instructions for the specific heat transfer vinyl you're using. Temperature, press time, pressure, and whether the material is a hot or cool peel can vary between brands.
My HTV calls for 315°F for 30 seconds.
Normally, that would mean pressing the design for the full 30 seconds. But when you're working with several layers, you don't want to press the bottom layer for 30 seconds every single time another color is added.
Instead, we'll tack the first layers into place with shorter presses and use the full recommended time for the final layer.
Press the Bottom Layer
Place the first navy layer onto the shirt using the centering method above.
The clear carrier sheet is slightly sticky, so once the design is positioned, it should stay in place as long as you don't move the shirt around too much.
Cover the entire design with a Teflon sheet.
Press at 315°F for 15 seconds.
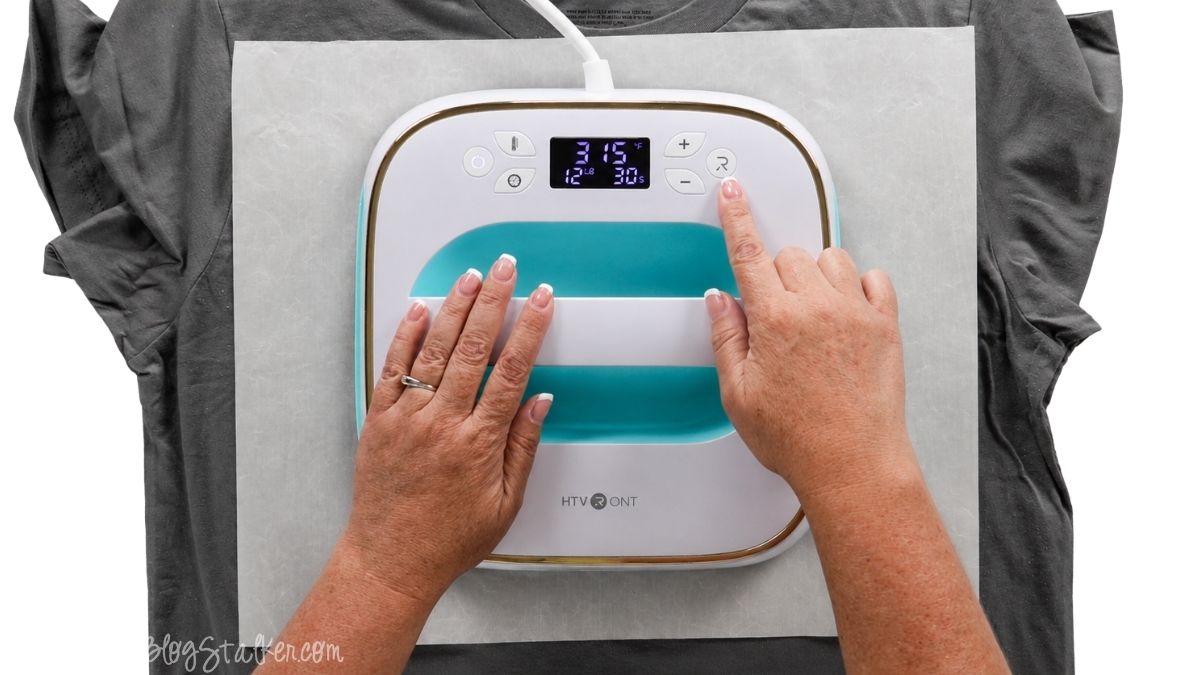
The HTV I'm using is a cool peel, which means the carrier sheet needs to cool before it is removed.
Here's my very technical cooling method: I grab the bottom of the shirt and give it a few gentle flaps.
Fancy? No.
Effective? Absolutely.
Once the vinyl has cooled, slowly peel away the carrier sheet.
As you peel, watch the vinyl carefully. If any portion begins lifting away from the fabric, lay the carrier sheet back down and press that area again before continuing.
Add the Second Layer
Position the black layer over the navy layer, carefully aligning the two sections of the design.
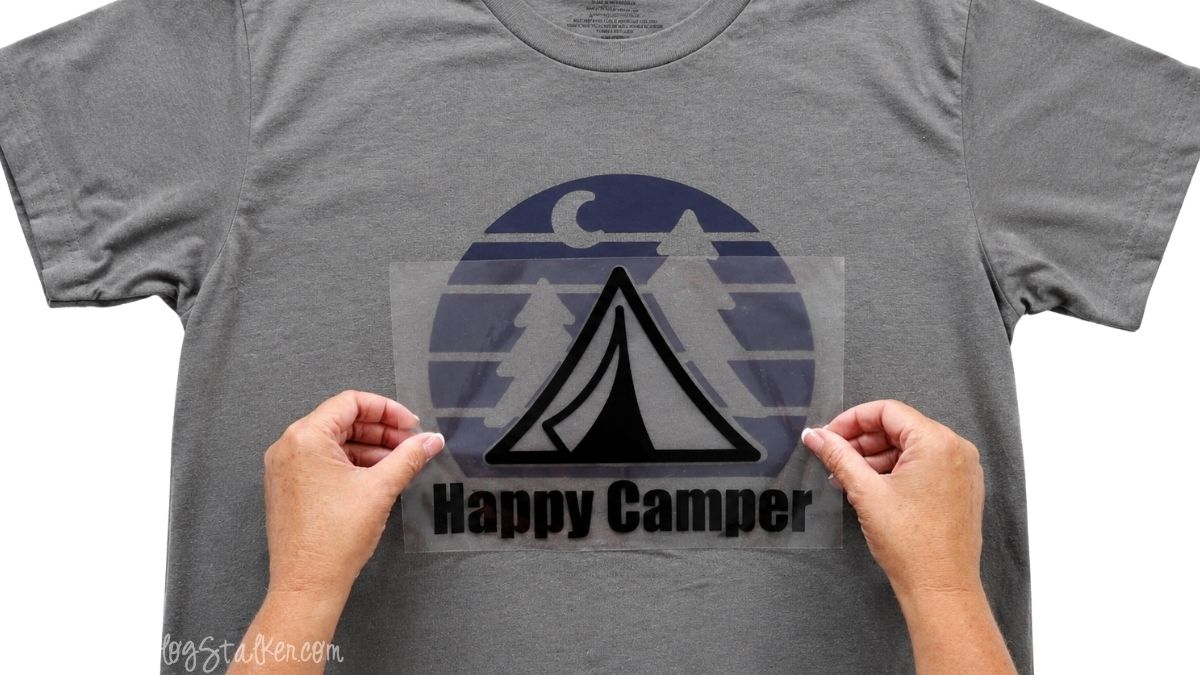
Before pressing, check the carrier sheet around the new layer. You don't want any exposed HTV touching the heat press directly.
Cover the entire design with your Teflon sheet and press for another 15 seconds.
Allow the shirt to cool, then remove the carrier sheet.
At this point, the Happy Camper design is really starting to come together.
Add the Top Layers
For the remaining colors, we can save a little time by pressing multiple pieces at once, since they don't overlap.
I trimmed the carrier sheet around the trees to separate the individual pieces. Then I positioned the two trees and moon in their correct locations.
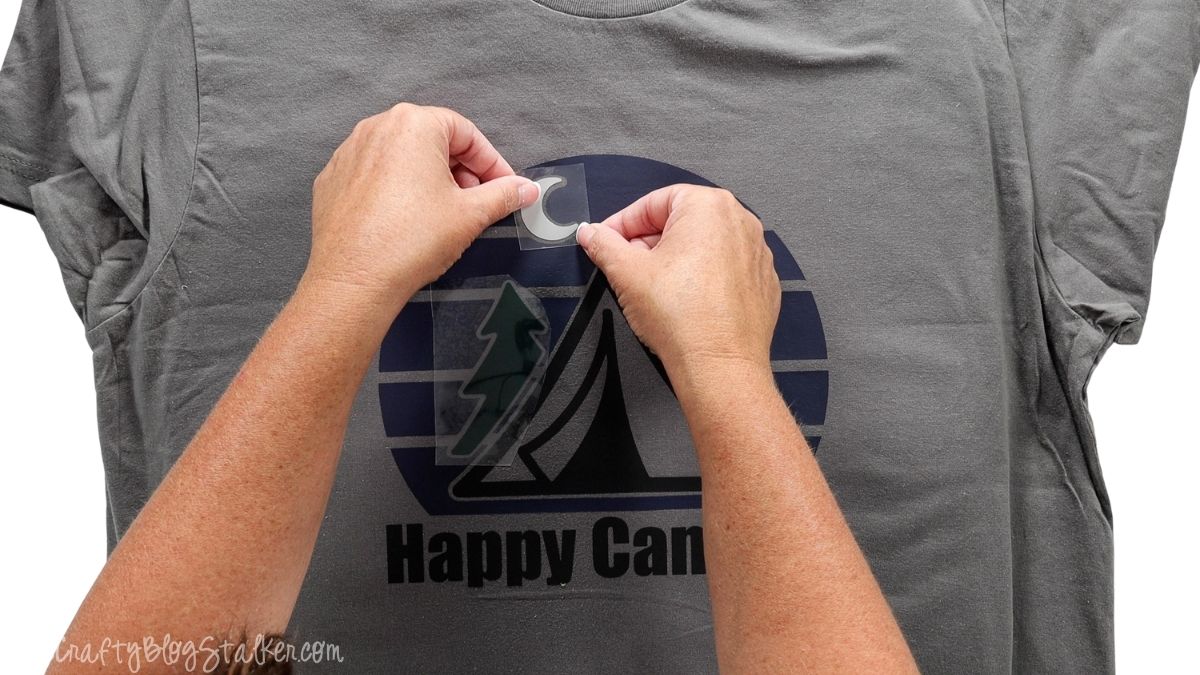
Whenever you trim a carrier sheet, make sure you're only cutting the clear backing and not the actual iron-on vinyl.
Once everything is aligned, cover the entire design with the Teflon sheet again.
Since these are our final layers, press for the full recommended 30 seconds.
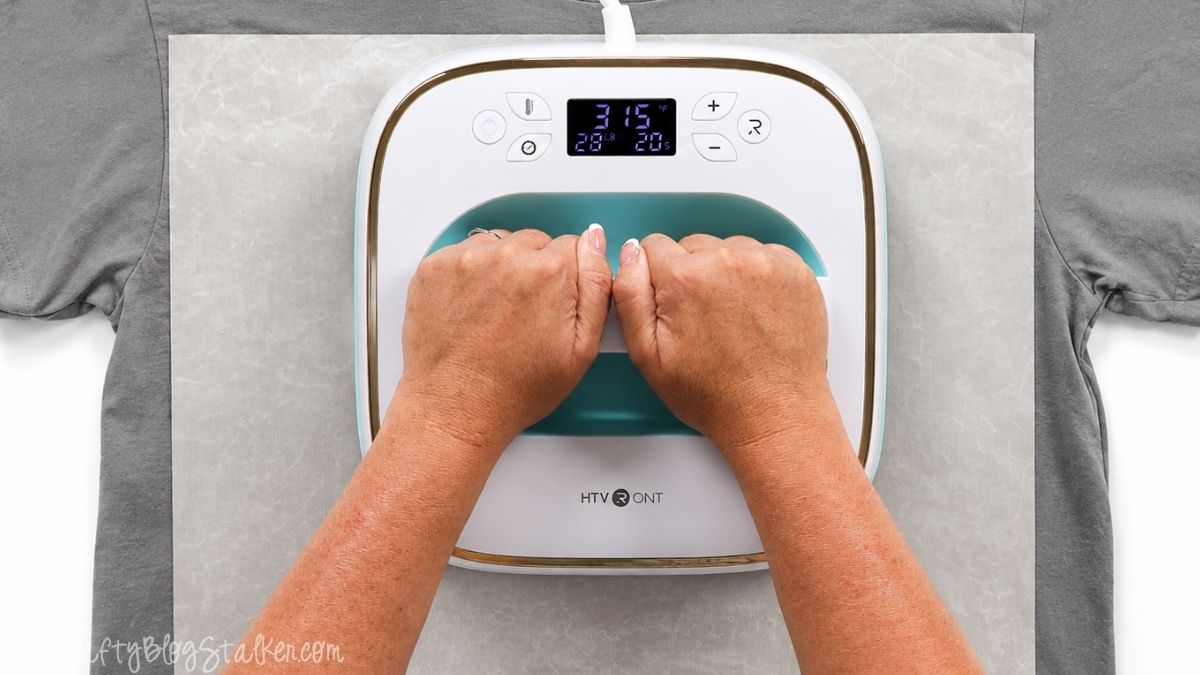
Allow the shirt to cool completely, then carefully peel away each piece of carrier sheet.
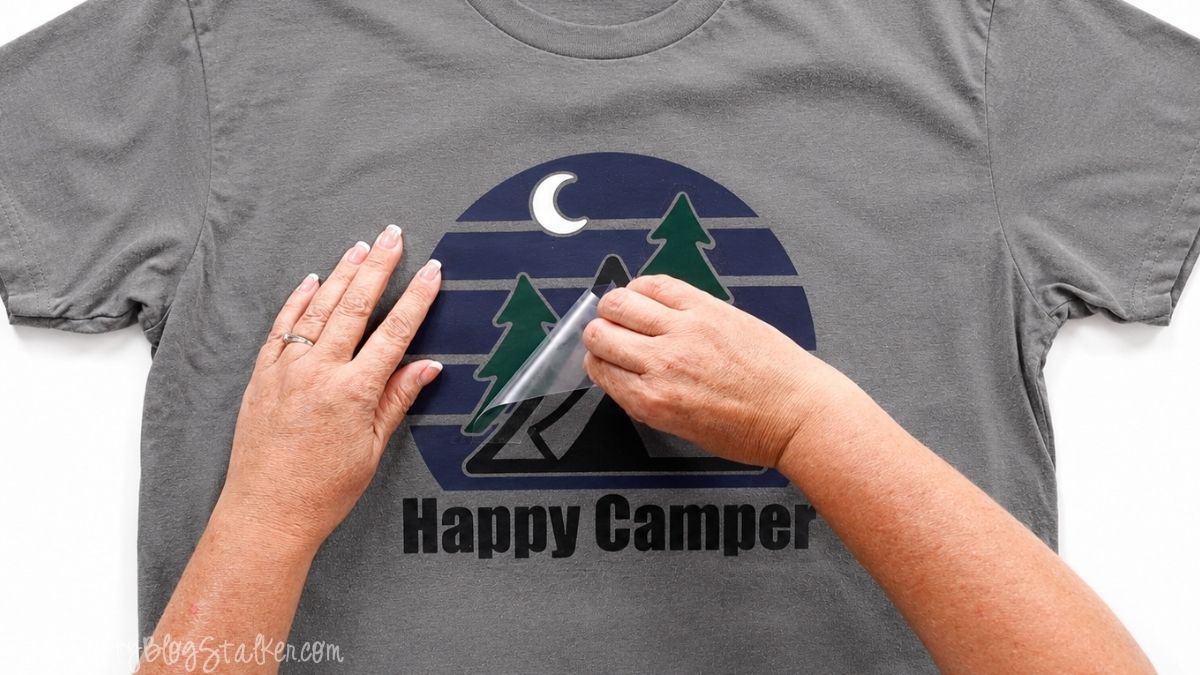
Give the Shirt a Final Press
There's one more little step I like to do to help everything bond securely.
Turn the shirt inside out or flip it over so you're pressing from the back of the fabric.
Press the back of the design for an additional 15 seconds.
This final press gives the different layers another chance to bond with the shirt without applying direct heat to the finished vinyl.
And that's it!
My Happy Camper shirt is finished. Now all that's left is to actually go camping.
Tips for Layering Heat Transfer Vinyl
Layering iron-on vinyl is pretty straightforward once you've done it a couple of times, but a few simple tricks can help prevent peeling, shifting, and overpressing.
Always follow the temperature and application instructions for your specific HTV. Not every brand behaves the same way, so the settings that work perfectly for one material may not be right for another.
Use shorter presses for the first layers. Each layer of HTV receives additional heat each time you add another color, so the bottom layer doesn't need a full press.
Protect previously applied vinyl whenever it goes back under the heat. A Teflon sheet works perfectly for this. A piece of parchment paper can also work as a protective sheet when recommended by your vinyl manufacturer.
Make sure the clear carrier sheets don't accidentally overlap exposed vinyl. If a carrier sheet ends underneath another layer of HTV, you could end up pressing vinyl onto plastic instead of fabric.
Most importantly, don't rush the alignment. Lay each top layer into place and check it from several angles before pressing. Once that heat press comes down, there's no easy undo button.
If you're nervous about your first layered project, choose a design with larger pieces and only two or three colors. Once you're comfortable with the process, designs with more layers become much easier.
Frequently Asked Questions
It depends on the design, but generally I start with the largest layer. Centering the largest layer typically centers the entire design.
Usually, no. Pressing every layer for the full recommended time can expose the bottom layers to too much heat. For this project, I pressed the first layers for 15 seconds and the final layer for the full 30 seconds recommended for my vinyl. However, you need to press long enough to remove the liner sheet.
Always check the instructions for your particular HTV before changing the recommended pressing process.
Can all types of heat transfer vinyl be layered?
No. Some specialty HTV should only be used as a top layer and shouldn't have another layer of vinyl applied over it. Always check the manufacturer's instructions before combining different types of vinyl.
Peeling can happen when the vinyl hasn't received enough heat, pressure, or pressing time. It can also happen if the fabric isn't compatible with the HTV or if the carrier sheet is removed before the material has cooled when using a cool-peel vinyl.
If you notice a section lifting while removing the carrier sheet, stop peeling and press it again.
Yes. A Cricut EasyPress works well for layered HTV projects. Make sure you're working on a firm heat-press mat and follow the recommended temperature, pressure, and timing for your specific iron-on vinyl.
You can use an iron with some types of HTV, but consistent temperature and pressure are harder to achieve. A heat press or EasyPress gives you much more control, especially when working with several layers.
Need help with this project?
Click a button below to ask AI how to tell if the HTV is properly pressed.
More Iron-On Vinyl Projects
Can you have too many bookmarks? I don't think so! Here are a few more fun ideas.
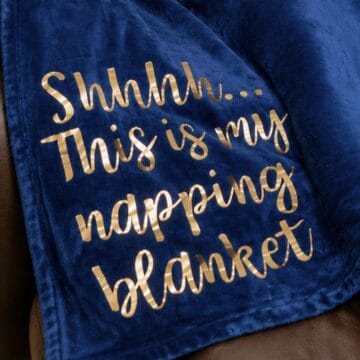

Hi, I'm Katie!
I'm so glad you're here. Want to make something fabulous? I'm here to help!
The post Layering Iron-On Vinyl Happy Camper Design appeared first on The Crafty Blog Stalker.
]]>The post DIY Concrete Fireplace Makeover on a Budget appeared first on The Crafty Blog Stalker.
]]>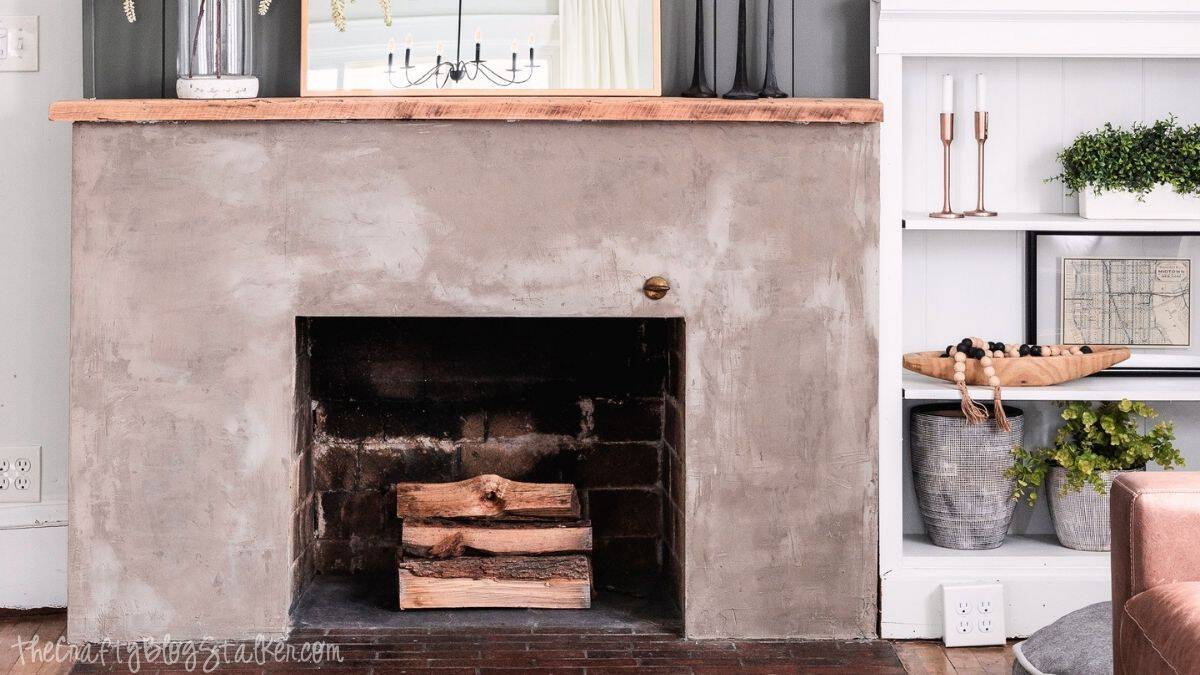
This post has been a long time coming! We tackled this fireplace makeover last fall, but I wanted to live with it for a while before sharing the tutorial.
I'm happy to report it has held up beautifully and still looks just as good as the day we finished it.
If you've been dreaming of a concrete fireplace but don't want the price tag of a complete remodel, this project is a great way to get the look for much less.
Let's start with where this fireplace began, then I'll walk you through exactly how we transformed it.
Skill Level: Intermediate
Estimated Cost: $200-$400
Total Time: 2-3 days

Brick Fireplace Before
When we first moved into this house, the fireplace never felt like it belonged with the rest of the room. The biggest problem was the lack of symmetry.
A large beam on one side threw everything off visually, and once I noticed it, I couldn't unsee it.
I know some people love painted brick fireplaces, and I even had quite a few readers tell me they were sad to see the brick disappear. But this wasn't the beautiful aged brick you picture in a historic home.
The mortar was uneven, the brick was stained, and one very knowledgeable reader even told me it was construction brick that was never intended to be exposed.
I've always loved the clean look of modern fireplace surrounds with a soft concrete finish, so this project felt like the perfect opportunity to finally create the fireplace I'd been dreaming about.
Looking back at the before photos now, it's hard to believe it's the same room.

Plan Your Fireplace Makeover
Before picking up a single tool, spend some time planning the finished design.
Every fireplace is a little different, so your framing measurements will depend on your existing hearth, built-ins, and the overall look you're trying to achieve.
For our makeover, we had three goals.
First, we wanted to hide the large beam that made the fireplace feel unbalanced.
Second, we wanted the new surround to line up perfectly with the built-in cabinets on each side.
Finally, I wanted a simple fireplace mantel with clean lines instead of the bulky design we started with.
Those decisions determined the size of our framing and ultimately the finished appearance of the entire fireplace.
Taking a little extra time to sketch your design and measure everything carefully will save a lot of frustration later.
Frame the New Fireplace Surround
The first step is always cleaning.
Remove dust, cobwebs, loose debris, and any other material from the existing brick. Starting with a clean surface makes every step afterward much easier.
Once everything was clean, we began framing the new surround.
We attached 2x4s directly to the brick using brick anchors and a hammer drill. Because every fireplace is different, your framing may not match ours exactly. The important part is building a sturdy frame while accounting for the thickness of the cement board that will be installed later.
As we built the frame, we continually checked everything with a level to make sure the finished fireplace would be straight and square.
This is also the stage where you determine the depth of your surround. I wanted a smooth, modern face with a small ledge for the fireplace mantel, so we framed accordingly.
Even though no one will ever see this framing once the project is complete, it's the foundation for everything that follows.
Taking your time here pays off later.
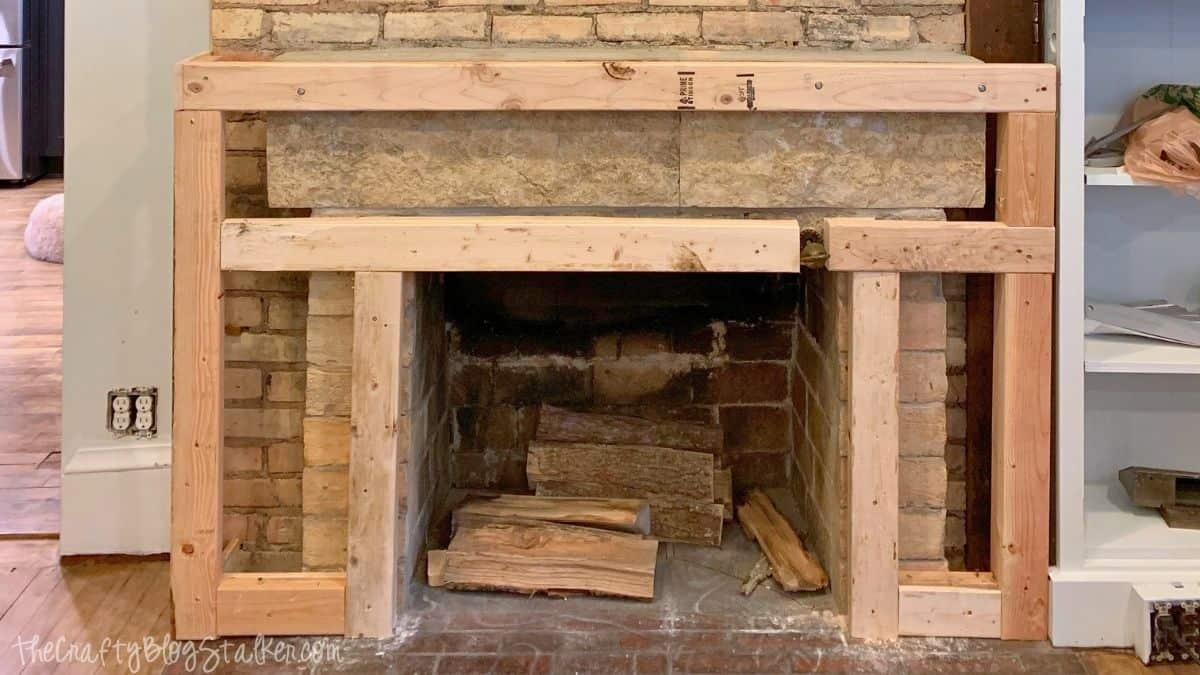
Add Framing for the Shiplap
Once the lower portion of the fireplace was framed, we moved to the upper section where I planned to install vertical shiplap.
Our brick wasn't perfectly flat, so we added vertical shims in several places before installing horizontal boards across the brick.
Those horizontal boards created solid attachment points for the shiplap.
Since we already had everything opened up, we also installed extra blocking inside the wall anywhere I thought I might eventually hang artwork, floating shelves, or heavier decorations.
It's one of those little things that only takes a few extra minutes now but makes decorating much easier later.
If you're planning to mount a television above your fireplace, this is also the perfect time to add additional support behind the wall.
Install the Shiplap
After the framing was complete, installing the shiplap went fairly quickly.
Each board was secured with a finish nailer before filling the nail holes and lightly sanding everything smooth.
The only part that required a little extra planning was deciding how to finish the outside corners.
There are several good options.
You can miter the corners at a 45-degree angle for a seamless appearance.
You can trim away the tongue and groove so the edges meet cleanly.
Or you can install a vertical trim board where the shiplap meets the side of the surround.
The best option depends on your fireplace's style and how far your surround extends into the room.
Whichever method you choose, dry fit everything before reaching for the nail gun.
That extra step helps eliminate surprises and creates cleaner-looking corners.
Paint the Shiplap
This step could absolutely wait until the very end.
But if you're anything like me, once the room starts coming together, it's hard to resist seeing what it'll look like.
I hadn't completely settled on my final color yet, but I couldn't help myself.
I rolled on a coat of paint just to get a better idea of how everything would look together.
Seeing the white shiplap against the new framing made the entire project start to feel real, and it gave me the motivation to keep going.
At this point, the fireplace already looked dramatically different, even though the faux concrete finish hadn't been added yet.
Install the Cement Board
With the framing complete, it was finally time to start creating the new fireplace surround.
Cement board provides a durable surface for the Ardex Feather Finish to bond to, making it an important step you don't want to skip.
Measure each section and cut the cement board by scoring it several times with a utility knife. Once you've cut through the surface, snap the board along the score line. It's much easier than sawing through it, and you'll create far less mess.
As you install each piece, pay attention to the factory edges. Most cement board has slightly tapered edges, making it easier to hide seams later. Position those edges together whenever possible.
Secure each panel with cement board screws, using the proper length for your board's thickness. Drive the screws so they're flush with the surface without breaking through the outer layer.
Don't stress if the outside corners aren't perfect. They'll be covered with corner bead in the next step, so small gaps won't be noticeable once everything is finished.
By the time all of the cement board is installed, you'll finally be able to see the new shape of your fireplace come together.
Reinforce the Seams and Corners
Before applying the faux concrete finish, you'll want to strengthen every joint.
Start by applying cement board mesh tape over every seam. This tape is designed specifically for cement board and helps prevent future movement from showing through the finished surface.
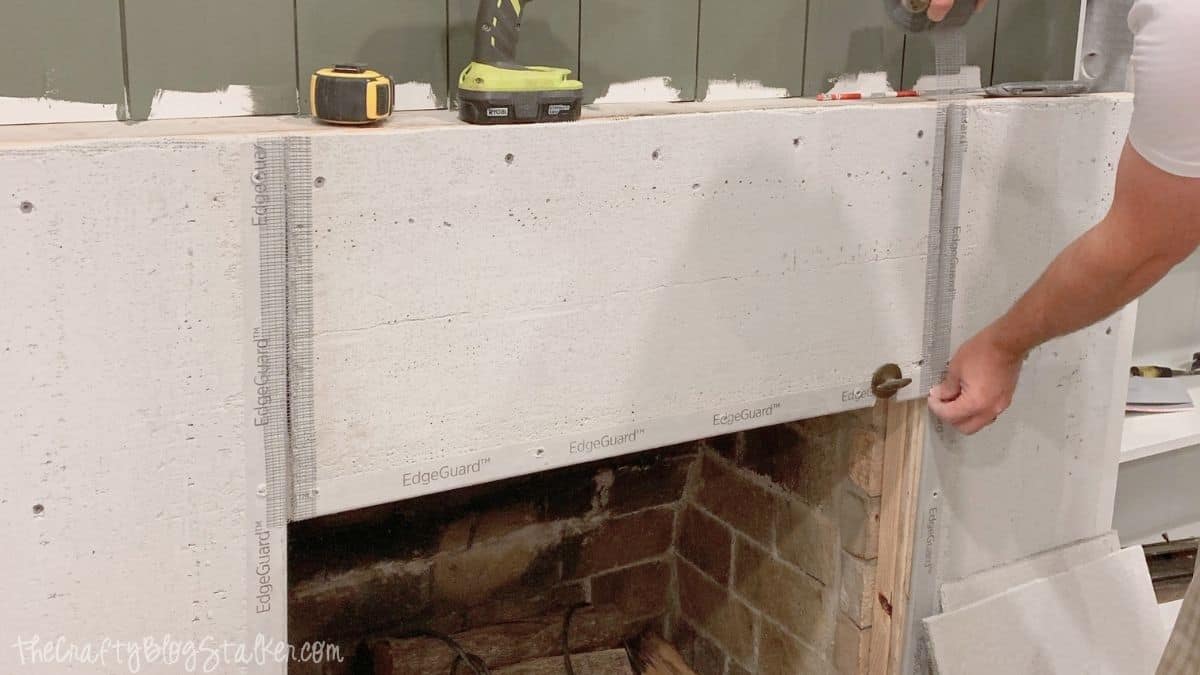
Next, install metal corner bead on every outside corner using the same cement board screws.
Corner bead does two important jobs. It creates crisp, straight corners while also protecting them from everyday bumps and dings.
Once the seams are taped and the corner bead is installed, the fireplace is ready for its concrete finish.
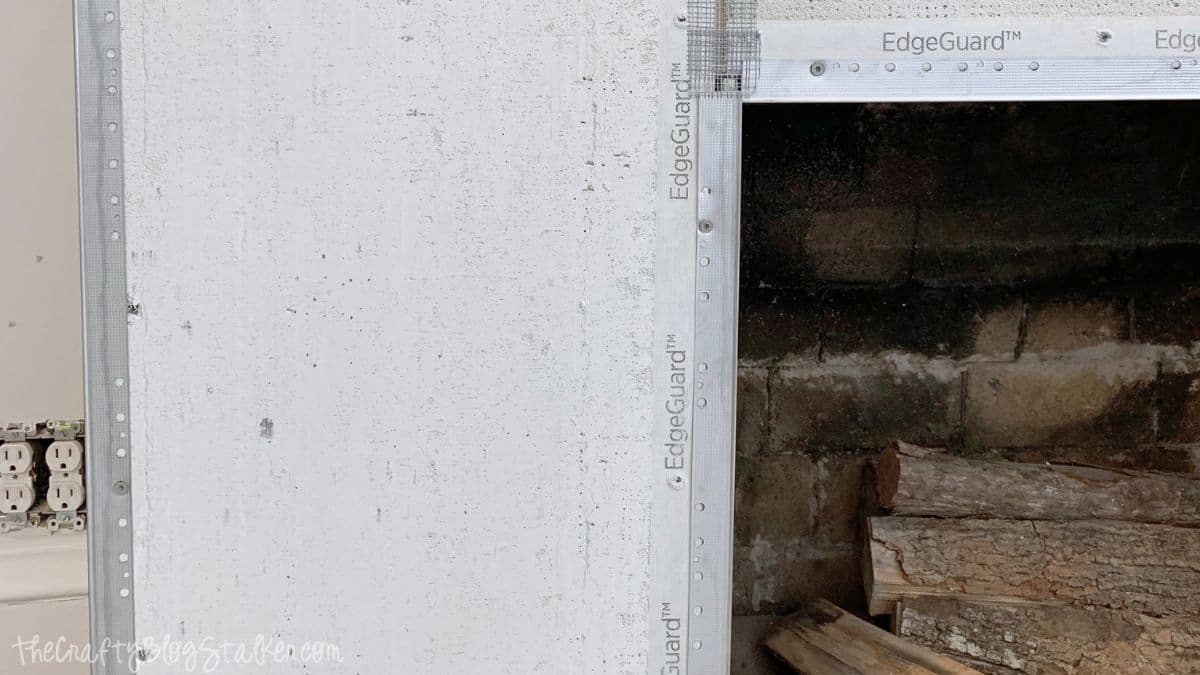
Apply the Ardex Feather Finish
This is where the transformation really begins.
Ardex Feather Finish creates a realistic concrete appearance without pouring actual concrete over the fireplace. The finished look has beautiful natural textures while remaining much lighter than traditional concrete.
If you've ever skim-coated drywall, the application feels very similar. The biggest difference is that Ardex sets much faster, so you'll want to work in small batches.
Follow the mixing directions on the bag. I chose to mix mine slightly thinner than recommended because it spread more smoothly across the cement board. I didn't add much extra water, just enough to improve the workability.
Using a drywall taping knife, spread a thin coat across the entire surround.
Don't worry about making the first coat perfect.
In fact, it shouldn't be.
The goal is simply to build the surface gradually.
Trying to apply one thick coat usually creates more work than it saves. Thin layers are easier to smooth and control, and produce a much more natural-looking finish.
I ended up applying three to four complete coats across the fireplace before I was happy with the final appearance.
Each coat added a little more depth and character until the surround looked like solid concrete.
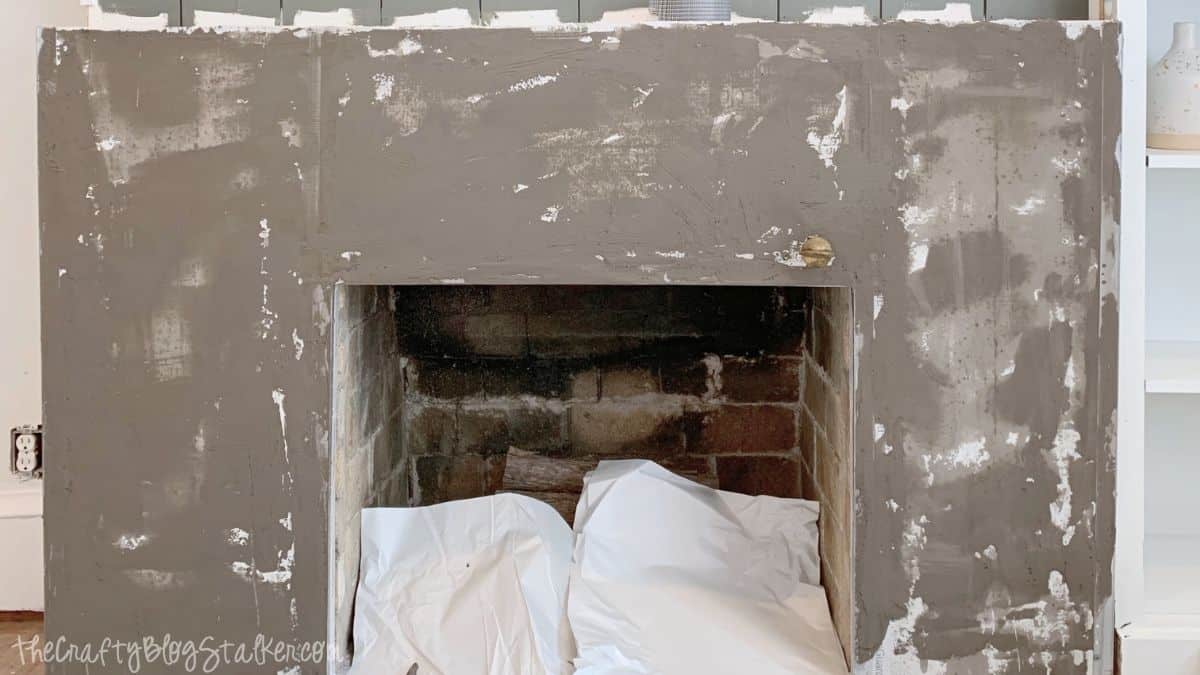
Create a Natural Concrete Finish
One of the reasons I love Ardex Feather Finish is that perfection isn't the goal.
Real concrete isn't perfectly smooth or perfectly uniform. It naturally contains subtle color variation and organic movement.
Those little imperfections are exactly what make the finished fireplace look authentic.
Instead of applying every pass in the same direction, vary your strokes as you work. Changing directions creates soft movement throughout the surface and prevents obvious repeating patterns.
As each coat dries, step back every so often and look at the fireplace from across the room.
Viewing the project from a distance helps you spot areas that need a little more blending while keeping you from overworking the surface
Smooth the Final Coat
When I reached my final coat, I switched from focusing on coverage to refining the finish.
After applying the Ardex, I let it begin setting for a short time before gently wiping the surface with a damp grout sponge.
The sponge softens harsh knife marks without removing all of the natural texture.
A little later, after the Ardex had firmed up even more, I lightly went over the surface again.
That second pass blended everything beautifully while still allowing subtle movement to remain.
This simple step made the biggest difference in creating the soft, concrete appearance I was hoping for.
If you still notice an area that needs attention after everything has completely dried, you can lightly sand it.
Just be prepared for a lot of fine dust.
Personally, I recommend trying the damp sponge first because it creates far less cleanup and gives excellent results.
Concrete Fireplace Before & After
Once all of the concrete work was finished, we completed a few final touch-ups, caulked the seams, and installed a simple wood fireplace mantel.
Can you believe these photos are of the same fireplace?
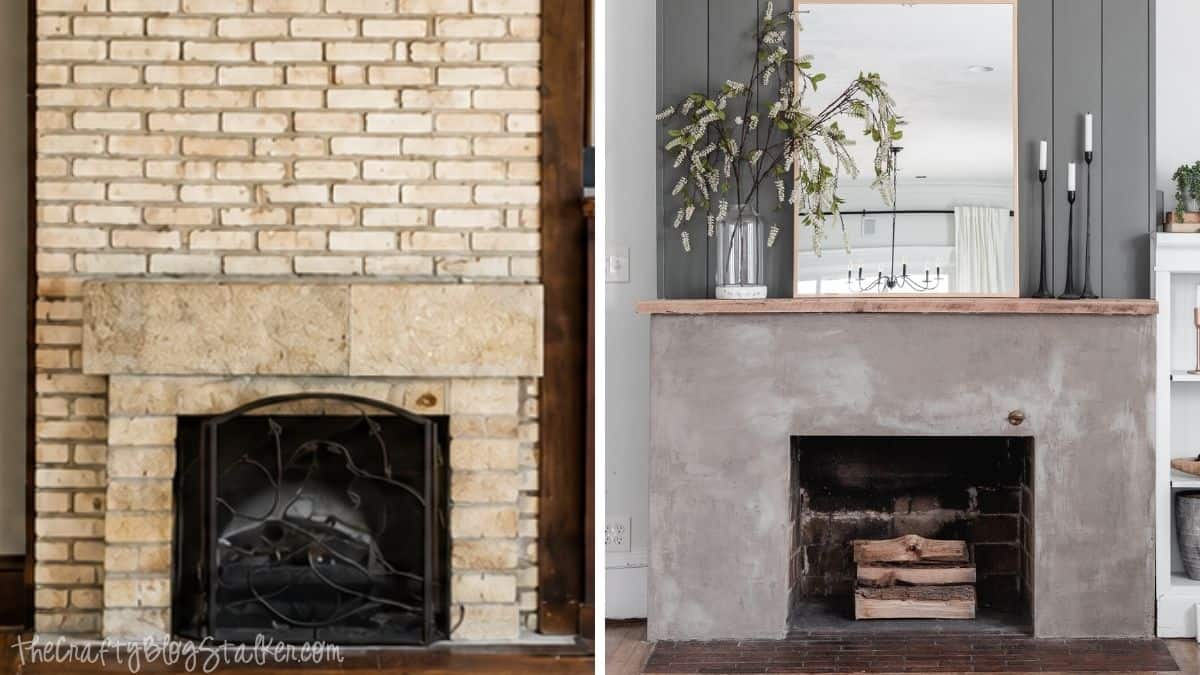
The transformation completely changed the feel of our living room. What was once an outdated brick fireplace with an awkward layout became a clean, modern focal point that works in every season and with every decorating style.
One of the unexpected benefits of waiting so long to publish this tutorial is that I can share how well it has held up over time.
After more than a year of daily life, holiday decorating, and rearranging mantels more times than I can count, I'm happy to say the finish still looks fantastic.


I haven't experienced any peeling, chipping, or noticeable wear. The durability of the Ardex Feather Finish has honestly impressed me. If I were starting over today, I wouldn't change a thing.
The soft concrete finish has enough texture to feel warm and inviting while still giving the fireplace a clean, timeless appearance. It has become one of my favorite DIY projects because it completely transformed the room without the cost of replacing the entire fireplace.
If you've been collecting inspiration for fireplace surrounds, I hope this project shows that you don't have to spend thousands of dollars to create a custom look.
Frequently Asked Questions
For this project, I installed cement board over a wood frame before applying the Ardex Feather Finish. This created a smooth, stable surface and allowed me to completely change the shape of the fireplace surround at the same time.
This was one of my biggest concerns before starting the project. After living with the fireplace for more than a year, I haven't noticed any cracks in the finish. Proper framing, securely attached cement board, and several thin coats all help create a durable surface.
Always follow the manufacturer's recommendations and your local building codes. Our Ardex finish is applied to the decorative surround and does not extend into the firebox. If you have a wood-burning fireplace, make sure any materials you use meet the proper clearance requirements.
Yes. This method works well on many different fireplace surrounds. Since every fireplace is built differently, you may need to adjust the framing to fit your layout, but the overall process remains the same.
Not necessarily. If you're comfortable with basic framing and using common power tools, this is a very achievable DIY project. If structural changes or gas lines are involved, it's always best to consult a qualified professional.
Need Help Planning Your Fireplace Makeover?
Click a button below to ask AI what home decor style works best with this fireplace design.
More Home Improvement Ideas
Explore more home improvement ideas to update your space with budget-friendly tutorials and step-by-step guides.

Hi, I'm Katie!
I'm so glad you're here. Want to make something fabulous? I'm here to help!
The post DIY Concrete Fireplace Makeover on a Budget appeared first on The Crafty Blog Stalker.
]]>The post Faux Cross Stitch Fall Printable for Cozy Decor appeared first on The Crafty Blog Stalker.
]]>
As soon as the weather starts to cool down, I can't wait to swap out my everyday decorations for warm seasonal touches, and this printable is one of my favorite things to display.
It gives you the look of a beautifully stitched cross stitch project without spending hours with a needle and thread.
Whether you're decorating for September, October, or even November, this printable is an easy way to bring cozy fall style into your home.
Just print it, frame it, and enjoy a handmade look in only a few minutes.
Skill Level: Beginner
Estimated Cost: $2-$10
Total Time: 10 minutes
Print Your Faux Cross Stitch Fall Printable
This printable is provided as a high-quality PNG file, allowing you to print it in a variety of sizes.
Before sending it to your printer, I recommend placing it into a design program so you can easily resize and position it for your frame.
I like using Canva because the free version includes everything you need for a simple project like this.
If you've never used Canva before, don't worry. It only takes a few minutes to create a custom-sized print.
Create a Custom Canvas
Open Canva and click Create near the top of the left navigation panel.
Next, choose Custom Size. This is where you'll enter the dimensions of the frame you plan to use.
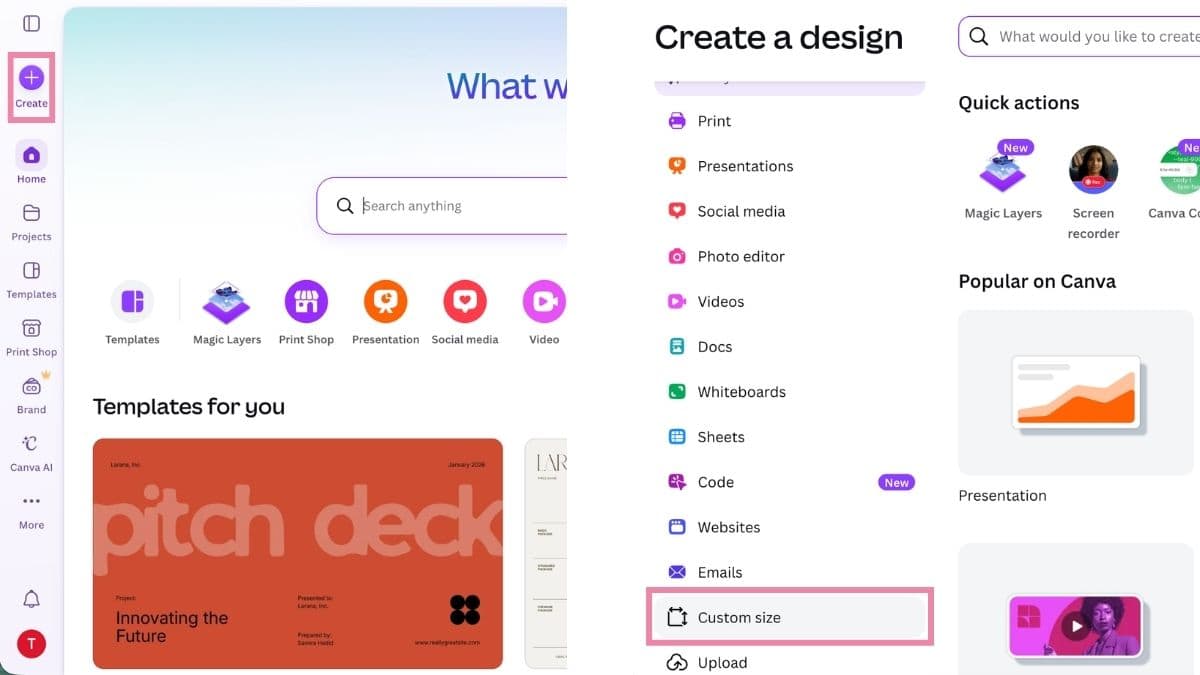
Be sure to change the units to inches, since Canva defaults to pixels.

After entering your measurements, click Create Design. Canva will open a blank canvas sized perfectly for your frame.
Add the Printable
Drag and drop the PNG onto your new canvas.
Resize and reposition the image until you're happy with how it fits.
If you're using a square frame, leave a little room around the edges if you'd like a small white border, or enlarge the design to fill the page completely.
Take your time with this step. Adjusting the size now helps ensure your finished printable looks exactly the way you envisioned.
Download the Finished File
When everything is centered, click Share in the upper-right corner, then choose Download.
Select your preferred file type and click Download again. The finished file will be saved to your computer or mobile device, ready to print.
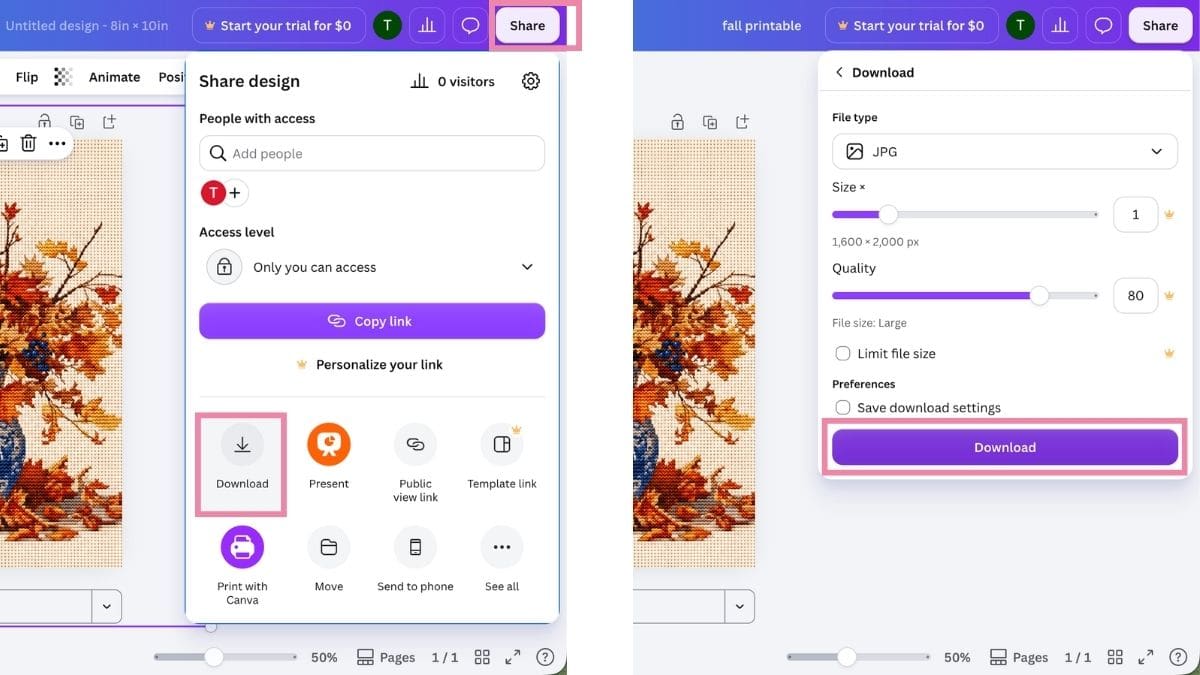
Print and Frame
Open the downloaded file and send it to your printer.
For this project, I usually leave my printer settings on their default options because the results are consistently great. If you're familiar with your printer, feel free to adjust the settings to match the paper you're using.
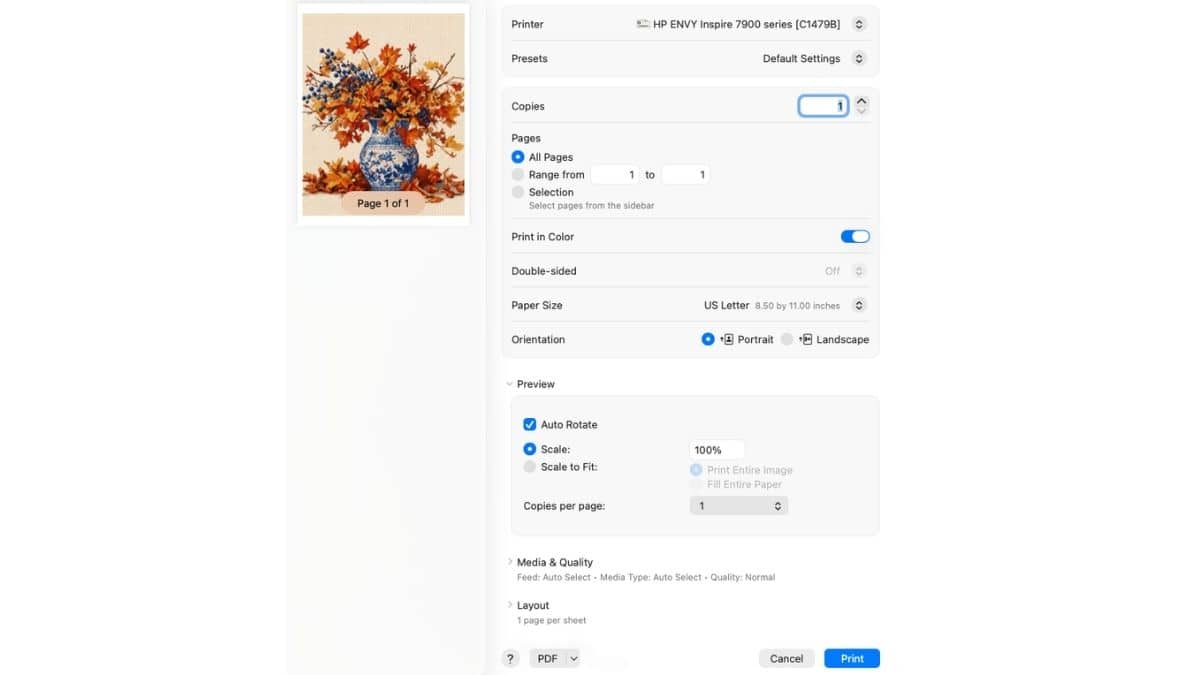
Place the finished print into your favorite frame and enjoy an easy seasonal update that looks right at home with farmhouse, rustic, or cottage-style decor.
Tips for the Best Results
This artwork is an AI rendering designed to resemble a completed cross stitch project.
It creates a wonderfully realistic effect from a normal viewing distance, but if you examine it very closely, you may notice a few small imperfections in the stitch pattern.
Fortunately, once it's framed and displayed, those tiny details are rarely noticeable.
Paper choice makes a big difference. I recommend printing on matte photo paper or heavyweight cardstock instead of glossy photo paper.
The matte finish helps mimic the texture of fabric and gives the printable a much more authentic appearance.
Glossy paper tends to reflect light, making it obvious that the artwork is a print.
I also recommend keeping your print no larger than 12 x 12 inches. Enlarging the artwork too much makes the faux Aida cloth texture more noticeable and can make the small imperfections easier to spot.
Smaller prints create the most convincing finished result.
Decorating Ideas
One of the things I love most about this printable is how easy it is to work into your existing fall decorations.
Display it on a mantel with pumpkins and candles, add it to a gallery wall filled with harvest scenes, or place it on an entry table alongside colorful leaves and natural textures.
Because it's a printable template, you can swap it into different frames throughout the season without spending a lot of money on new decor.
Whether you're refreshing your home for September, adding vibrant colors for October, or keeping your cozy decorations up through November, this printable makes seasonal decorating quick, affordable, and fun.
More Free Fall Printables
Can you have too many bookmarks? I don't think so! Here are a few more fun ideas.
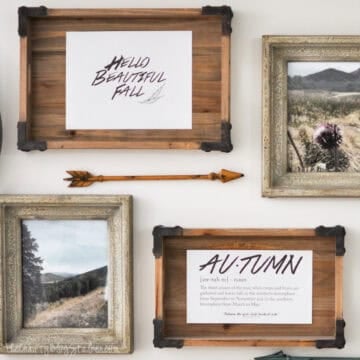


Hi, I'm Katie!
I'm so glad you're here. Want to make something fabulous? I'm here to help!
The post Faux Cross Stitch Fall Printable for Cozy Decor appeared first on The Crafty Blog Stalker.
]]>The post DIY 3D Inner Engraving with xTool F2 Ultra UV Laser appeared first on The Crafty Blog Stalker.
]]>Learn how to create stunning inner engraving projects with the xTool F2 Ultra UV. This step-by-step tutorial makes 3D laser engraving easy.
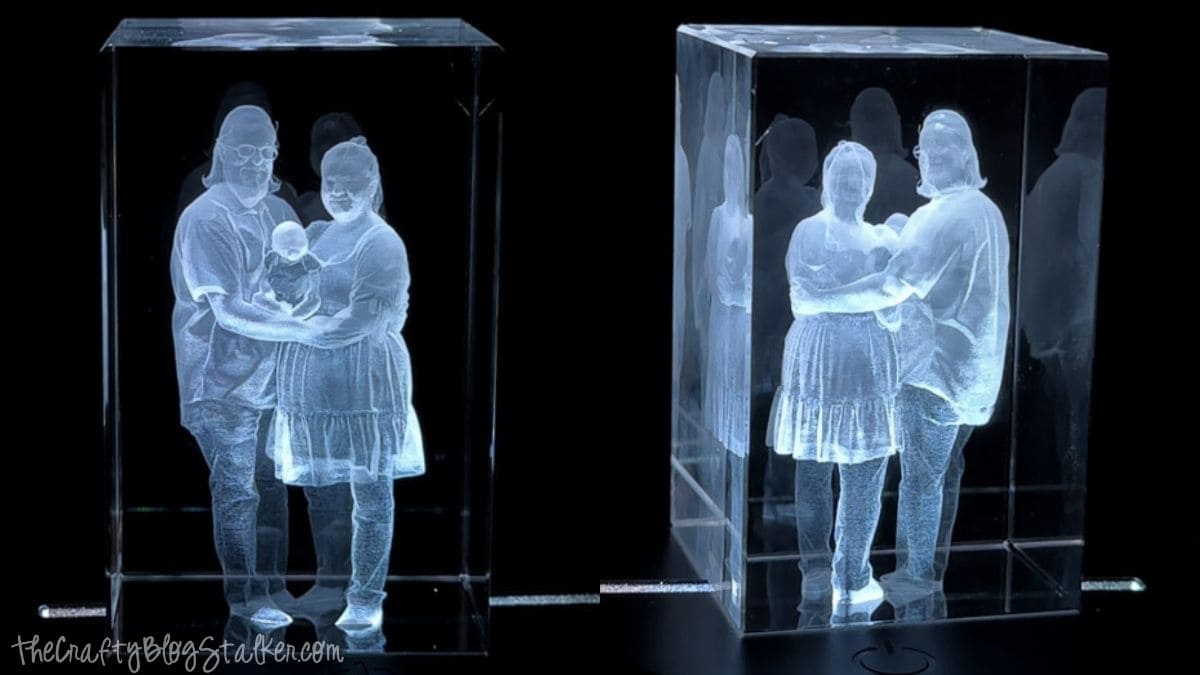
Seeing a design appear inside a crystal block feels almost like magic, but the xTool F2 Ultra UV makes the process surprisingly approachable.
Instead of engraving the outside of the crystal, this machine creates thousands of tiny fracture points beneath the glass surface to form a detailed 3D image with incredible depth.
From creating a 3D model in xTool Studio to setting up the machine and engraving your finished piece, I'll walk you through every step of the process.
By the end, you'll have a personalized keepsake that looks professionally made and is sure to impress.
Skill Level: Intermediate
Estimated Cost: $20-$40
Total Time: 3 hours
Craft Tutorial Video
If videos are your thing, you're in luck-I've got a full tutorial ready for you!
Subscribe to my YouTube channel and stay inspired with every new project.
Before You Begin
Before starting this project, there are two things that will make a big difference in your finished results.
The first is using the correct crystal. Inner laser engraving requires a K9 crystal block, not standard glass.
K9 crystal is designed specifically for this type of engraving and allows the laser to create tiny fracture points inside the material while leaving the outside perfectly smooth.
Using another type of glass can lead to poor results or even unwanted cracks, so it's worth making sure you have the right blank before you begin.
The second is measuring your crystal with digital calipers instead of a ruler. Since this project relies on high precision, even a small measurement difference can affect where the design is placed inside the crystal.
Taking an extra minute to get accurate dimensions helps ensure your finished engraving is centered exactly where you want it.
Create Your 3D Design in xTool Studio
One of my favorite features of the xTool F2 Ultra UV is how easy xTool Studio makes it to create a 3D model.
The built-in AI tools can turn a single photograph into a complete 360-degree model that's ready for engraving.
Start a New Project
Open xTool Studio and create a new project.
From the toolbar, click AI Make, then choose 3D Photo.
This feature generates a complete 360-degree model from a single image, making it a great option for family portraits, pets, and other meaningful photos.
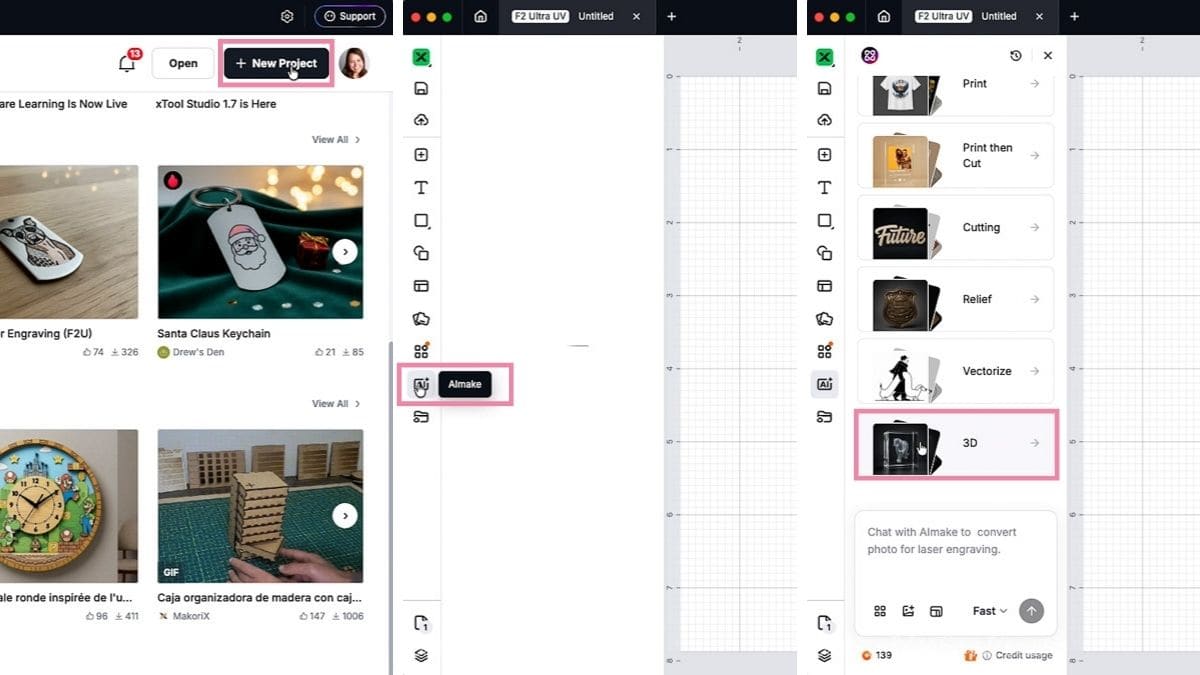
Upload Your Photo
Select the image you want to engrave.
For my project, I used a family photo and entered the following prompt:
Please create a full 360 3D image using the uploaded image.
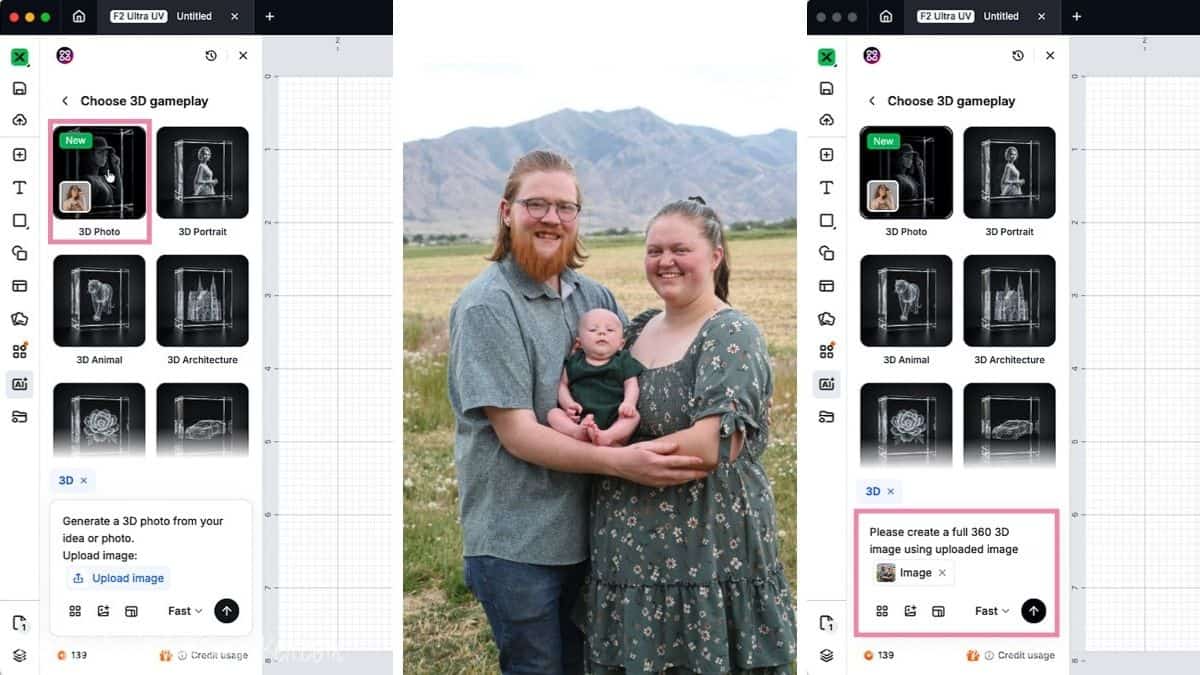
Click the upload arrow to begin generating the model. Processing usually takes a minute or two, so don't worry if it doesn't appear right away.

Import the 3D Model
When your model is finished, click directly on the generated image to add it to your project.
Because the model uses a different canvas size than your current project, xTool Studio will prompt you to adjust it.
Simply choose Scale to Fit, and the design will automatically be placed into your workspace.
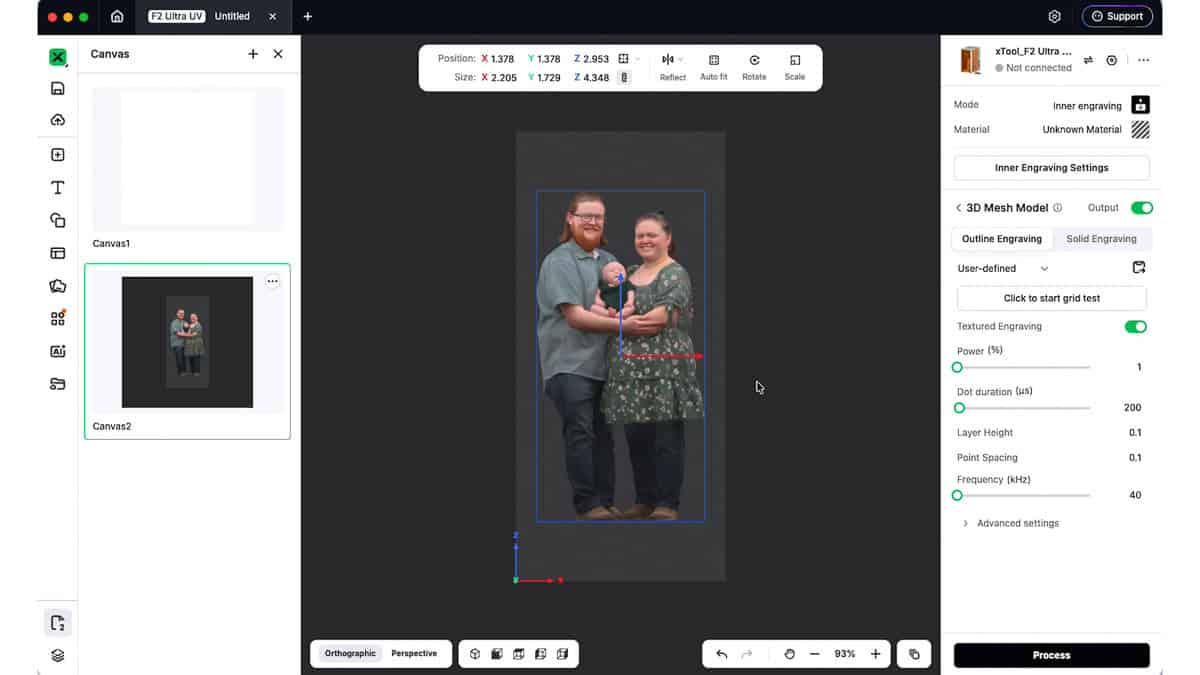
Inspect the Model
Before moving on, spend a few moments rotating the model and viewing it from every angle.
It's impressive to see how AI Make creates a complete 360-degree design from just one photograph.
Looking at the model from all sides also gives you a chance to catch anything that might need adjusting before you begin engraving.
If everything looks the way you want, you're ready to prepare the project for engraving.
Select the Material
Once the model has been imported, the processing mode should already be set to Inner Engraving.
Click Material and choose the crystal blank you'll be using. xTool Studio includes several K9 crystal options with settings already optimized for each shape.
For this project, I selected the Rectangular K9 Crystal and clicked Apply.
With your design complete and the material selected, it's time to prepare the machine for engraving.
Prepare the xTool F2 Ultra UV
The next section of xTool Studio walks you through preparing both the machine and your crystal.
Taking your time here helps ensure everything is aligned correctly before the engraving process begins.
Install the Inner Engraving Lens
Open the lid of the xTool F2 Ultra UV and remove the standard laser lens according to the machine's instructions.
Replace it with the Inner Engraving Lens, making sure it is fully seated and securely locked into place.
This specialized lens focuses the laser beneath the glass surface instead of on it, allowing the machine to create the tiny fracture points that produce the finished 3D image.
Install the Riser
Crystal blocks are much taller than many laser materials, so you'll also need to install the xTool Riser.
The riser provides additional clearance, allowing the crystal to fit comfortably inside the machine while positioning it at the correct height for engraving.
Once the riser has been installed, return to xTool Studio and click Next to continue.
Measure the Crystal
The next screen prompts you to enter your crystal's dimensions and even shows exactly which measurements are needed.
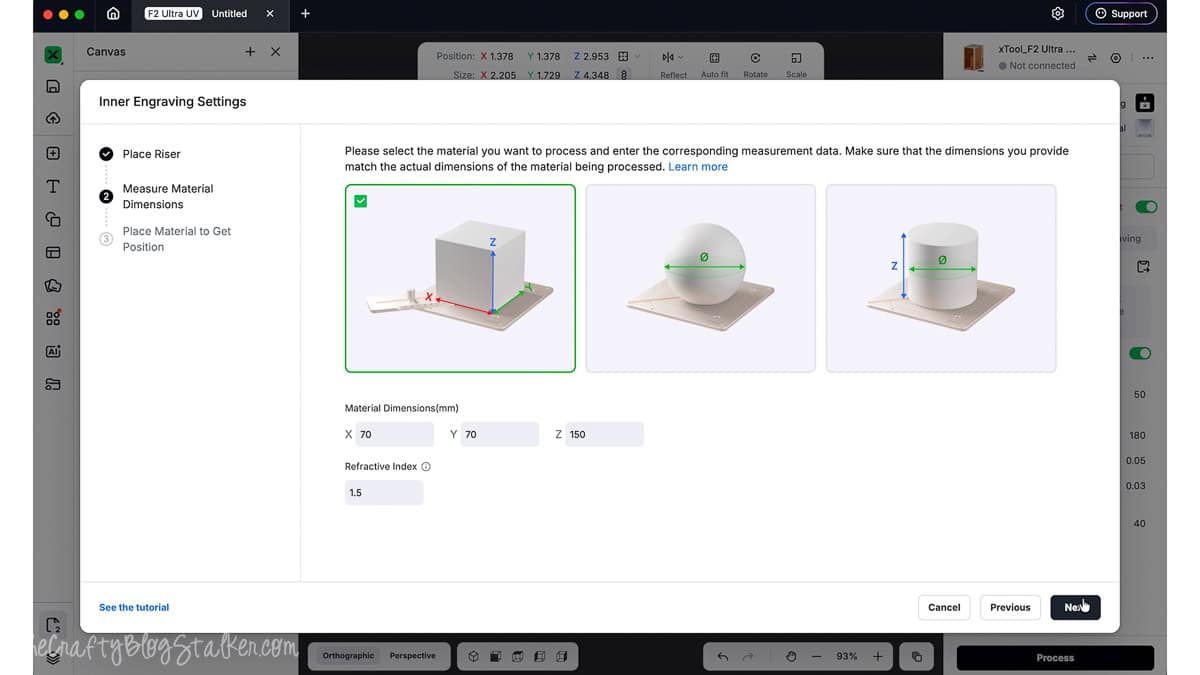
Using your digital calipers, carefully measure the length, width, and height of the crystal.
Take your time with this step. The machine uses these measurements to calculate the position and depth of the engraving, so accuracy here has a direct impact on your finished project.
Enter each measurement into xTool Studio, then click Next to continue.
Position the Material Stop
The following screen shows where to place the adjustable ruler on the riser.
For my crystal, xTool Studio instructed me to set the ruler to 35.
Slide the ruler into position, then tighten the screw to secure it in place. This helps position your crystal consistently inside the machine for accurate alignment.
Now that the machine is configured and the riser is set, it's time to prepare your crystal and let the xTool F2 Ultra UV do the hard work.
Taking a few extra minutes during setup helps ensure the engraving is positioned exactly where you want it.
Place the Crystal in the Machine
Before placing the crystal in the machine, wipe every side with a clean, lint-free cloth.
Even a small amount of dust, fingerprints, or smudges on the glass surface can make it harder to accurately position the crystal and may interfere with the preview while setting up the project.
I like to hold the crystal under a bright light after cleaning to make sure I haven't missed any spots.
Starting with a perfectly clean surface helps the machine capture the most accurate positioning possible.
Set the crystal onto the riser, matching the orientation shown in xTool Studio.
Make sure it sits flat against the material stop and doesn't rock or shift. If the crystal is even slightly crooked, the engraving may not line up with the virtual workspace, which can affect the placement of the finished design.
Once you're happy with the position, close the lid and continue to the next step in xTool Studio.
Start the Engraving Process
The xTool F2 Ultra UV will automatically locate the crystal and prepare it for engraving.
Watch the preview on the screen and verify that the design appears where you want it inside the crystal. If something doesn't look right, now is the time to make any necessary adjustments before starting the job.
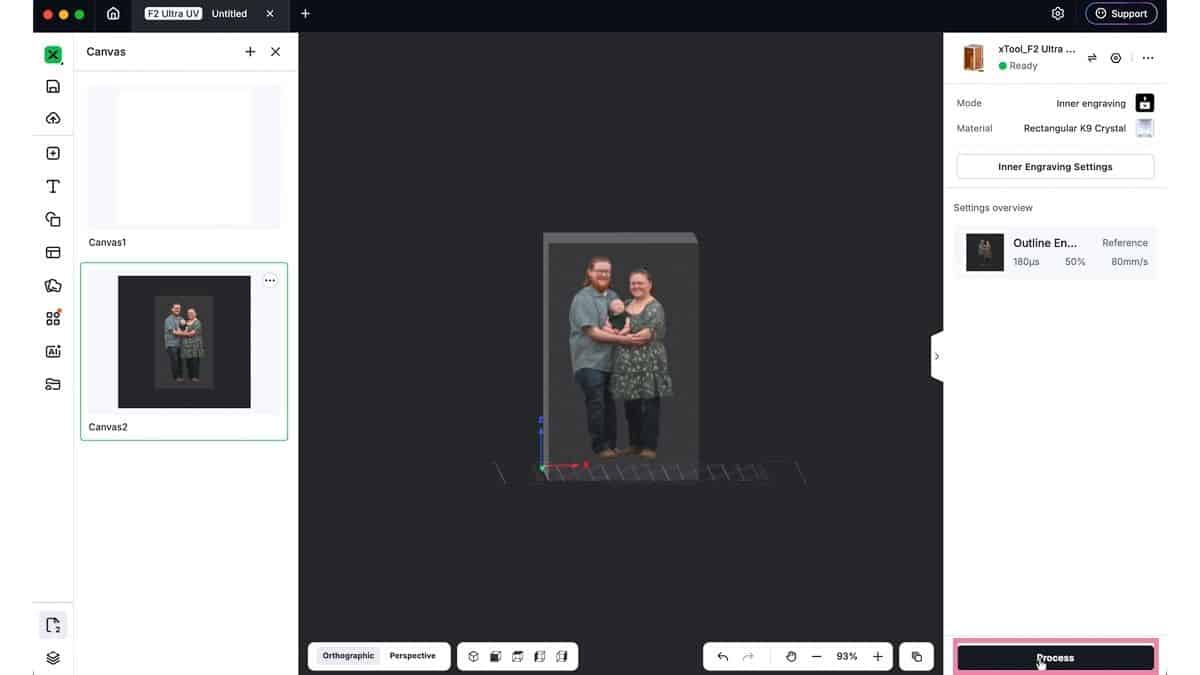
It's always worth spending an extra minute checking your alignment. Once the engraving process begins, the design can't be repositioned.
When everything looks correct, click Process in xTool Studio.
Before clicking Start, take one last look through the settings. Verify that the correct laser module, material, crystal dimensions, and Inner Engraving mode are all selected.
After confirming your settings, click Start.
The xTool F2 Ultra UV begins to create thousands of microscopic fracture points within the crystal. Instead of engraving the outside, the laser focuses at different levels within the crystal, gradually building the design layer by layer.
This is what gives the finished piece its incredible depth while leaving the outside completely smooth.
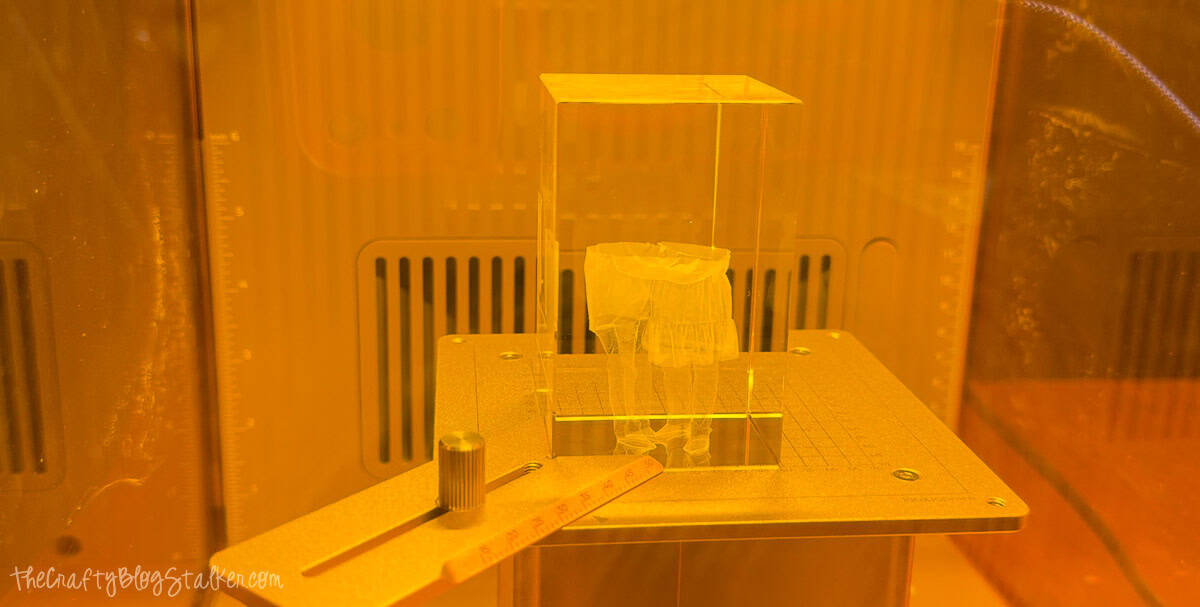
Depending on the size and complexity of your design, the engraving process may take a while. It's tempting to keep checking on it, but the machine handles everything automatically once it gets started.
Crystal Reveal
Once the engraving is finished, open the lid and carefully remove the crystal.
At first glance, the design may appear subtle. As soon as light passes through the crystal, though, the details come to life.
Try holding the crystal at different angles or placing it on an LED light base. The changing light makes the three-dimensional effect stand out and really showcases the amount of detail captured inside.
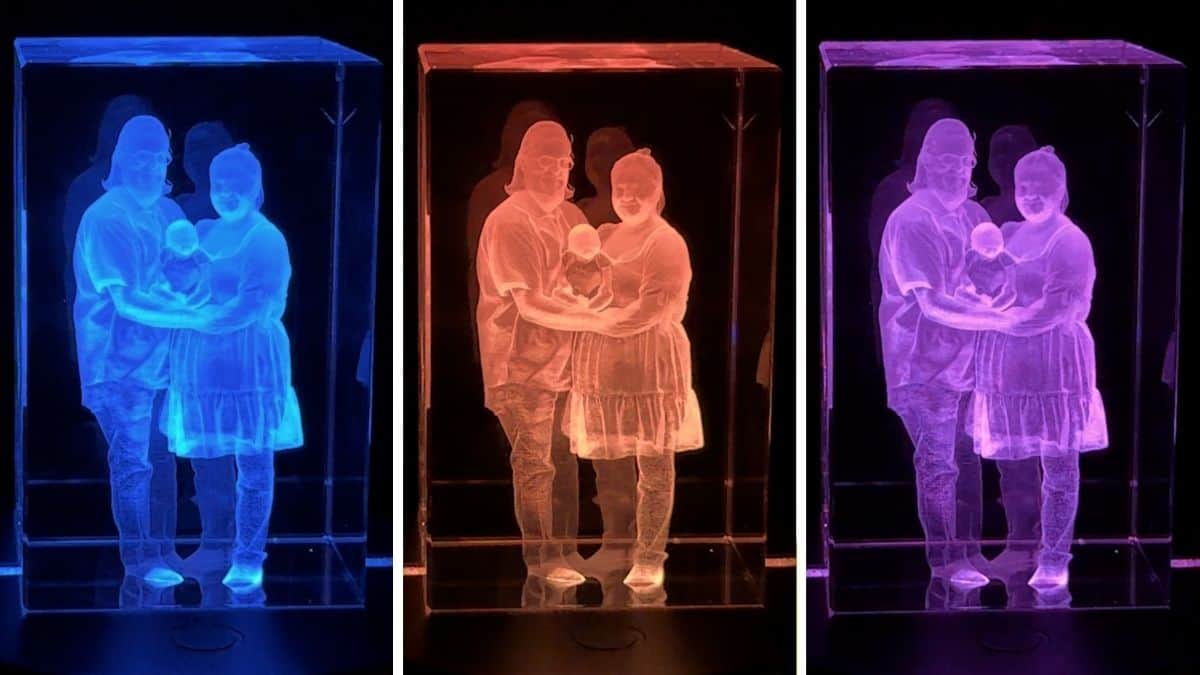
One of my favorite parts of this project is that the outside of the crystal remains perfectly smooth. All of the detail is suspended inside the crystal, creating a floating effect that's always fun to show someone for the first time.
Whether you're creating a family keepsake, memorial gift, wedding photo, or pet portrait, the finished result looks polished and professional without requiring years of experience.
Frequently Asked Questions
Use a K9 crystal designed for inner engraving. Standard glass isn't intended for this type of project and won't produce the same results.
Most photos work well, but images with good lighting, sharp focus, and a clearly defined subject usually produce the best 3D models.
Yes. The specialized Inner Engraving Lens is required to focus the laser inside the crystal rather than on its surface.
Yes. After importing the model into xTool Studio, you can resize, rotate, and reposition it to fit your crystal exactly the way you want.
Need Help With This Project?
Click a button below to ask AI what other gifts to make with the xTool F2 Ultra UV.
More Laser Crafts
If you enjoyed this project, be sure to check out more of my laser tutorials. There are plenty of beginner-friendly projects to help you get even more out of your laser machine.
Hi, I'm Katie!
I'm so glad you're here. Want to make something fabulous? I'm here to help!
The post DIY 3D Inner Engraving with xTool F2 Ultra UV Laser appeared first on The Crafty Blog Stalker.
]]>The post Ultimate Loaded Taco Fries appeared first on The Crafty Blog Stalker.
]]>
If you're looking for a dinner that's fun, filling, and easy to customize, these taco fries are always a hit.
Crispy French fries are topped with seasoned taco meat, warm nacho cheese sauce, and all the toppings your family loves.
They're perfect for busy weeknights, game day gatherings, or anytime you're craving comfort food.
Scroll to the bottom of this post for even more easy dinner recipes the whole family will enjoy.
Why You'll Love This Recipe
This recipe combines two family favorites into one irresistible meal. Crispy fries replace taco shells, making every bite loaded with flavor, while everyone can pile on their favorite toppings.
It's also incredibly versatile. You can use homemade French fries, regular fries, waffle fries, or even sweet potato fries.
Swap the ground beef for ground turkey, add extra protein, or set out toppings of your choice in separate dishes so everyone can build their own plate.
Ingredients
See the recipe card below for measurements and instructions.
- Potatoes
- Vegetable Oil
- Salt
- Ground Beed
- Taco Seasoning
- Nacho Cheese Sauce
- Sour Cream
- Guacamole
- Shredded Cheddar Cheese


Easy Ultimate Loaded Taco Fries Recipe
Equipment
- Vegetable Cutter optional
Ingredients
- 4-6 Large Potatoes
- 4 cups Vegetable Oil
- 1 lb Ground Beef
- 1 pkt Taco Seasoning
- 1 can Nacho Cheese
- Sour Cream
- Guacamole
- Shredded Cheese
- Salt
Instructions
French Fries
- Wash and peel the potatoes, if desired, then cut them into fries.
- Pour the vegetable oil into a large, heavy-bottomed pot or Dutch oven. Heat over medium-high heat until the oil reaches 350°F.
- Working in small batches, carefully fry the potatoes for 5 to 7 minutes, stirring occasionally, until golden brown and crispy.

- Transfer the fries to a paper towel-lined plate using a slotted spoon or skimmer. Season immediately with salt. Repeat until all of the fries are cooked.

Prepare the Taco Meat
- Brown the ground beef in a large skillet over medium heat until fully cooked. Drain any excess grease.

- Add the taco seasoning and the amount of water called for on the seasoning packet. Stir well, bring to a simmer, and cook until the sauce has thickened.
Prepare the Toppings
- Warm the nacho cheese sauce in a small saucepan over low heat.

- Shred the cheddar cheese if needed and have the sour cream and guacamole ready for serving.
Assemble the Taco Fries
- Arrange the hot fries on a serving platter or individual plates.

- Drizzle the warm nacho cheese sauce over the fries, then spoon the taco meat on top.
- Finish with dollops of sour cream and guacamole, then sprinkle with shredded cheddar cheese. Serve immediately.
Notes
- Frozen French fries can be substituted for homemade fries to save time.
- Customize with diced tomatoes, lettuce, onions, black olives, jalapeños, black beans, or fresh cilantro.
- Ground turkey, shredded chicken, steak, carne asada, or shrimp are all delicious substitutes for the ground beef.
- Store the taco meat and toppings separately in airtight containers in the refrigerator for up to 4 days. For the best texture, prepare fresh fries when serving leftovers.
Nutrition
Ingredient Notes
Homemade French fries give this recipe the best texture, but frozen fries work just as well when you're short on time. If you prefer, sweet potatoes or sweet potato fries are another delicious option.
Ground beef creates classic taco meat, but ground turkey is a great substitute if you're looking for a lighter option. Simply prepare the taco meat according to the package instructions on your favorite taco seasoning.
Warm nacho cheese sauce adds rich, creamy flavor, while shredded cheddar cheese melts beautifully over the hot fries. Using both creates the ultimate cheesy bite.
Guacamole and sour cream help balance the savory taco seasoning with a cool, creamy finish. If you're an avocado fan, you'll love the extra freshness they bring to the dish.
Customize Your Taco Fries
One of the best things about this recipe is how easy it is to make everyone happy. Set out bowls of toppings and let each person build their own plate.
Fresh salsa, diced tomatoes, red onions, green onions, sliced jalapeños, fresh cilantro, black olives, lettuce, or extra cheddar cheese are all delicious additions. A drizzle of your favorite taco sauce or hot sauce is another great way to add even more flavor.
Whether you're serving these as a hearty appetizer for game day or as the main course for dinner, they're guaranteed to disappear quickly.

Frequently Asked Questions
Absolutely! Frozen regular, waffle, or seasoned fries all work well and make this recipe even quicker to prepare.
You can prepare the taco meat in advance and refrigerate it until you're ready to serve. For the crispiest results, cook the fries just before assembling the dish.
There are so many options. Try diced tomatoes, fresh cilantro, green onions, red onions, jalapeños, black beans, olives, salsa, or even a sprinkle of paprika for extra flavor.
Yes. Ground turkey, shredded chicken, steak, or even leftover taco meat all work wonderfully in this recipe.
Need Help With This Recipe?
Click a button below to ask the AI how to reheat leftover taco fries.
More Dinner Recipes
Looking for another easy family meal? Here are more delicious, simple-to-make dinner recipes perfect for busy weeknights.


Hi, I'm Katie!
I'm so glad you're here. Want to make something fabulous? I'm here to help!
The post Ultimate Loaded Taco Fries appeared first on The Crafty Blog Stalker.
]]>The post DIY Popcorn Kernel Wreath for Fall appeared first on The Crafty Blog Stalker.
]]>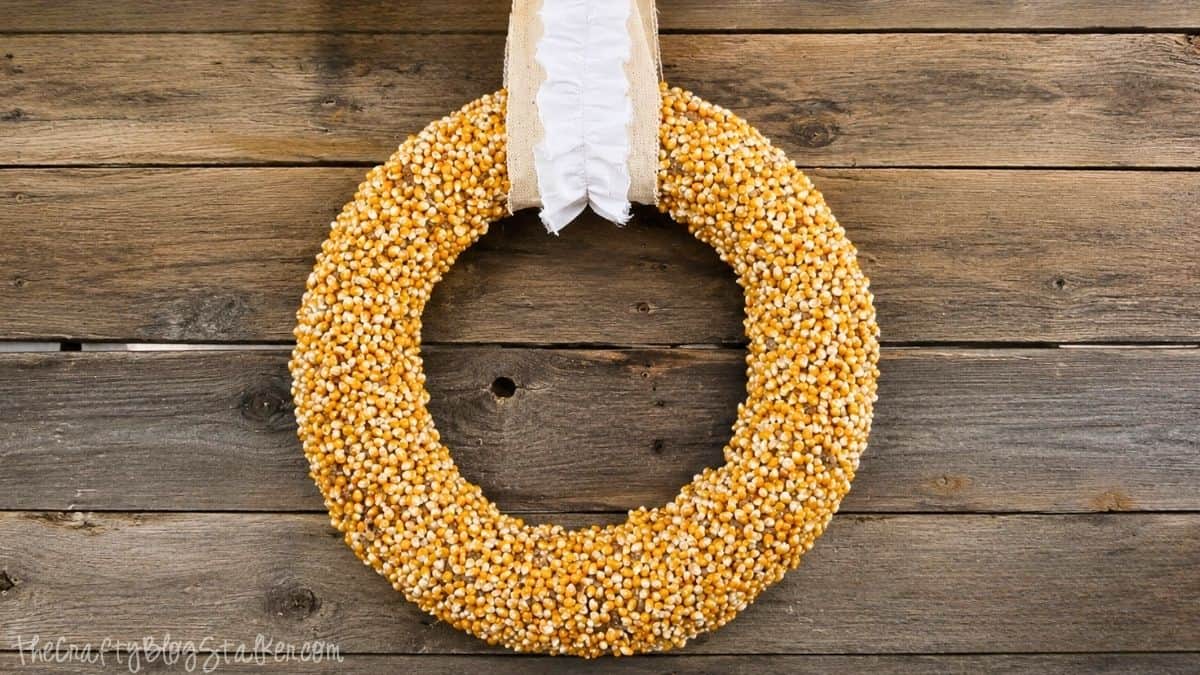
As soon as the weather starts to cool down, I can't wait to pull out my favorite fall decorations, and this popcorn kernel wreath is always one of the first projects I think about.
It's an easy DIY that transforms plain popcorn kernels into a beautiful wreath full of rustic charm.
Even though it takes a little patience, the process is simple and beginner-friendly.
Be sure to scroll to the bottom of this post for even more fall decorating ideas to inspire your home.
Skill Level: Beginner
Estimated Cost: $20-$35
Total Time: 3-5 hours (plus drying time)
Supply List
- Pool Noodle or Wreath Form
- Duct Tape (if you go the pool noodle route)
- Burlap Fabric
- Modge Podge
- Foam brushes
- Scissors
- 4lbs Popcorn Kernels
How to Make a Popcorn Kernel Wreath
Prepare the Wreath Form
If you're making your own wreath form from a pool noodle, start by deciding how large you want the finished wreath to be.
Cut the pool noodle to length and securely join the ends with duct tape. Make sure the seam is wrapped well so the wreath keeps its shape while you're working.
If you're using a purchased wreath form, you can skip this step and move right on to covering it.
Cover the Wreath with Burlap
Wrap the entire wreath form with burlap and attach it using Mod Podge.
I wasn't trying to create a perfectly smooth finish because I wanted the wreath to have a little extra texture.
Those little wrinkles actually add to the rustic farmhouse style once the popcorn kernels are attached.
Allow the burlap to dry before moving on to the next step.
Thin the Mod Podge
Instead of using regular Mod Podge straight from the container, I poured some into a separate container and added equal parts water.
The thinner consistency flowed down between the popcorn kernels much better and didn't pull them loose the way regular Mod Podge sometimes did.
It ended up being one of my favorite little tricks for this project.
Attach the Popcorn Kernels
This is the most time-consuming part of the project, but it's also where the wreath really starts coming to life.
Working in small sections, brush a layer of homemade Mod Podge onto the burlap and generously sprinkle popcorn kernels over the wet surface.
Let that section dry before gently brushing another thin coat over the top to help lock the kernels into place.
Trying to cover the entire wreath at once can cause the kernels to slide around, so working in smaller sections yields much better results.
I also found that placing a fan nearby helped speed up the drying time between sections.
Continue repeating the process until the entire wreath is covered.
Add the Hanging Strap
Once the wreath was completely dry, it was time to add the hanging strap.
I gathered a long strip of muslin into soft ruffles, then sewed it down the center of a slightly wider strip of canvas.
After attaching it to the wreath, I tied the top into a simple bow, which gave the wreath a finished look and created a sturdy way to hang it.
Decorating Your Wreath
I actually use this wreath as the base for my fall mantel display instead of attaching all of the decorations directly to it.
For my display, I tucked a stem of fall leaves into the mason jar sitting below the wreath instead of gluing it onto the wreath itself. It completely hides the stem and makes it easy to change the look whenever I want without permanently attaching anything.
That's one of my favorite things about this project. The wreath is beautiful on its own, but it's also easy to dress up with pumpkins, florals, ribbon, or other seasonal accents each year.
Frequently Asked Questions
I don't recommend using a wire wreath form for this project. The popcorn kernels need a solid surface to adhere to, so a pool noodle or a round Styrofoam wreath form works much better. The burlap and glue create a sturdy base that helps keep the kernels securely in place.
The actual crafting is fairly simple, but you'll need plenty of drying time between sections. Setting up a fan nearby can help move things along.
Yes, but I found that adding water to the Mod Podge made it flow between the kernels more easily without pulling them back off the wreath.
If displayed indoors in a dry location, most people don't have issues. I recommend using this wreath indoors or on a covered porch rather than exposing it to the weather.
Need Help With This Project?
Click a button below to ask AI how to decorate a popcorn kernel wreath.
More Fall Ideas
If you're looking for even more ways to decorate for fall, check out these favorite projects for seasonal inspiration:


Hi, I'm Katie!
I'm so glad you're here. Want to make something fabulous? I'm here to help!
The post DIY Popcorn Kernel Wreath for Fall appeared first on The Crafty Blog Stalker.
]]>The post Heat Transfer Vinyl on Wood for Easy DIY Signs appeared first on The Crafty Blog Stalker.
]]>Create beautiful custom wood signs with heat transfer vinyl and the HTVRONT Auto Press 2 for a durable, professional-looking finish.
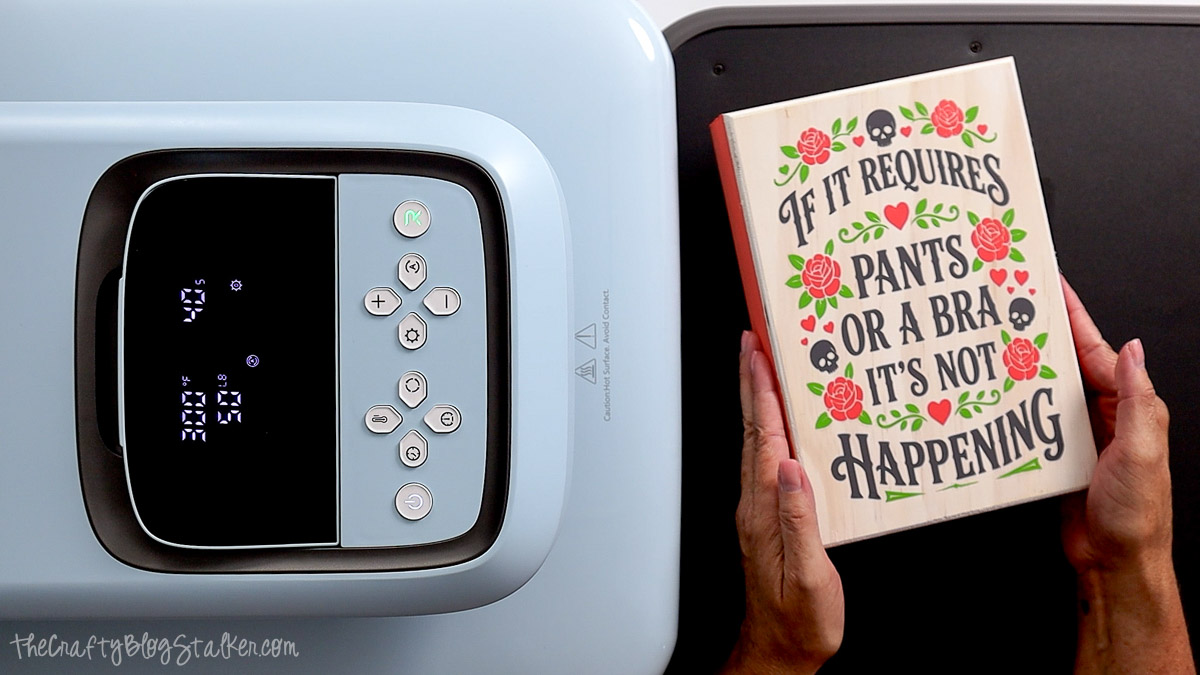
If you've only used heat transfer vinyl on fabric, you're in for a fun surprise.
It works beautifully on wood and creates a finish that looks almost painted on without worrying about brush strokes or messy stencils.
I love how easy this technique is, and the layered design gives the sign so much dimension with very little extra work.
Whether you're making home décor, a personalized gift, or adding another project to your collection of Cricut creations, this tutorial will walk you through every step.
Skill Level: Beginner
Estimated Cost: $15 - $30
Total Time: 1 hour 30 minutes
Craft Tutorial Video
If videos are your thing, you're in luck-I've got a full tutorial ready for you!
Subscribe to my YouTube channel and stay inspired with every new project.
Supply List
- HTVRONT Auto Press 2
- Cutting Machine
- Pants or a Bra Free SVG
- Heat Transfer Vinyl in 3 Colors
- Weeding Tools
- Wood Sign Blank
- Masking Tape
- Acrylic Paint in 2 Colors
- Sponge
- Paper Towel
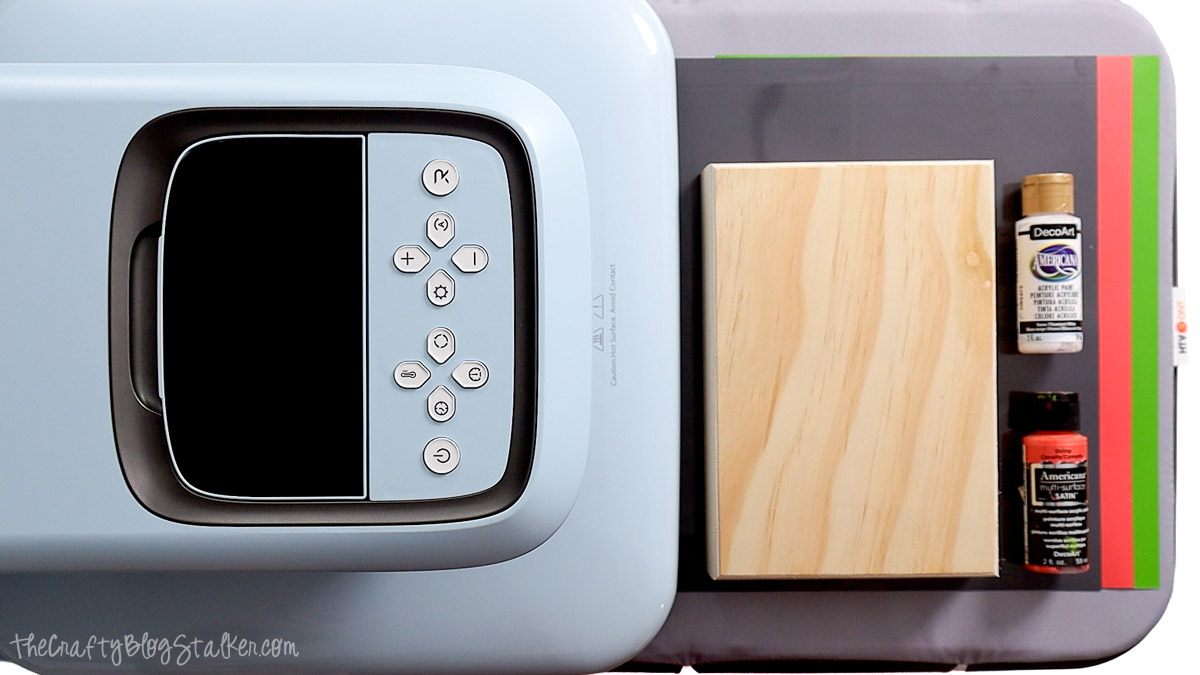
If you're thinking about adding the HTVRONT Auto Press 2 to your craft room, you can save with my exclusive coupon code.
Coupon Code: Katie10 for $50 OFF the HTVRONT Auto Heat Press 2
I'll be using this machine throughout this tutorial, and it has quickly become one of my favorite heat presses for wood projects, shirts, tote bags, and so much more.
I love that it delivers consistent heat and pressure, which takes the guesswork out of pressing and helps produce reliable results every time.
Grab the Free SVG
This SVG was designed specifically for this project and includes two versions of the design. One version is slightly taller, which is the version I used for my sign.

Why You'll Love This Project
One of my favorite things about using HTV on wood is that it gives you the look of painted artwork without the hassle of stencils or hand lettering. The finished design has crisp edges, vibrant color, and holds up beautifully.
This project is also beginner friendly. Once you see how well it works, you'll start looking at all kinds of wood projects in a whole new way.
How to Make a Layered HTV Wood Sign
Prepare and Paint the Sign
I like to start by painting the sign first so it has plenty of time to dry while I'm cutting and weeding the design. Working this way keeps the project moving and helps avoid unnecessary waiting later.
For this sign, I wanted a soft whitewashed finish that still allowed the natural wood grain to show through.
If your wood blank feels rough, give it a light sanding before painting. A smooth surface helps the paint go on more evenly and gives the heat transfer vinyl a better surface to adhere to.
To make my own whitewash paint, I mixed a little water into white acrylic paint until it reached a thin, milky consistency. Using a sponge, I applied the paint generously to the front of the sign and then wiped away the excess with a paper towel.
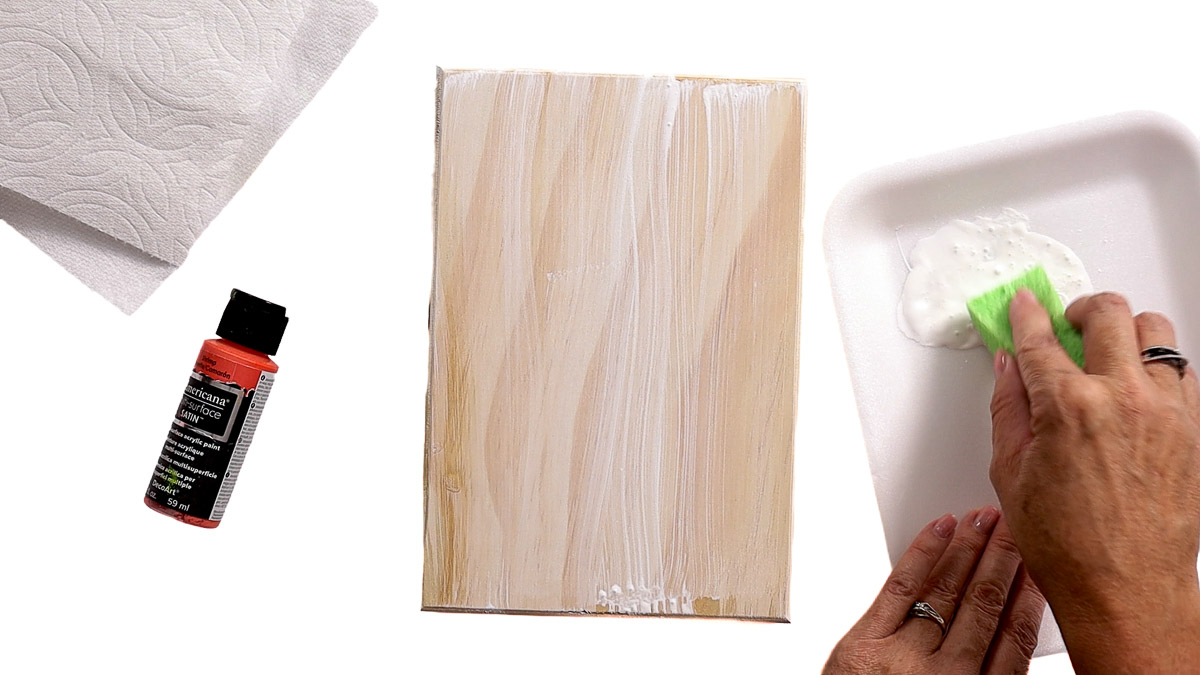
I repeated this process several times until I was happy with the amount of coverage. The nice thing about whitewashing is that it's very forgiving, so you can build the color a little at a time.
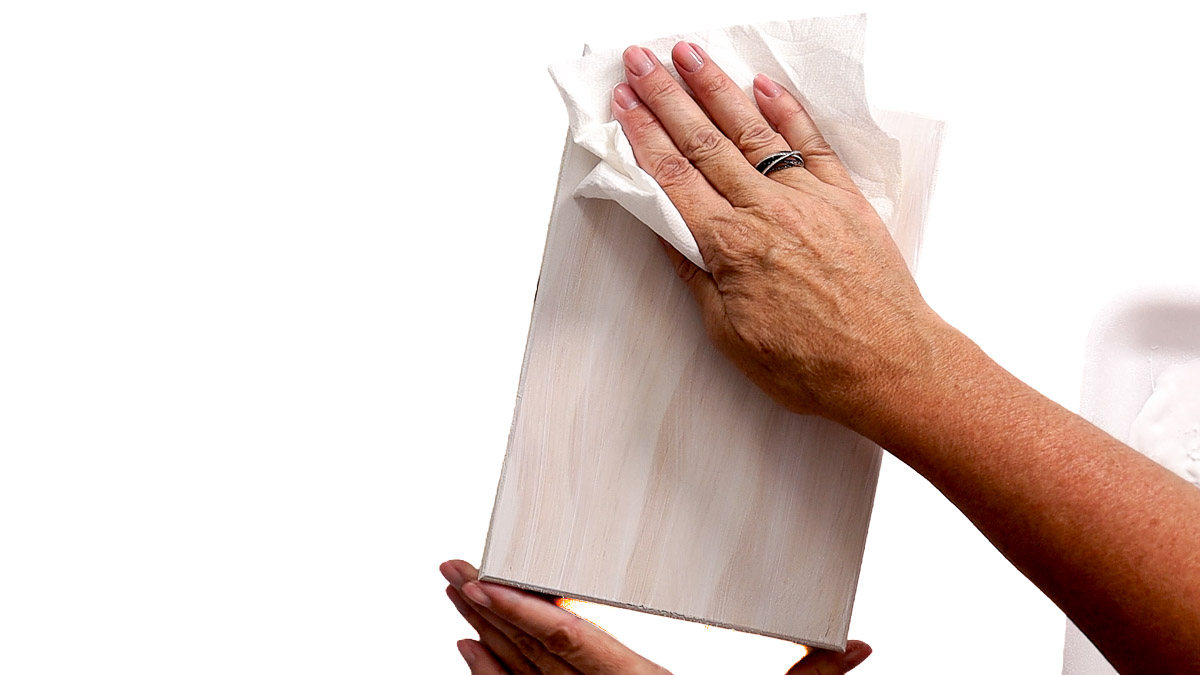
Before painting the edges, I wrapped masking tape around the front of the sign to protect the whitewashed finish.
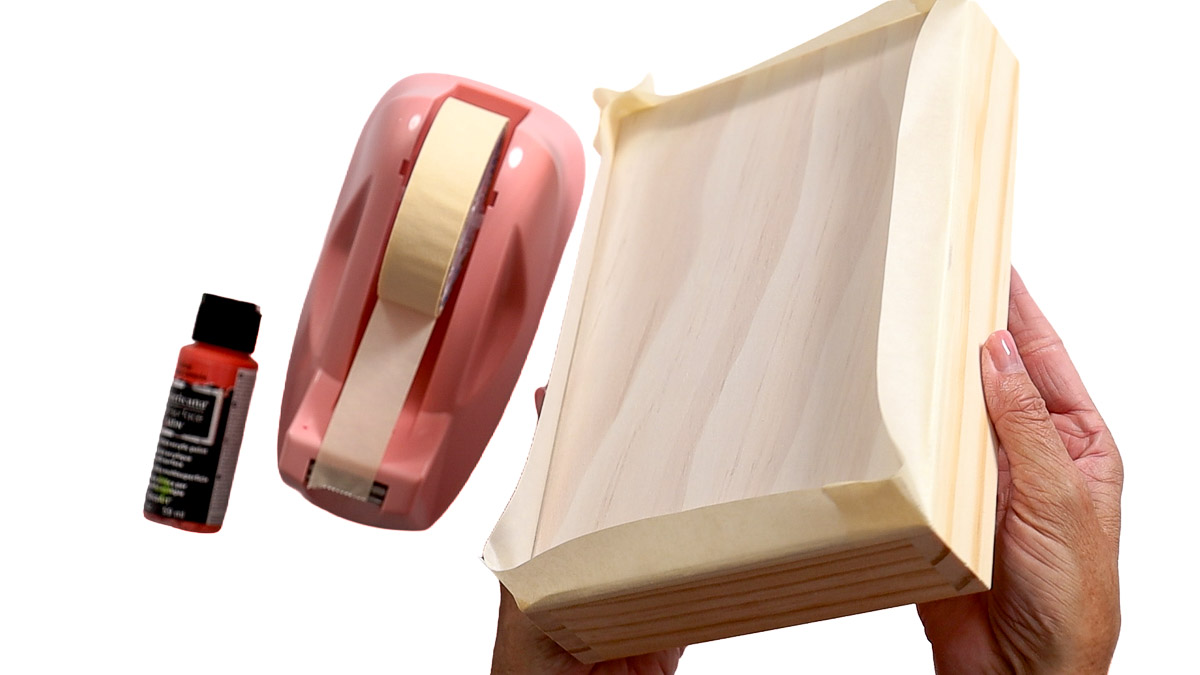
I used the same whitewashing technique on the sides, but with a coral acrylic paint that matched one of the vinyl colors in my design.
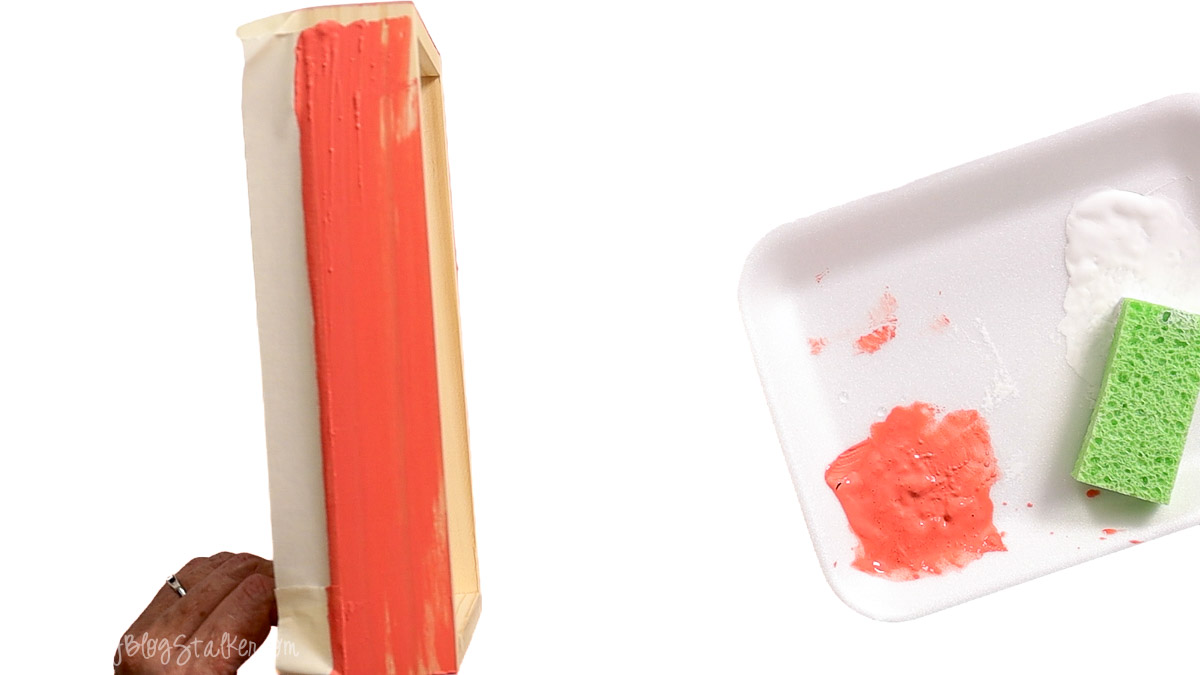
Looking back, I would have added just a little more water to the coral paint because it went on slightly thicker than I intended.
Even so, I really like how it turned out. Once the paint was completely dry, I carefully removed the masking tape, and the crisp edges gave the sign a nice finished look.
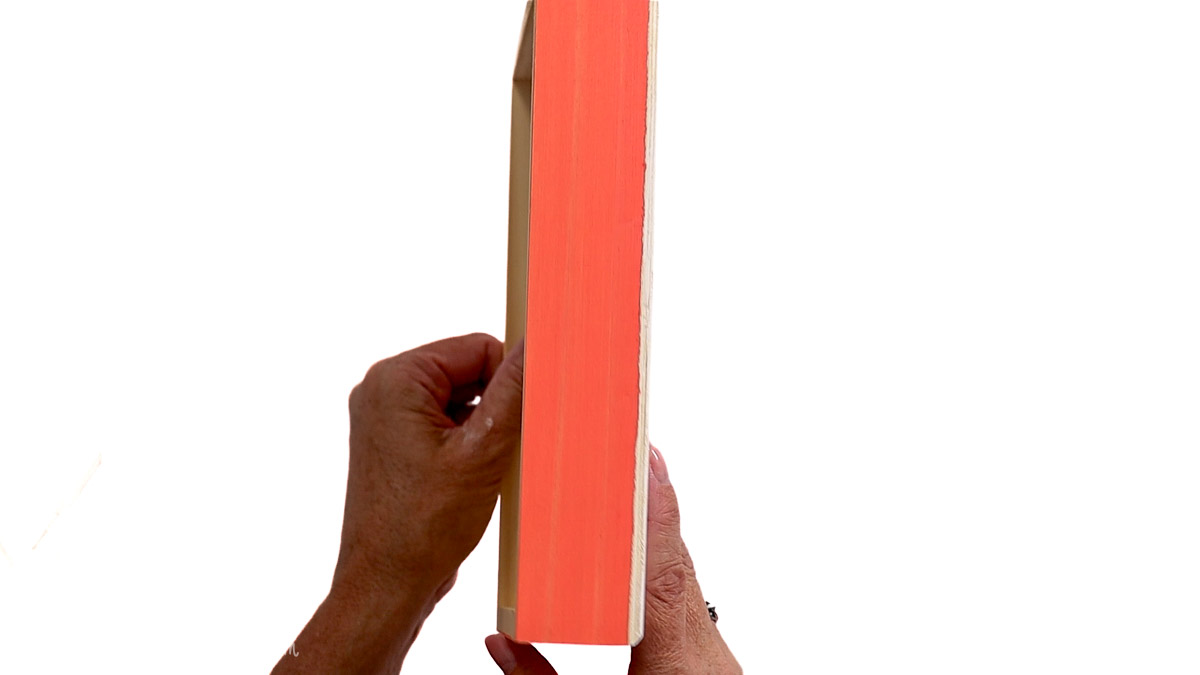
Before You Cut Your Design
Before opening your cutting software, measure the front of your sign so you know exactly how large to make the design. Taking a minute to size everything first helps ensure the finished project looks balanced and centered.
If you're using a Cricut, simply resize the SVG to fit your sign before cutting. If you use a Silhouette machine instead, the SVG can be imported into Silhouette Studio Designer Edition just as easily.
Size and Cut the Design
Upload the SVG into your cutting software and resize it to fit your sign. I like to leave a small border around the edges so the finished design has a little breathing room instead of filling the entire surface.
This design uses three layers of heat transfer vinyl, so cut each color separately. Be sure to place the material shiny side down on the cutting mat and remember to mirror every layer before cutting.
Since the design is cut from the back of the material, forgetting to mirror it will leave you with a backwards design.
Weed the Design
Heat transfer vinyl is one of my favorite materials to weed because the design stays attached to the clear carrier sheet. Simply lift one corner of the excess vinyl and slowly peel it away from the design.
Take your time removing the small centers from the letters and any tiny pieces inside the flowers or leaves.
When you're finished, flip the carrier sheet over and look at the design from the front. It's an easy way to catch any little pieces you may have missed before moving on.
Repeat the process until all three layers have been weeded and are ready to press.
Setup the HTVRONT Auto Press 2
The HTVRONT Auto Press 2 makes this project incredibly simple, and if you're thinking about adding one to your craft room, don't forget to use my coupon code above to save on your purchase.
One feature I really appreciate is the large, easy-to-read tilt screen. No matter where the machine is sitting on my worktable, I can quickly check the temperature, pressure, and press time without leaning over the machine.
I always recommend checking the manufacturer's instructions for your material whenever possible, but wood is rarely included on those charts. For this project, I used a temperature of 300°F for 40 seconds with the lightest pressure setting of 50 pounds.
Unlike many heat presses that only let you adjust the temperature and time, the Auto Press 2 also allows you to adjust the pressure. Using lighter pressure is ideal for this project because it gives the HTV plenty of heat without putting unnecessary force on the wood.
Another feature I love is the automatic pressing mode. Once the tray is pushed completely into the machine, the press lowers on its own, starts the timer, and automatically lifts when the press time is finished.
That means I don't have to stand there watching the countdown, which is especially helpful when working with multiple layers.
The 15 x 15-inch heat plate provides plenty of room for larger projects like t-shirts, tote bags, and signs. It can also accommodate thicker projects up to 1.77 inches tall.
My wood sign is about 1.5 inches thick, so I removed the press mat before pressing. Since the mat is designed to cushion soft materials like fabric, it isn't needed when pressing directly onto wood.
Apply the HTV
Once the HTVRONT Auto Press 2 reaches the correct temperature, it will beep and the indicator light will turn green, letting you know it's ready to use.
Before applying the first layer of heat transfer vinyl, preheat the wood sign for 5 seconds. This quick step helps remove any moisture trapped in the wood, giving the HTV a better surface to bond to and improving the finished result.
I started with the green layer because it's the largest part of the design. Once that layer is centered, it's much easier to line up the remaining layers.
If you want perfectly even spacing, use a ruler to double-check the placement before pressing.
Slide the tray all the way into the machine, and the press will automatically lower and begin the timer. When the press time is complete, it will lift on its own.
It can be tempting to peel the carrier sheet right away, but this project works best with a cool peel. I know waiting tests your patience, but it's worth it! Let the carrier sheet cool completely before slowly peeling it back.
If any of the HTV starts to lift, simply lay the carrier sheet back down and press it again for a few more seconds.
Once the green layer was finished, I repeated the same process with the coral layer, carefully centering it around the leaves.
Finally, I applied the text layer, allowing the carrier sheet to cool completely after each press before peeling it away.
I absolutely love how this sign turned out! The layered design really pops against the whitewashed background, and the finished project looks like it was professionally made.
It's one of those projects that makes me smile every time I walk past it. 😊
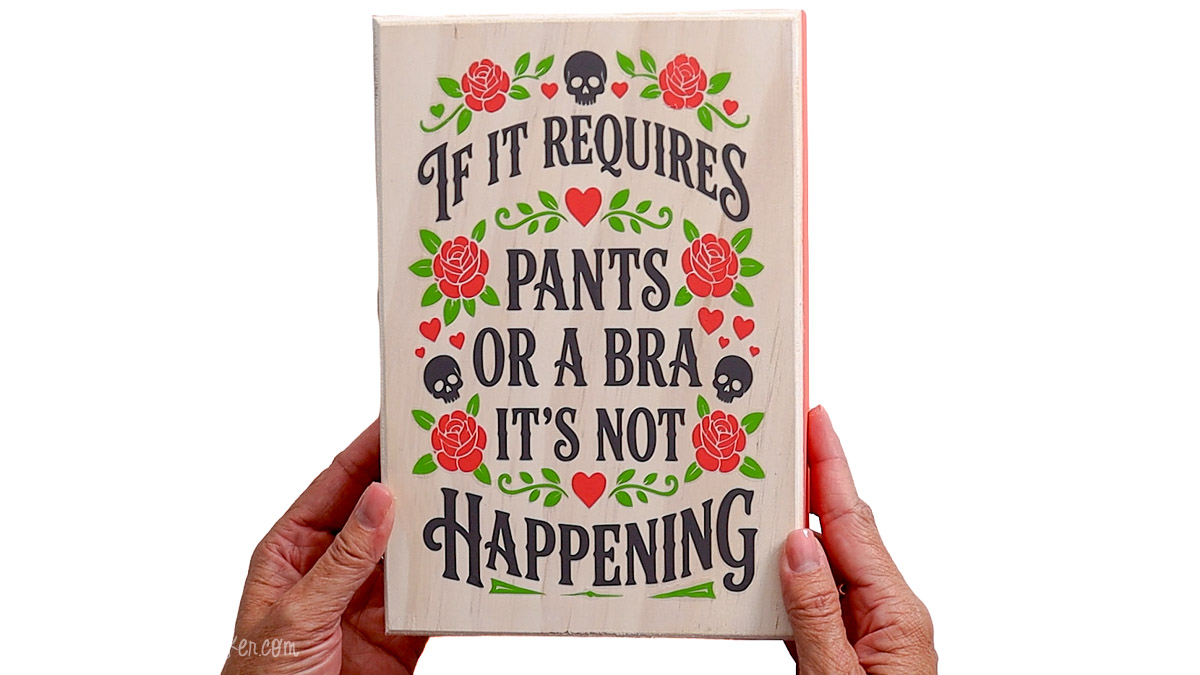
I used the HTVRont Auto Press 2 for this project because the automatic pressing feature makes layered HTV projects so simple.
If you're ready to add one to your craft room, be sure to use my coupon code Katie10 to save $50 on your HTVRONT Auto Press 2!
Tips for Success
Take a few extra minutes to prepare your wood blank before you begin. A smooth, clean surface gives the HTV the best chance to adhere well and creates a more professional-looking finish.
Always remember to mirror your design before cutting and place the vinyl shiny side down on the cutting mat. It's one of the easiest mistakes to make, but it's also one of the easiest to avoid.
Don't skip the quick preheat before applying the first layer. Removing moisture from the wood helps improve adhesion and can prevent lifting around small details.
Finally, be patient during the cool peel. Letting the carrier sheet cool completely helps each layer stay securely attached to the wood and gives you the crispest results.
Frequently Asked Questions
You can, but I prefer heat transfer vinyl for this type of project. It creates a finish that looks more like paint and is less likely to peel over time because it's bonded to the surface with heat.
No. Once the HTV has been properly applied, it is durable enough for most indoor decorative signs without adding a sealer.
Smooth, unfinished wood works best because it allows the heat transfer vinyl to make good contact with the surface. If your wood is rough, lightly sand it before painting and pressing.
Need help with this project?
Click a button below to ask AI what's the difference between permanent vinyl and HTV.
More HTV Projects
If you're ready for another fun project, check out some of my other HTV tutorials for even more inspiration.
Hi, I'm Katie!
I'm so glad you're here. Want to make something fabulous? I'm here to help!
The post Heat Transfer Vinyl on Wood for Easy DIY Signs appeared first on The Crafty Blog Stalker.
]]>The post Easy Rotisserie Chicken Salad Recipe appeared first on The Crafty Blog Stalker.
]]>
Some days call for a recipe that's quick, filling, and doesn't leave you with a sink full of dishes.
That's exactly why I love this Rotisserie Chicken Salad.
Using a store-bought rotisserie chicken means most of the work is already done, so you can have a delicious meal ready in minutes.
Whether you're making lunch, meal prep for the week, or an easy dinner, this recipe is one you'll come back to again and again.
[feast_advanced_jump_to]Why You'll Love This Recipe
Rotisserie chicken salad is one of my favorite ways to turn a grocery store shortcut into something that tastes homemade.
The combination of tender chicken, crisp jicama, crunchy celery, and a creamy dressing creates the perfect balance of texture and flavor.
This recipe is easy to customize with your favorite add-ins, making it a great option whether you're serving sandwiches, wraps, lettuce cups, or enjoying it straight from the bowl.
It's also naturally high in protein, making it a satisfying meal or snack.
Ingredients
See the recipe card below for measurements and instructions.
- Rotisserie Chicken
- Jicama
- Celery
- Grapes
- Mayonnaise
- Mustard
- Seasonings
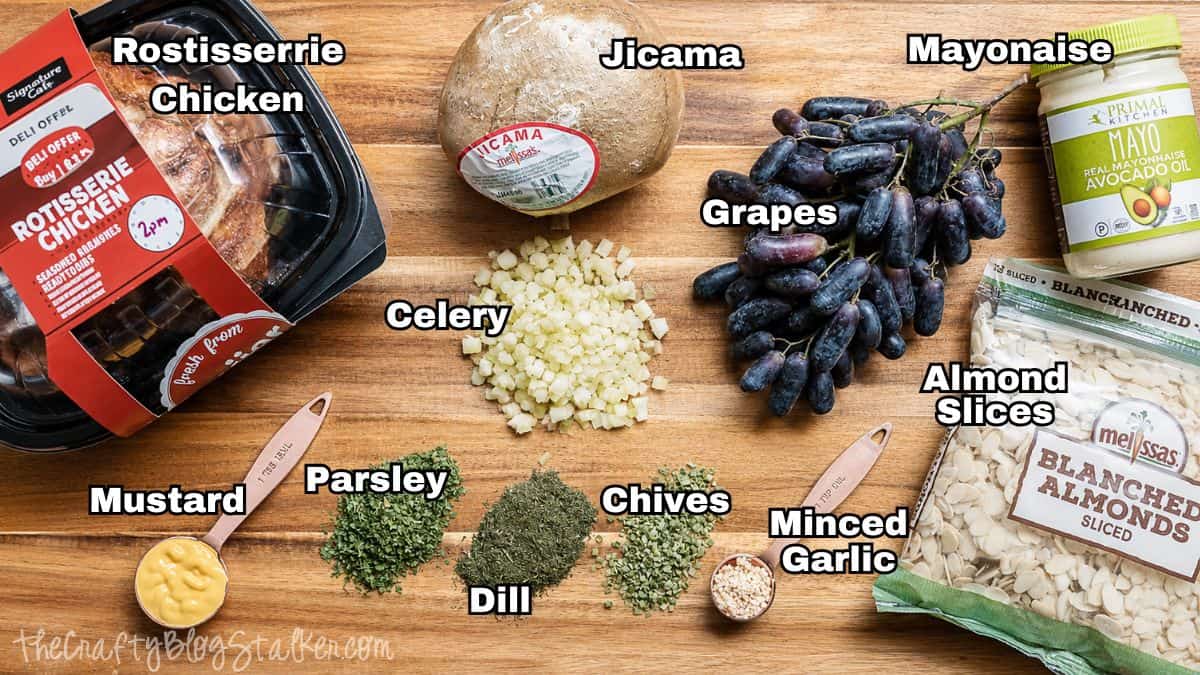

Rotisserie Chicken Salad
Equipment
Ingredients
- 3 cups Shredded Rotisserie Chicken
- ½ cup Jicama diced
- 1 Celery Stalk diced
- ⅓ cup Mayonnaise
- 1 tablespoon Mustard
- 1 teaspoon Minced Garlic
- 1 tablespoon Parsley
- 1 tablespoon Dill
- 1 tablespoon Dried Chives
- Almond Slices optional
- Grapes optional
Instructions
- Remove the meat from the rotisserie chicken and shred it into bite-sized pieces. You can use a combination of white and dark meat, depending on your preference.
- Dice the jicama and celery into small, even pieces.

- Add the shredded chicken, jicama, and celery to a large mixing bowl.

- Add the mayonnaise, mustard, and minced garlic. Stir until the chicken is evenly coated.

- Sprinkle in the parsley, dill, and chives, then mix until all of the ingredients are well combined.

- Serve immediately or refrigerate until chilled. If desired, top each serving with sliced almonds and halved grapes.
Notes
- This chicken salad can be served on croissants, sandwich bread, wraps, lettuce leaves, or over a bed of greens.
- The sliced almonds and grapes are optional but add a delicious crunch and sweetness.
- Store leftovers in an airtight container in the refrigerator for up to 3 days.
- Stir before serving if any liquid separates during storage.
Nutrition
Serving Ideas
This Rotisserie Chicken Salad is incredibly versatile and works for almost any meal.
Pile it onto buttery croissants for an easy lunch, serve it on your favorite sandwich bread, roll it into a wrap, spoon it into lettuce wraps or lettuce cups for a lower-carb option, or enjoy it over a bed of greens.
It also pairs perfectly with crackers, fresh vegetables, or fruit for a simple meal that's easy to pack for work, school, or a picnic.
Storage Tips
Store leftover chicken salad in an airtight container in the fridge for up to 3 days.
Give it a quick stir before serving since some of the dressing may settle during storage. I don't recommend freezing this recipe because mayonnaise-based salads tend to separate once thawed.
This recipe is perfect for meal prep because the flavors continue to blend together after a few hours in the refrigerator.
Frequently Asked Questions
Yes. Rotisserie chicken provides the best flavor and texture, but canned chicken works in a pinch.
Absolutely. Substitute part or all of the mayonnaise with plain Greek yogurt for a lighter dressing while adding a little extra protein.
There are so many delicious add-ins to try, including grapes, apples, almonds, walnuts, pecans, dried cranberries, celery, or red onion.
Yes. In fact, the flavor is even better after it has chilled in the refrigerator for a few hours.
Need help with this project?
Click a button below to ask AI what the best add-ins are for classic chicken salad.
More Chicken Recipes
If you're looking for more easy chicken recipes, you'll find plenty of delicious inspiration below.


Hi, I'm Katie!
I'm so glad you're here. Want to make something fabulous? I'm here to help!
The post Easy Rotisserie Chicken Salad Recipe appeared first on The Crafty Blog Stalker.
]]>