Iteration Blending
The blending based on iteration is fully functional. If the configuration requires 10 iterations in total to dream on one frame, the blending algorithm will dream 1 time for style A, then 9 times for style B. Next frame, the logic will apply 2 times A style dreaming and 8 times style B dreaming. This pattern continues until the style fully moved from style B to A. Right now a recursion algorithm is applied to implement this idea. Performance is not that good where roughly takes 10 seconds to finish a 10 iteration frame (2 passes). The result is much improved in regard to the ghost effect of the alpha blending technique.
Refactoring & Python
Some heavy refactoring is taking place recently and few interesting observations are done. Python does offer fairly strong support for scientific researching with easy API for image processing, video analysis, high dimensional array. However, so far my experience with it is still bad. The style of the programming is more like a quick mockup to implement an idea rather than seriously taking care of the integrity of the code.
One example can be the epic indentation logic to decide code block. For a giant nested control statement like if, for etc. It is quite likely the ending become chaotic where statements are floating around and no clue who belongs to who. For me, this is purely a design flaw that I gain nothing while only introducing trouble later to maintain. And my conclusion is based on that a good design is able to produce robust code logic not only for now but for future reference while simplified syntax is ONLY a bonus if the earlier foundation can be laid properly.
for x in range(0, n):
    # Do some stuff here...
    for y in range(0, n):
        # Do other stuff here...
        if foo is None:
            # Keep doing stuff...
    # Indentation here will be confusing who it belongs to.<span data-mce-type="bookmark" style="display: inline-block; width: 0px; overflow: hidden; line-height: 0;" class="mce_SELRES_start"></span>
Variable Parameter Passing
In Python, *args and **kwargs can be used to pass an indefinite number of parameters to a function in the function definition. This feature is also common for other programming languages. It helps some scenarios where the input of the function cannot be predetermined but still following a pattern. For example, a function converts a string user input to a book title style with uppercase staring characters. To simplify the logic, a user can separate an arbitrary number of strings and pass as parameters instead of containing them in a collection object, say array or list. Specifically, this logic is introduced in our dreaming code:
dreamed_frame = deep_dream(
            net,
            input_frame,
            image_type=image_type,
            verbose=verbose,
            iter_n=int(key_frames[i].iteration.first),
            octave_n=int(key_frames[i].octave.first),
            octave_scale=octave_scale,
            step_size=stepsize,
            jitter=jitter,
            guide_image=guide_image,
            end=end_param,
            )


def deep_dream(
    net,
    base_img,
    image_type,
    iter_n=10,
    octave_n=4,
    octave_scale=1.4,
    end='inception_4c/output',
    clip=True,
    verbose=1,
    guide_image=None,
    **step_params
):<span data-mce-type="bookmark" style="display: inline-block; width: 0px; overflow: hidden; line-height: 0;" class="mce_SELRES_start"></span>

    # Do stuff...

        for i in xrange(iter_n):
            make_step(net, end=end, clip=clip, guide_features=guide_features,
                      **step_params)

    # Do stuff...
For the code above, the “deep_dream” function is called with procedure “make_step” inside. In line 27, the “step_params” is defined can be multiple parameters and directly passed to the “make_step” procedure in line. The actual parameter passing is in line 12 where the “end_param”.
One good thing about this is it makes calling function able to separate the immediate parameters with the ones will be passed later to other nested functions. For example, in a real-life cookie making scenario, Annie is dedicated to cookie making while Joe is dedicated to plate cleaning. If I want a plate of cookies, the traditional way is asking Annie:
“Hi, Annie, would you make a plate of cookie for me with powder A, salt B, blueberry C, plate D, kitchen cleaner F, and paper towel E?”
Annie accept the task then ask:
“Hi, Joe, would you prepare me a container with plate D, kitchen cleaner F, and paper towel E?”.
Later on, Annie will be able to make the cookie with the plate Joe prepared. To use the variable parameter, I will ask:
“Hi, Annie, would you make a plate of cookie for me with powder A, salt B, blueberry C, and stuff for Joe?”
The stuff for Joe will contain “plate D, kitchen cleaner F, and paper towel E” which Annie is not sure about due to her dedication to cookie making. Then, Annie can acquire the plate by asking:
“Hi, Joe, would you prepare me a container with stuff I got from Wei?”.
Essentially, the same scenario can happen in the programming world. The variable parameter allows programmer passing parameters without knowing the actual content of them which are encapsulated inside the *args pointer. This reduces the risk that mistakenly using the parameters since the validation will be done in the nested functions, Joe.
However, there are few drawbacks too with this idea. First, the programmer will be hidden from the passing parameters. If something is wrong and the programmer is forced to dig into the nested function, Joe, it is difficult to debug since which parameter is passed is unknown and all appended to that pointer. Second, the nested logic is not recursive. Say I pass the information, ingredient, plate, and water switch to Annie, Annie pass plate and water switch to Joe, Joe cannot pass the same thing, plate, water switch to plumber Smith but have to trim the plate and only pass the water to Smith. Although the trim can be done in advance with a nested pointer at the beginning, it is just too much trouble.
In conclusion, this variable parameter is more likely have no special application than the typical scenario other programming language offers. Say, an undetermined number of user input needs to be handled. And from my past experience, this situation is not that common. The particular case we have in the deep dreaming algorithm seems not really on point to practice the variable parameter idea since the input is fixed and the drawback of such implementation is more significant.
Named Tuple
In mathematics a tuple is a finite ordered list (sequence) of elements. An n-tuple is a sequence (or ordered list) of n elements, where n is a non-negative integer. There is only one 0-tuple, an empty sequence. An n-tuple is defined inductively using the construction of an ordered pair. — Wikipedia
One example is a Point(x, y) can be a tuple consist of x and y value. Python example can be found as follow:
# Declare and instantiate tuple.
tup1 = ('physics', 'chemistry', 1997, 2000);
tup2 = (1, 2, 3, 4, 5);
tup3 = "a", "b", "c", "d";

# Access tuple.
print "tup1[0]: ", tup1[0];
print "tup2[1:5]: ", tup2[1:5];
This feature can be very helpful for some light weighted object say a point, instead of creating your own object, just use a tuple. However, one problem is the naming is less convenient since p[0] has little connection with x coordinate of a point. The solution is named tuple:
from collections import namedtuple
Point = namedtuple('Point', 'x y')
pt1 = Point(1.0, 5.0)
pt2 = Point(2.5, 1.5)

# Compute displacement from two points.
from math import sqrt
line_length = sqrt((pt1.x - pt2.x) ** 2 + (pt1.y - pt2.y) ** 2)
One thing about named tuple is that it is likely always better than the nameless tuple. Unless it is in a context impossible to name the tuple. To utilize this feature, now all the keyframes are built in named tuple so frame[i].iteration.first and frame[i].iteration.second will be the two weights for the iteration blending mentioned at the very beginning.
In contrast, C++ seems to have the similar idea to encapsulate in a light-weighted object while Java, as expected, does not have. It is more like a culture thing that Java tends to be robust while rarely predict the specific user scenario. So Java users are expected to implement their own light-weighted object for the tuple, at least pair (xxx.first & xxx.second).
]]>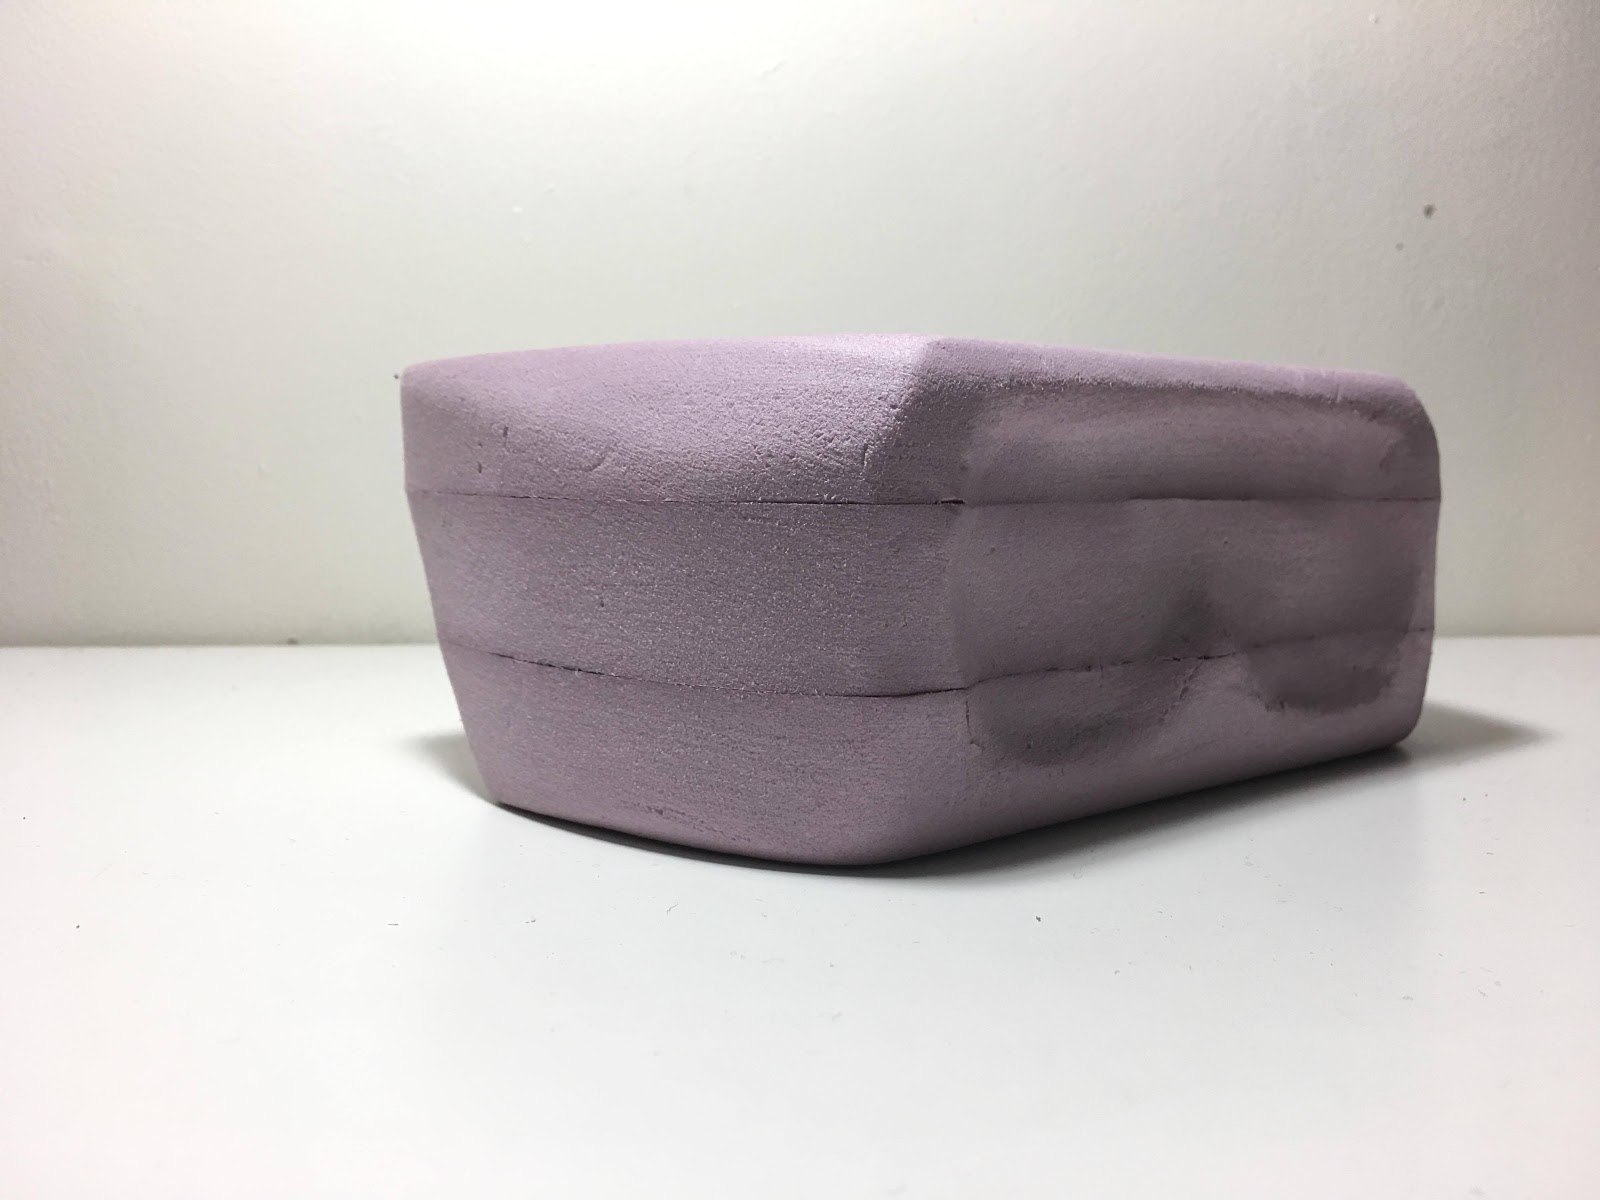
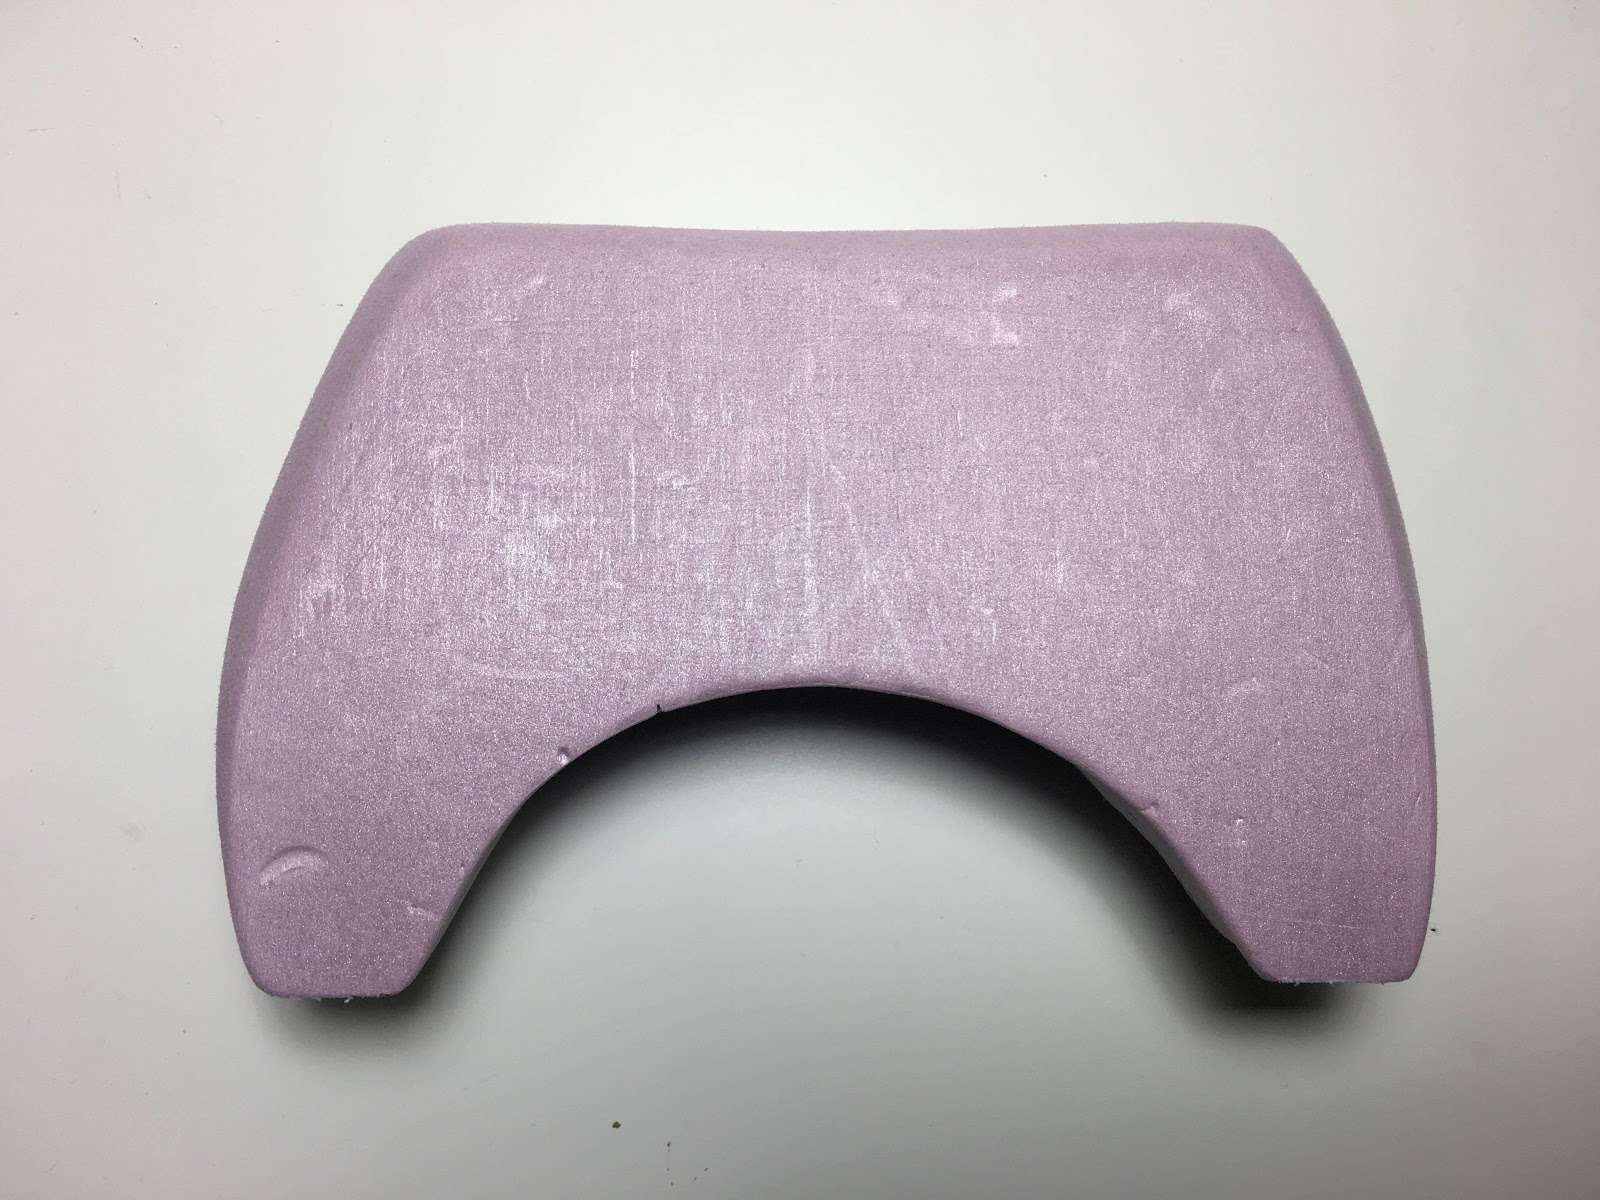
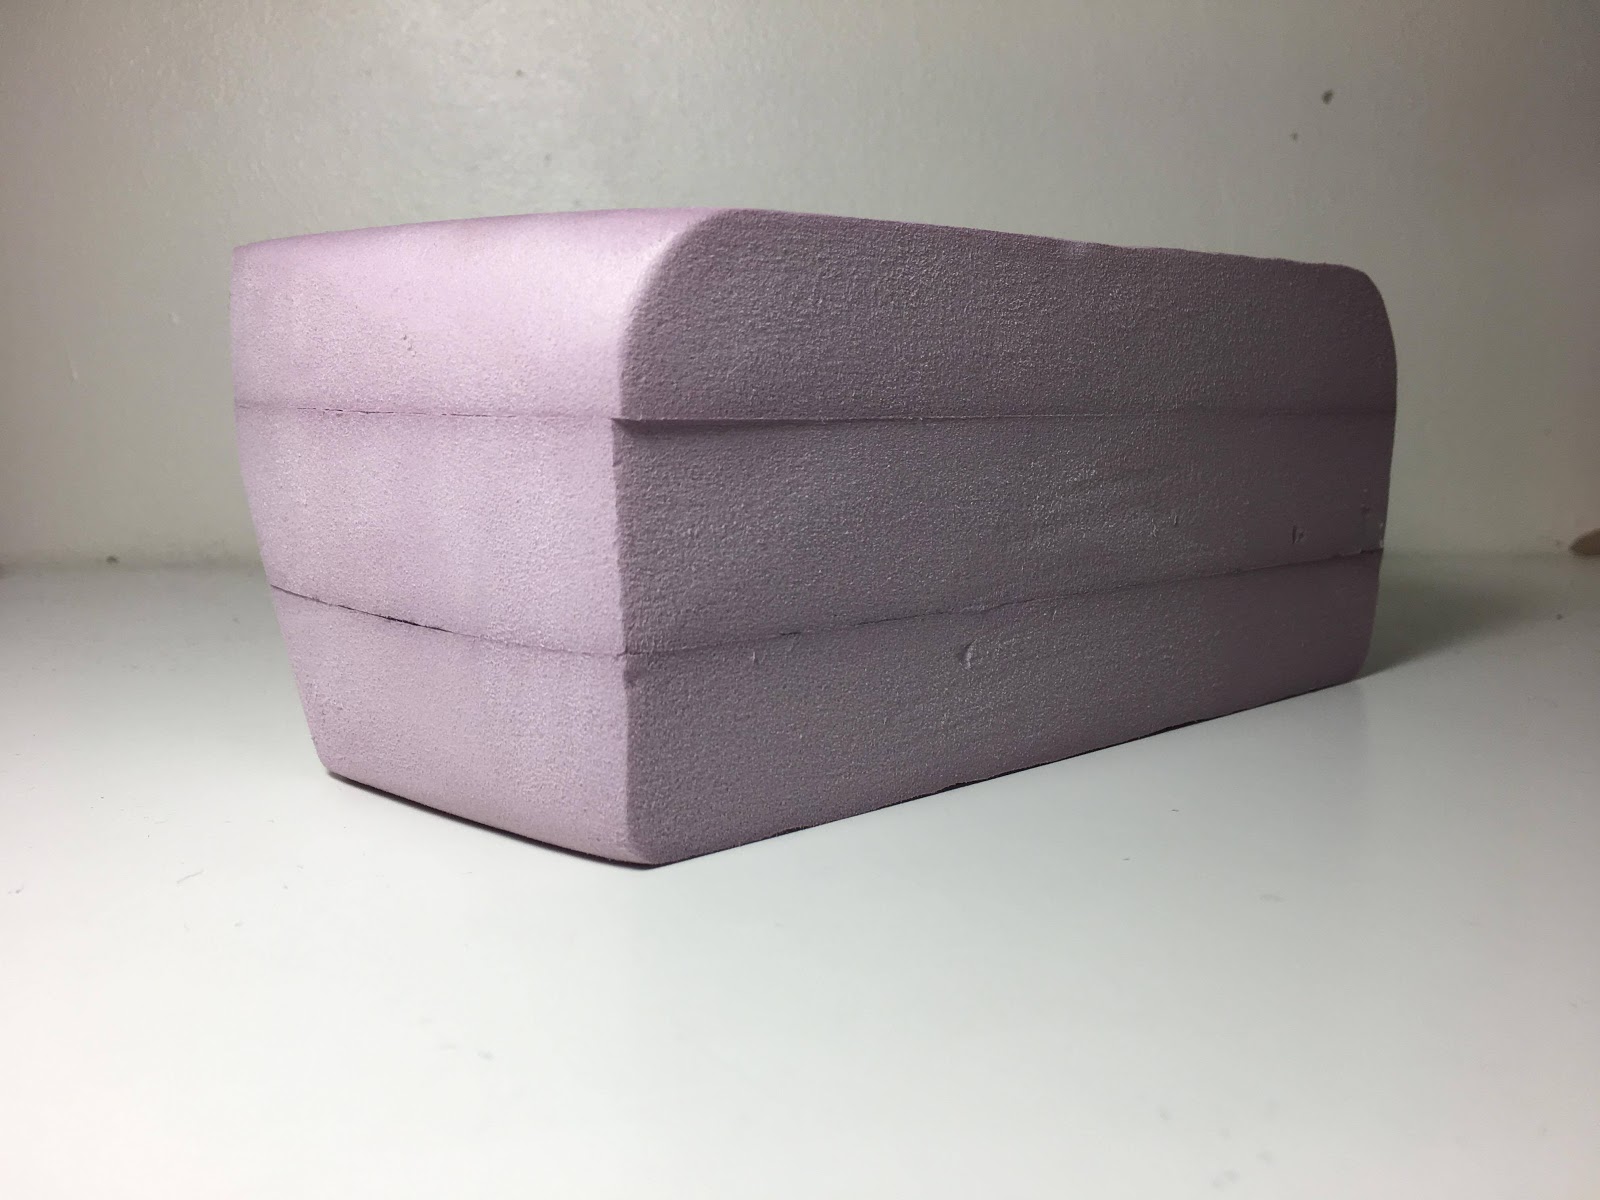
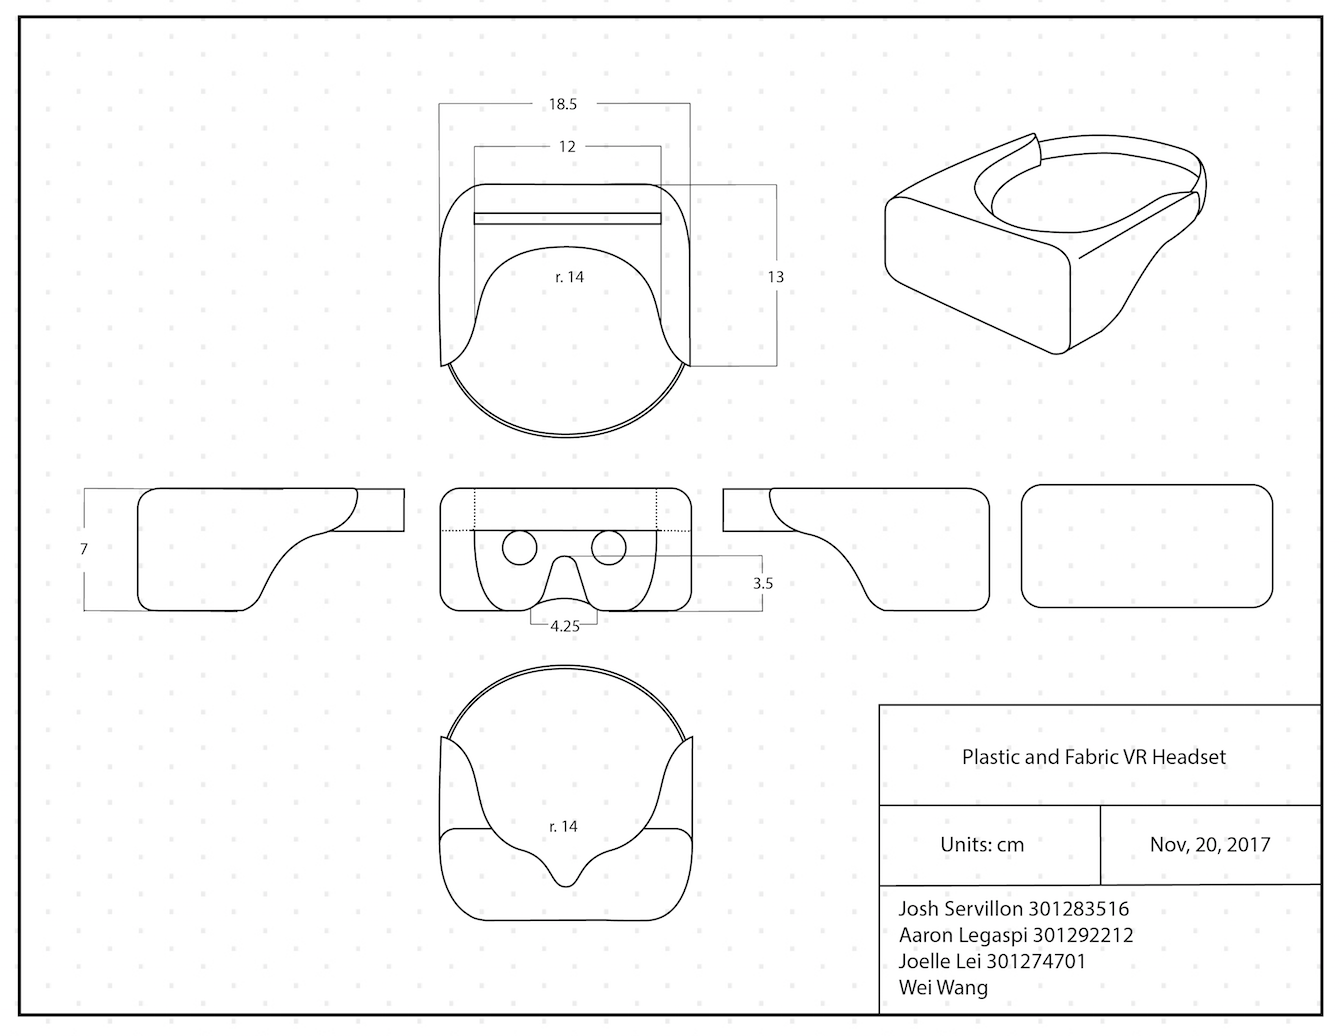
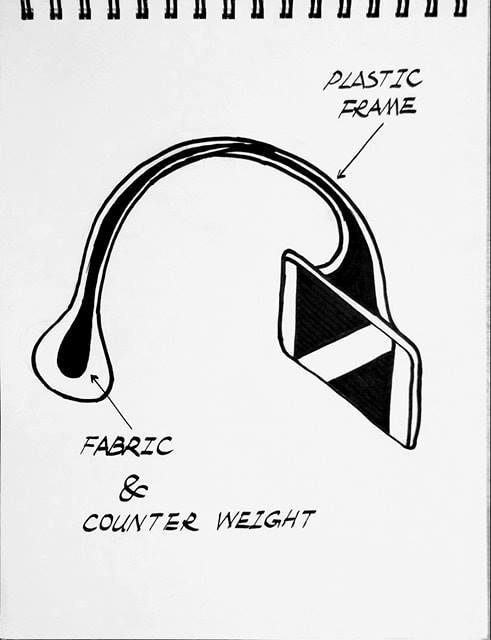
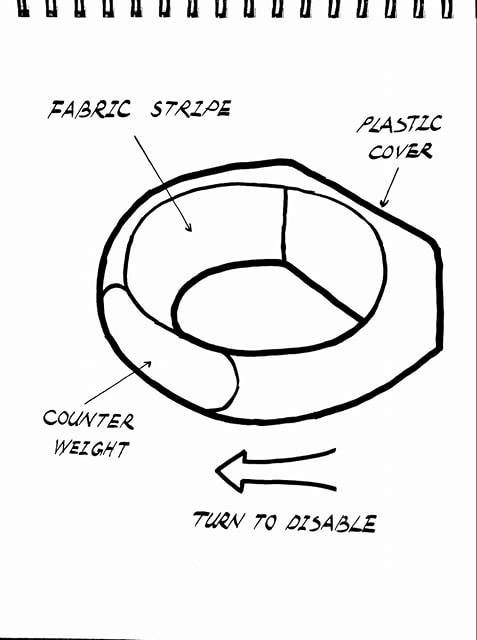
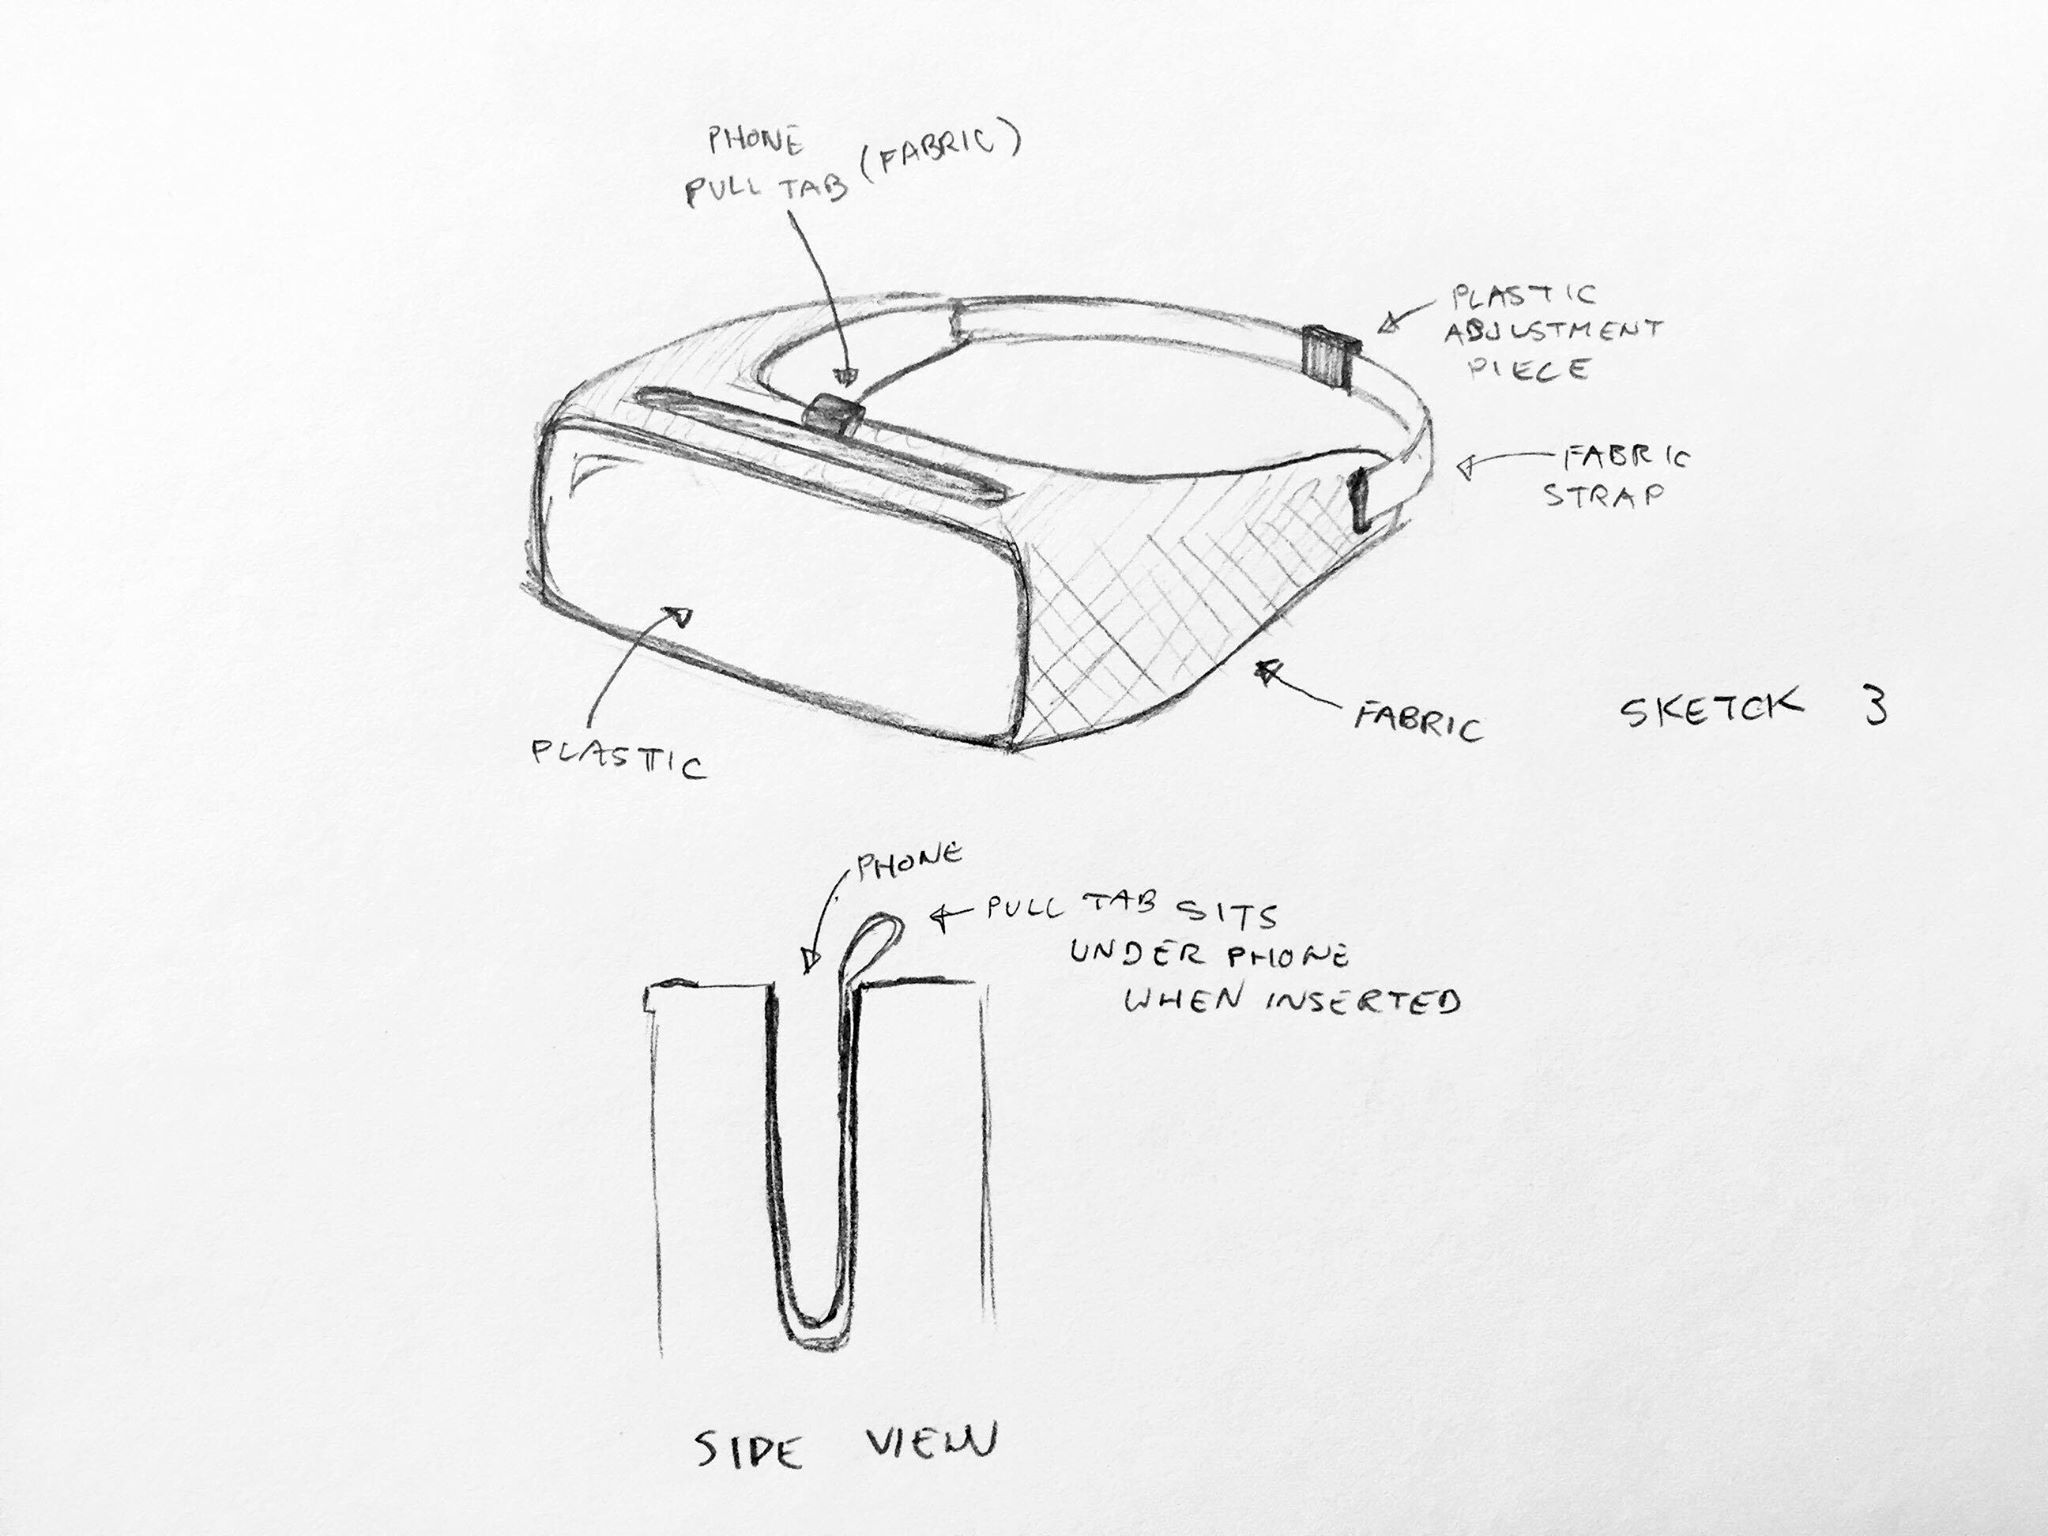
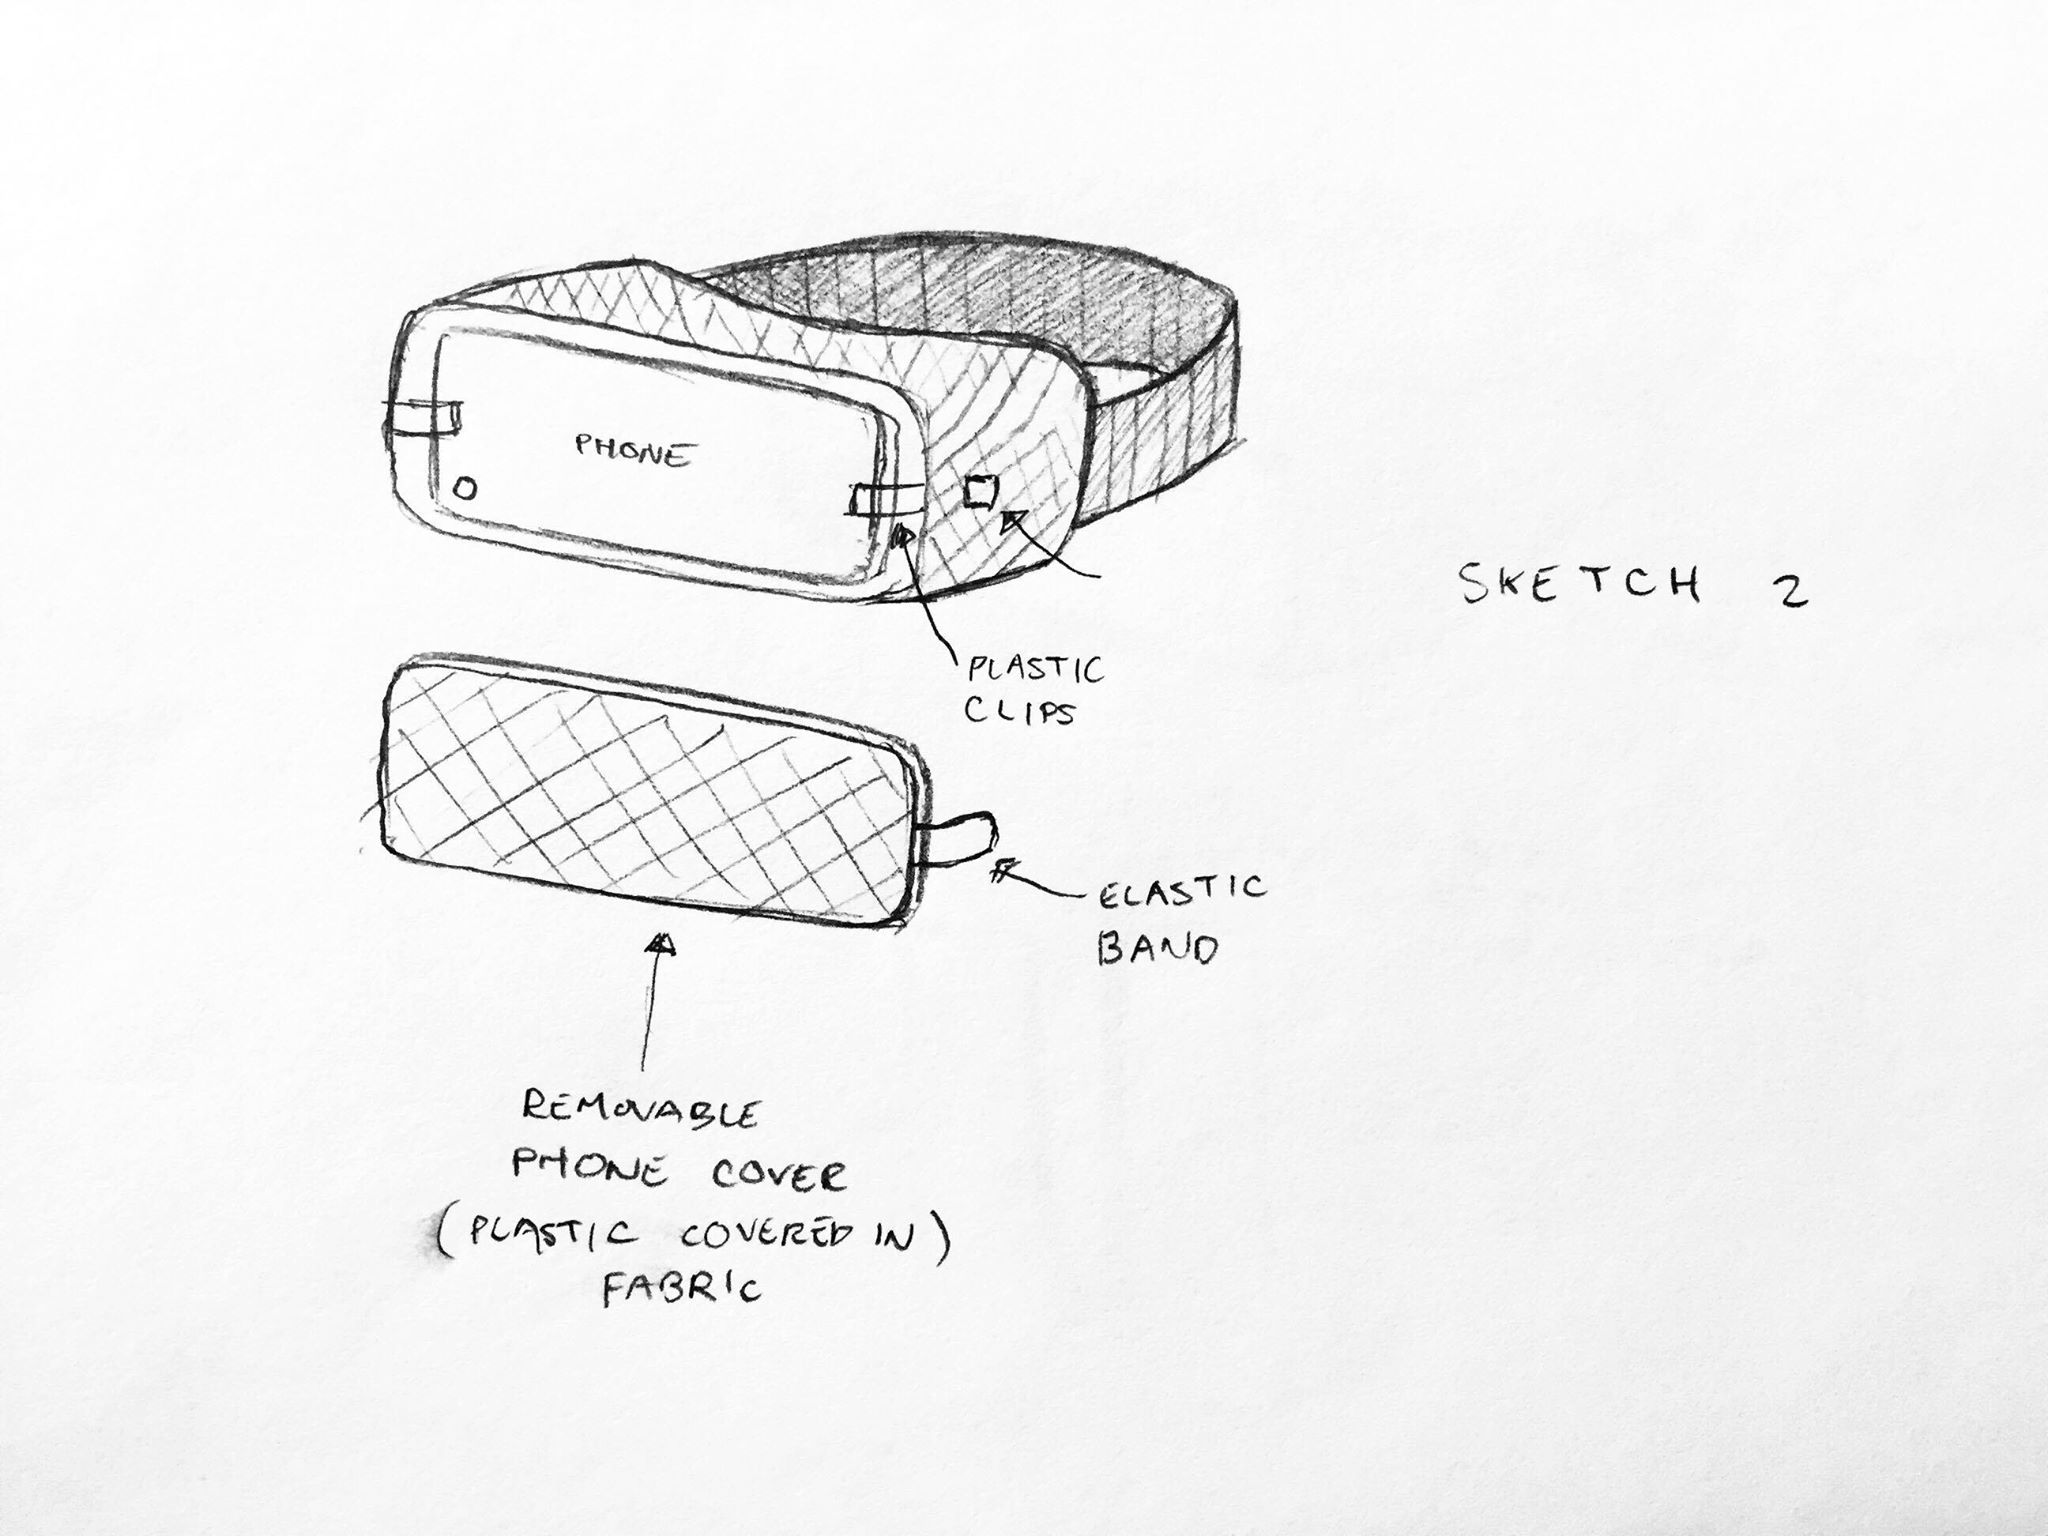
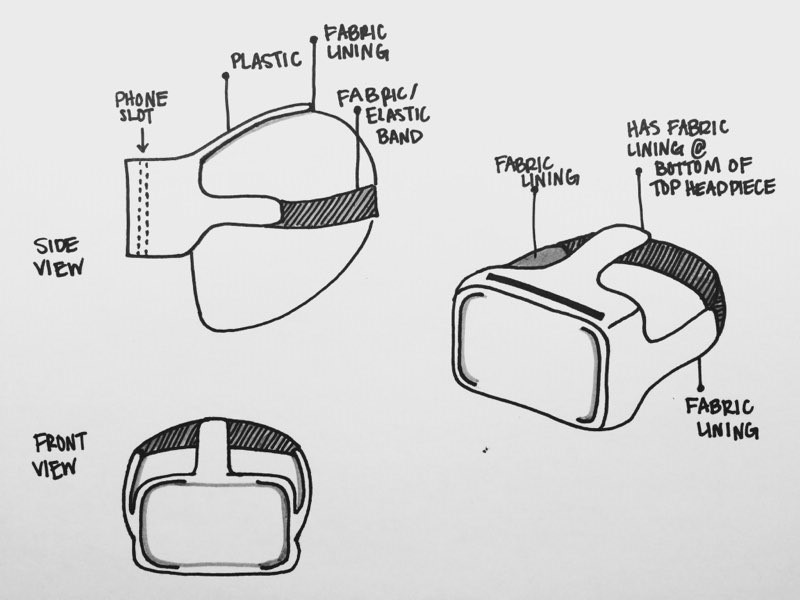
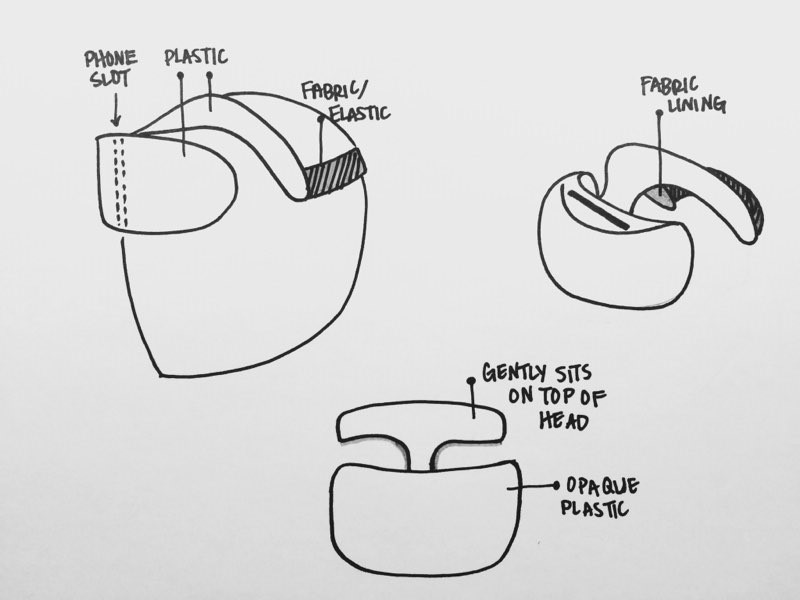
This week we made a prototype model out of foam to get a very rough idea of the overall shape and form of our VR Headset.The foam model was the exact size and almost the exact shape we wanted our headset to resemble. But due to poor detailing that the foam cannot possess, some features like the front of the headset appeared very “tacky” and not accurate enough to our liking. During the end of our crit session, our whole team concluded that the front of the headset was indeed tacky and unprofessional; it also appeared very bulky on all sides which were not our intention. Because our VR Headset is used for medical training purposes, we decided it needed to be a lot more slender and sleek. Thus we decided to shave down all sides of the foam model and remove the tacky front face of the headset as a whole.
Vacuum Forming

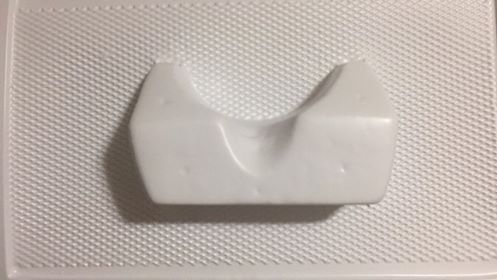
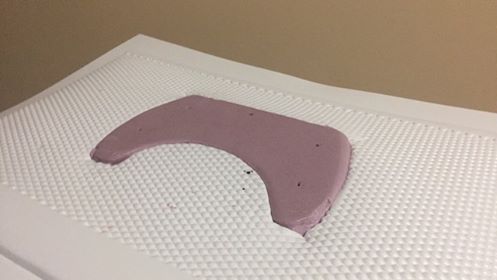
Late we tried vacuum forming again after a discussion with Prof. Ken. We became more aware of our faults during the first trial of vacuum forming and decided to try again with the school’s larger and more powerful machine. The final product for this second trial left us with a much better result than our first trial, but it still was not what we were hoping for. The result was a headset with awkward “hole marks” in the styrene, as well as harsh and sharp edges at the bottom of the headset if we were to remove it.
Second, there are some contradictions within the scene. The story was planned during a late night in a remote village. However, the lighting seems less consistent during the render which should be improved in the future. Also, scene happened during the night is generally more difficult to manage since it must be dark while the characters must still be shown.
Third, quality control becomes an issue later on. We had some great ideas and storyboard but to convert them to 3D animation is challenging. Maya is a complicated software and a lot of techniques are unknown to us. It may be better to restrict the project to more specific and practical approach rather than simply hoping to achieve all. Say an example can apply the sound effect to an existing animation. Or create photo realistic scene of a surrounding area. Essentially, when quality is too low for a project, students may not gain much from it even the project trying to cover everything.
]]>Vacuum forming is a simplified version of thermoforming, where a sheet of plastic is heated to a forming temperature, stretched onto a single-surface mold, and forced against the mold by a vacuum. This process can be used to form plastic into permanent objects such as turnpike signs and protective covers. Normally draft angles are present in the design of the mold (a recommended minimum of 3°) to ease removal of the formed plastic part from the mold. Wikipedia

Vacuum Table
Although SFU does have a professional vacuum forming machine like the one above, we do want experiment our own tool, especially for the initial mock-up. A wooden vacuum table is quickly made with help of our own CNC and table saw and updated few times to improve the results. Vacuum is created by common household vacuum cleaner which has large vacuum air flow but poor max vacuum pressure, i.e. not suitable for this application. The heat source is a common household oven. It turns out that the food made by the same oven is sweeter after the operation somehow 
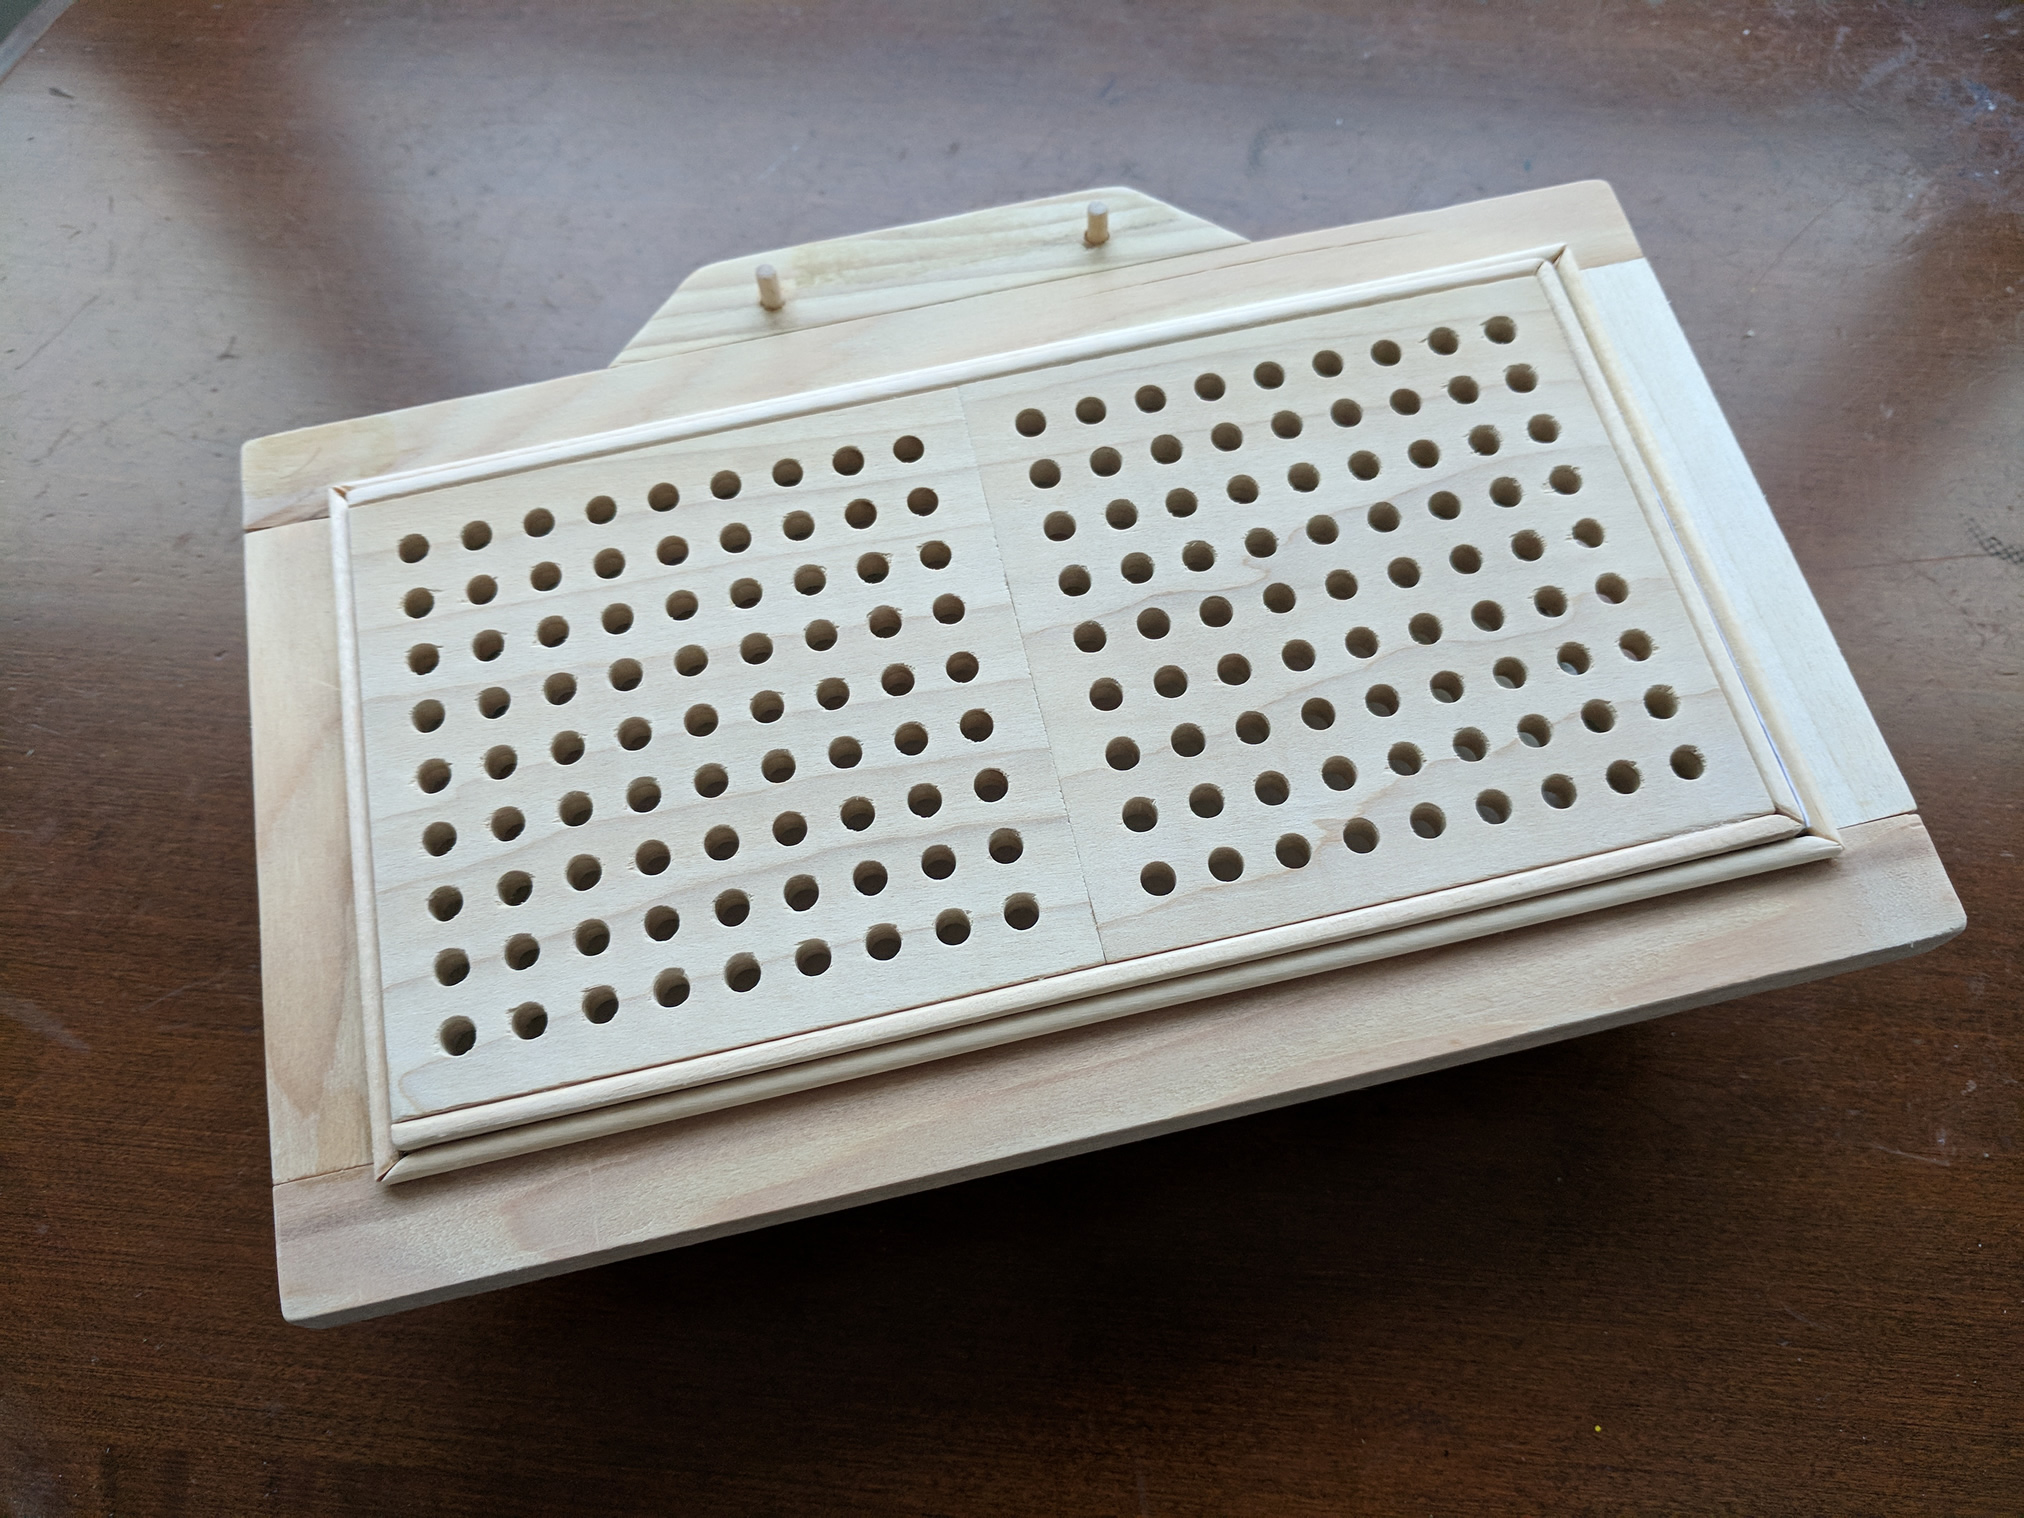
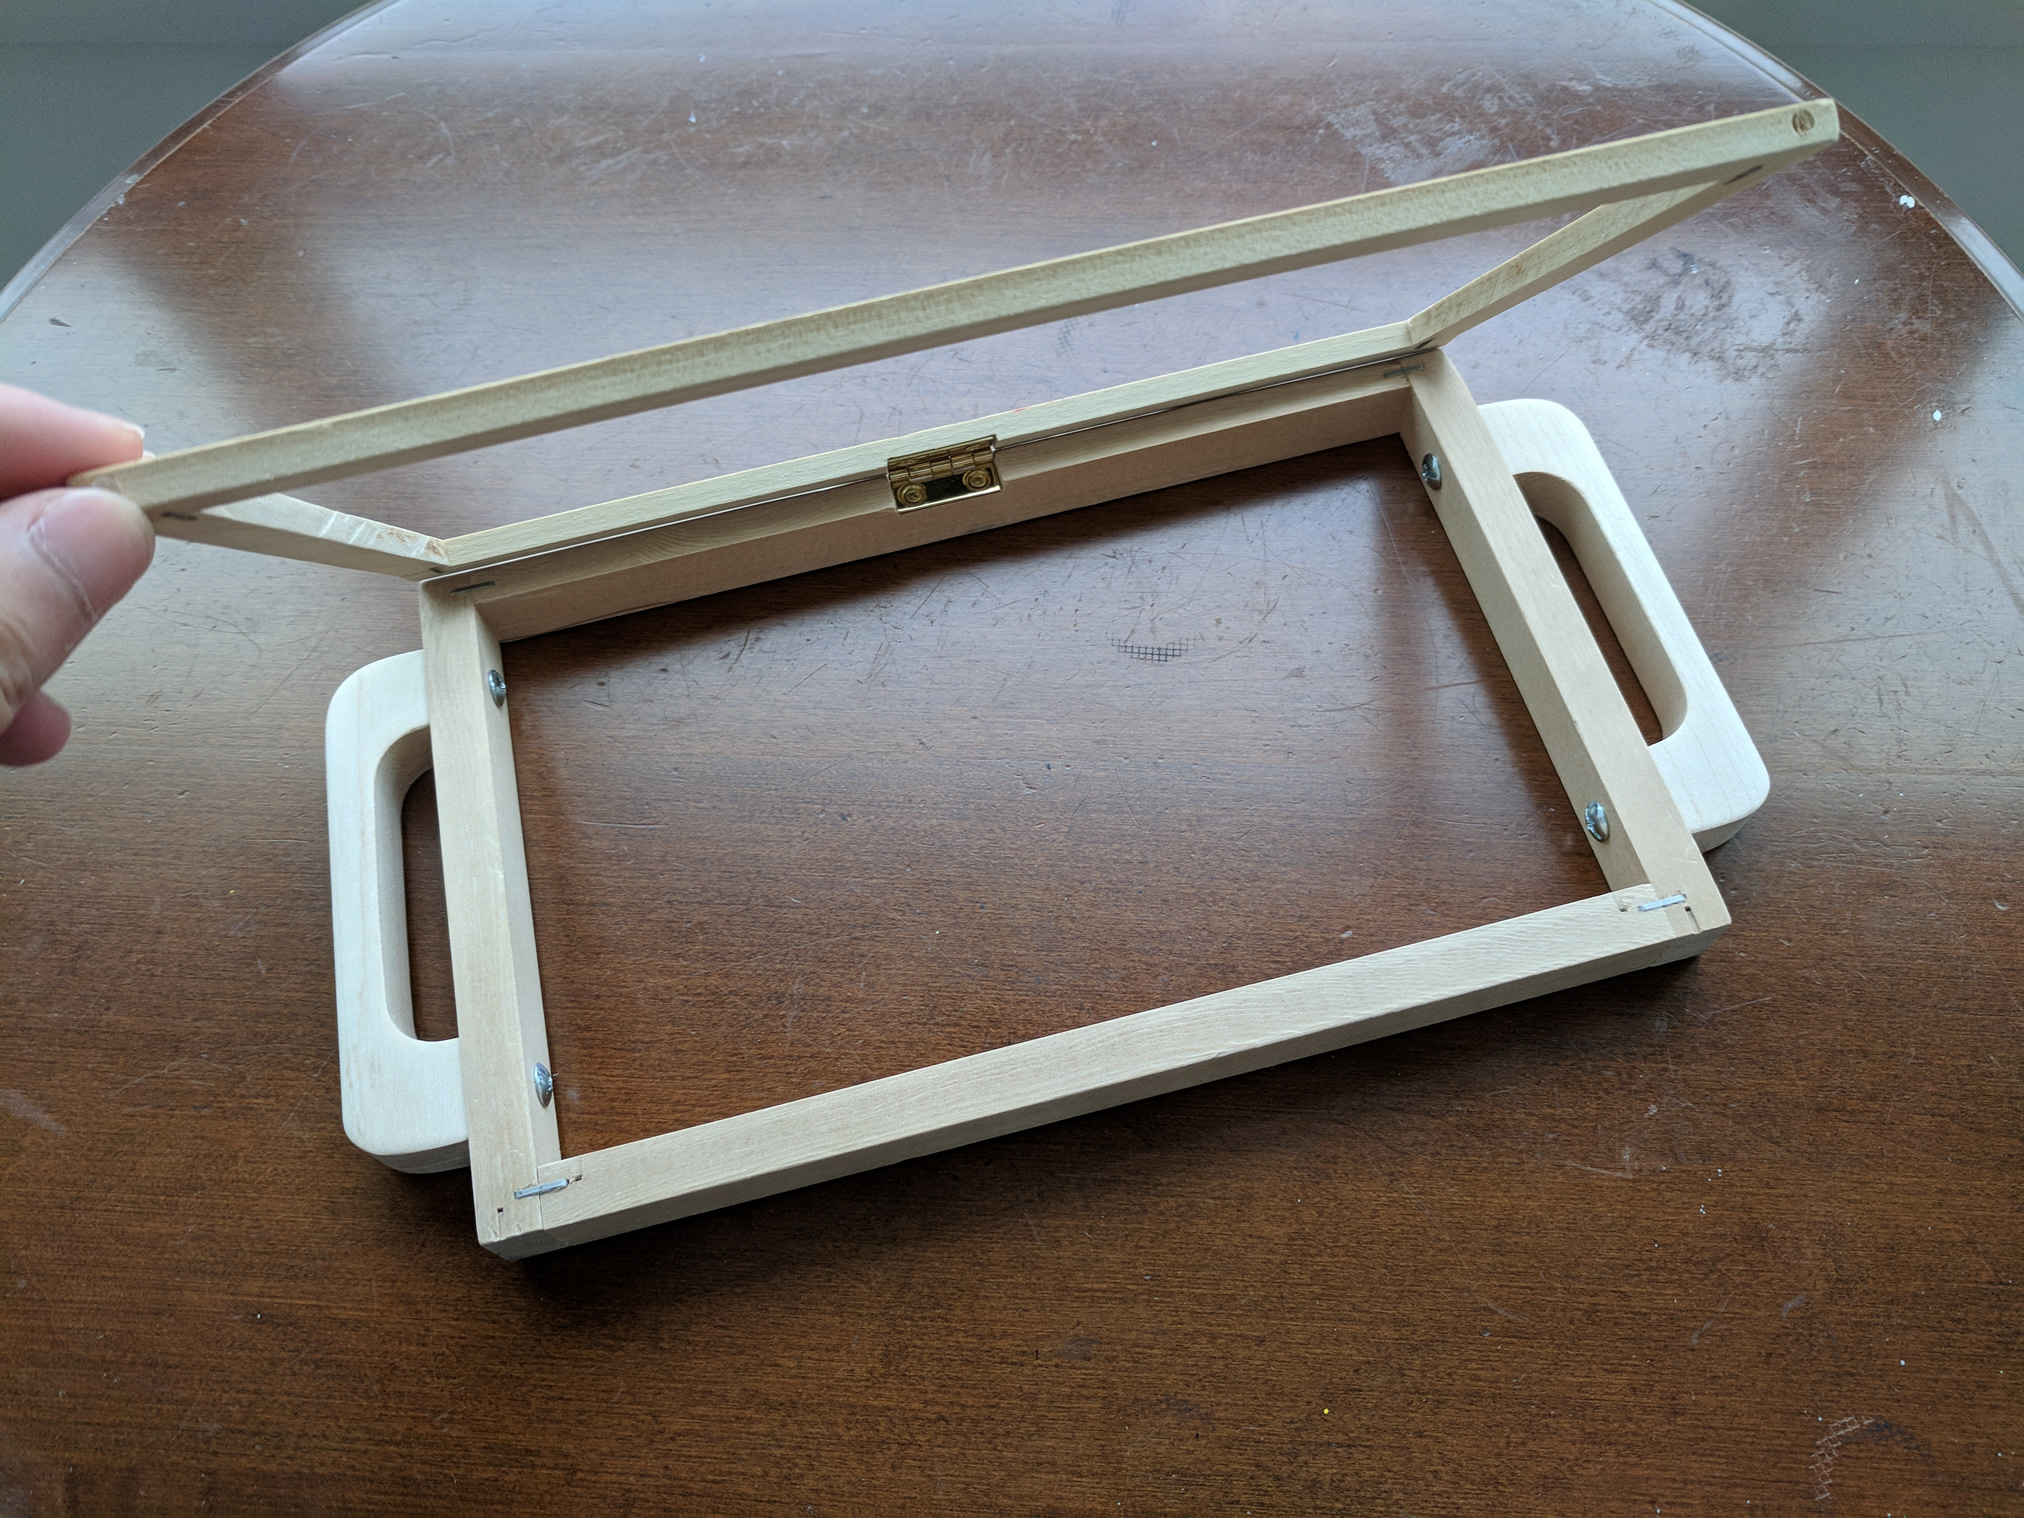
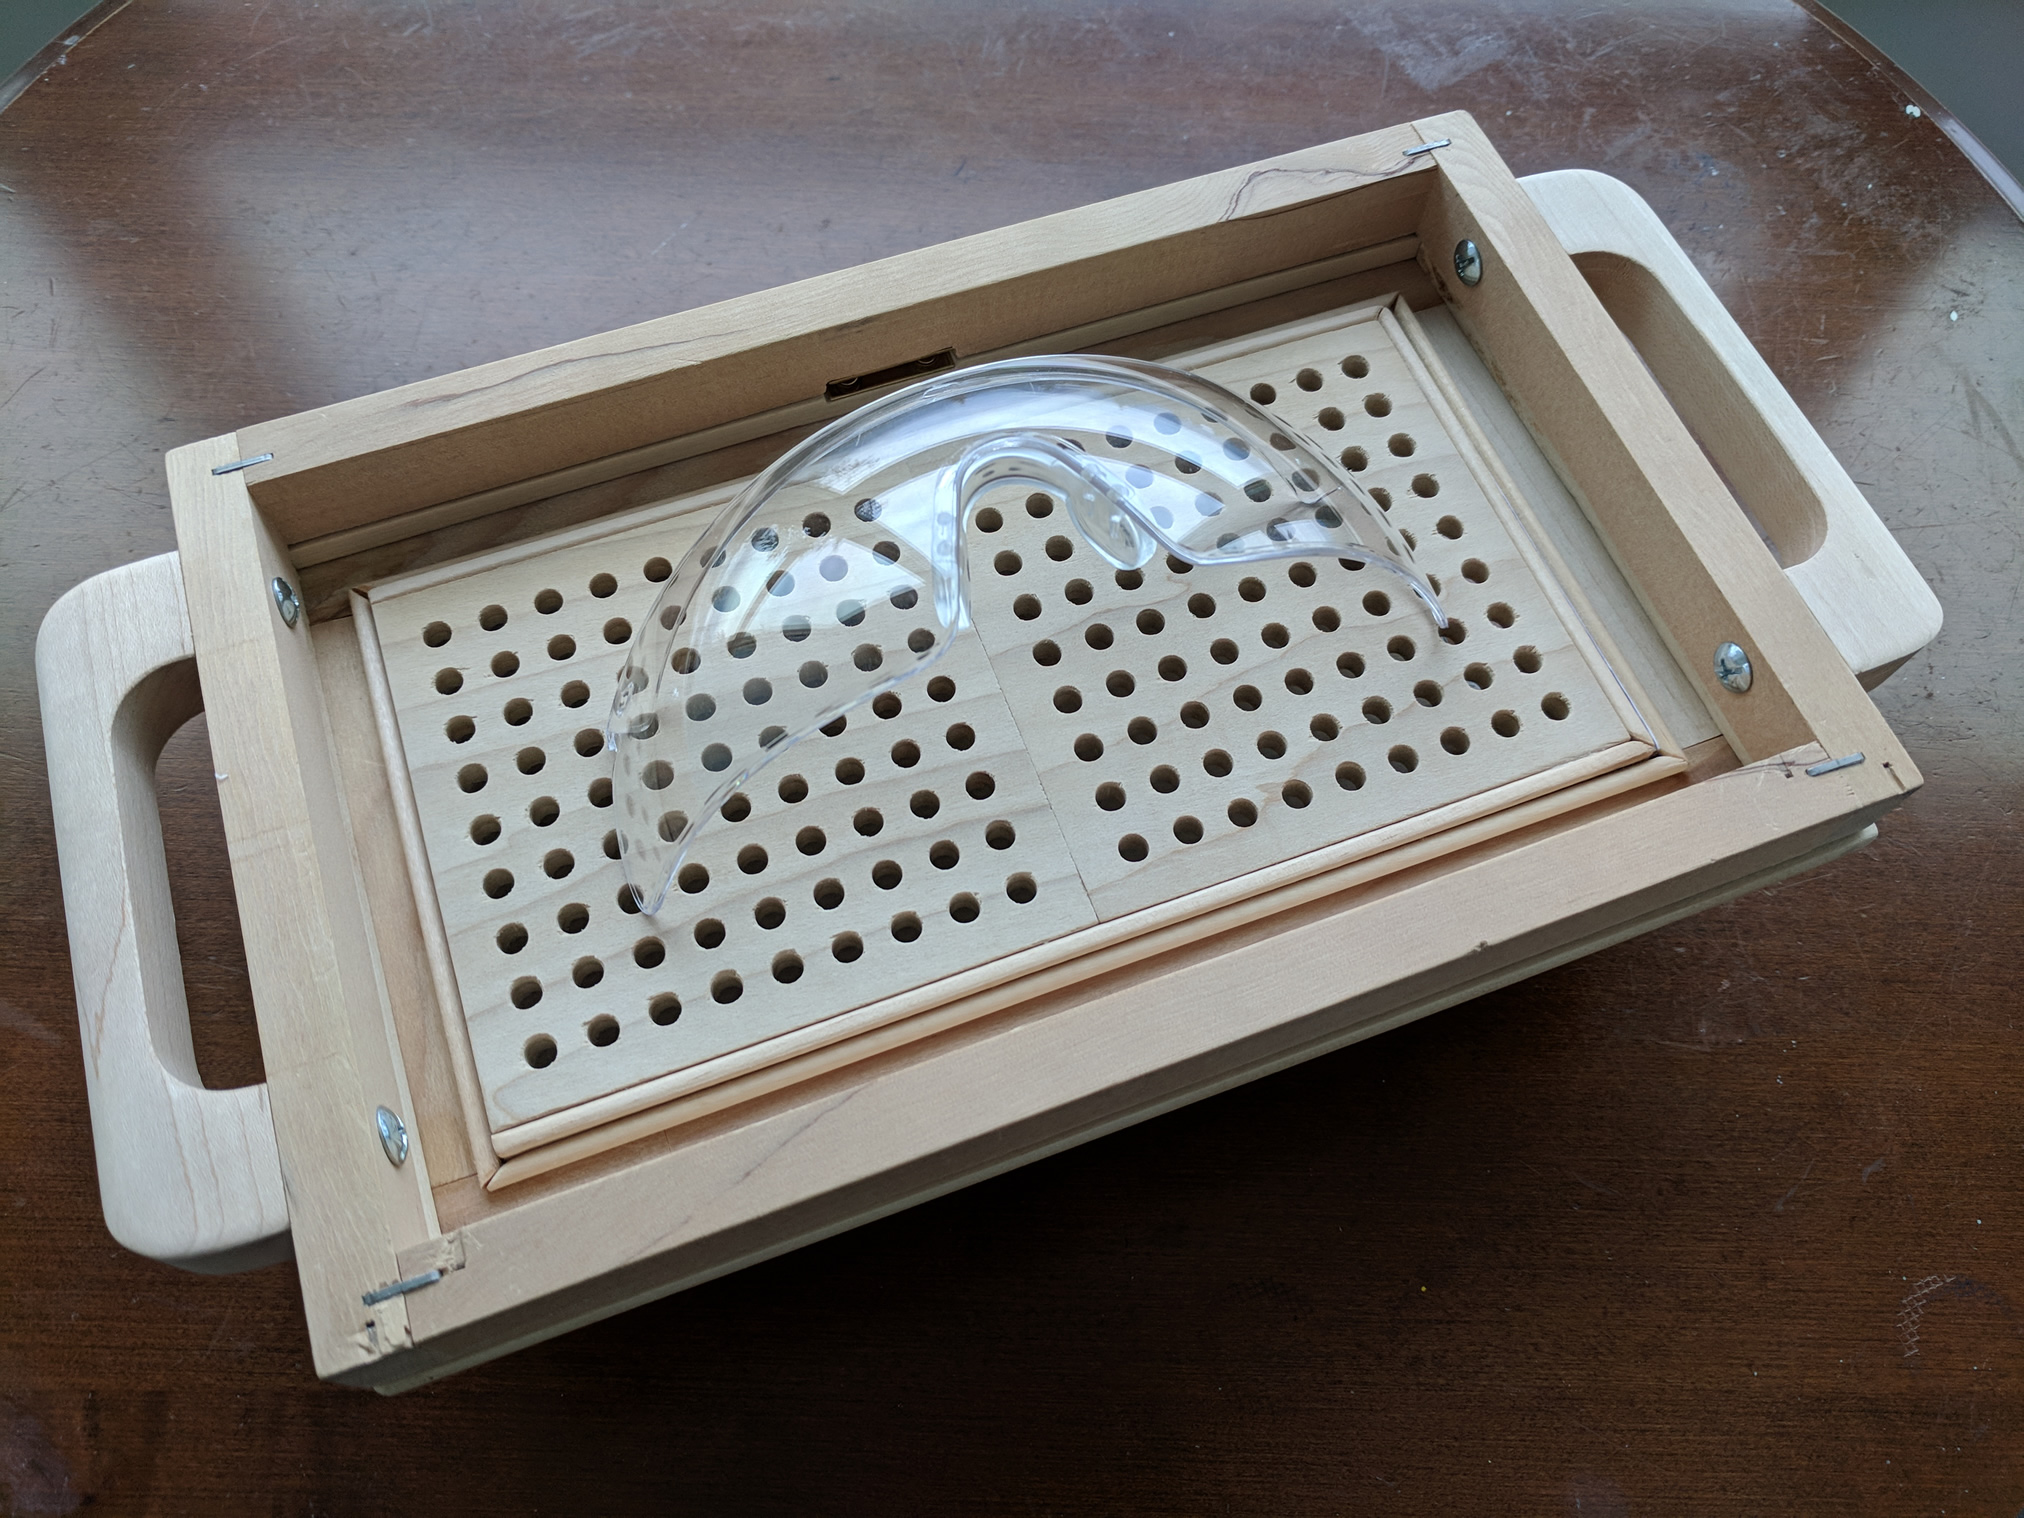
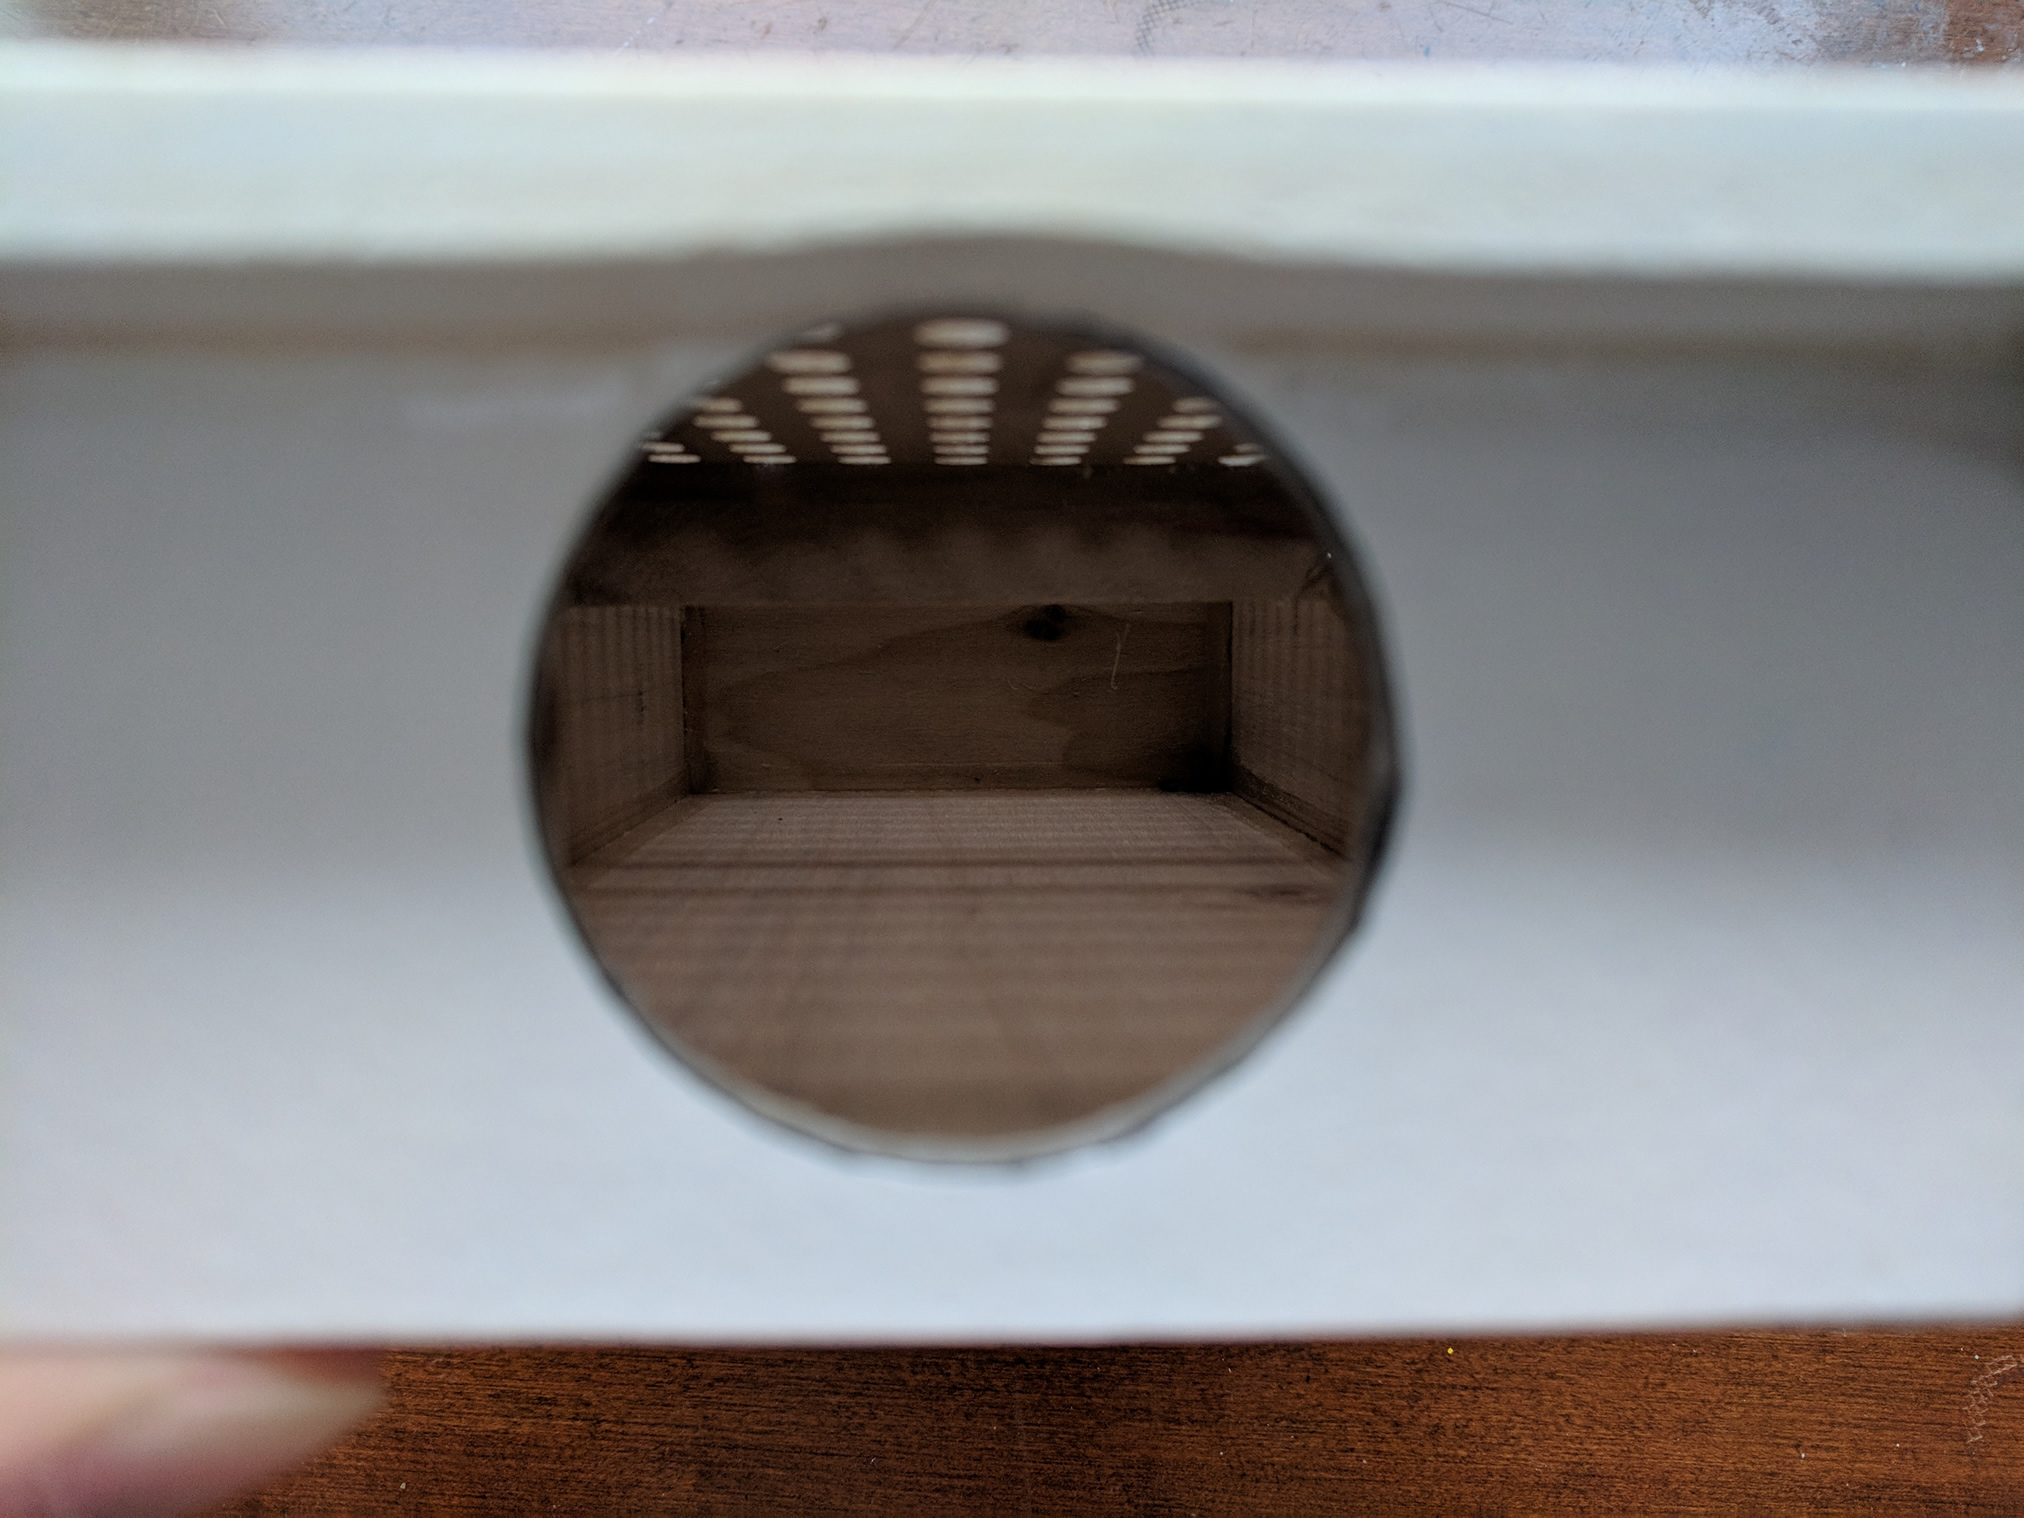

Few experiences are gain during the construction. First, styrene has certain property change during the operation. Styrene is heated to 250 degree where the wood will not be burnt and the temperature is way enough for styrene. When it is heated, the surface will become folded and shrinking, continue the heat, the surface will be melted, expanding, dropping, and smooth. At this point, continue heating with the same temperature for few minutes should make the styrene ready for forming.
Second, the contact between the frame and the table must be good. It is the key to have a better suction during forming. If only rely on the soften styrene sheet to cover all the vacuum holes is not practical unless the sheet is much larger than the table and heated much softer.
Third, the styrene sheet must be fixed with the frame. Heat will distort the surface of the sheet and create tension. If the sheet is not properly secured, the styrene will actually melt rather than become soft and dropping. Large holes will be created on the sheet in that case.
Lastly, the operation must be done quickly since styrene will become solid once out of the heat. Additional heat can be applied to the table with a heat gun to soften the material and help the vacuum process or reduce wrinkles.
(Failed) Results
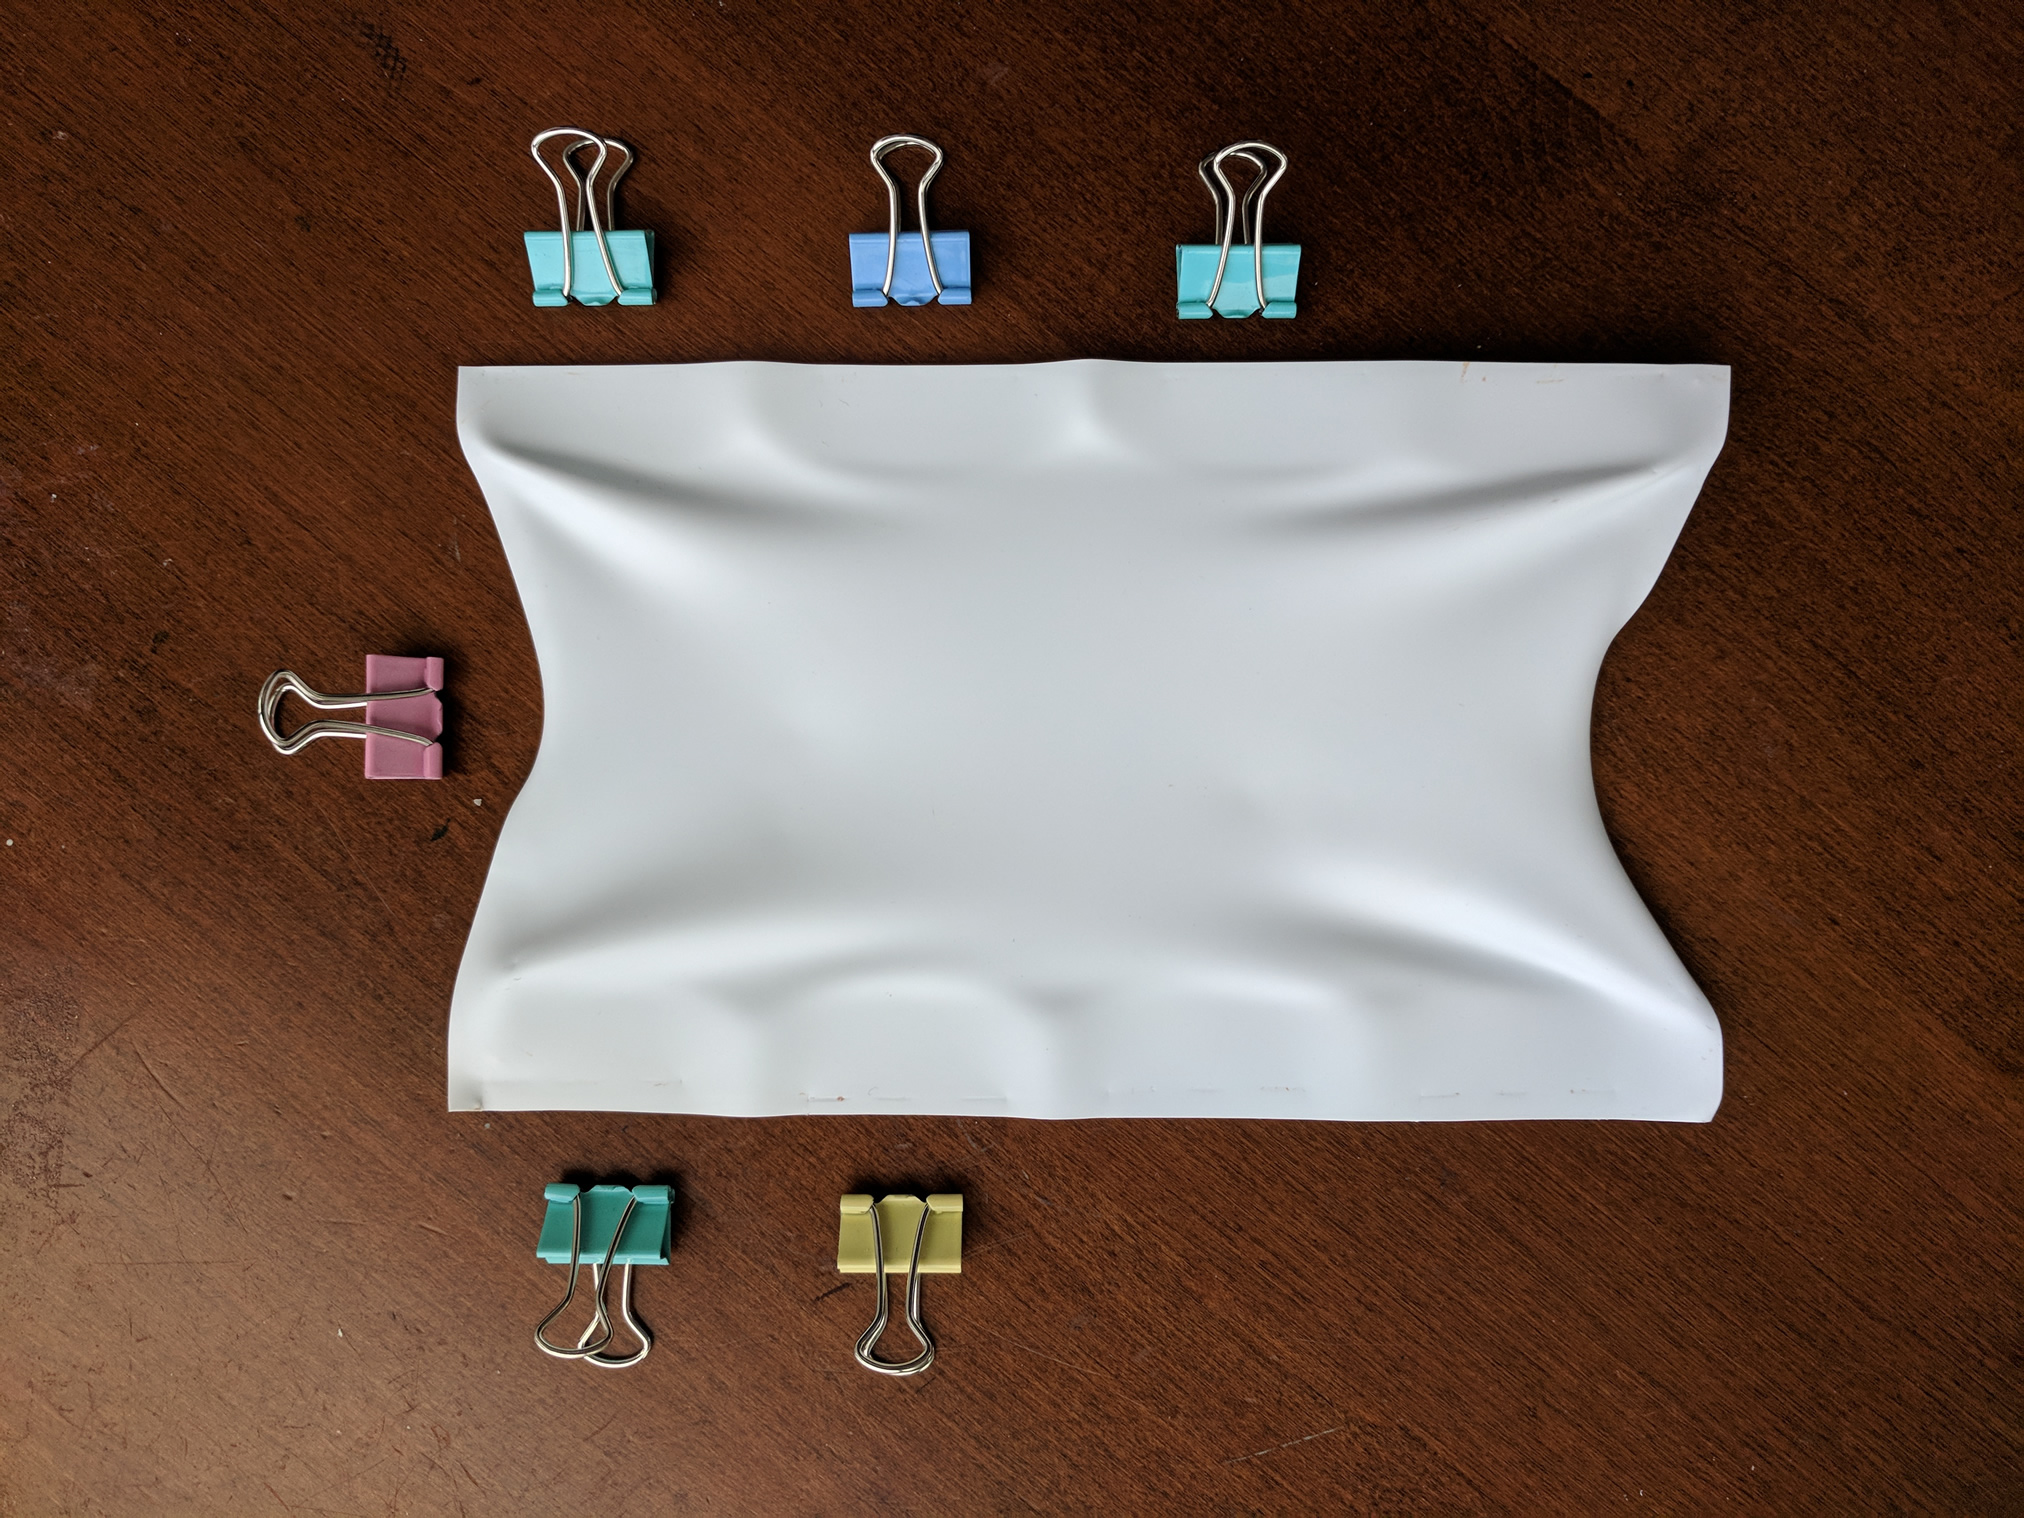
The first attempt is done very quick hoping a mock-up can be generated easily. However, it failed quickly too due to the clamping is not done by two frames sandwiches the sheet but by the fast clamp shoed above. The wrinkles clearly indicate the clamping failed to hold the sheet during the heat.
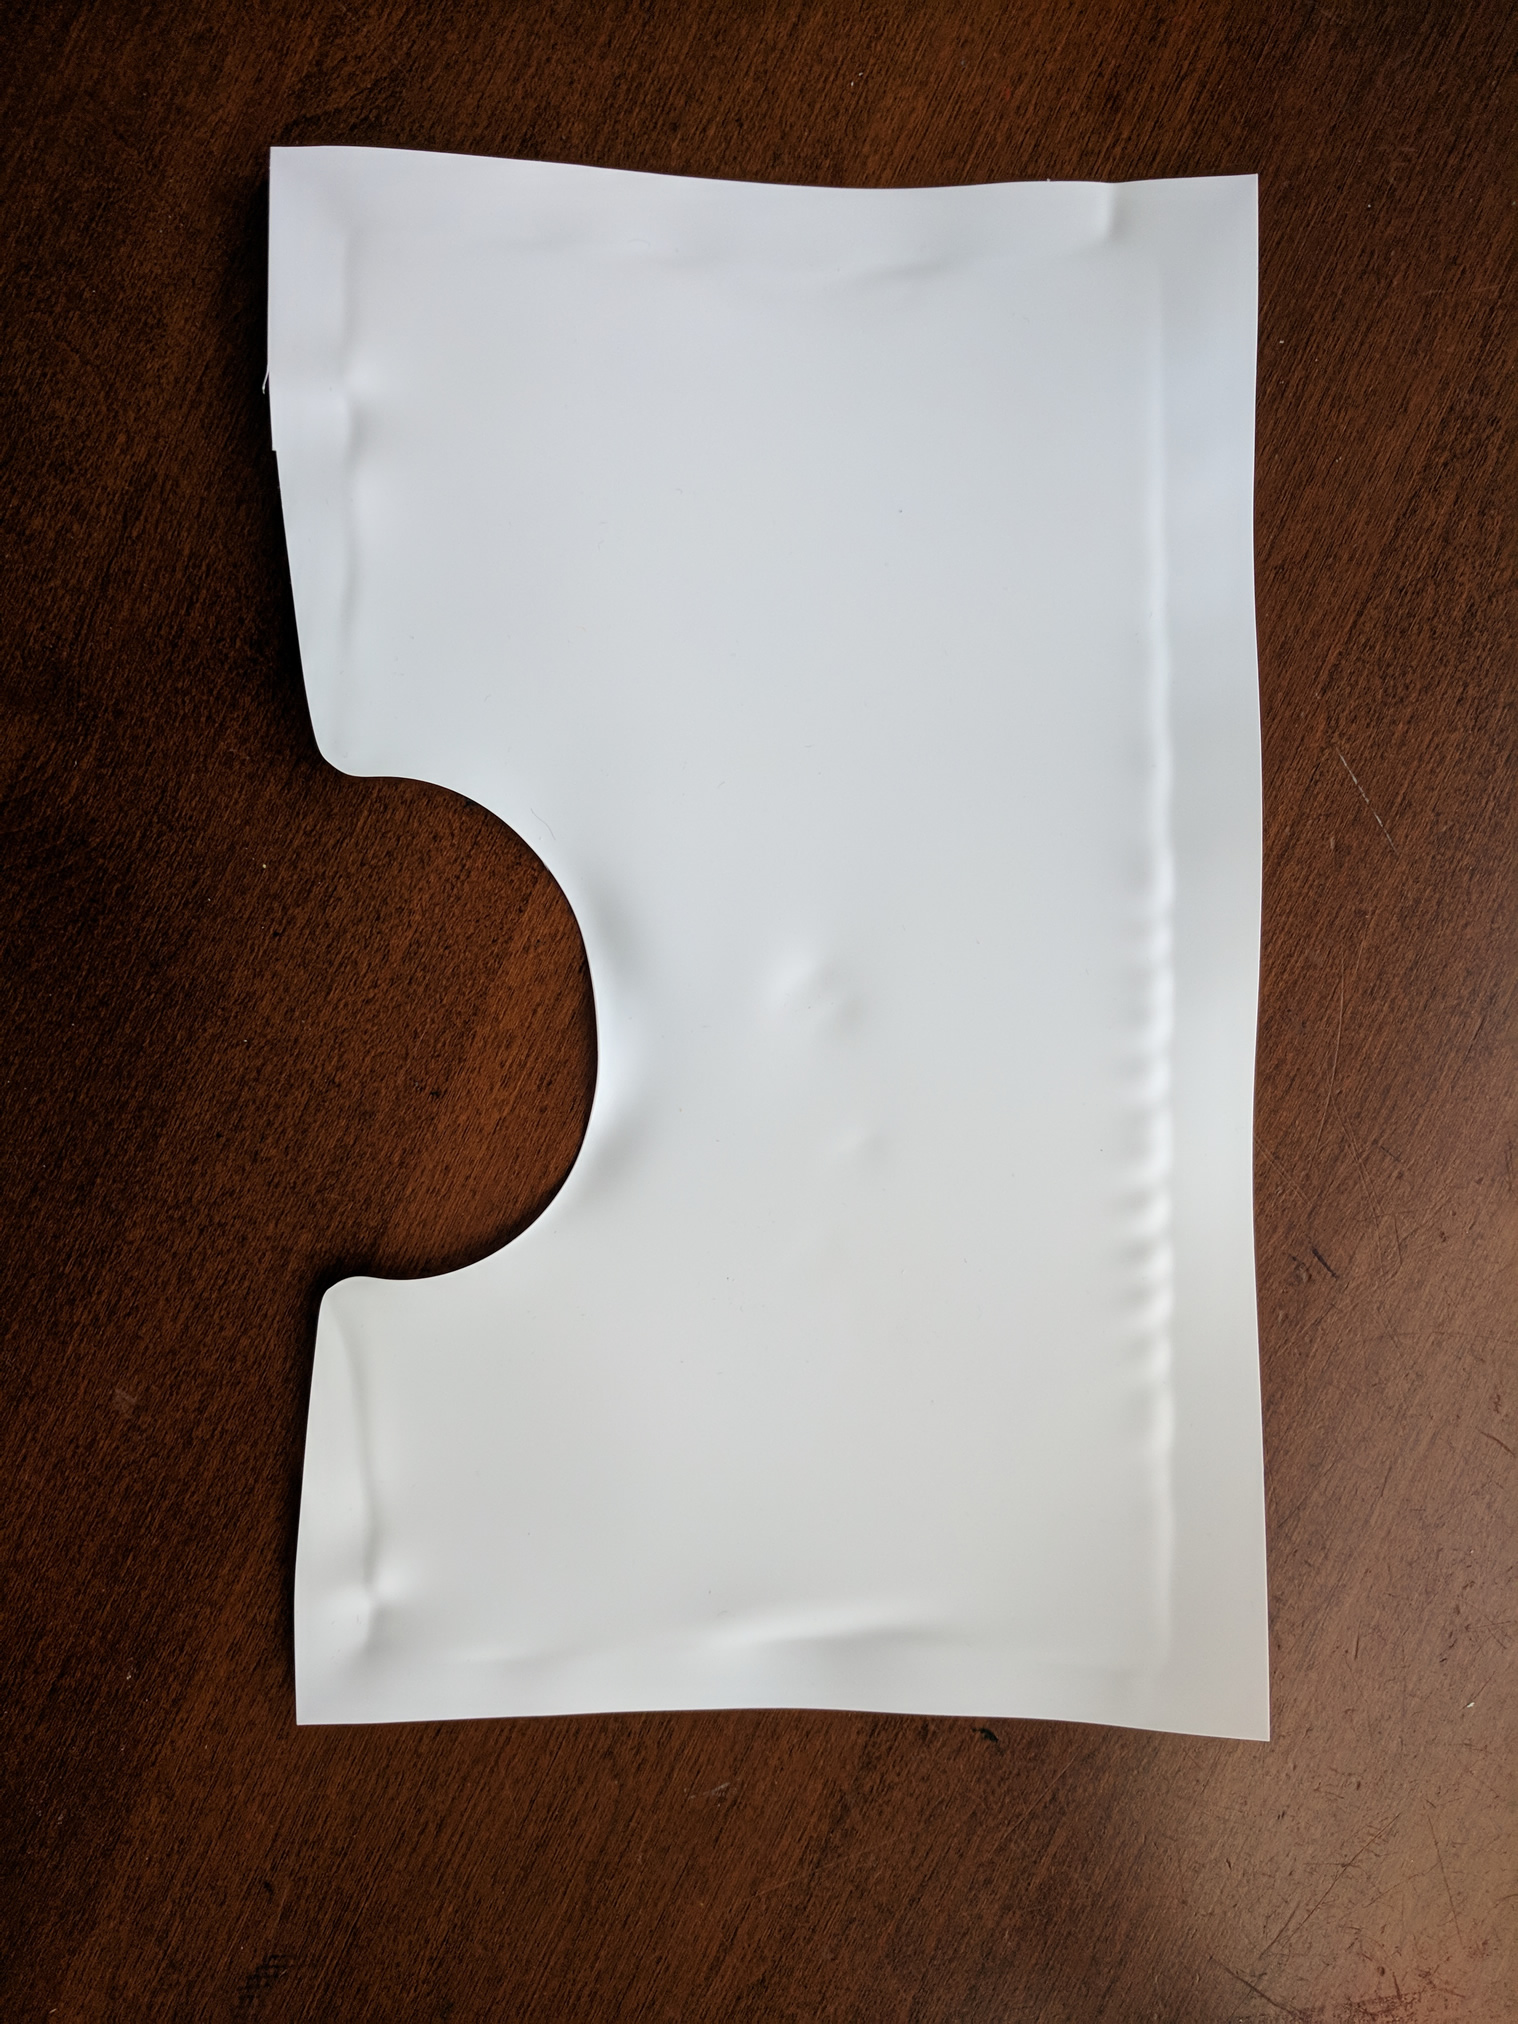
The second attempt is done with two frames sandwiches the sheet, still with the help of the fast clamp from the first attempt. The edge is much cleaner this time. However, to avoid the alignment notch, no clamp is applied to that area and a giant hole is created during the heat.
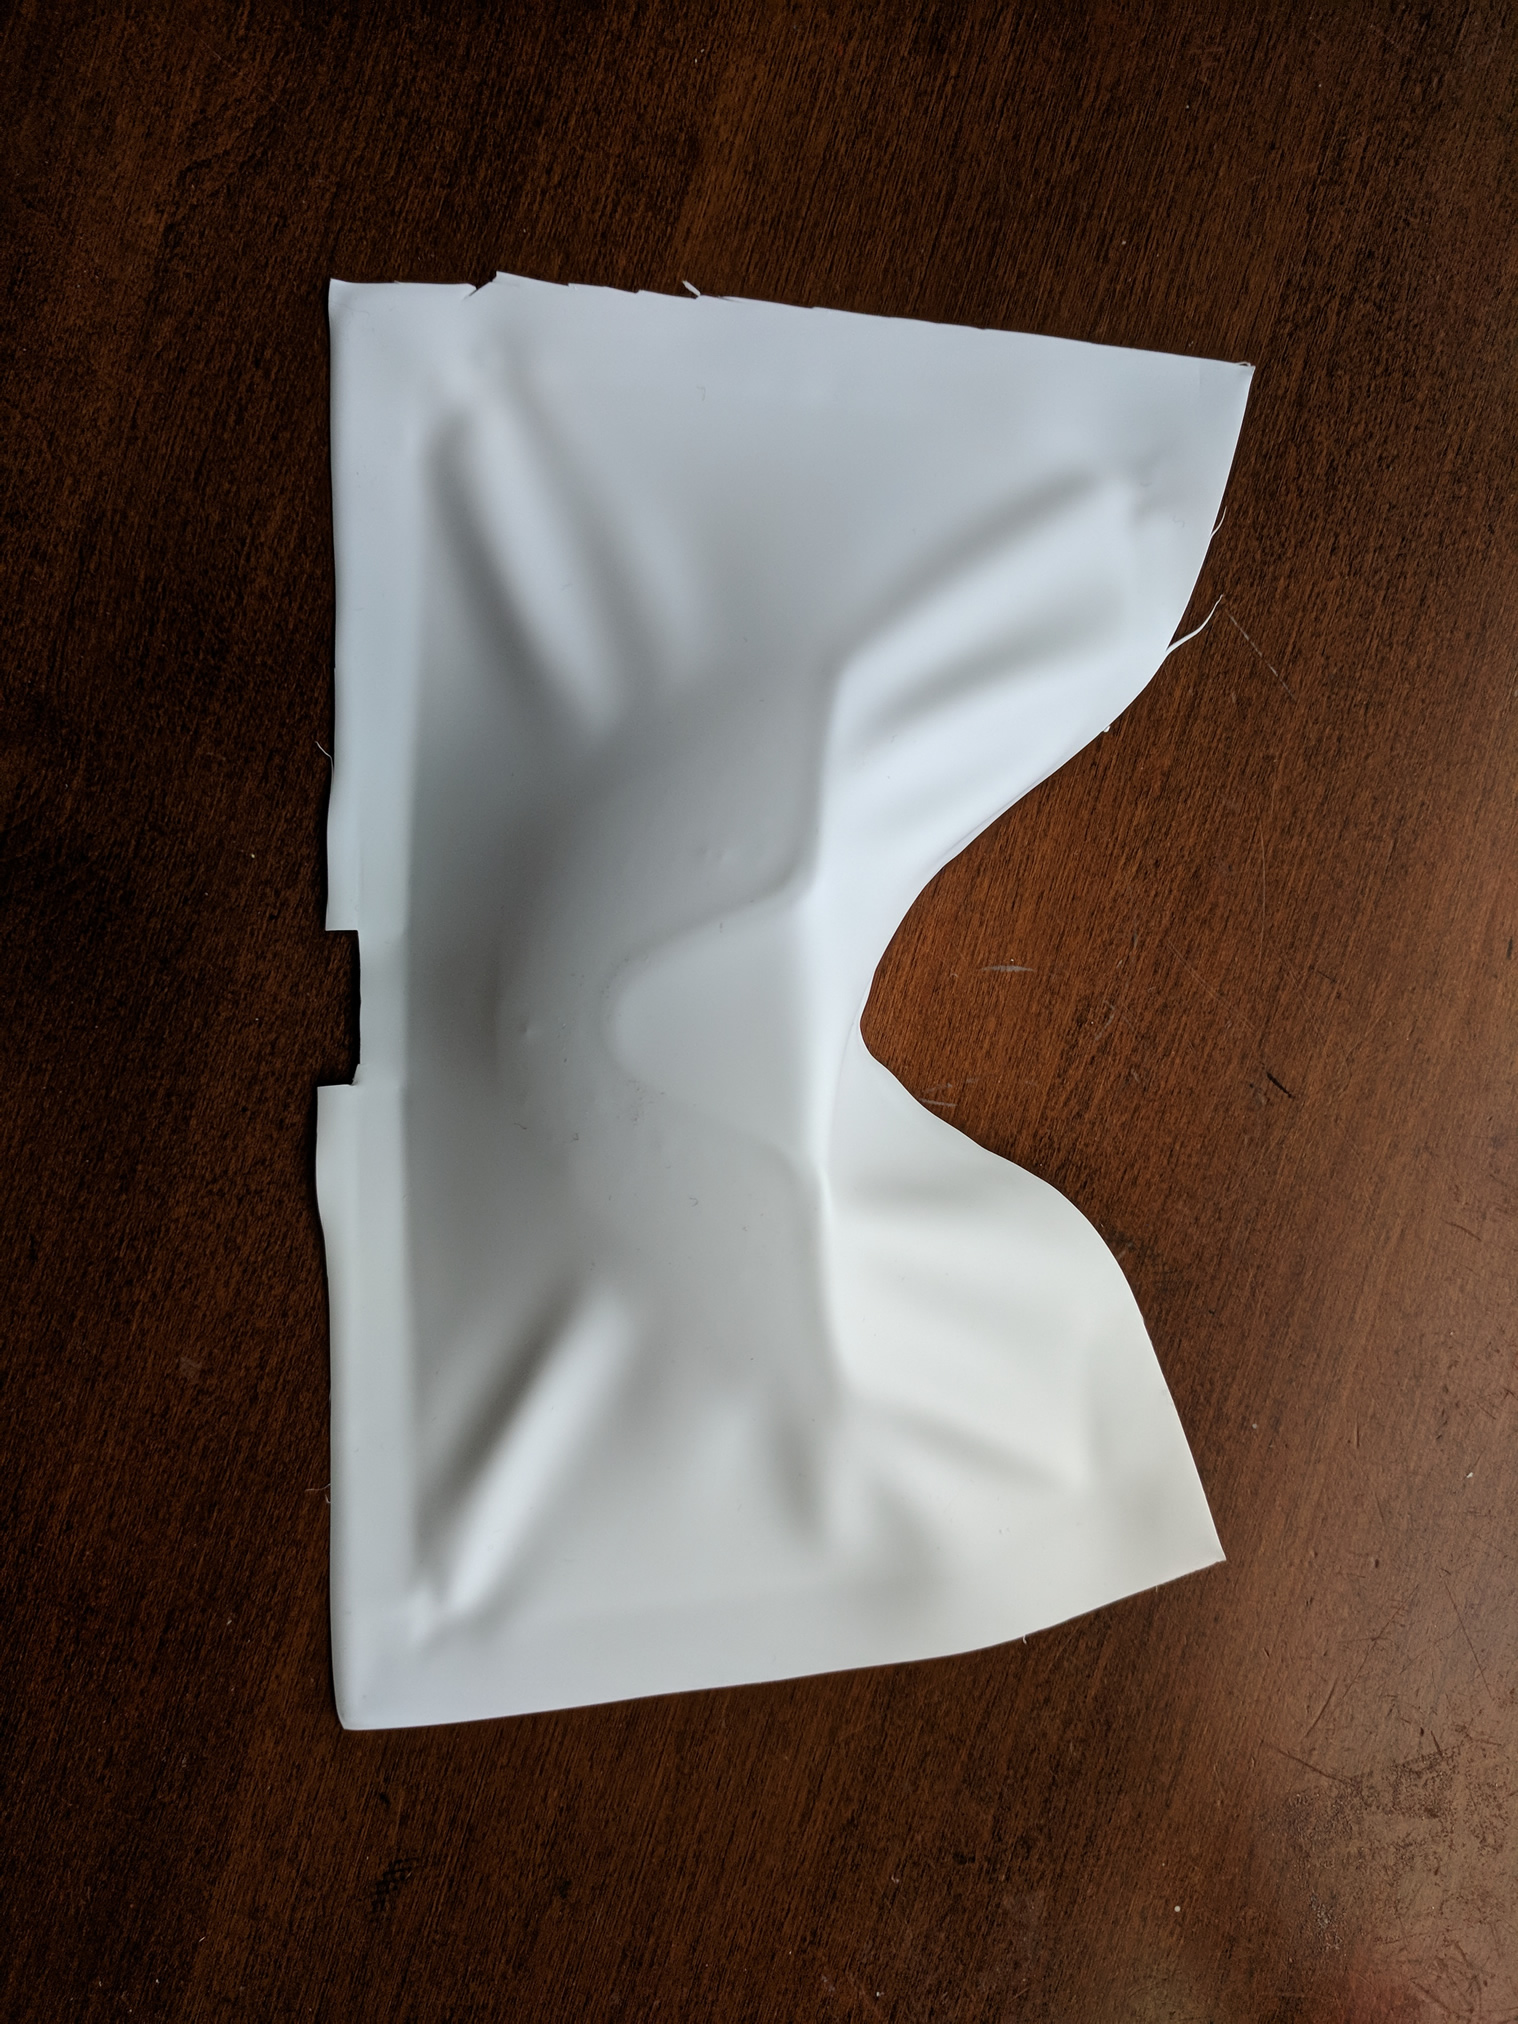
The third attempt is with two frames and one hinge near the alignment notch. The hinge is adjusted to be very tight so the clamping force near the area is ensured. Also, a narrow cut is done to the hinge area to extend the material for better clamping. The heating is much more successful this time. However, the glasses model is too tall for the process which pulls the sheet off the frame eventually.
Next Step
A week already passed by making all these tools which proved not that successful. However, vacuum forming seems promising for the project. We will be moving to the professional school machine for next model and the main remaining work is making the model, the one on the vacuum table, out of heat resistant materials.
]]>Deep Dream Basics
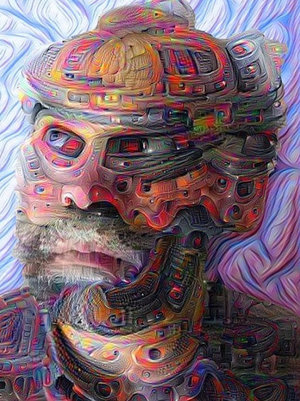
The essential idea how deep dream apply the style to the image is quite simple. The algorithm run over an image array and generate RGB delta of each pixel based on the original value. Then, this value is recursively enhanced by apply same technique again and again. Essentially, the out equals to original pixel value plus deep dream delta.
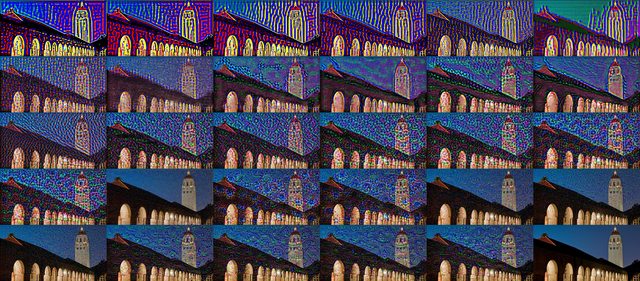
Image Blending Issue
Based on above information, instead of using alpha blending on two generated images, which can lead to significant “ghost” artifacts, we can simple dream on different style with various iterations. For example, instead of alpha blend two images from style A, 70% alpha, 10 iterations to B, 30% alpha, 10 iterations, we can simply apply A style iteration 7 times, then B style iteration 3 times recursively on the same image.
The only issue about this new method is the order of the iterations. They can be mixed ABABA, BAAAA or BBBAA, AAAAA or AAAAA, AABBB. The results from these methods will be different. An evaluation of the results will be required after the code is done.
Temporal Coherence
This issue has already been addressed again and again. Previously, by using optical flow to direct the dreaming is regarded to be one of the best solutions. However, detailed implementation is unknown. Now, we can finally apply the vector results from the optical flow to the deep dream delta result to redirect the result.
One concern is we still want the dream progress based on time. For example, if a sun moving from left to right, the expected results say a flam texture is gradually evolving while the sun is moving instead of a fixed texture on the location where the sun is. In that way, one evaluation must be done to test will slight different from the source image make a huge change for the final dreamed result. Only if it is negative, we might further utilize the optical flow method mentioned.
AI Avatar Meeting
I also attended the other meeting about an AI avatar program, an immersive talk bot. Few challenges are addressed there including:
- Implementing more XML command to adjust talking environment light, avatar body movement etc.
- Build a queue system to handle multiple gestures if they overlap together
- Research potential solution move the project to Unity
In the future, I may also help out the team to do some programming about above issues.
]]>
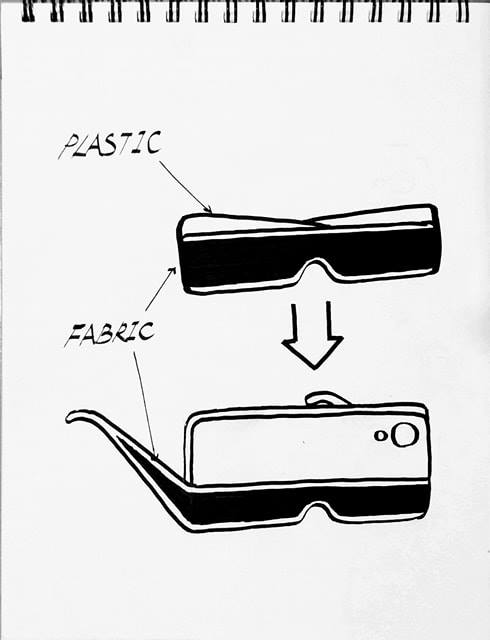
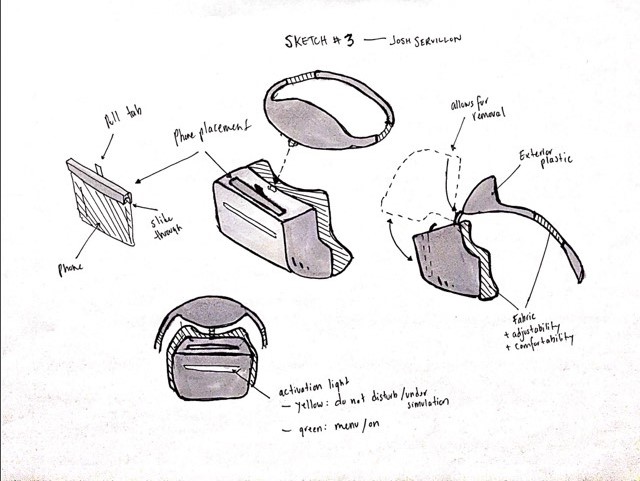
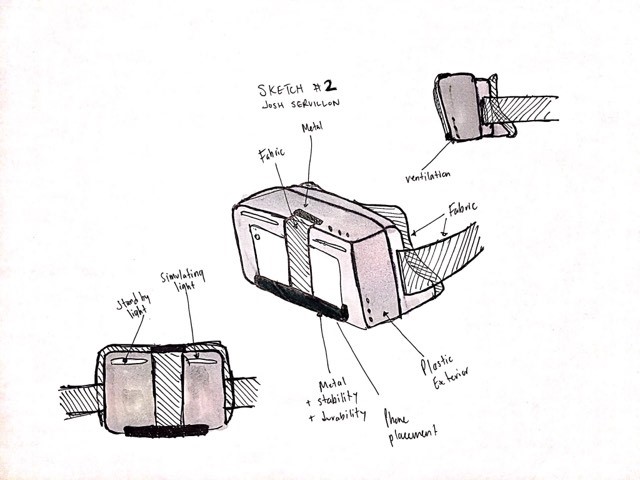

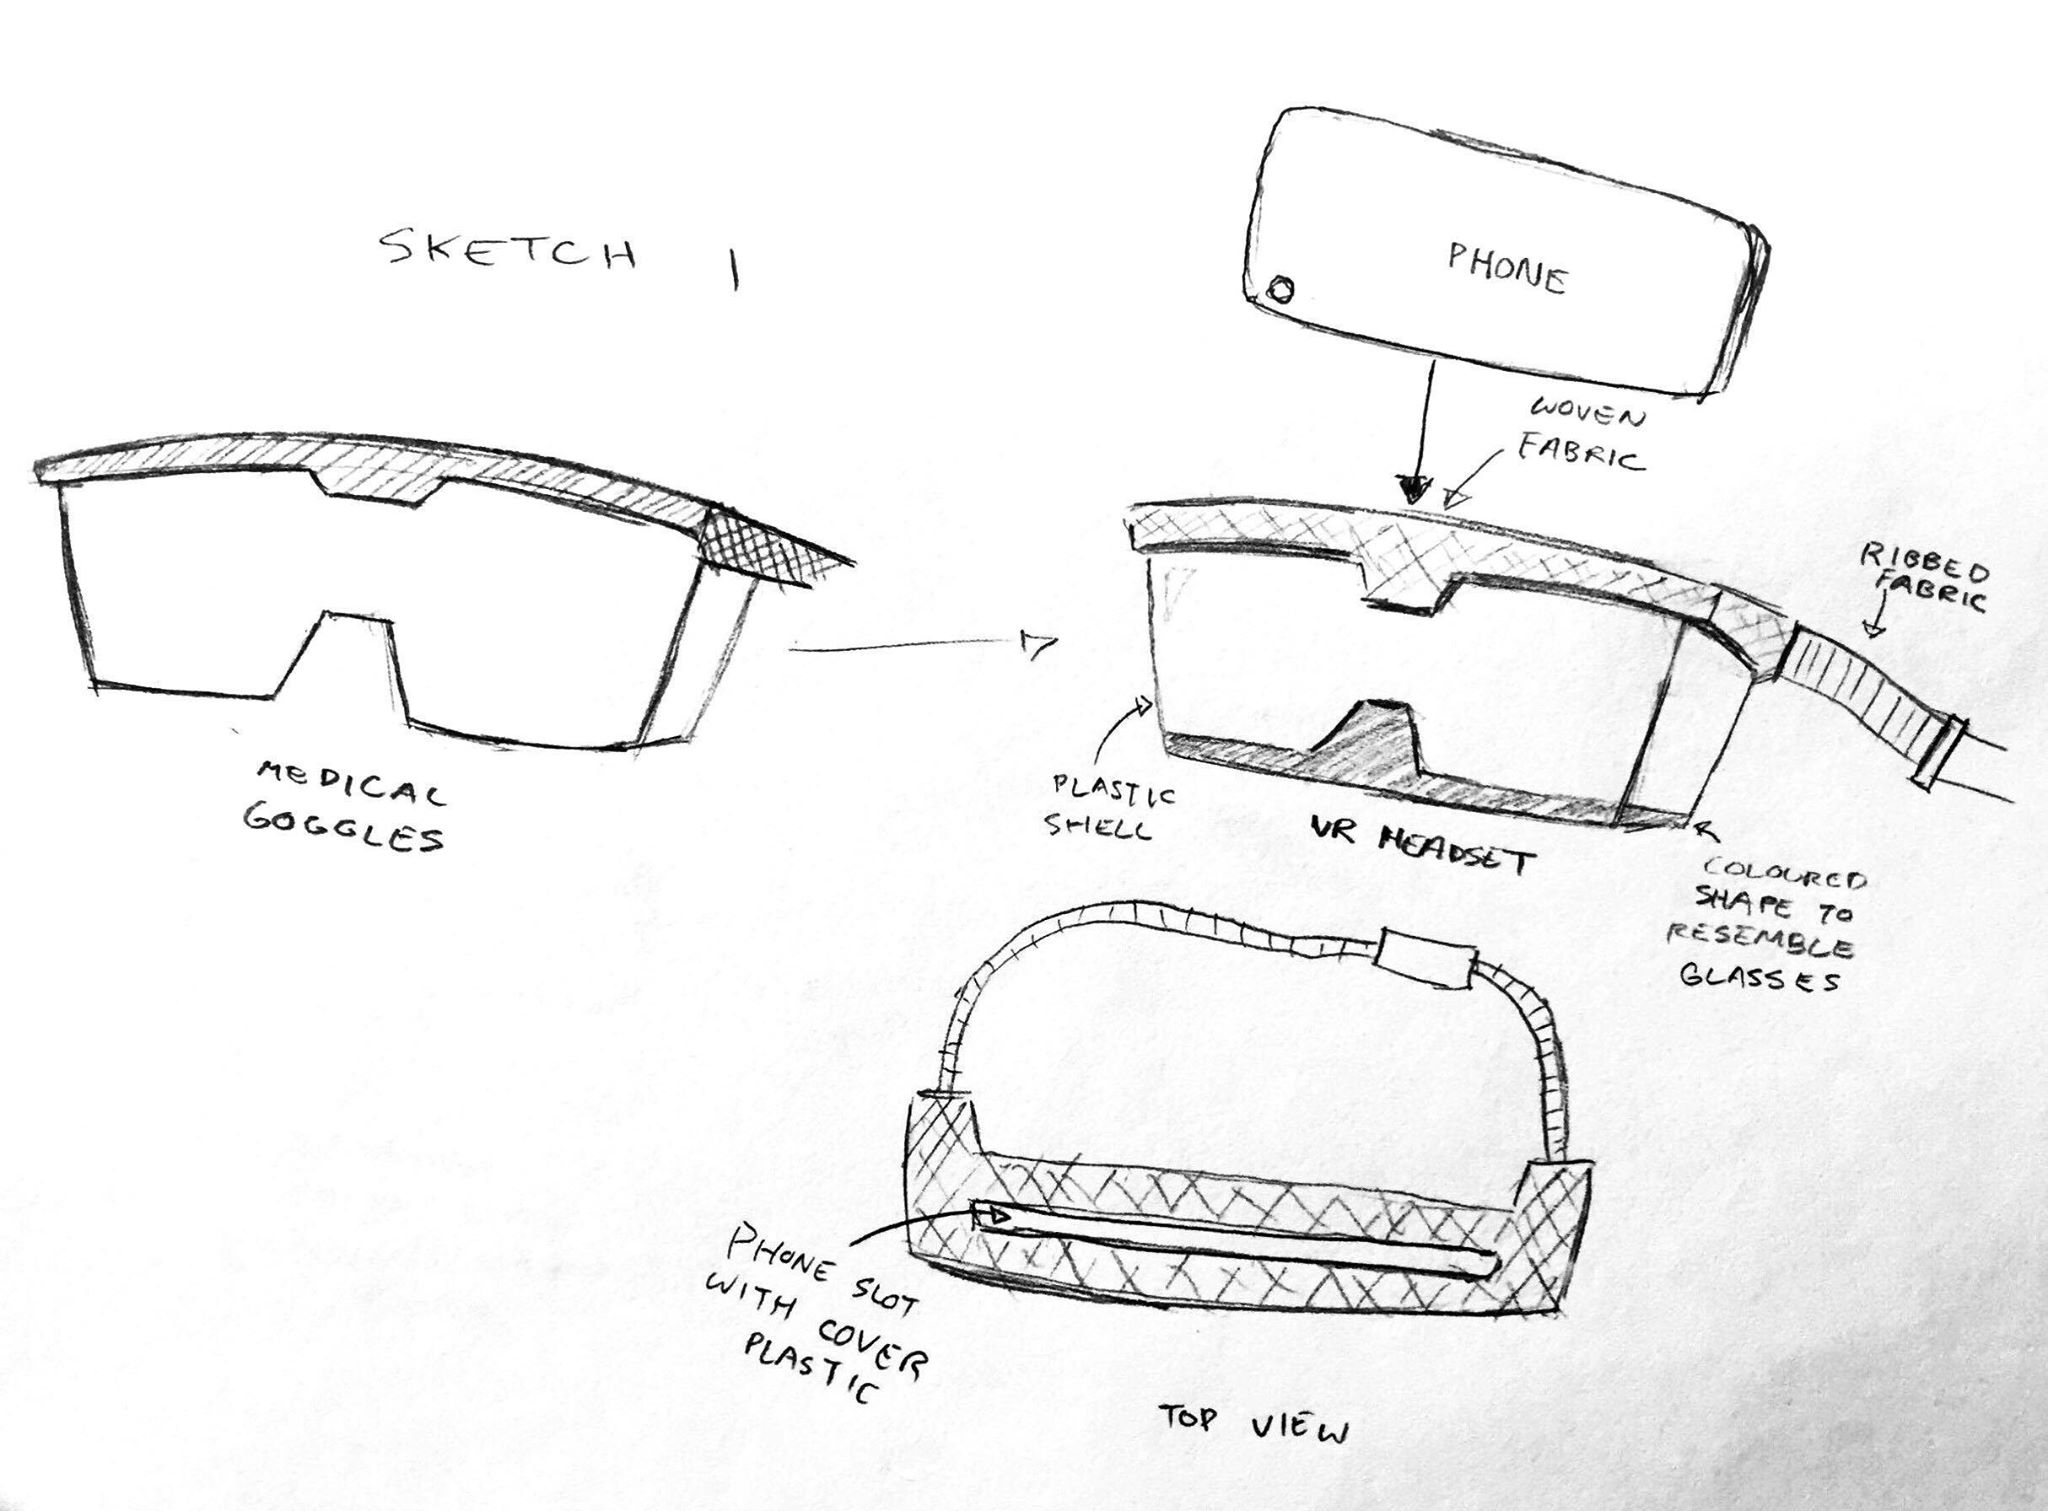

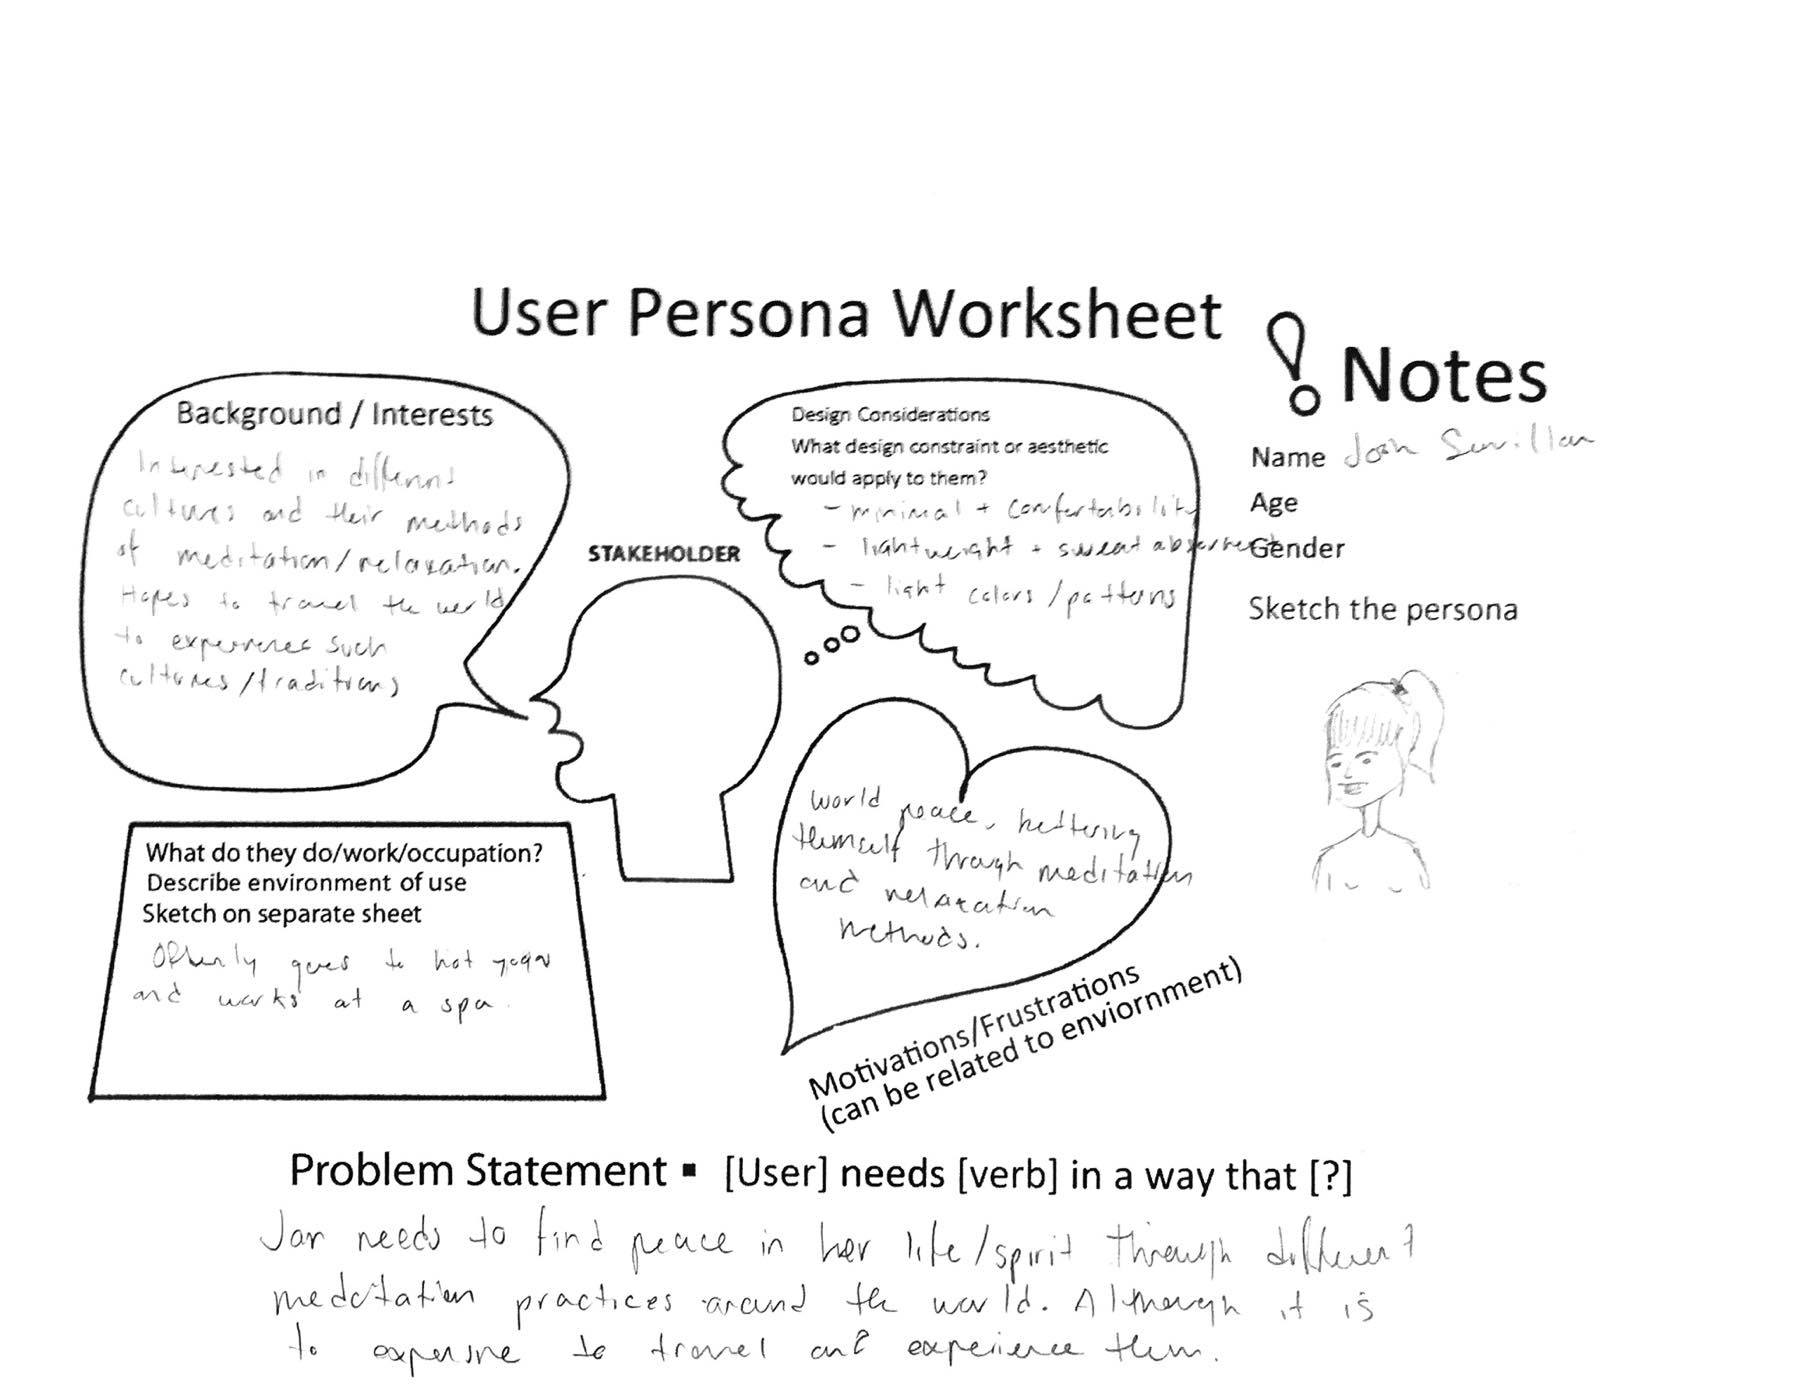
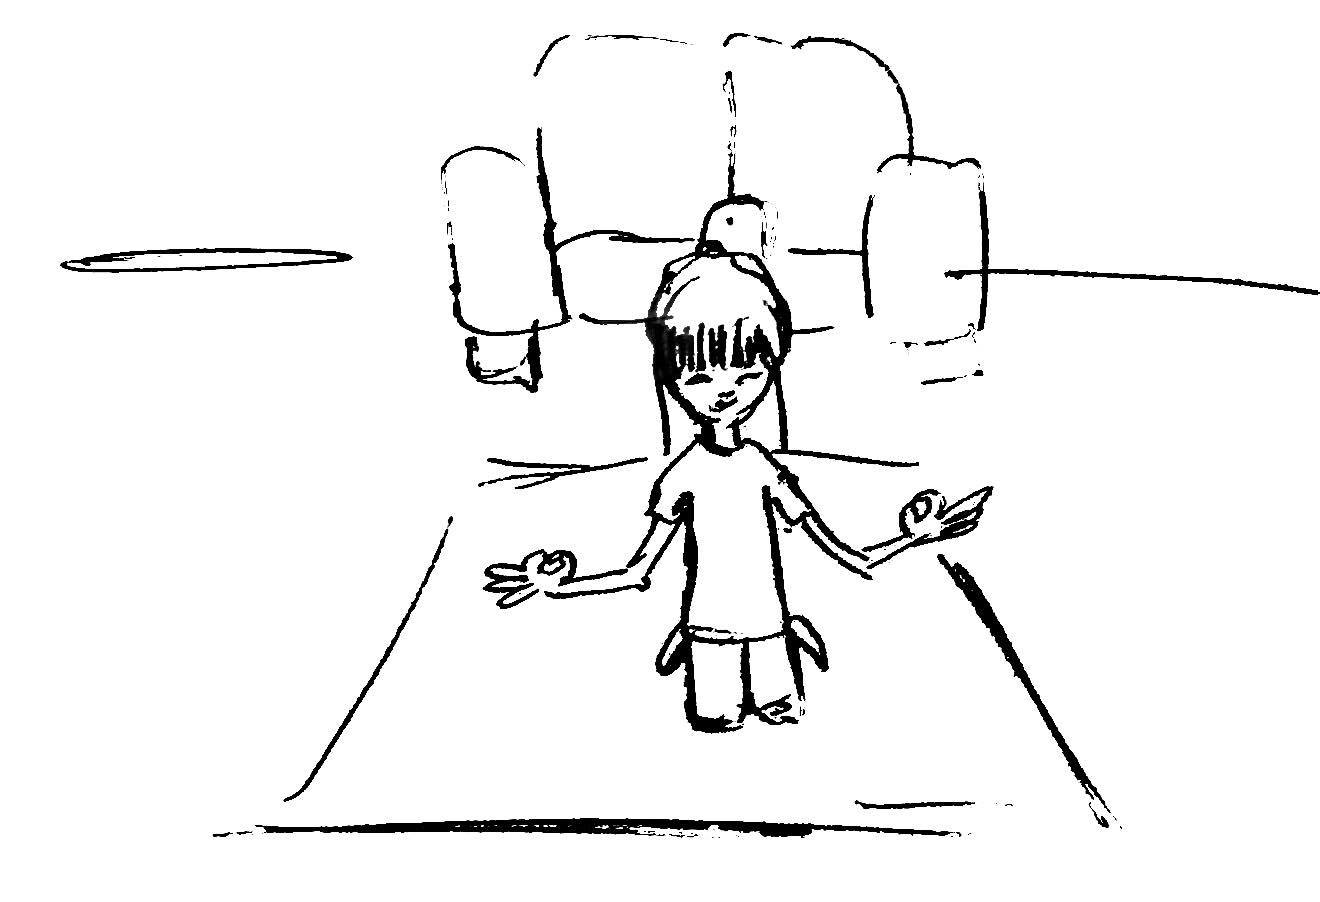
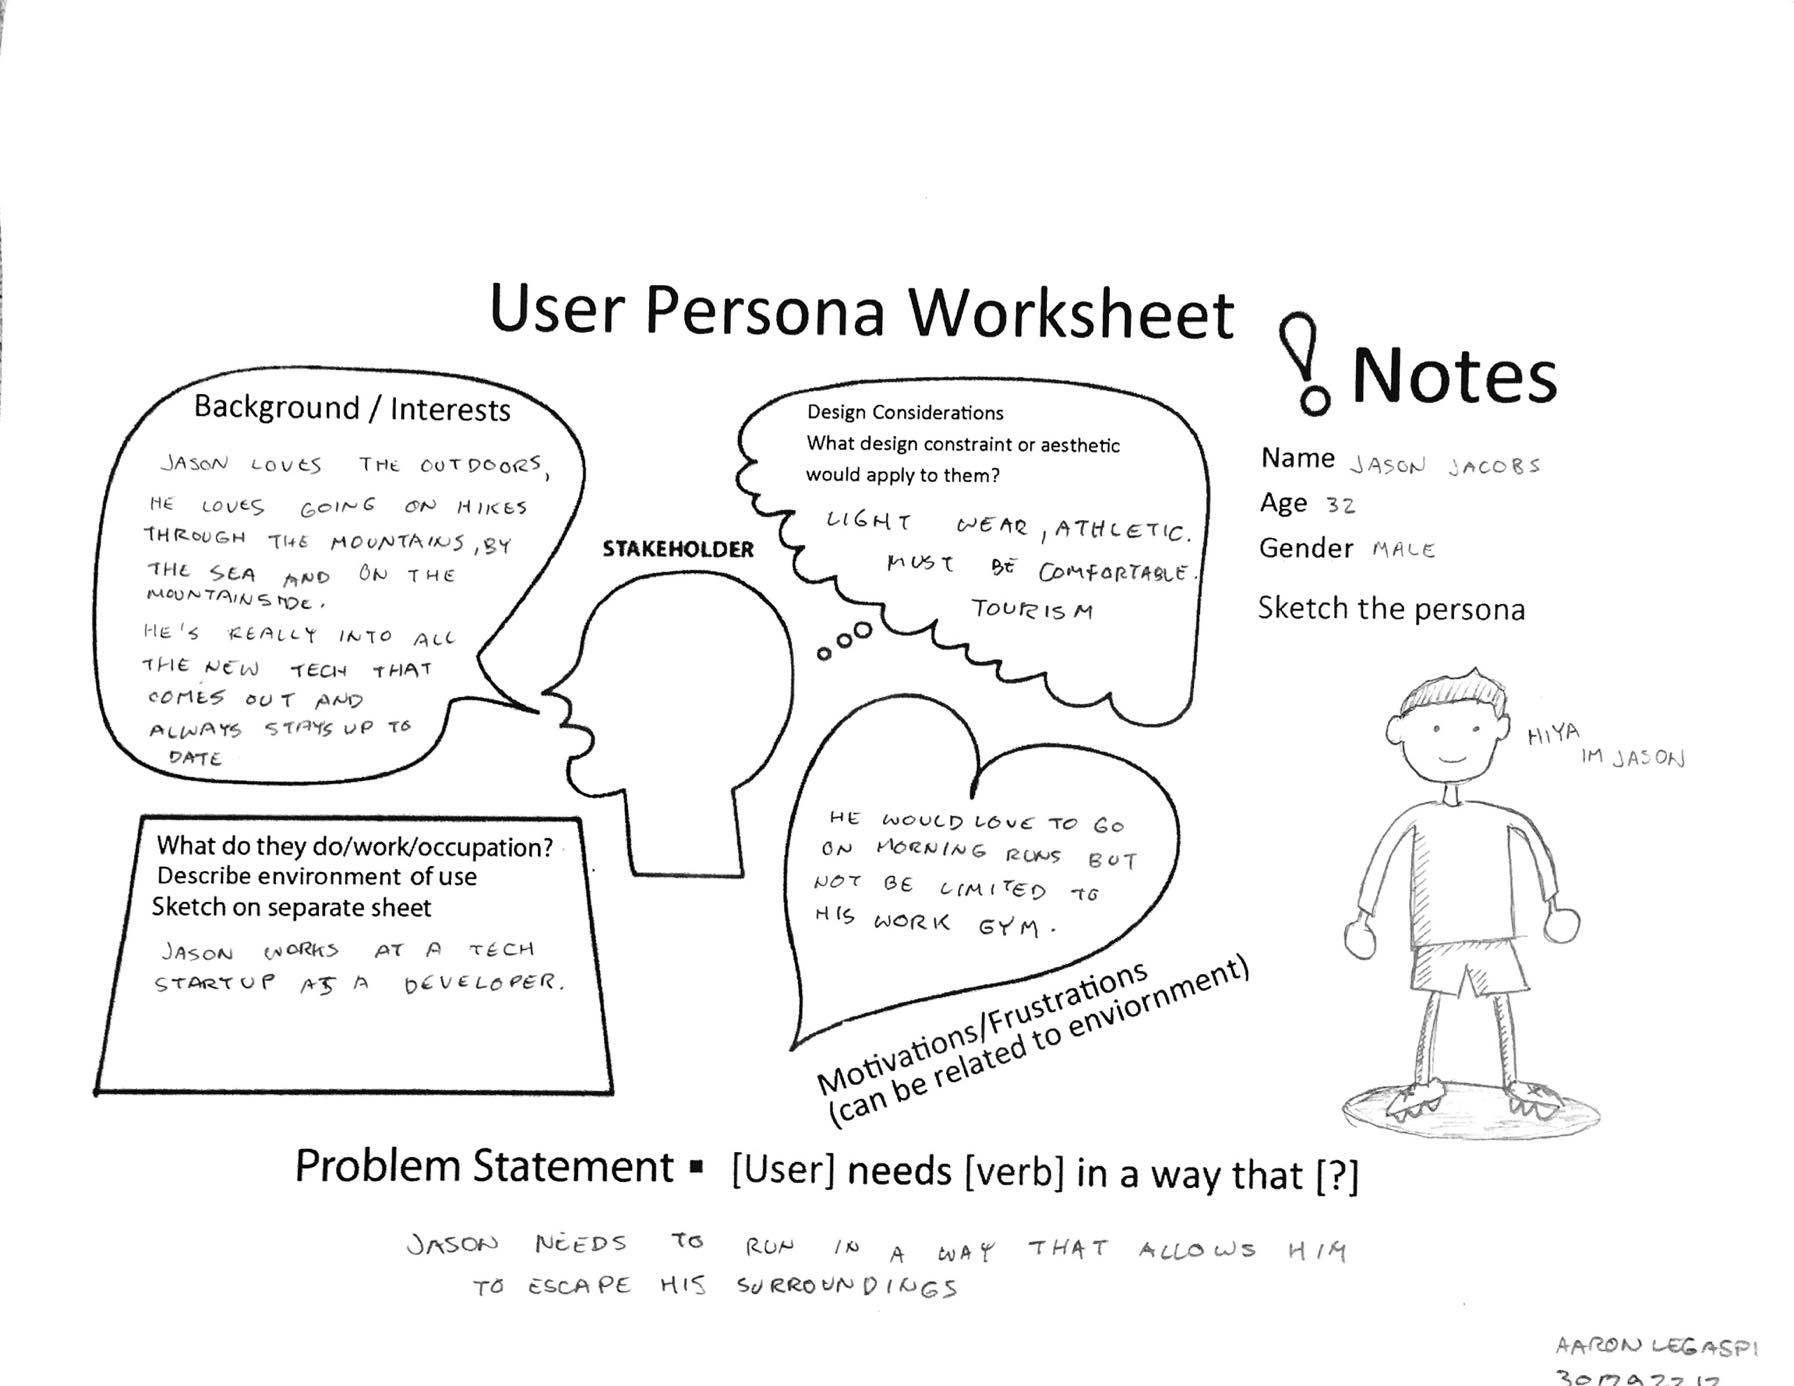
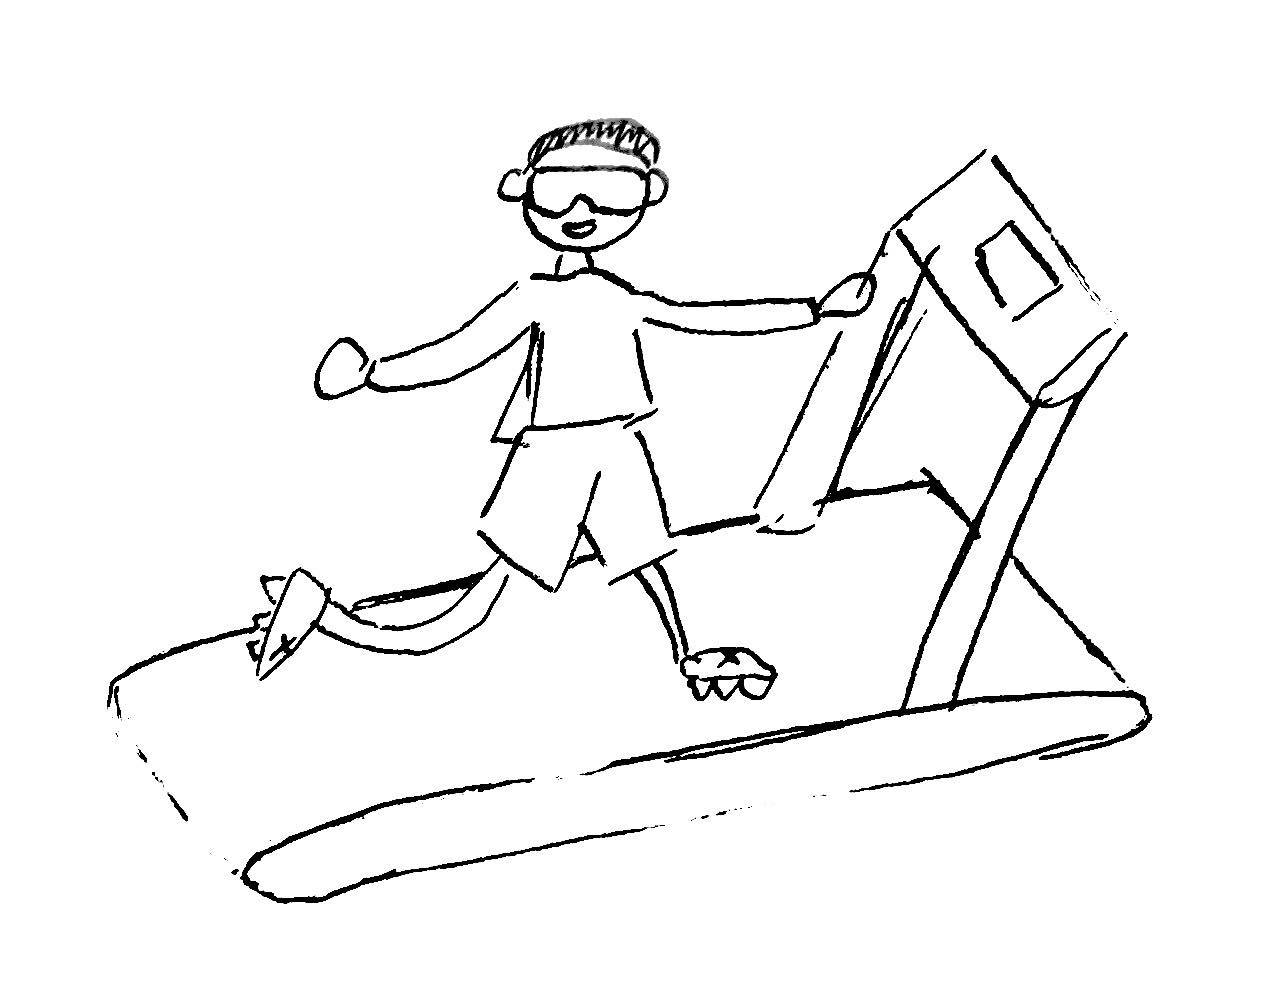
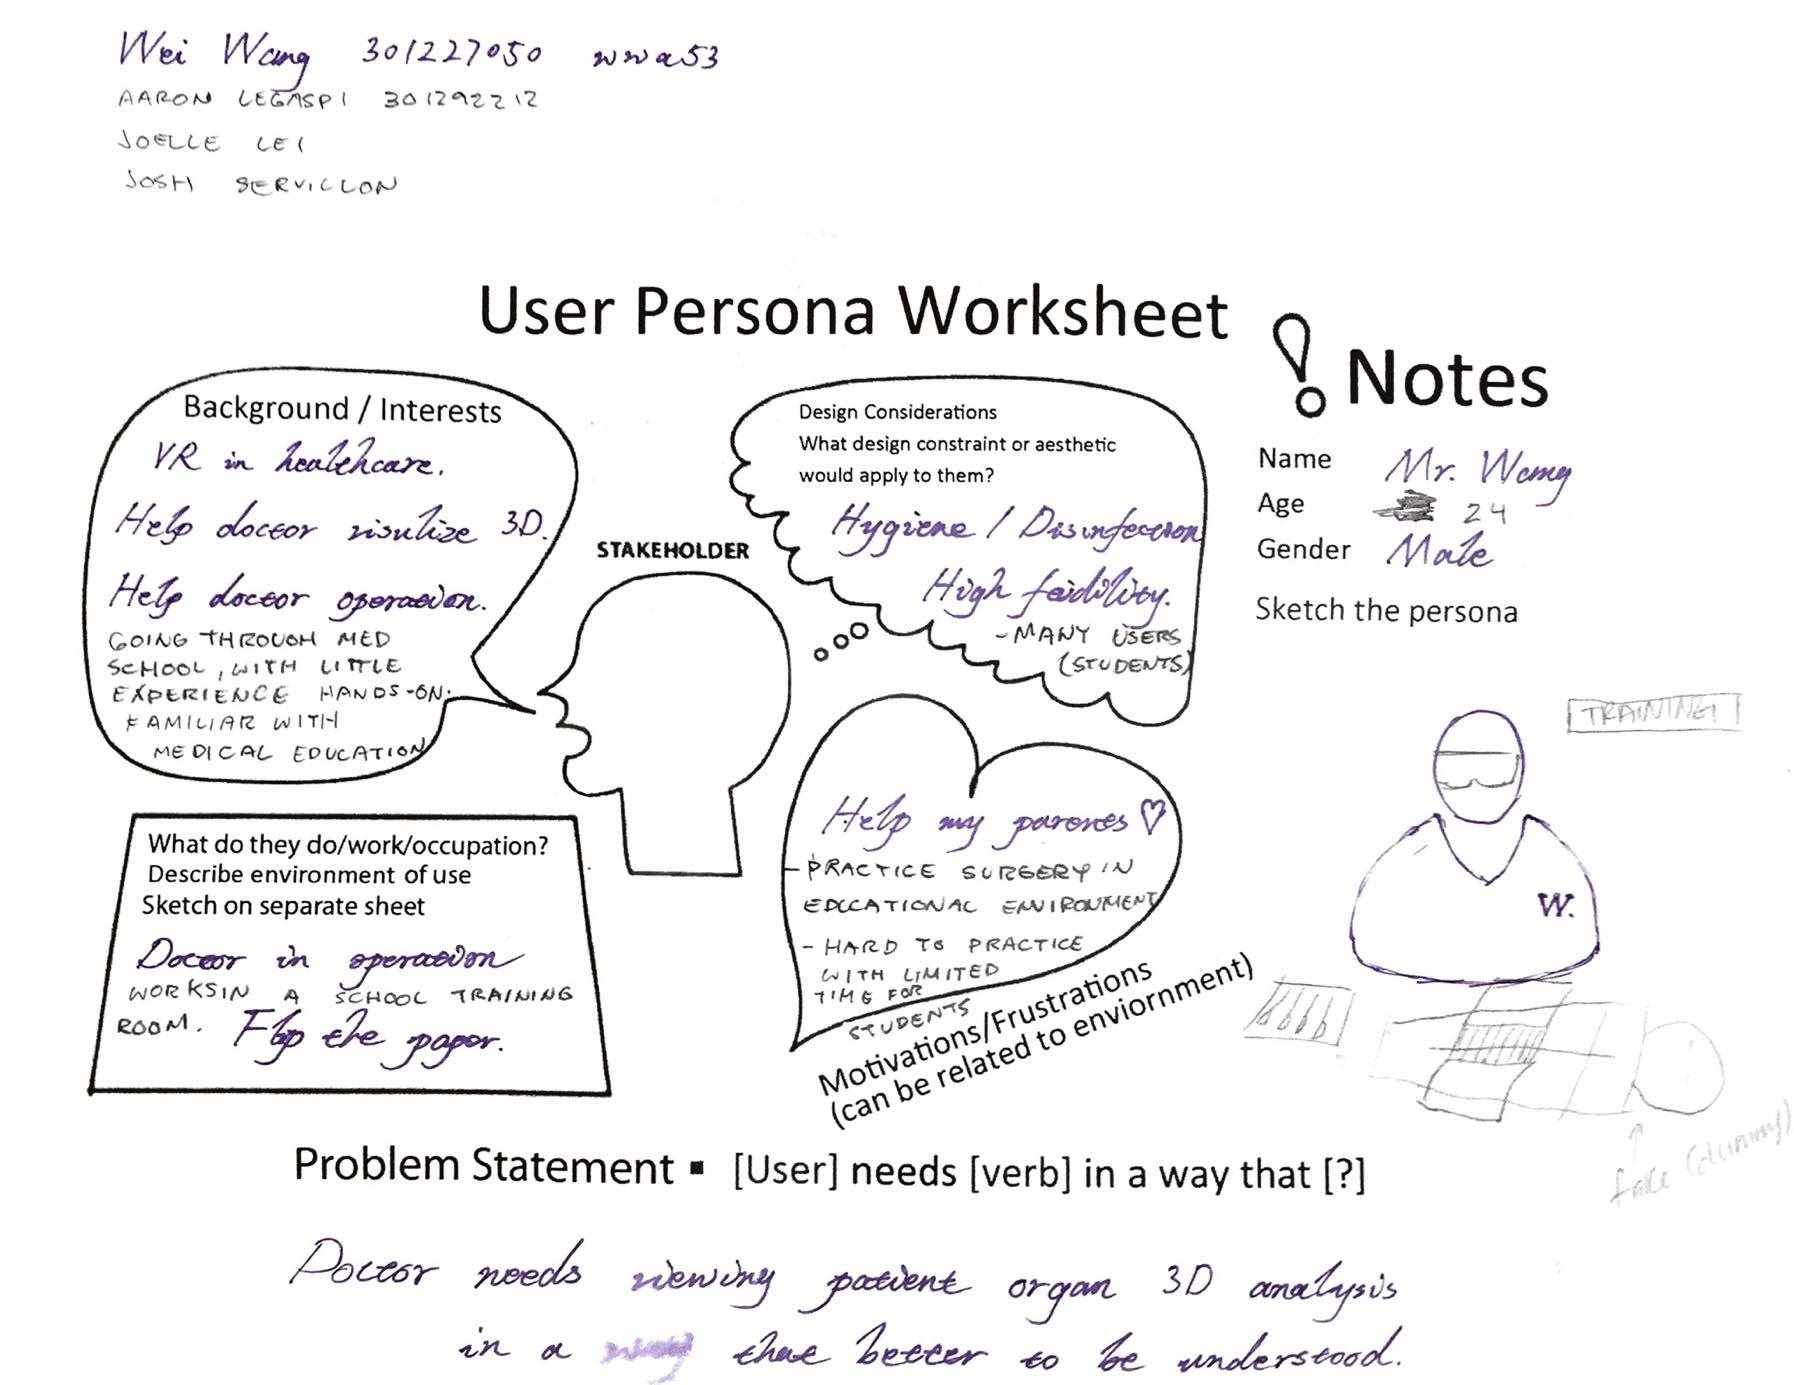
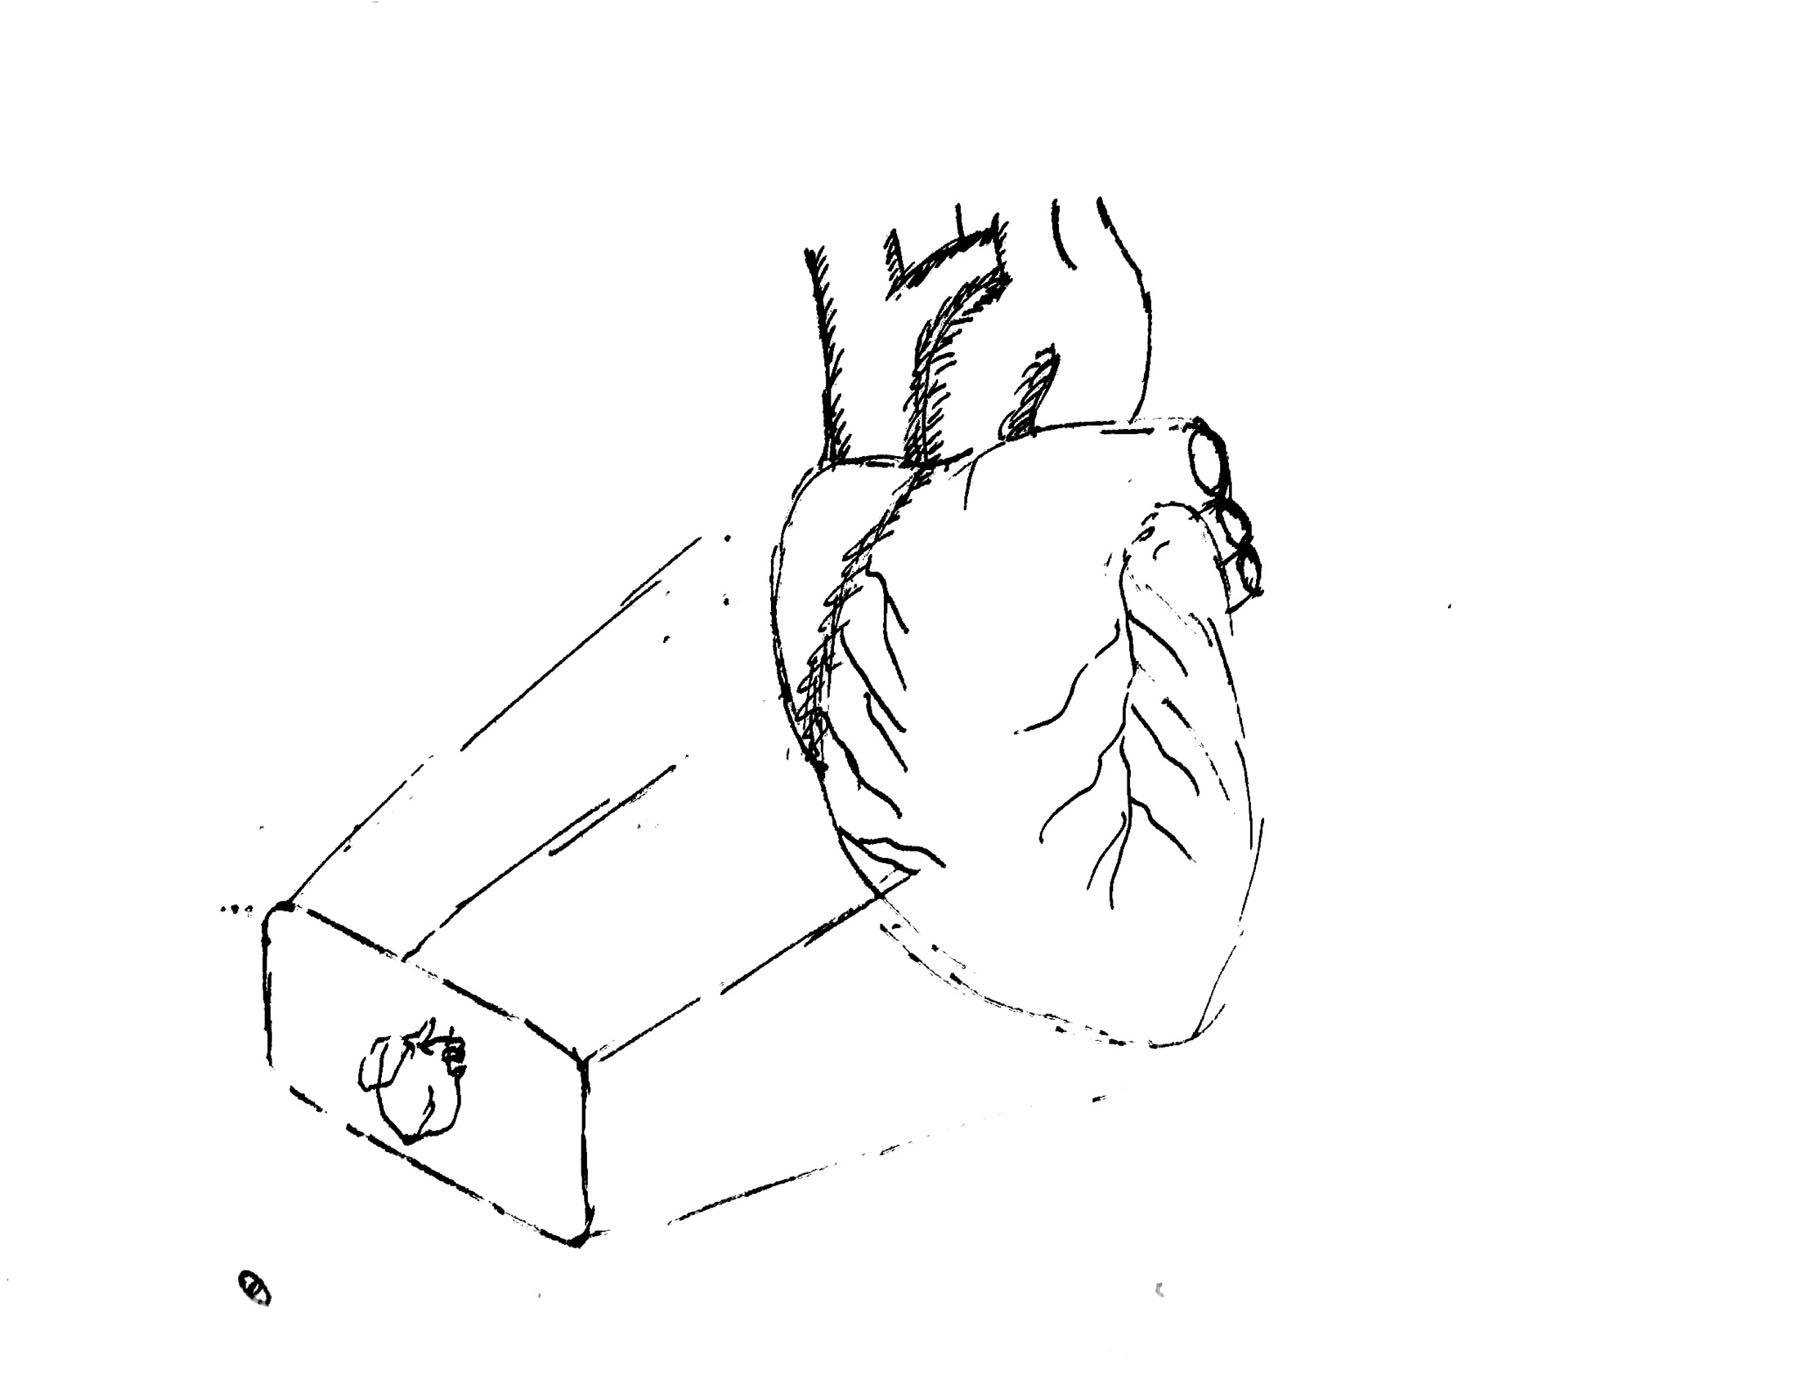
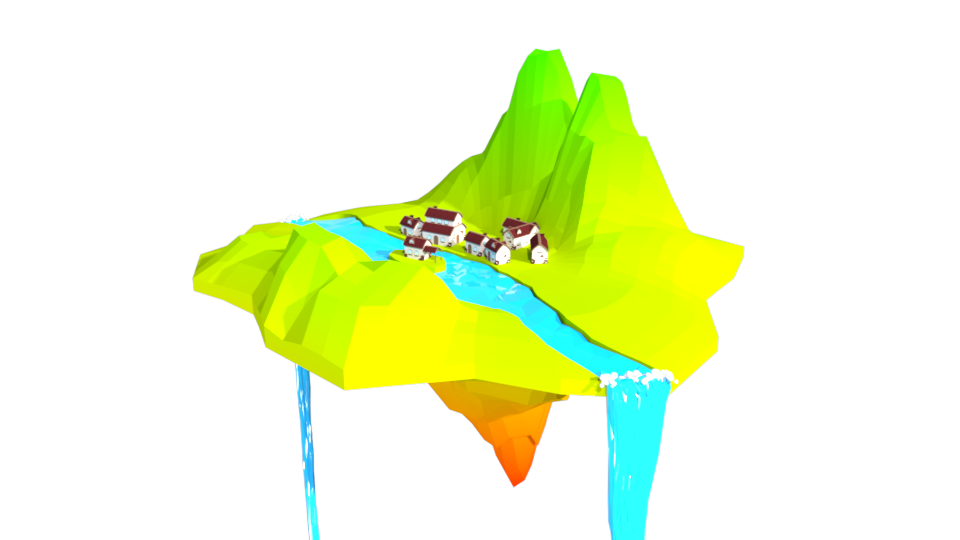
Finalized Idea: Medical Training


Iteration & Octave Interpolation
As mentioned in the previous post, iteration and octave are added by a new parameter pointing to a CSV file as follow:
frame,iteration,octave,layer
33,15,5,Layer
66,5,30,Layer
99,30,10,Layer
These values then can be interpolated linearly or by other models to generate a tuple list with the corresponding iteration, octave, layer (not implemented yet). Every two rows will be processed in one iteration which marks the start and the end of one keyframe section. One trick here is if the first keyframe is not starting from frame 1, the assumption is made that anything between frame 1 and this keyframe will have same iteration, octave, and layer. Same thing applies to the last keyframe and the last frame. The code sample is as follow:
# Must add one extra since frame start from 1 rather than 0
keyFrames = [(iterations, octaves)] * (int(totalFrame) + 1)
if key_frames is not None:
    with key_frames as csvfile:

        # Get first line to decide if the first frame is defined
        reader = csv.reader(csvfile, delimiter=',', quotechar='\'')
        reader = csv.reader(csvfile, delimiter=',', quotechar='\'')
        next(reader, None) # Skip the header
        firstLine = next(reader, None)
        if firstLine[0] != '1':
            previousRow = firstLine
            previousRow[0] = '1'
        else:
            previousRow = ''

        # Rewind the reader and read line by line
        csvfile.seek(0)
        next(reader, None) # Skip the header
        for row in reader:
            if previousRow != '':
                interpolate(keyFrames, previousRow, row, 'Linear')
            previousRow = row

        # Check last line and end interpolation properly
        if row[0] != str(totalFrame):
            lastRow = row[:]
            lastRow[0] = str(totalFrame)
            interpolate(keyFrames, row, lastRow, 'Linear')
After these sections are prepared, interpolation function is called. Currently, only the simple linear model is implemented where more advanced ones can be introduced in the future. One thing should keep in mind is that frame always starts from 1 rather than 0. The code sample is as follow:
def interpolate(
    keyFrames,
    previousRow,
    currentRow,
    method
):
    iterationFragment = (float(currentRow[1]) - float(previousRow[1])) /\
                        (float(currentRow[0]) - float(previousRow[0]))
    octaveFragment = (float(currentRow[2]) - float(previousRow[2])) /\
                     (float(currentRow[0]) - float(previousRow[0]))
    for i in range(0, int(currentRow[0]) - int(previousRow[0]) + 1):
        iteration = str(int(float(previousRow[1]) + i * iterationFragment))
        octave = str(int(float(previousRow[2]) + i * octaveFragment))
        keyFrames[int(previousRow[0]) + i] = (iteration, octave)
About Python
Apparently, I’m a Python hater  One advice I’m always giving is do not start your programming career with Python. Reseason behind this is Python is such a different language compares to C-like style, fully adapt to Python will cause people difficult to move to other languages, i.e. I have friends tend to keep forgetting a variable need a type and how type casting works when moving from Python to others.
Other things are just pure basics, indentation rather than {}, don’t need to declare a variable before using it, no strict type. It literally dodged every single criterion where I think a good programming language should have. However, its “simplicity” and some well-supported science libraries made it gaining popularity in the research world. Nevertheless, one thing I learned from the past is if you are seriously thinking to work with one language style, you’d better choose the one pleasing you when writing.
]]>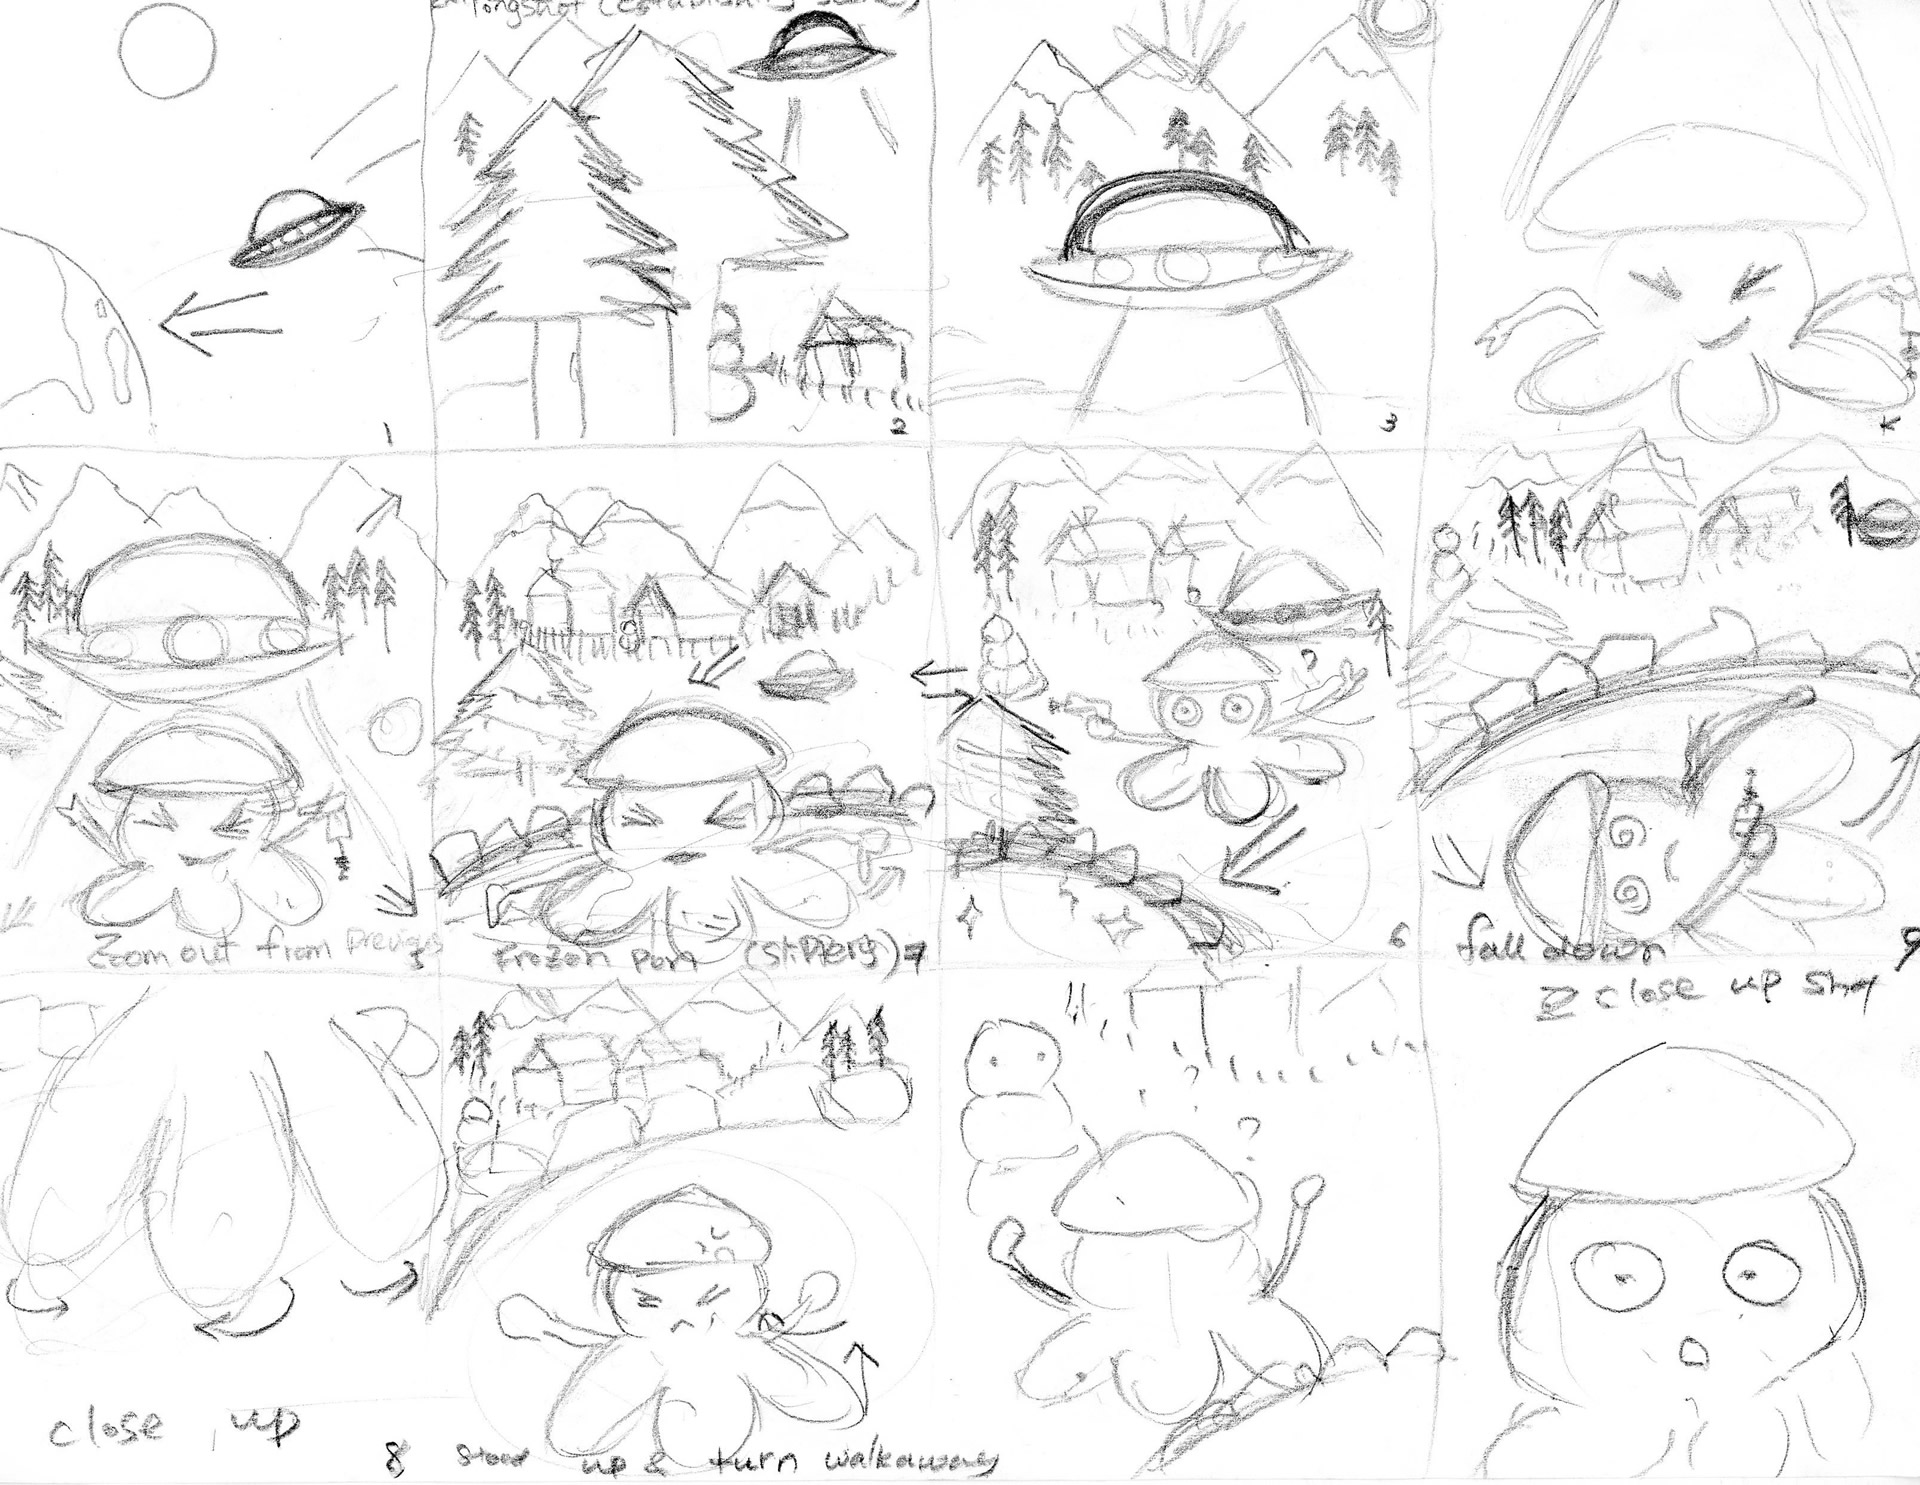
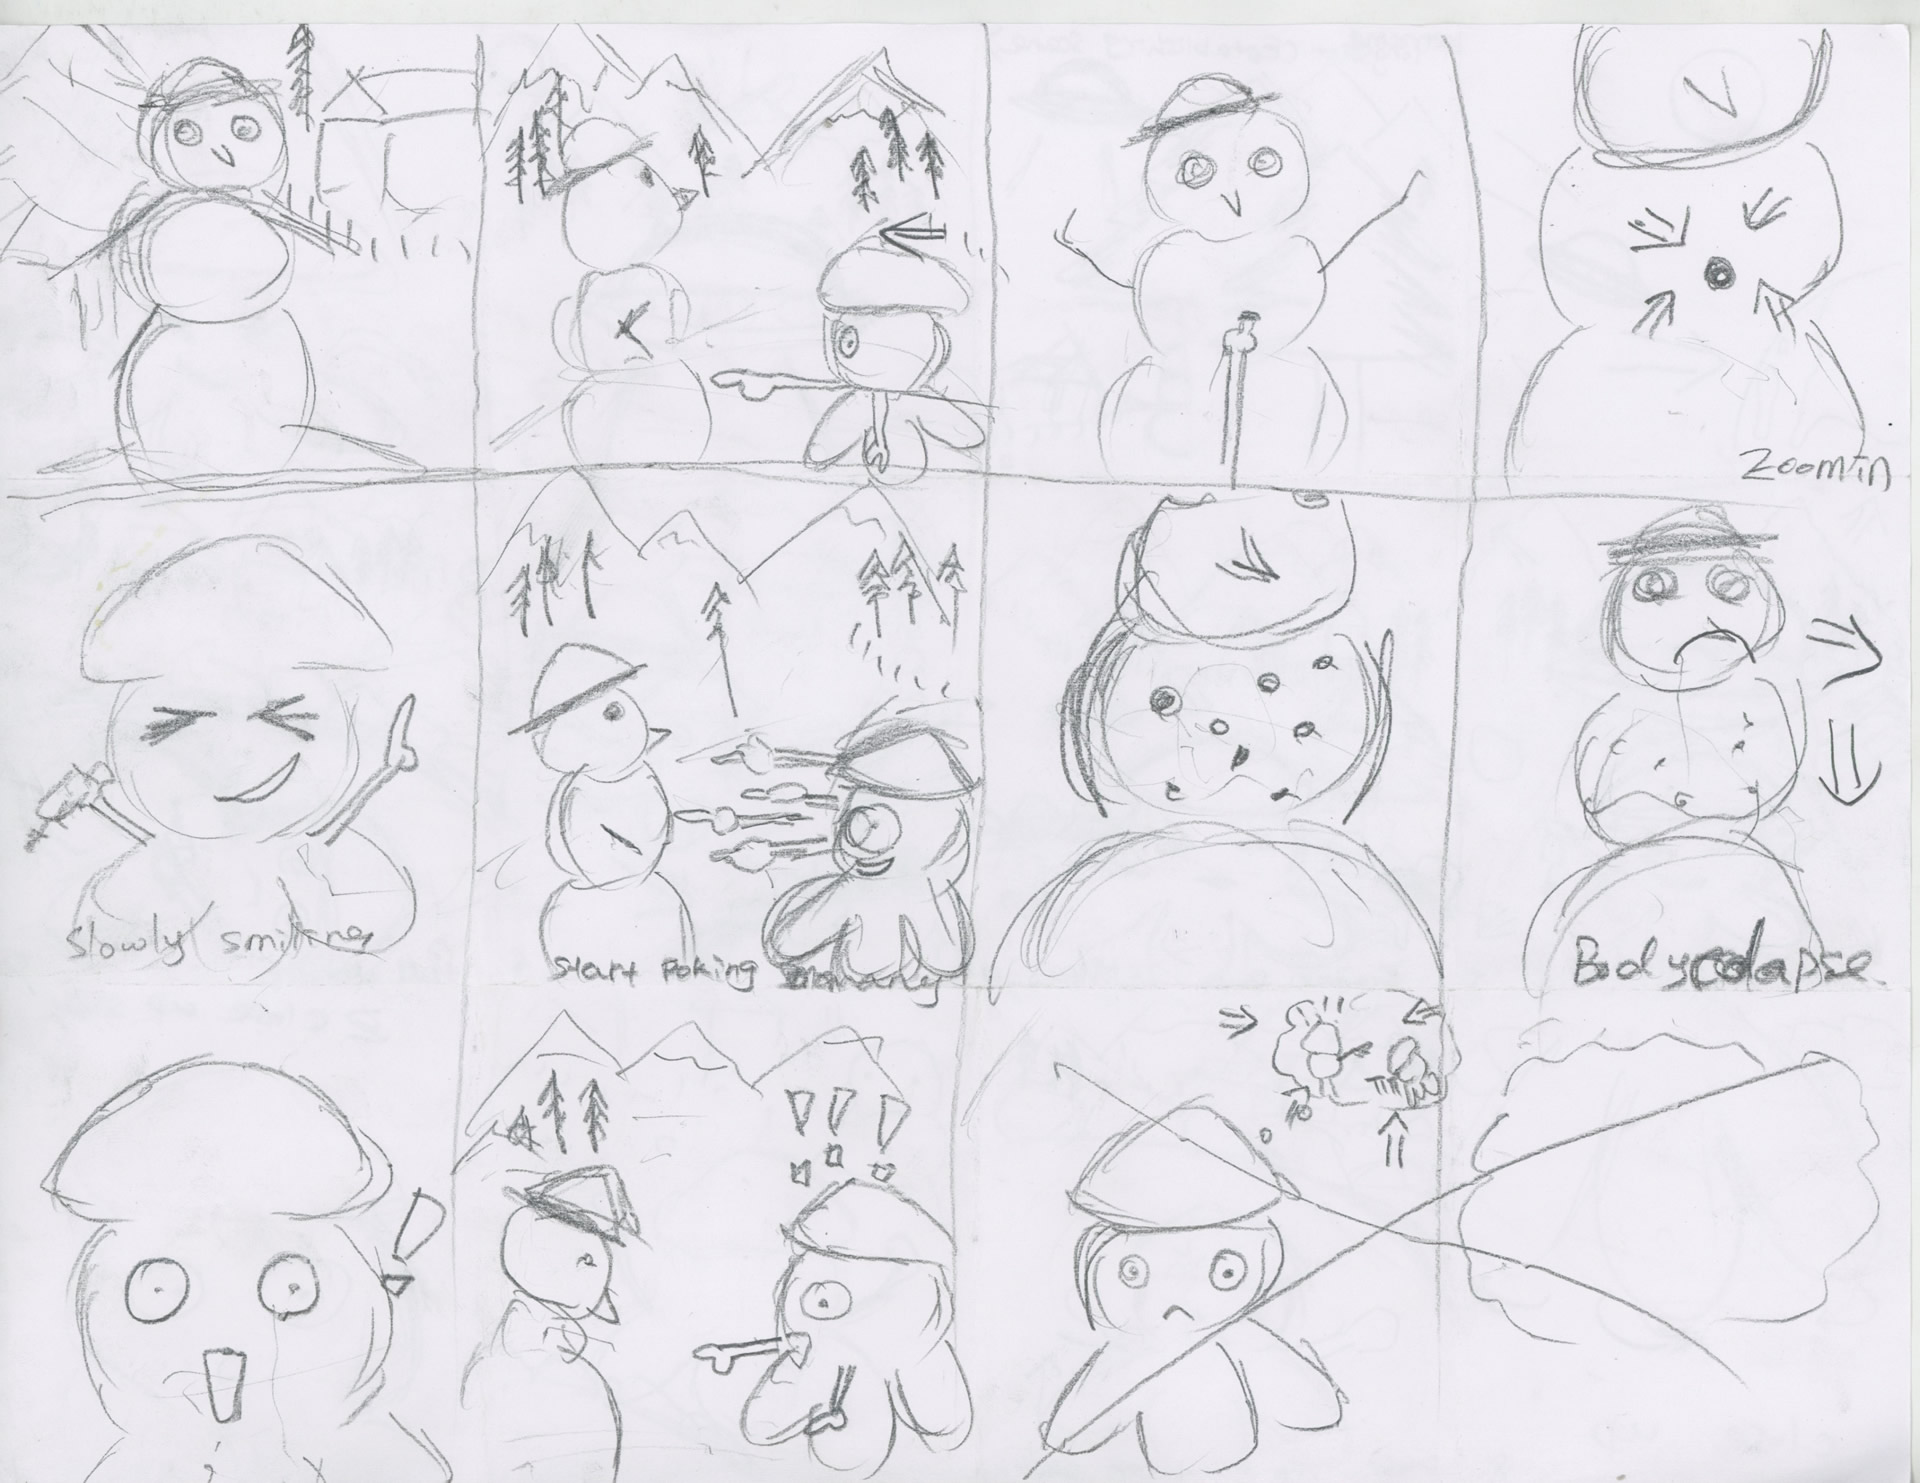
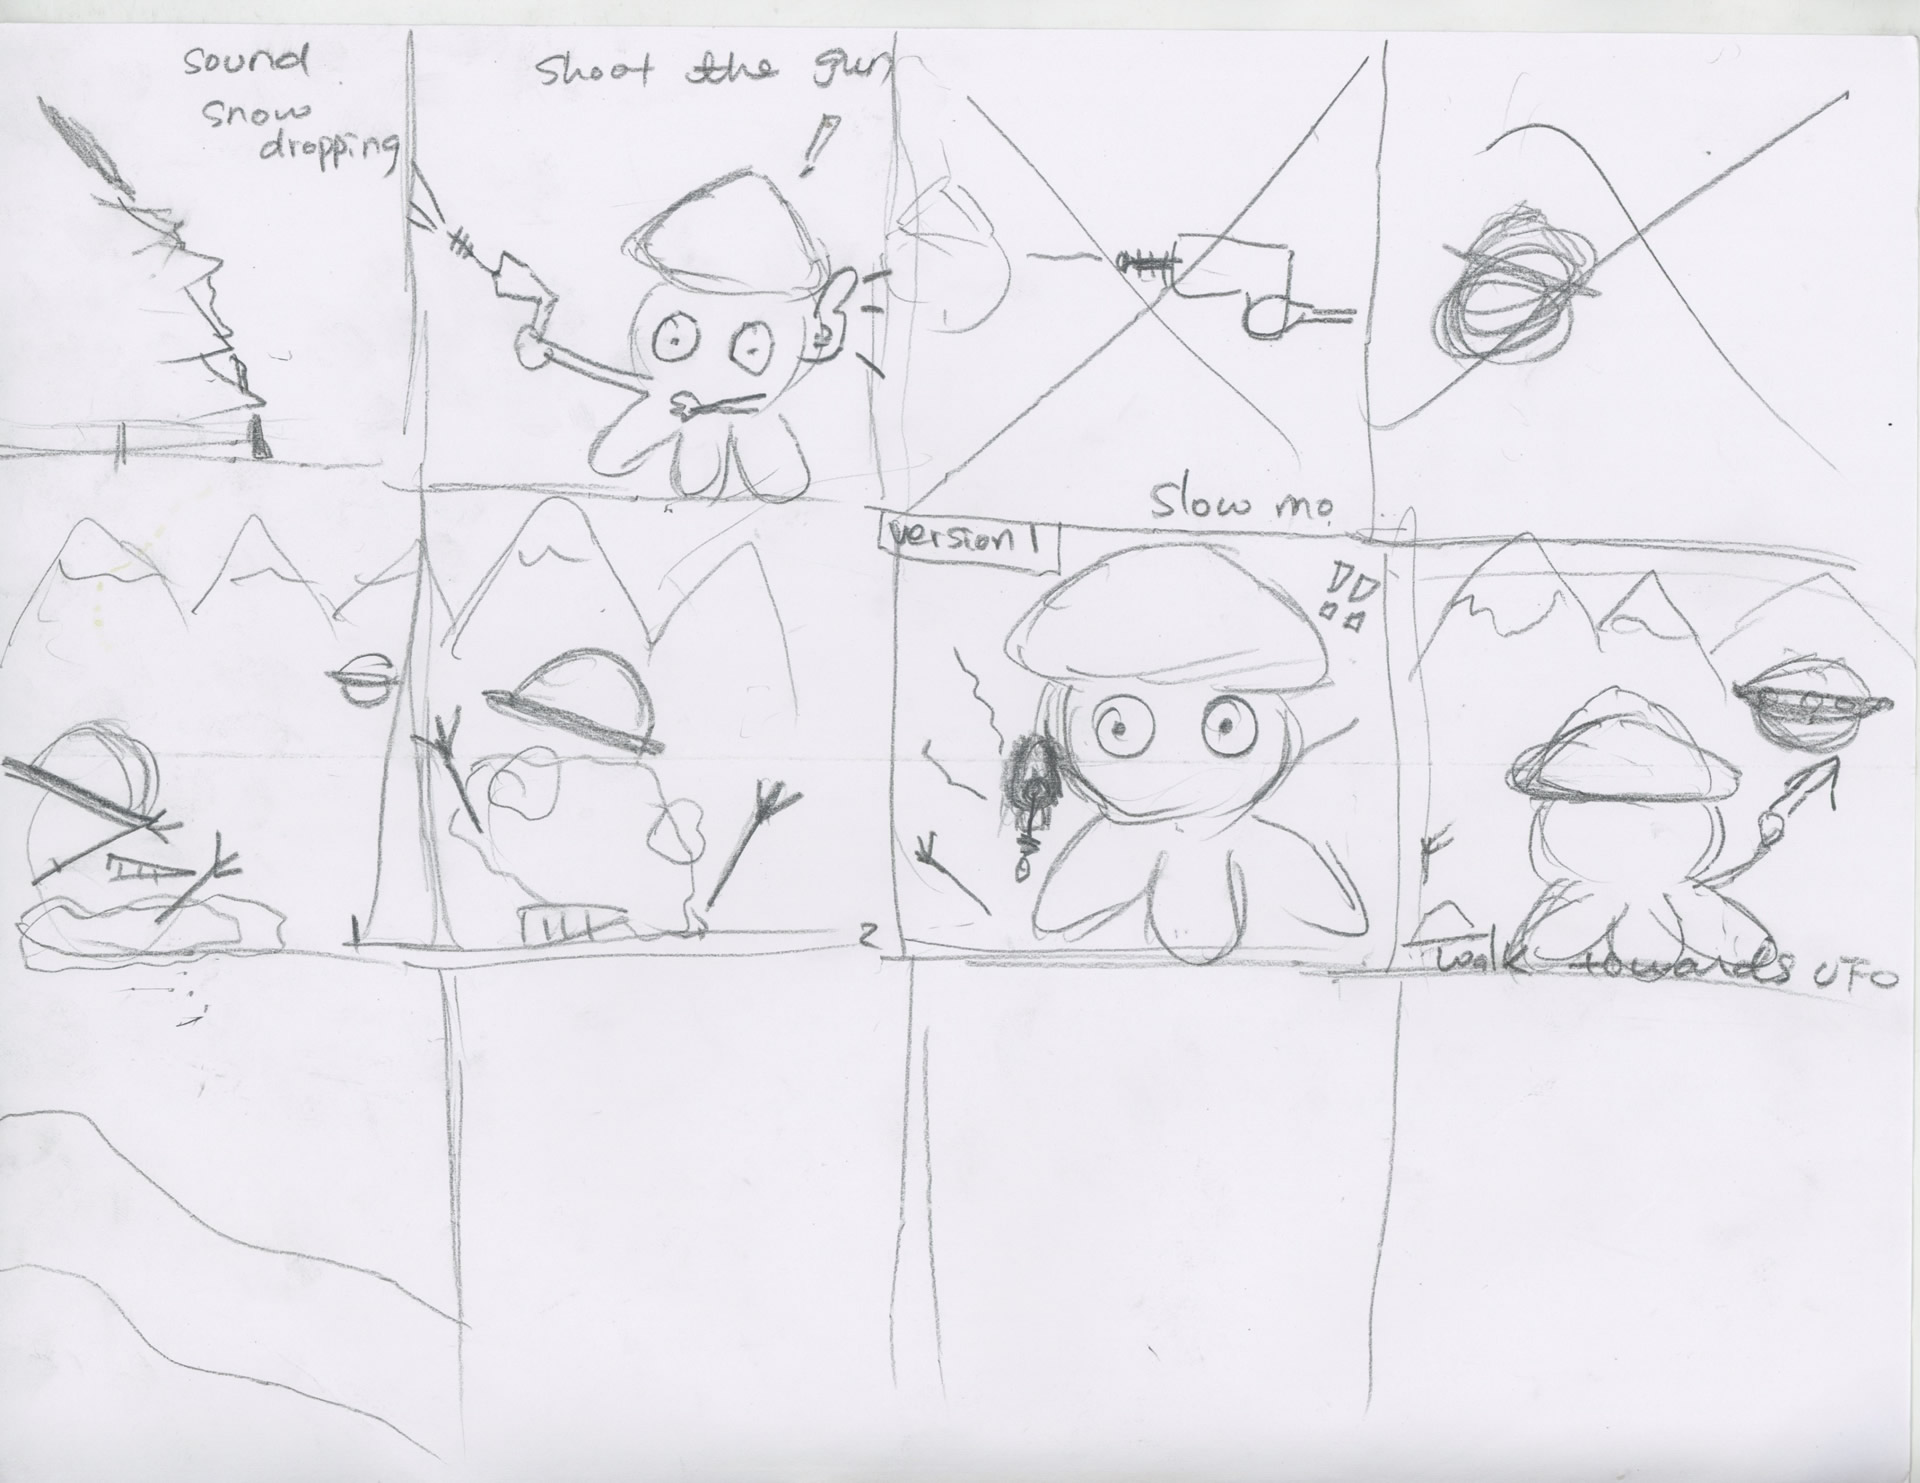


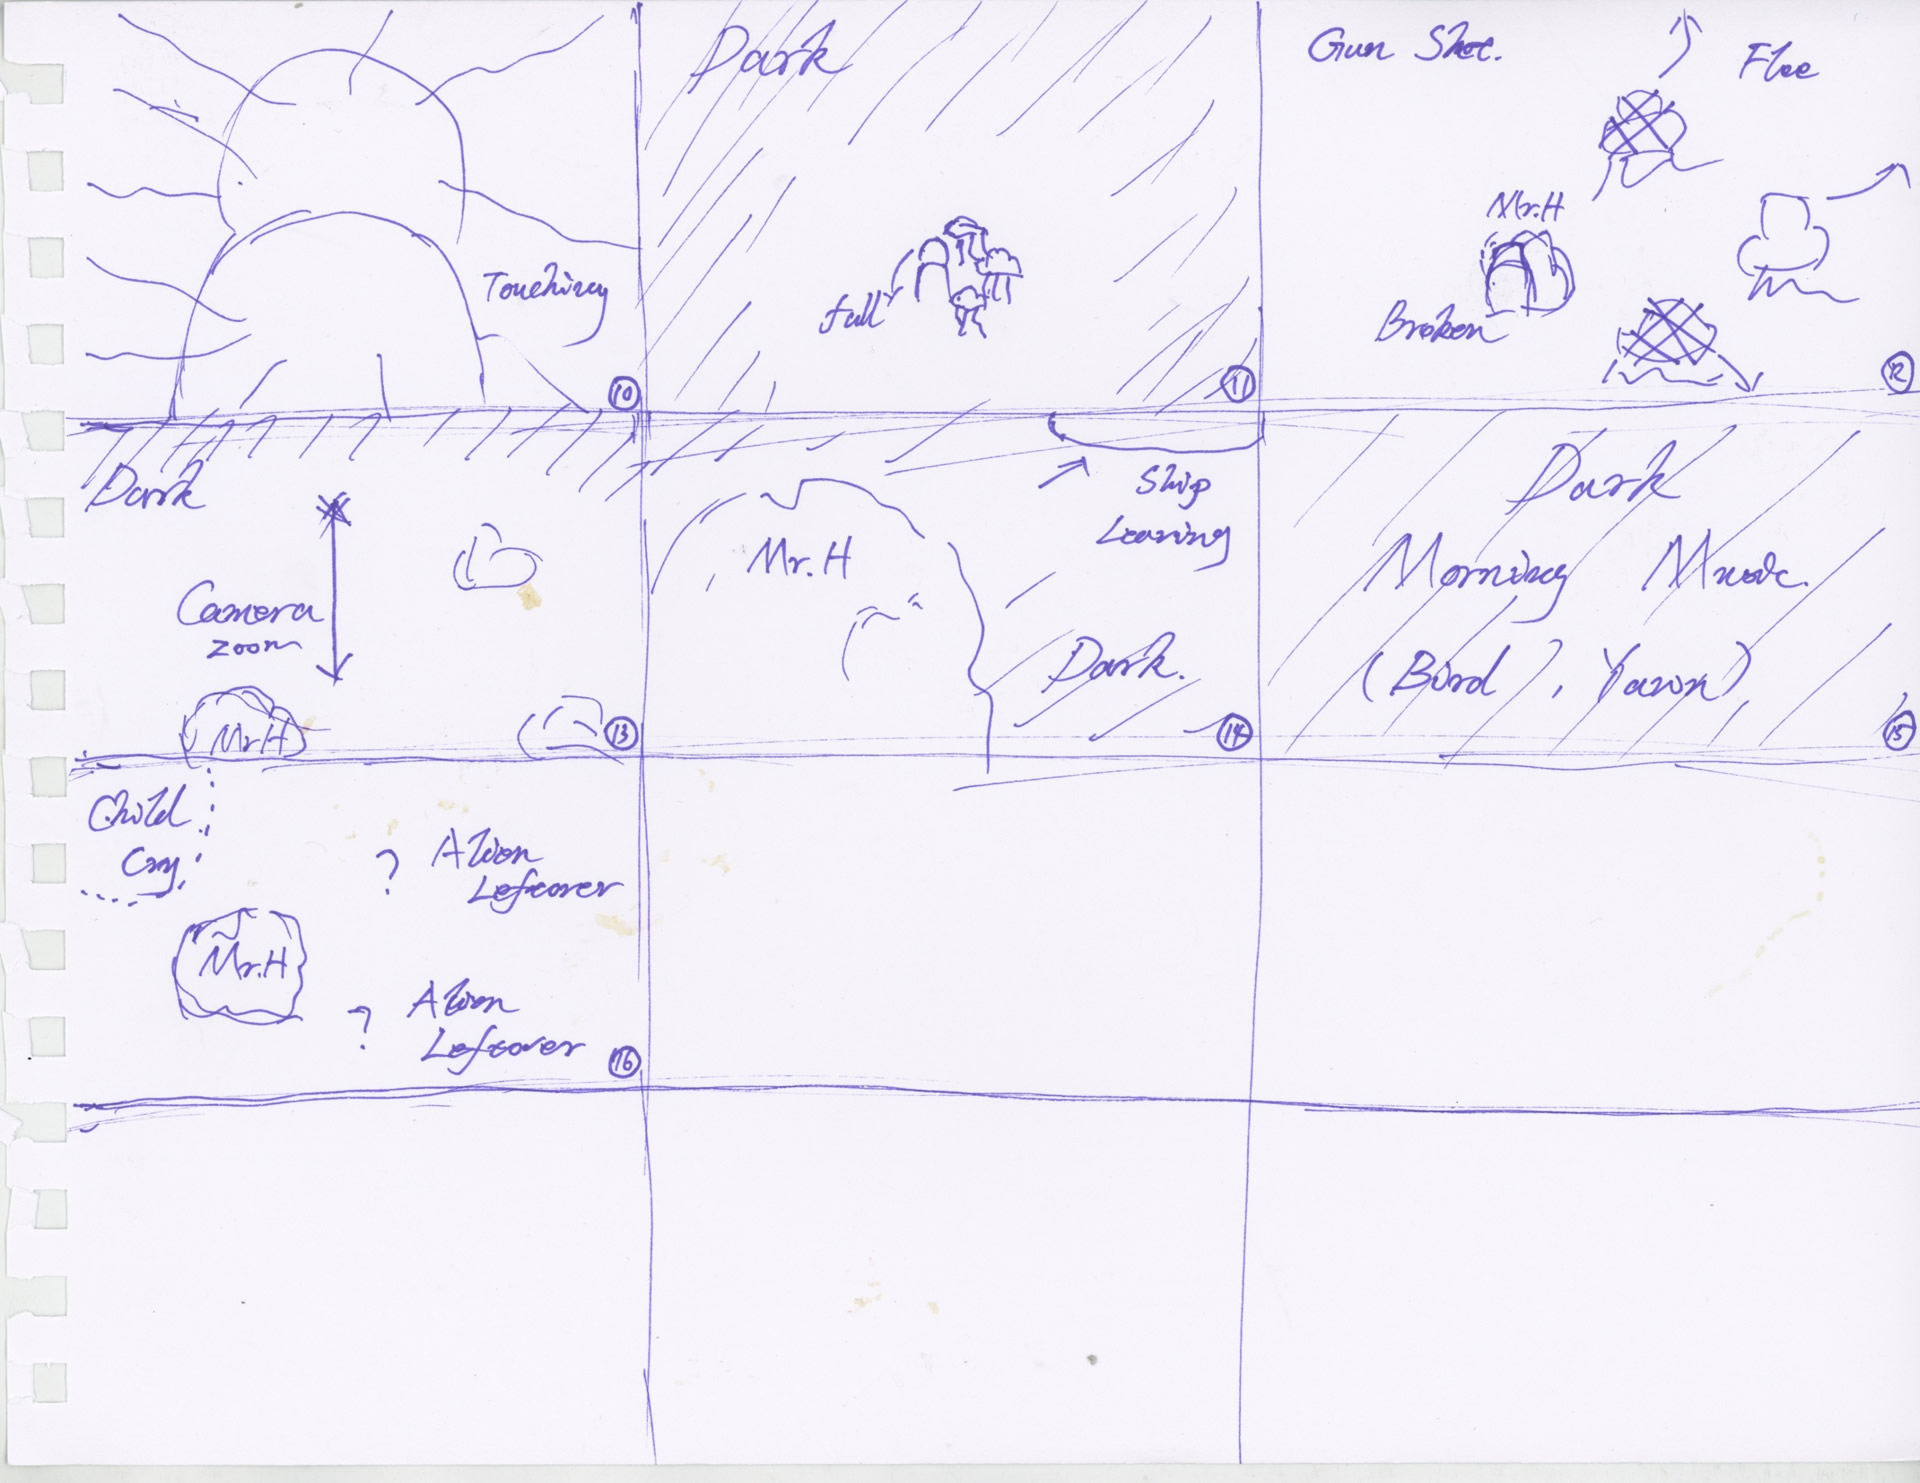
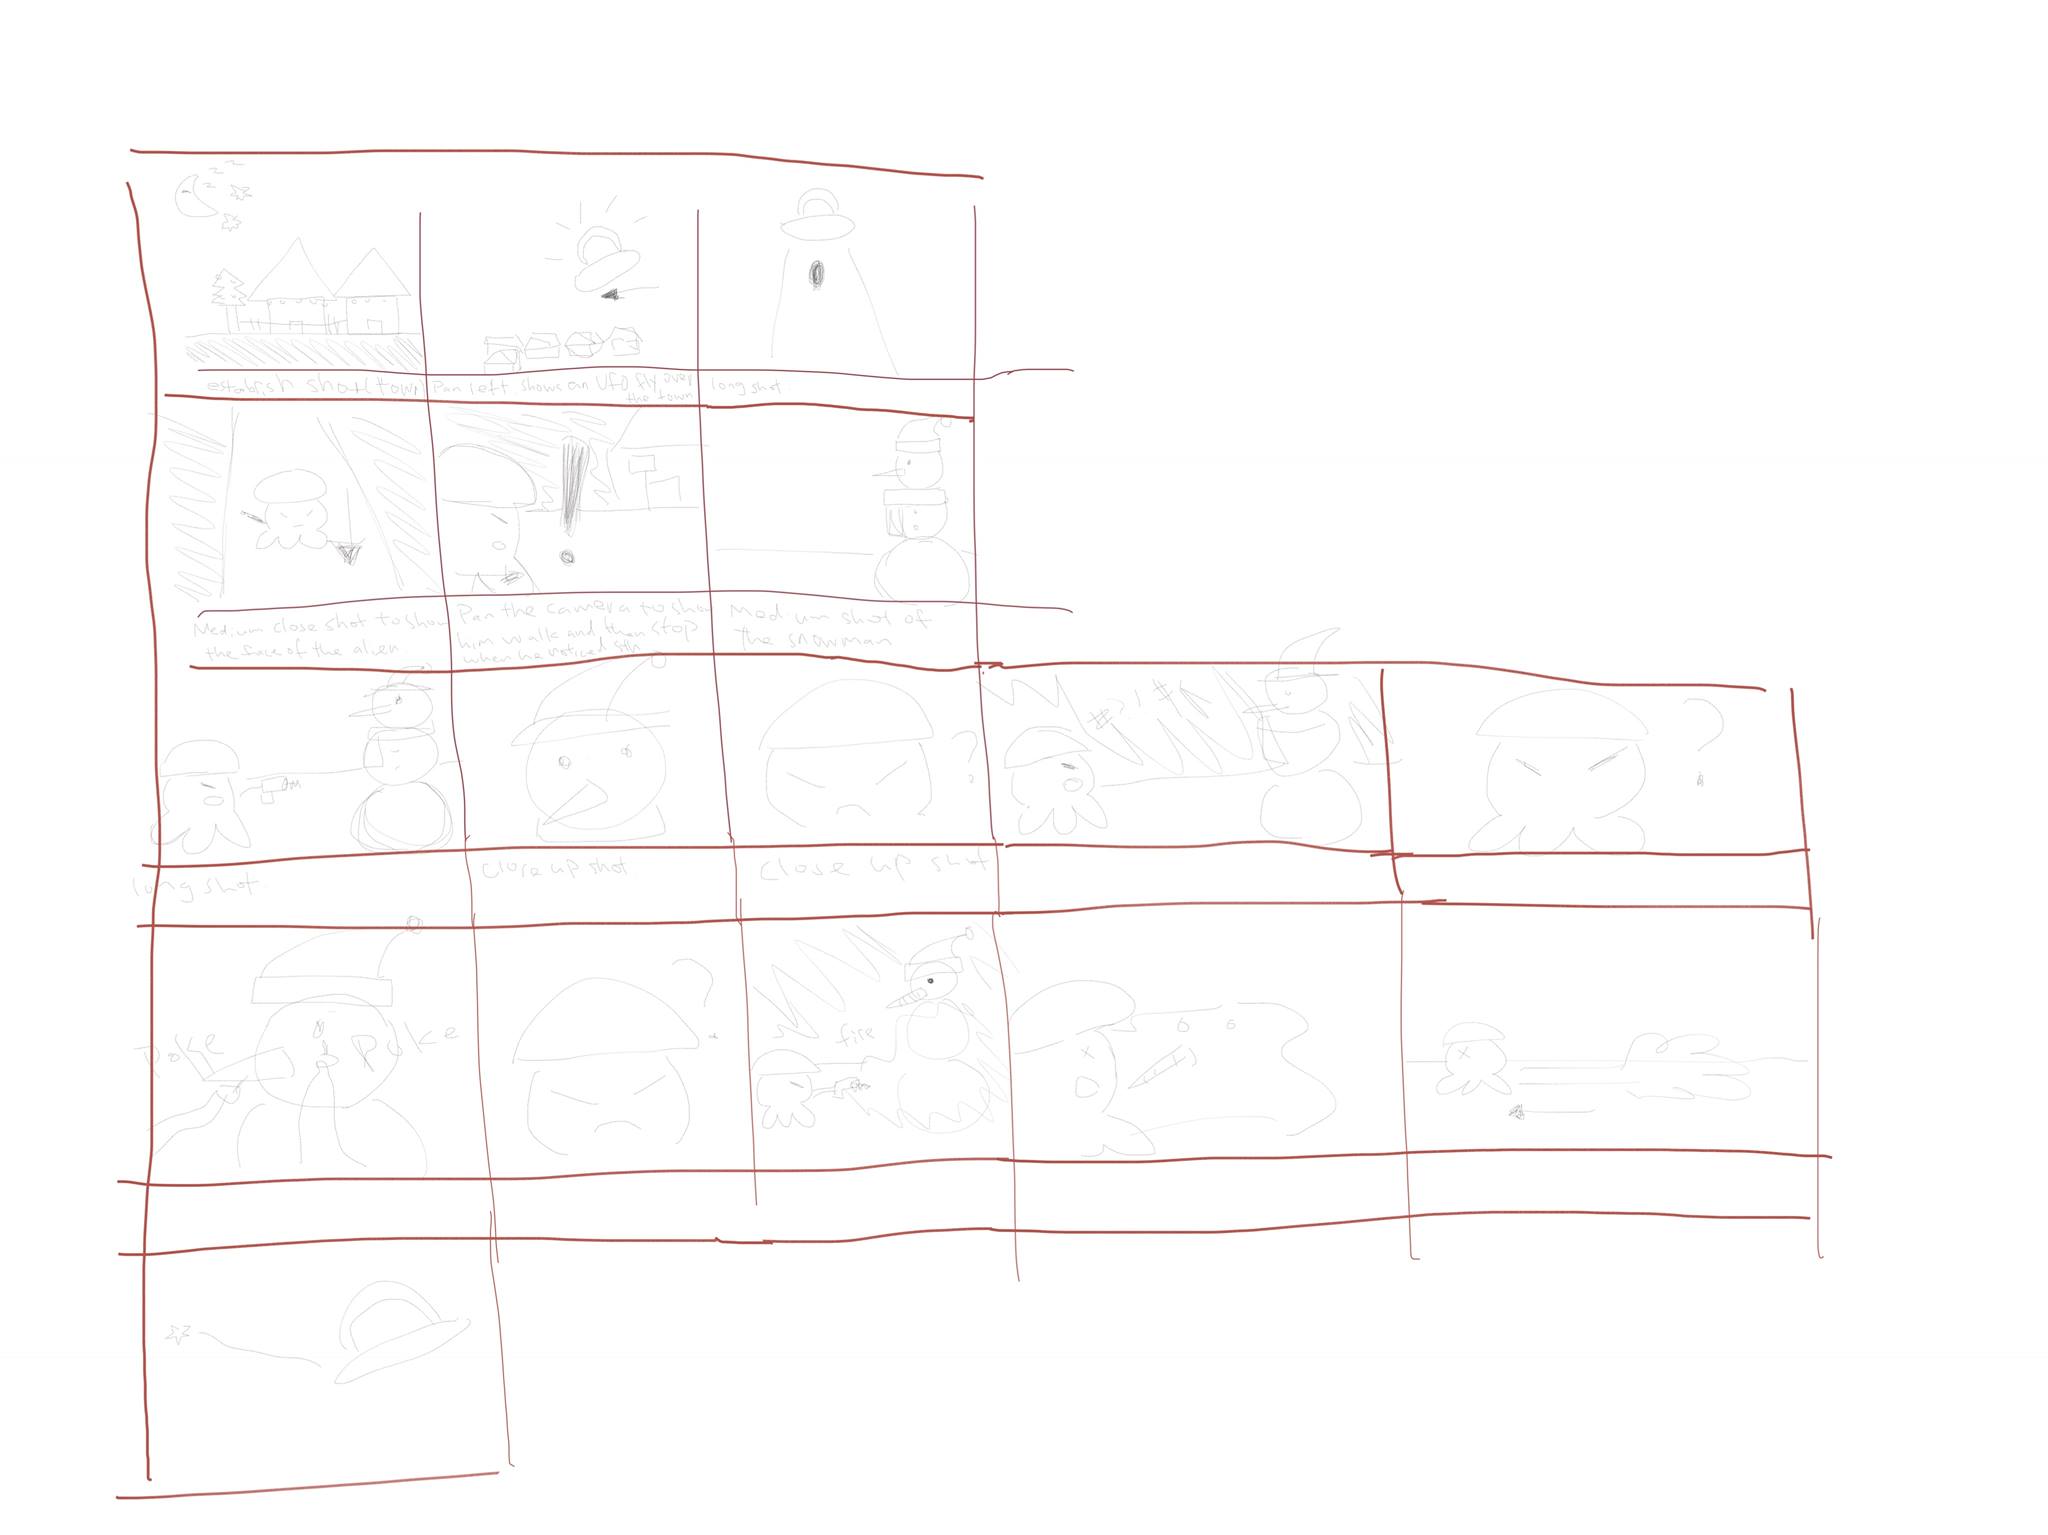
We quickly generated some sketches based on the topic we selected. Highlight include:
- Rendering intro alien ship with close shot to make it huge but reveal it later on which is actually small
- A stand-alone scenario that the alien walk on a frozen lake and fall down due to slippery. Then back to its foot and continue exploring
- The alien becomes happy when poking the snowman and keep doing so
- The alien left earth with flags etc. scattered around the landing site when they run away